A common sewing task is joining two sections of bias tape into one continuous strip. The cleanest way to do this is with a diagonal seam, which spreads the bulk out instead of stacking it all in one hard lump. For very long continuous lengths, there are faster production methods involving sewing the fabric into a tube and rotary-cutting it into strips; this micro tutorial is for joining ordinary strip lengths. If you inspect a standard store-bought 3 yard package of bias tape you will observe something similar to the result produced below.
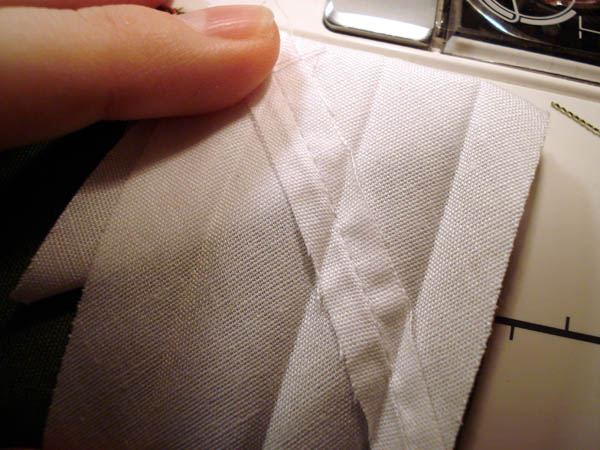
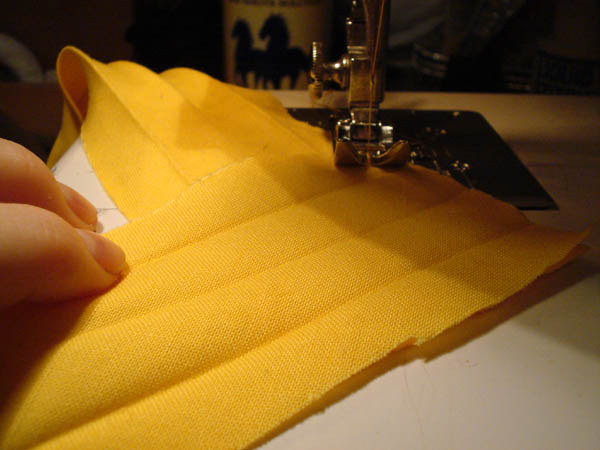
First, open up the folded bias tape.
Lay the two strips across each other at a right angle, right sides together. If you are making your own bias tape from scratch, it is usually easier to join the strips before ironing the folds so you don’t have to deal with folded edges flopping around everywhere.
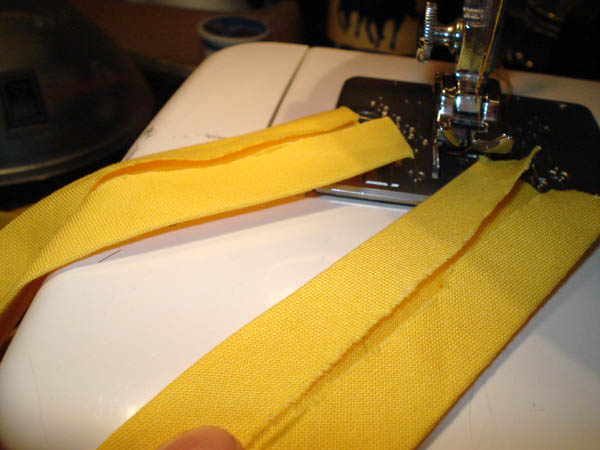
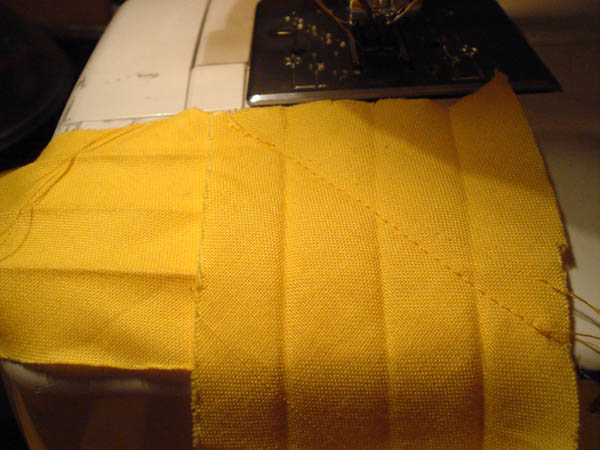
Sew diagonally across the overlap at a 45° angle. Be sure to backstitch at both ends.
Before trimming, confirm that the seam allowances are on the same side as any other seam allowances along the full length of the tape. (You’d be surprised how often you end up sewing the wrong sides together at 3AM.) If there are already joins in the tape, make this seam slant the same way as the existing ones so the finished tape looks consistent. (ie, so the final product looks like __/__/__/ instead of __/__/__\).
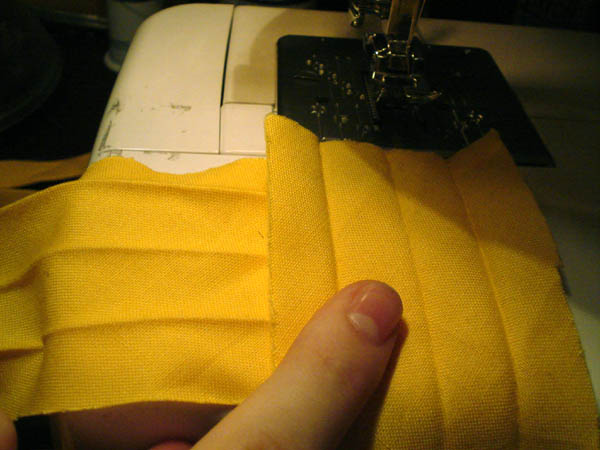
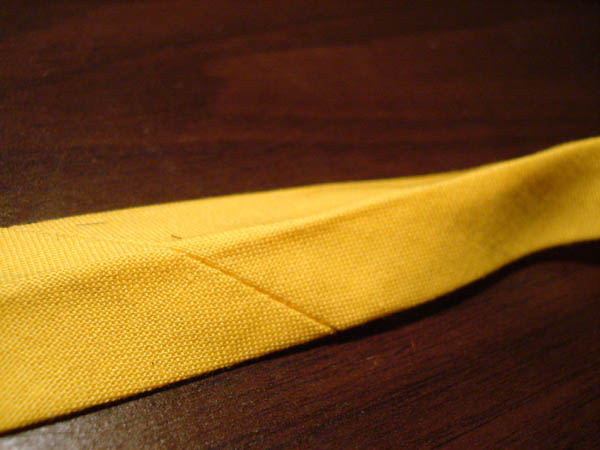
Ta-da!
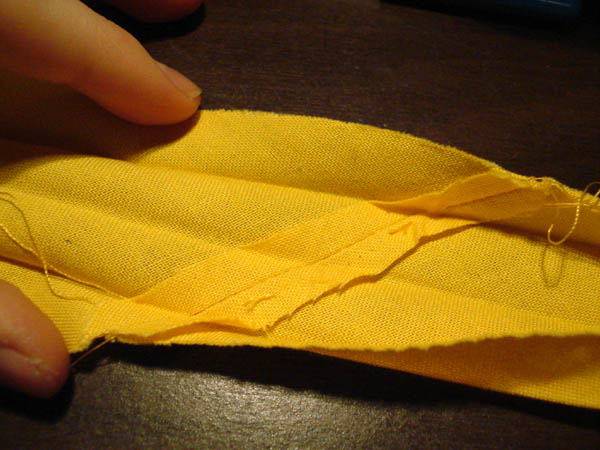
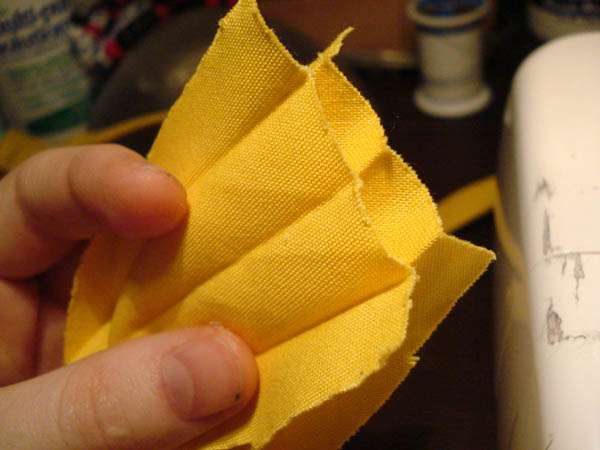
Trim the seam allowance to about 1/4 inch, clip the little corner triangles, and press the seam open. Depending on how much of the original pressing you lost, you may want to touch up the folds as well.
Insert triumphant Zelda music here.