

Spaghetti straps are miserable to turn right-side-out by hand, especially the very narrow ones like you find on Asuka’s sundress, or Aya’s from Parasite Eve. This method uses a blunt needle and heavy thread to pull the tube through itself, which is much less painful than trying to claw at it piece by piece with your fingernails an 1/8” at a time.
If you find yourself doing these a lot, you may want to upgrade to a bodkin or loop turner, which are highly worthy additions to anyone’s sewing toolbox. However, these tools inevitably seem to vanish right when you need them most. The needle-and-thread method is a good backup because the supplies are usually already in the immediate vicinity.
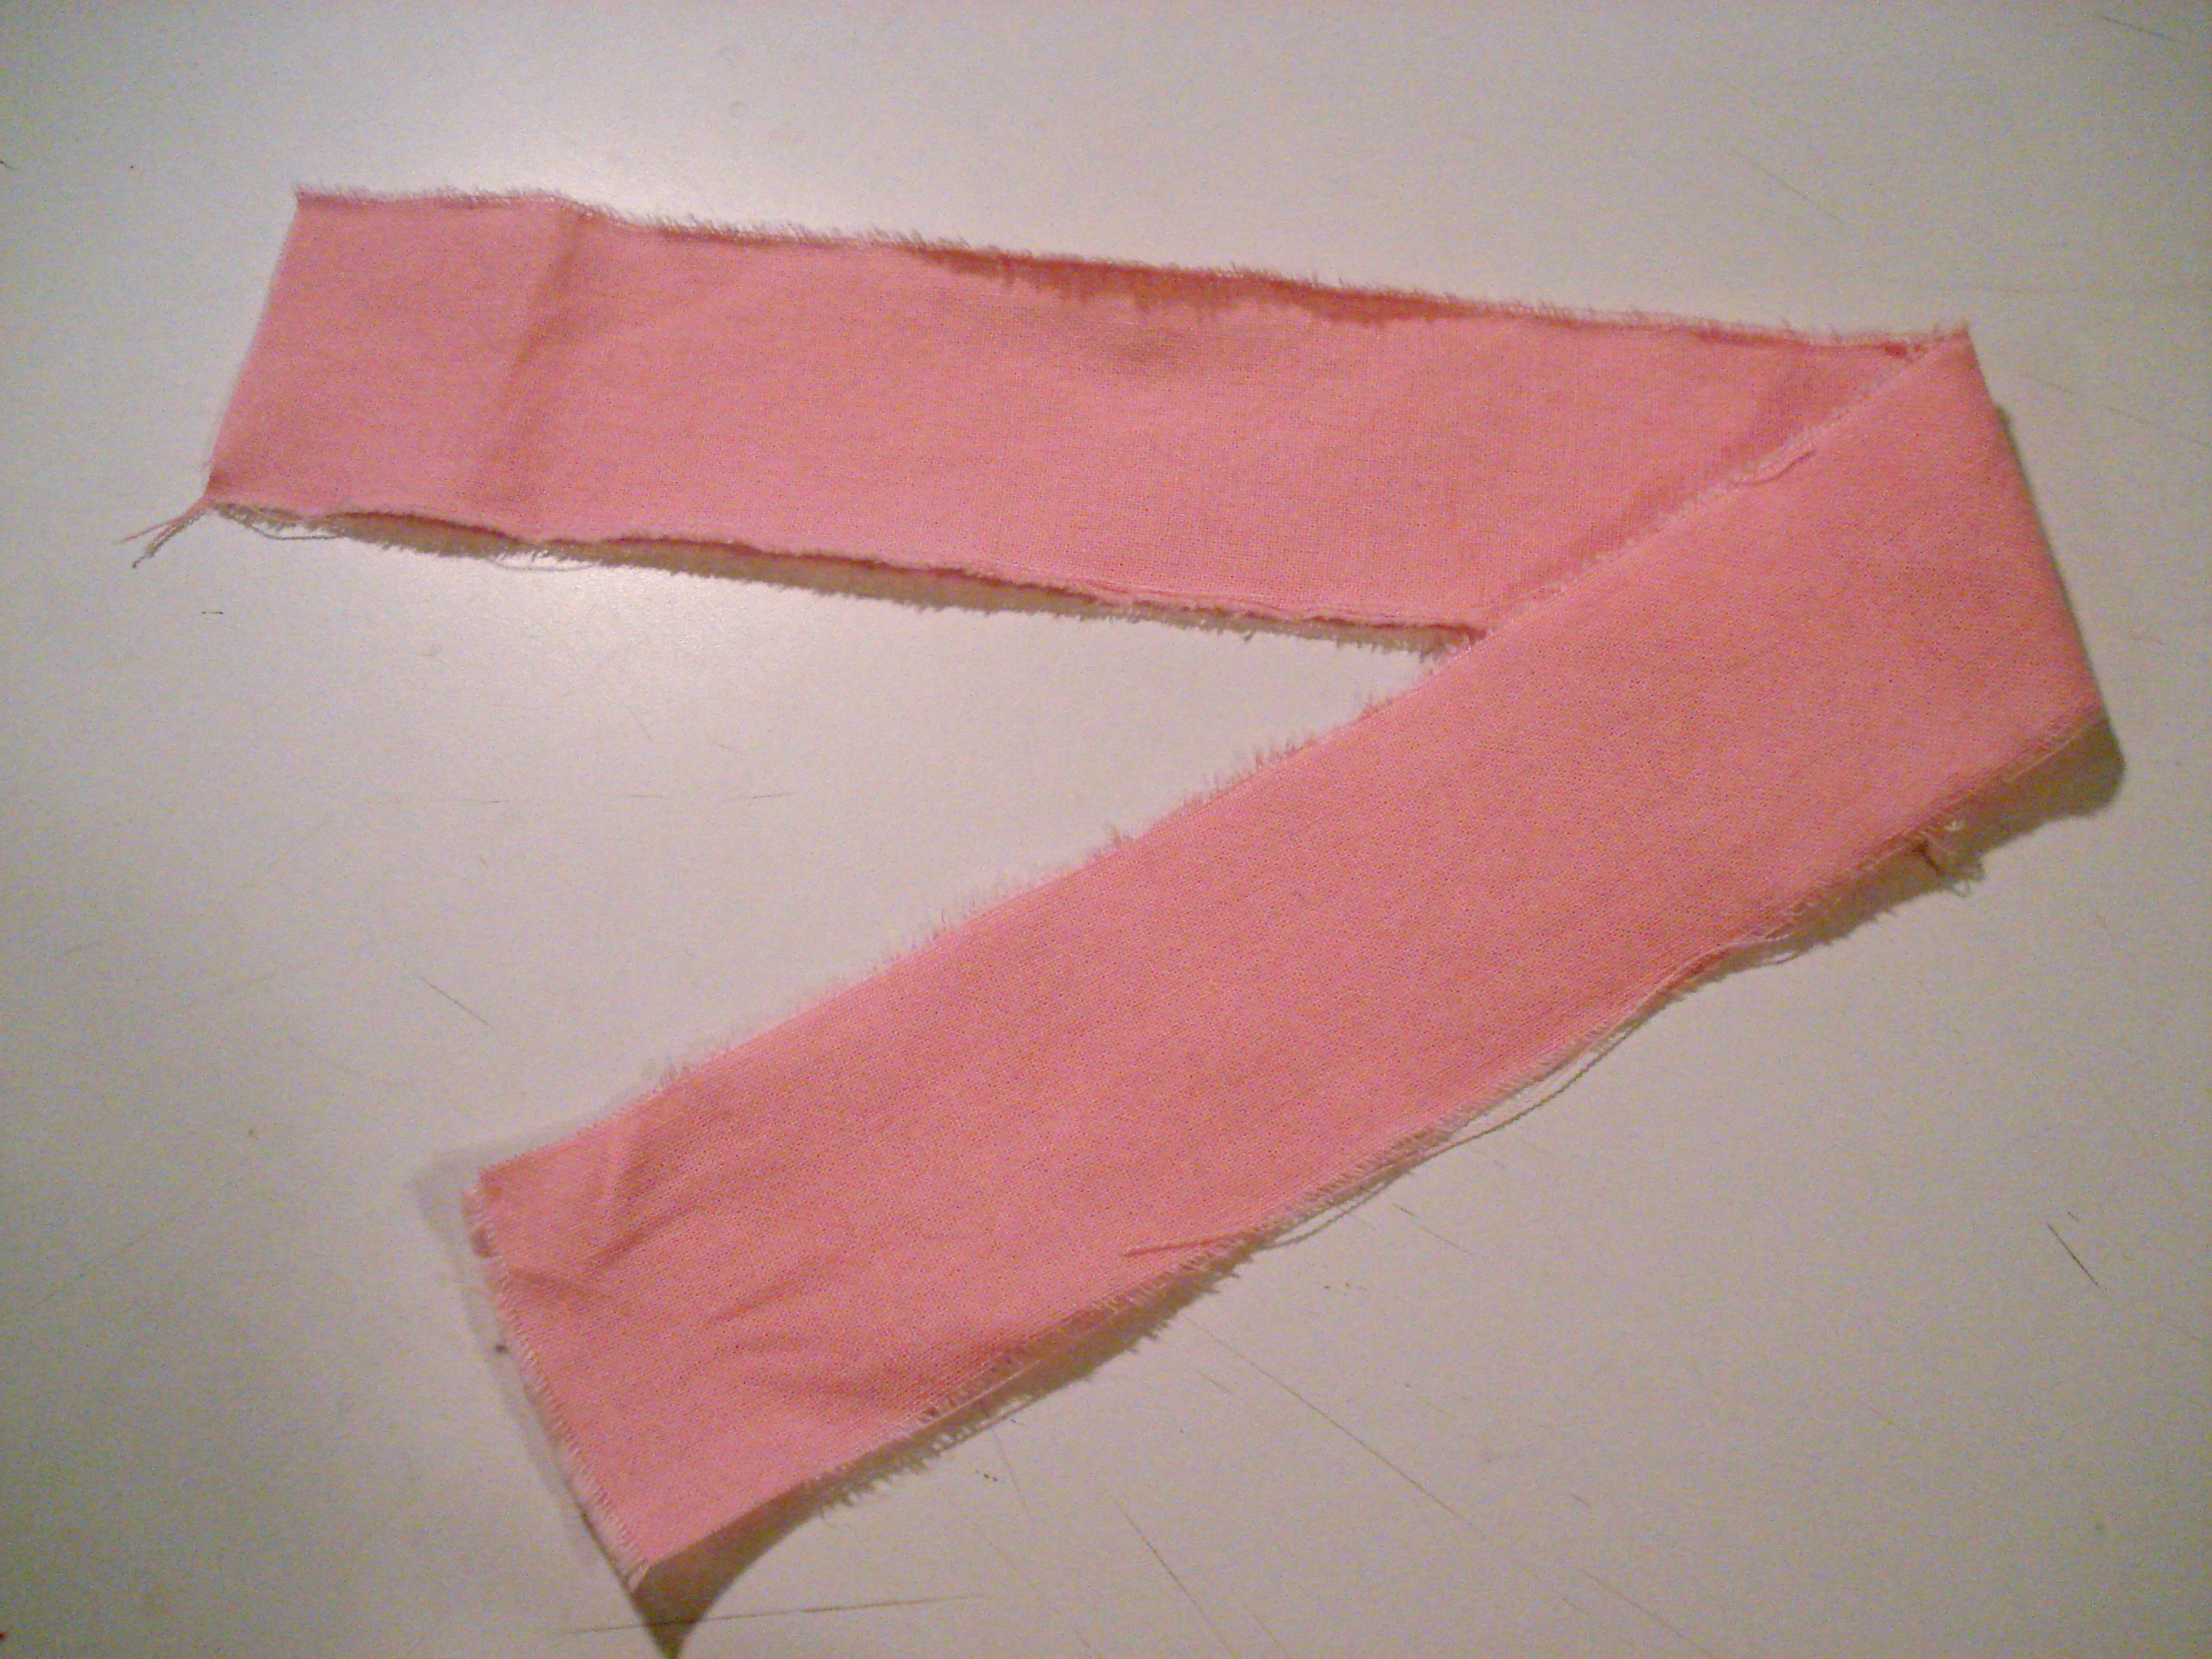

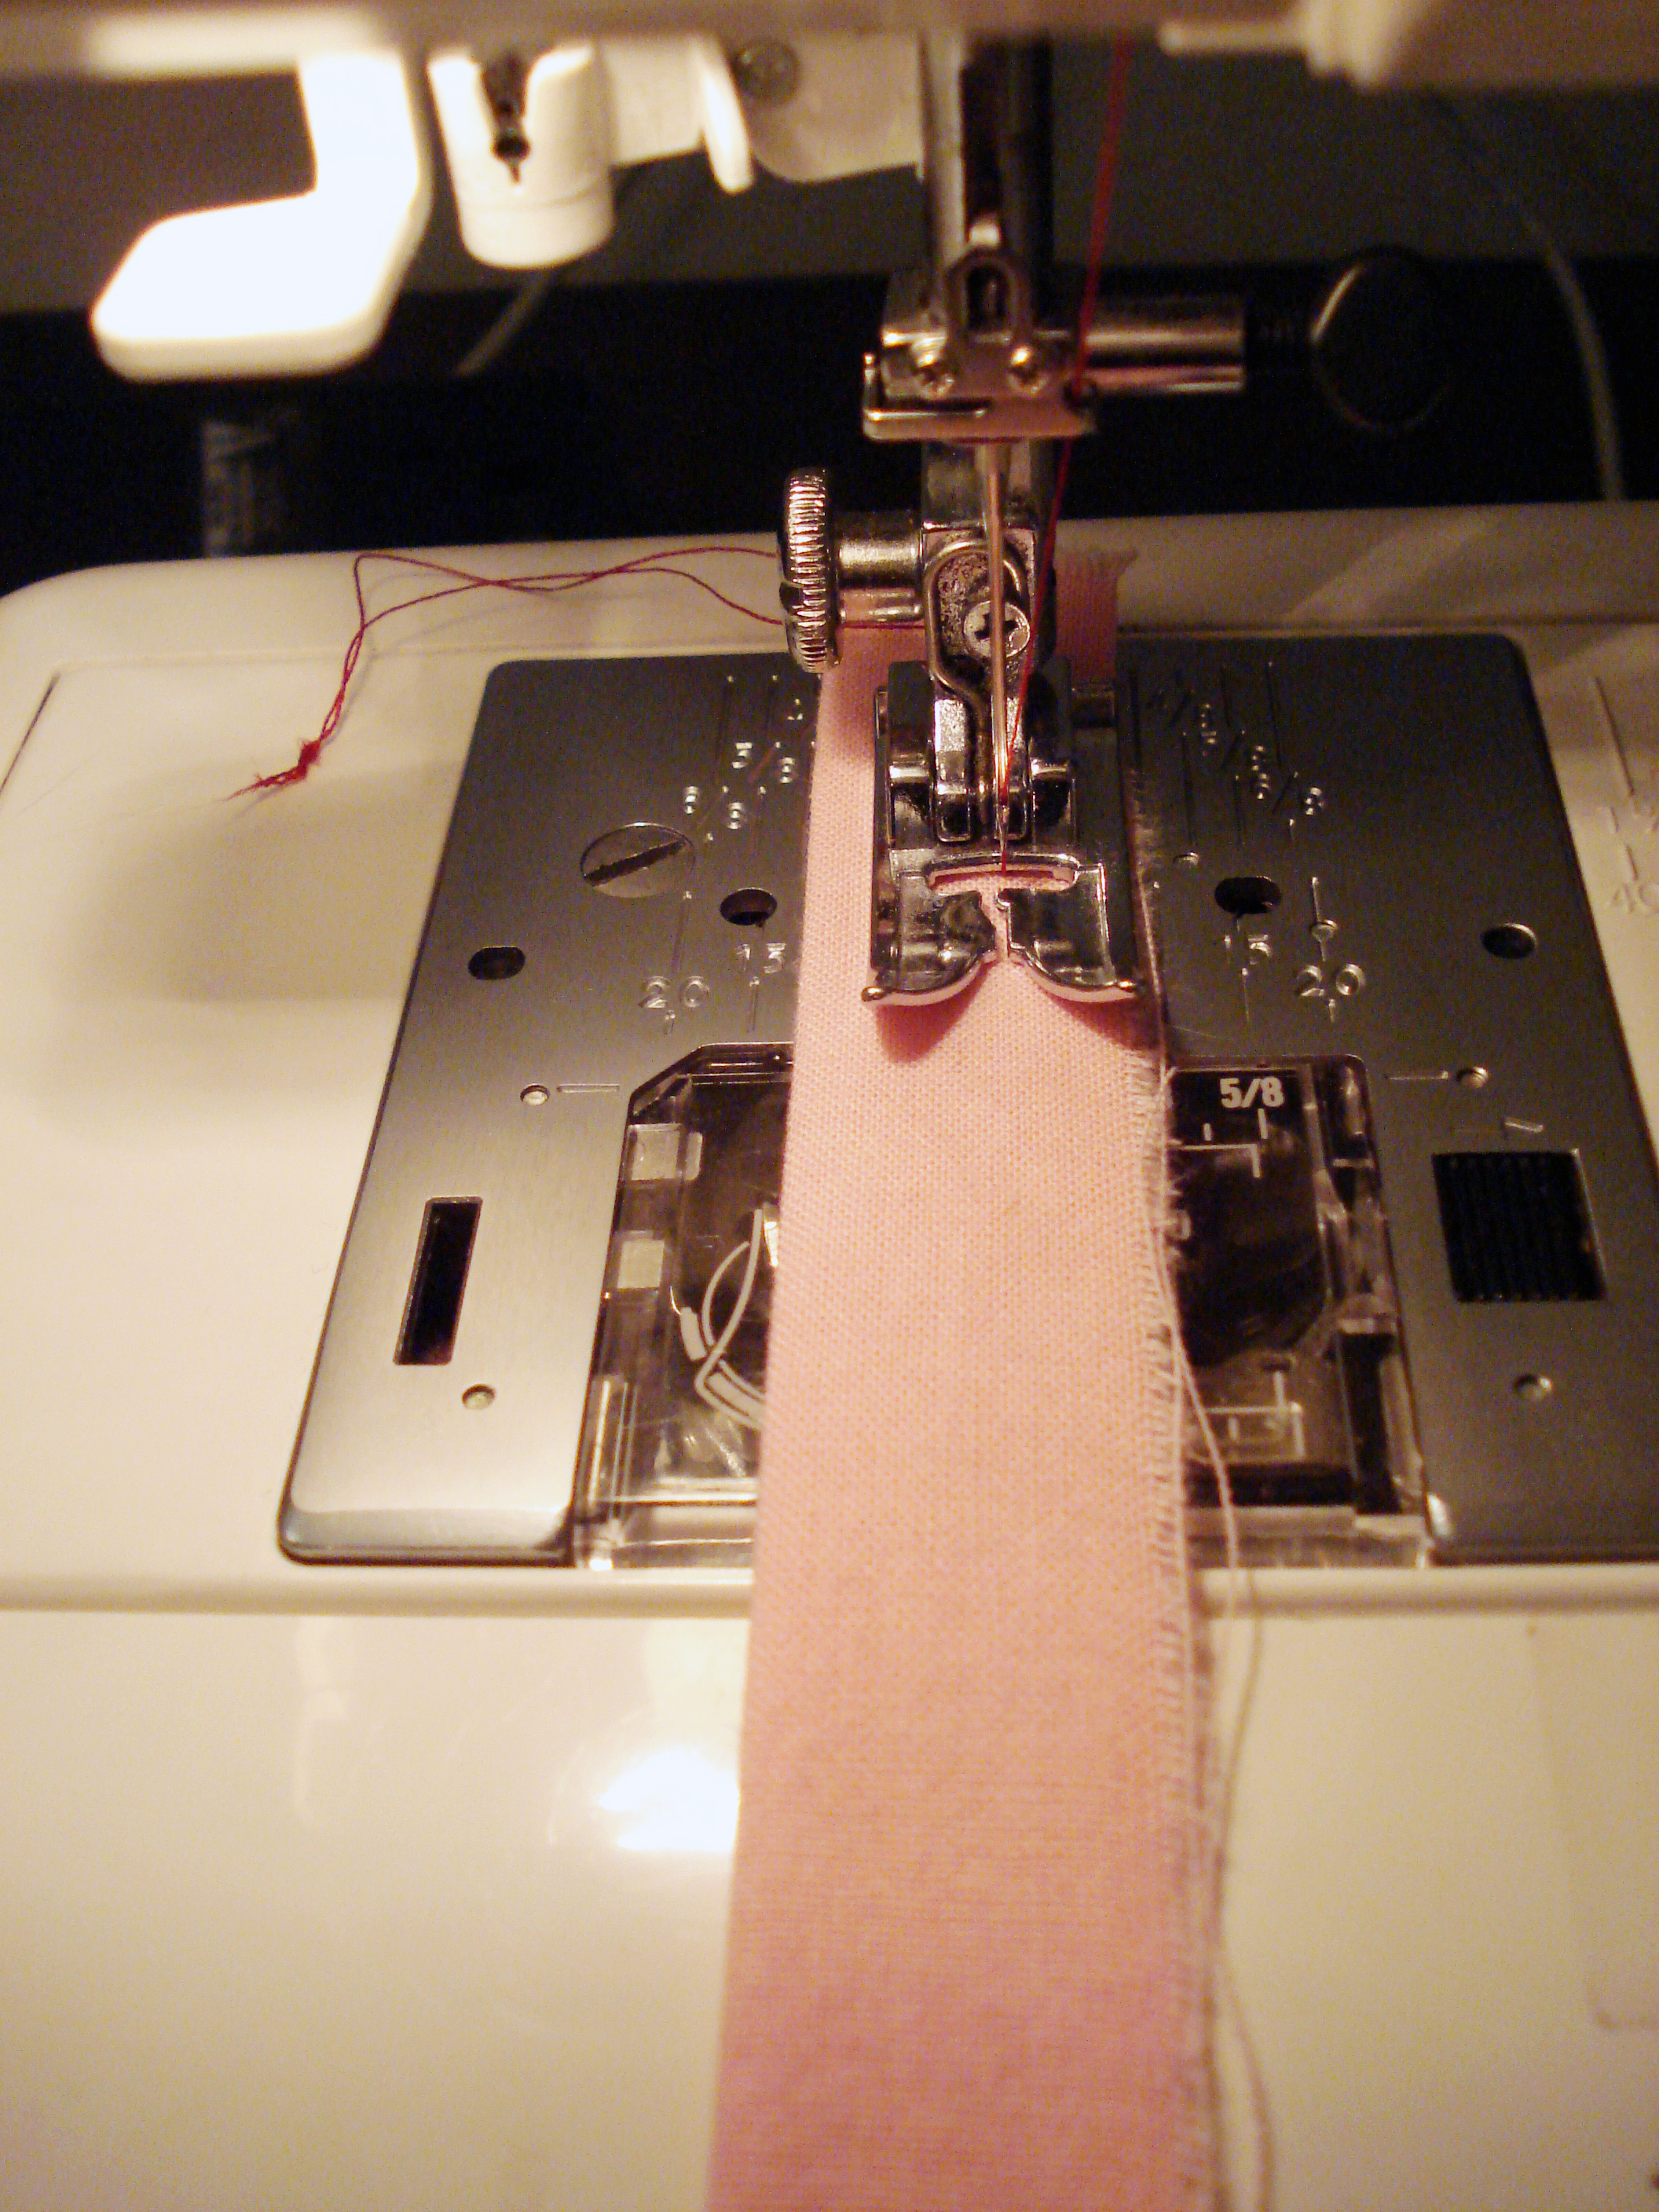
As I’m sure you could guess, it starts with a rectangle. Fold it in half, iron it flat, and stitch the strap. If you have a serger, and your fabric weave and strap width permit using it, you can simply drive off the edge of the fabric and continue on for a while to create a long serger chain you can as the “thread” for the following steps.
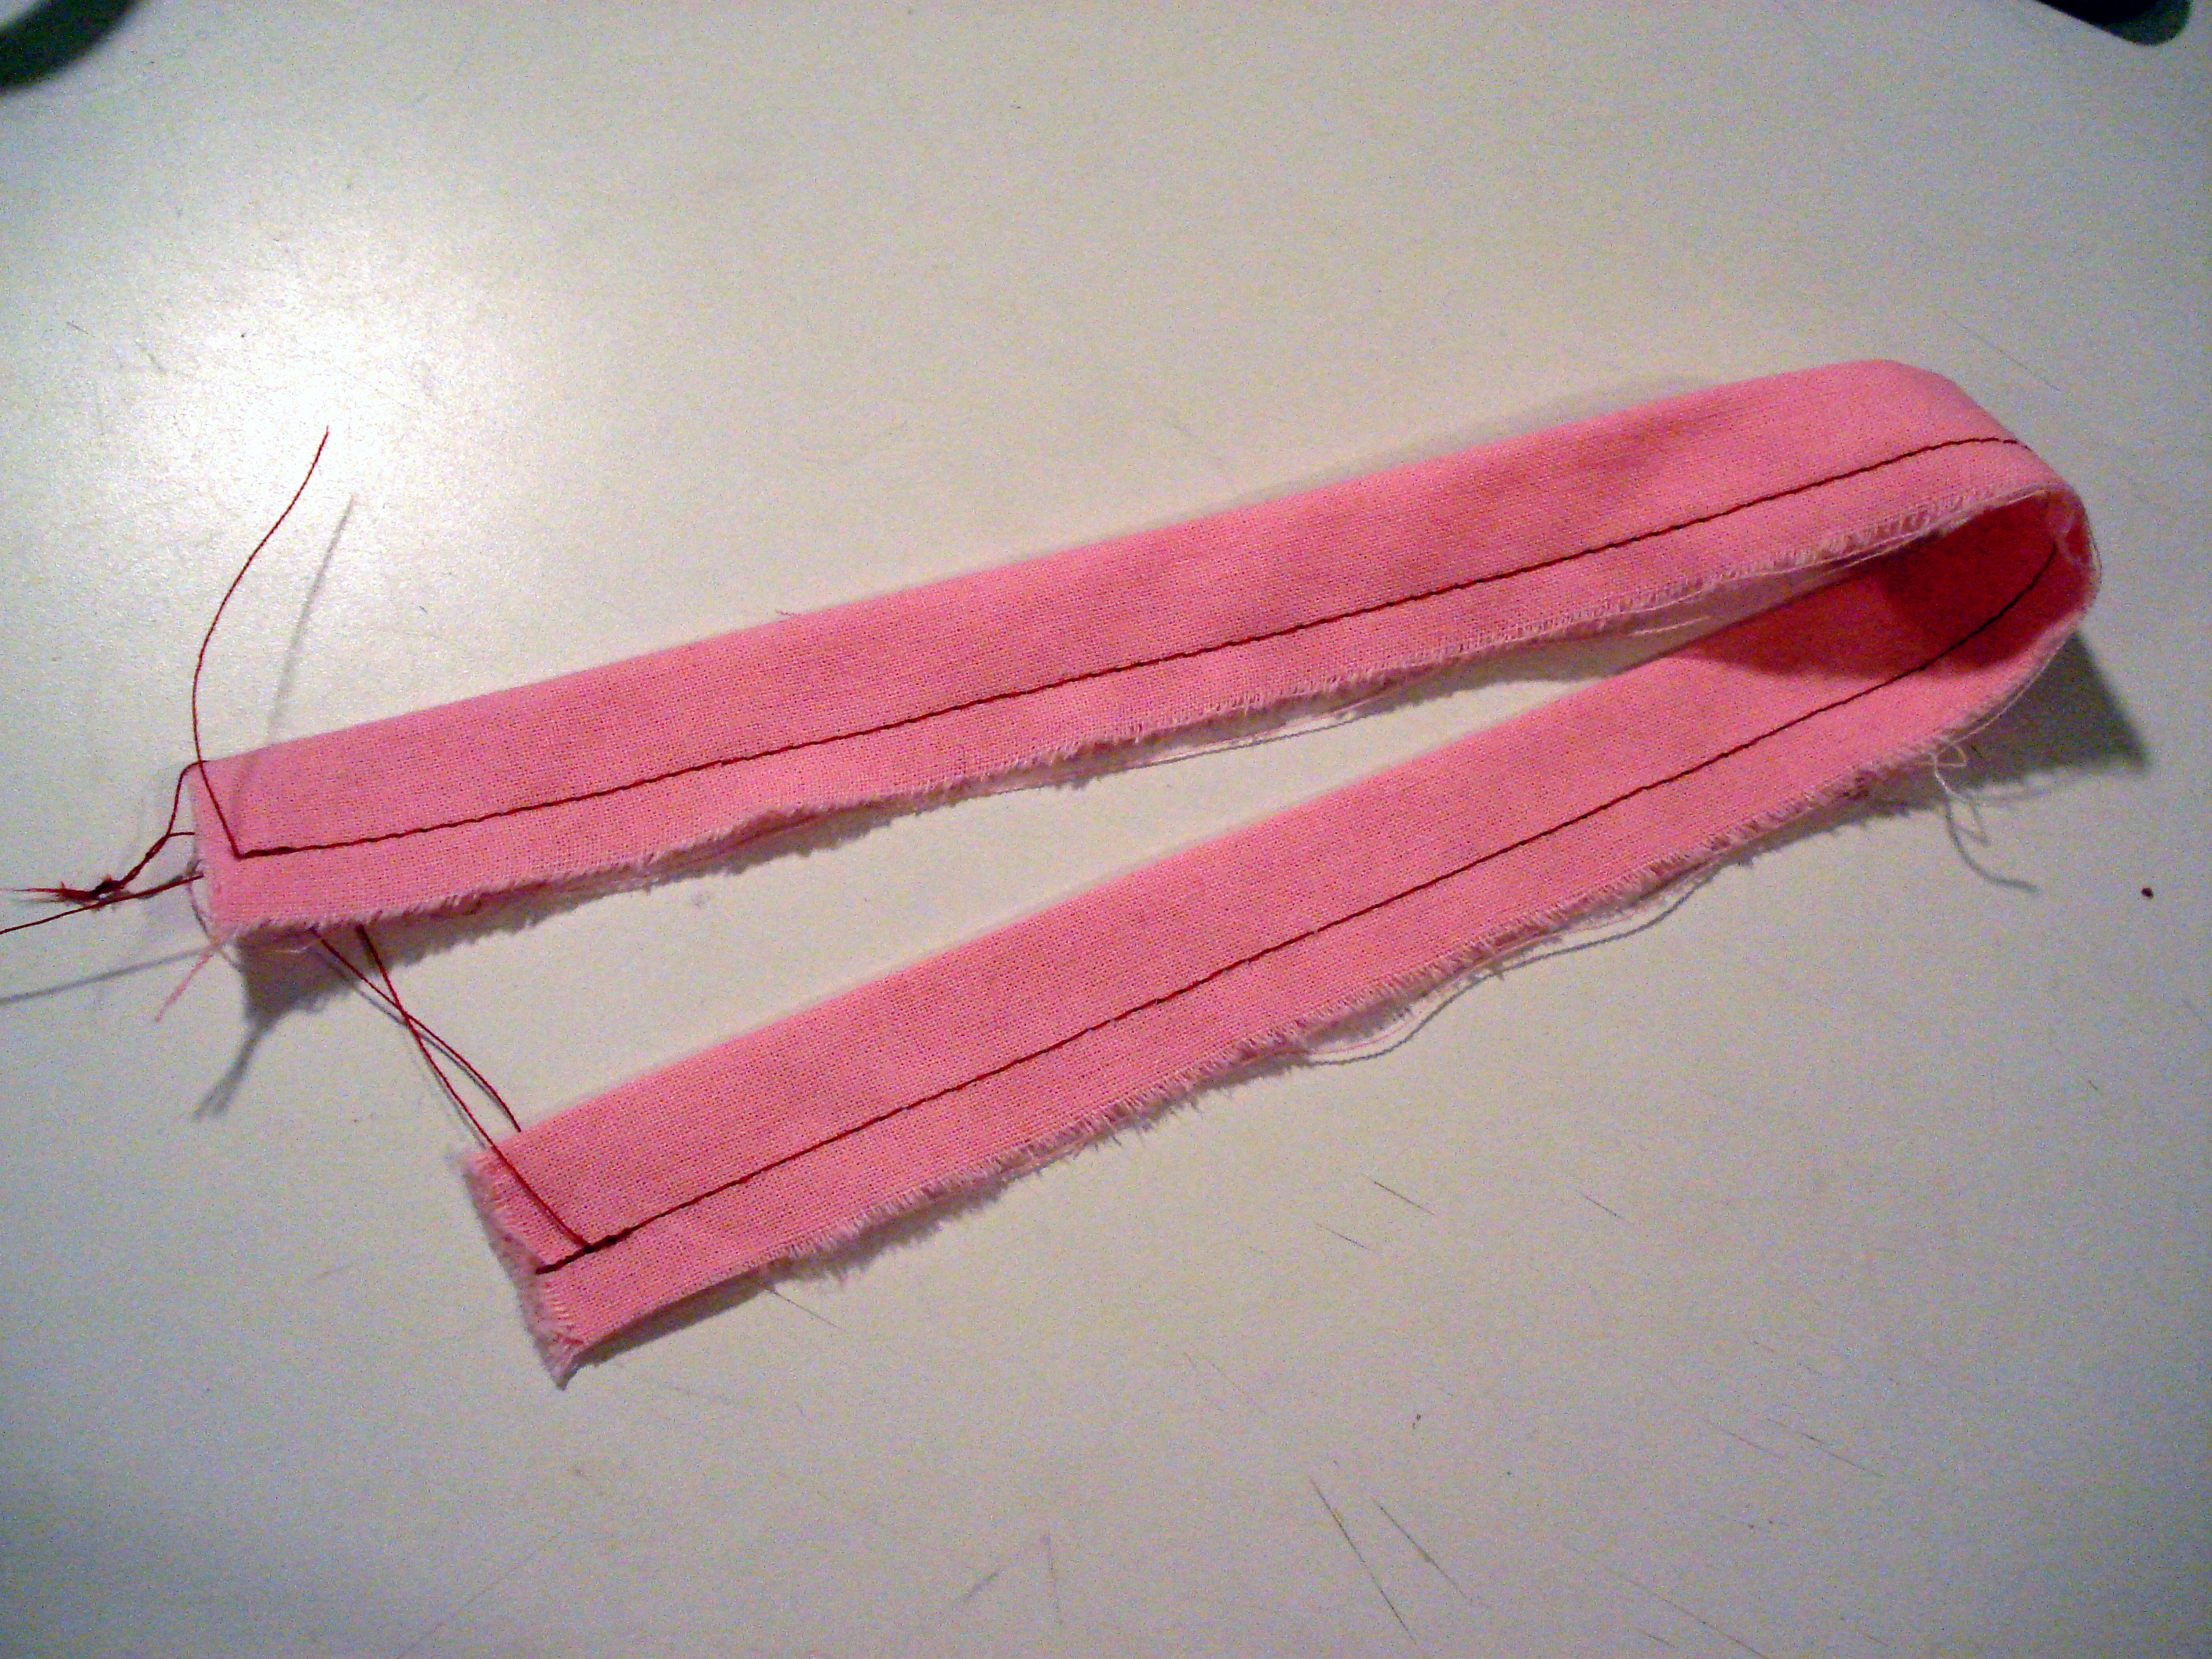
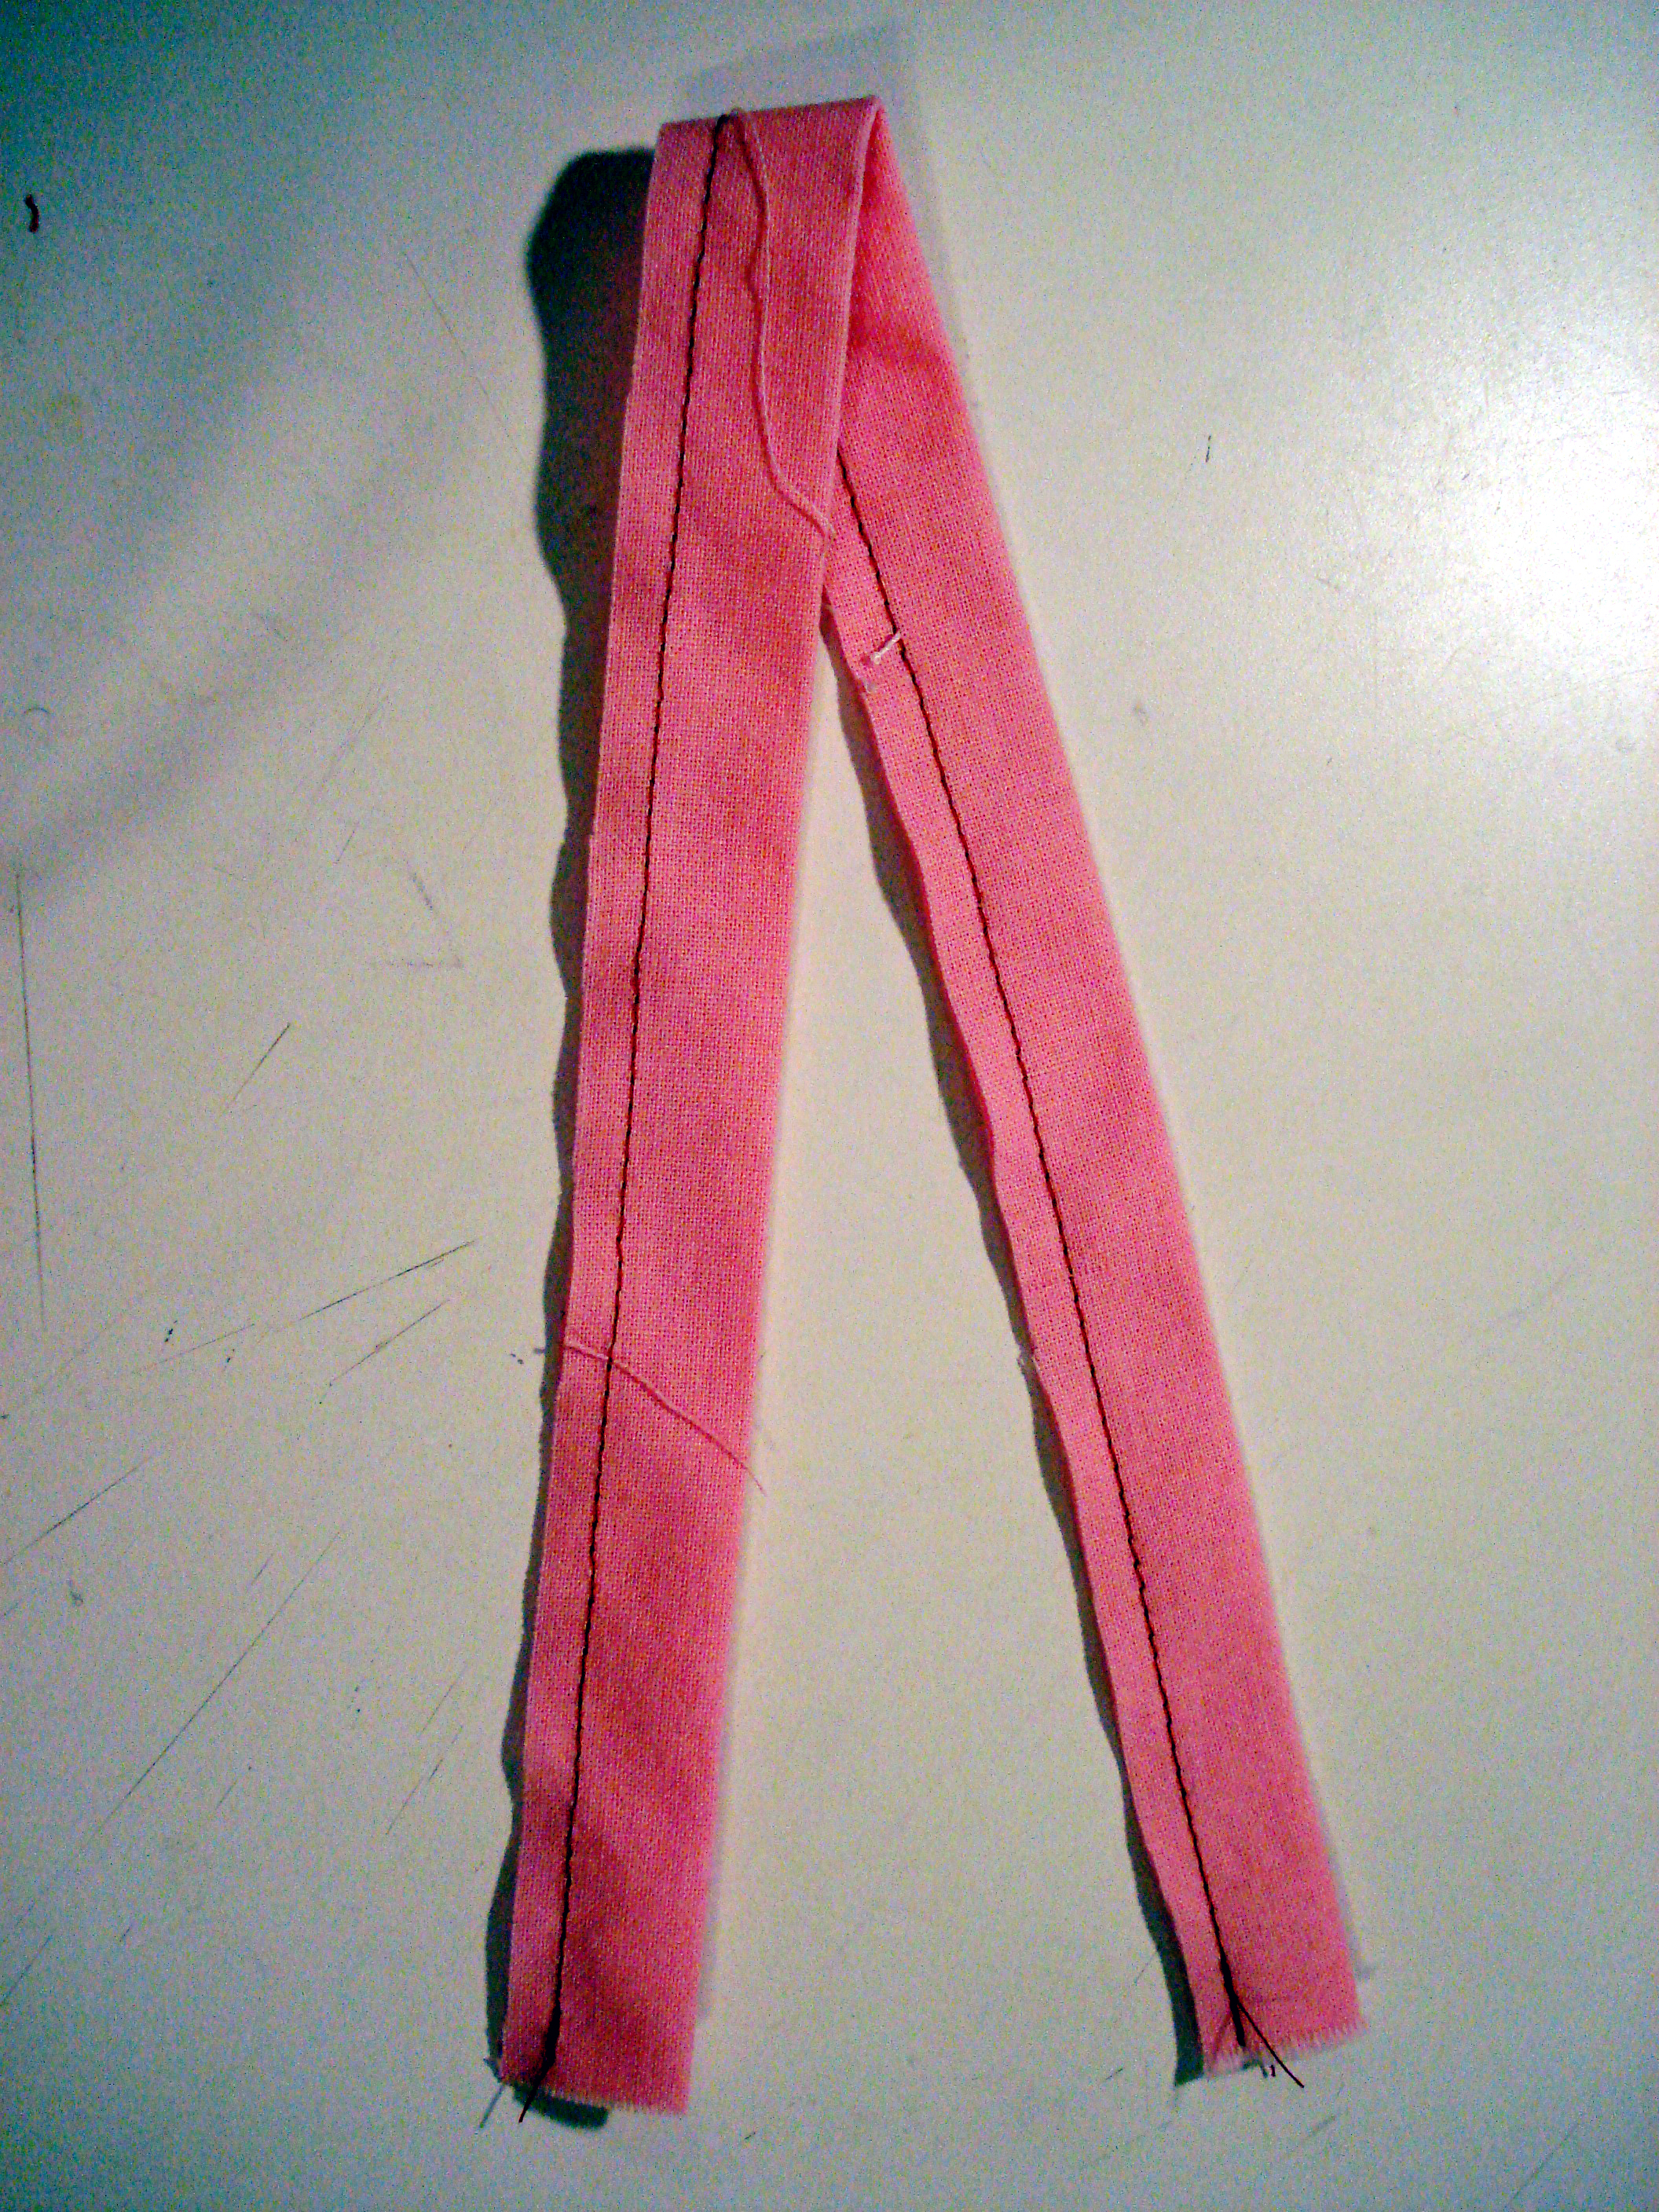
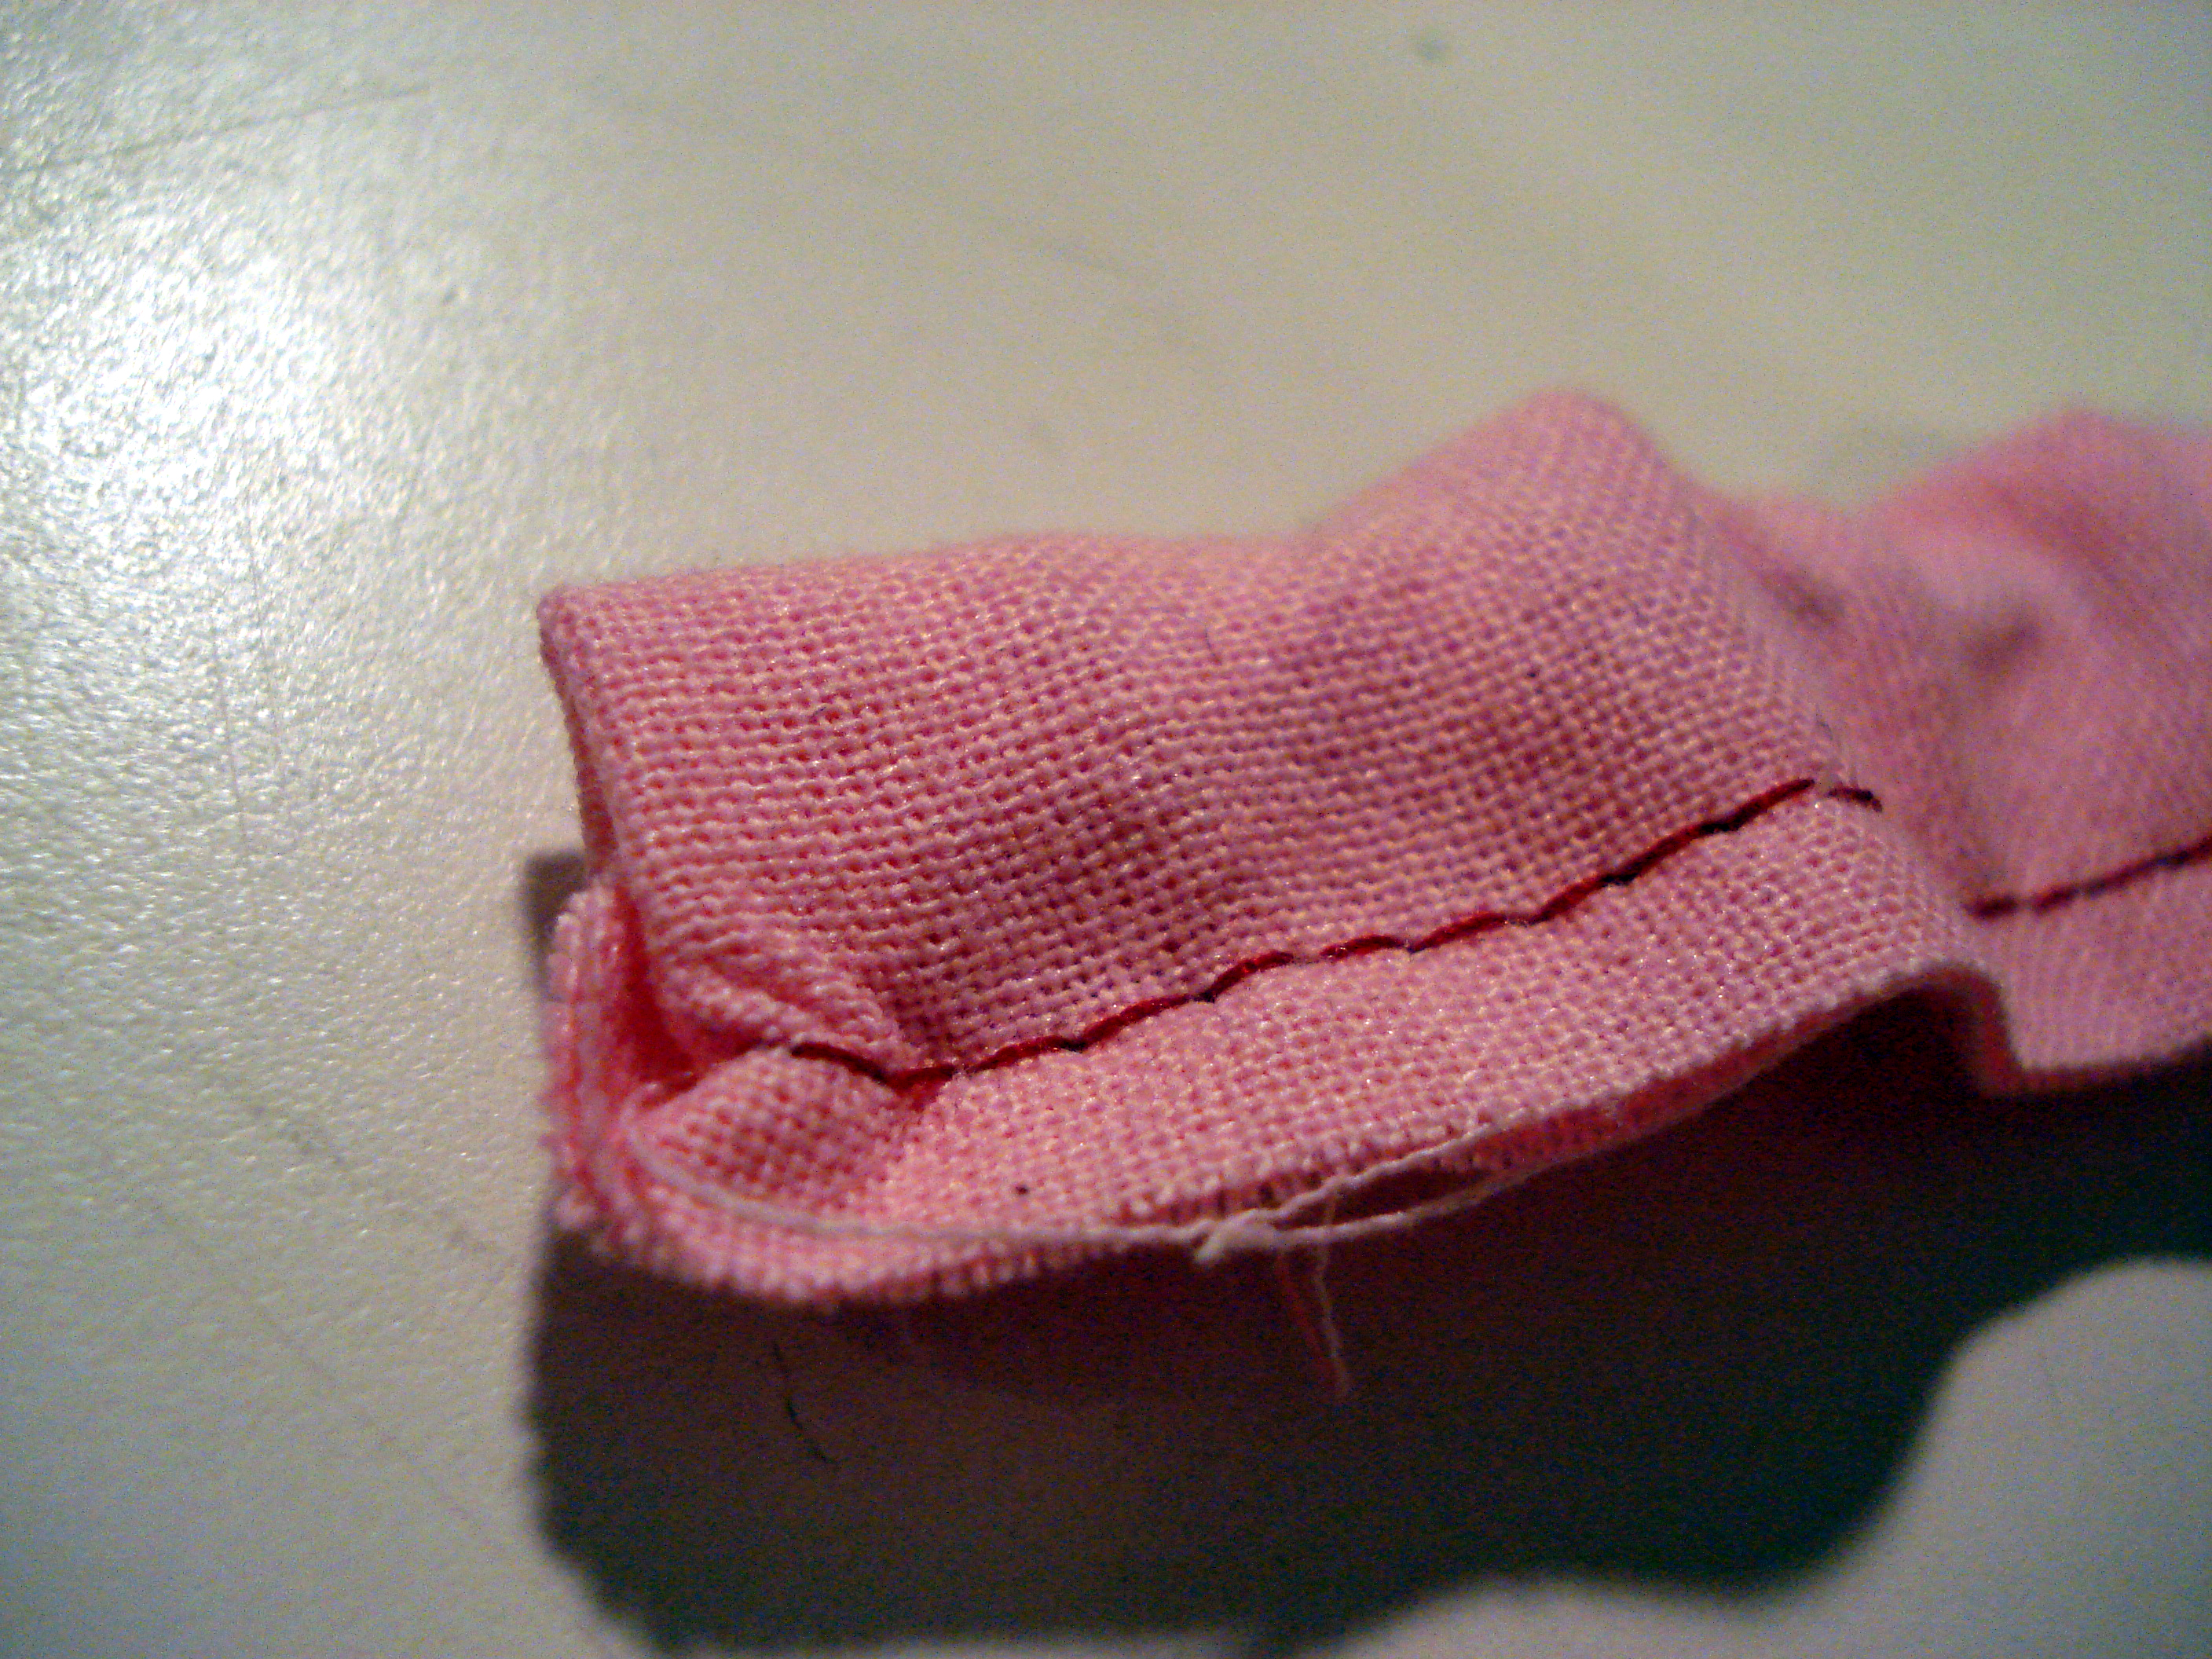
Backstitch securely at both ends of the seam. If one end pops open while you’re turning the strap, you’ll hate your life. Then give the seam allowance a quick haircut to reduce bulk.
Keep in mind that after trimming, your seam allowance needs to be at least a little smaller than your finished strap width. The finished tube needs room to pass through itself. If the seam allowance is too bulky, the strap will jam when you try to turn it.
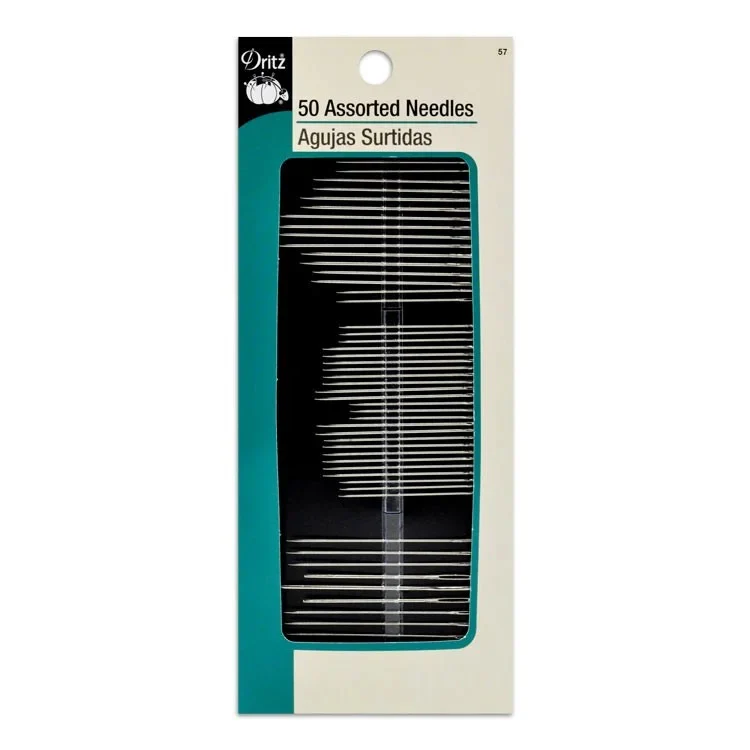
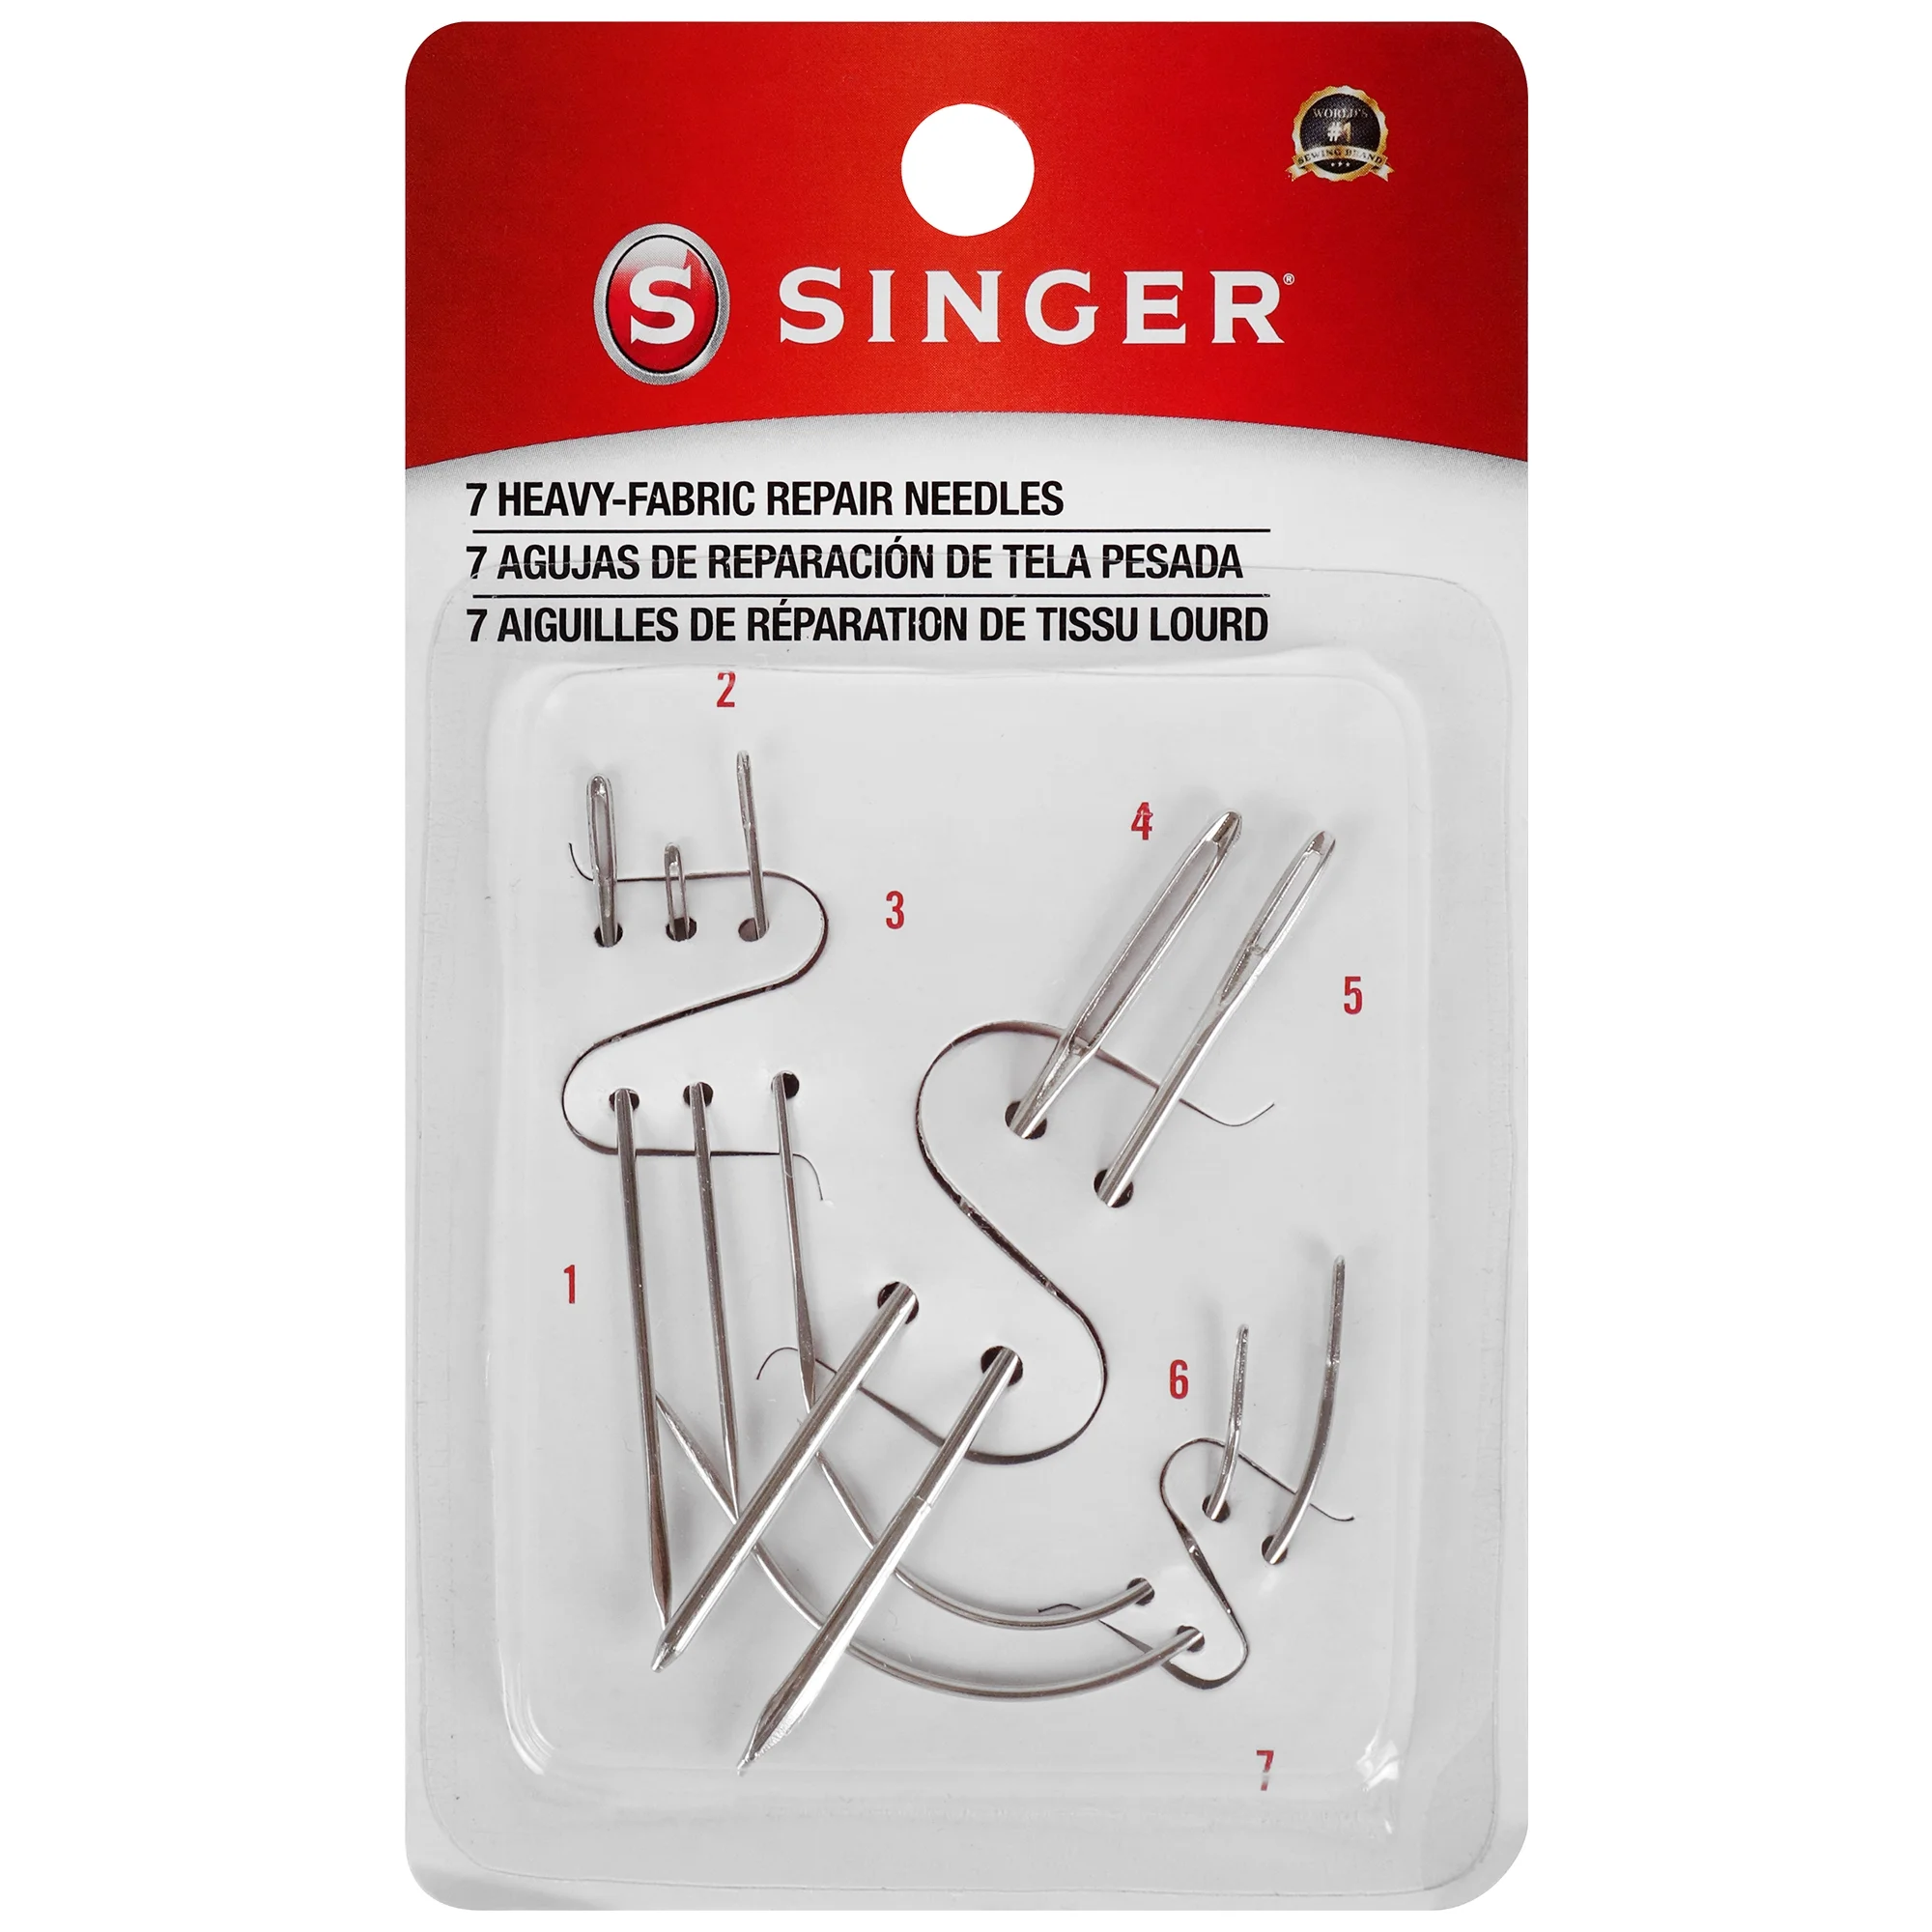
Now, if you’re like most people who have ever sewed anything, you probably have one of those hand sewing needle variety packs that always seem to be 20% usable needles, 80% darning needles. Well, today is your lucky day, because those darn useless needles are about to become relevant. Tapestry or darning needles work great for this because they have blunt tips which won’t poke through the fabric as easily and are often the closest viable object in the vicinity of whatever you are sewing. Yarn needles or the singer upholstery repair kit also work well for this.
Basically, what you’re looking for is not a specific branded tool, but something with three properties: it needs to be slender enough to pass through the tunnel, blunt enough not to pierce the fabric, and strong and rigid enough to survive being used as a puller.
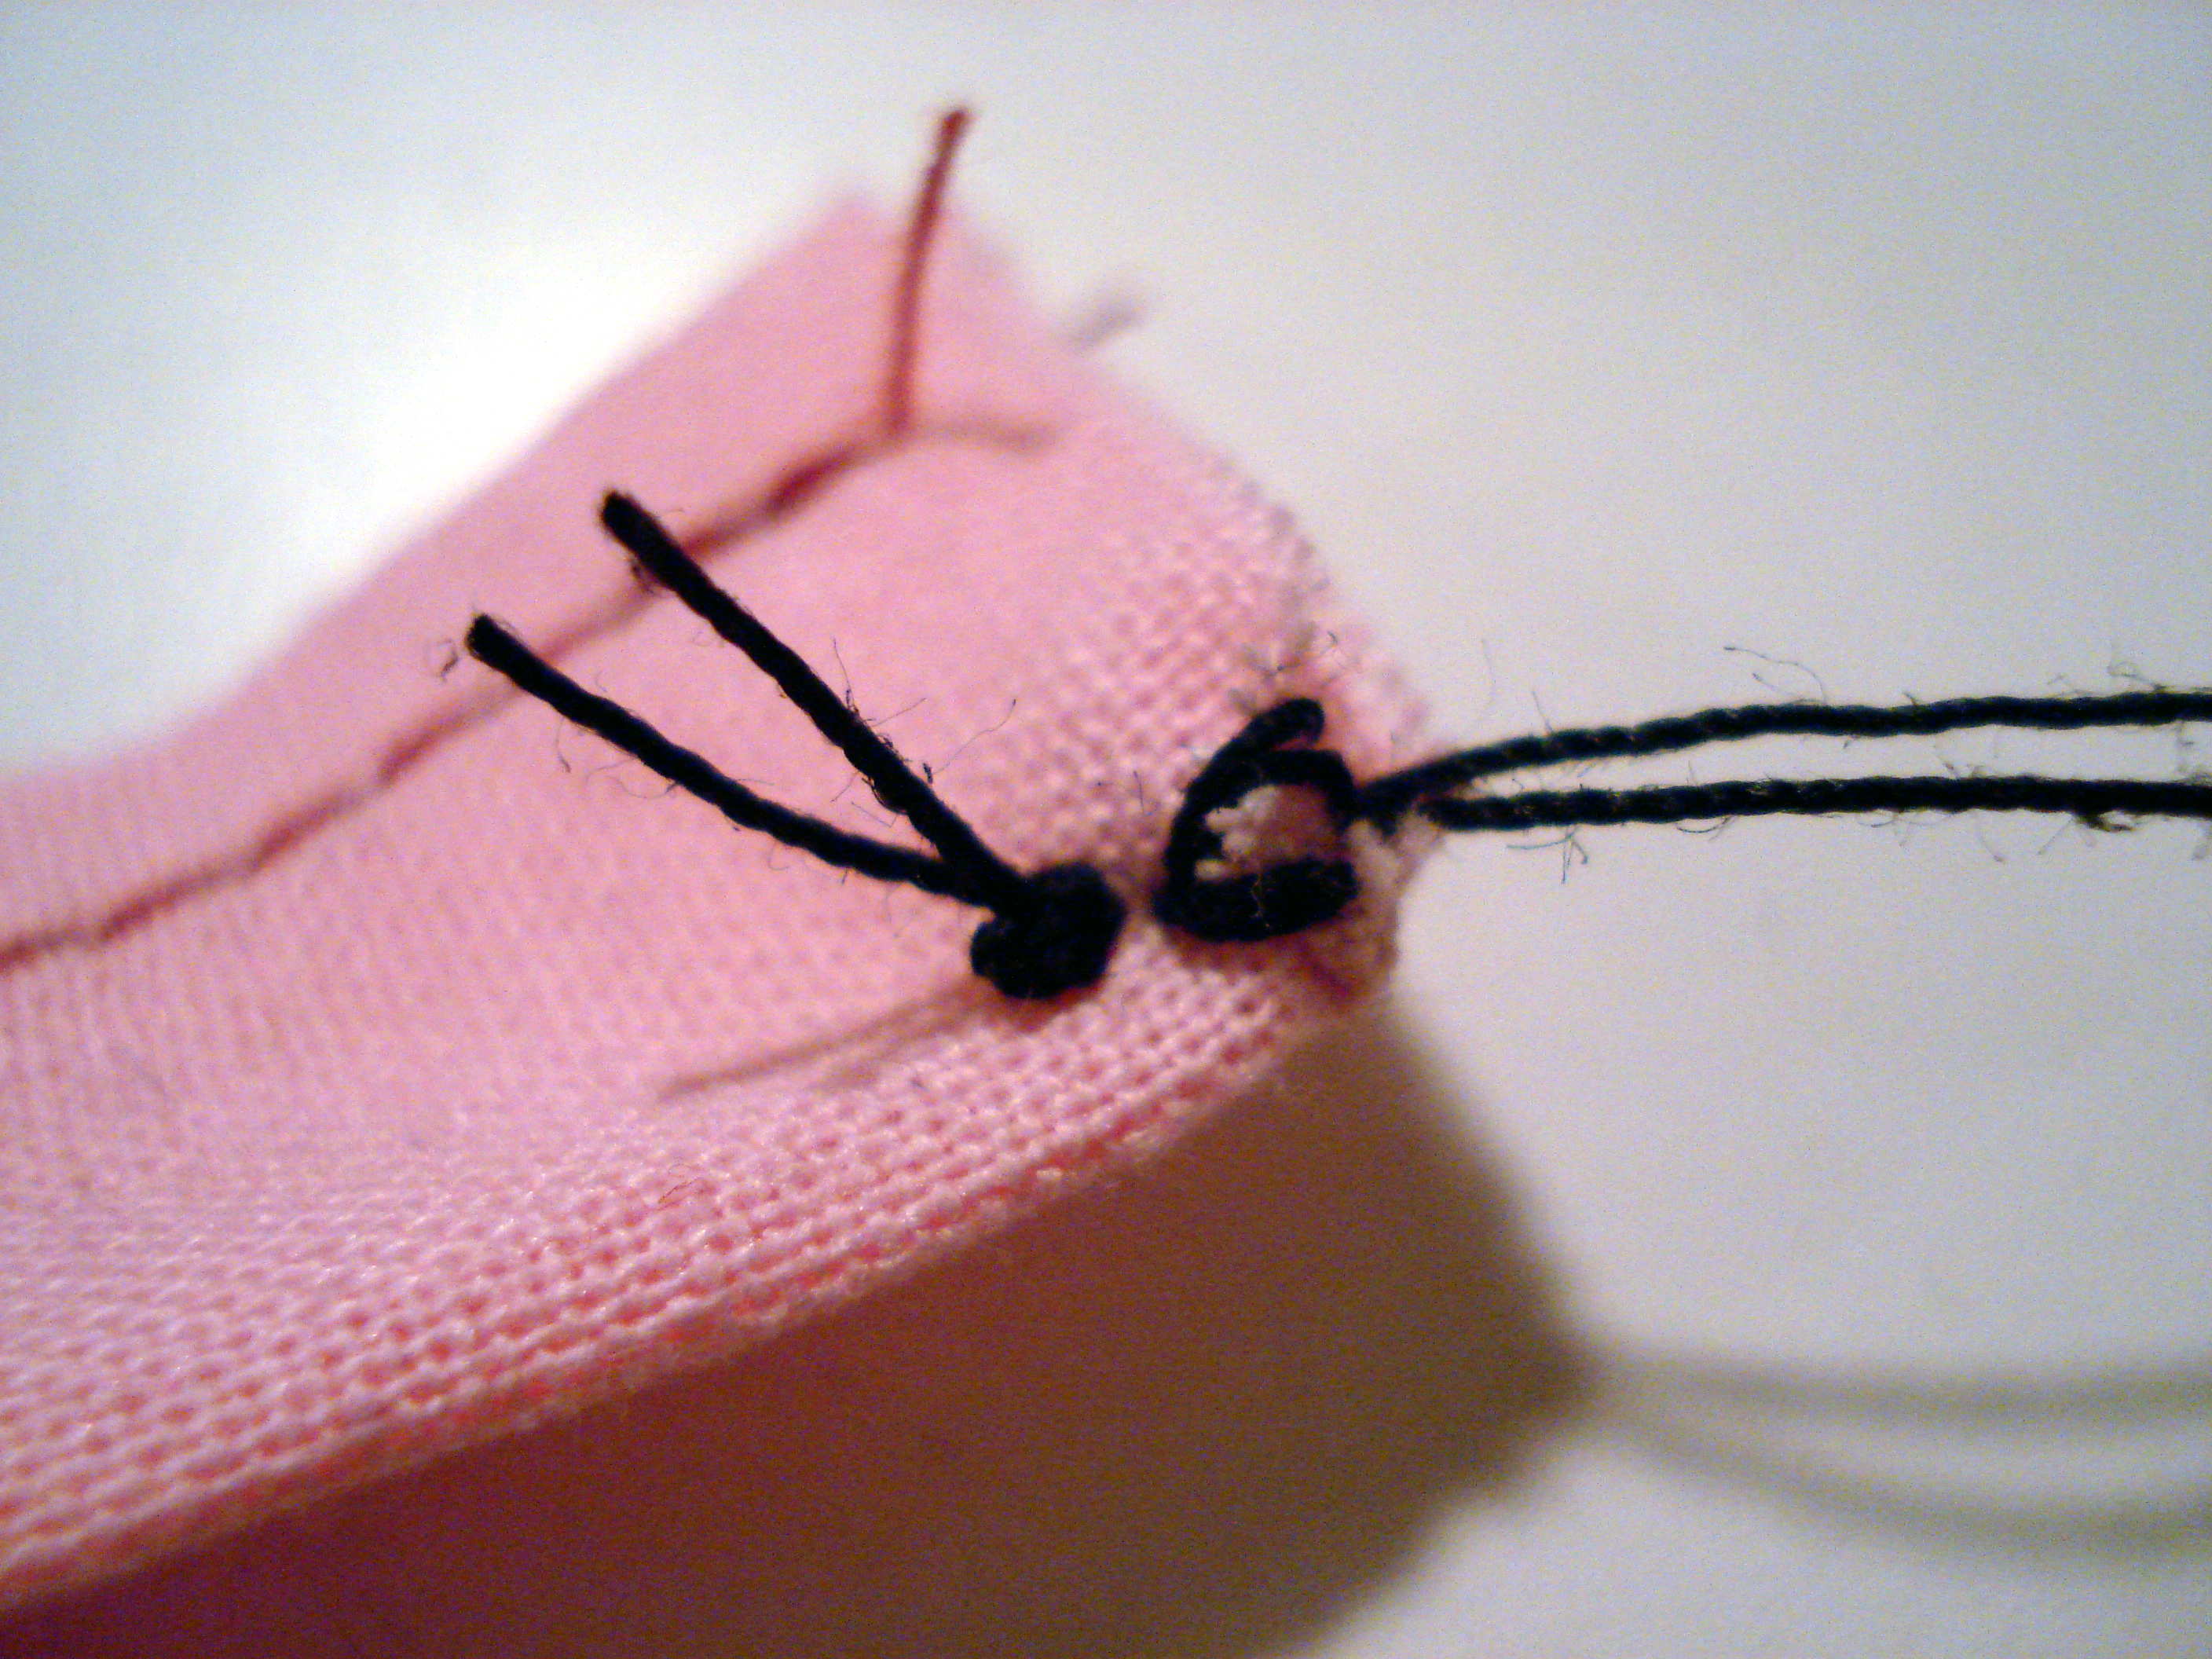
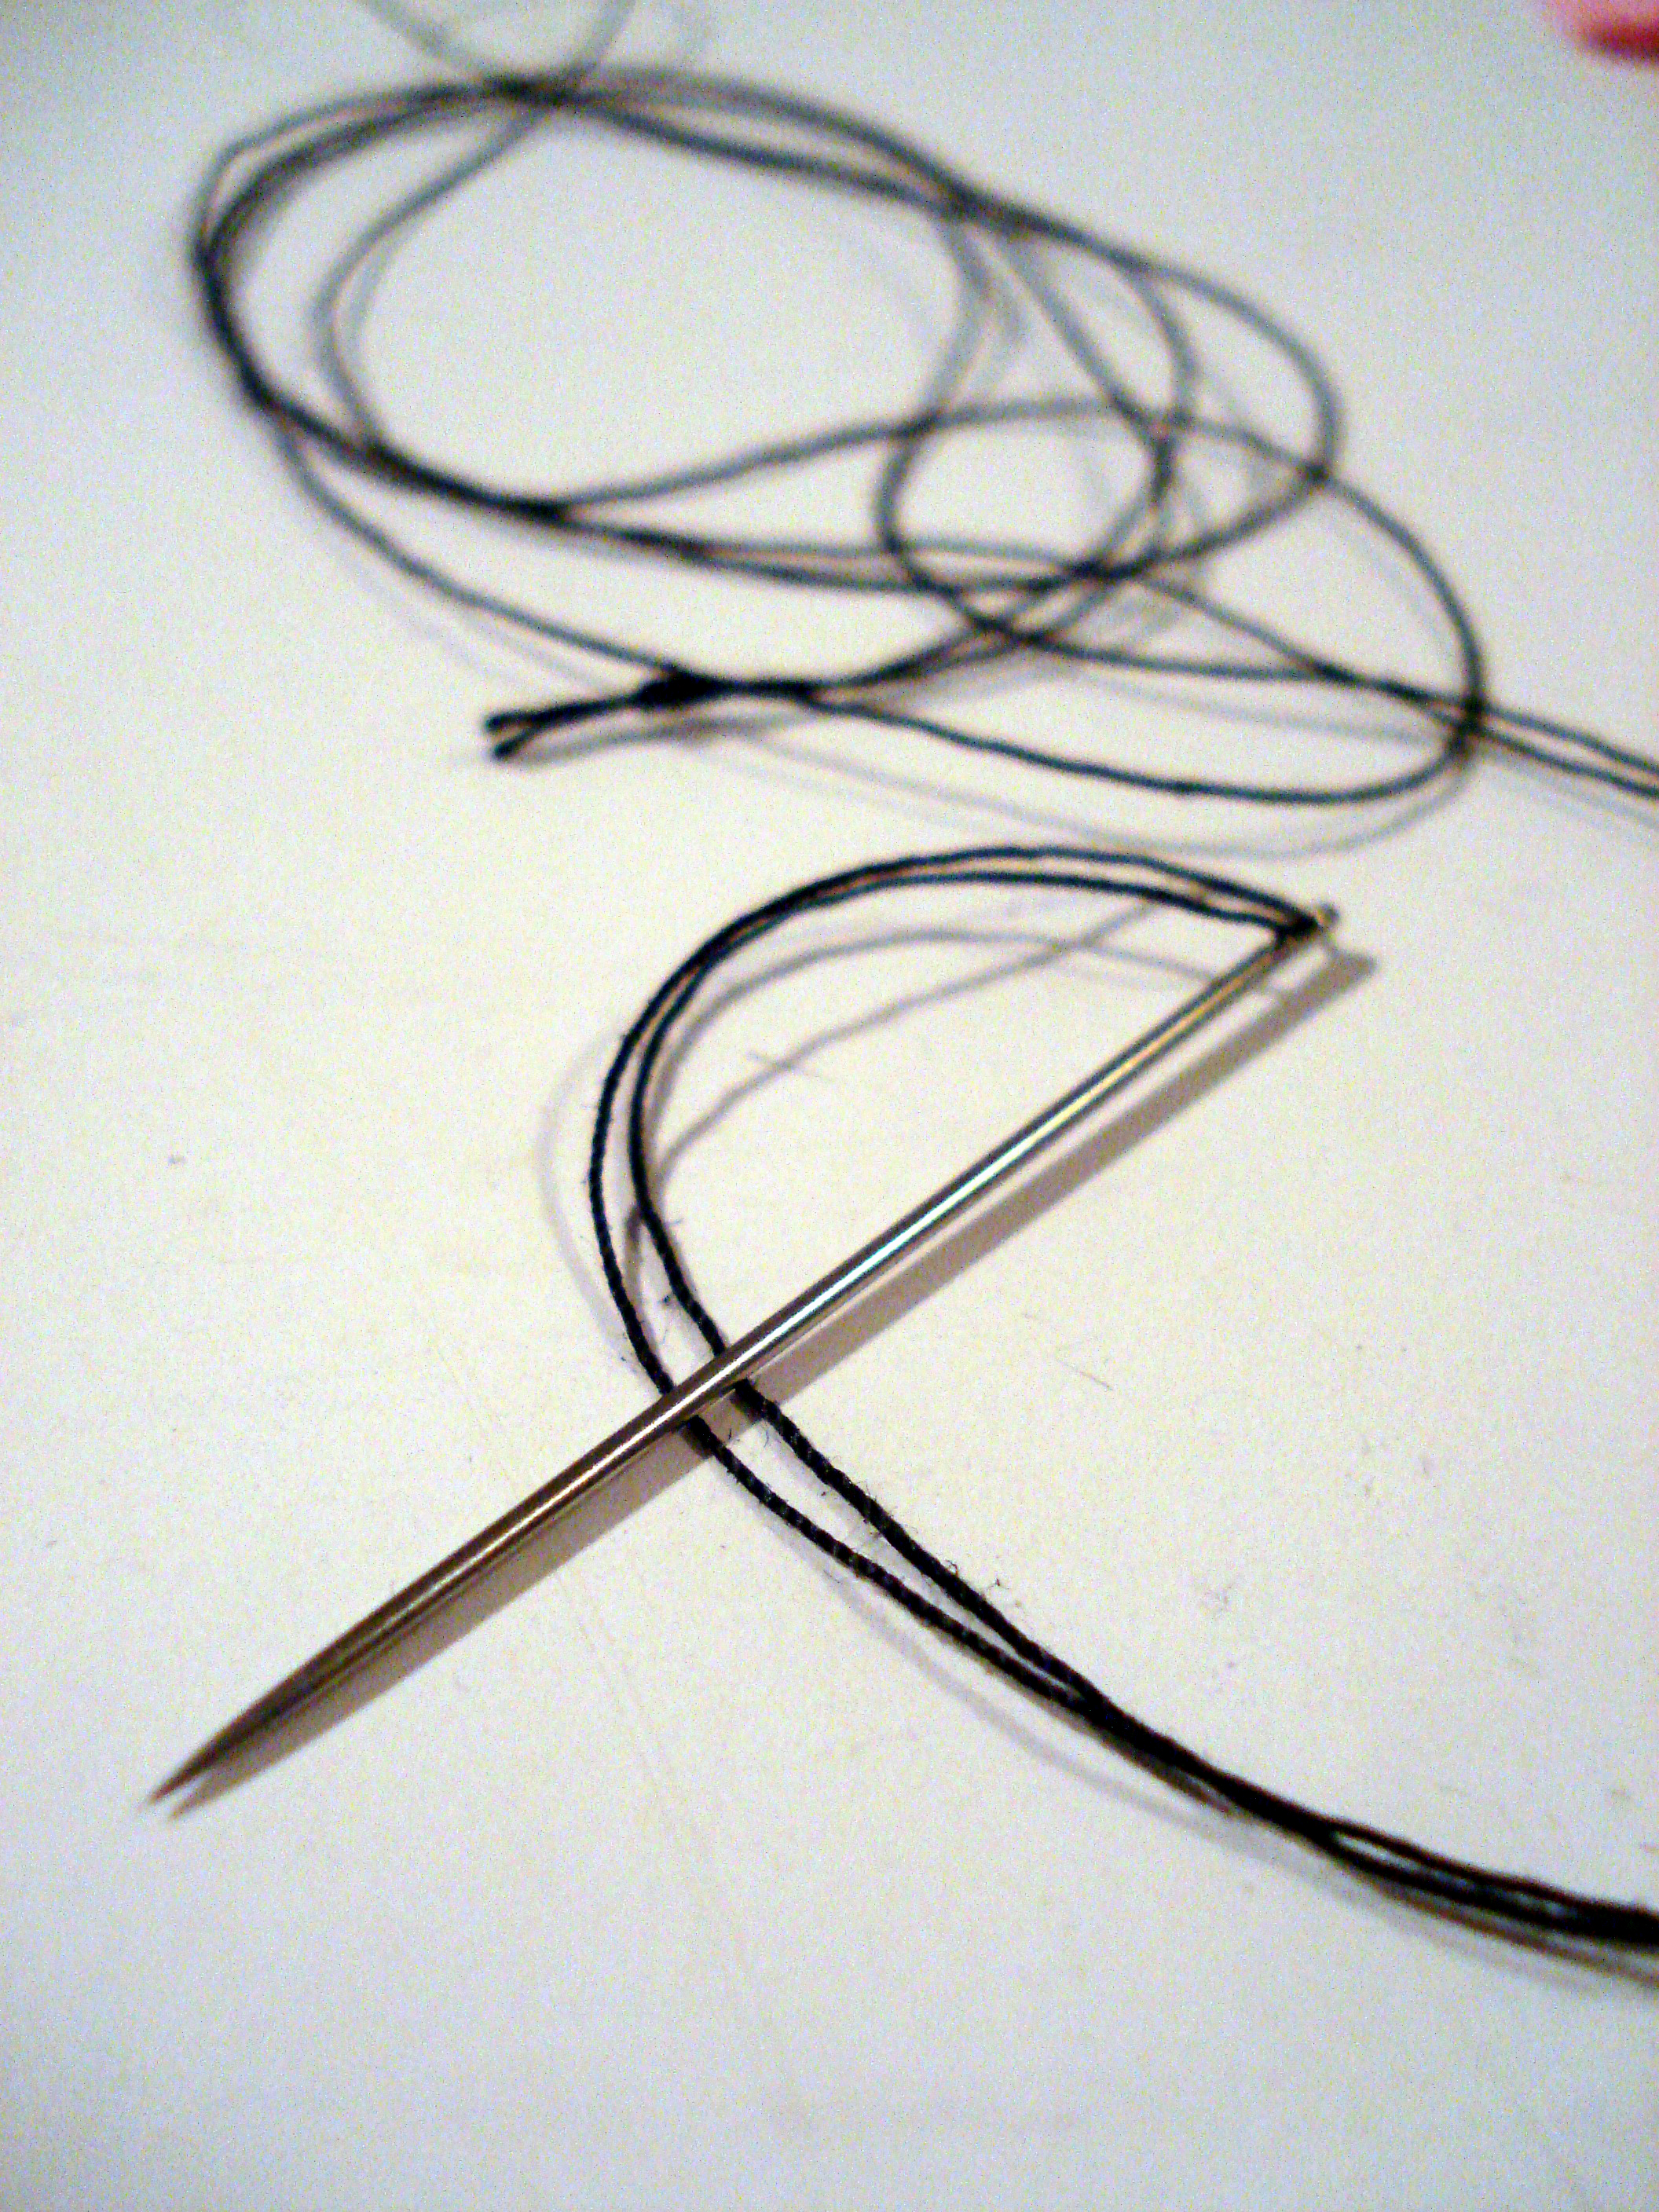
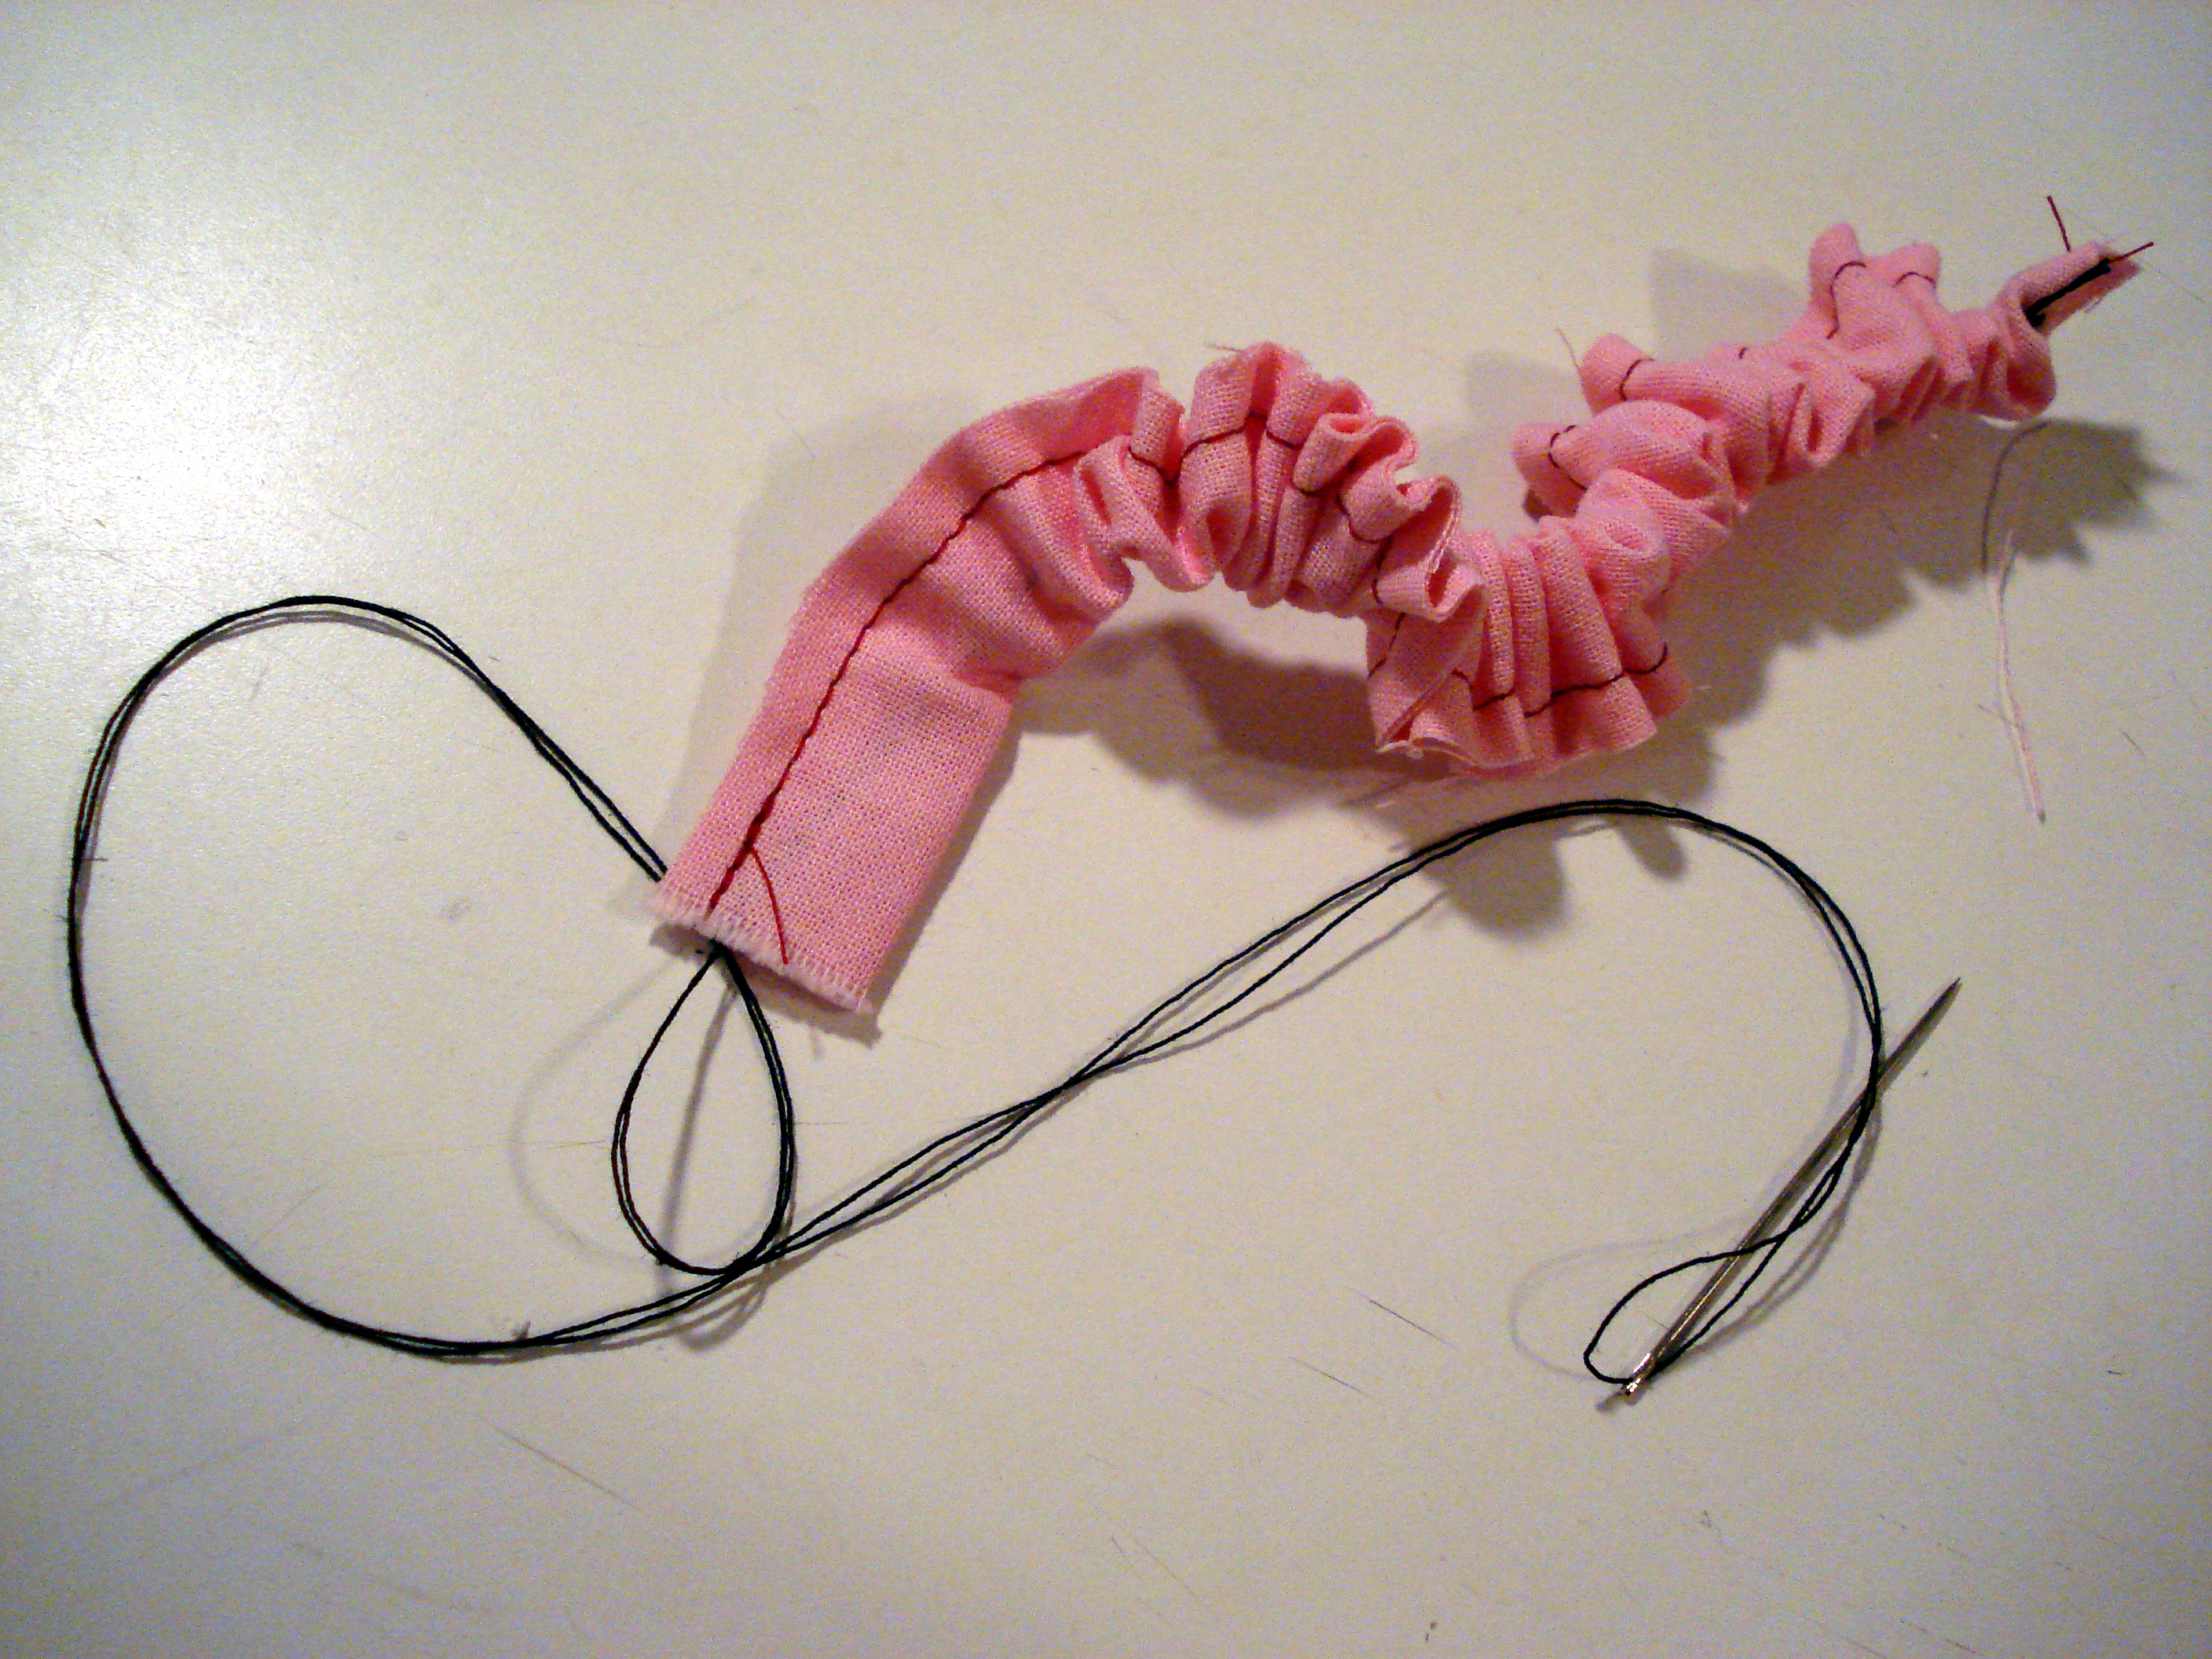
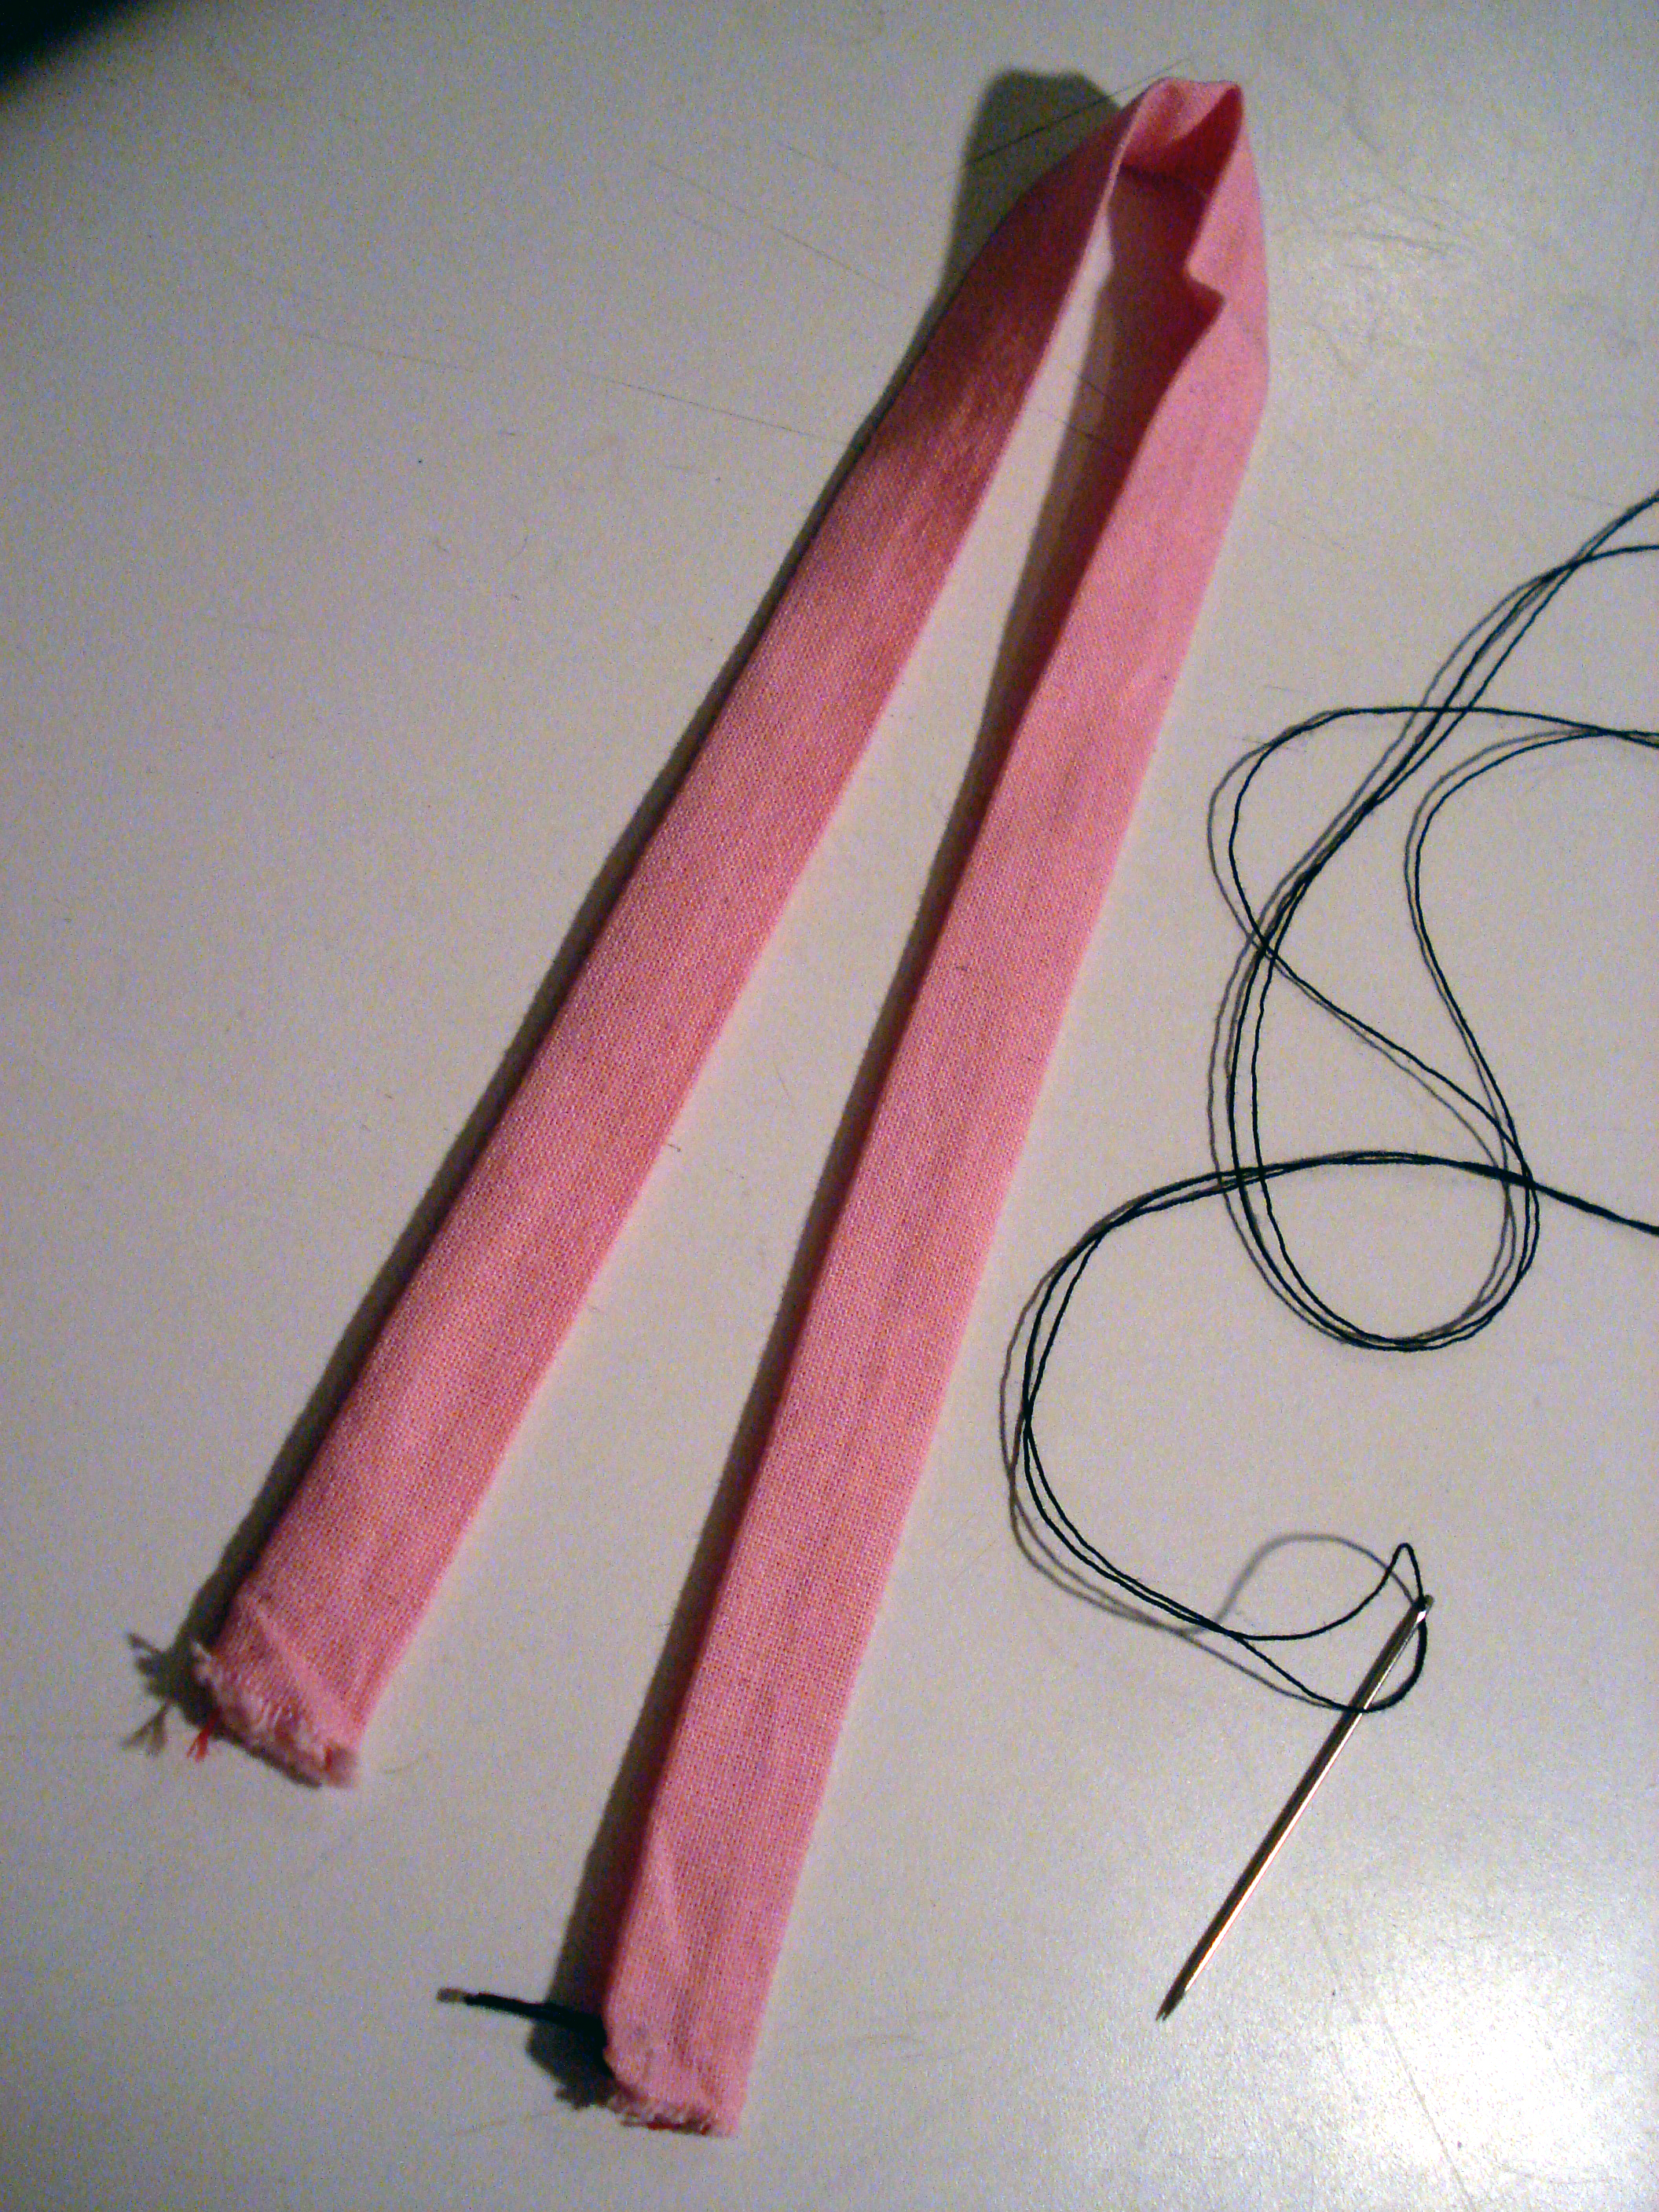
Using the largest, bluntest needle you have (whatever that ended up being), thread it with your heaviest duty thread and double knot it as shown. Upholstery thread works well, but if you don’t have that, you can simply double up on a weaker thread or instead use a very thin cord/ribbon if your needle eye is large enough.
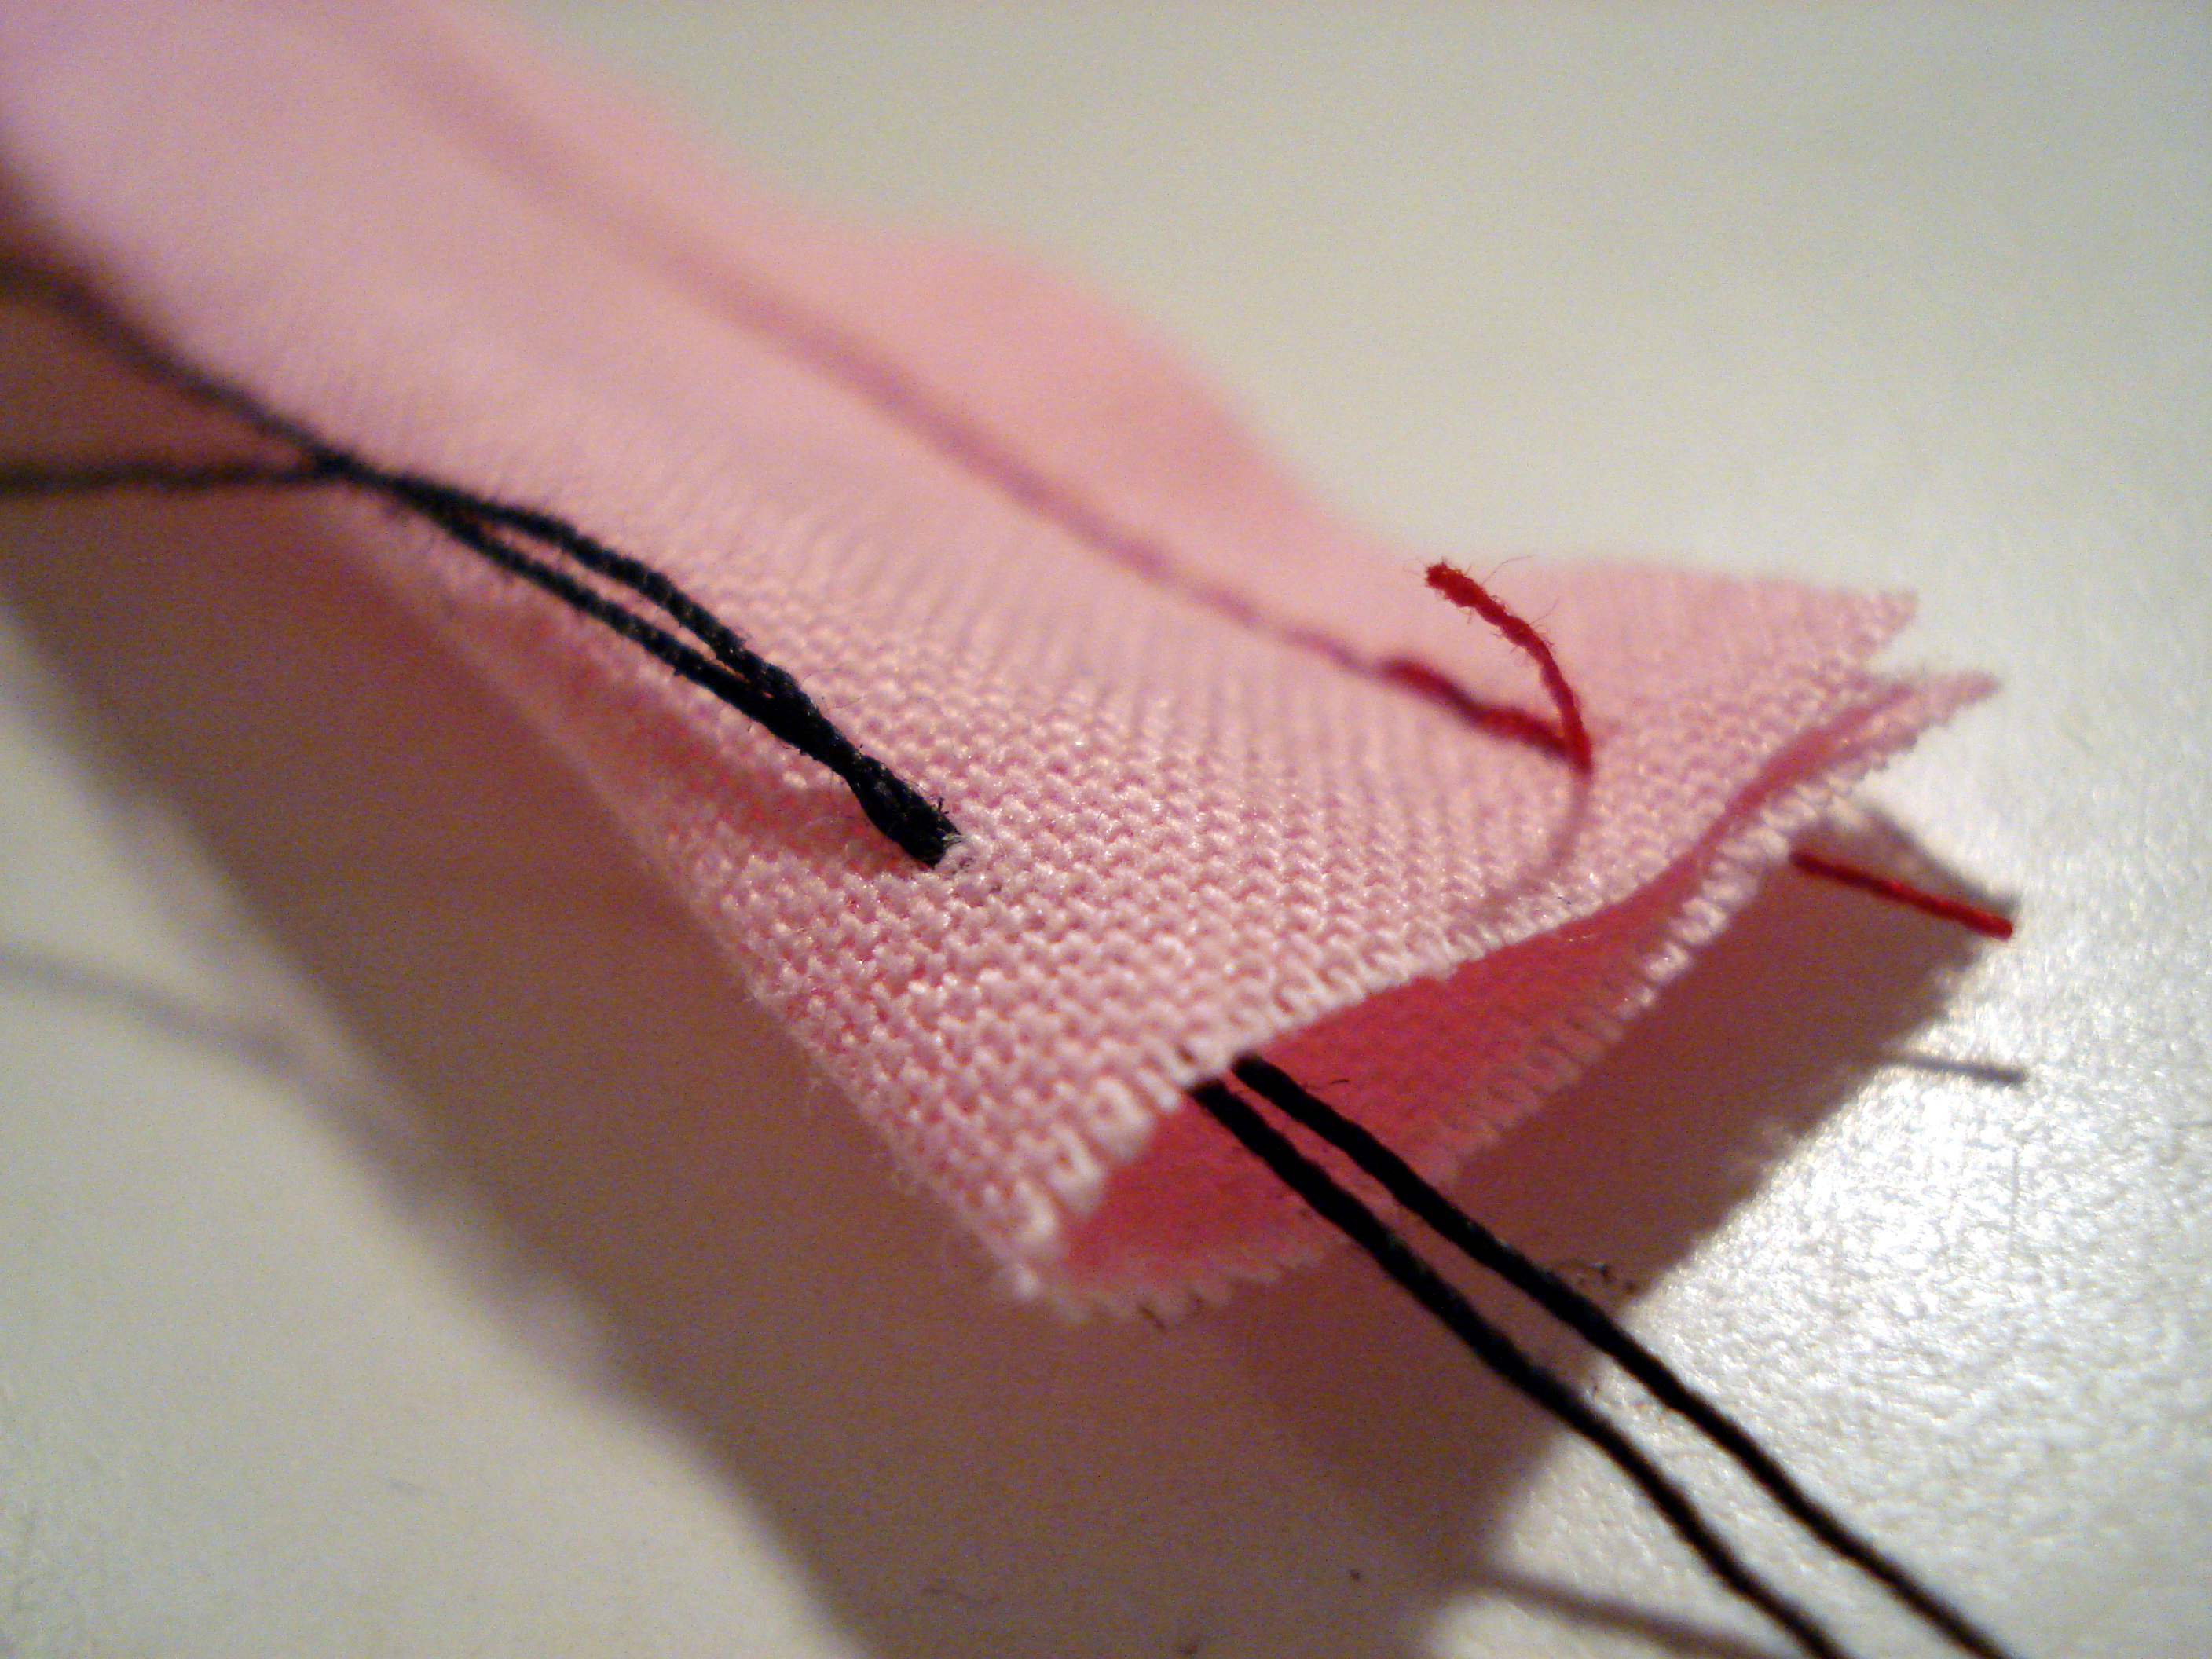
Attach it to the end of your tube with a few stitches. This is going to get yanked on real hard, so make sure it’s deep enough in that it won’t tear out. Don’t sew the end of the tube closed, you need the mouth as open as you can get it.
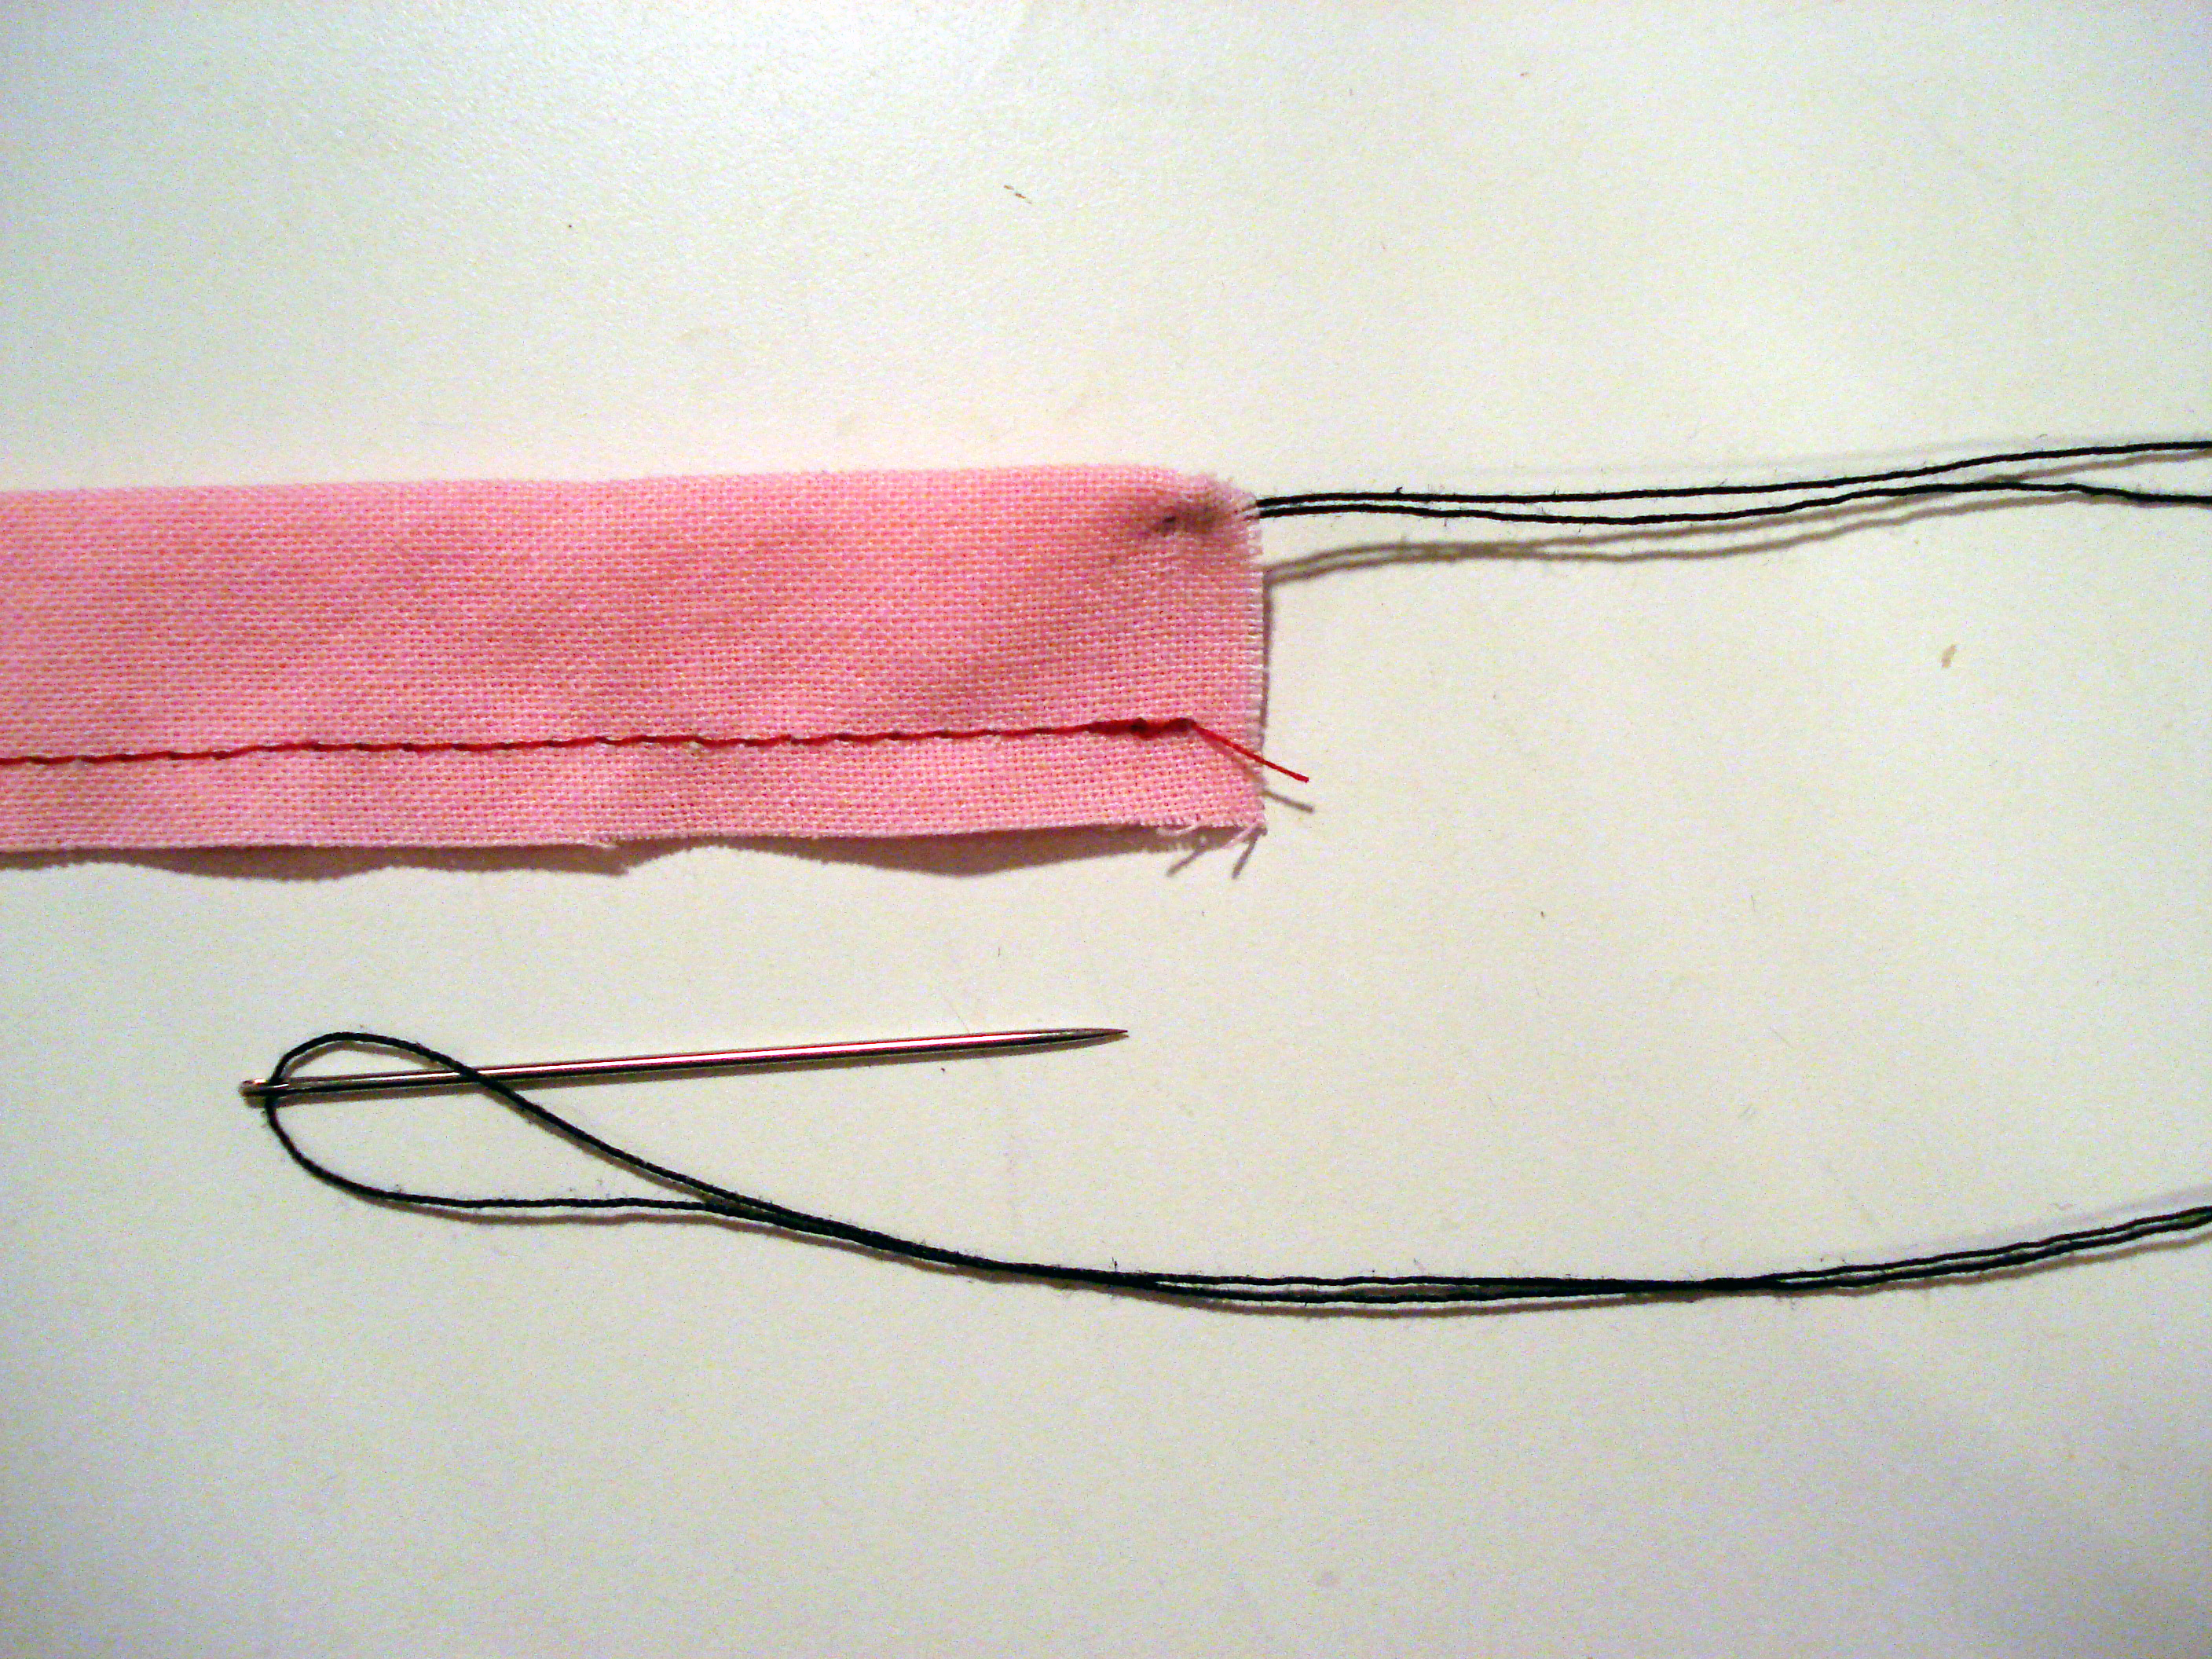
Insertion time! If your needle is REALLY blunt, to the point that it has no chance of piercing or catching on your fabric, you can do it business end first. Otherwise, it’s usually better to stick it through butt end first. It won’t get stuck on things as much.
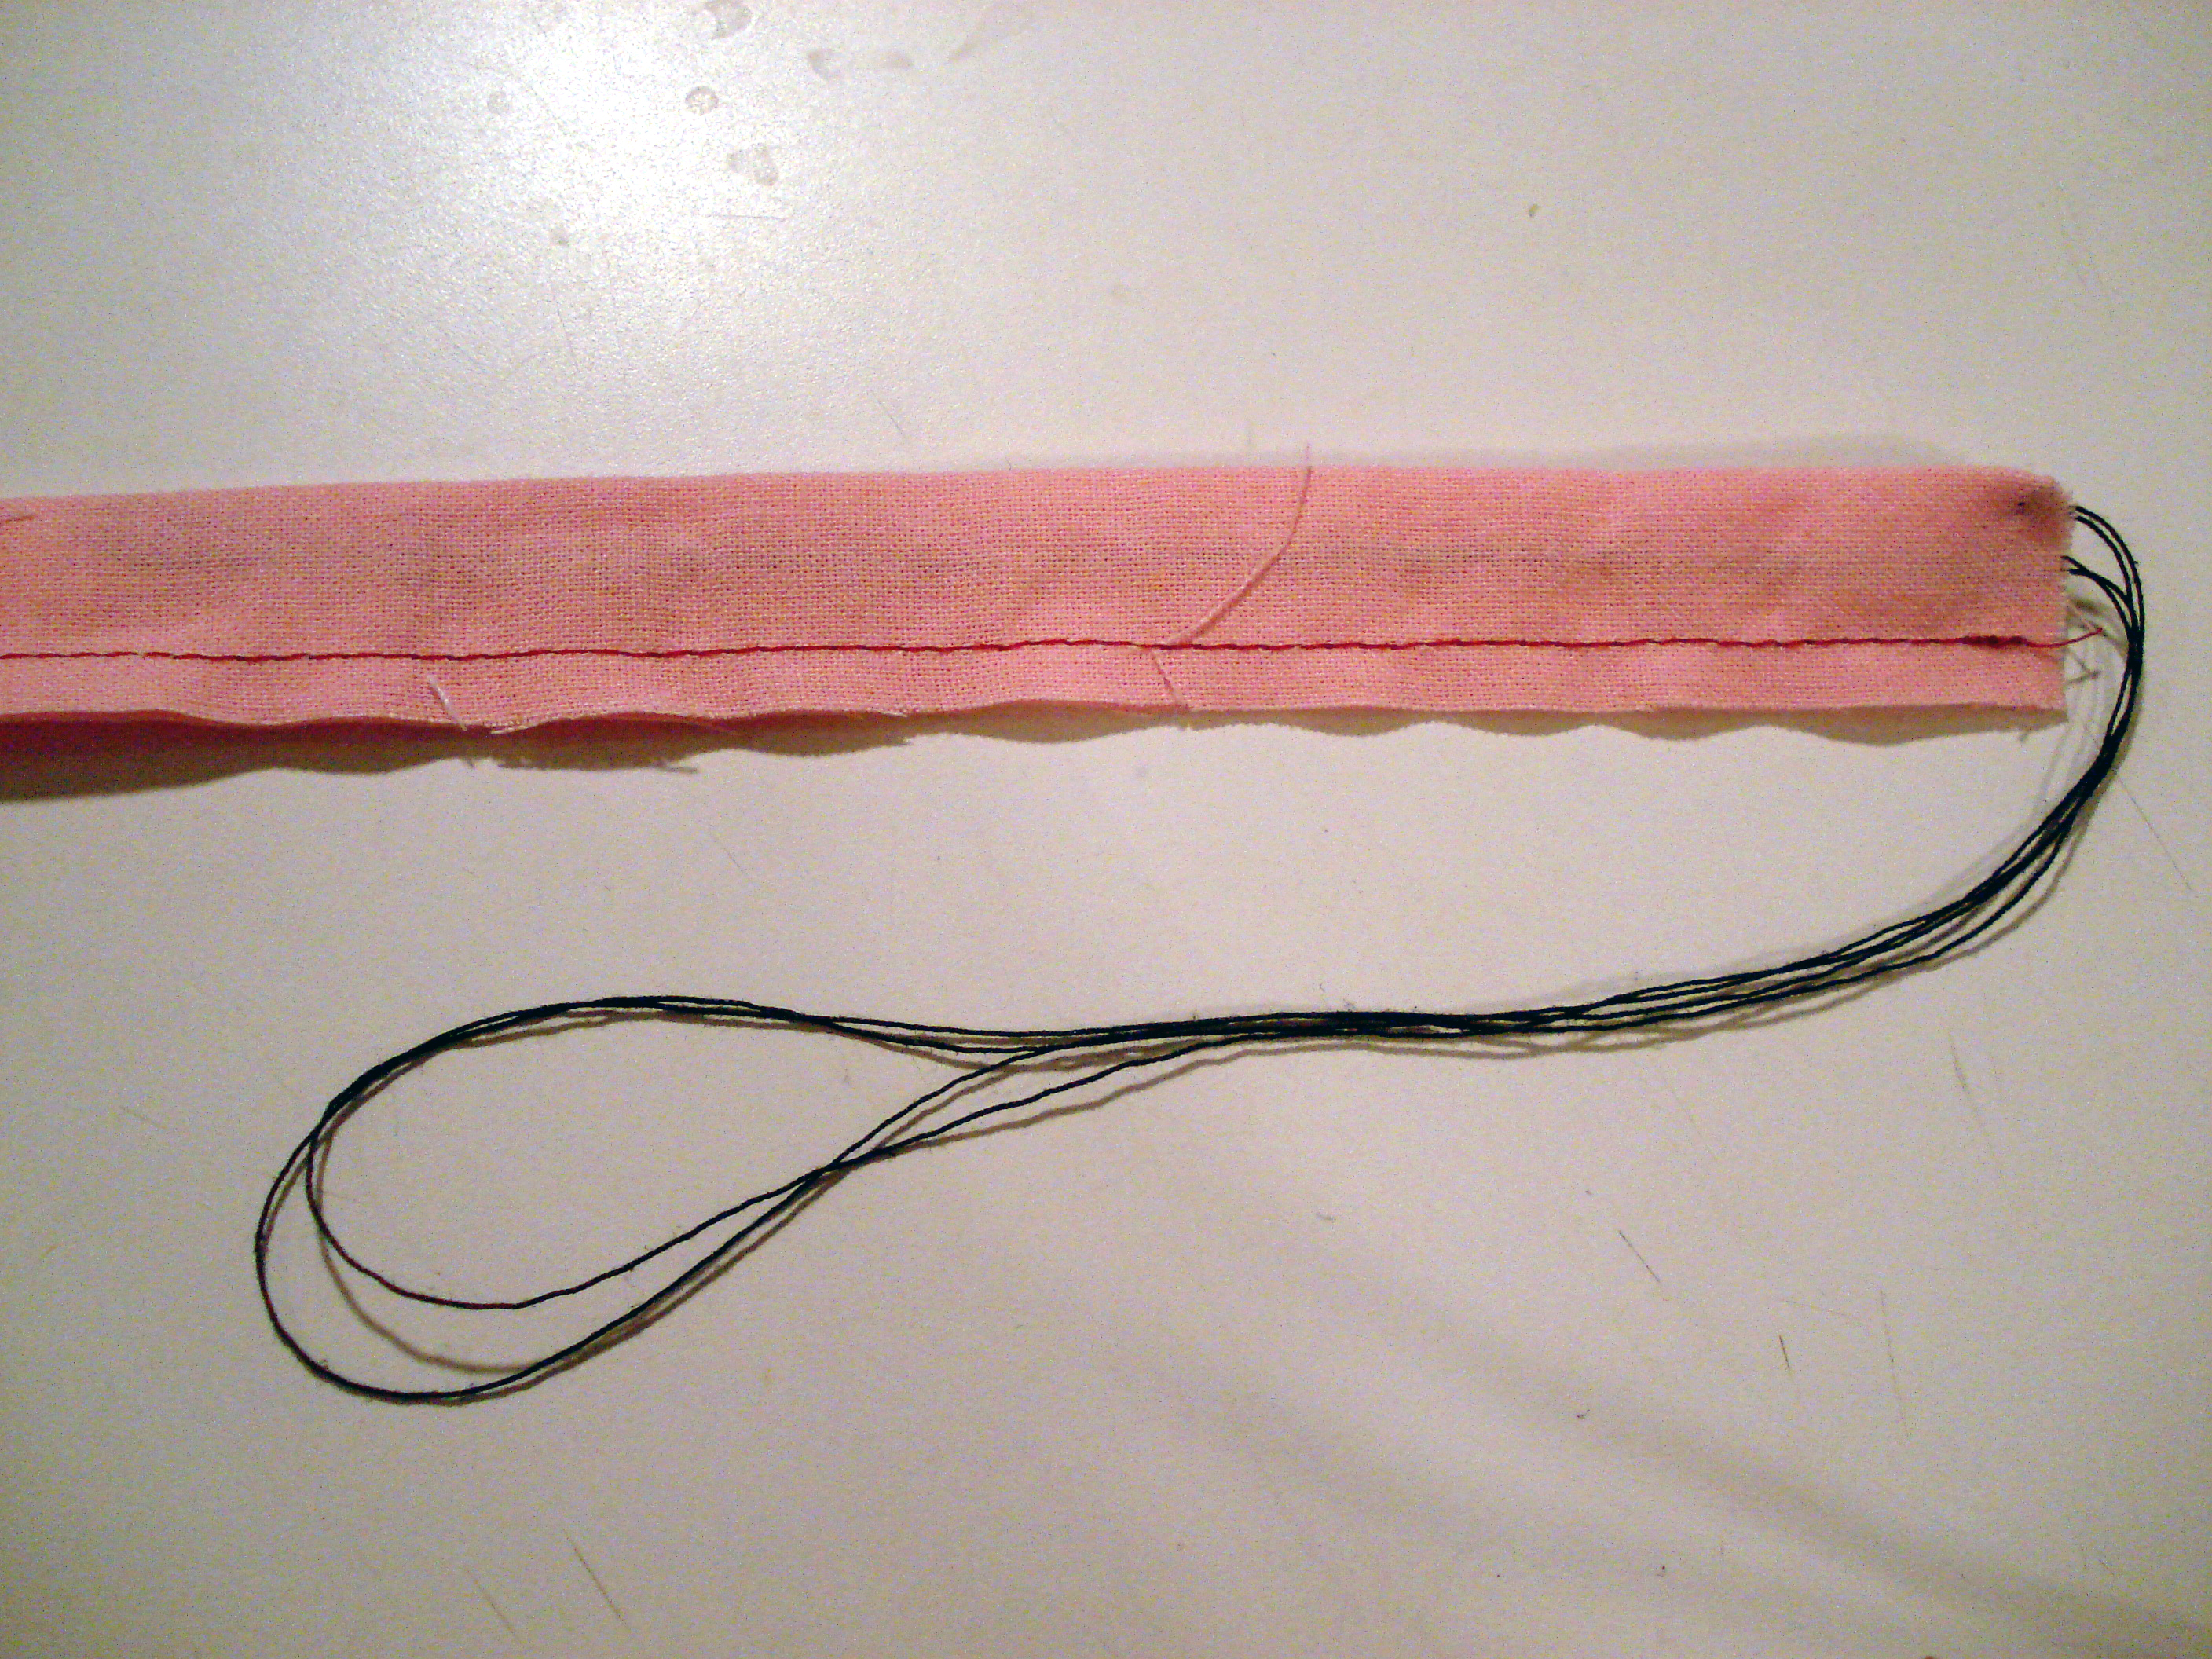
An action shot…sort of. Pull your needle all the way through to the other side of the tube.
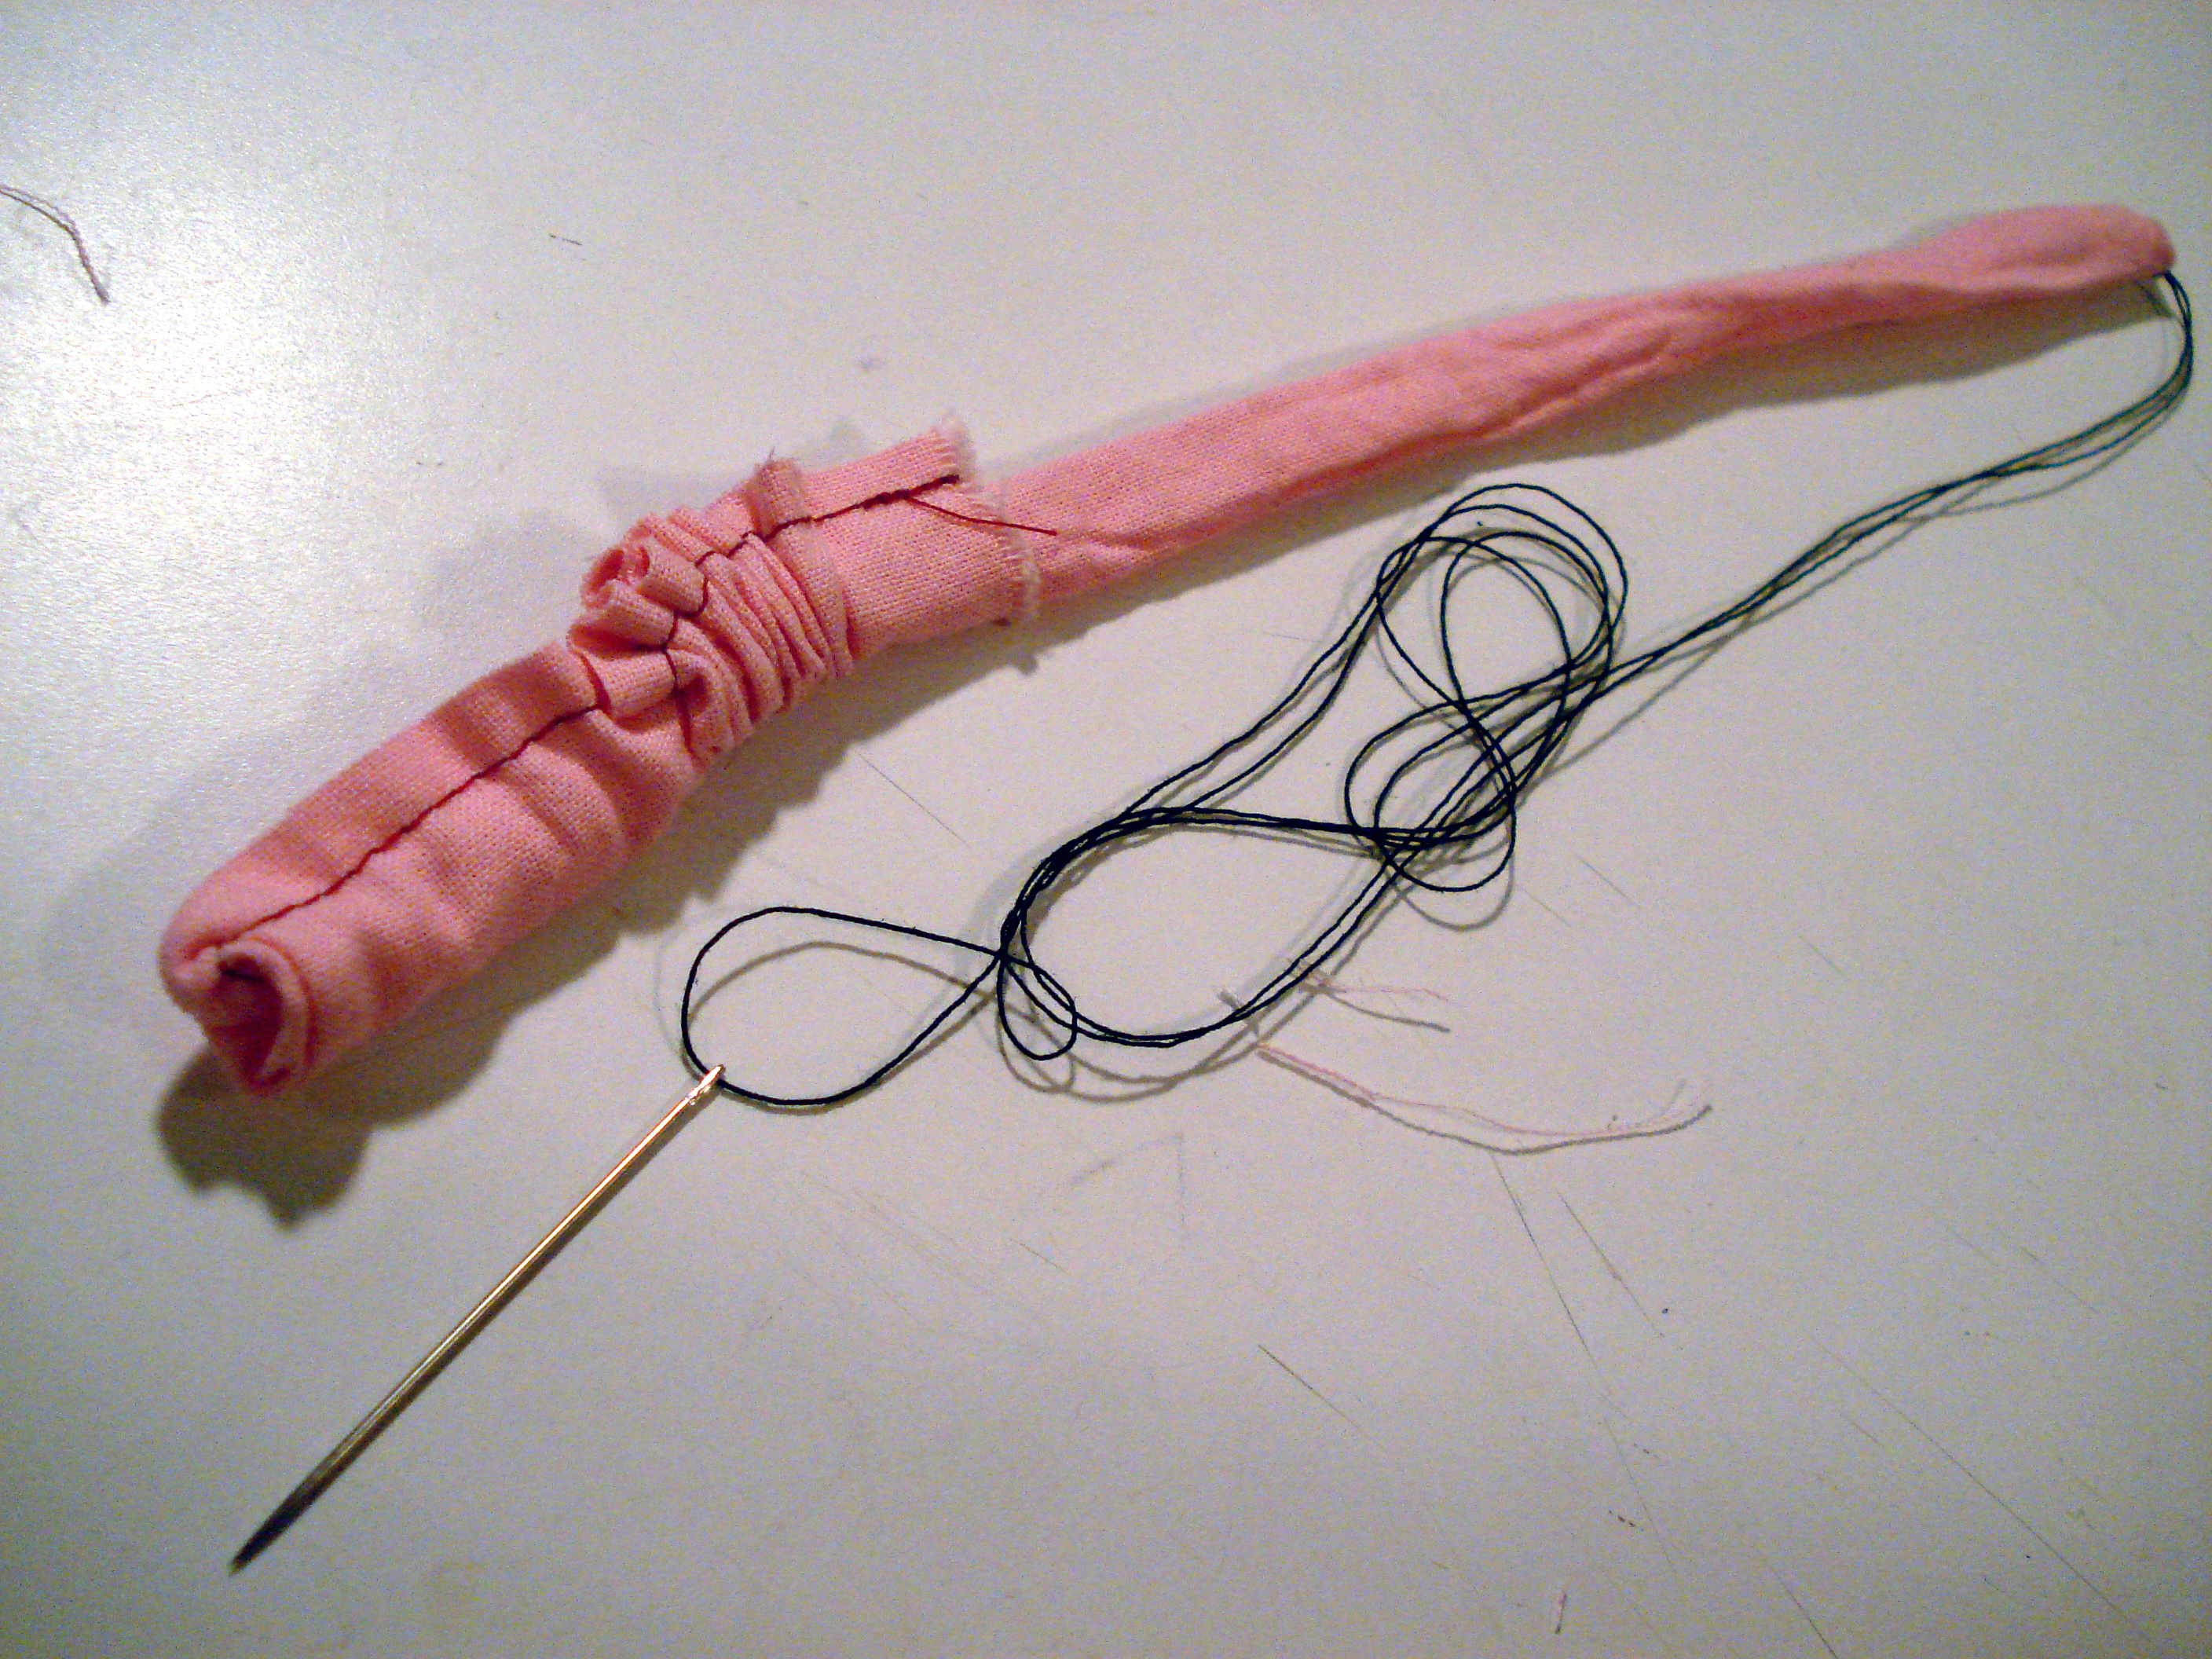
Once it’s clear, go to the other end where you made the knot and use your fingers to start pushing the fabric to the inside. It shouldn’t need much, just maybe a half inch or so to get it turning properly. Gently pulling on the needle thread from the other end can sometimes help get it started. Now you can pull your tube of fabric inside out very easily by simply pulling harshly on the needle-thread assembly.
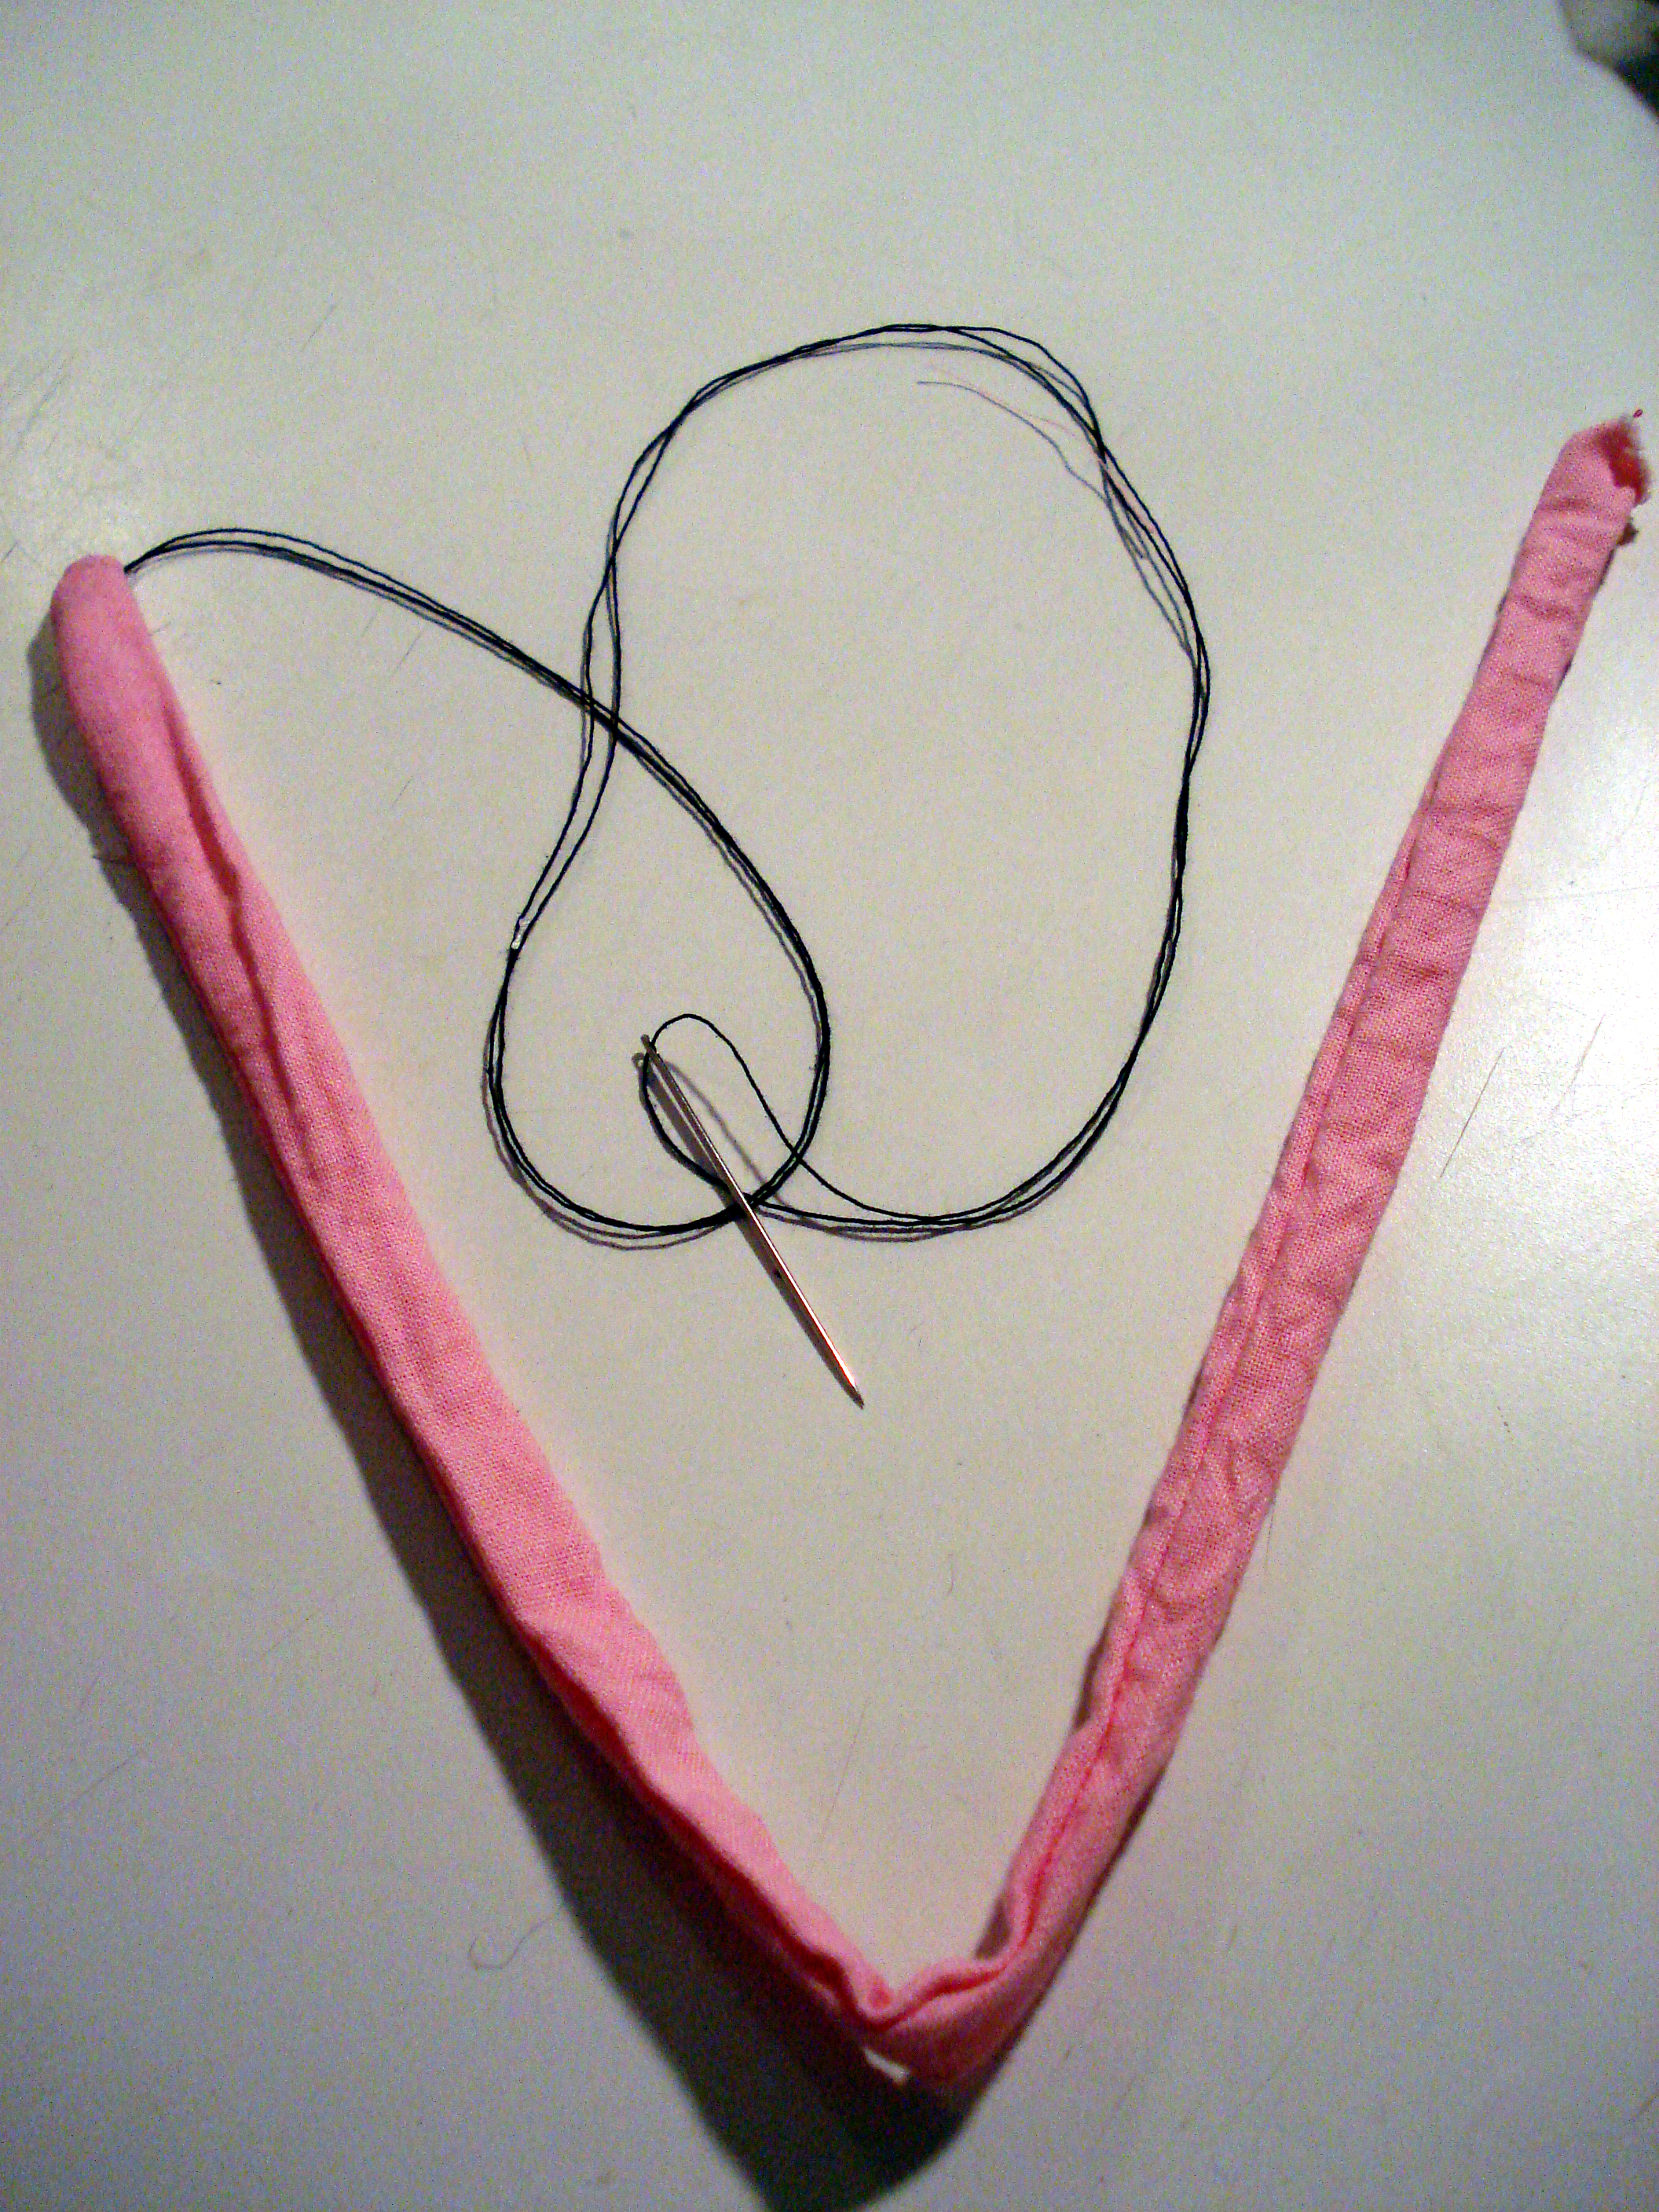
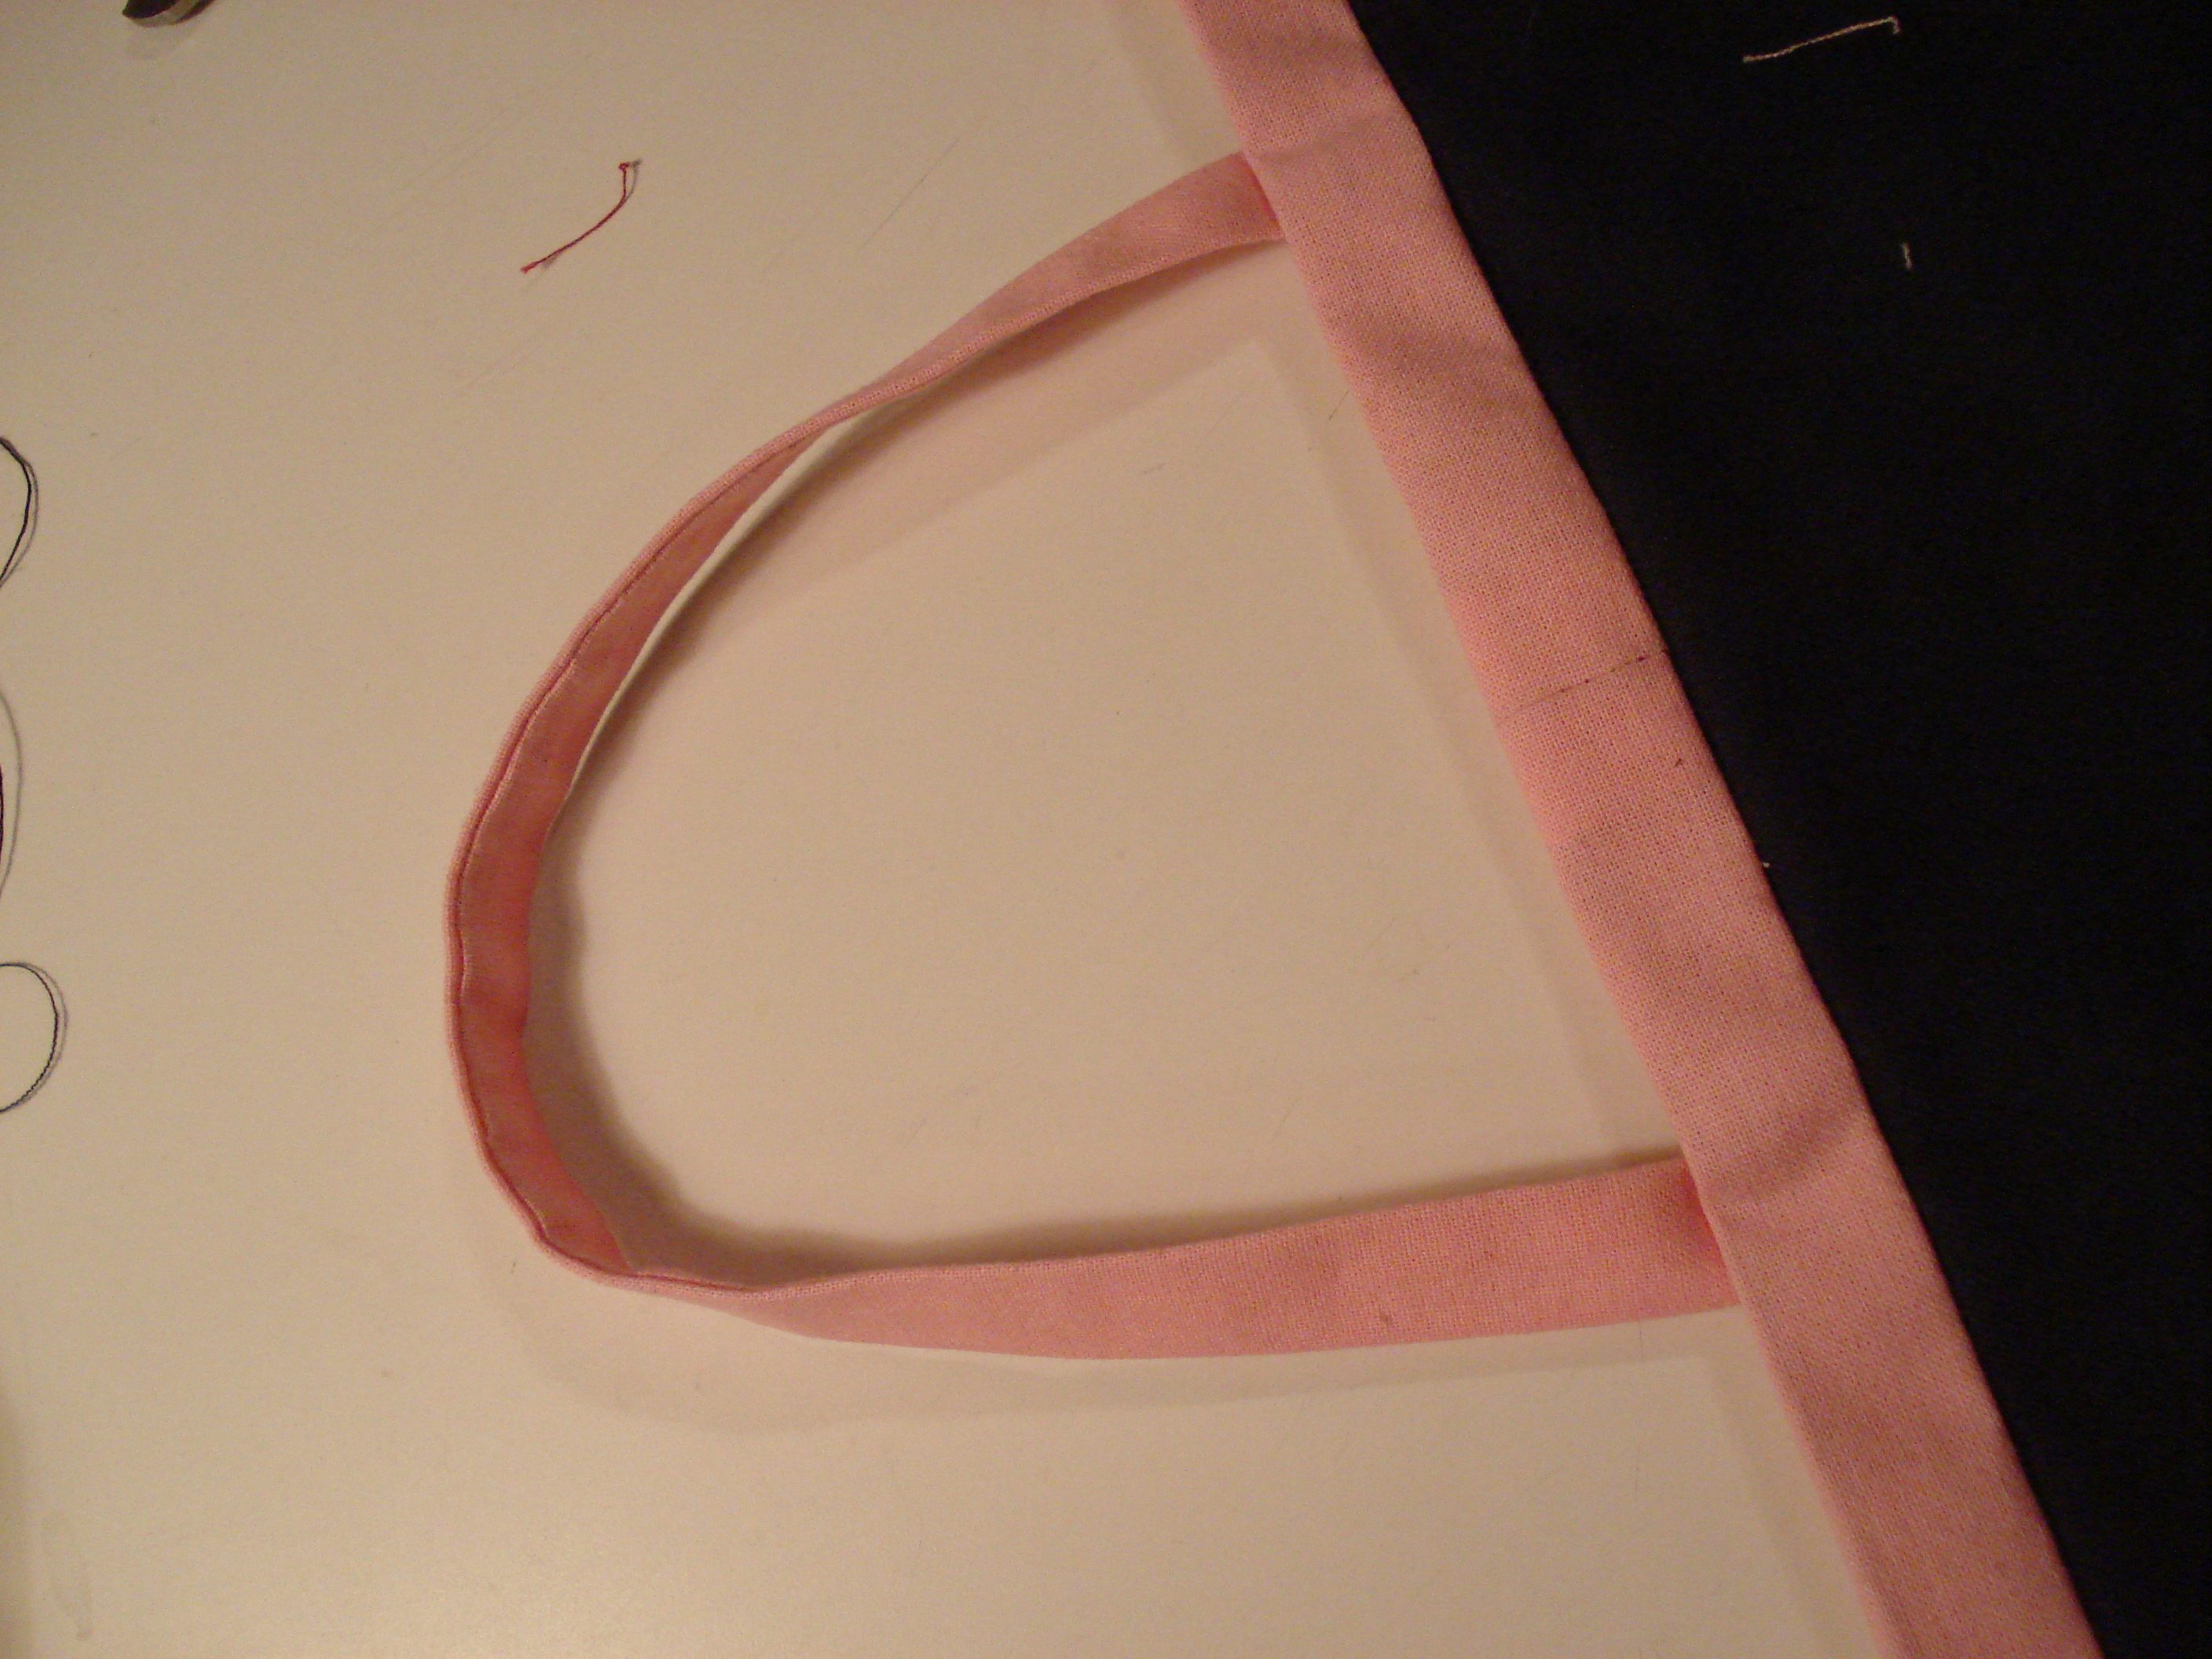
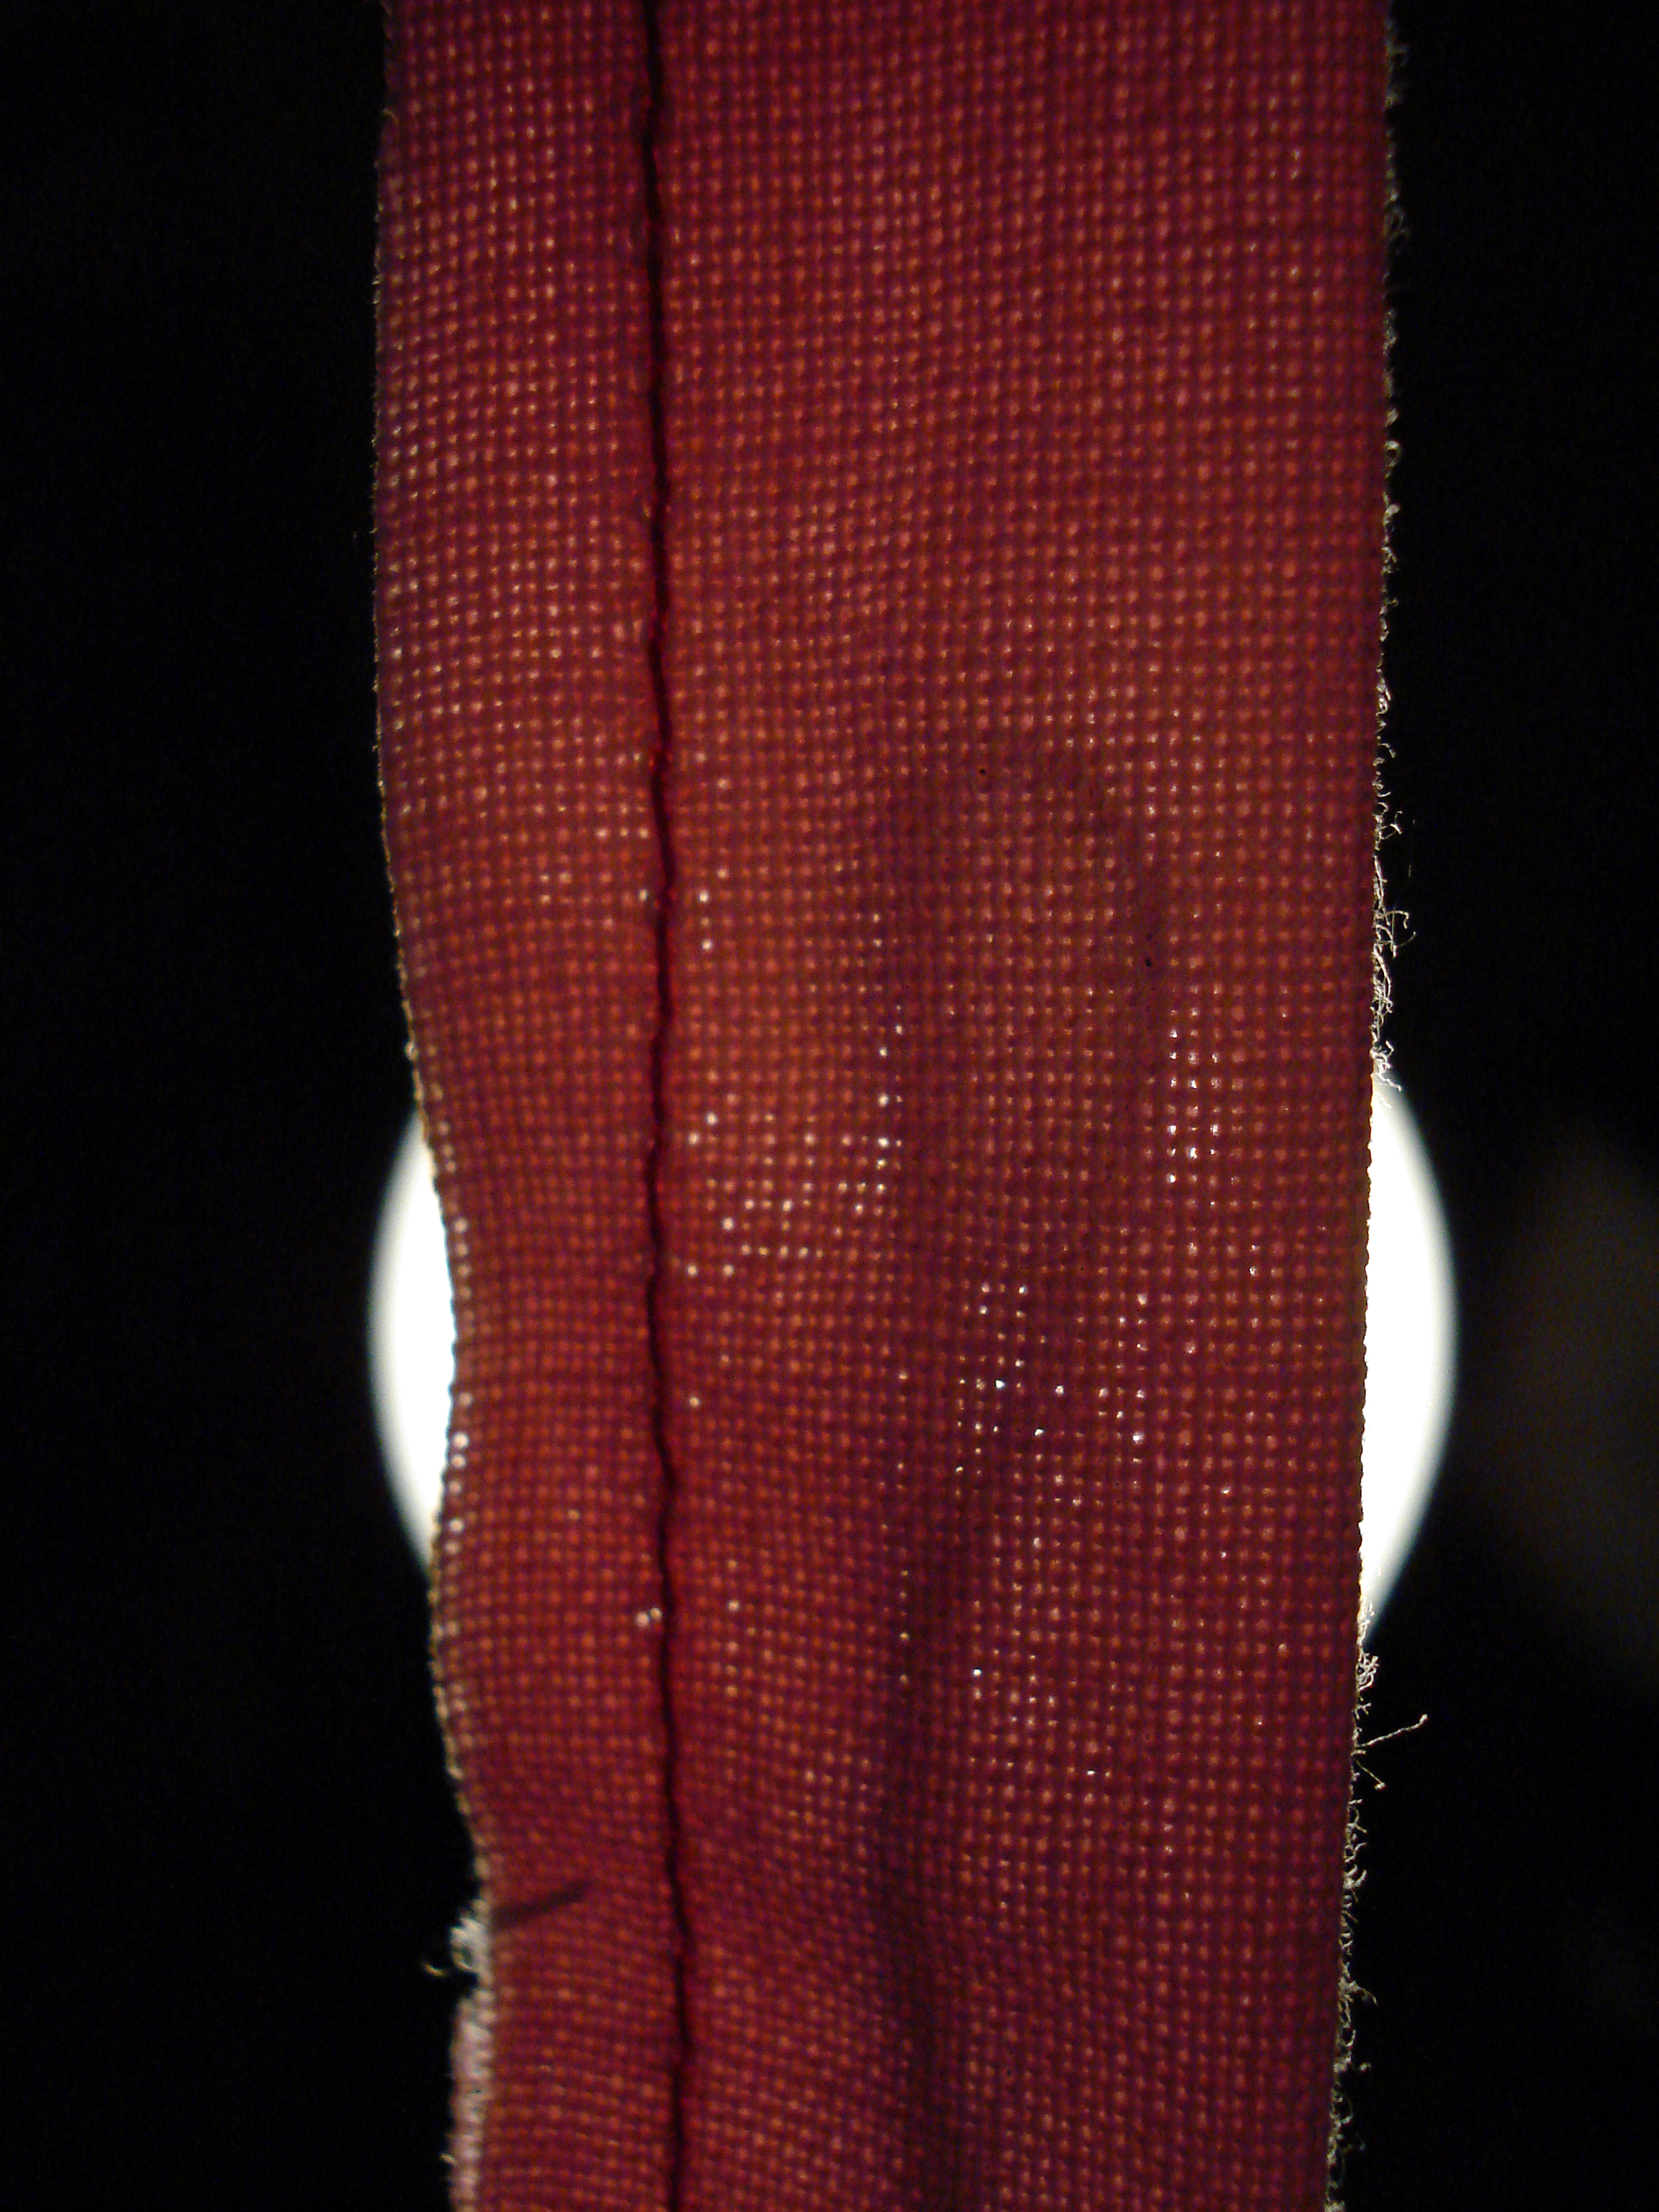
V for Victory! If your spaghetti straps look like they’ve imbibed a little too much vodka sauce, you will want to make an appointment with your iron. Aren’t you glad you didn’t have to turn that inside out by hand?