
Most costume gems are round, which is convenient, since you can usually buy or find something to cast them in. However, sometimes the size or shape you need just isn’t commercially available.
When planning out my Umi costume, I quickly realized that I was going to have to make my own molds for at least some of the gem shapes; they were simply too non-standard. In the above pictures, all the front tabard gems, headband gems, and waist cincher gems were made from custom molds. The tiny oval and round gems on the gold collar and white wristband were made from a Michael’s resin casting tray and a generic $1 plastic paint tray, respectively.
Materials list:
- Sculpey and sandpaper to make the original “master” gems
- Clear spray glaze or gloss sealer to finish smoothing/sealing the “master” gems before molding
- Sulfur free oil based clay to make the mold walls
- OOMOO 25 silicone casting rubber to create the molds (available at Smooth On and Dick Blick’s)
- Castin’ Craft Easy Craft Clear Casting Epoxy to cast the gems (available at Michael’s, Dick Blick’s, or even Amazon these days)
- an appropriately sized takeout container, for containing things
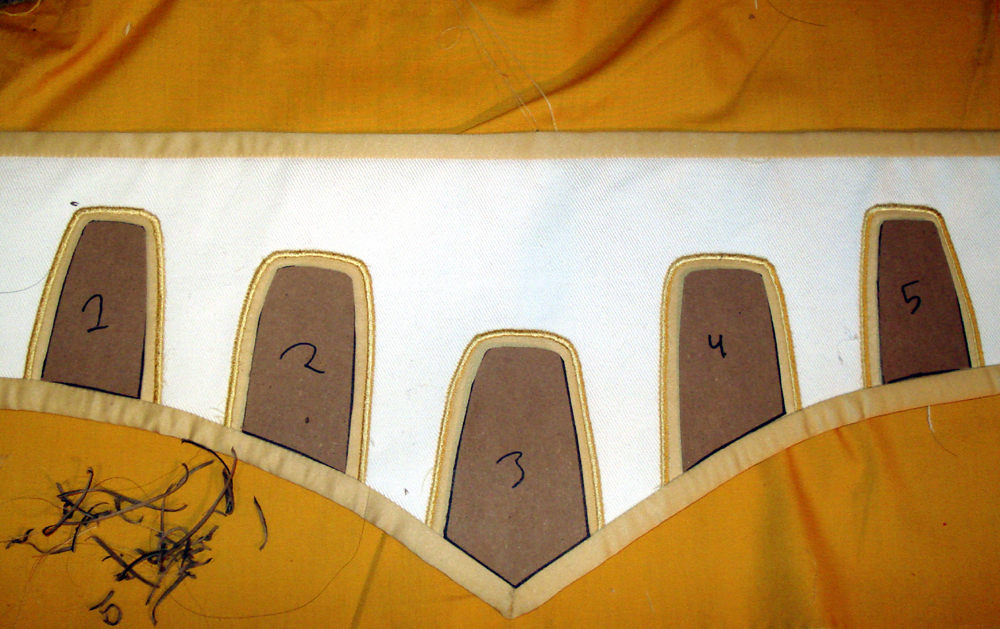
The first step was to figure out the exact size and shape I needed the gems to be. I roughed things out on heavy paper then cut the final shapes out of “chipboard,” which is an extremely stiff and fine grained brown cardboard. Numbering the pieces is a good idea when there are a lot of similar shapes to keep track of throughout the process.
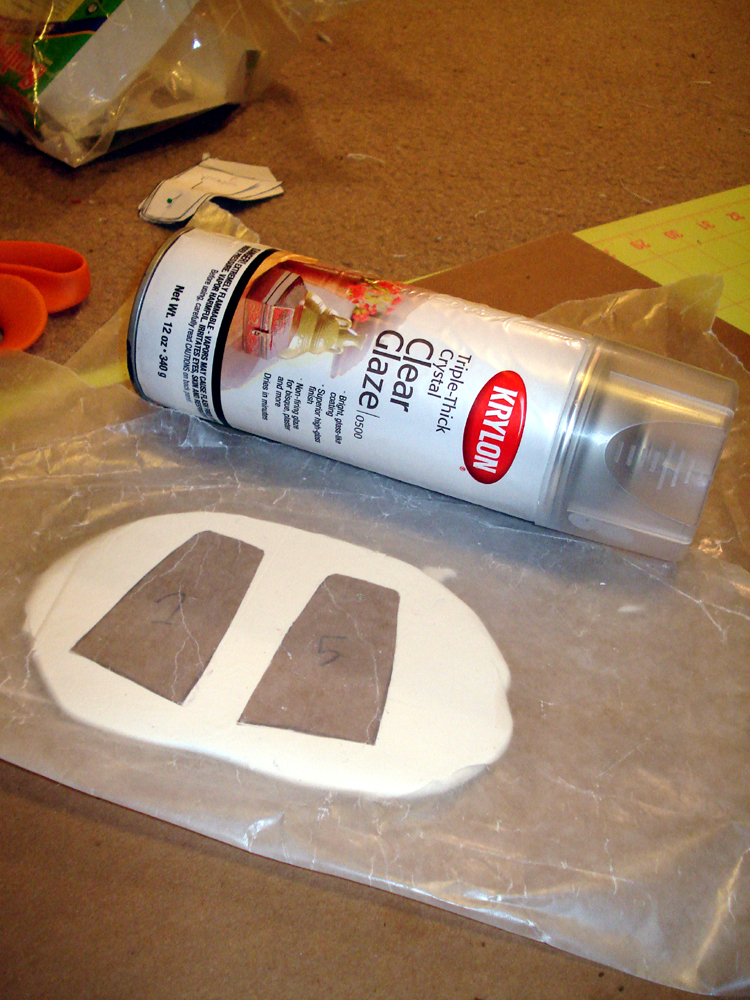
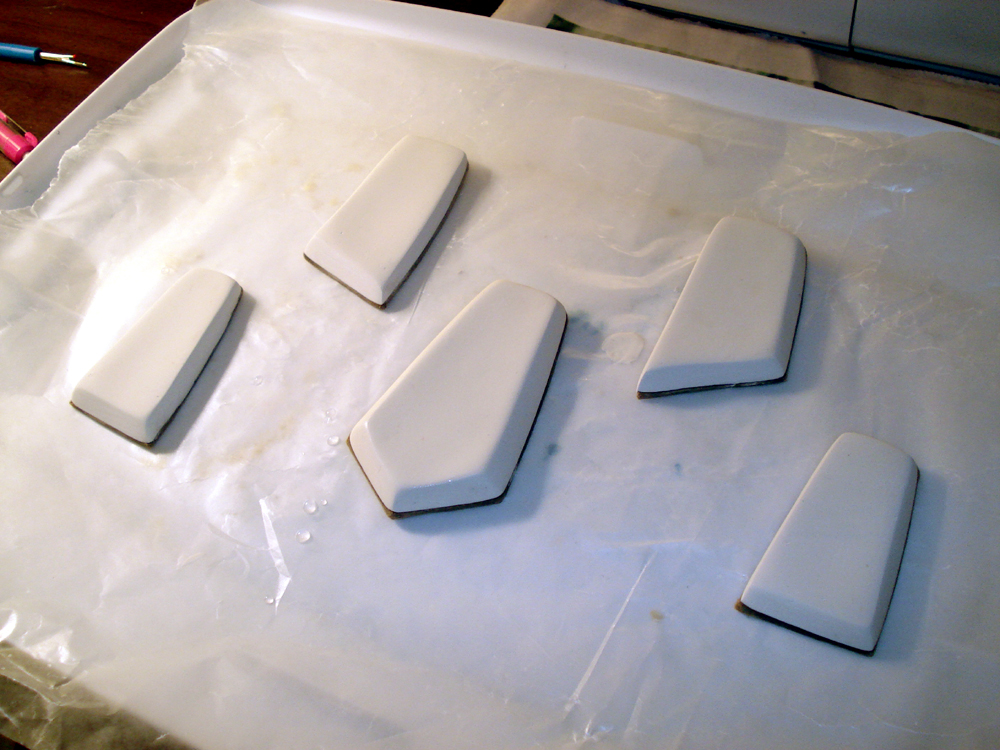
Next, I built up the shape of the gem on top of the chipboard with some white Sculpey. I used the Krylon spray can as a rolling pin along with some wax paper to help keep the sculpey from sticking to anything. Chipboard is quite rigid and provides a solid foundation for molding clay on top of it.
After I finished shaping and beveling my Sculpey gems, I baked them and then sanded them with a lower grit sandpaper. I worked my way up to the highest grit I had before hitting them with a few coats of Krylon spray sealant so that they were nice and smooth and shiny. I would have sanded with an even higher grit if I had known where to find it at the time (these things are readily available on the internet these days, but I was looking at the hardware store and most of the high grit stuff turned out to be hiding over at the automotive store…). I repeated the same process for the large circle gems that would go on the front tabard.
Since the final cast piece will be clear, the smallest imperfection or roughness left on the master Sculpey gem will be EXTREMELY noticeable. Take your time to get everything absolutely perfect and smooth, because this is the most important step.
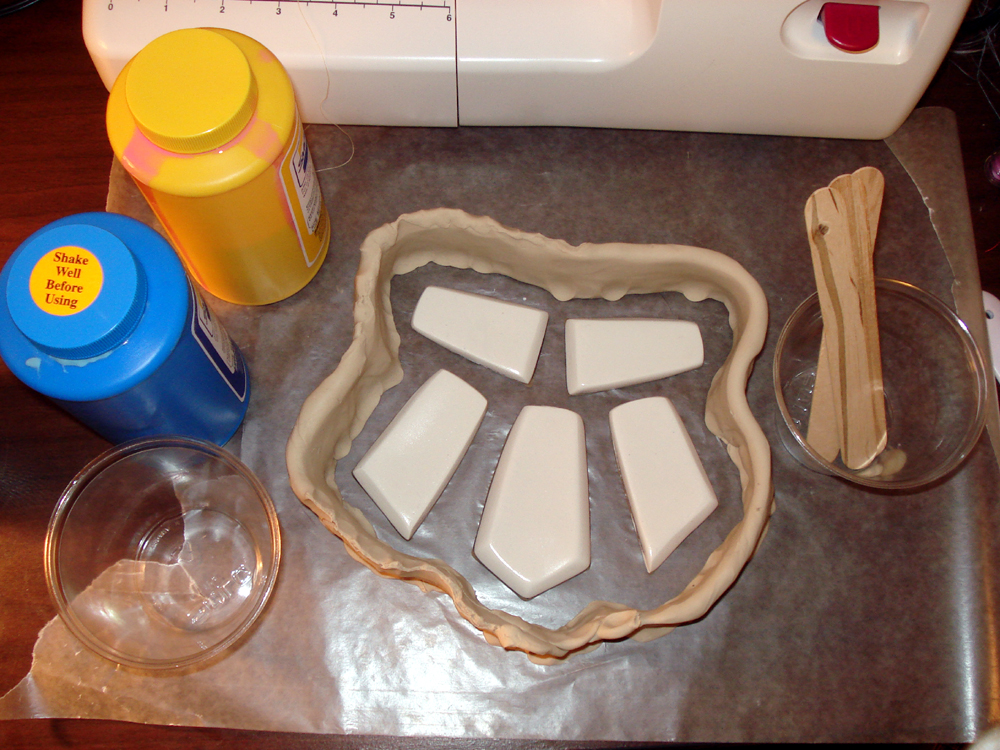
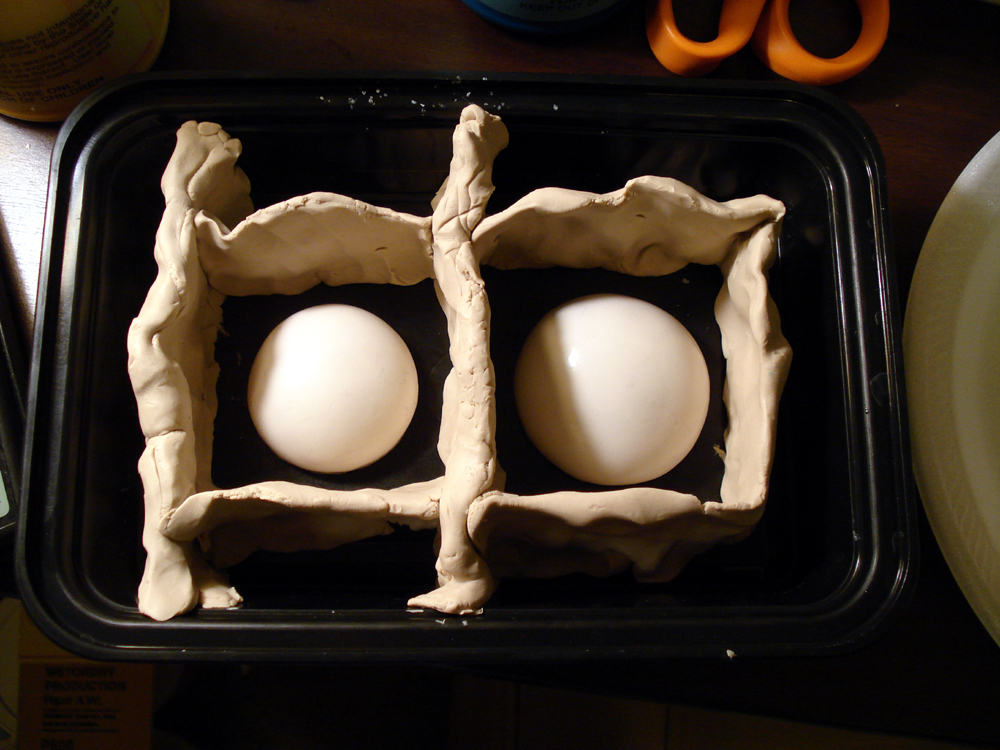

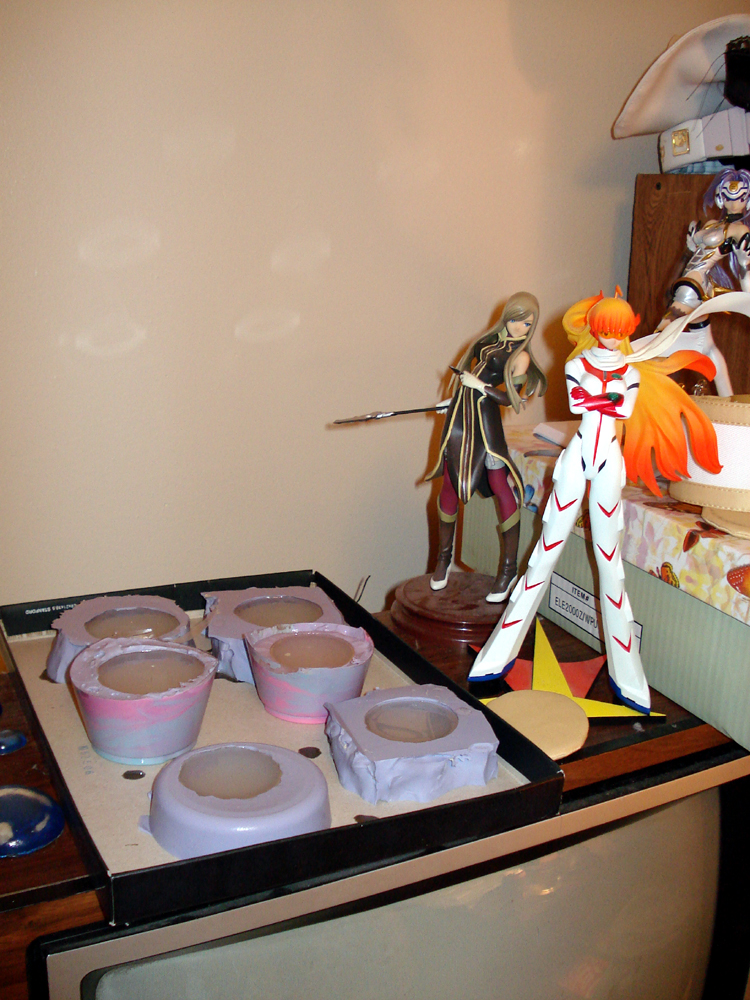
After thinking a while on the most efficient way to arrange the pieces, I decided on this configuration for the corset gems and then walled it in with some oil-based clay on top of some wax paper. I then repeated the process for the front pieces and headband pieces in their takeout containers.
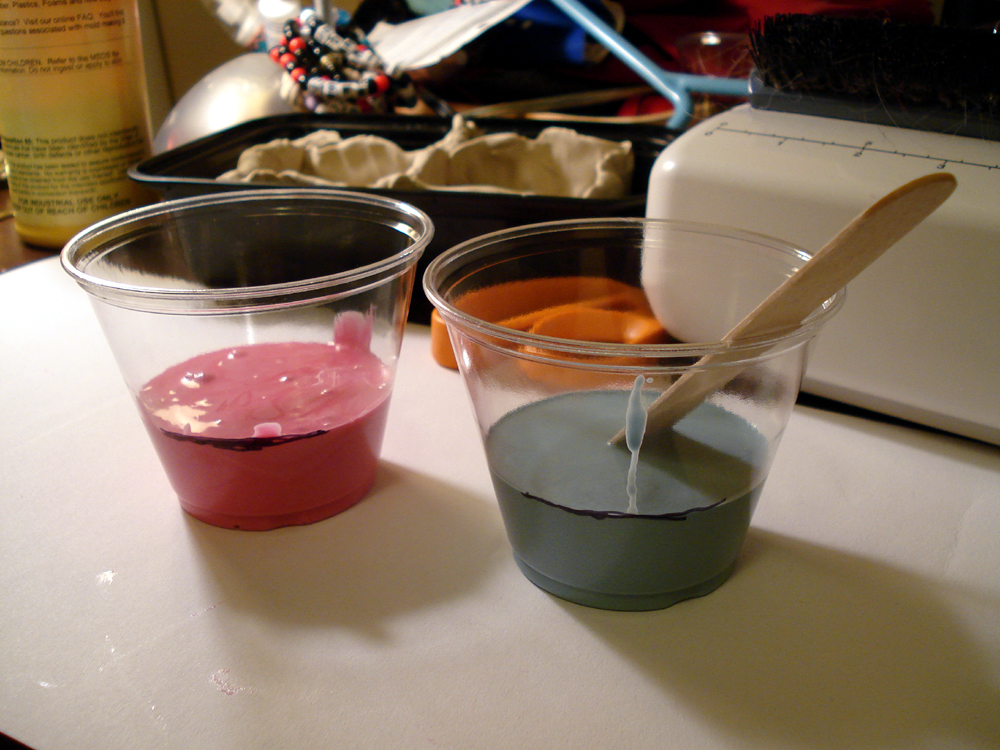
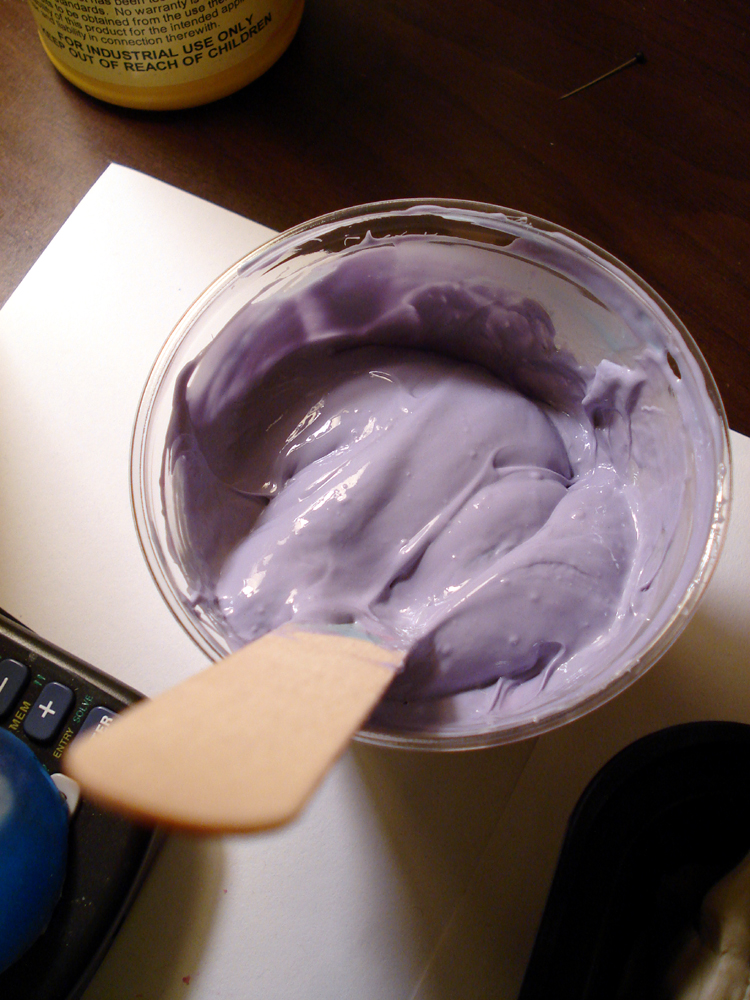
Time to mix the rubber…OOMOO 25 has a 1:1 ratio, which means equal parts blue and pink. They will turn a nice purple color.
Incidentally, if the bottles sit around for several months after opening, the rubber will still cure, but just be really, really stiff. I had to go buy new rubber in the middle of this project since the old stuff was too viscous to flow properly around my master gems and let the bubbles escape.
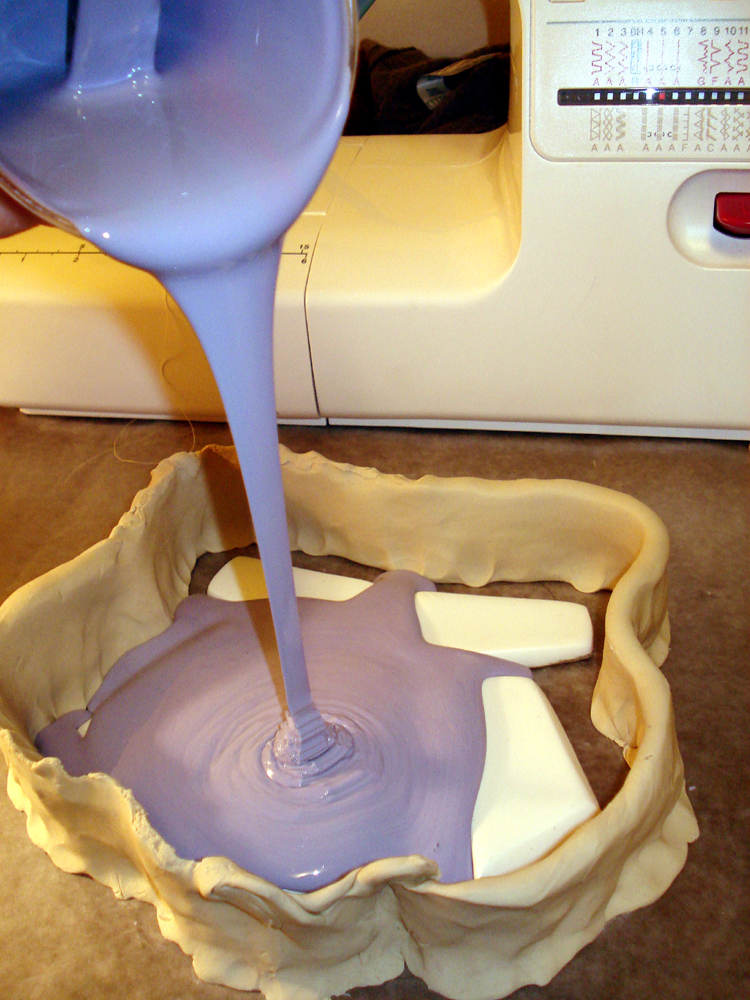
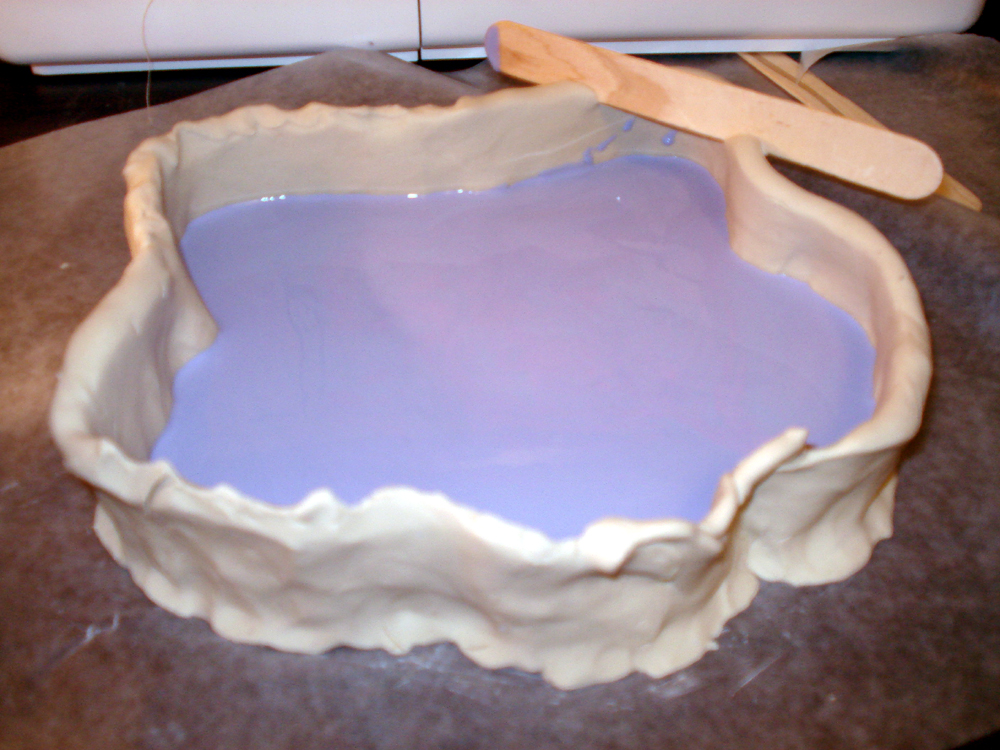
When you pour it, try to pour in a thin stream from fairly high up; this helps prevent trapped air bubbles. OOMOO 25 has a 15 minute pot life and a 75 minute cure time. This means all pouring needs to be finished before the 15-minute mark, after which you must refrain from poking it for at least an hour or so.
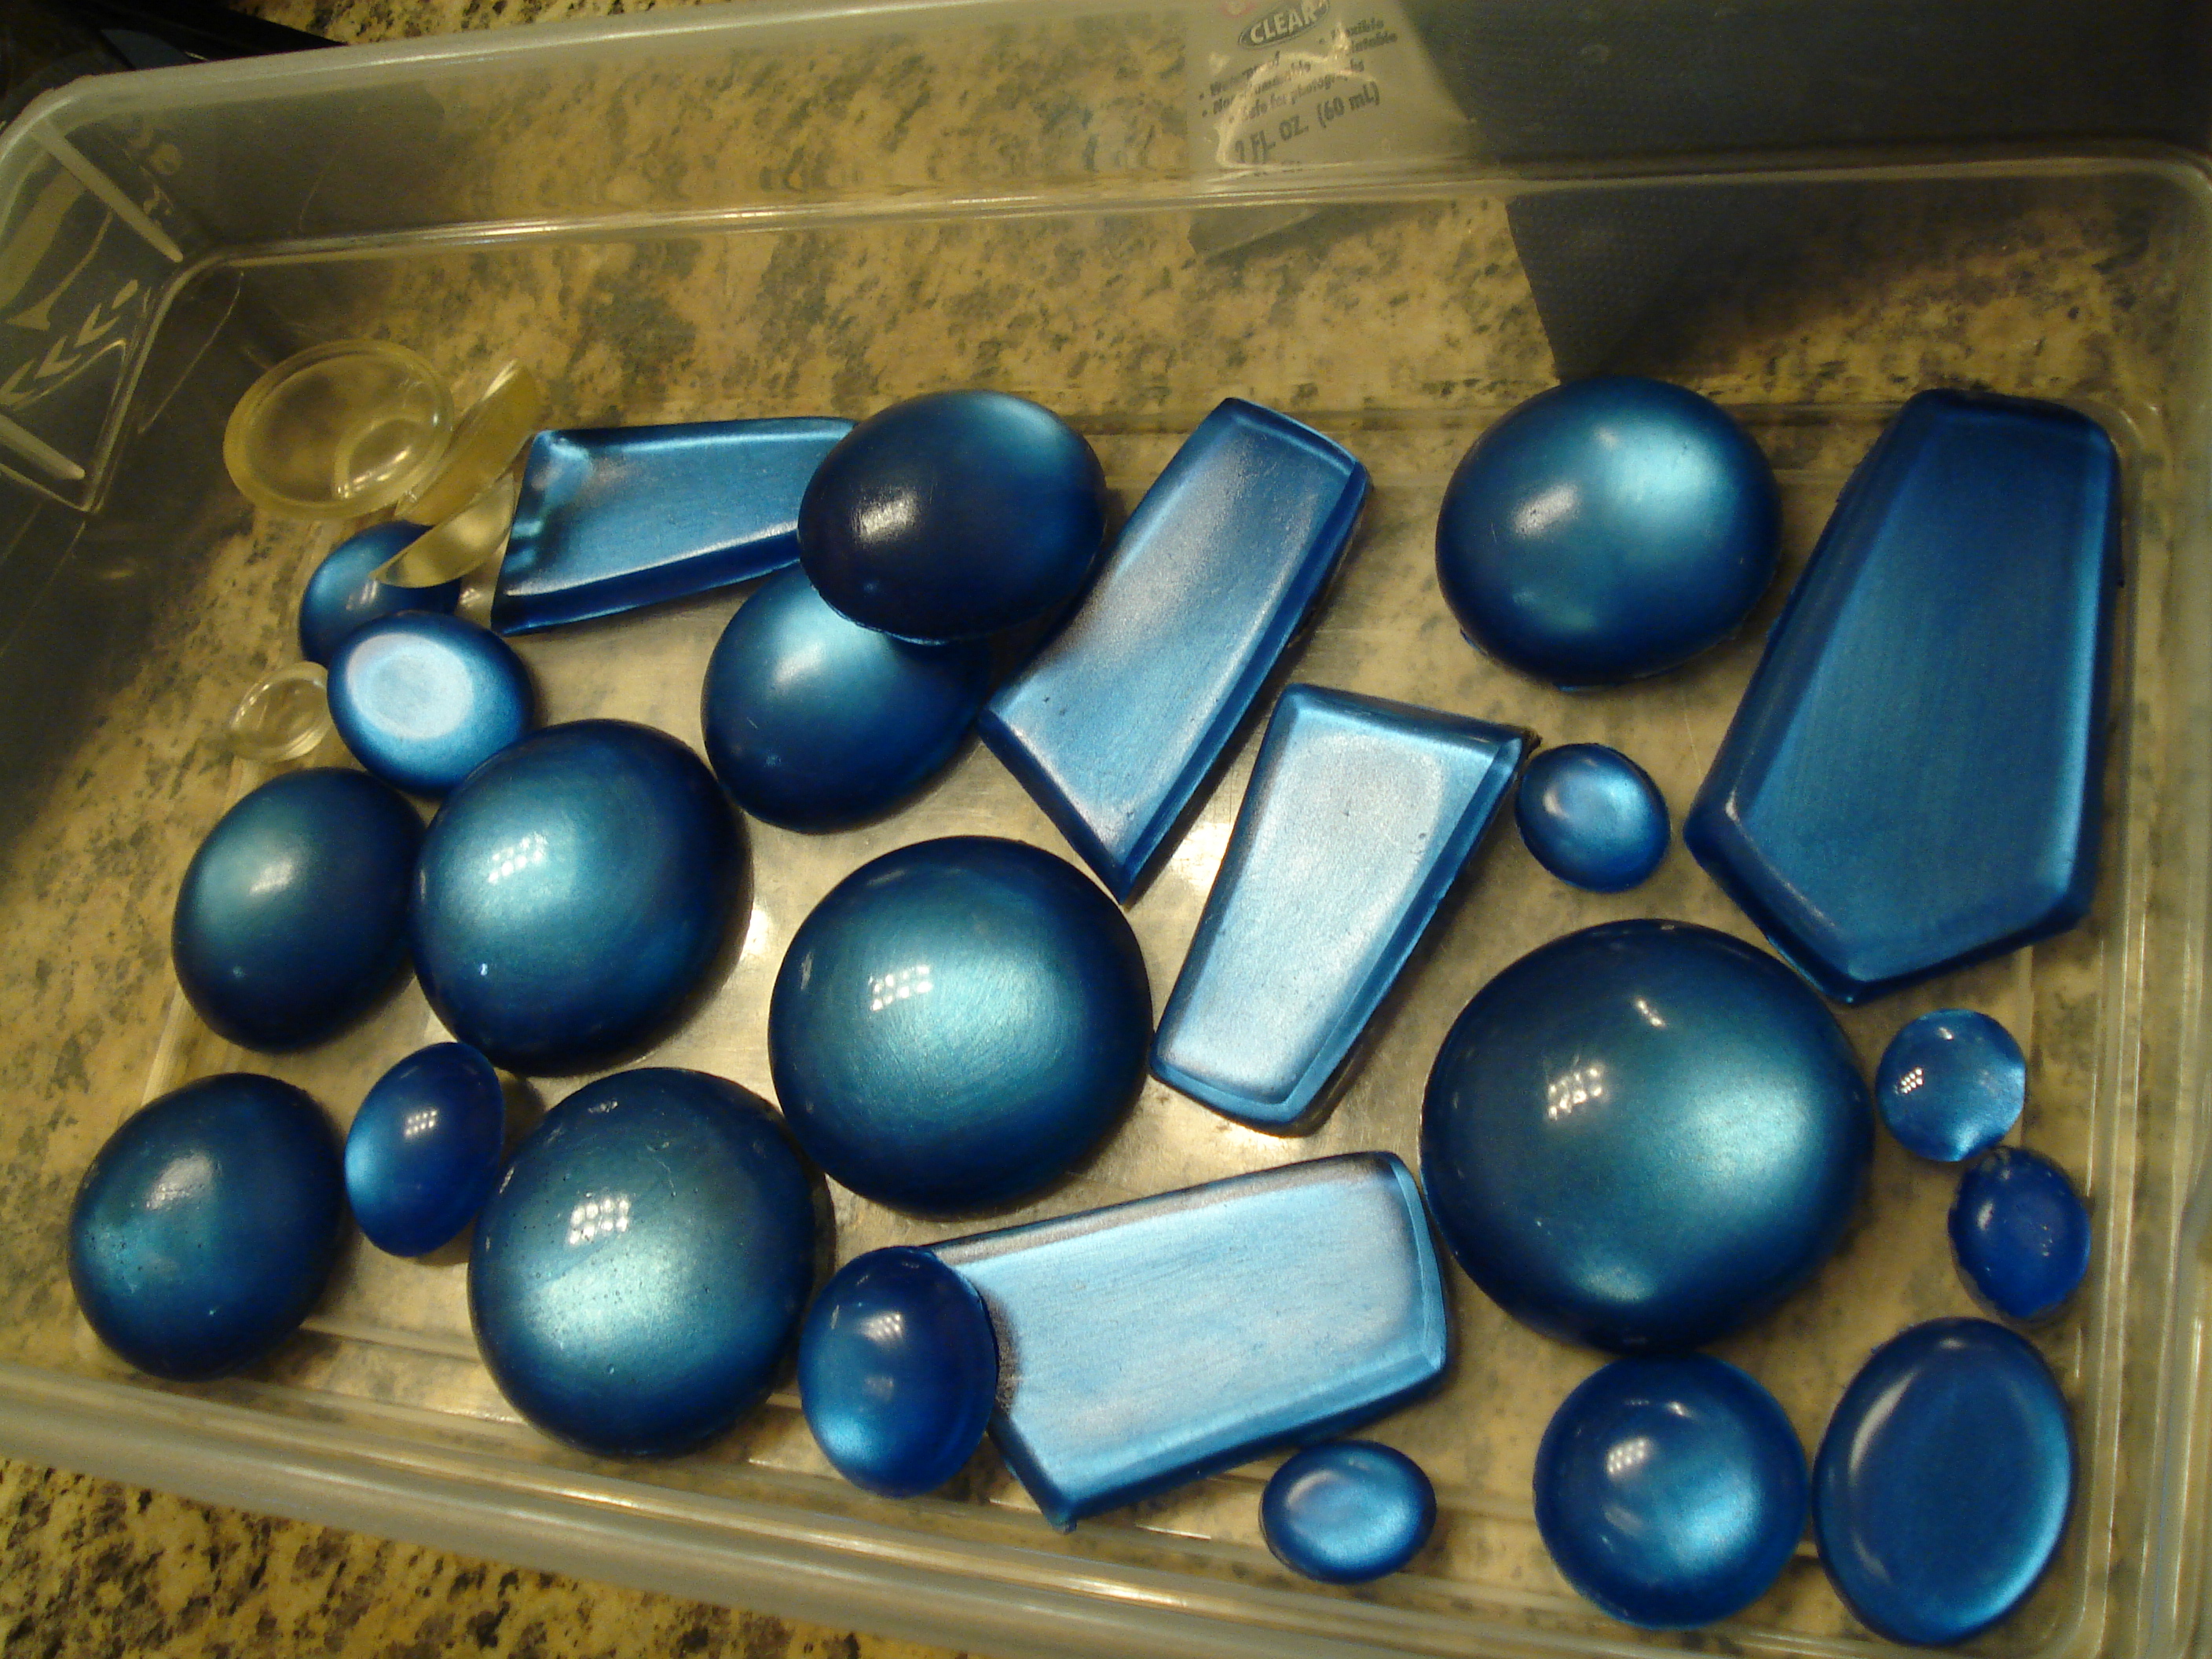
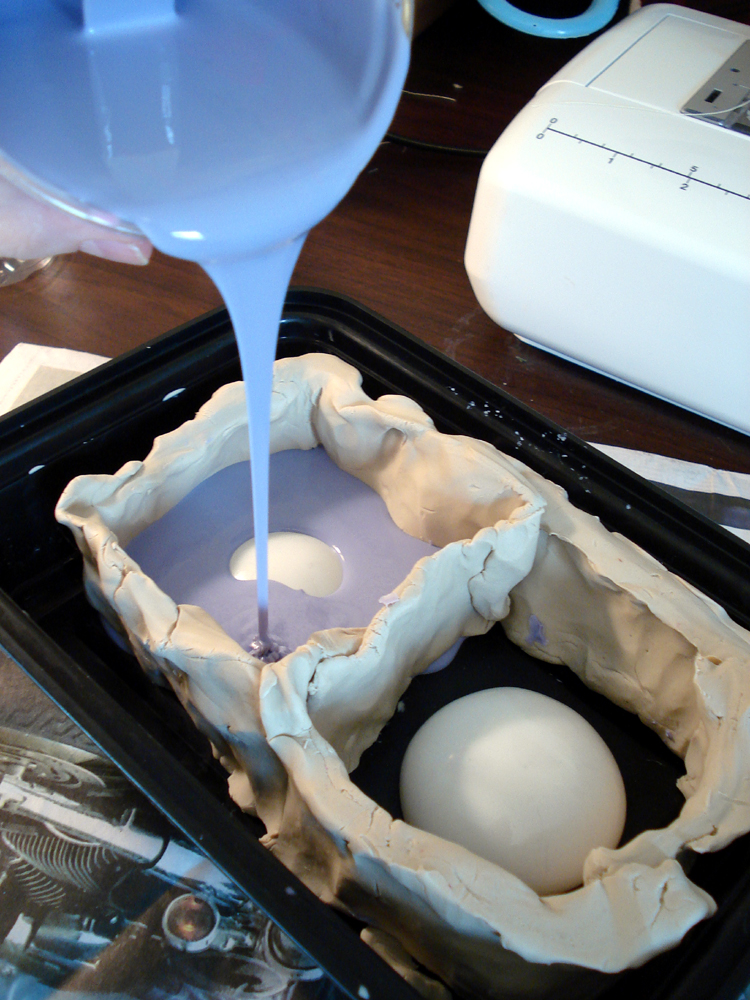
After curing, I popped my masters out, flipped the mold over 180 degrees, mixed up a batch of Castin’ Craft resin according to the instructions (basically another 1:1 mix), and poured it in the mold. It’s usually a good idea to warm the resin bottles in hot water for a long period of time before casting it; the warmer the resin is, the less viscous it becomes, and the easier it is for trapped air bubbles to escape.
If you spill any OOMOO, you will notice that it is fairly easy to clean up. As I soon discovered, this is NOT the case with the resin, so take care not to spill it!
Gem Backing Strategies
There are many different methods of backing clear resin gems. Colored foil-backed posterboard is a common choice, but the color selection is limited, and I needed my gems to match the multiple shades of blue elsewhere on the costume. Another common strategy is to use metallic silver foil-backed posterboard and add color by tinting the resin itself with dye. (Common choices here range from acrylic inks to dedicated resin dyes to powdered mica.) The dye also changes how much light passes through the resin; the stronger the tint, the darker and less reflective the final gem can become. This can be a good thing or a bad thing depending on the effect you want.
However, dye introduces another complicaton: a little bit goes a long way, and so the default unit of measurement is drops. If you have many different gems to cast across multiple batches, keeping the color intensity consistent across different resin volumes gets tricky fast, especially when the math starts asking for fractional amounts like “1/4 drop.” I didn’t want to choose between making larger resin batches than I actually needed just to make the dye ratio easier to measure, or risking inconsistent colors across different pours. So I cast the gems in clear resin with no dye or tint, then painted the backs with metallic blue craft paint instead. This gave me much more precise control over the final color.
Once the paint dried, I hot glued the gems to my costume. If the backing surface is flat and rigid, as it was on most of my costume, this will mostly work without issue. However, I found that as the shoulder pieces connecting the front and back of the tabard flexed over the course of the day, the shoulder gems began to partially detach. The hot glue had stuck just fine to the paint and the fabric, but the metallic paint itself had insufficient adhesion to the resin.
After thinking about it a little more, I decided I would try to use clear hot glue as a clear intermediary layer between the resin gem and the metallic paint. I painted tagboard with the same blue metallic sparkle paint, let it dry, then dumped a large pile of hot glue onto the paper and firmly pressed the clear gem down on top of it. Since hot glue is actually intended as an adhesive, it bonded to both the resin gem and the painted paper much better than the metallic craft paint had bonded to the gem when painted on directly.
The tradeoff was that the sparkle decreased by maybe 10–20%, so I would only use this workaround when the backing surface is flexing enough that directly painting the gem is likely to fail. (Pro tip: if the hot glue is setting before you can squeeze out enough of it, use a heat gun on the pile of hot glue before pressing the gem into it.)
So to summarize, the final stack from top to bottom was:
- clear resin gem
- hot glue layer
- tagboard painted metallic blue
- hot glue or other clear adhesive
- costume piece
This worked reasonably well. Some have since suggested that E6000 might function similarly or even better in this role, too, but I’ve yet to test it myself.