I’d performed a very important first step during my first ever NYC street cleaning:
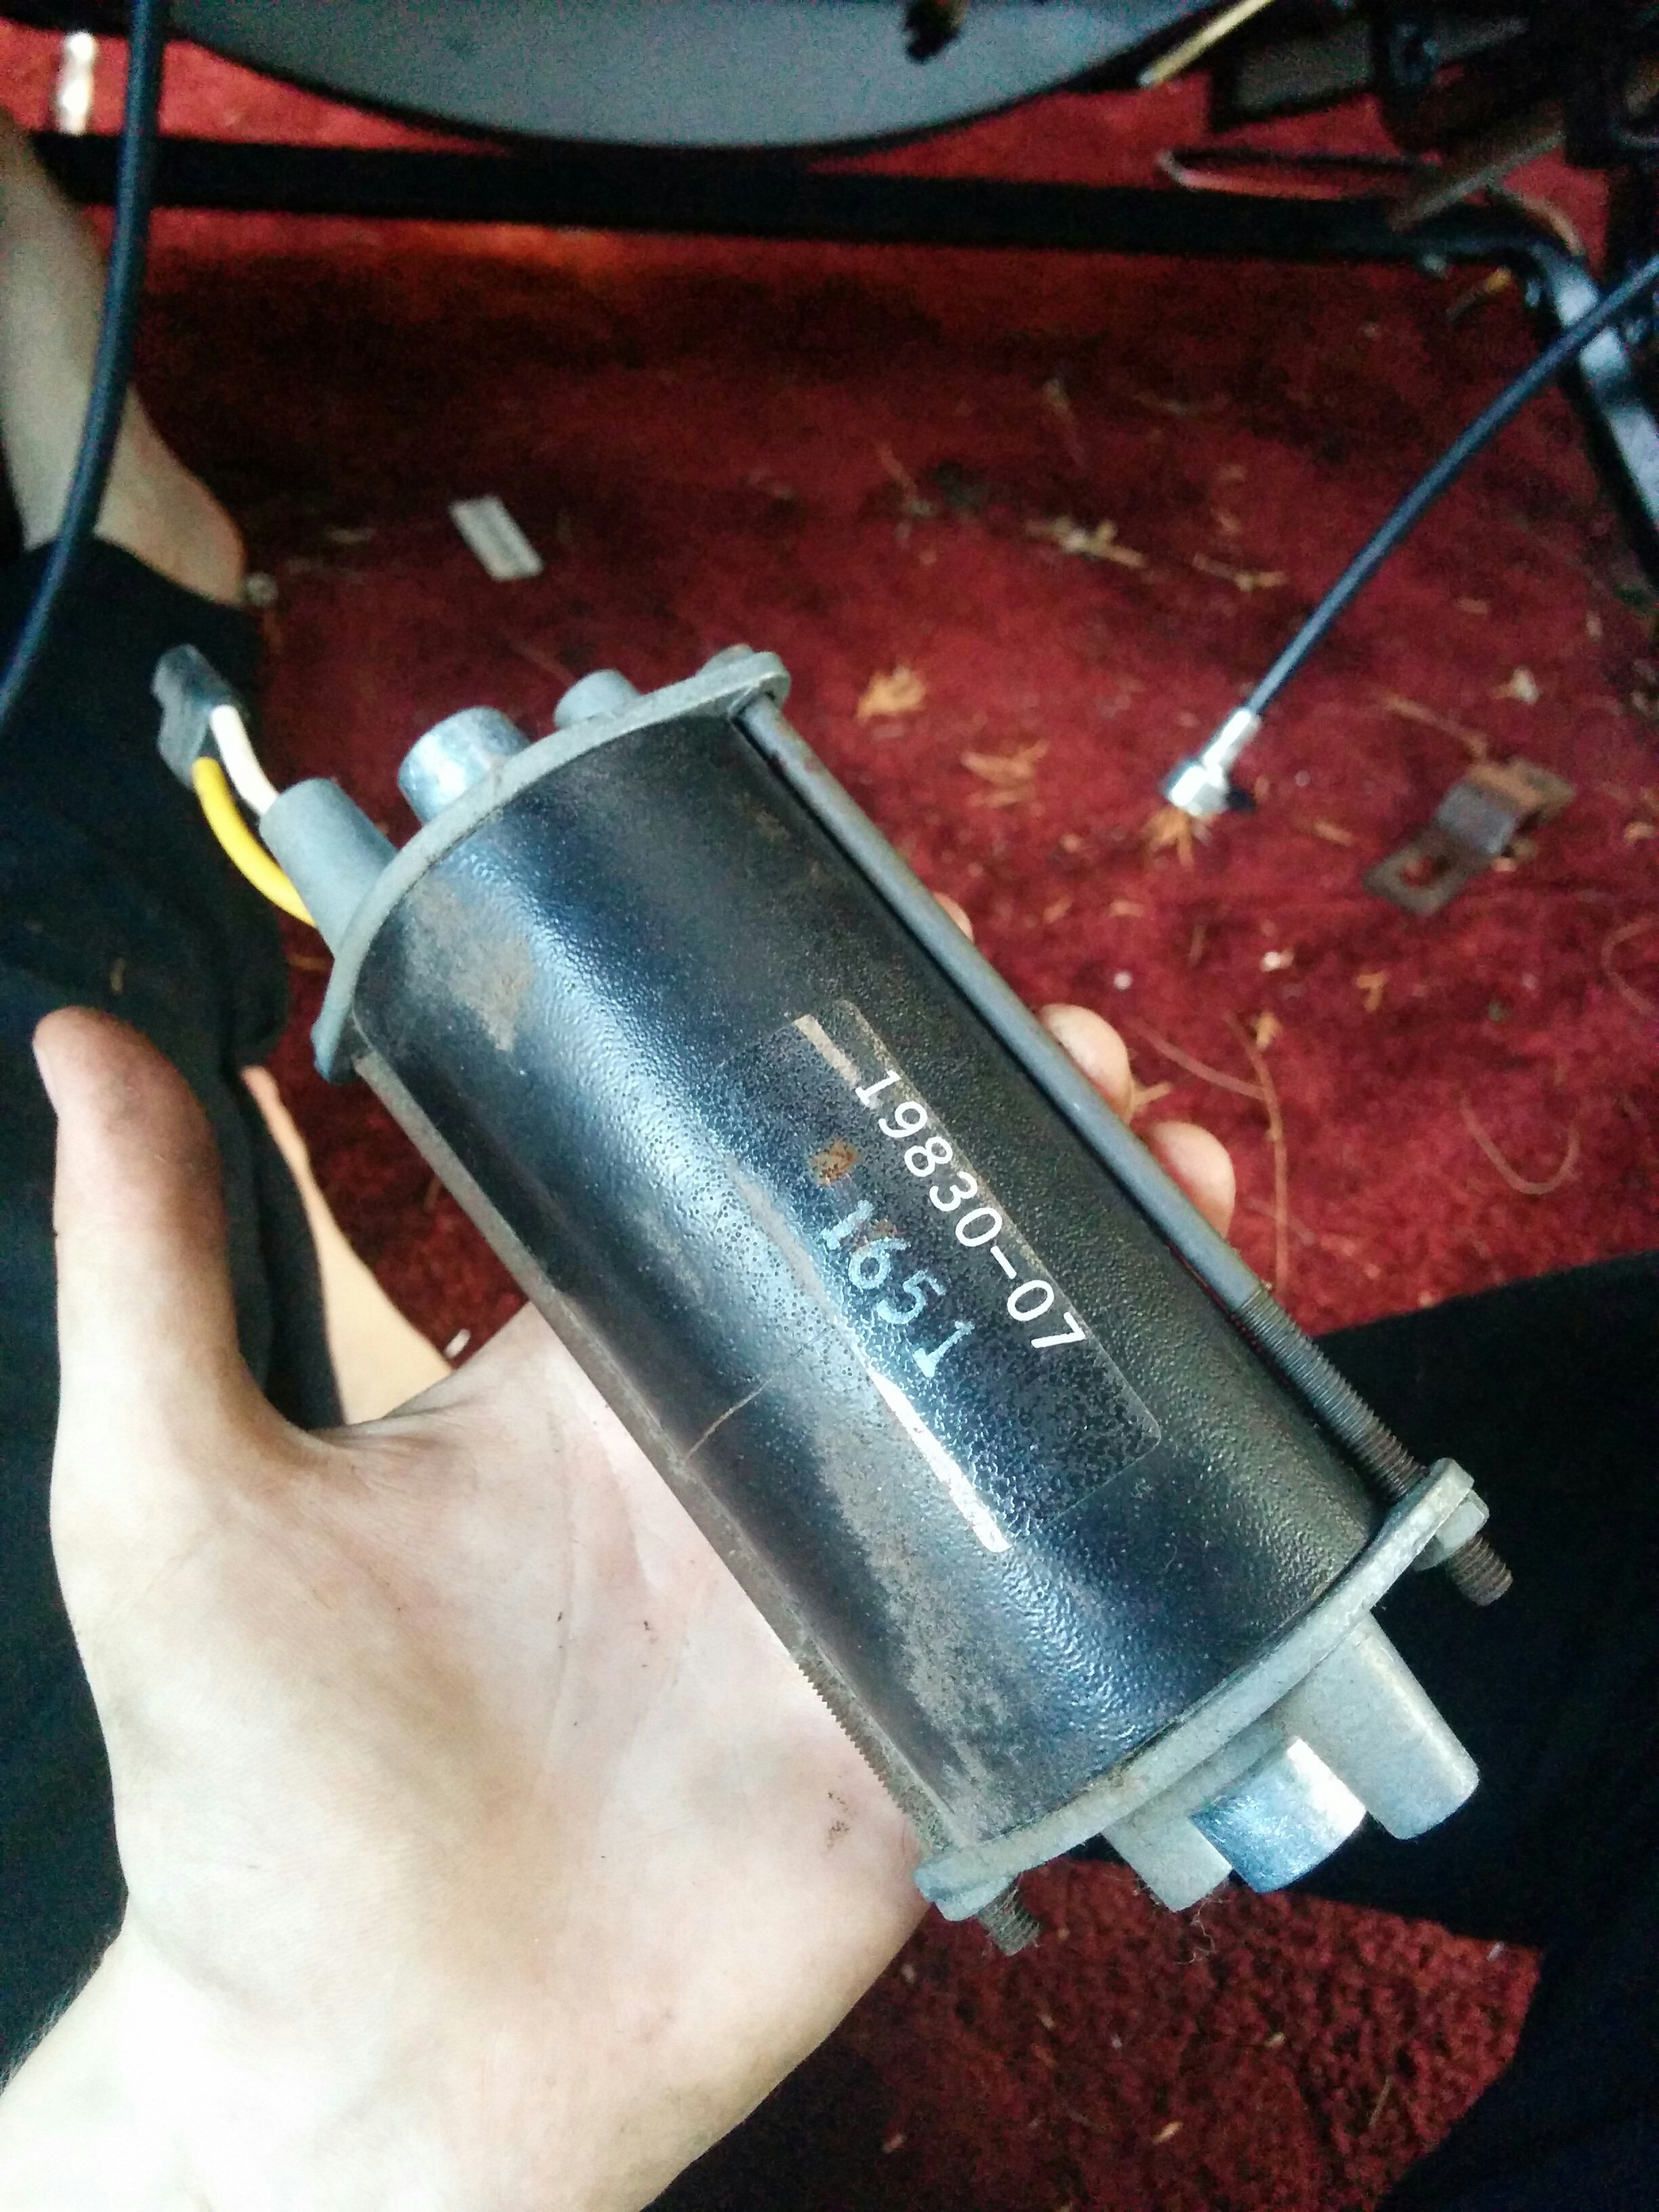
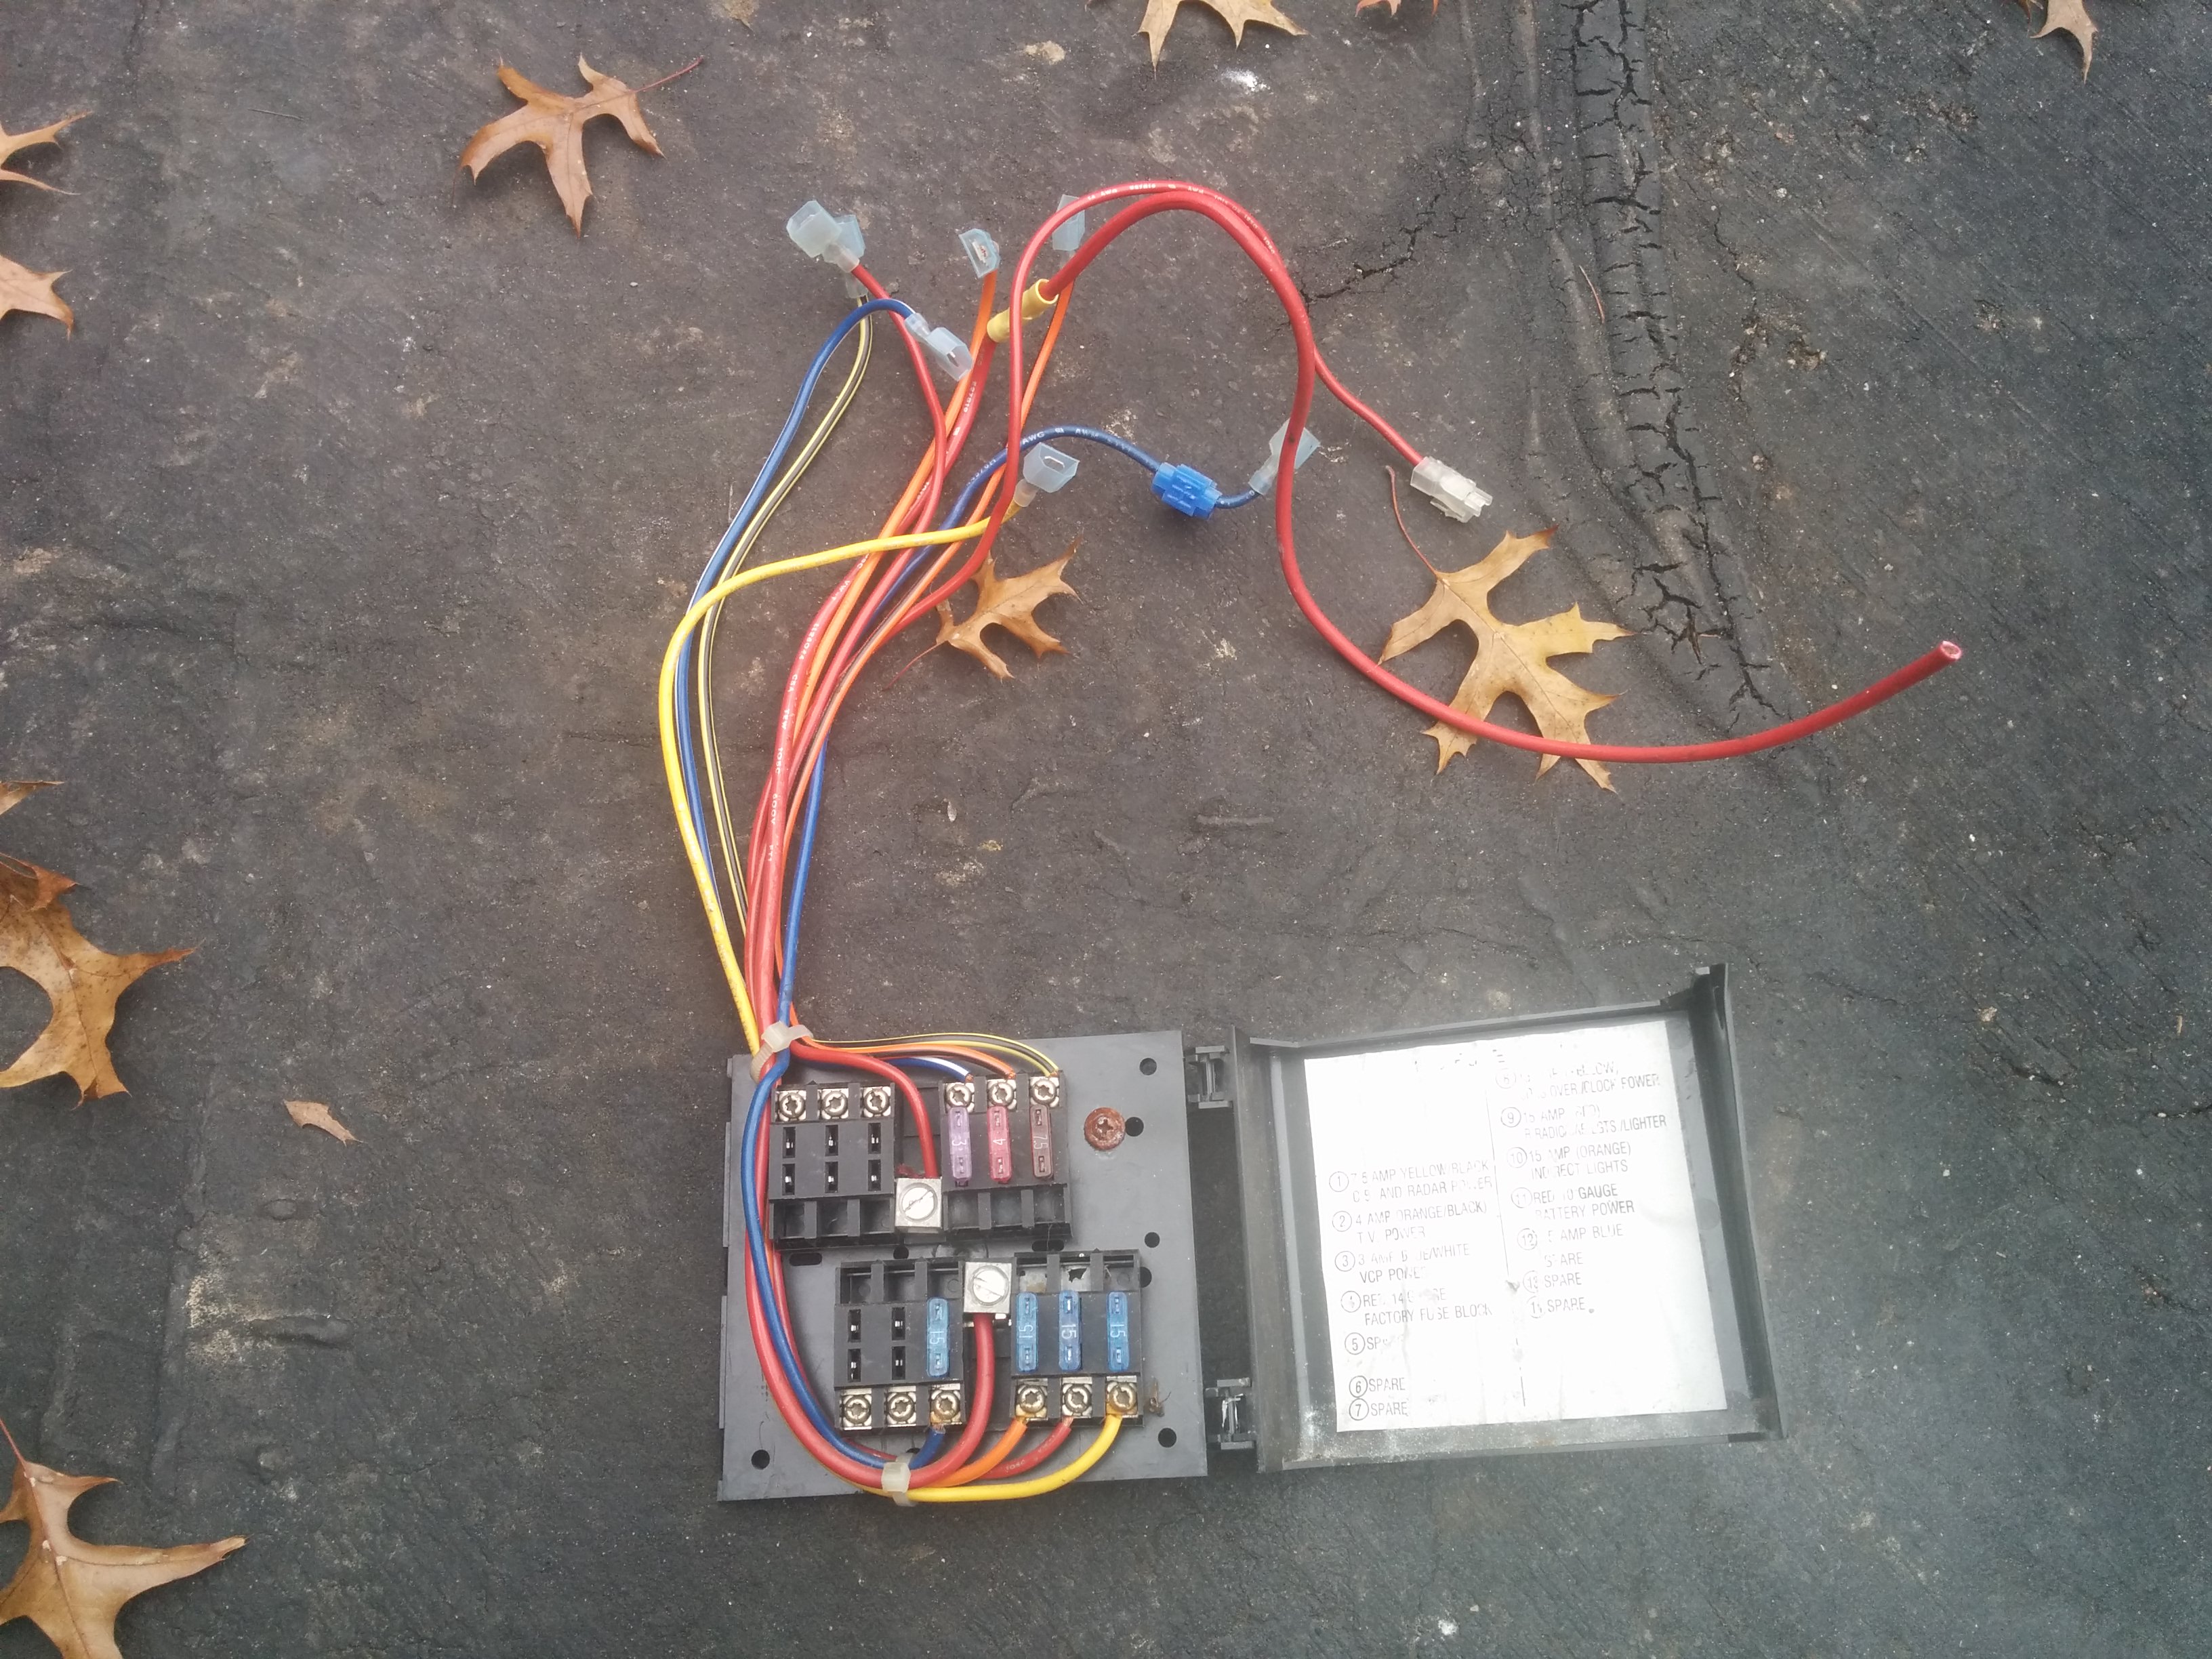
The thing laying on the ground attached to the wall by cables had beeped angrily the whole time until I took a screwdriver to the wall and unplugged it. Upon closer inspection, it was some sort of solar charge controller. From 1991. (More on that later.) I’d assumed at the time the thing was just geriatric and experiencing dementia, but in retrospect, this was probably the first sign of the upcoming electrical troubles.
Looking Things Over

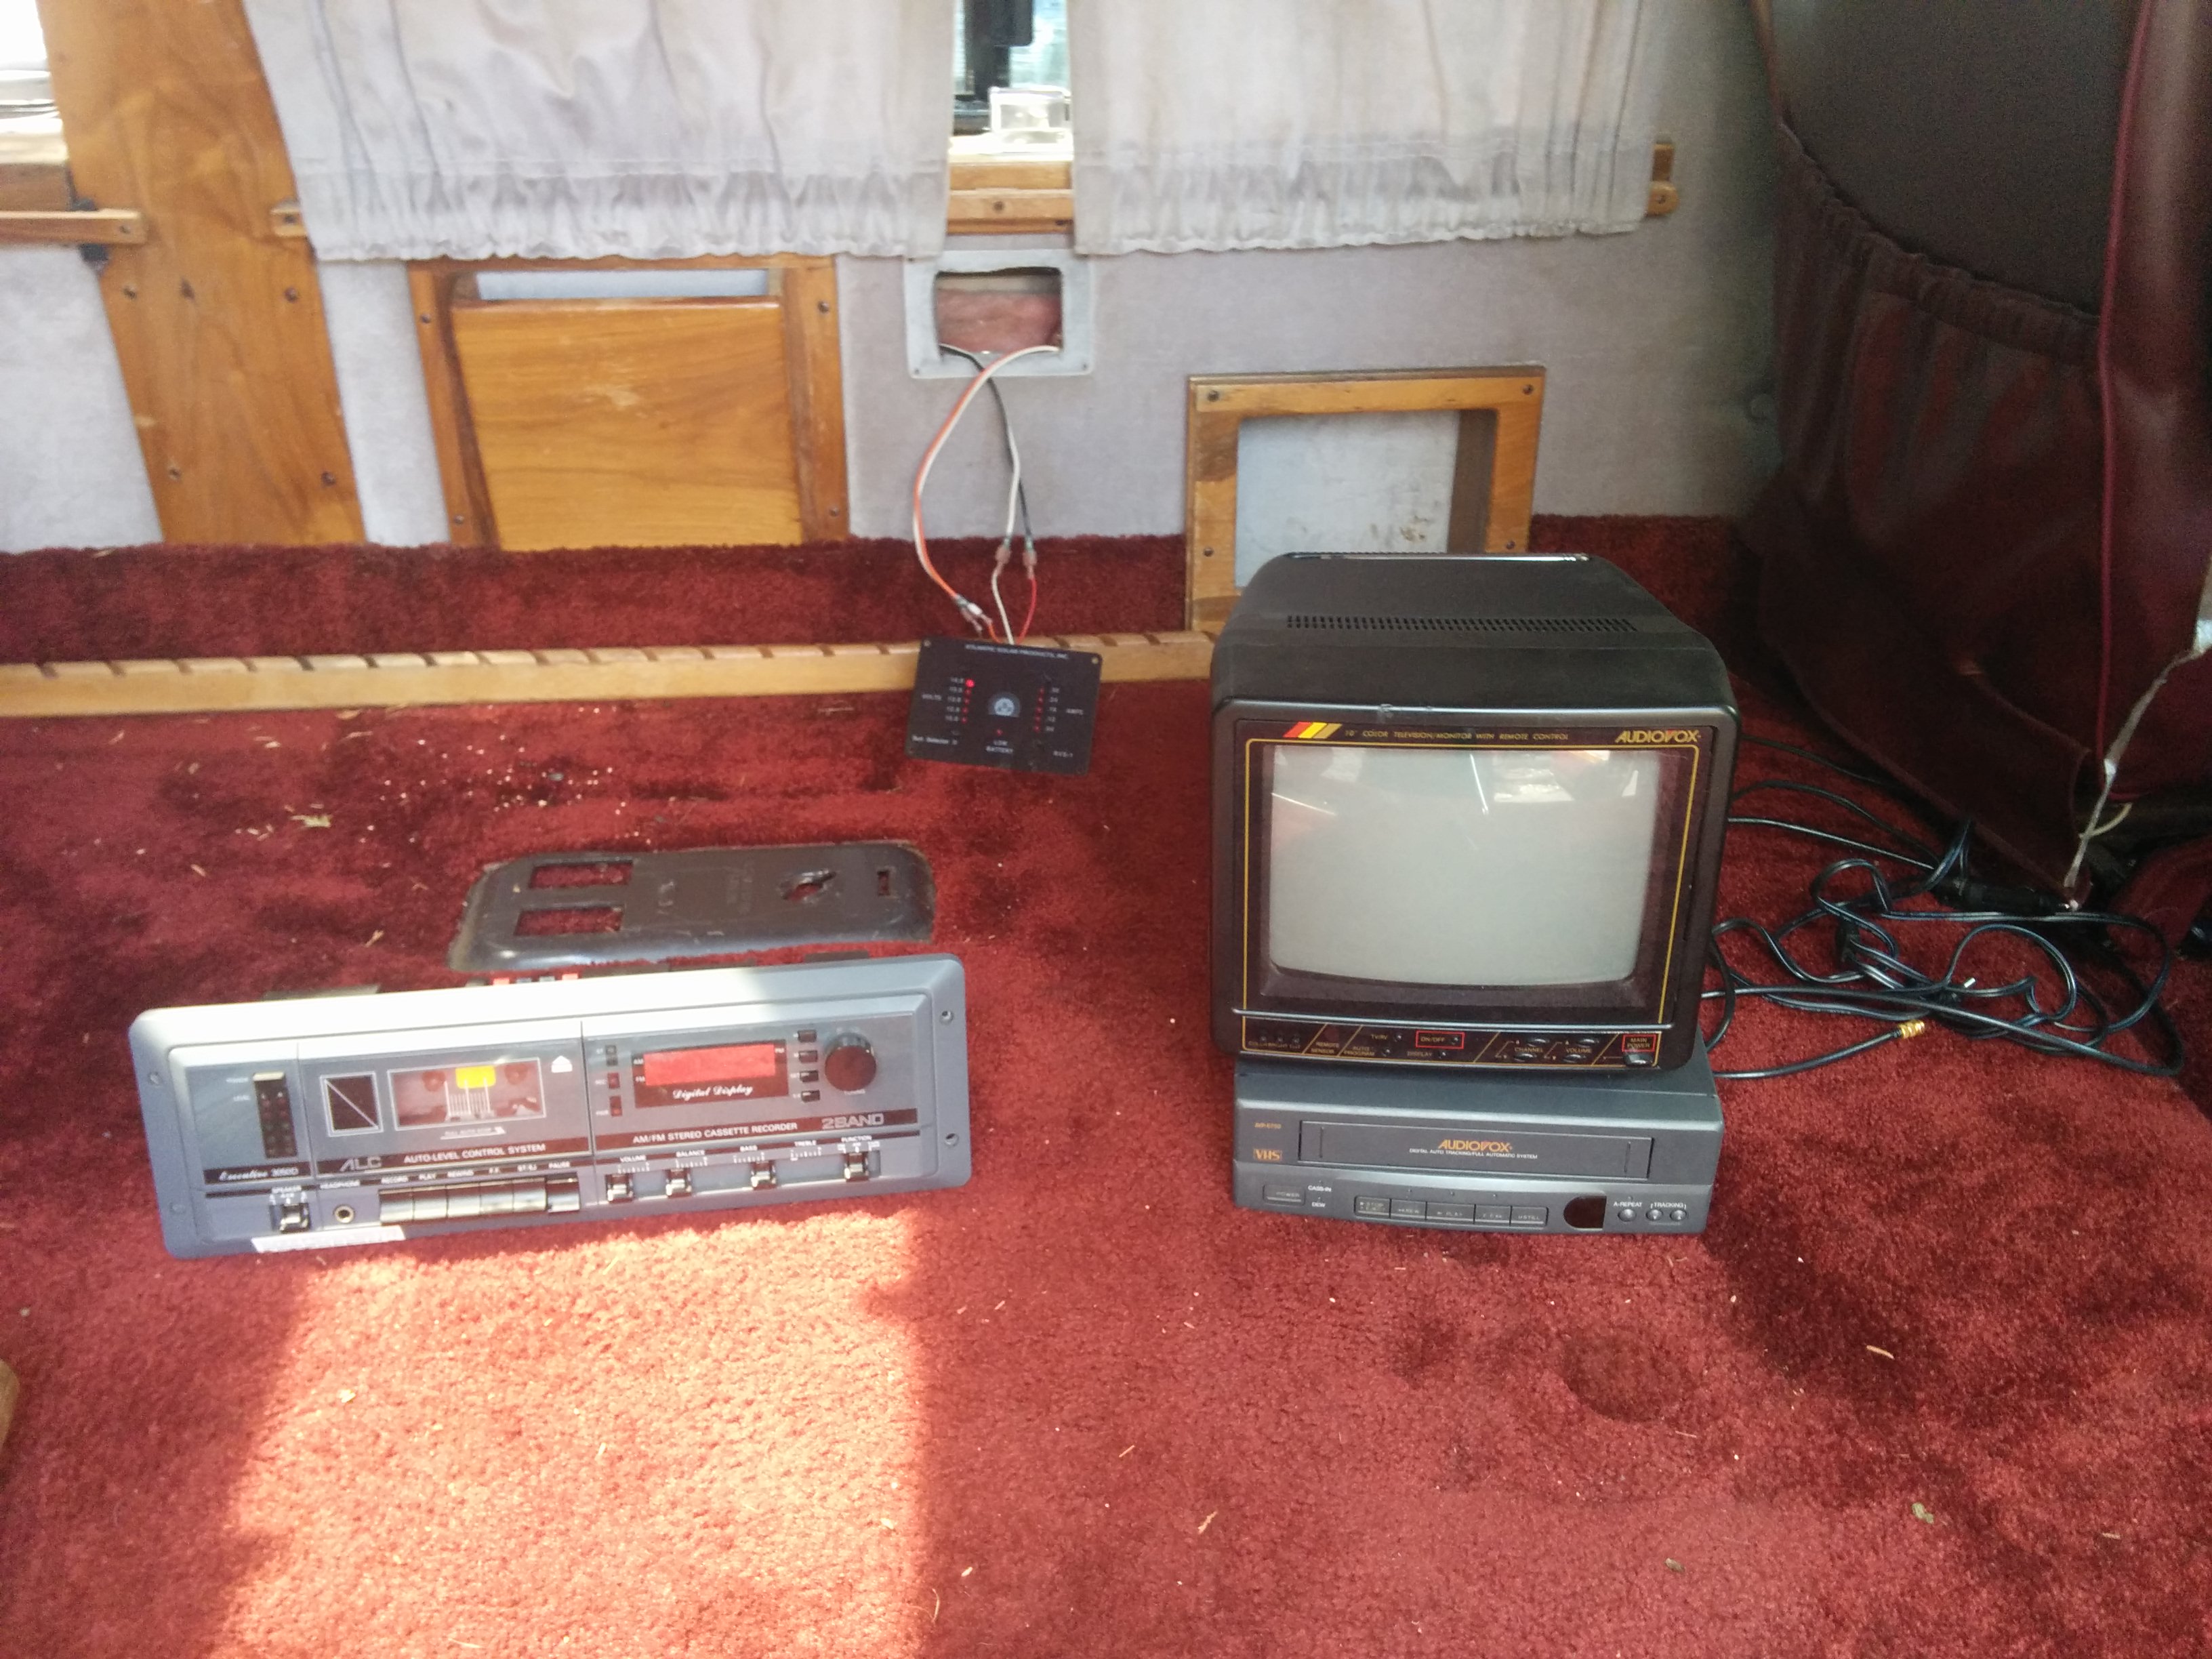
There was also a cassette deck mounted in the back of the van and a CRT with bonus VCR in the front hutch of the van.
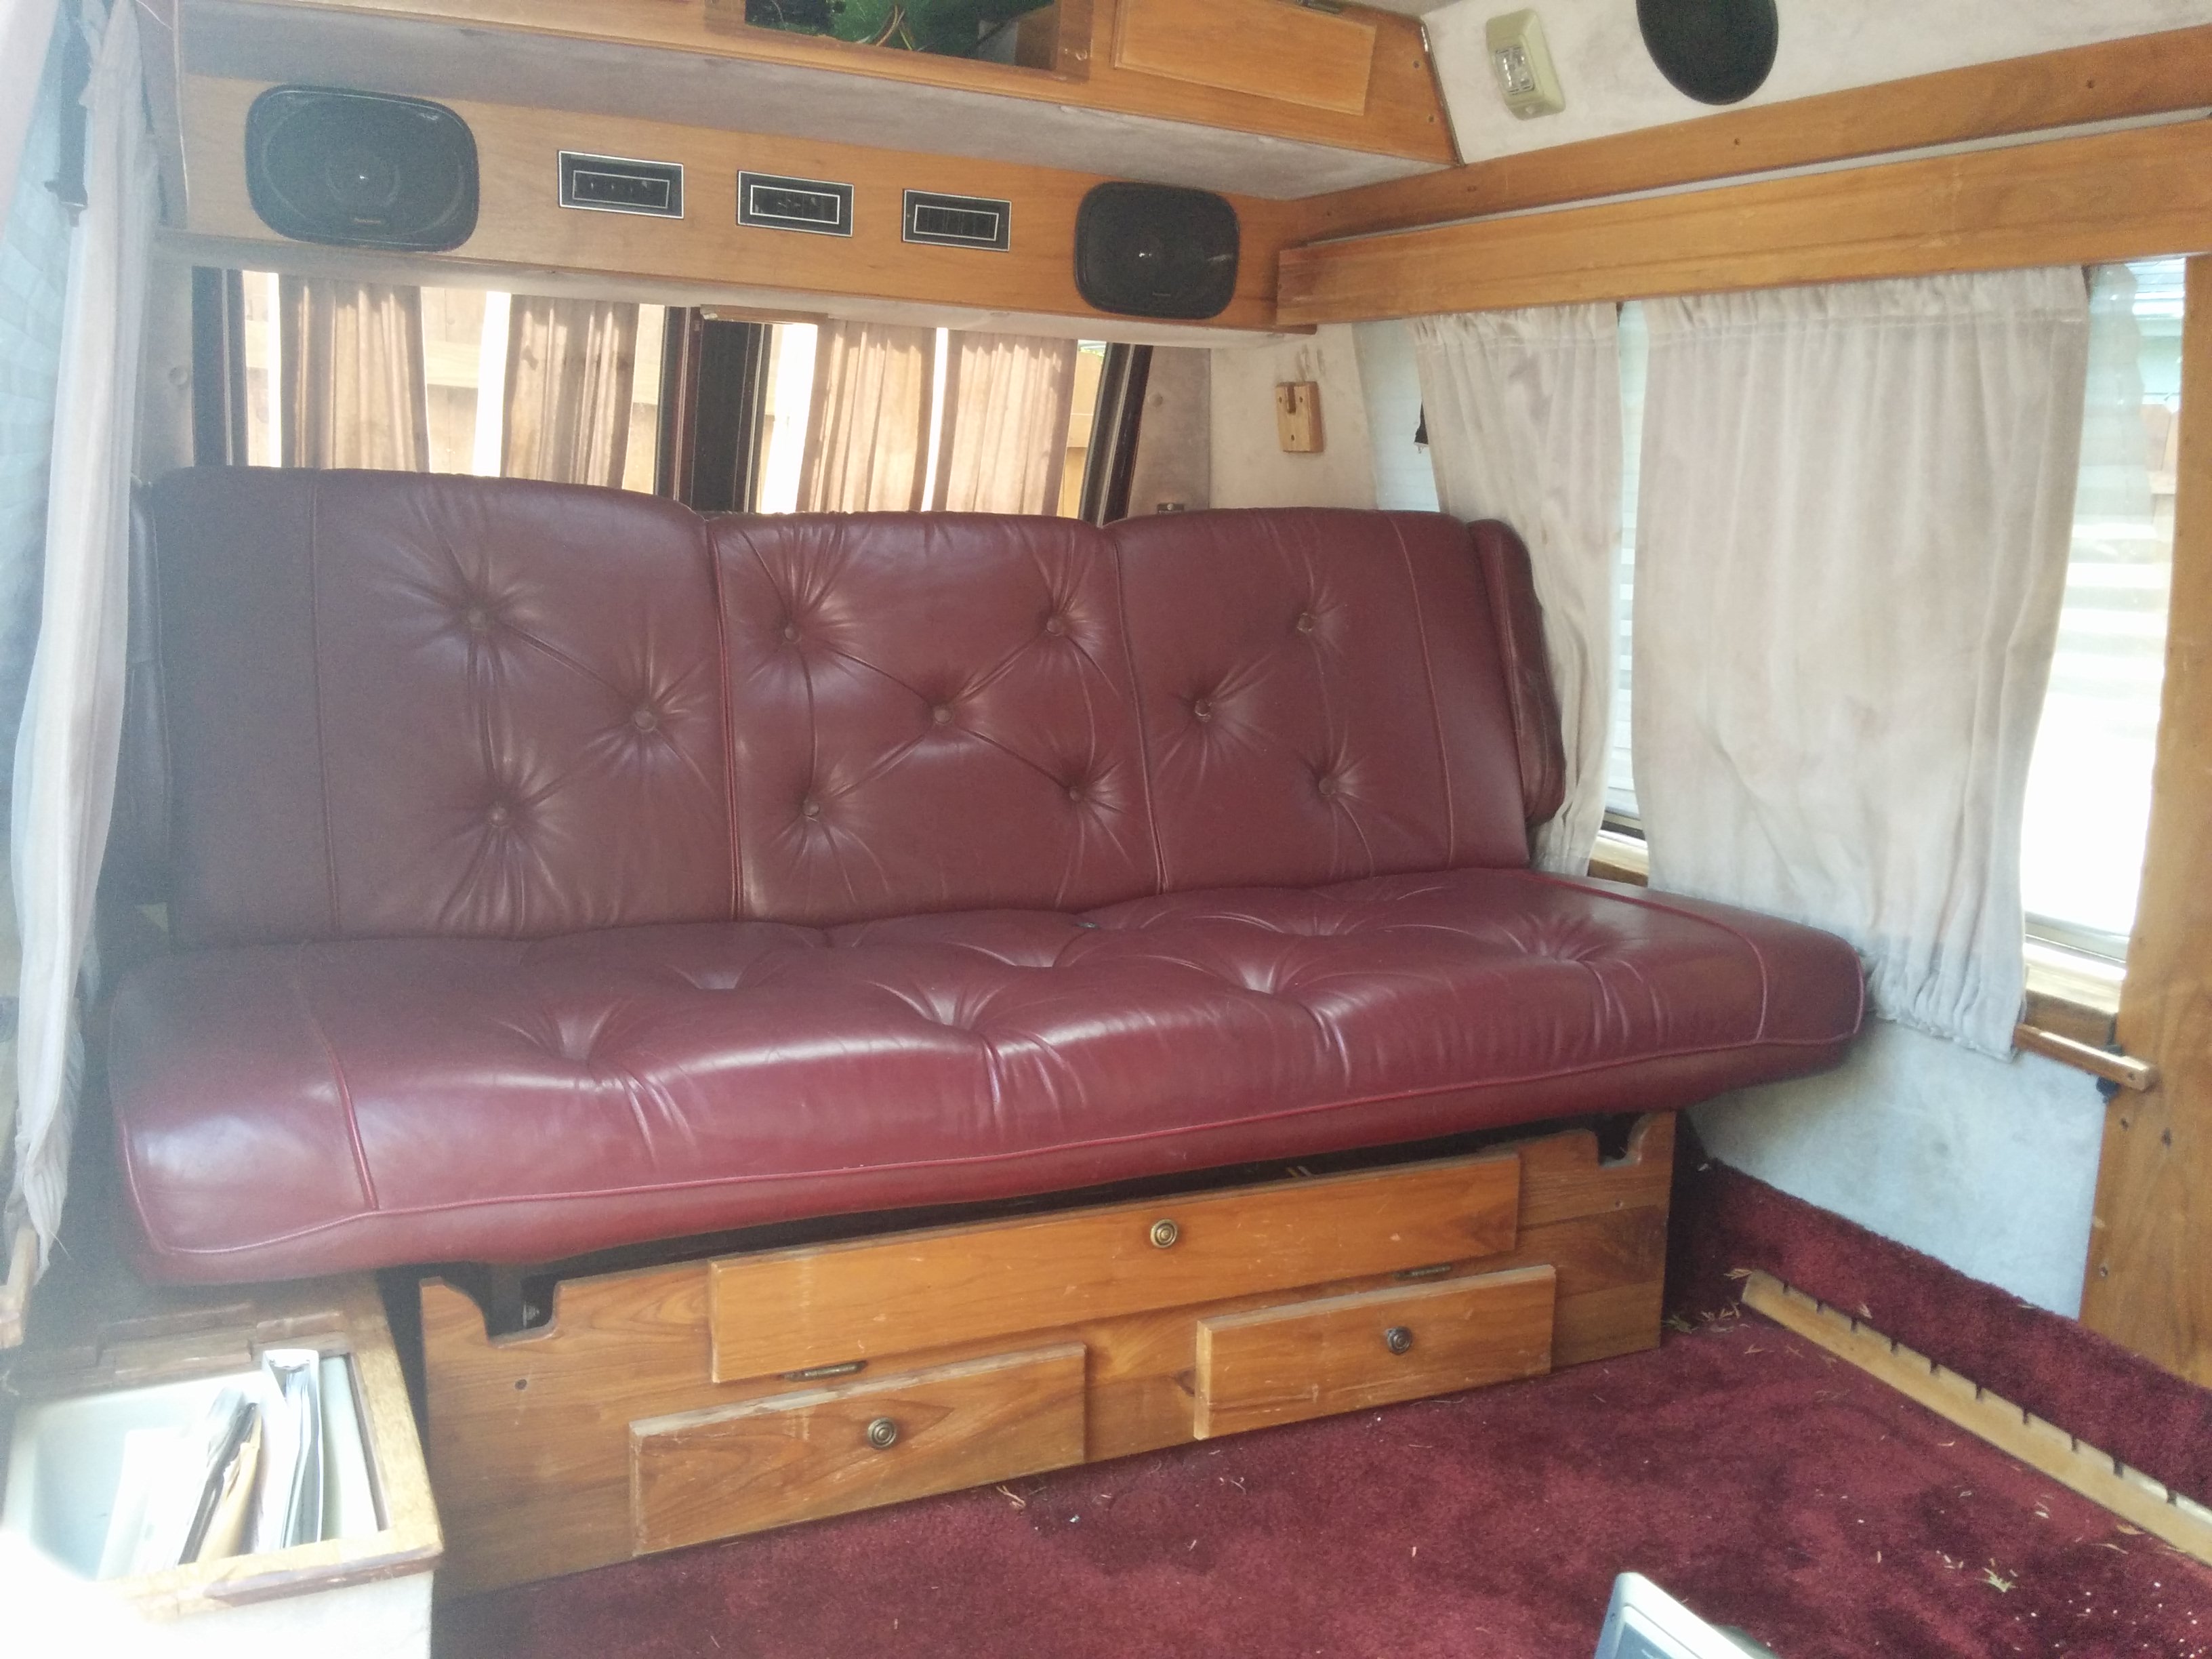
All the seats in the van were insanely comfy.
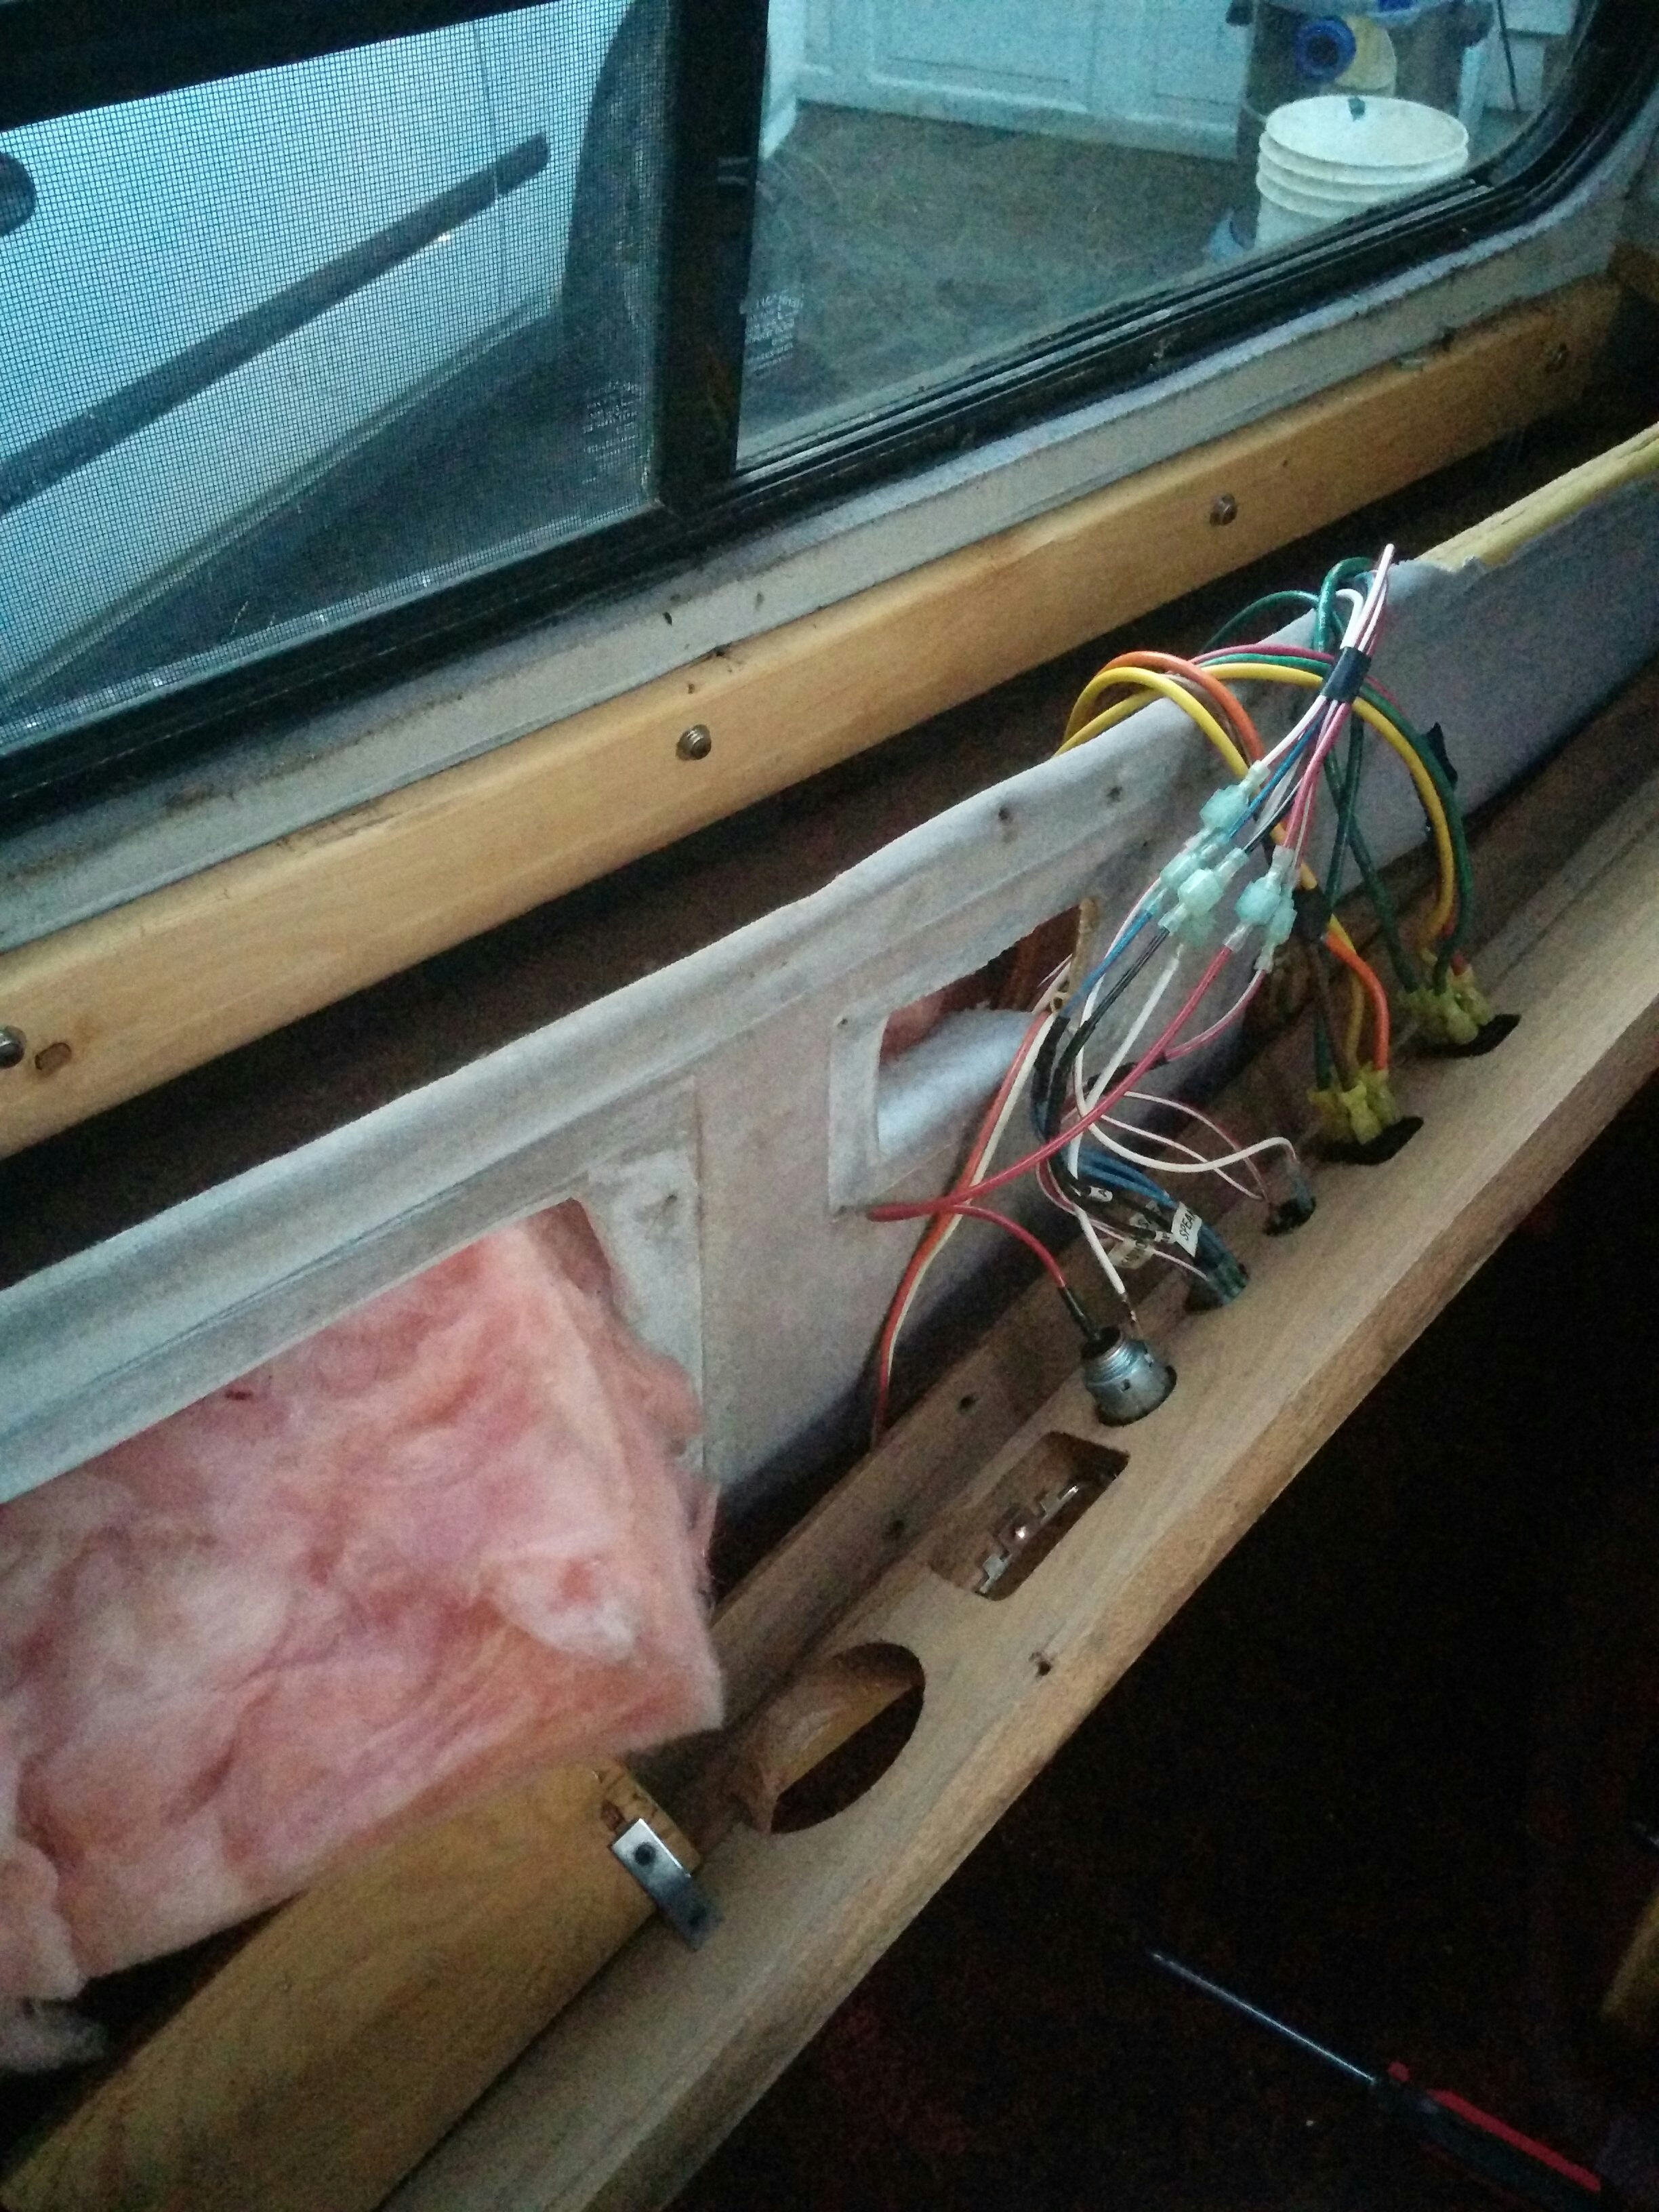
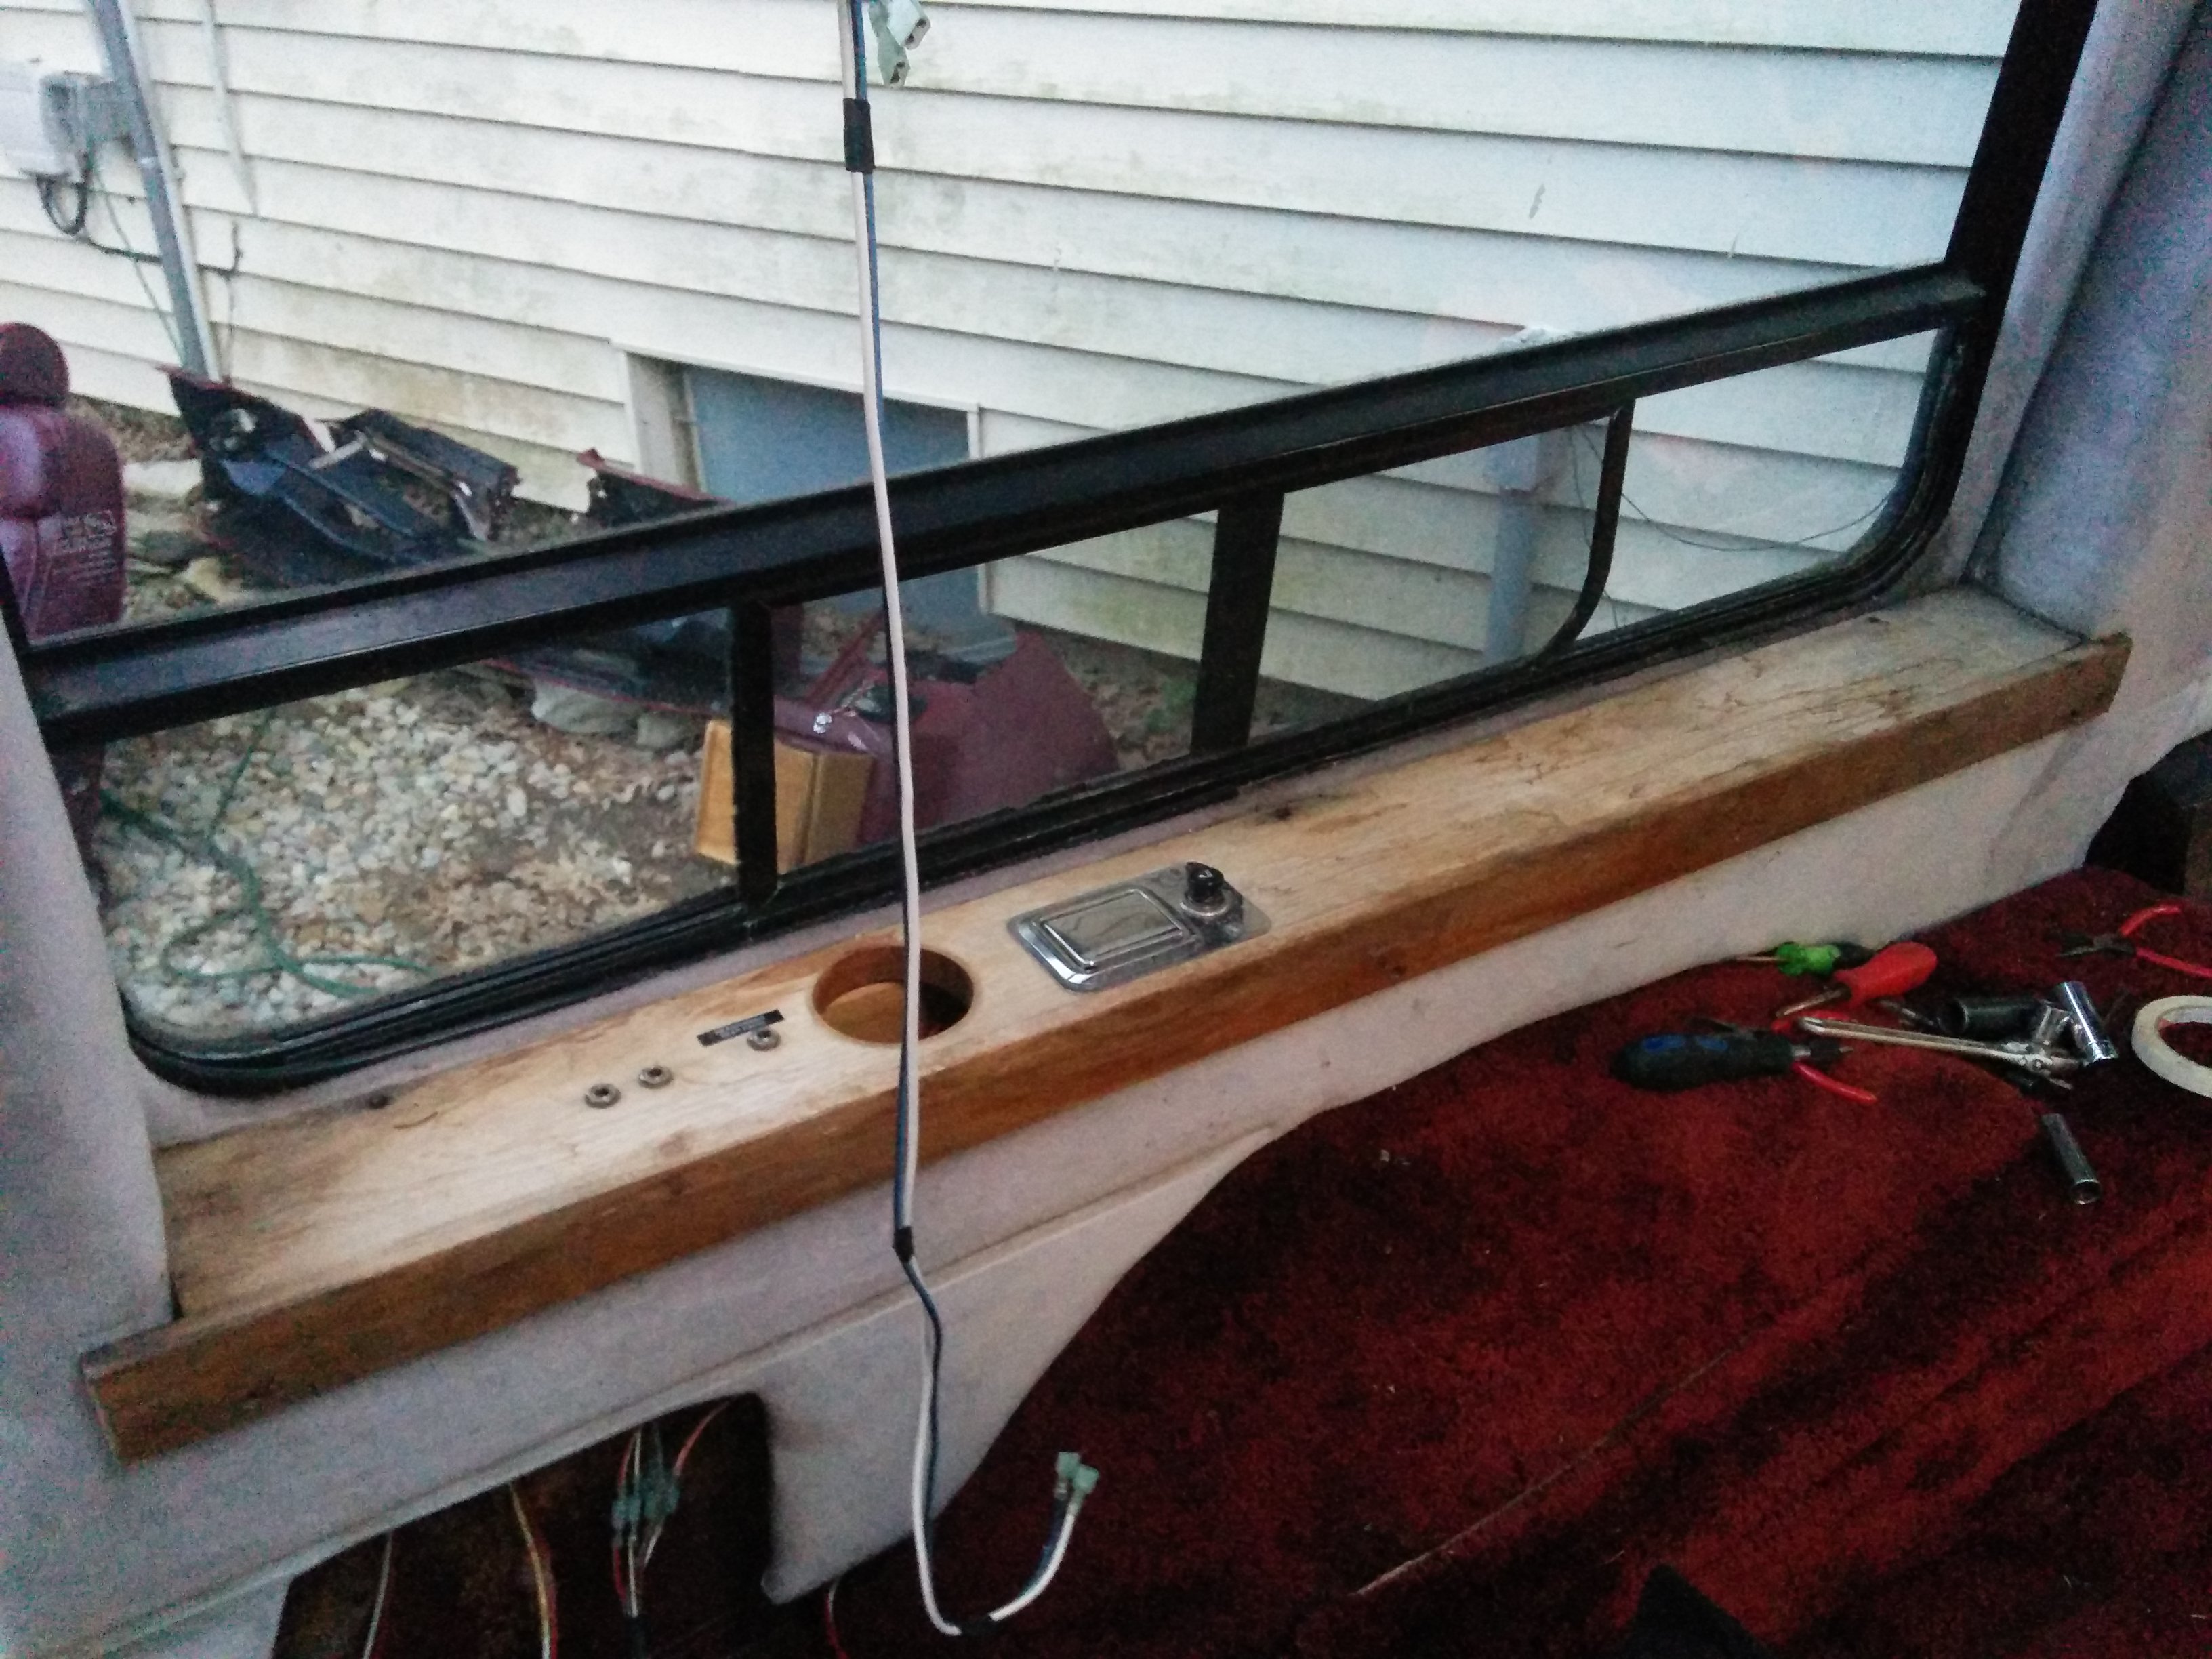
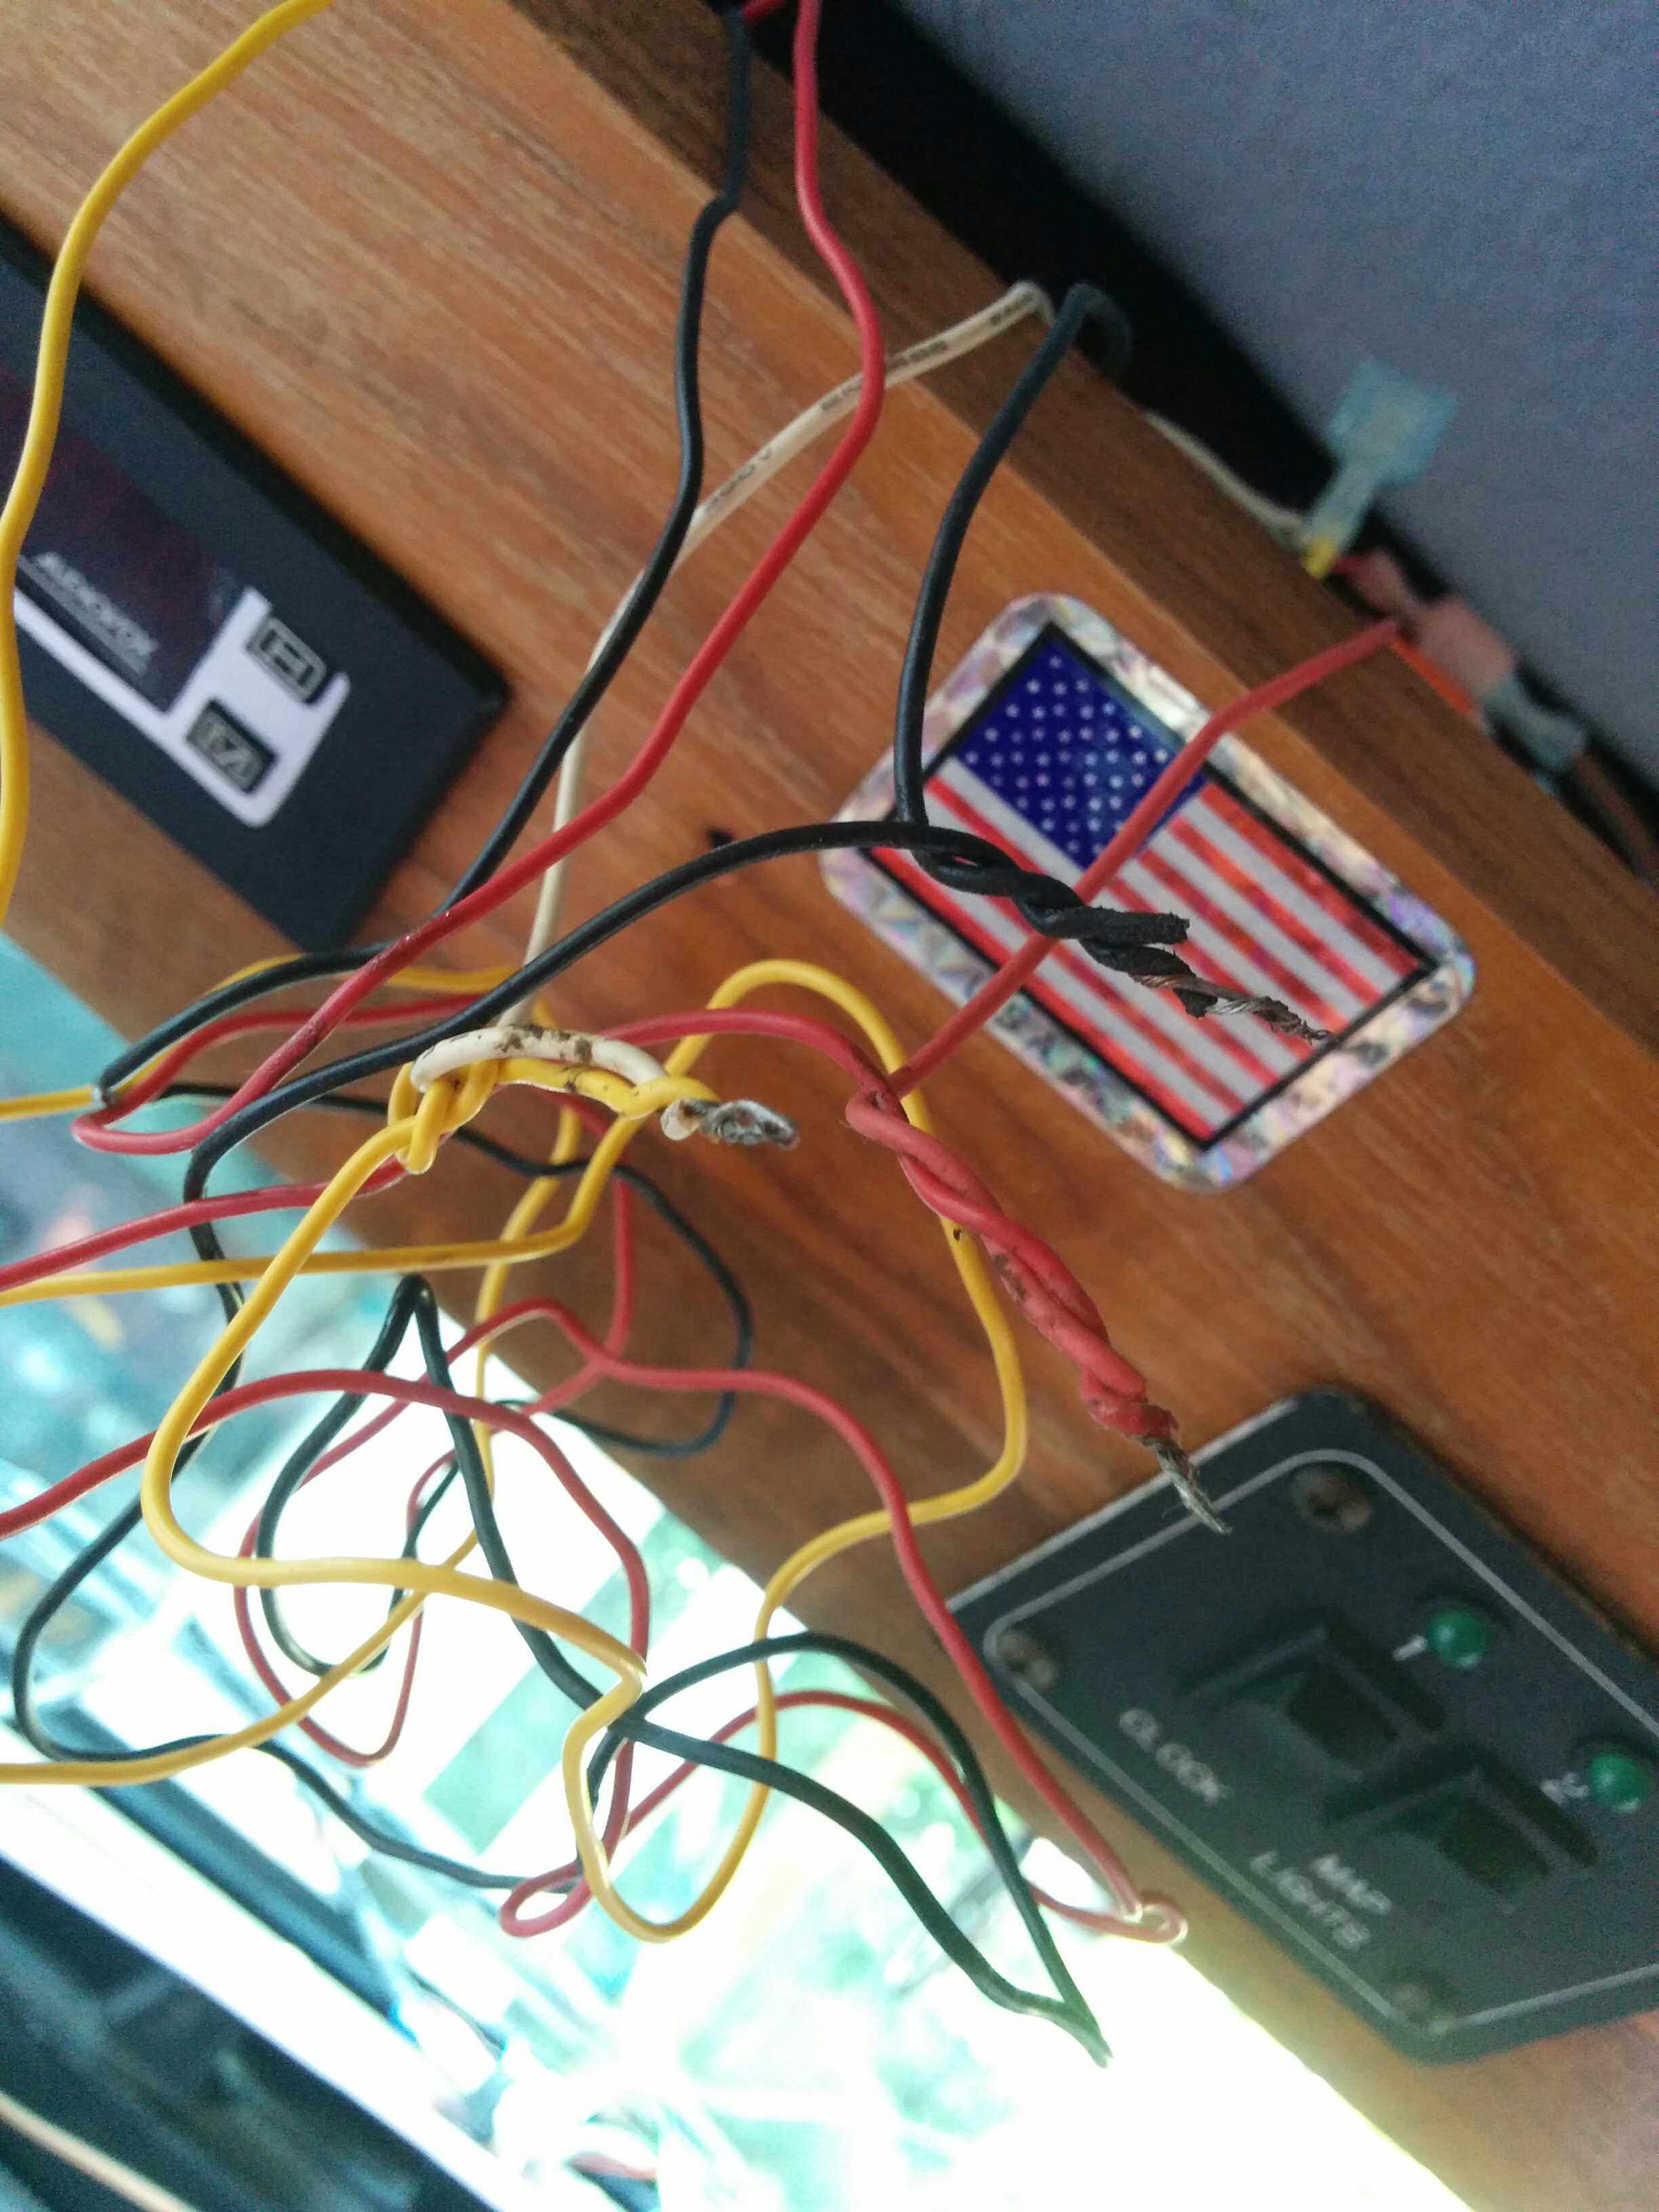
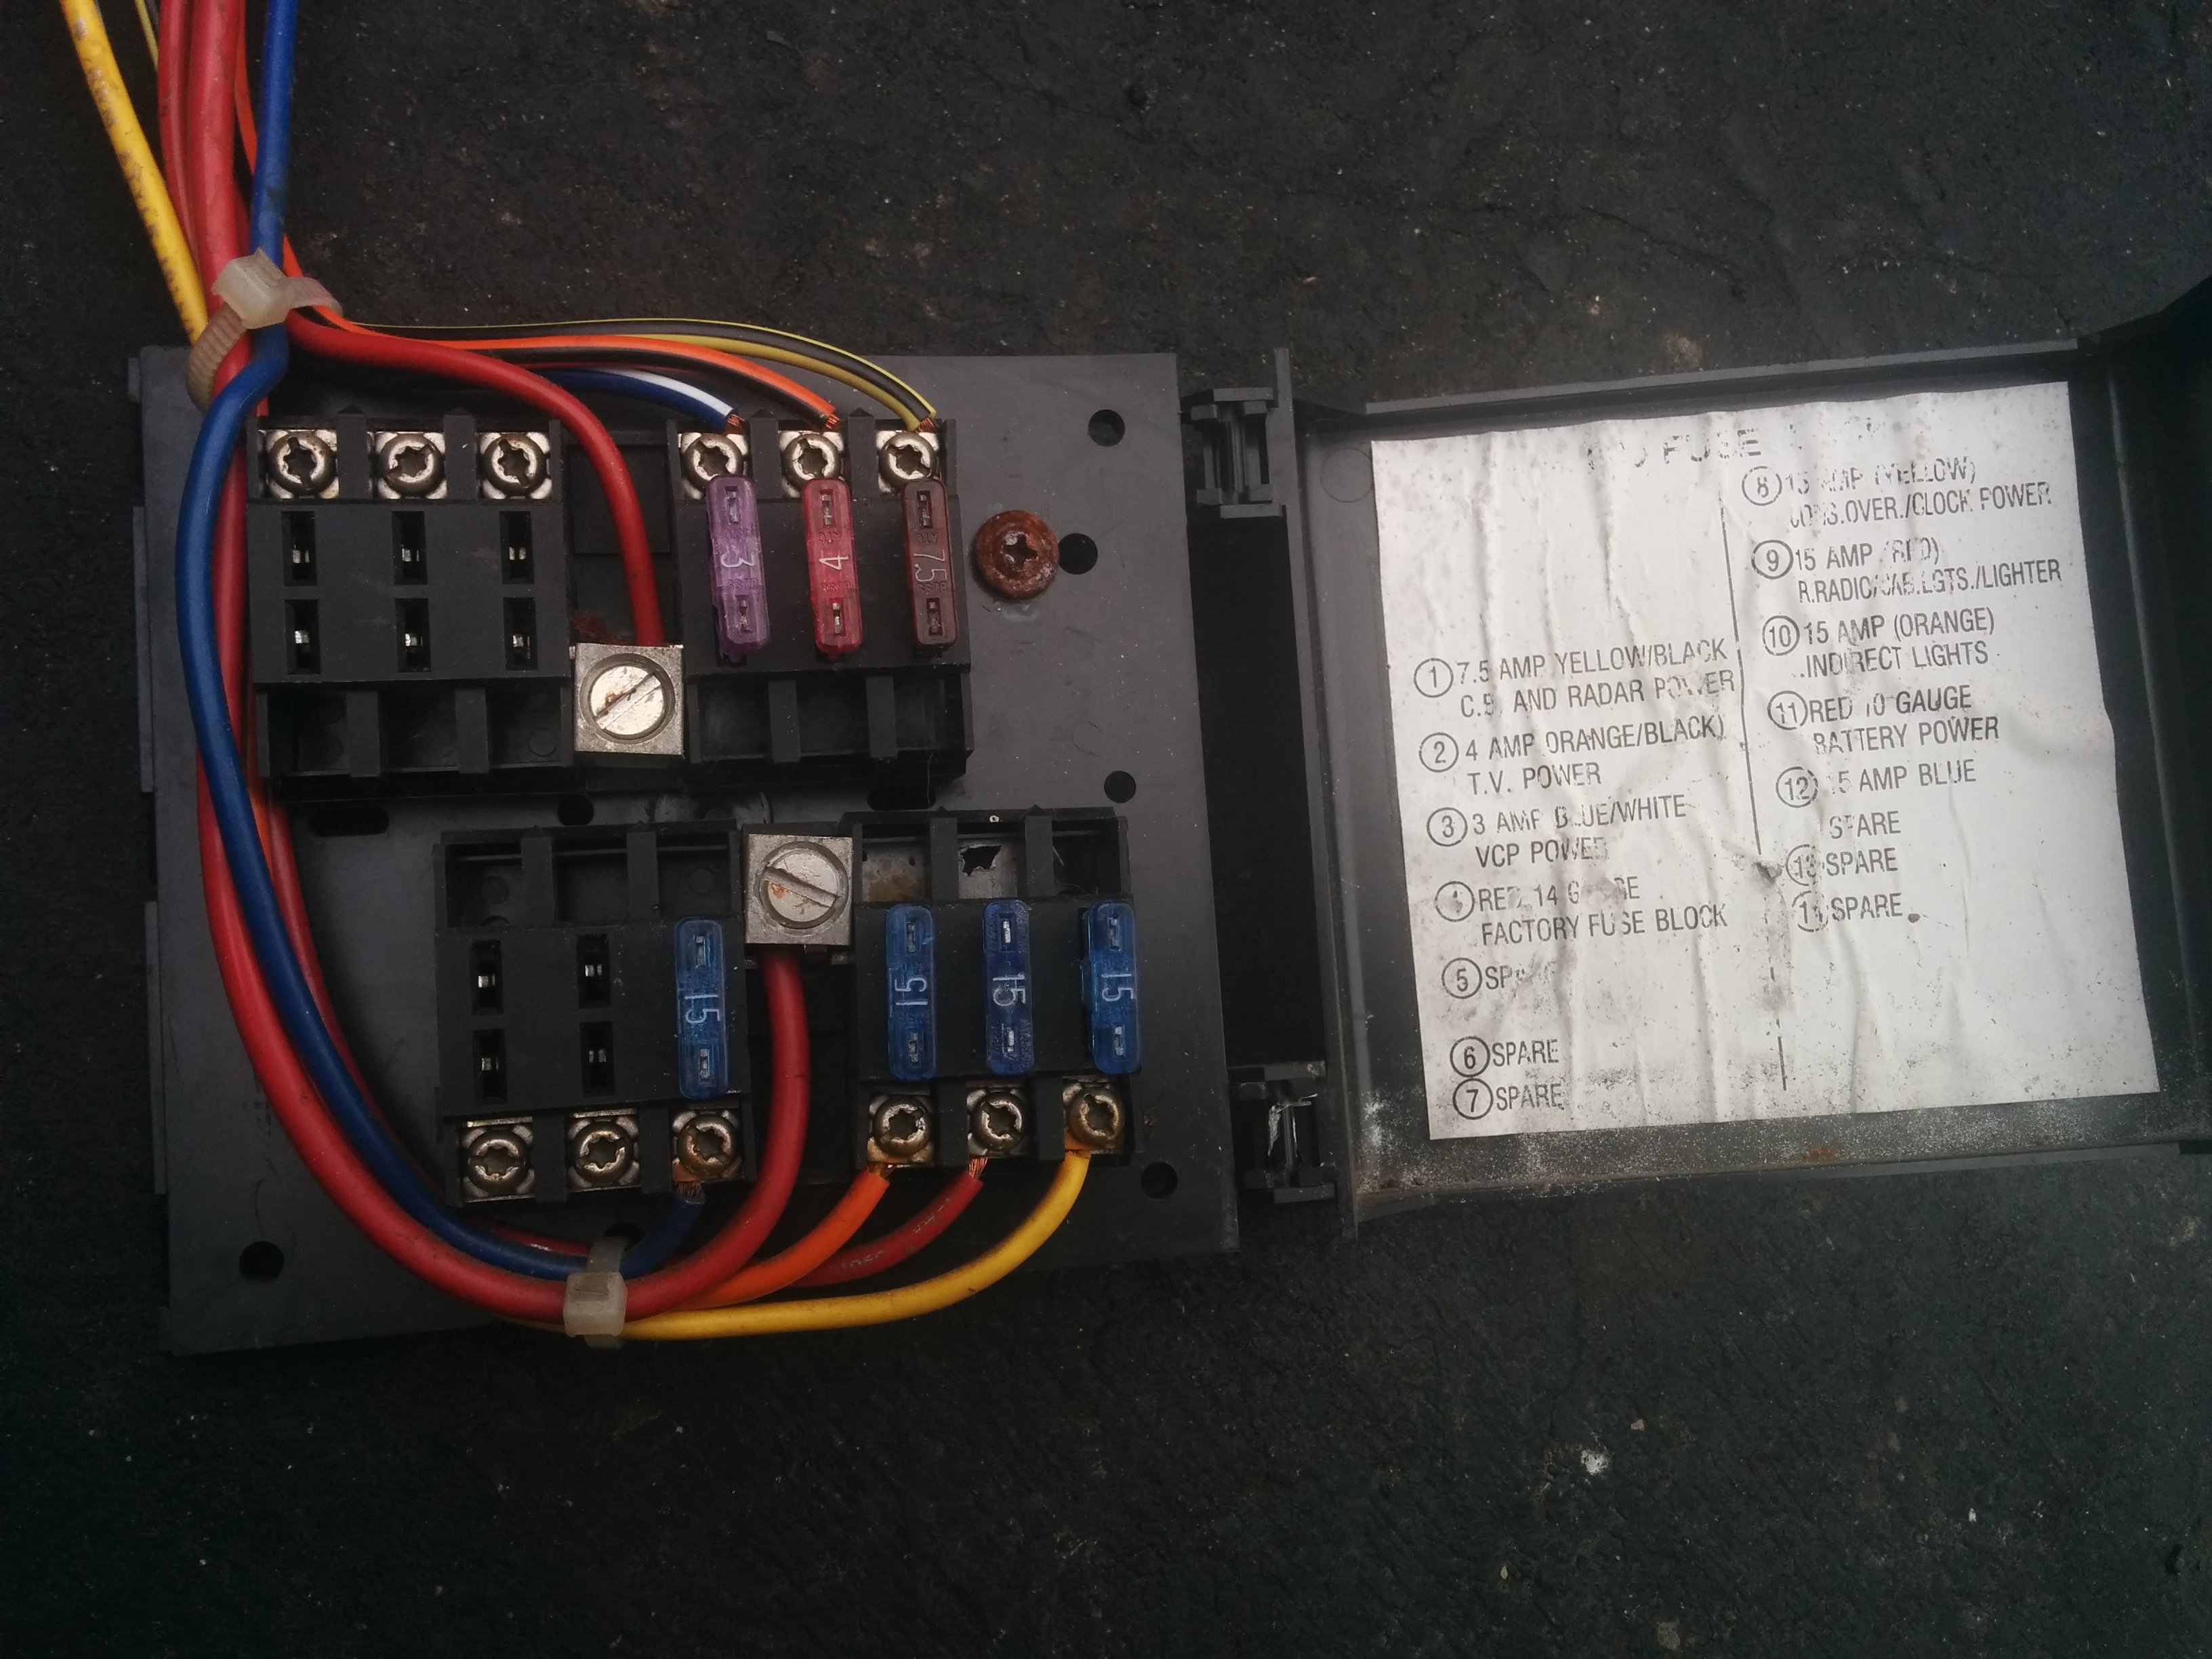
Pulling the Radio
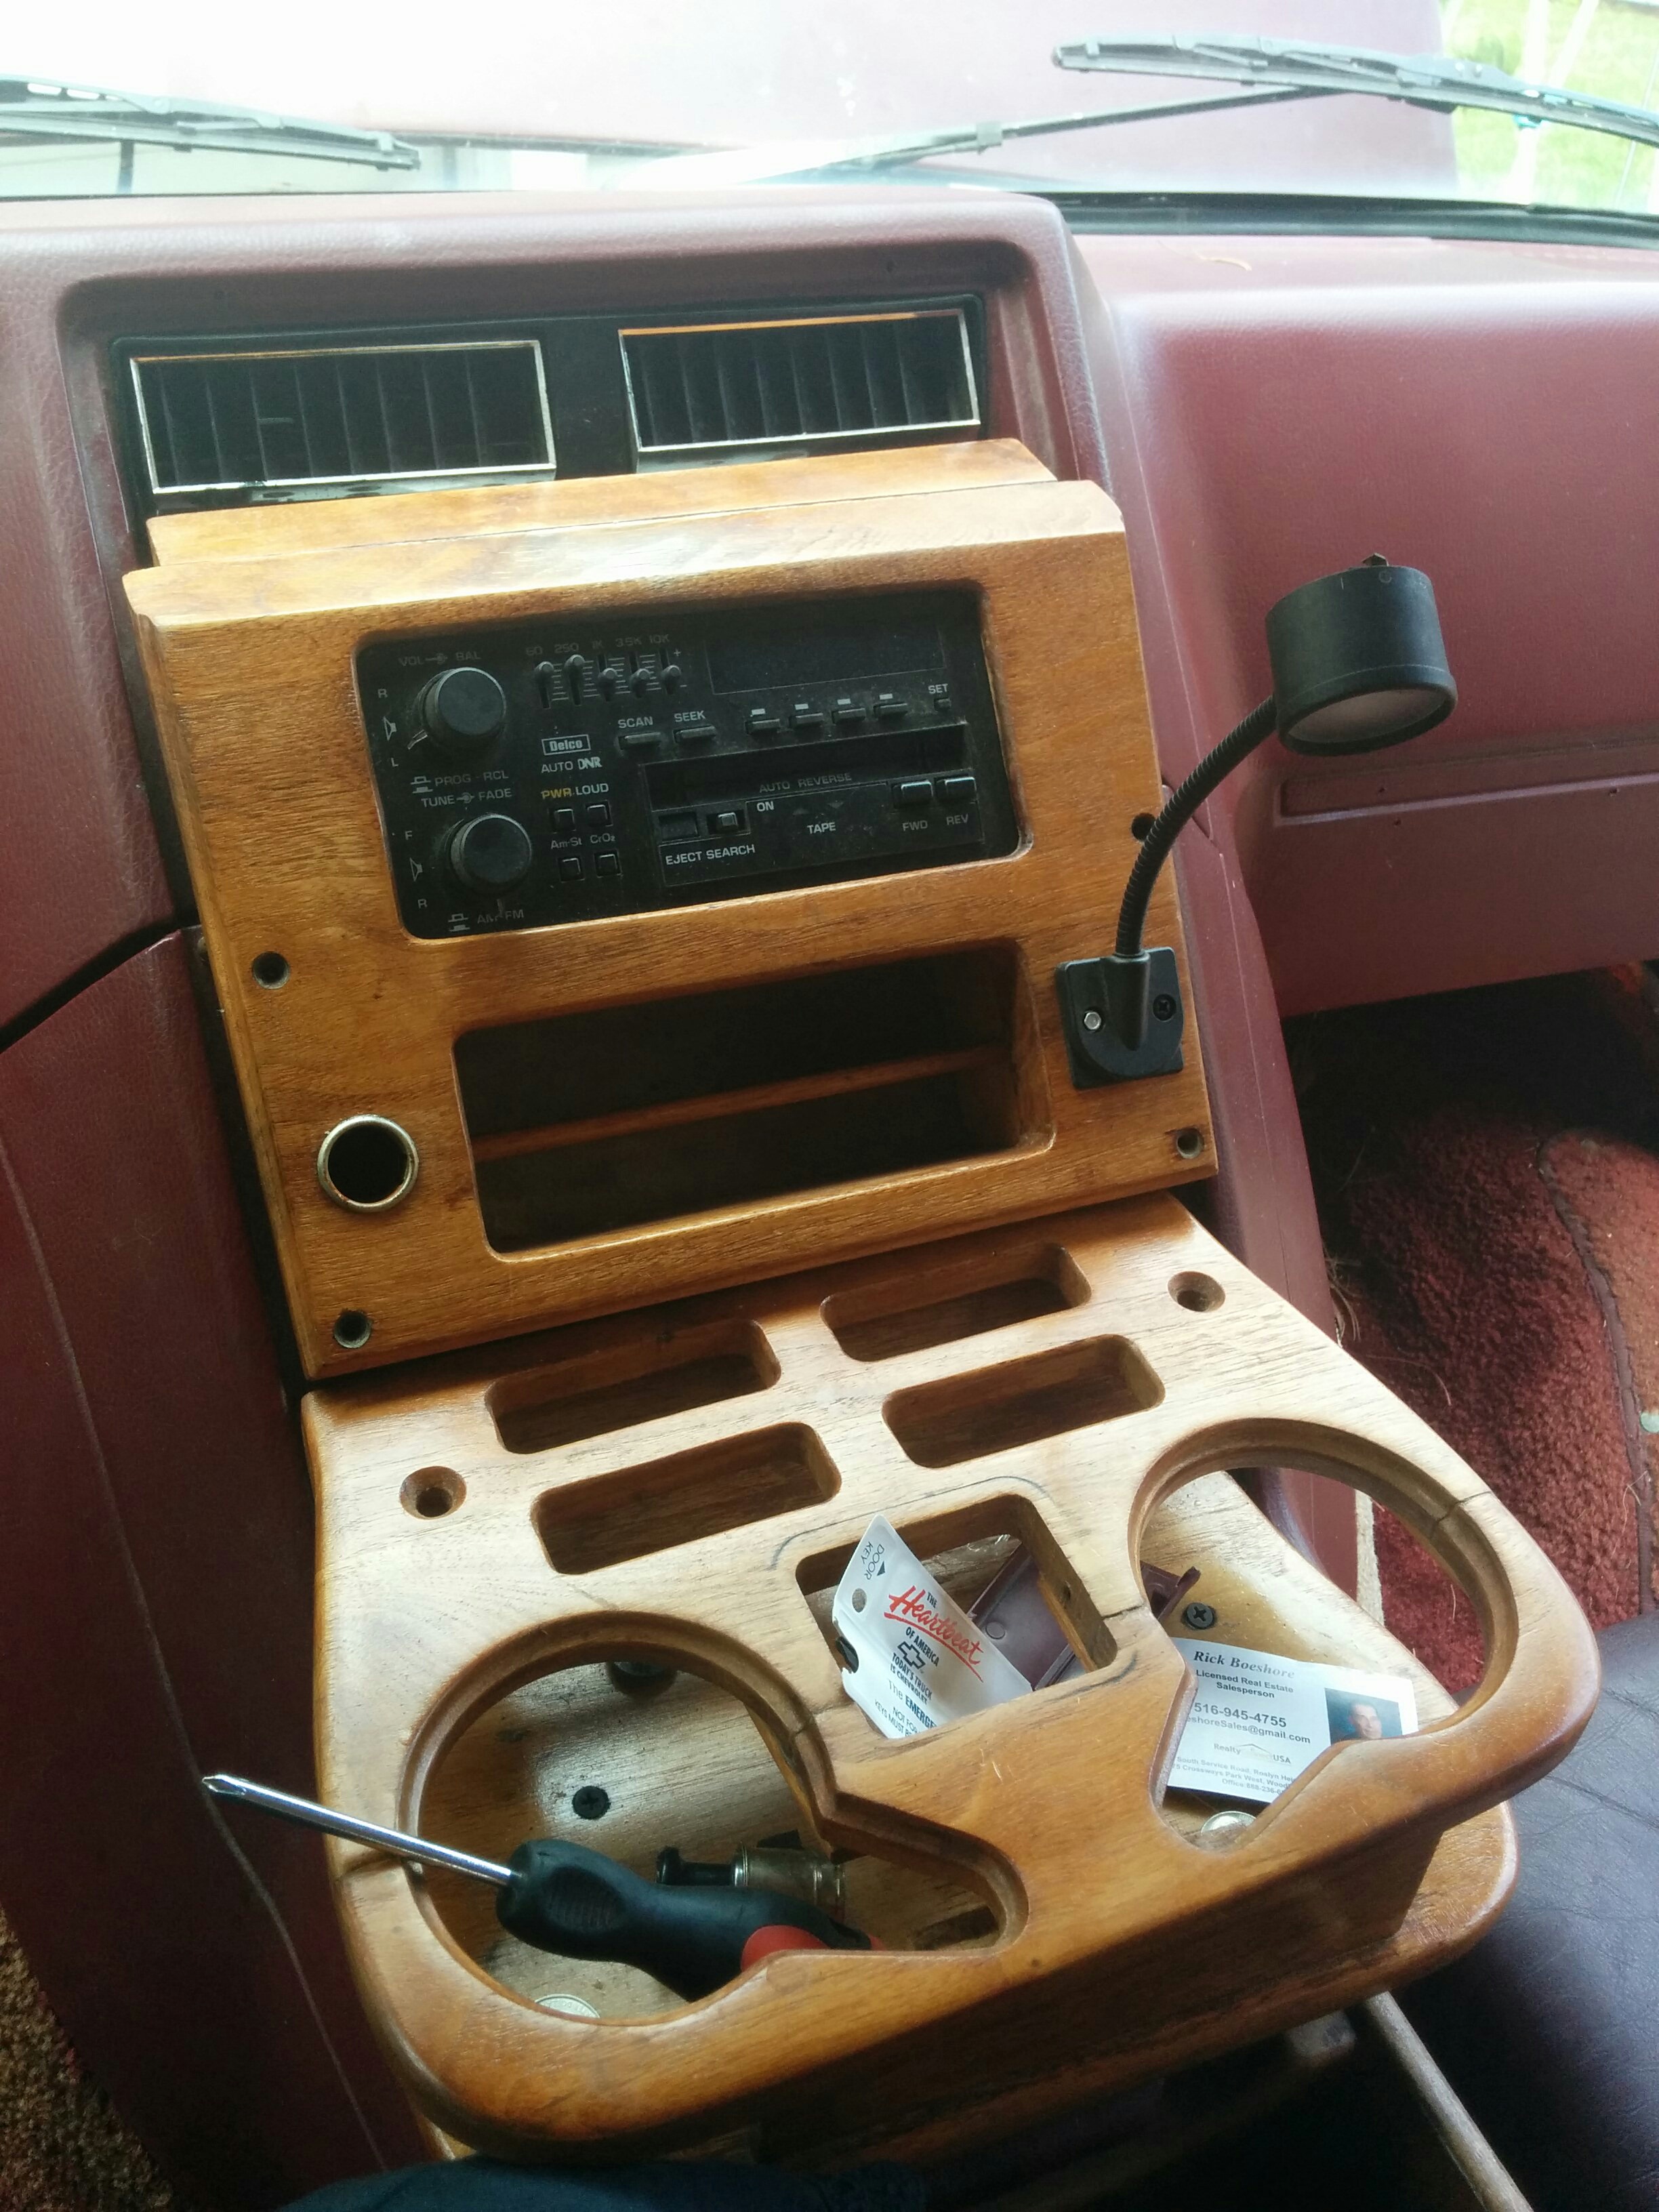
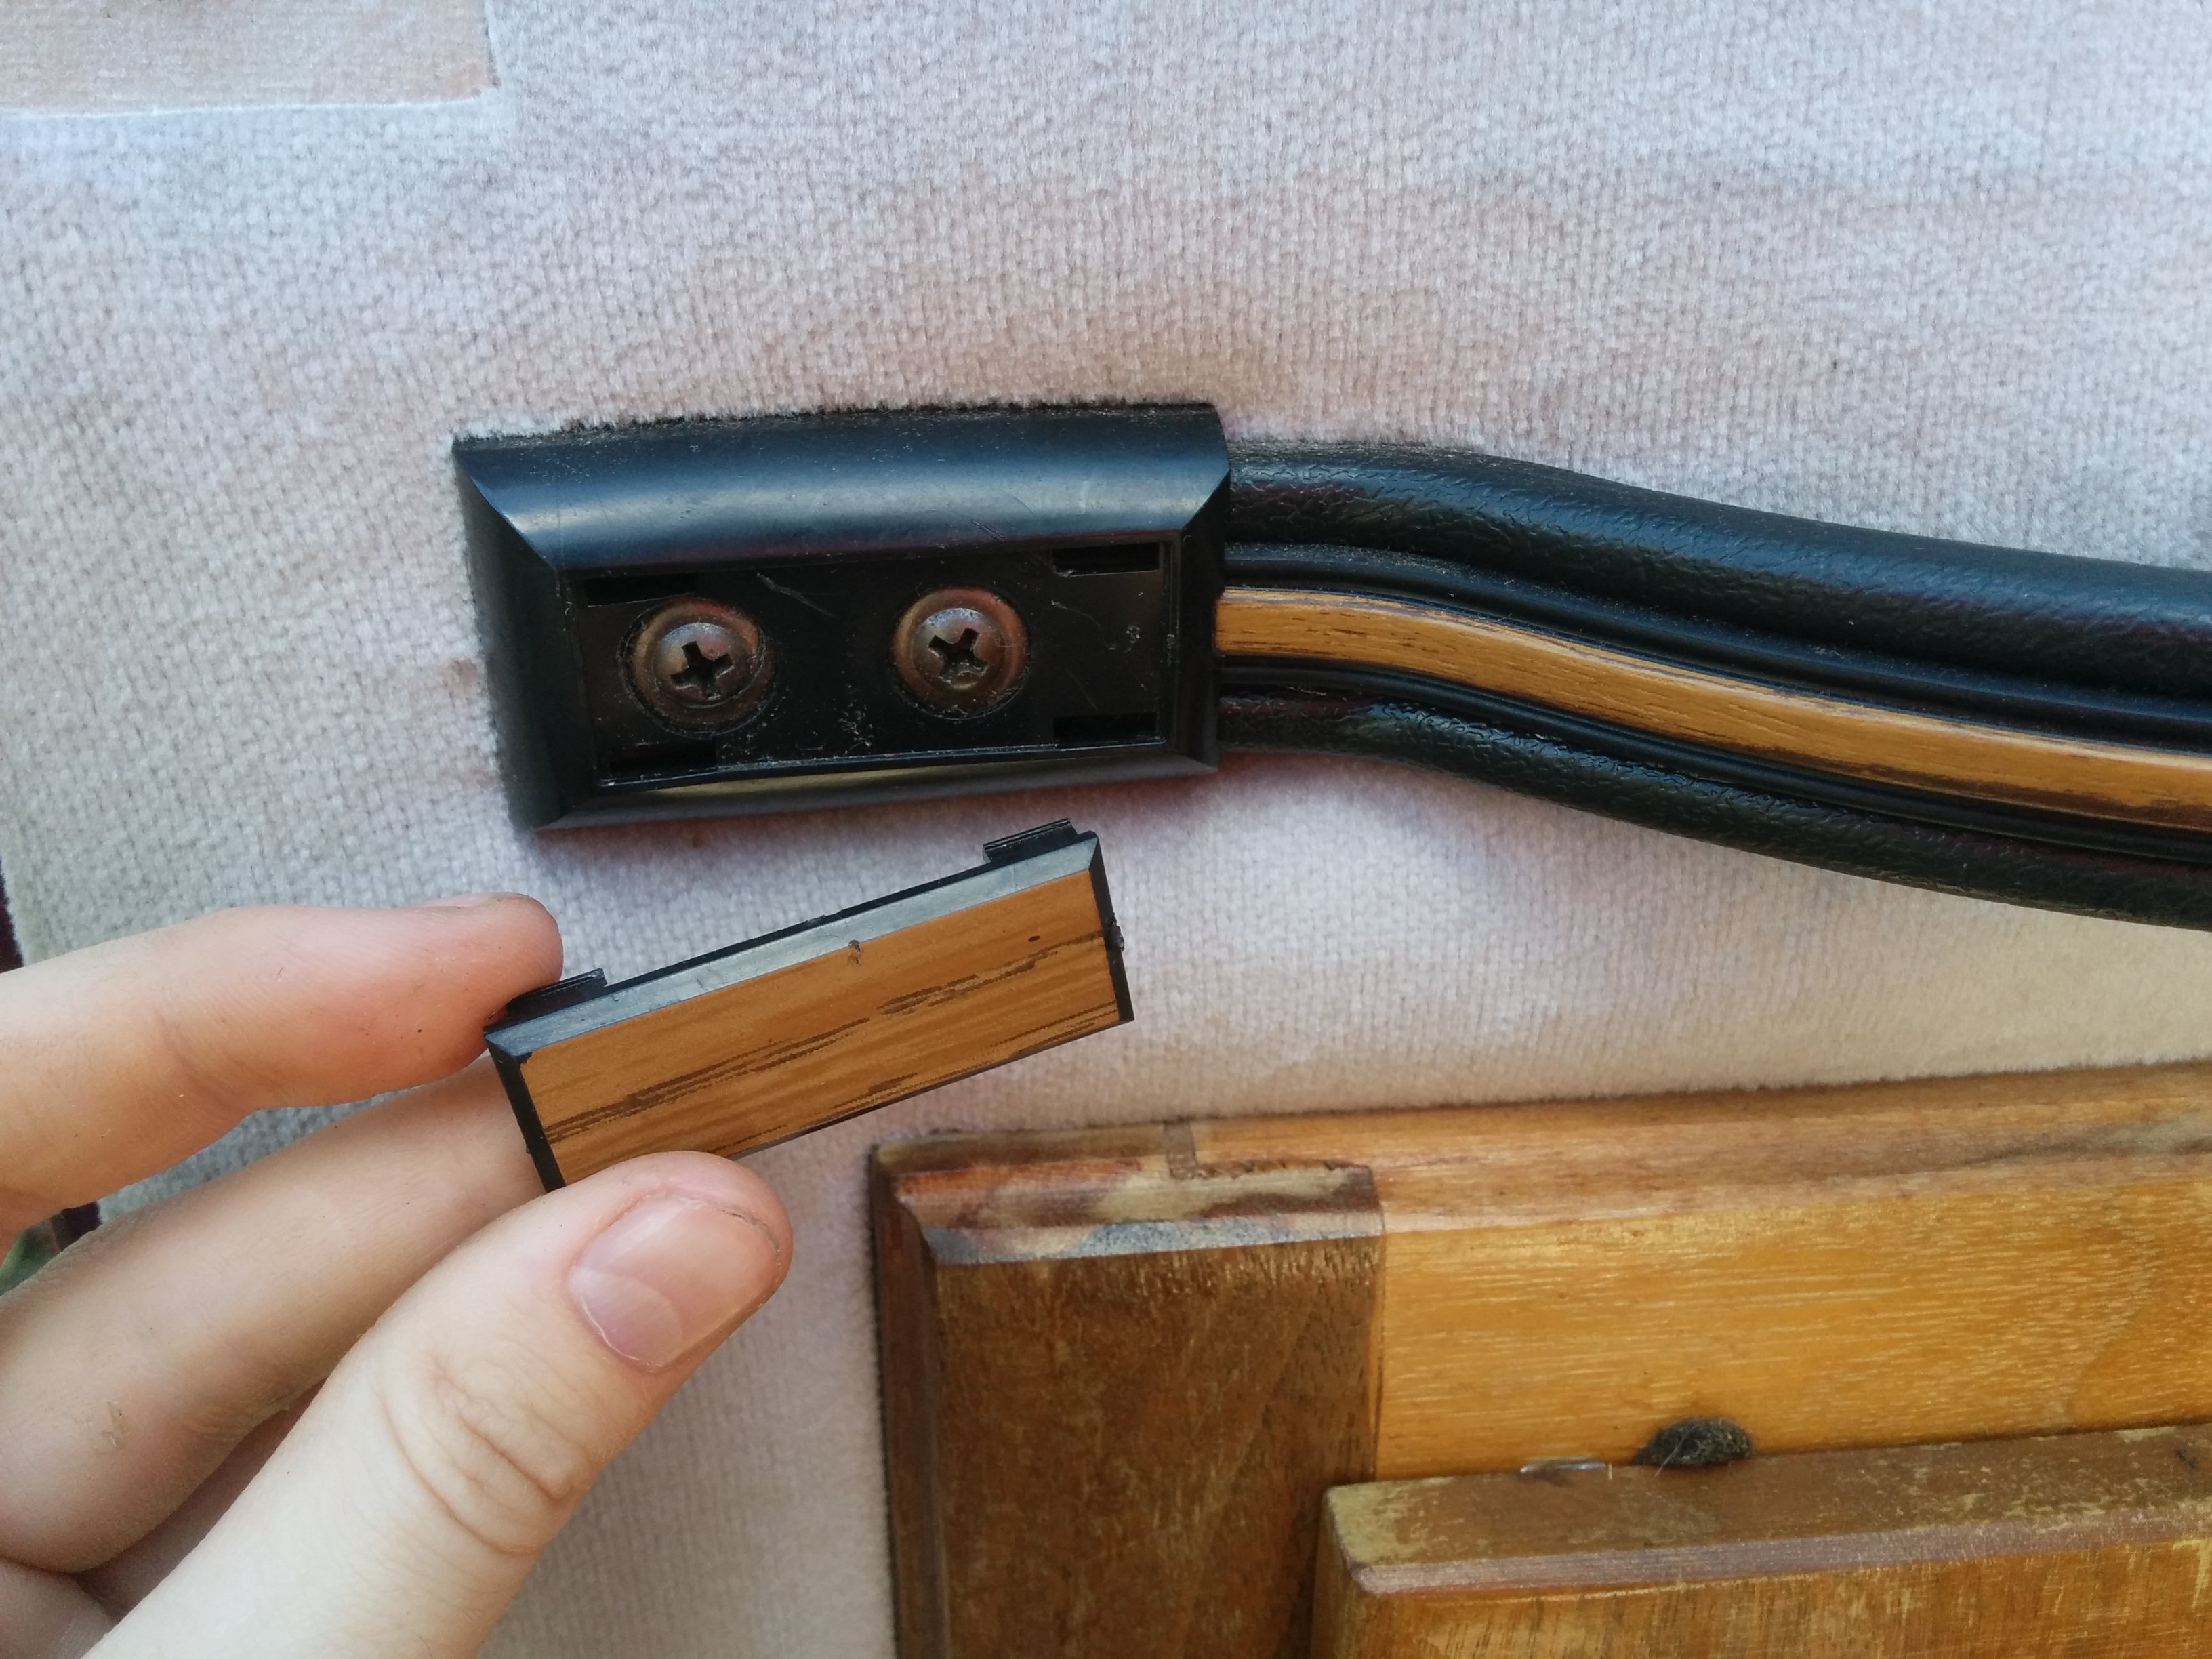
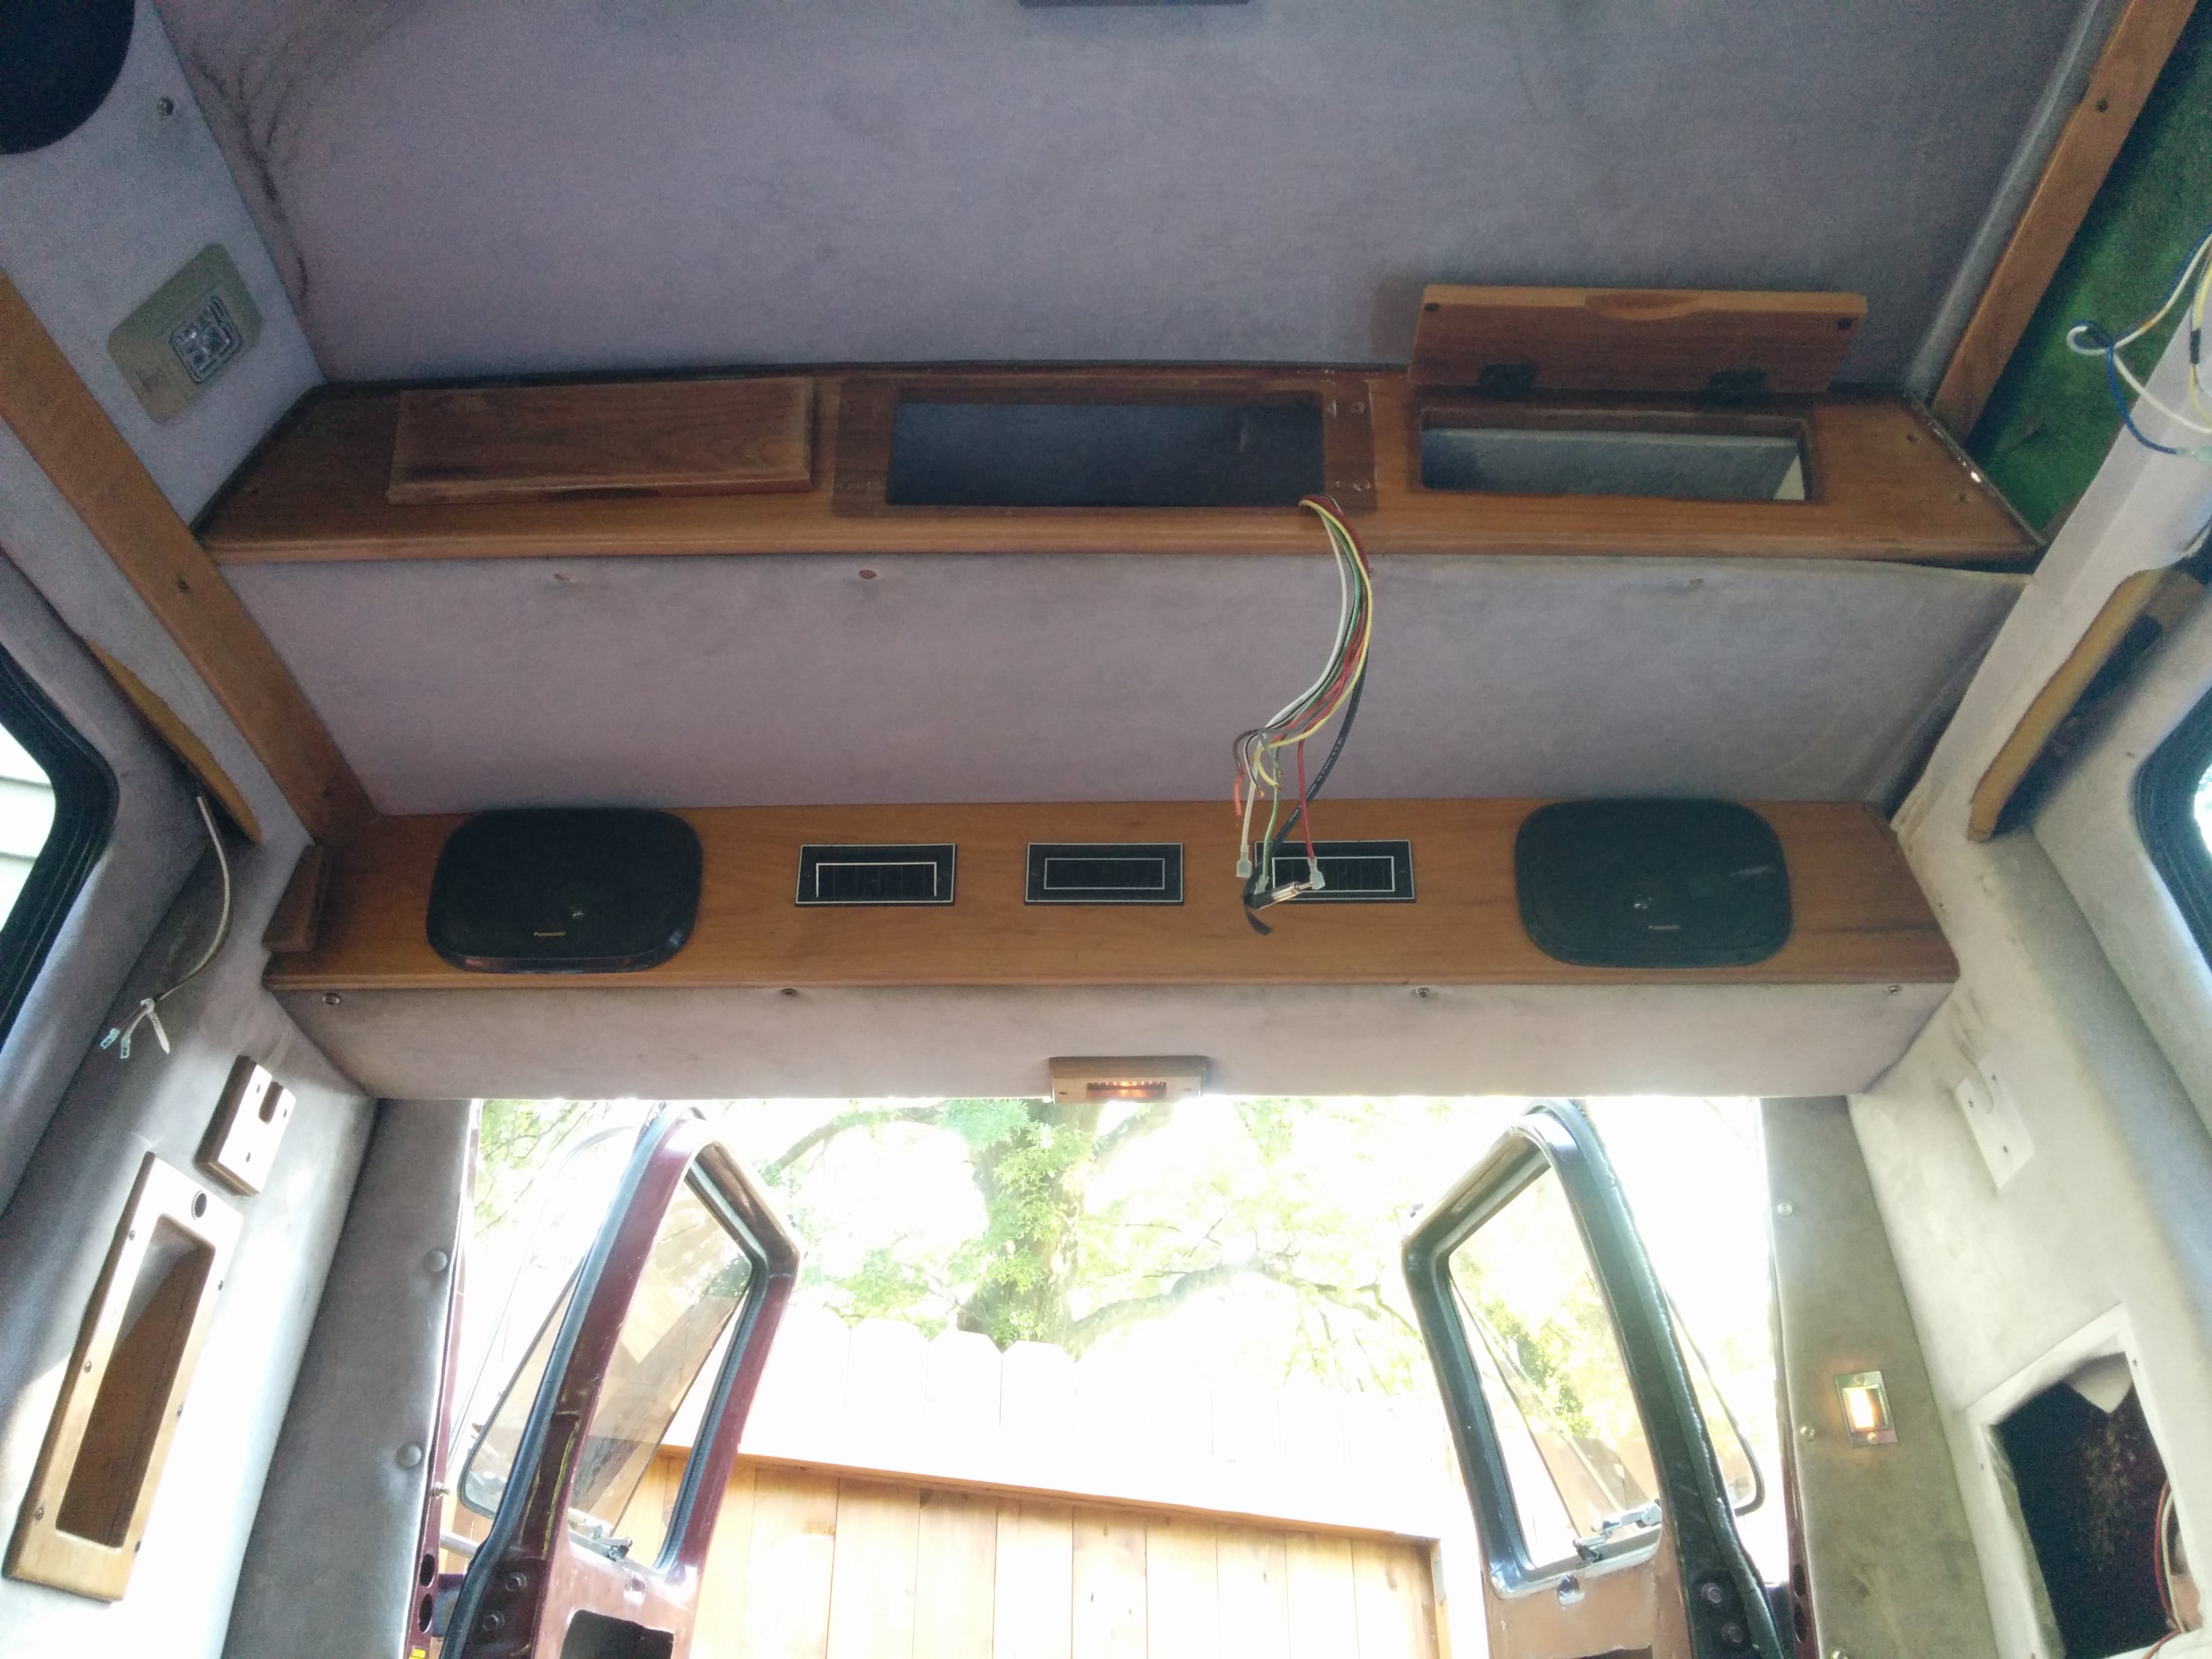
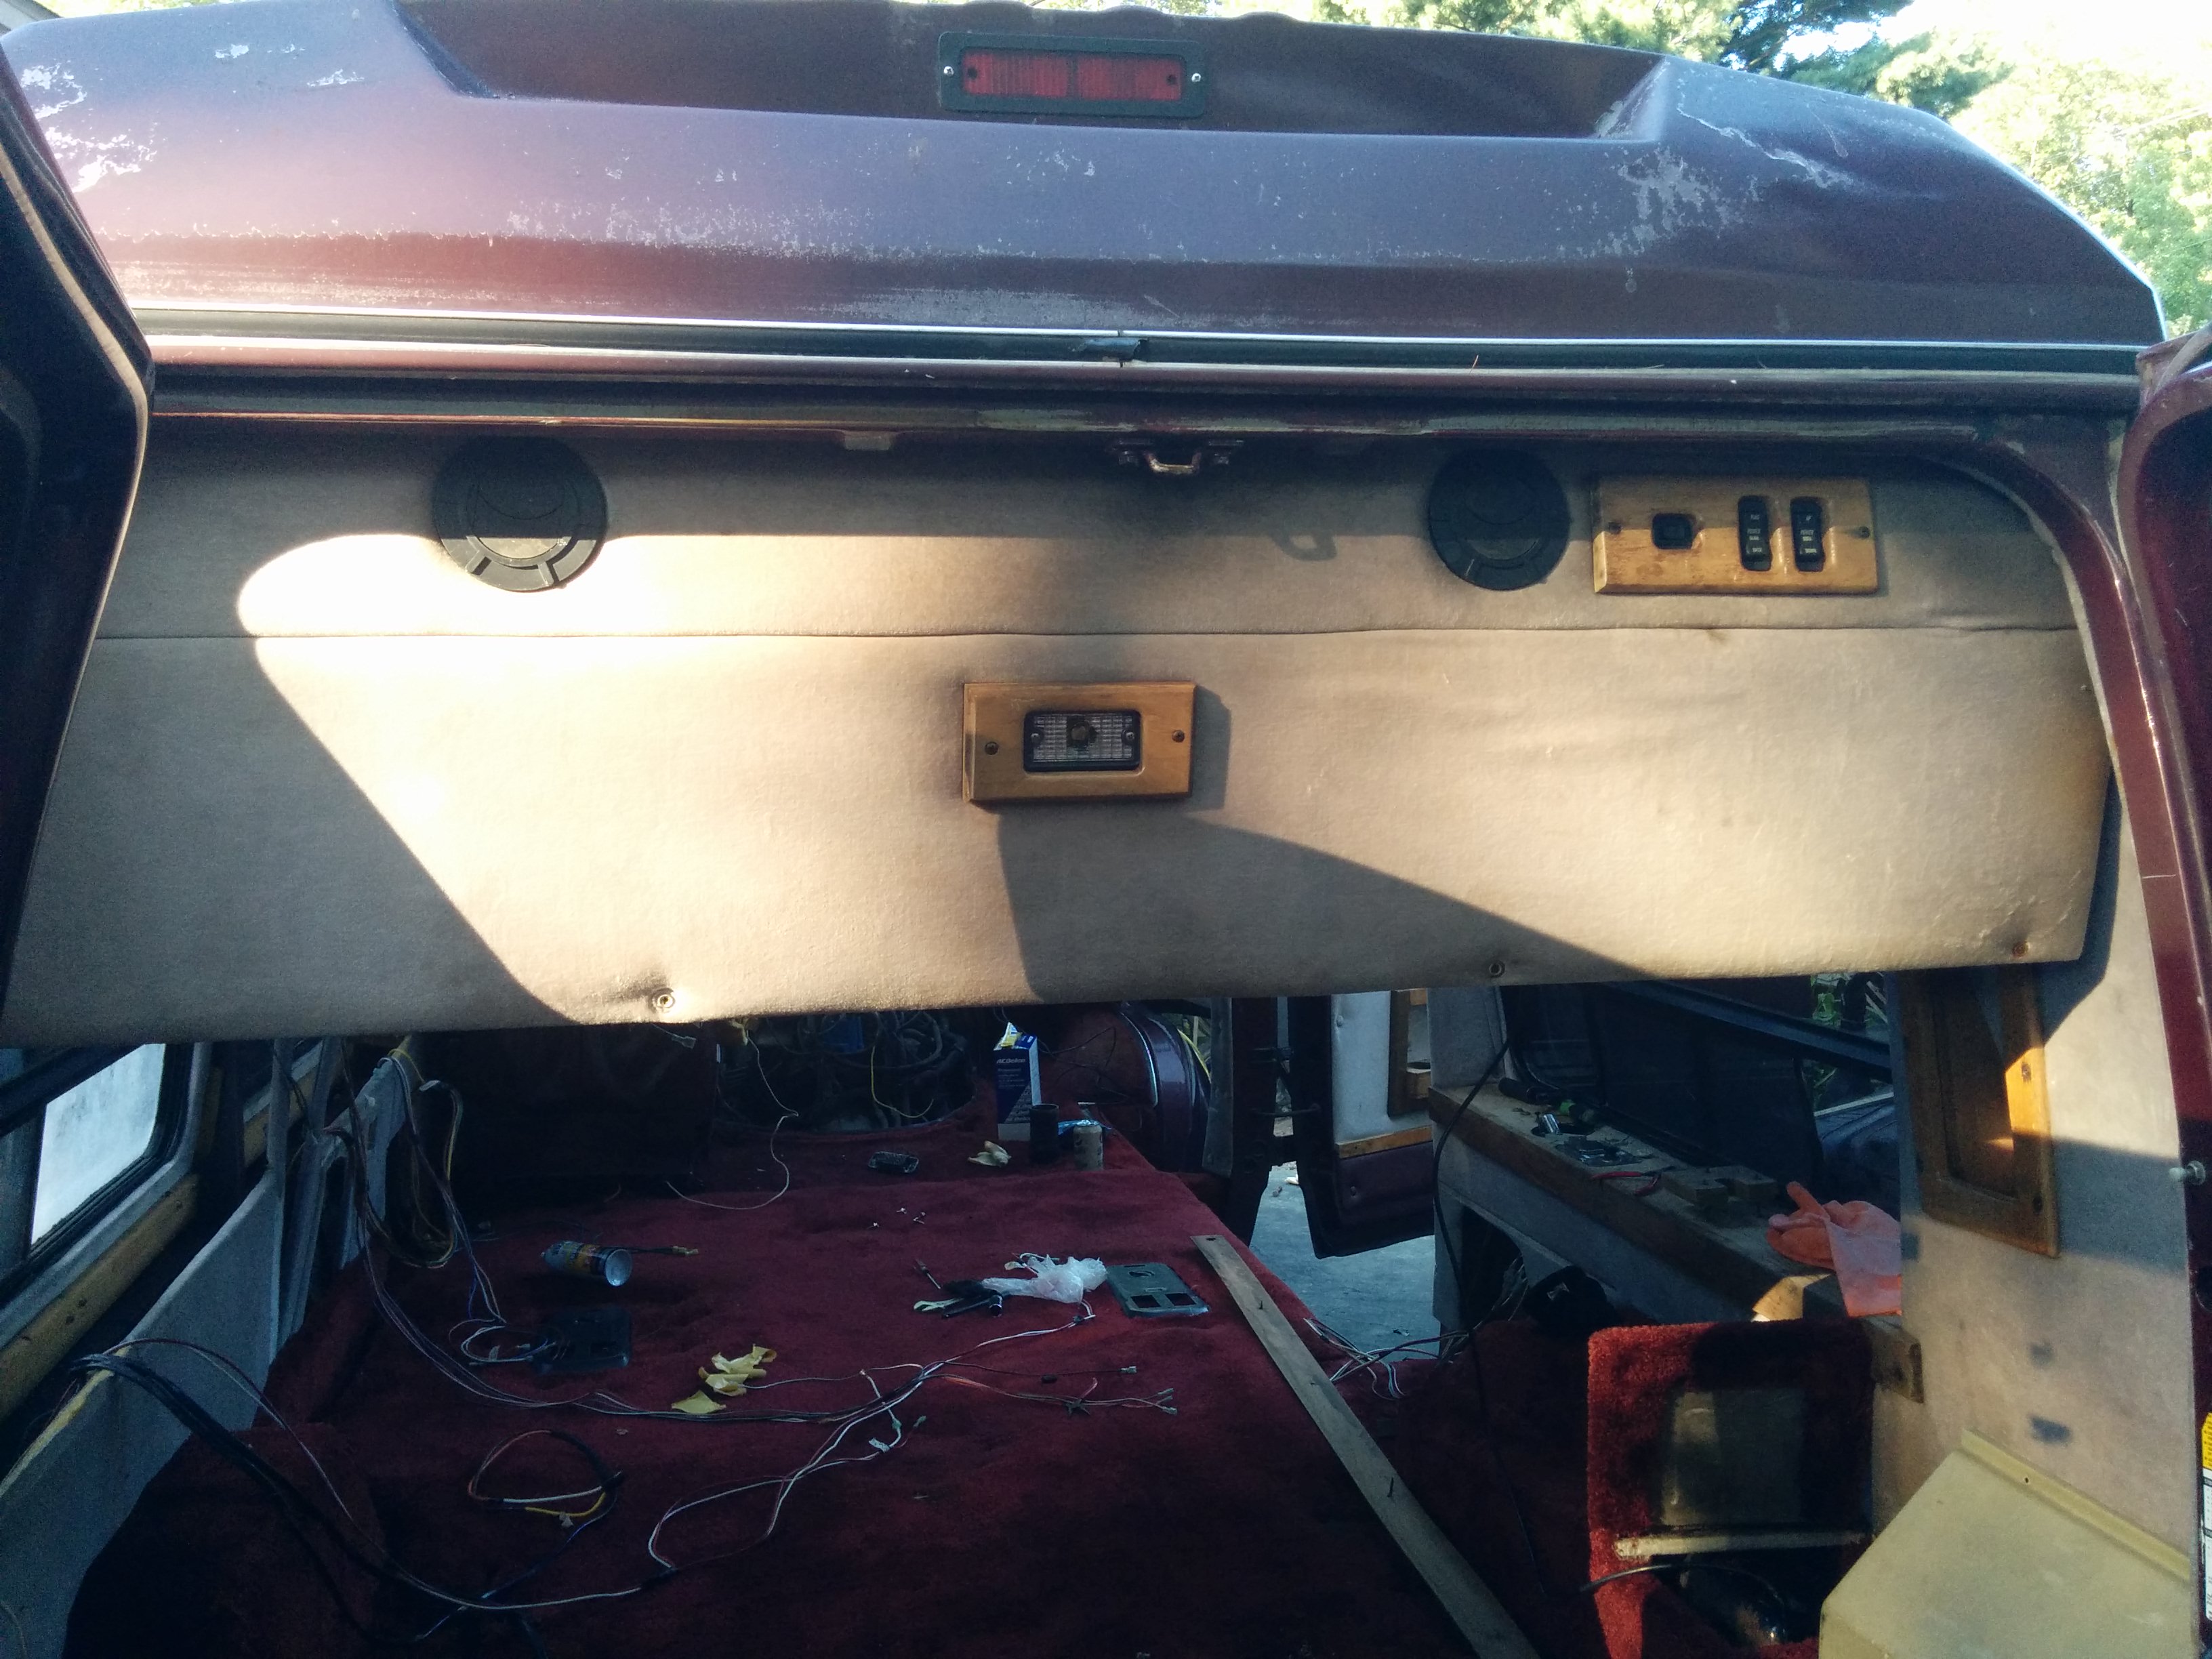
The thing on the right is supposed to be a reading light, which did not work.
I had not had a lot of experience wiring things at this point (although this was soon about to change), but even I could tell that this was…questionable.
Interior Teardown
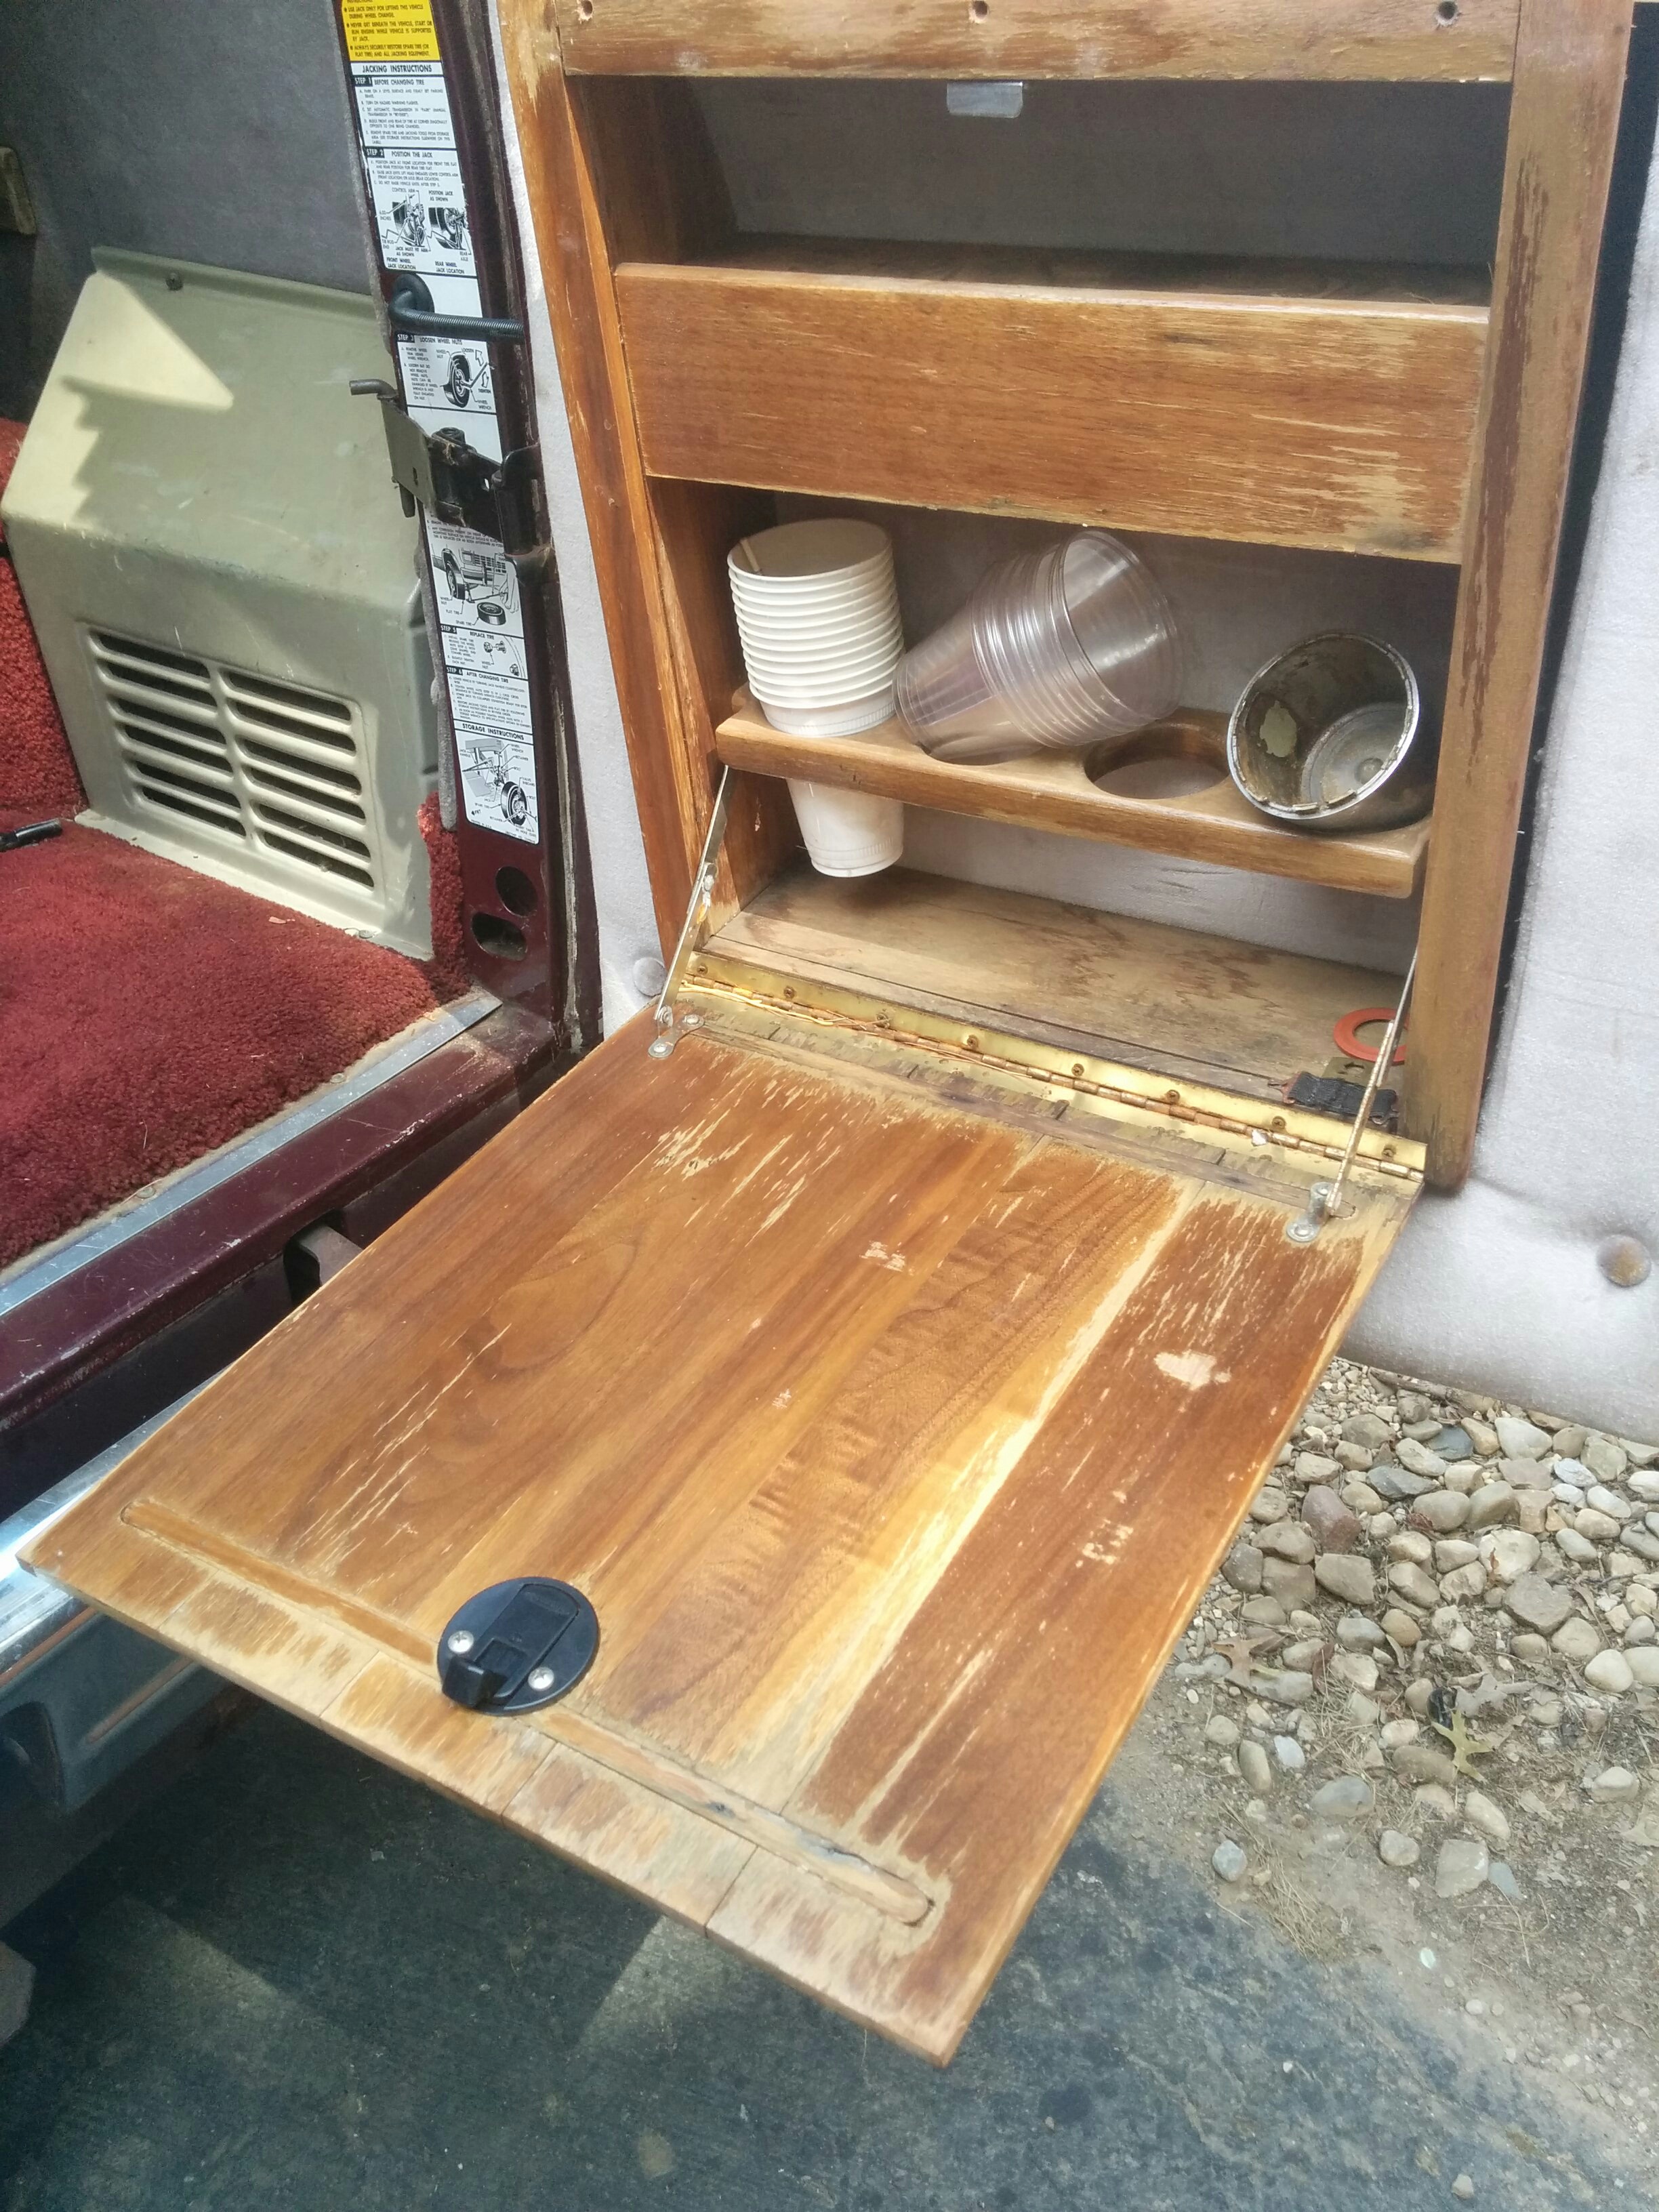
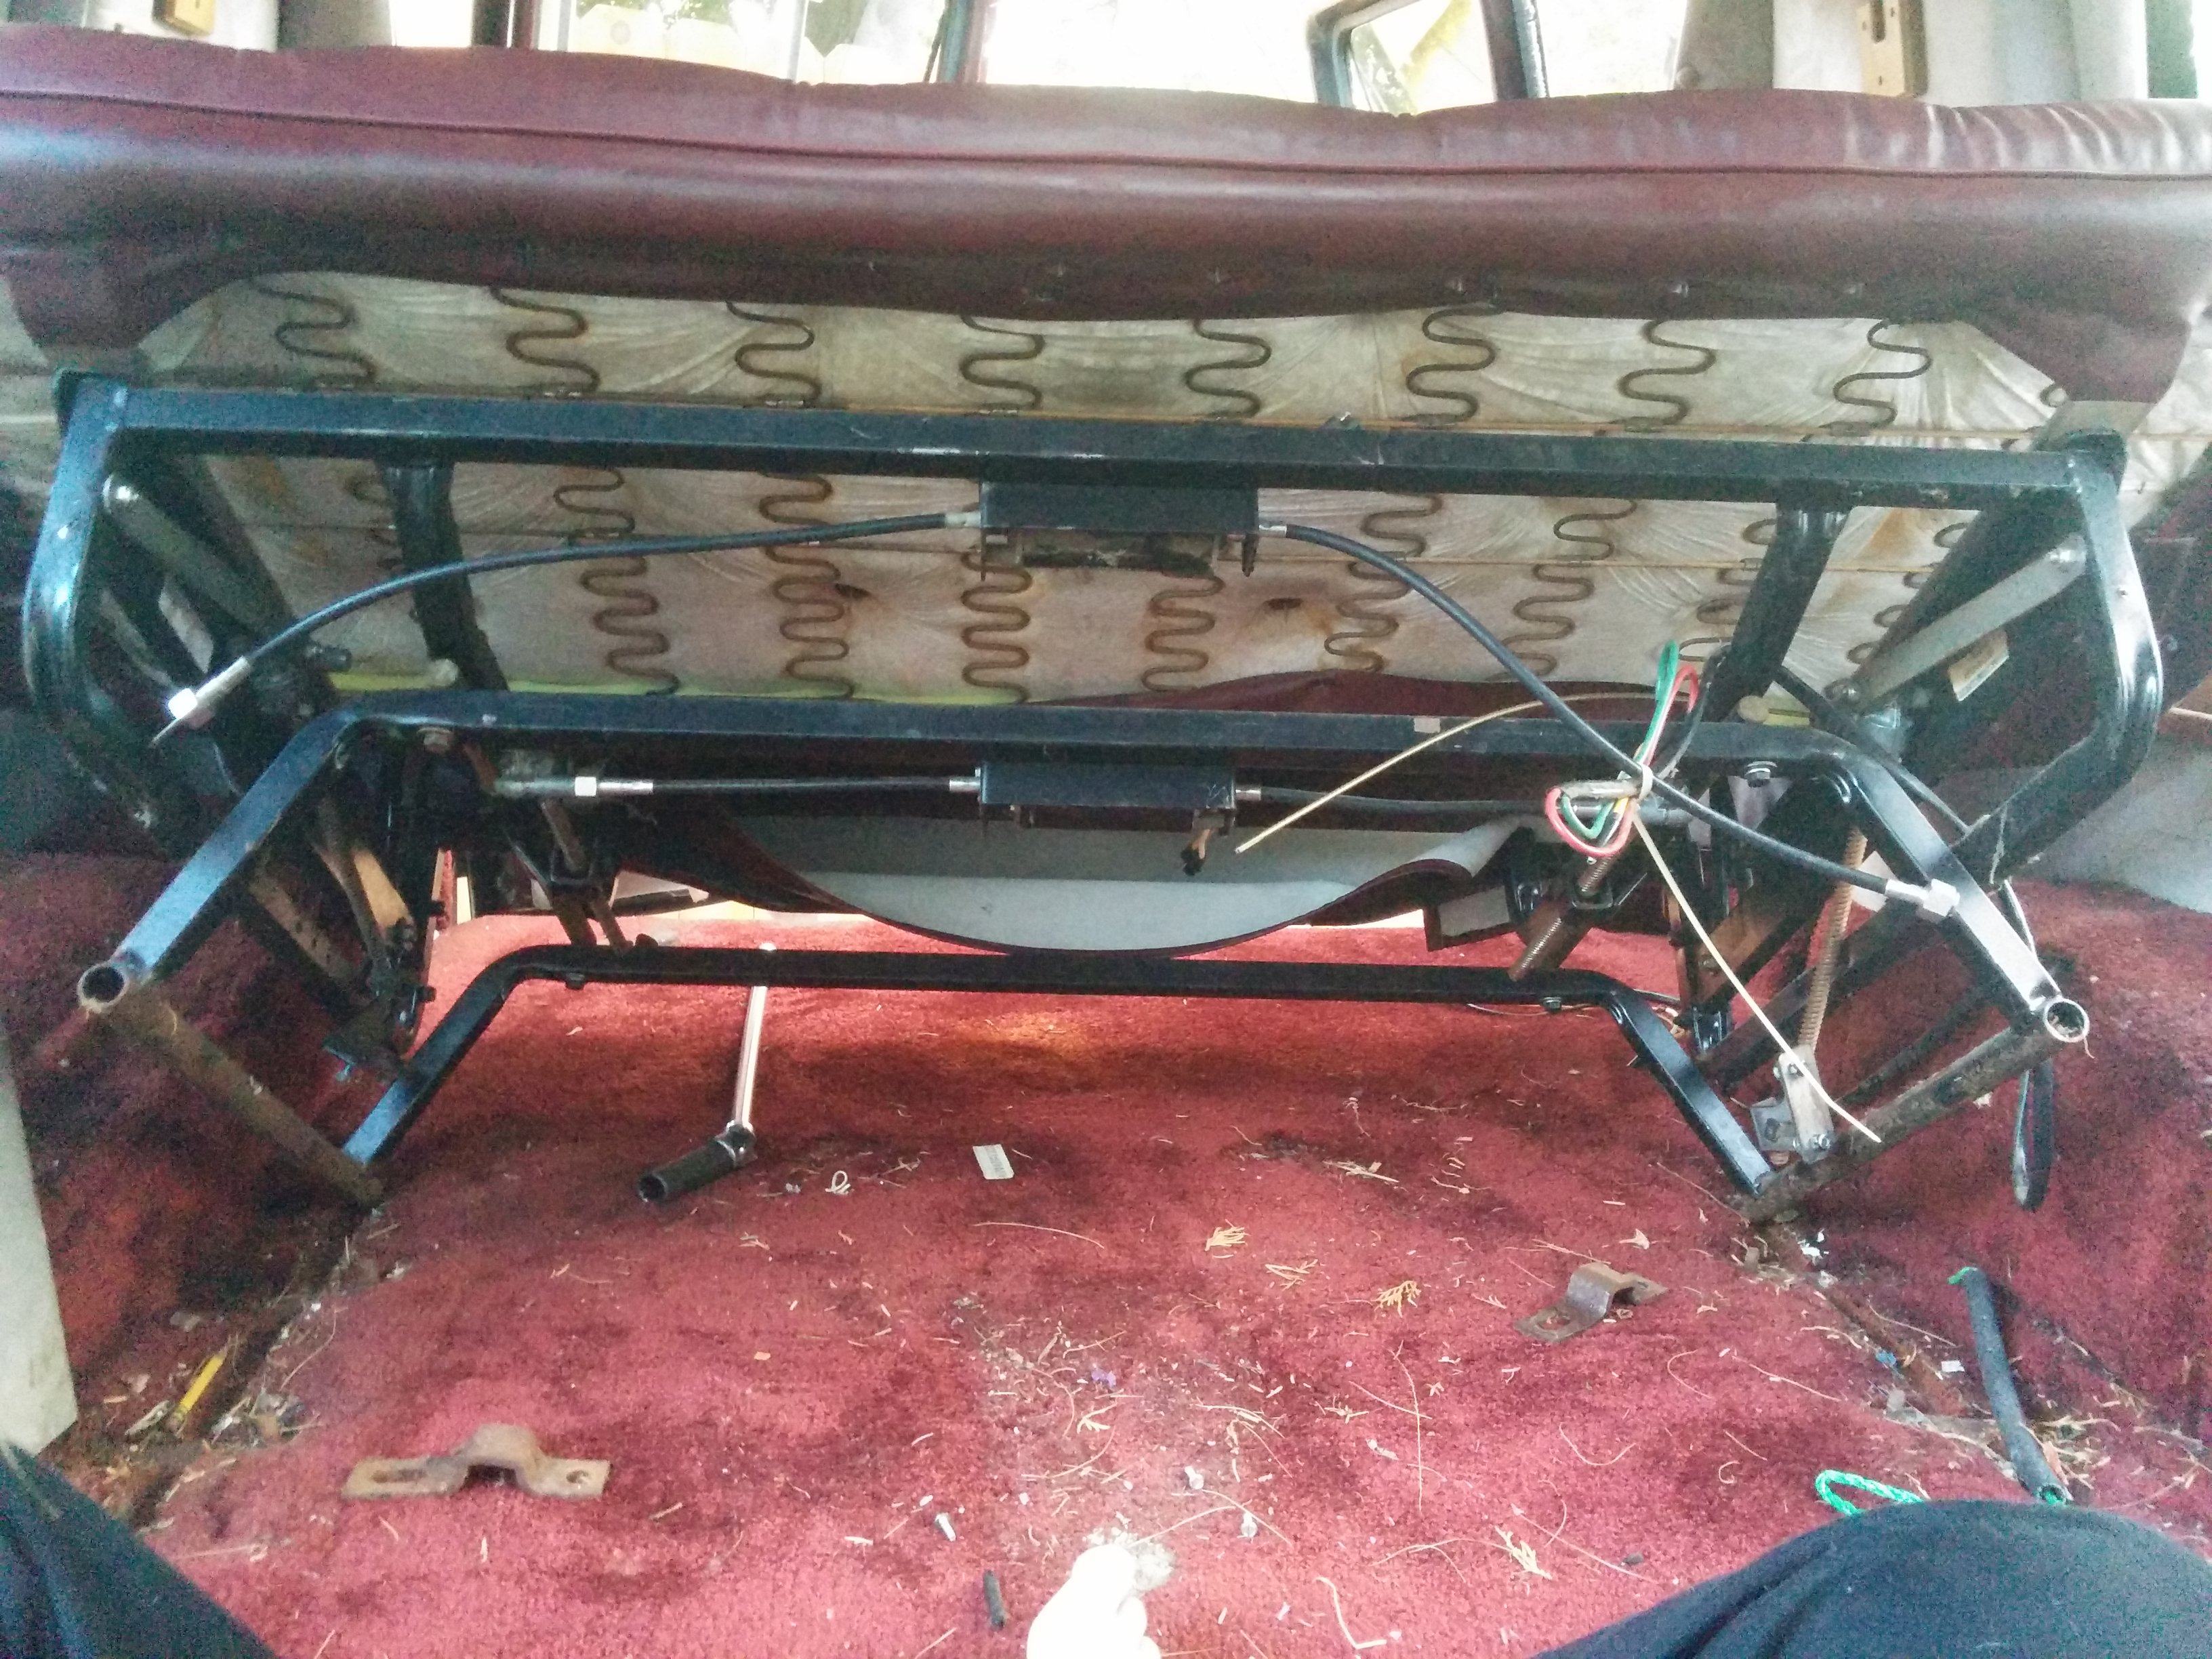
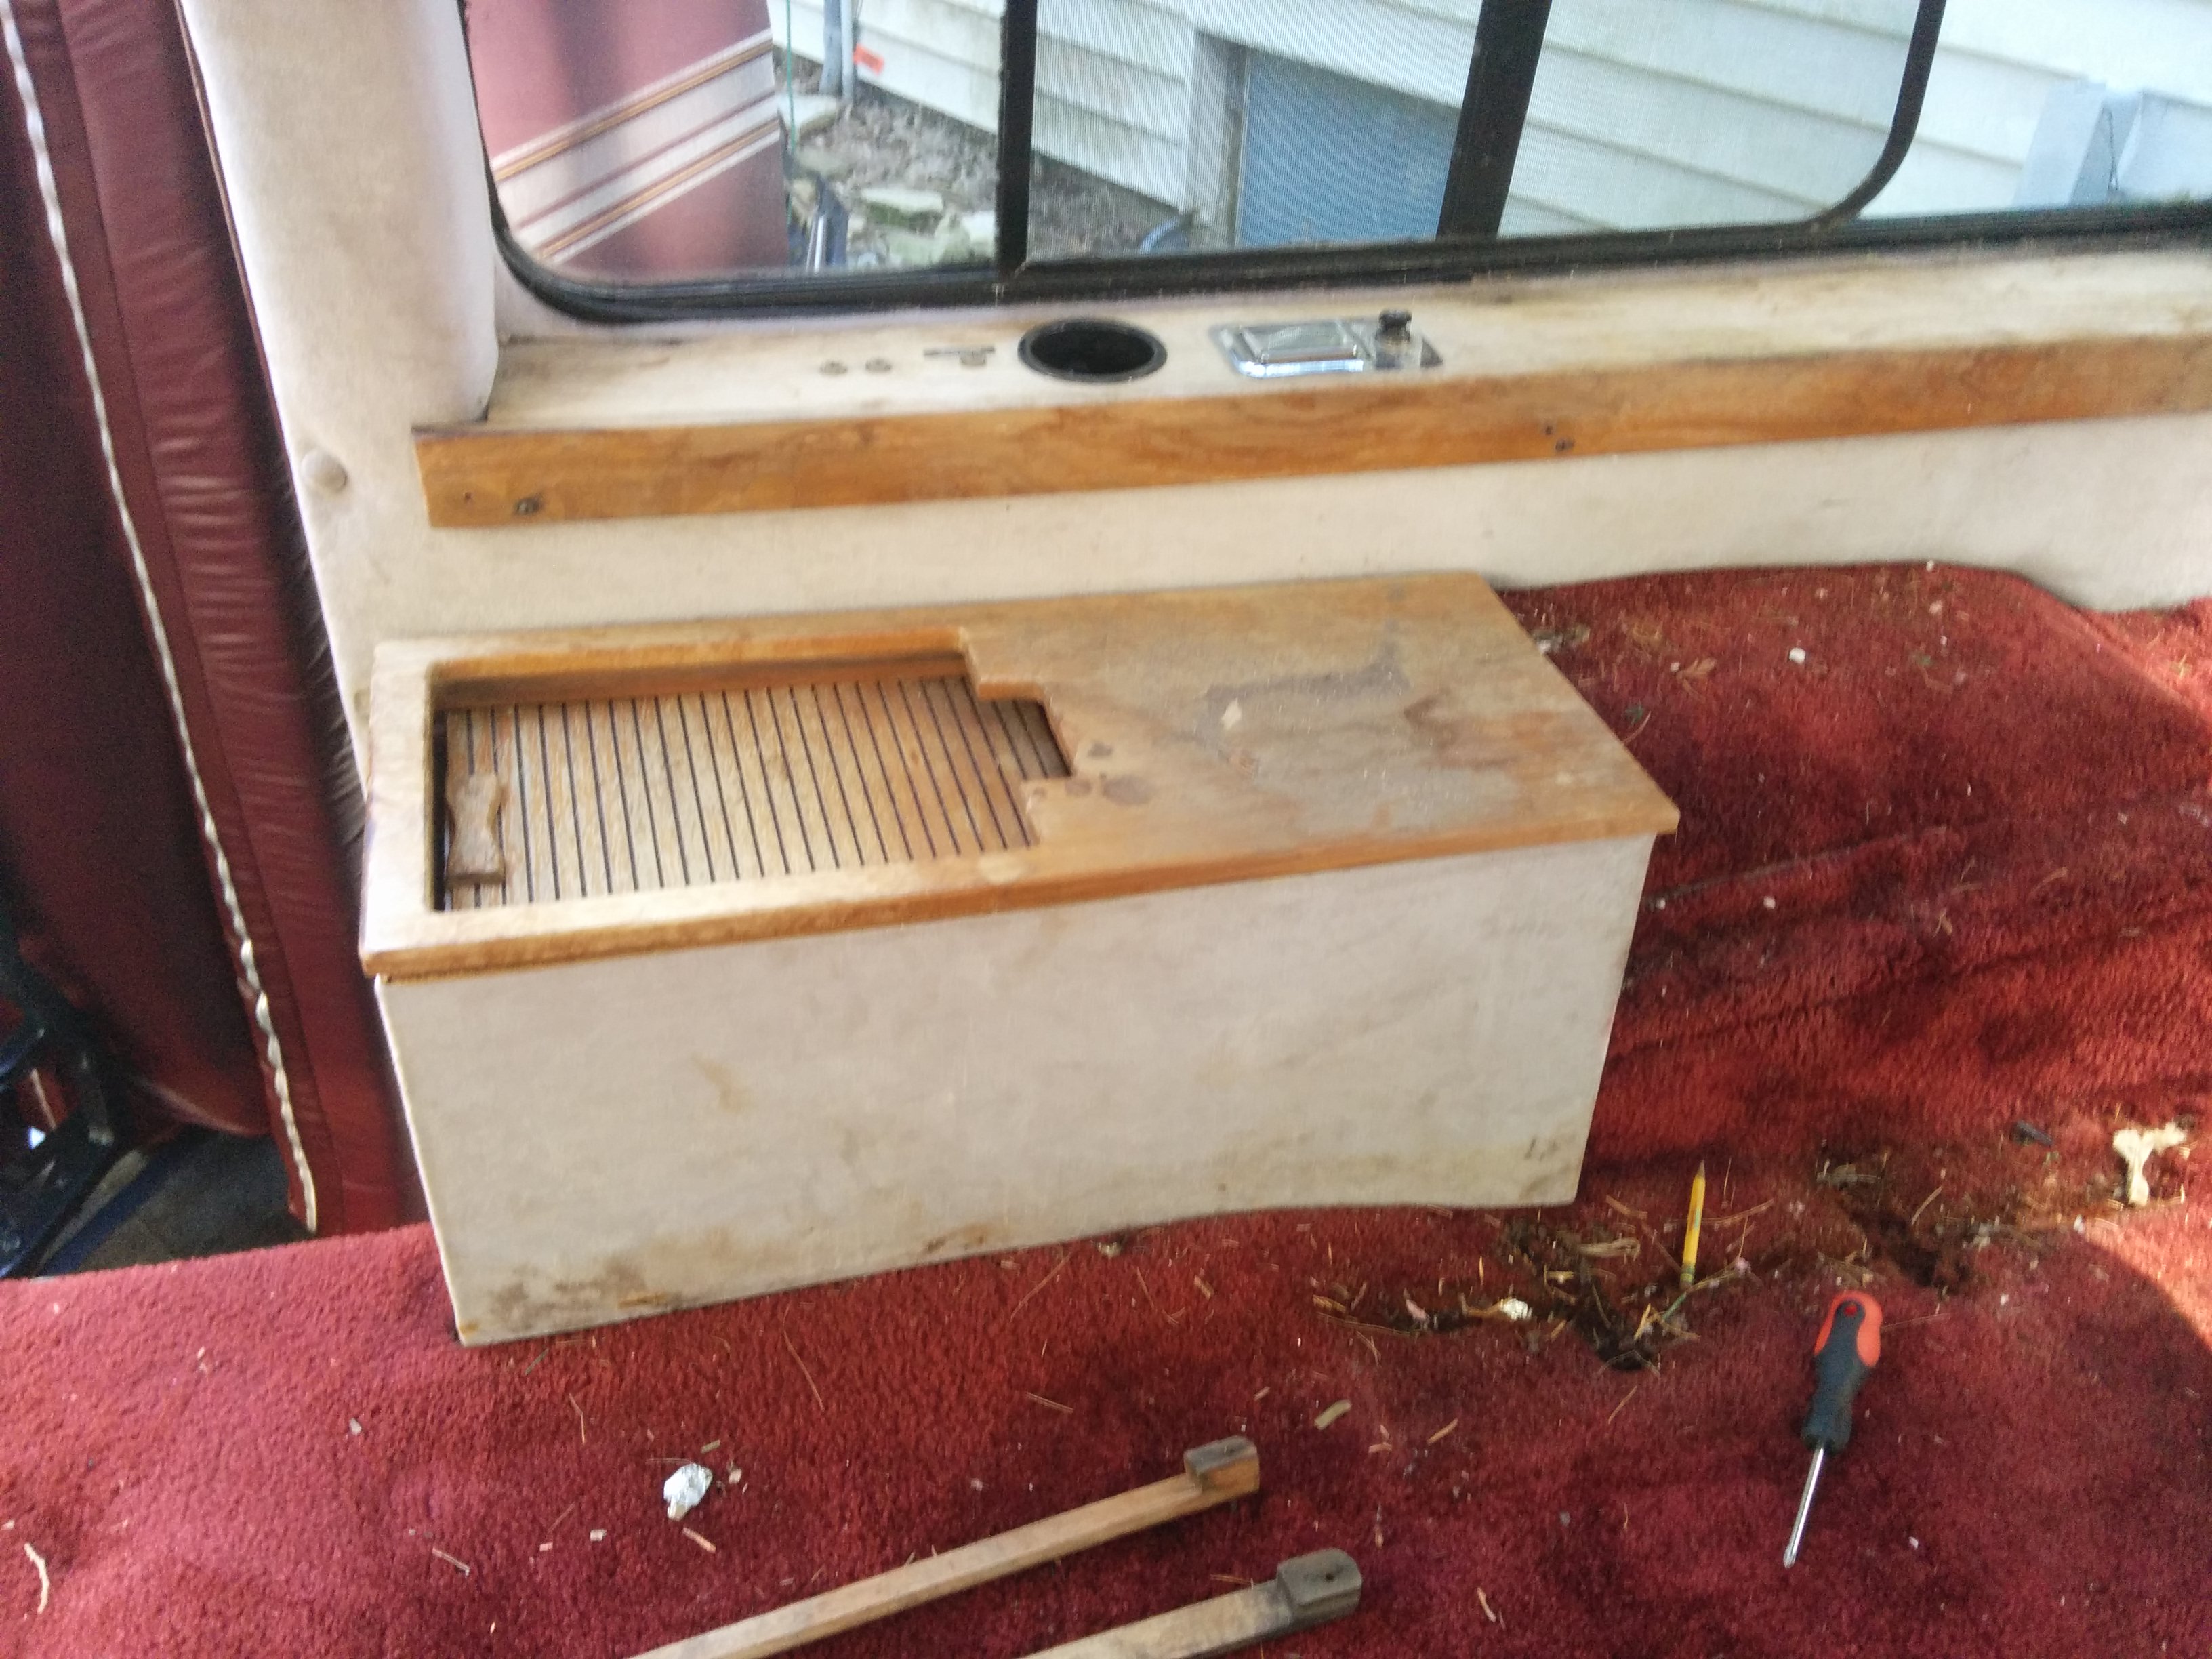
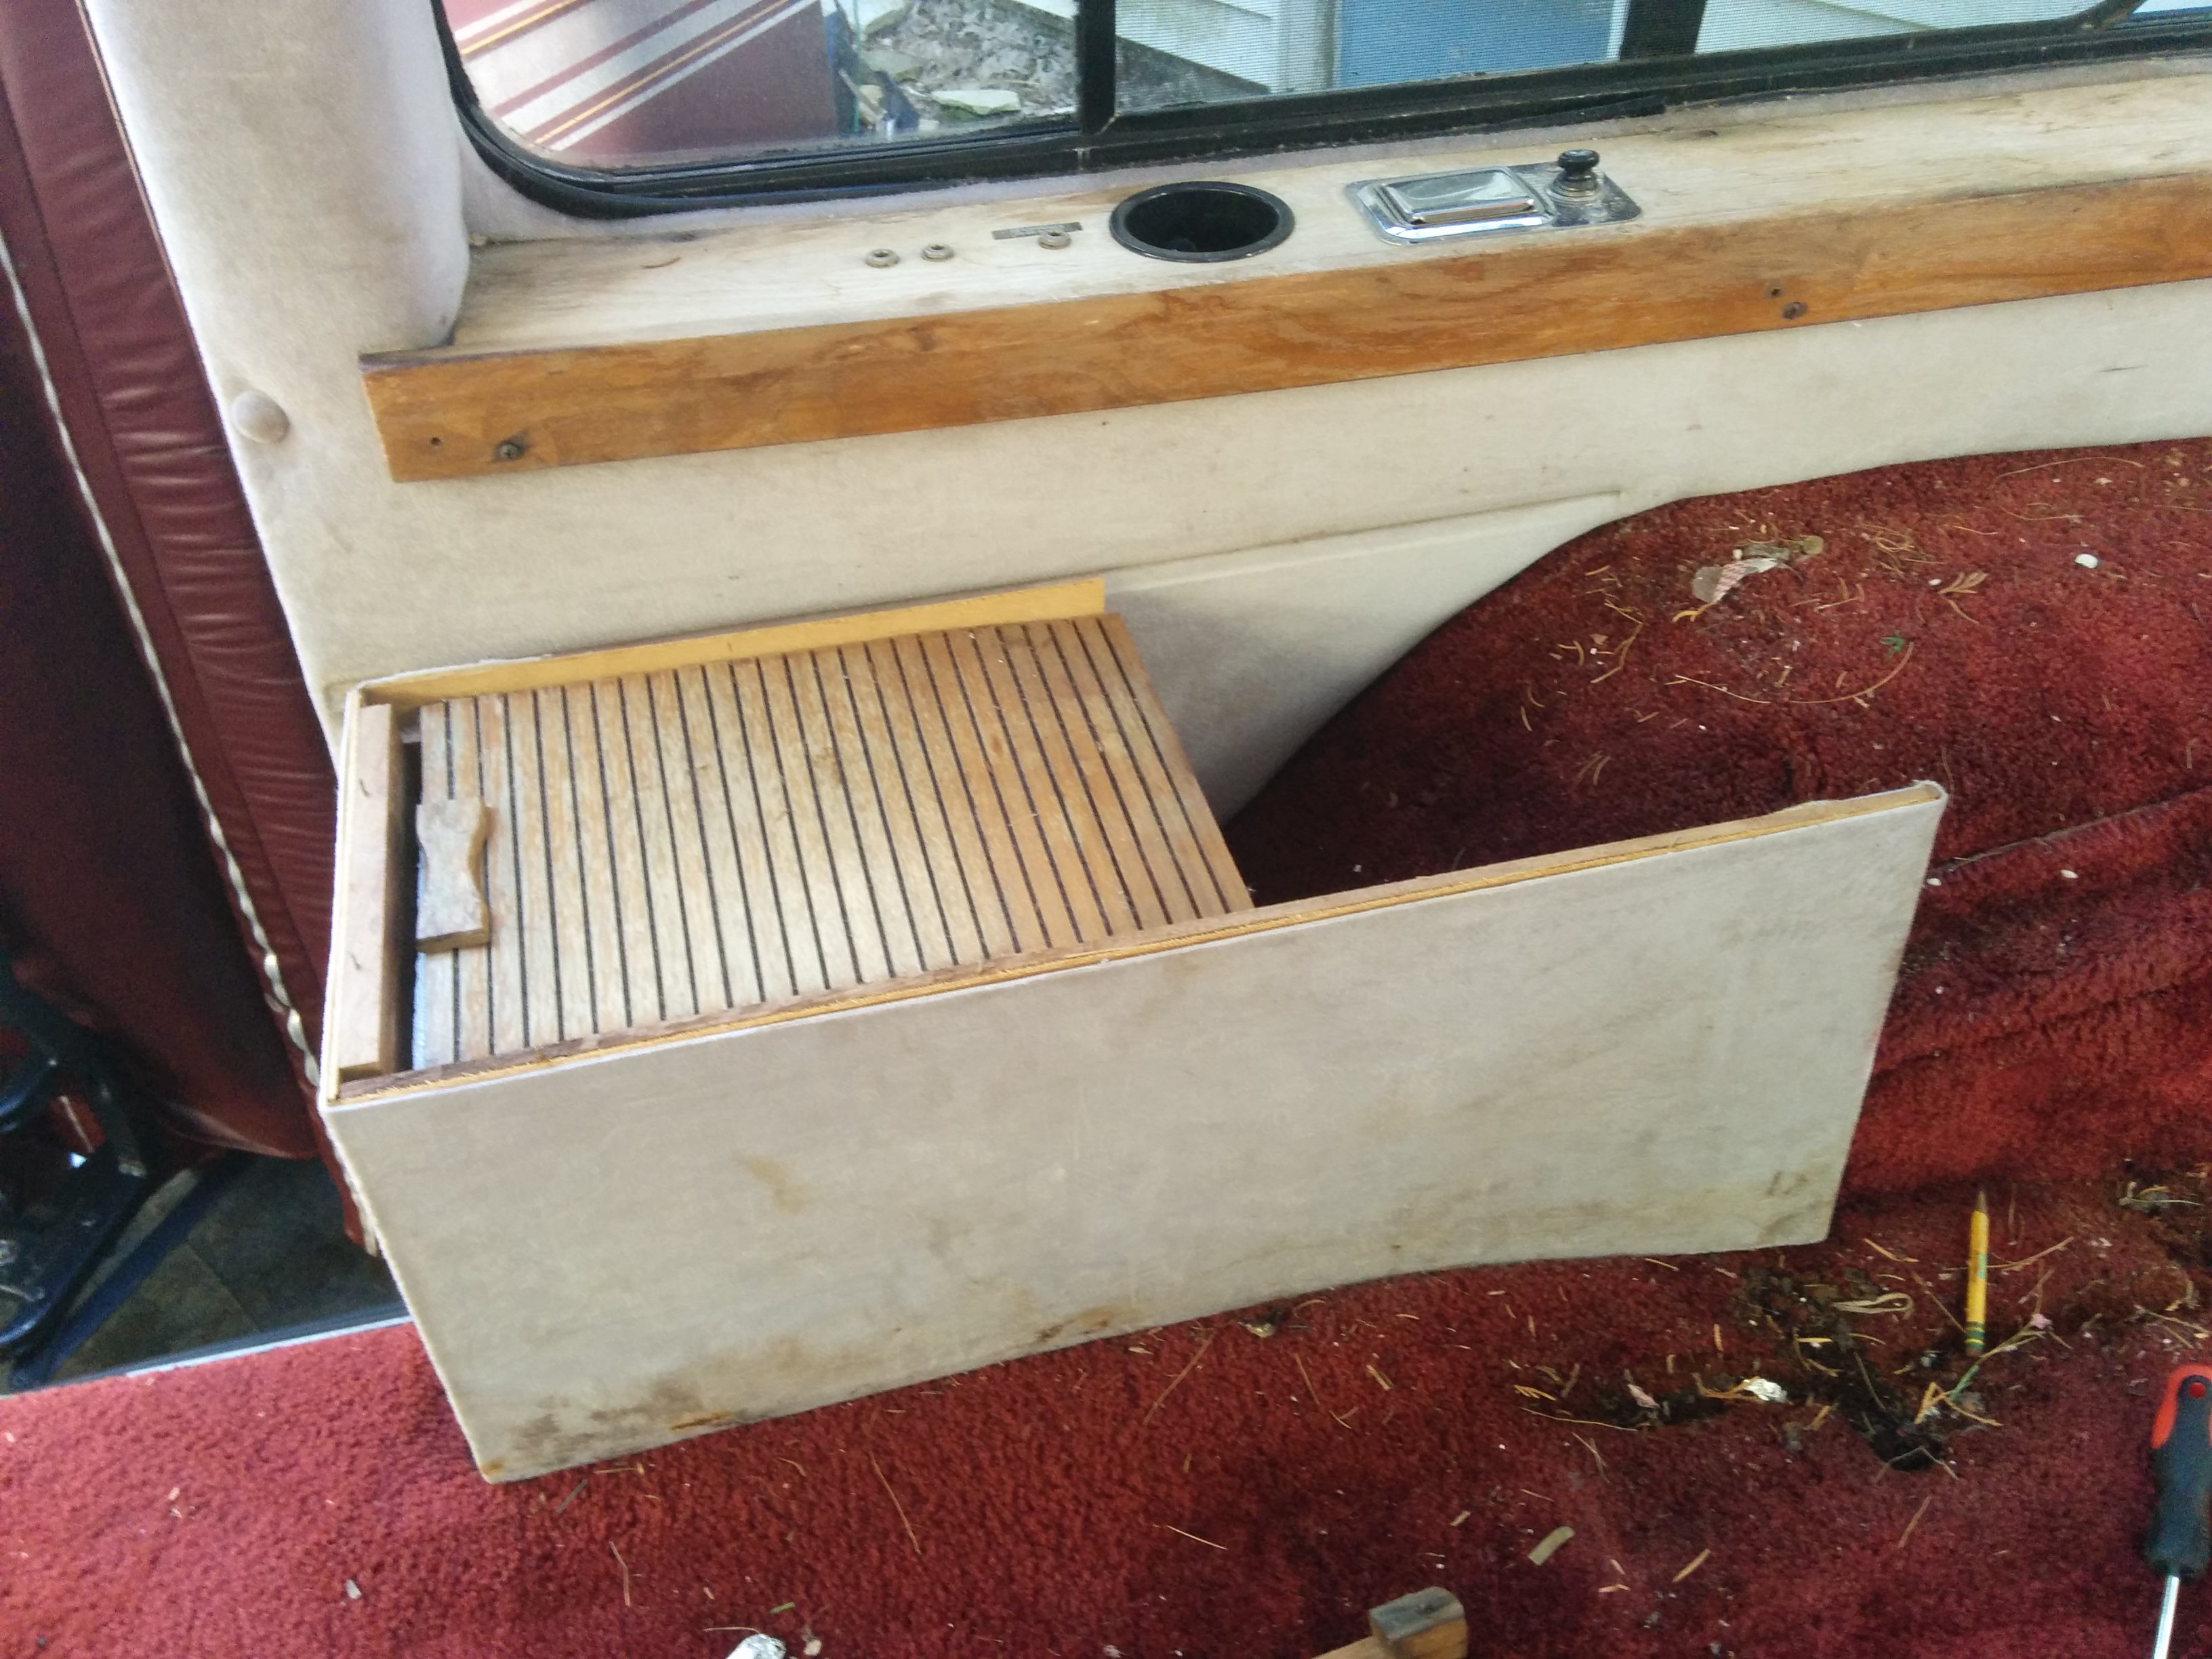
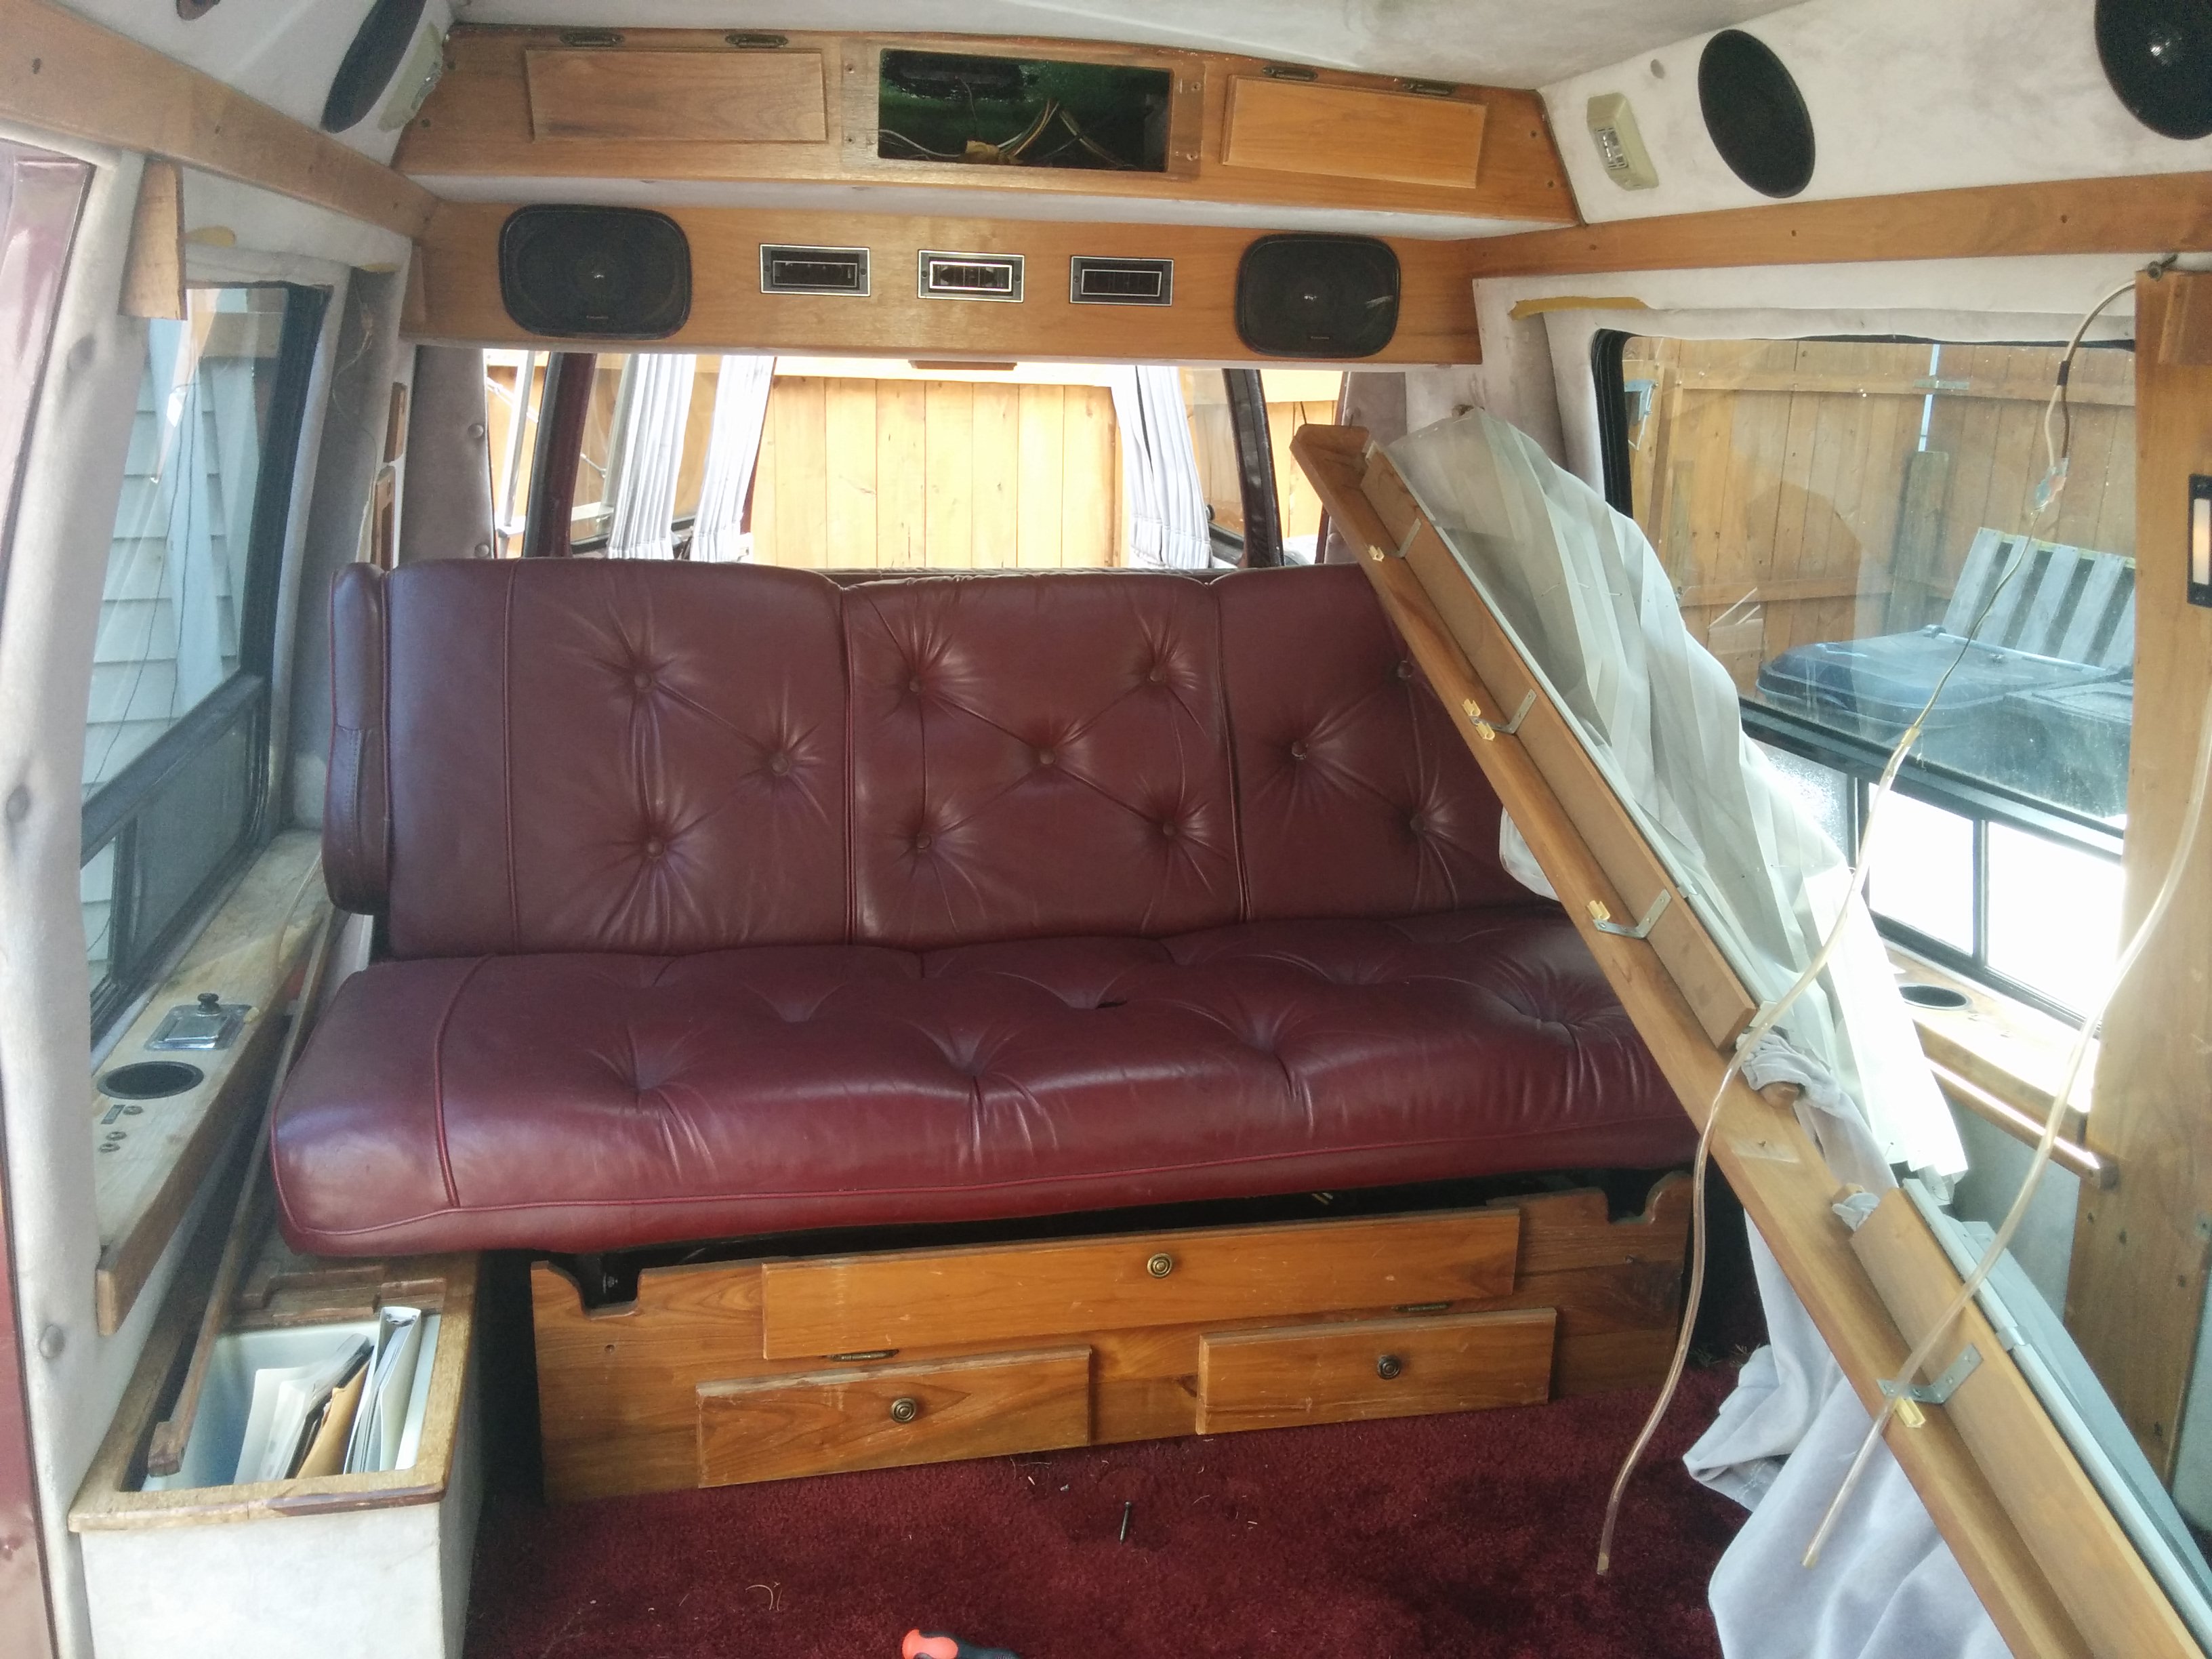
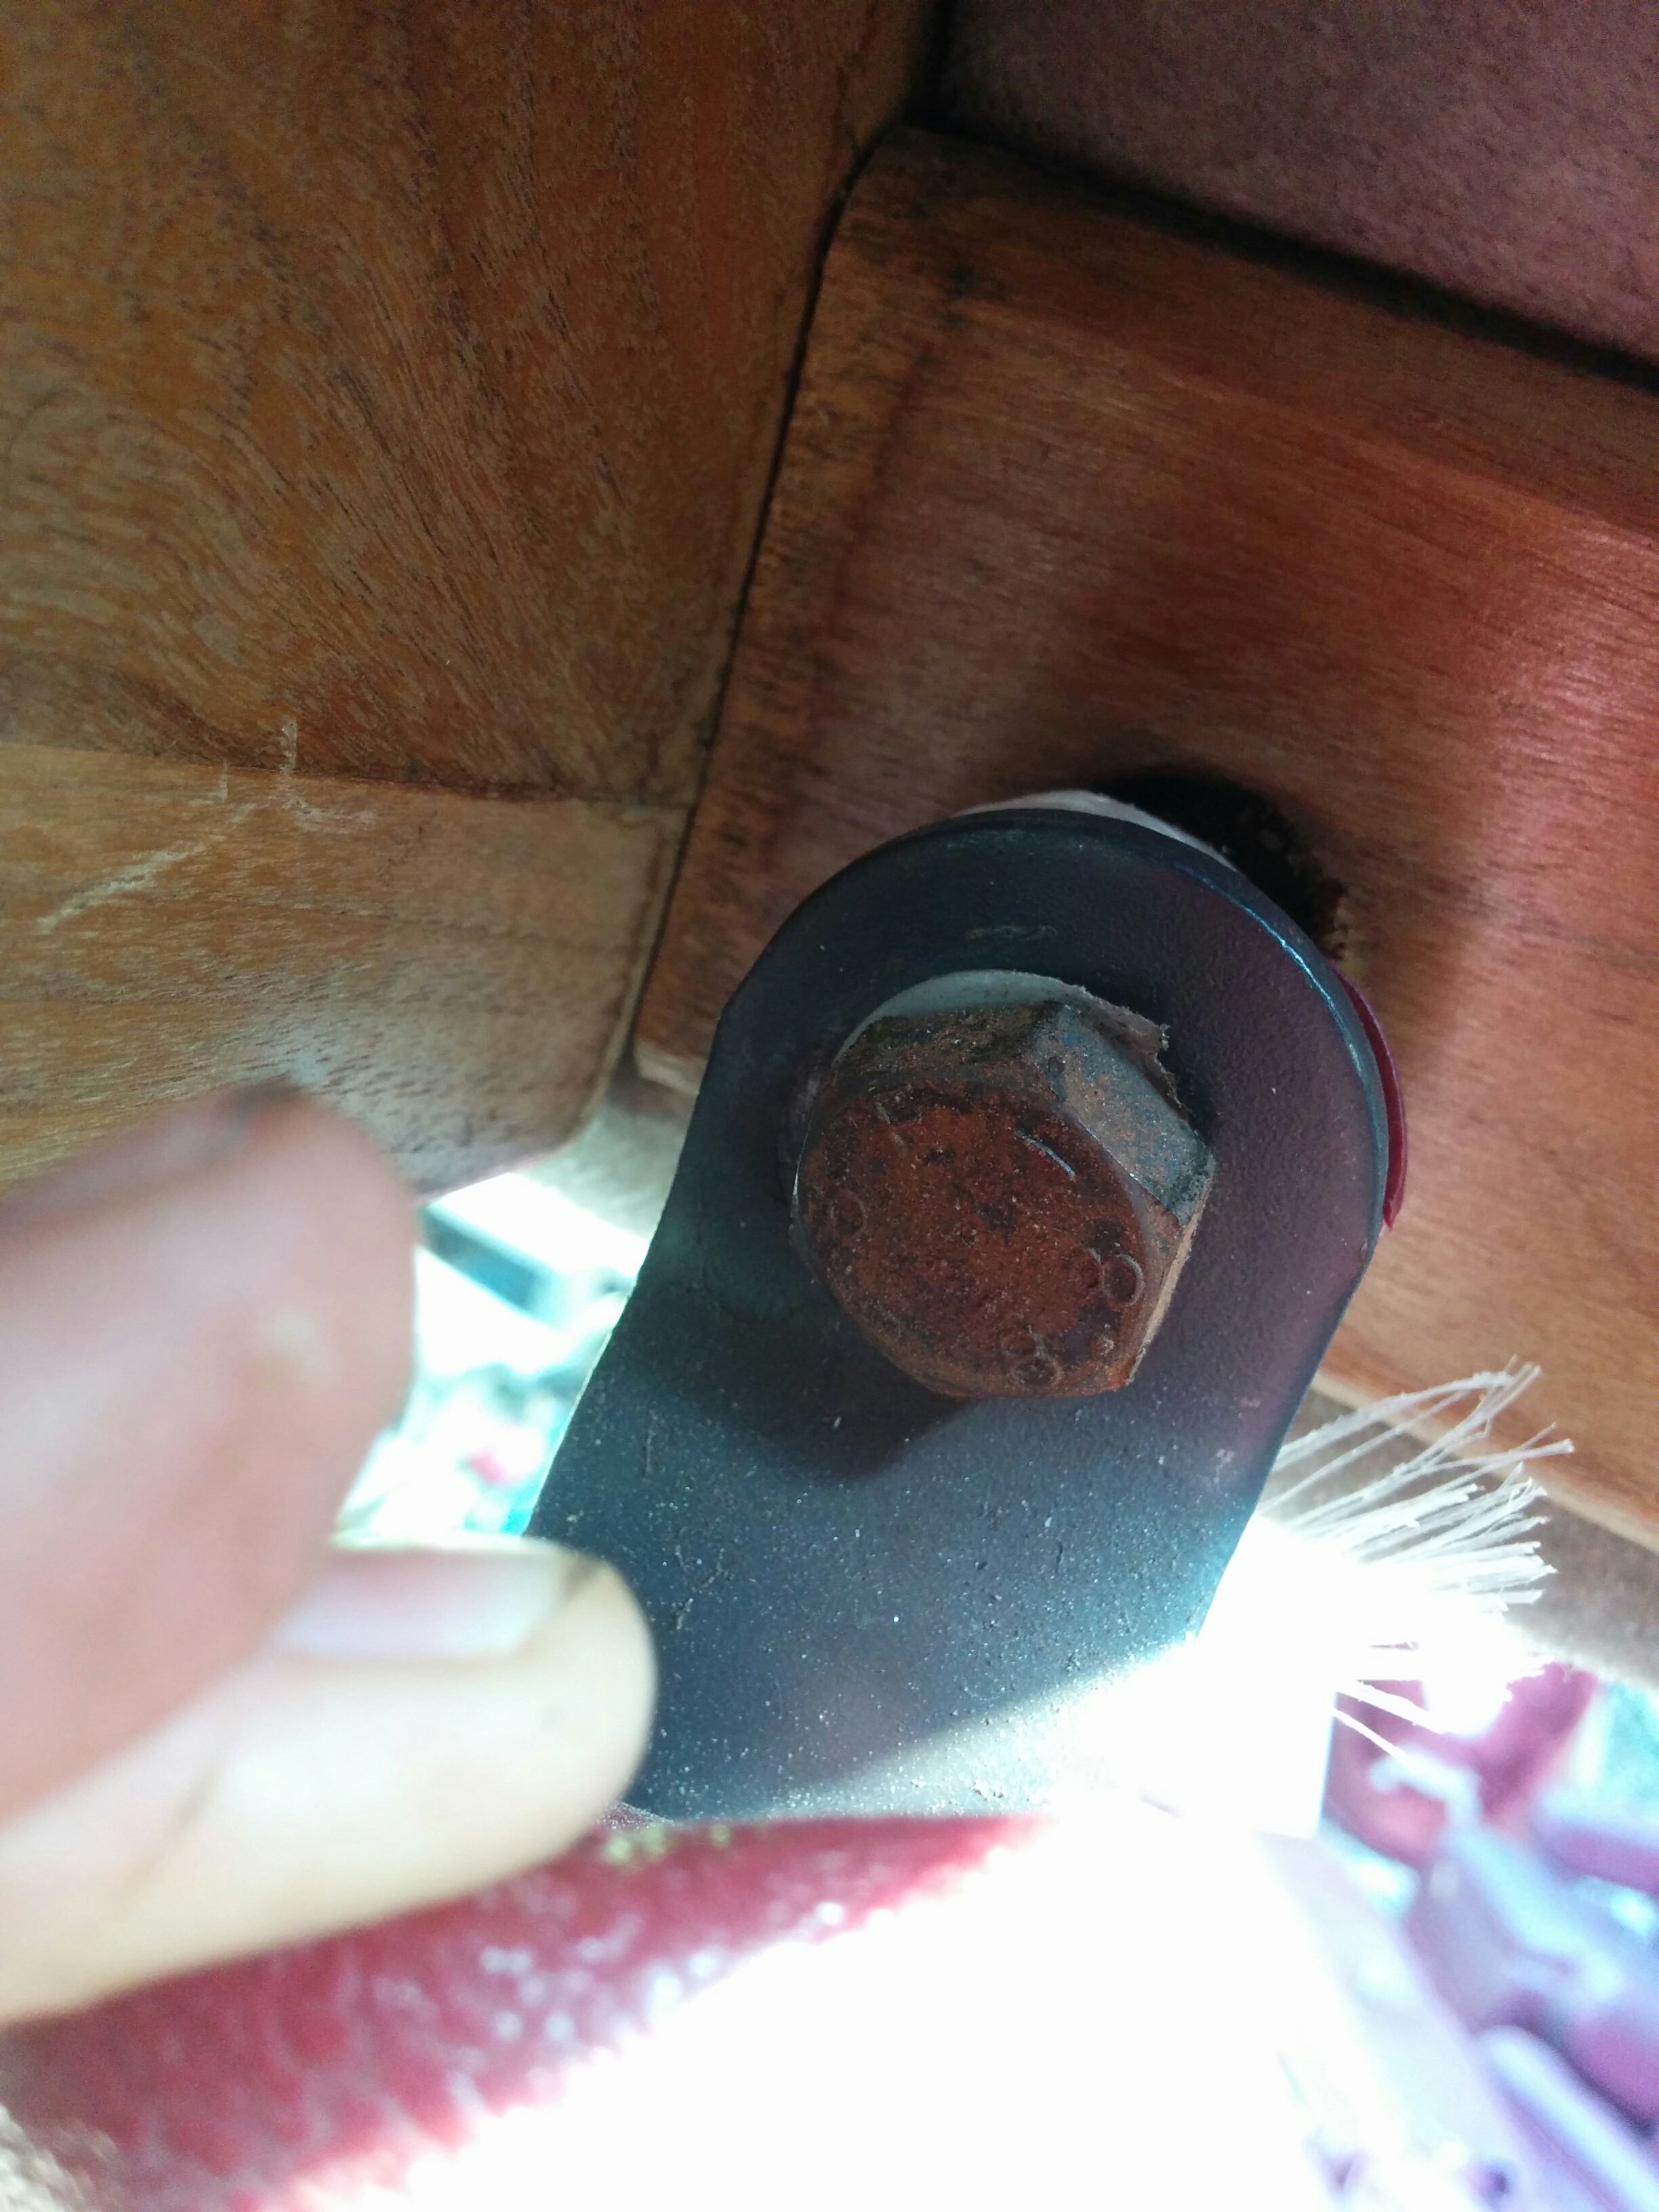
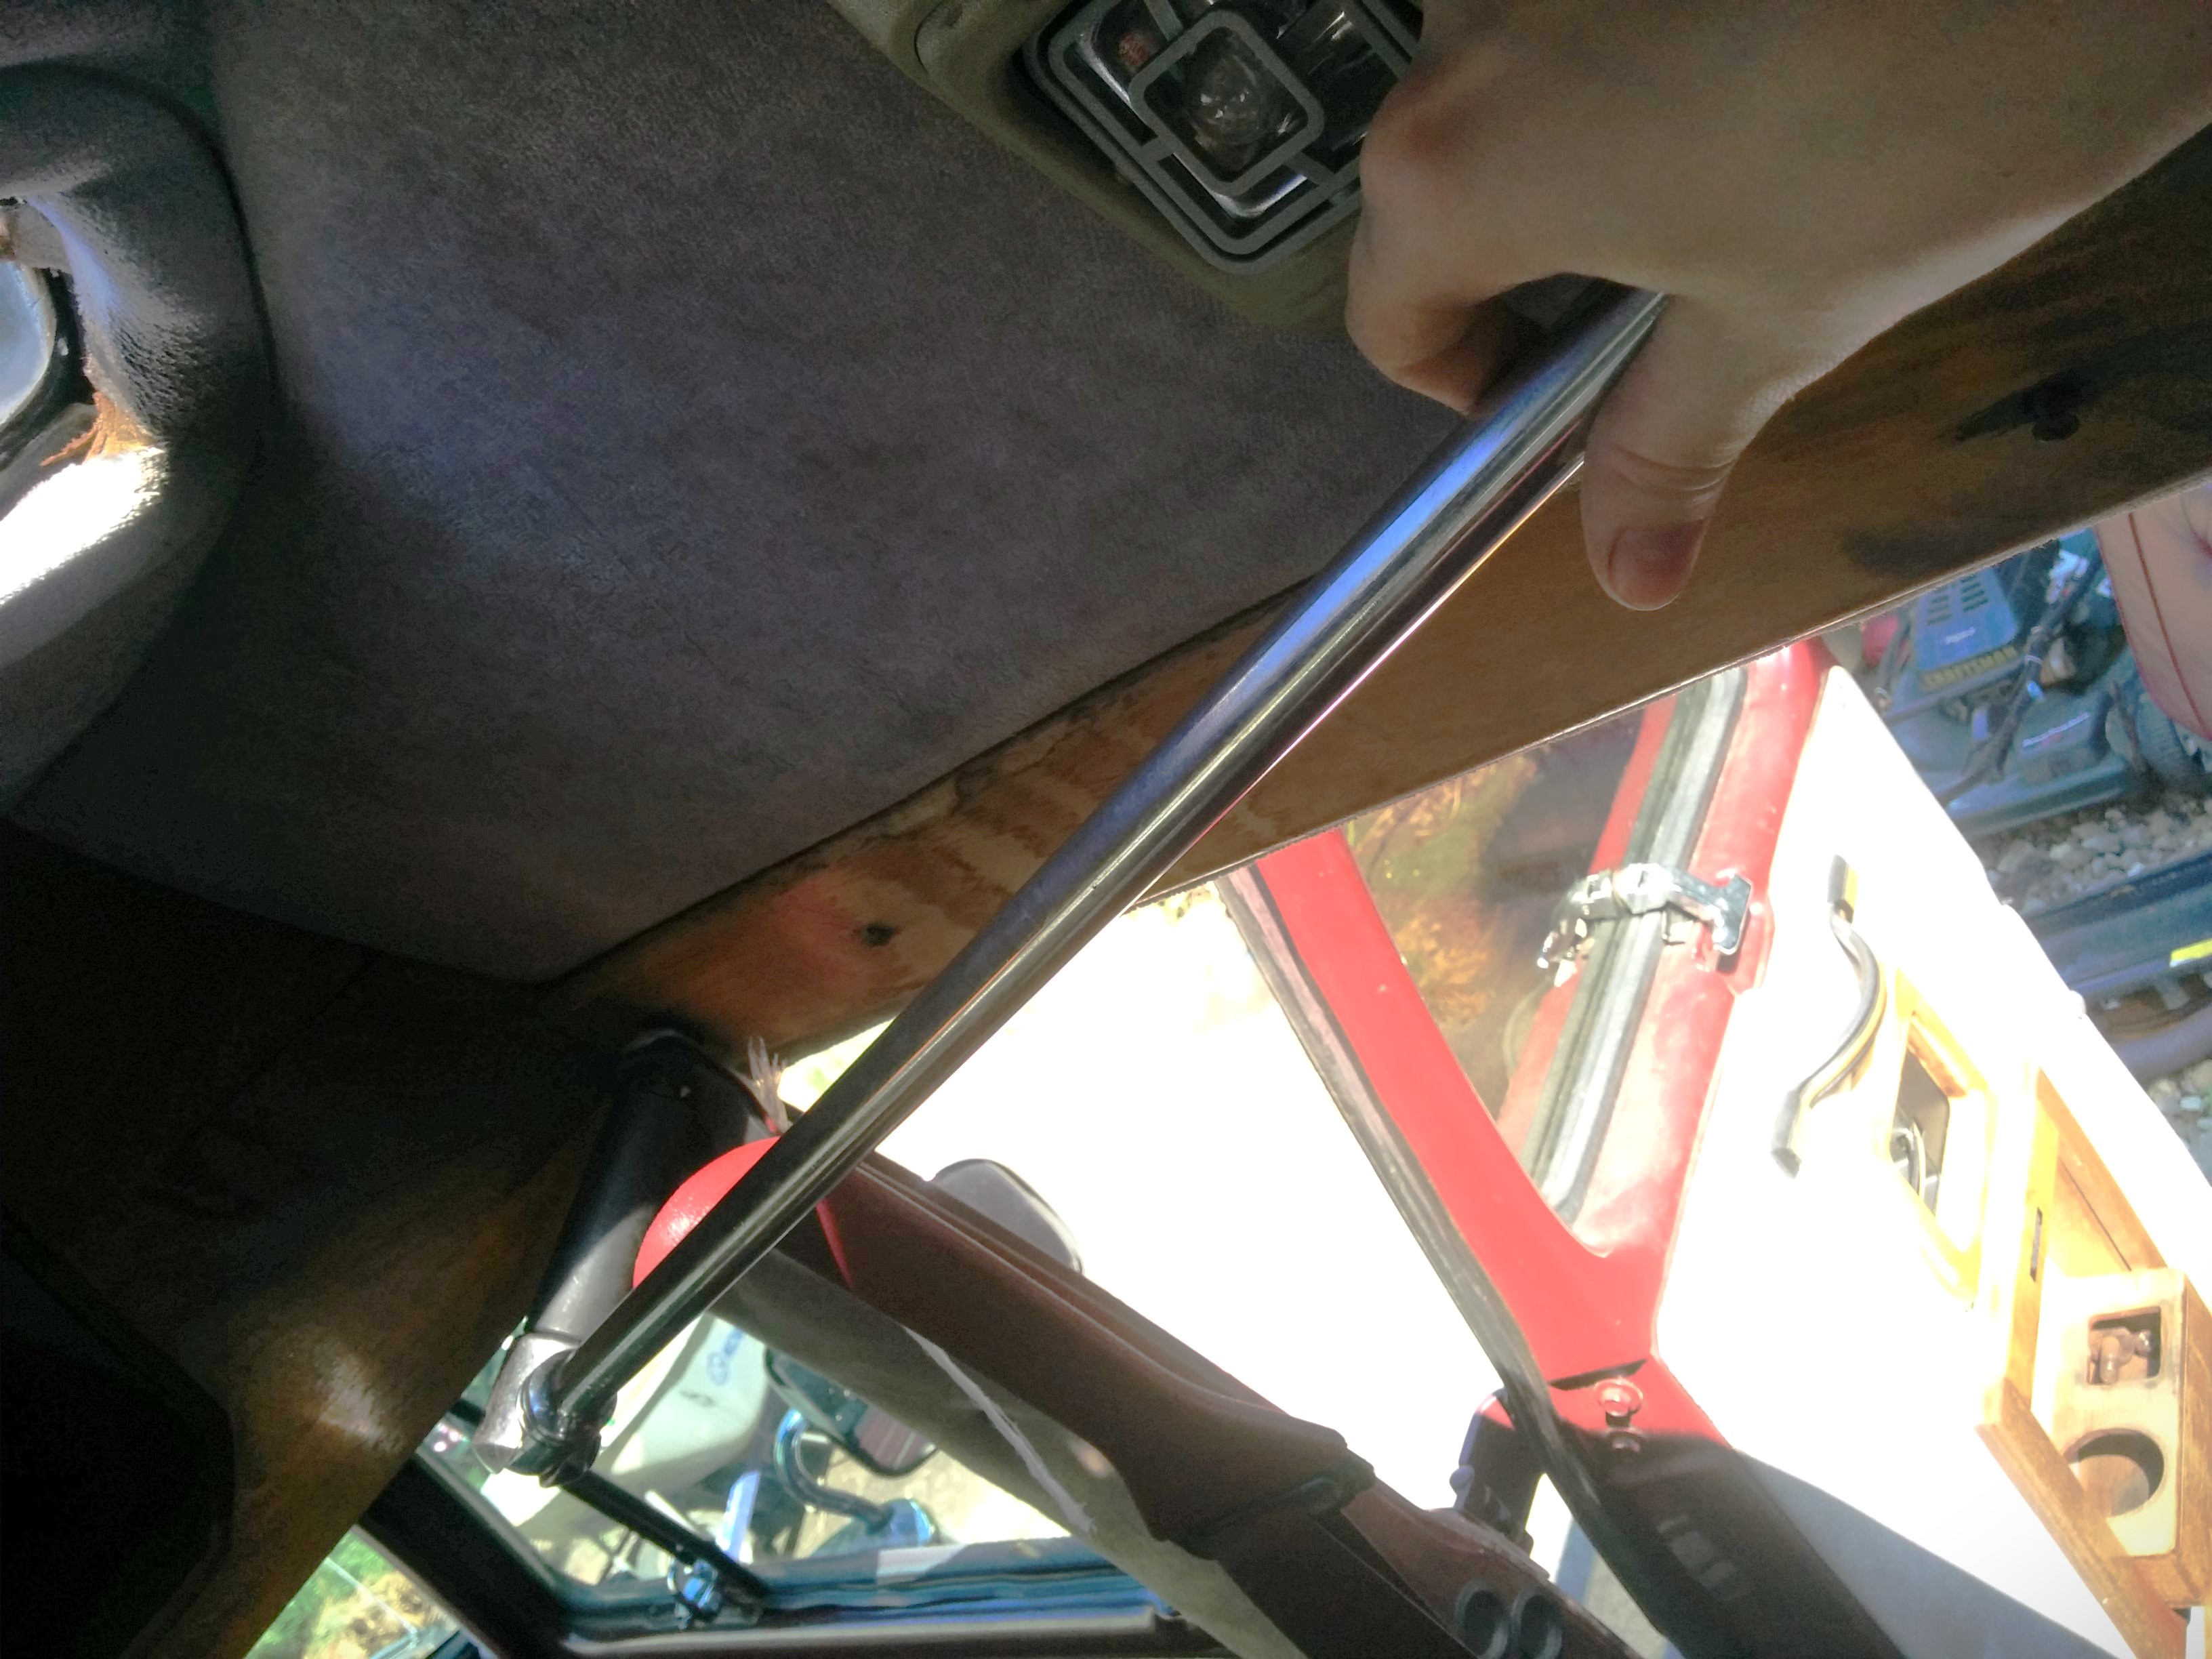
The next target was the couch. It had a power button that was supposed to transform it between couch-mode and bed-mode, but it didn’t work. I was already leaning towards removing it completely, but the first order of business was to get underneath and have a look at things by removing the wood drawers.


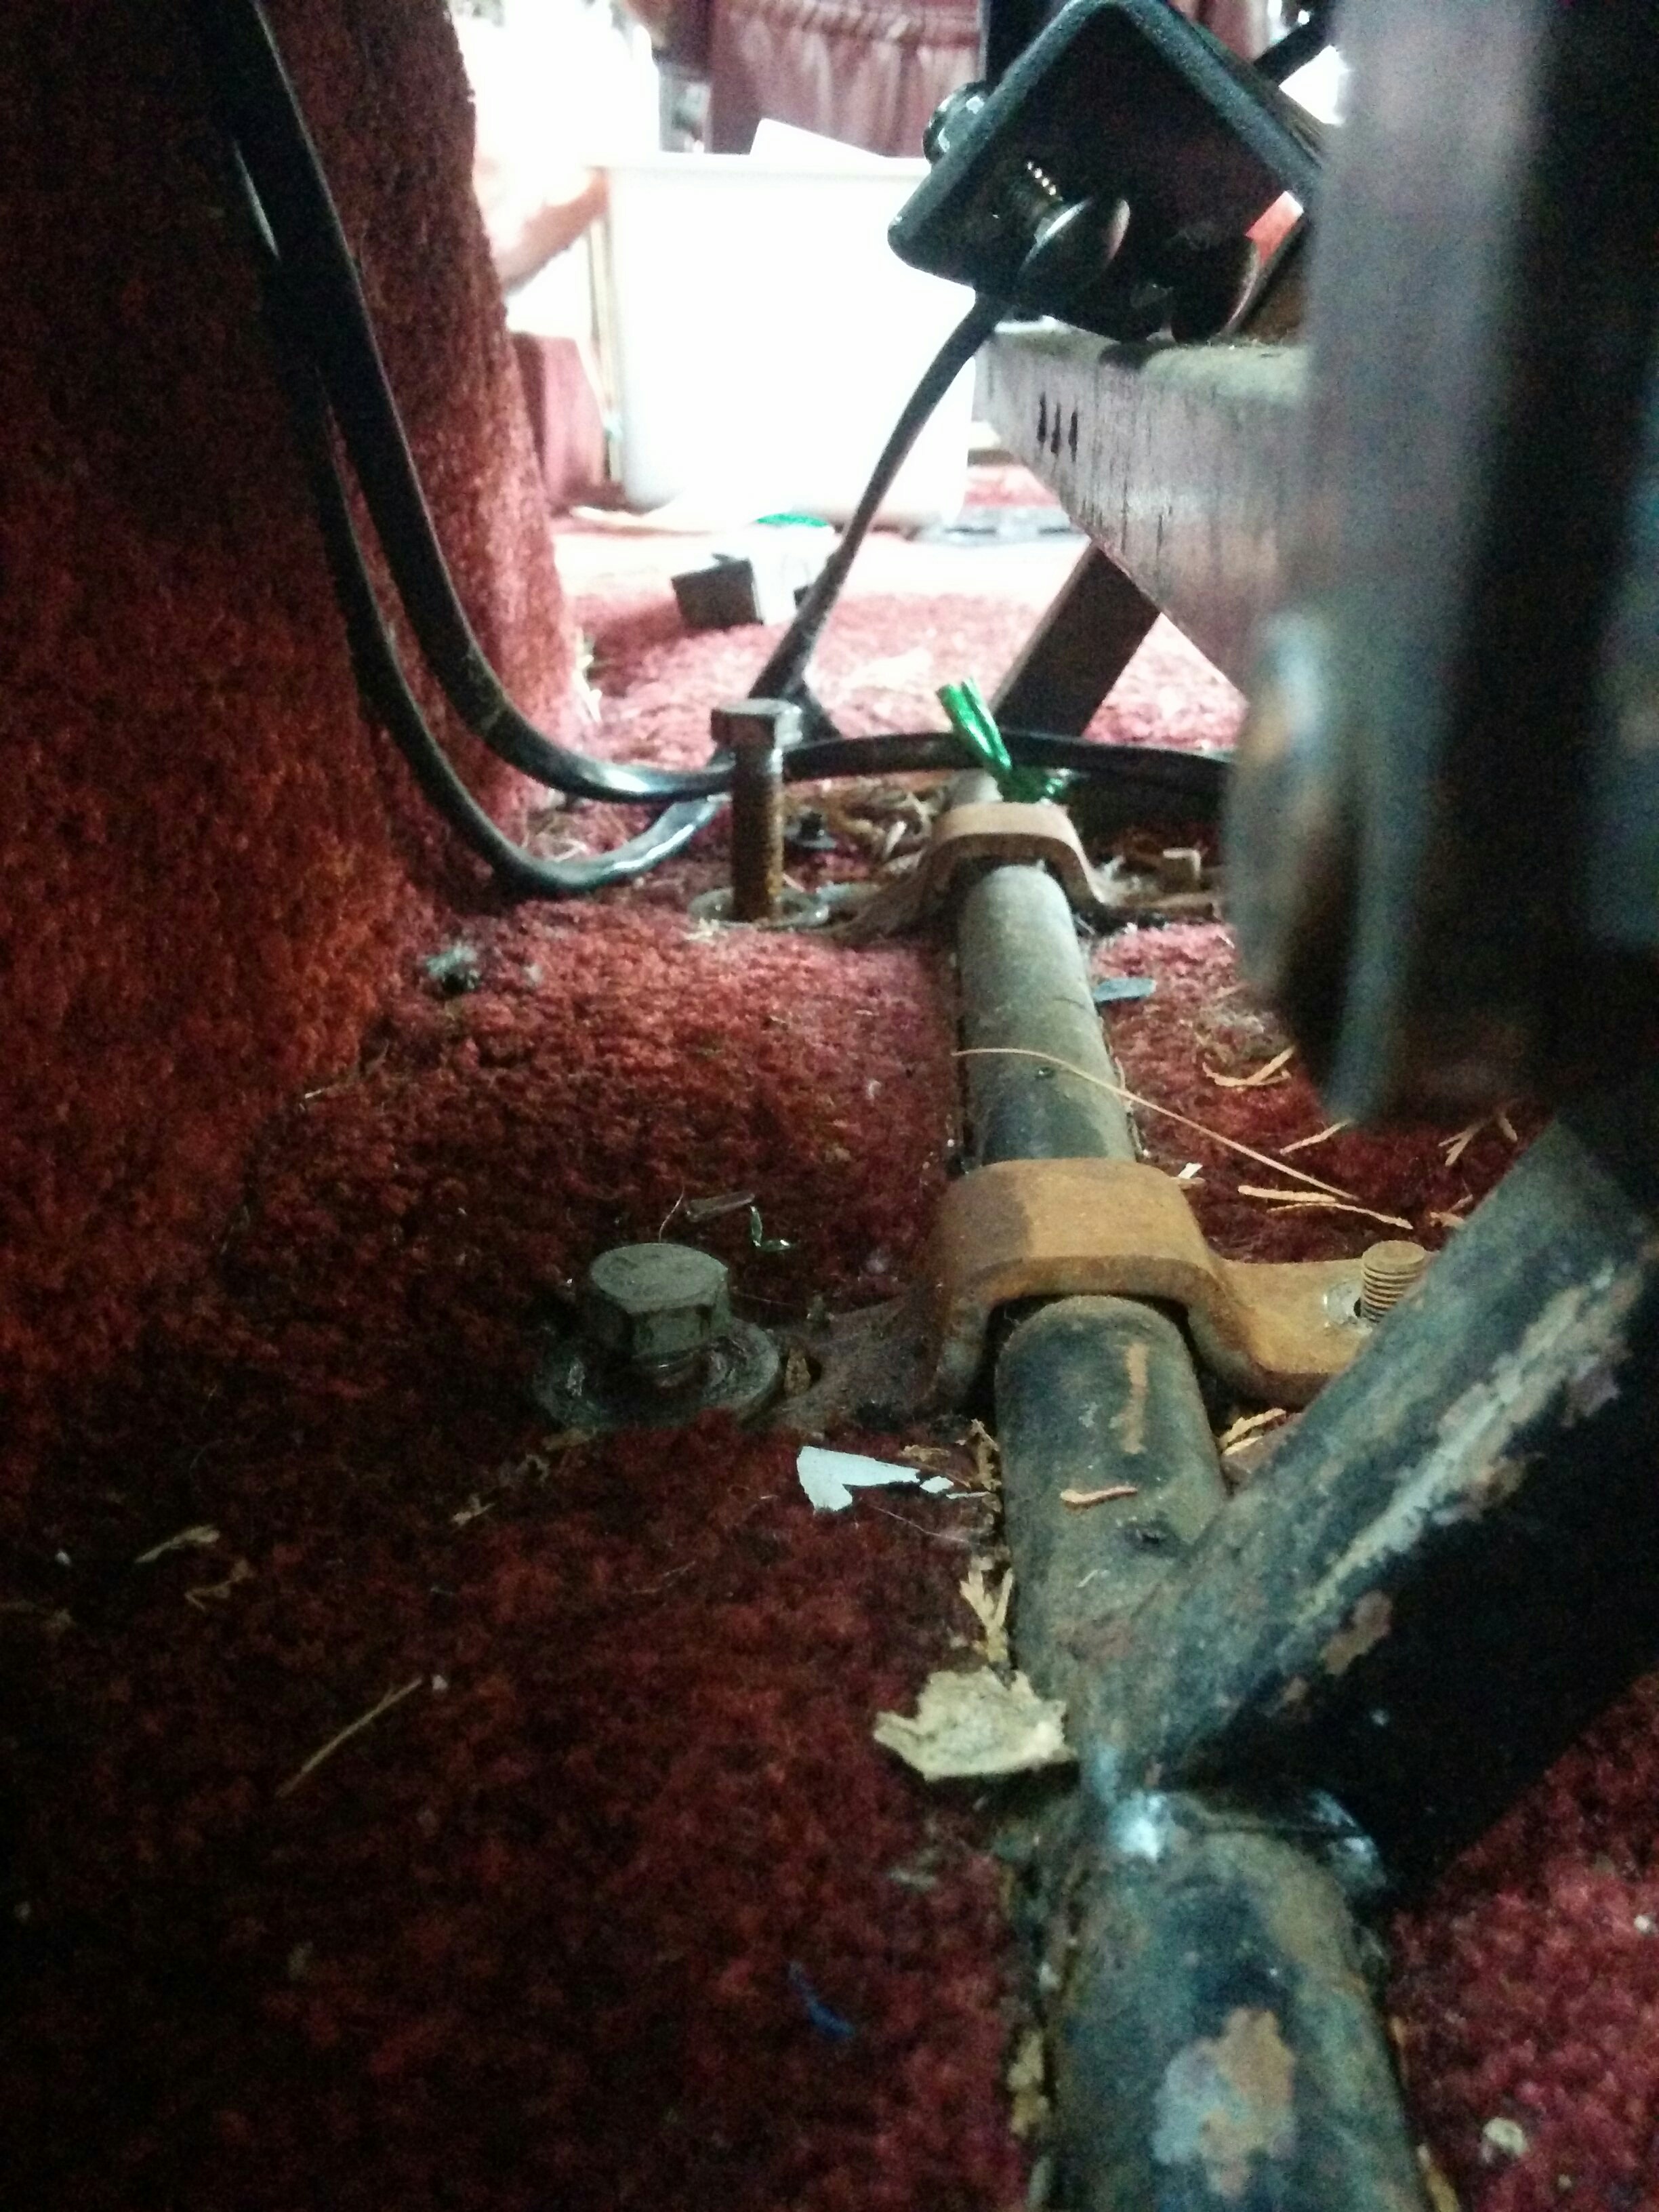
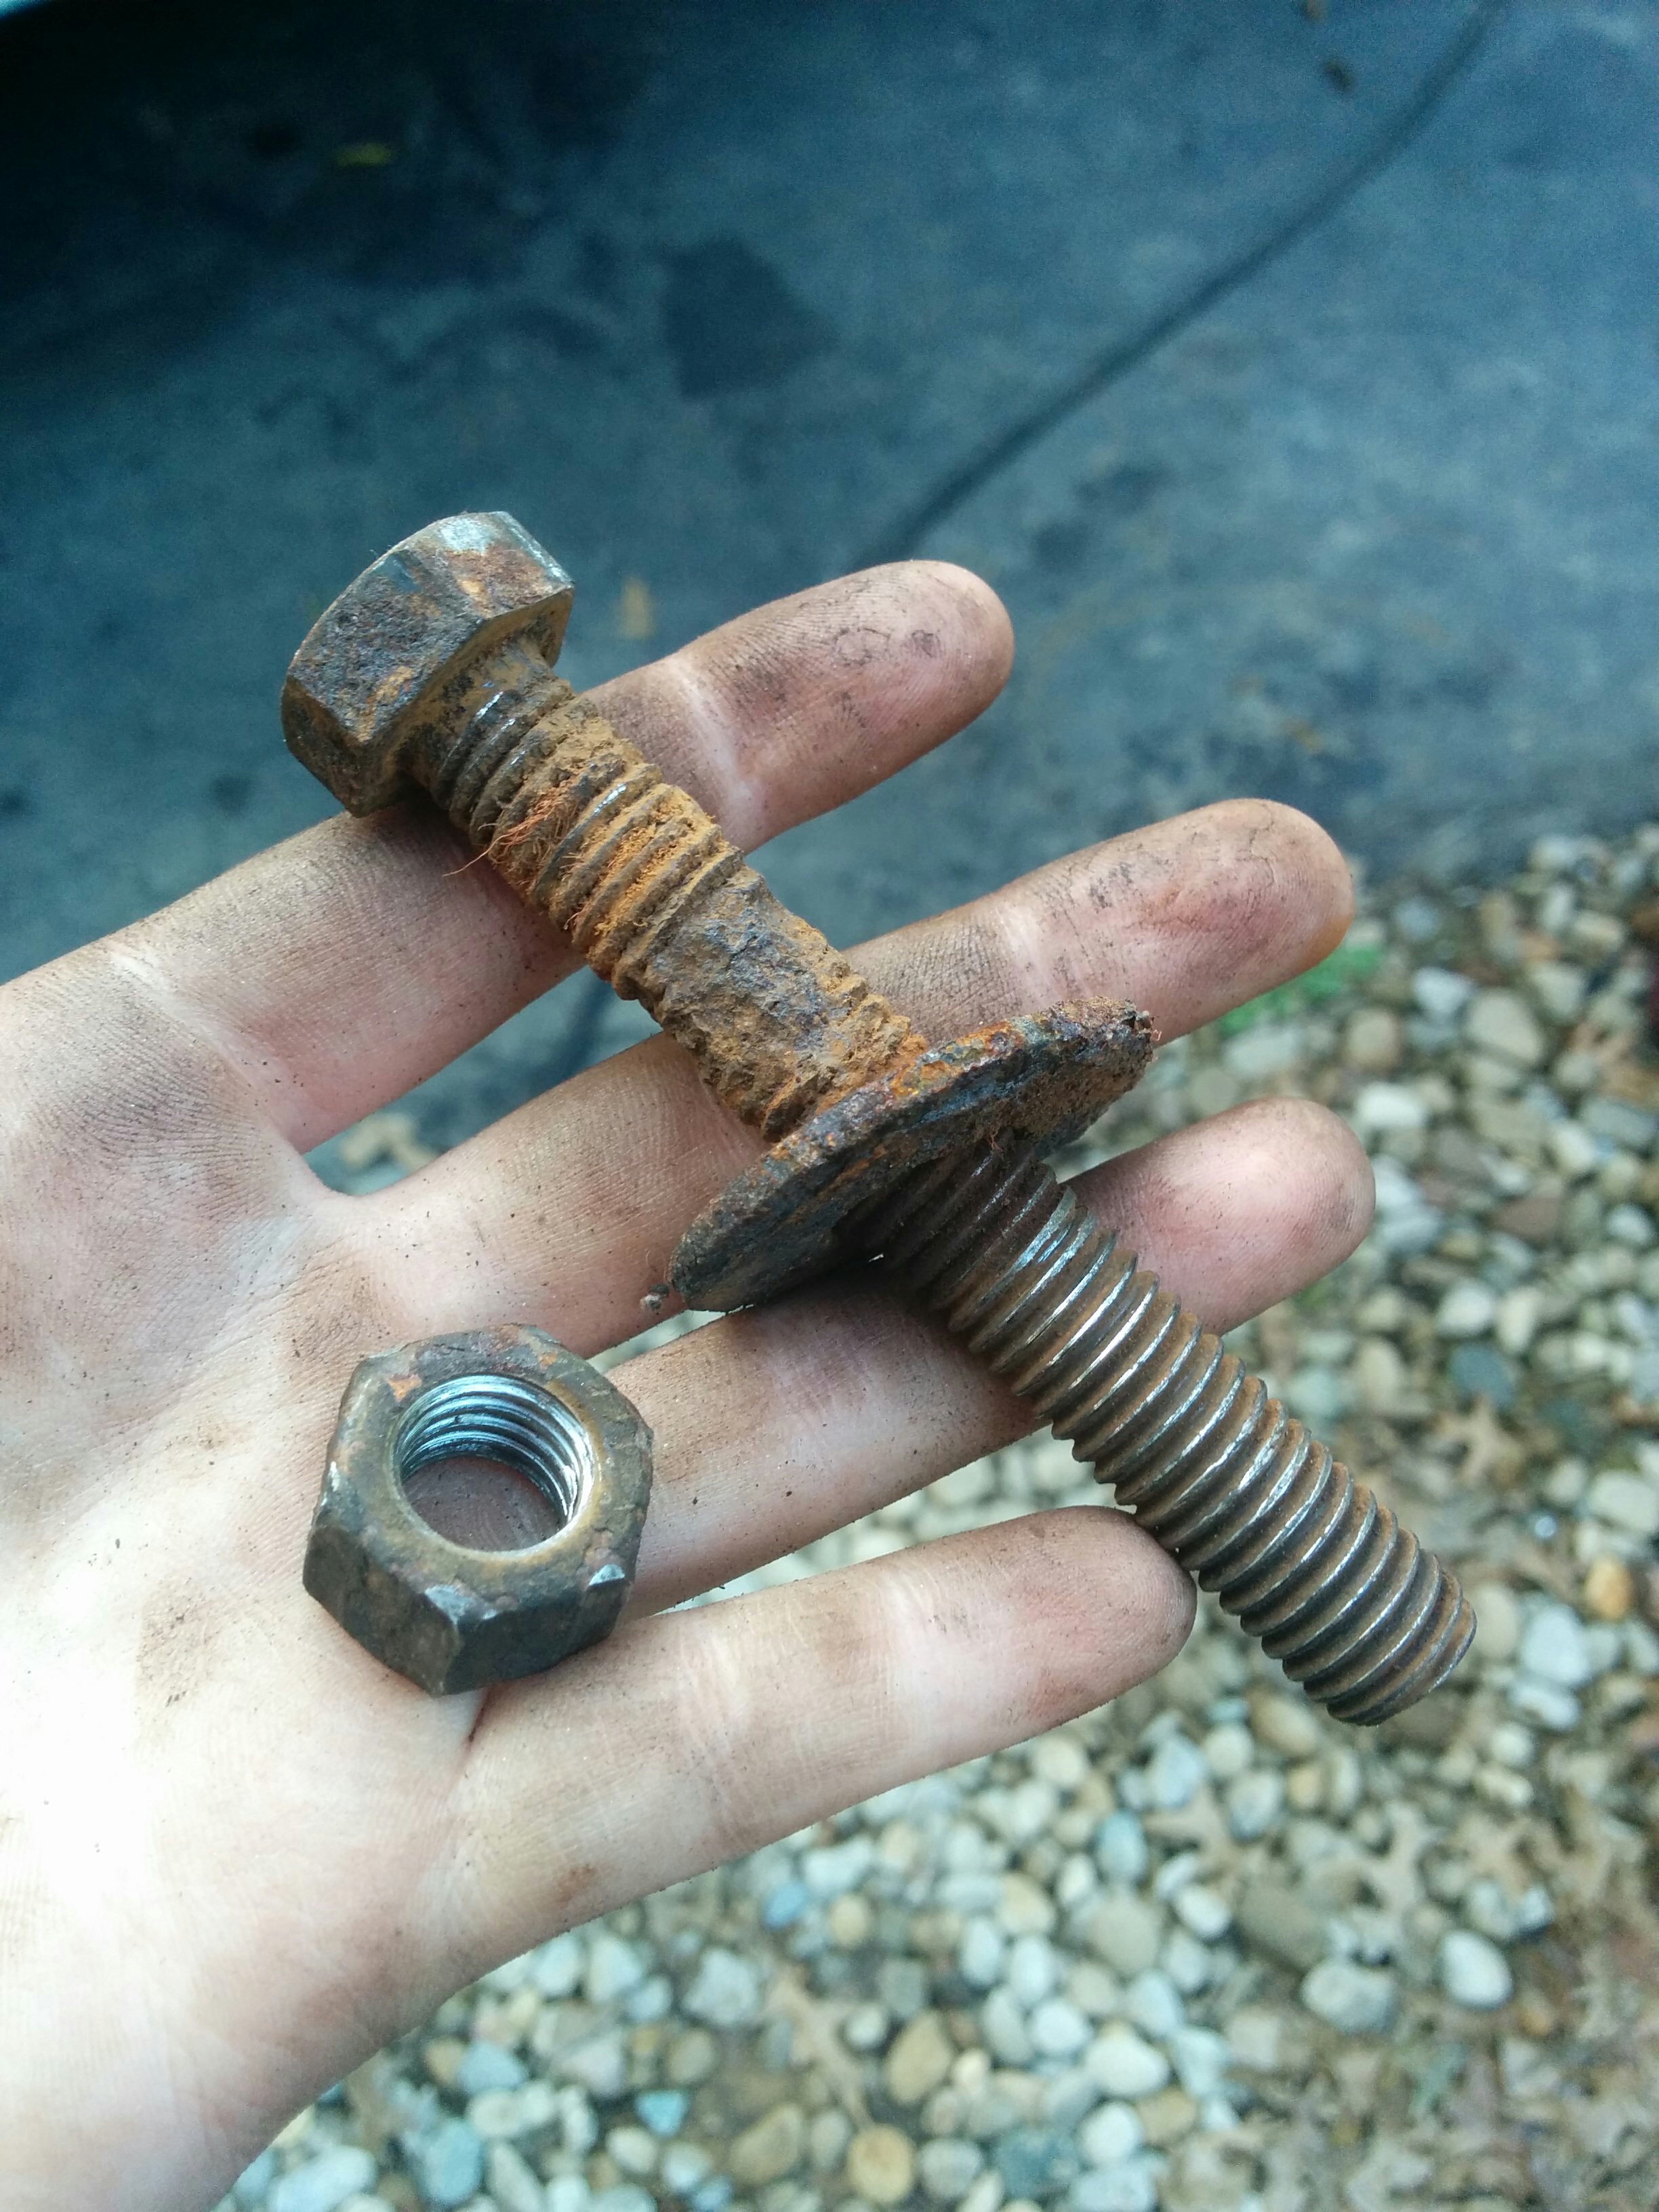
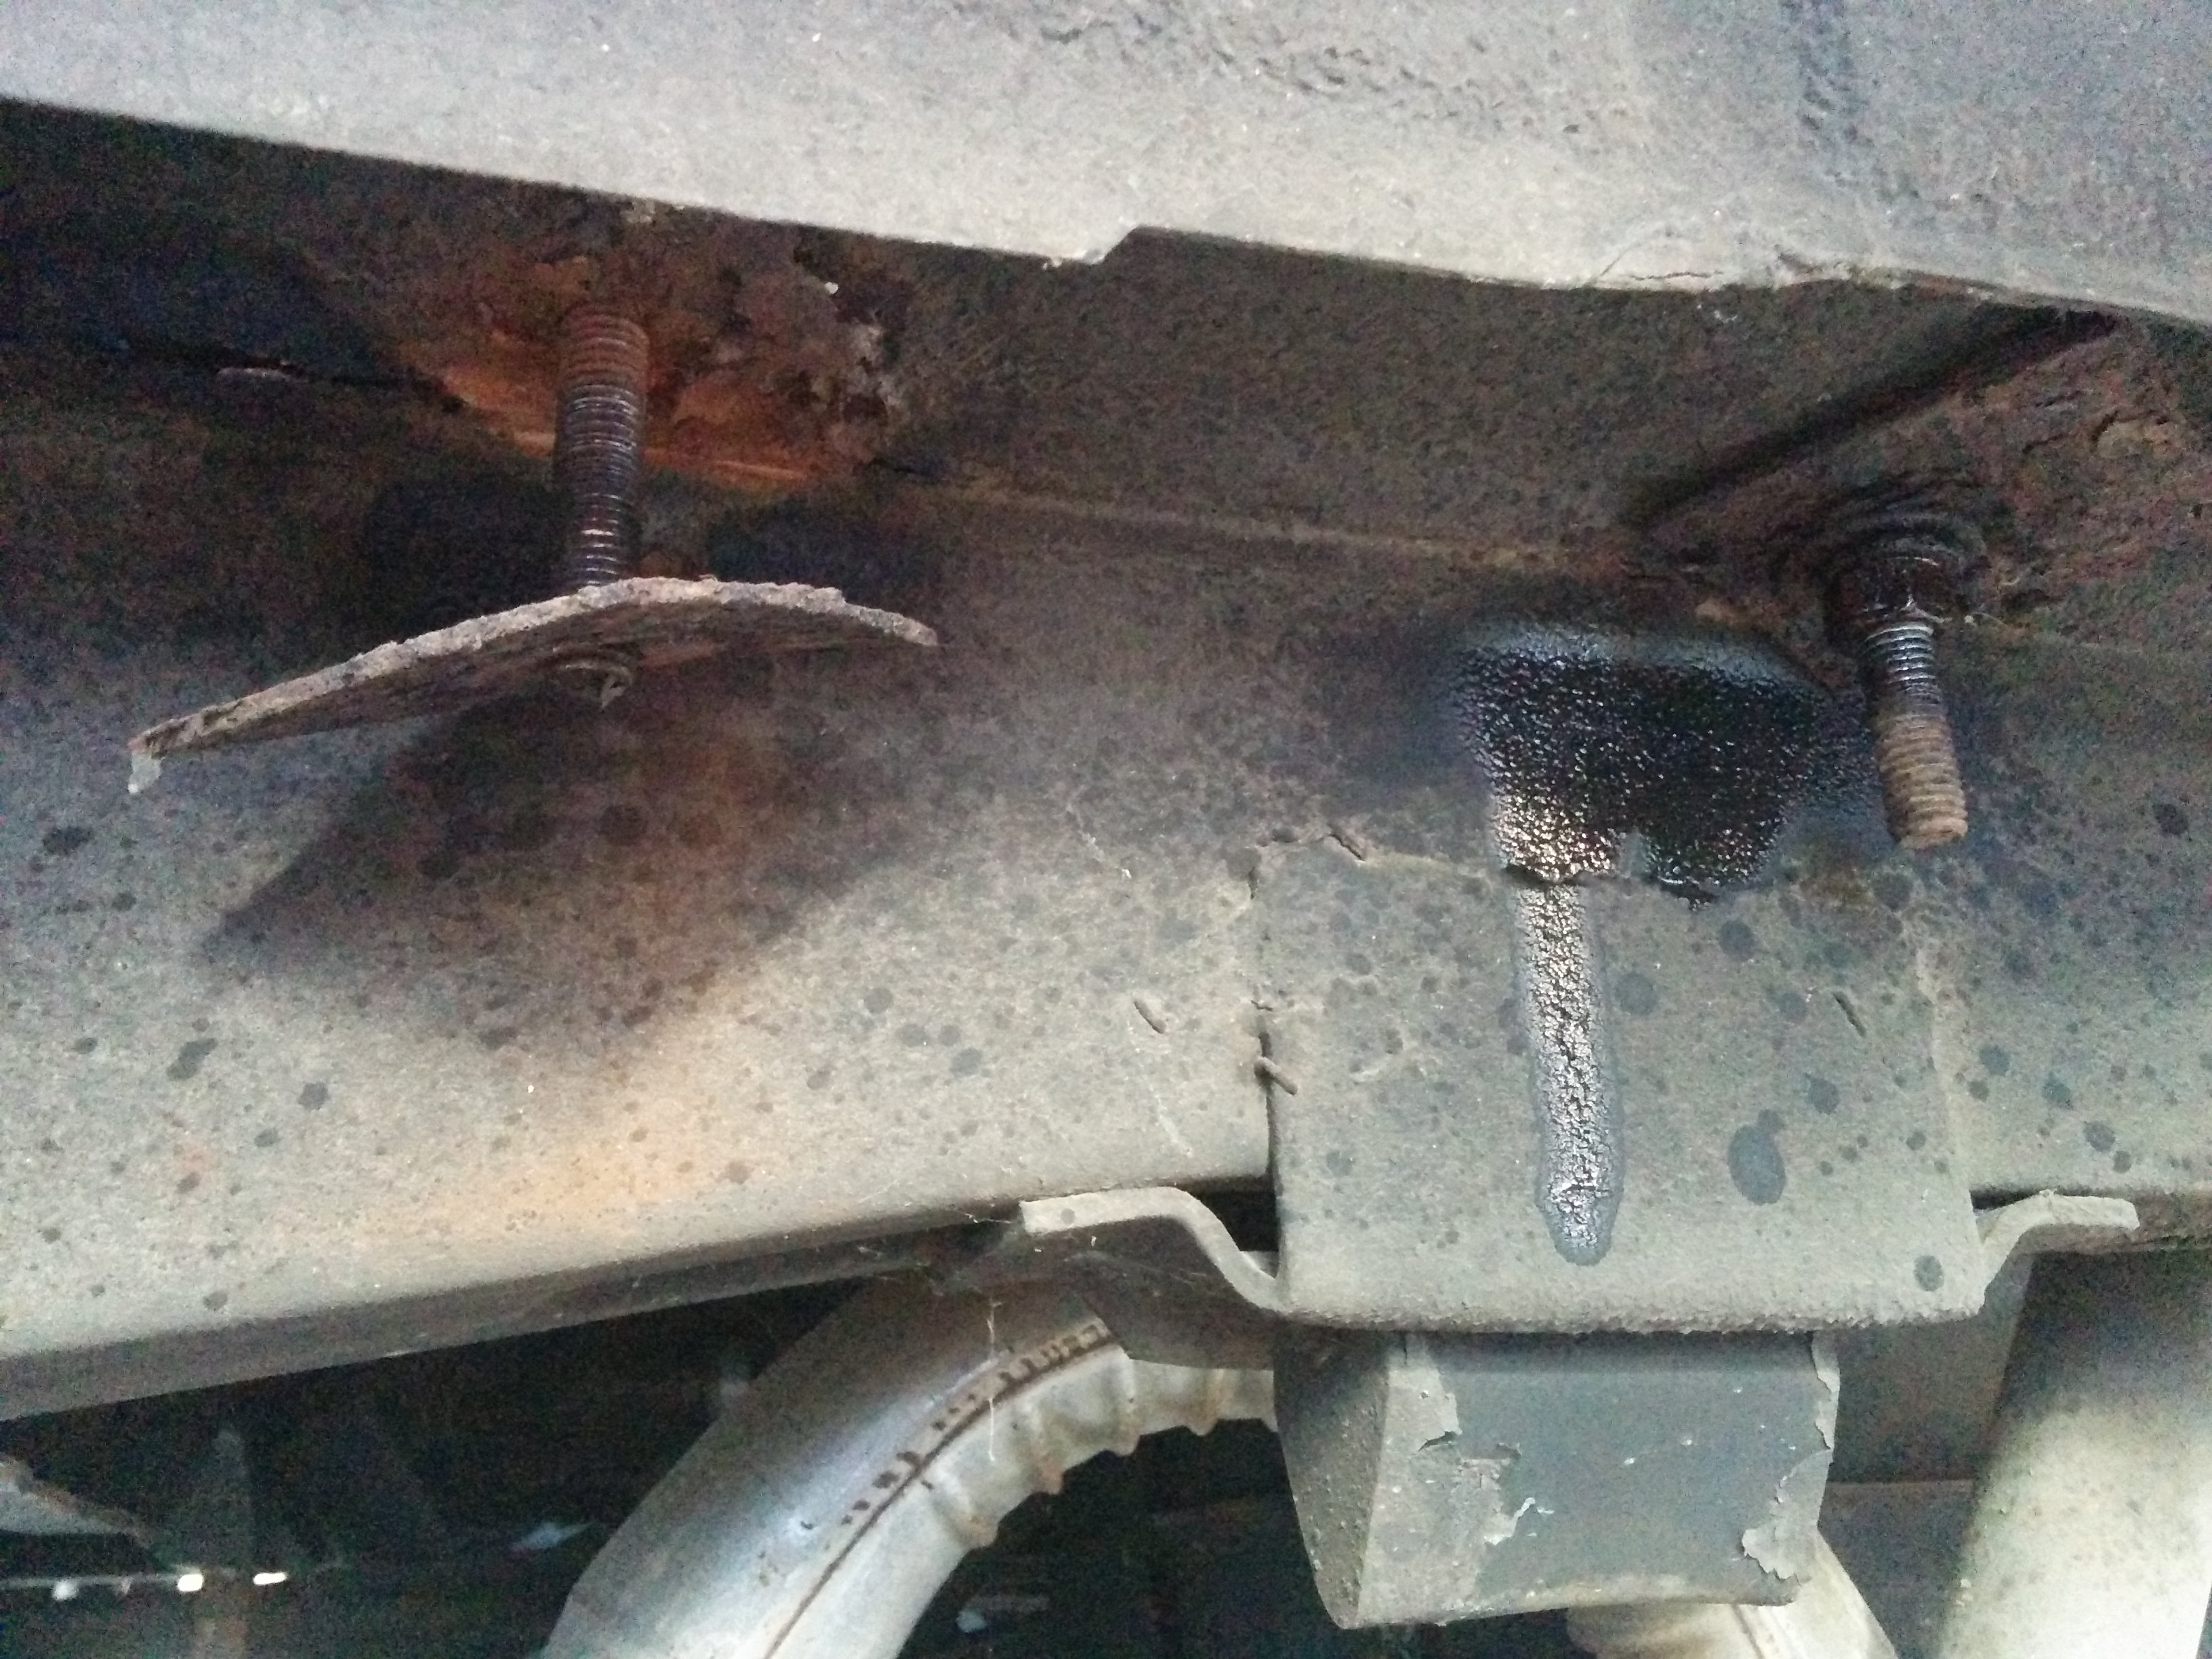
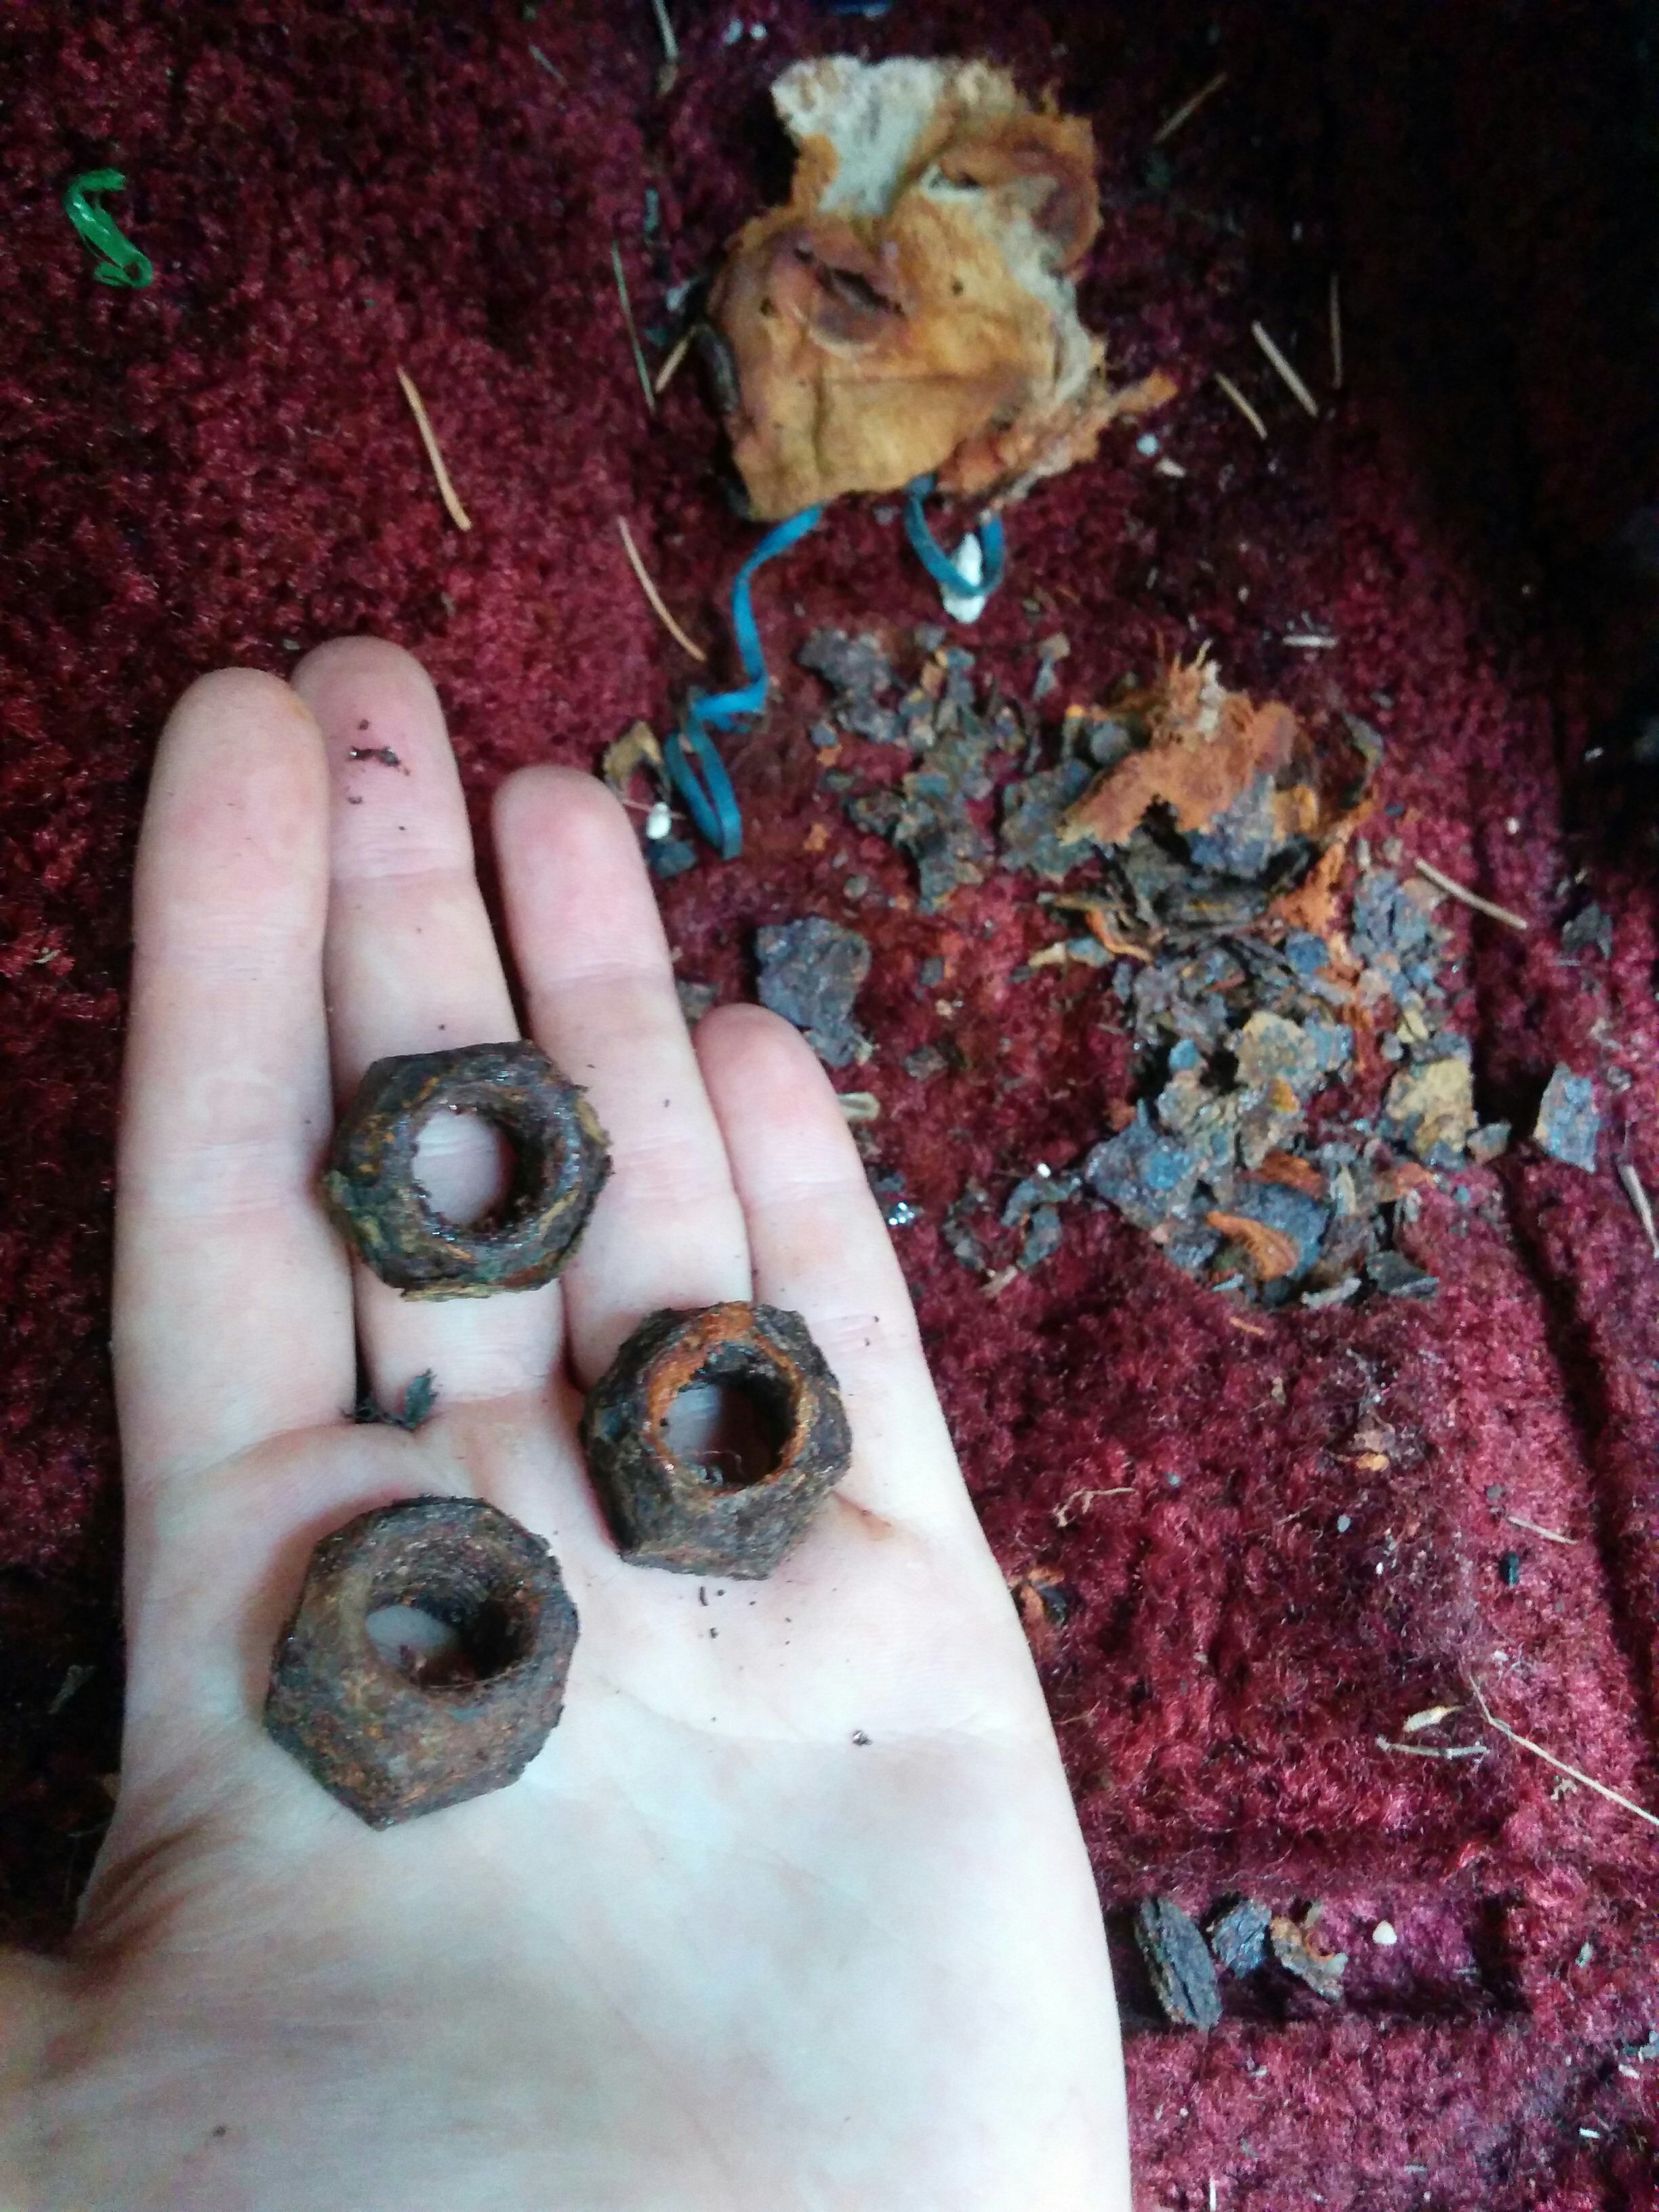
The couch was held down by multiple bolts passing through the carpet to the underside of the van. Half went up and half went down. I was able to get some loose with a very long ratchet but had to call in a Garrett assist to figure out how to free the rest (which turned out to be quite stuck).
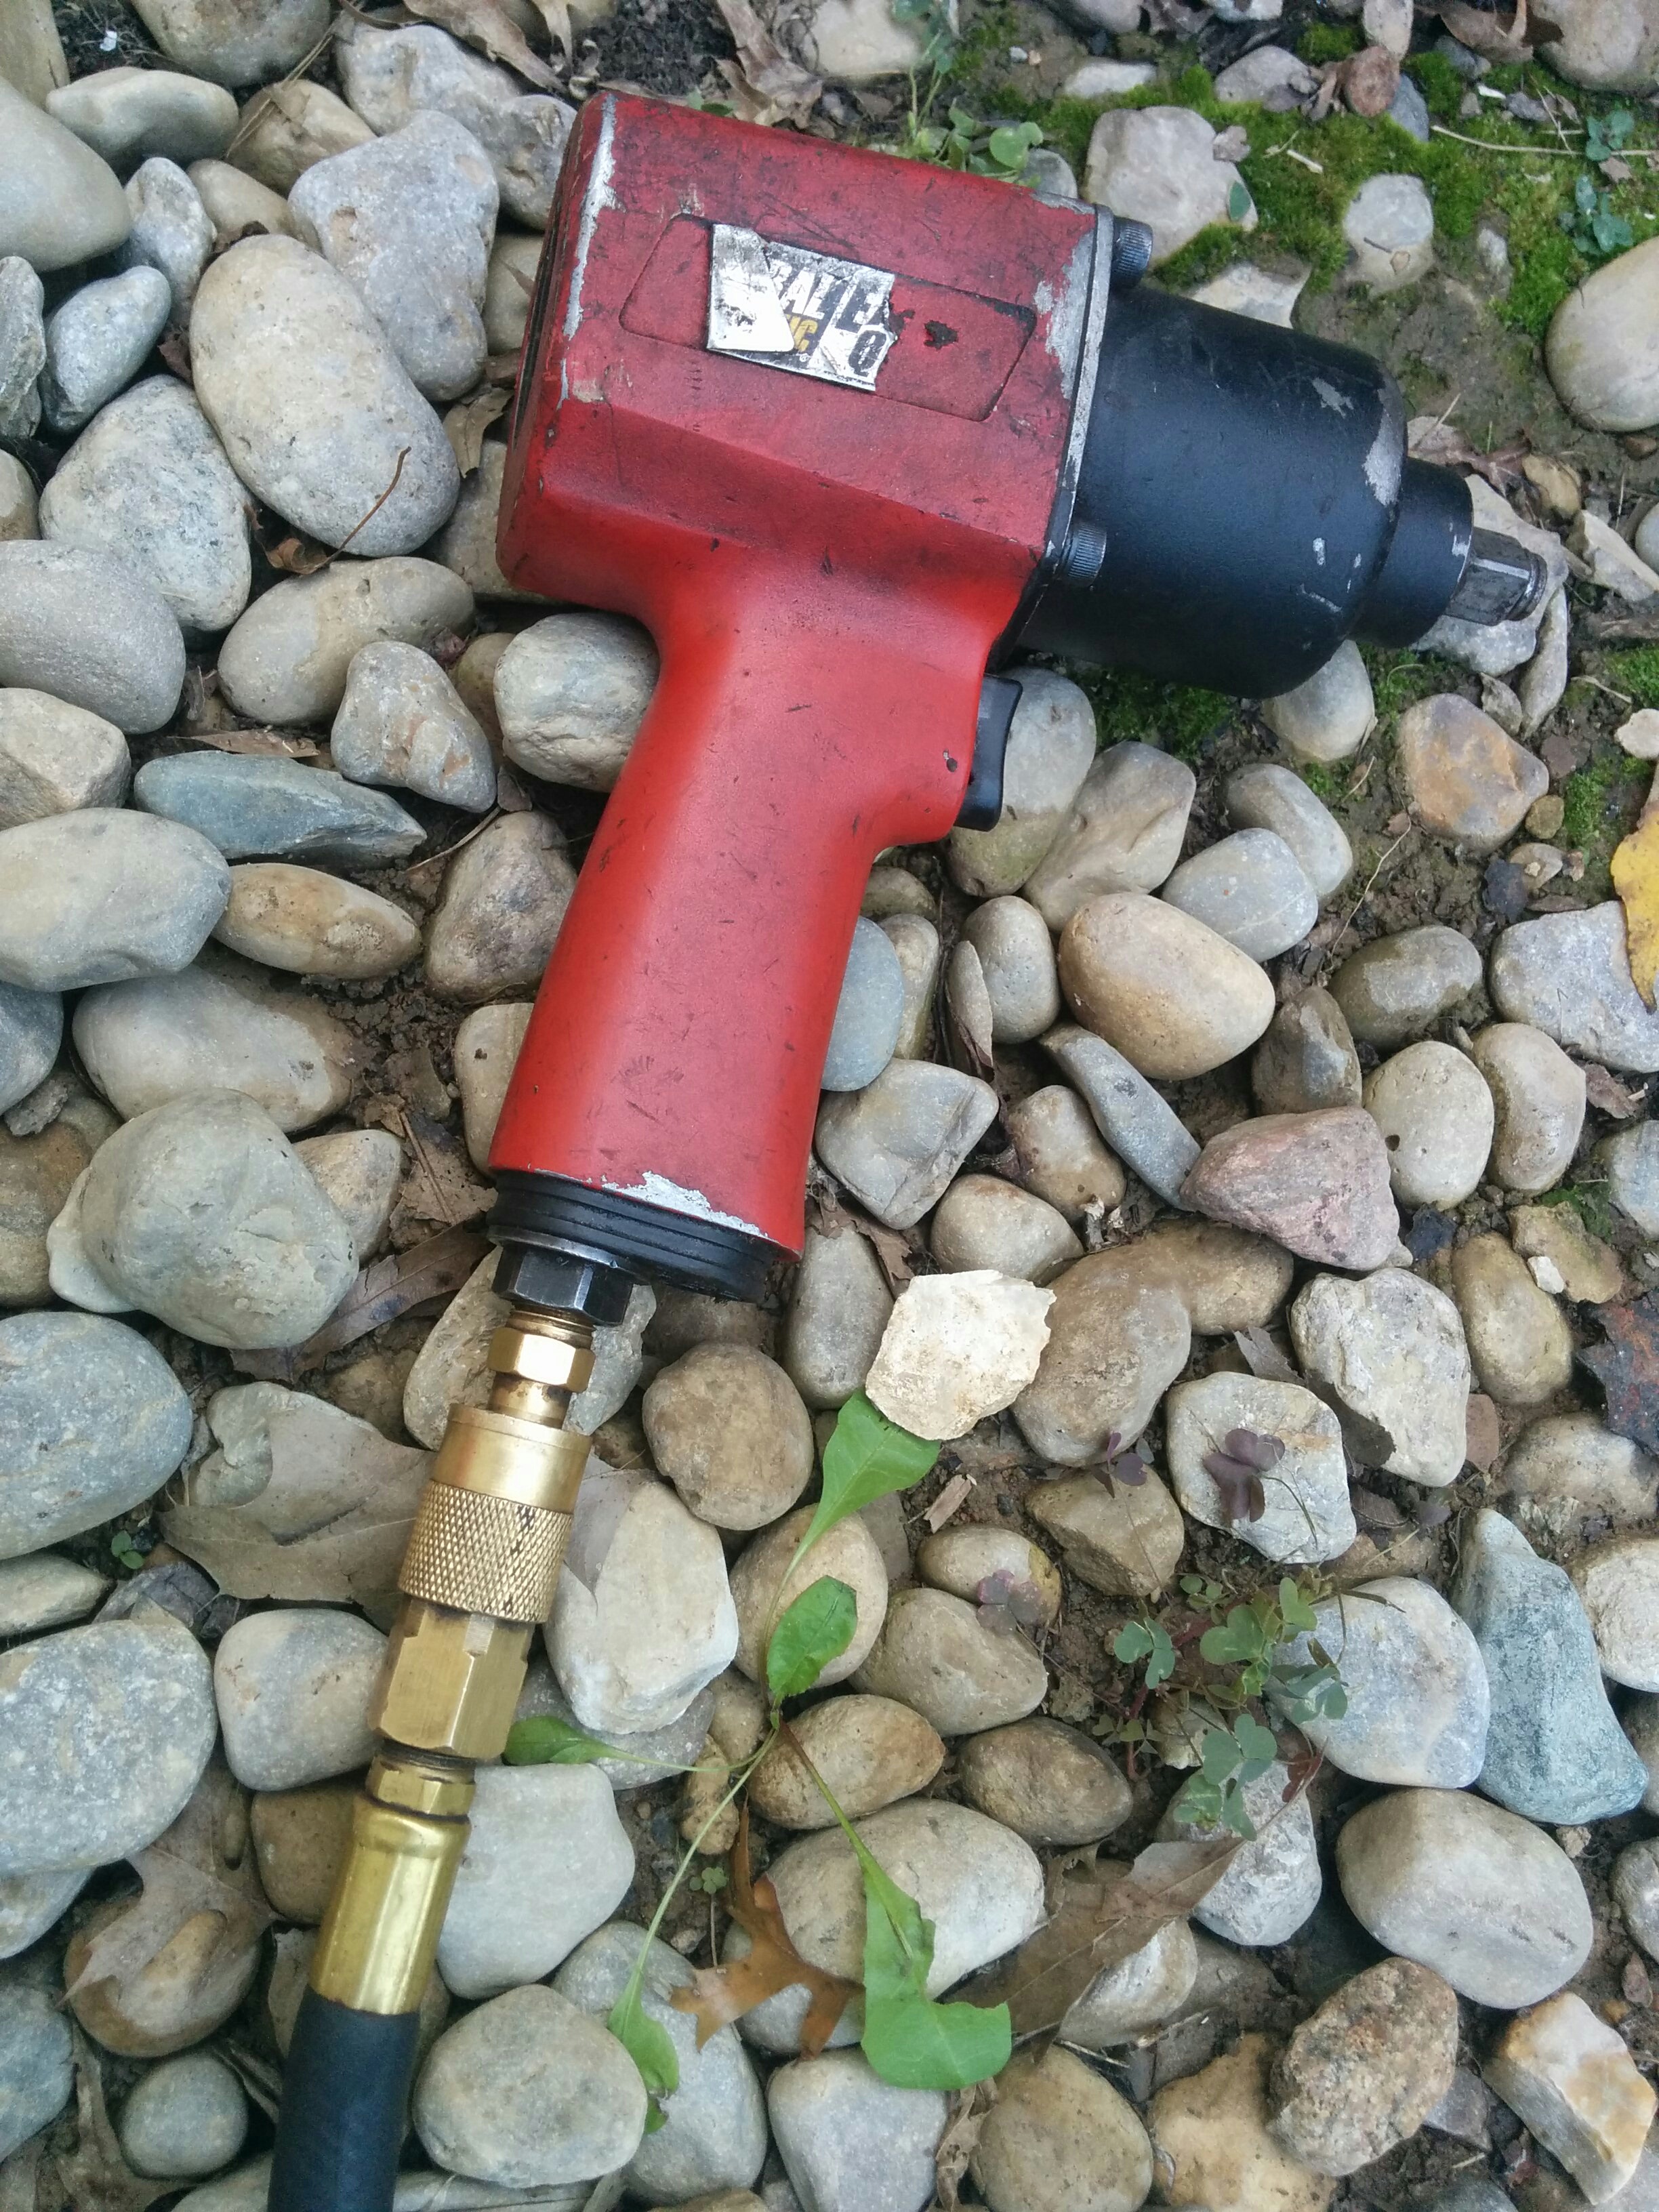
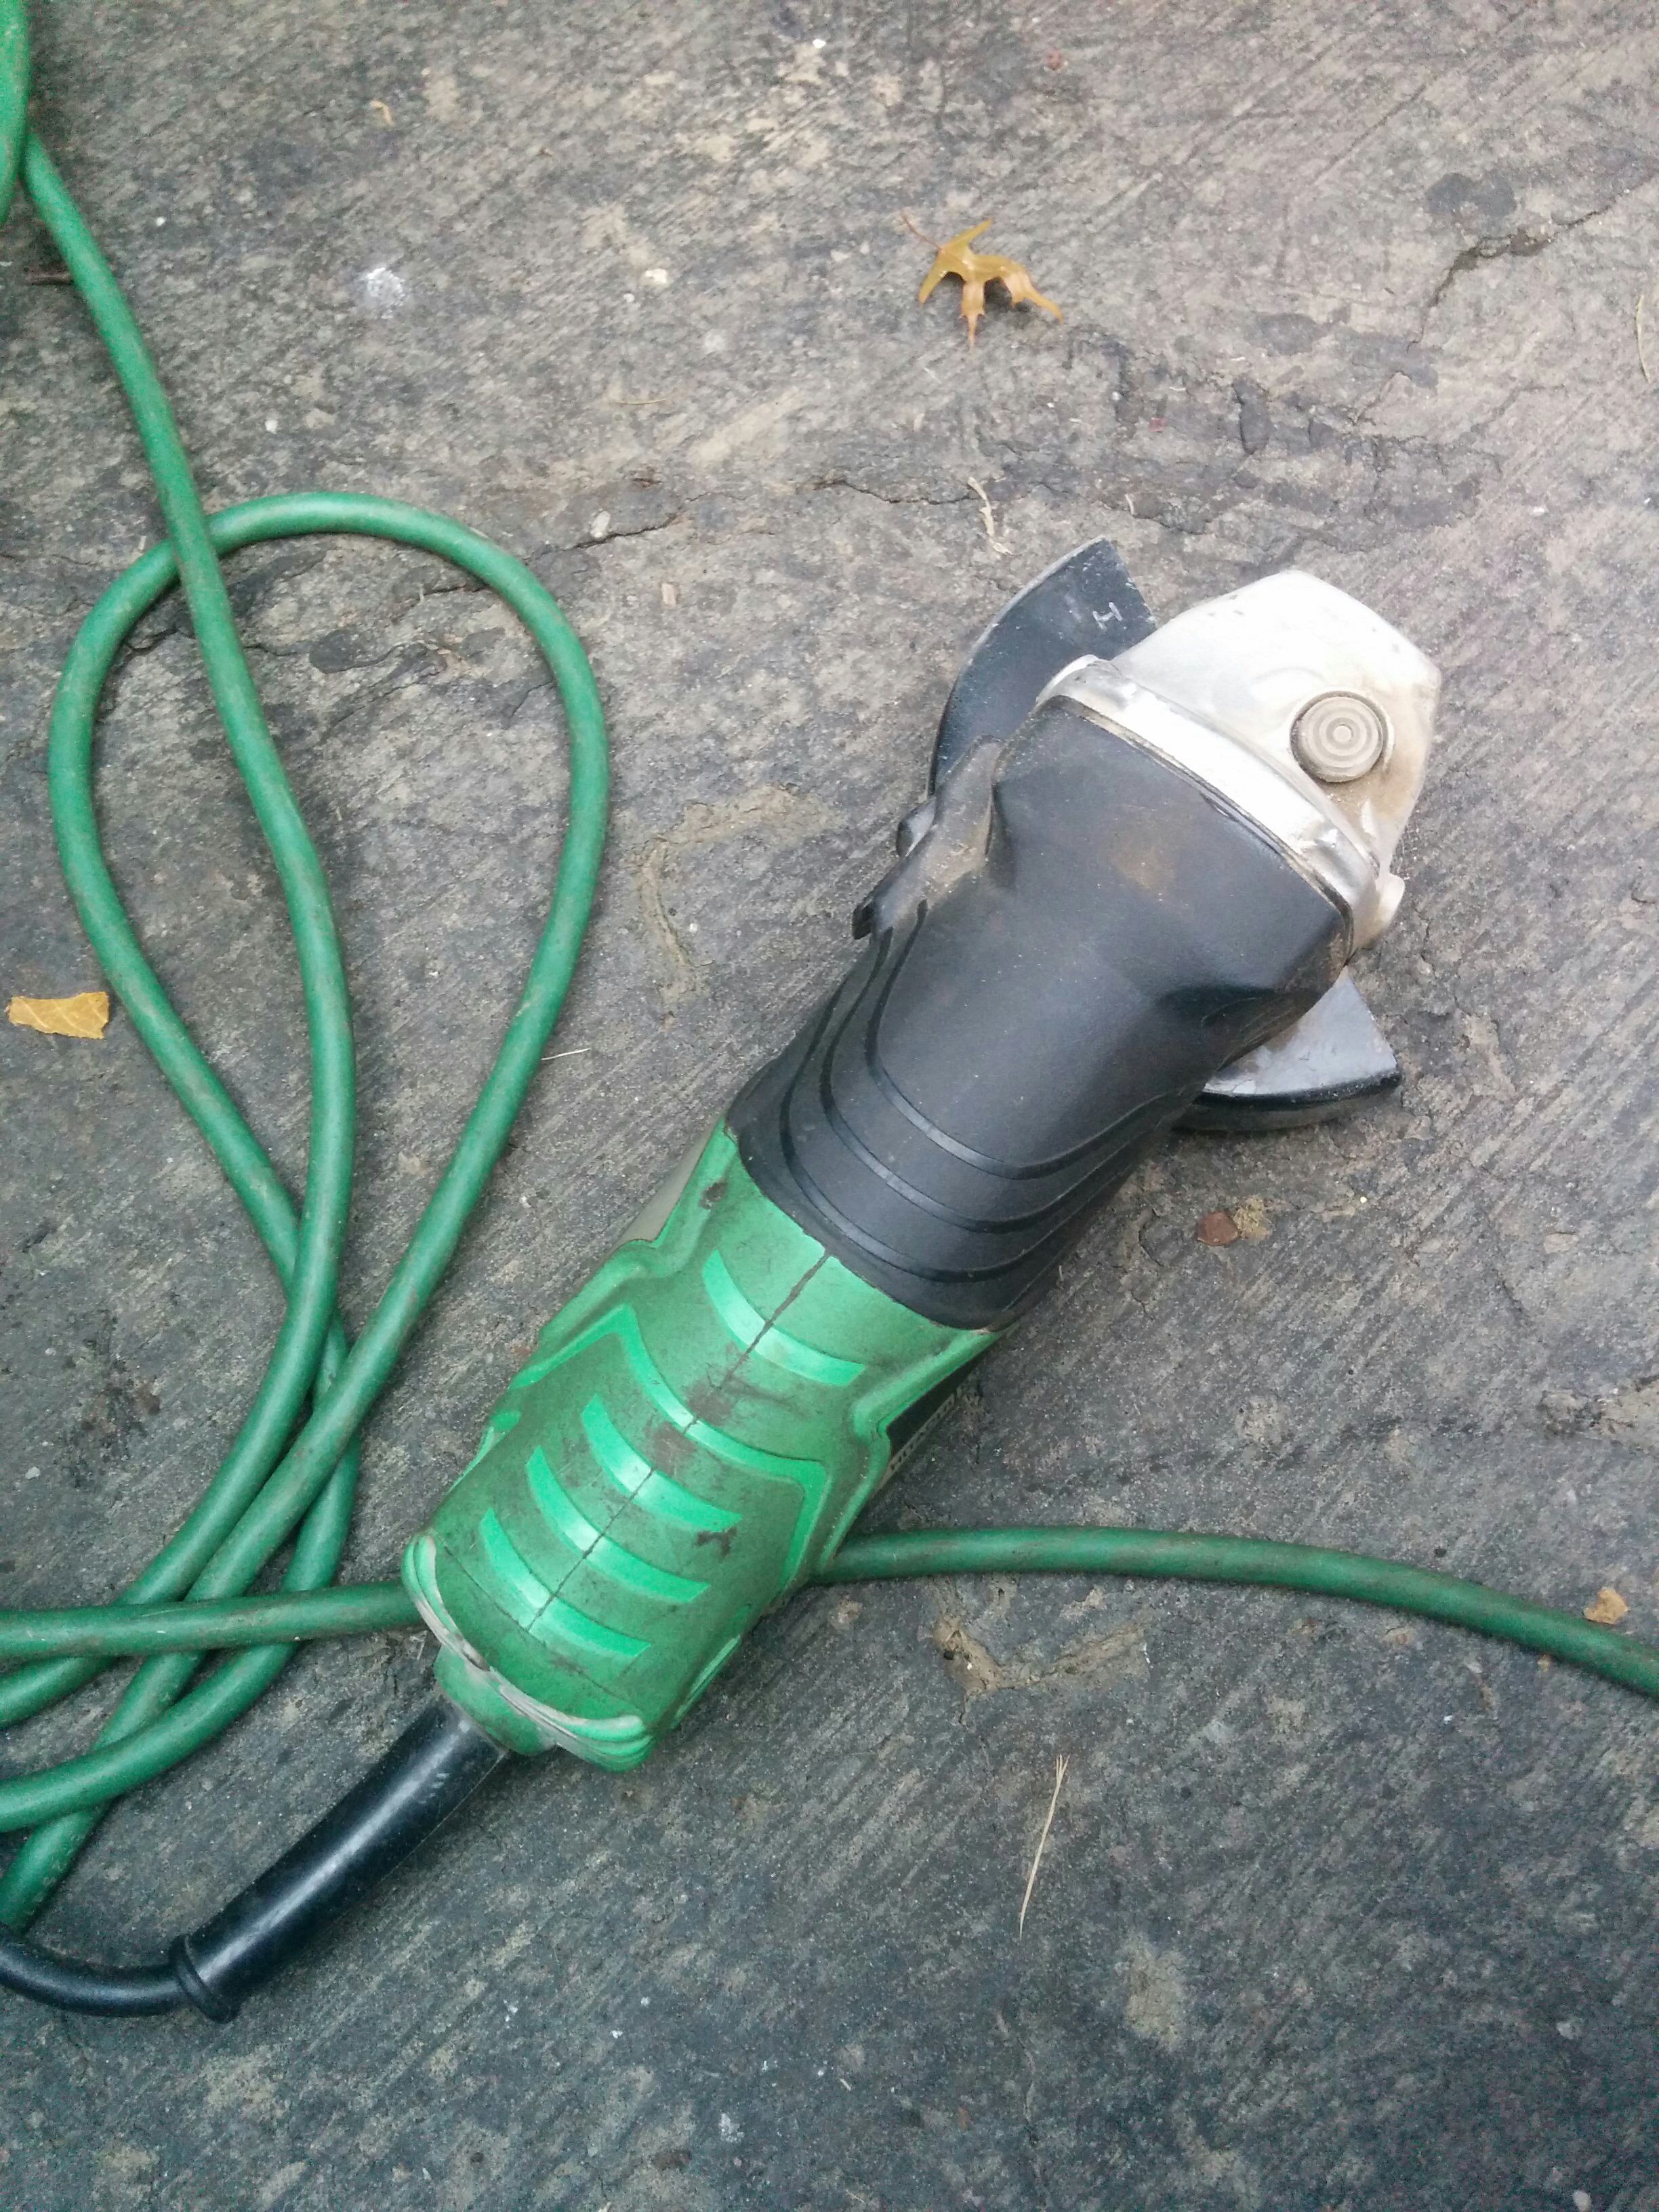
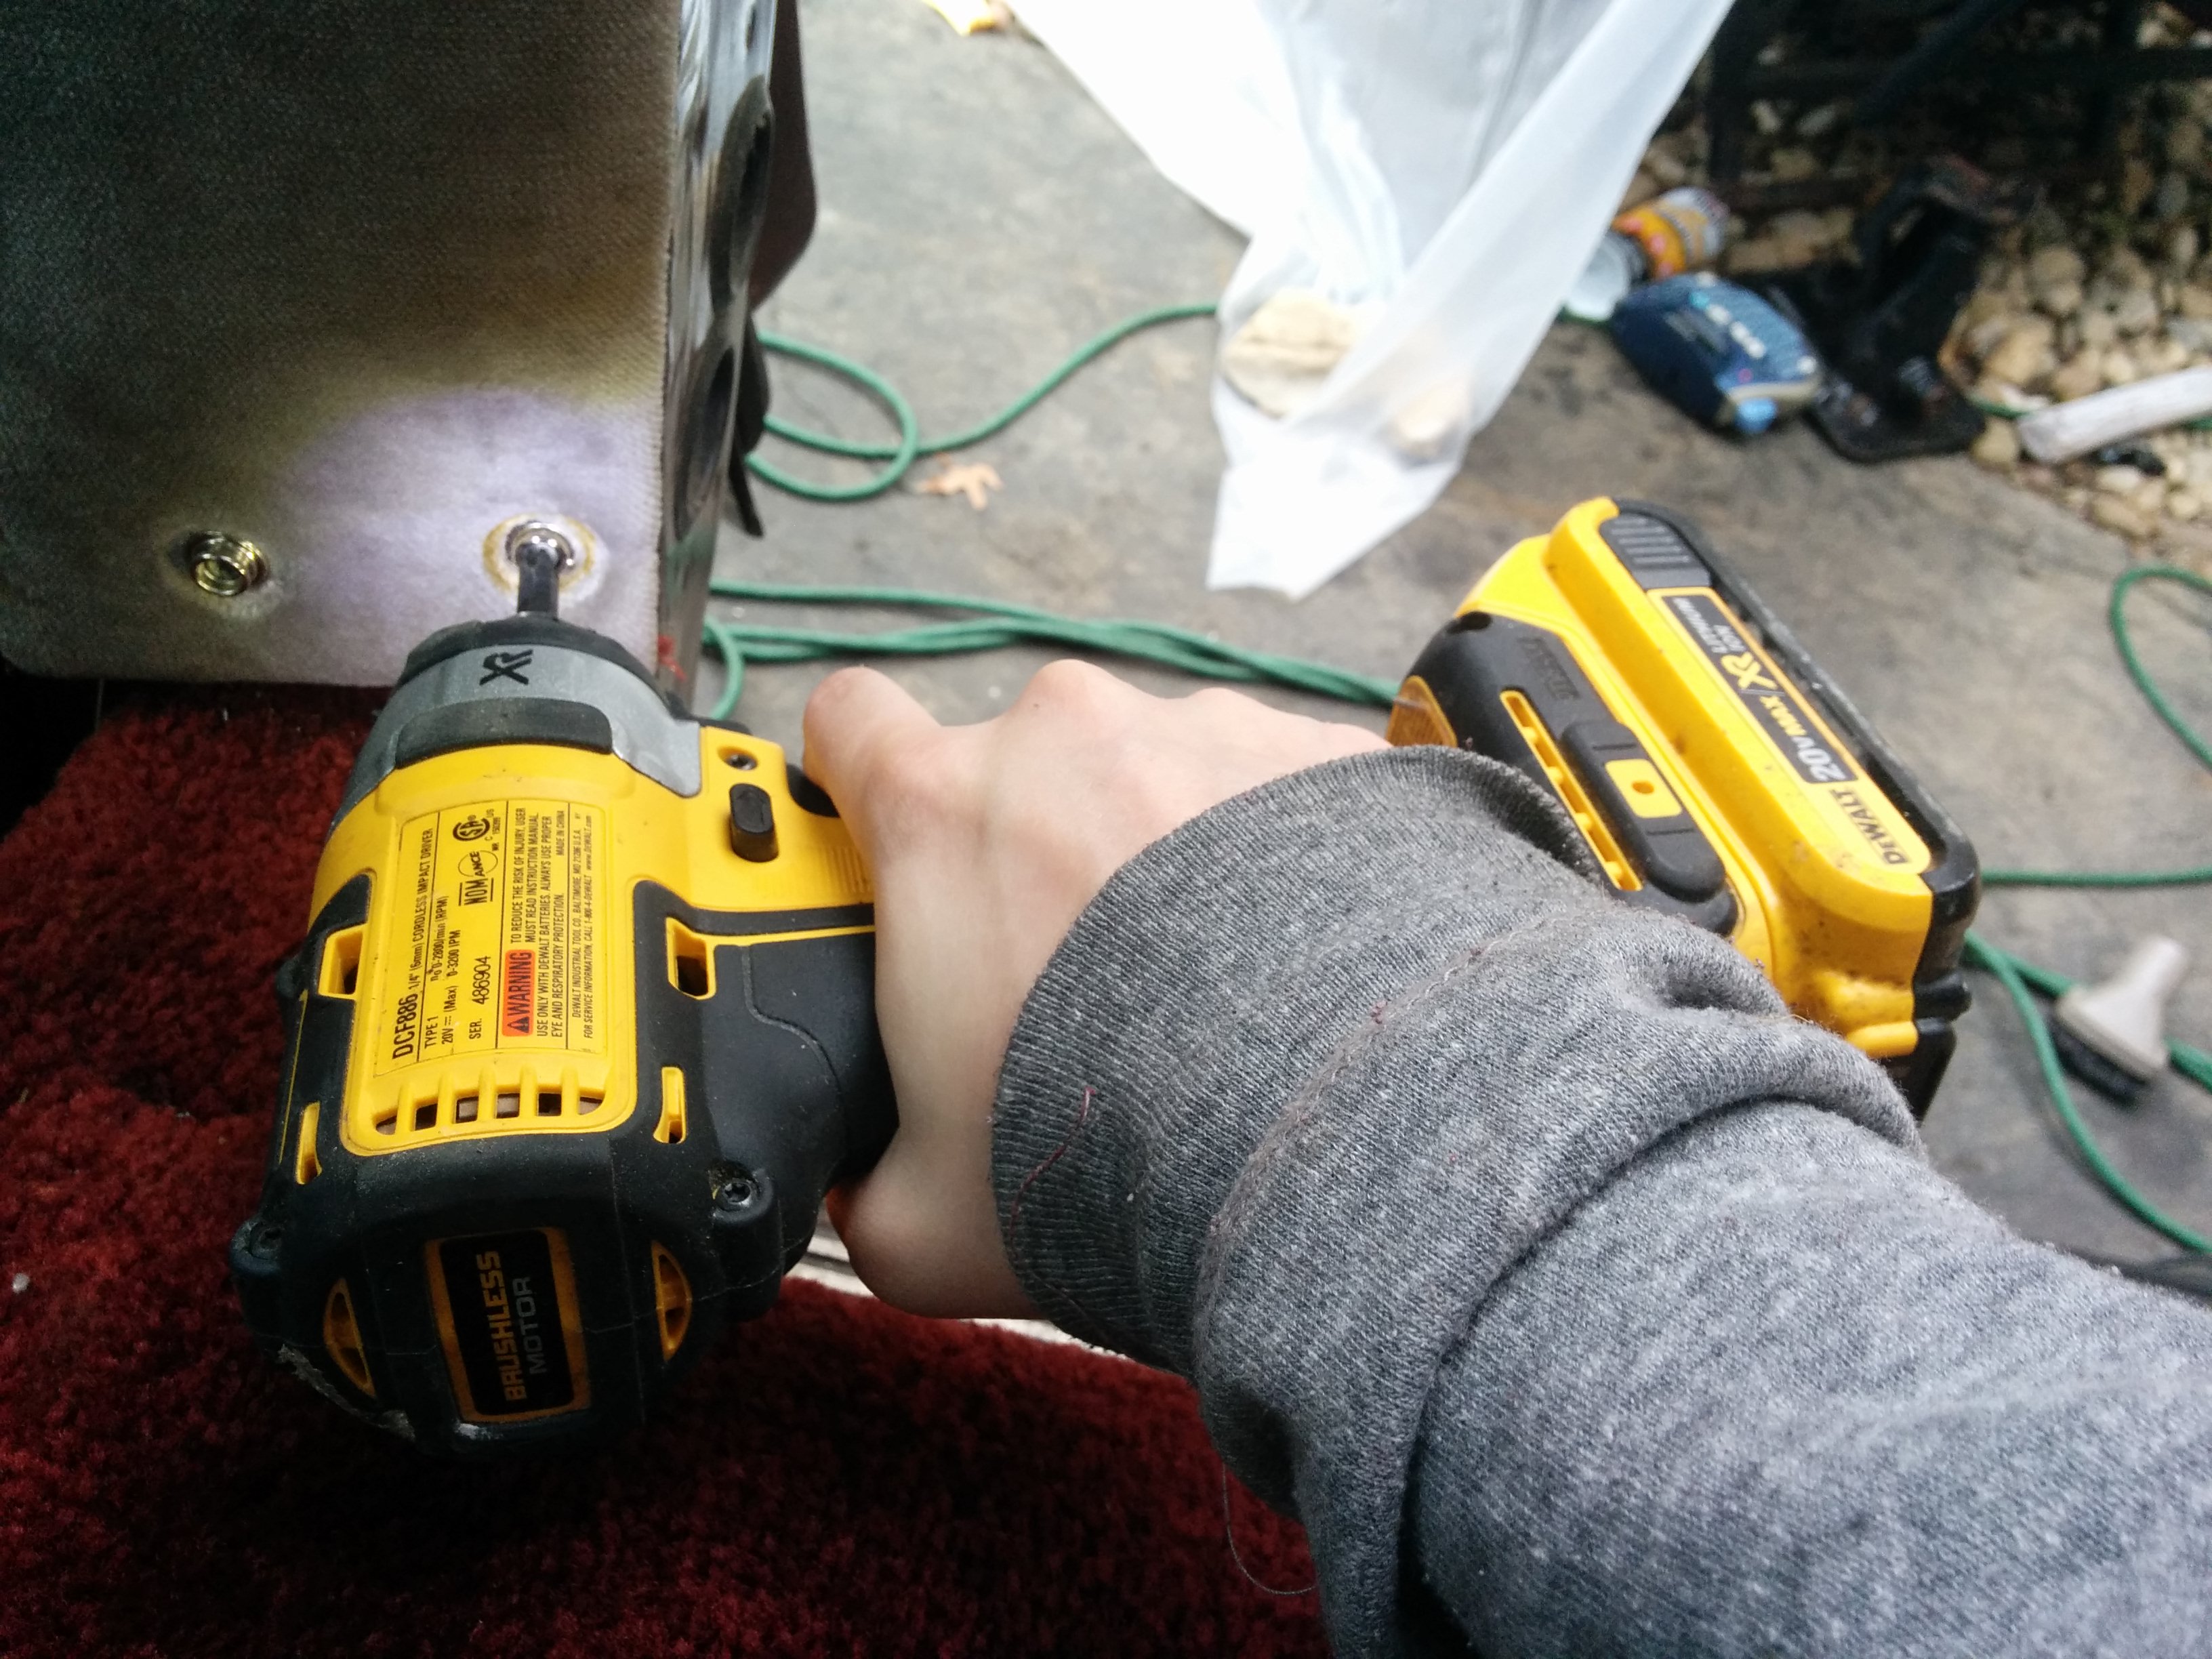
I had not encountered these tools before. The thing on the left is an air tank powered “impact wrench” (which we definitely needed) and then on the right an “angle grinder” (for cutting the bolt off, if it came down to it, which iirc it did not). This would become a common theme with the van: everything was stuck in place somehow, typically by rust, making simple tasks into difficult battles.
The couch was finally free! As soon as it was removed, the van already began to feel much much more spacious.


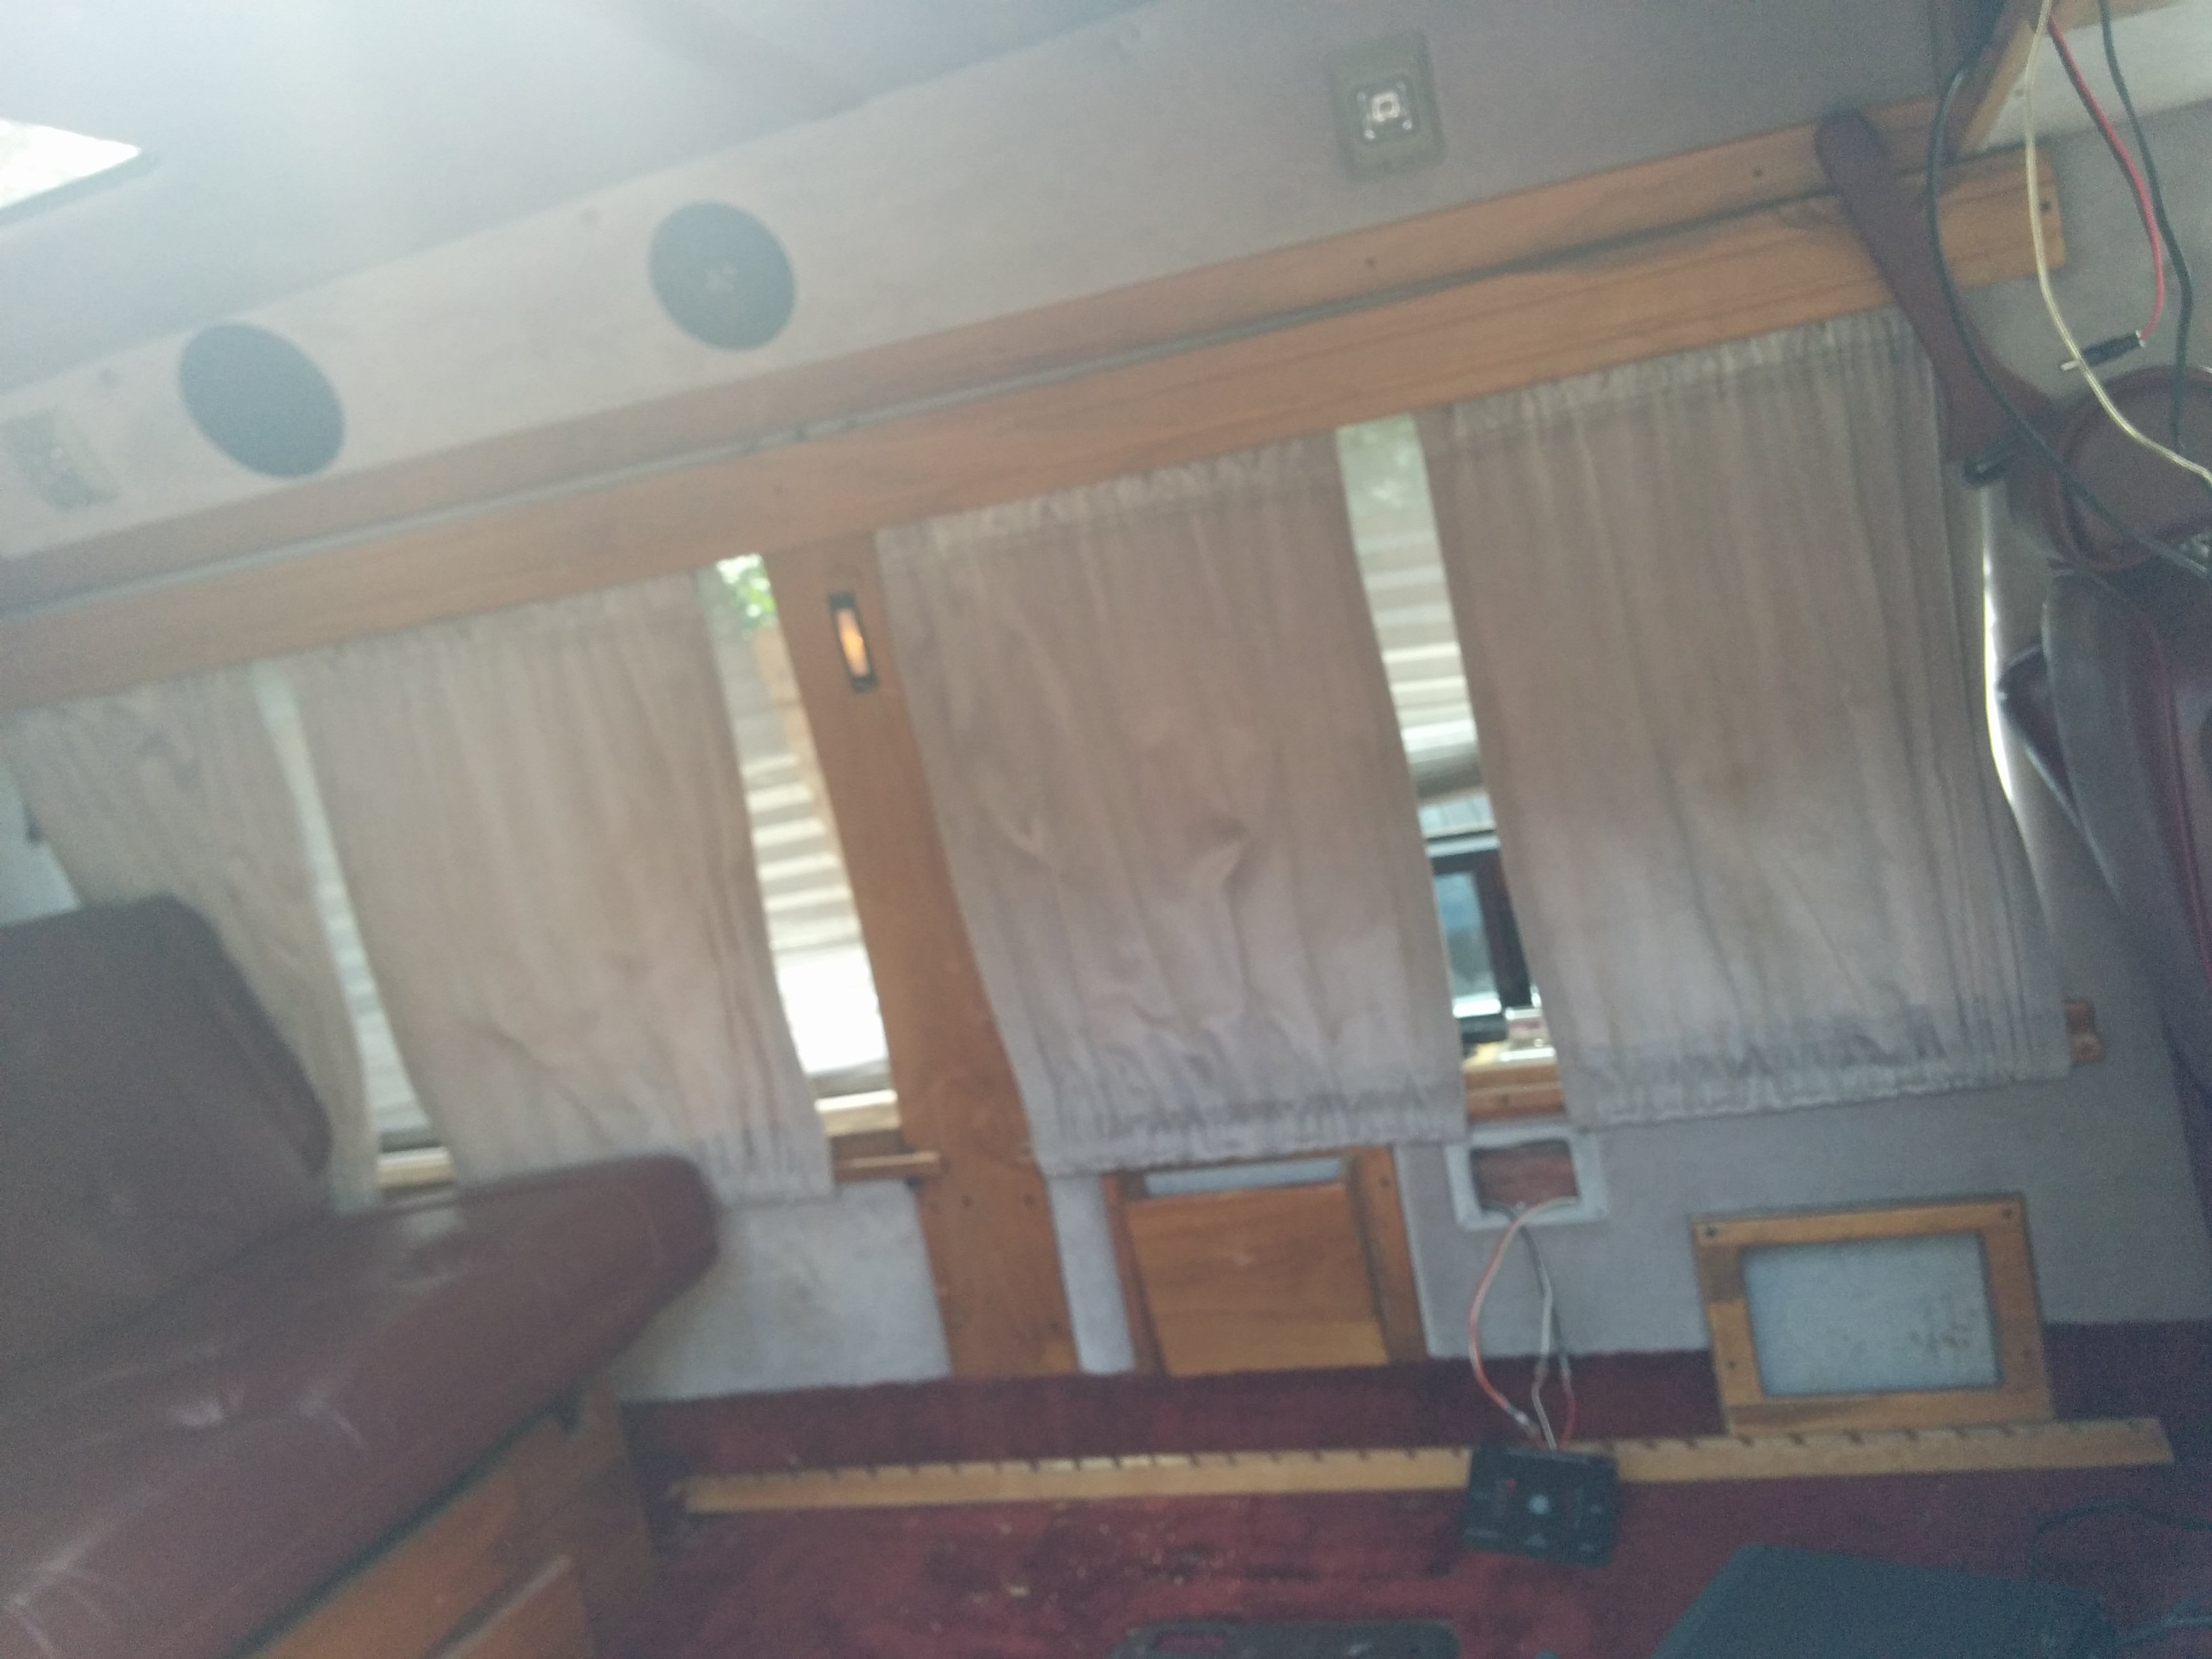
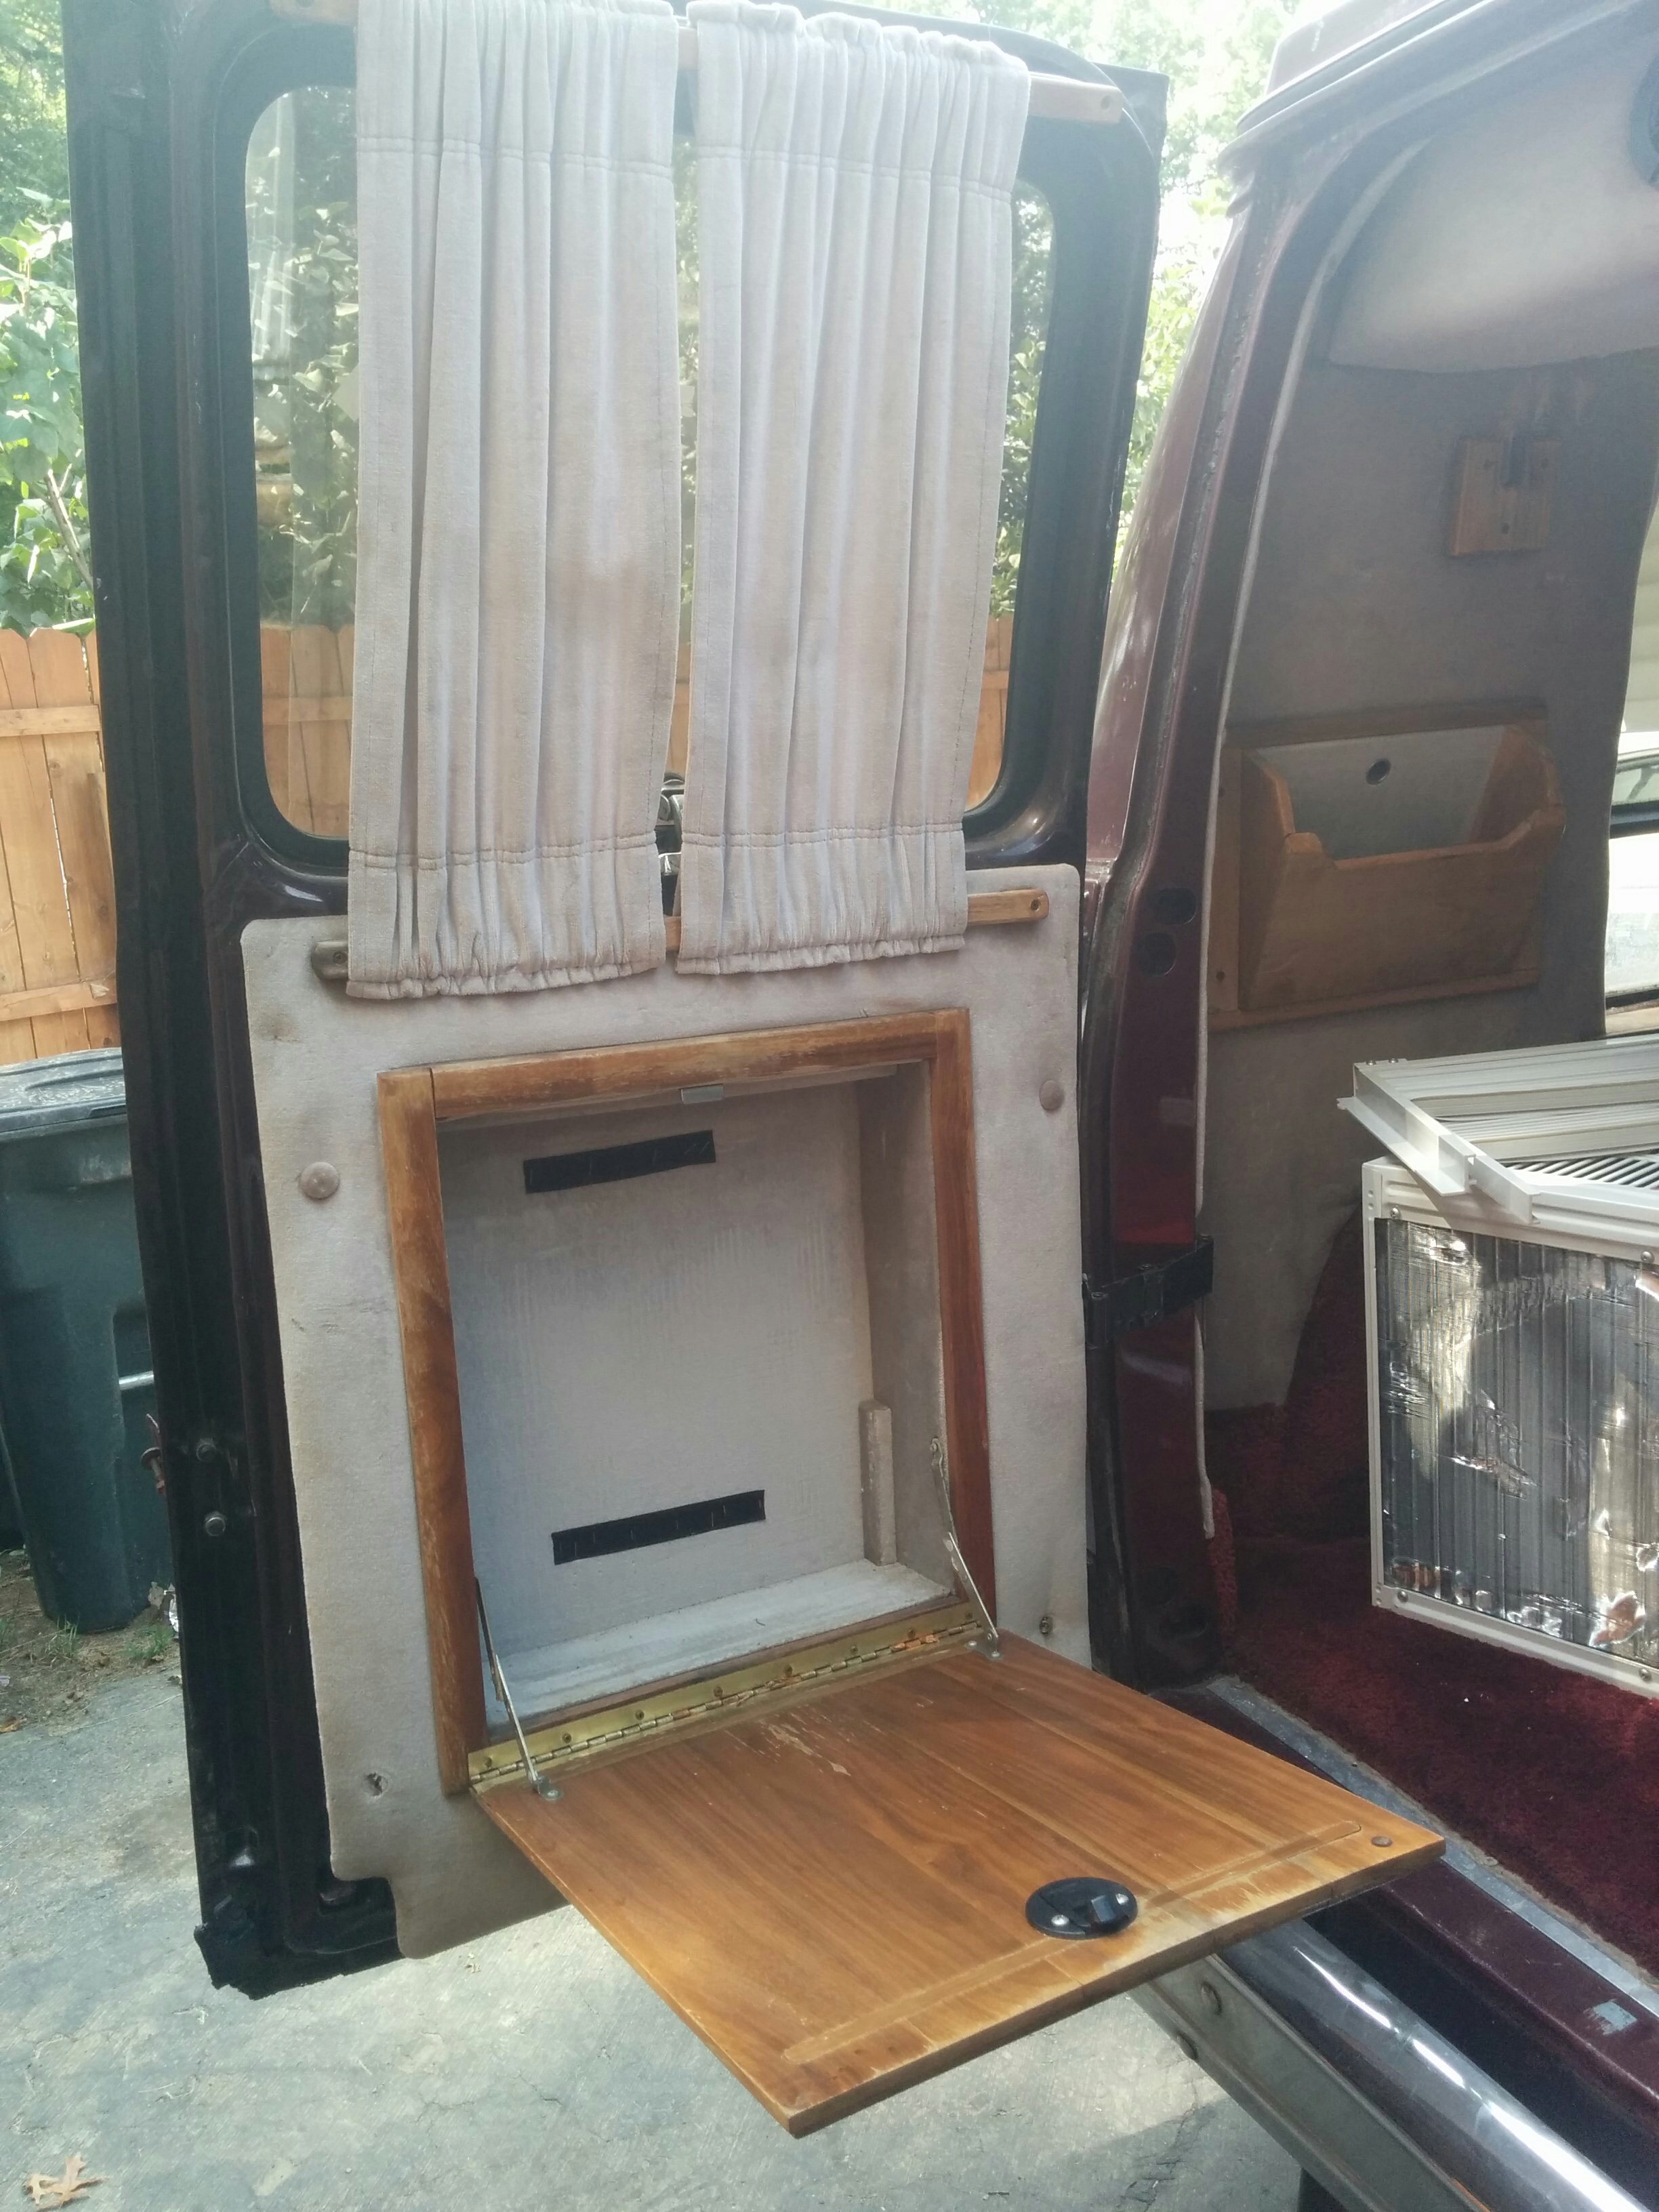
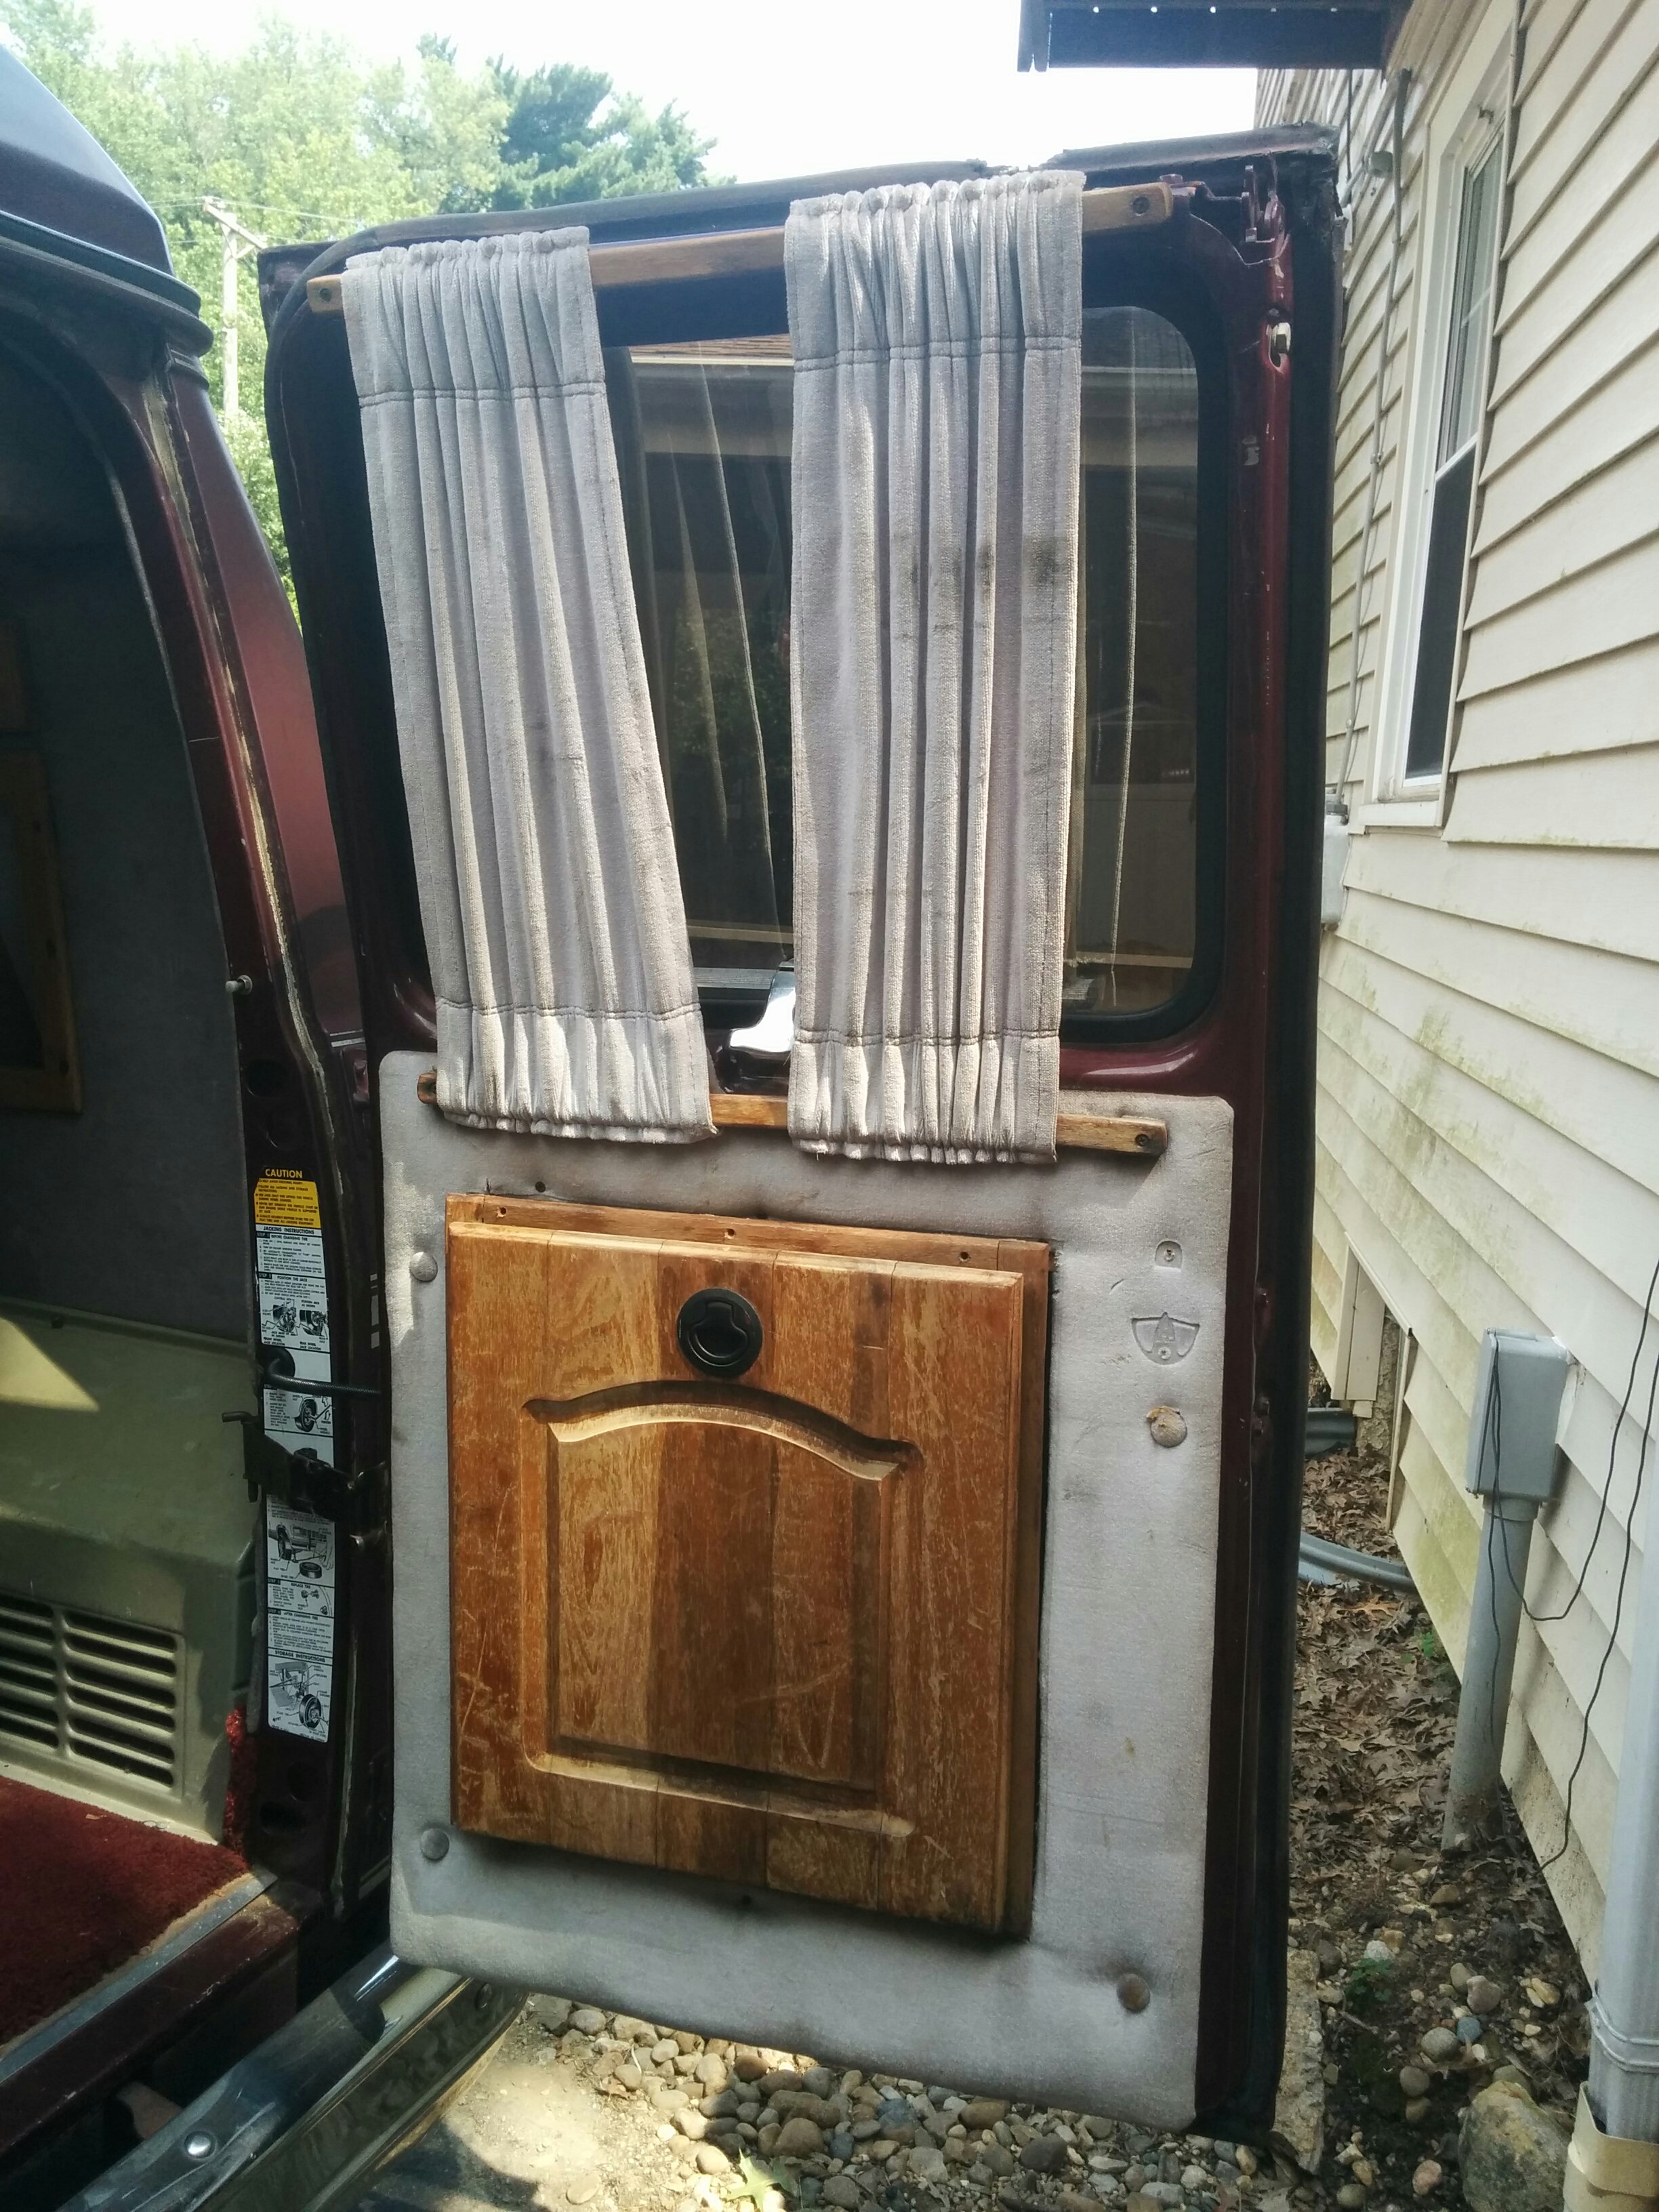
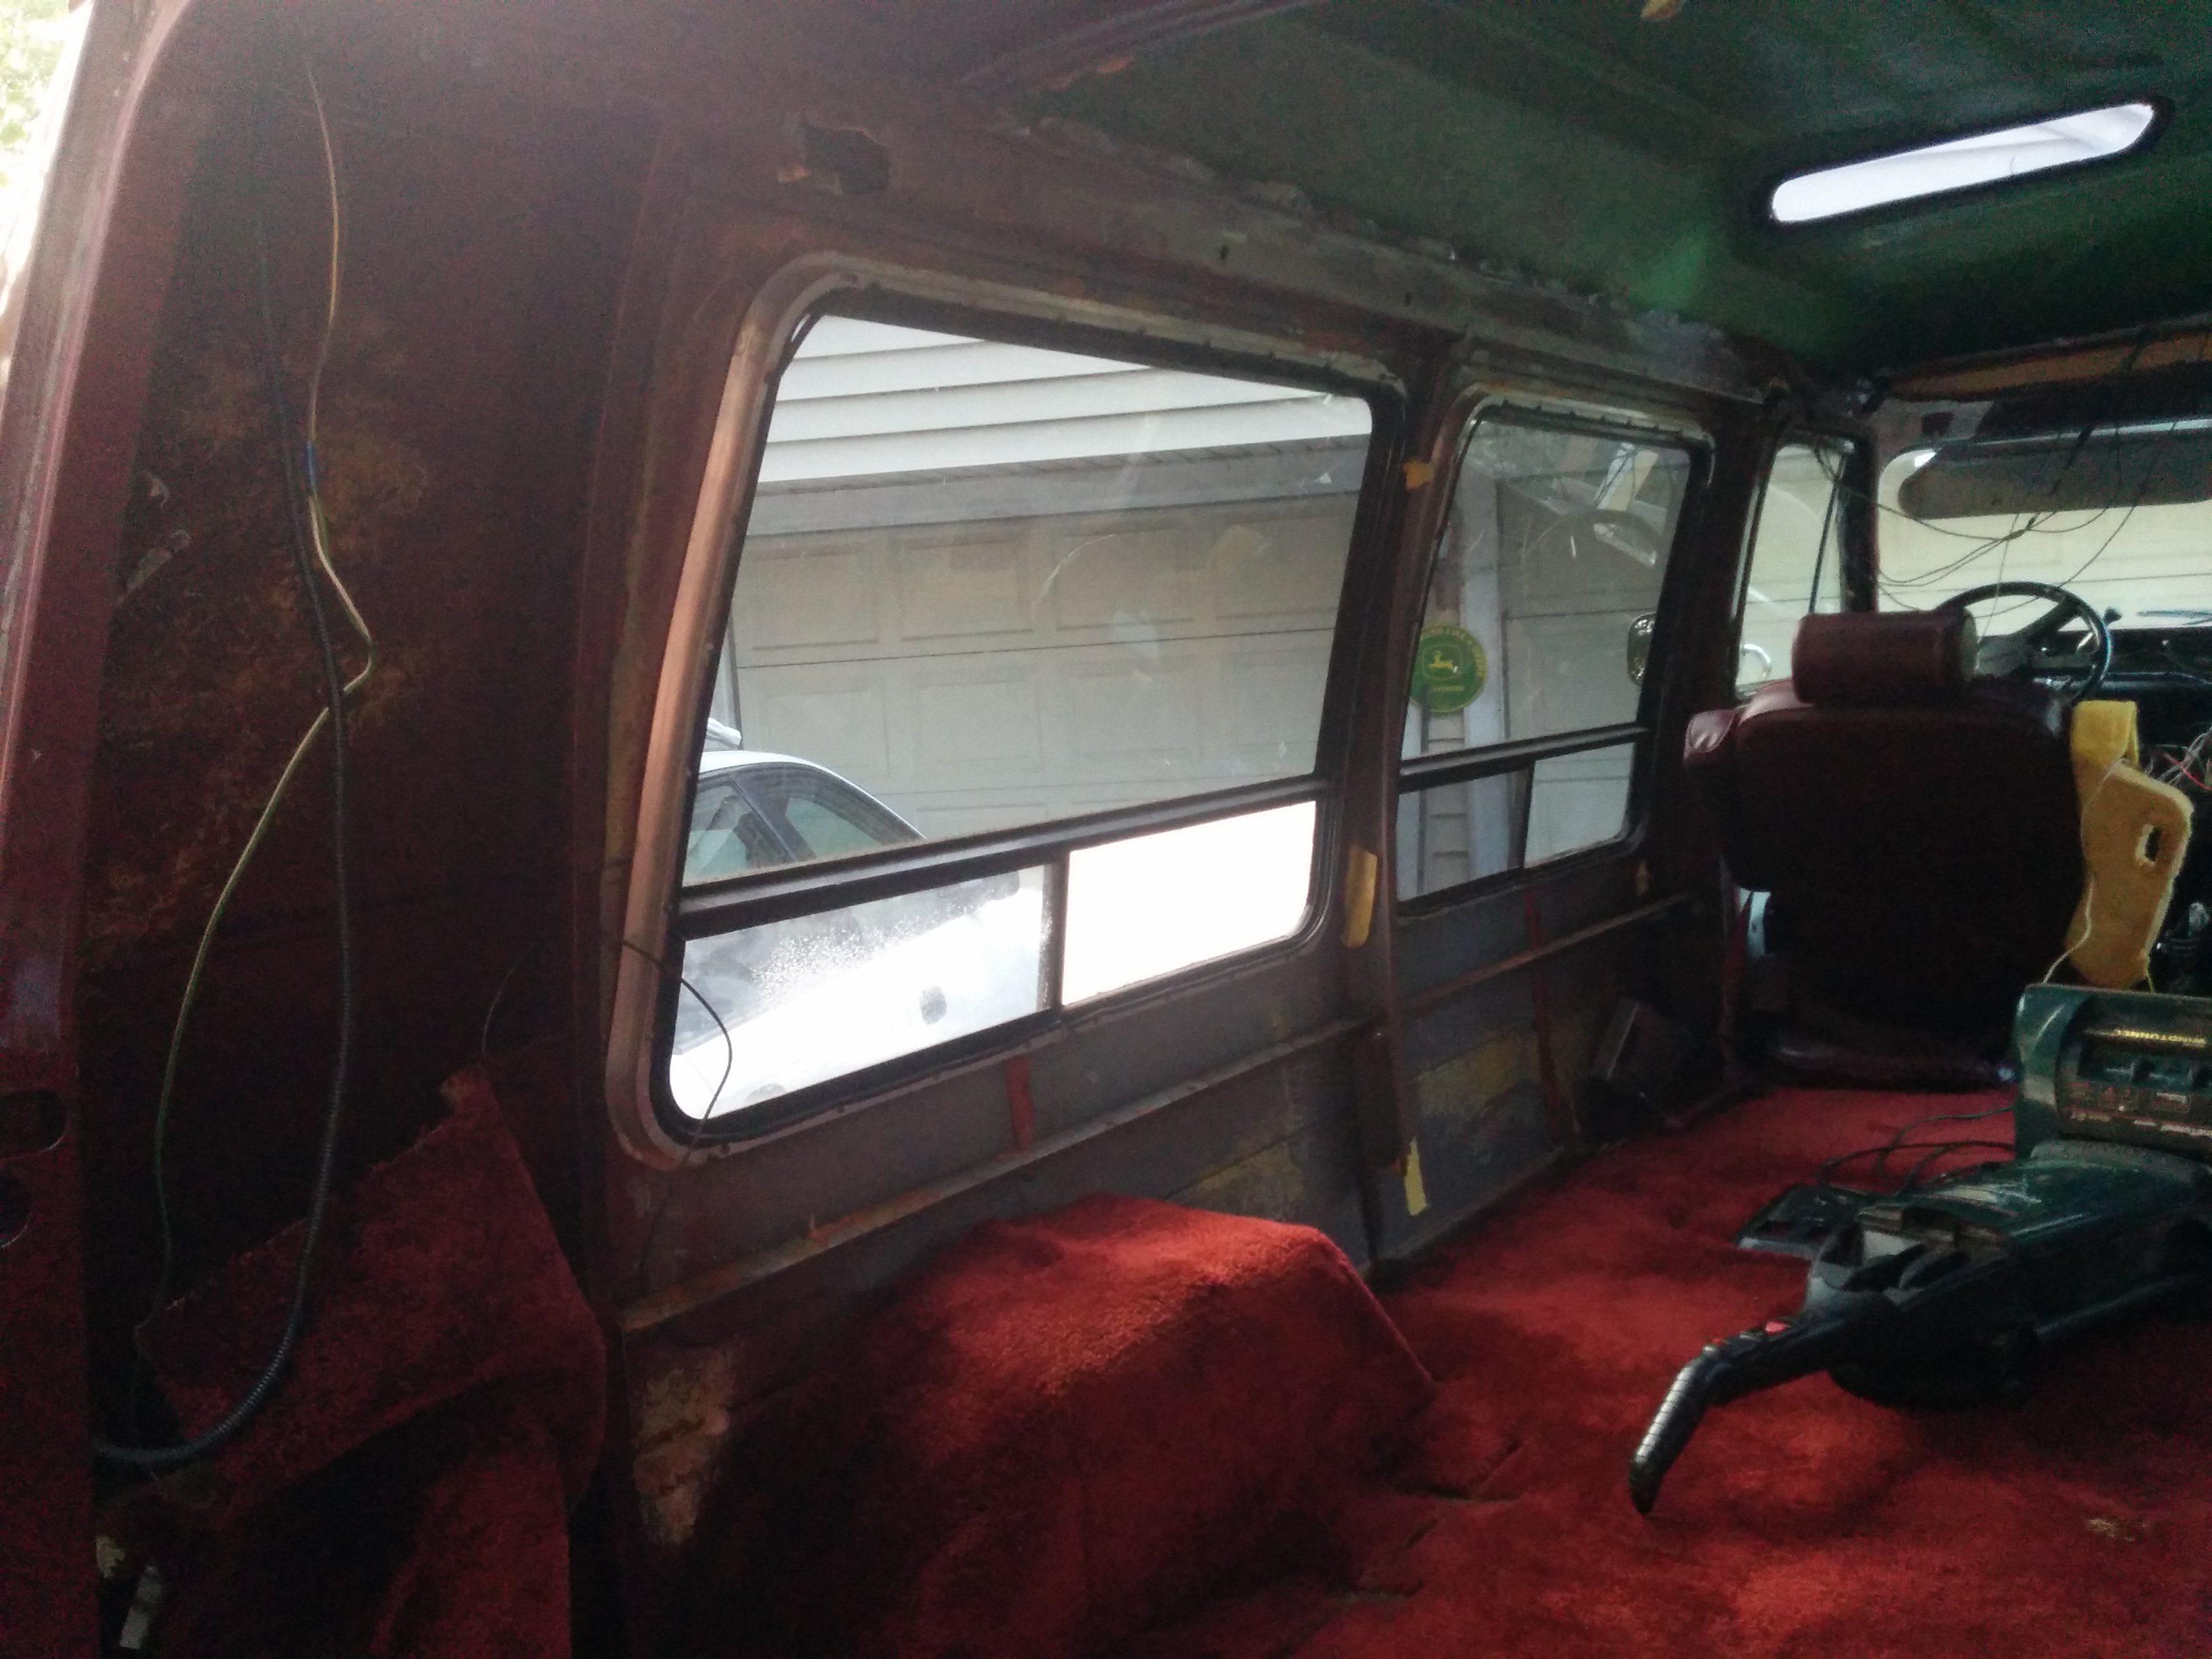
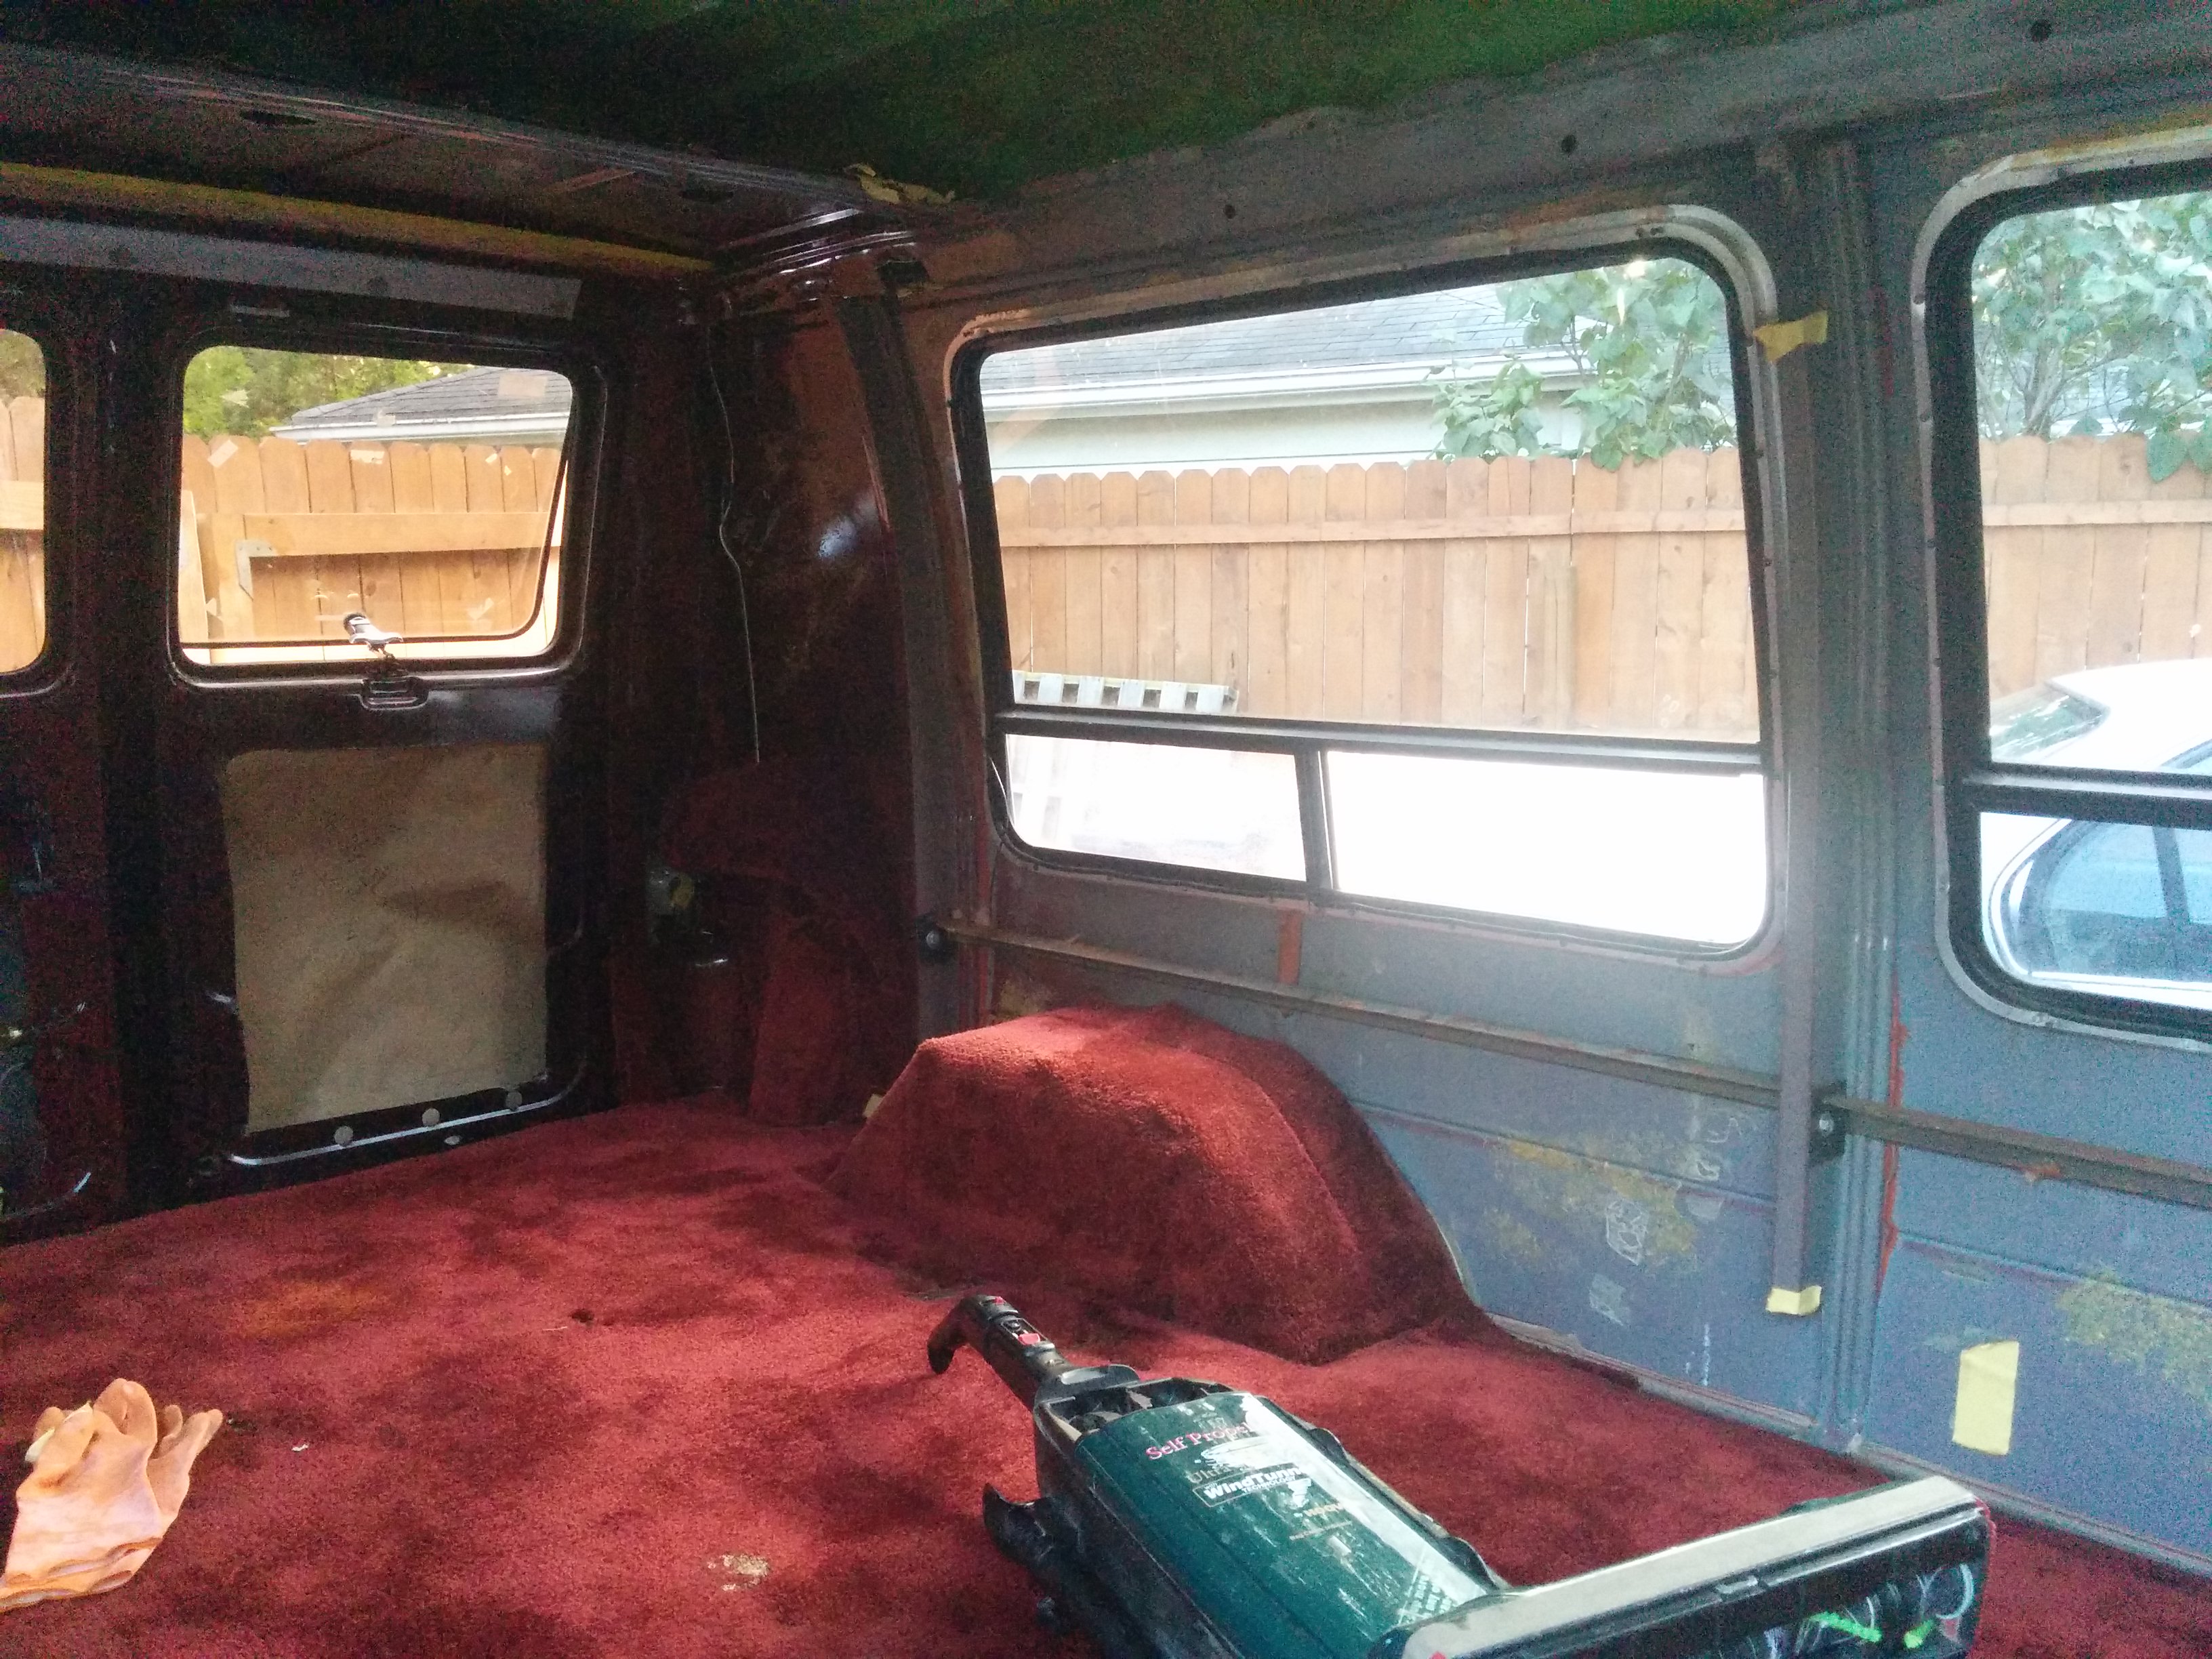
The side windows had these vertical blind contraptions along with a heavy fabric curtain. Neither would be useful for my purposes. I would remove the curtains and blackout the interior of the glass with plastidip before walling them off to improve both the privacy and the security.
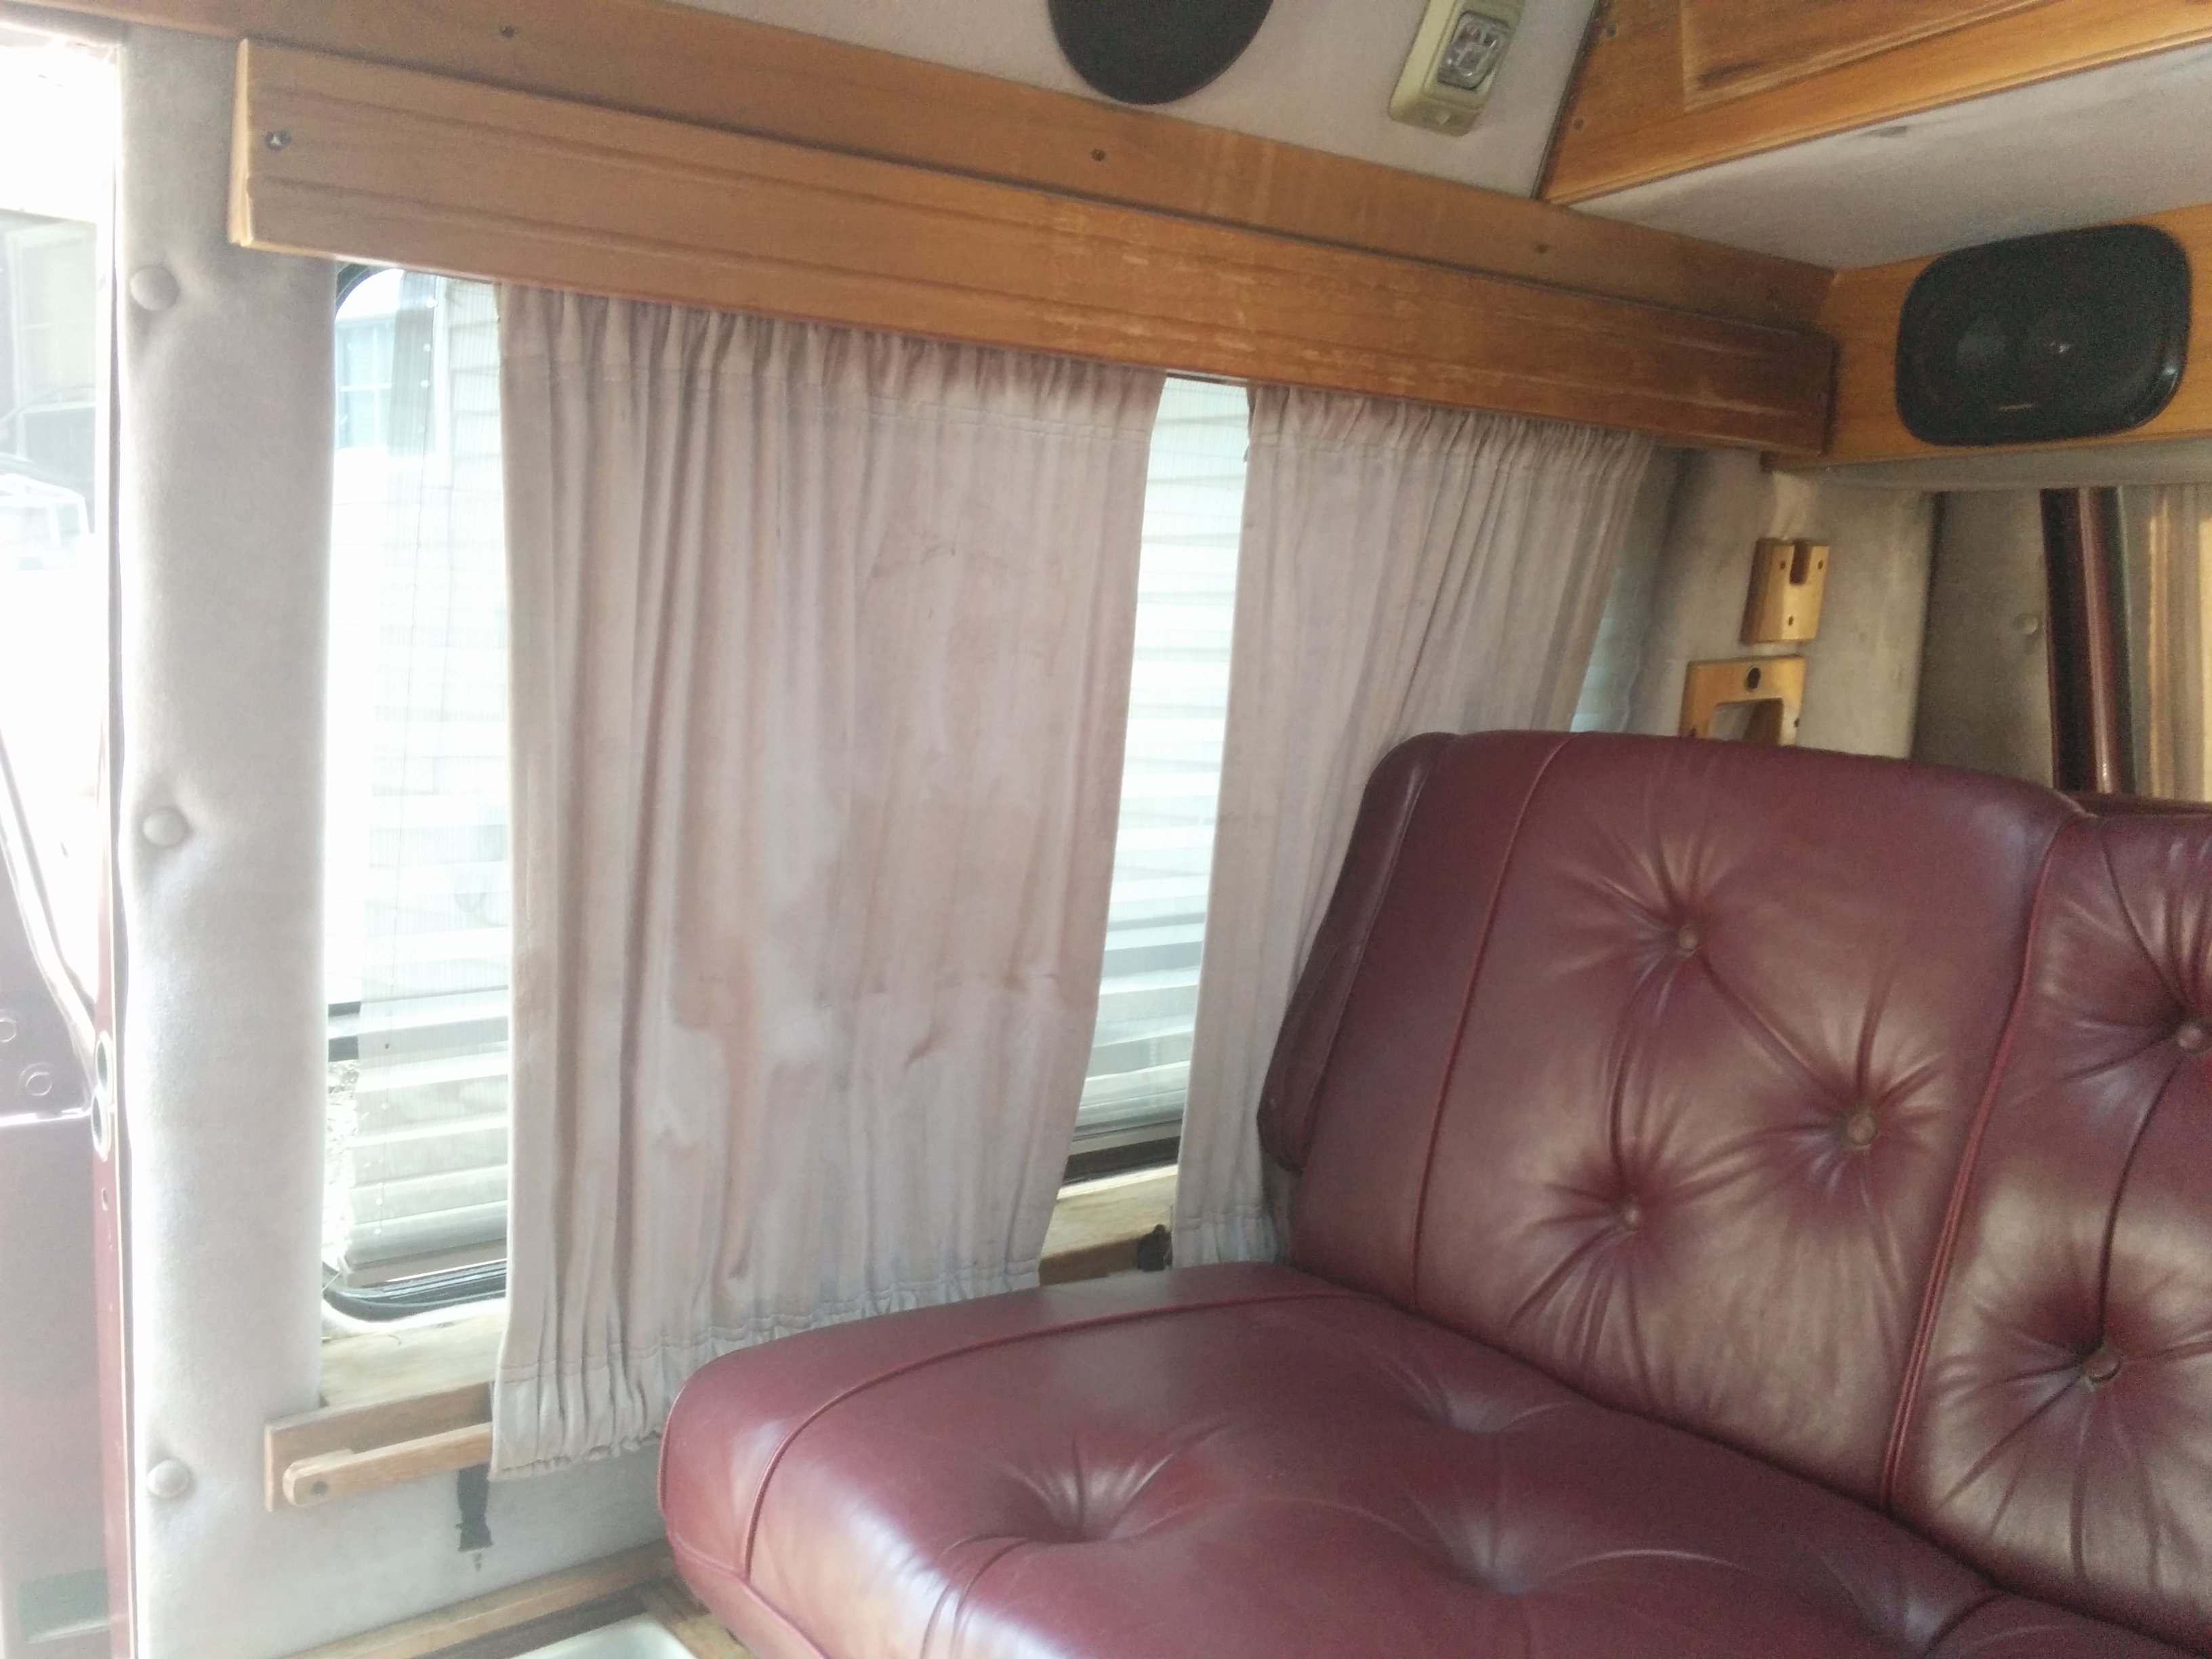
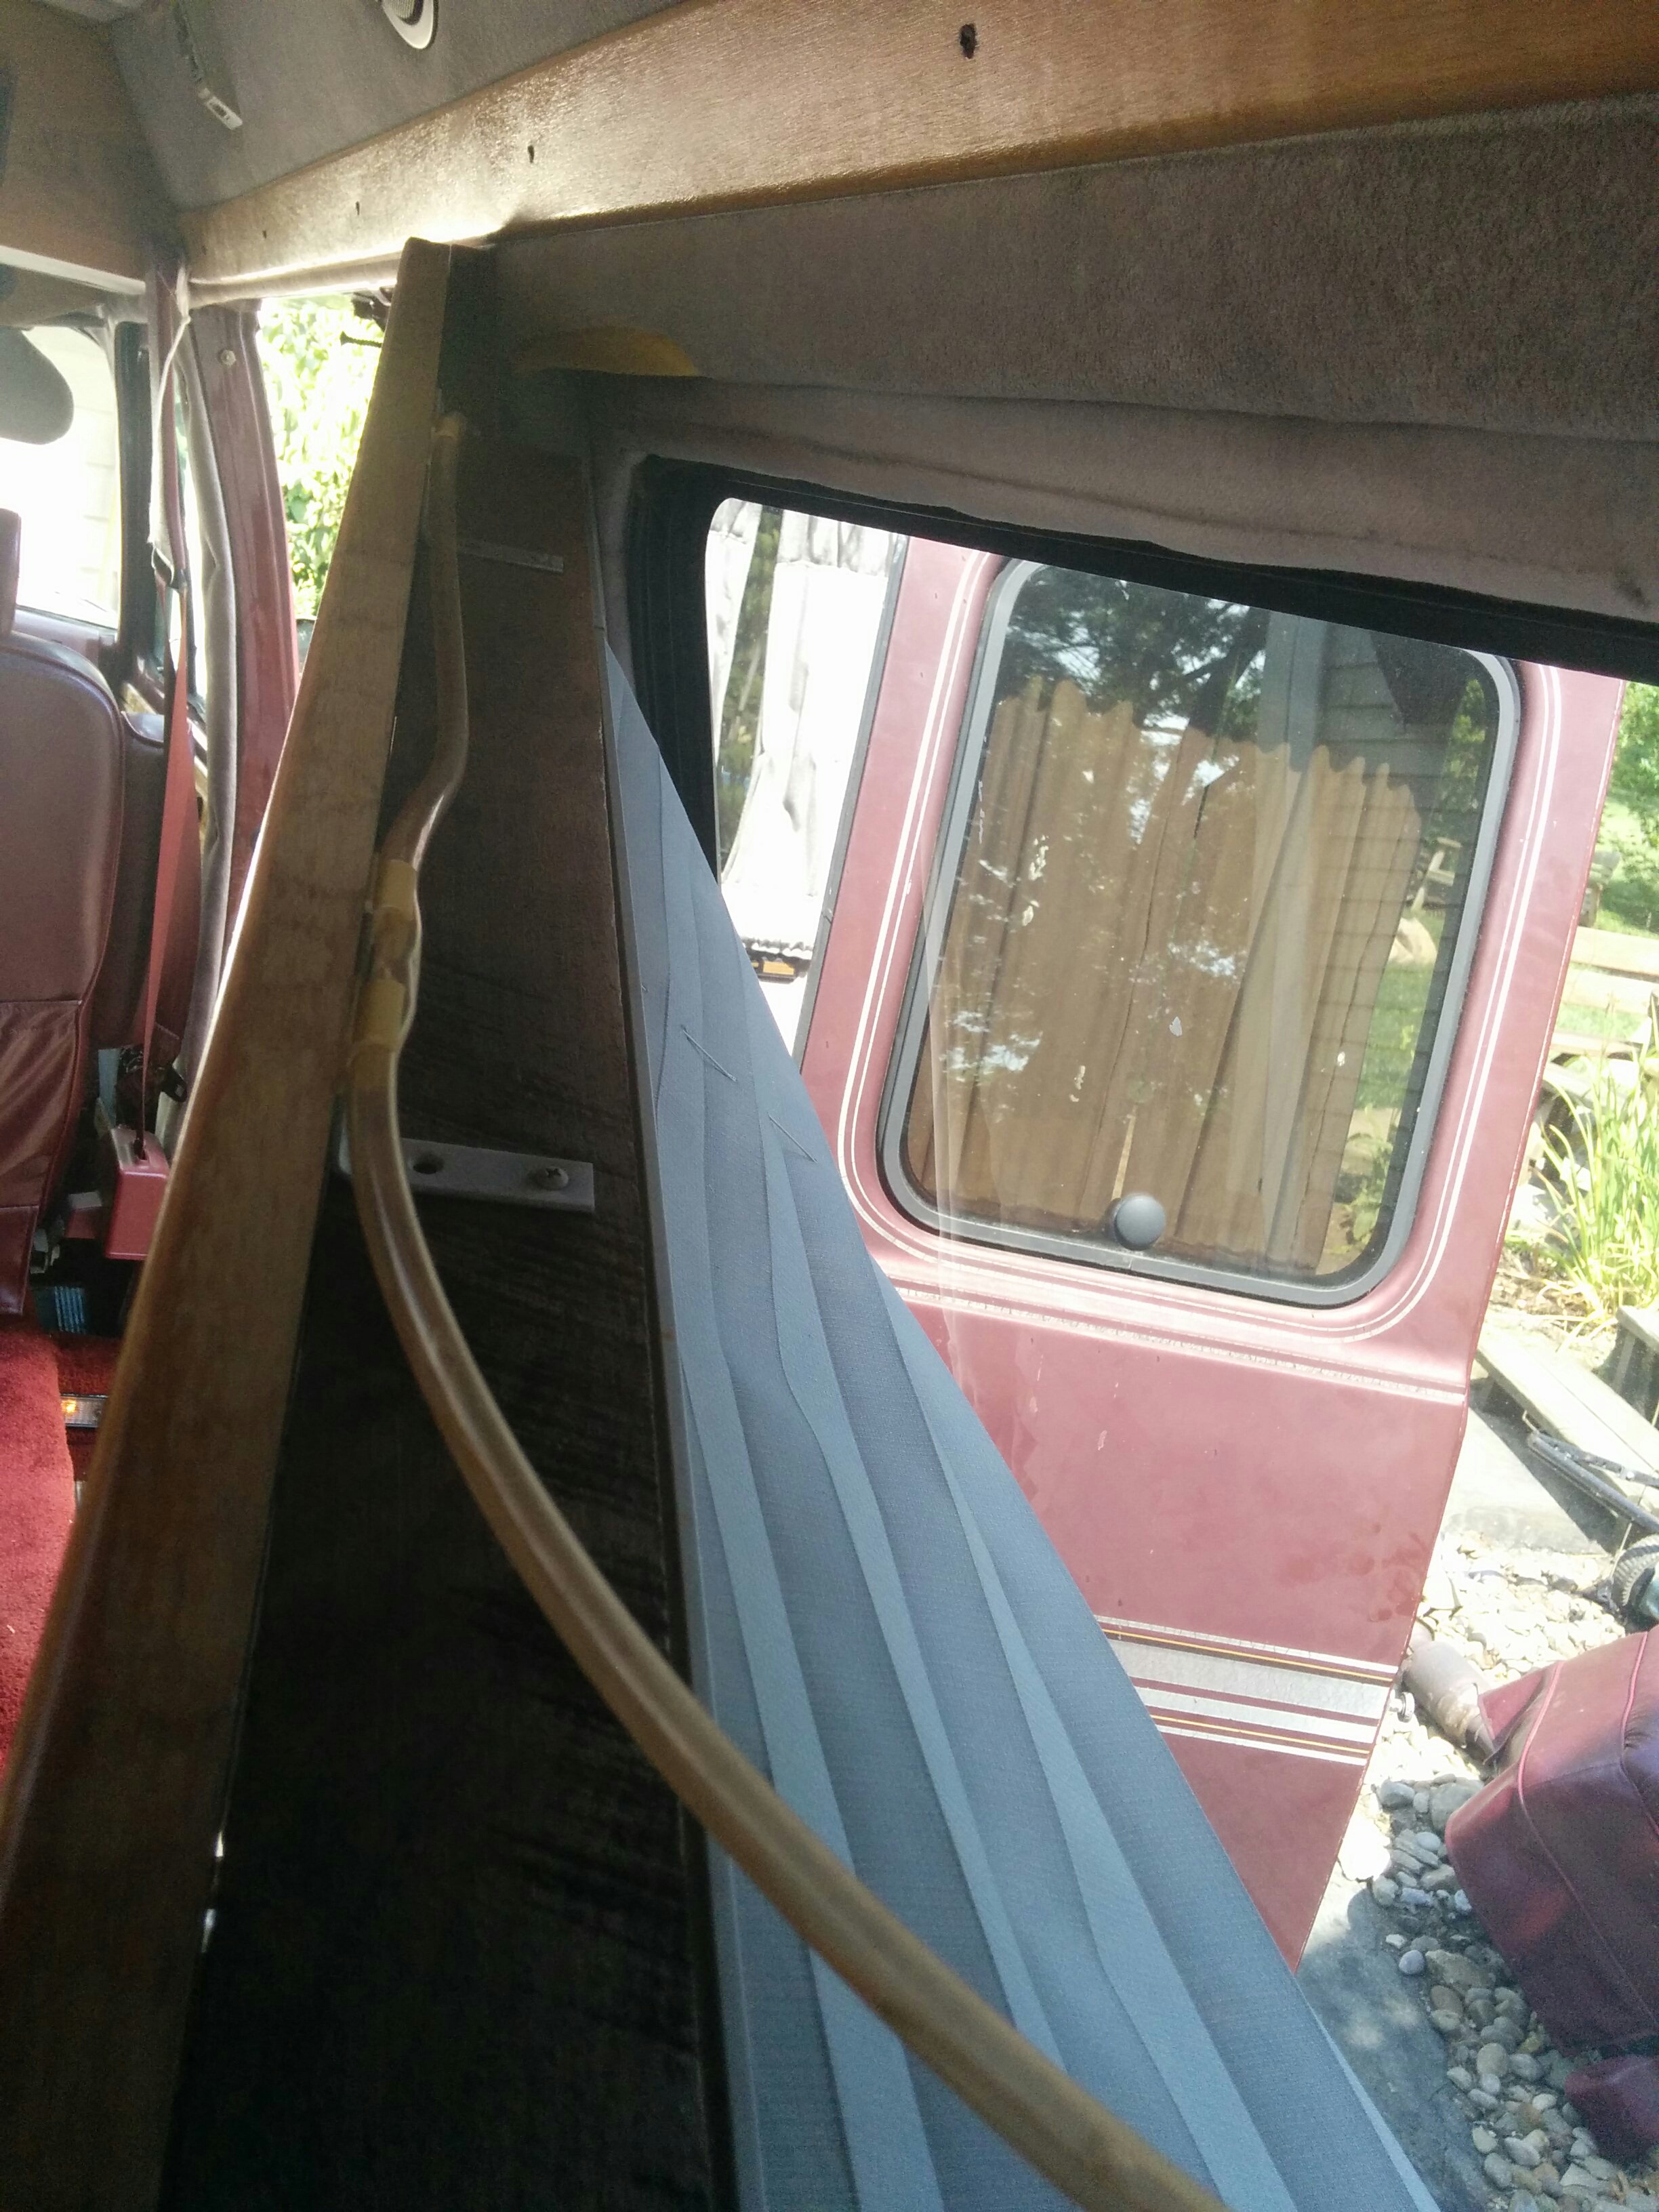
You can see how there are dangling rope lights that were stuffed in everywhere for “mood lighting.”
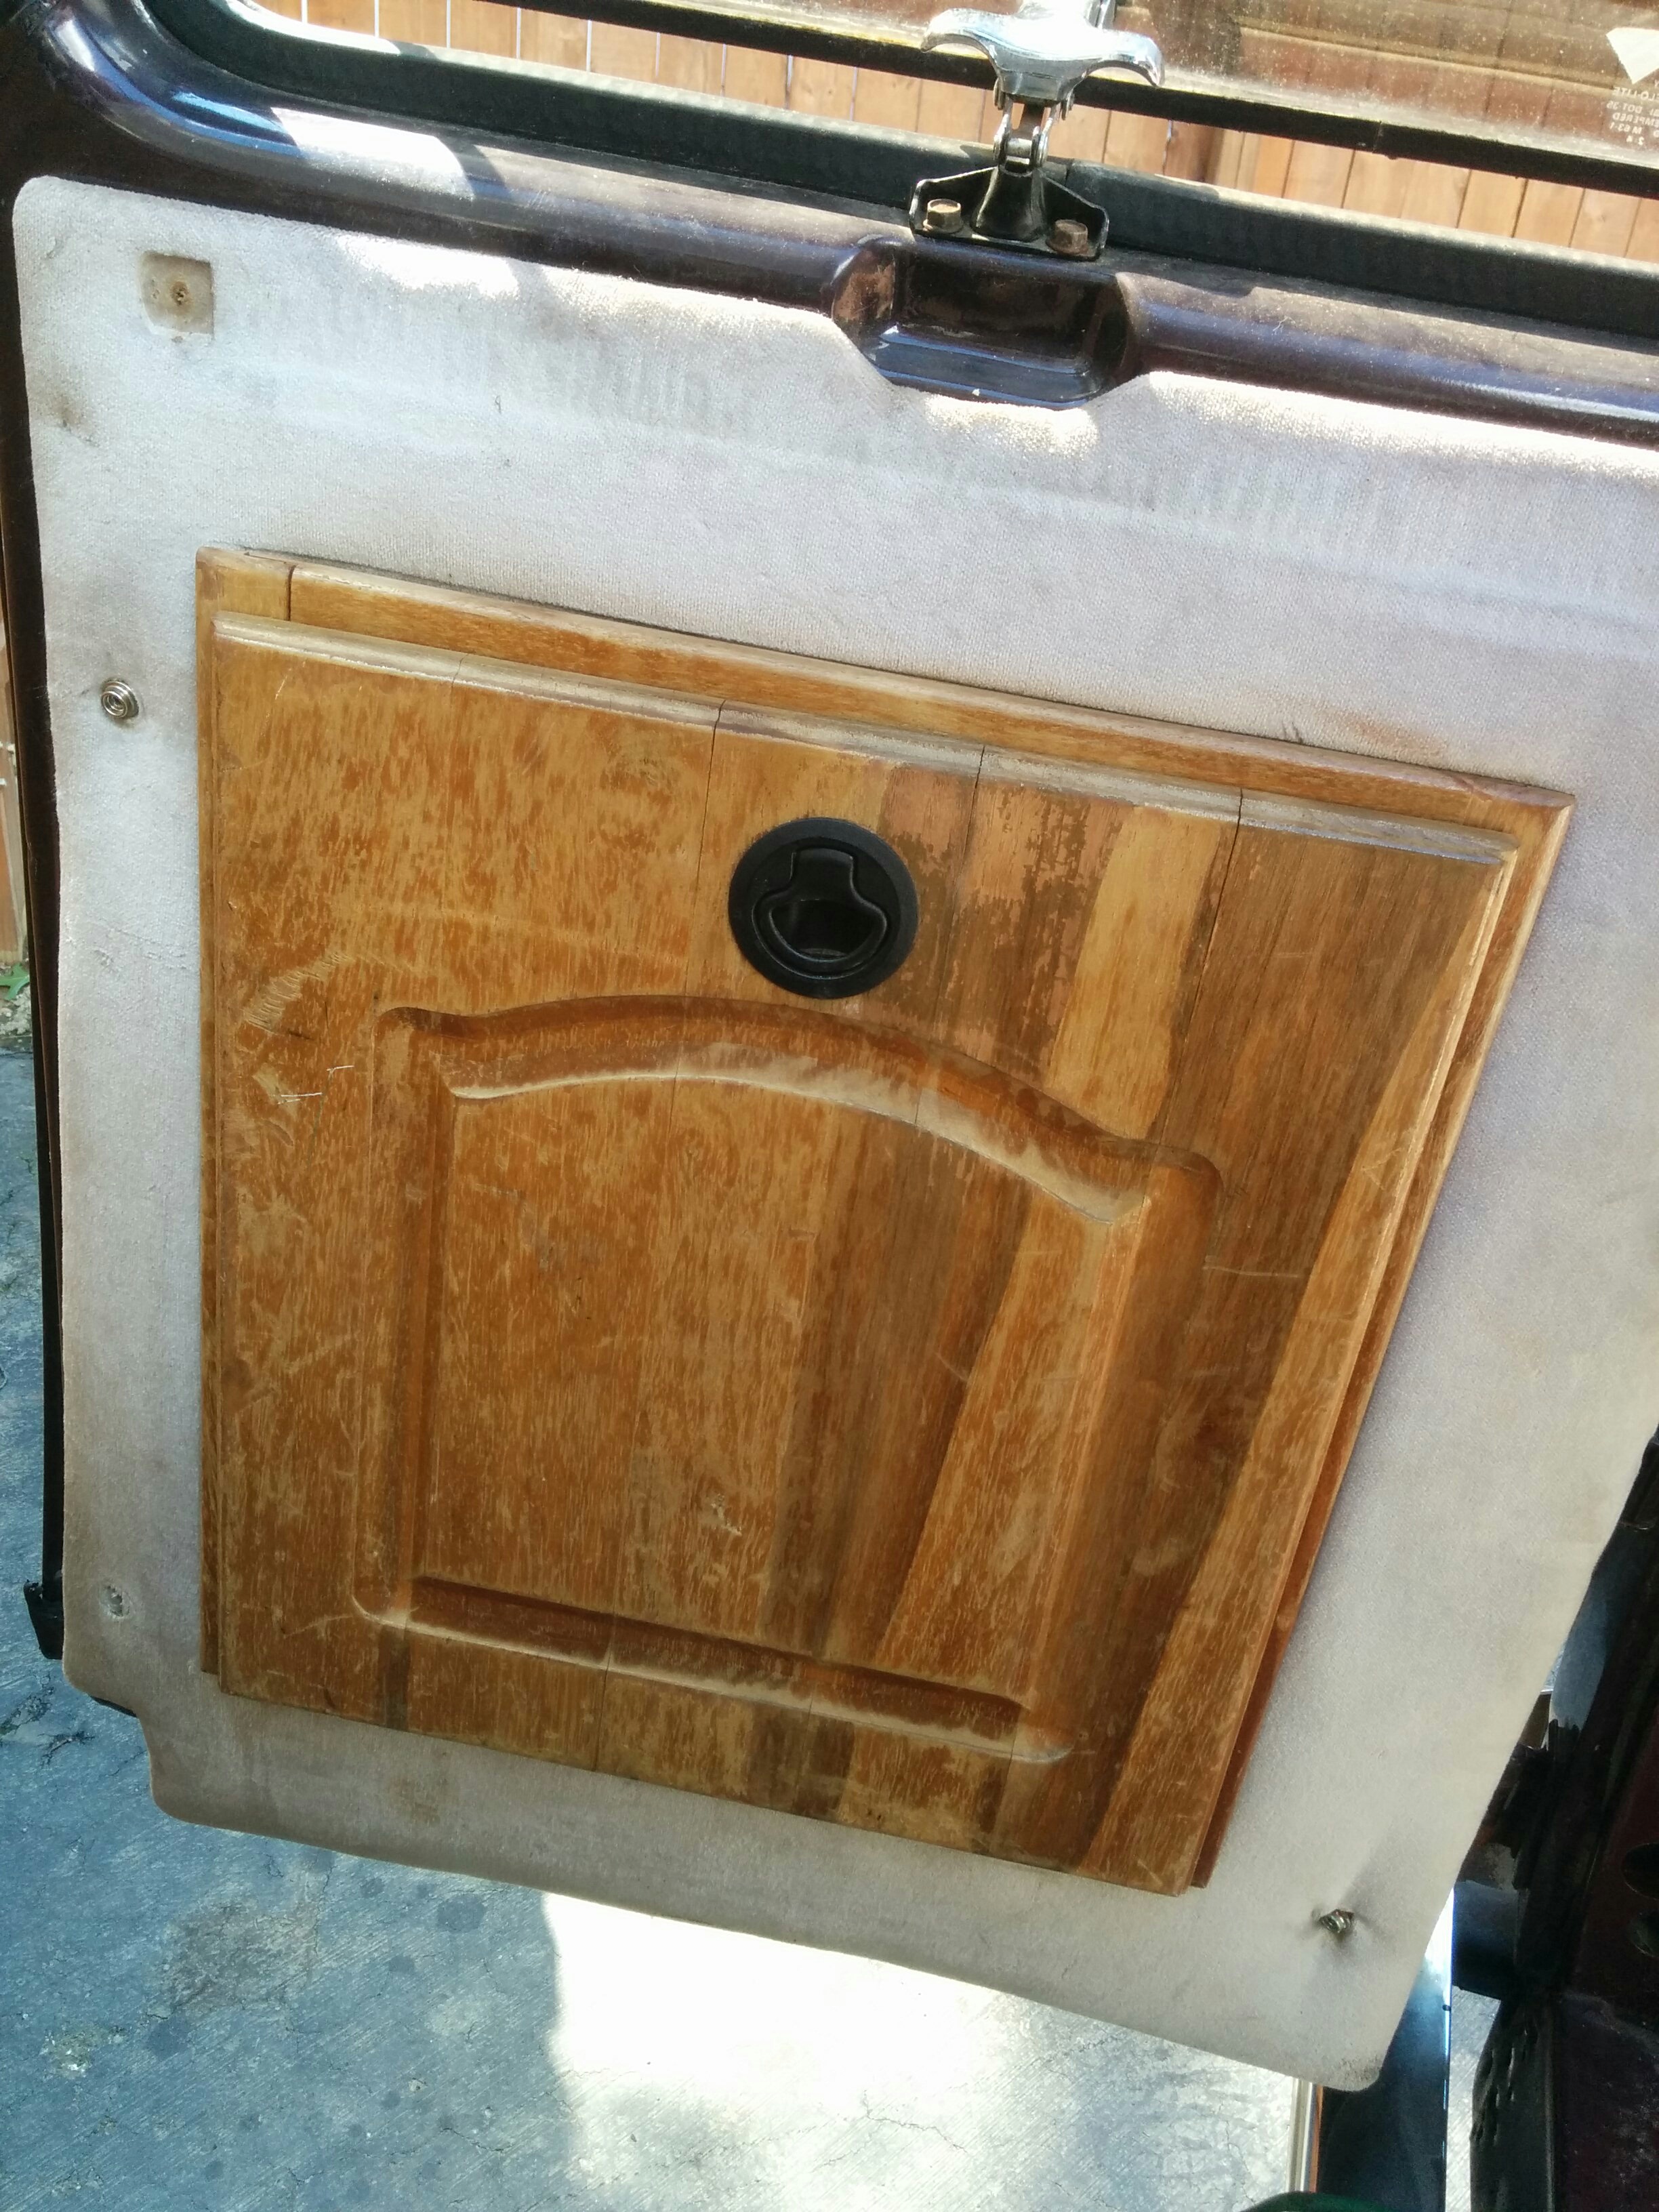
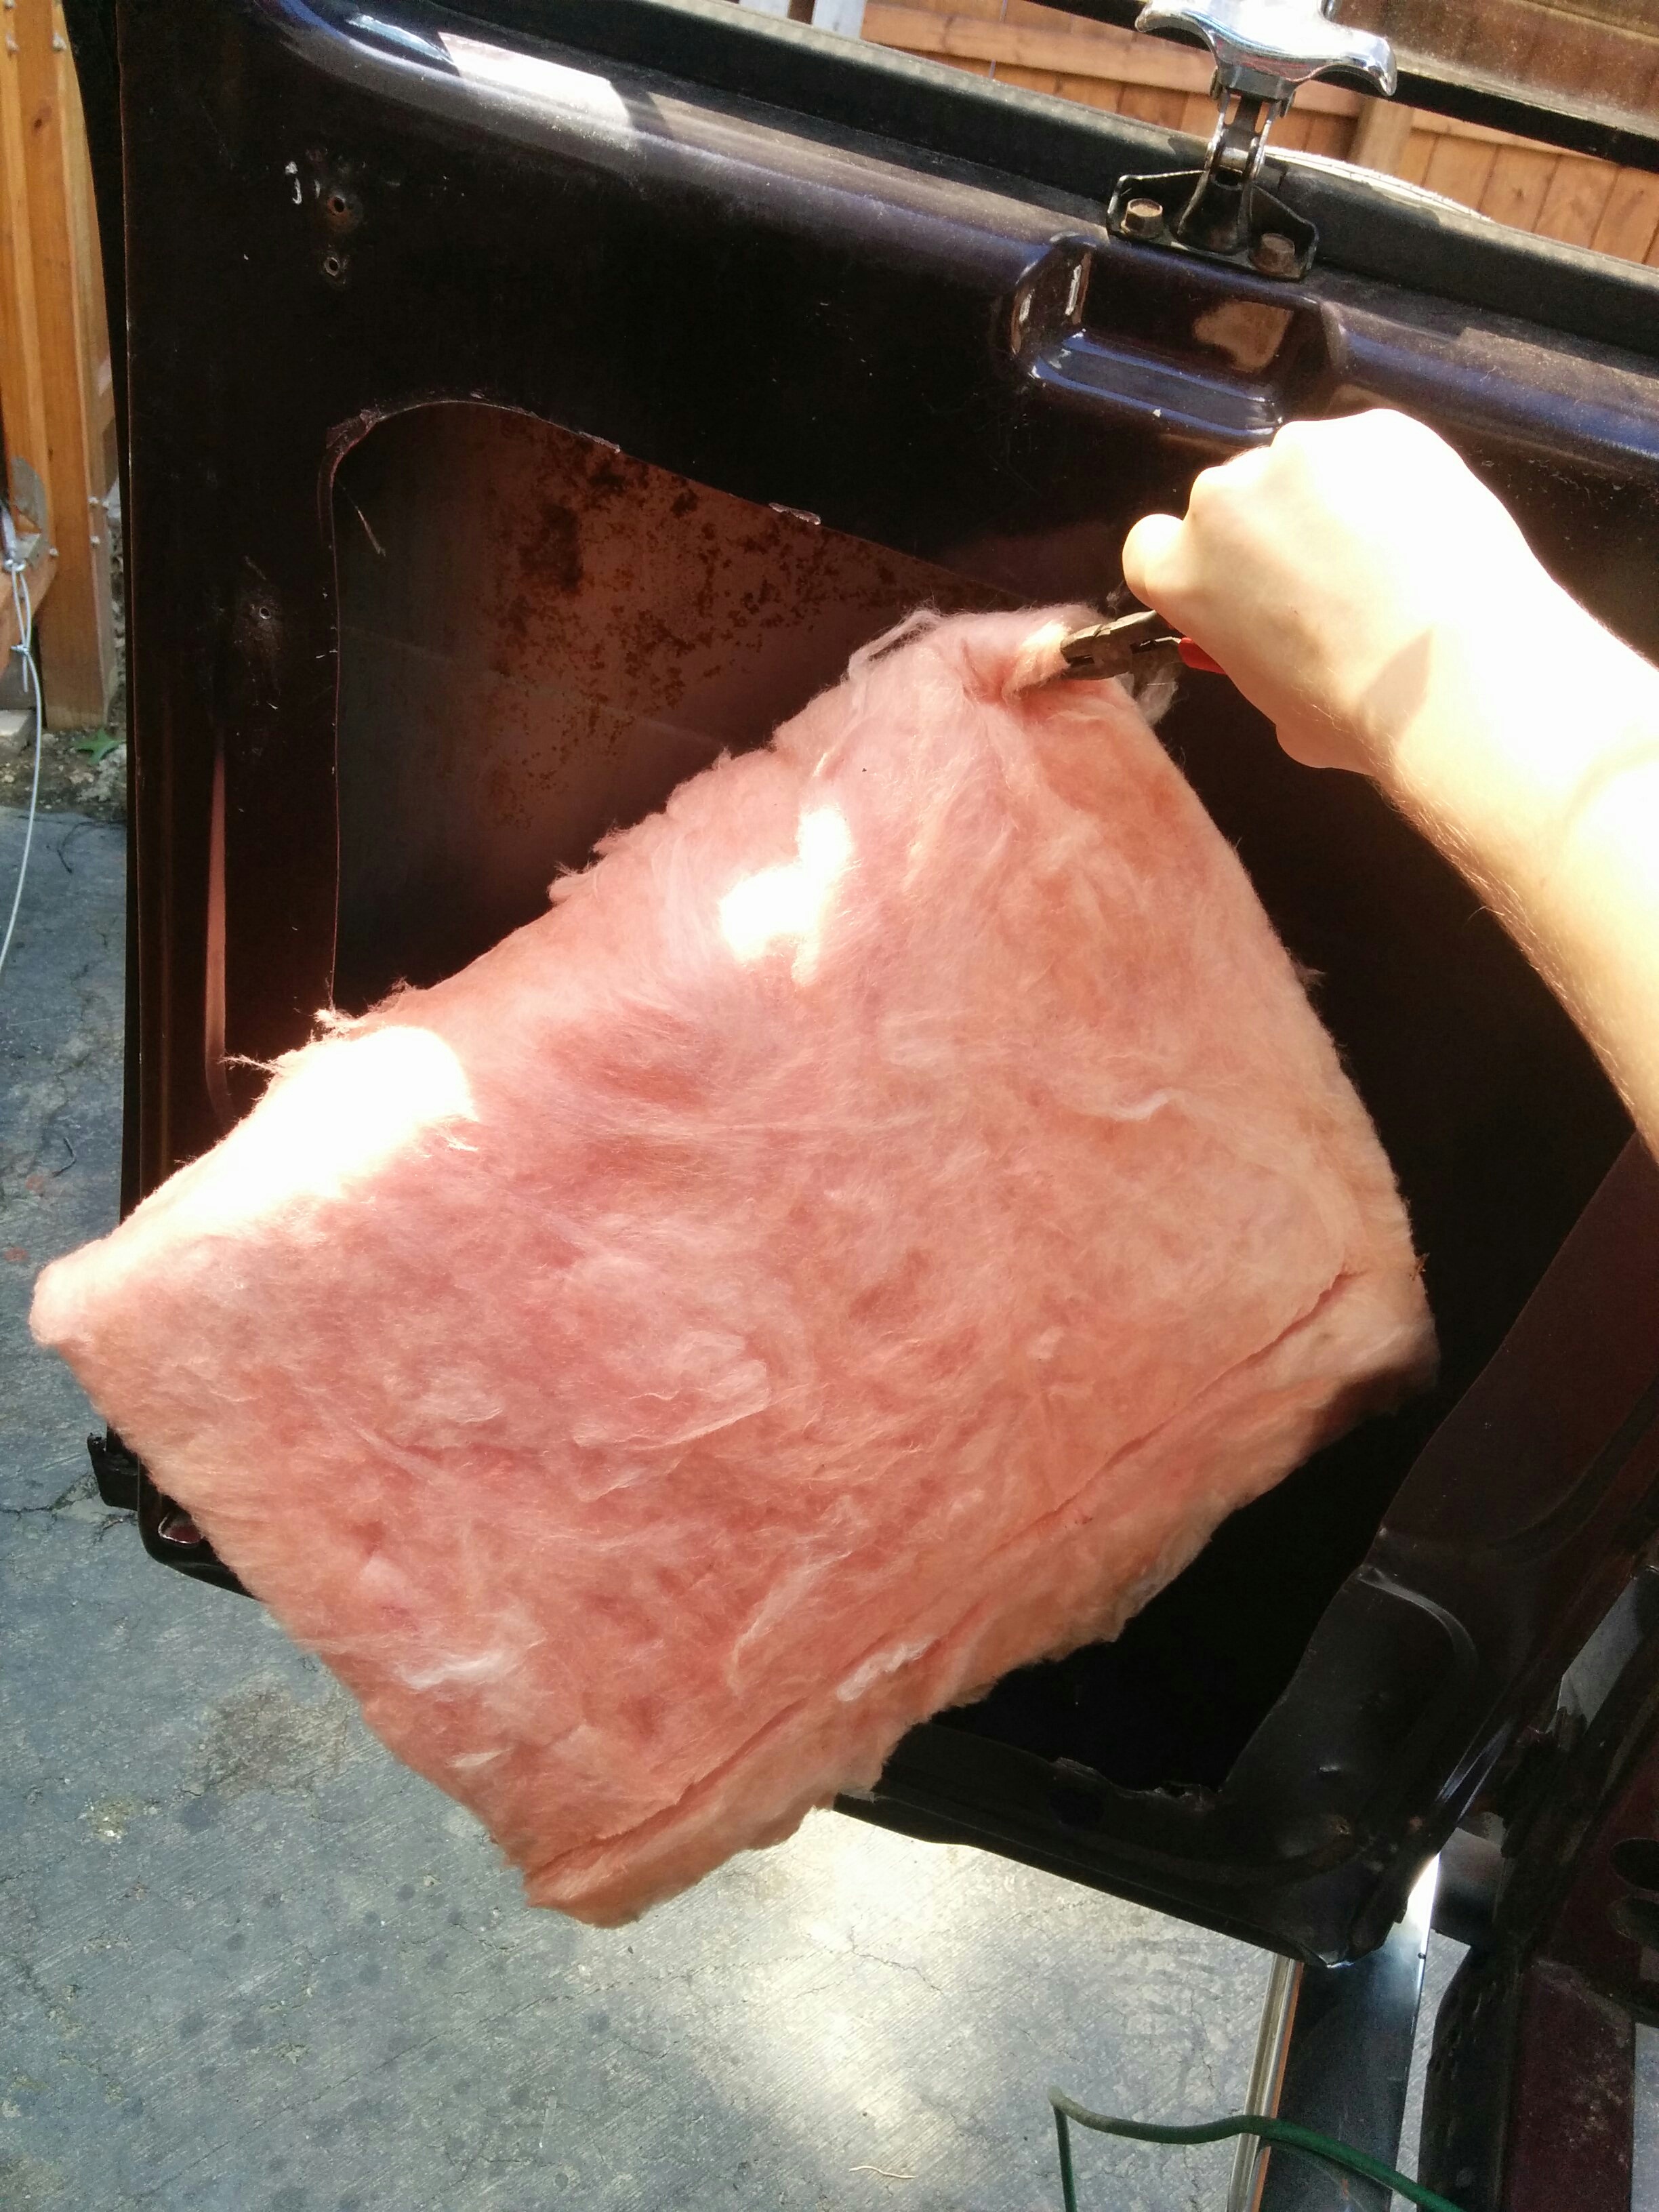
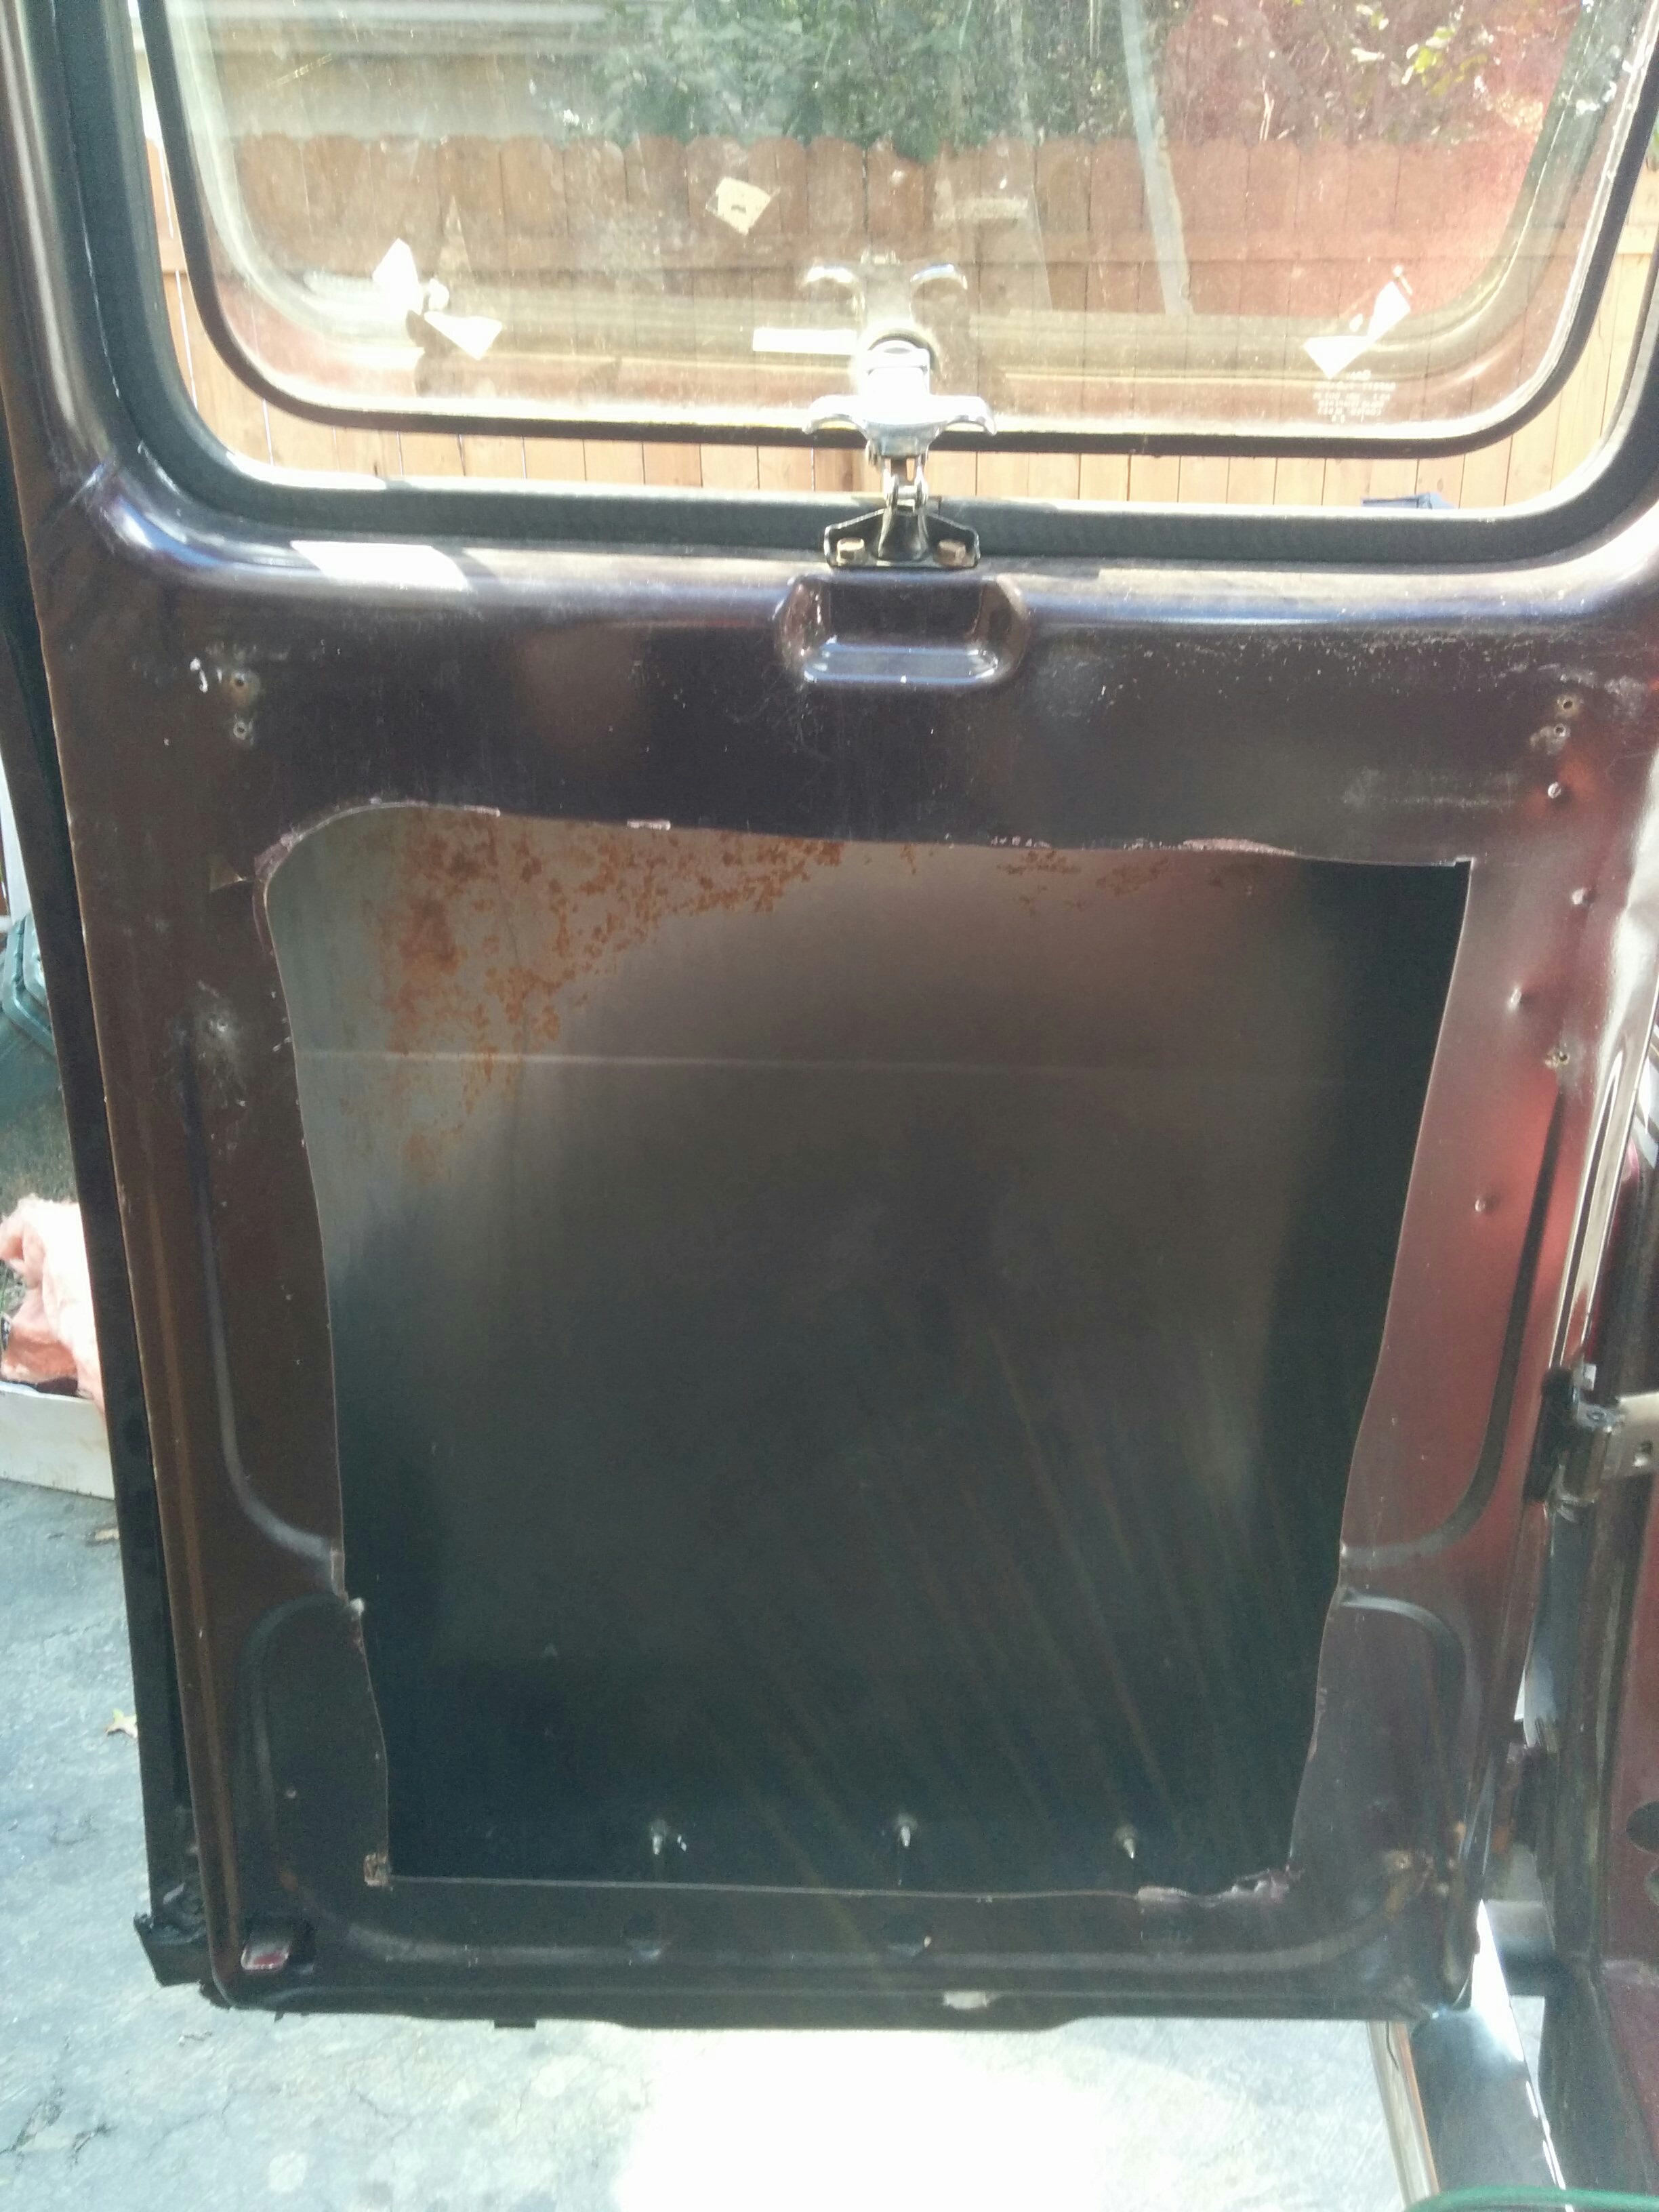

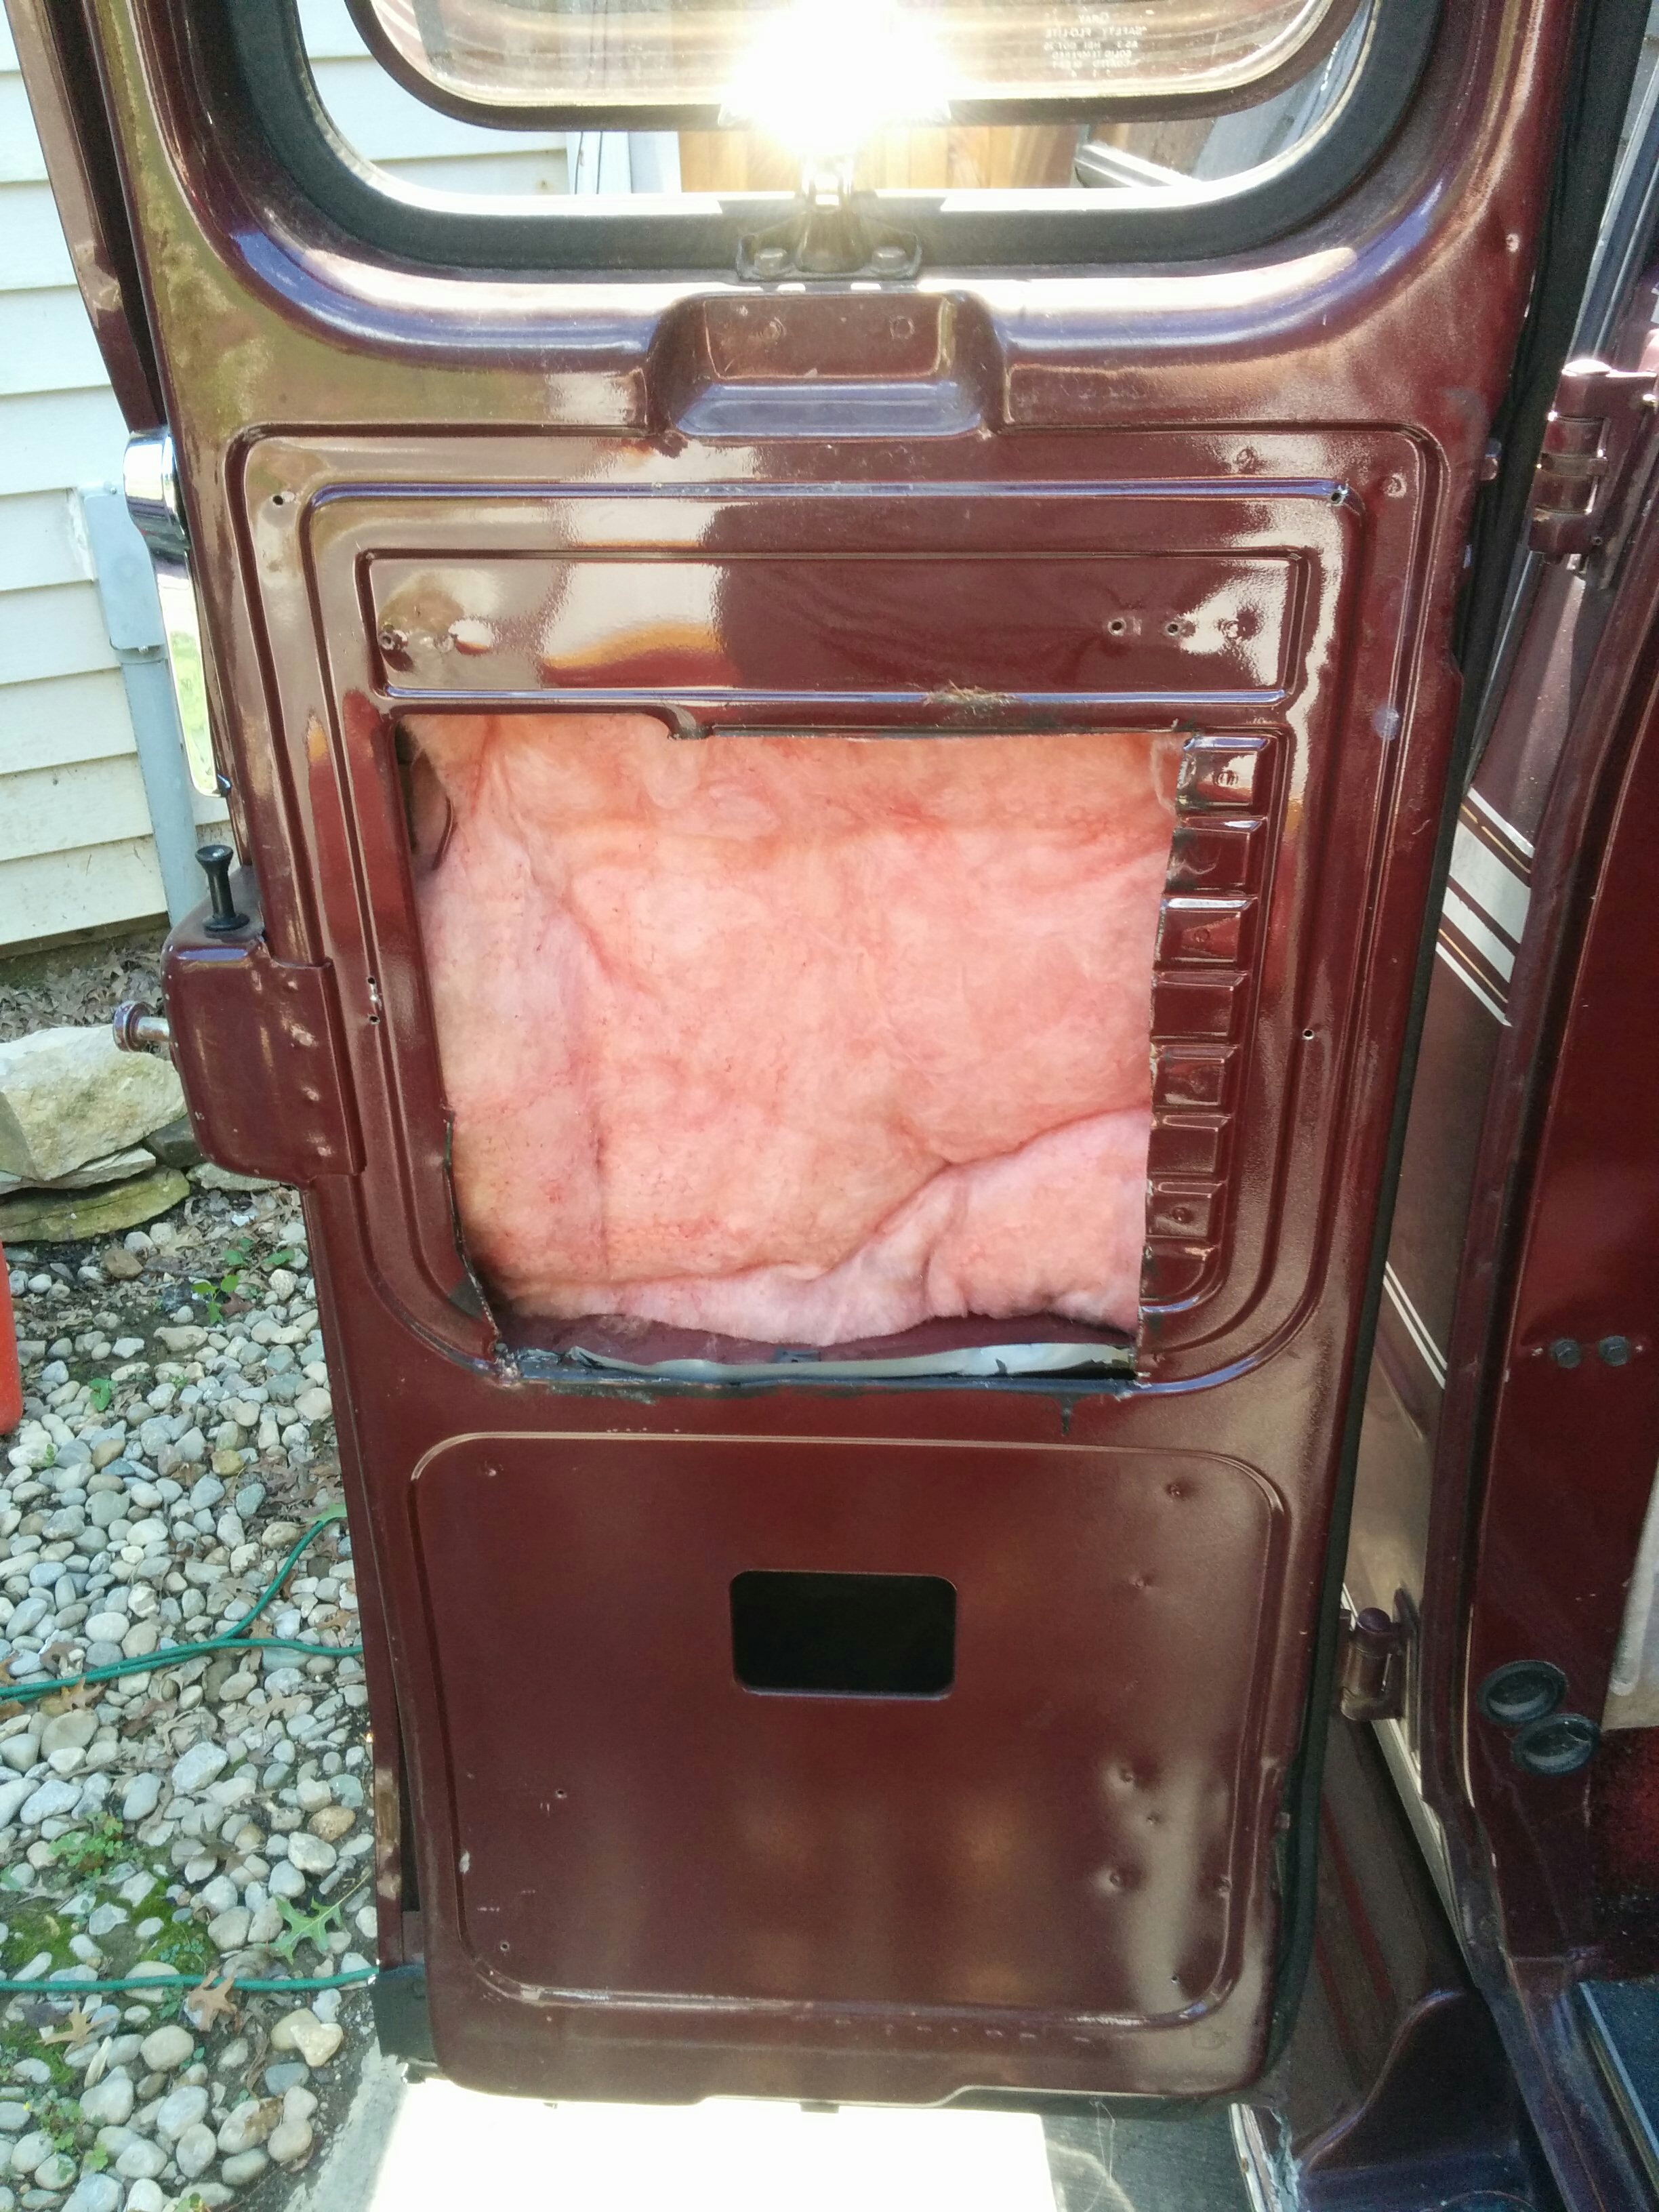
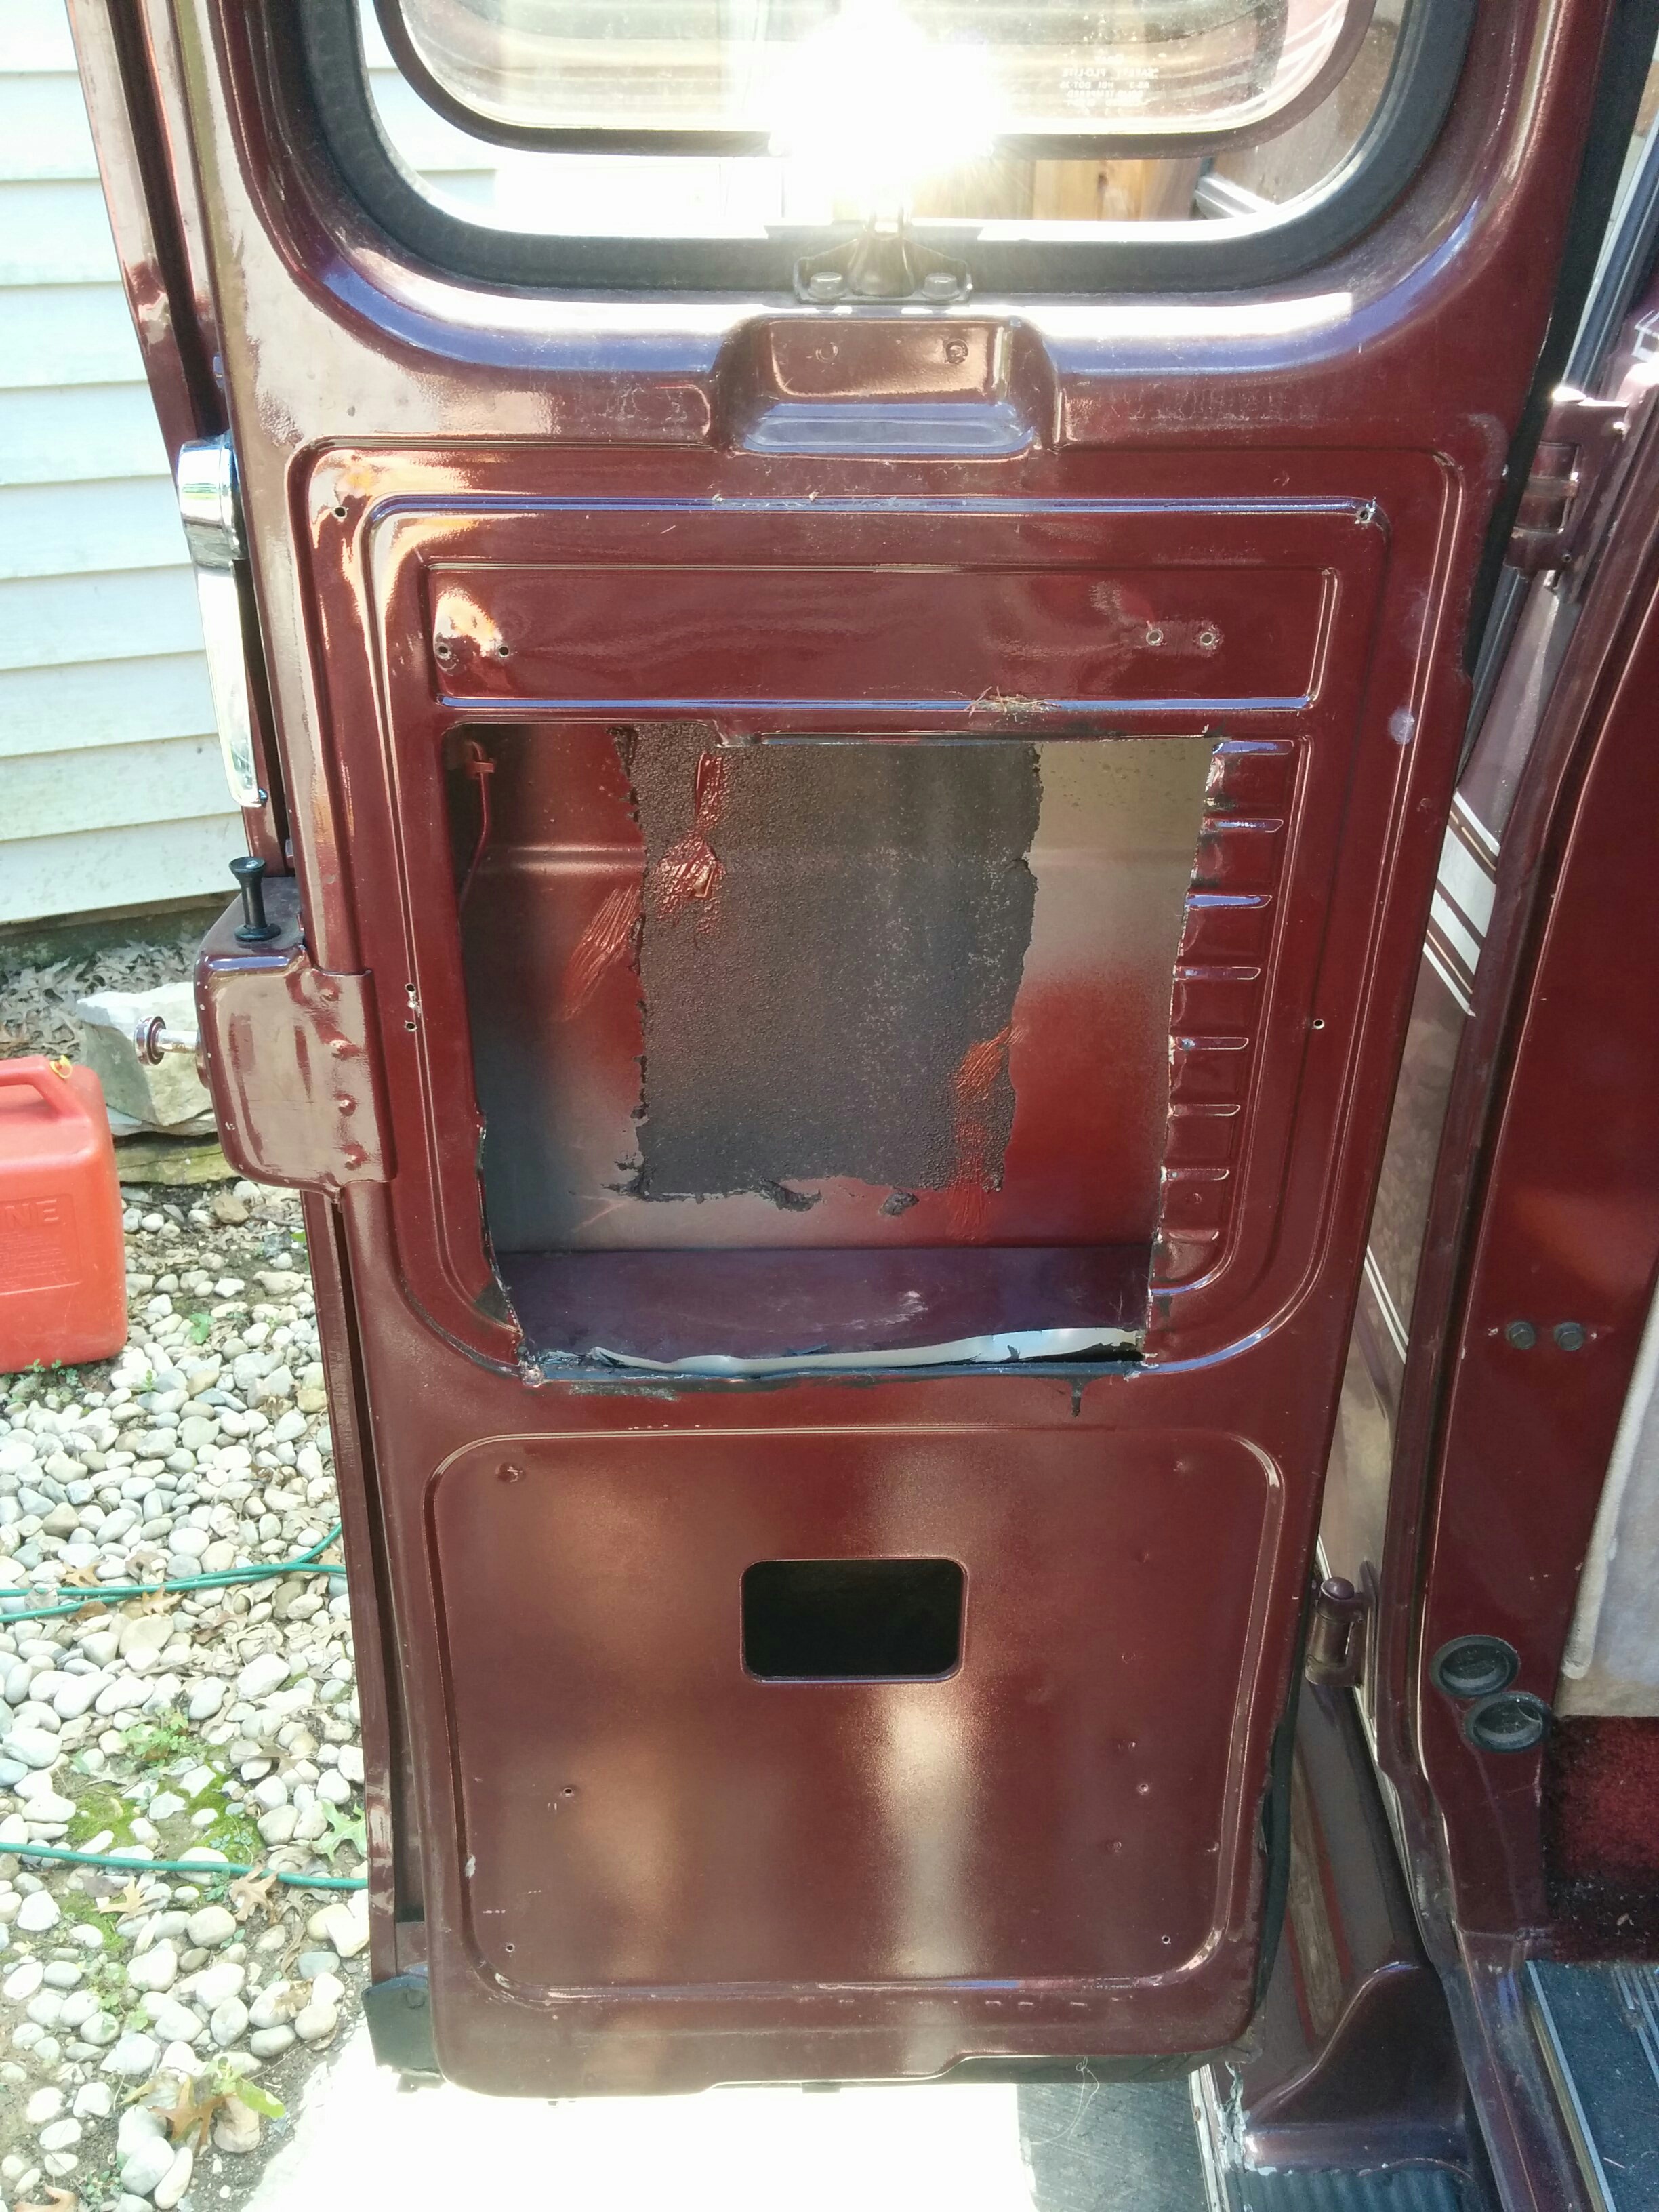
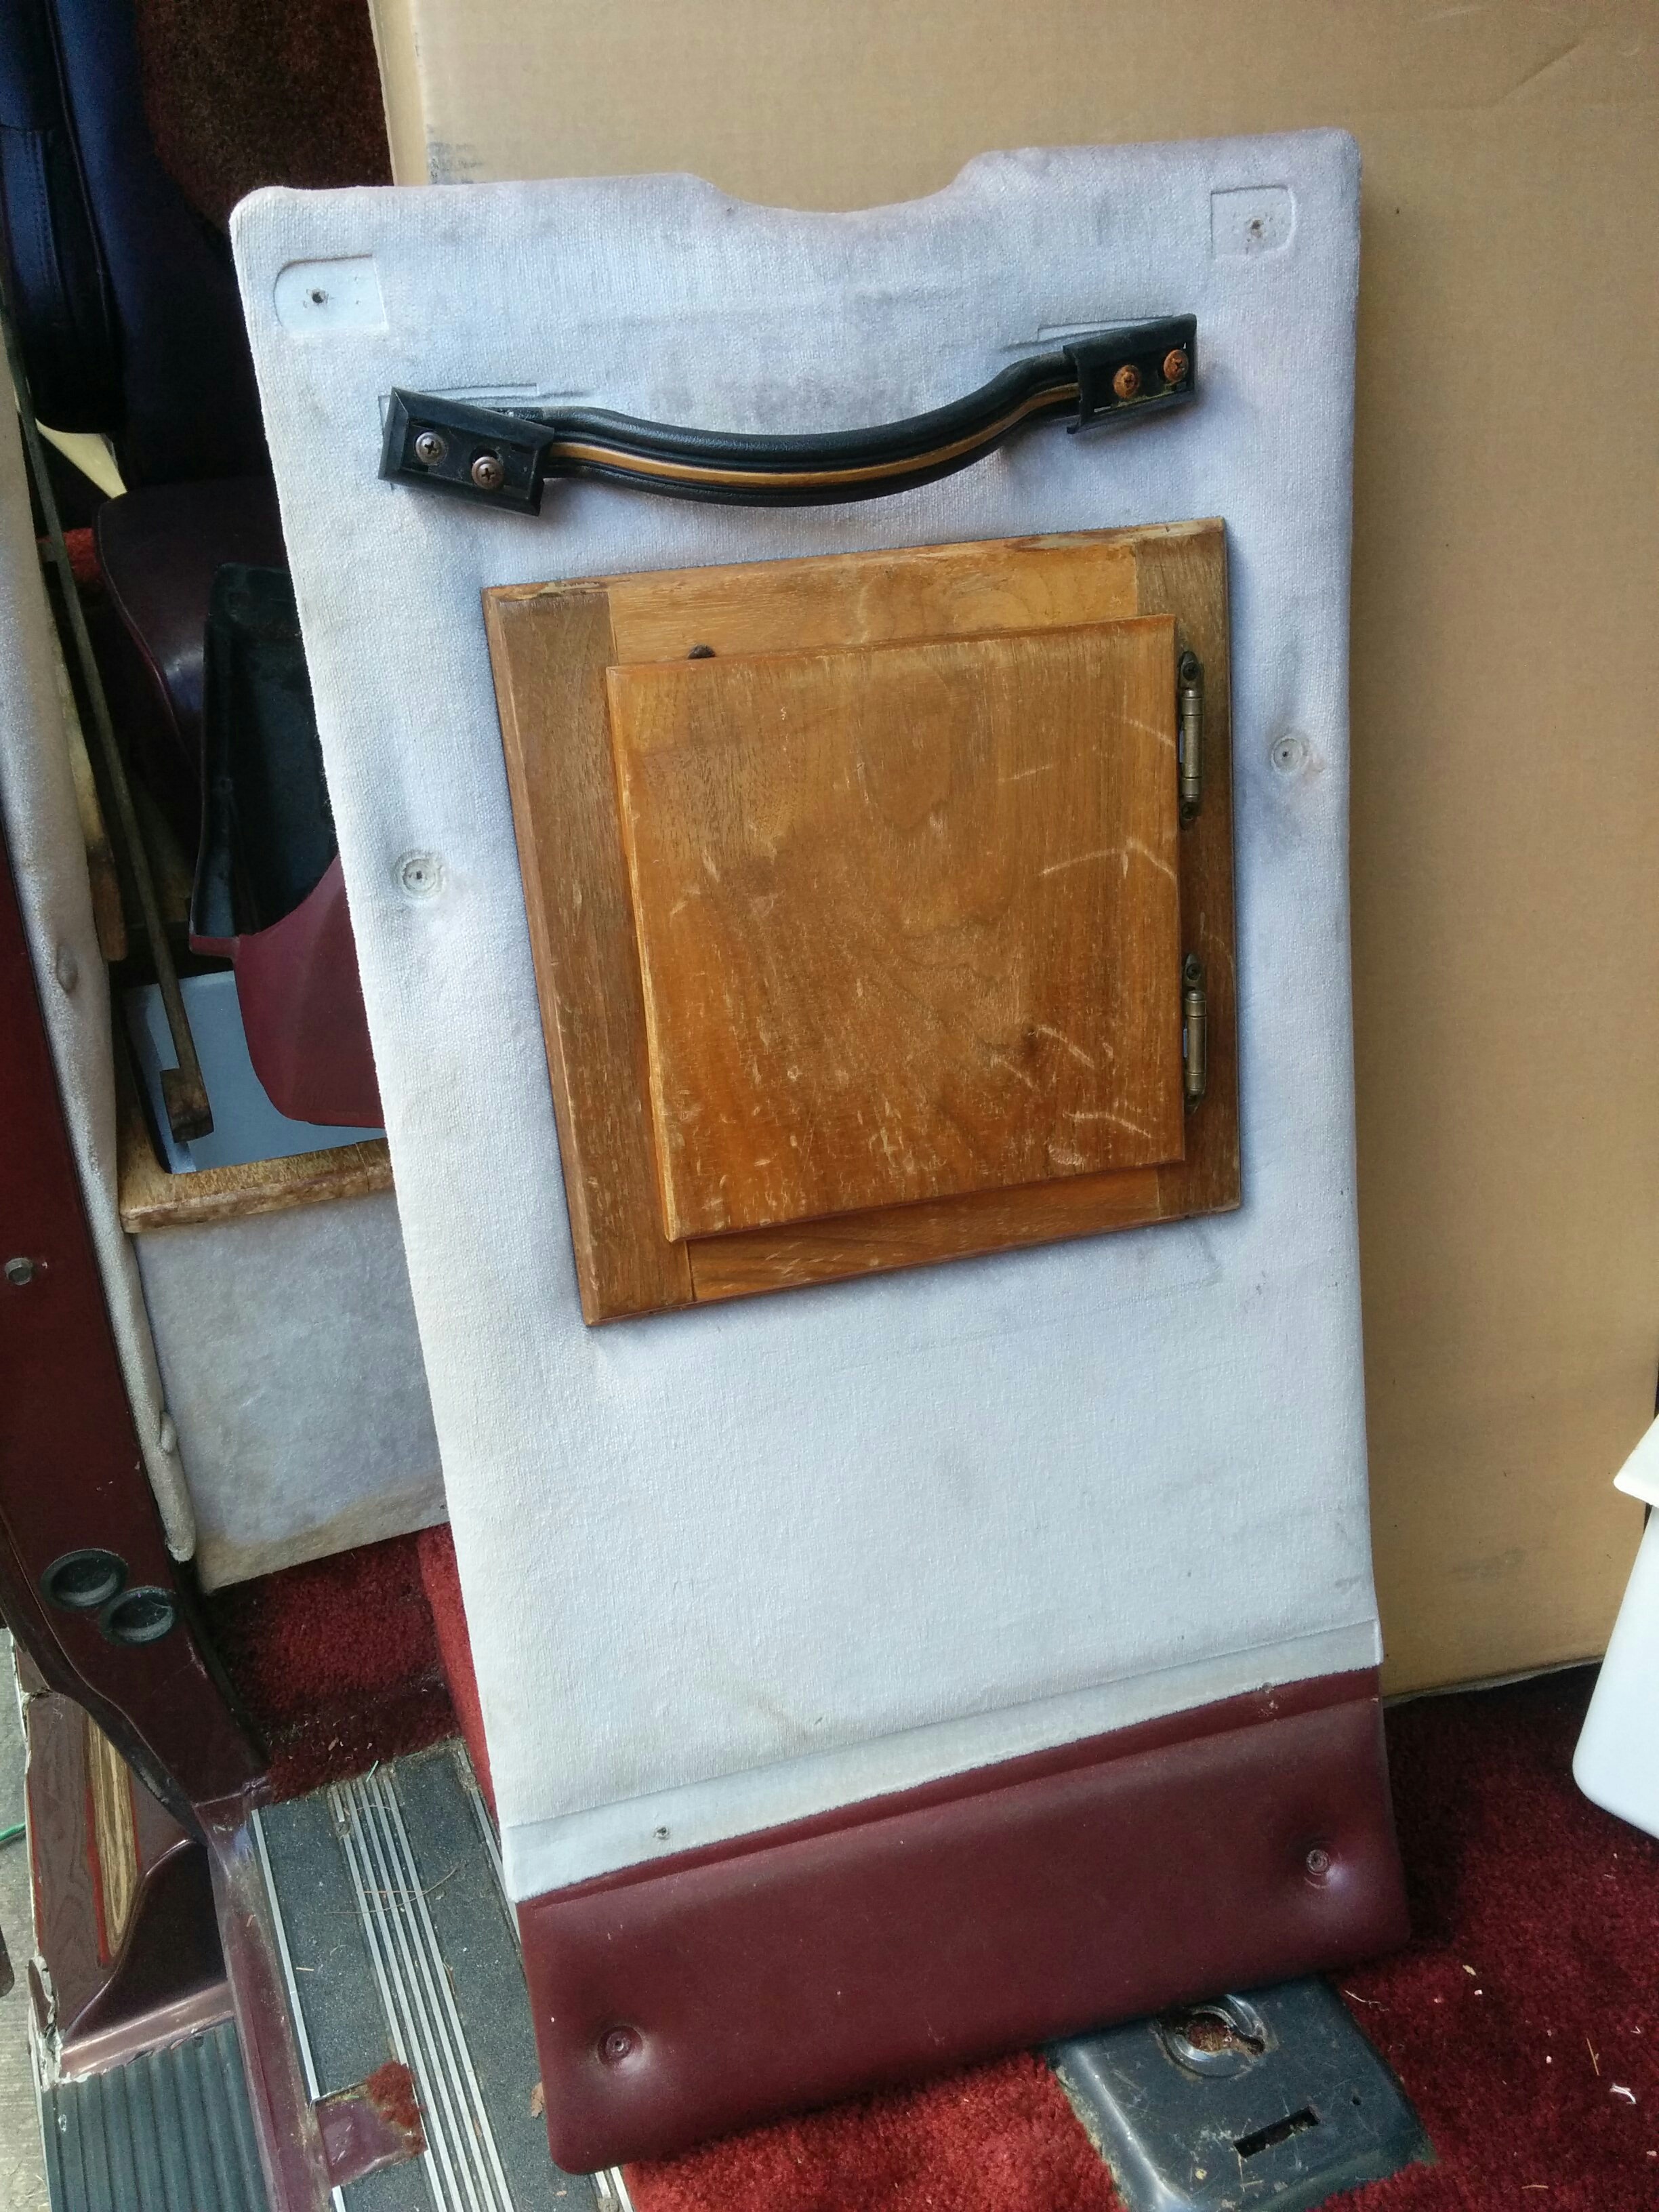
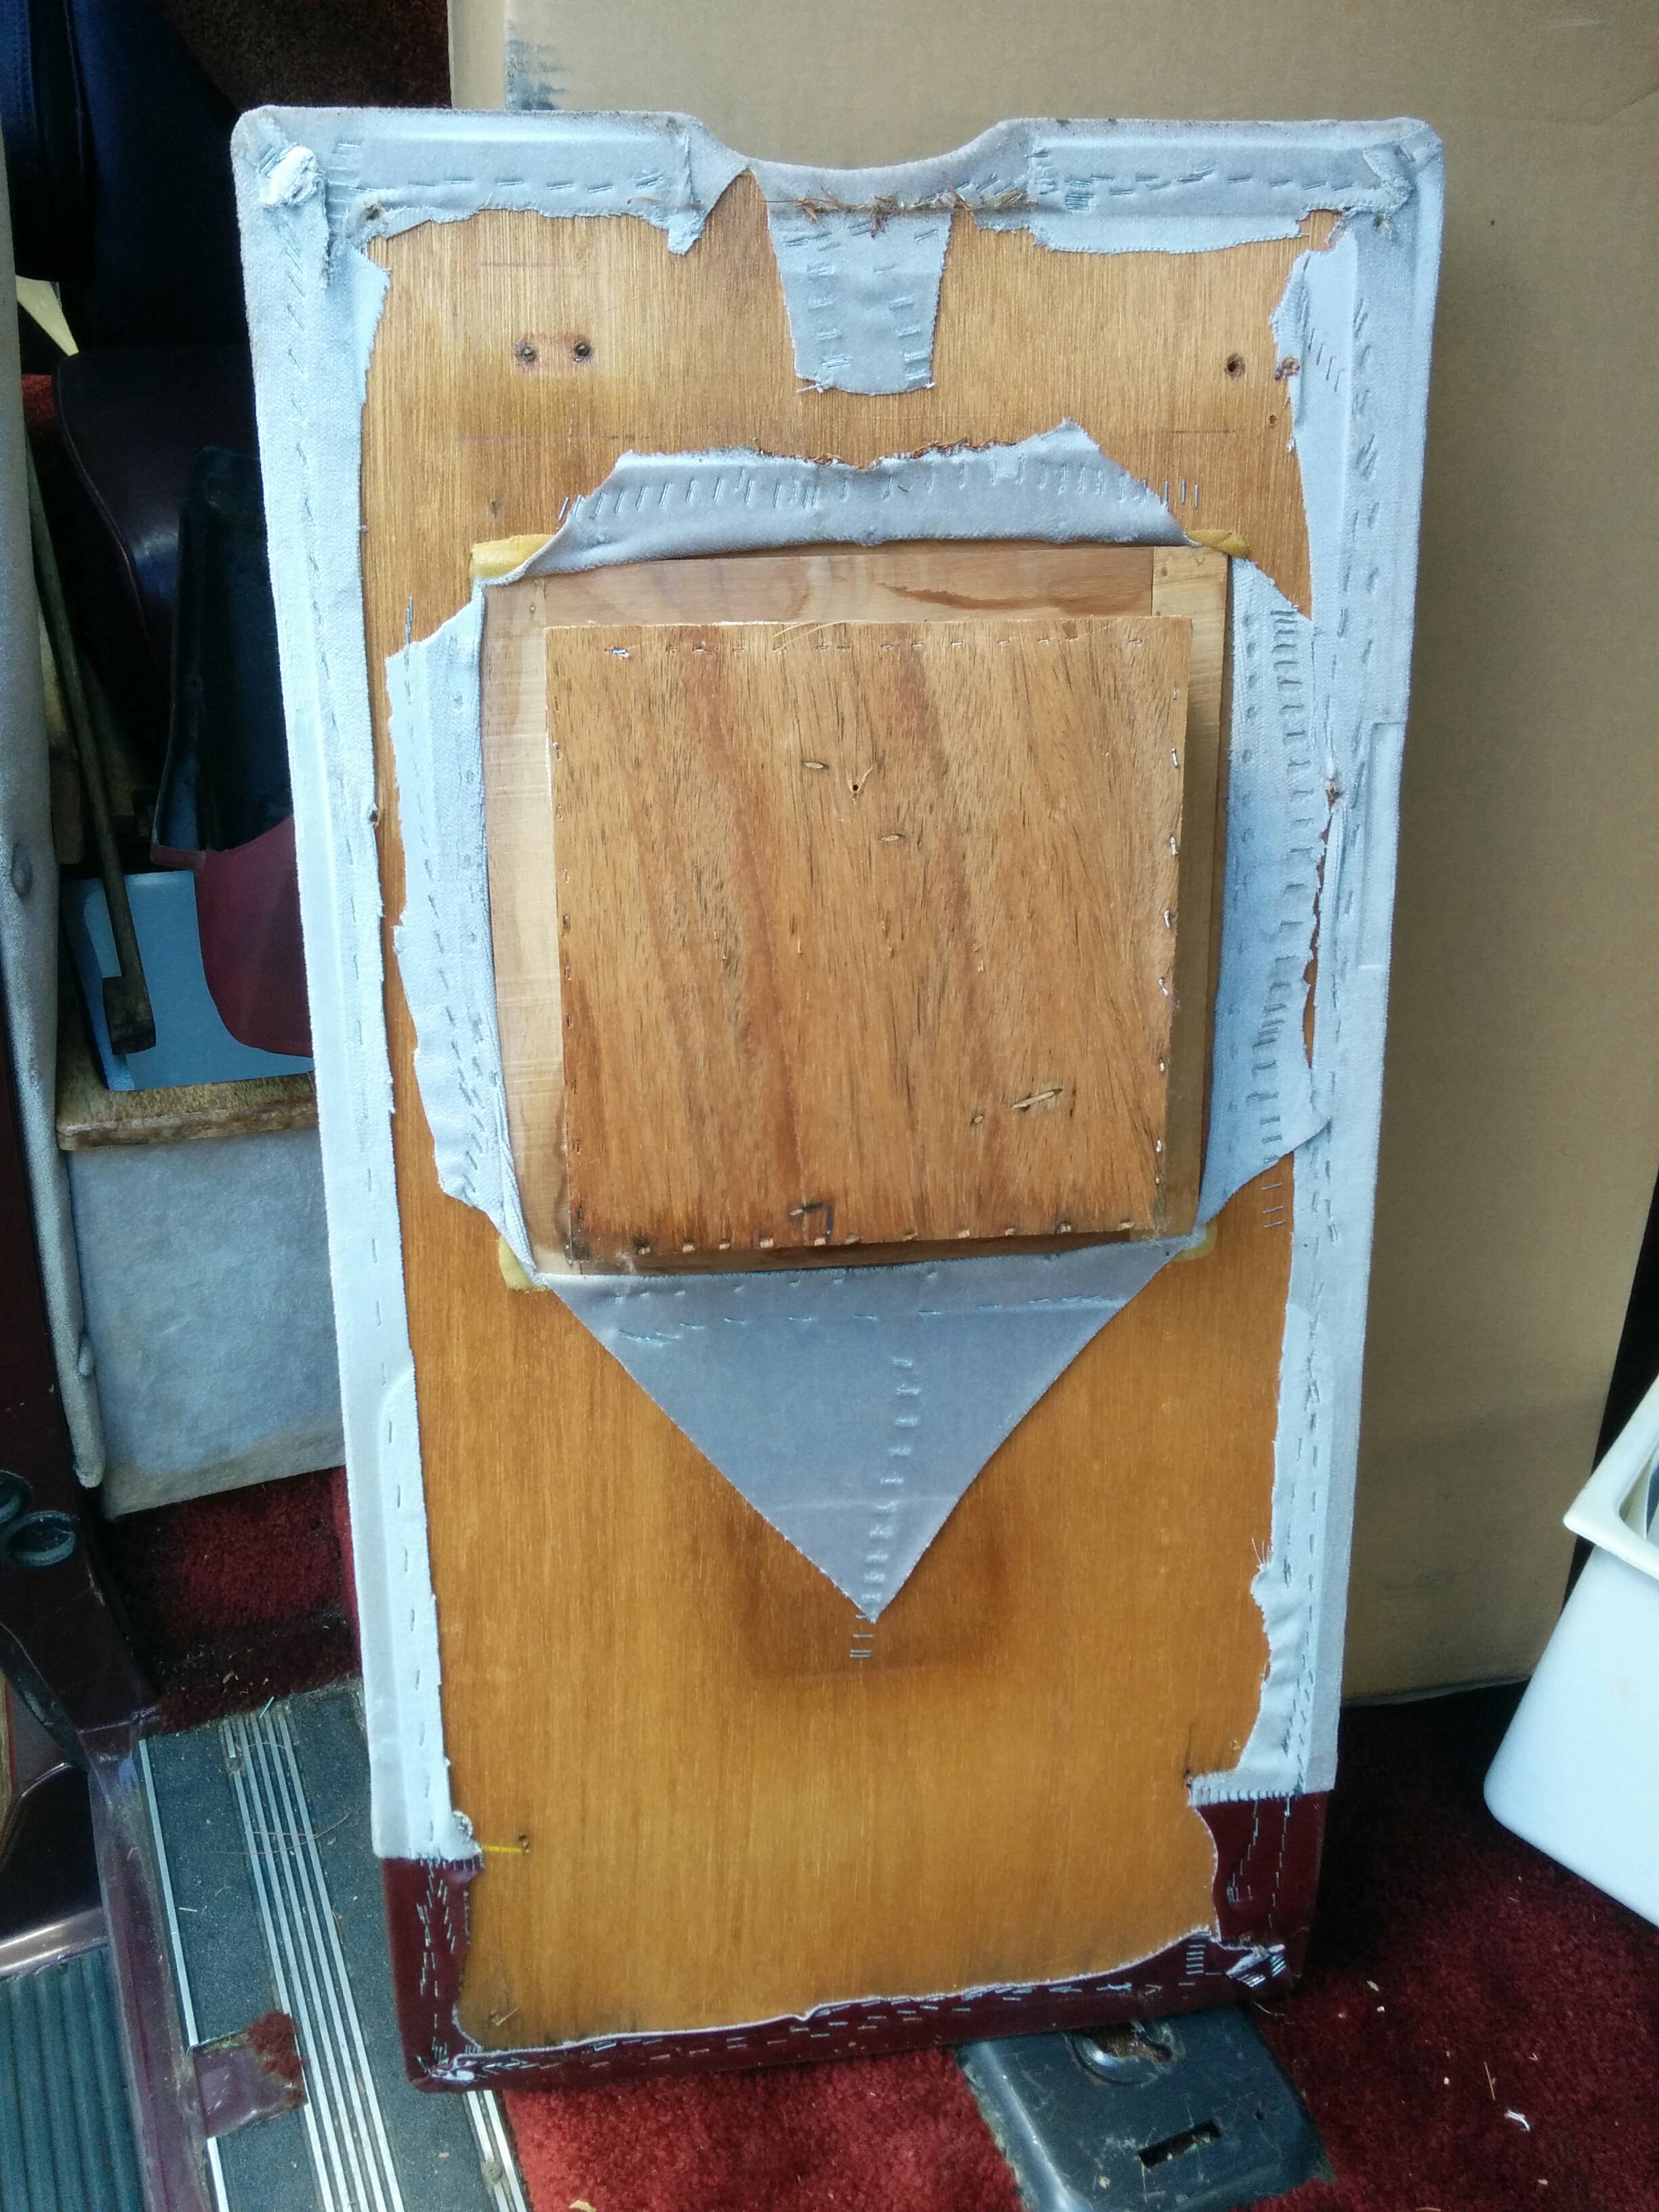
Presumably the conversion company added the fiberglass. I was surprised to see it, but it actually did have a pretty good sound deadening effect combined with the fabric covered door panel. The van immediately sounded much more cavernous with these emptied out.
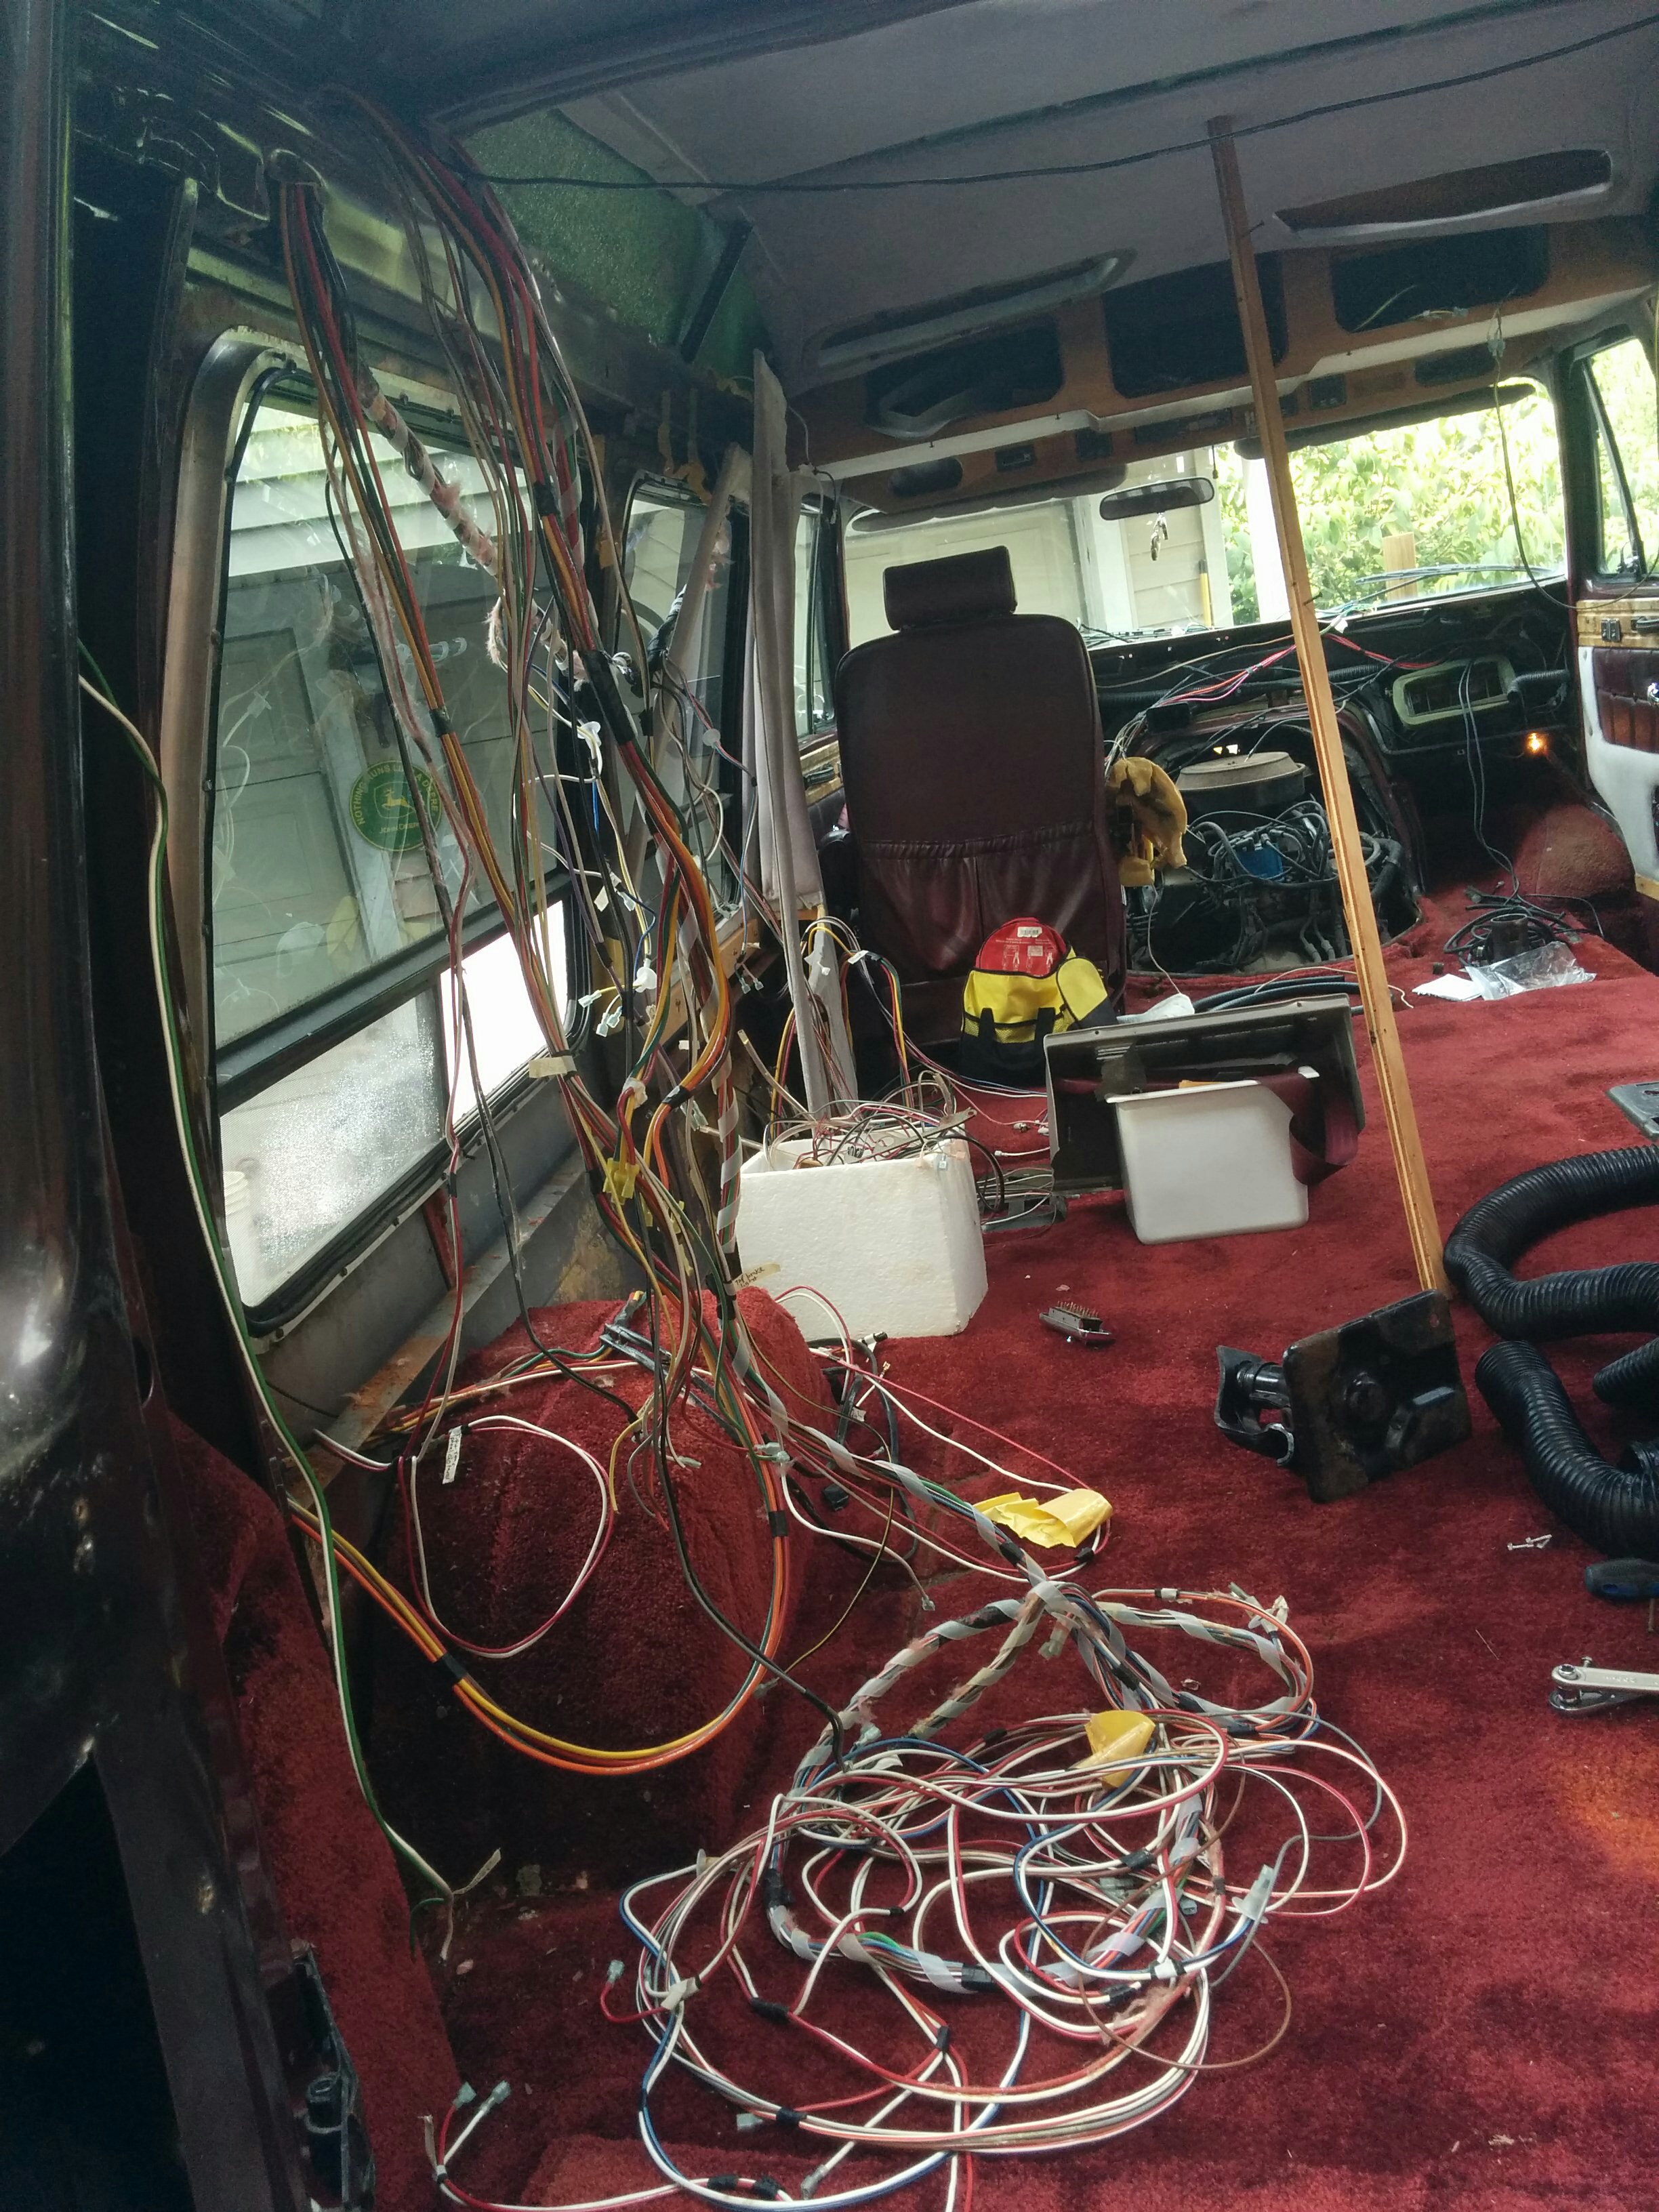
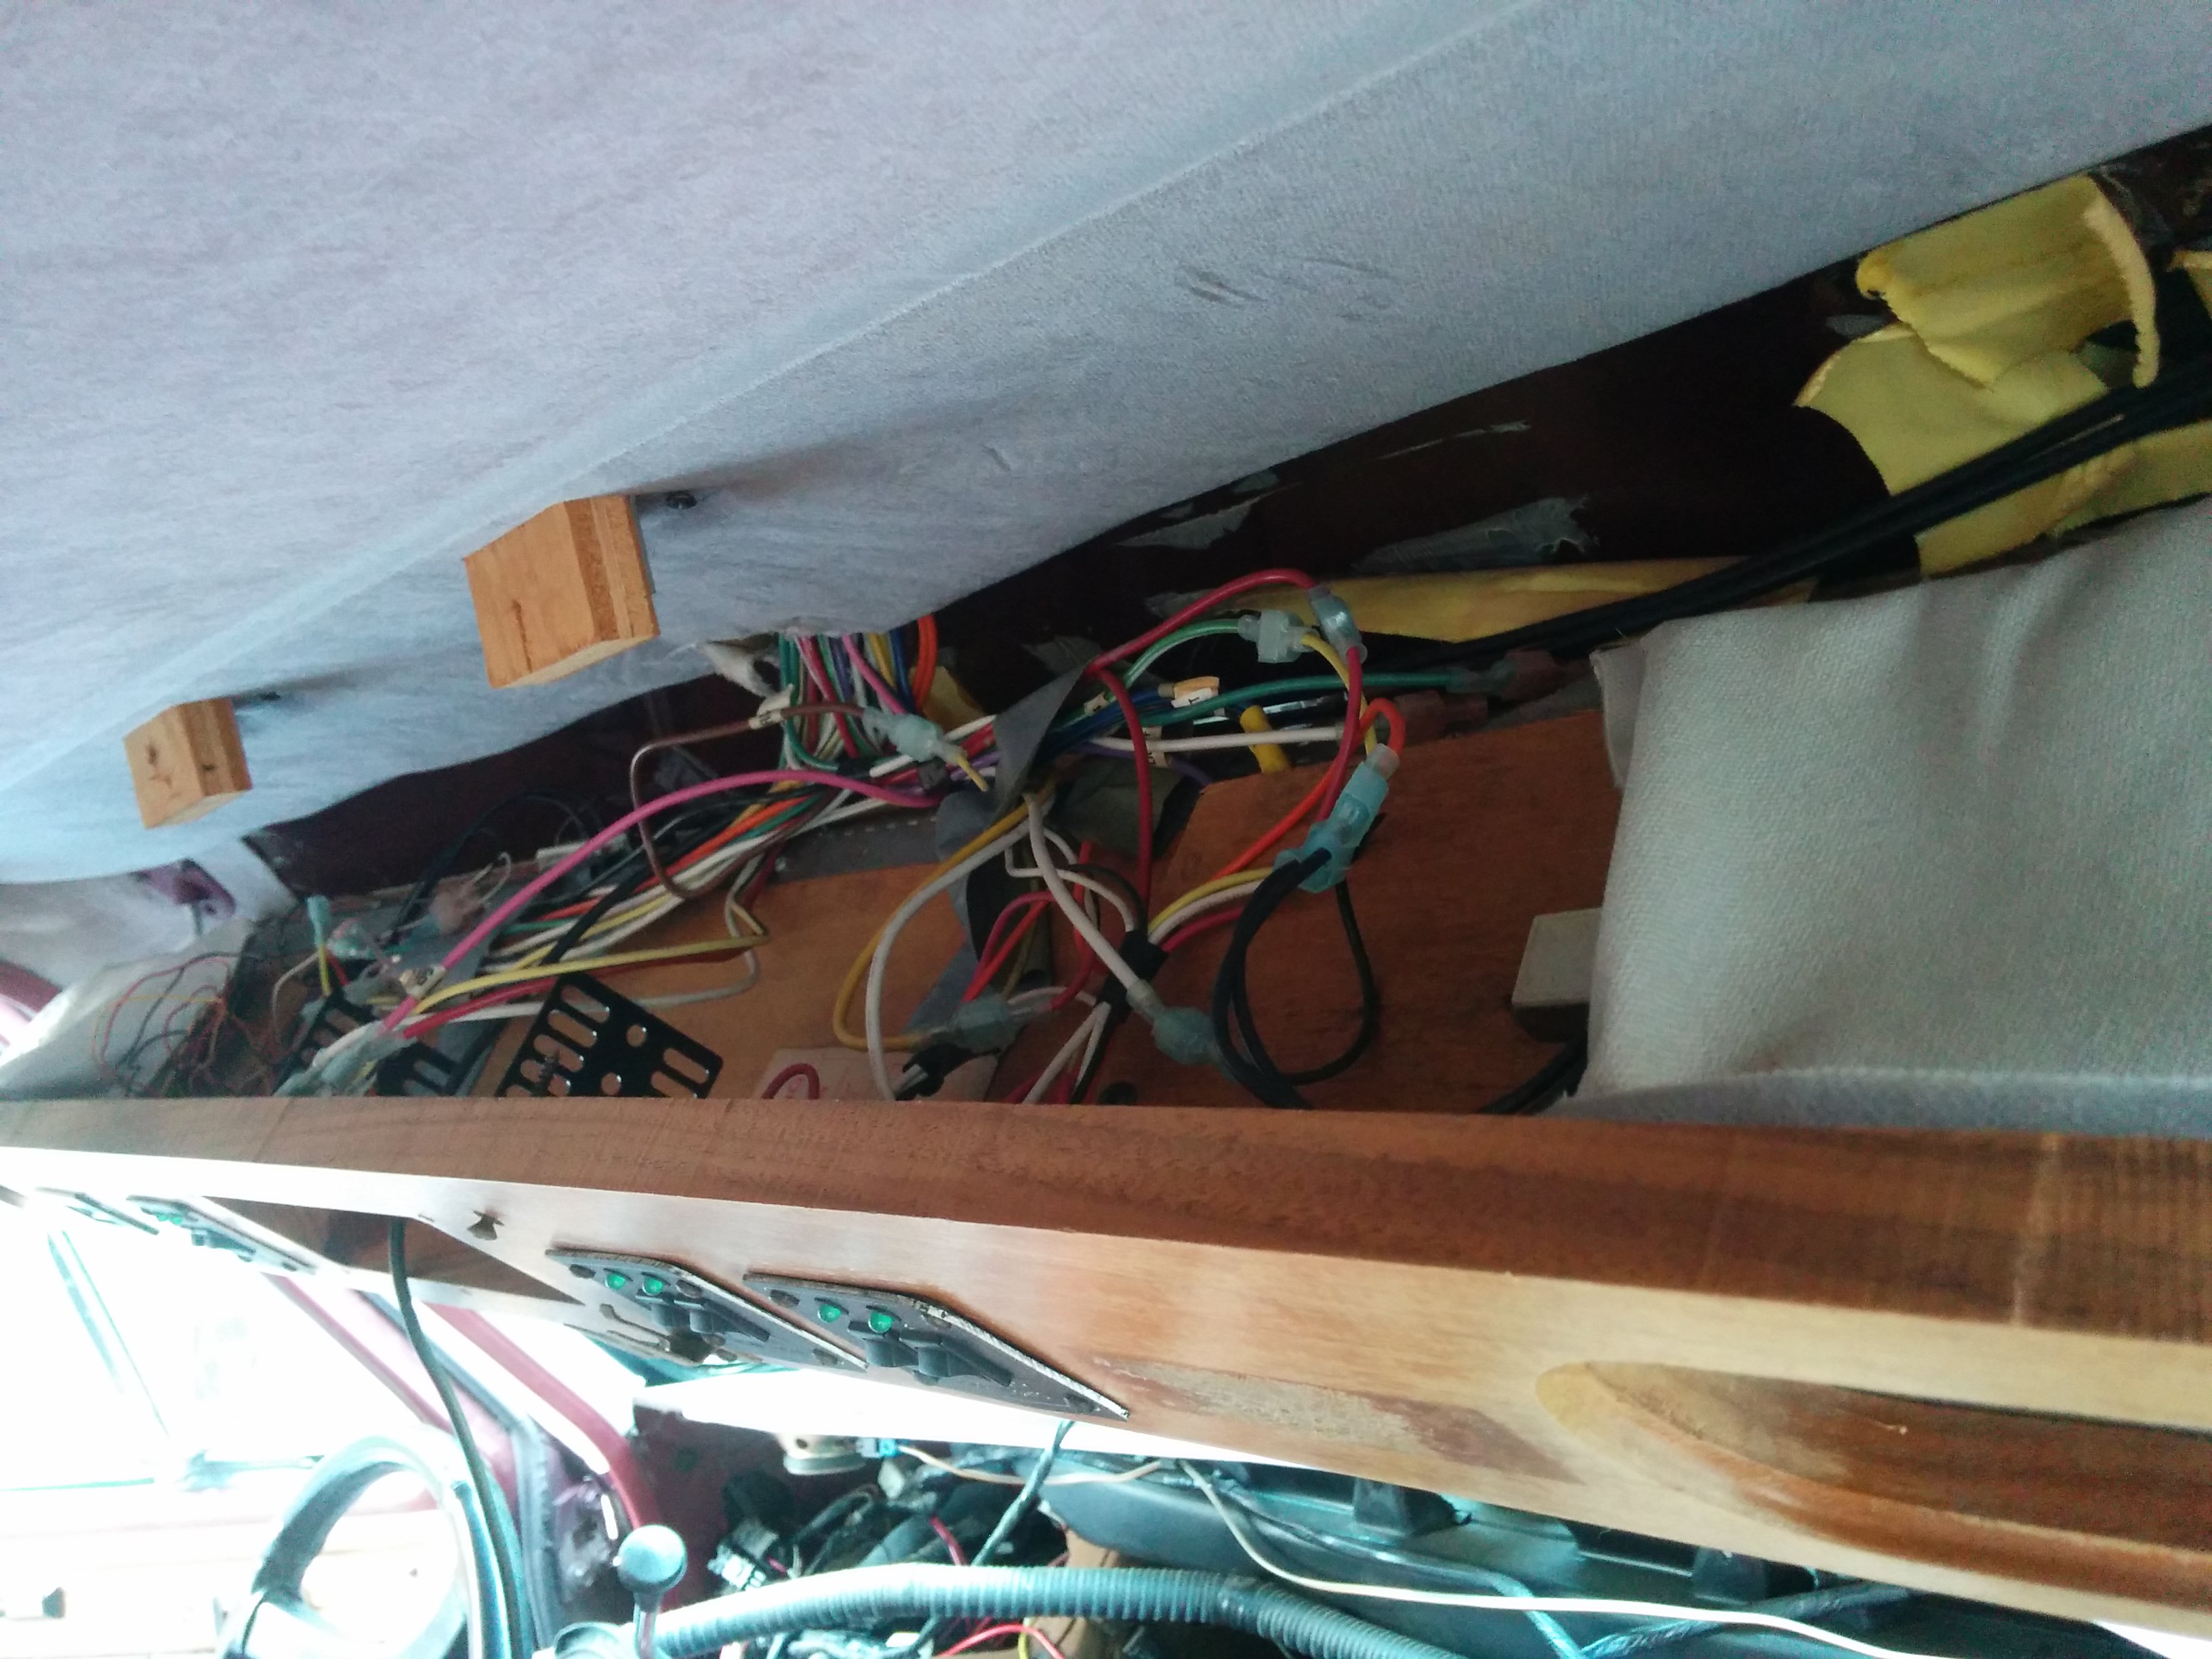
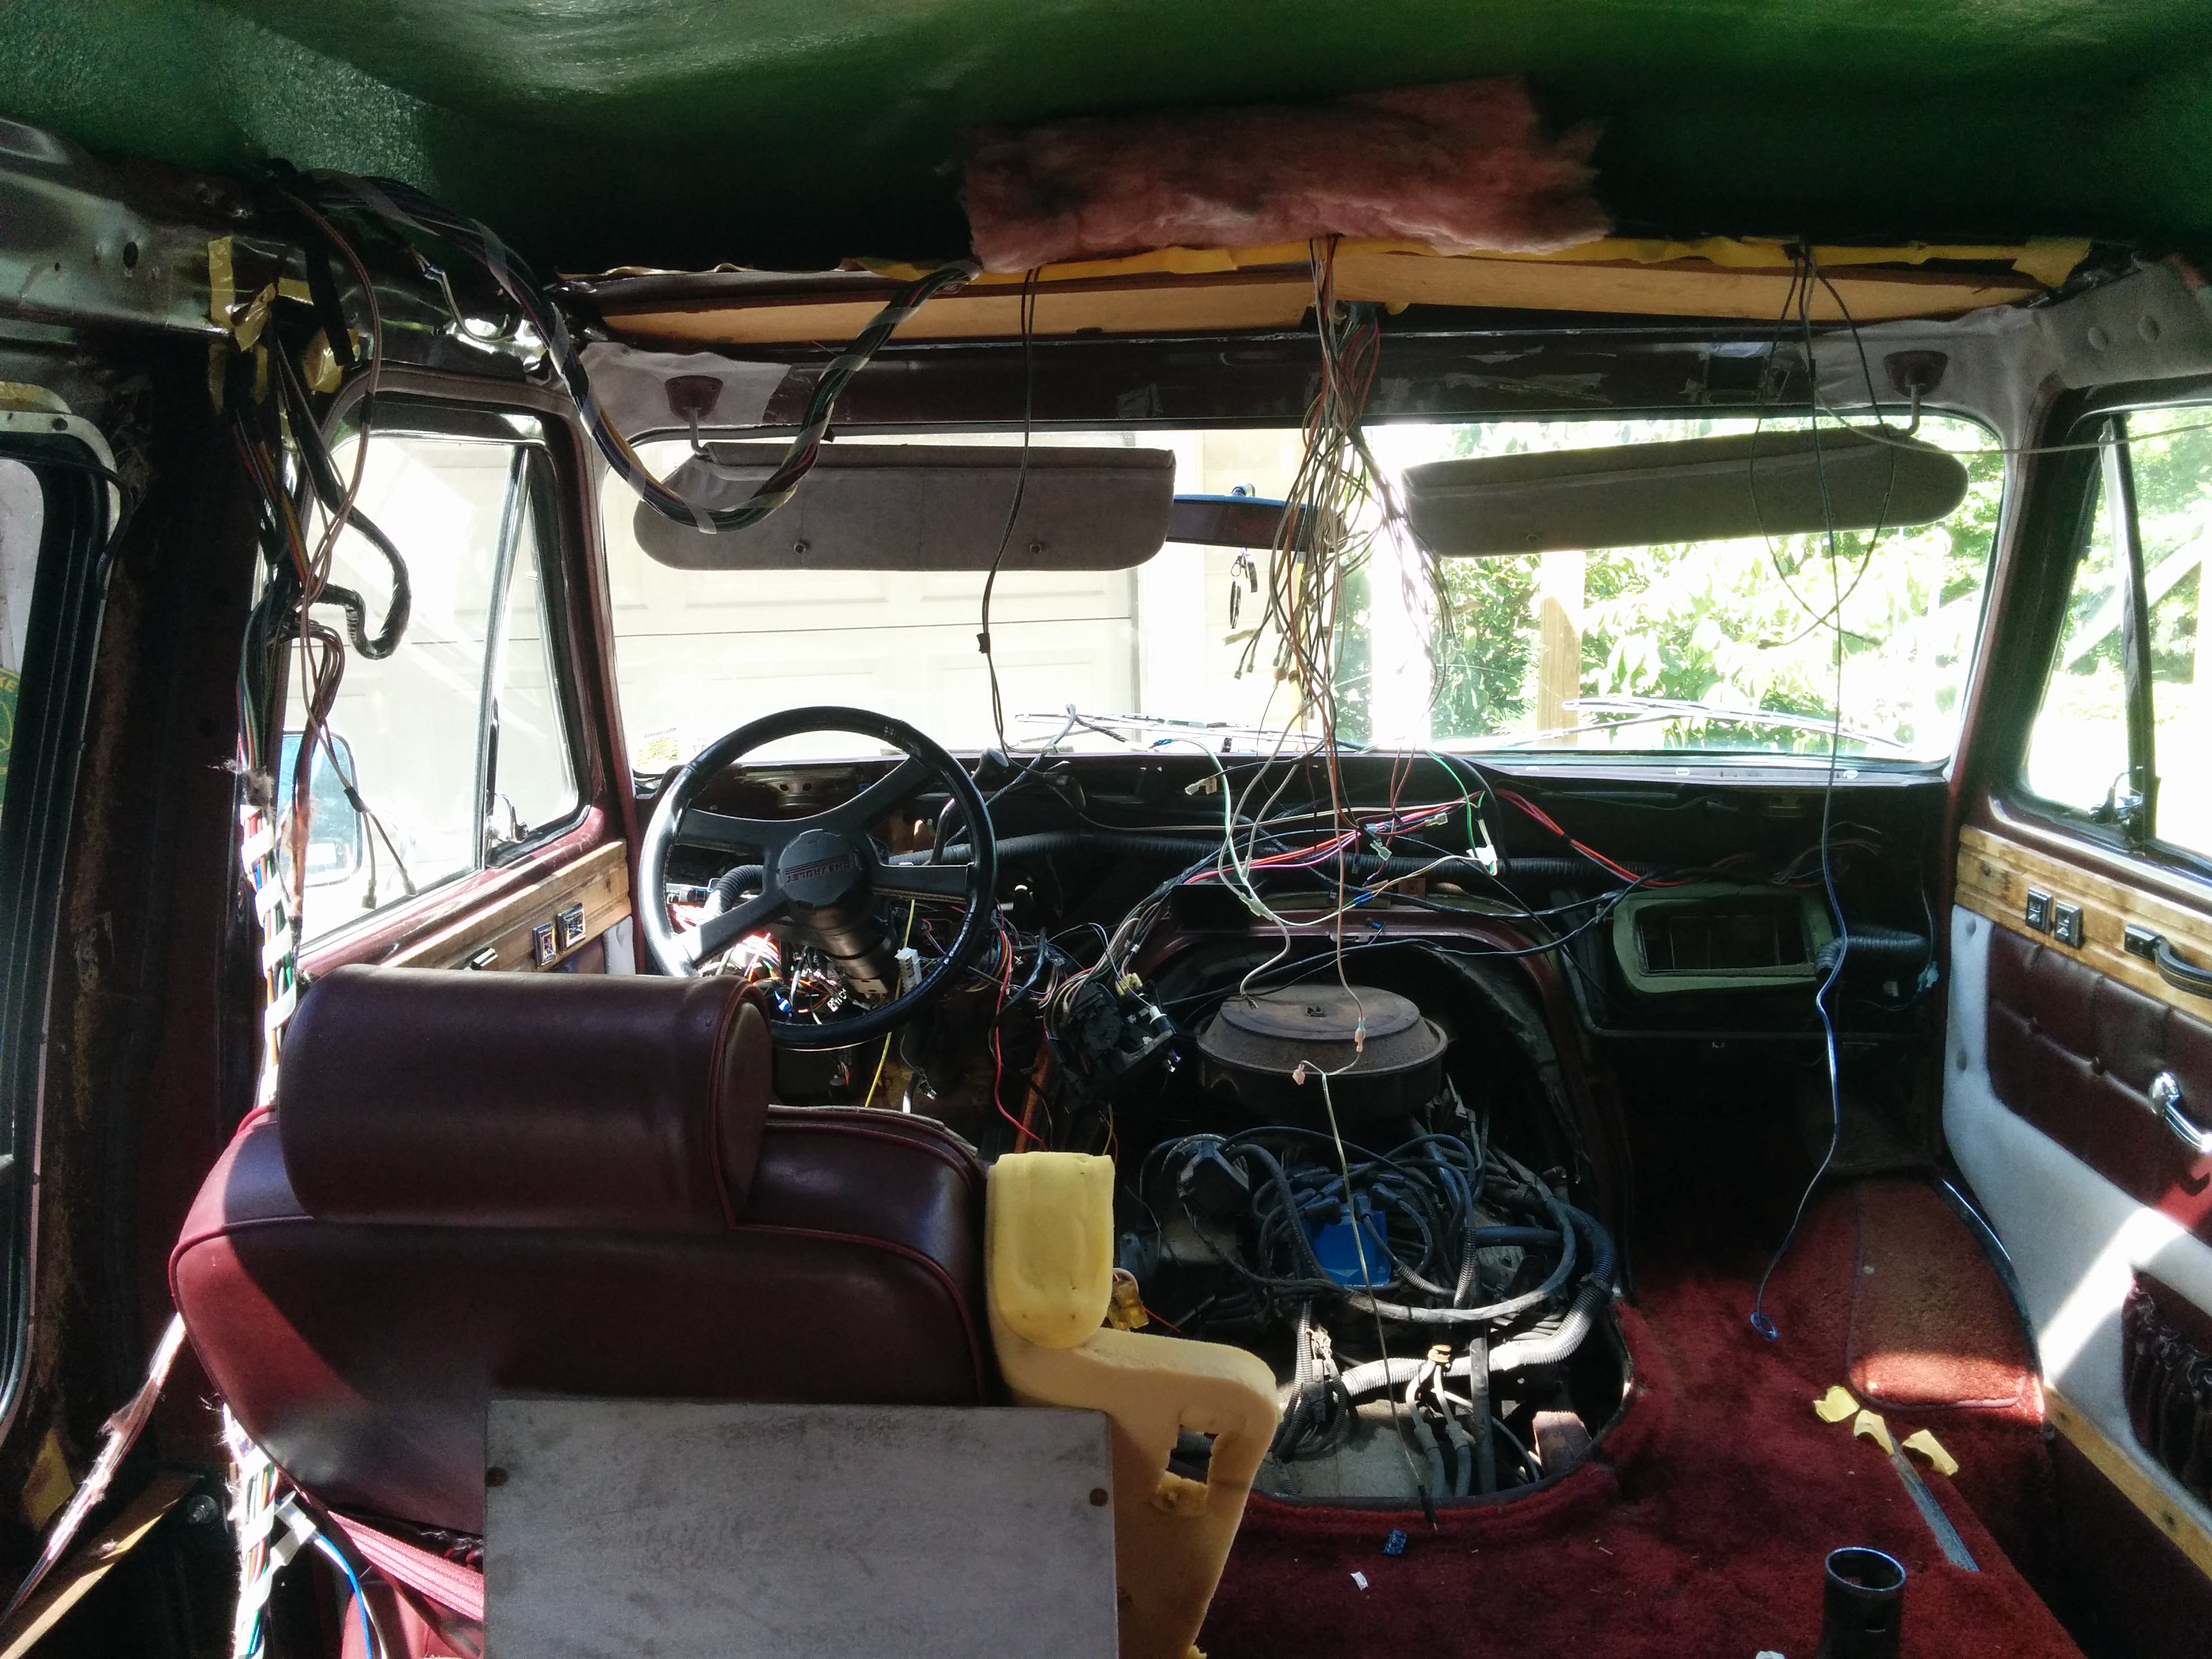
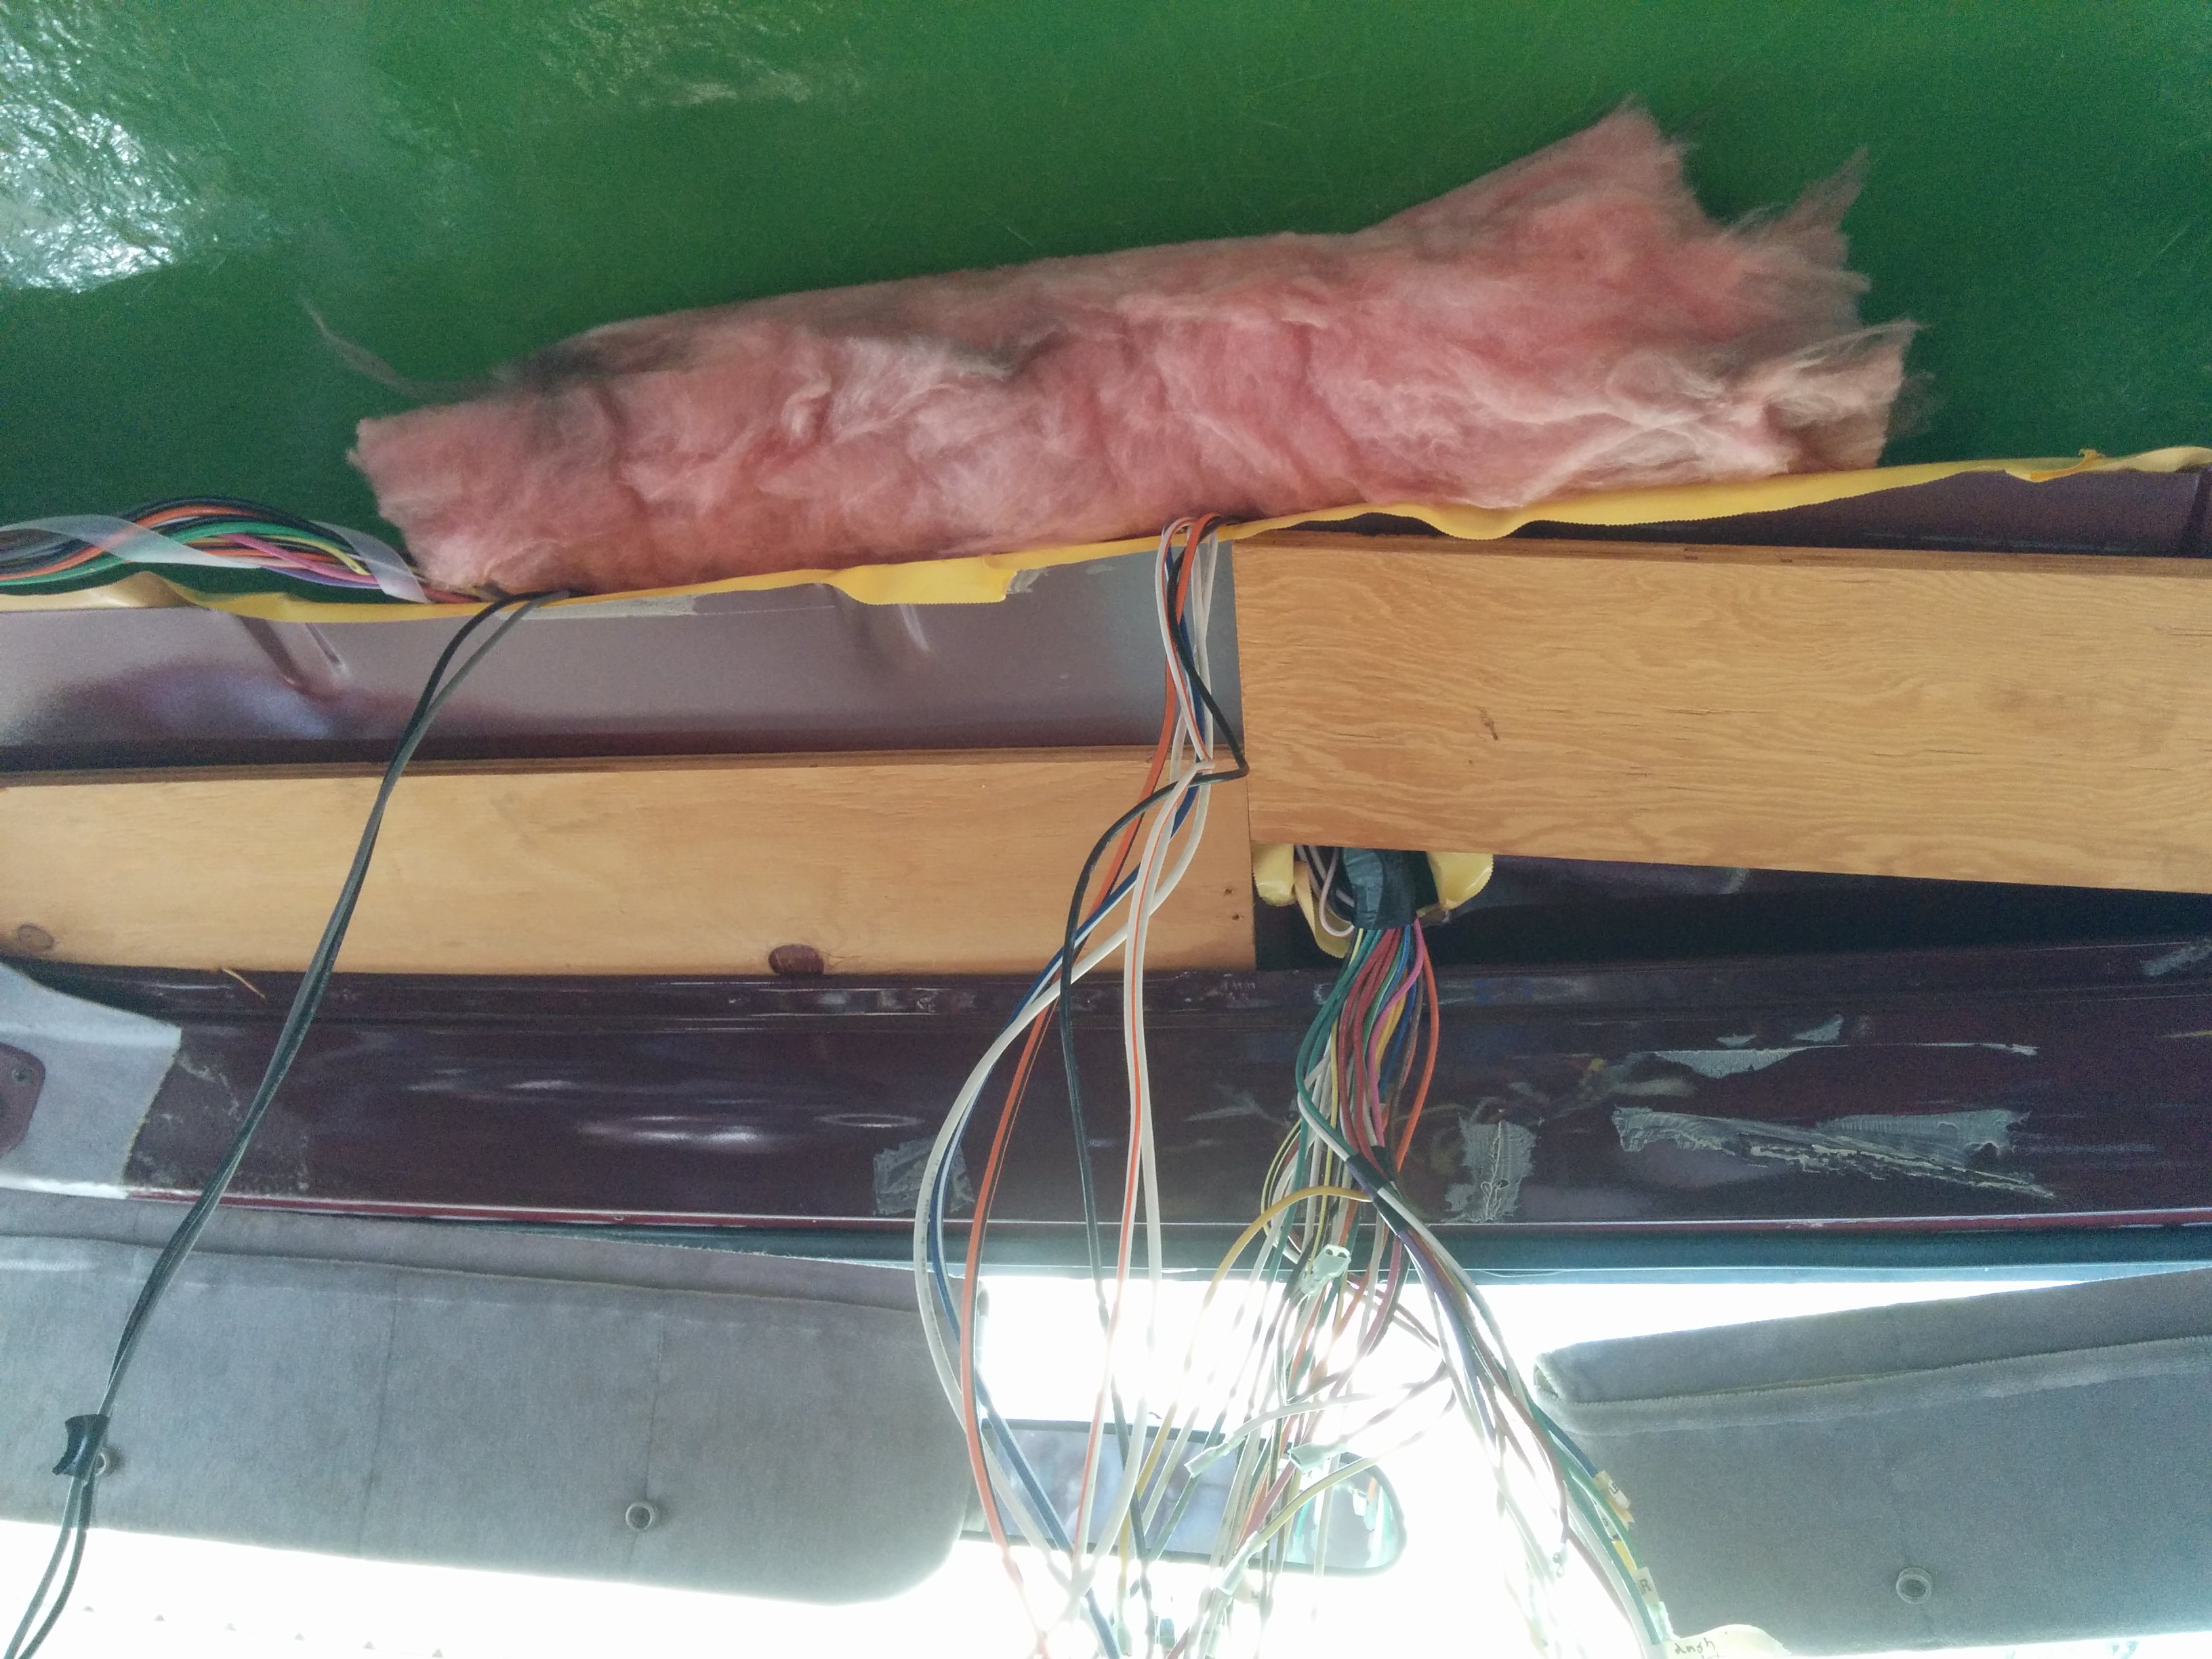
Wires Wires Everywhere
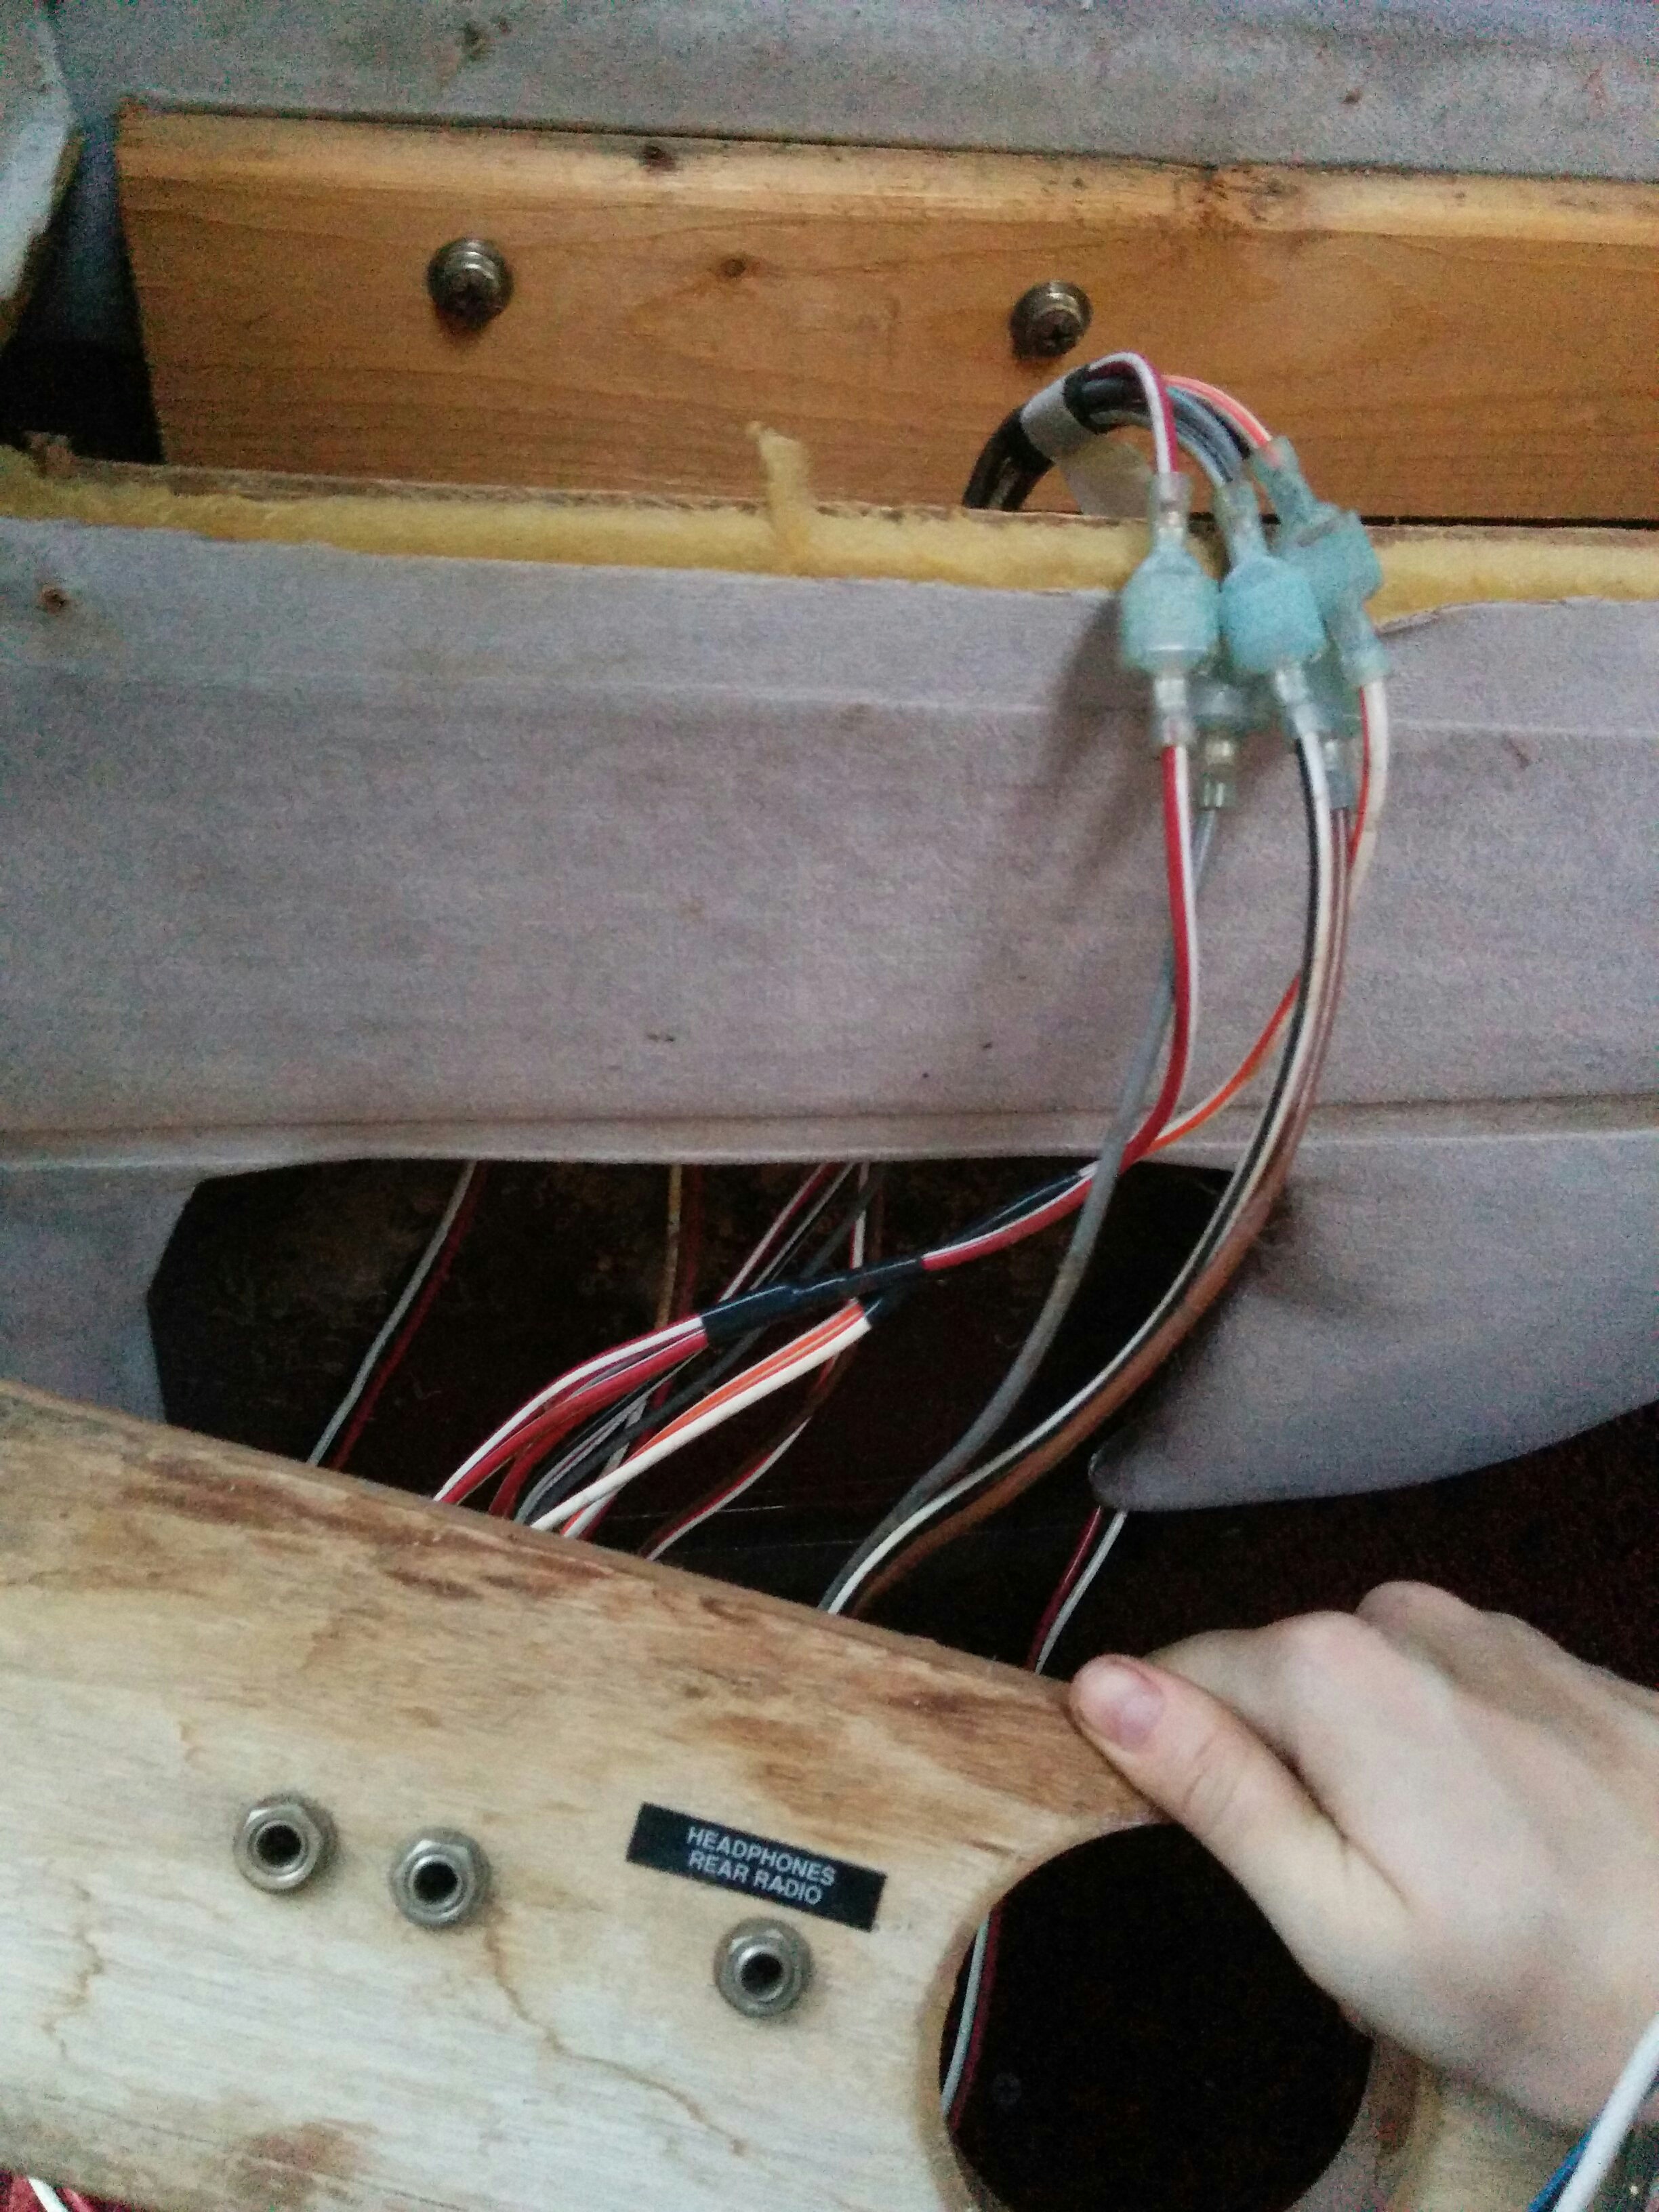
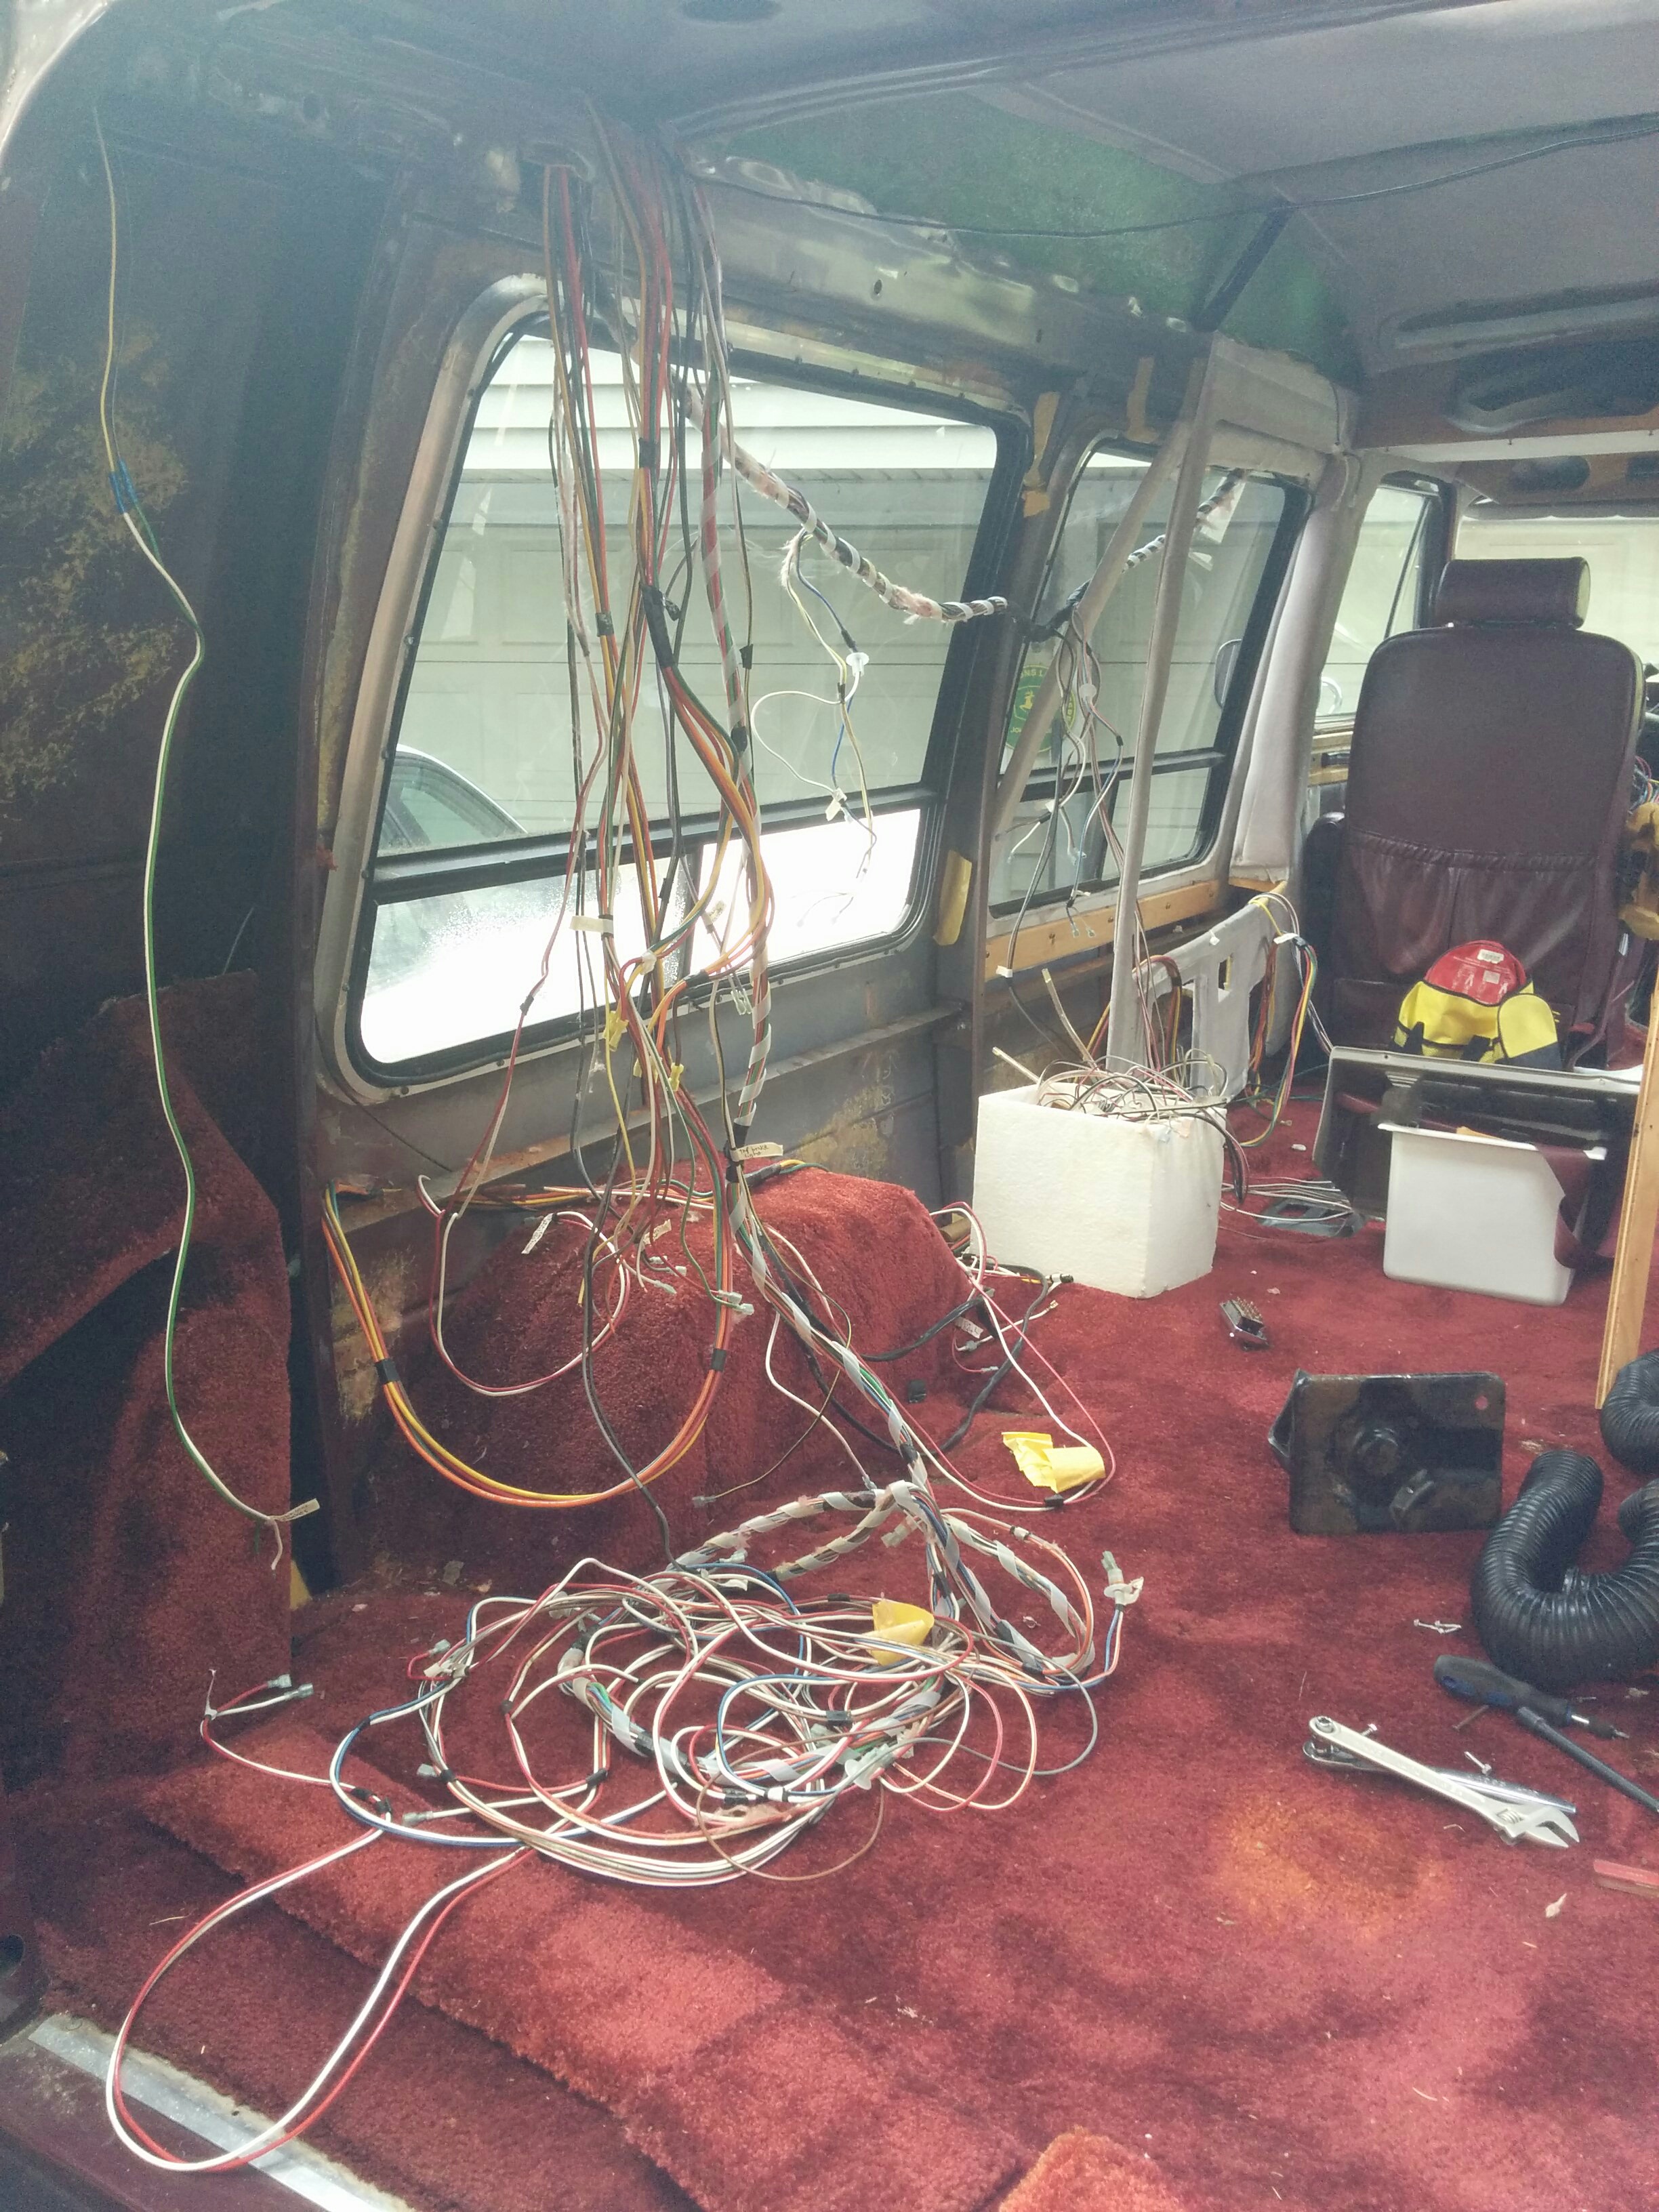
The van interior had been generously outfitted with 6+ speakers, numerous 12V outlets, headphone jacks connected to the rear cassette deck, small cabin lights, side rope lights, and just tons of aftermarket modifications in general.
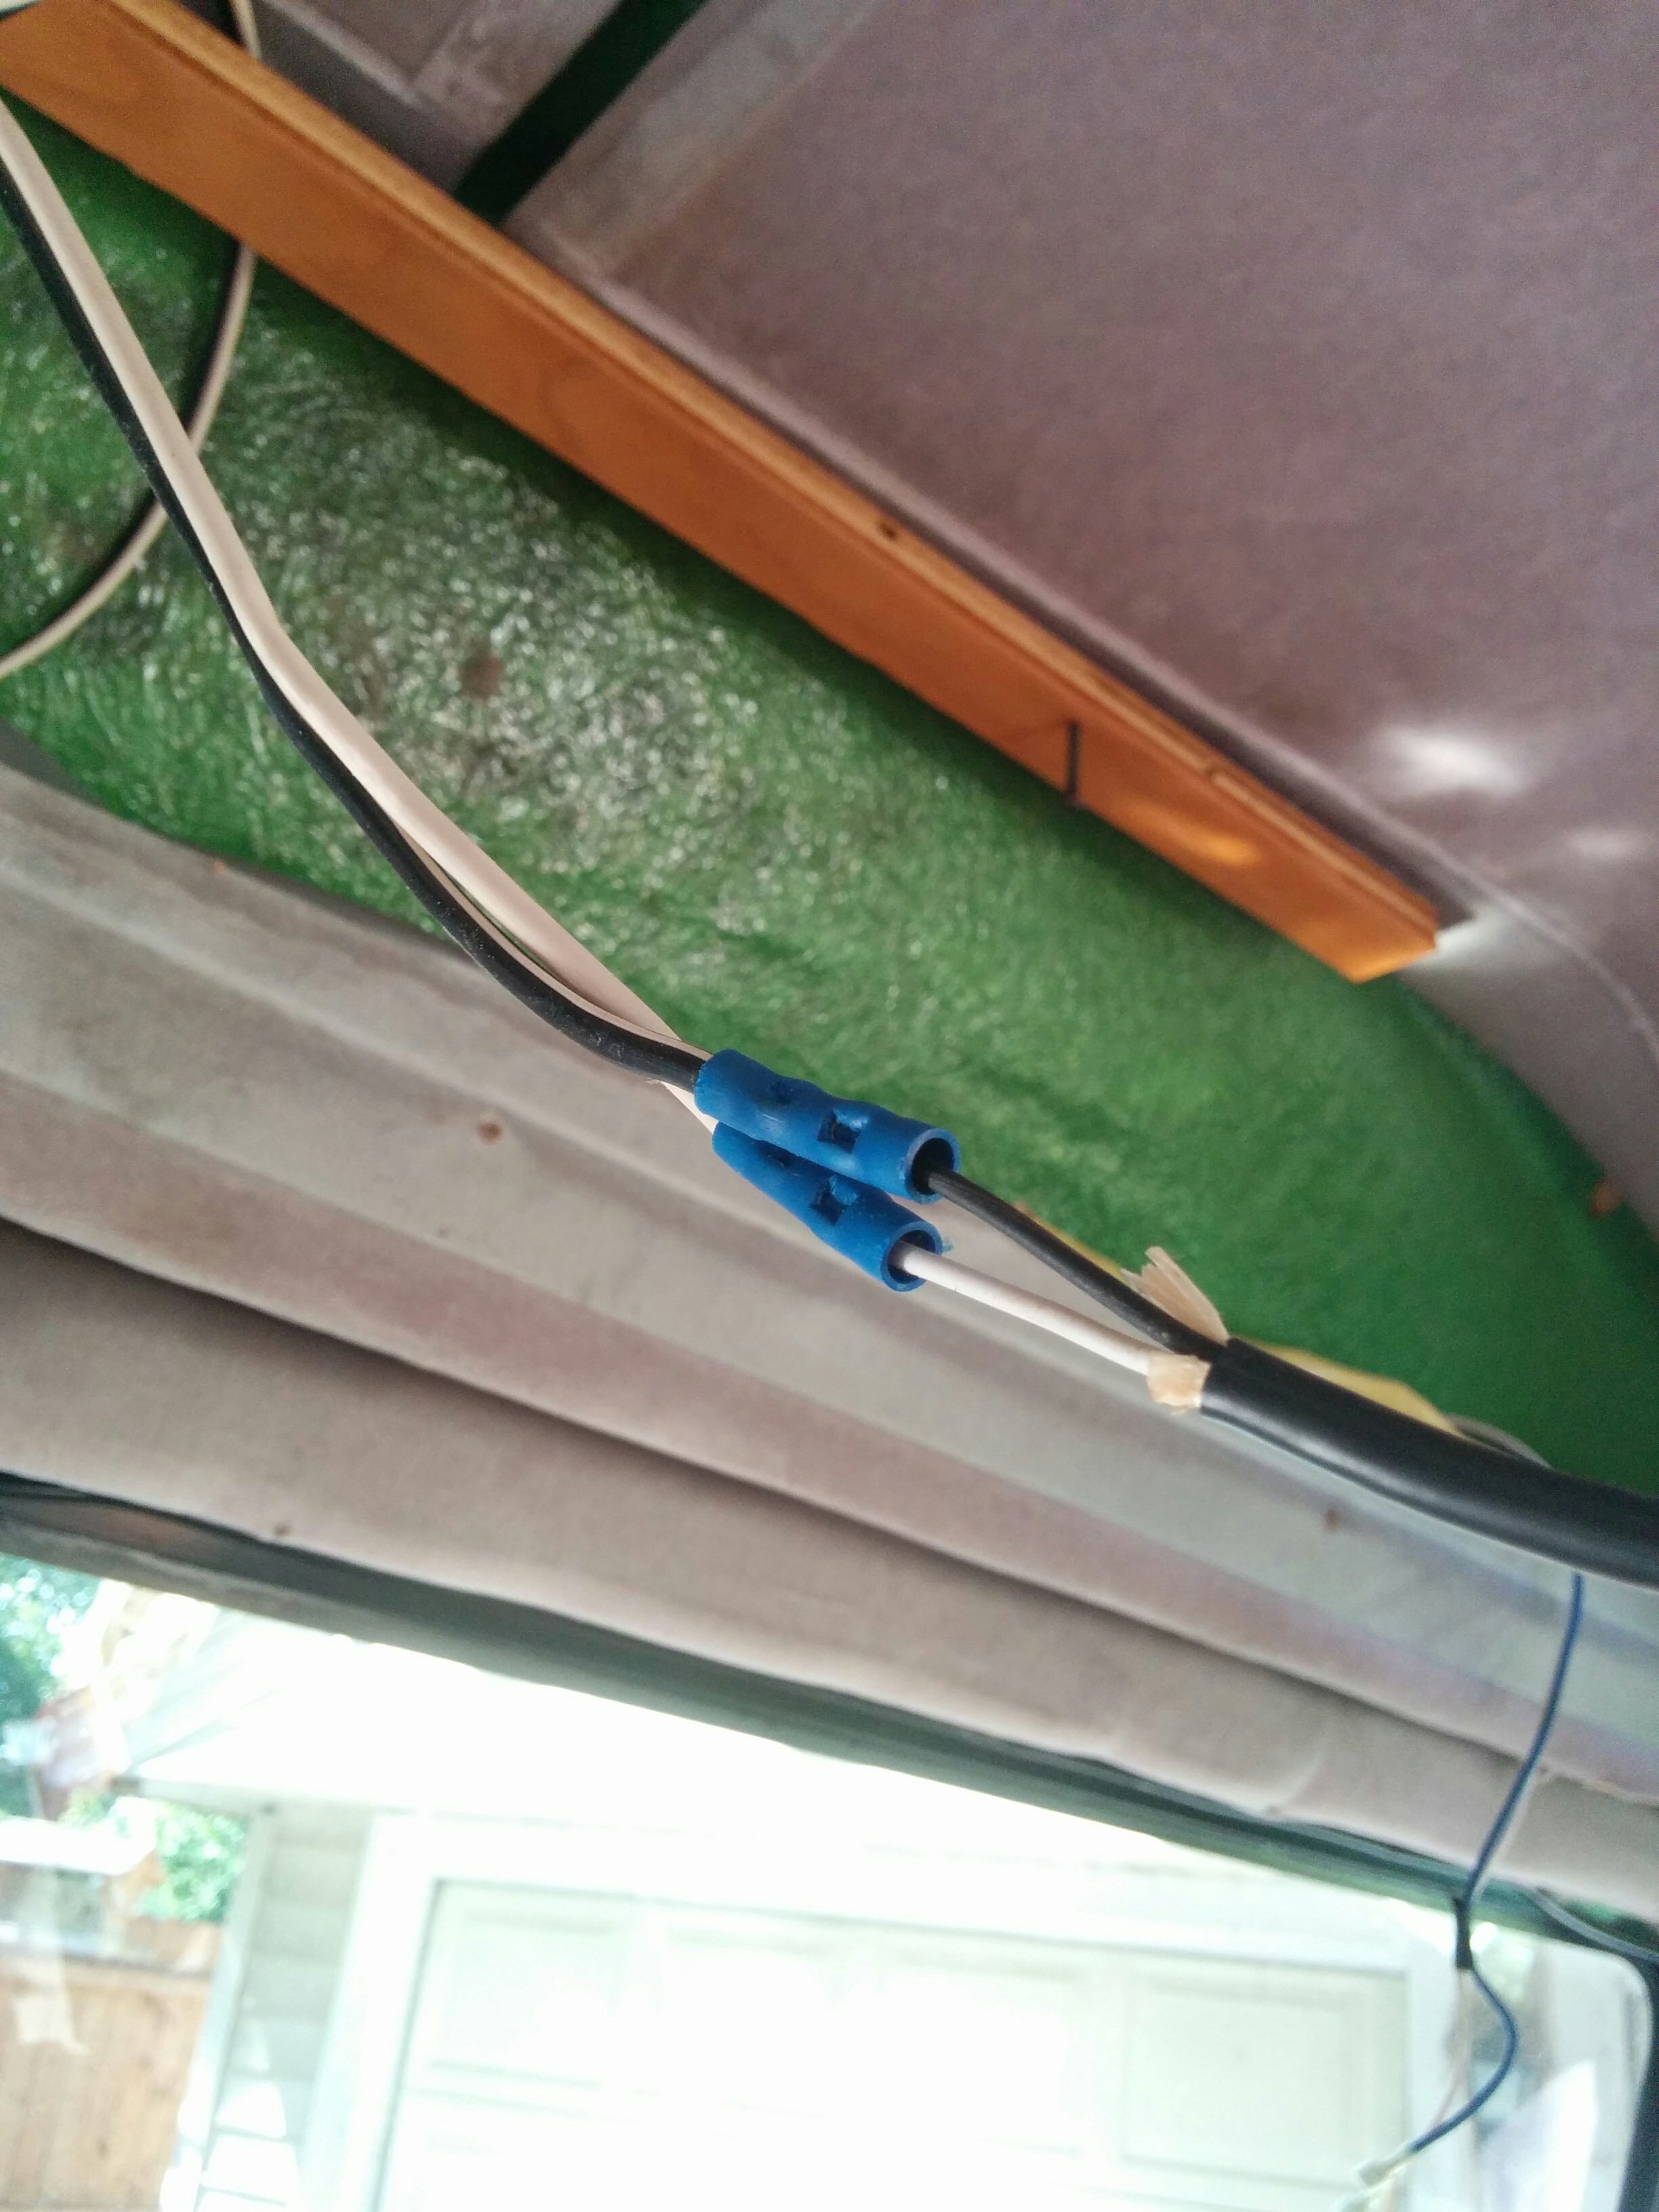

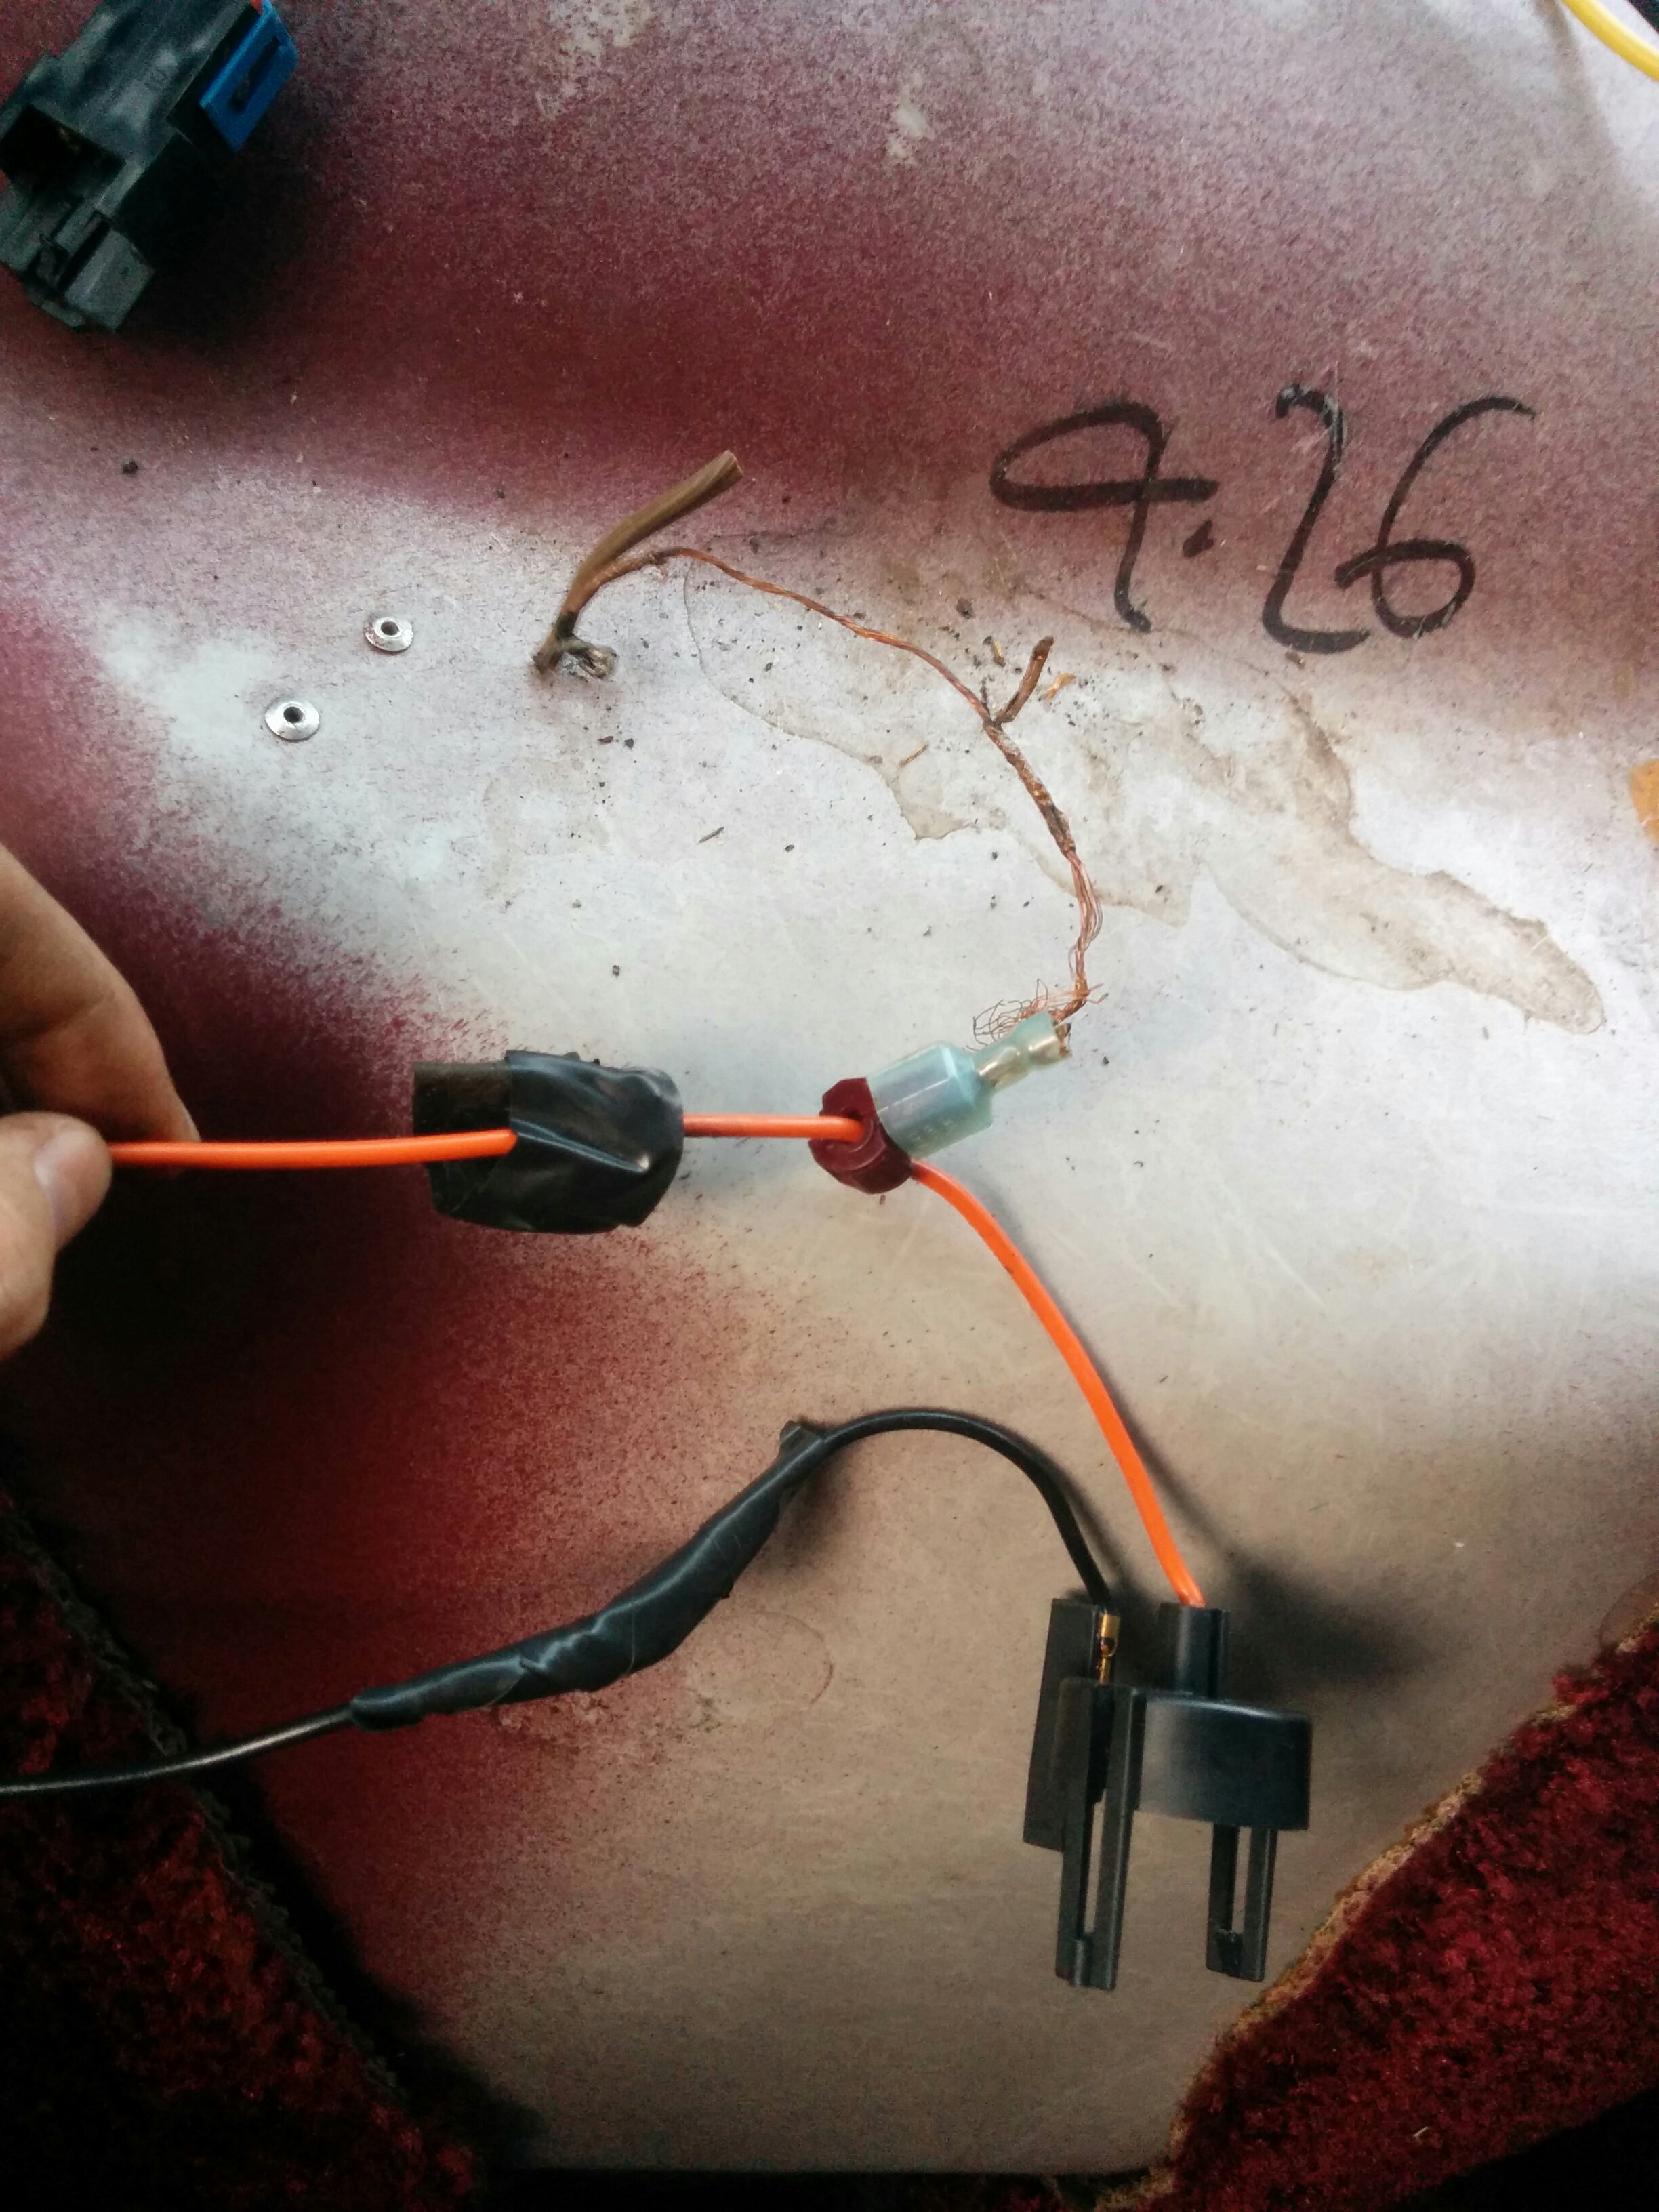
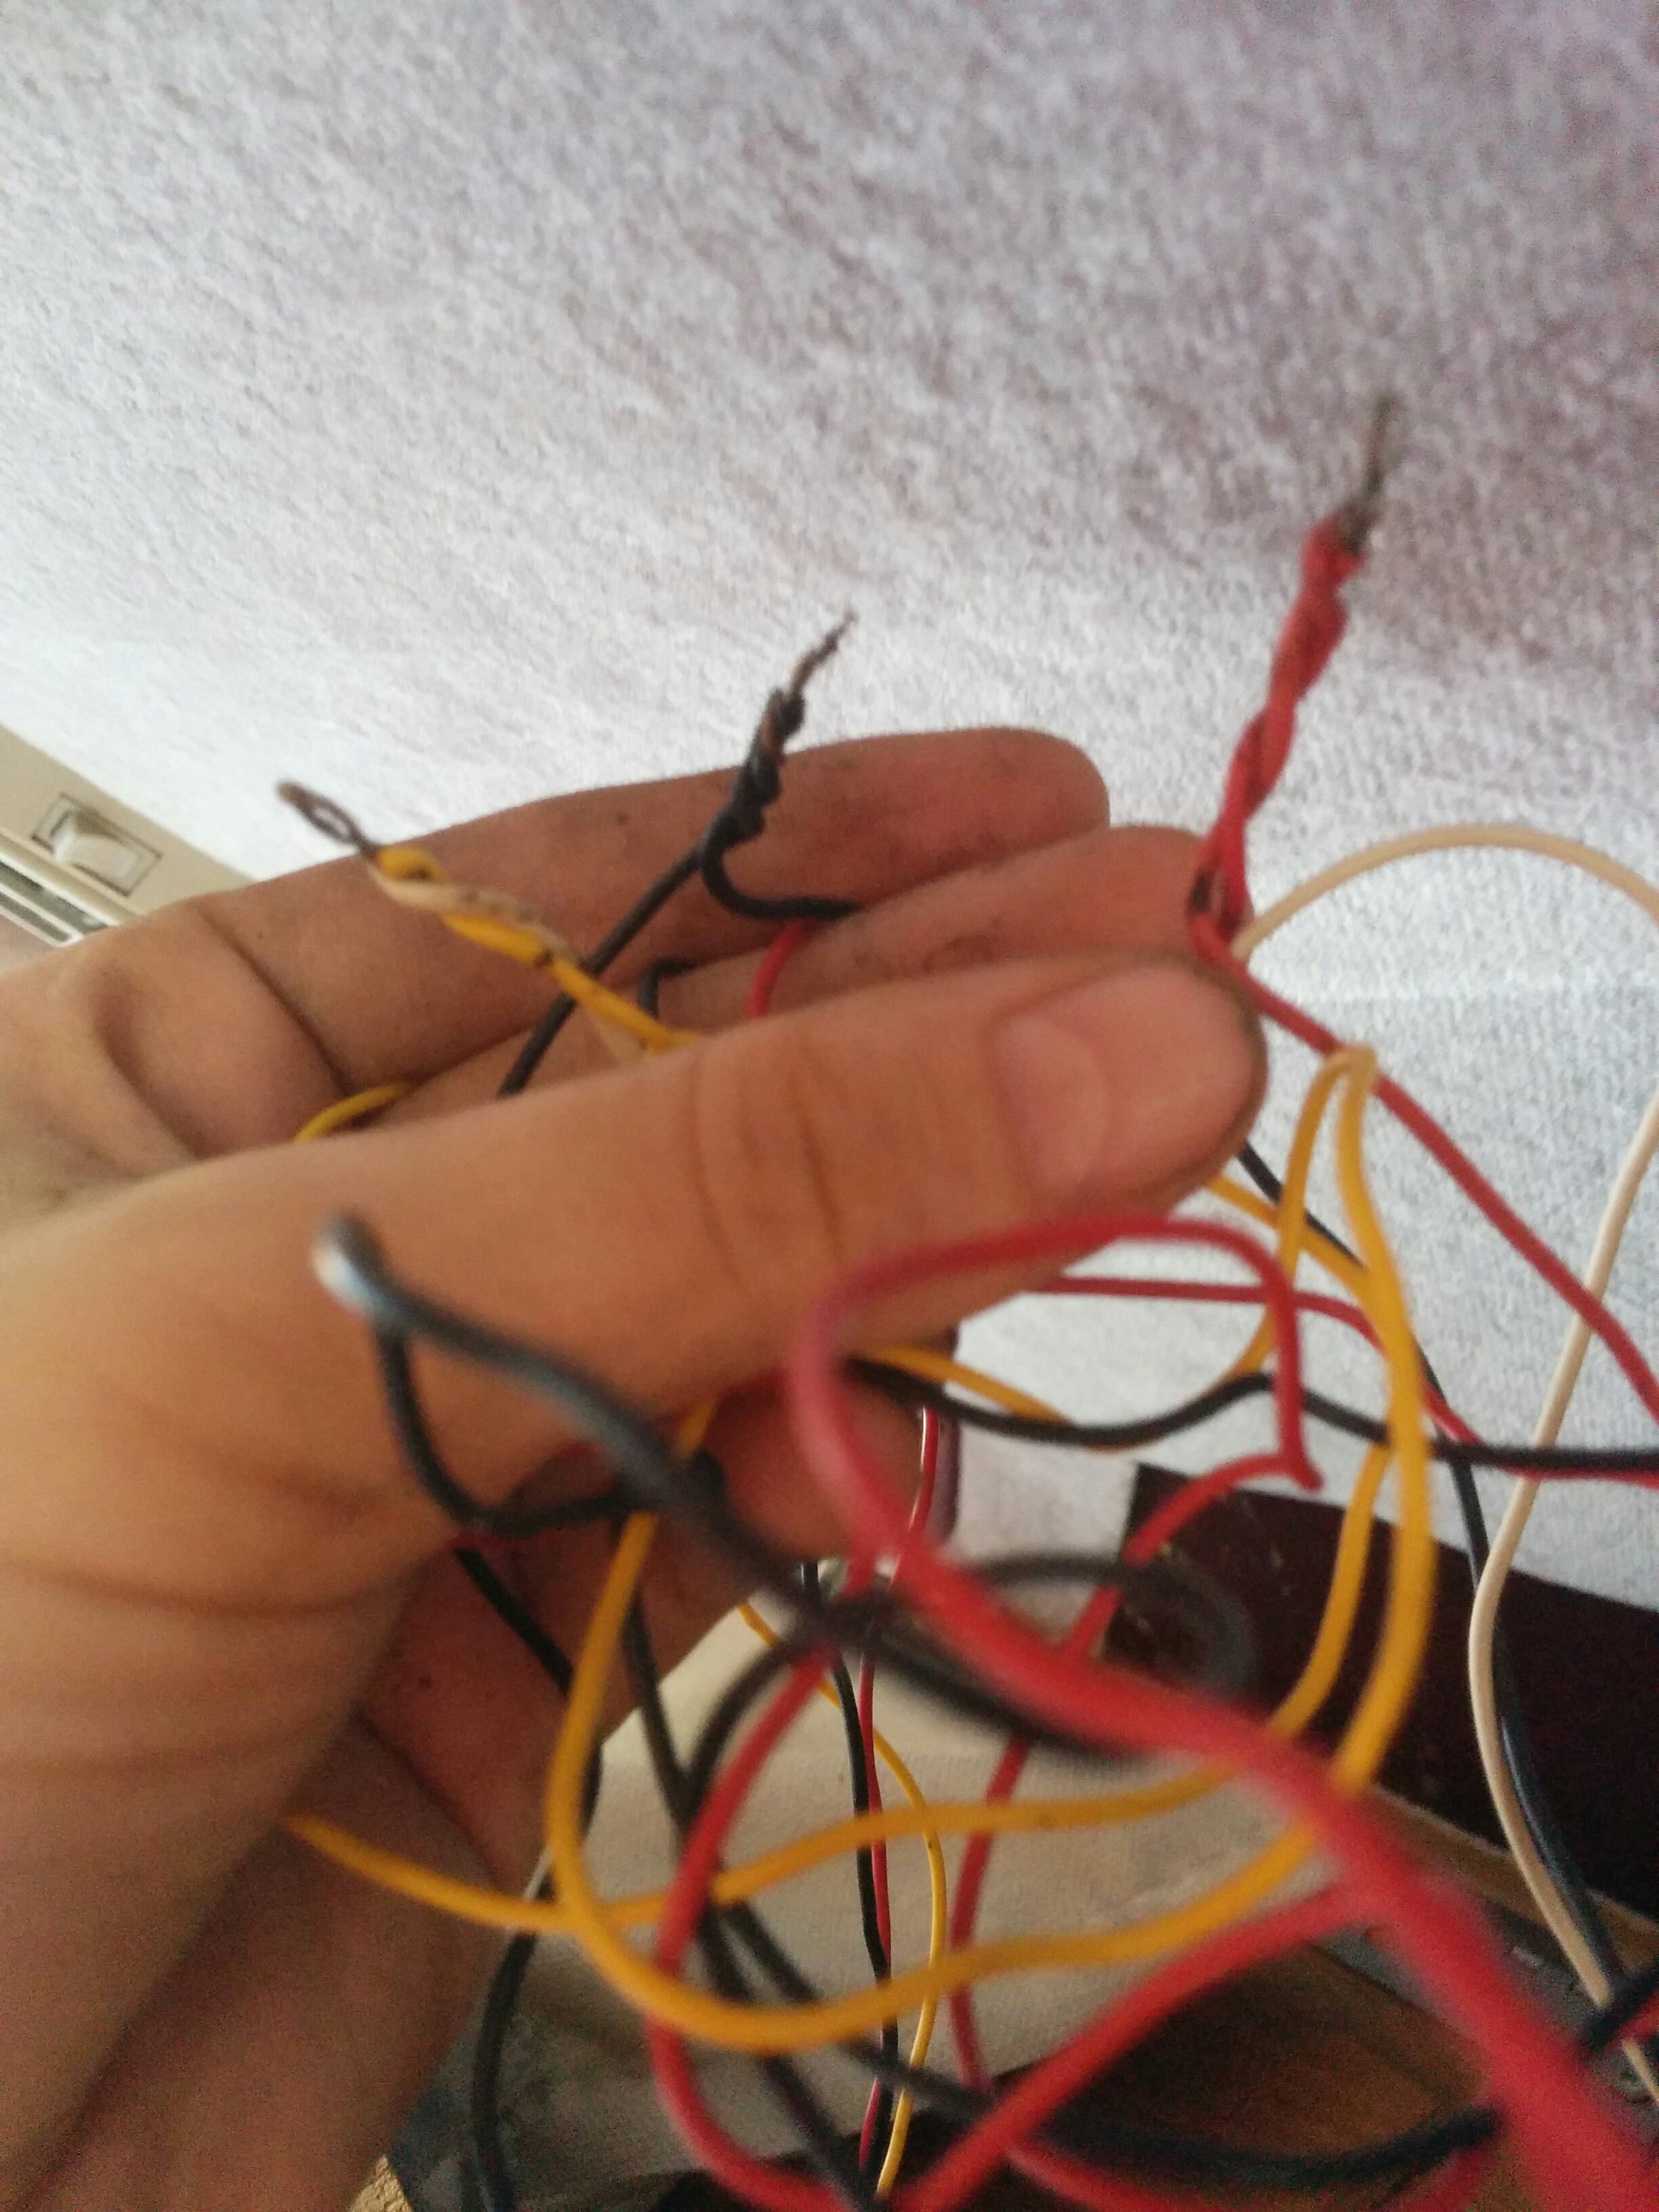
Any time I removed something I uncovered another frothing cable nest. I learned a lot about automotive wiring in the process of slowly and carefully disconnecting everything. (Especially as I needed to NOT disconnect things like the tail lights or the power locks…)
All of these added wires added up quickly, especially since they had put control switches anywhere they thought you might want them.
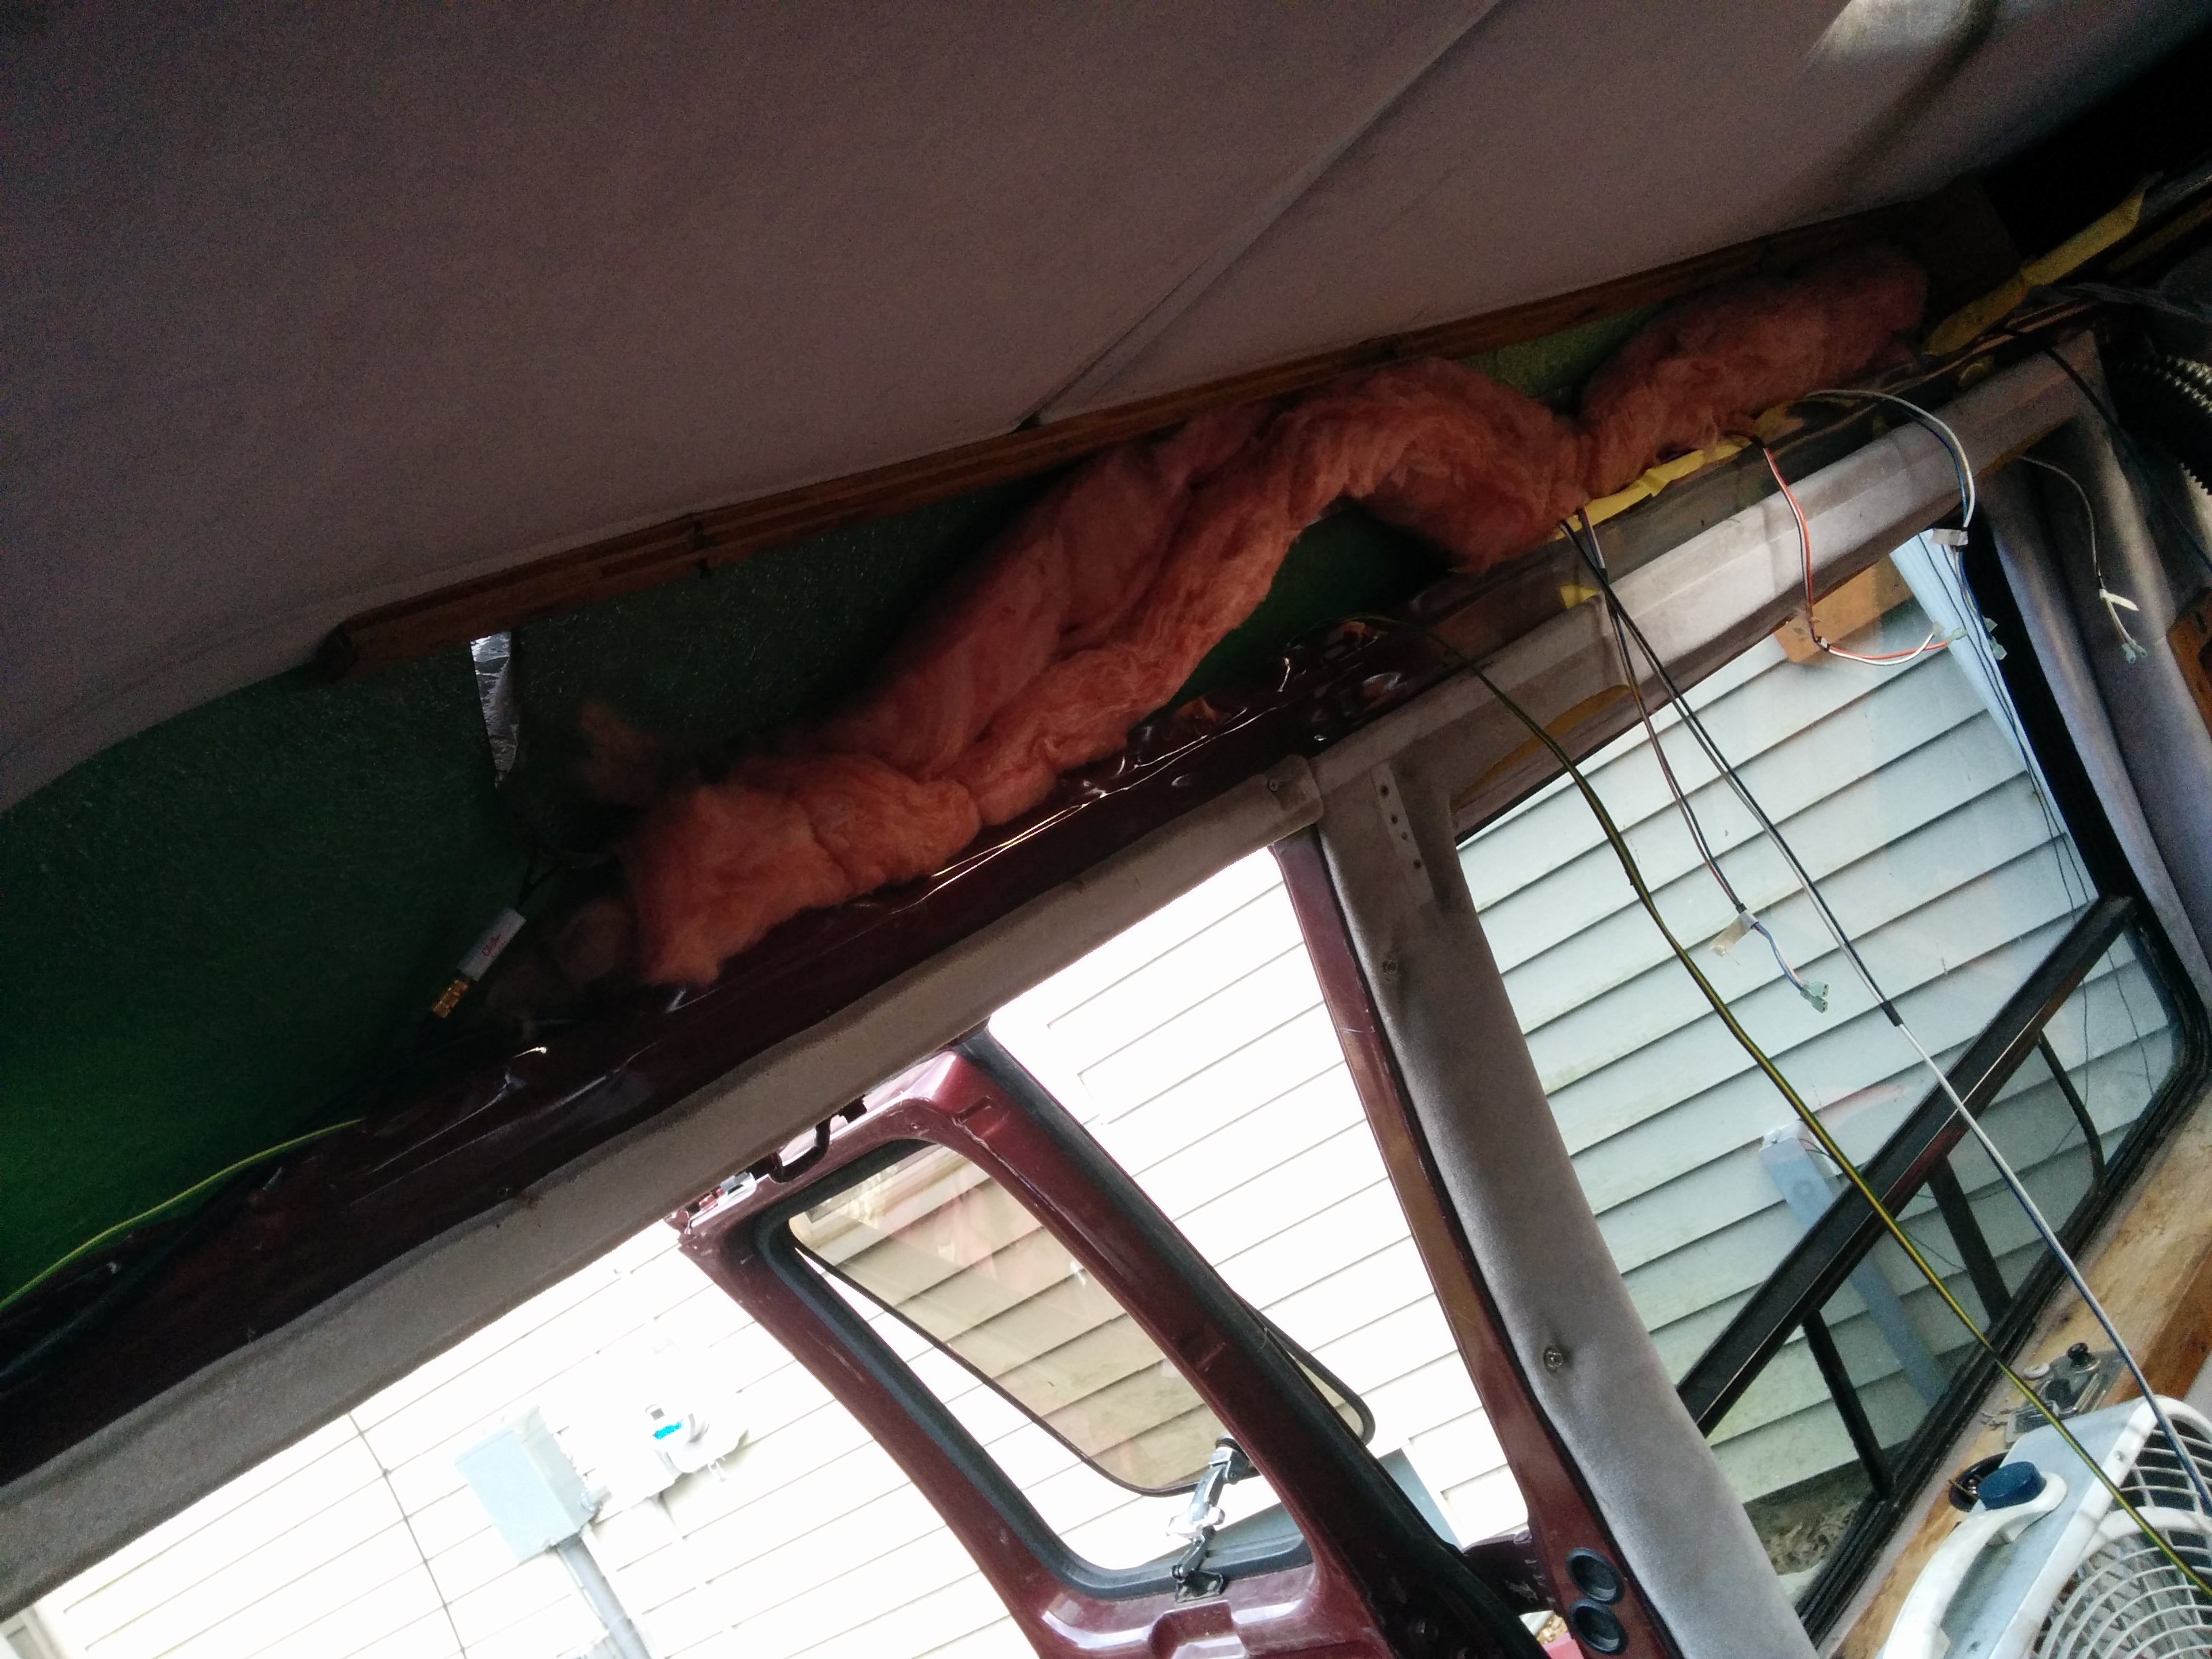
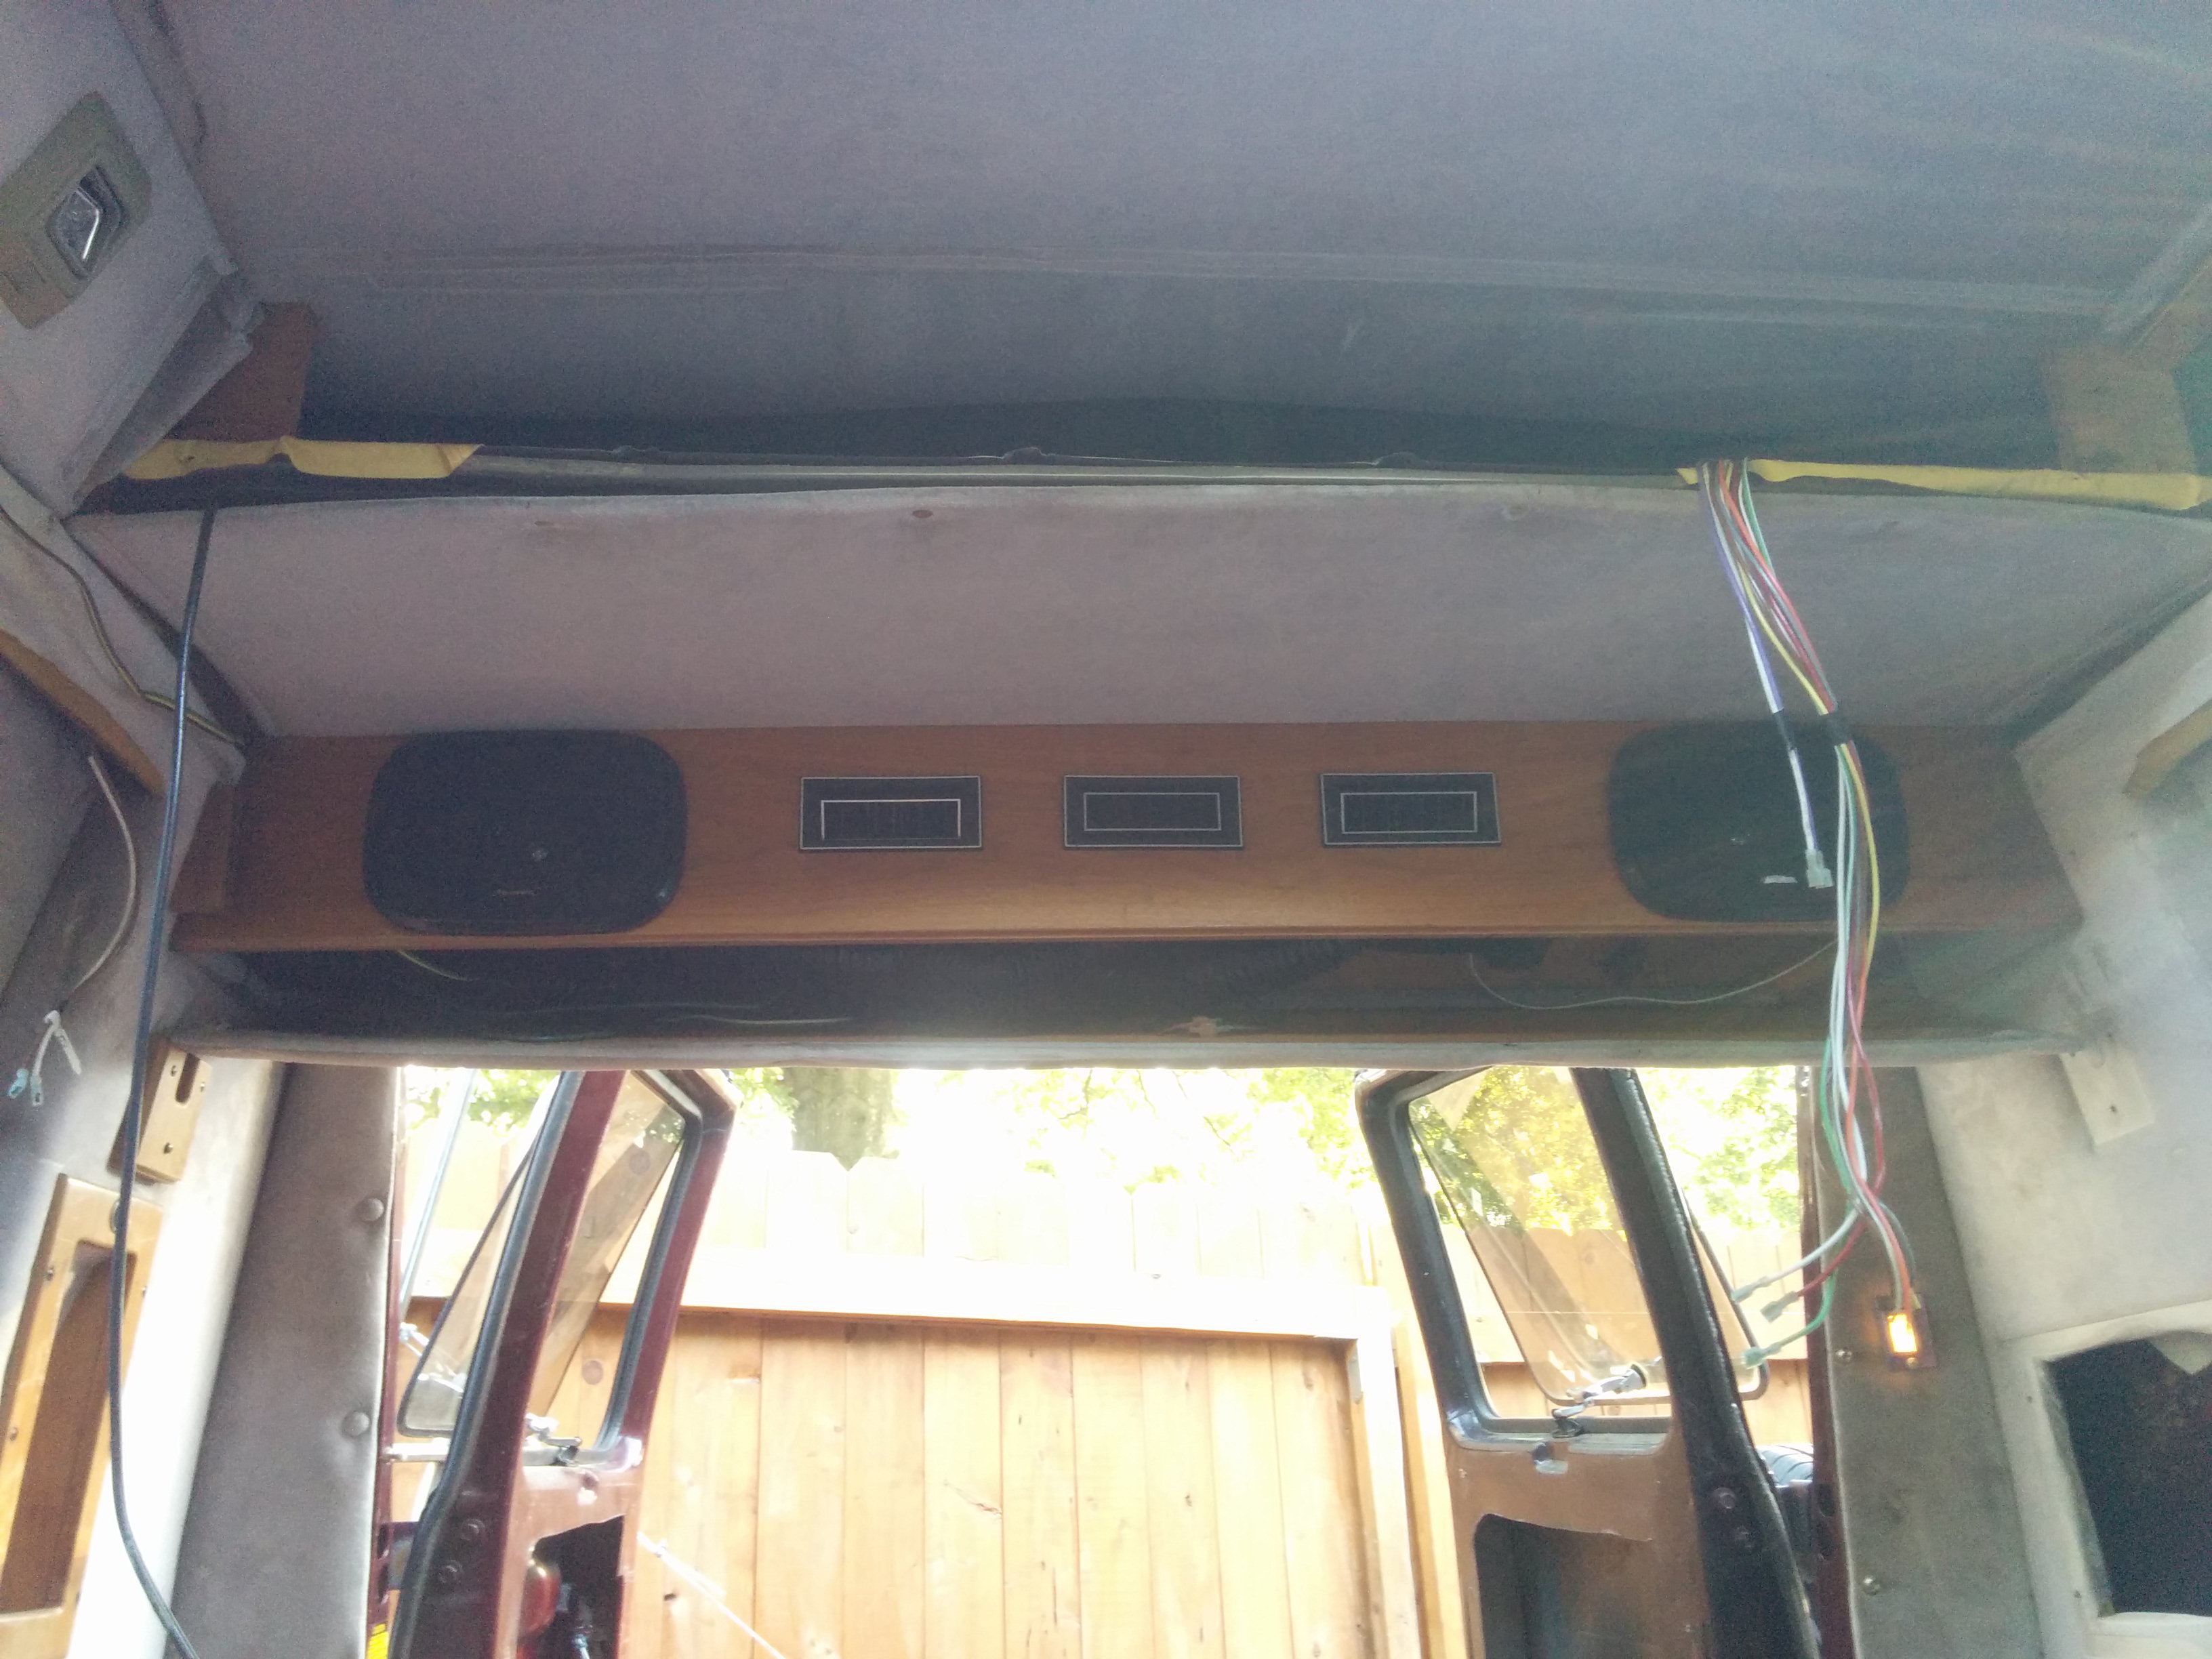
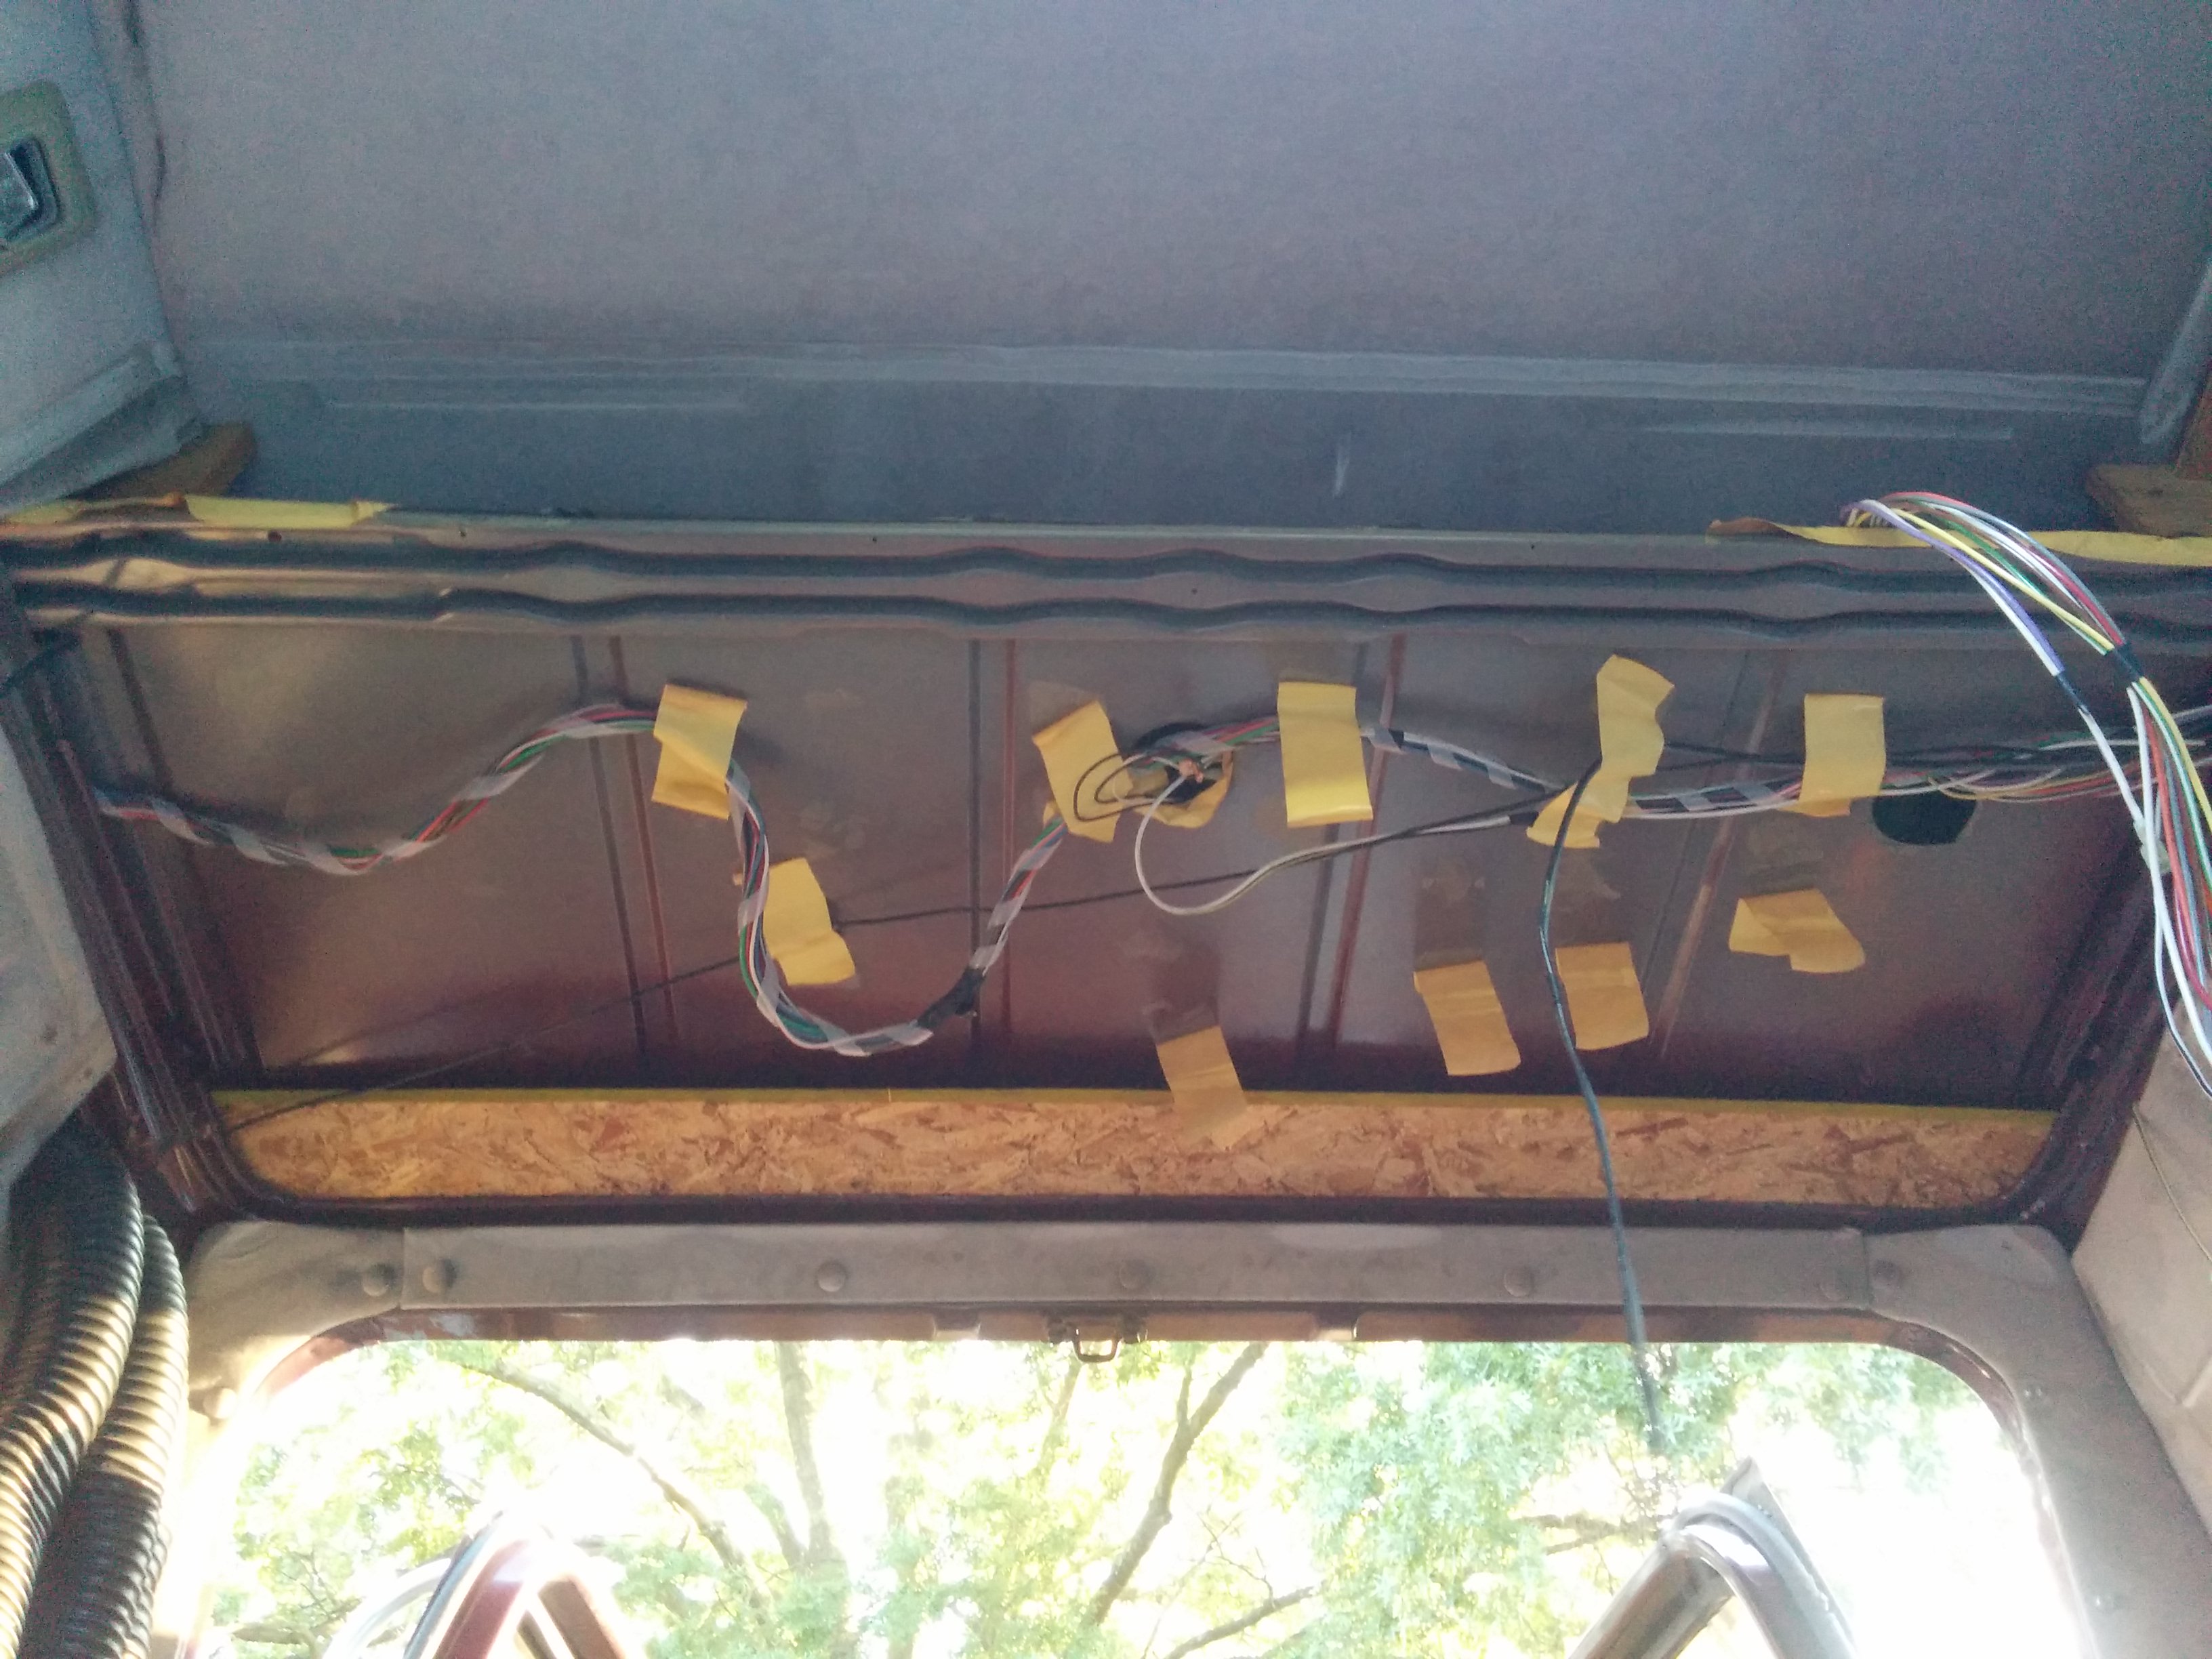
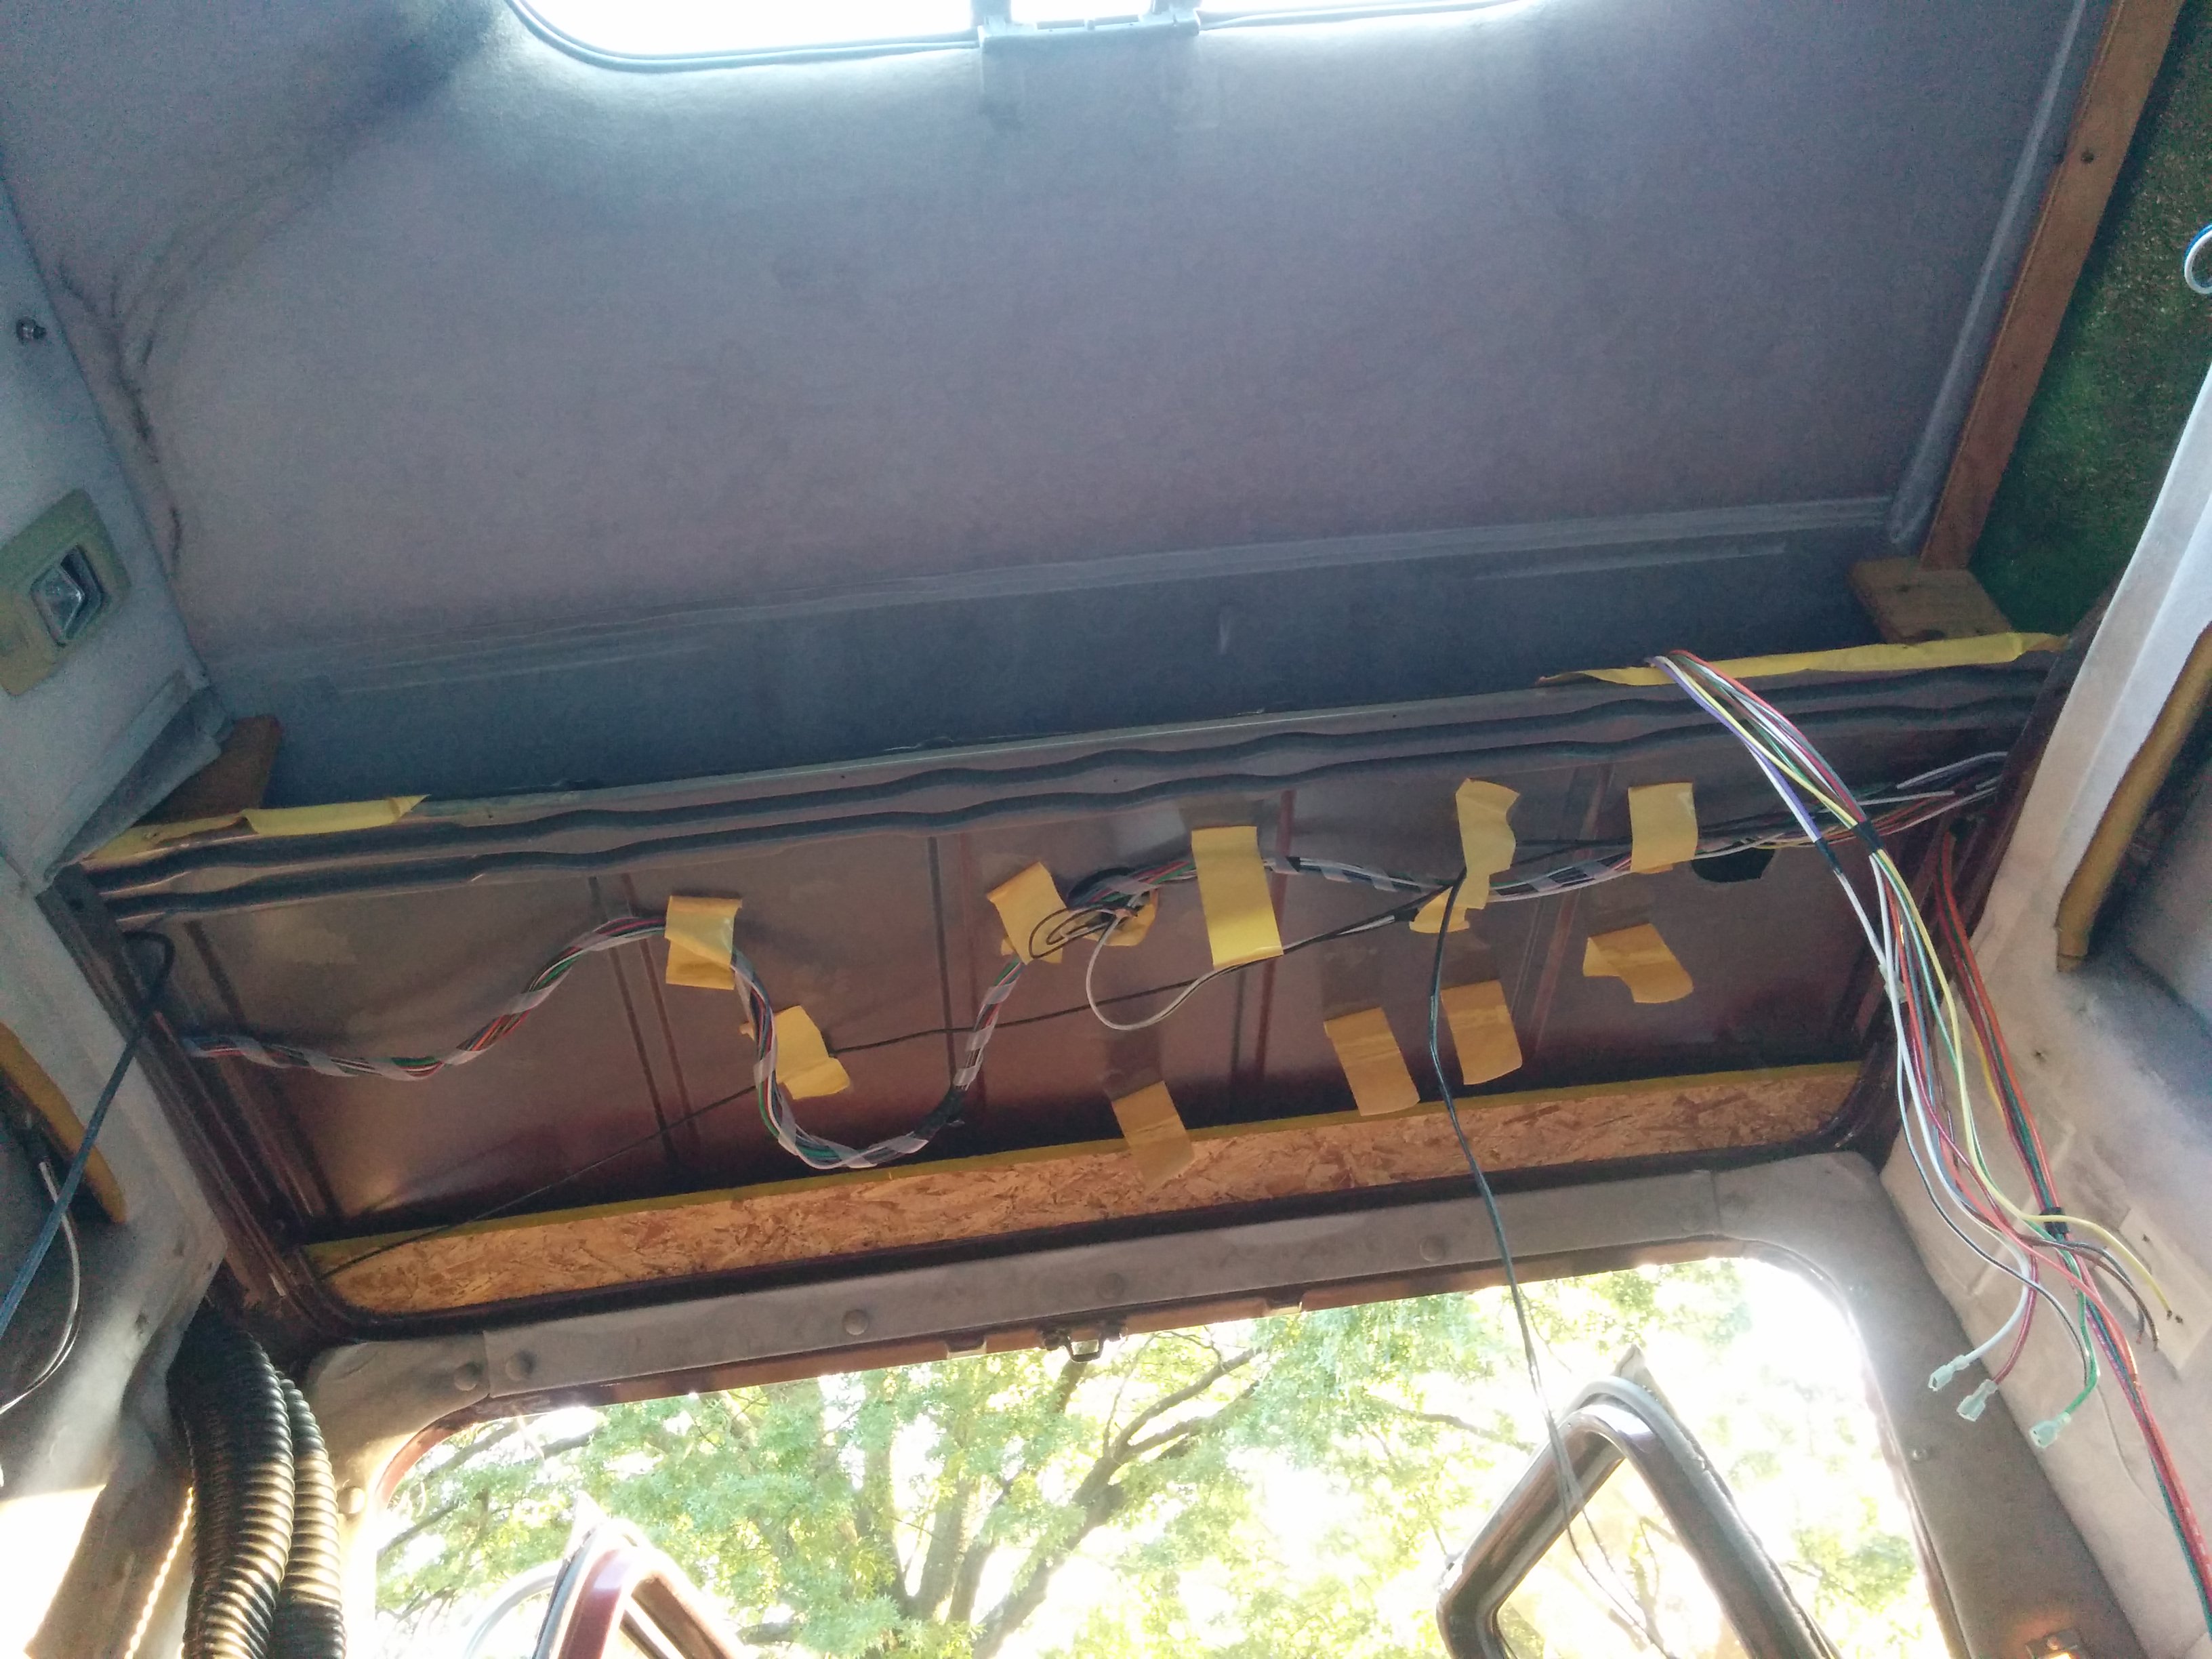
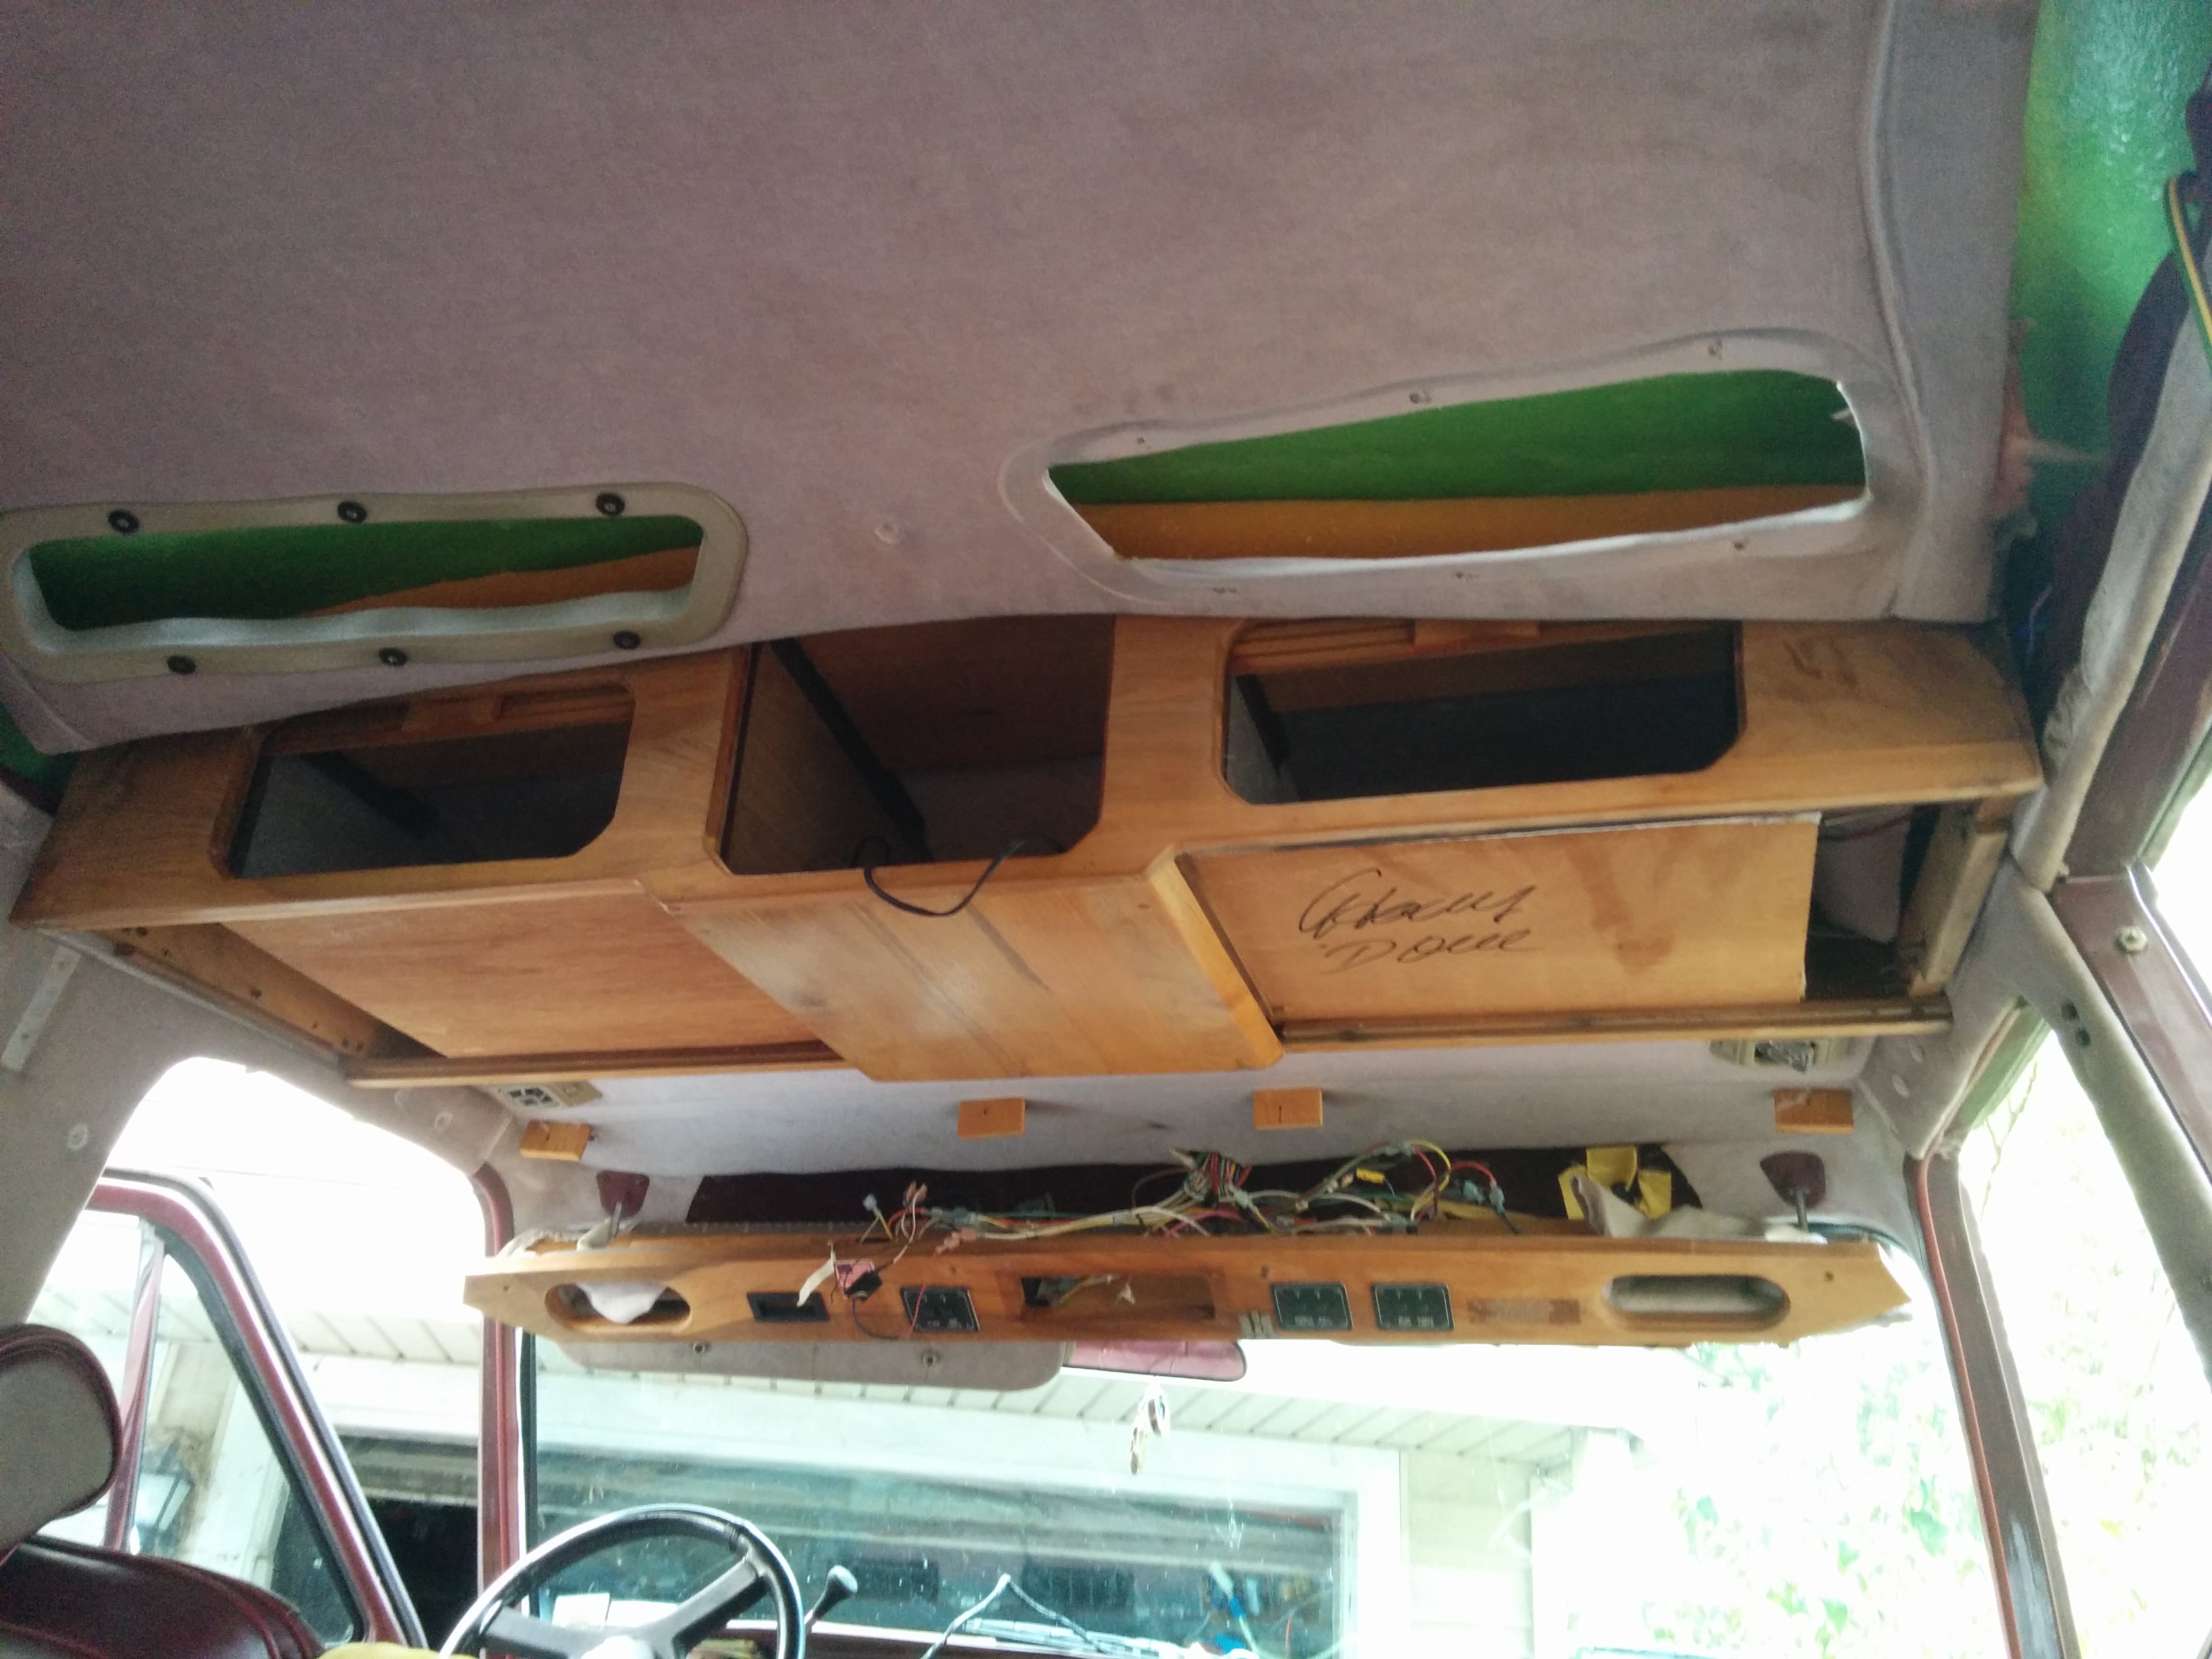
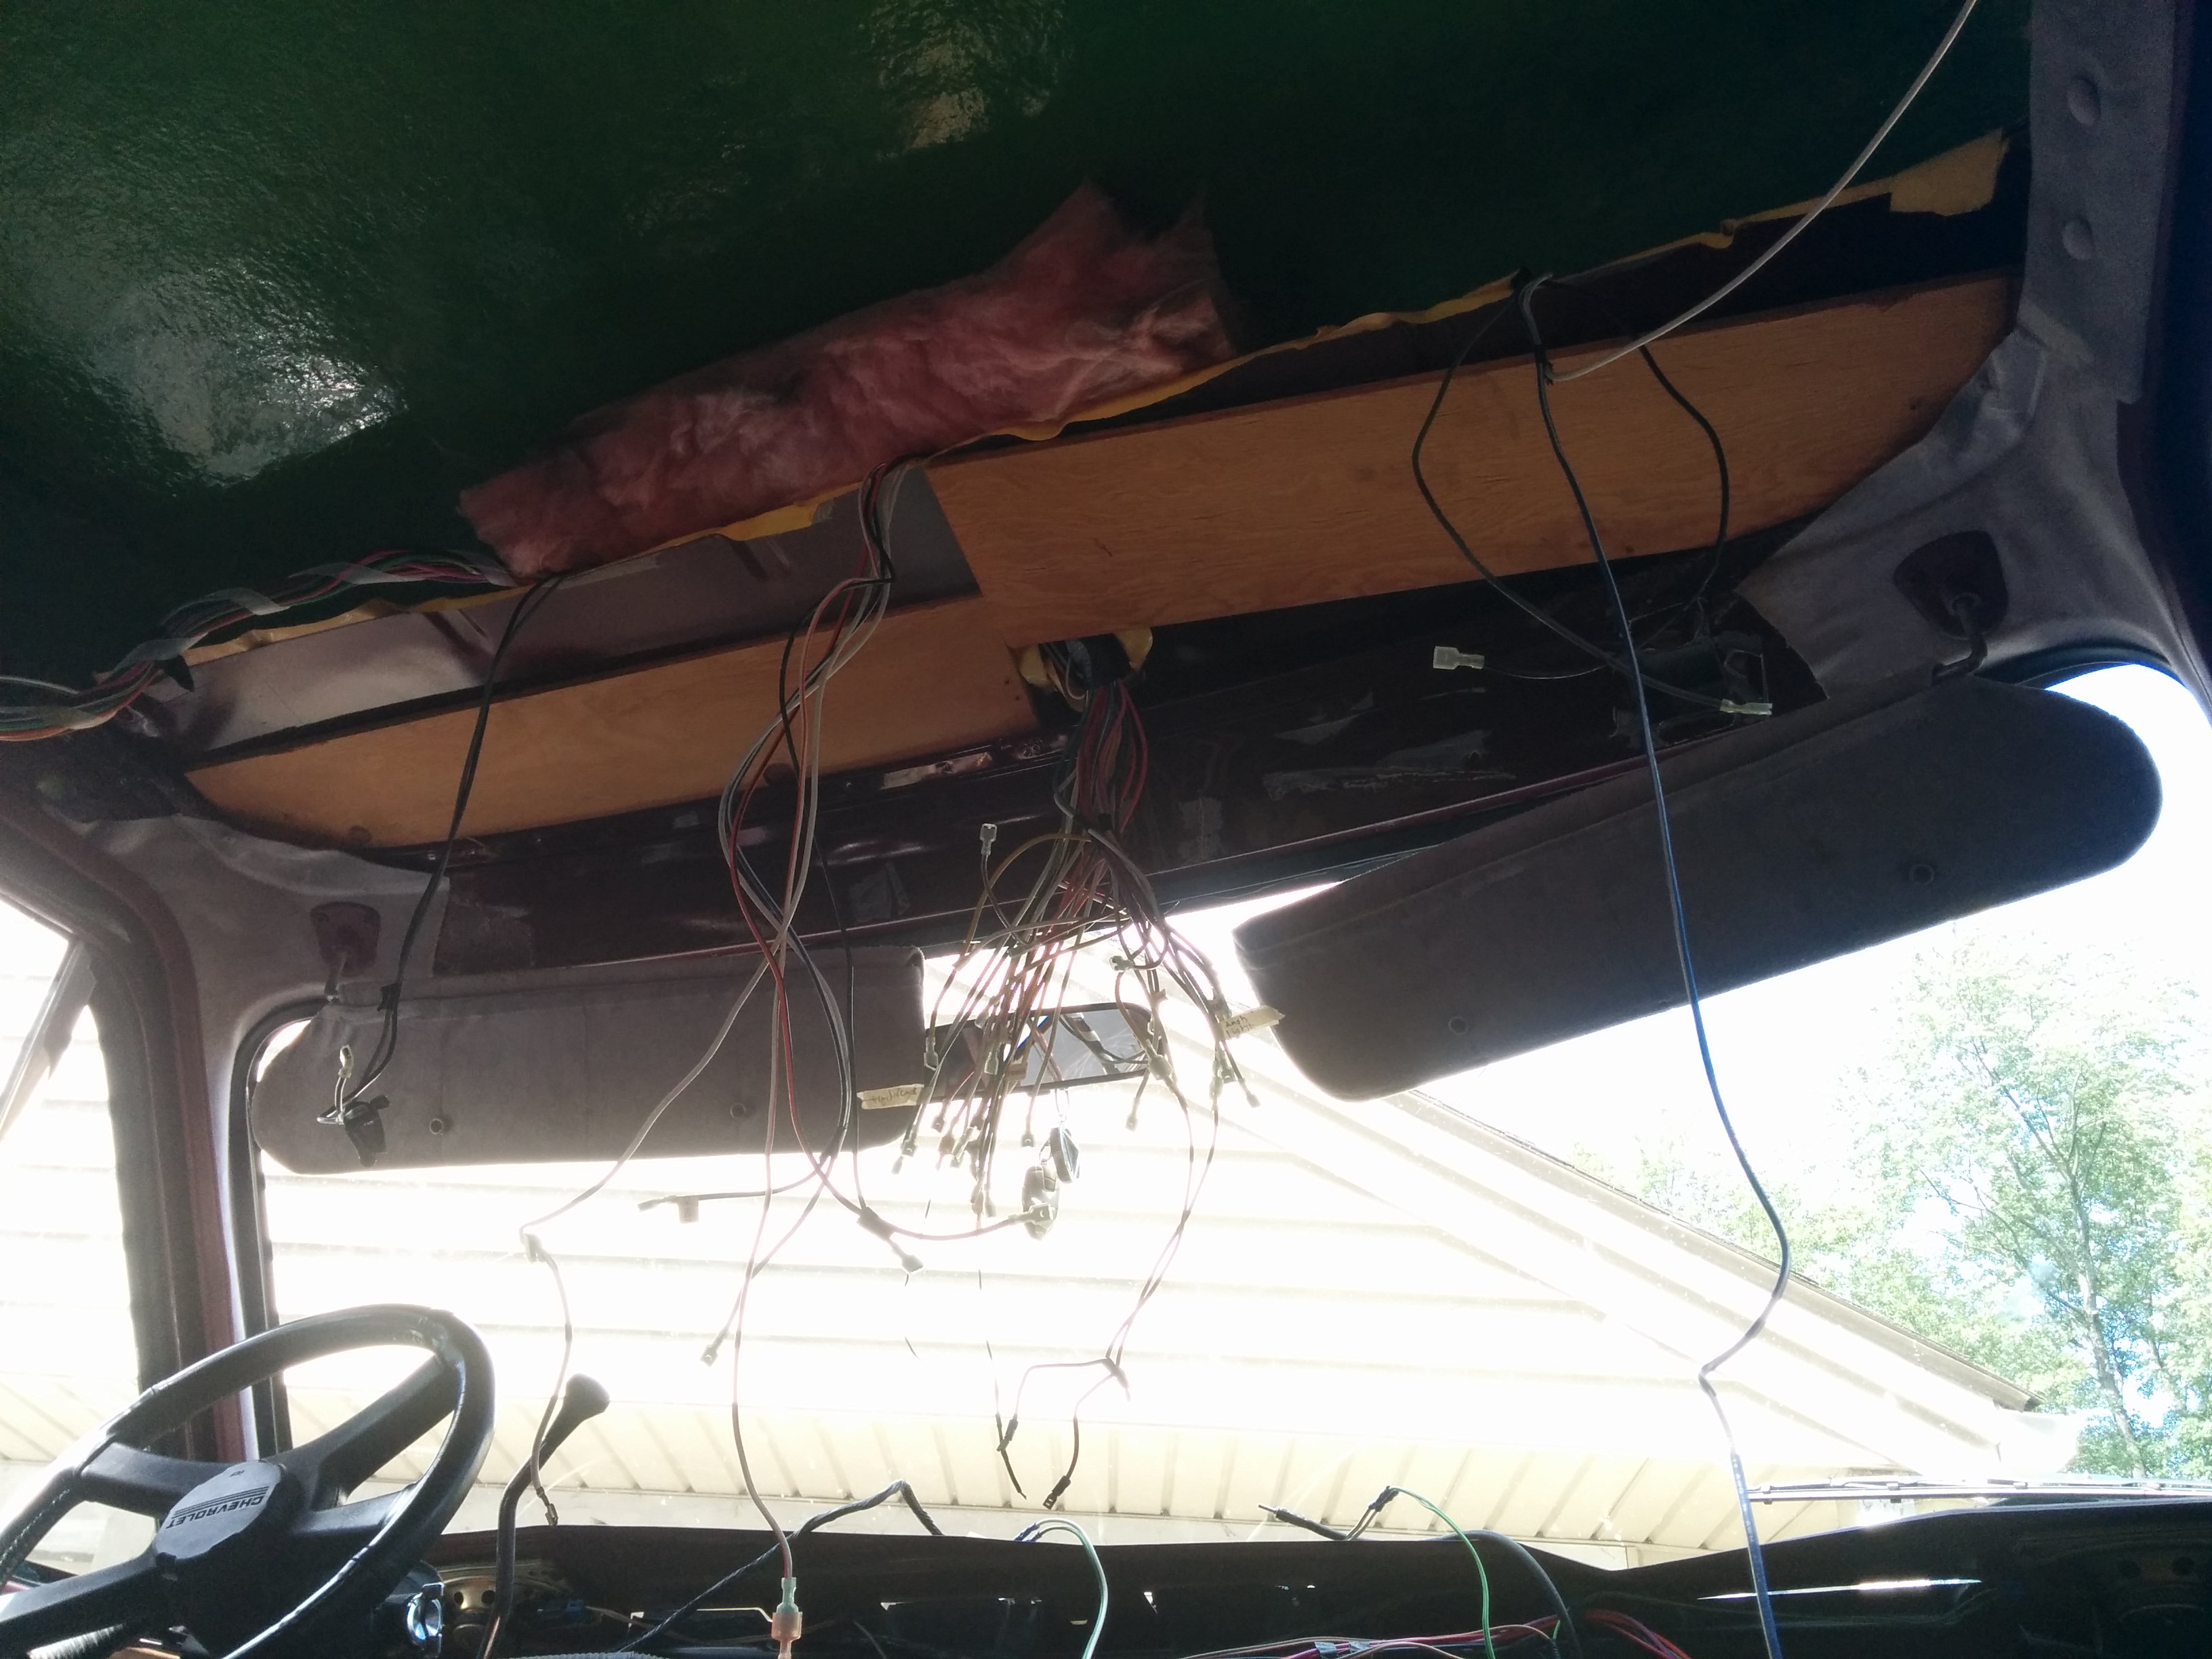
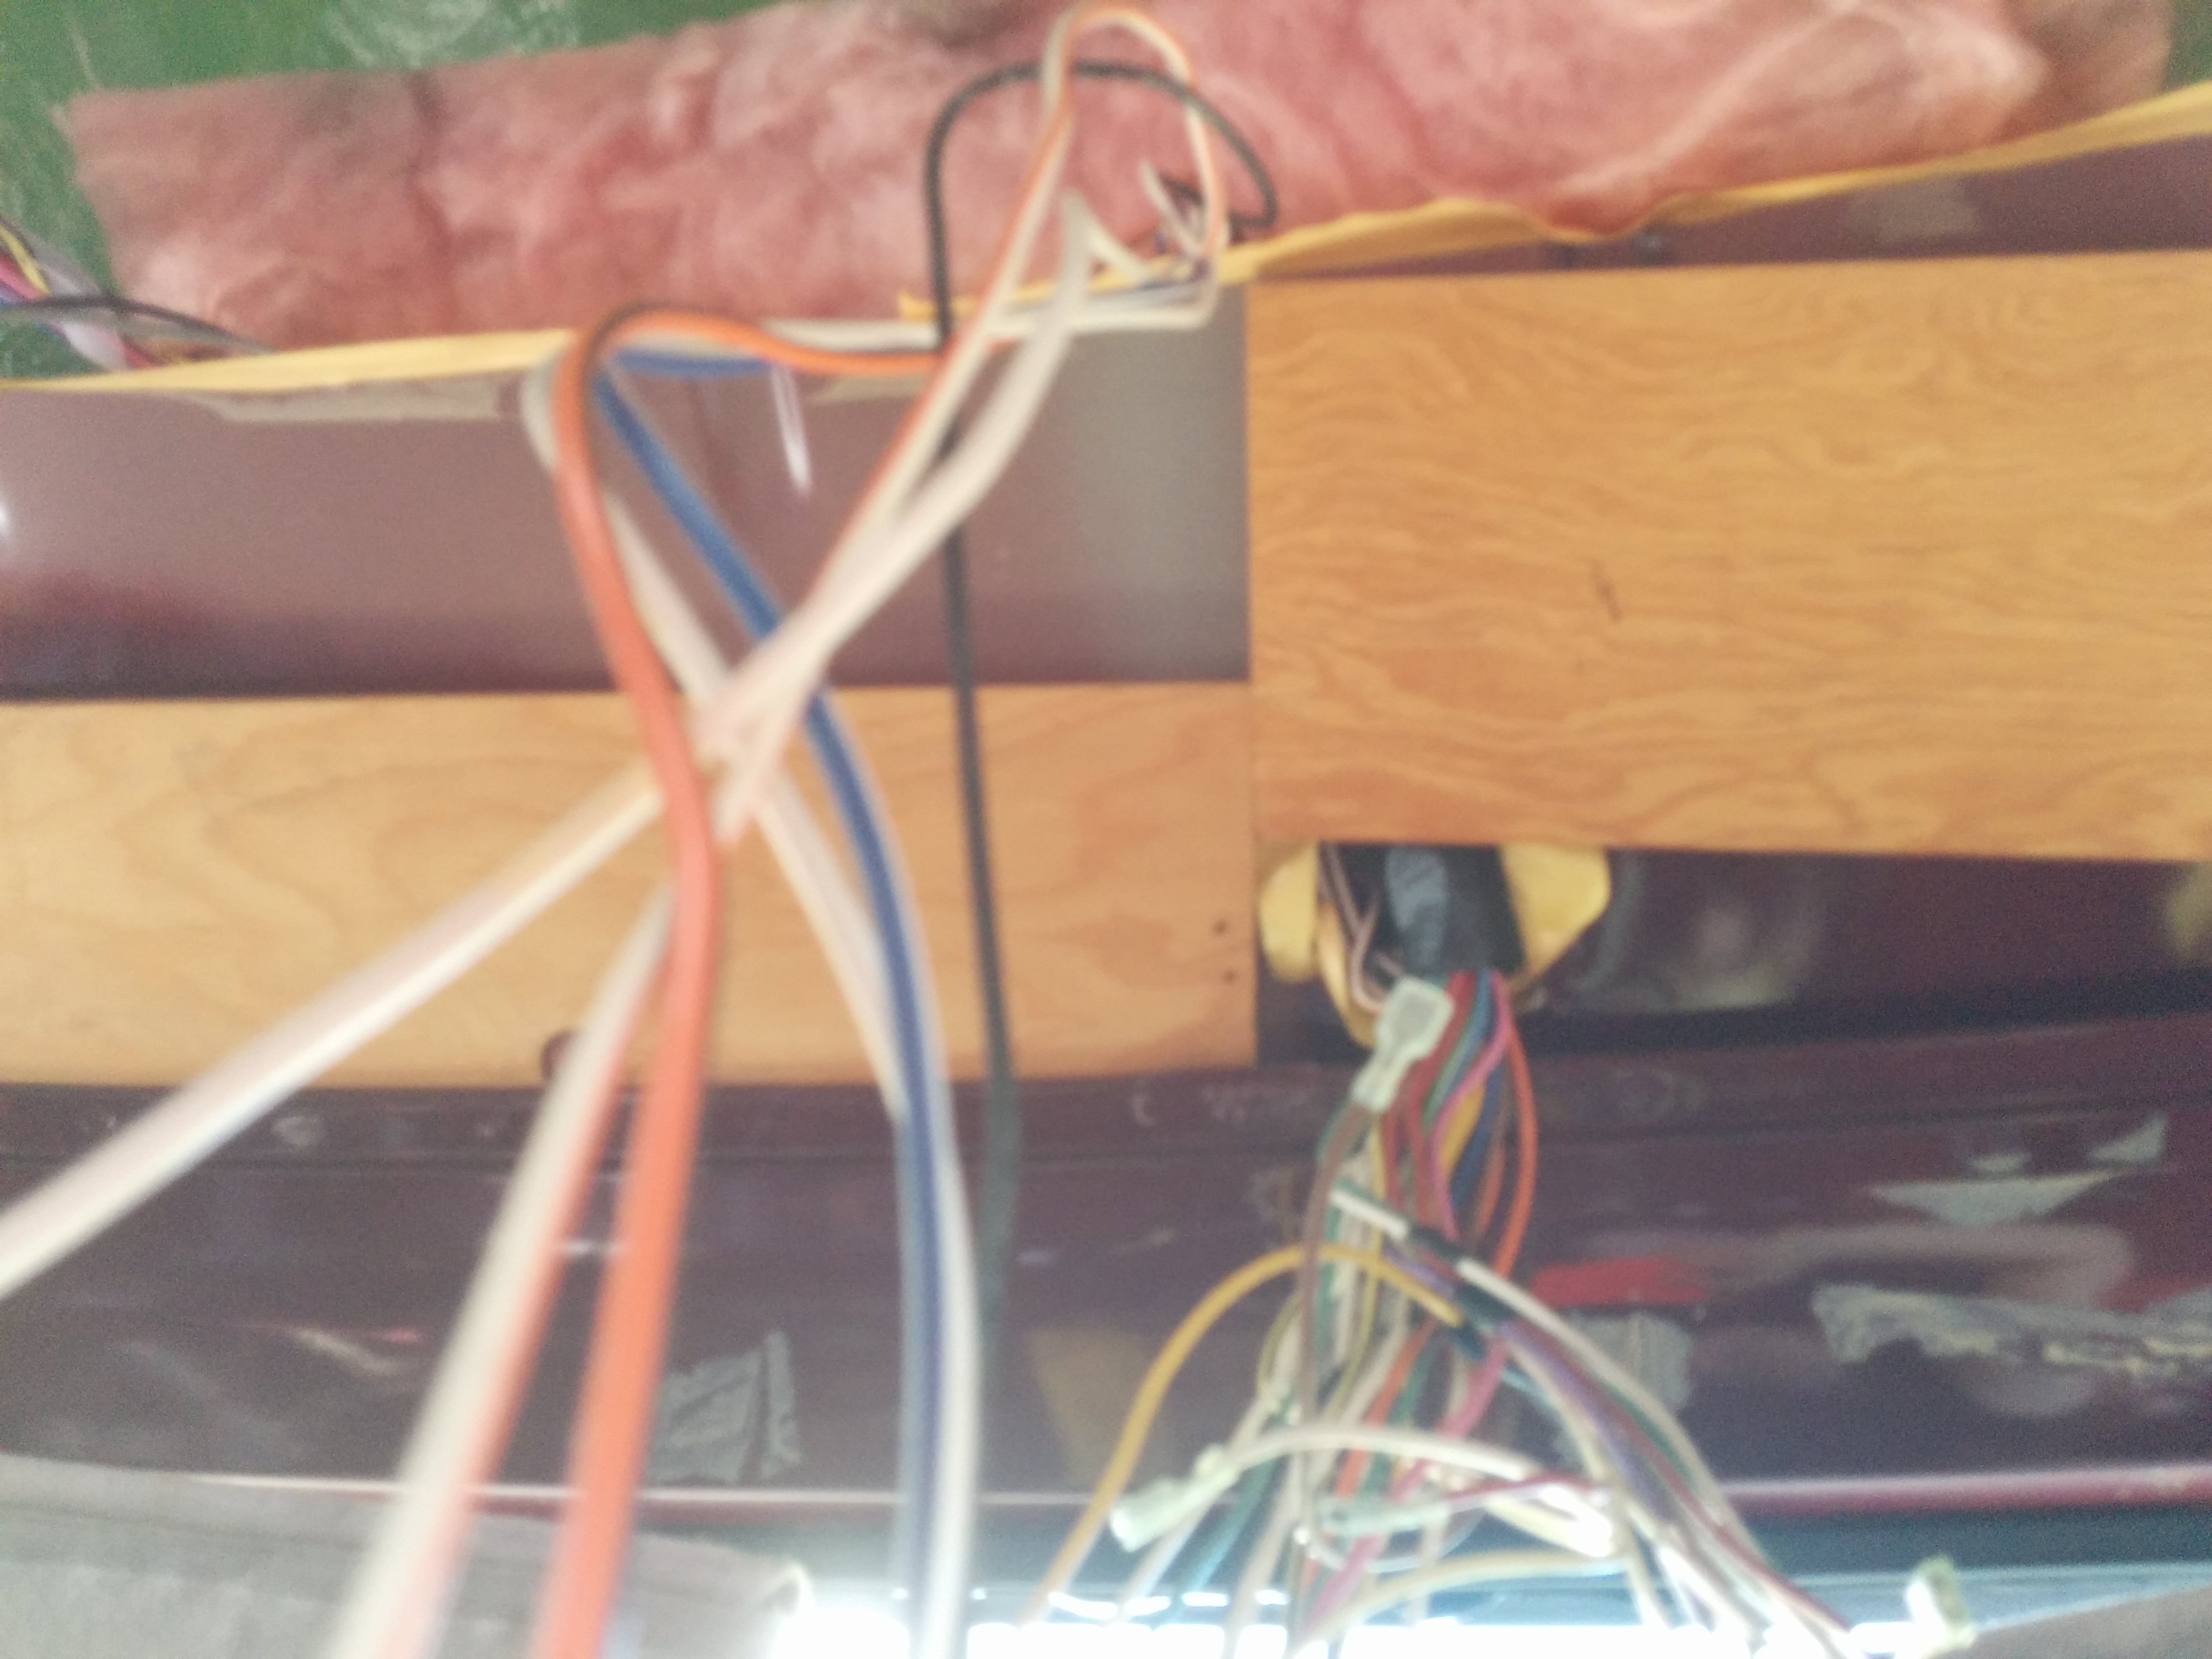
After detaching the the sides, I followed the cable highways towards the back of the van.
This top layer actually rested on what was left of the original van roof.
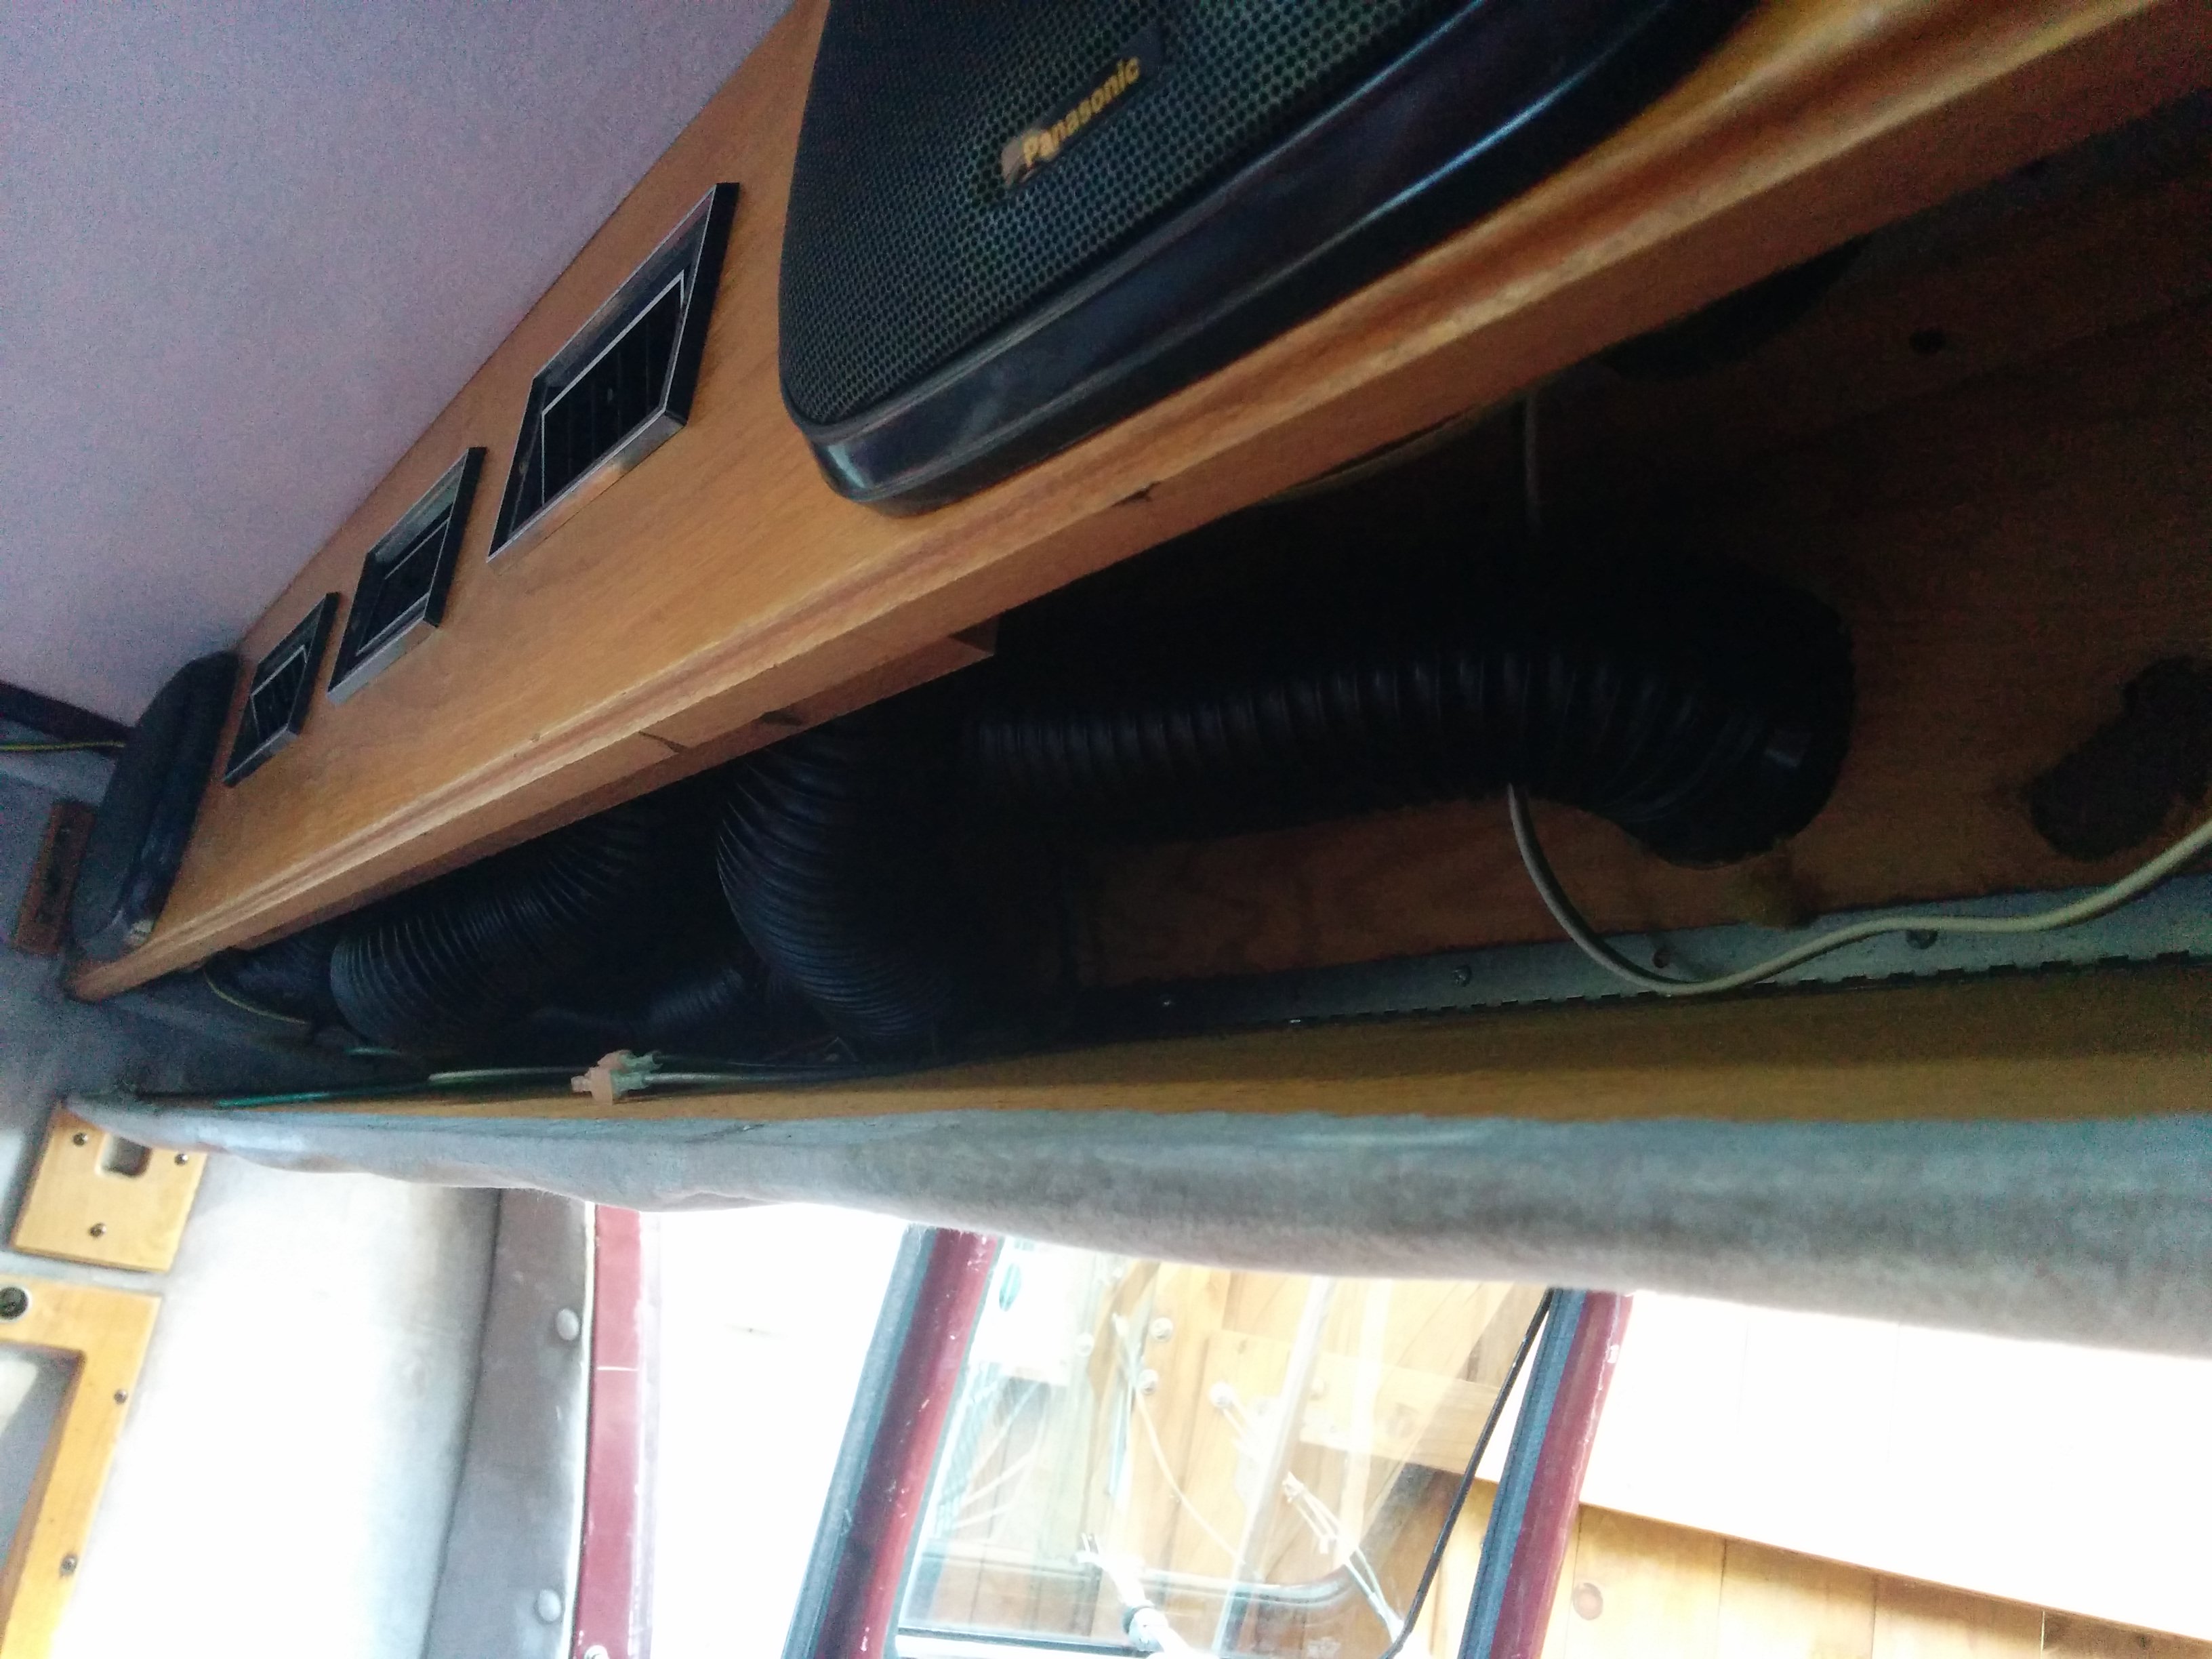

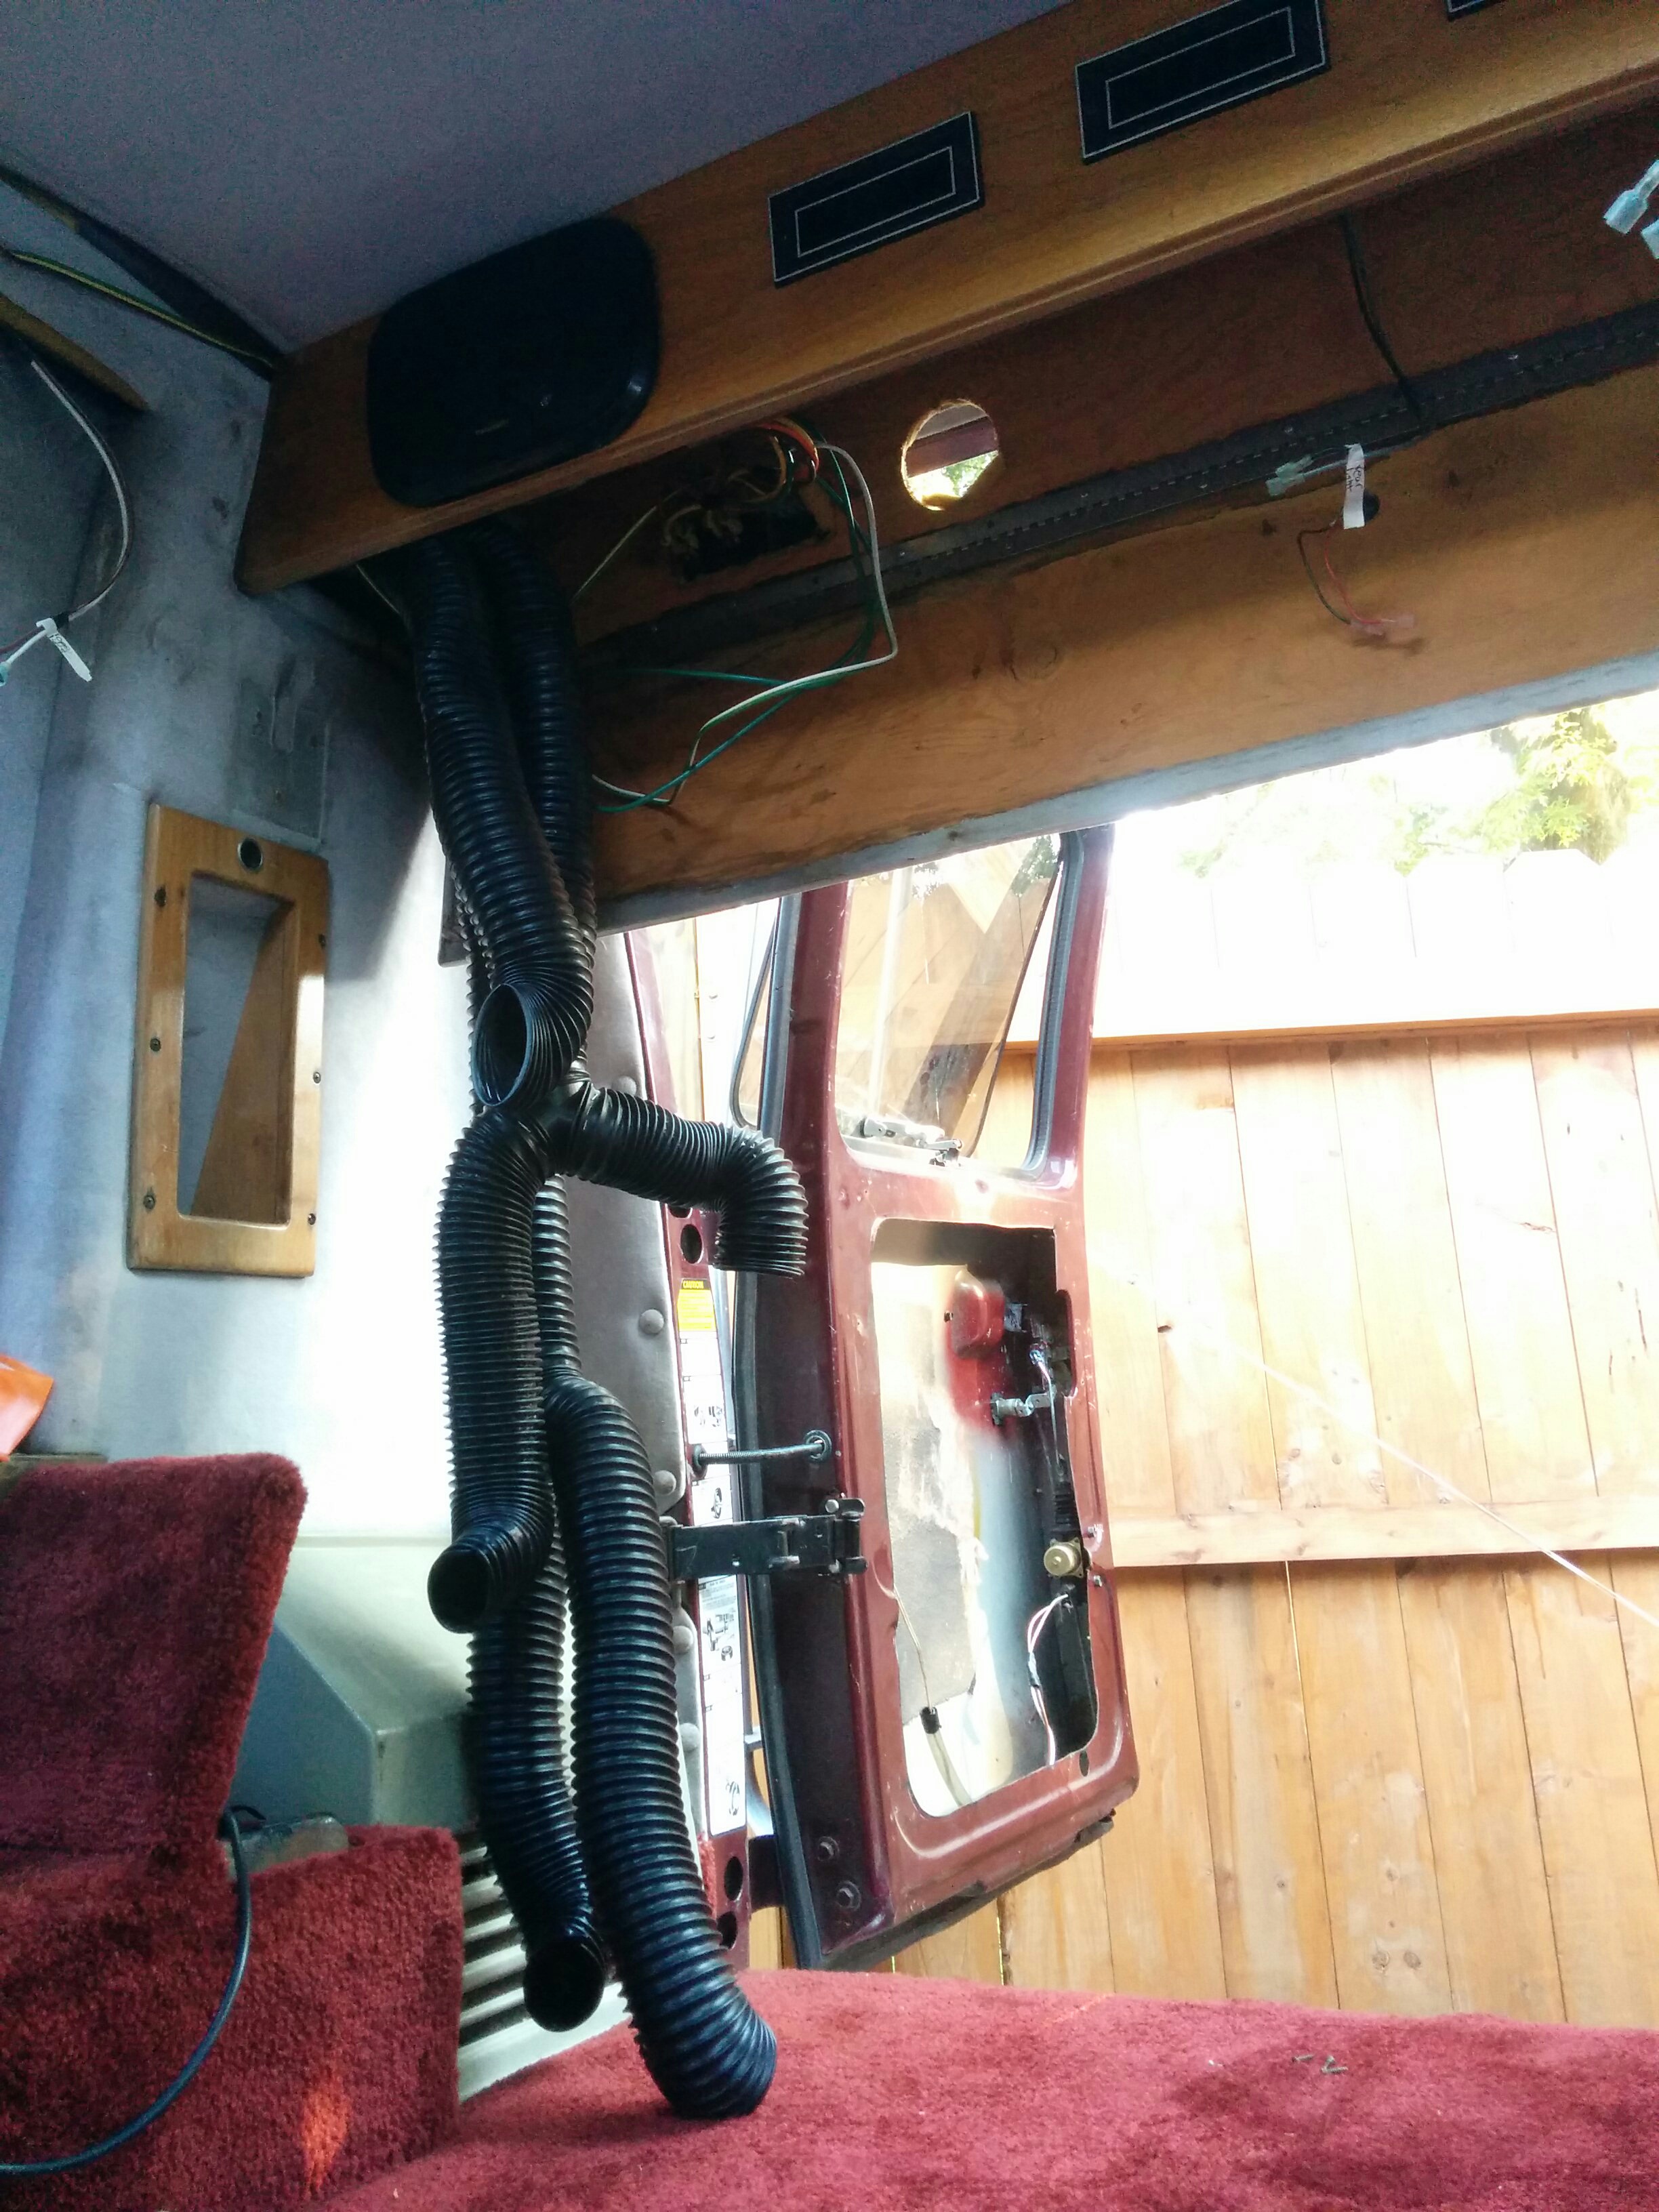
When I detached the back shelf, I uncovered an enormous quantity of duct hose.
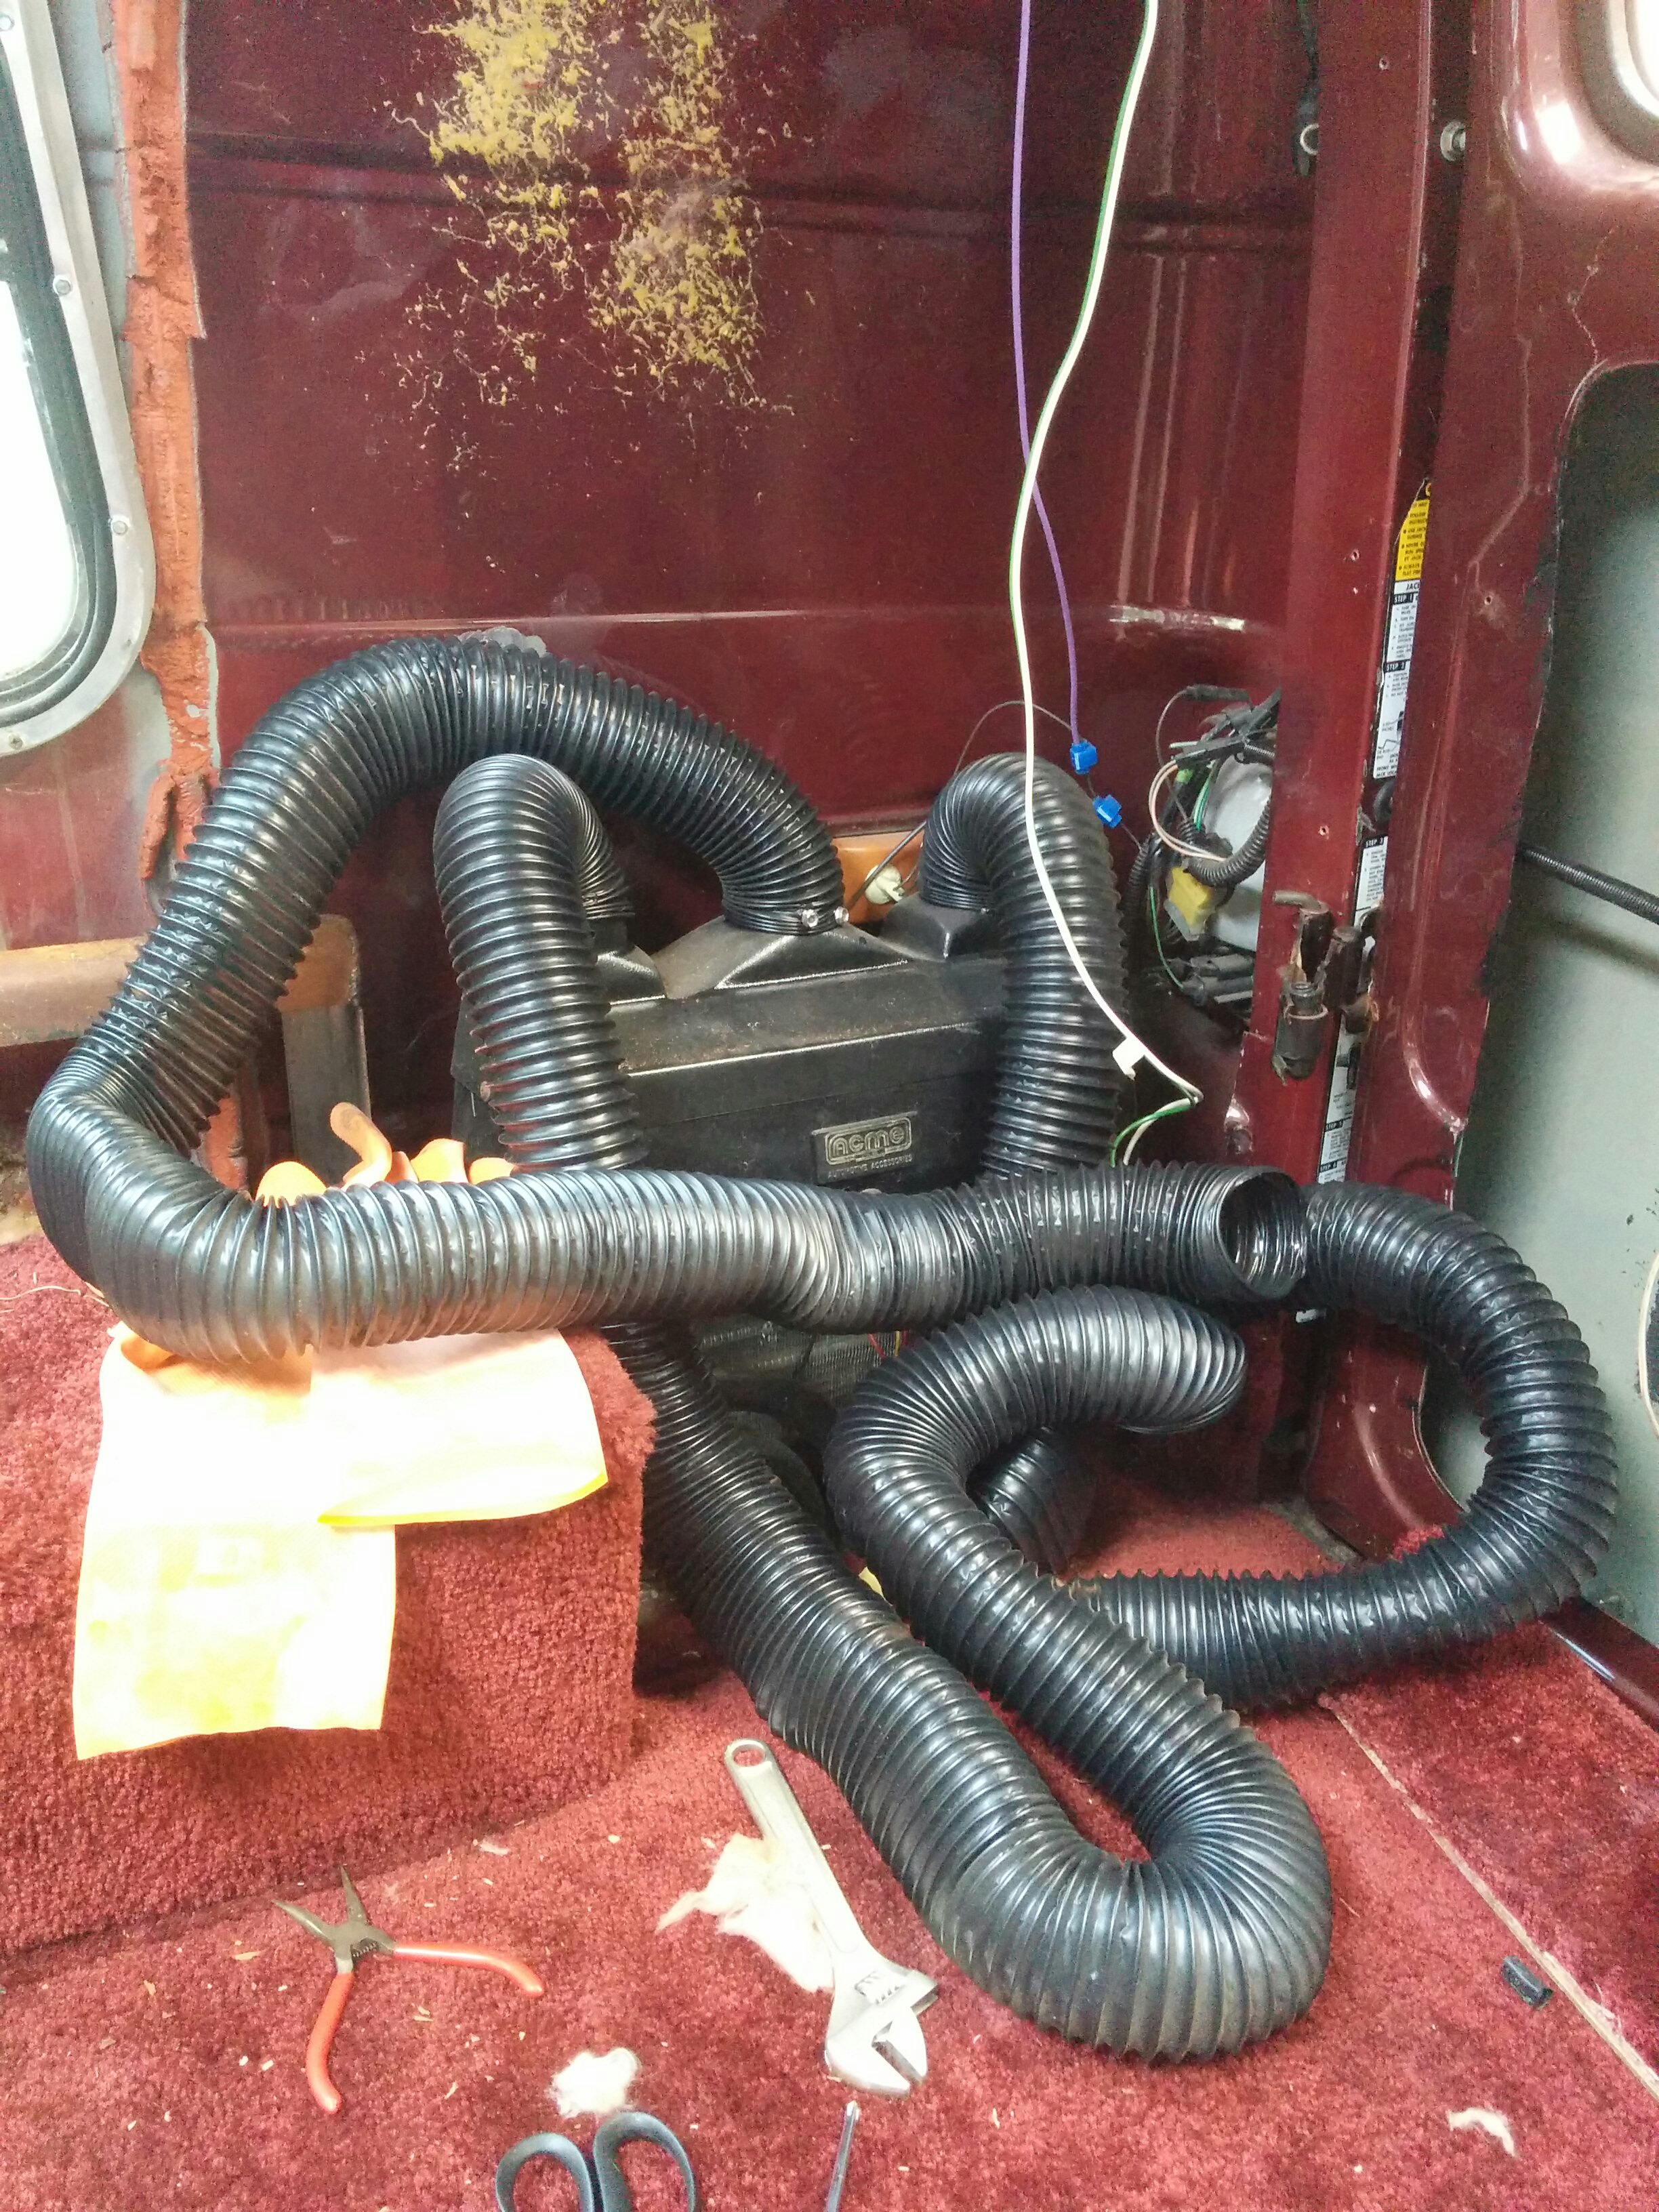
They all connected to a (non-functional) second ac unit dedicated to cooling the rear passengers.
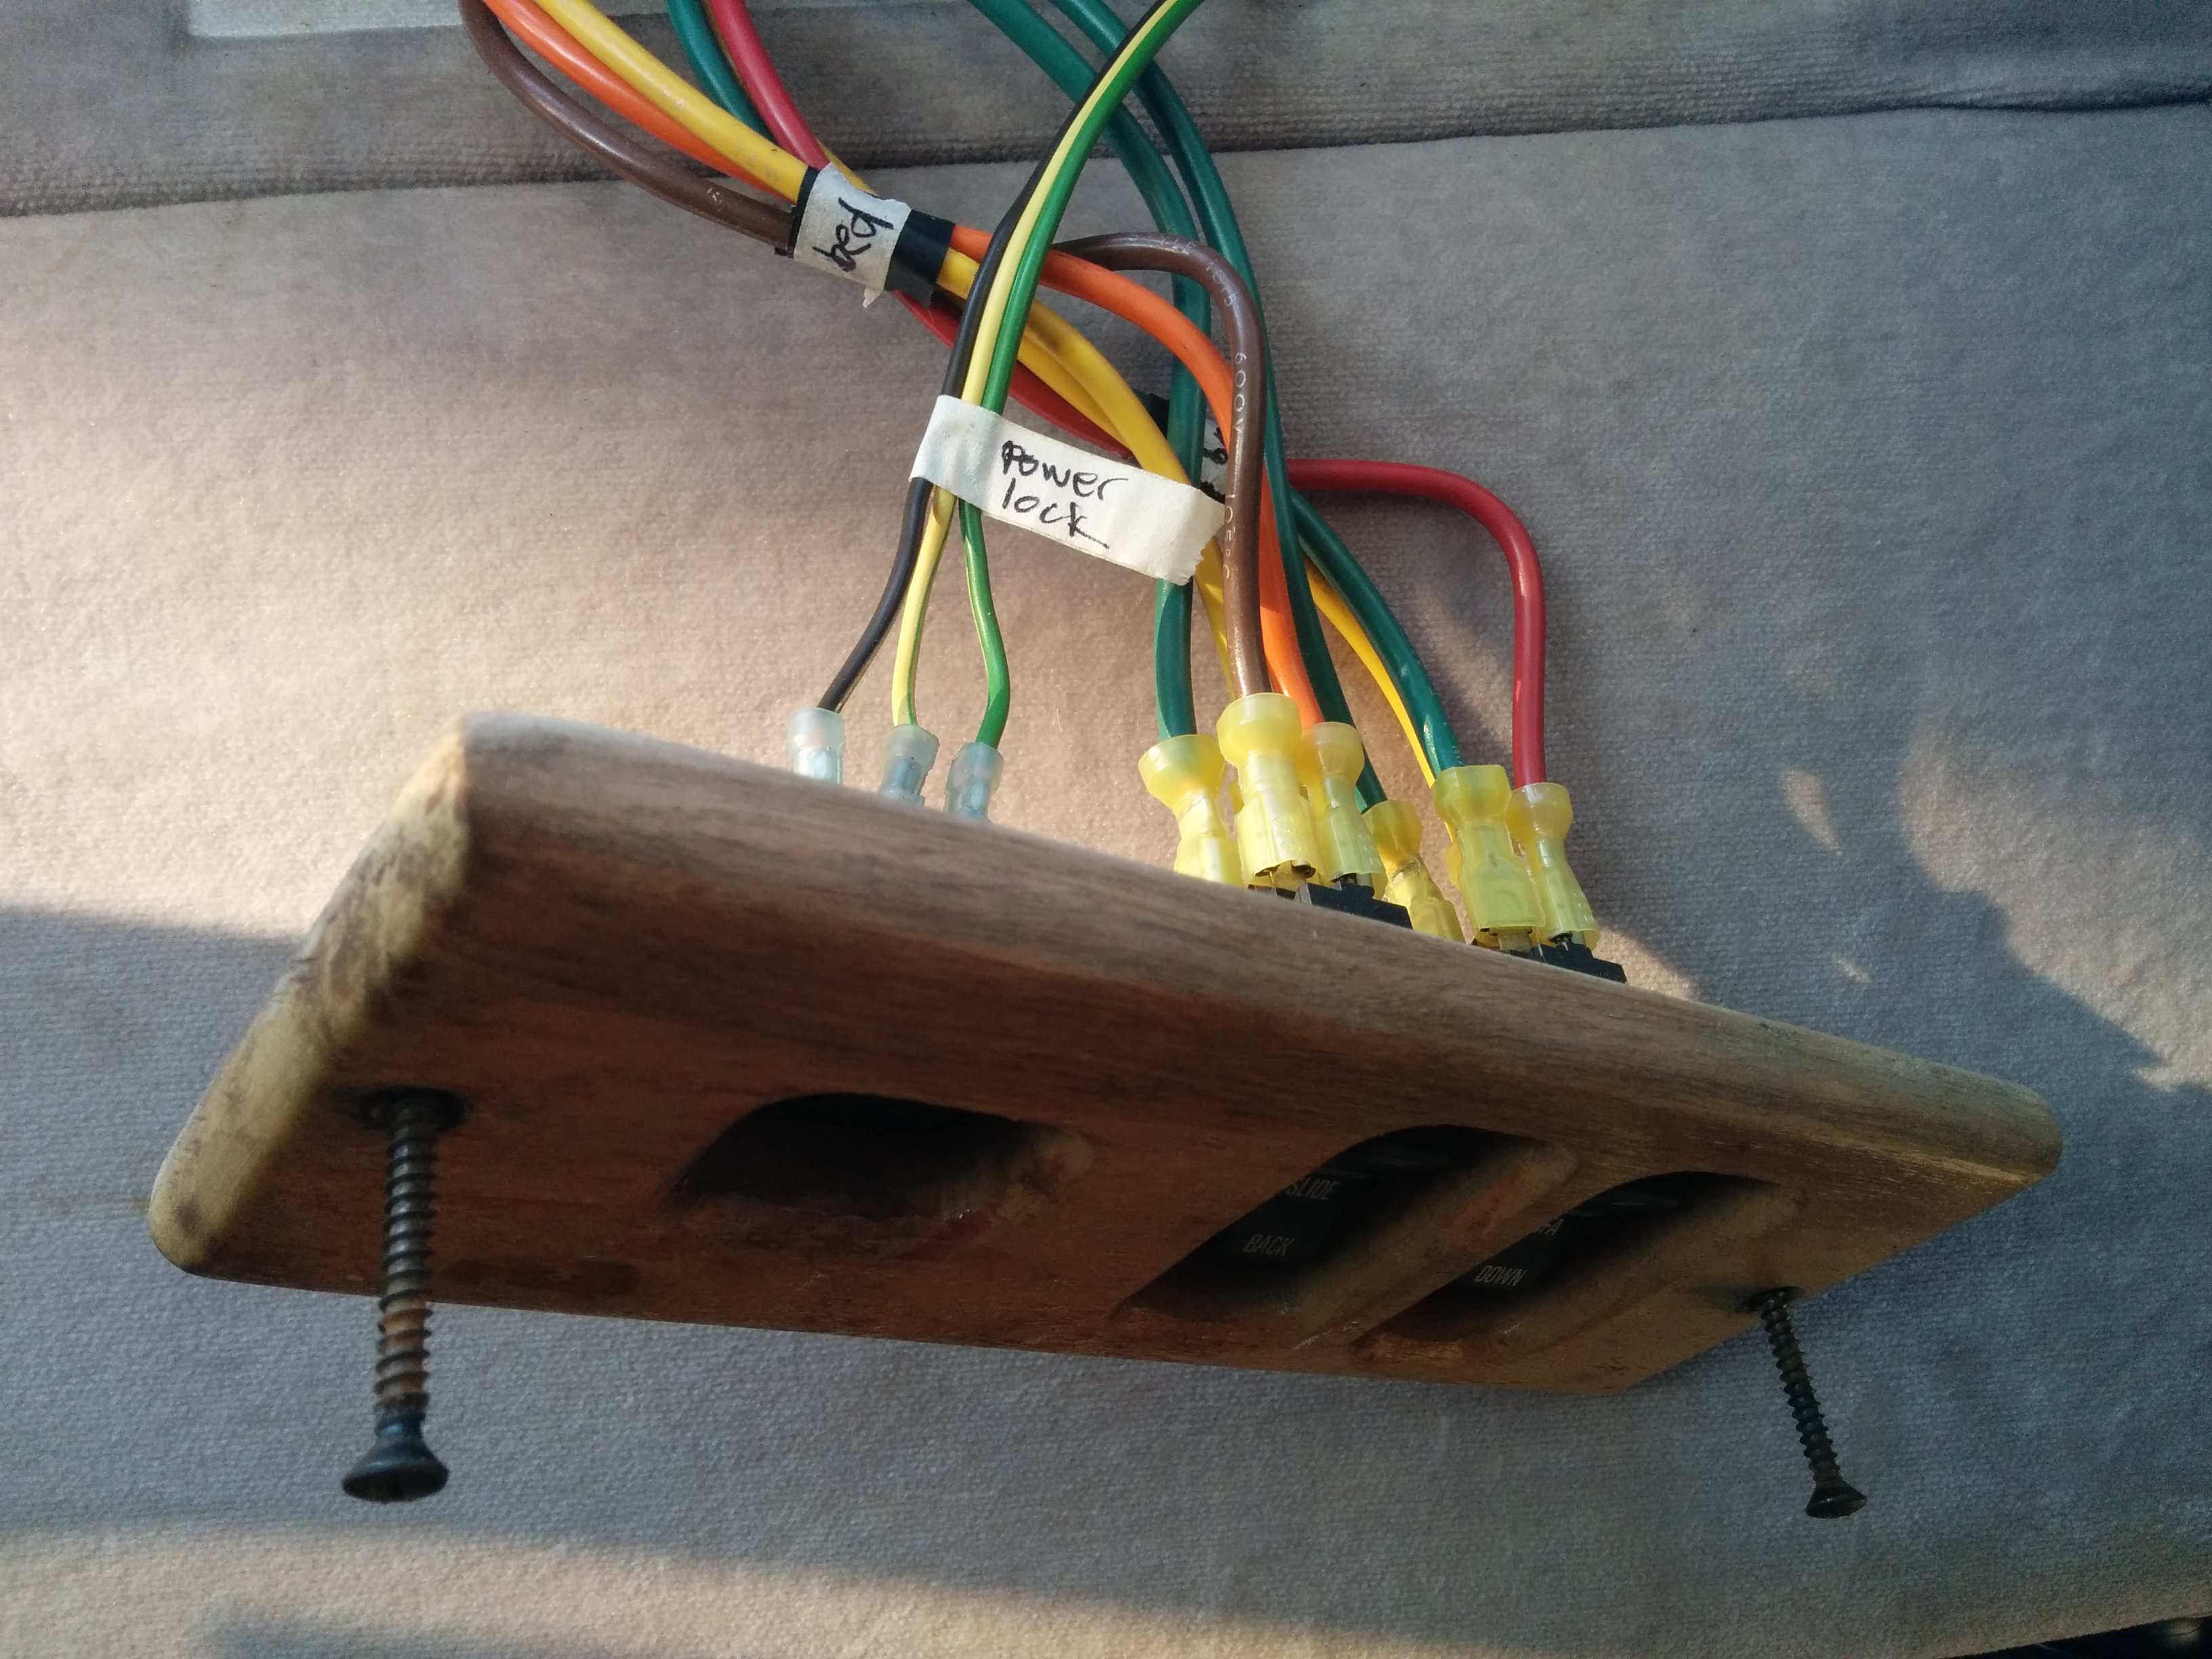
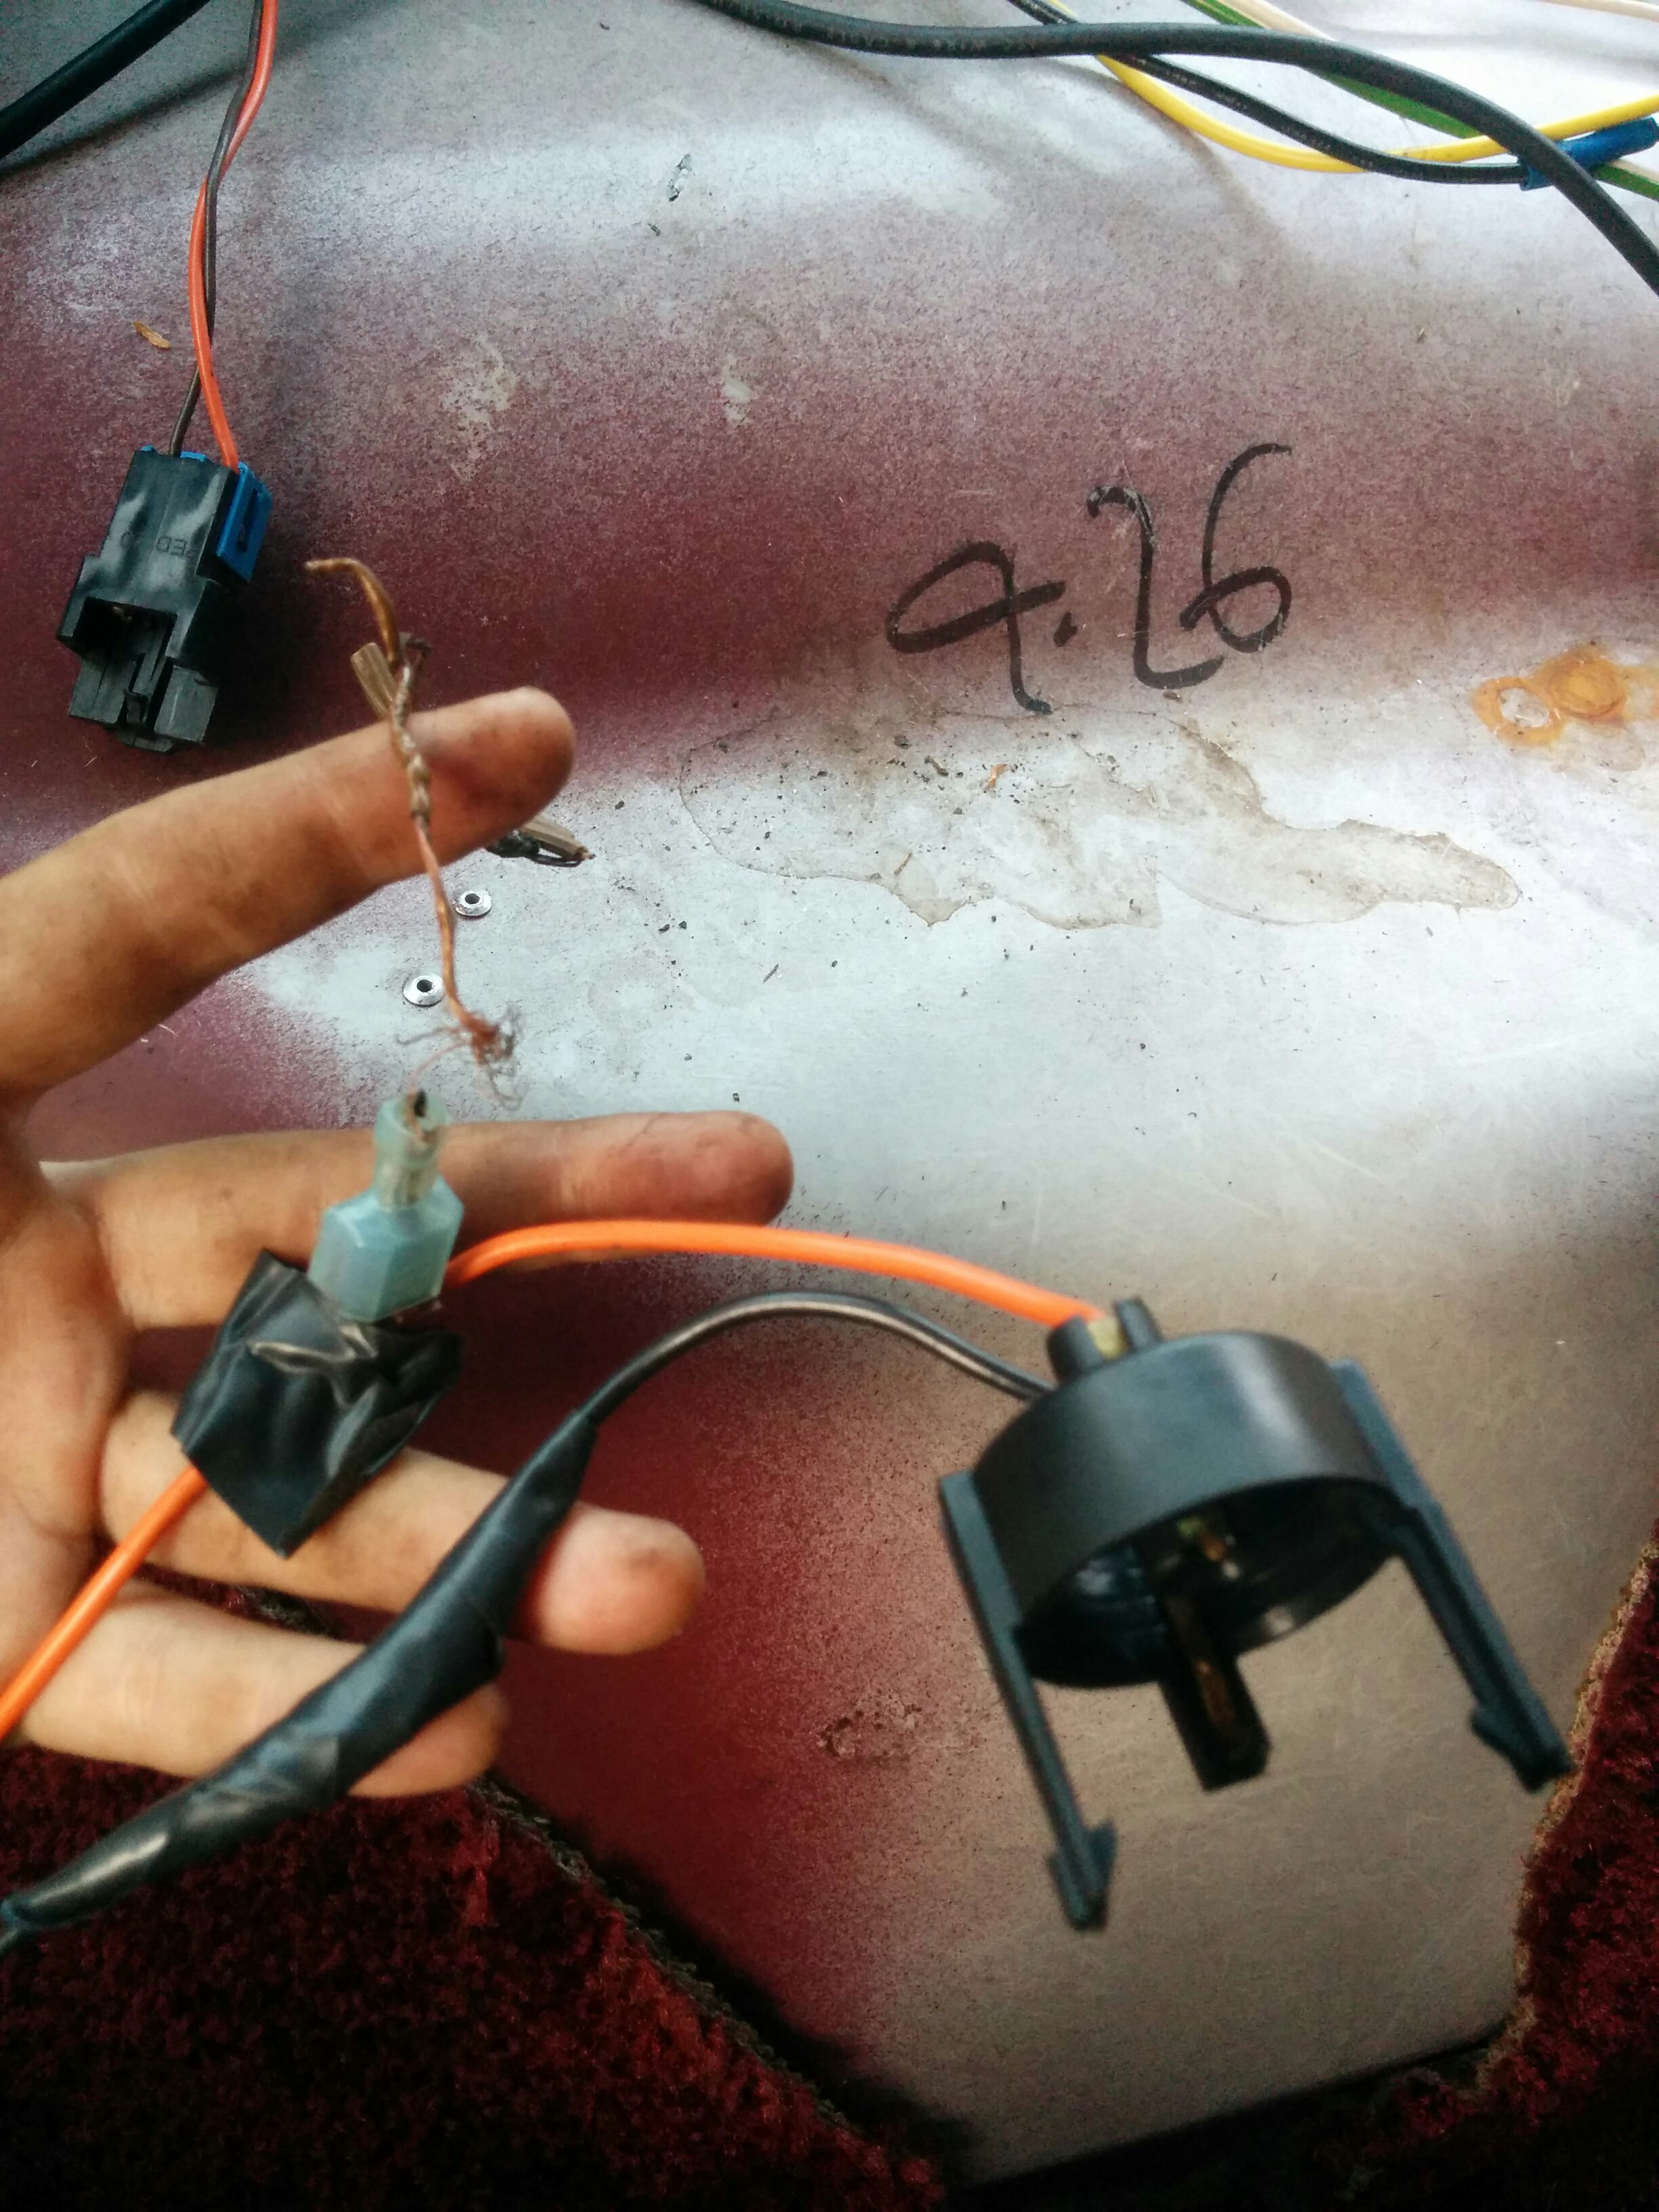
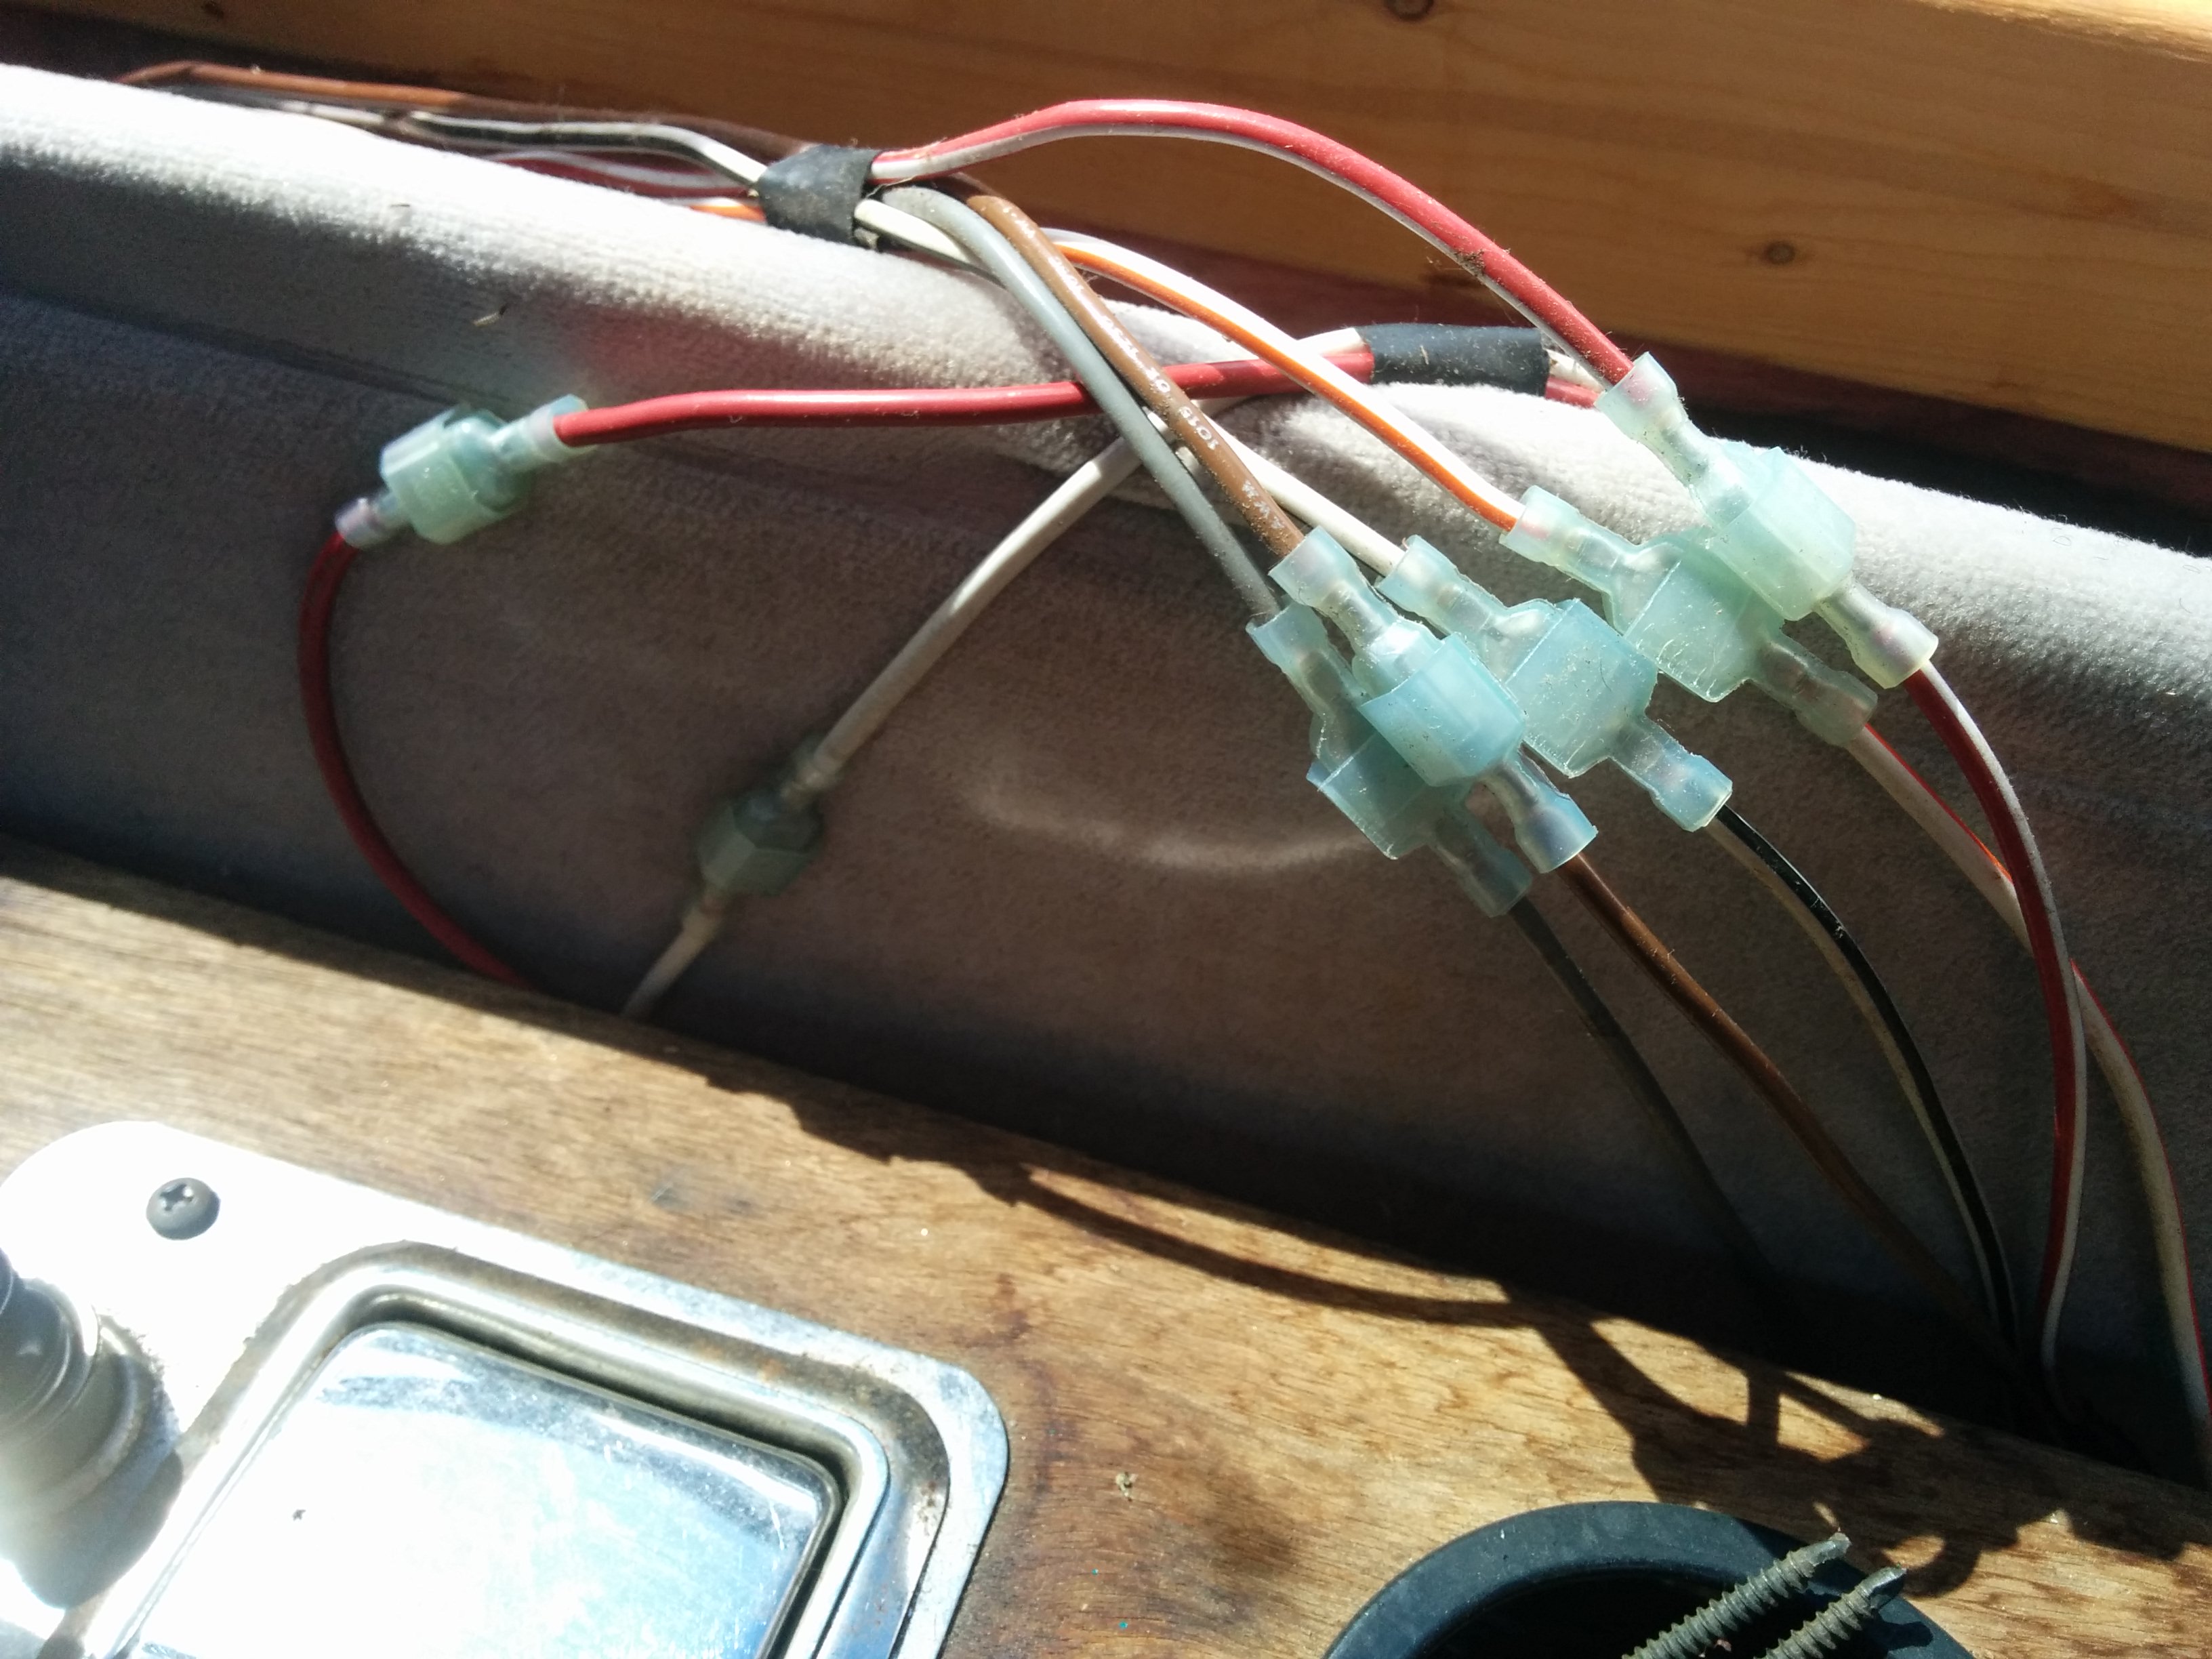
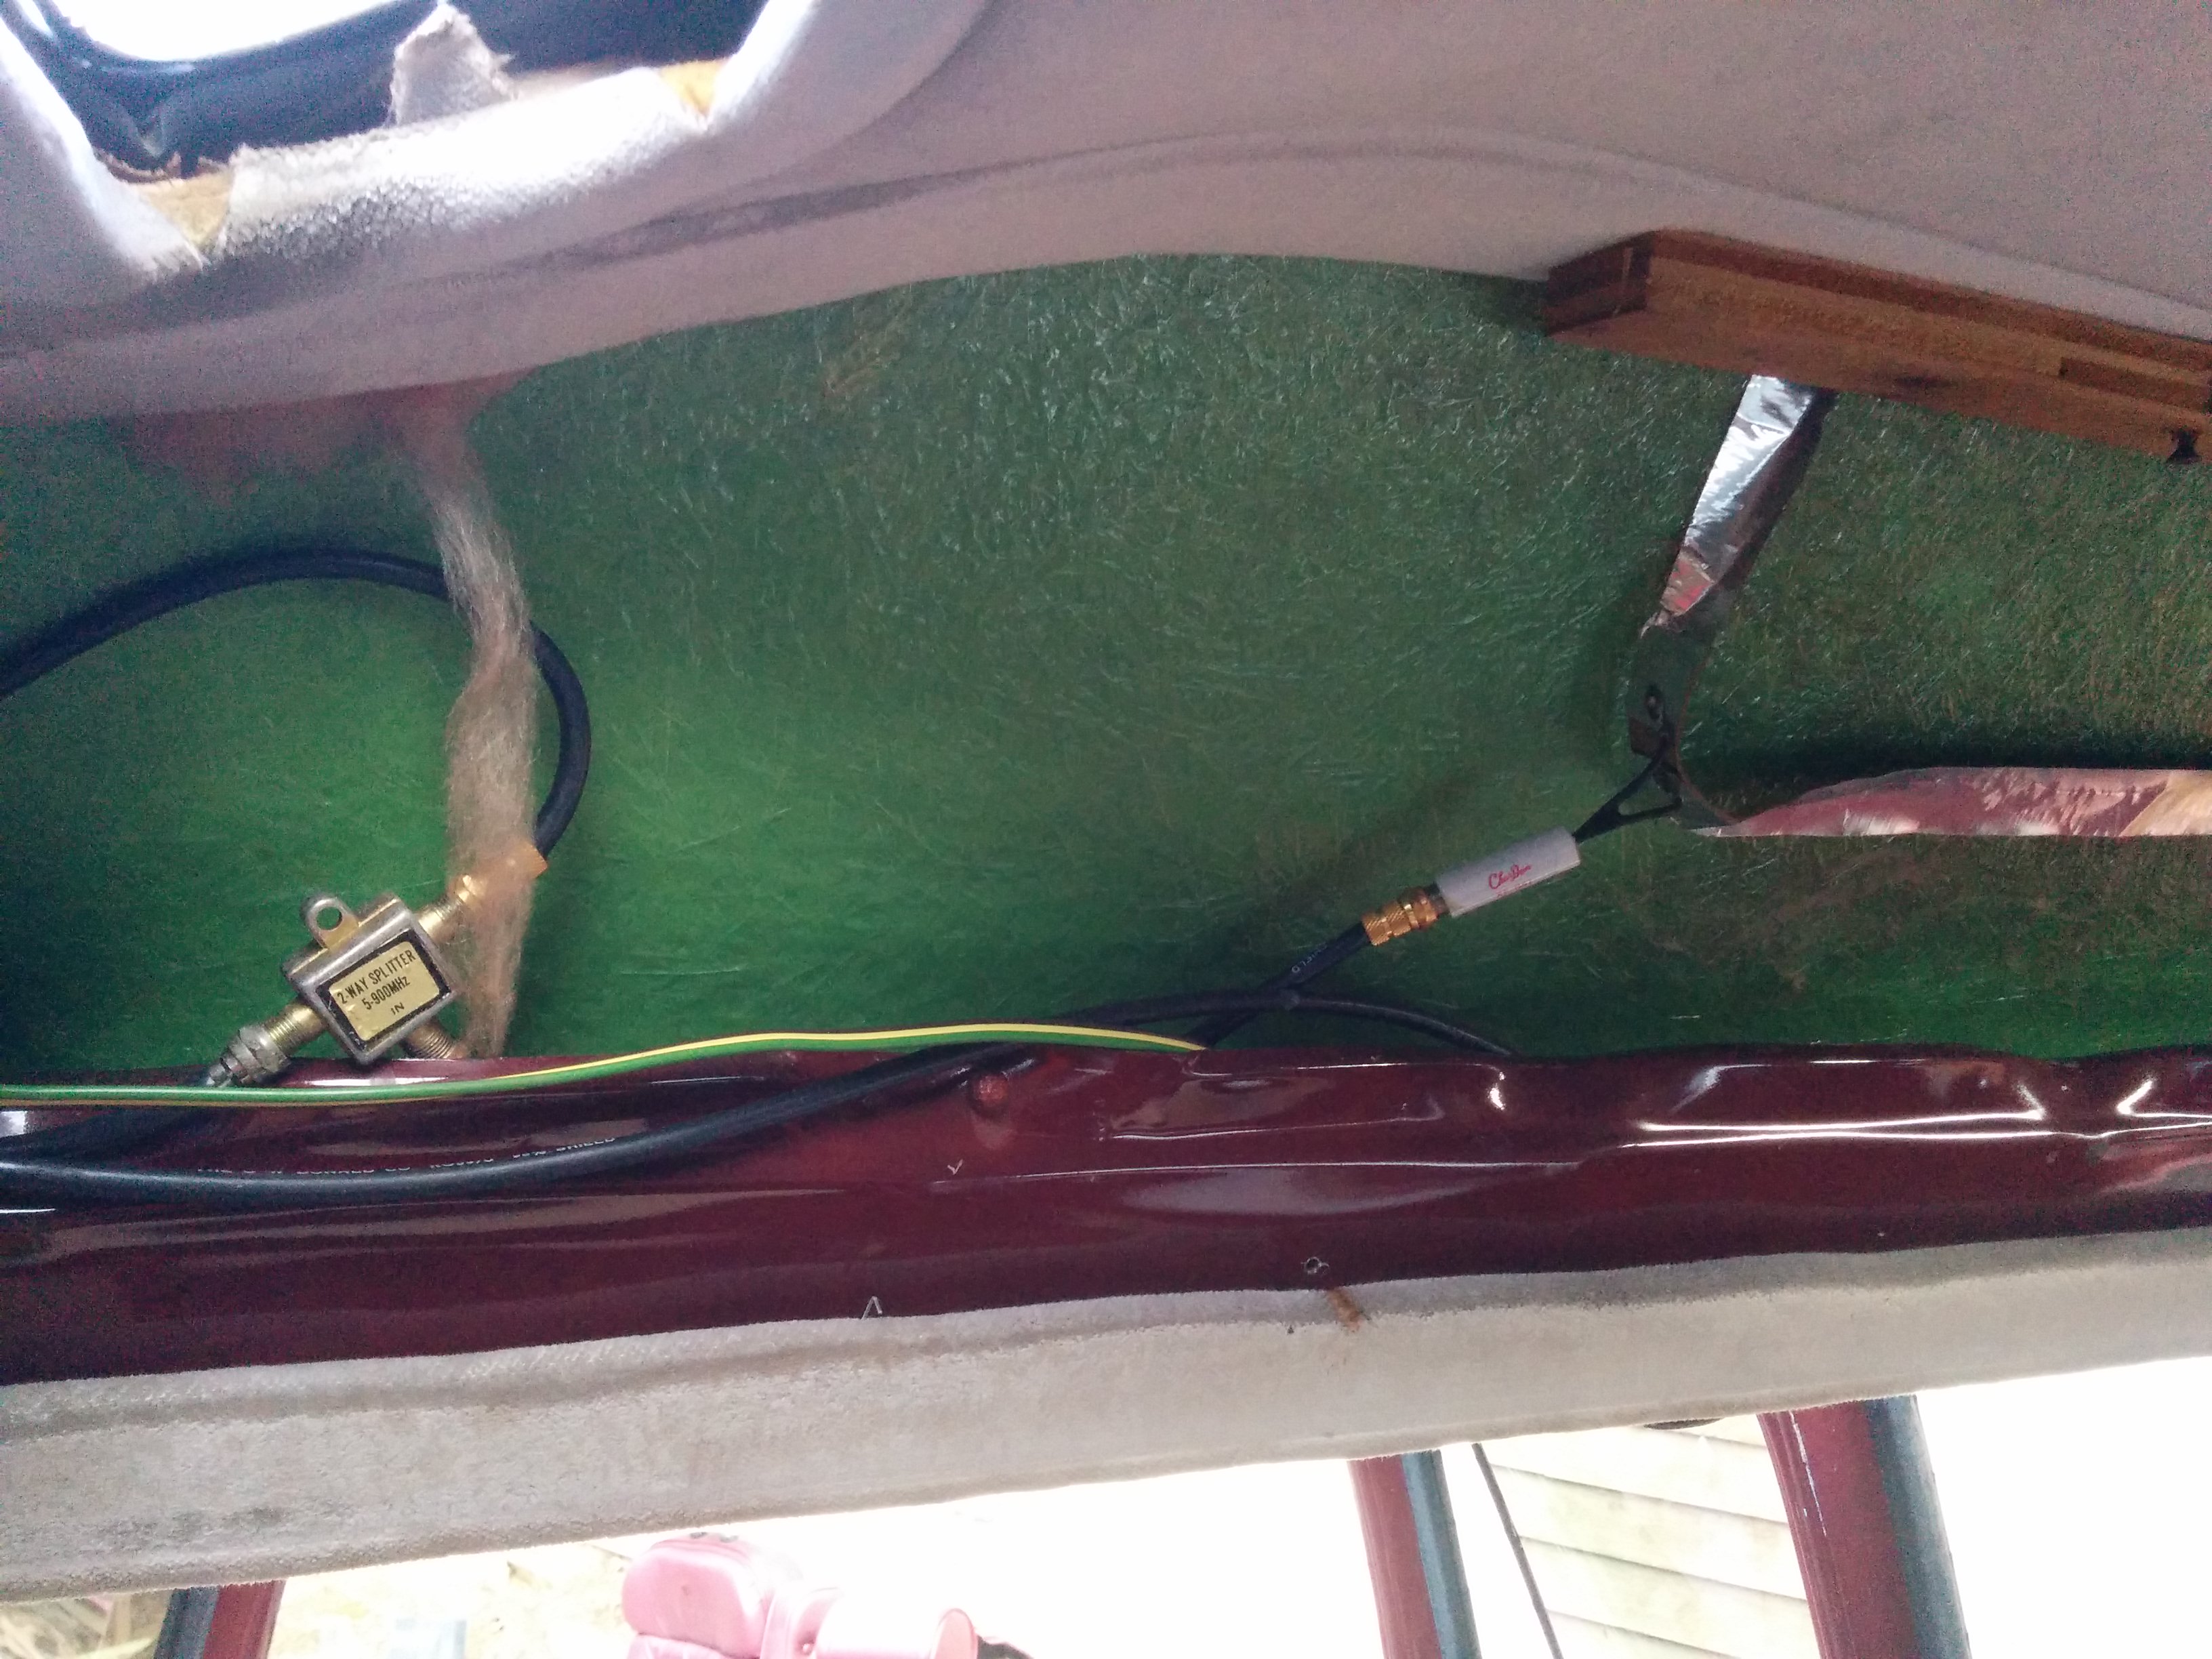
From the beginning I made sure to label cables if I thought I might need or want to reconnect them at some point (power locks, tail lights, etc).
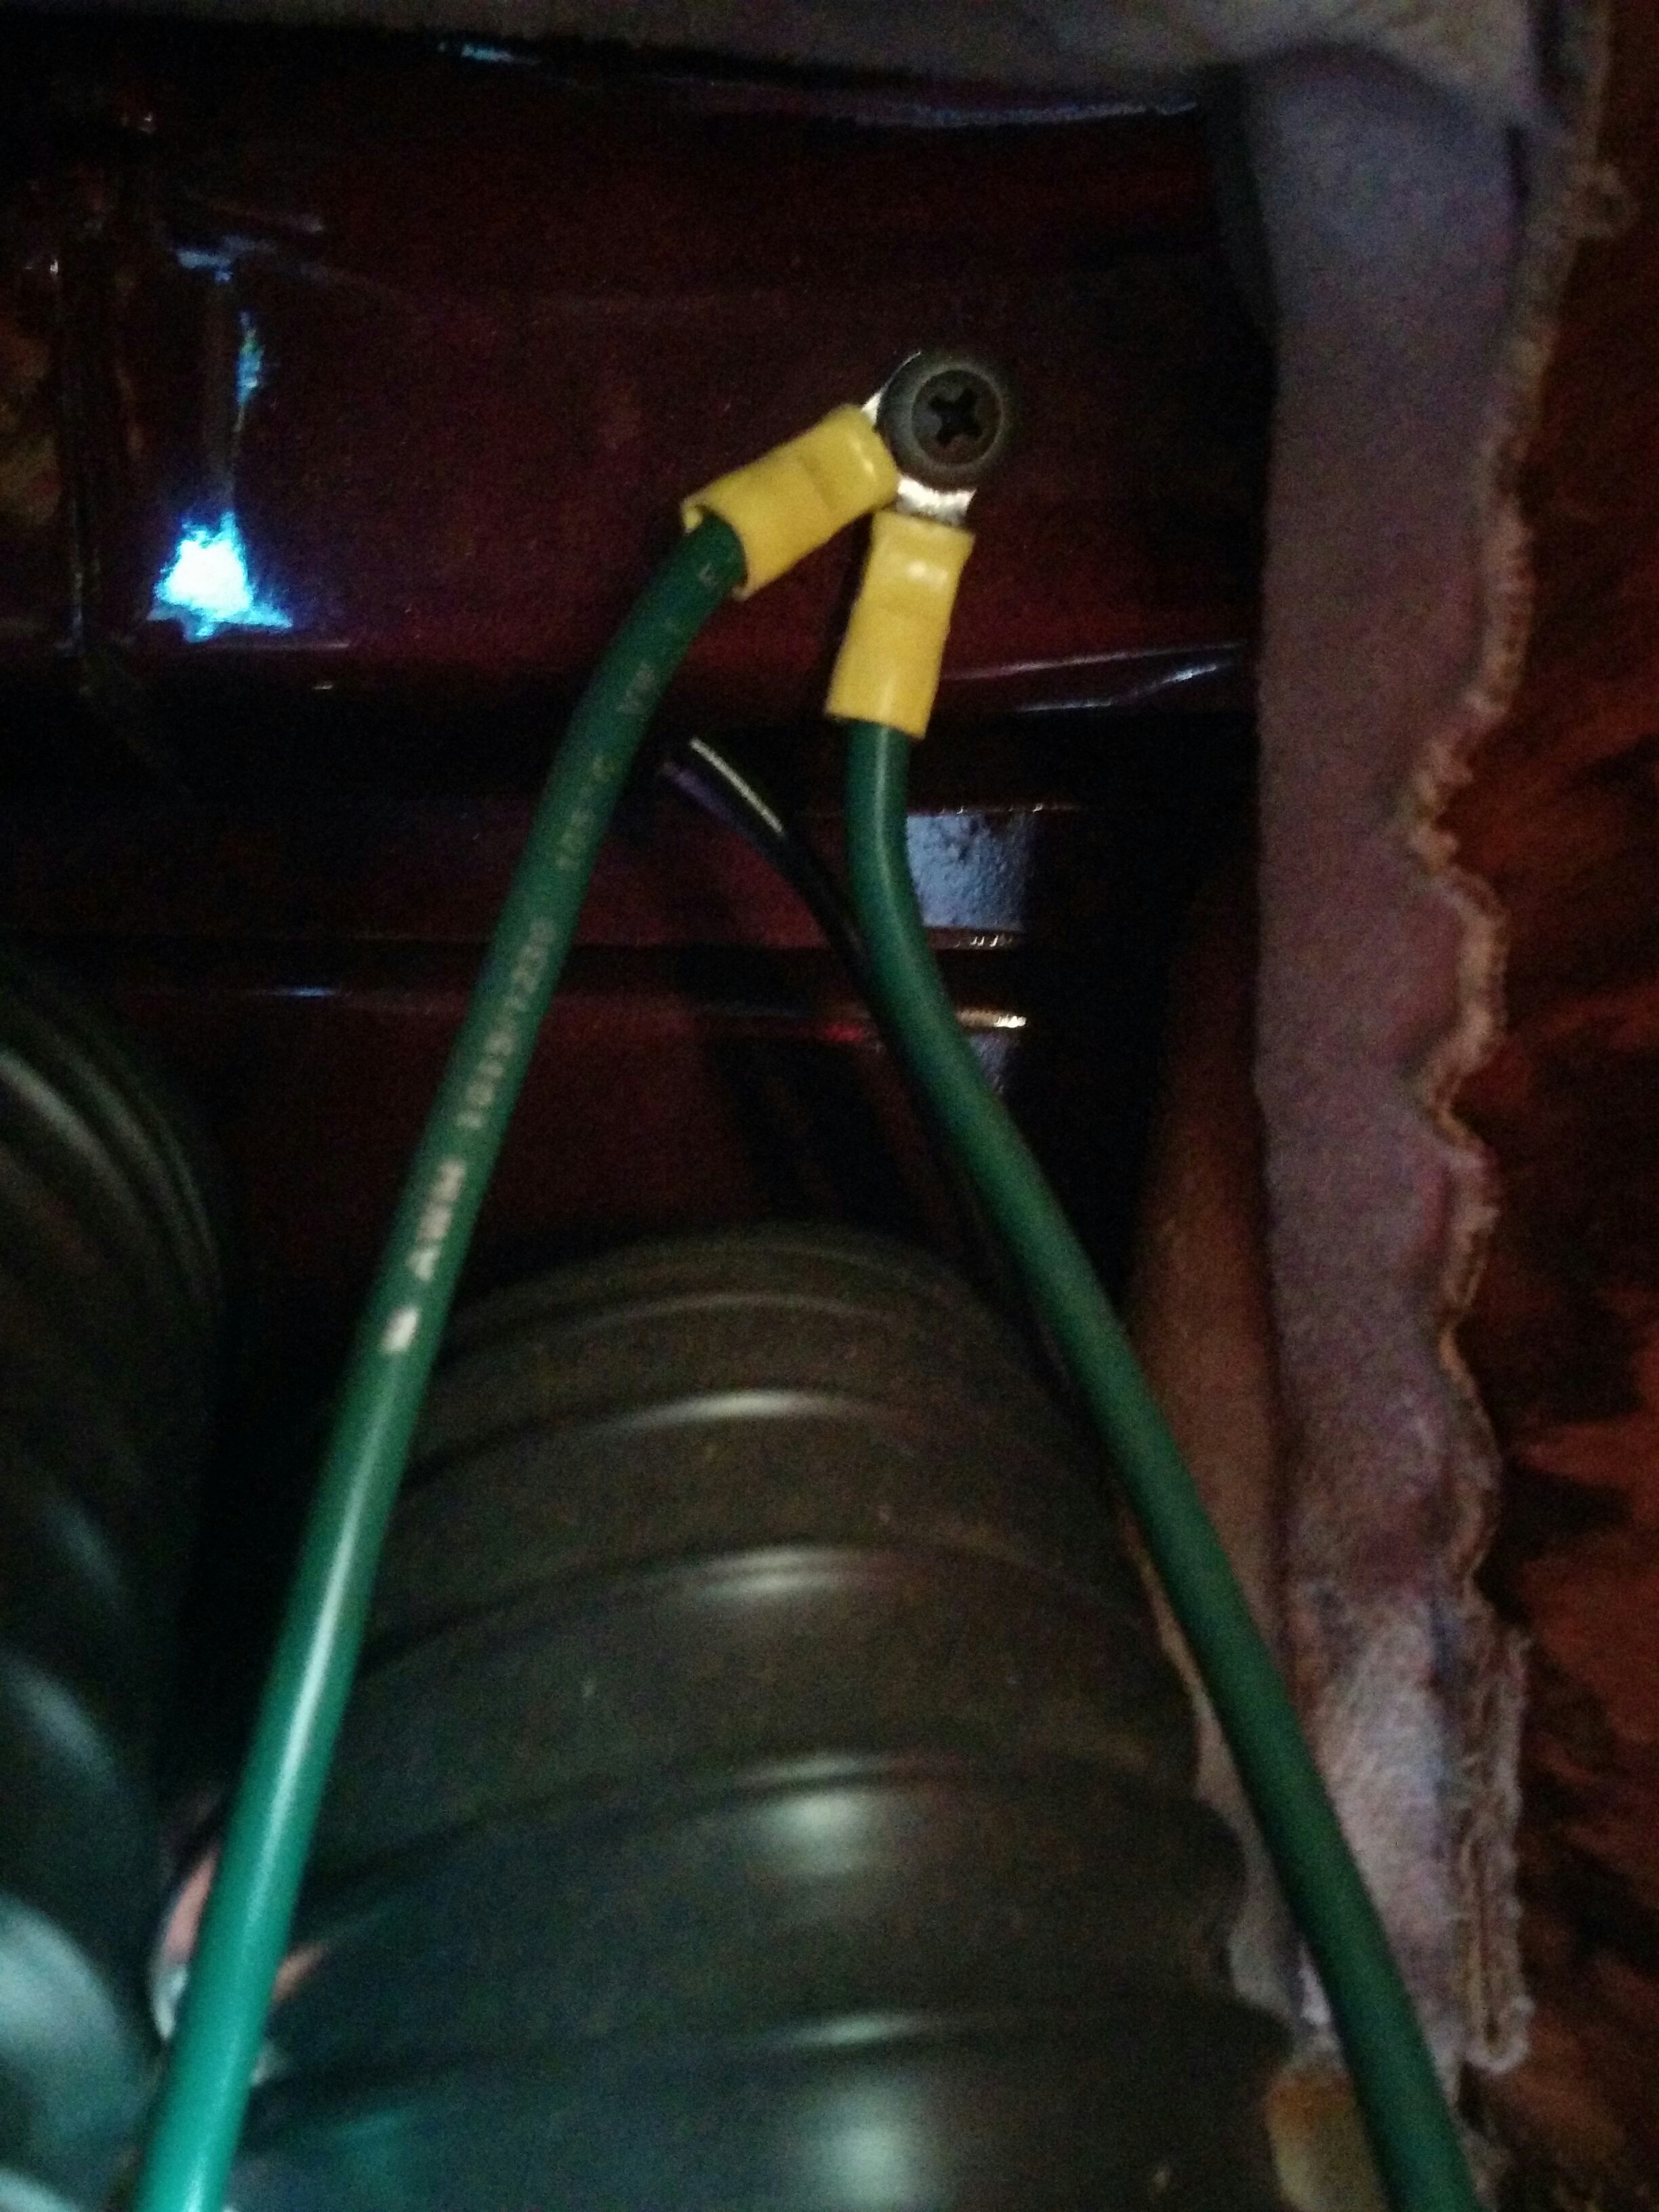
This really blew my mind. A lot of the wiring was self-explanatory, but I had to ask Garrett about this one. It turns out you can use the metal car chassis as a ground path back to the battery. 🤯🤯🤯
Sometime around this point Garrett handed me this thing to use, which certainly sped things up. I had never owned one so it didn’t occur to me to ask for one.
Here you can see the original roof of the van! They chopped most of it off and replaced it, but this stub remained. The random chunk of plywood underneath gave the “lower shelf” something to attach to.
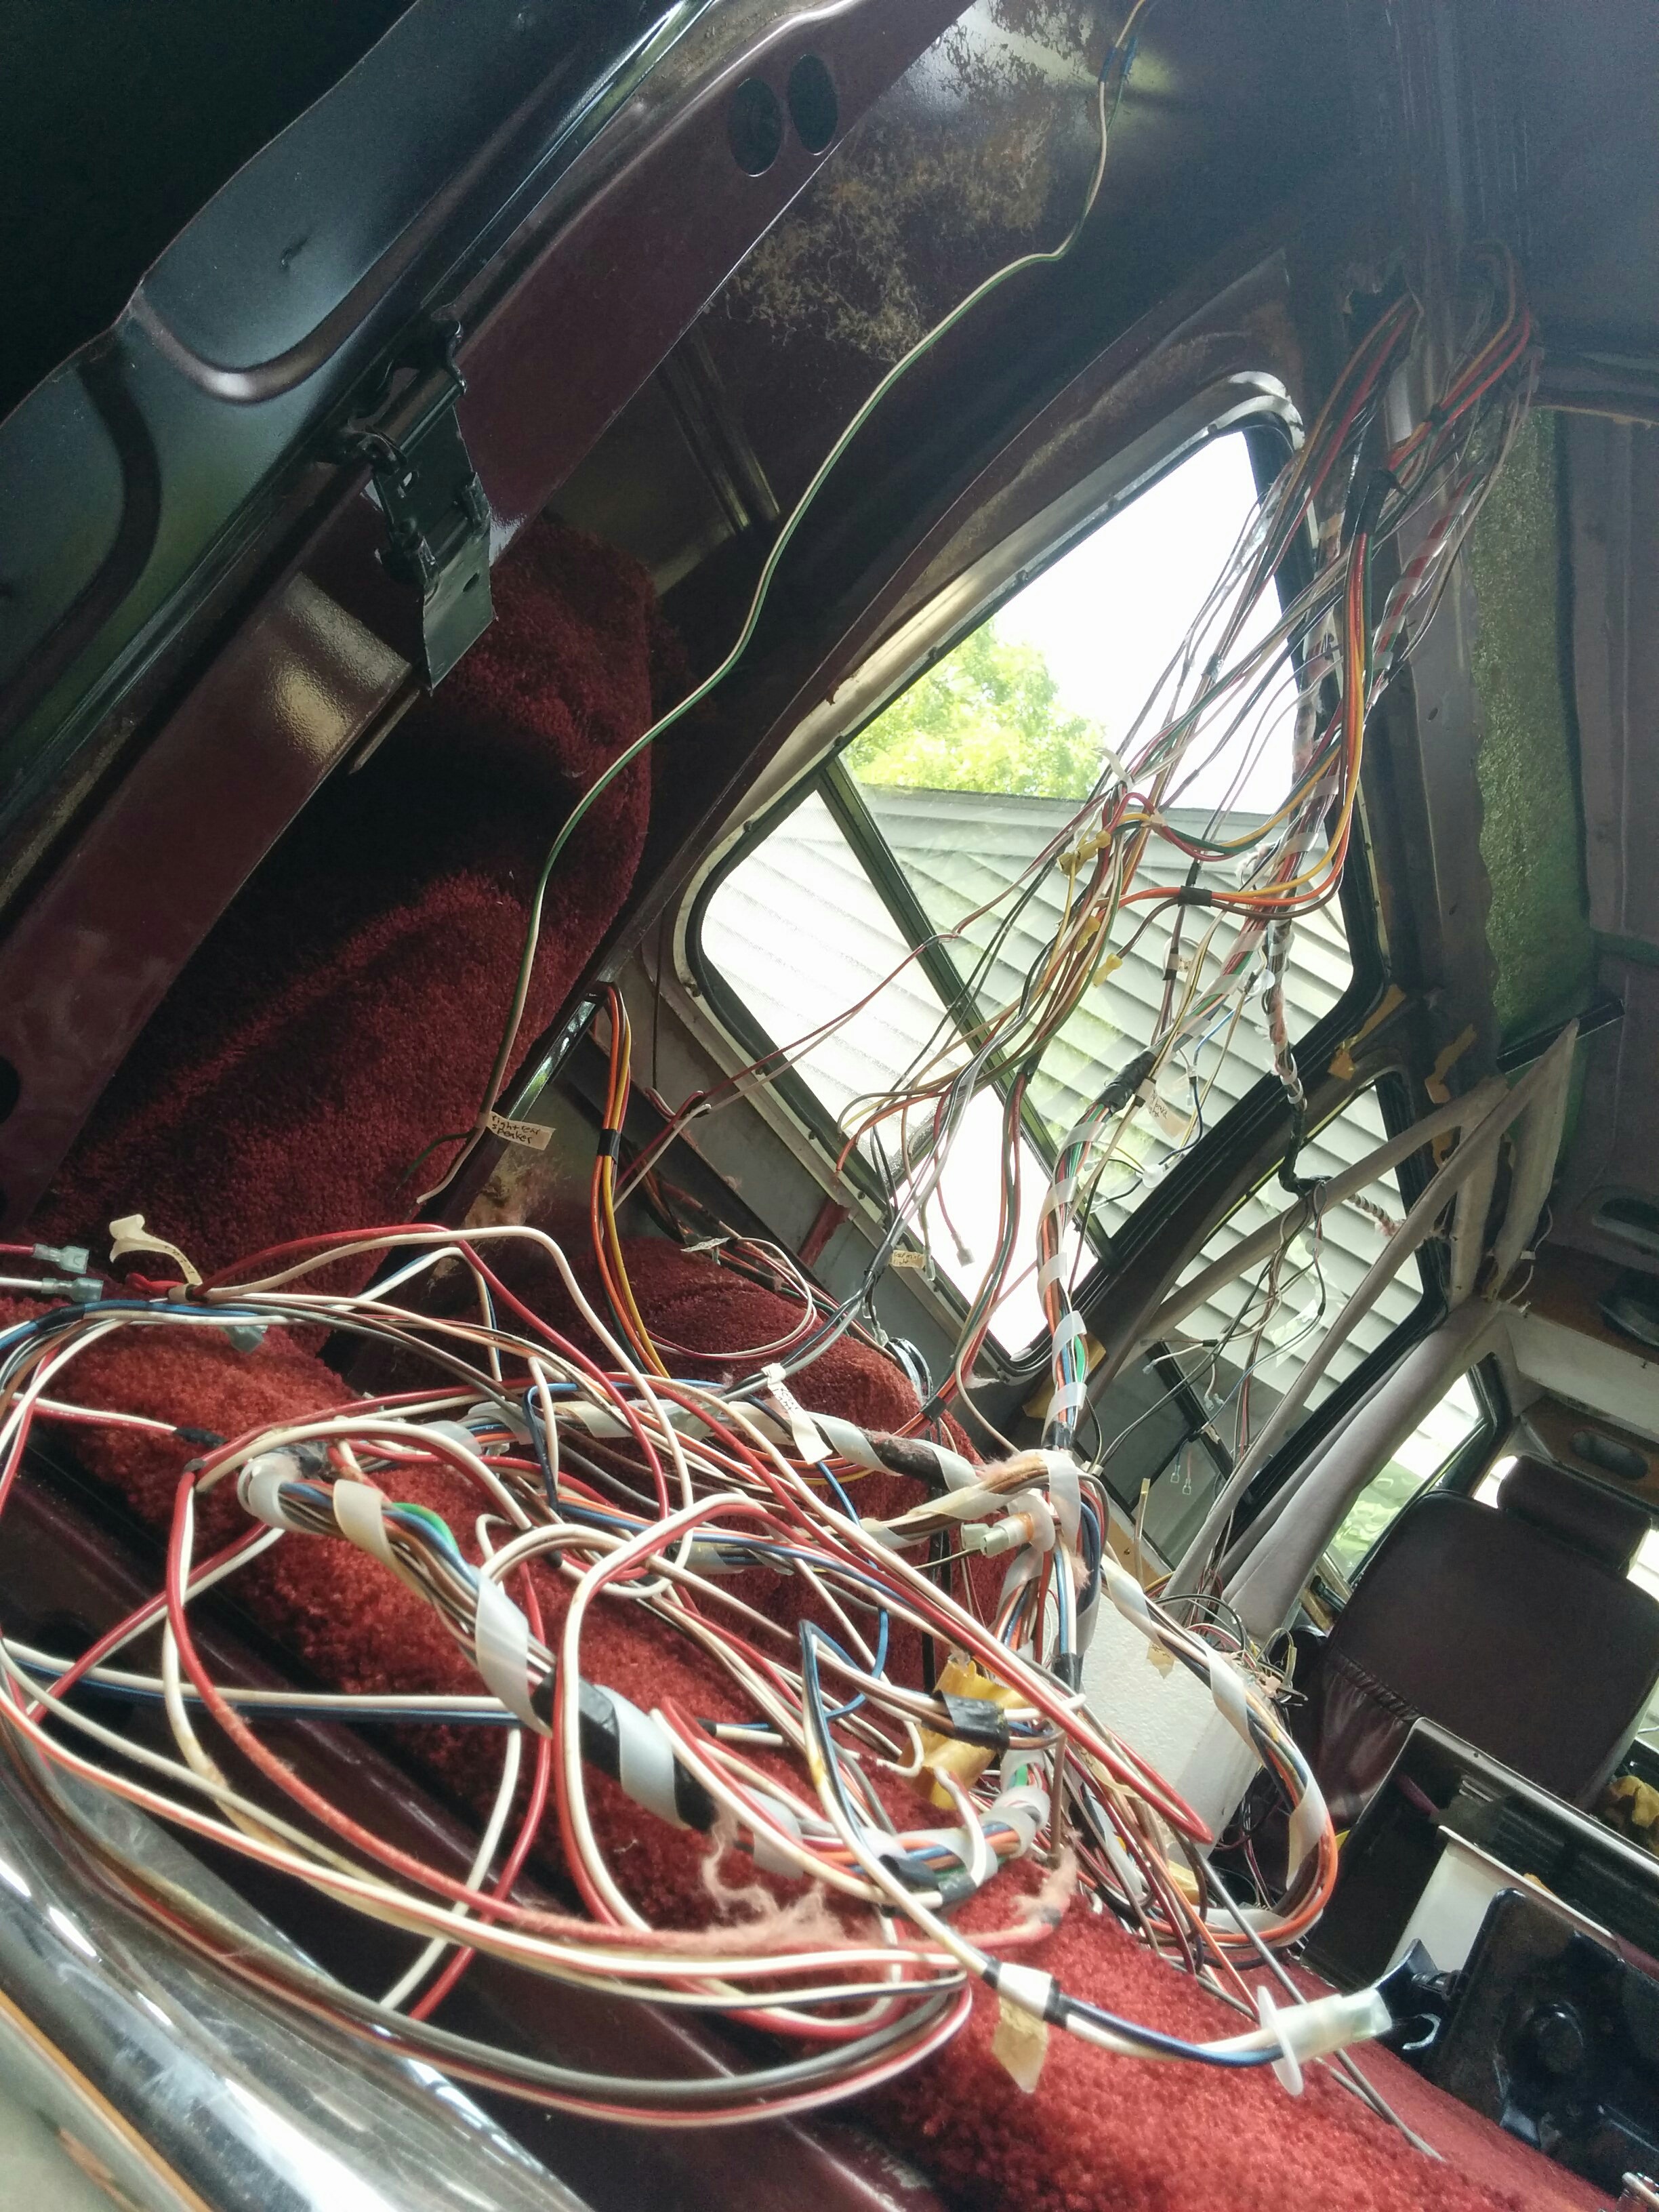
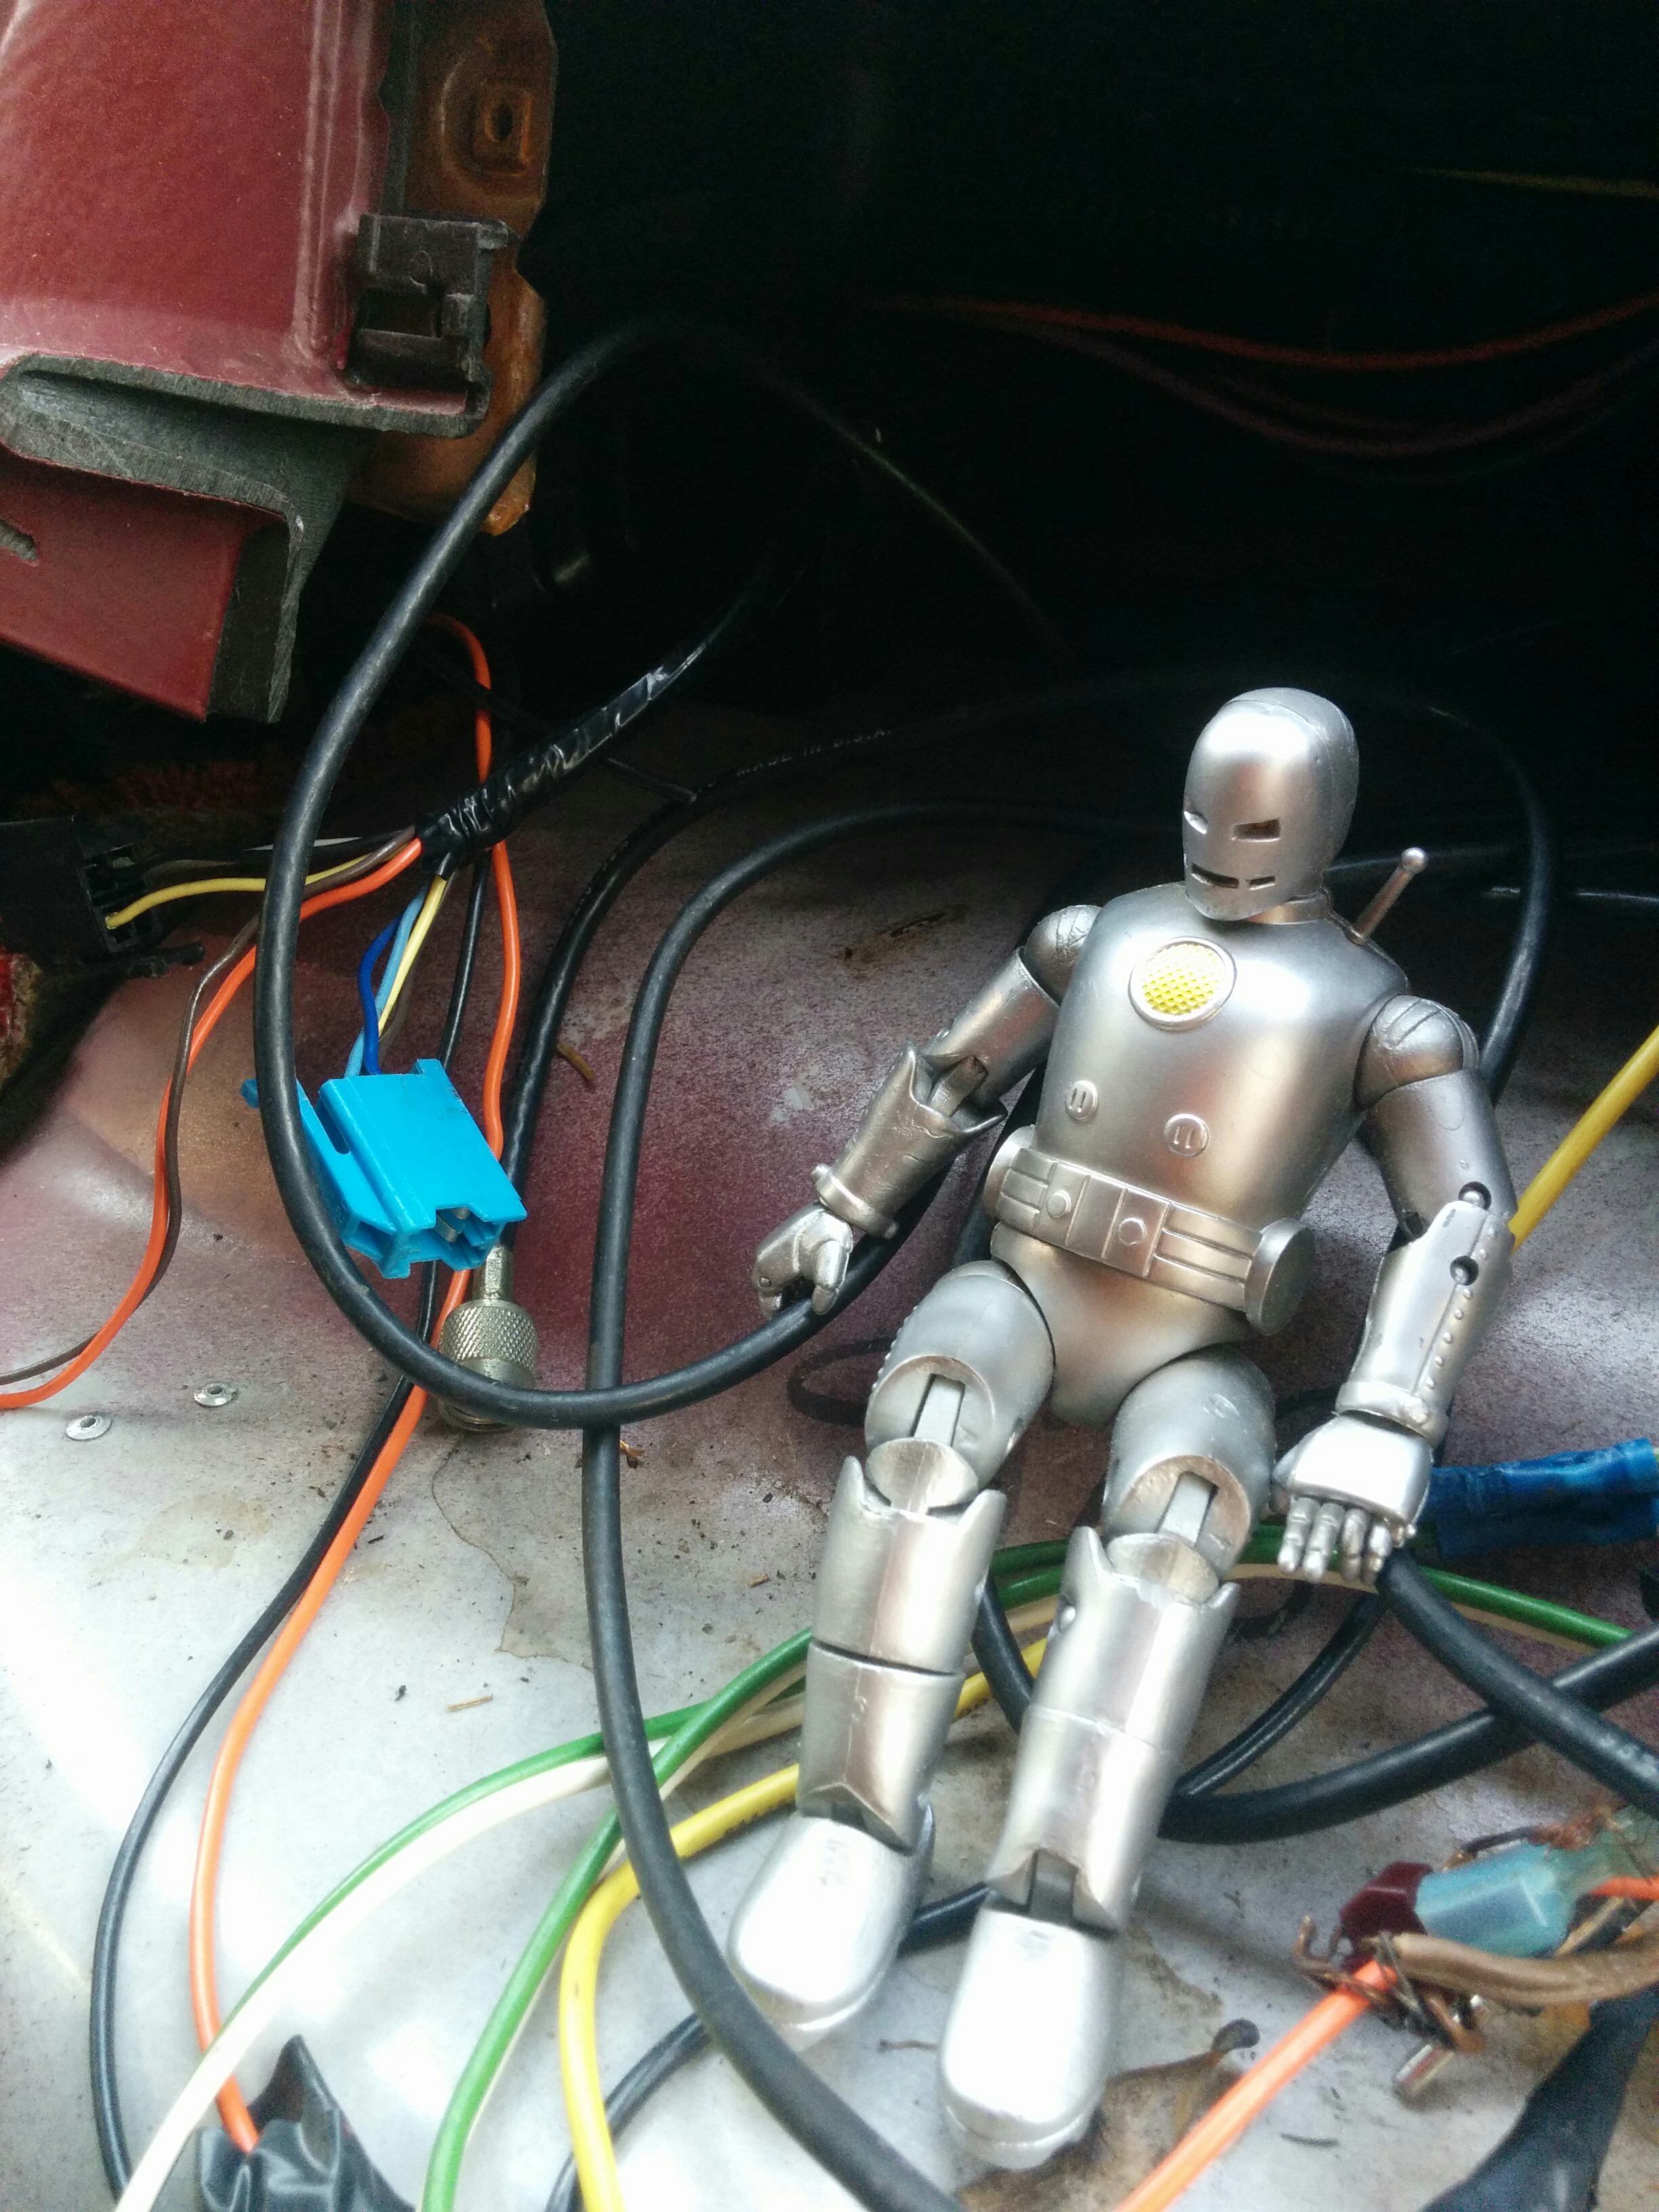
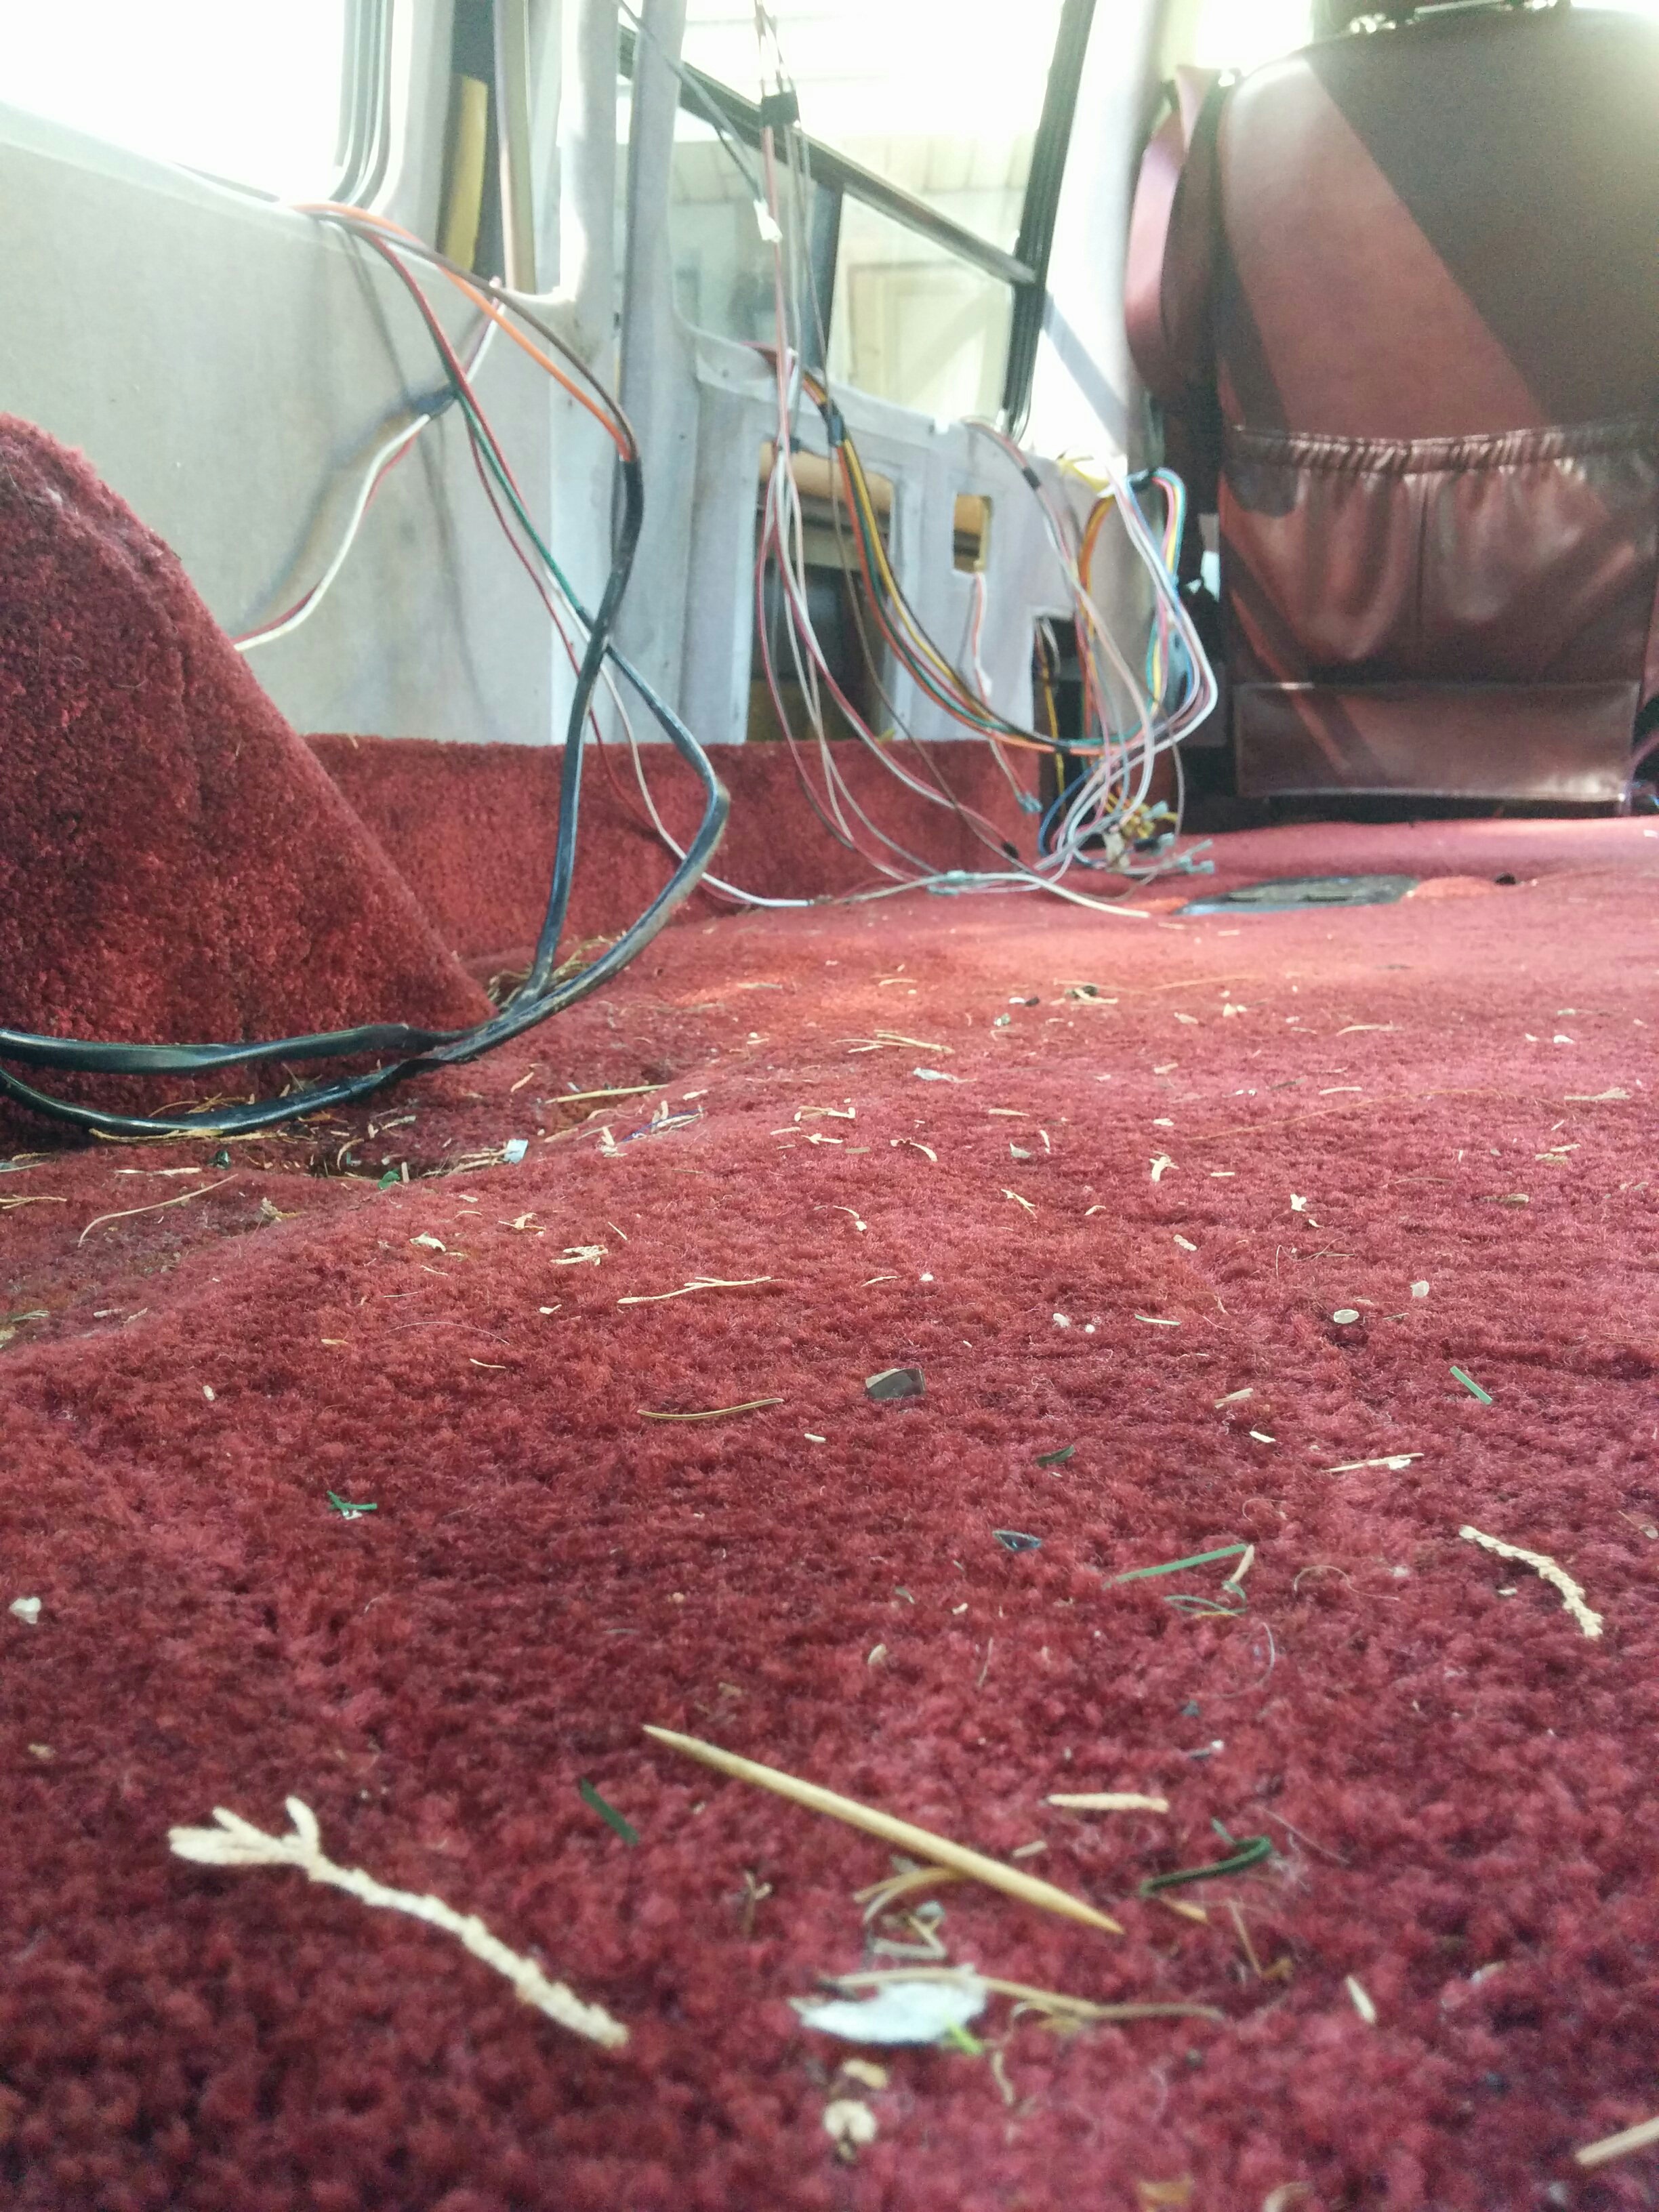
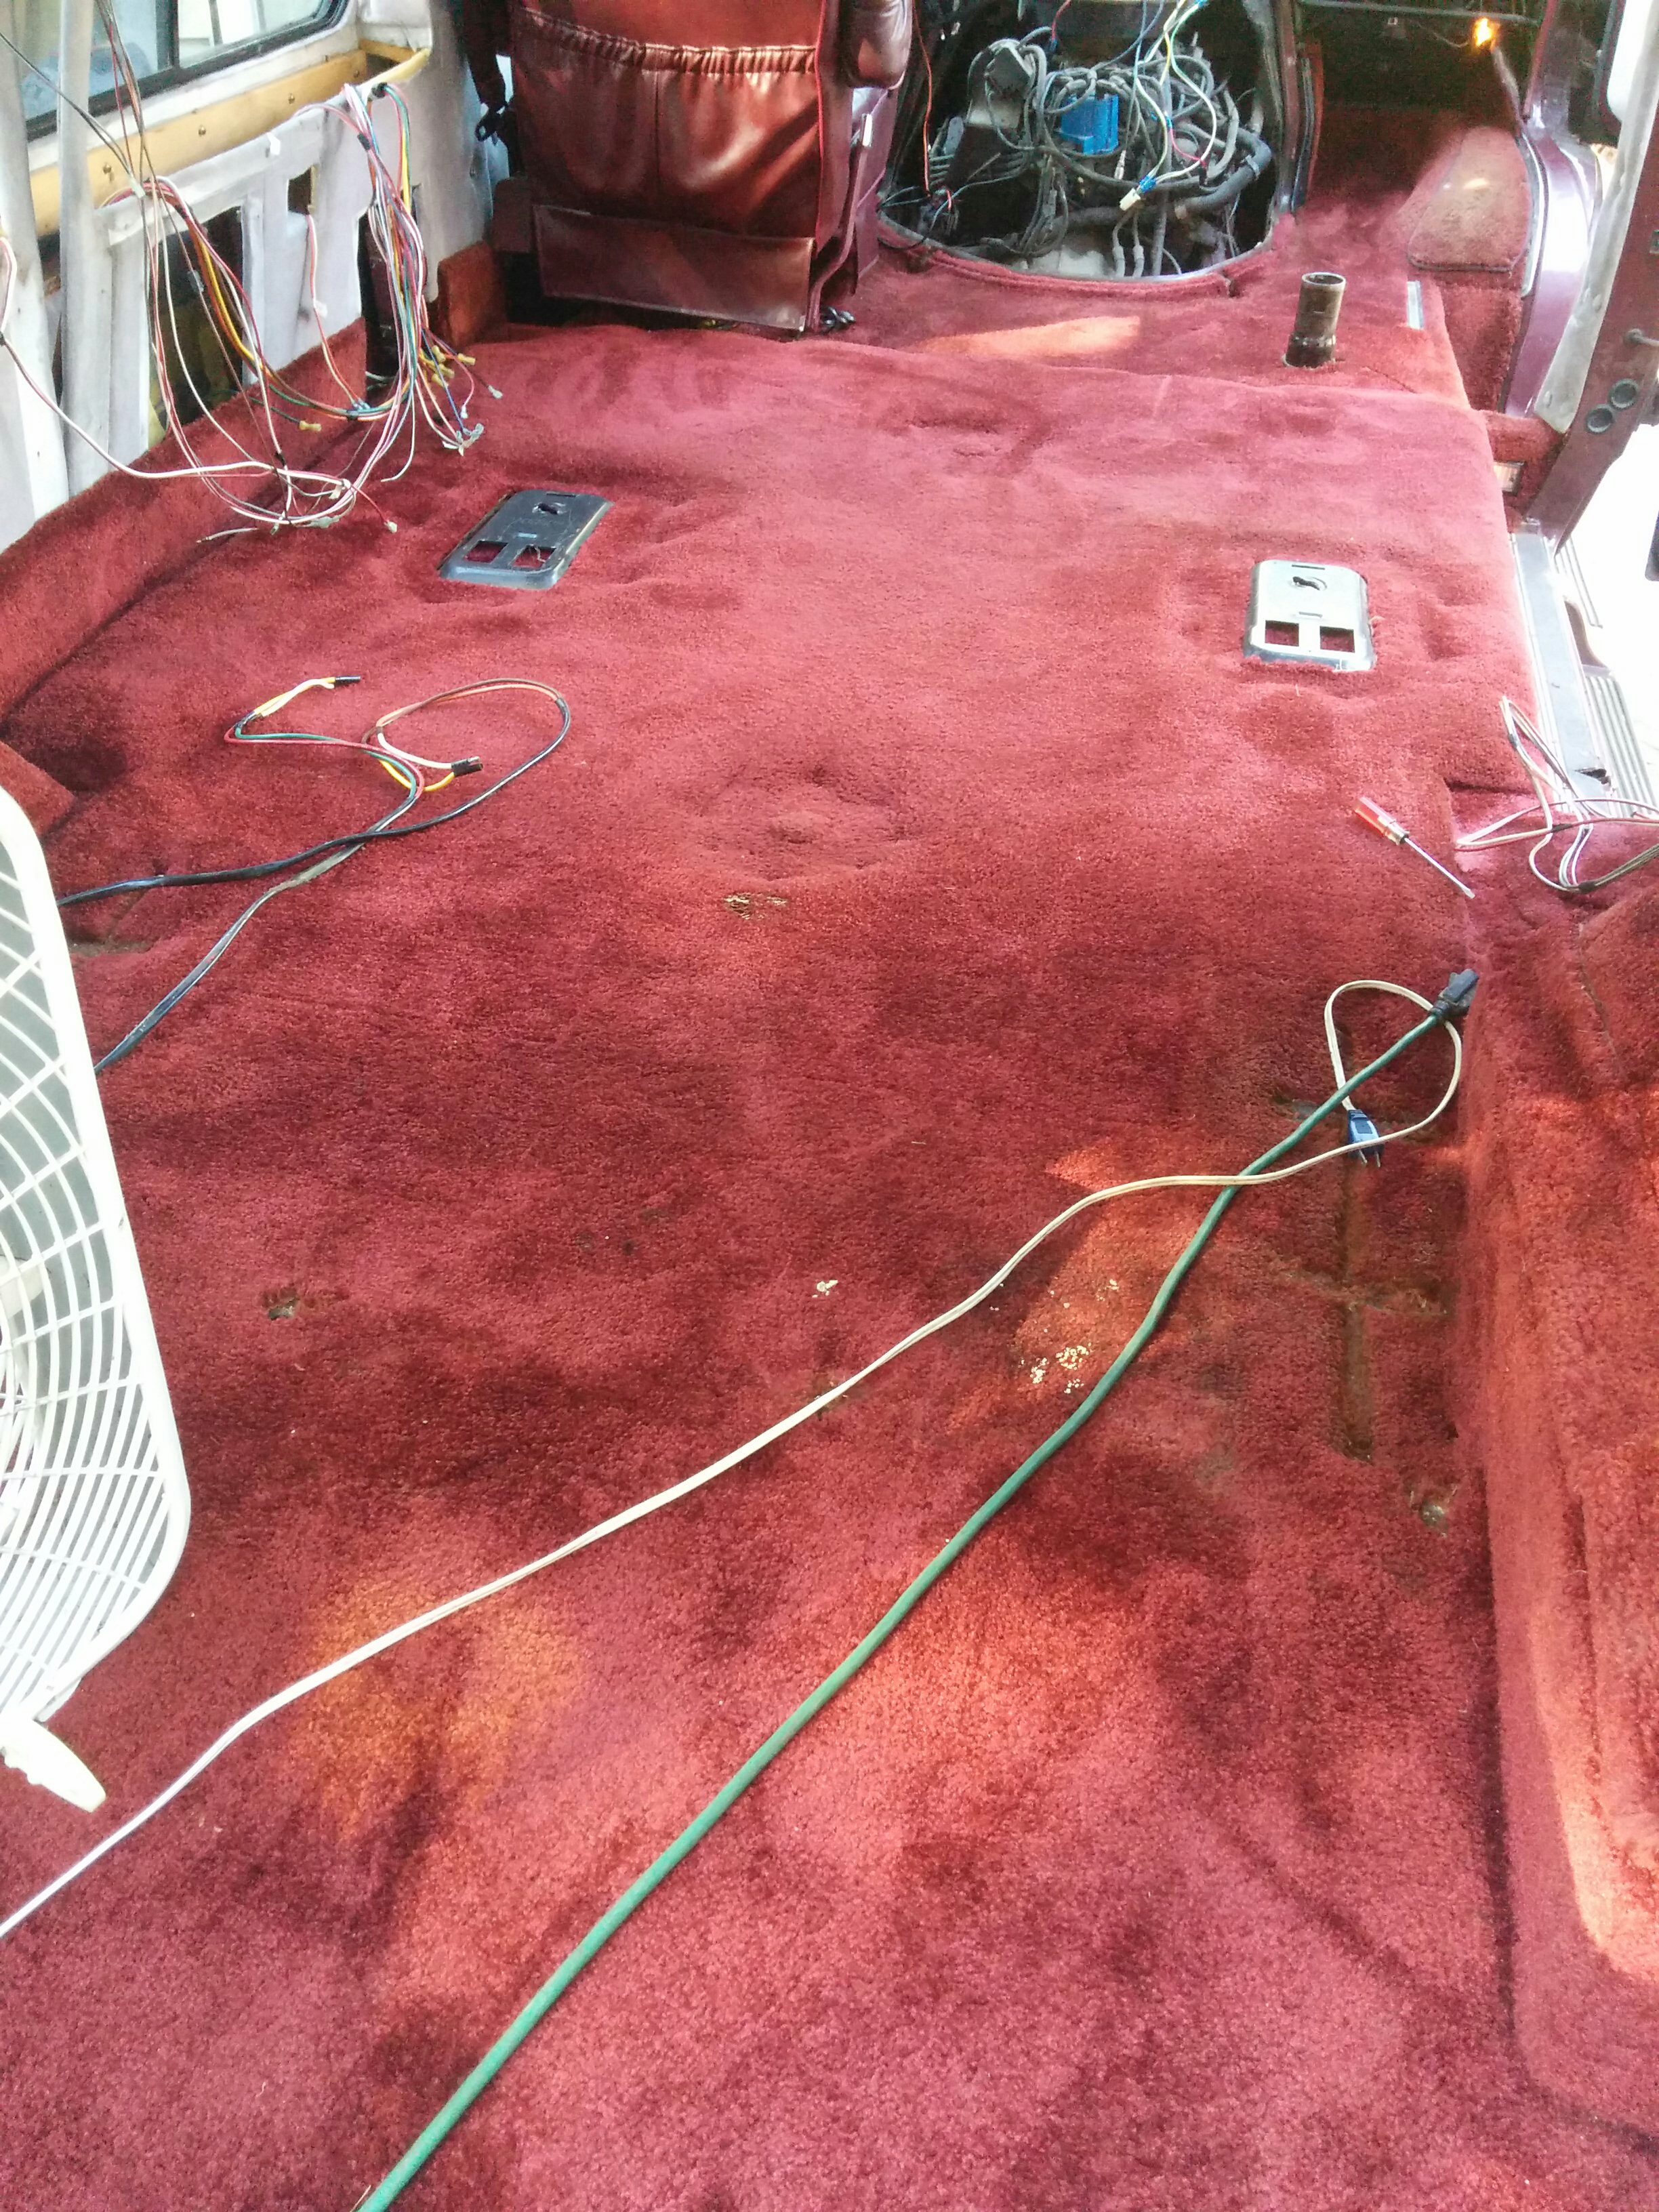
I followed the cables around the back of the van and slowly made my way towards the front, freeing them as I went.
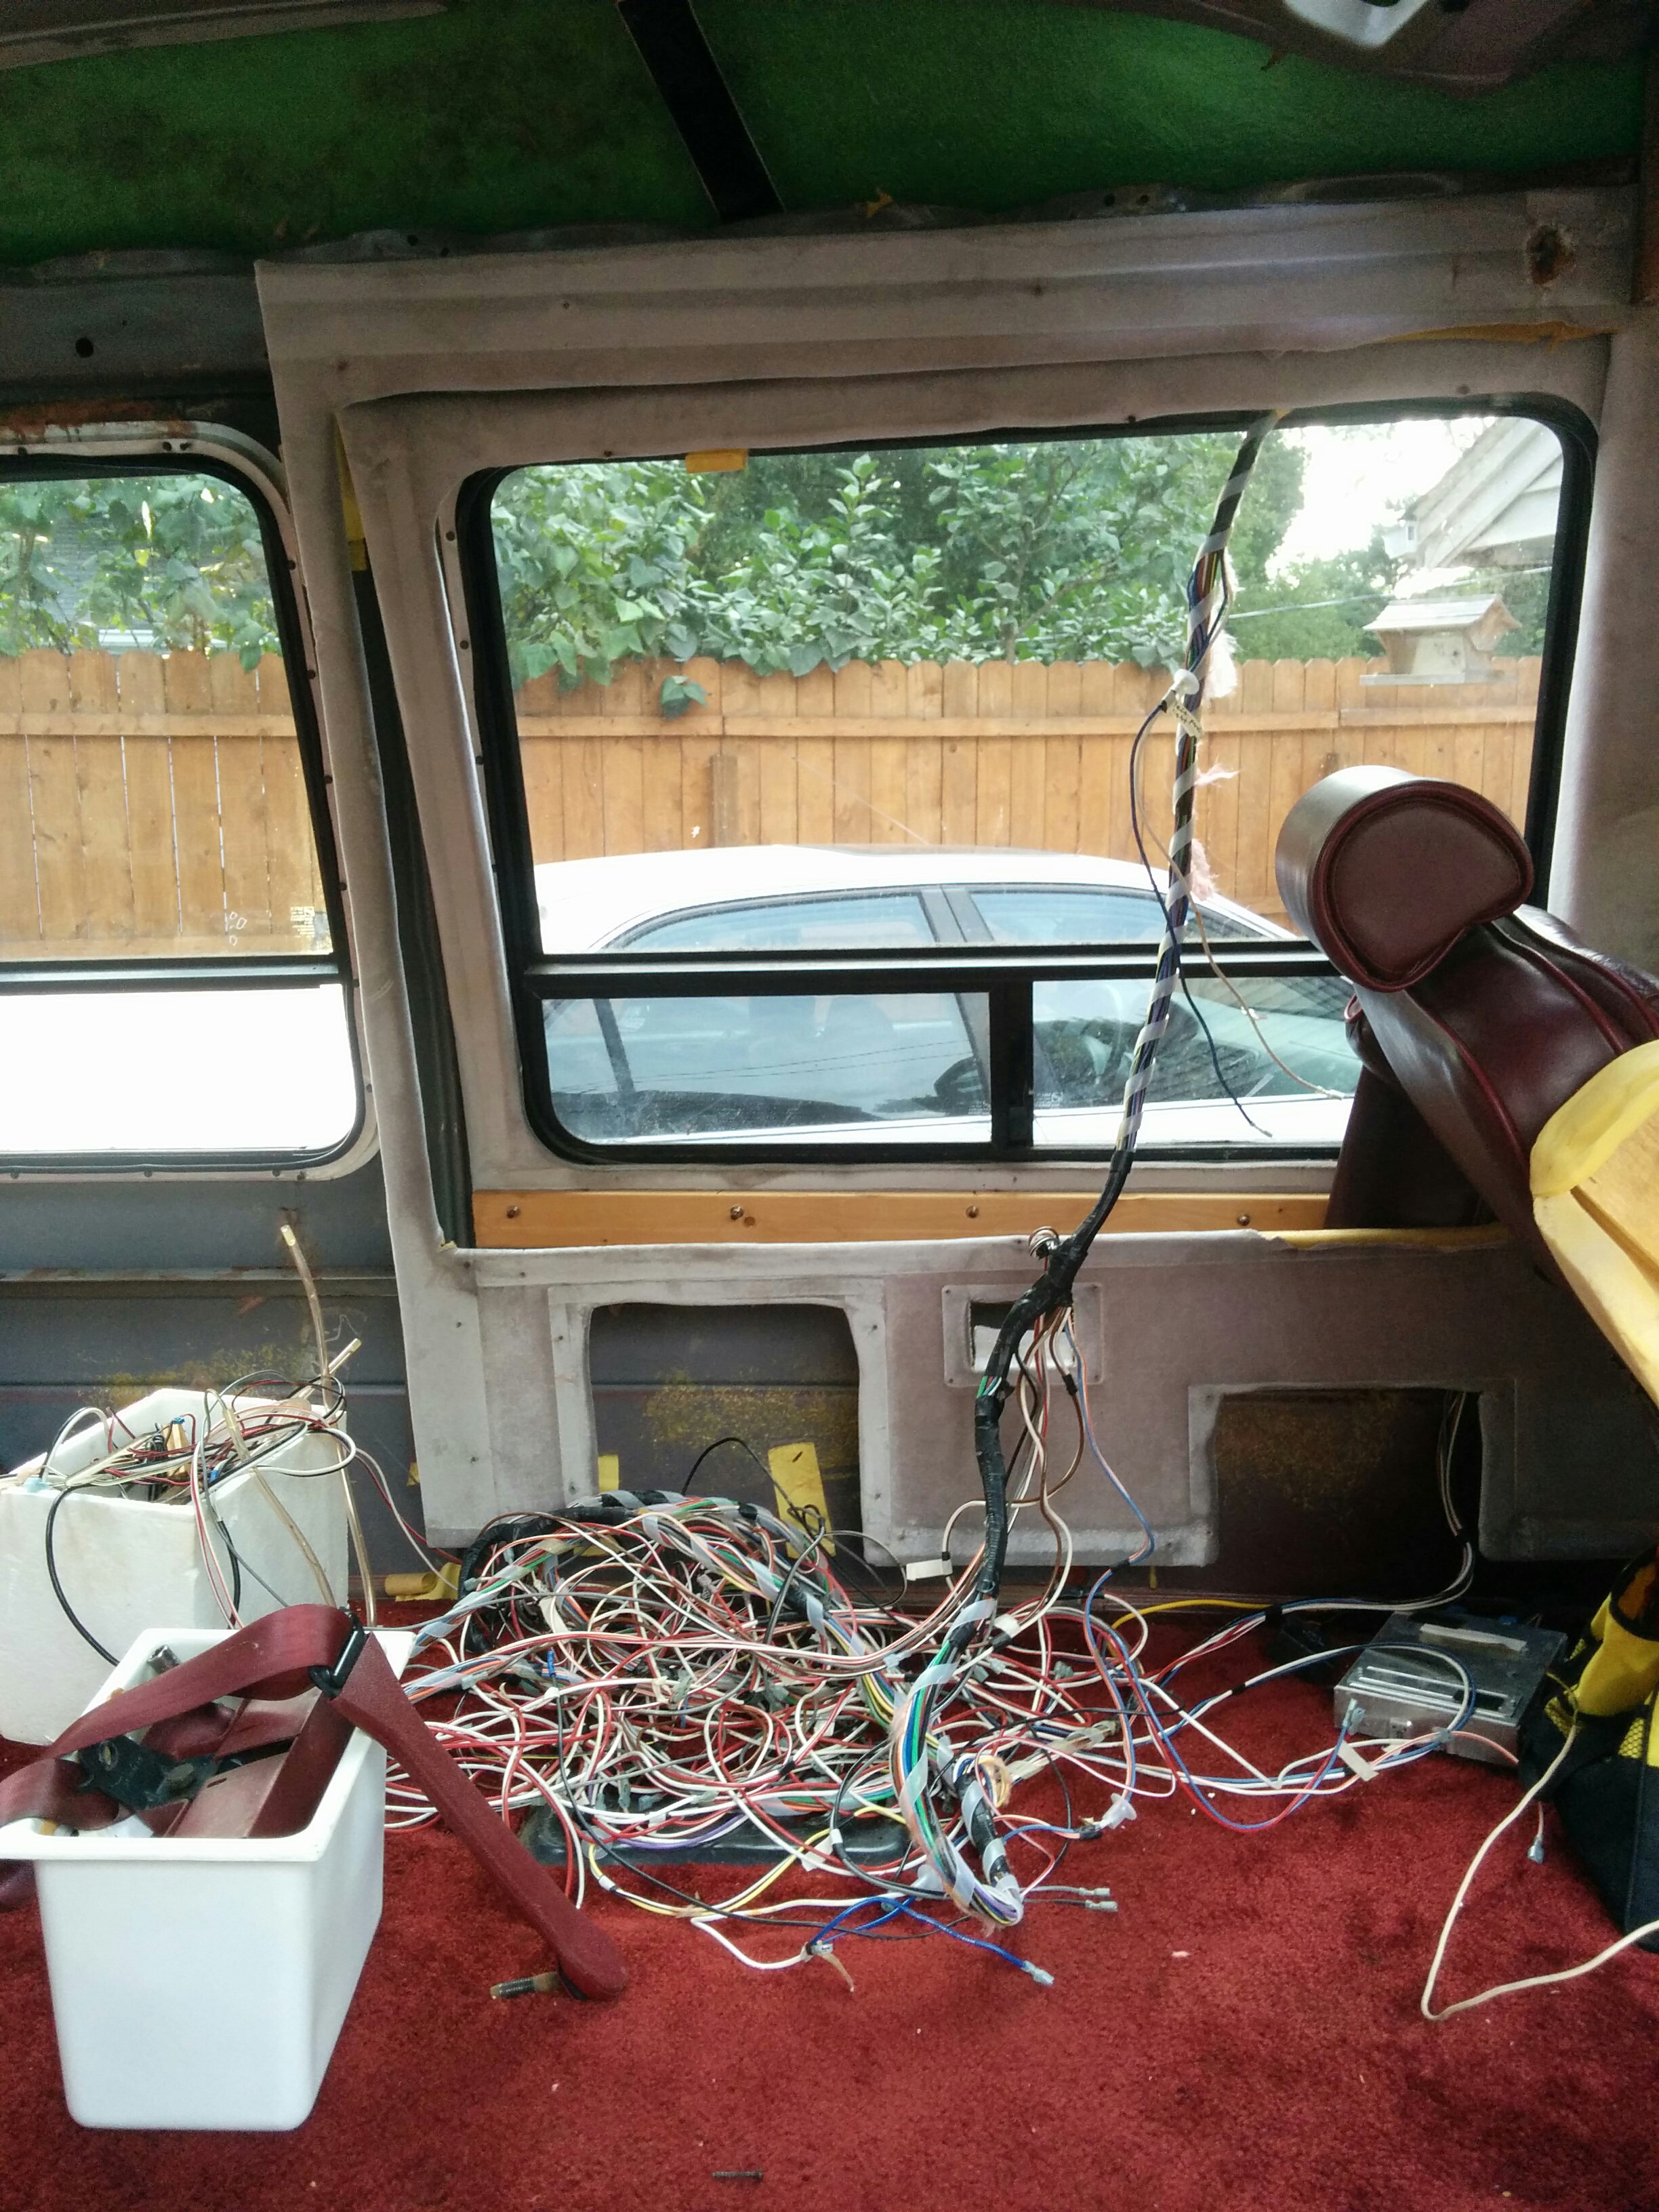
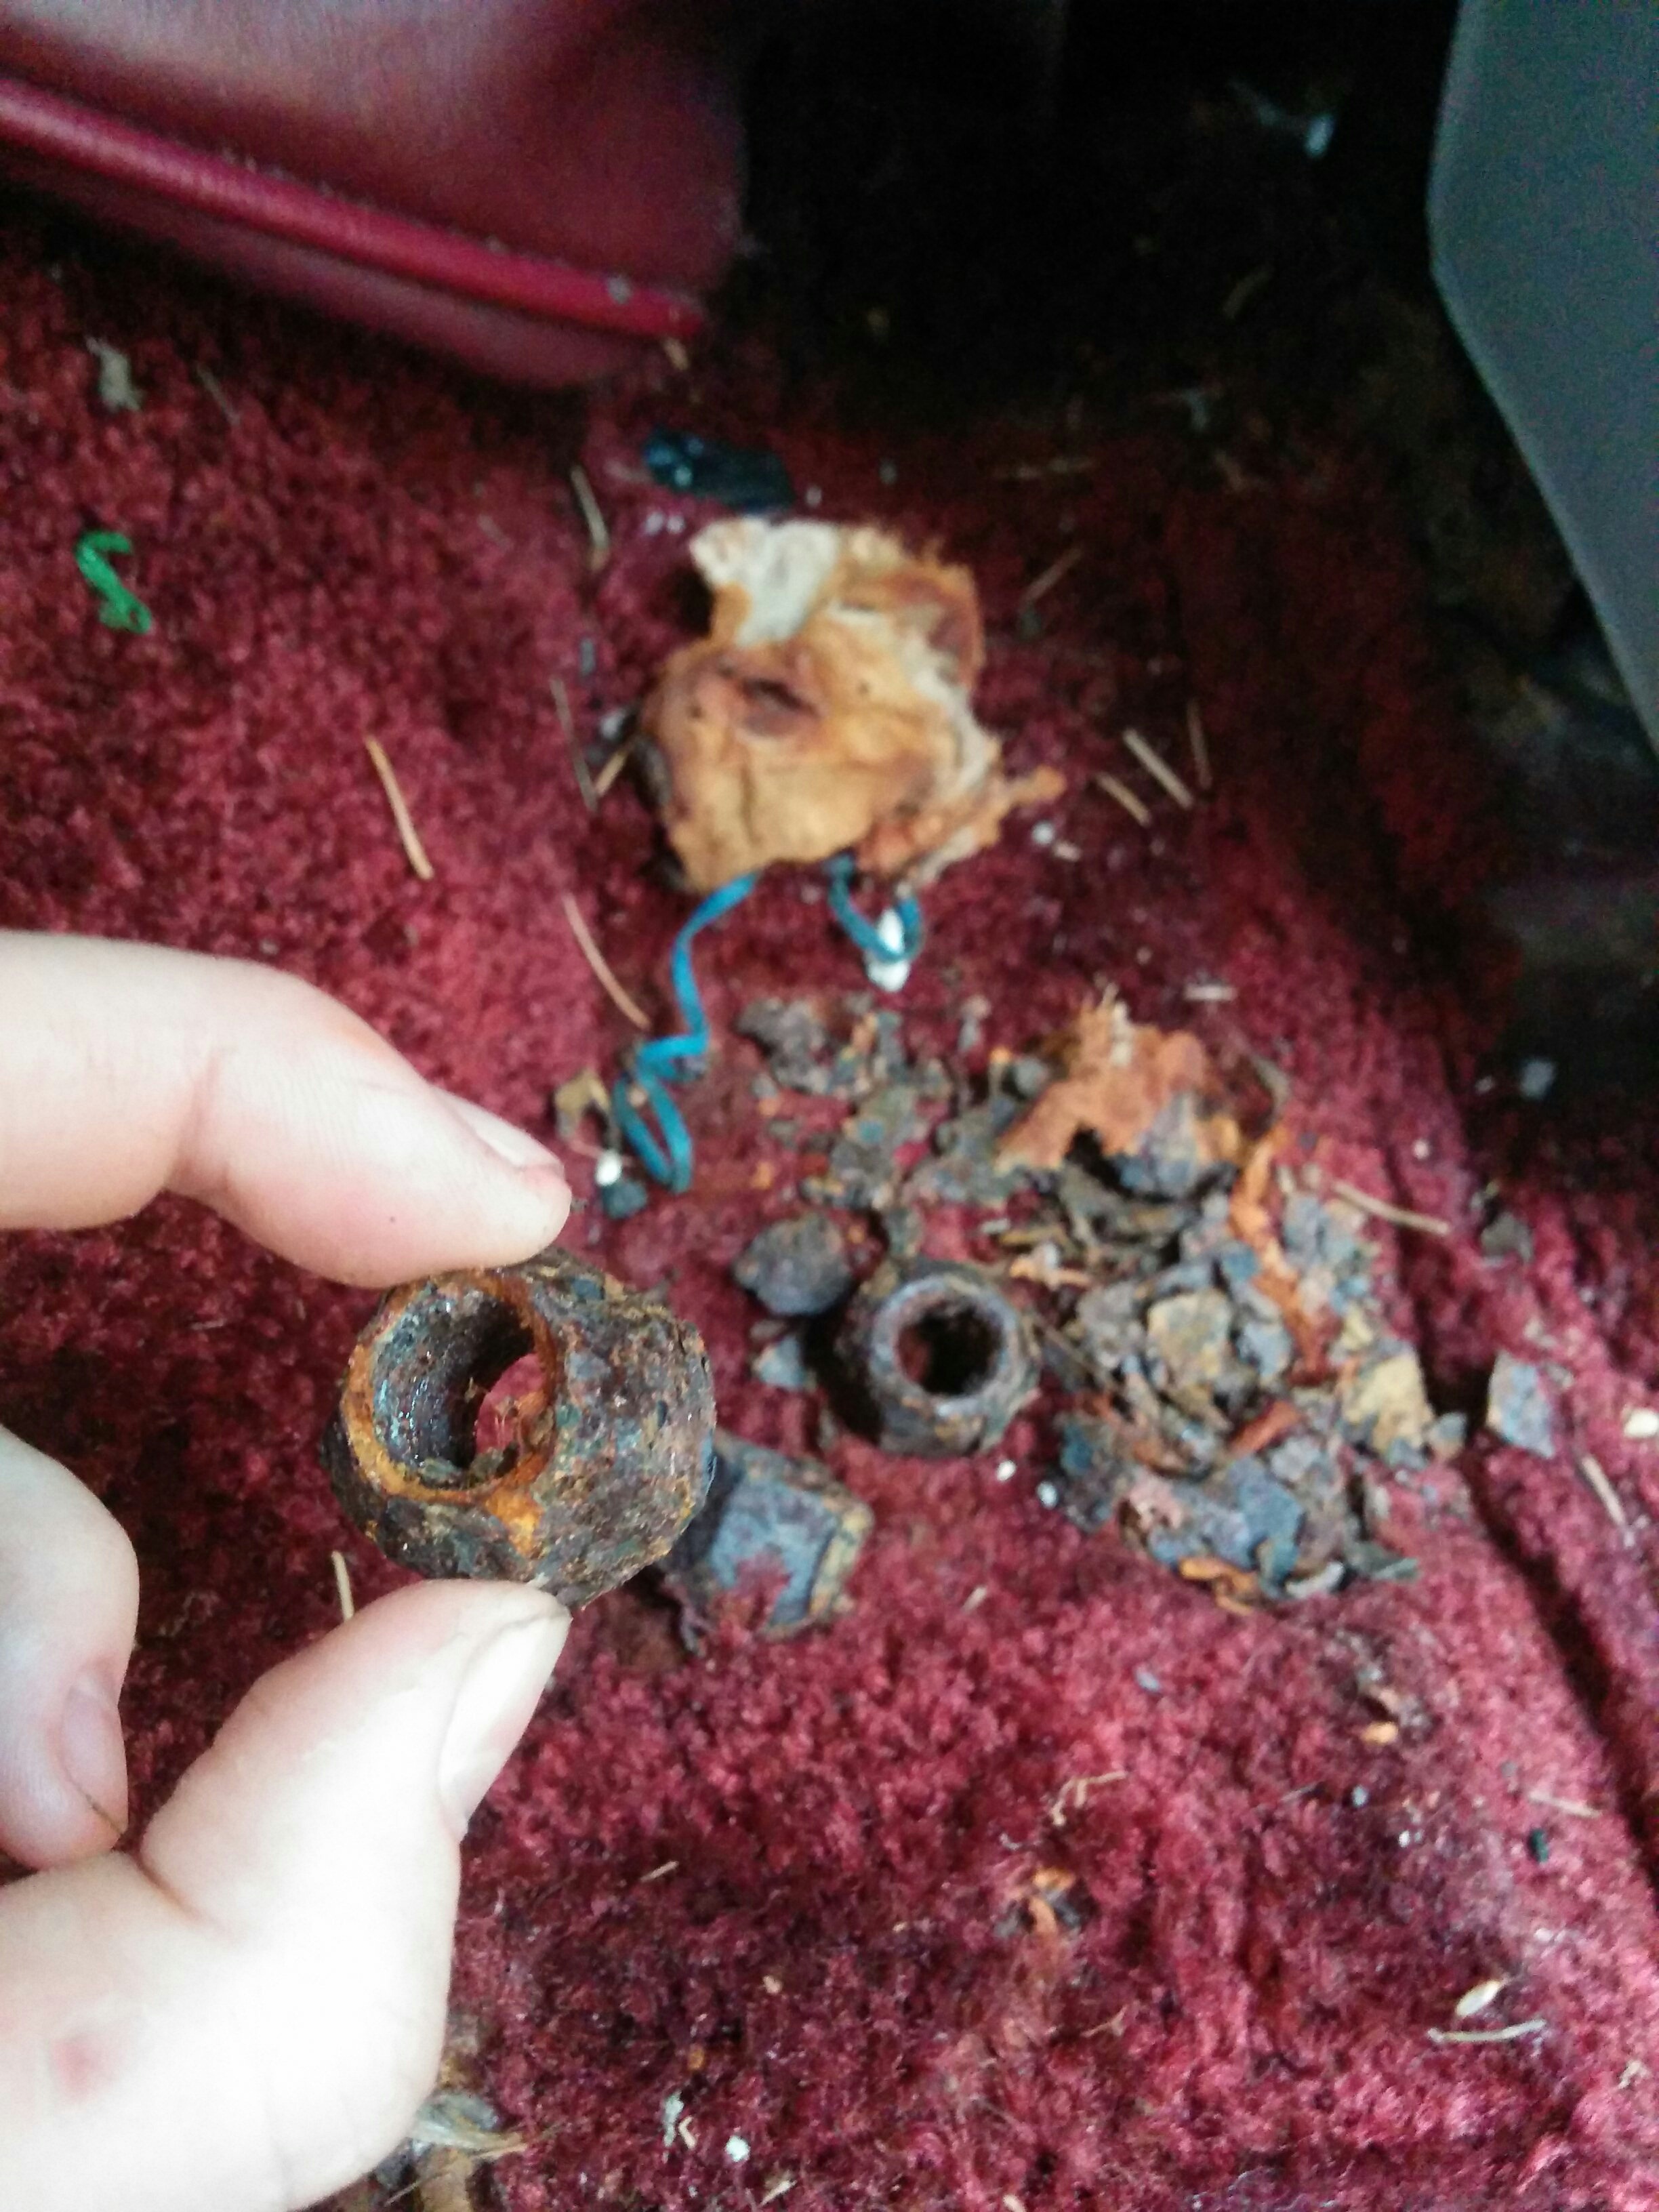
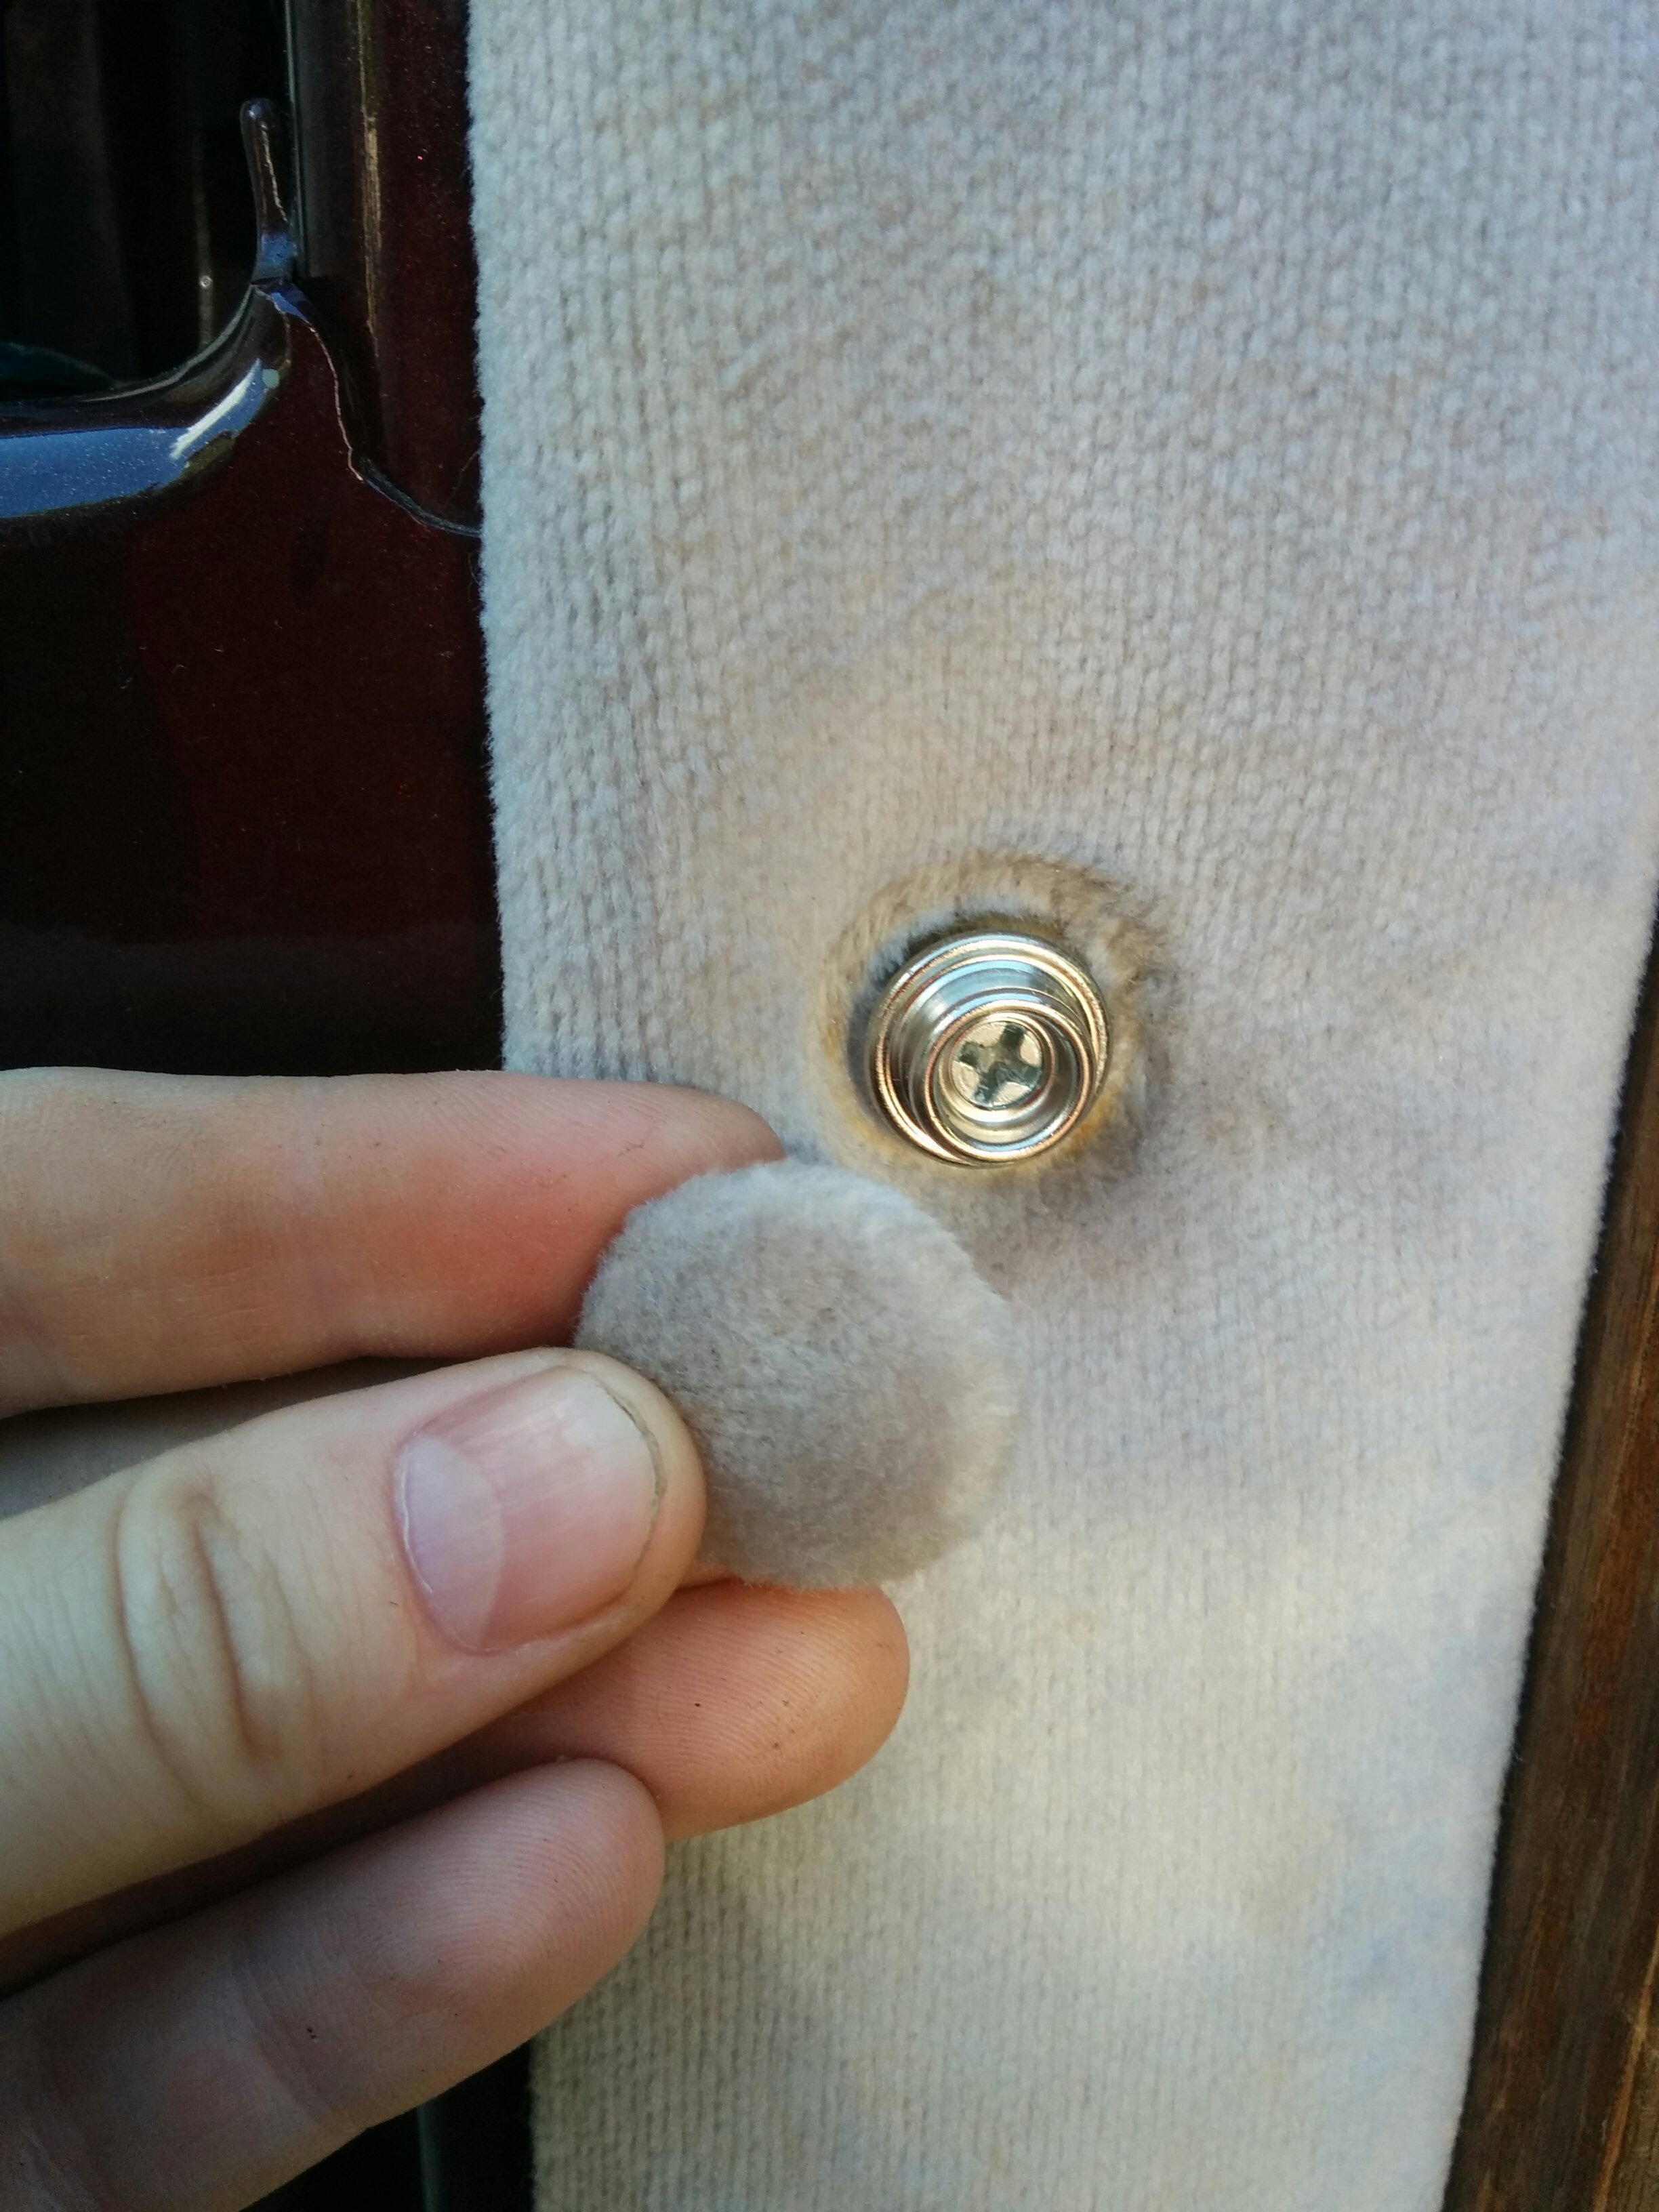
As you can see from the bucket on the left, at this point the seatbelt bolts had to be detached to free the side panels and wire loom.

They were a real PITA to get off and somehow even worse to get back on.
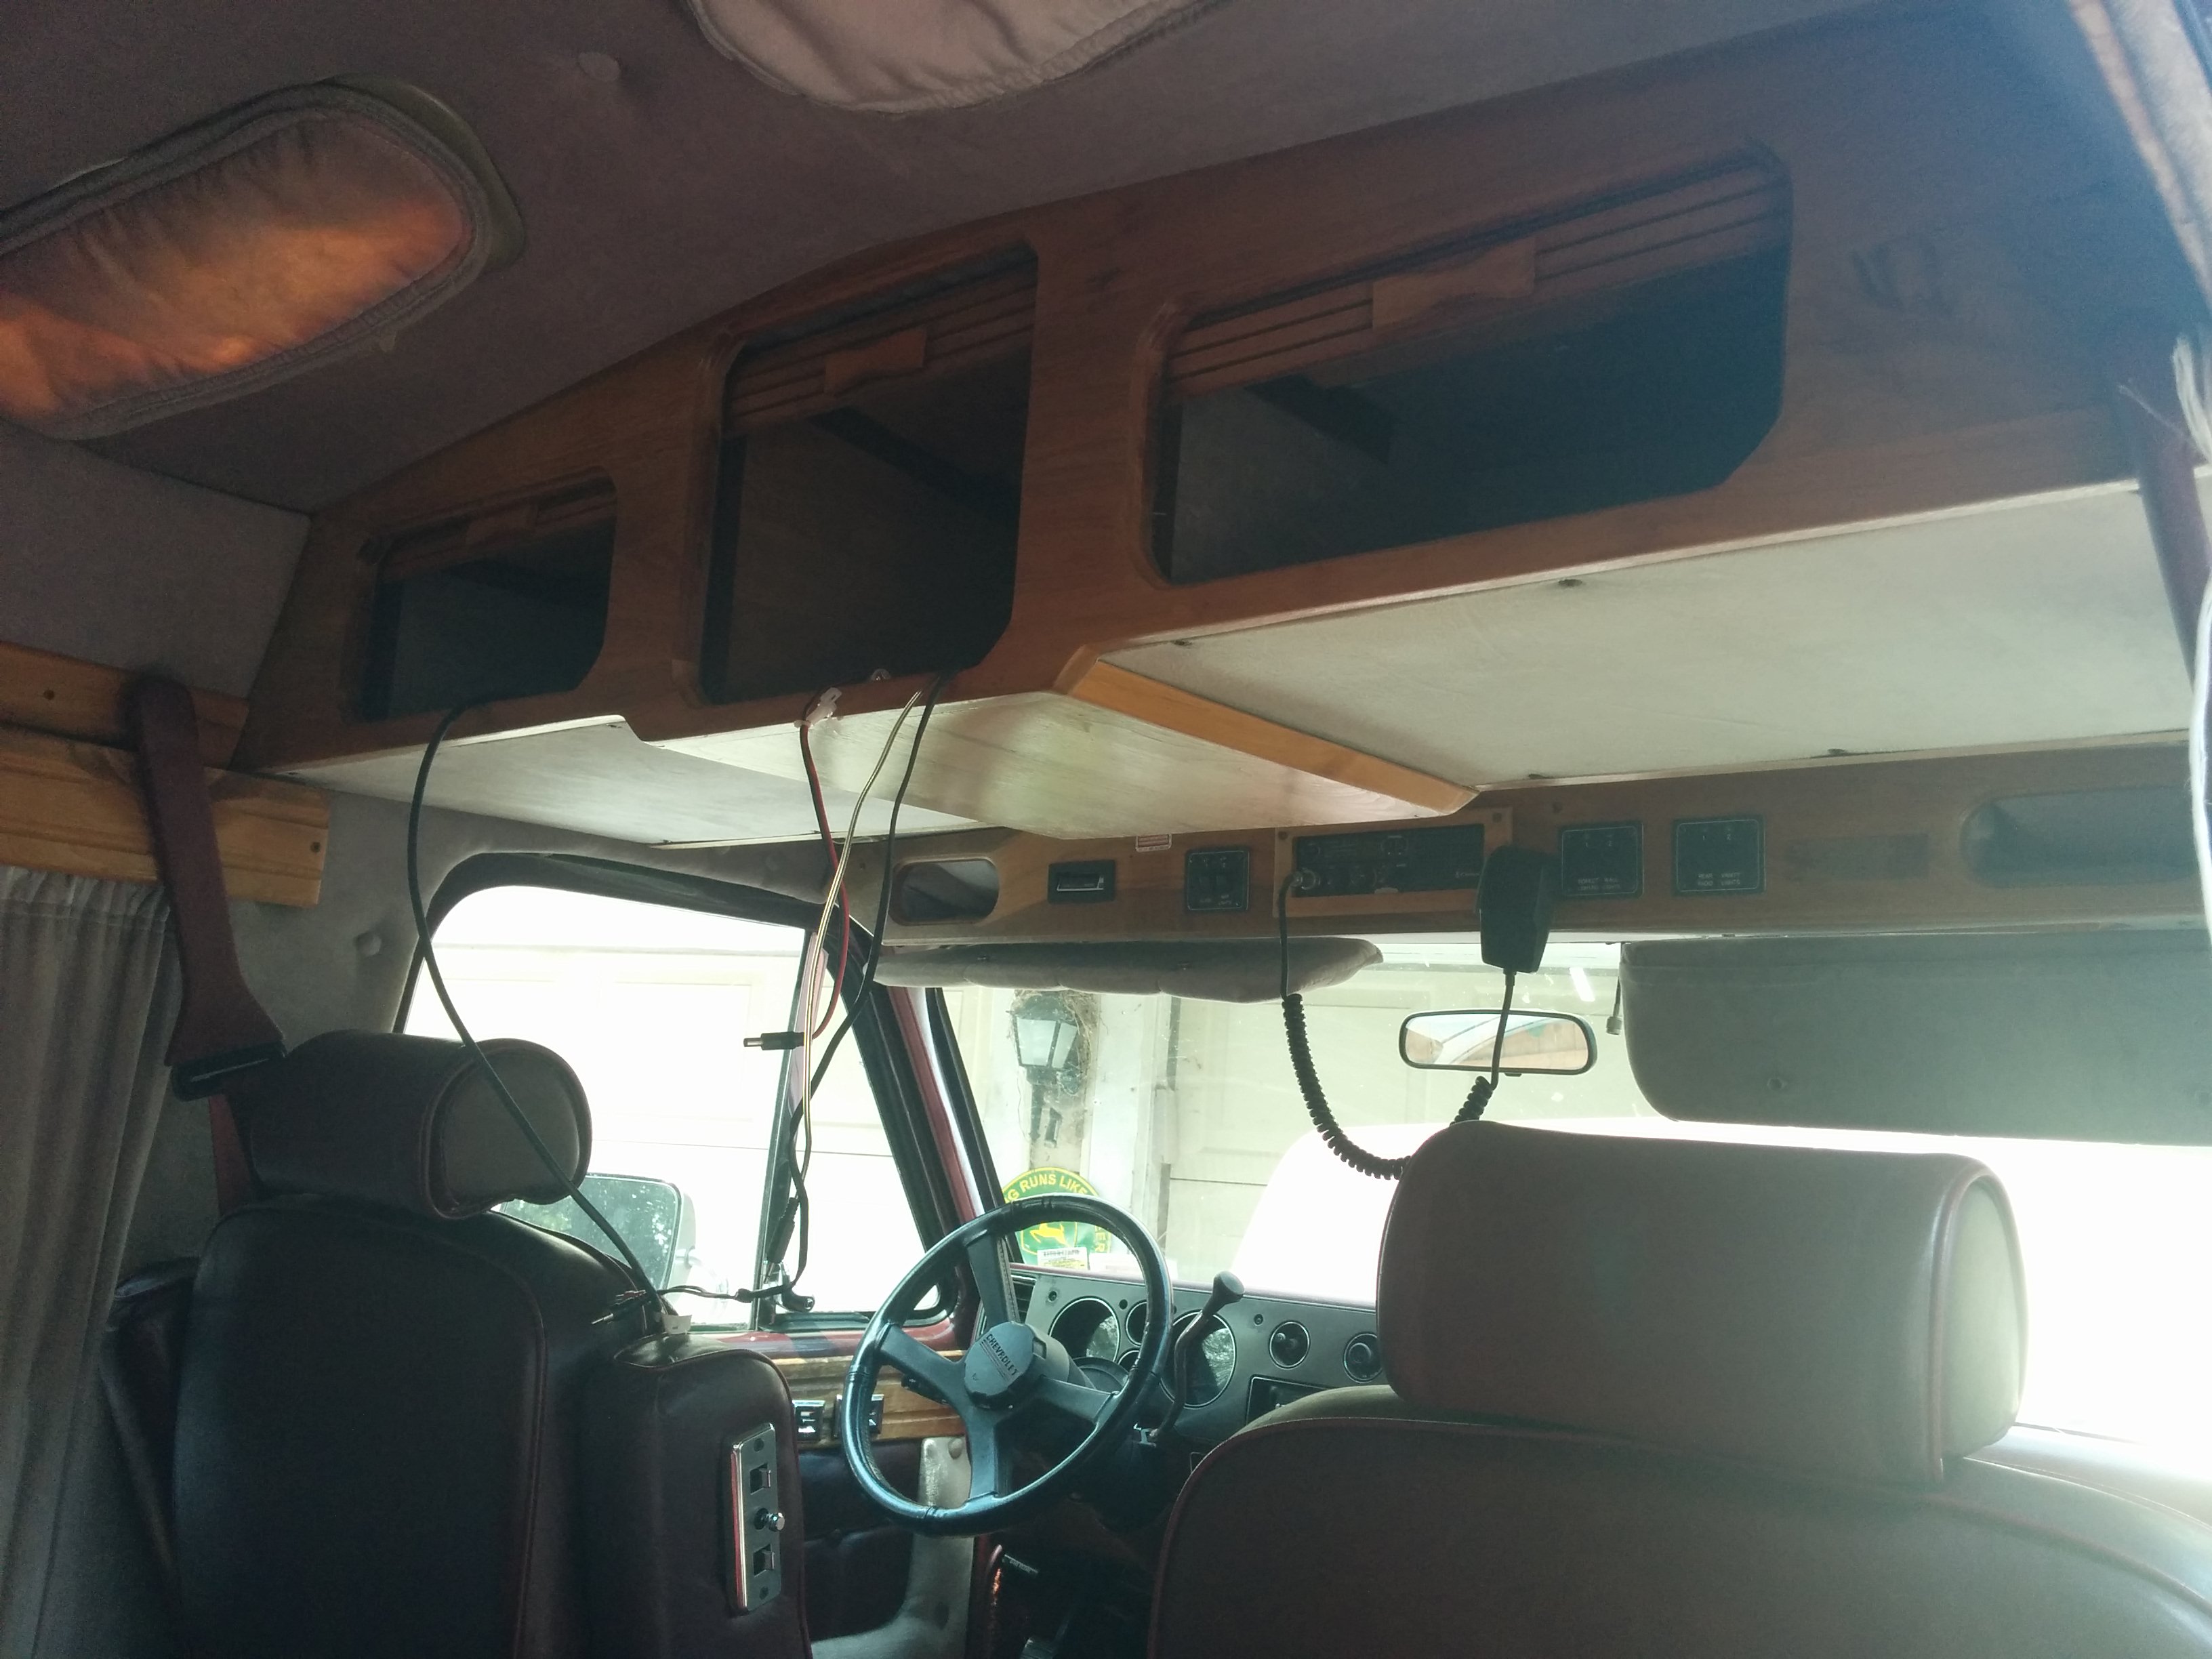
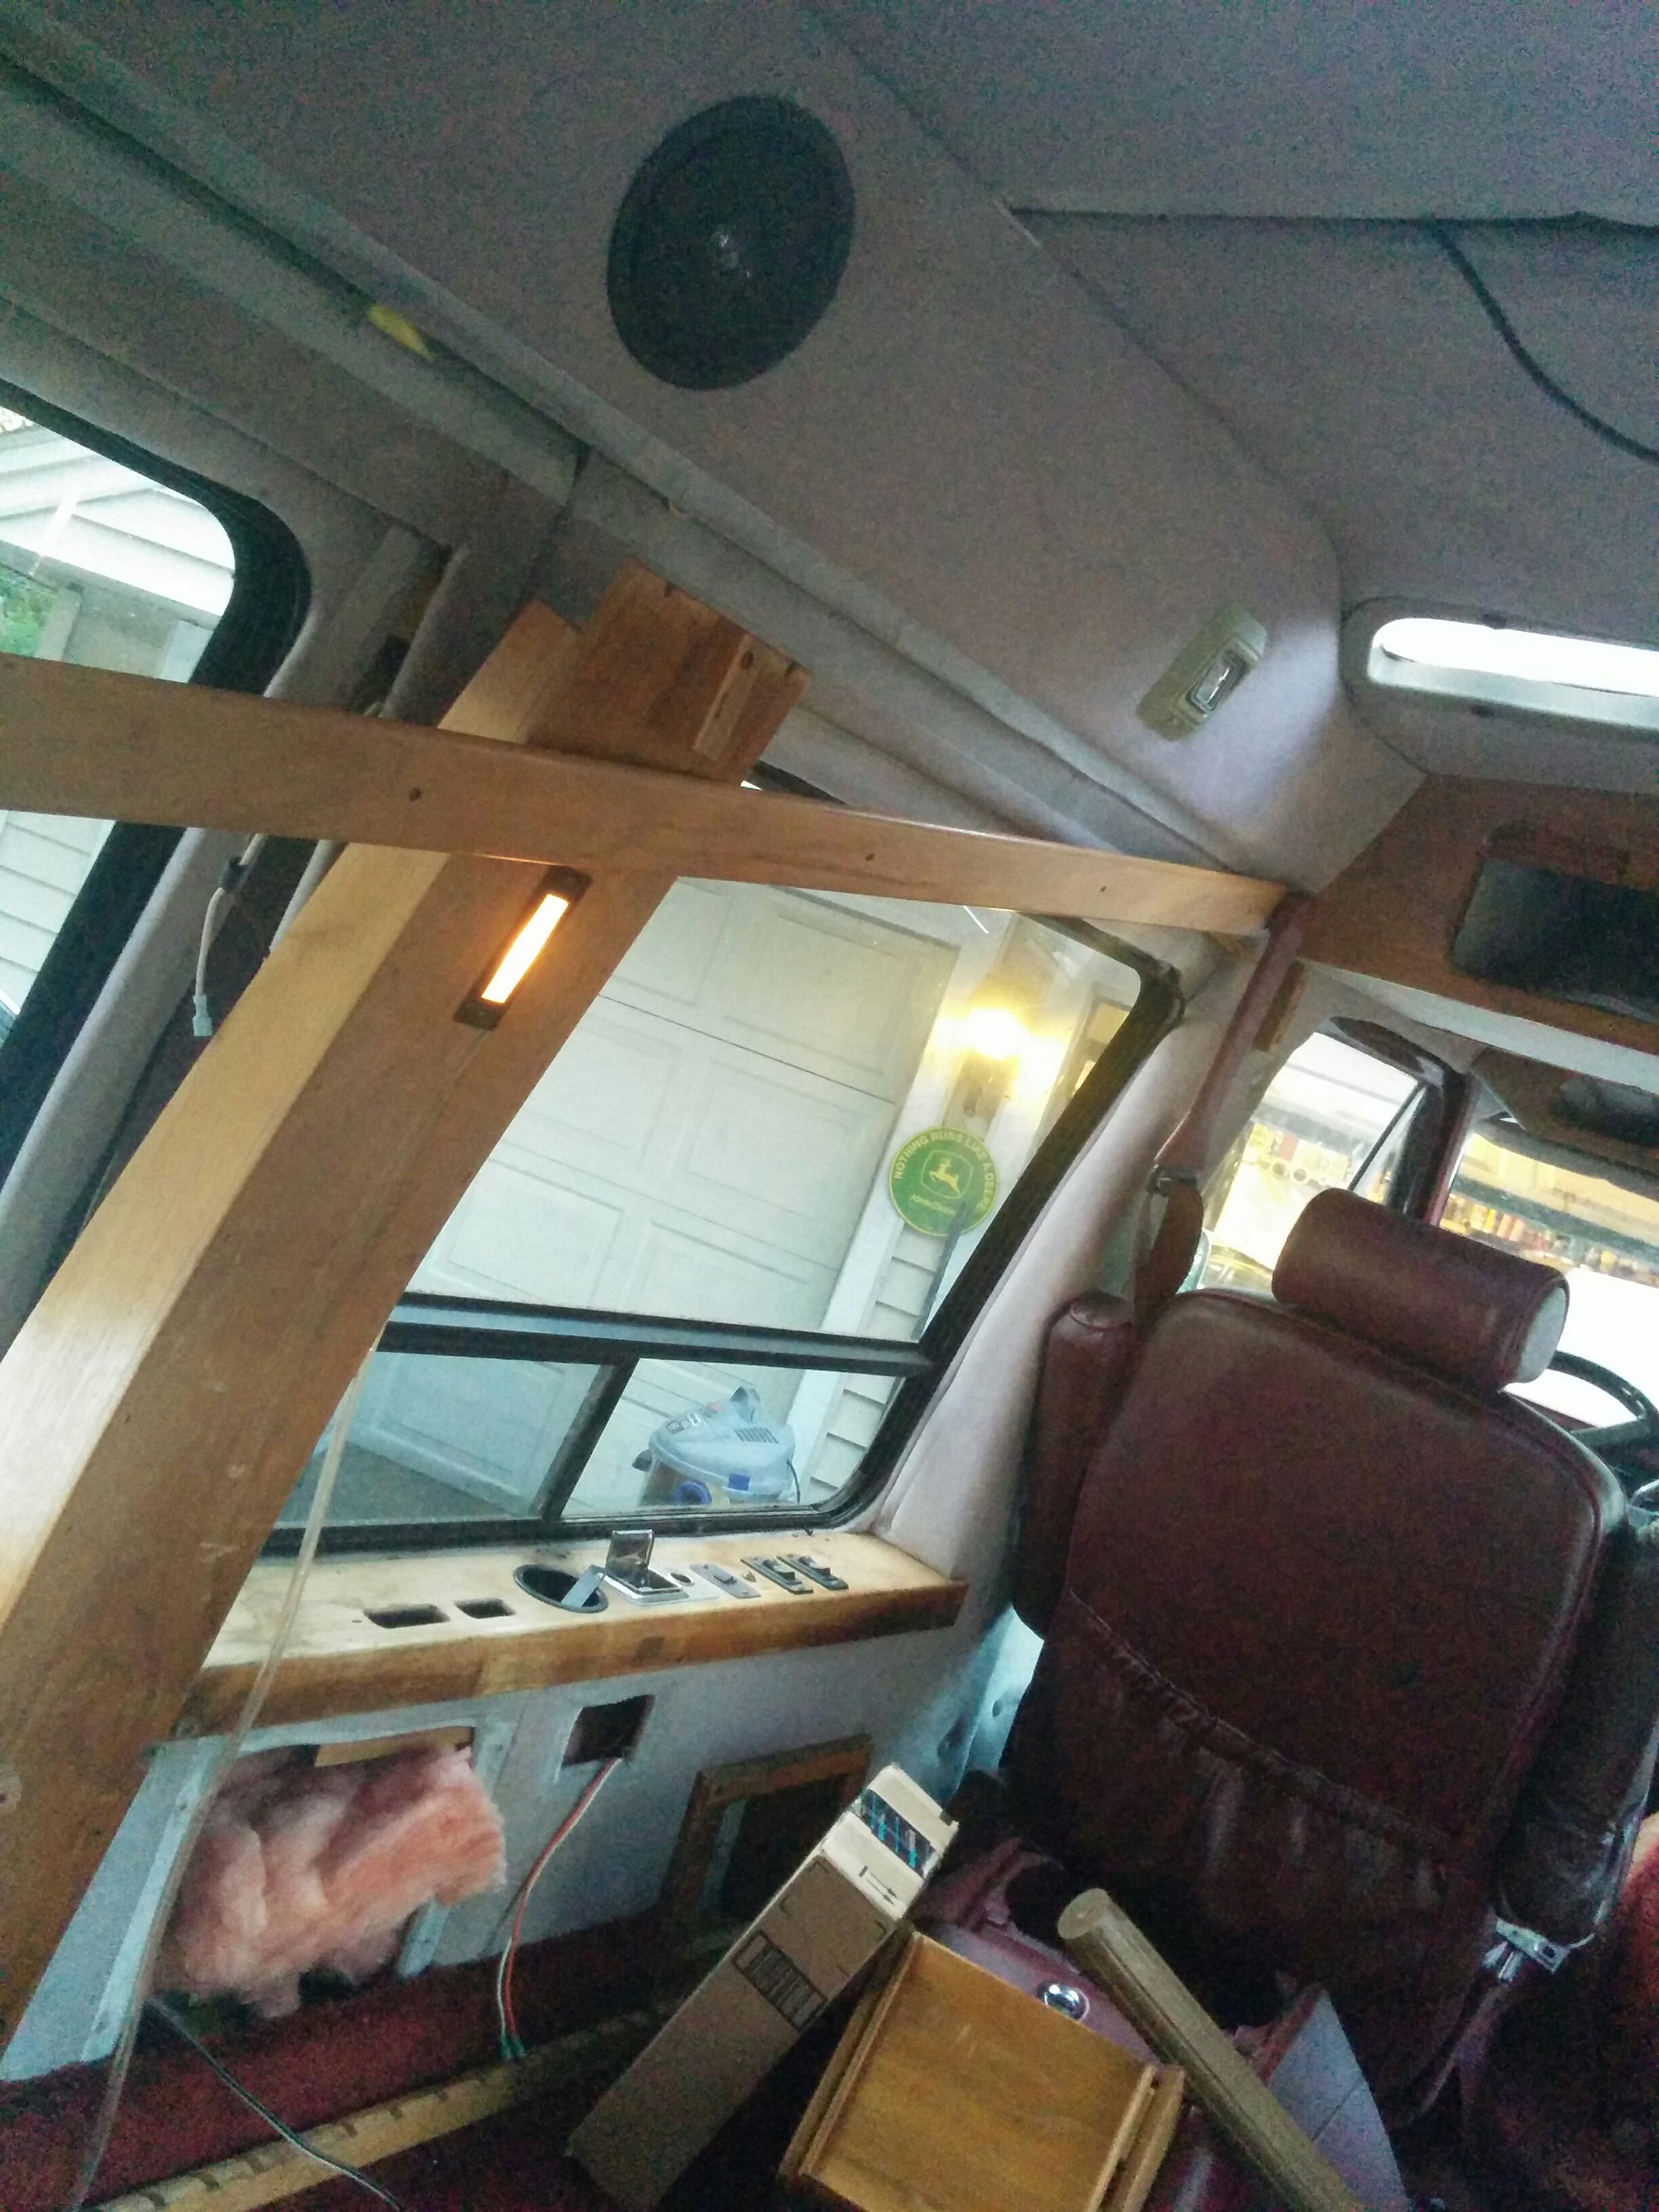
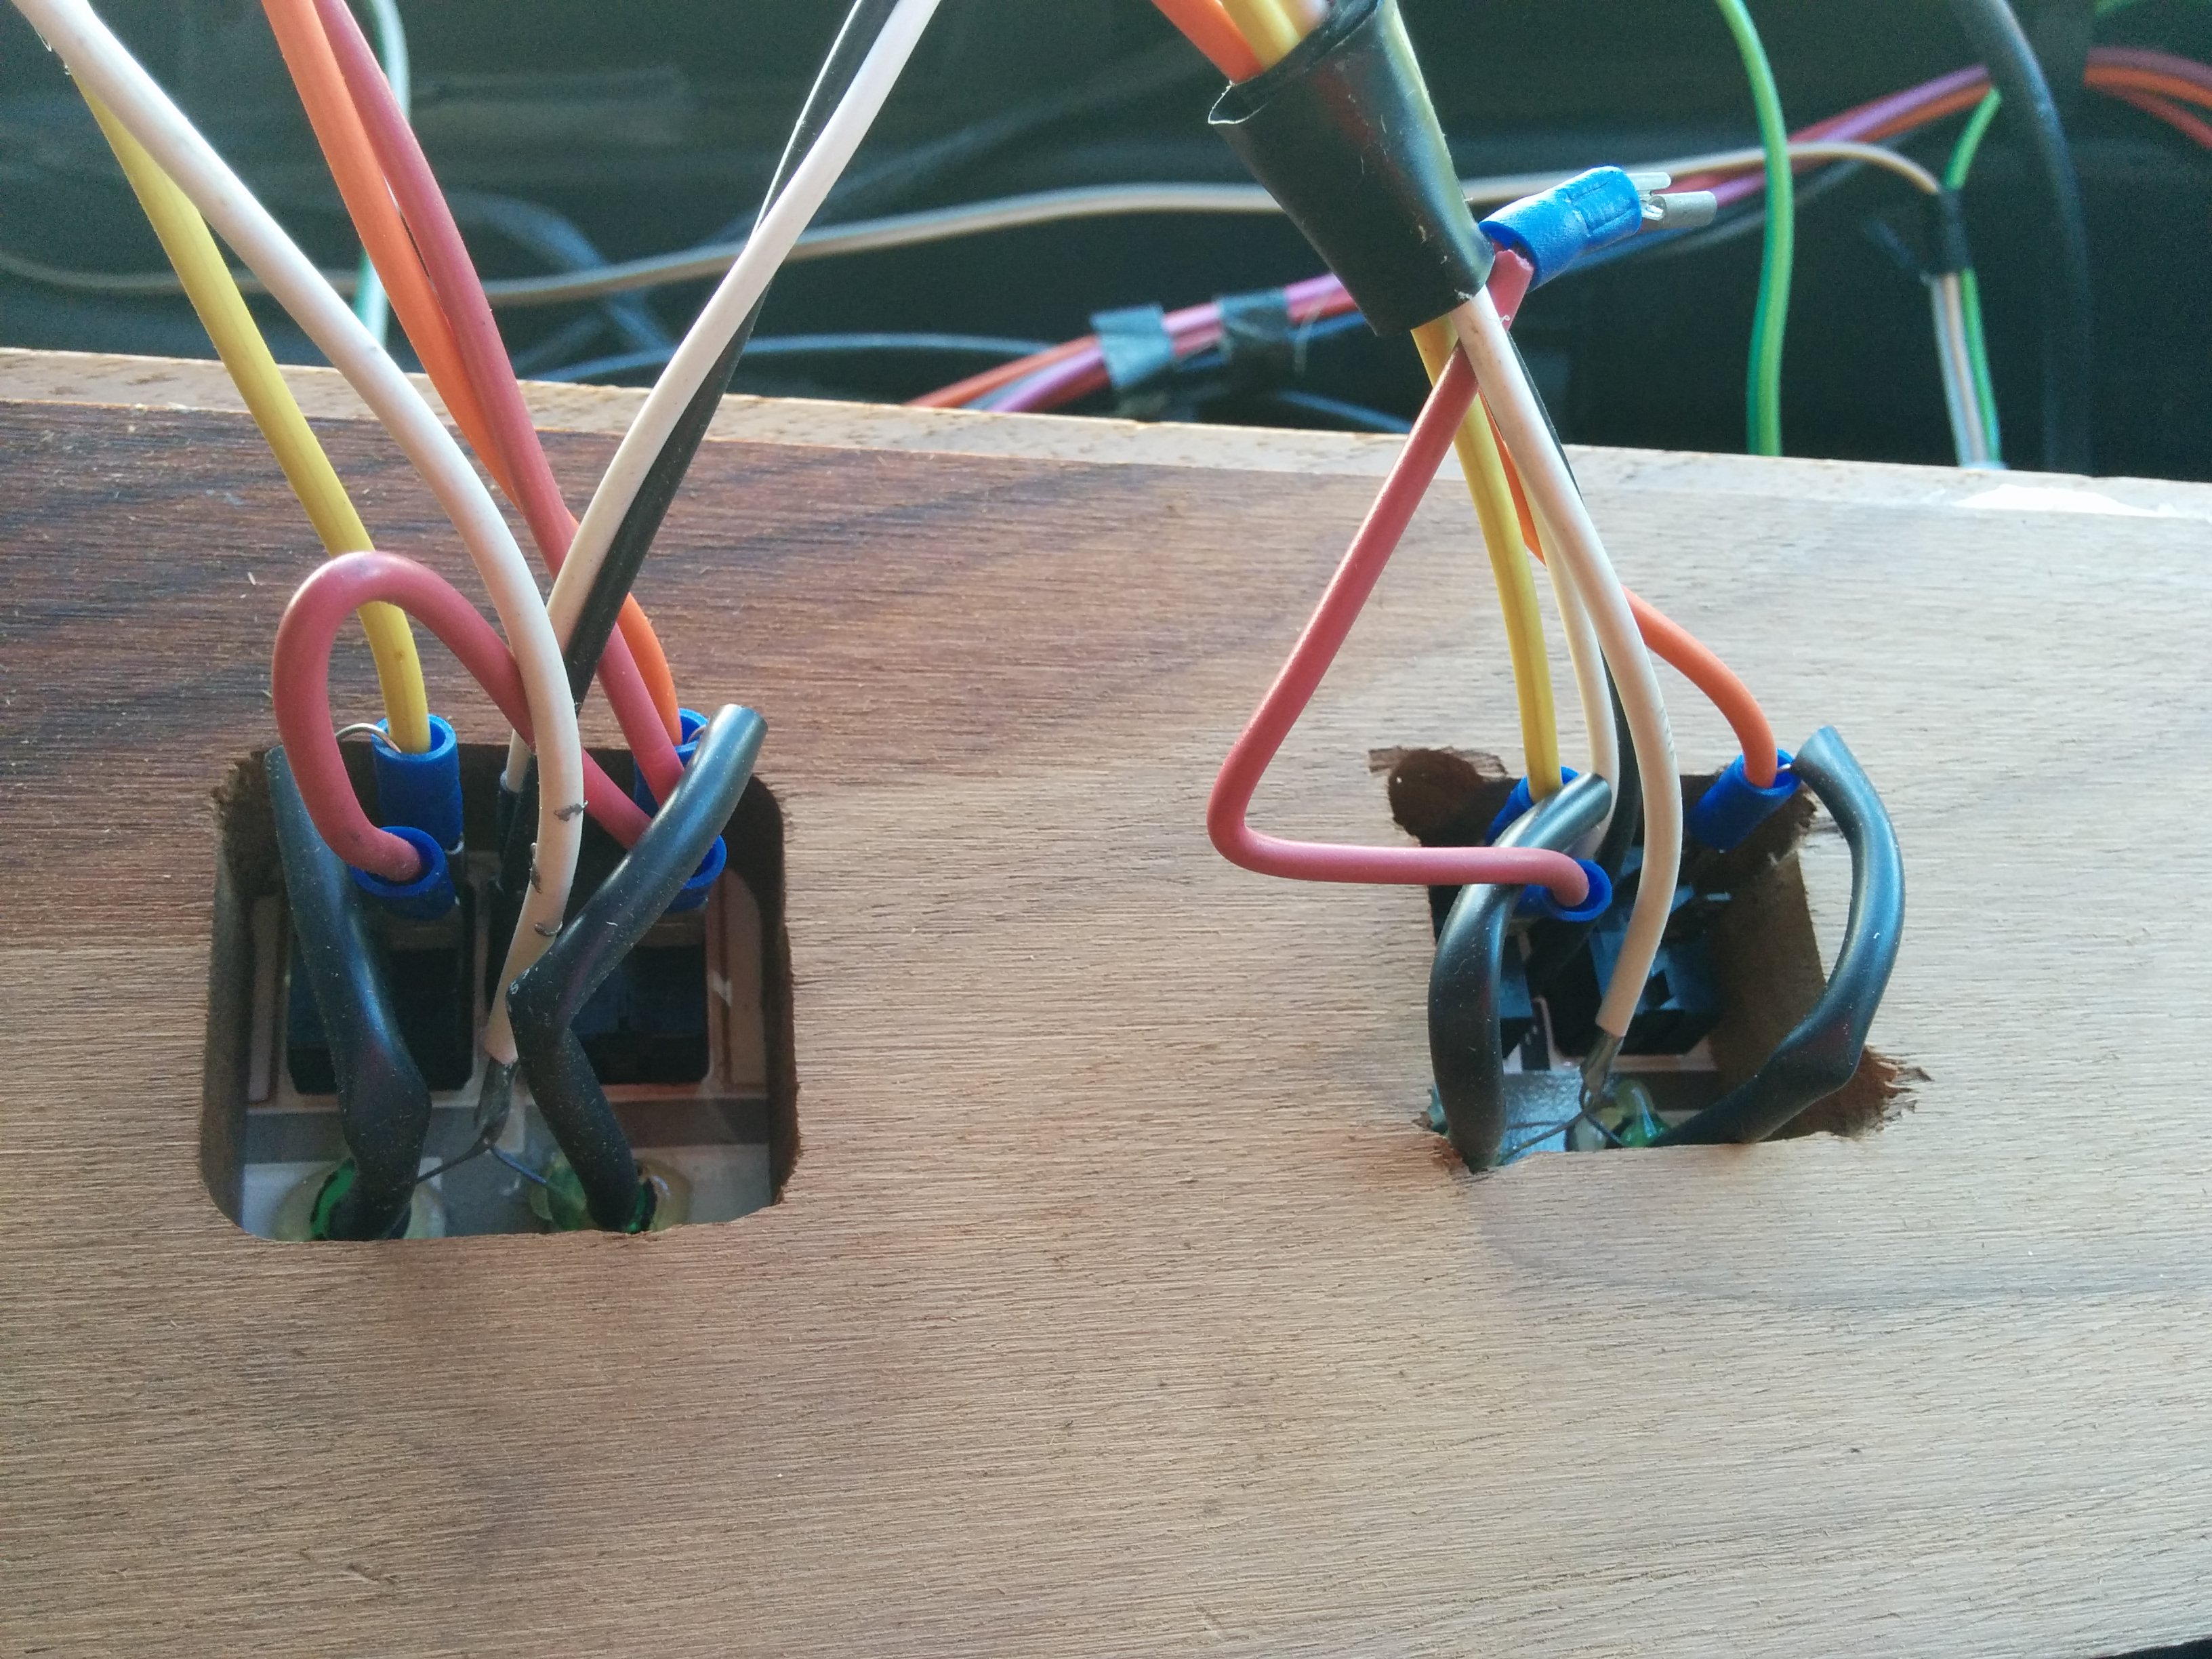
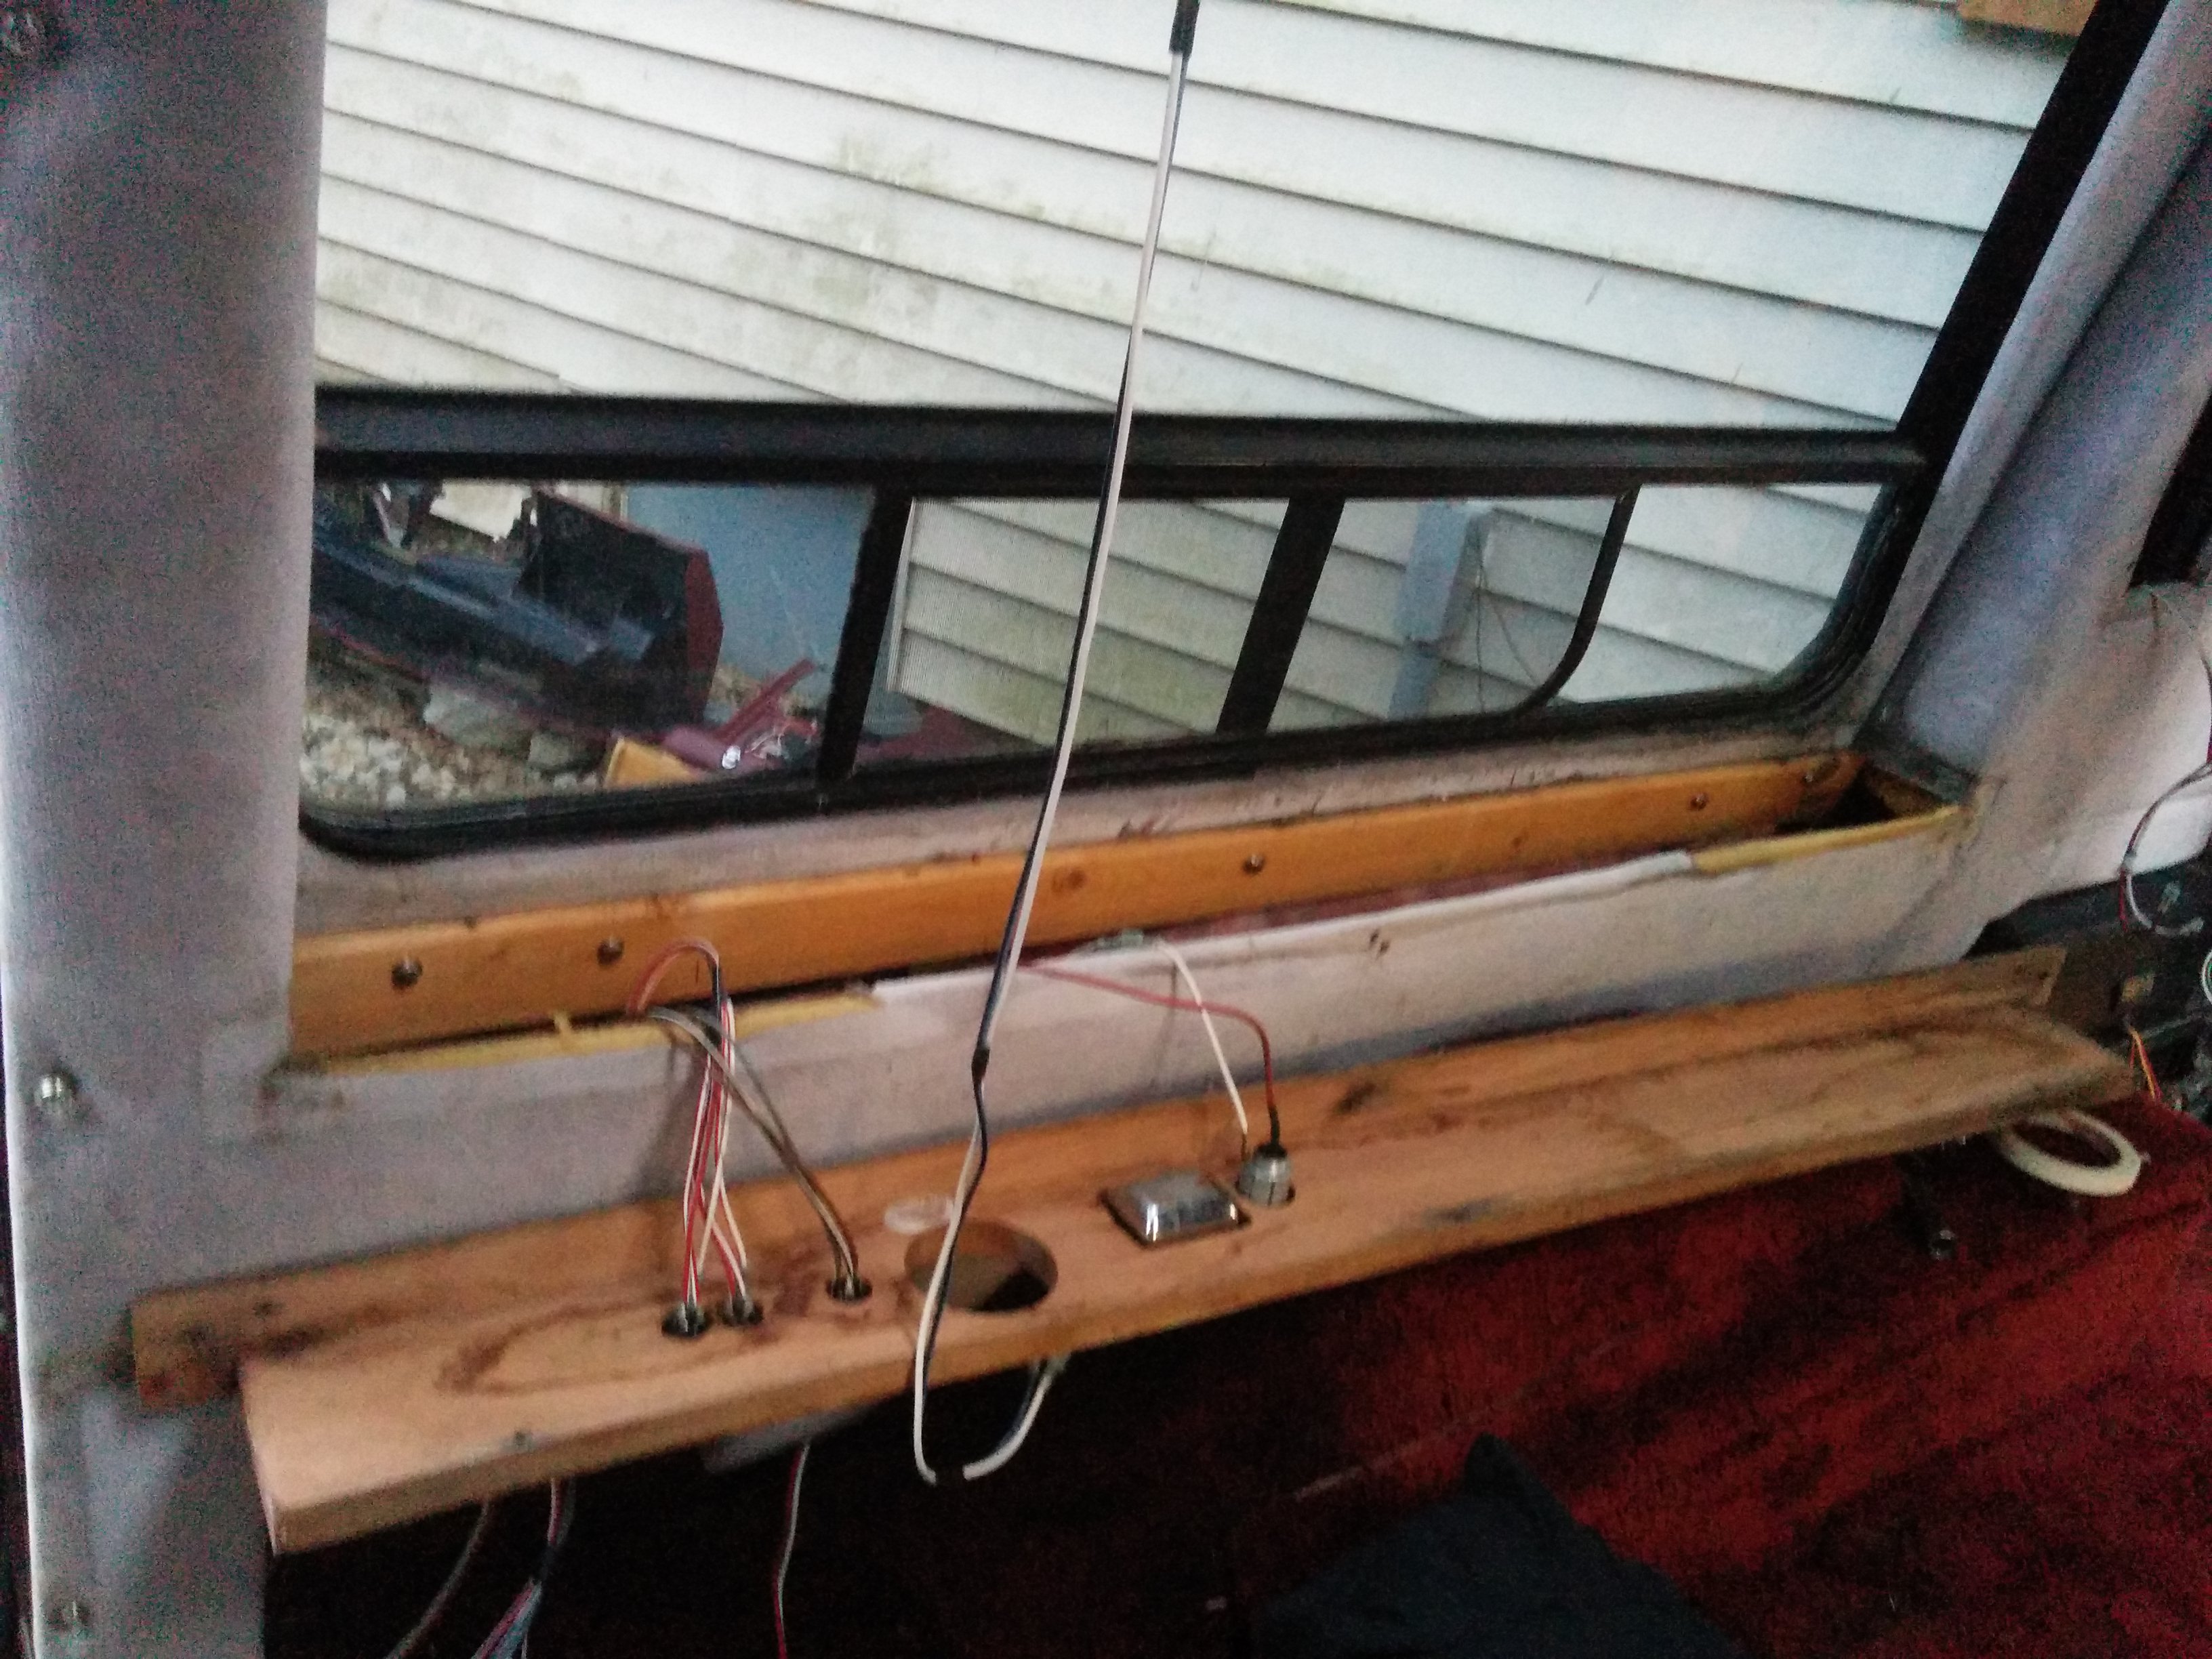
The front deck has all sorts of things. A clock, a CB radio, and switches for “map lights,” “indirect lighting,” “wall lights,” “vanity lights,” and “rear radio.” Some of these worked and some of them didn’t; obviously, even fewer of them were of any use now that I’d removed indirect/wall/vanity lights and the rear radio. Still, I honestly would have been happy to just leave this area as is, but the way the tv hutch and everything else was attached made this very difficult.
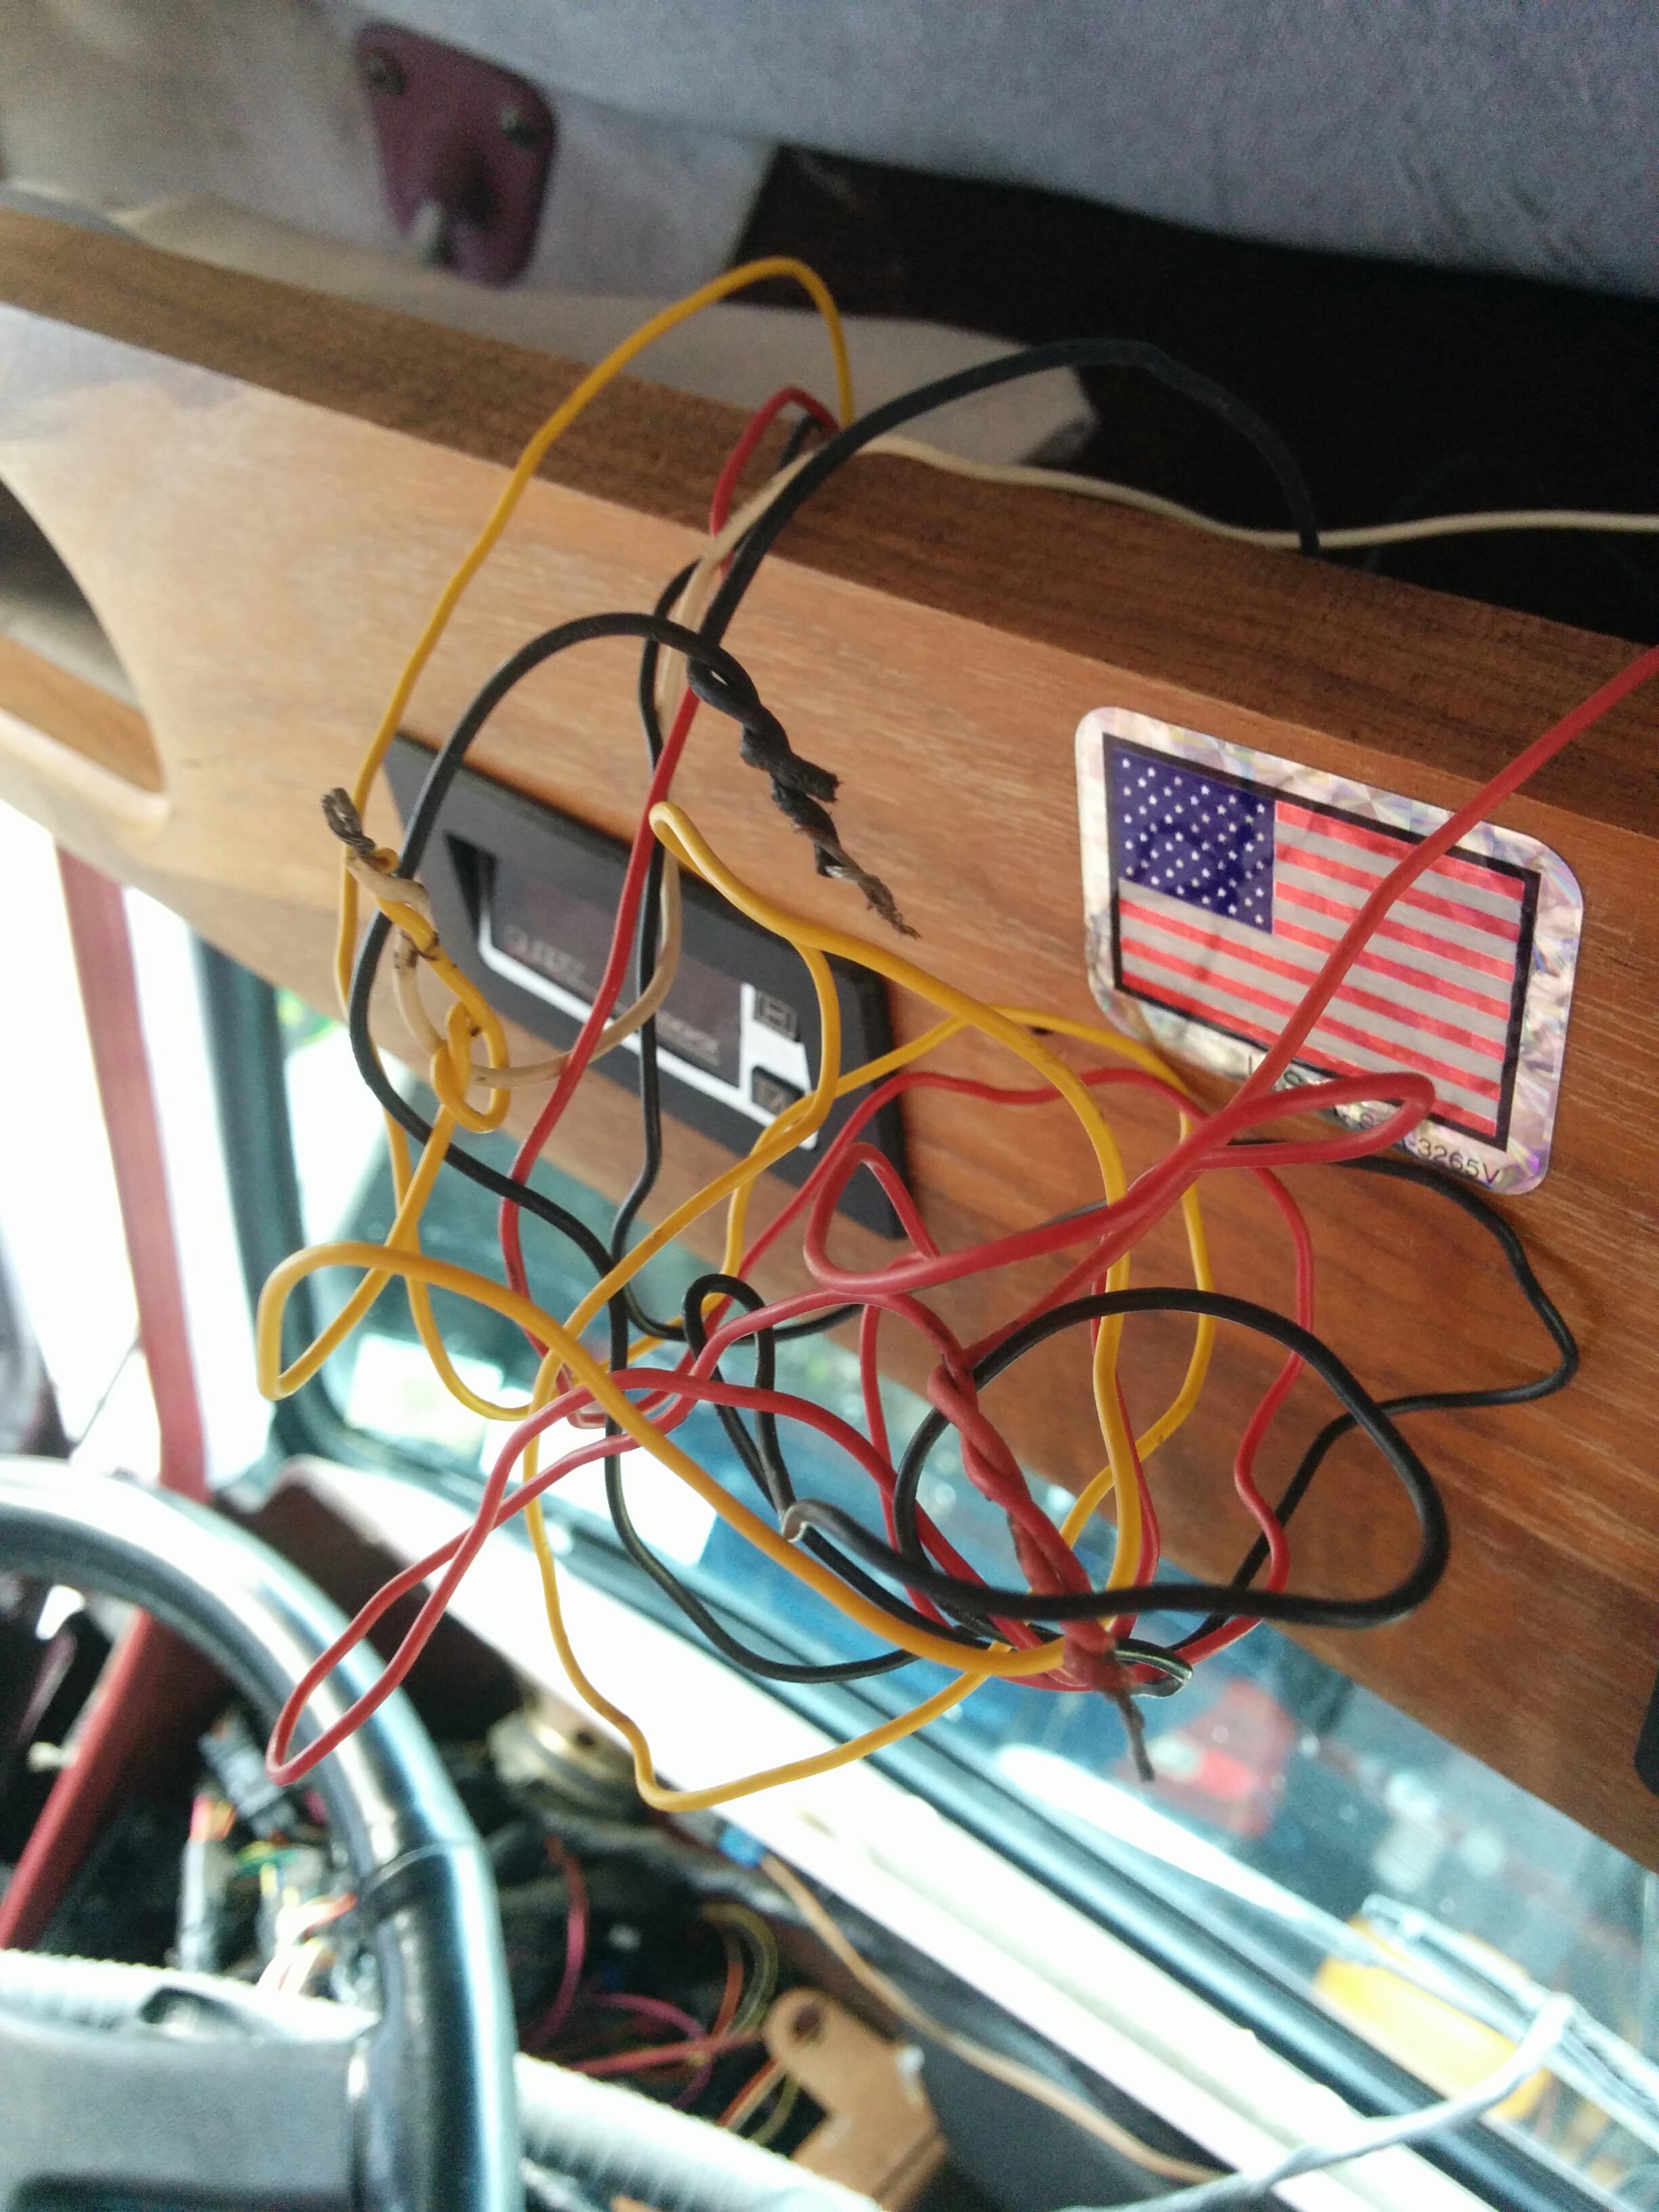
On the drive to Ohio, I’d already had some electrical problems and these only continued to mount as we had worked on the van. This was partly what had motivated me to strip the excess wiring. The more questionable wiring I encountered the more grateful I was to be getting rid of it.
Another chunk of original van roof formed a shelf in the front, through which a hole had been drilled permitting cable access to the front deck.
The boards weren’t screwed in. They were just shoved there along with the random piece of fiberglass. (Presumably to keep things from clanking around?)
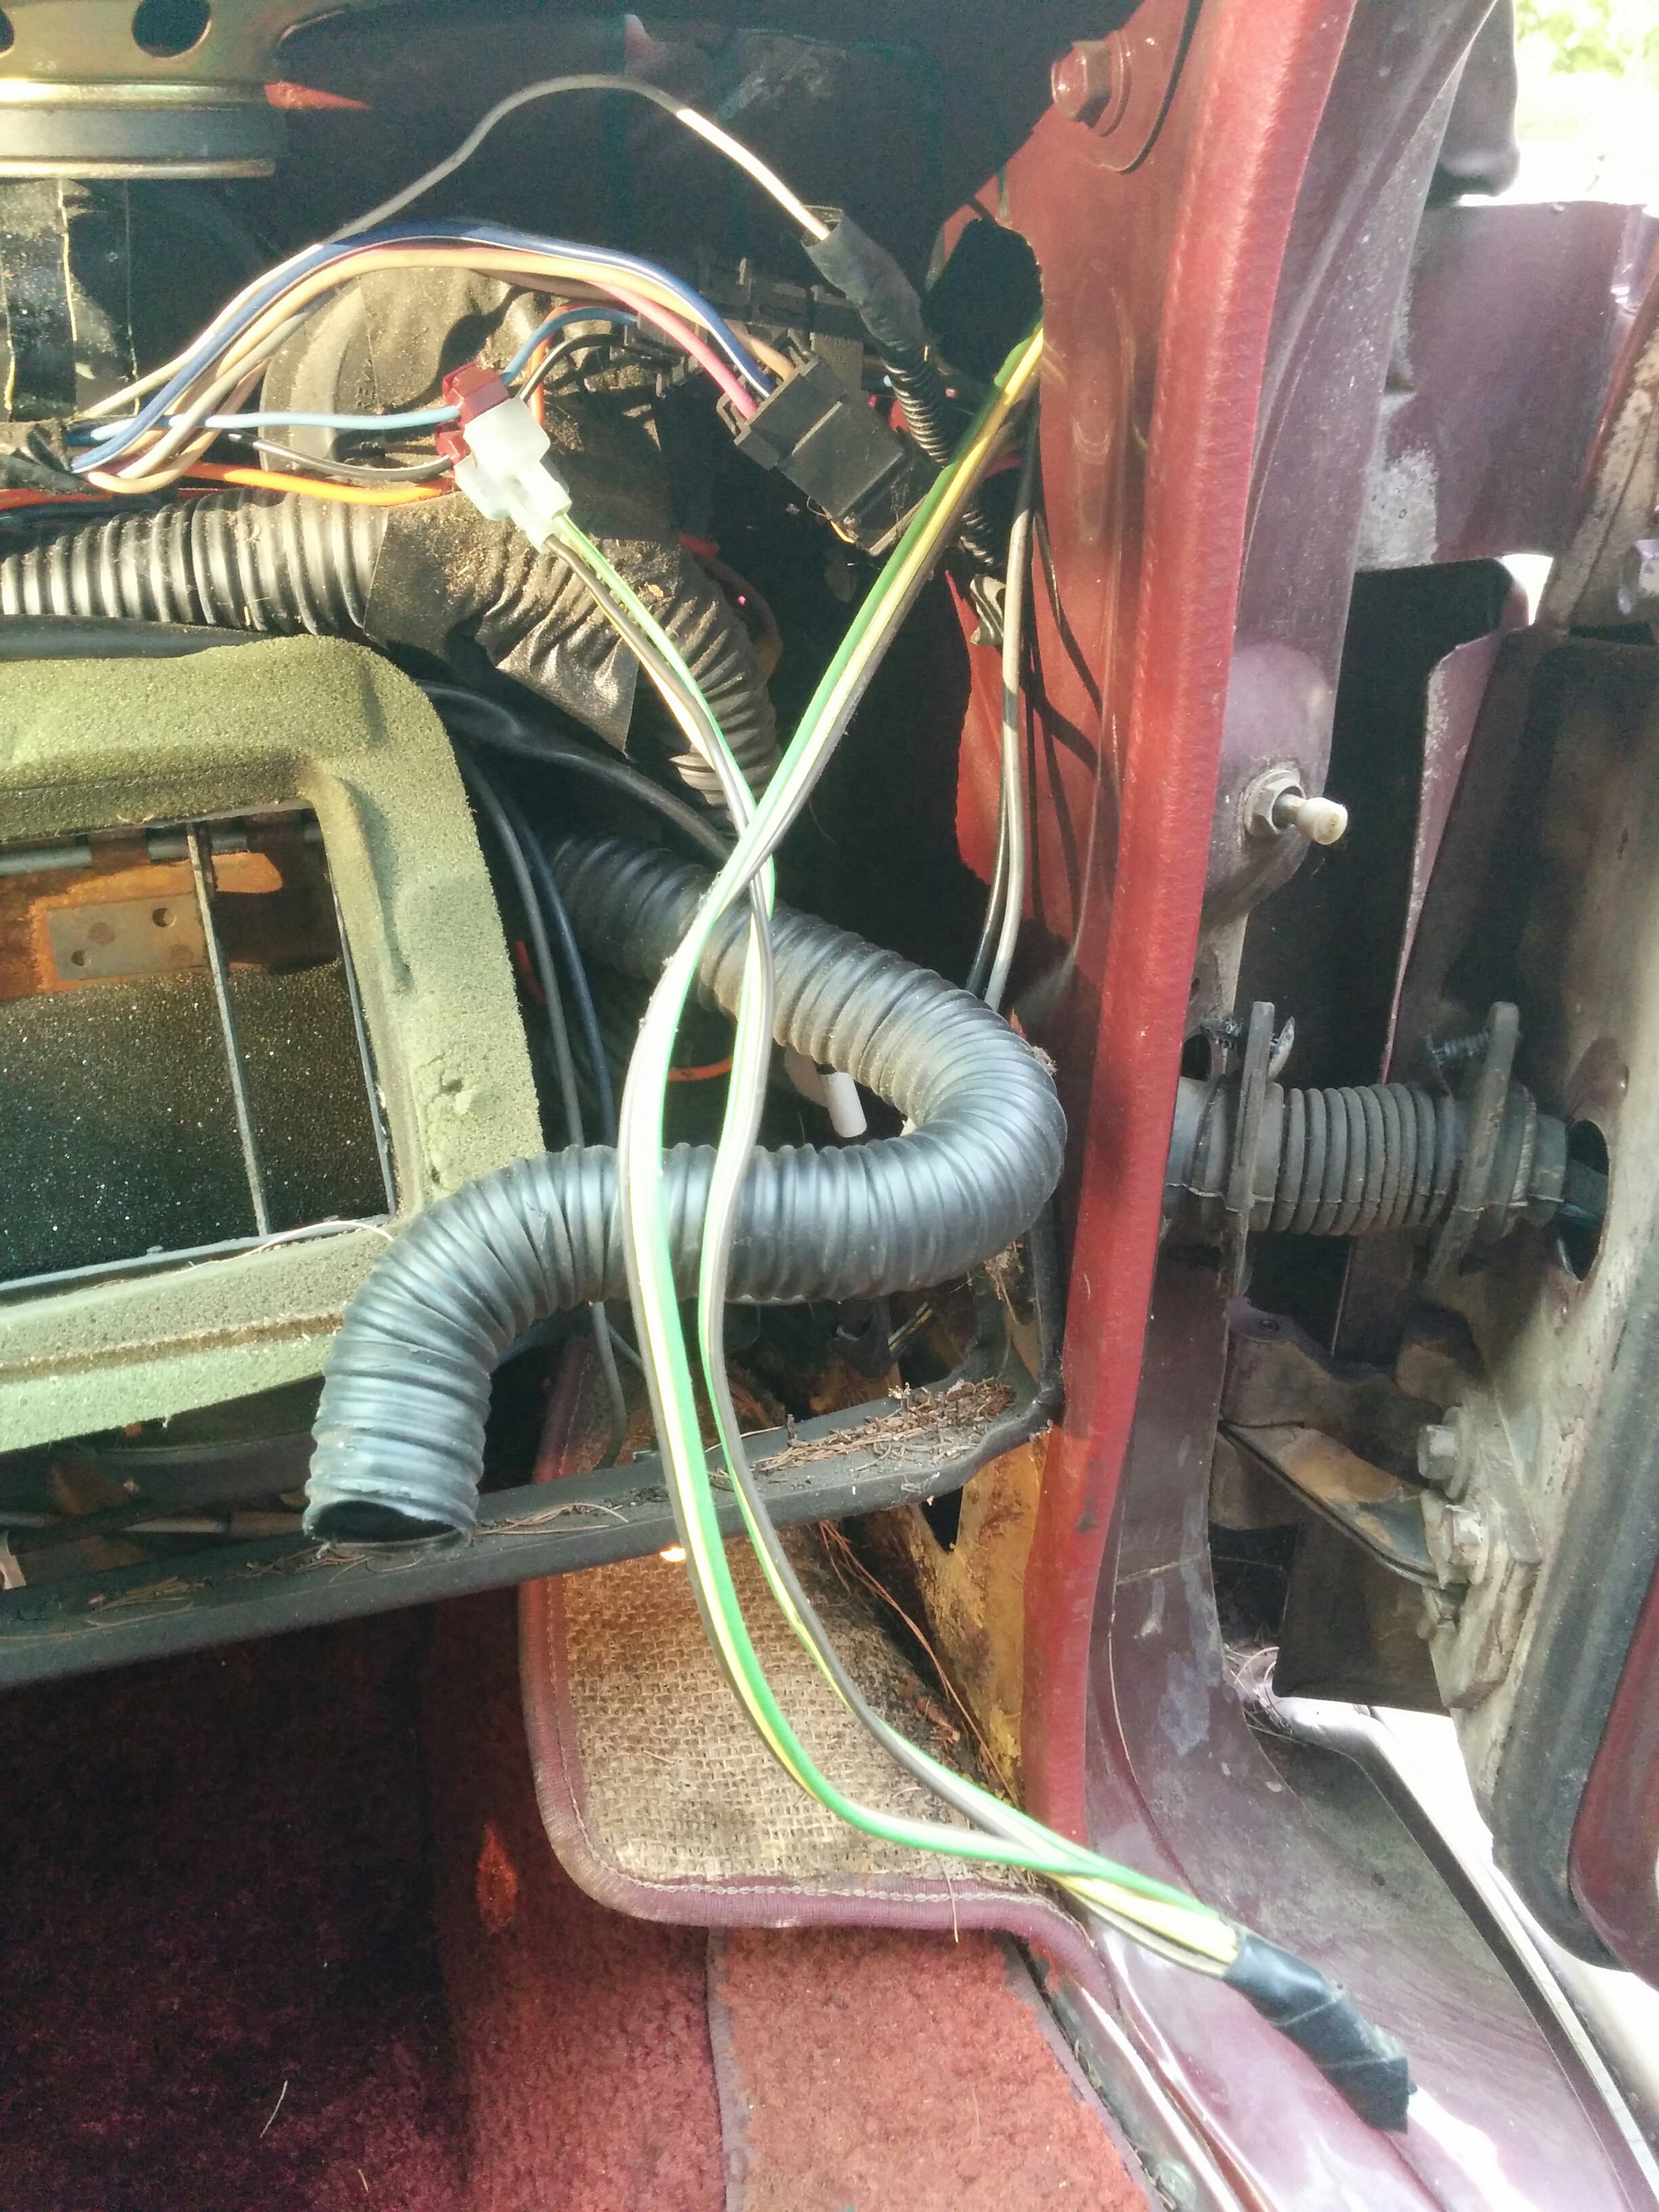
After a great deal of careful wire tracing, I had freed all the unnecessary wires from the side, back, and front of the van up to their origin point in the ceiling above the driver’s side window. Here a riotous ponytail of cables disappeared down a narrow passage above the driver’s side window and re-emerged in the foot well. I unscrewed the throat panel and found that within lay ever more Explorer-made horrors beyond man’s comprehension…
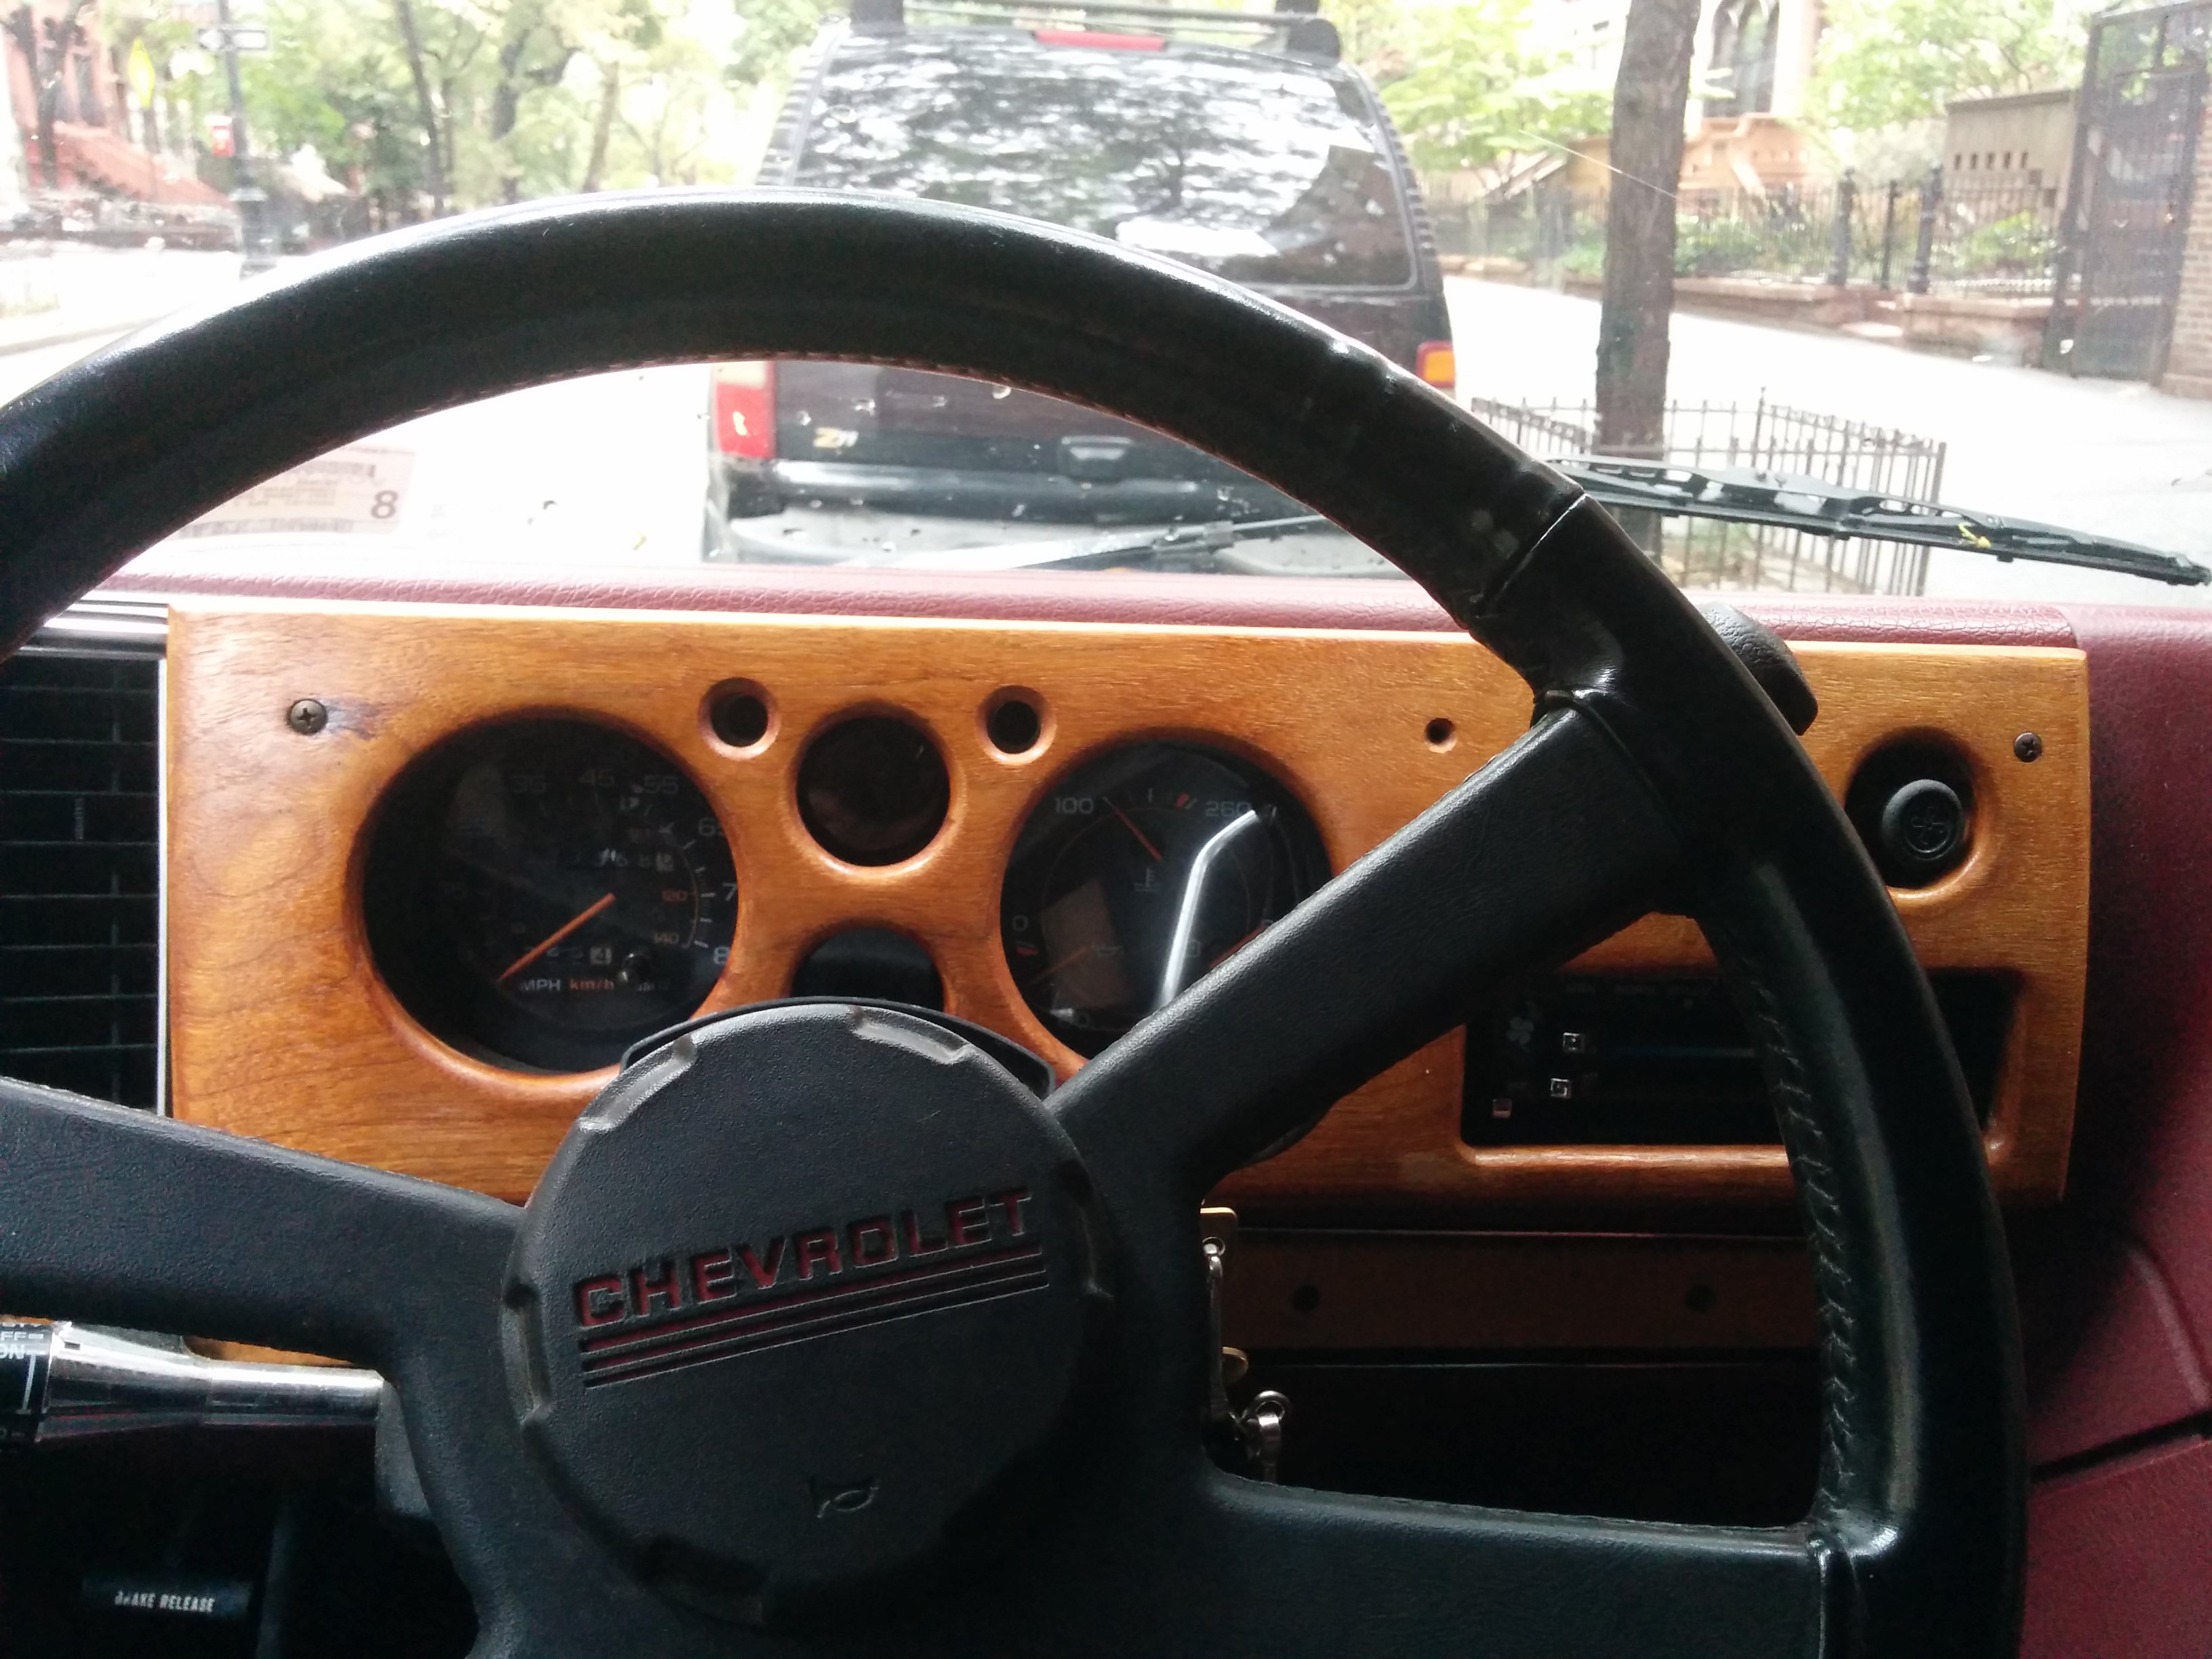
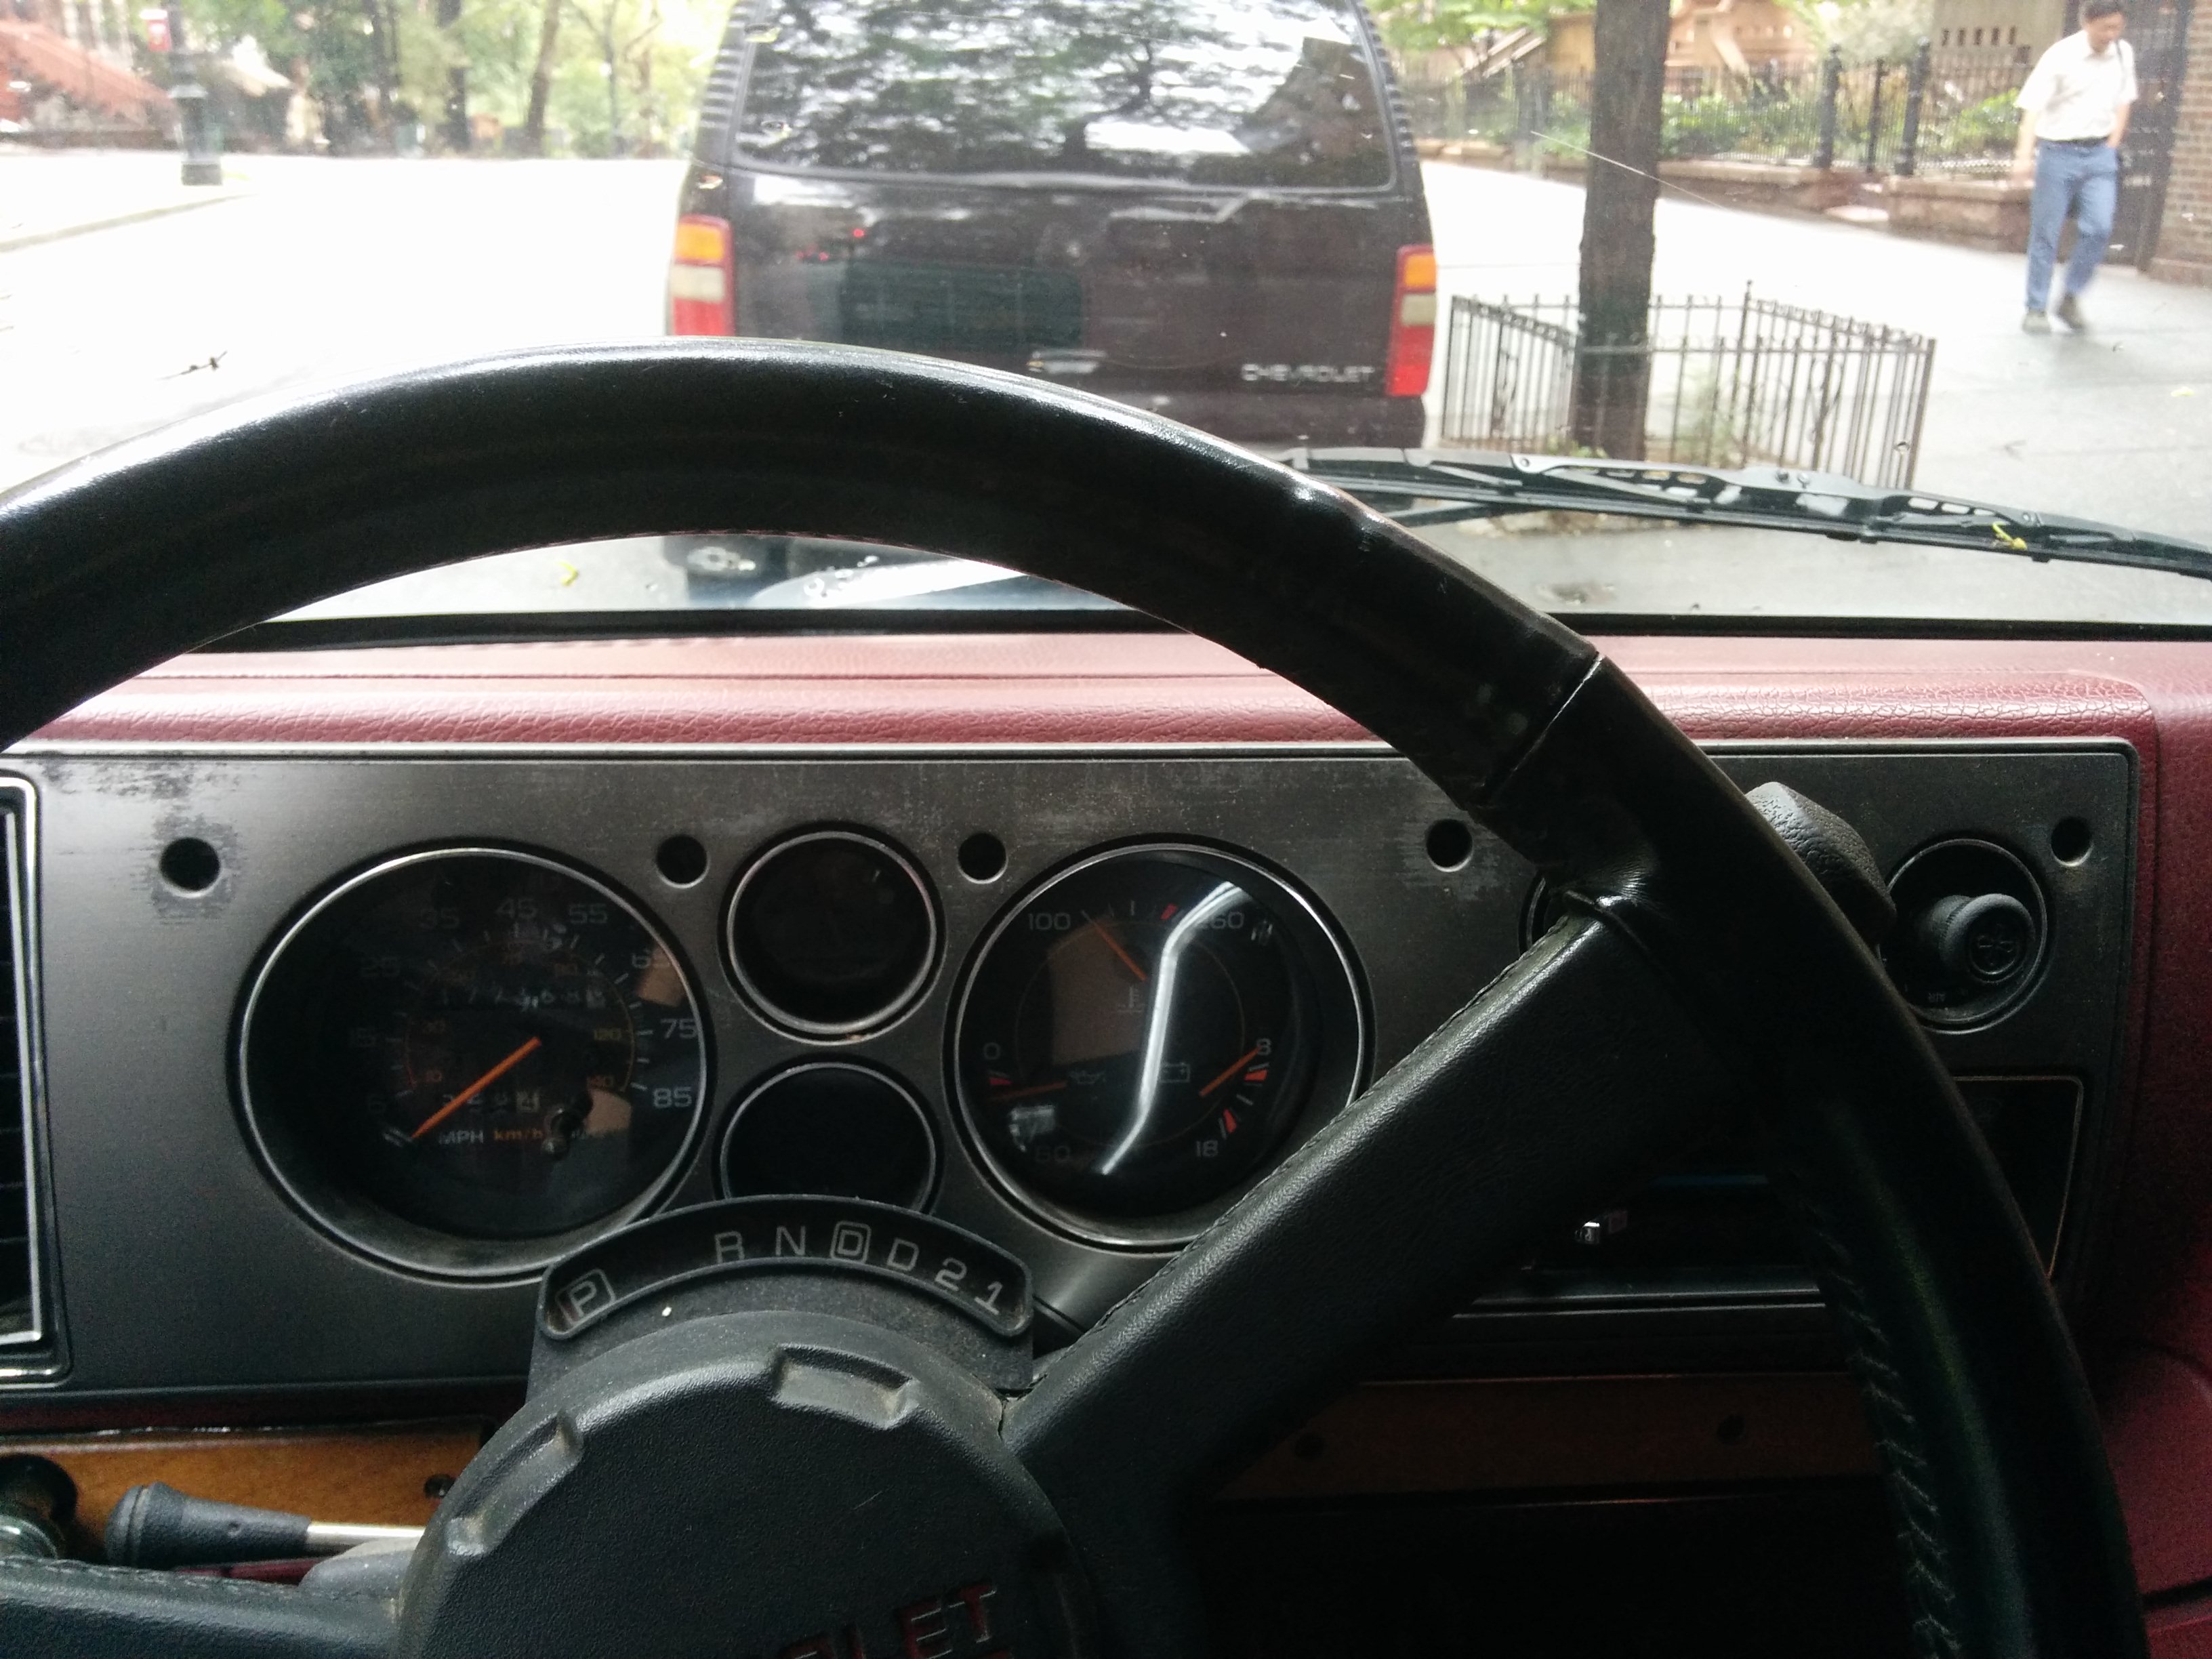
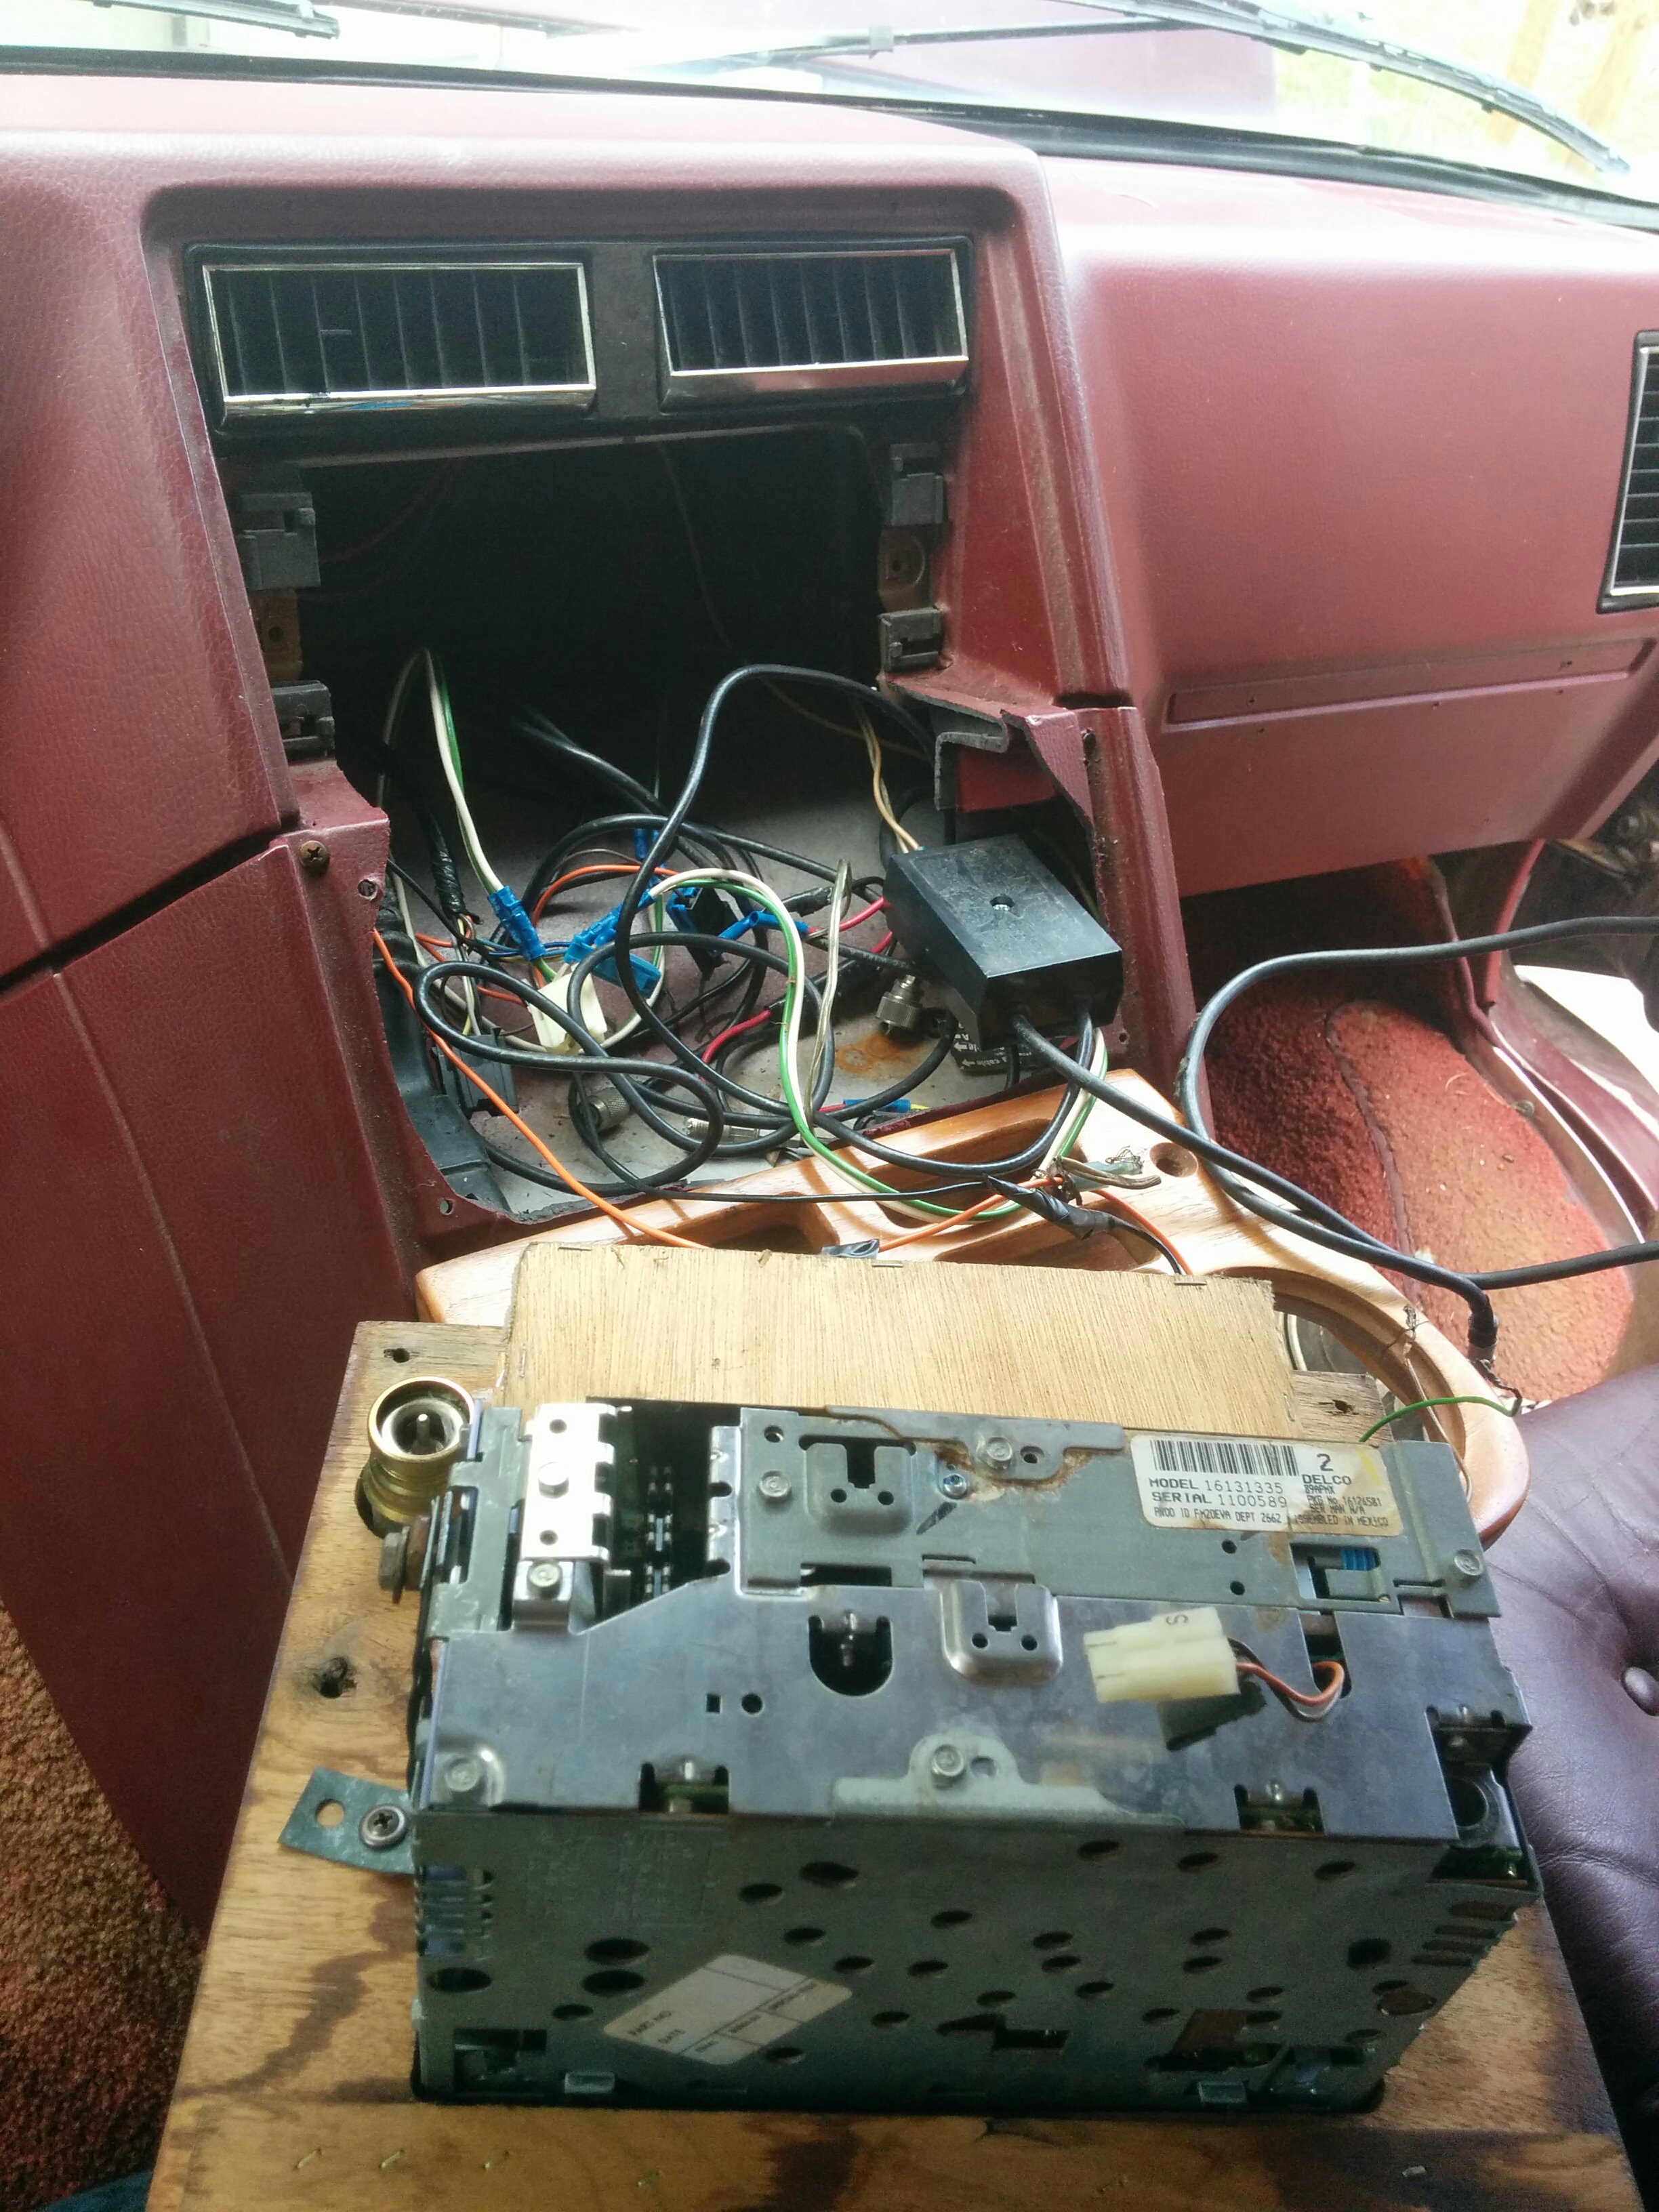
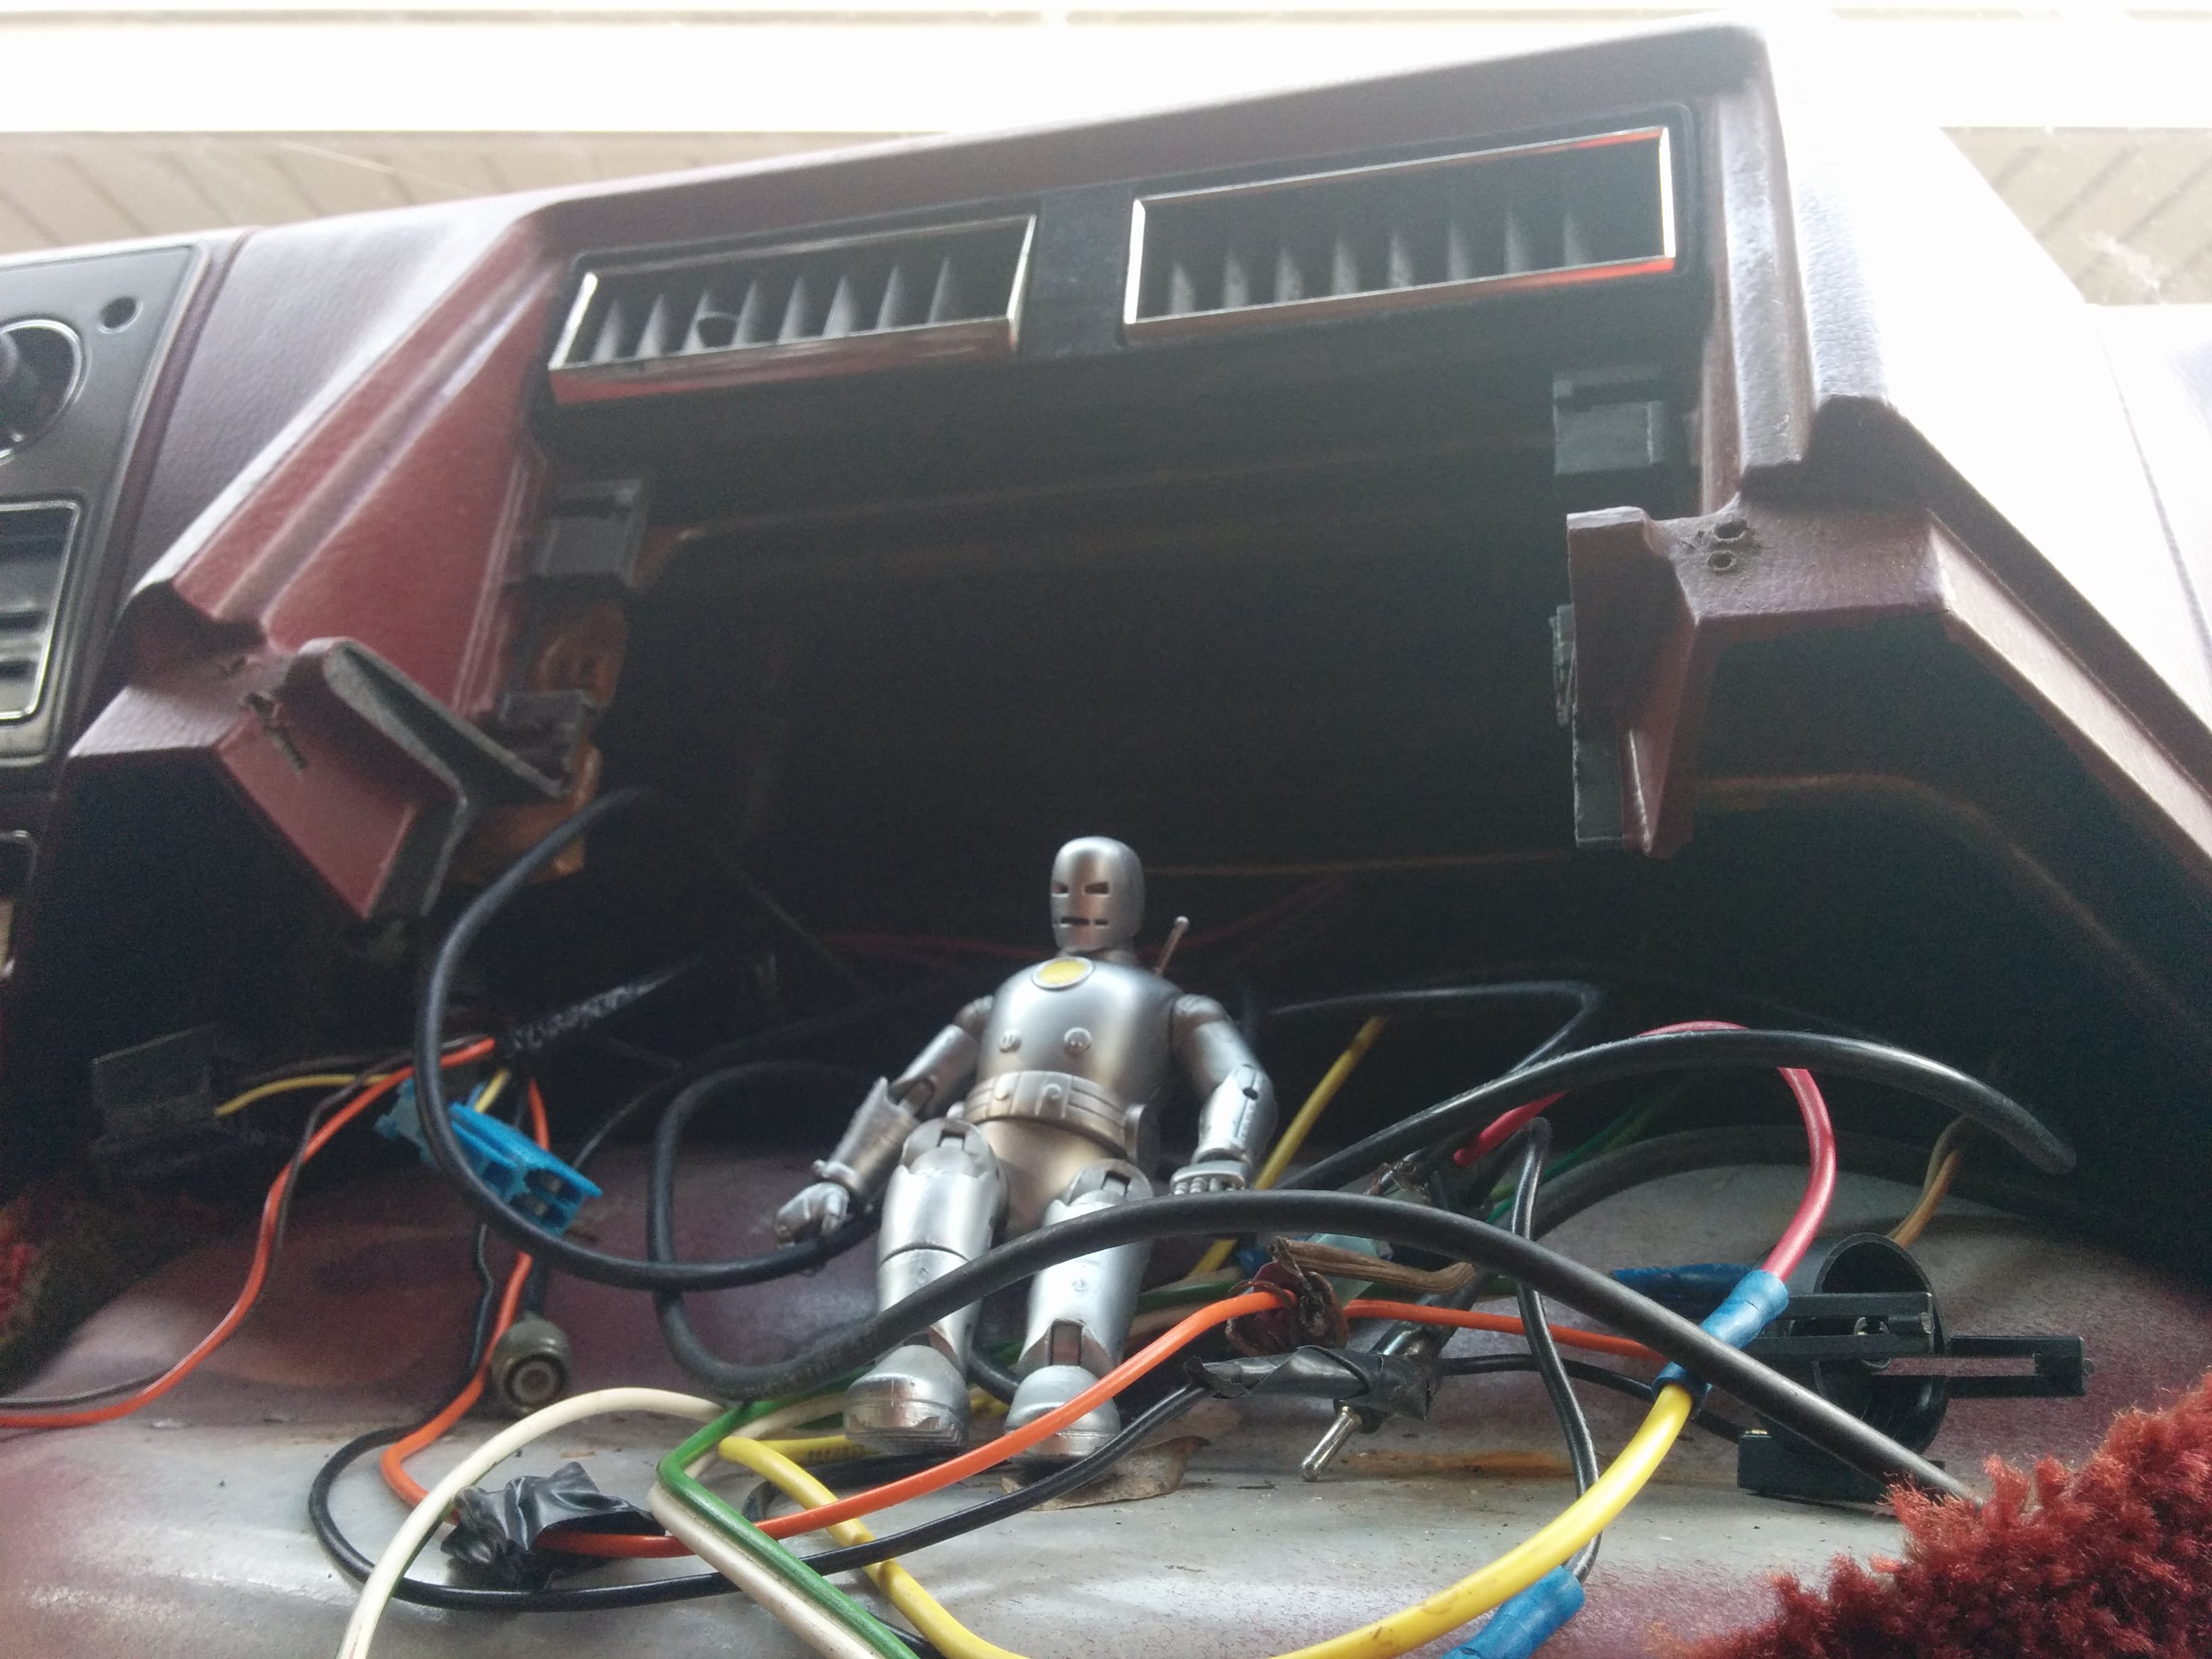
Dashboard Wiring
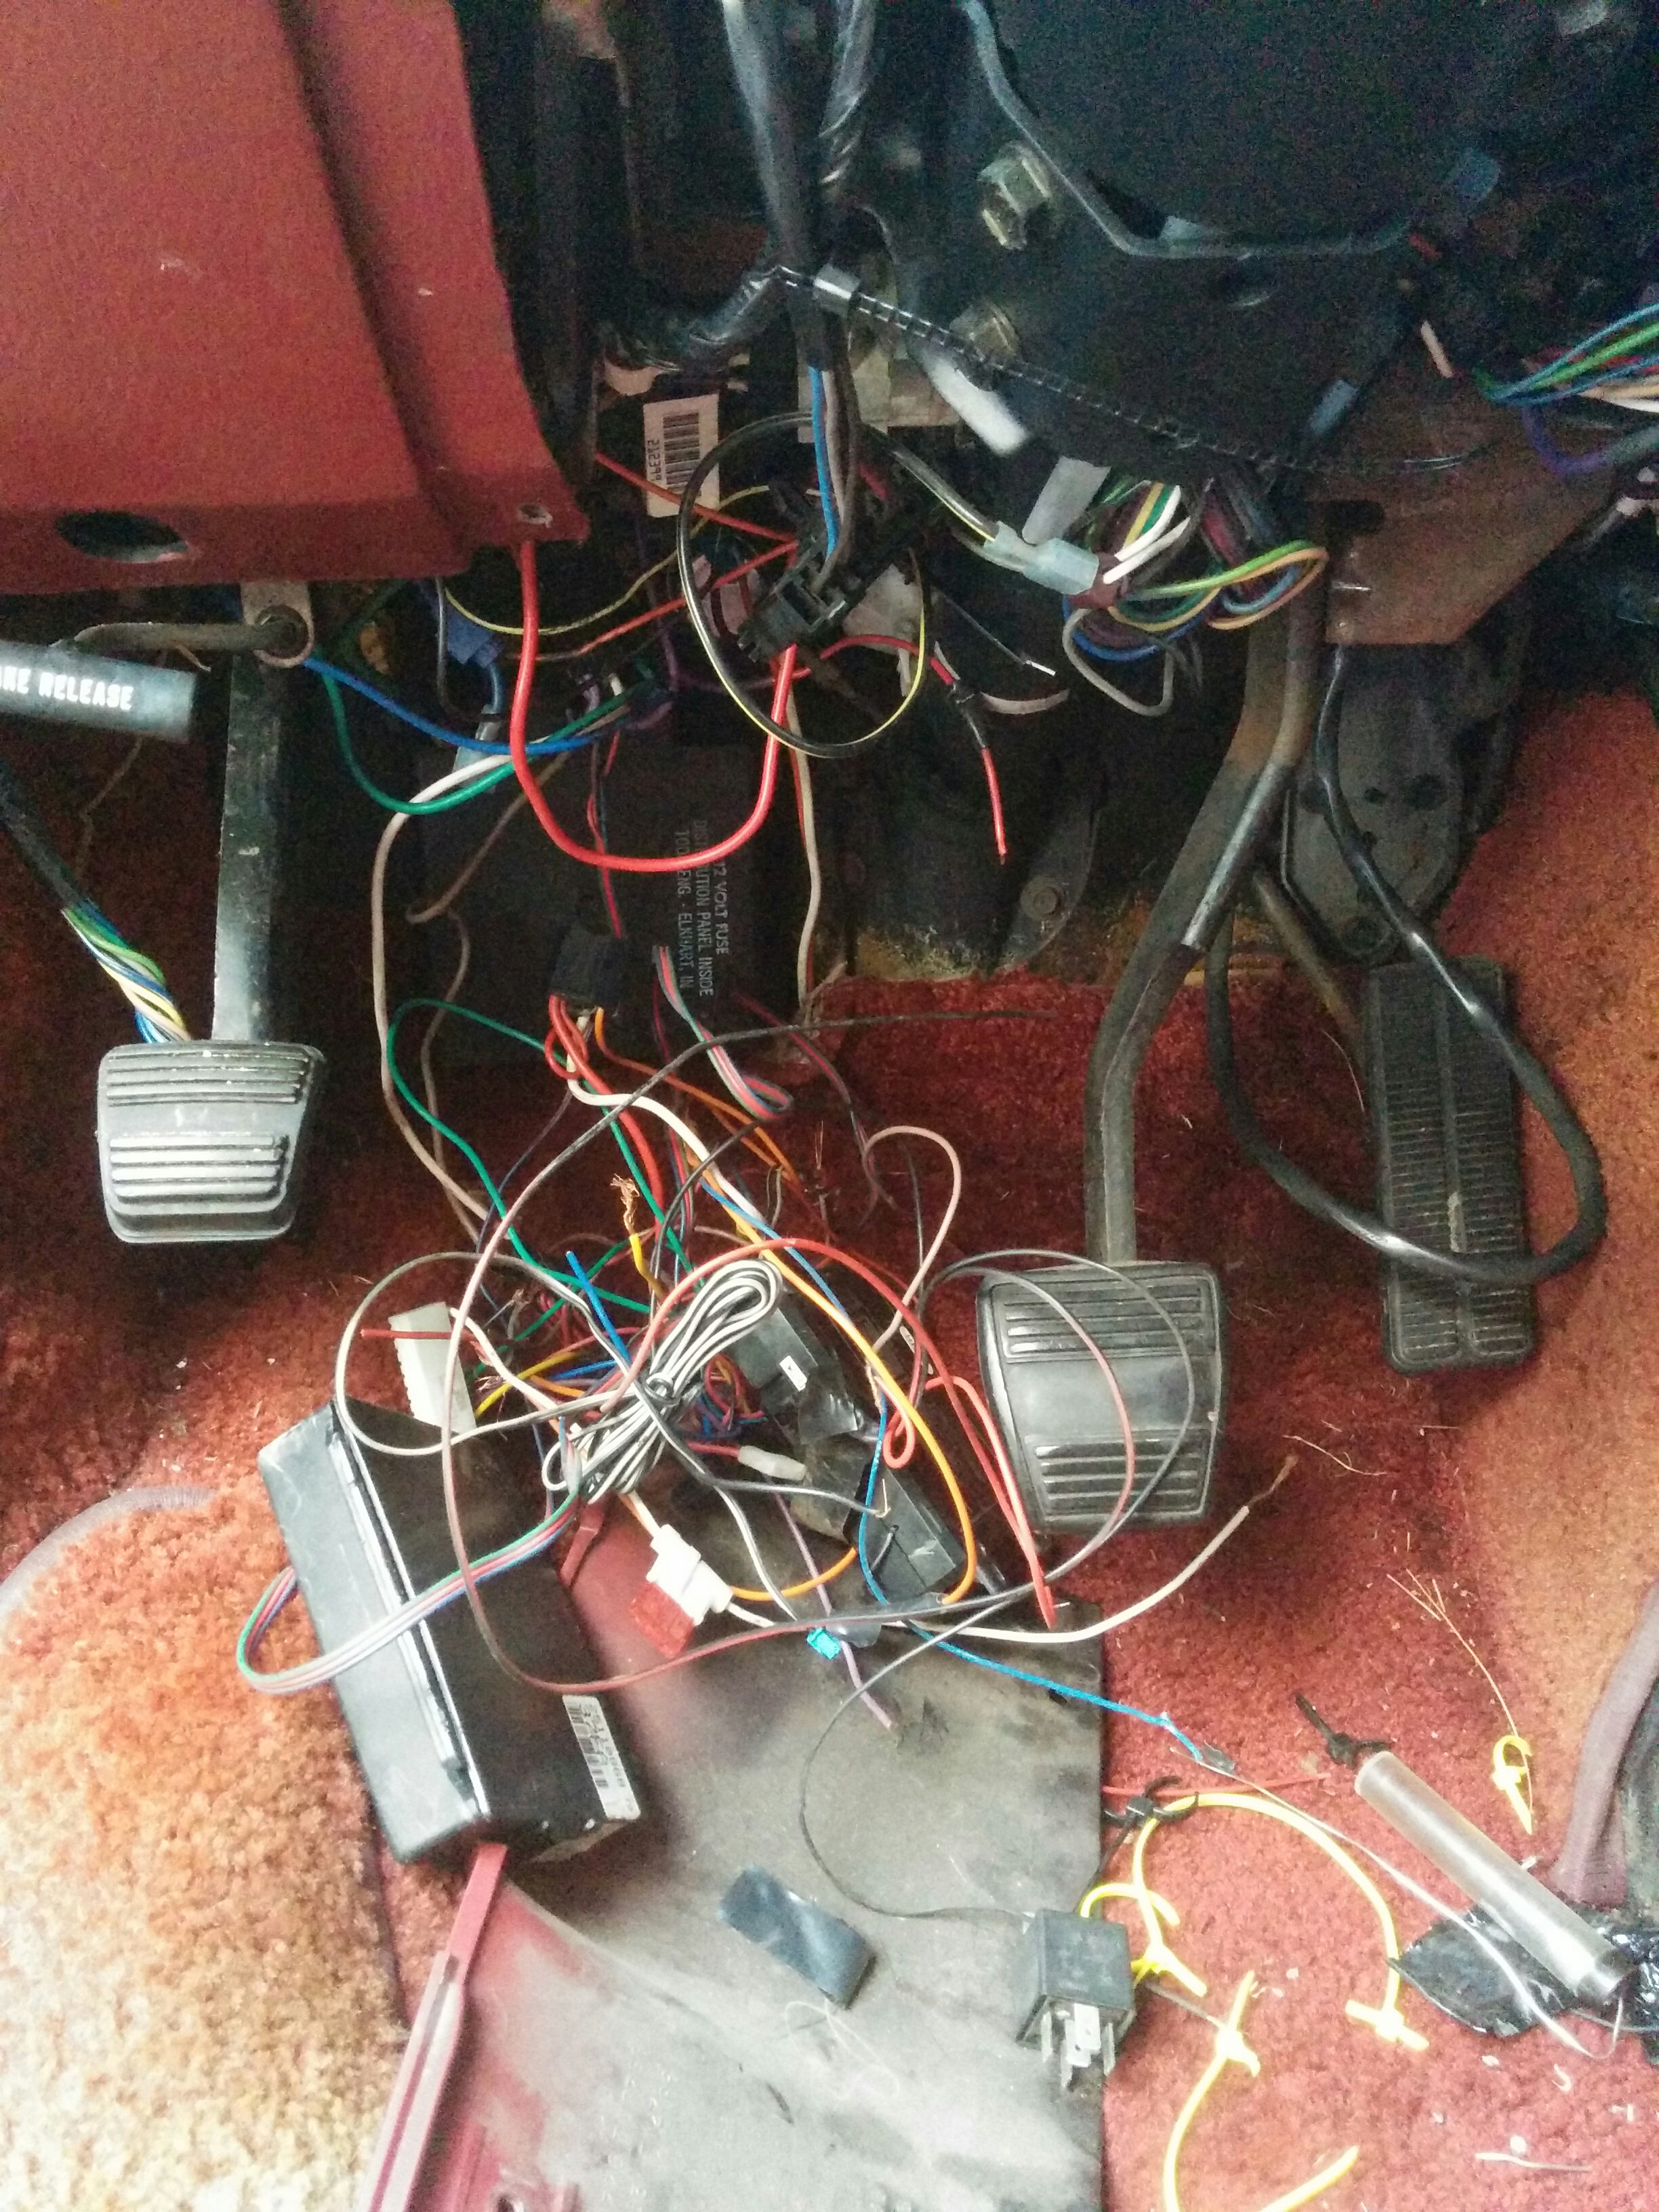
Removing the throat plate dumped another pile of wires on my lap. I ended up removing the dash because I couldn’t see what tf was going on well enough to pull the wires out safely. After that, I was able to free the bulk of the aftermarking wiring from the van entirely.
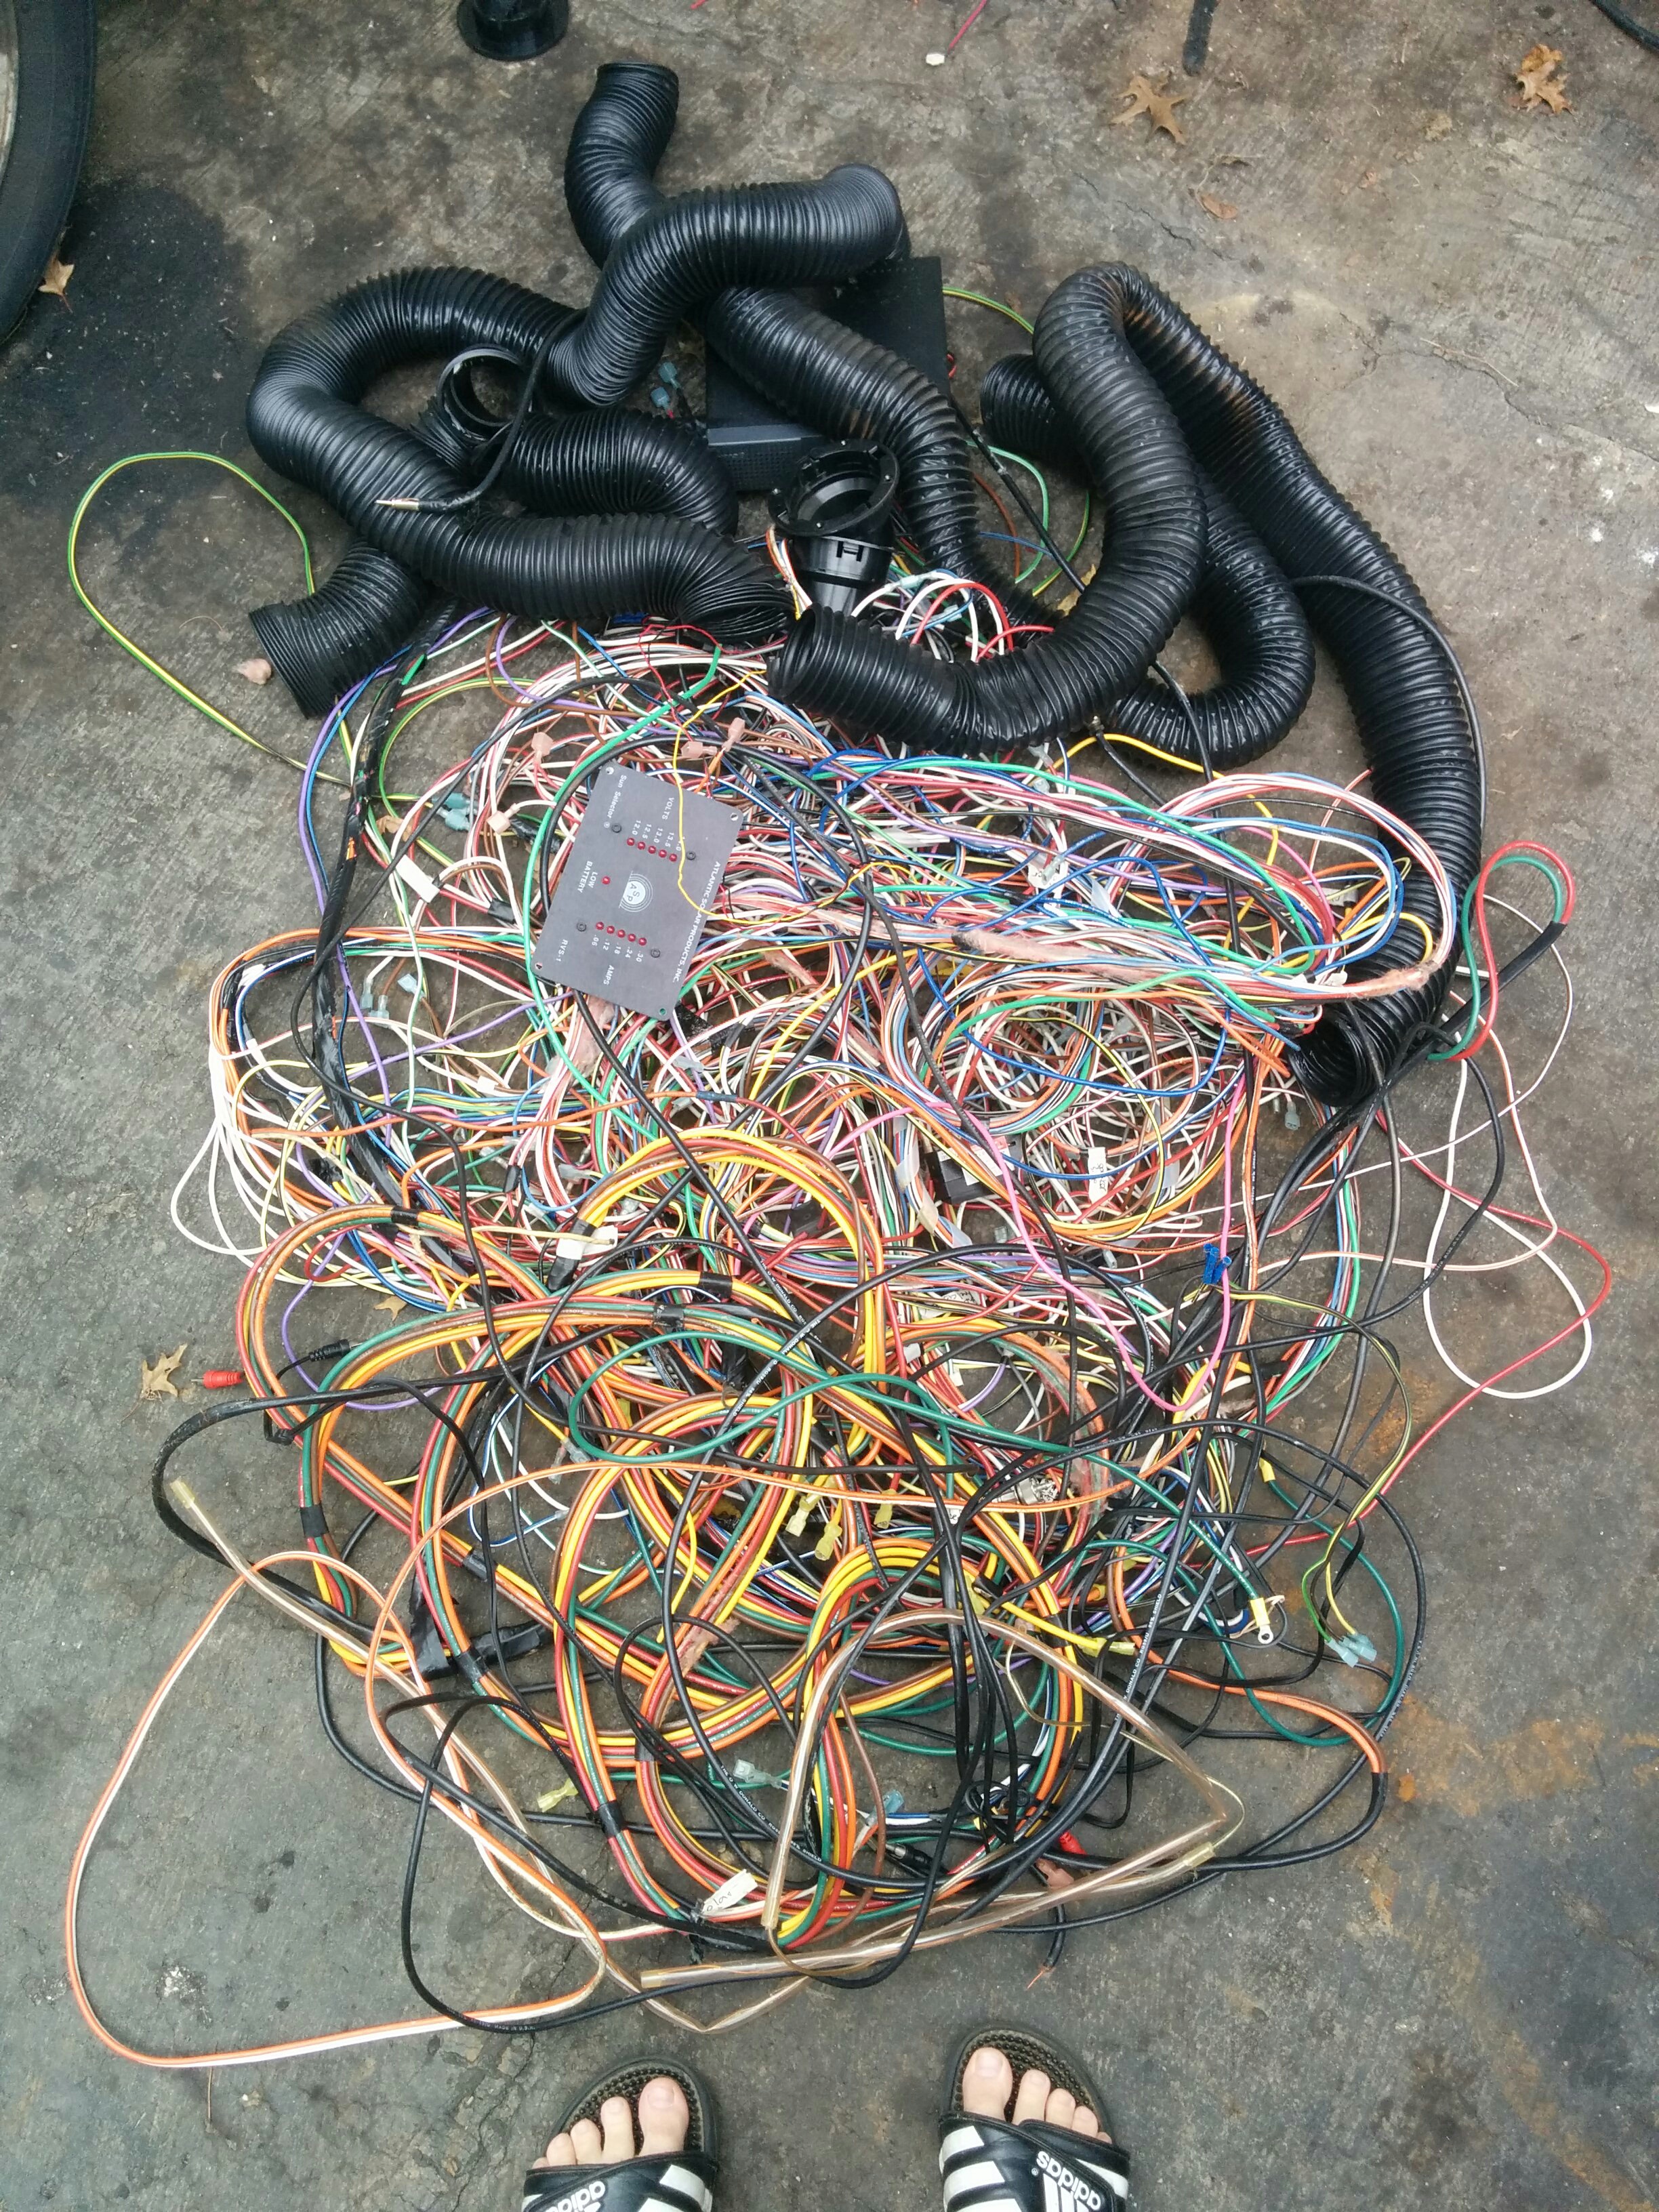
Prize shot.
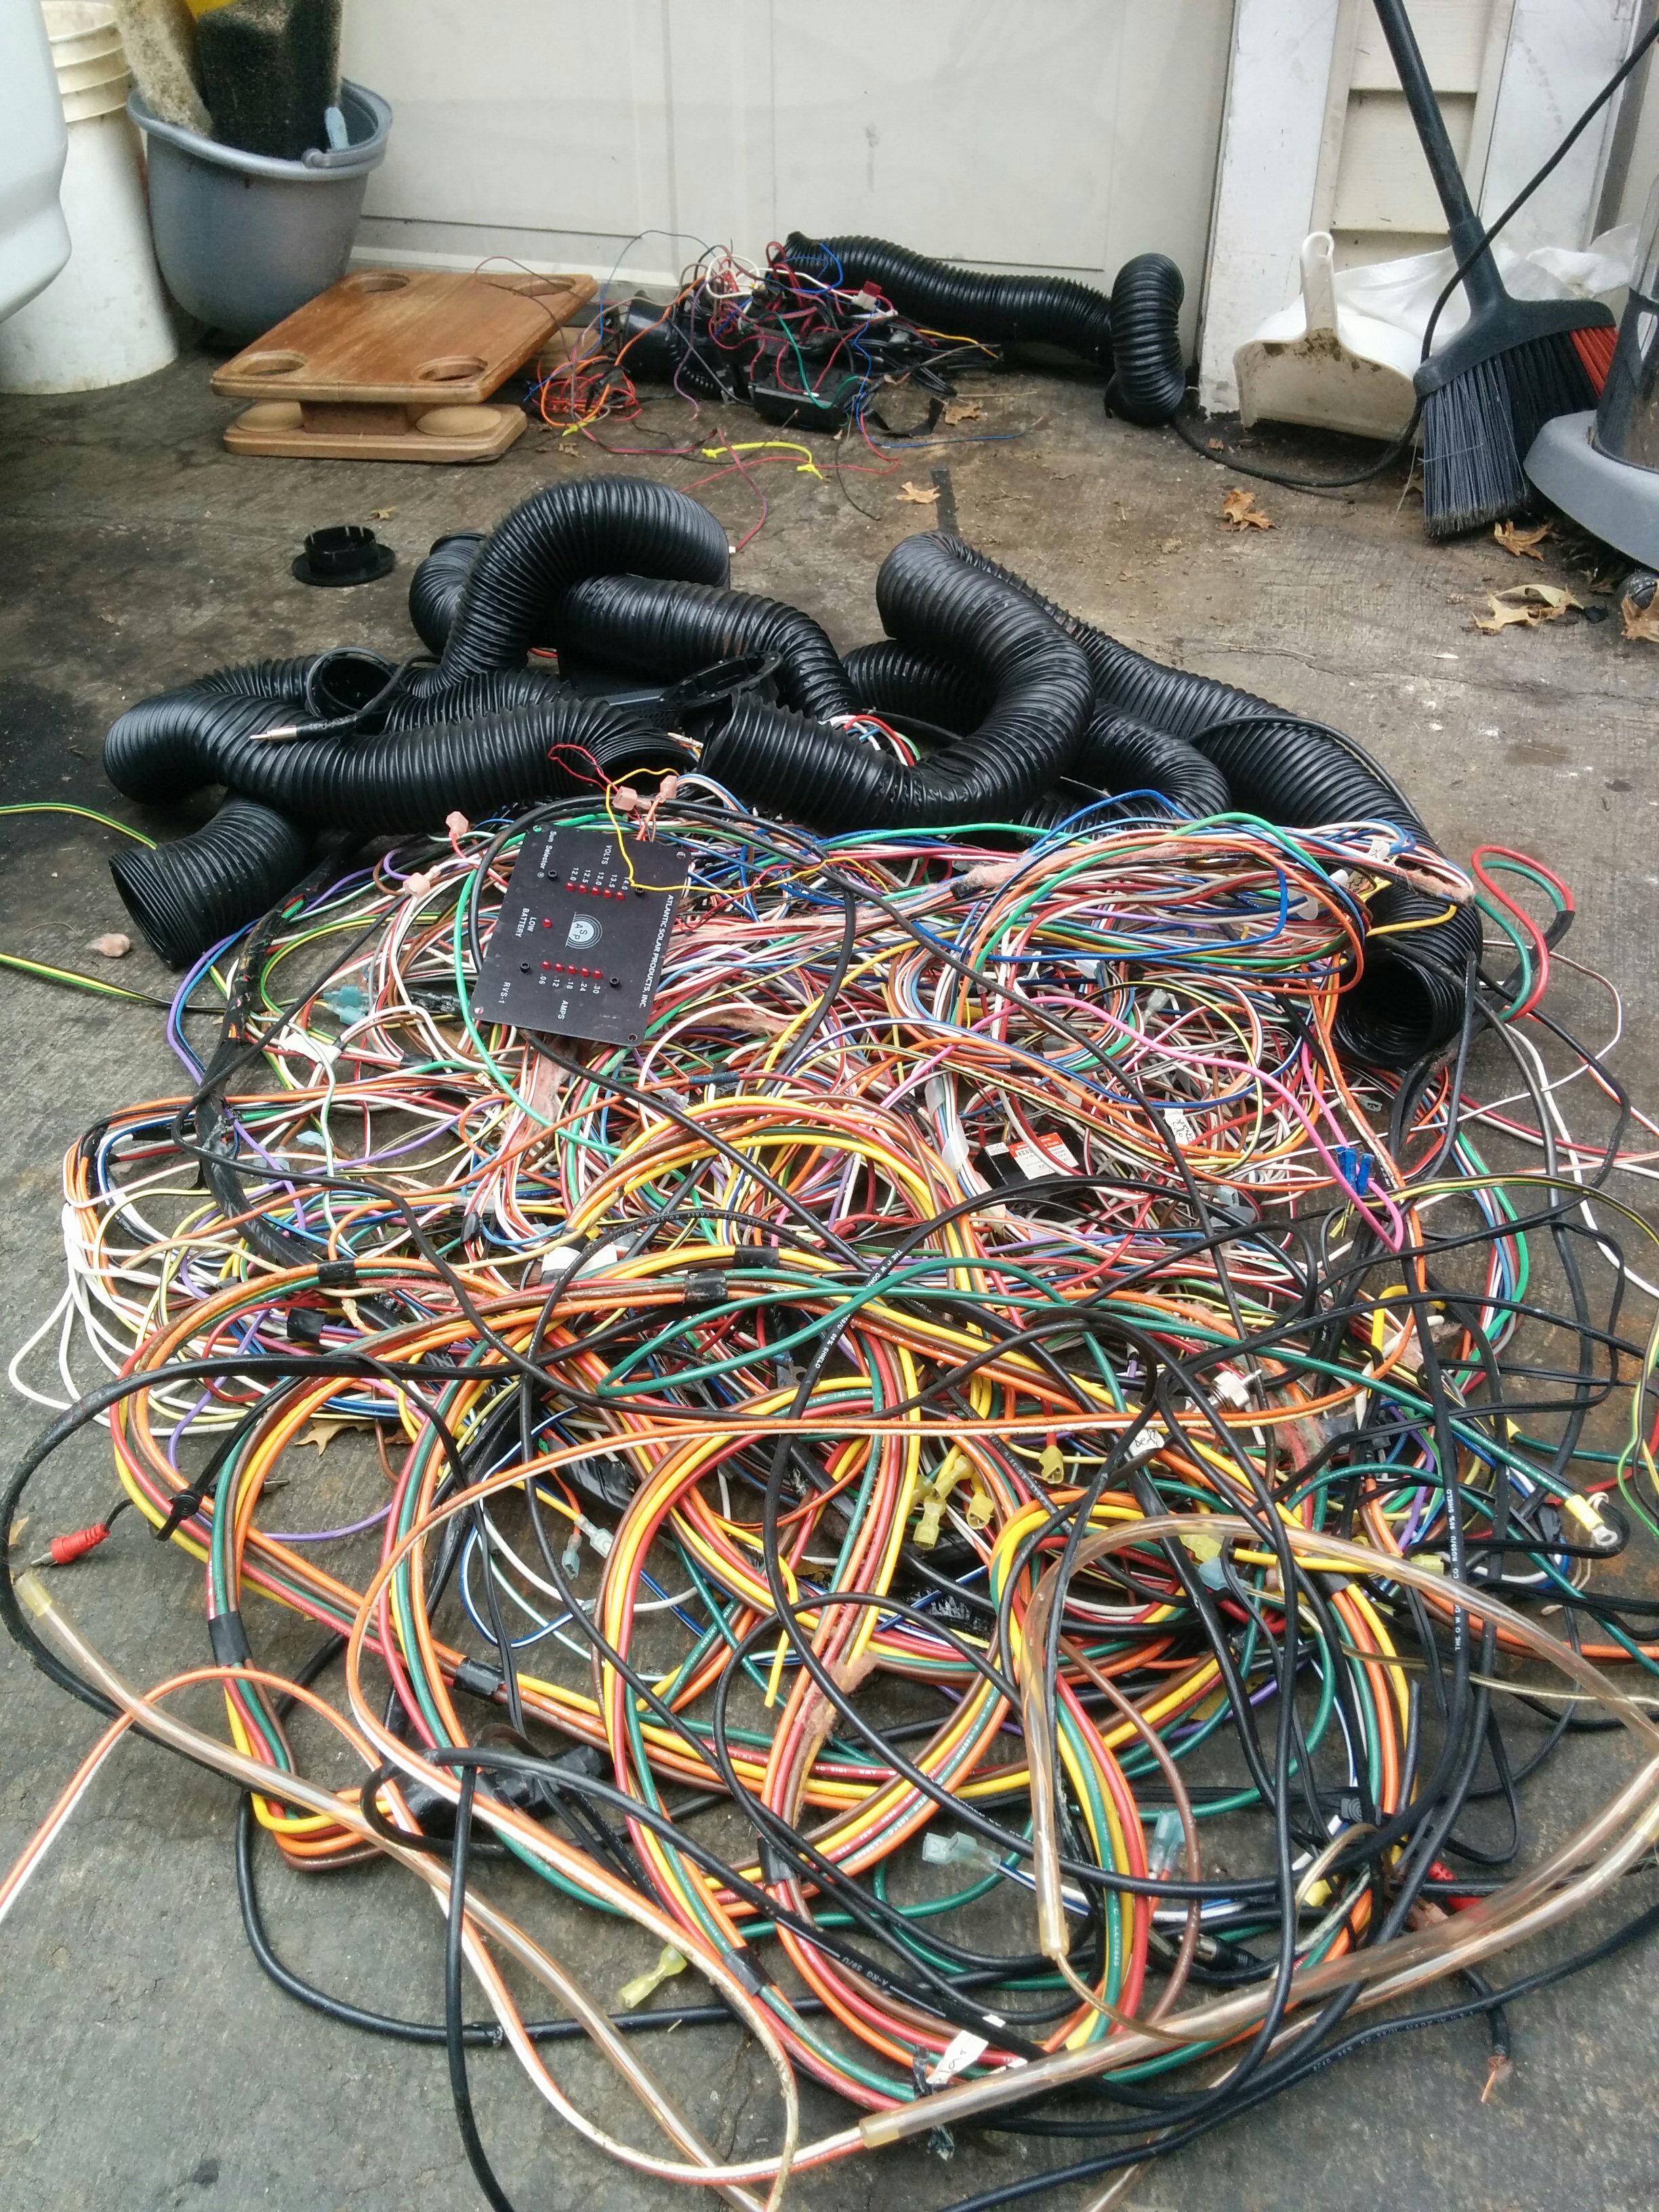
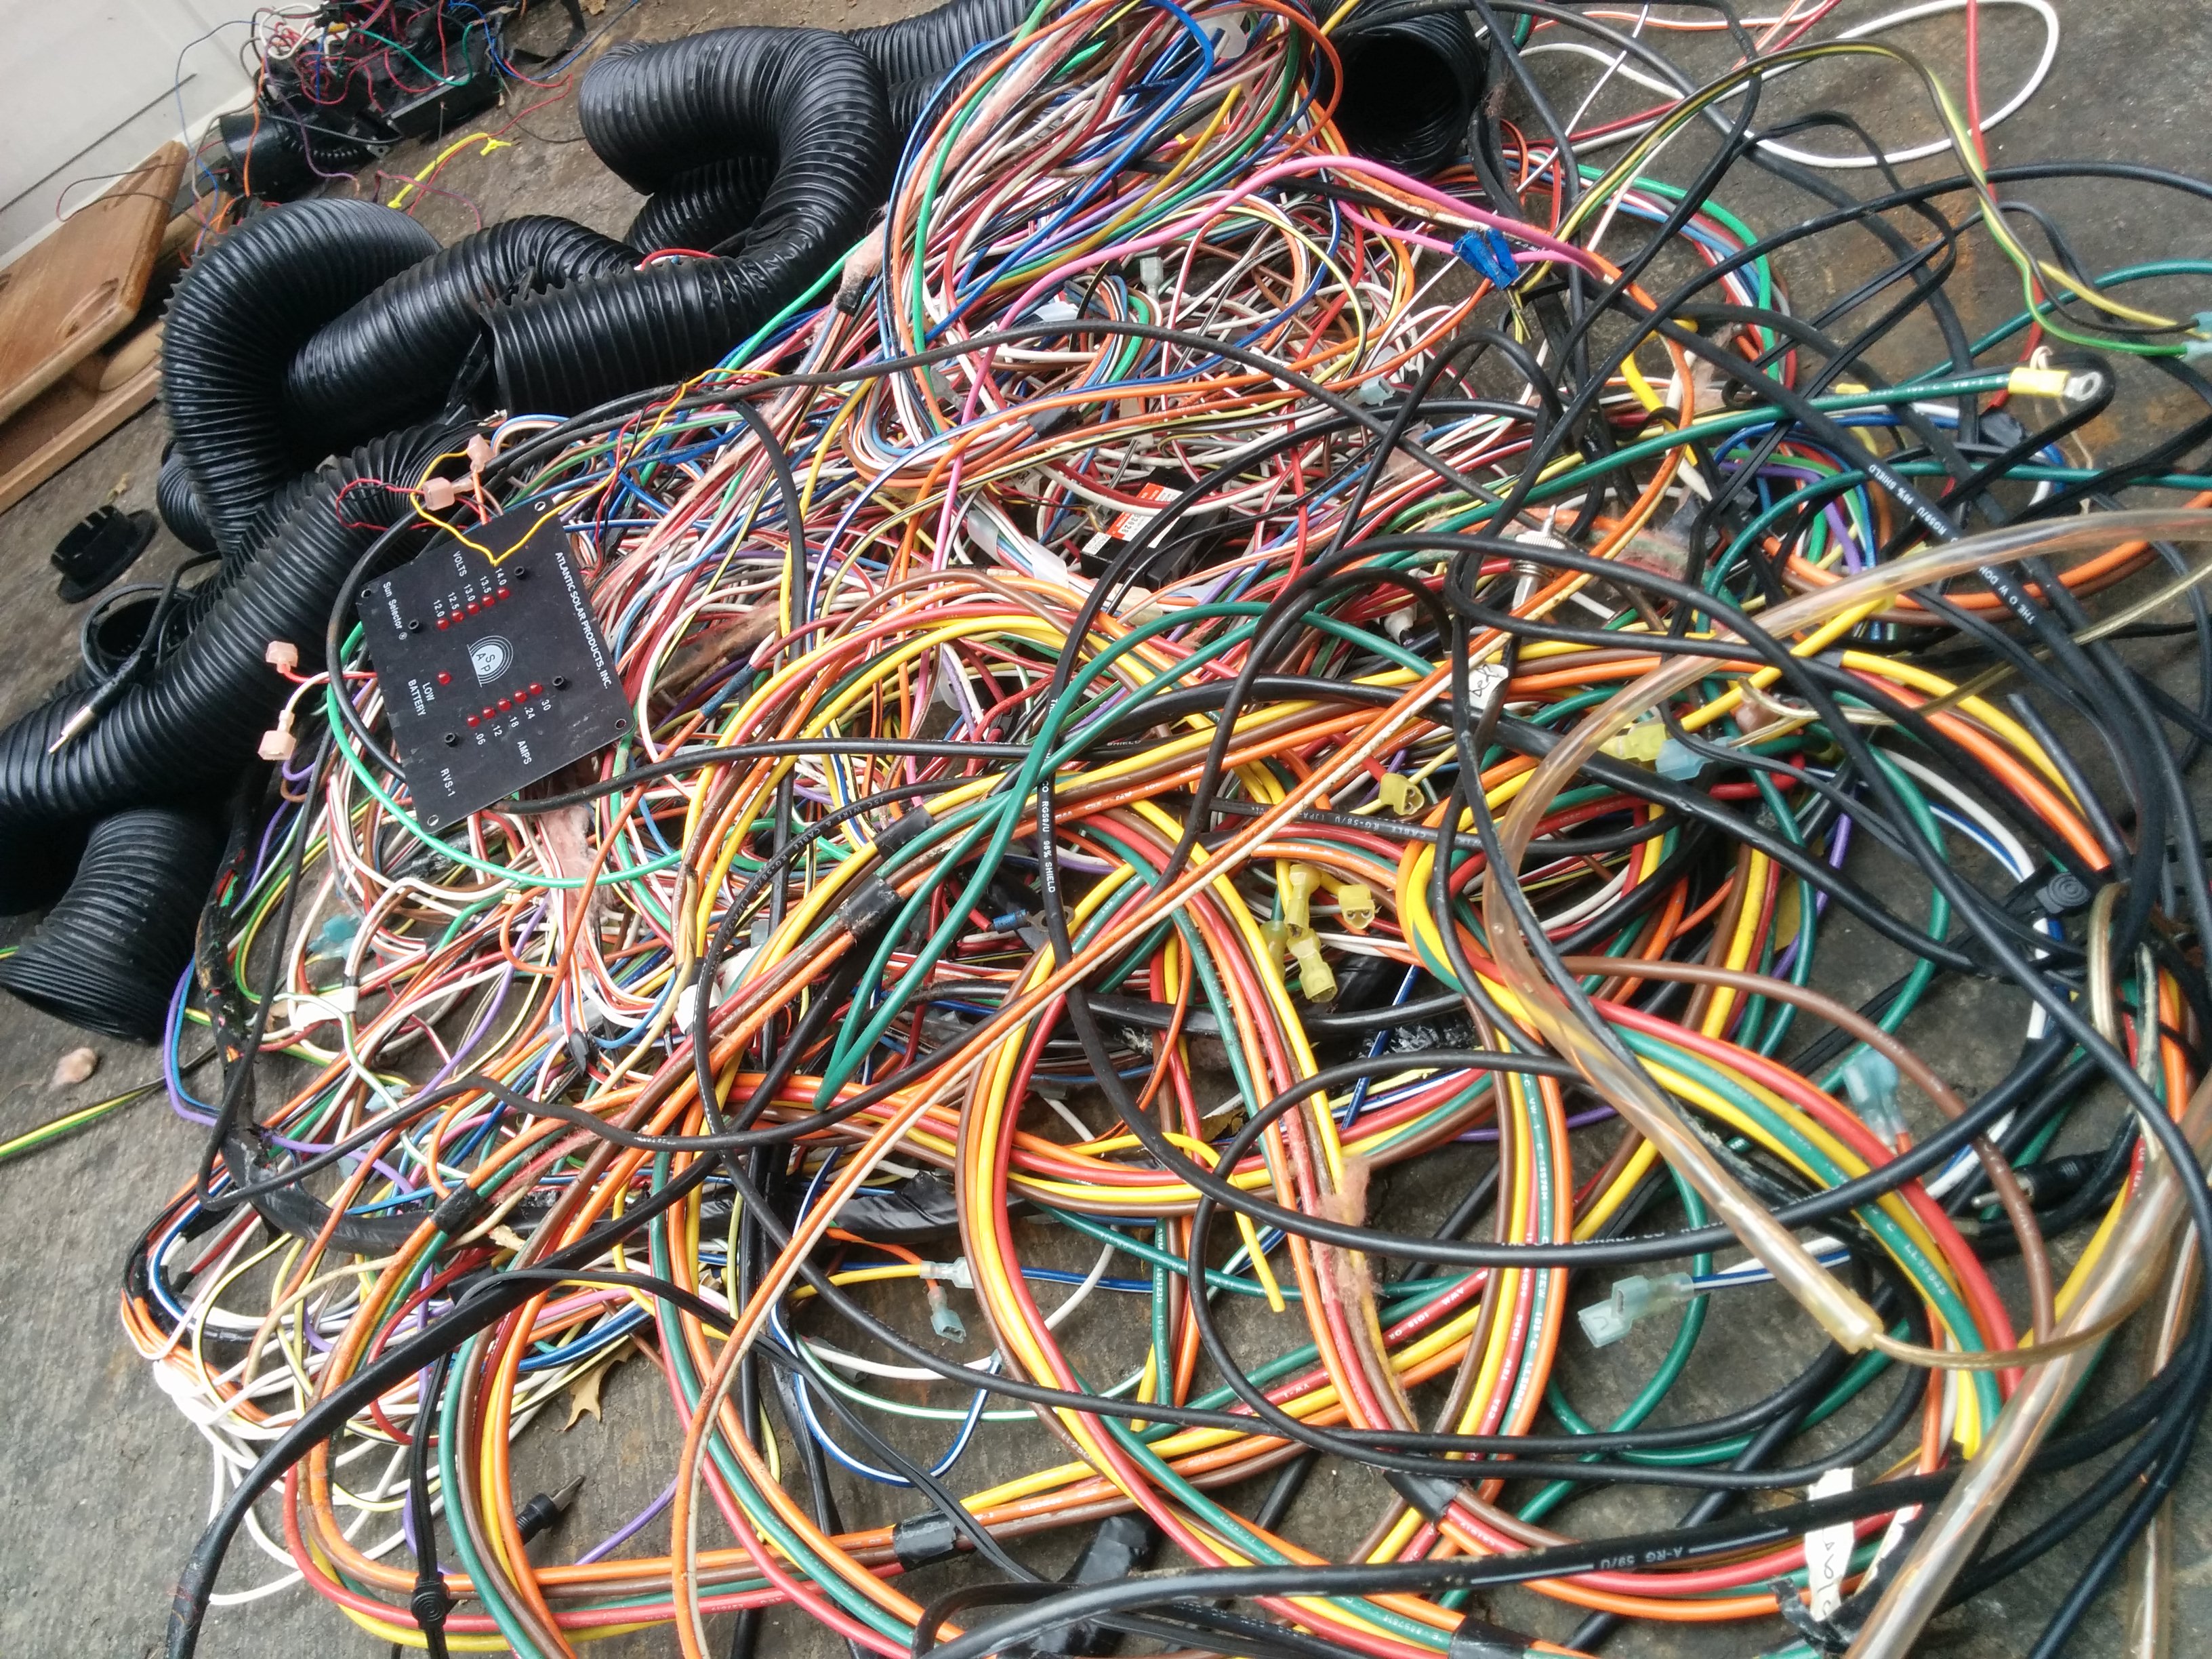
I ended up with enough spare wire to do the bulk of my 12V solar power system. Garrett was able to redo a sound system in his car entirely in his preferred color scheme. Yet even after all that I still had a fuck ton of wire leftover.
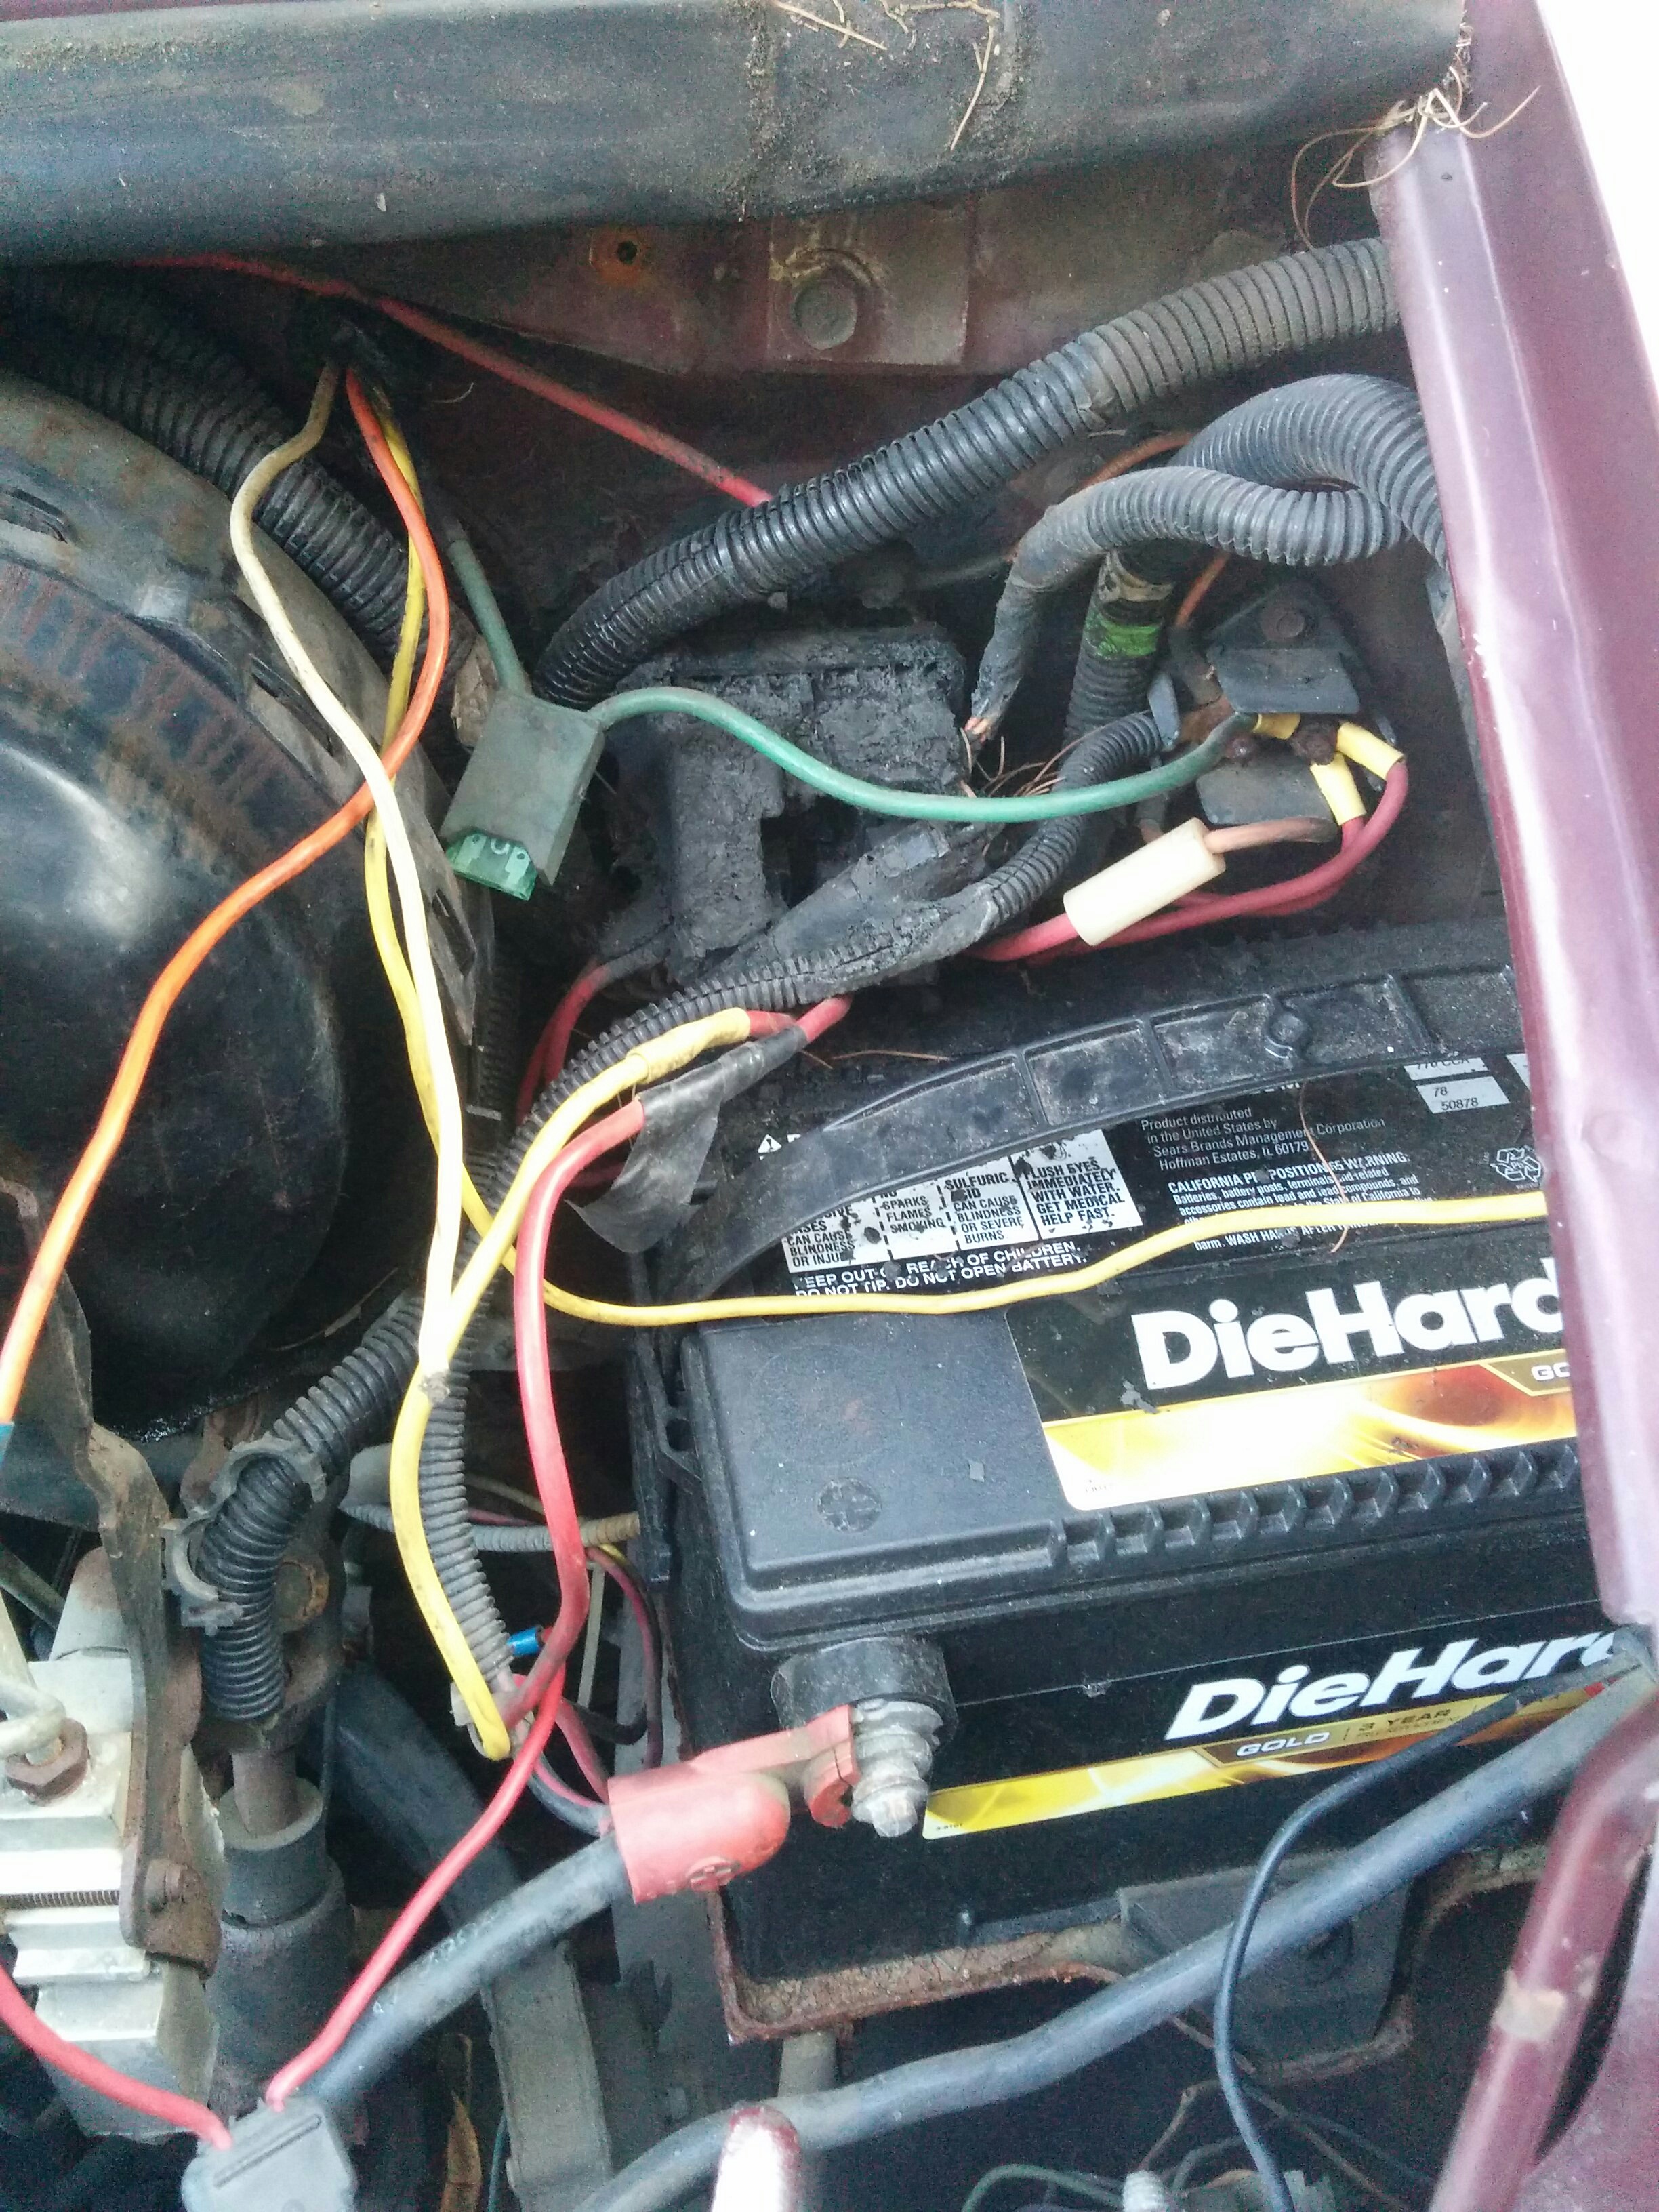
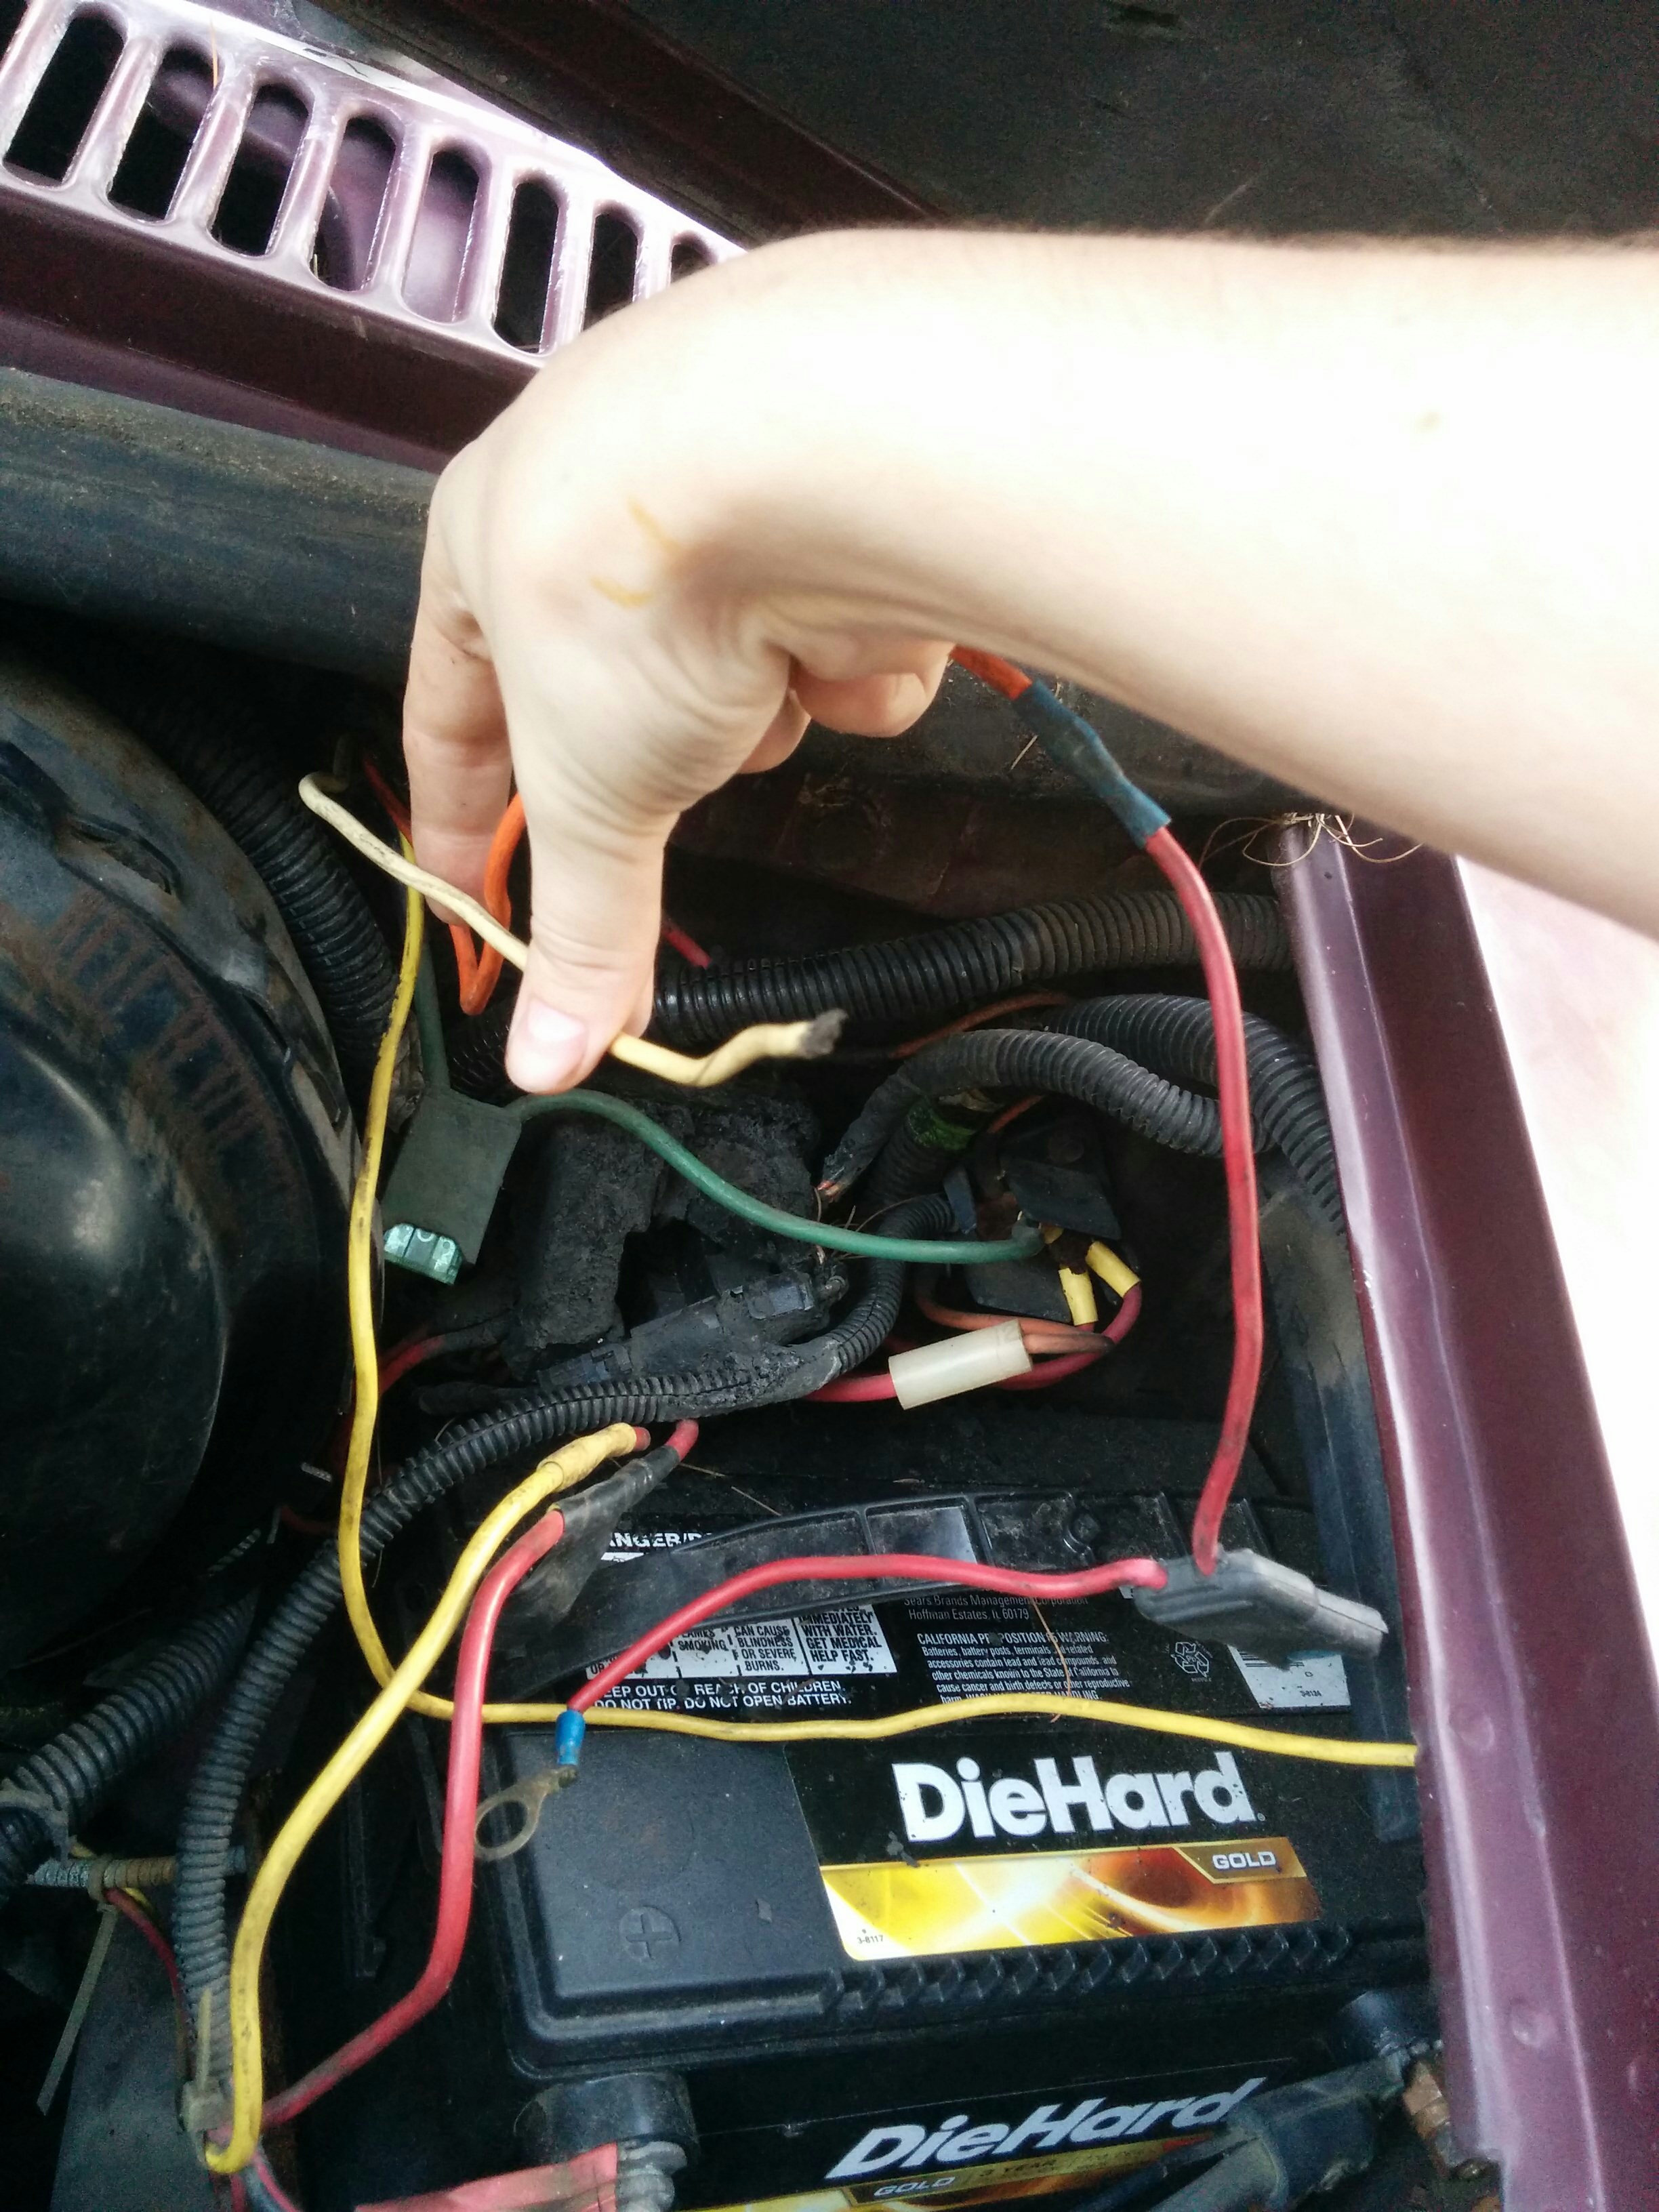
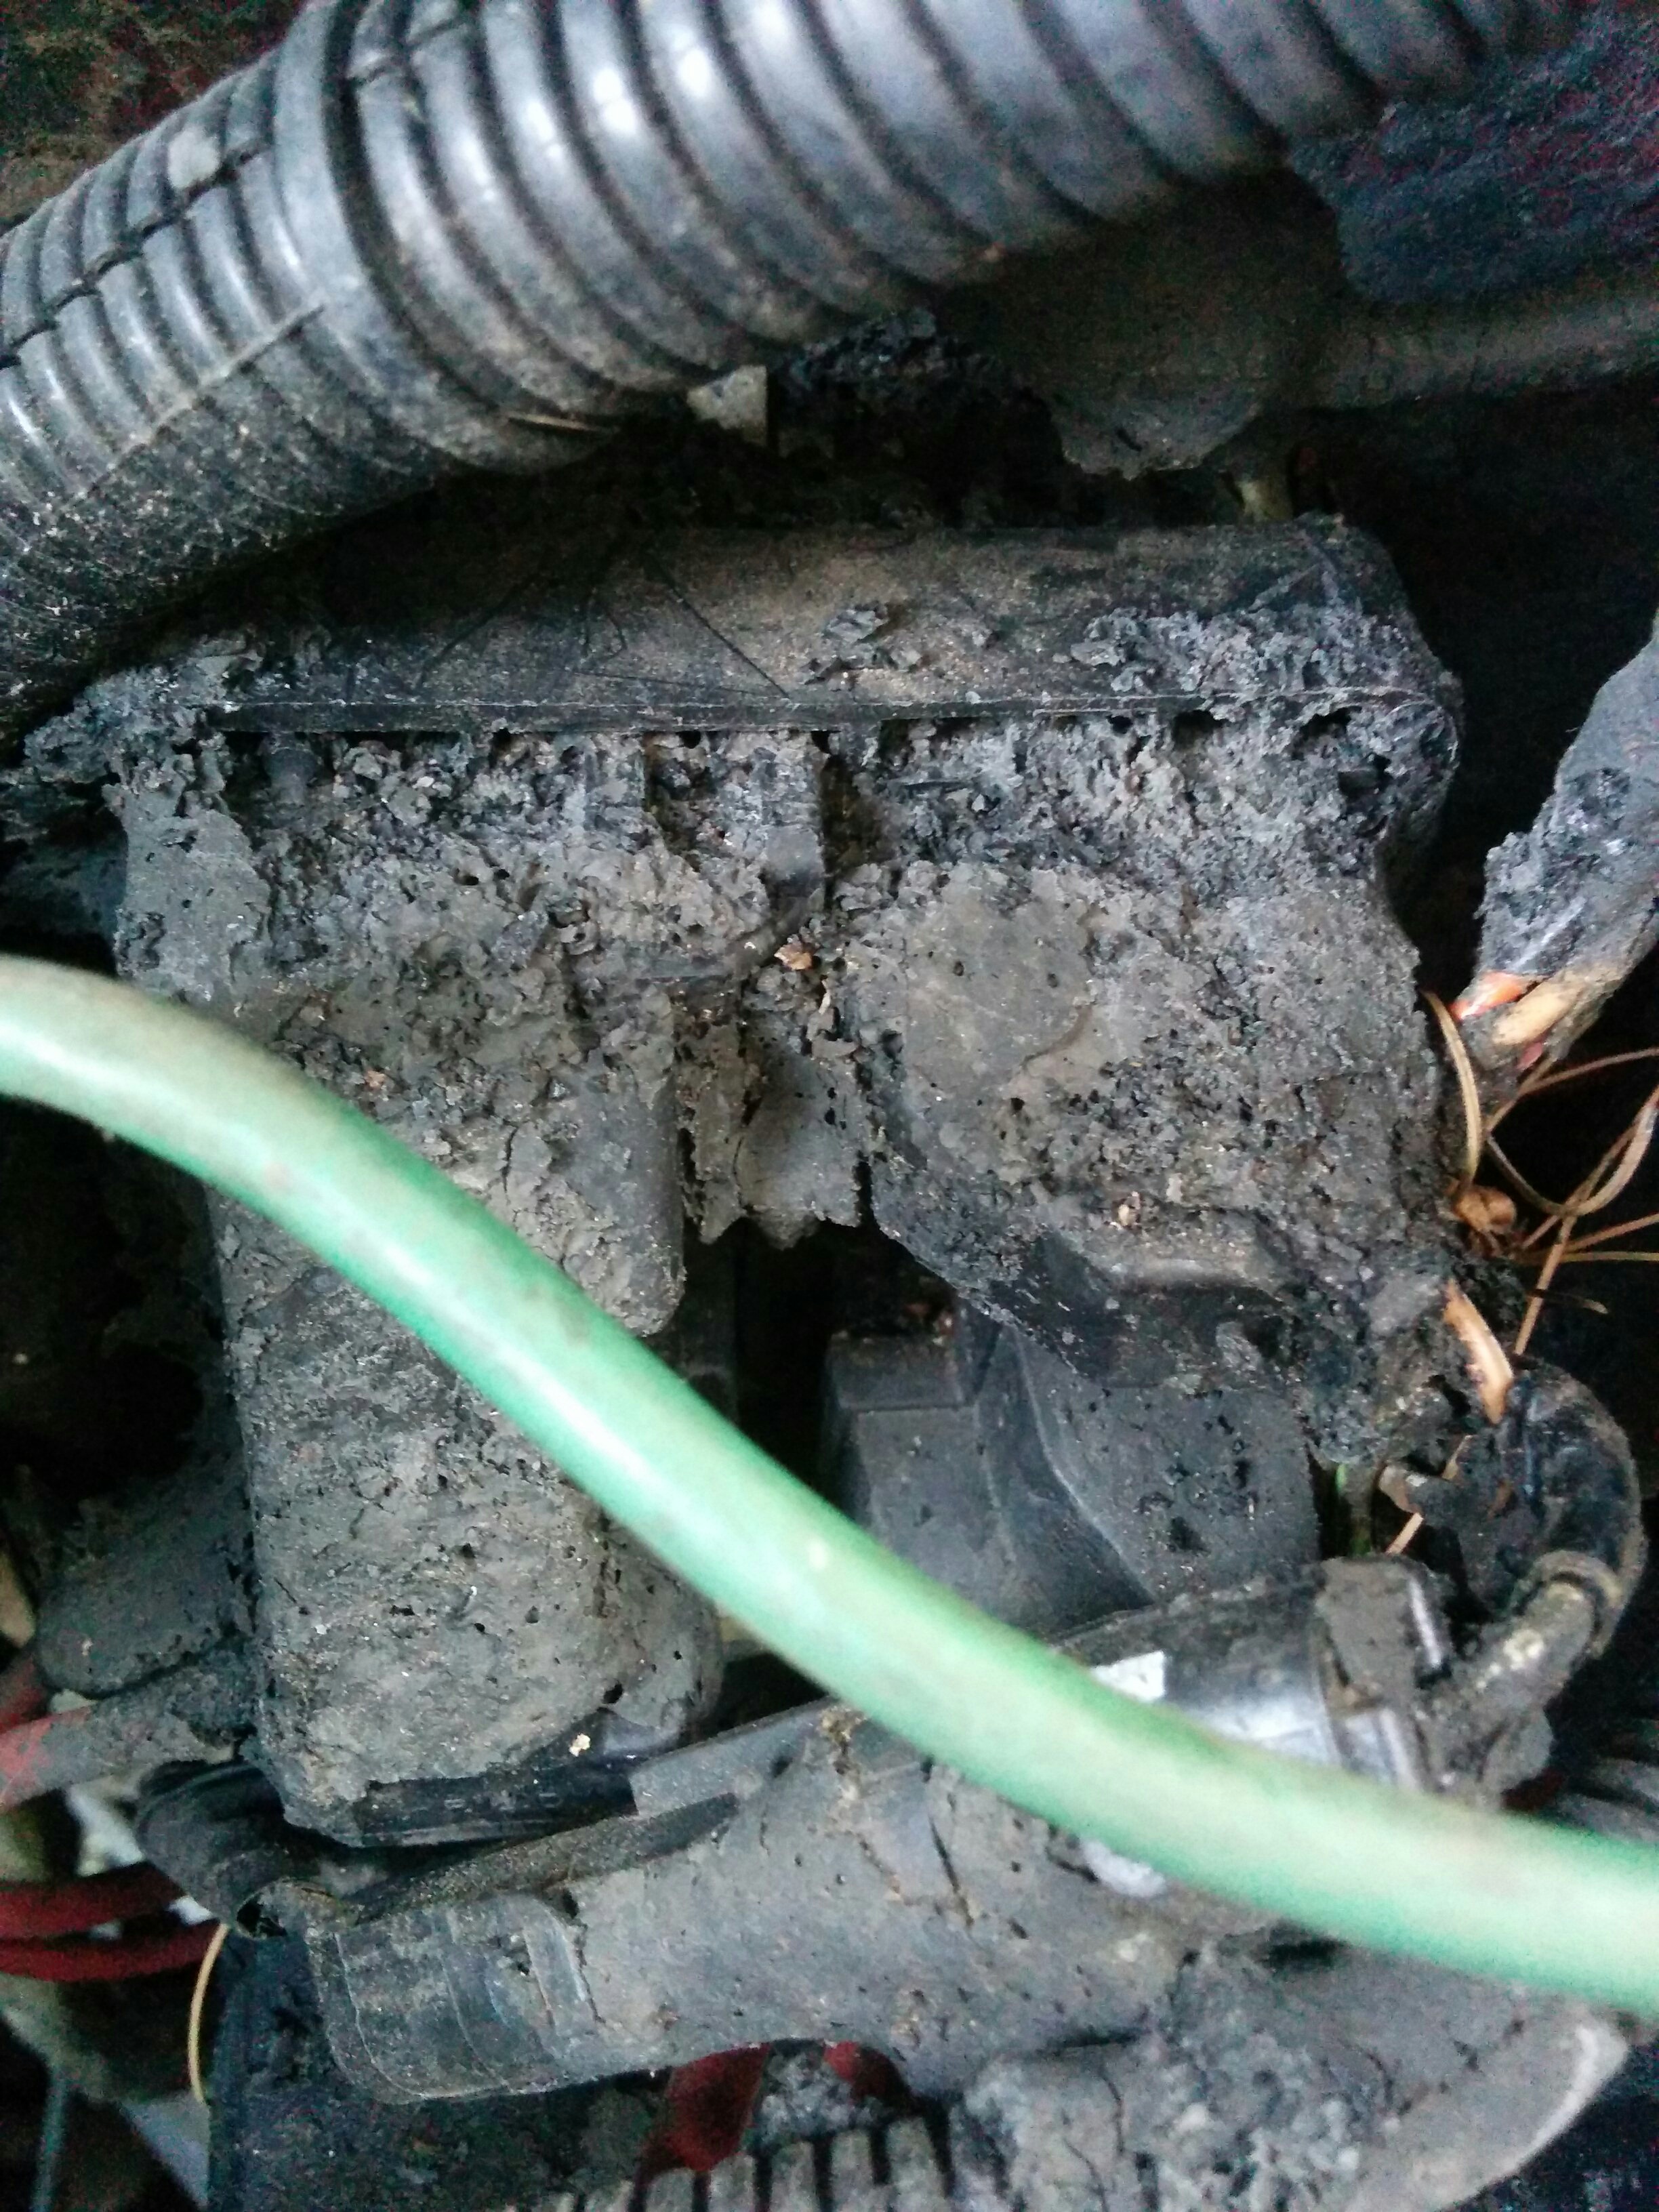
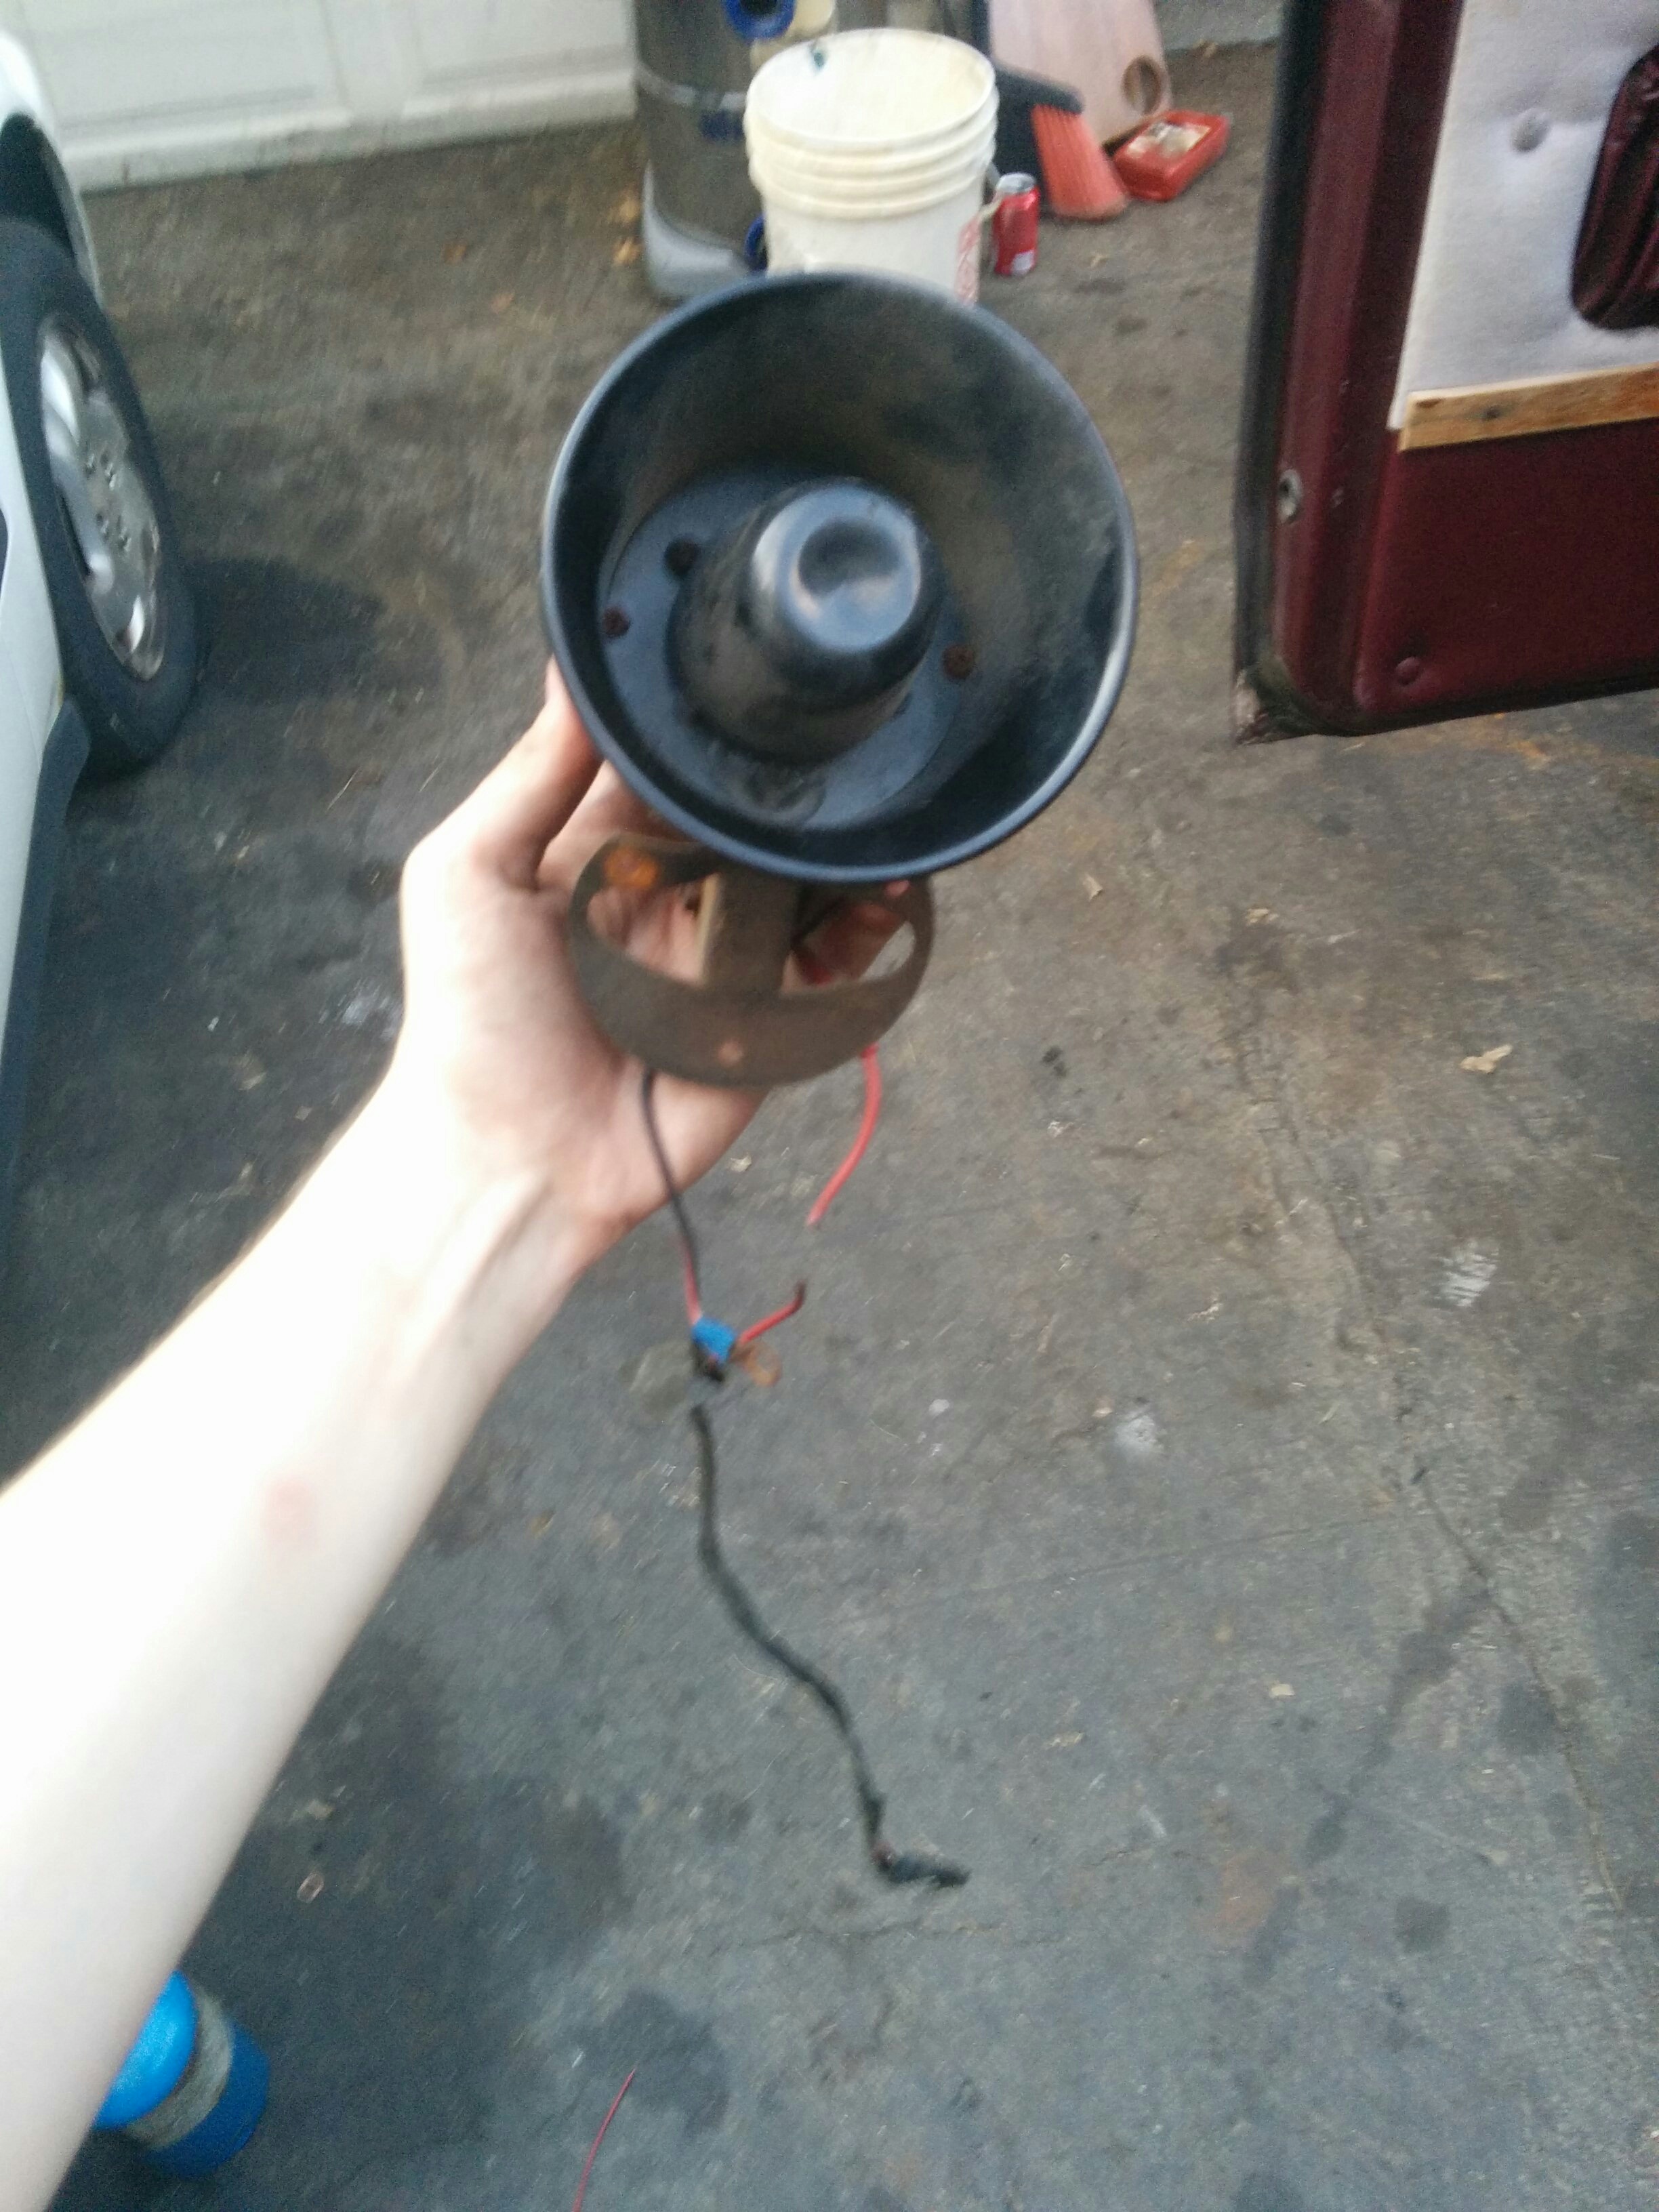
A quick peek in the battery area of the engine bay revealed a few more enigmas. Some of it was disconnected and not attached to anything, some of it was…melted!? This speaker thing wasn’t connected to anything iirc. Some sort of aftermarket security system, maybe?
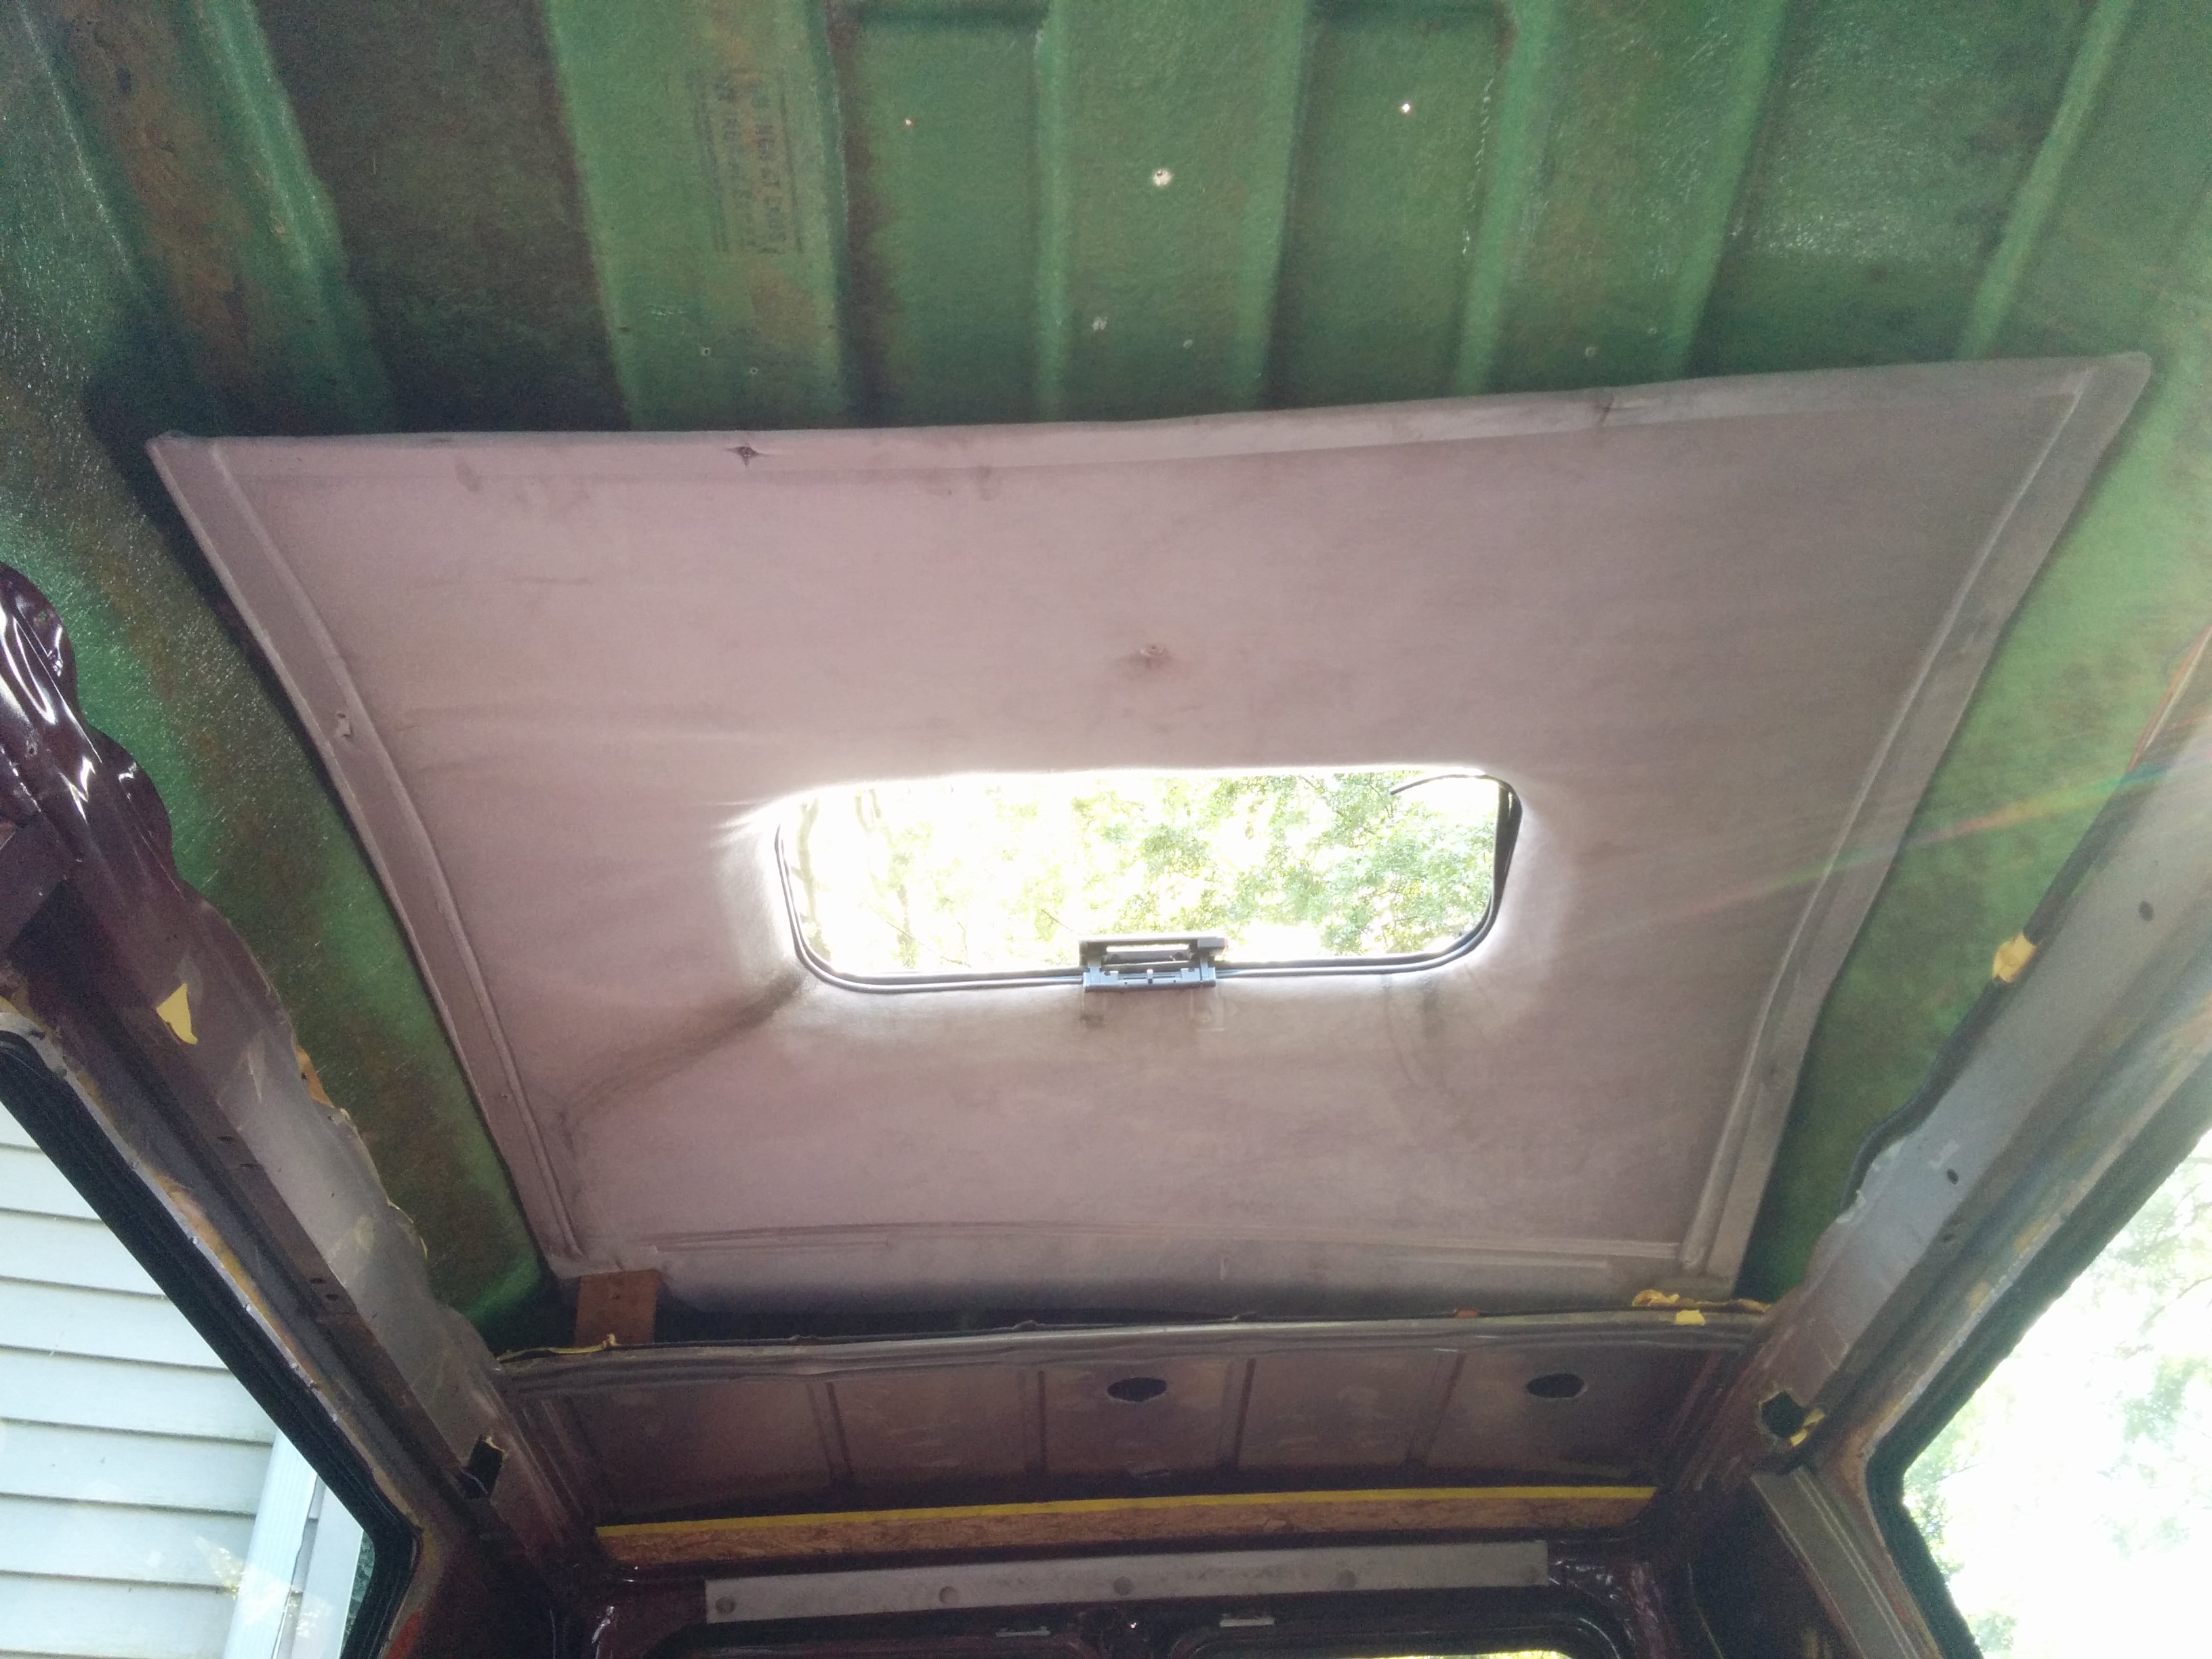
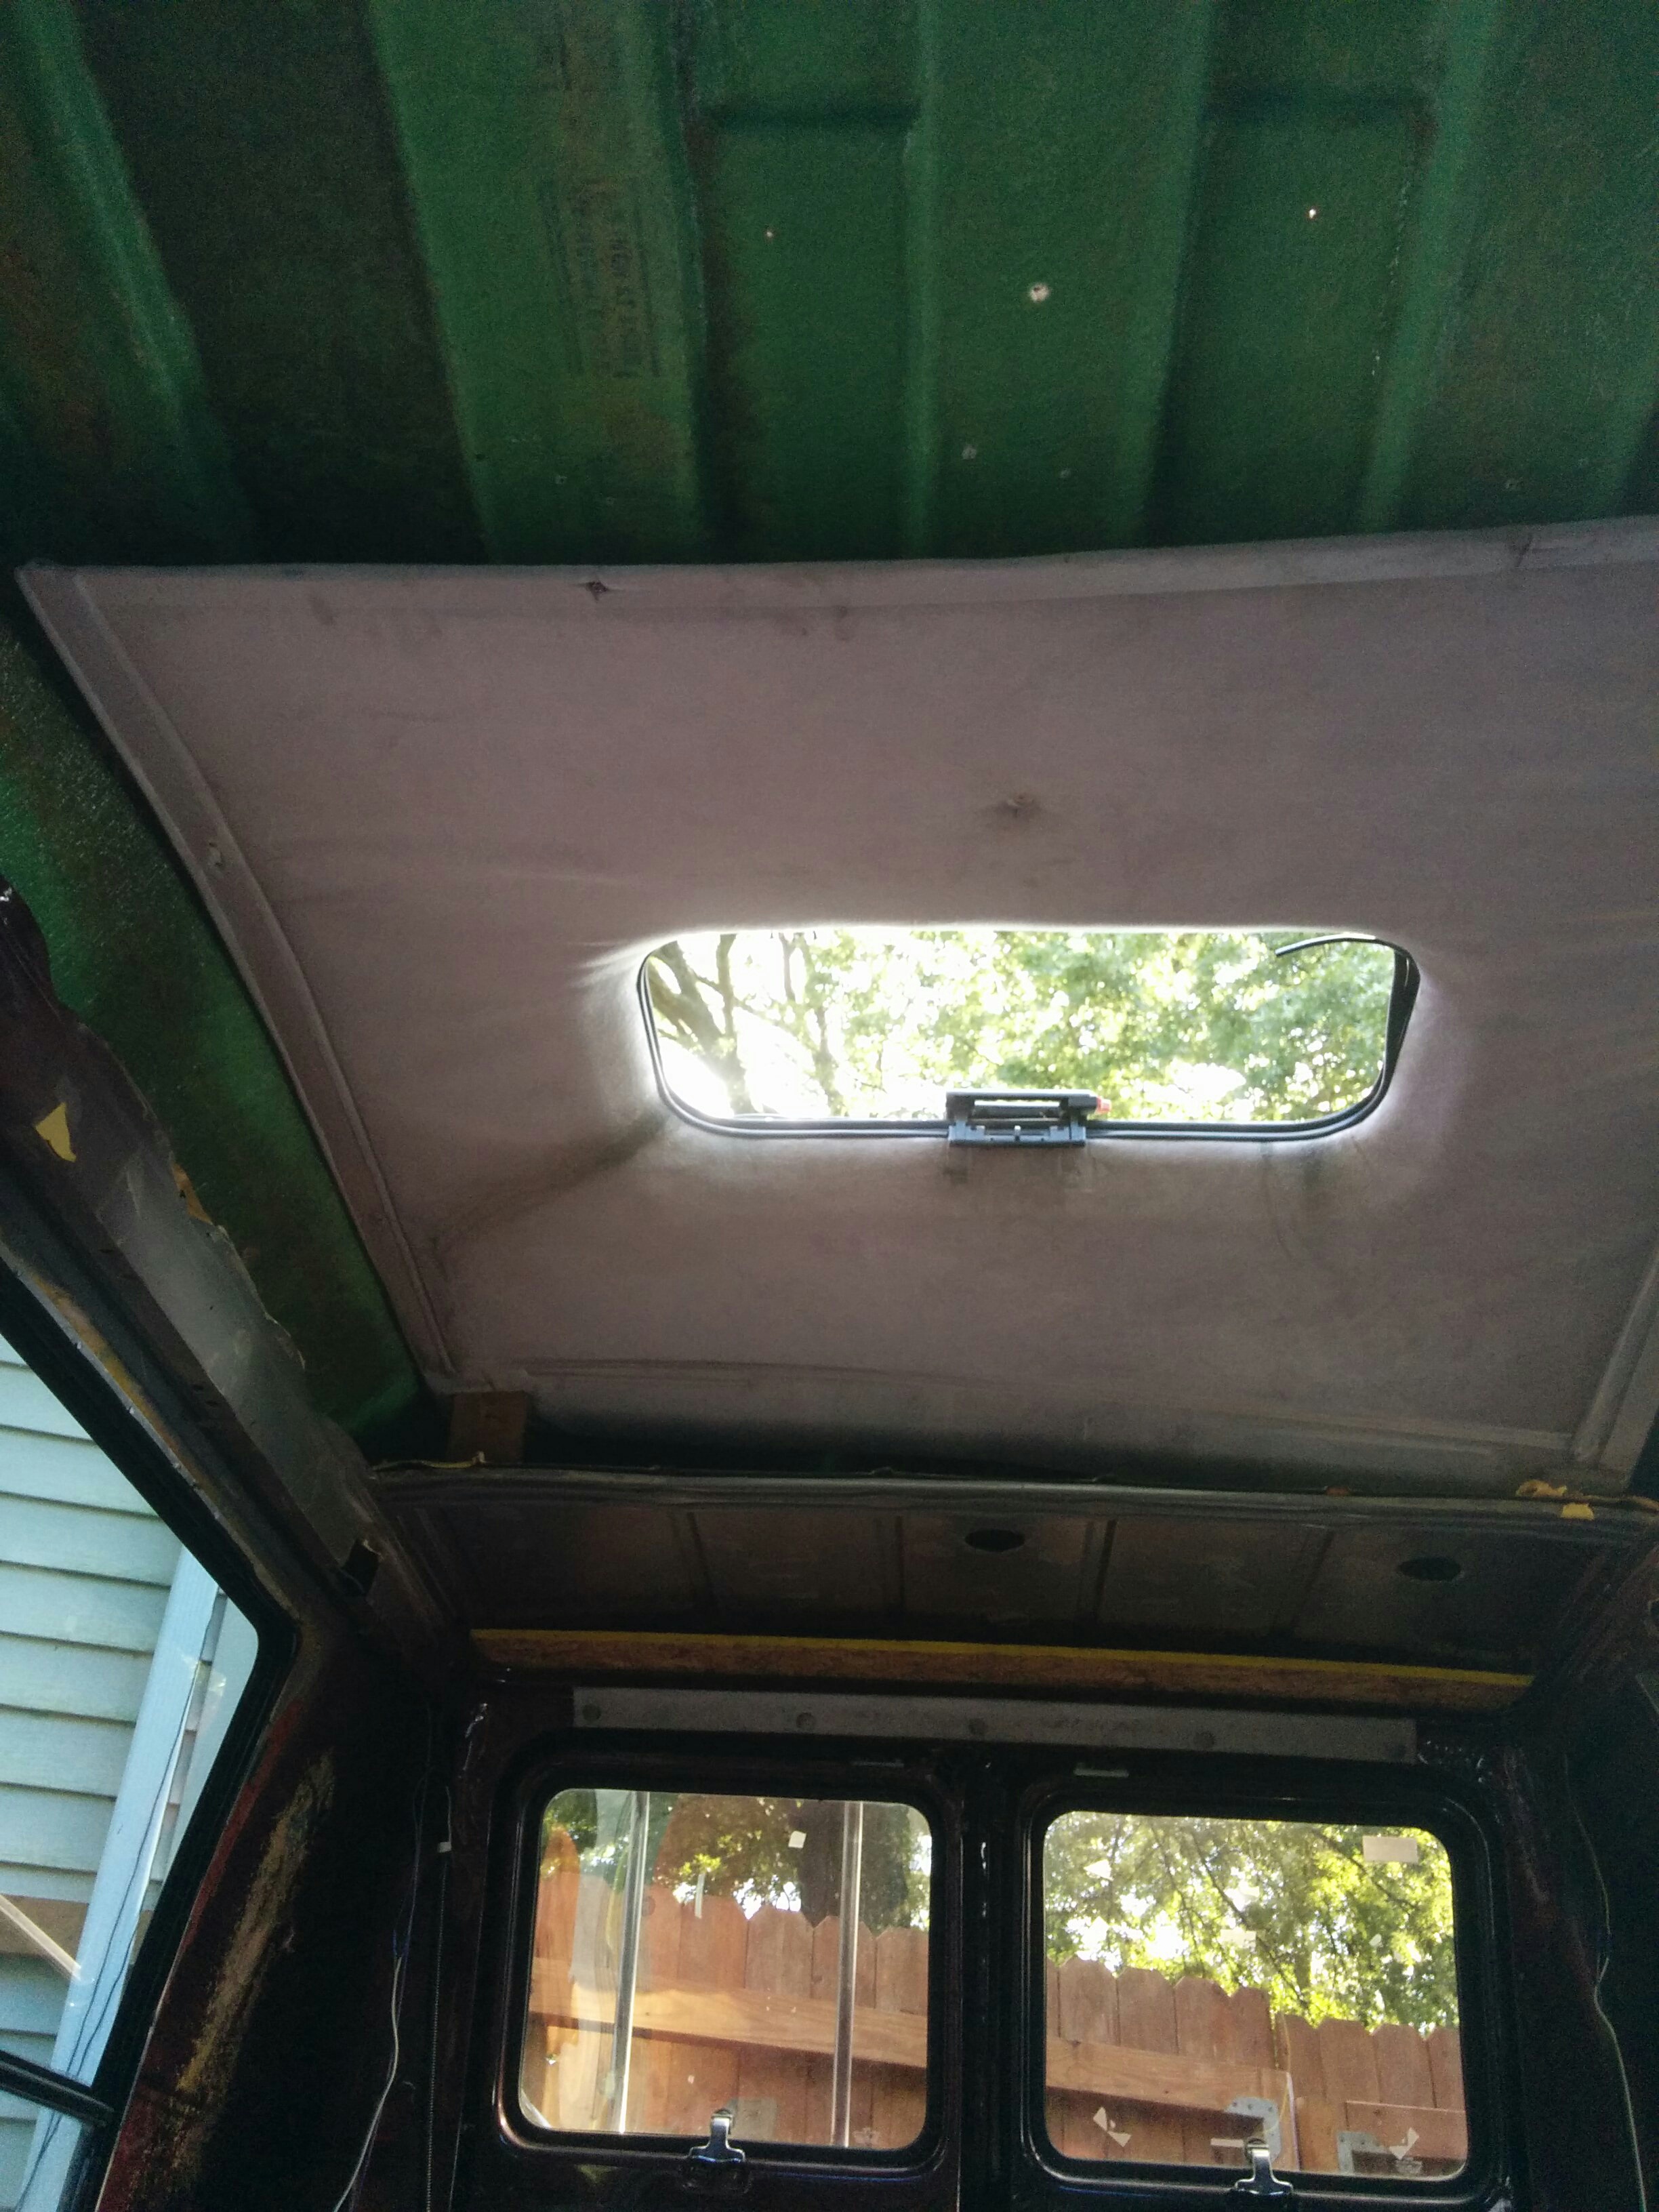
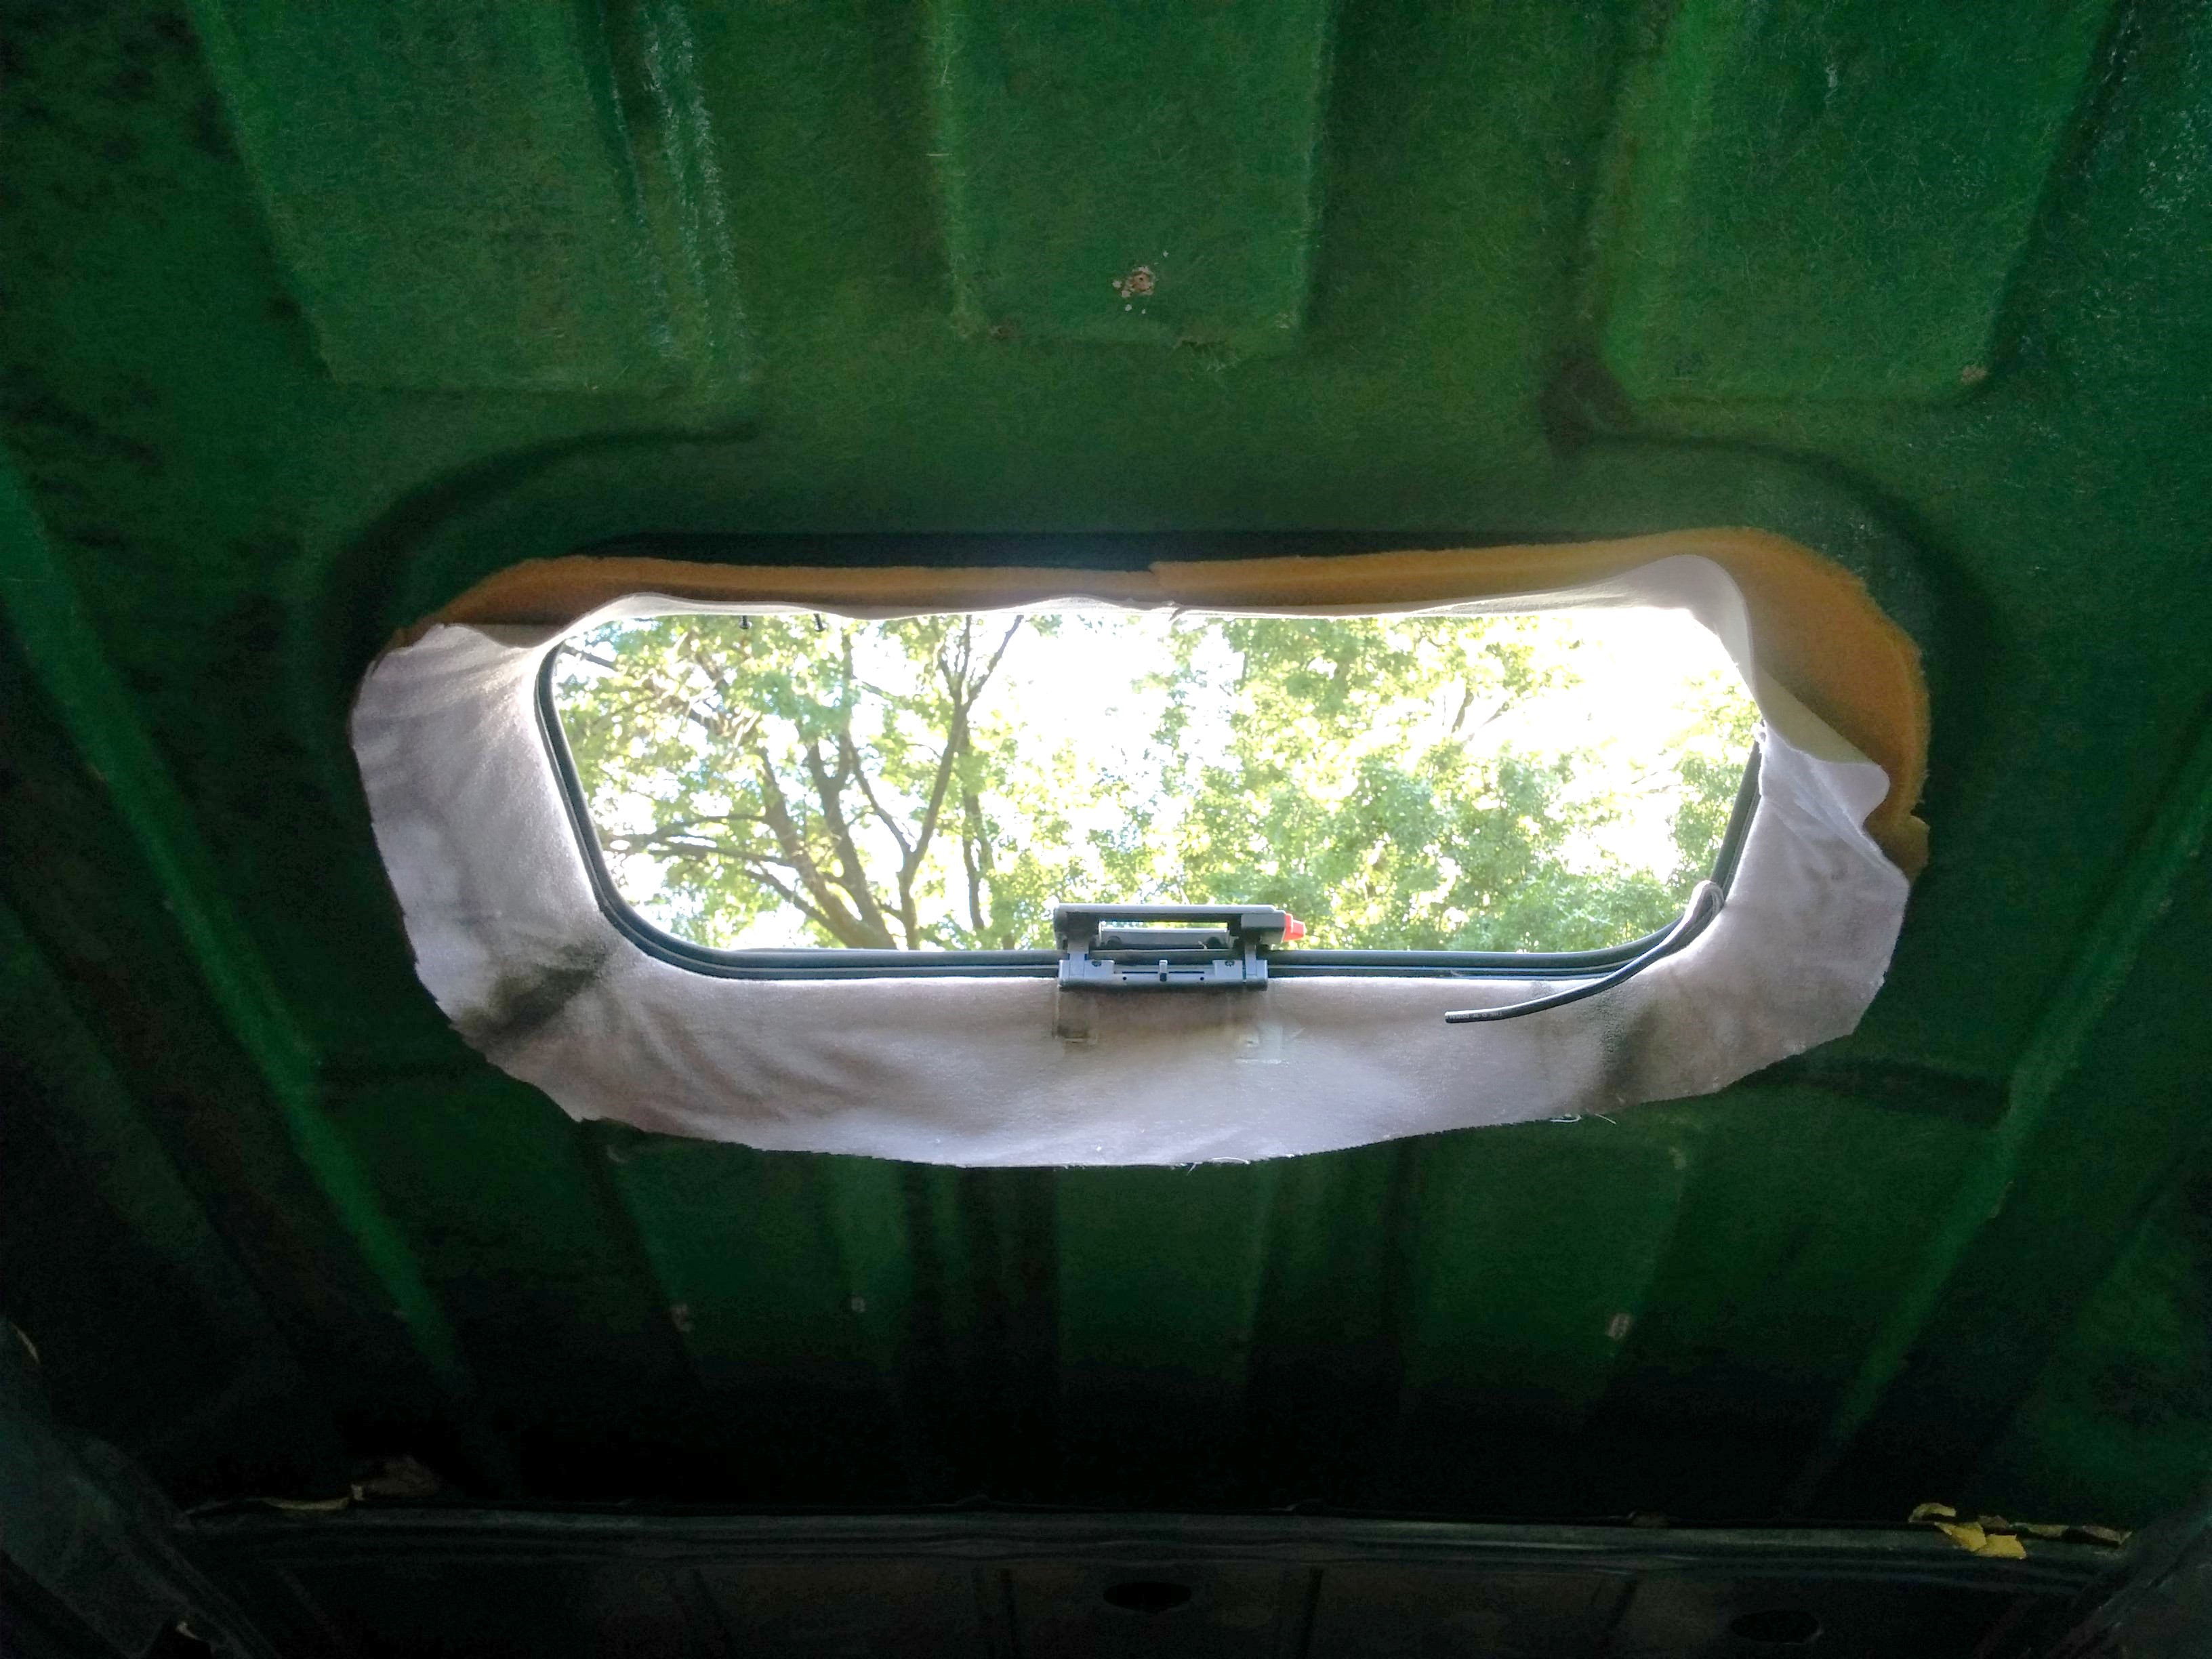
Last but not least was this obnoxious ceiling panel. You can see that the fiberglass roof surrounding it is a hideous green. It would have been nice to reuse this panel in some way (cover it with some sort of different fabric?) if they hadn’t superglued it to the sunroof. ;(
You can see on the sides of the van how brutally mutilated the edge of the original van roof was in the process of cutting it off.

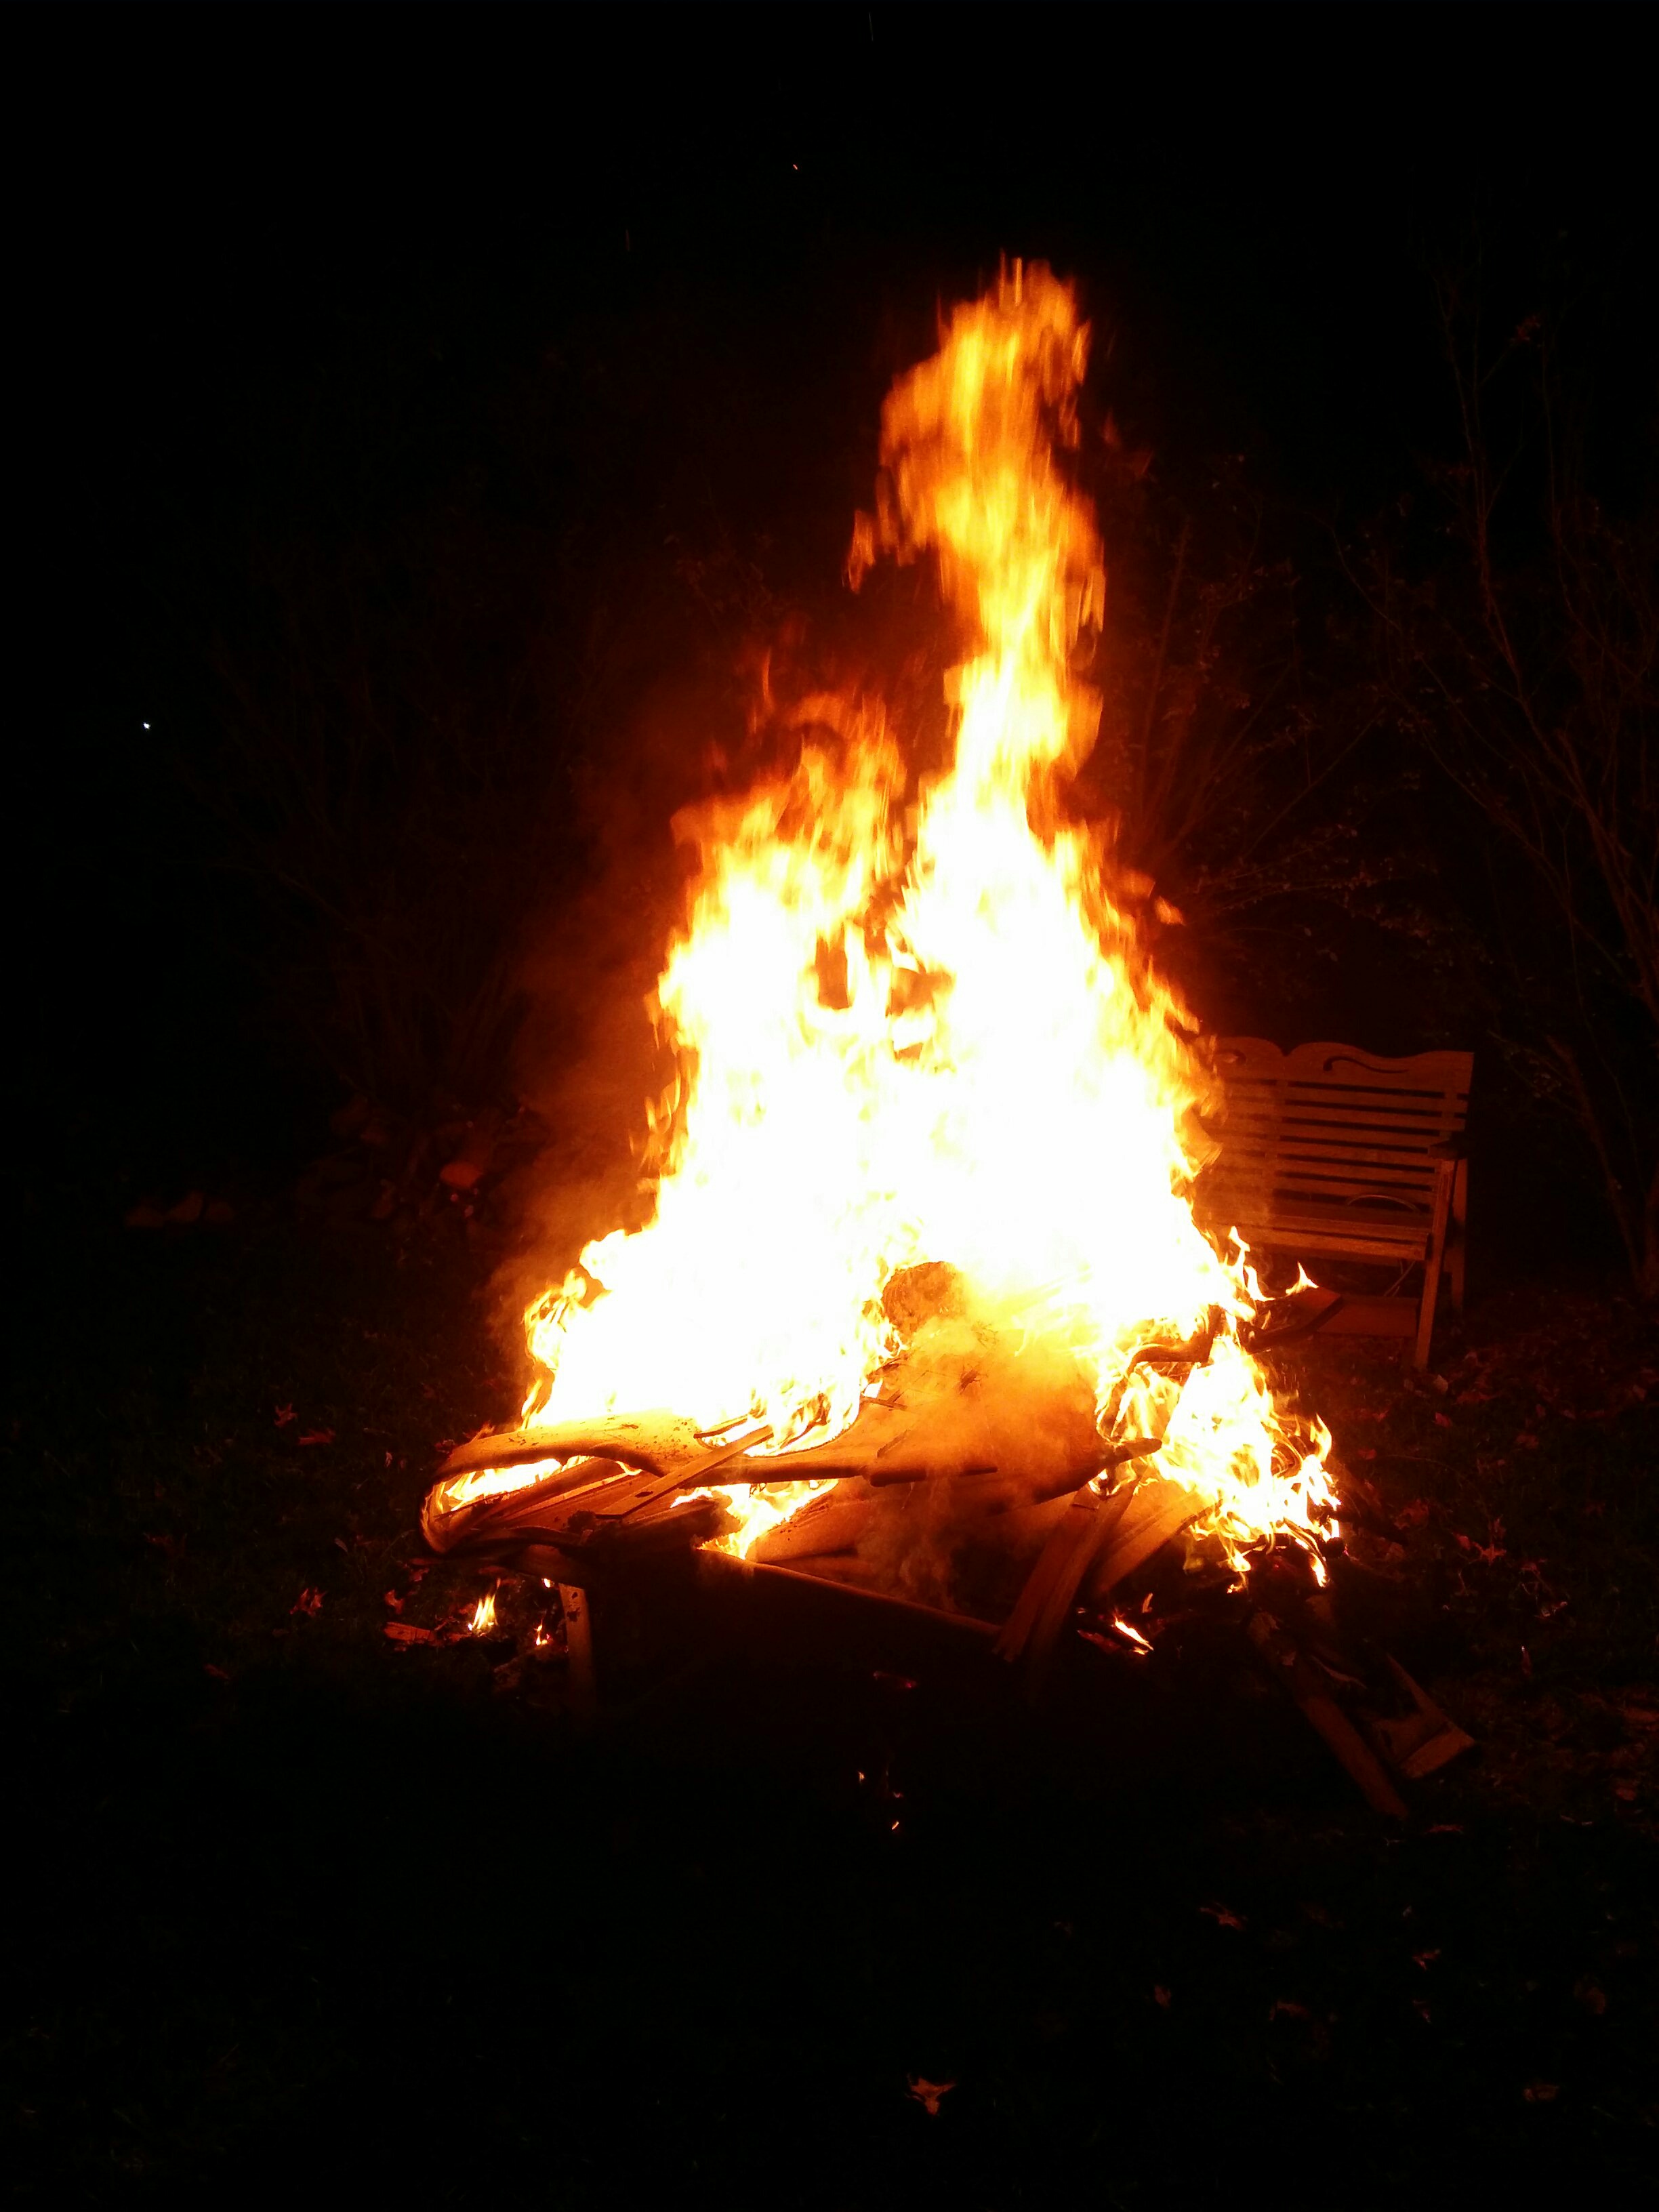
As I watched the flames jump towards the sky, I found myself in a reflective mood. Hopefully, this would all work out ok…hopefully. 1
…
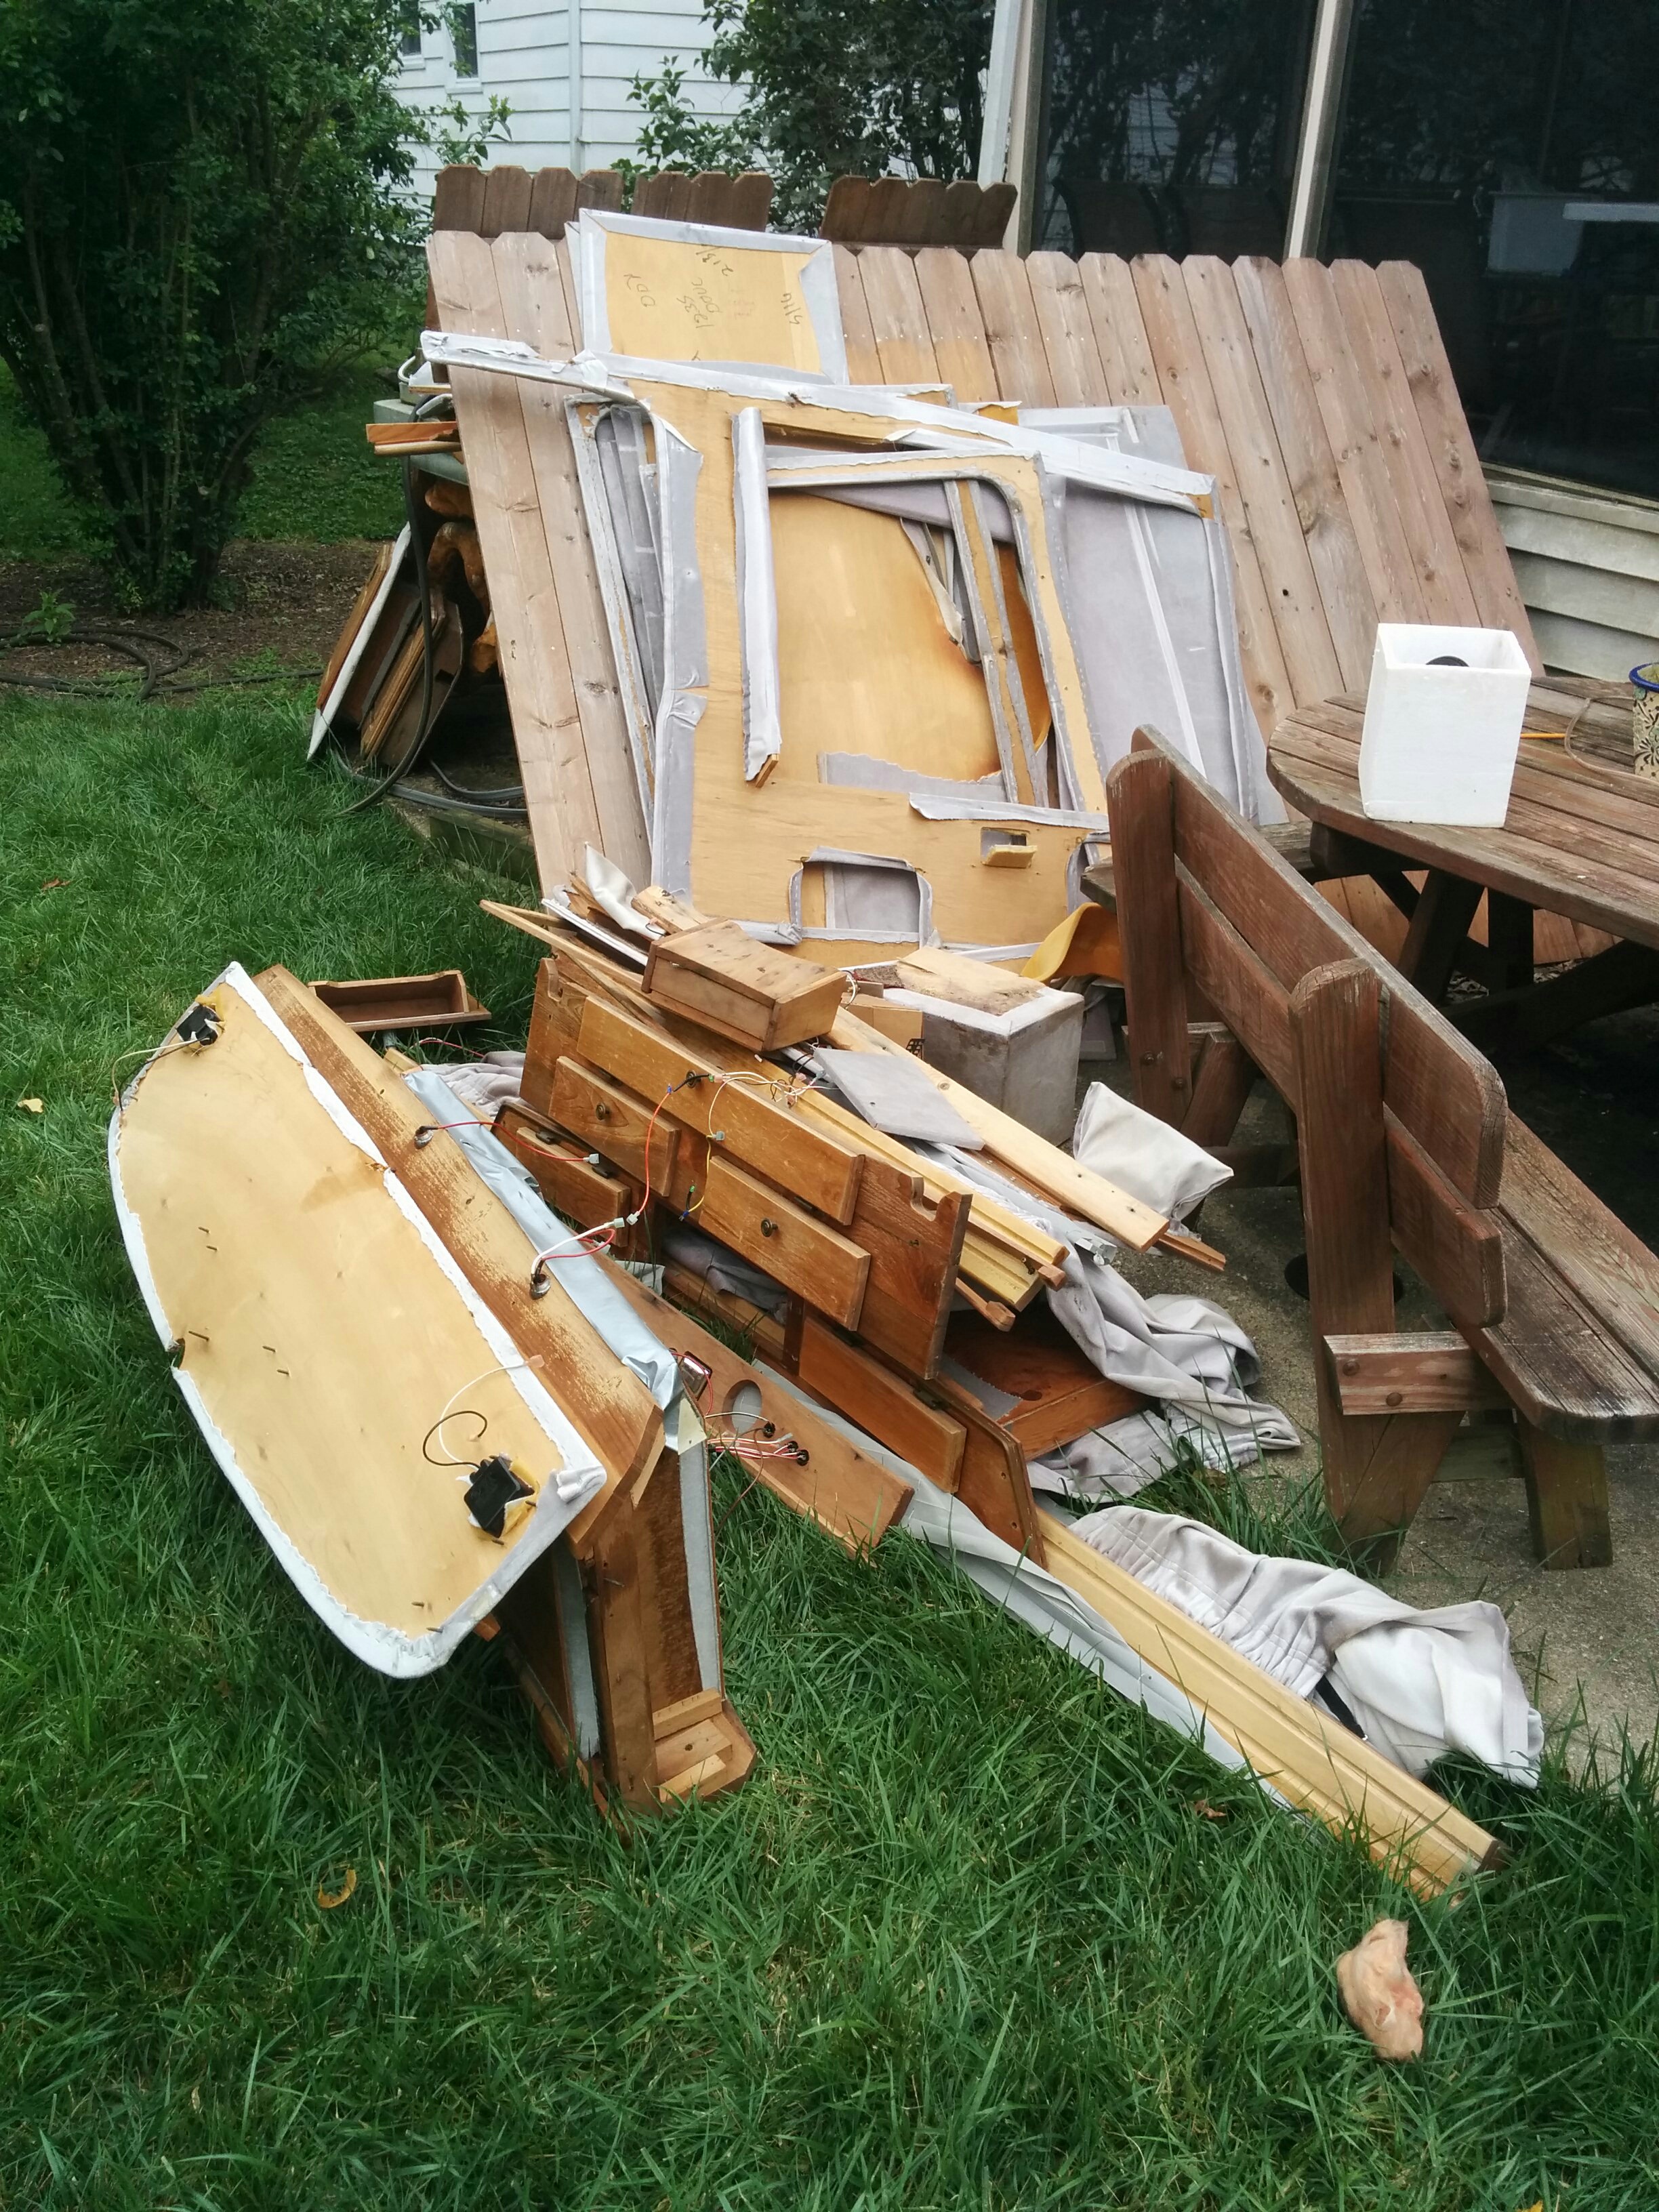
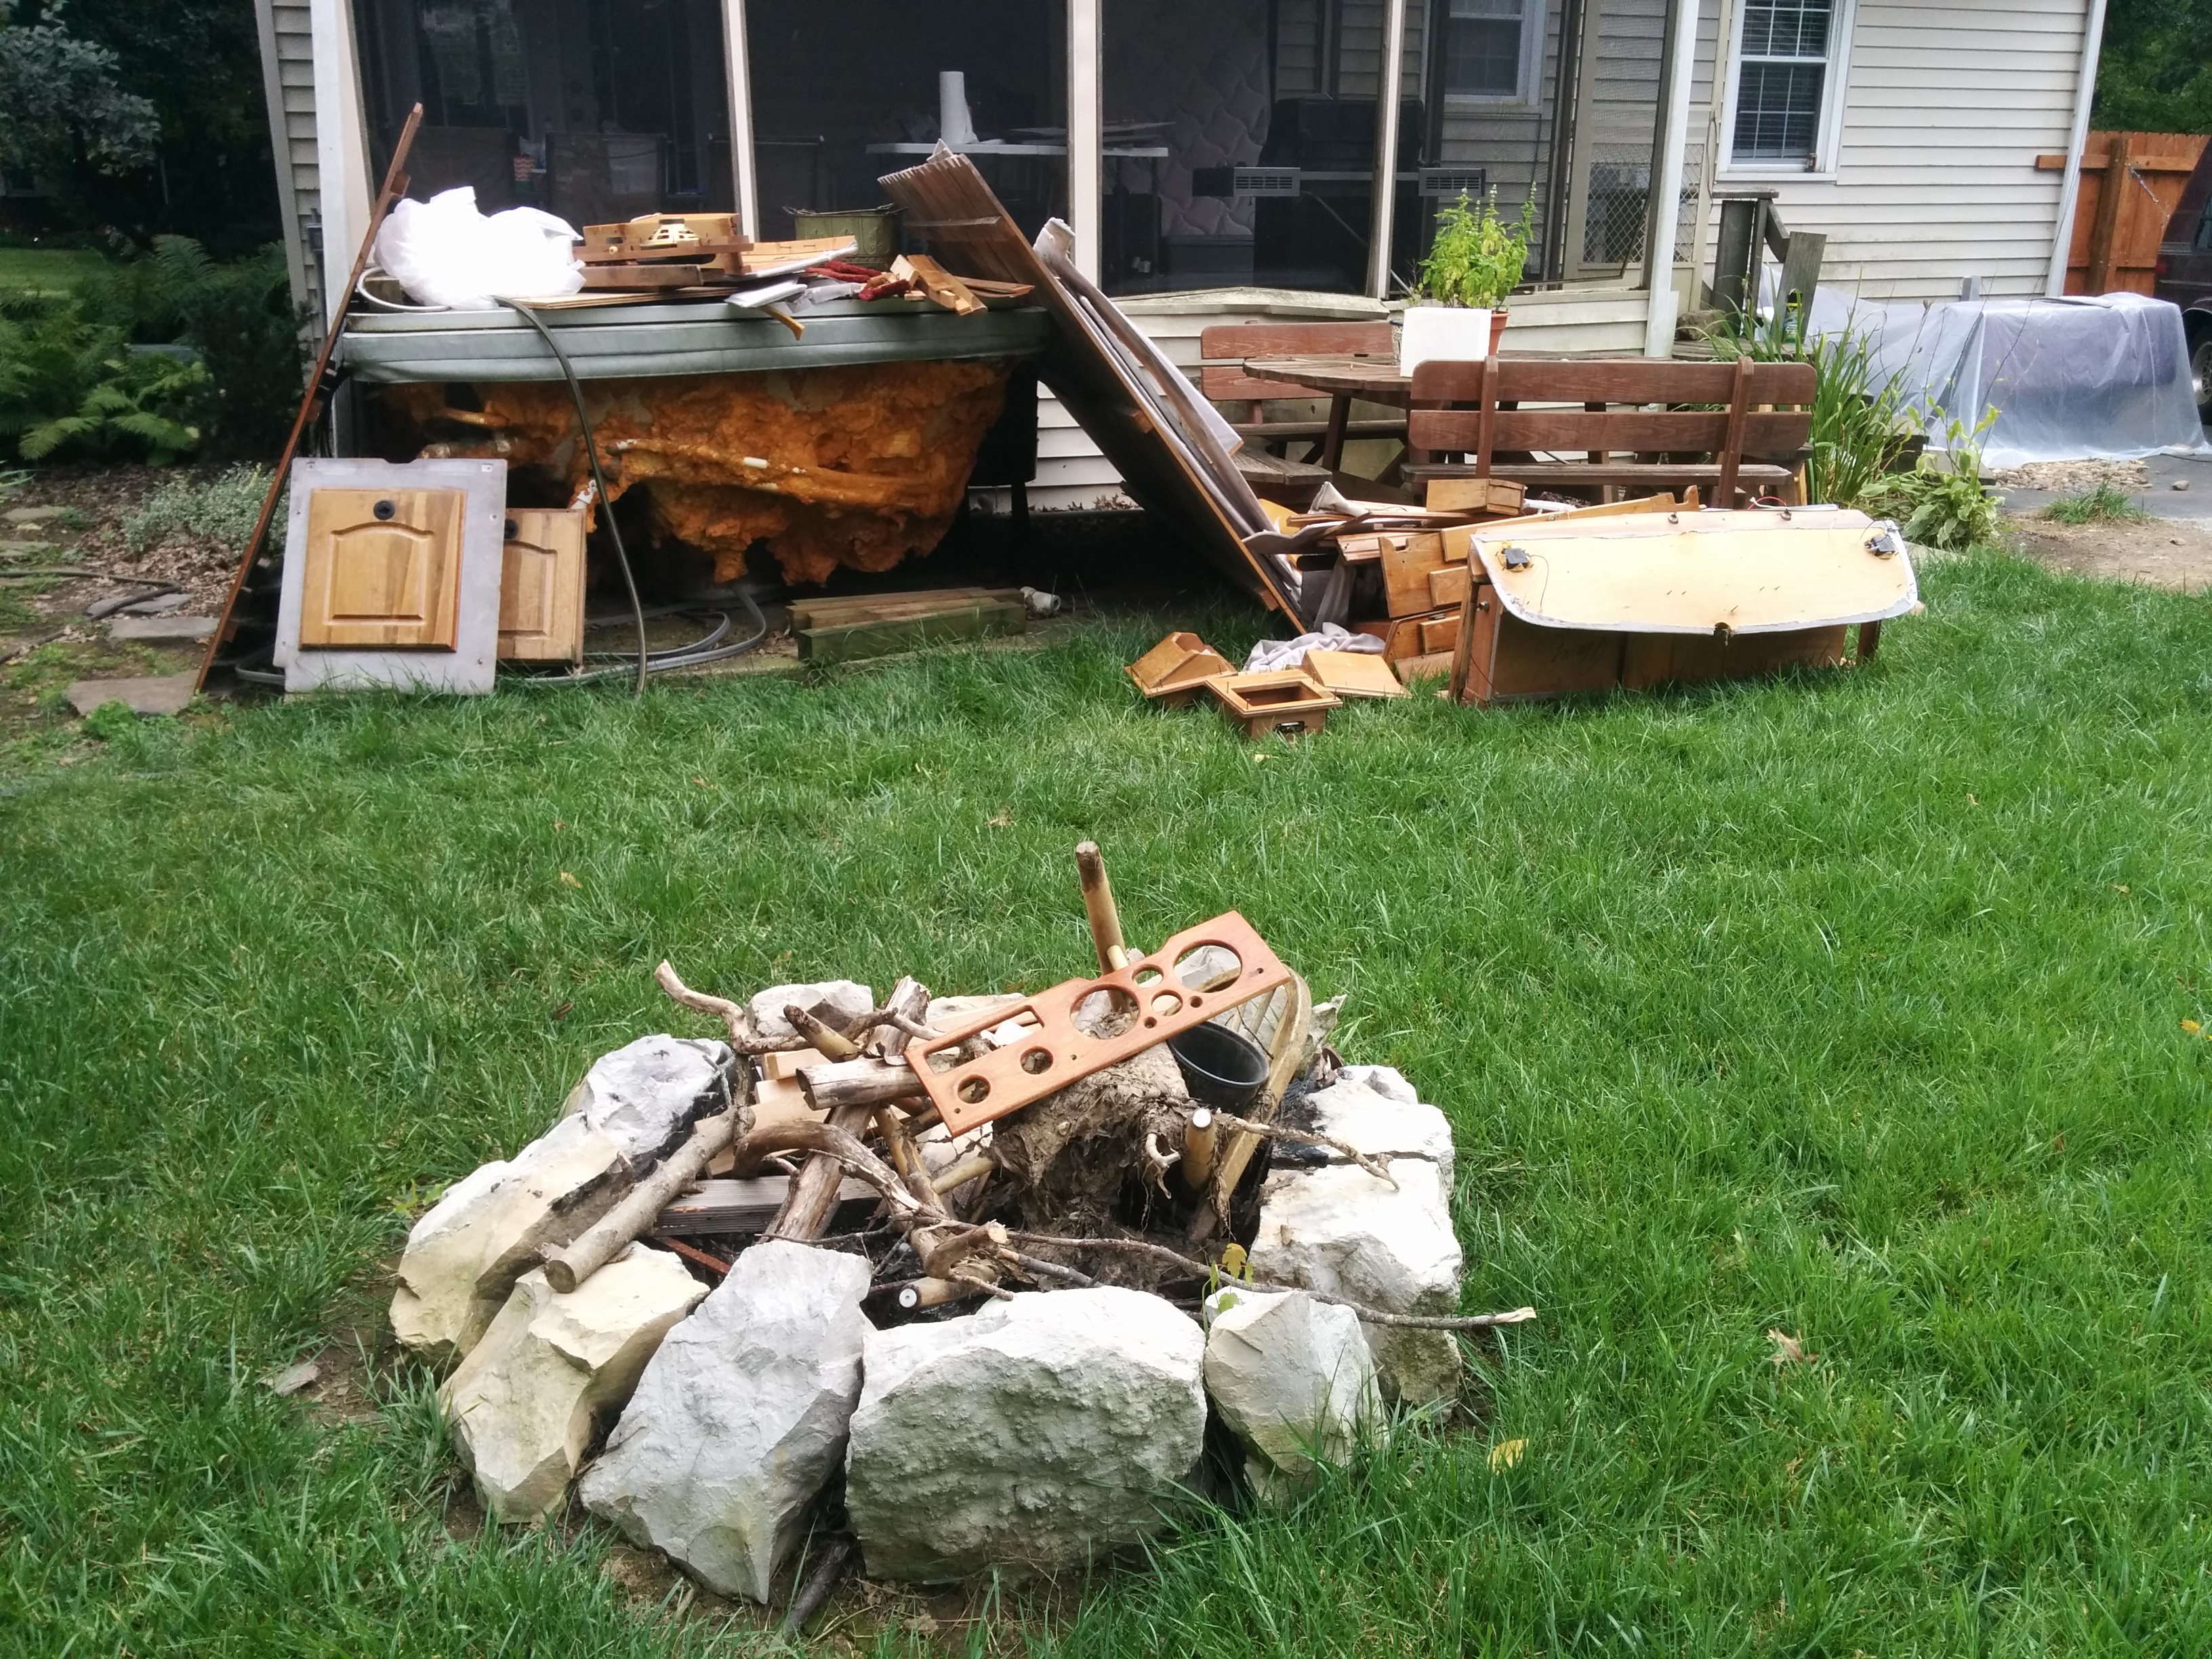
In any case, the interior had been gutted and had become a blank canvas for my own purposes. Now all that was left was to put it back together…
Footnotes
-
That you are reading this means it did. :) ↩