First up were a few quality of life improvements. Unlike anything related to the car engine (where I was mostly a curious but clueless “assistant”), I was able to tackle most of this independent of Garrett.
Dashboard Lights
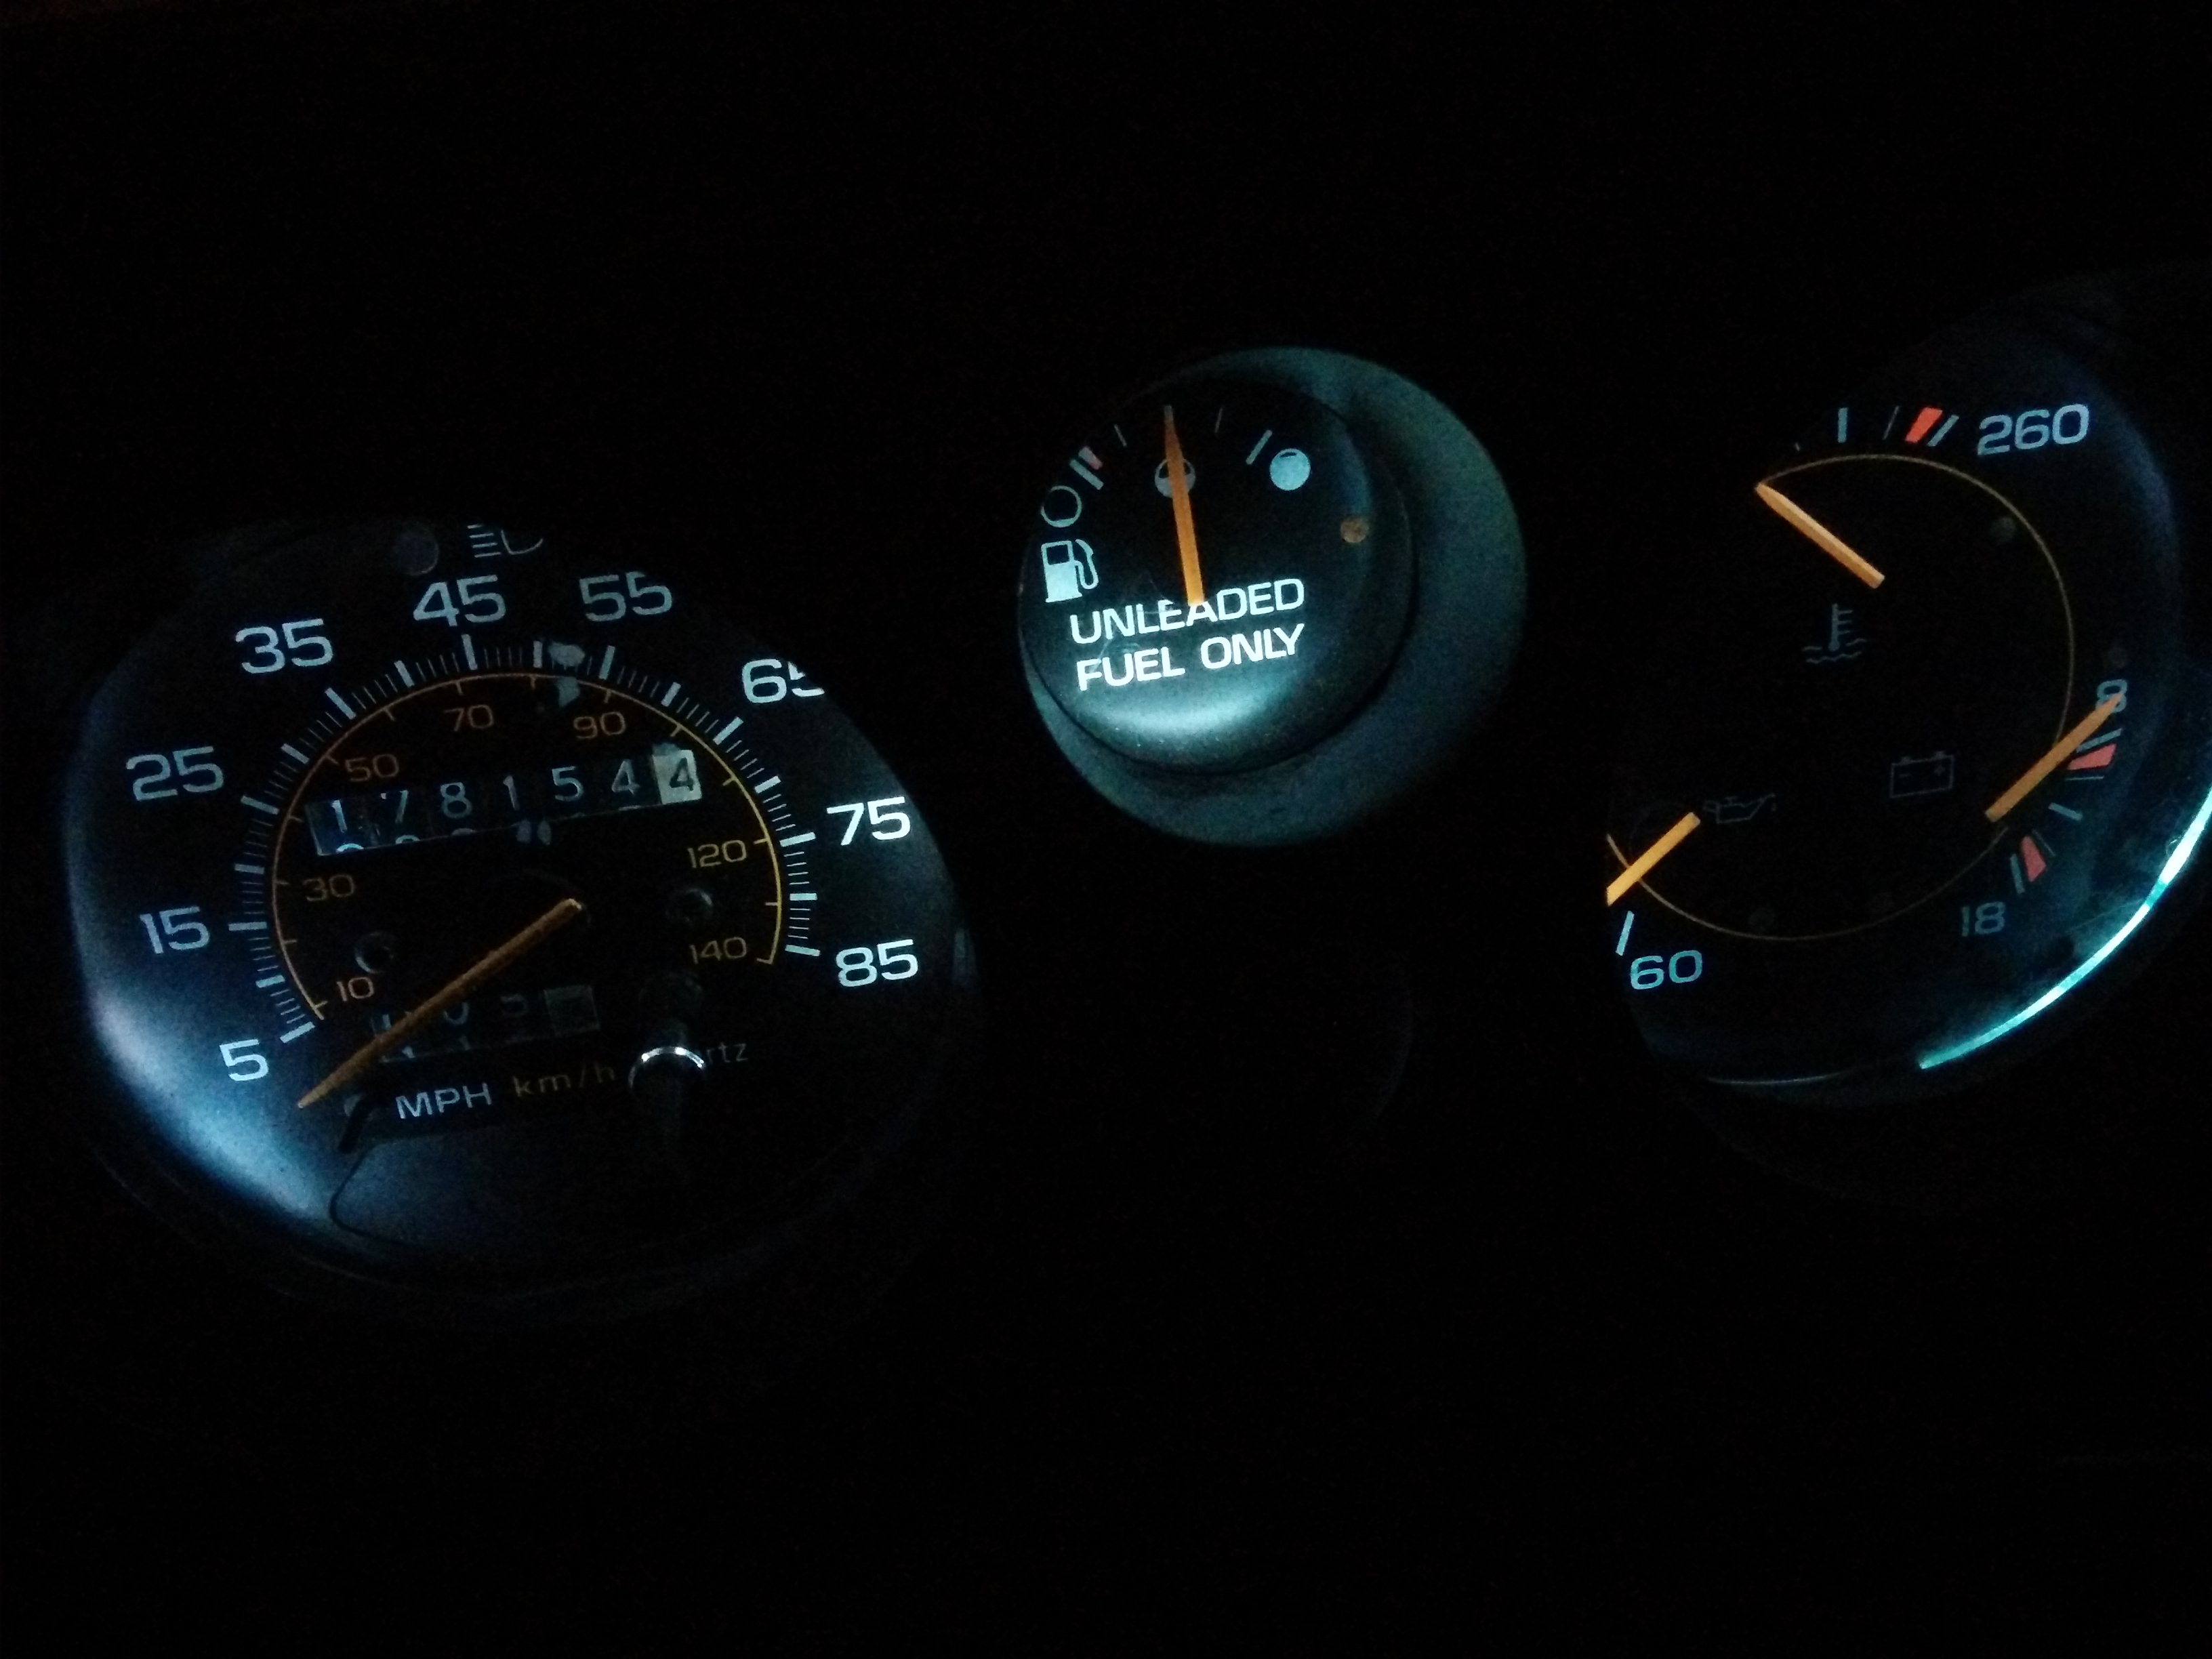
One reason I had removed the wood paneling around the gauge cluster so early on was that even during the day, the gauges were difficult to read because the backlighting was incredibly weak. In retrospect, some of the dimness was probably attributable to the ailing battery/alternator system, but even with that resolved the lights were still just too dim. Googling around, I found a few things I could try to lighten things up.
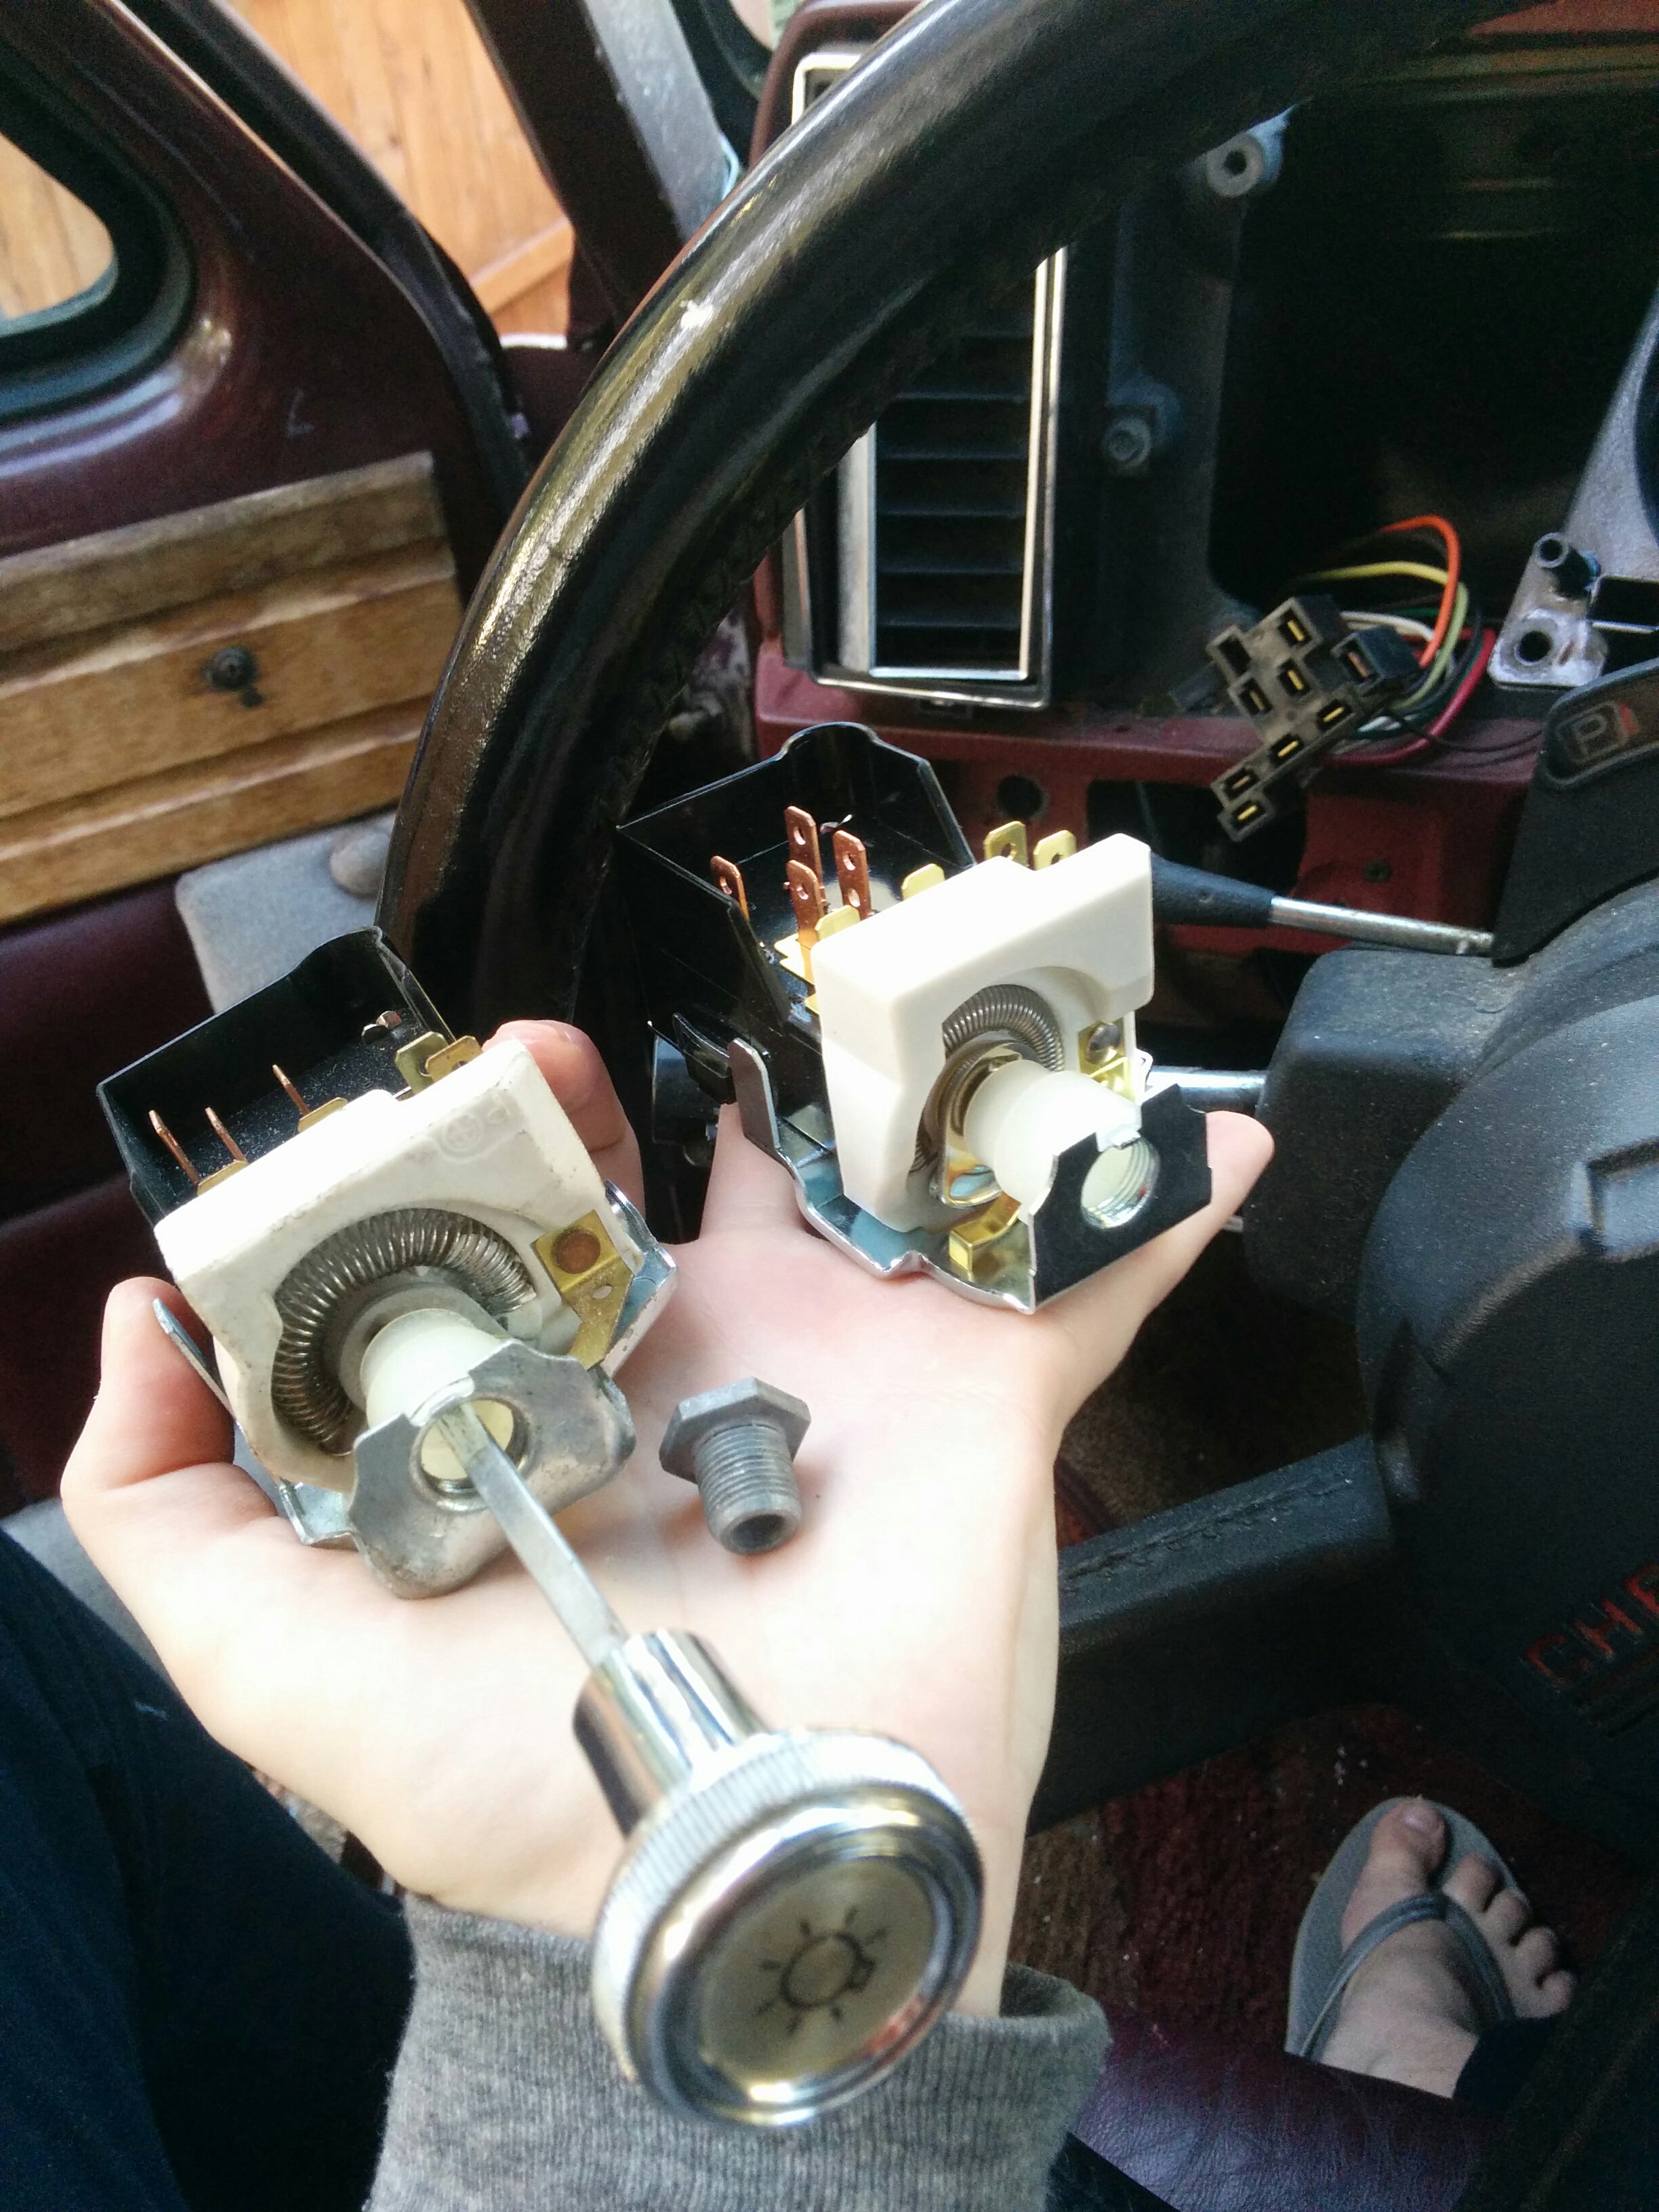
The first step was to replace the light-dimming rheostat. You pulled the rod out to turn the headlights on, and you could rotate the knob to dim your gauge cluster by your preferred amount. Mine was very stiff and uncooperative, so I replaced it with a $23 ACDelco and sprayed contact cleaner on the van connector. This helped a little bit. After some research, I found that I could also upgrade the gauge cluster with led lights.
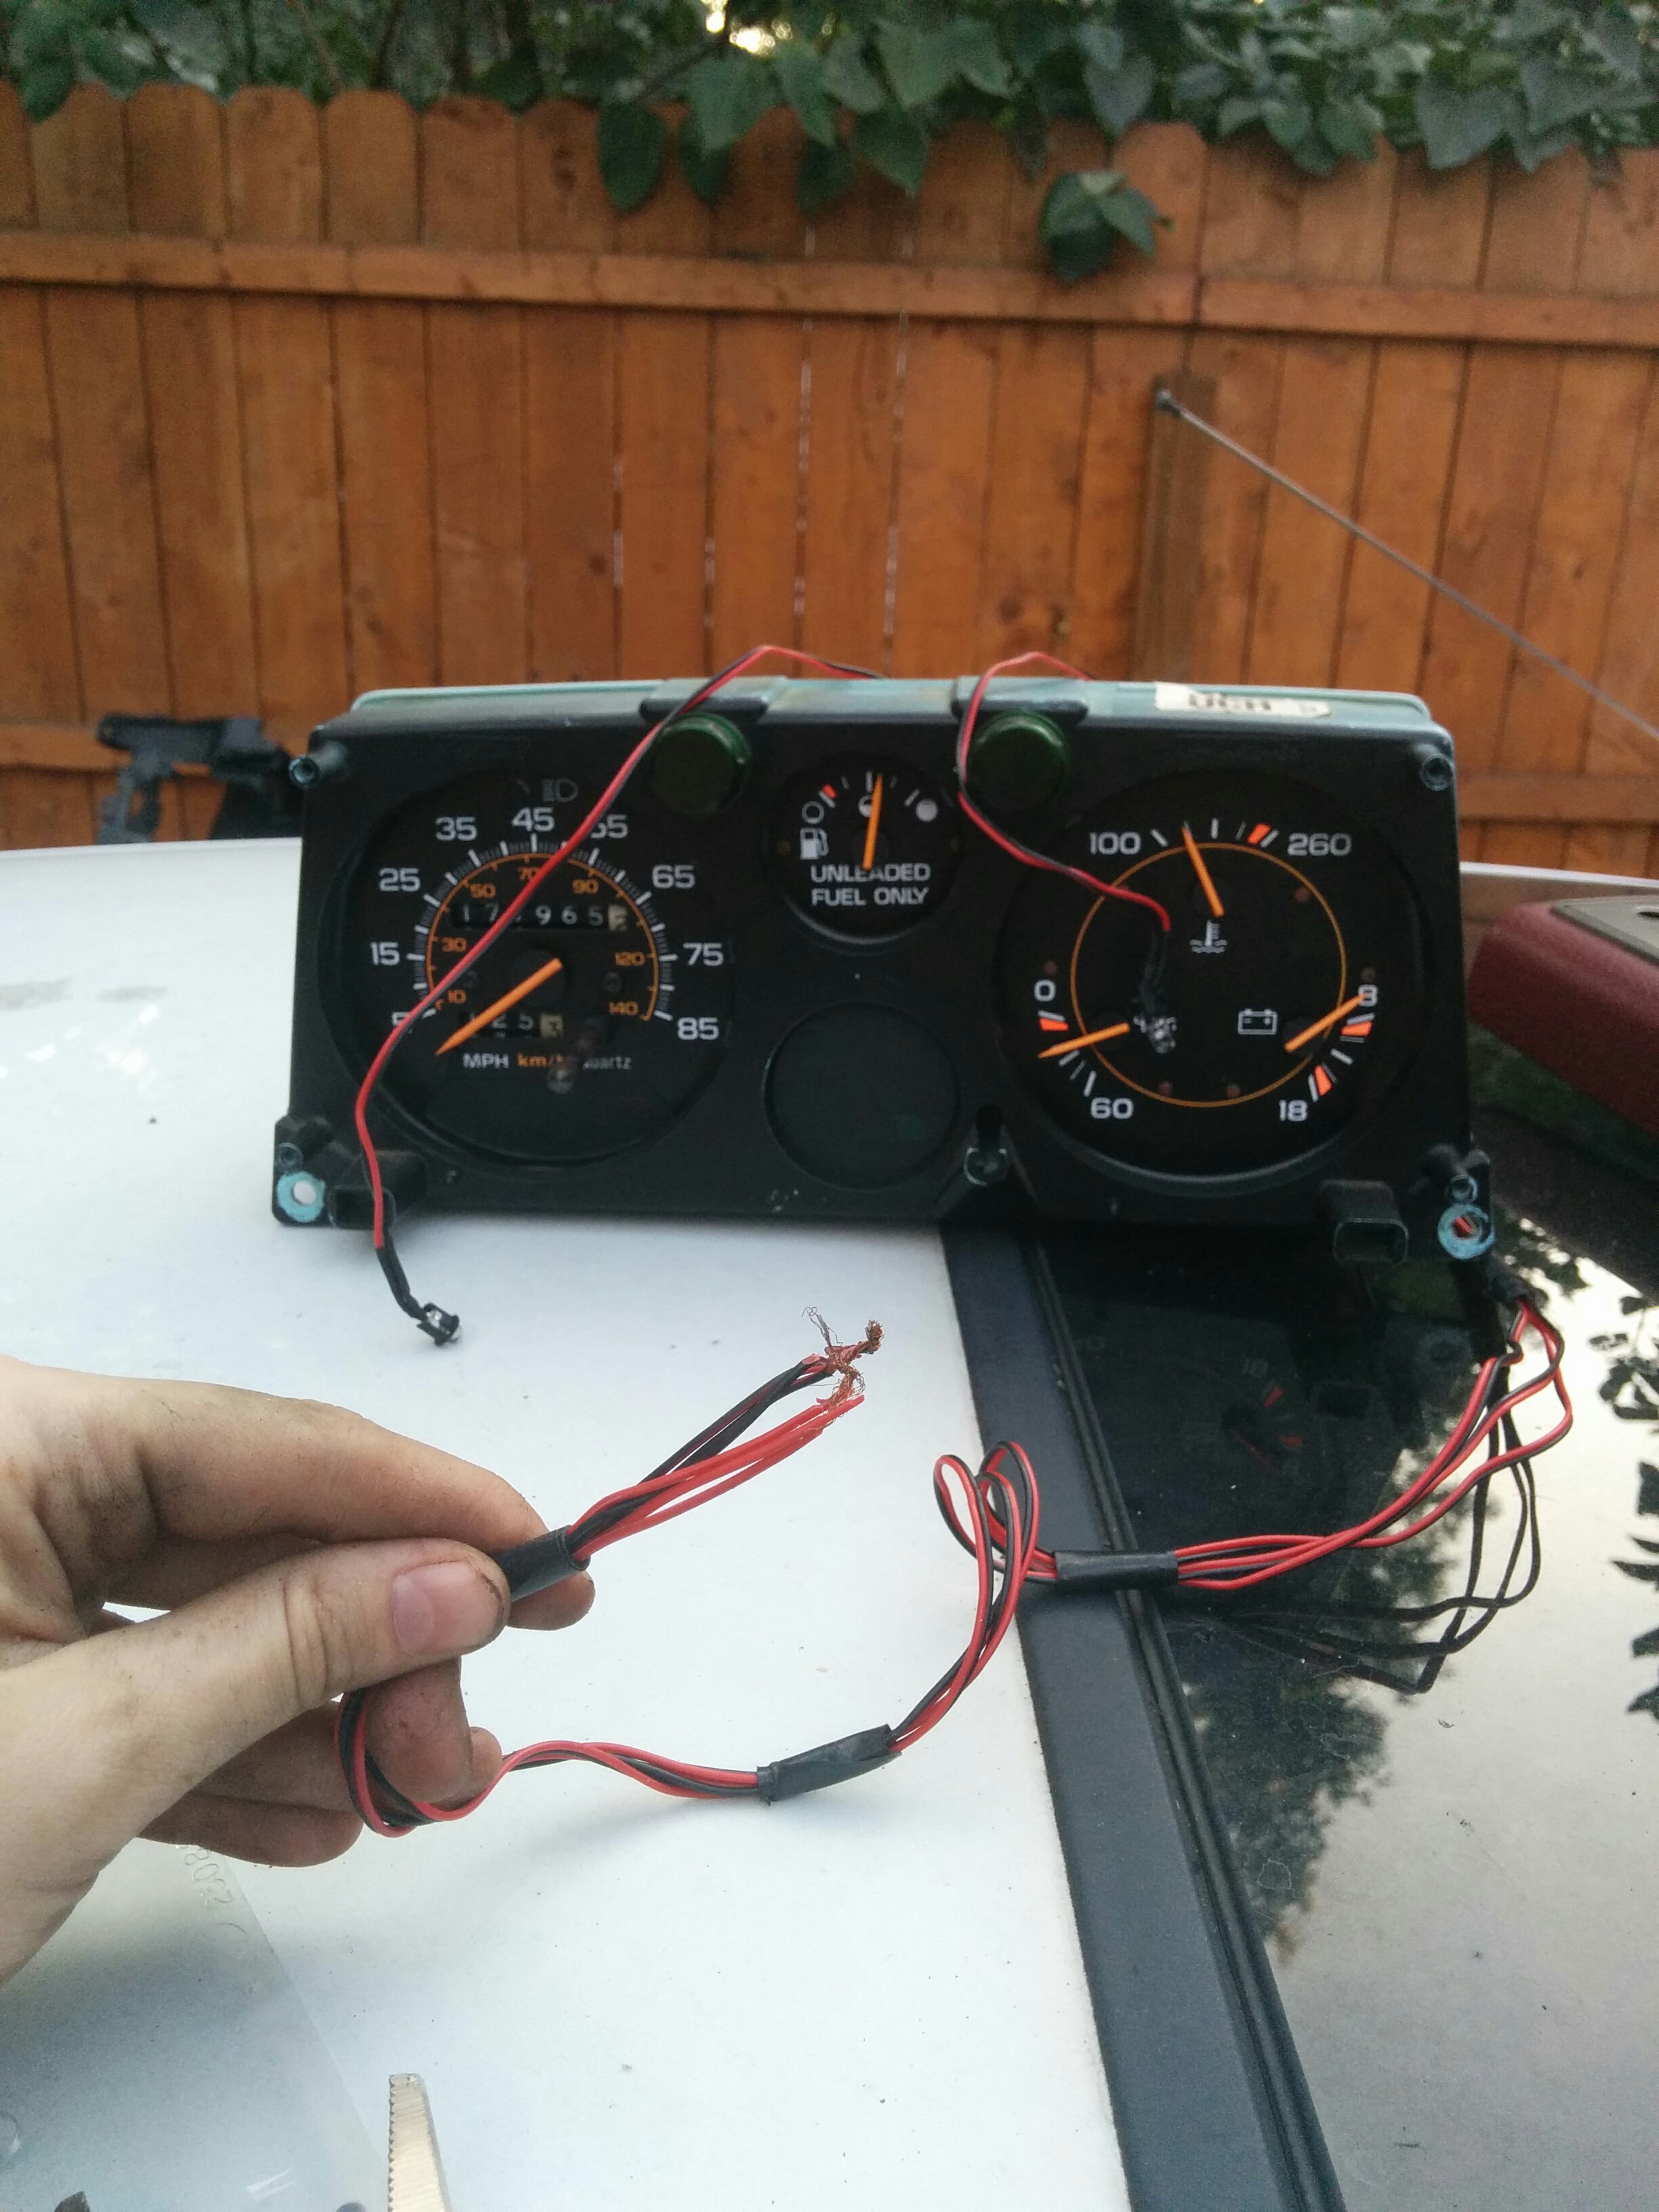
Surprise: when I pulled the gauge cluster to swap the dash lighting, as with the solar panel before it, I found that the van technically already had a form of them installed back in 1991. These leds were not attached to anything which is why they were not contributing any lumens to my Platonic cave of a dashboard. (Seriously, the wire was just dangling there free floating when I unscrewed the dash panels.) I suspect these leds were intended to help offset the gloom created by the cavernous cubbyholes in the decorative wood paneling.
As a side note, the dash cluster is one of the Pieces of Van that is very very difficult to replace should you fuck yours up in some way. (I think partly because mileage is sort of legally entangled?) Handle with care.
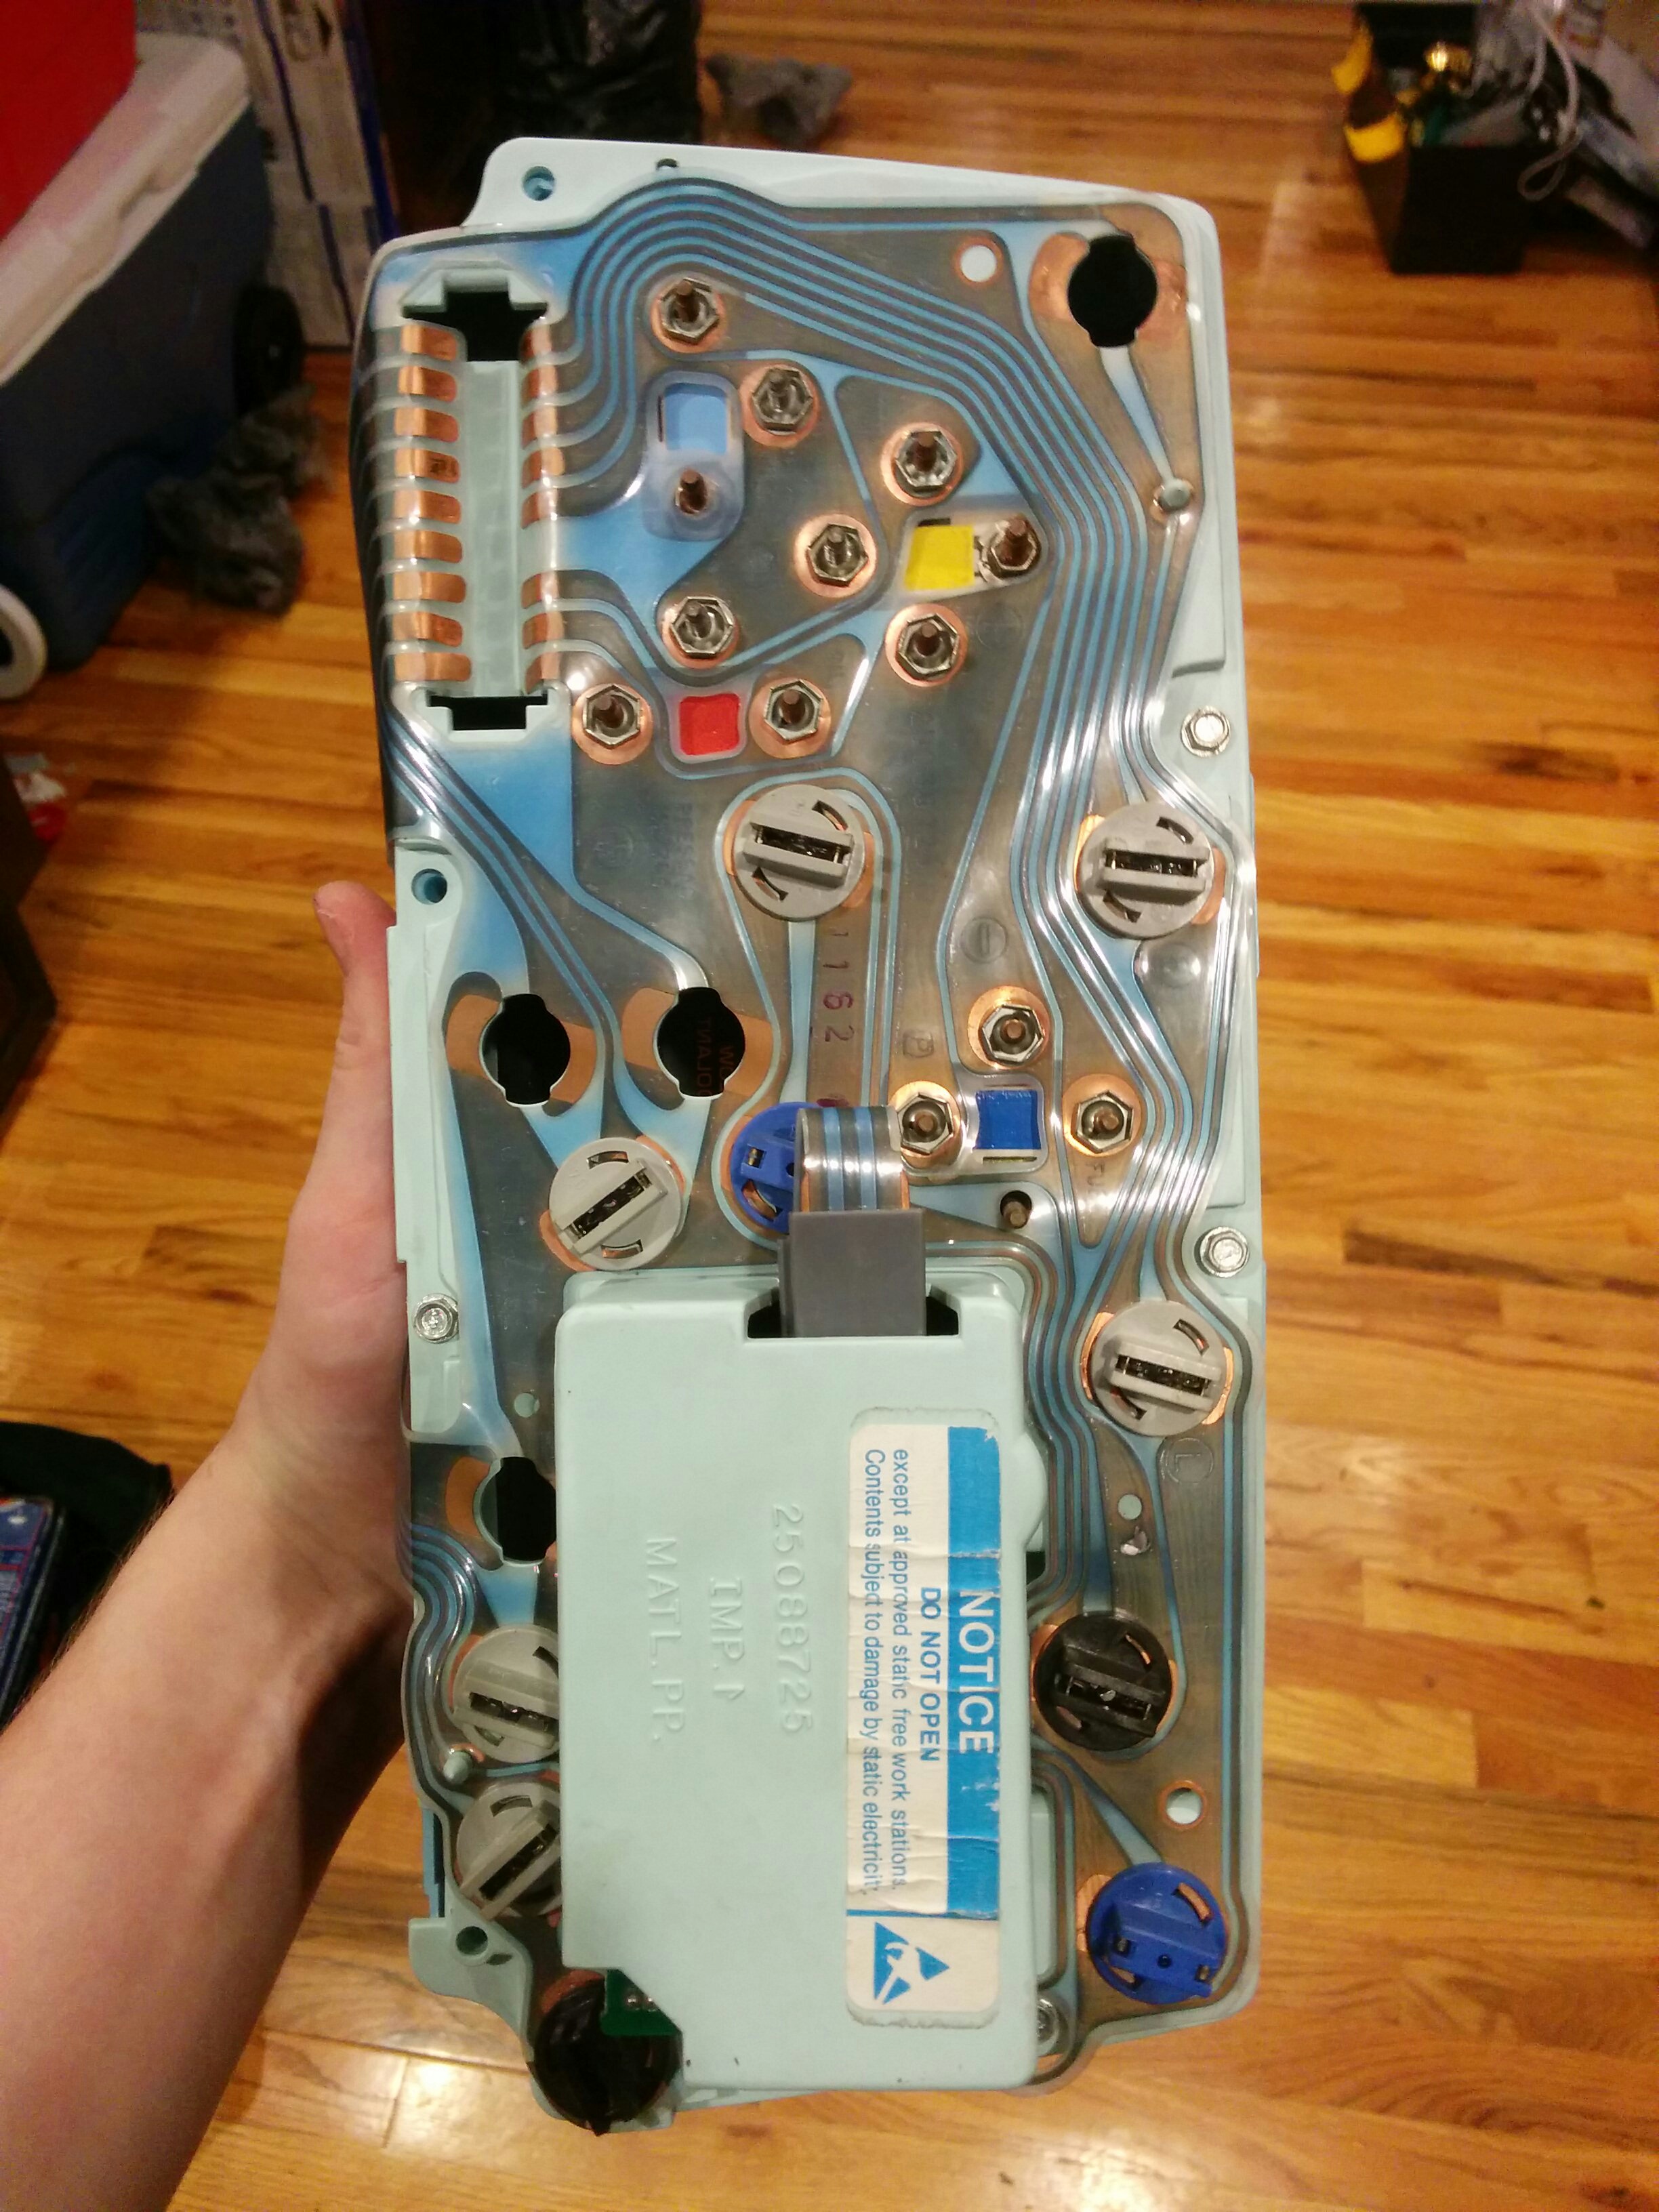
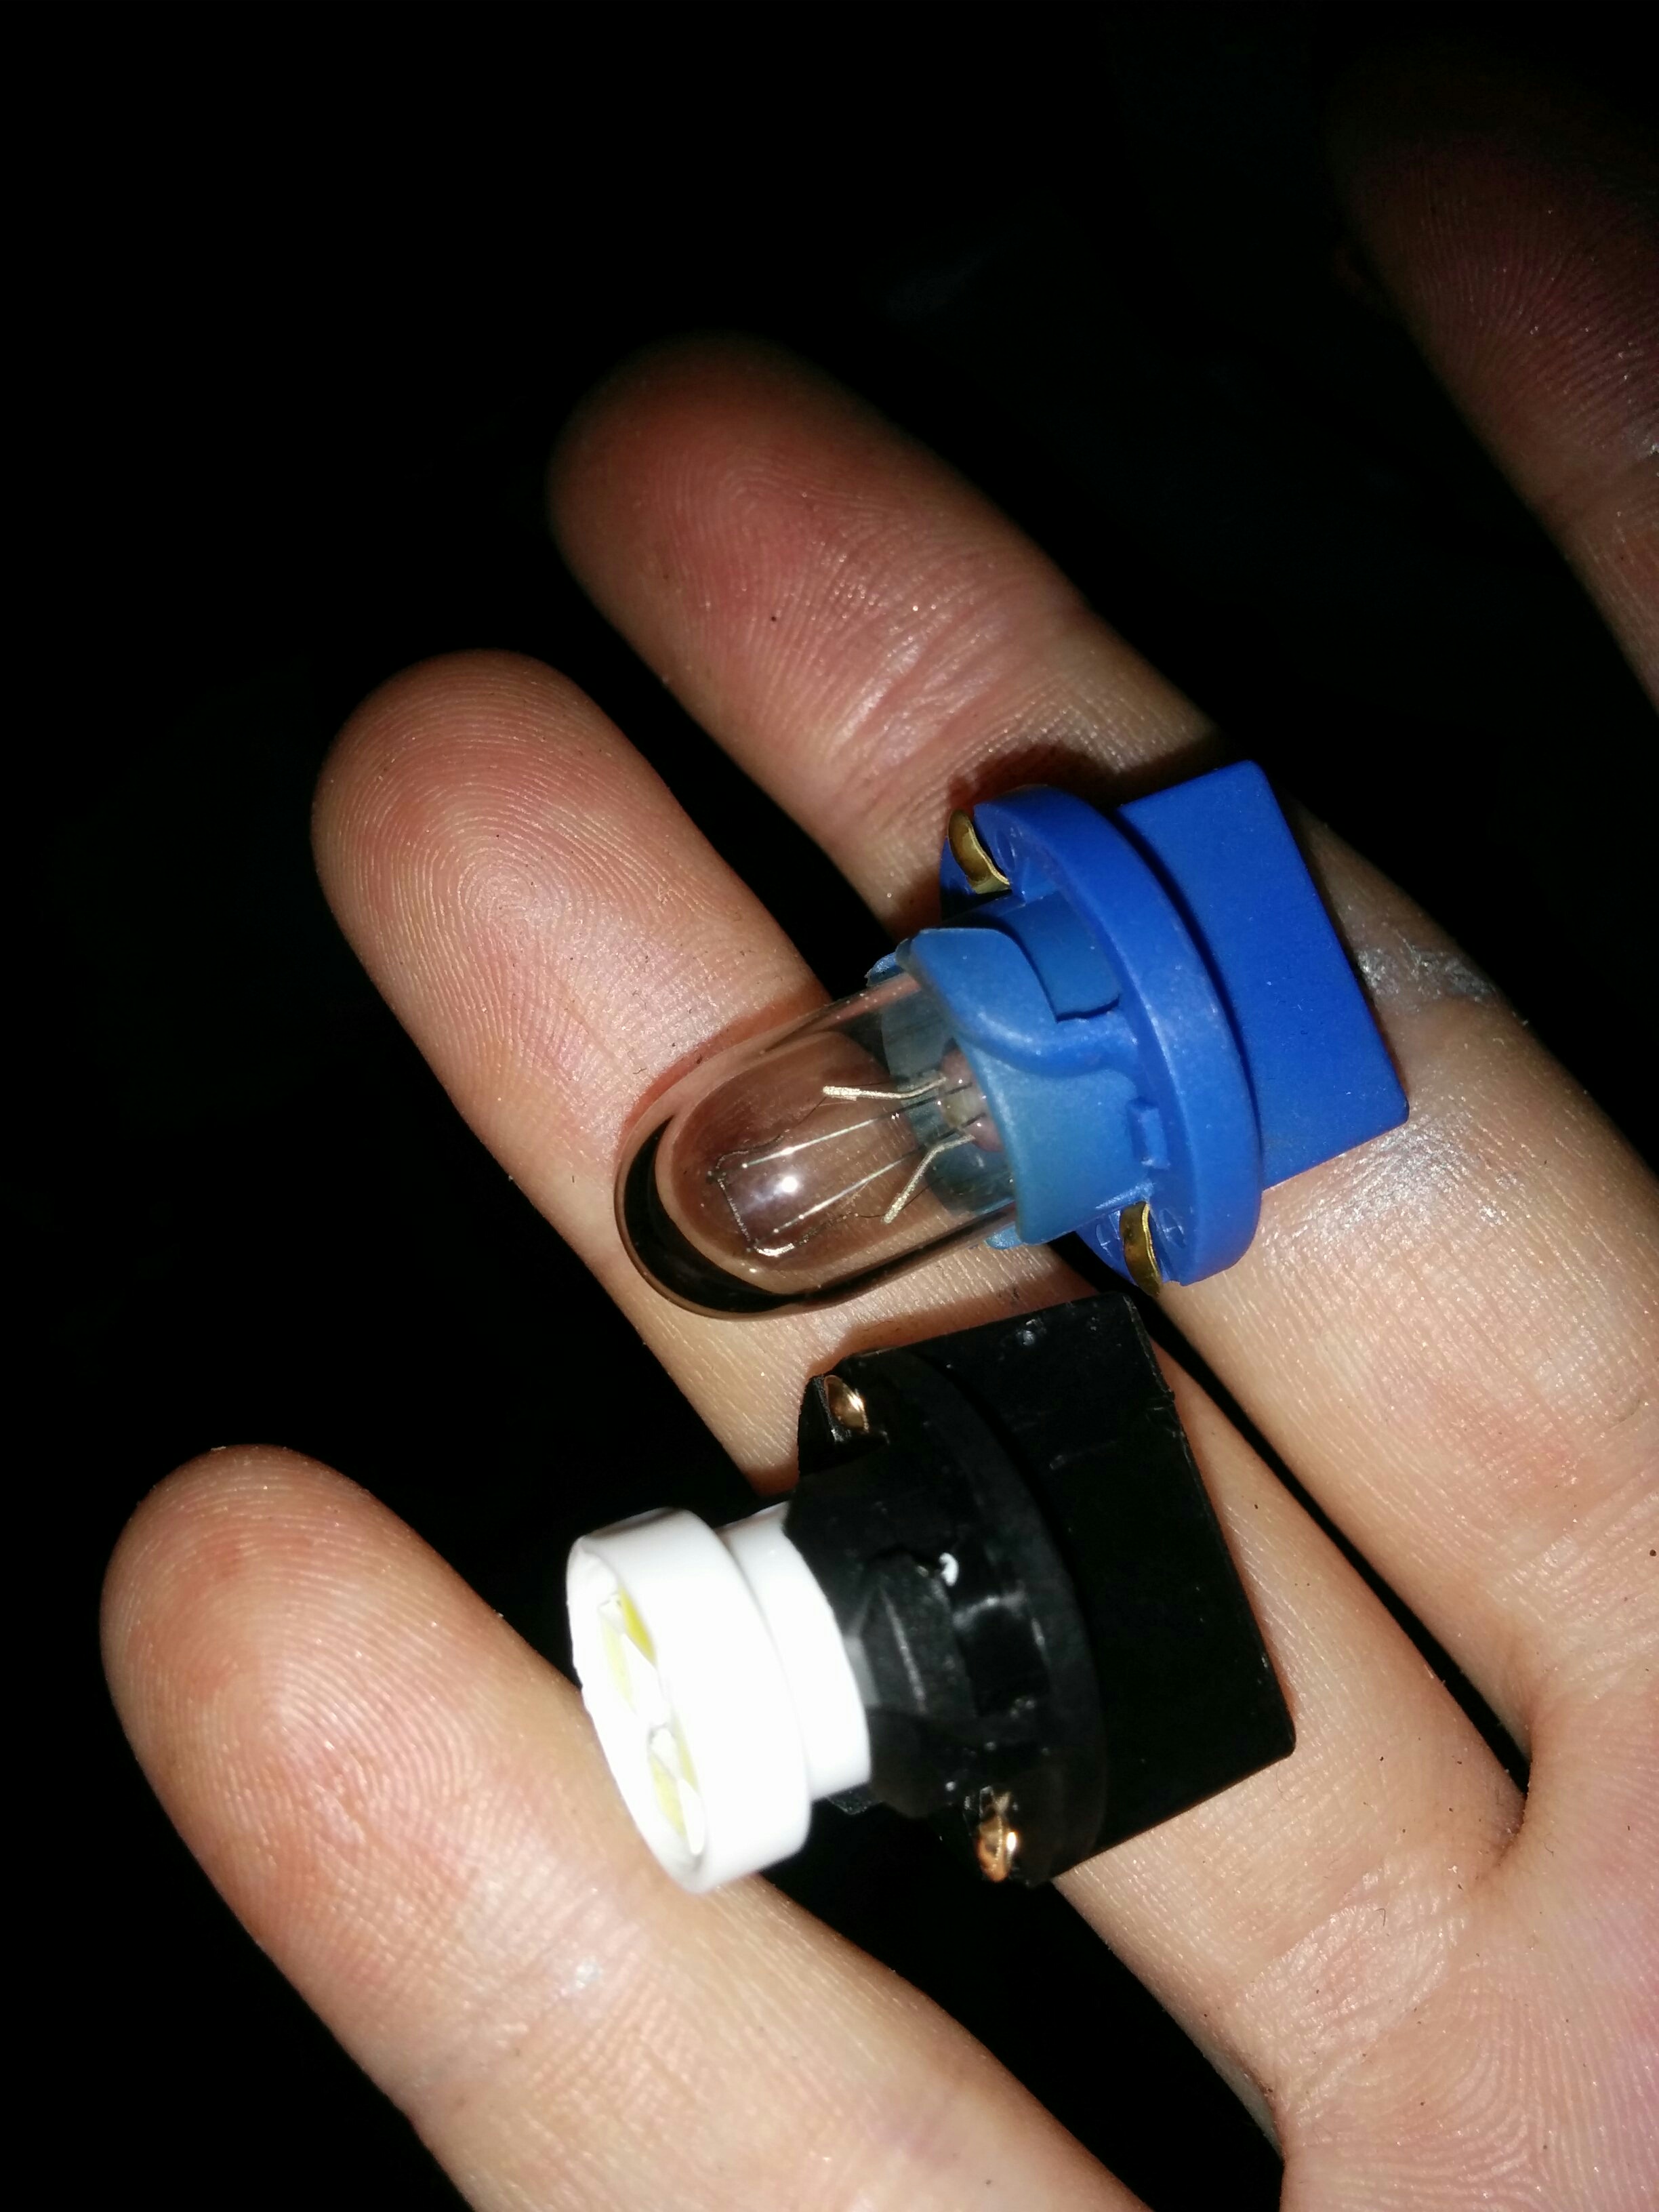
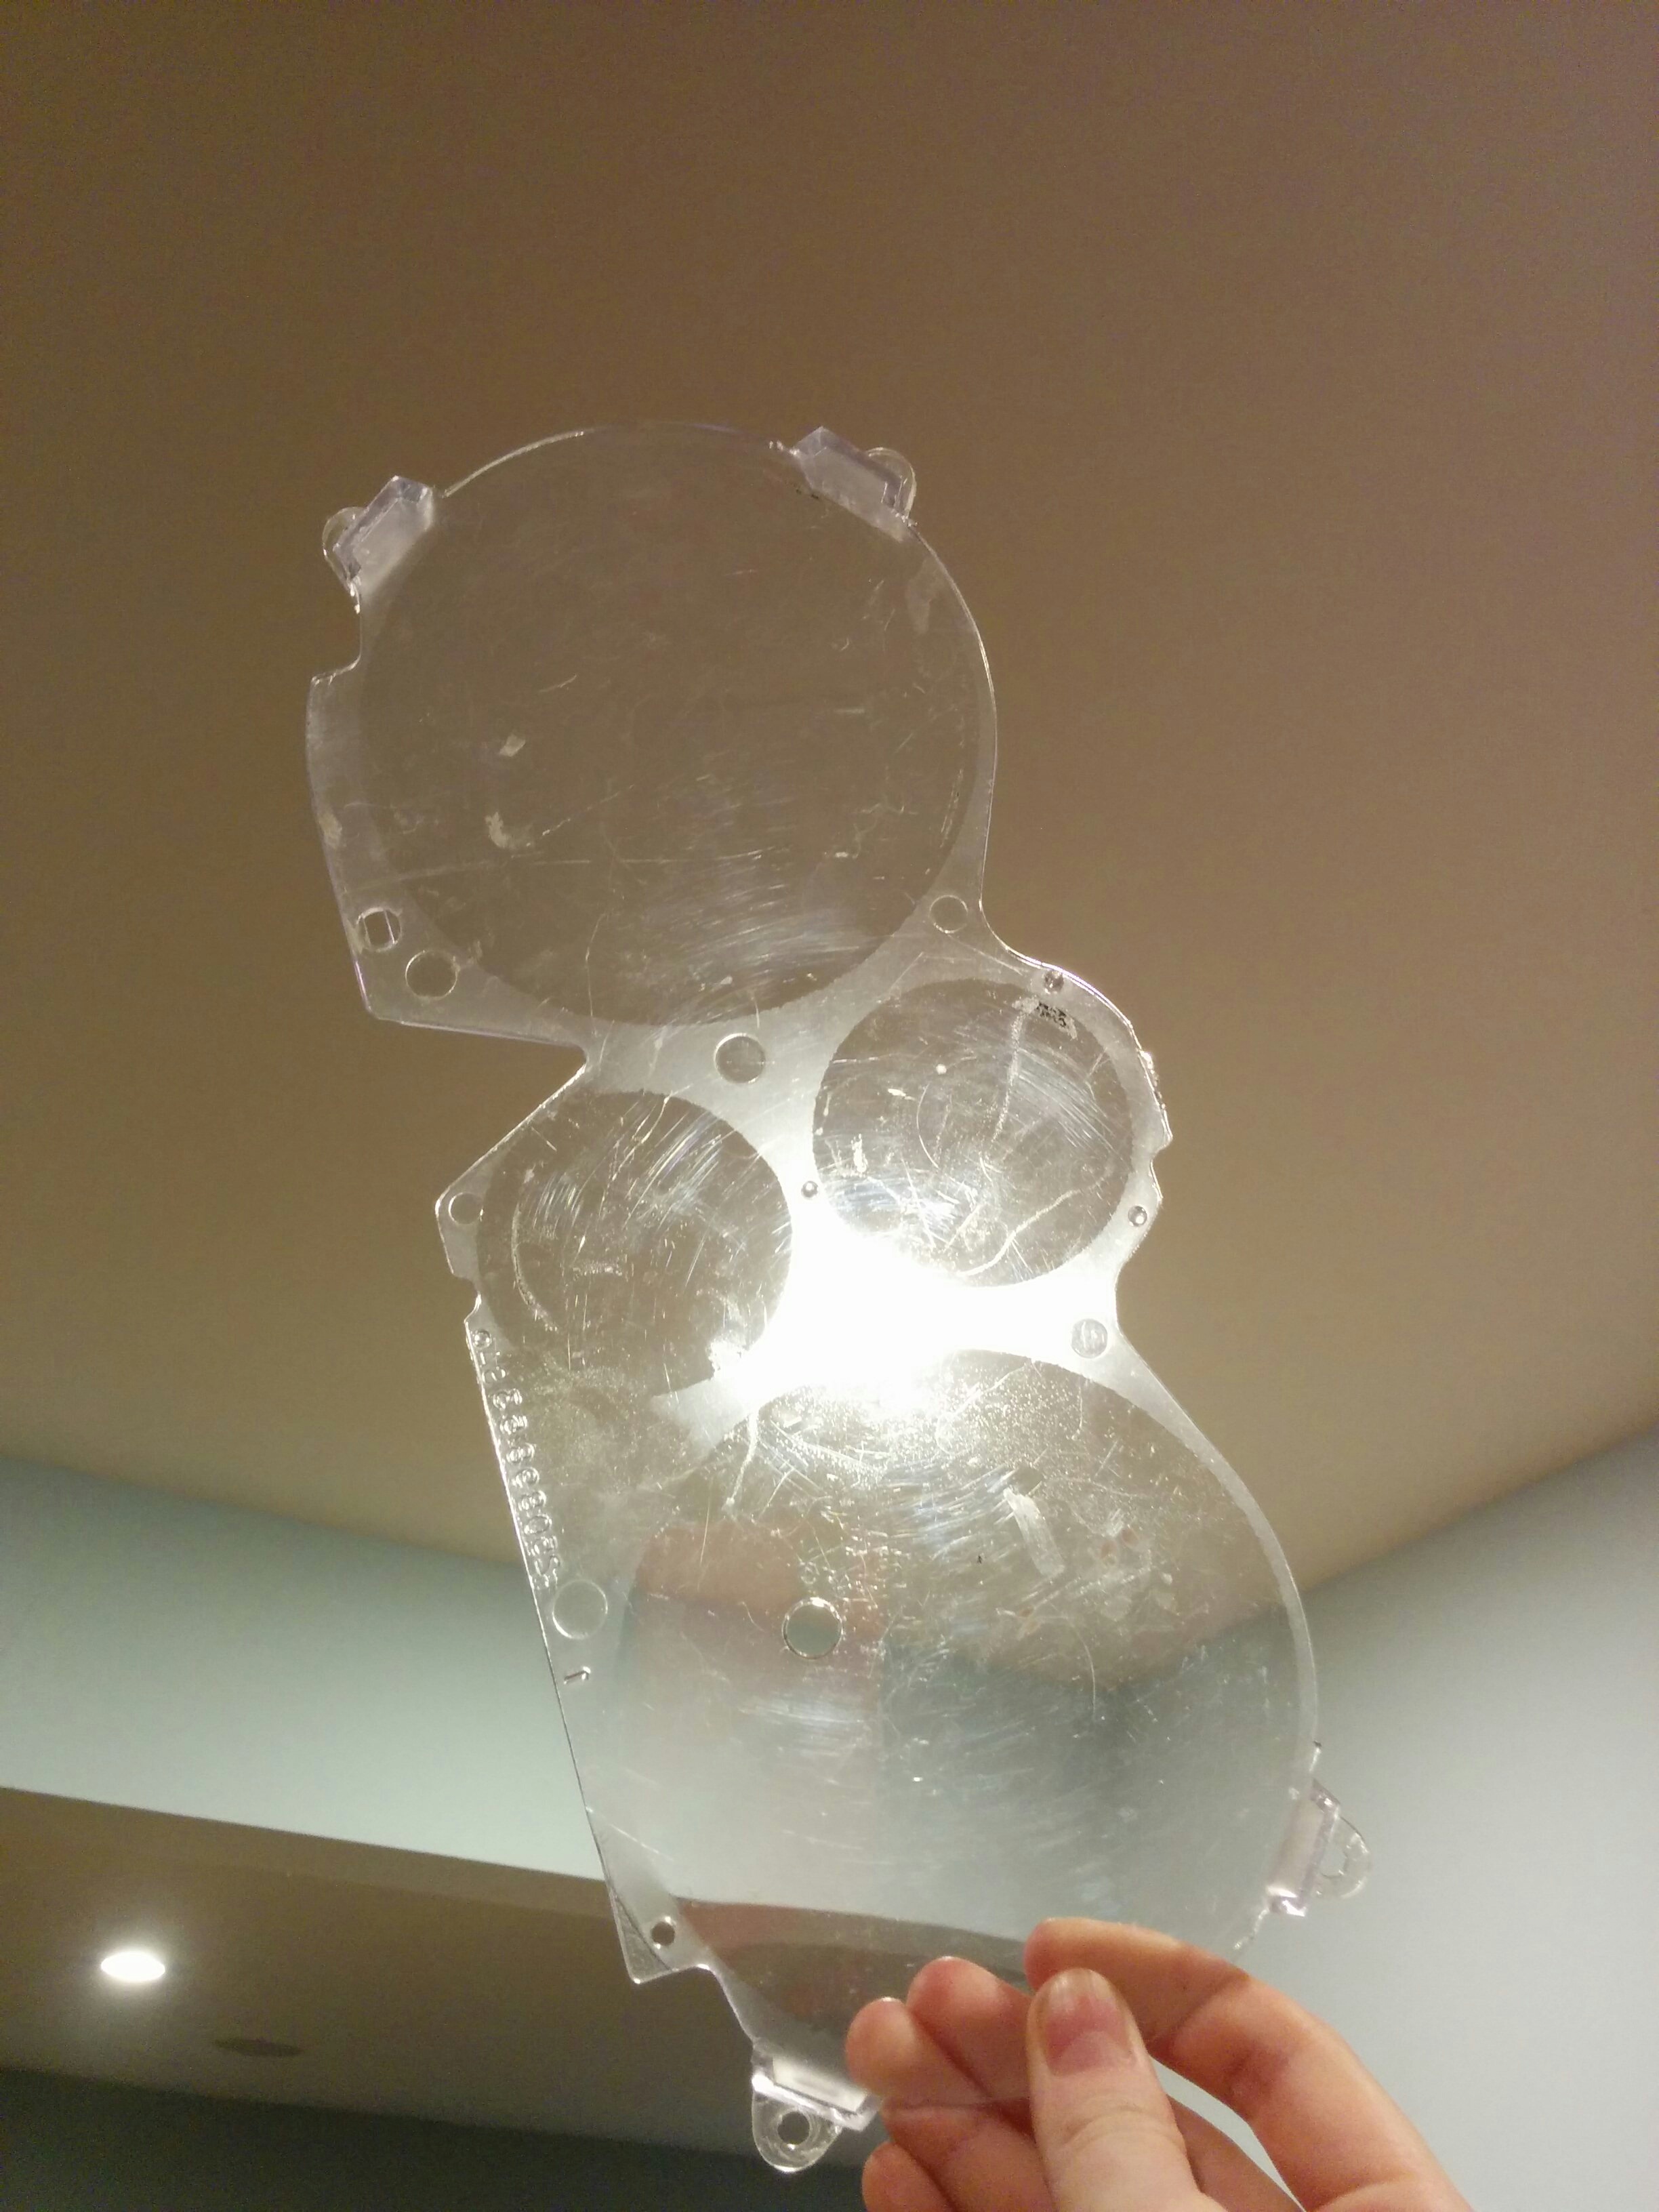
The little nubs on the back here in blue, silver, and black are the light bulb holders. The colors (may) signify the strength of the bulb within, but leds don’t shed heat in the way that incandescents do, so this was less relevant for me (and I had the photo to refer to if needed). The bases twist out and twist in. A few of mine were pretty tough to get out. :/ They take “wedge base” bulbs and these ones specifically are T10s. You can pull the old bulbs out and buy LEDs that slot right in where the incandescents used to go.
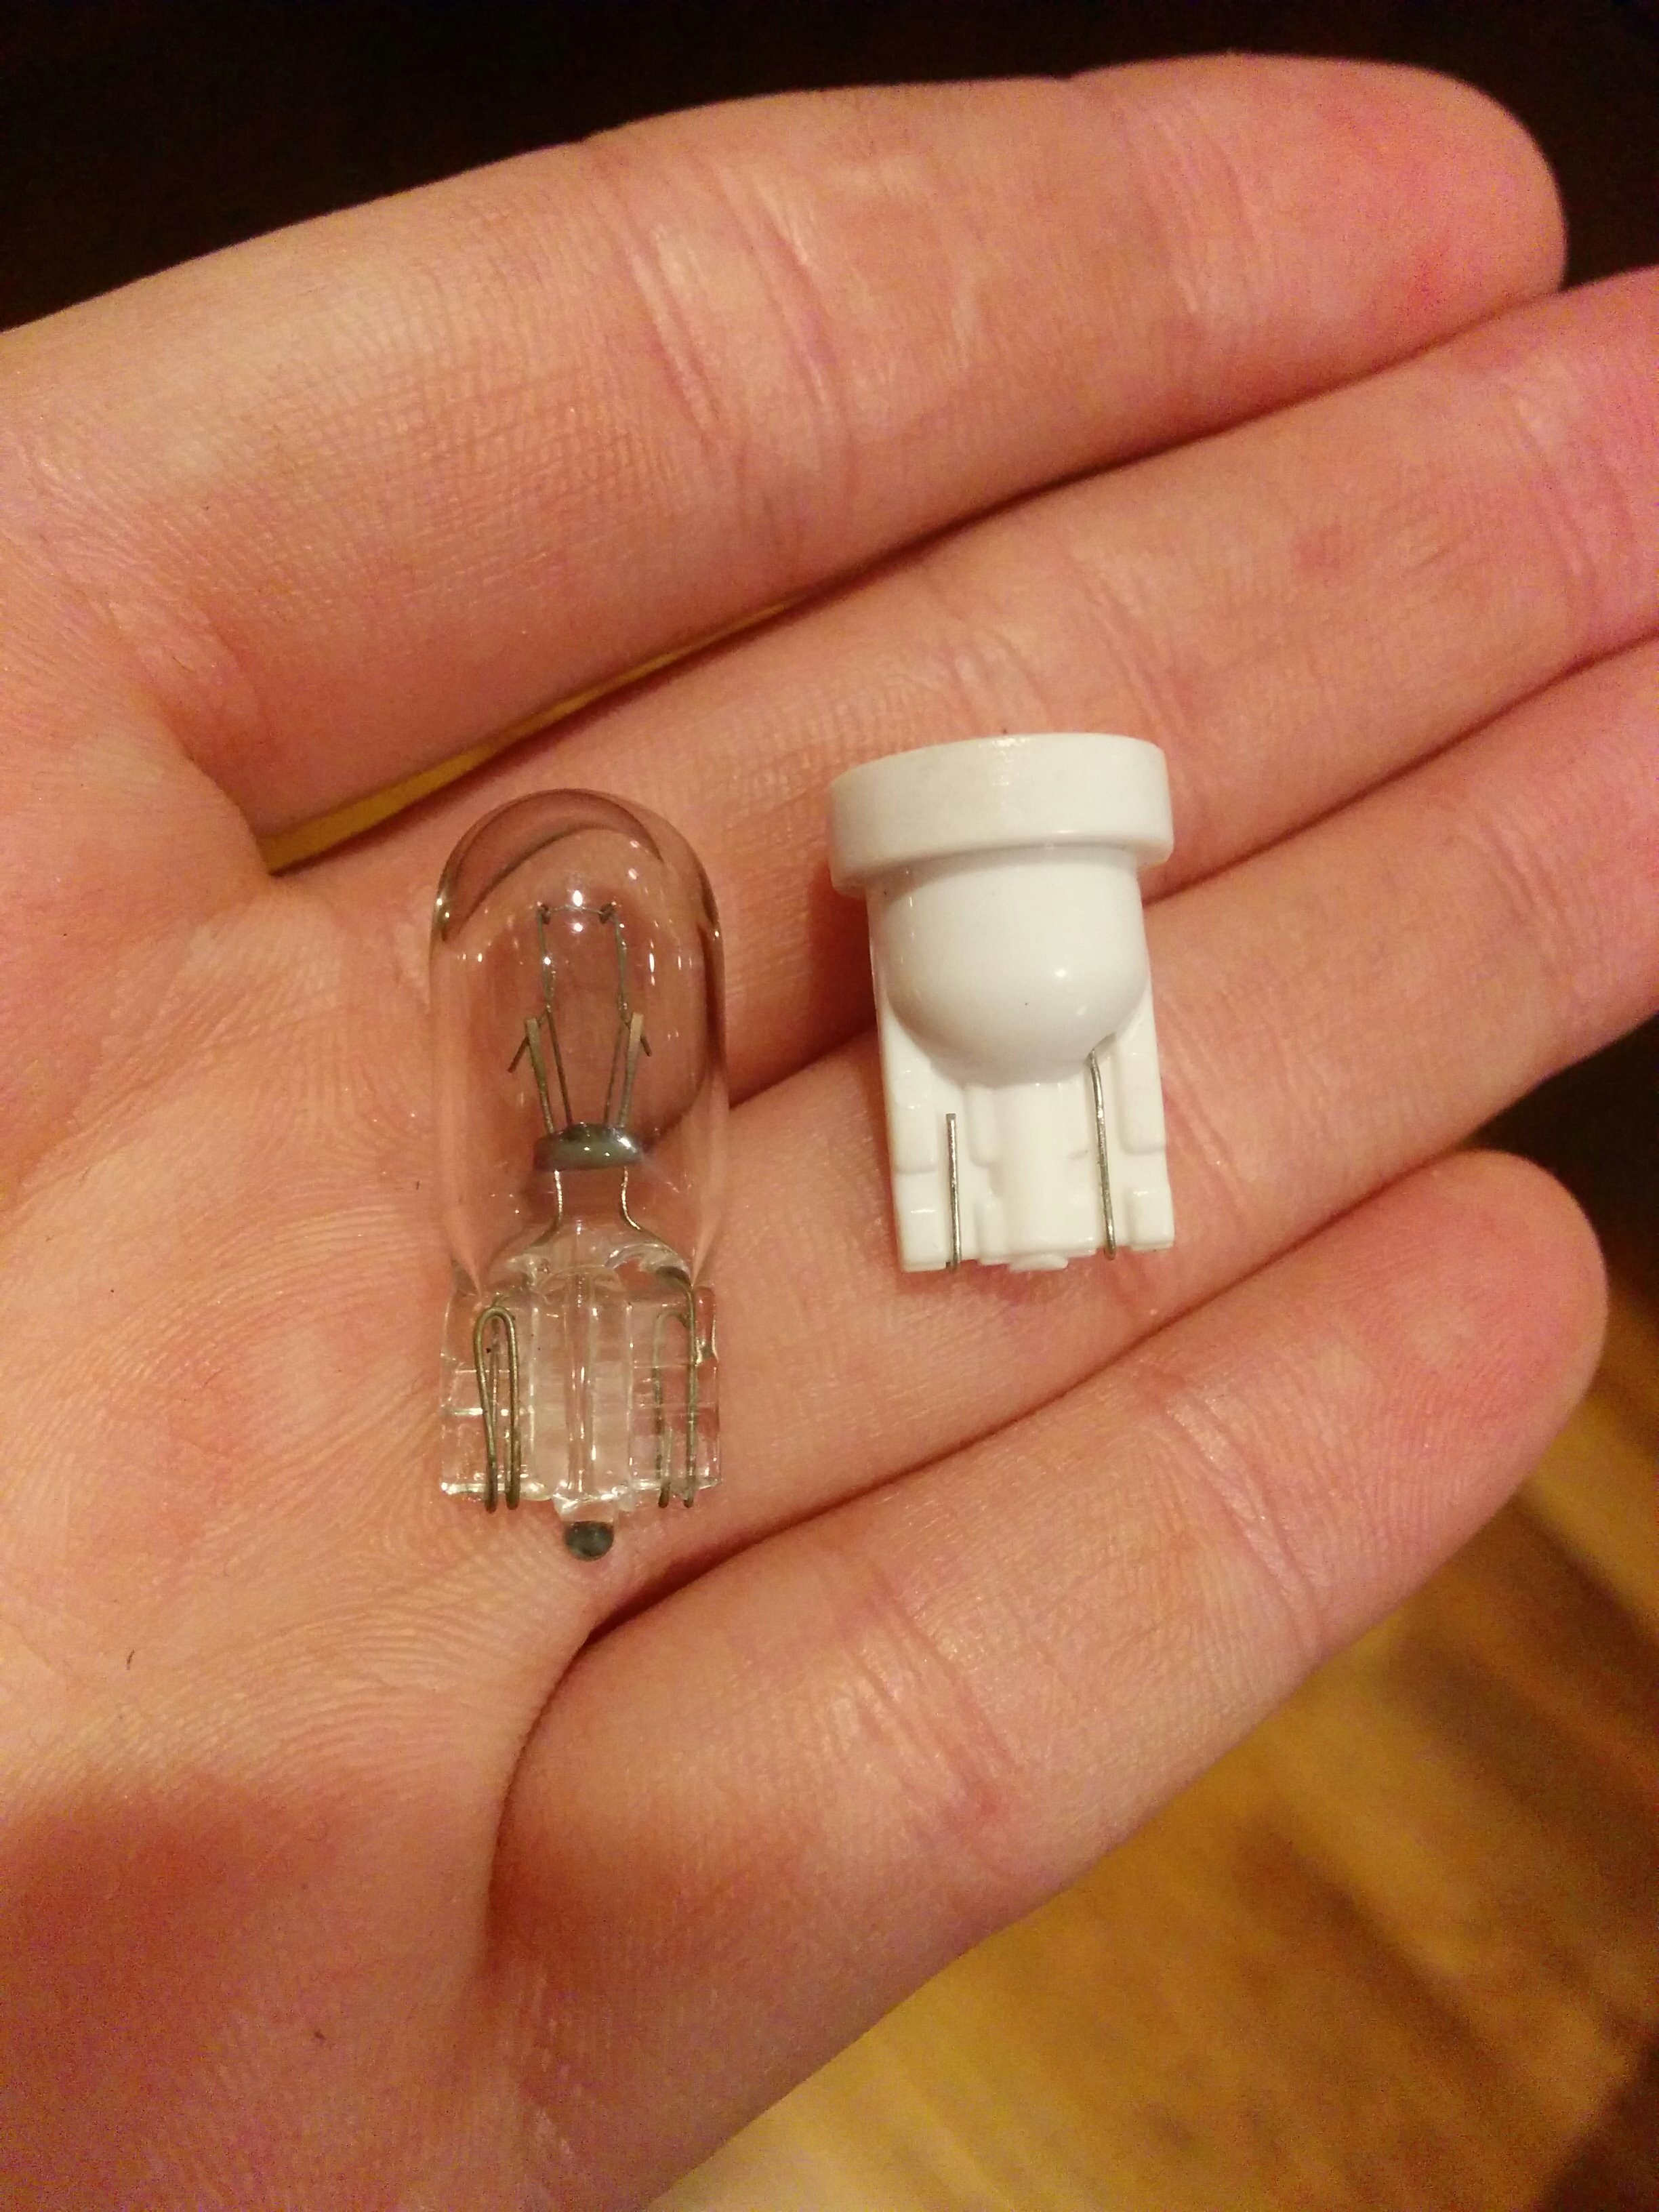
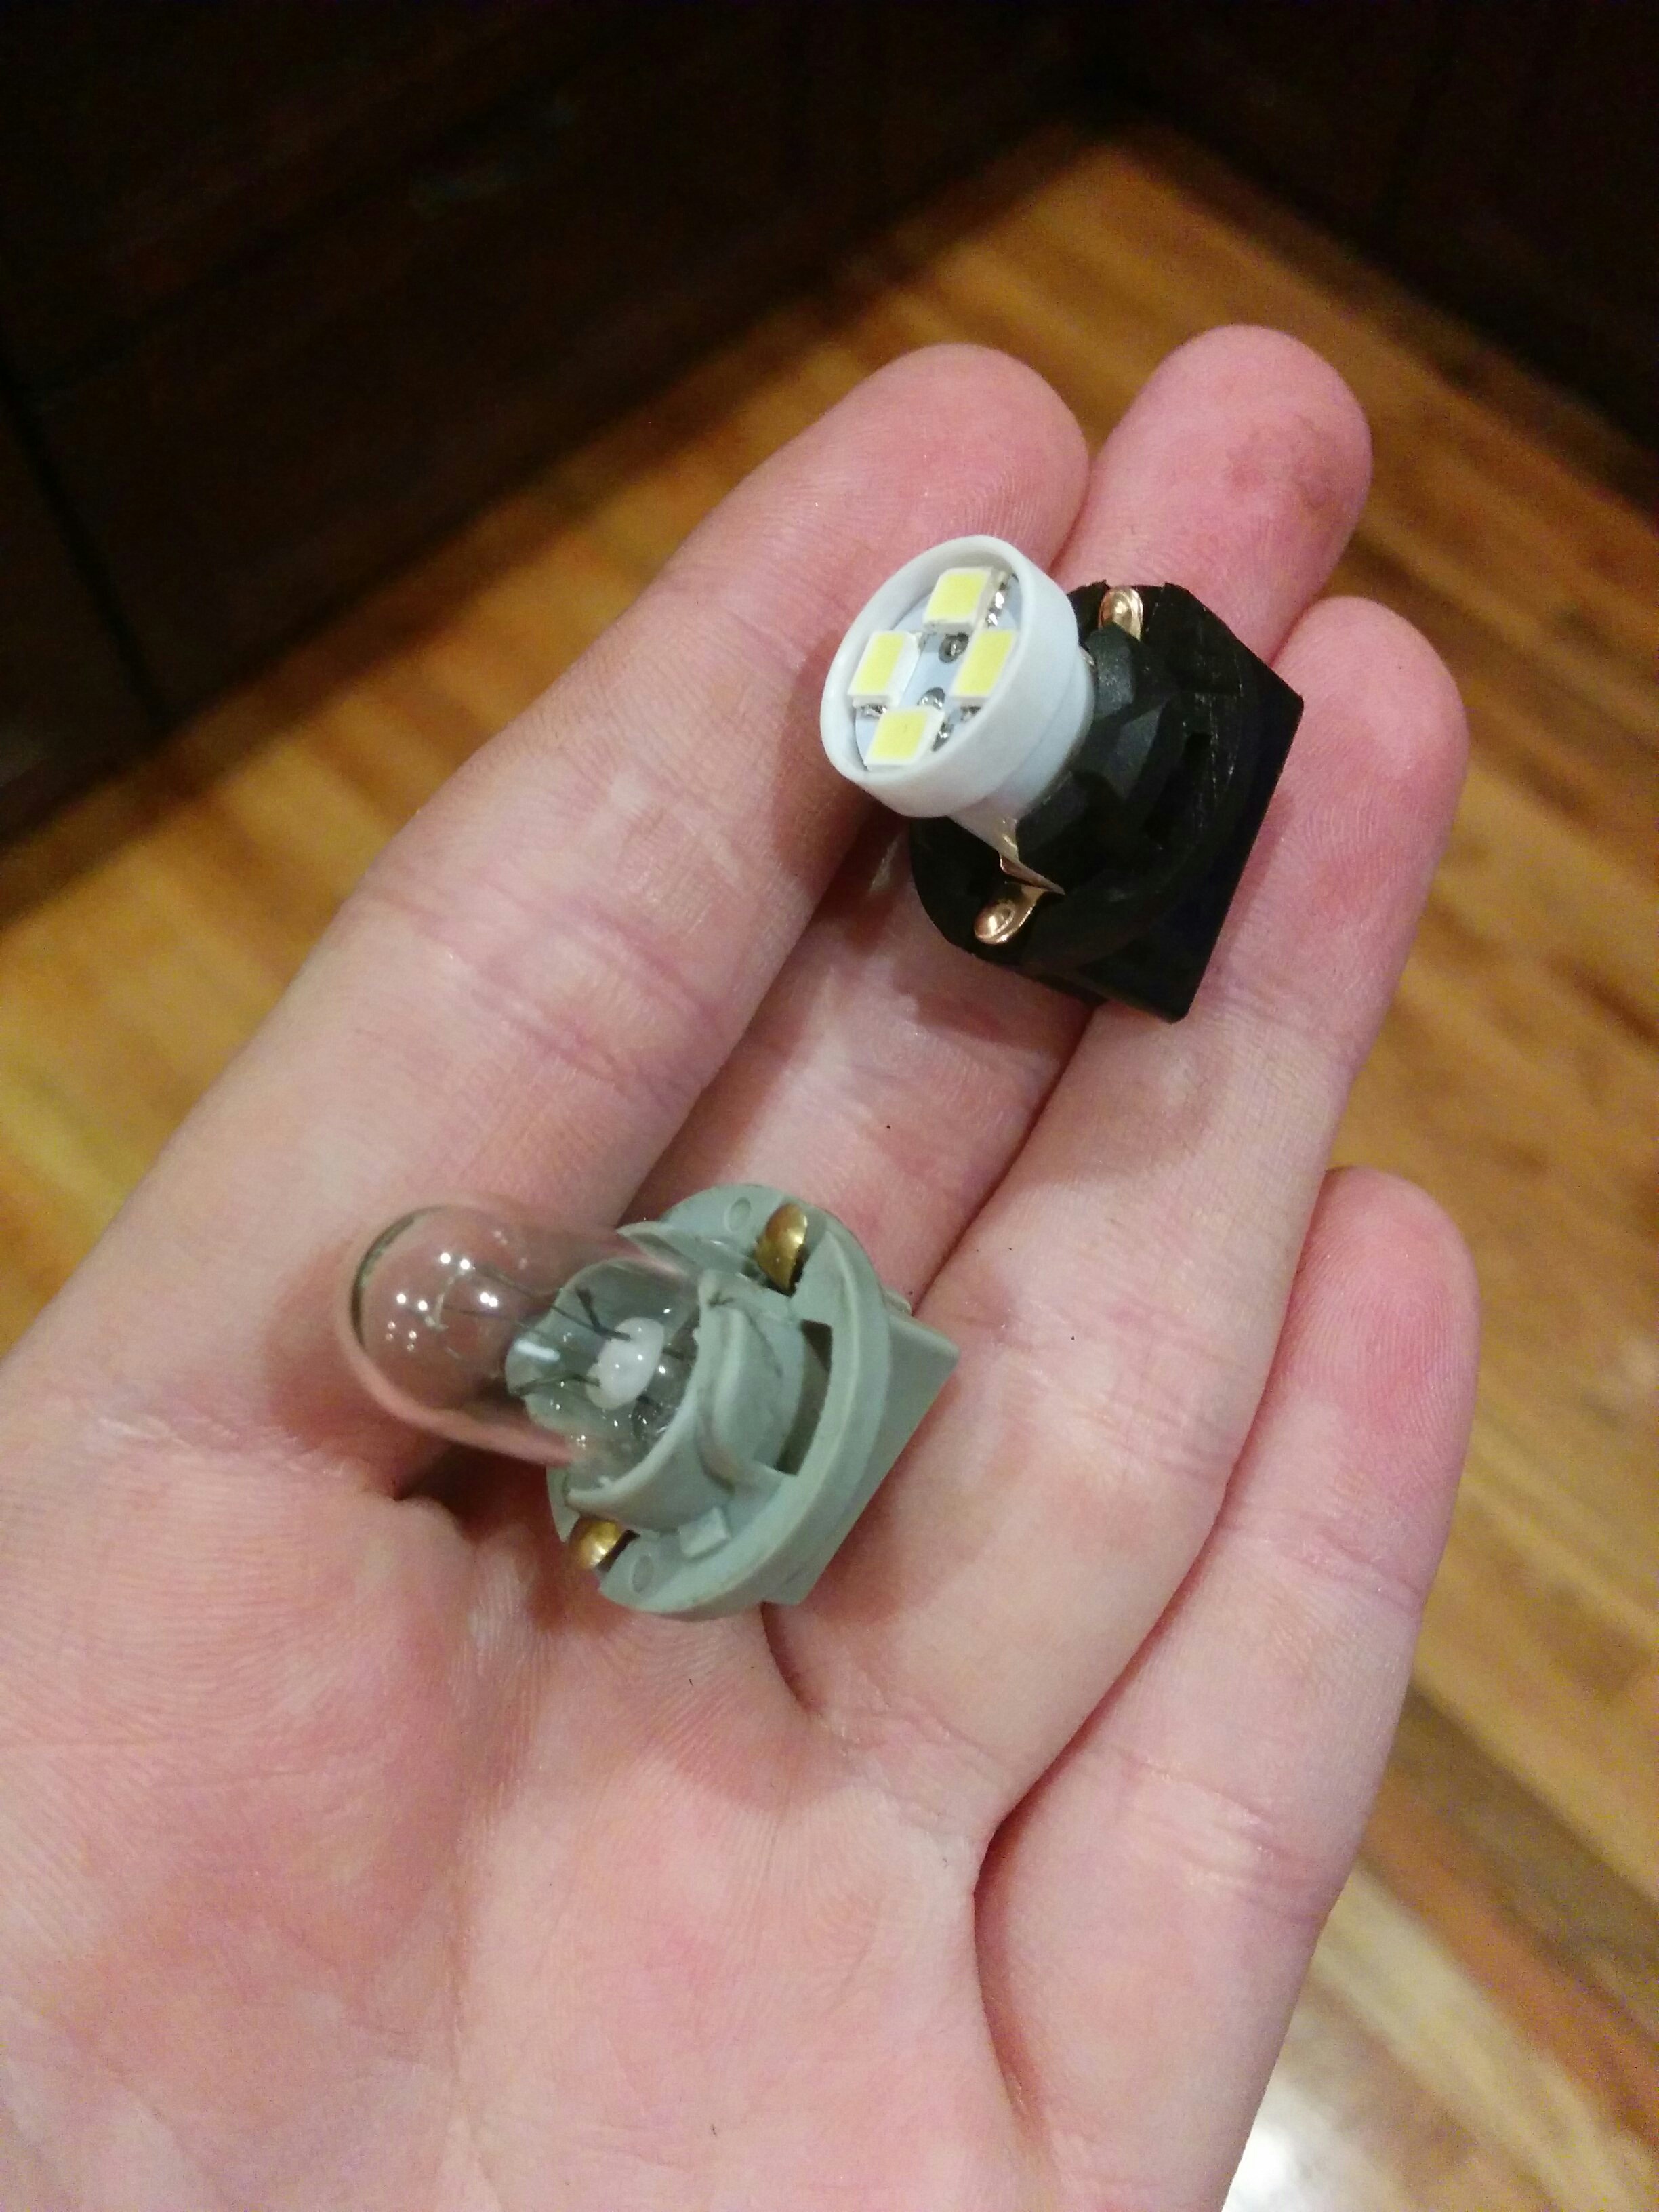
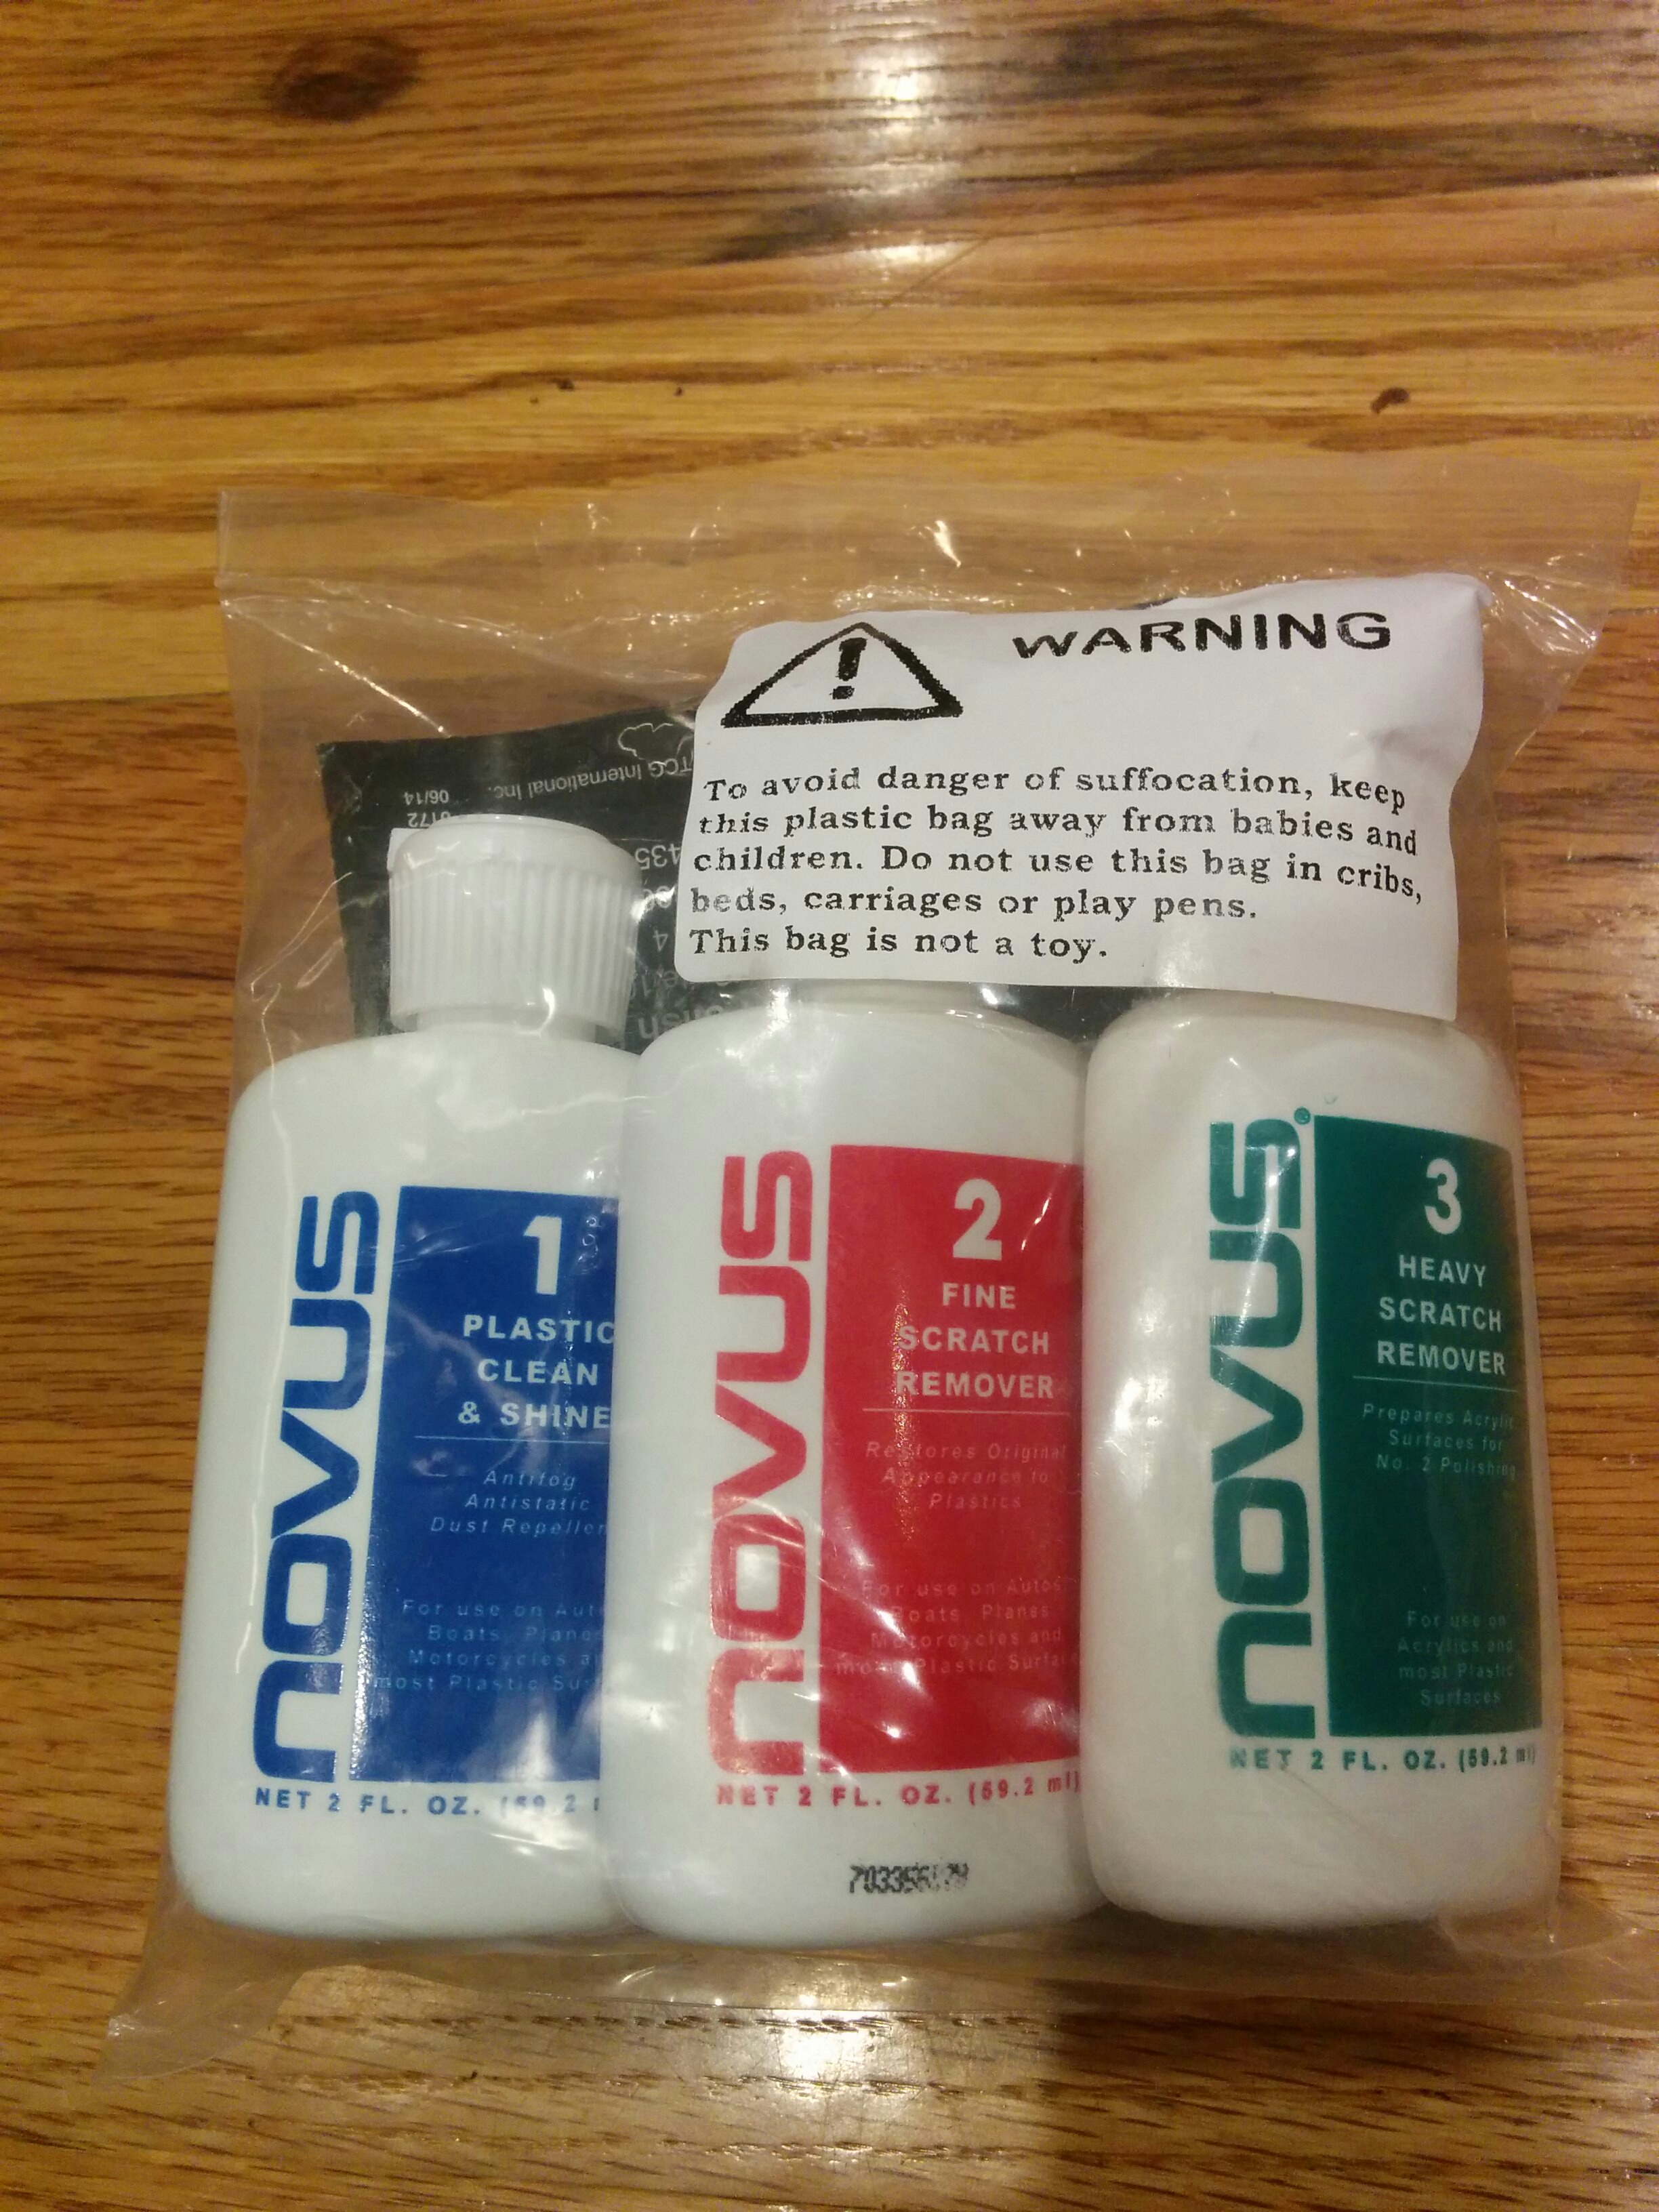
I got these supremely unvetted “8PCS LED Car Lights Bulb White T10 2835 4-SMD 80 Lumens 194 168 (pack of 8)” for $6 on Amazon. Note that the rheostat math changes when the resistance does, so you are likely to lose all of your dashboard dimmability unless you specifically hunt down dimmable leds in the correct form factor. Thankfully the default brightness of the leds I got didn’t bother me (despite being generally rather light sensitive), but it’s something to be aware of.
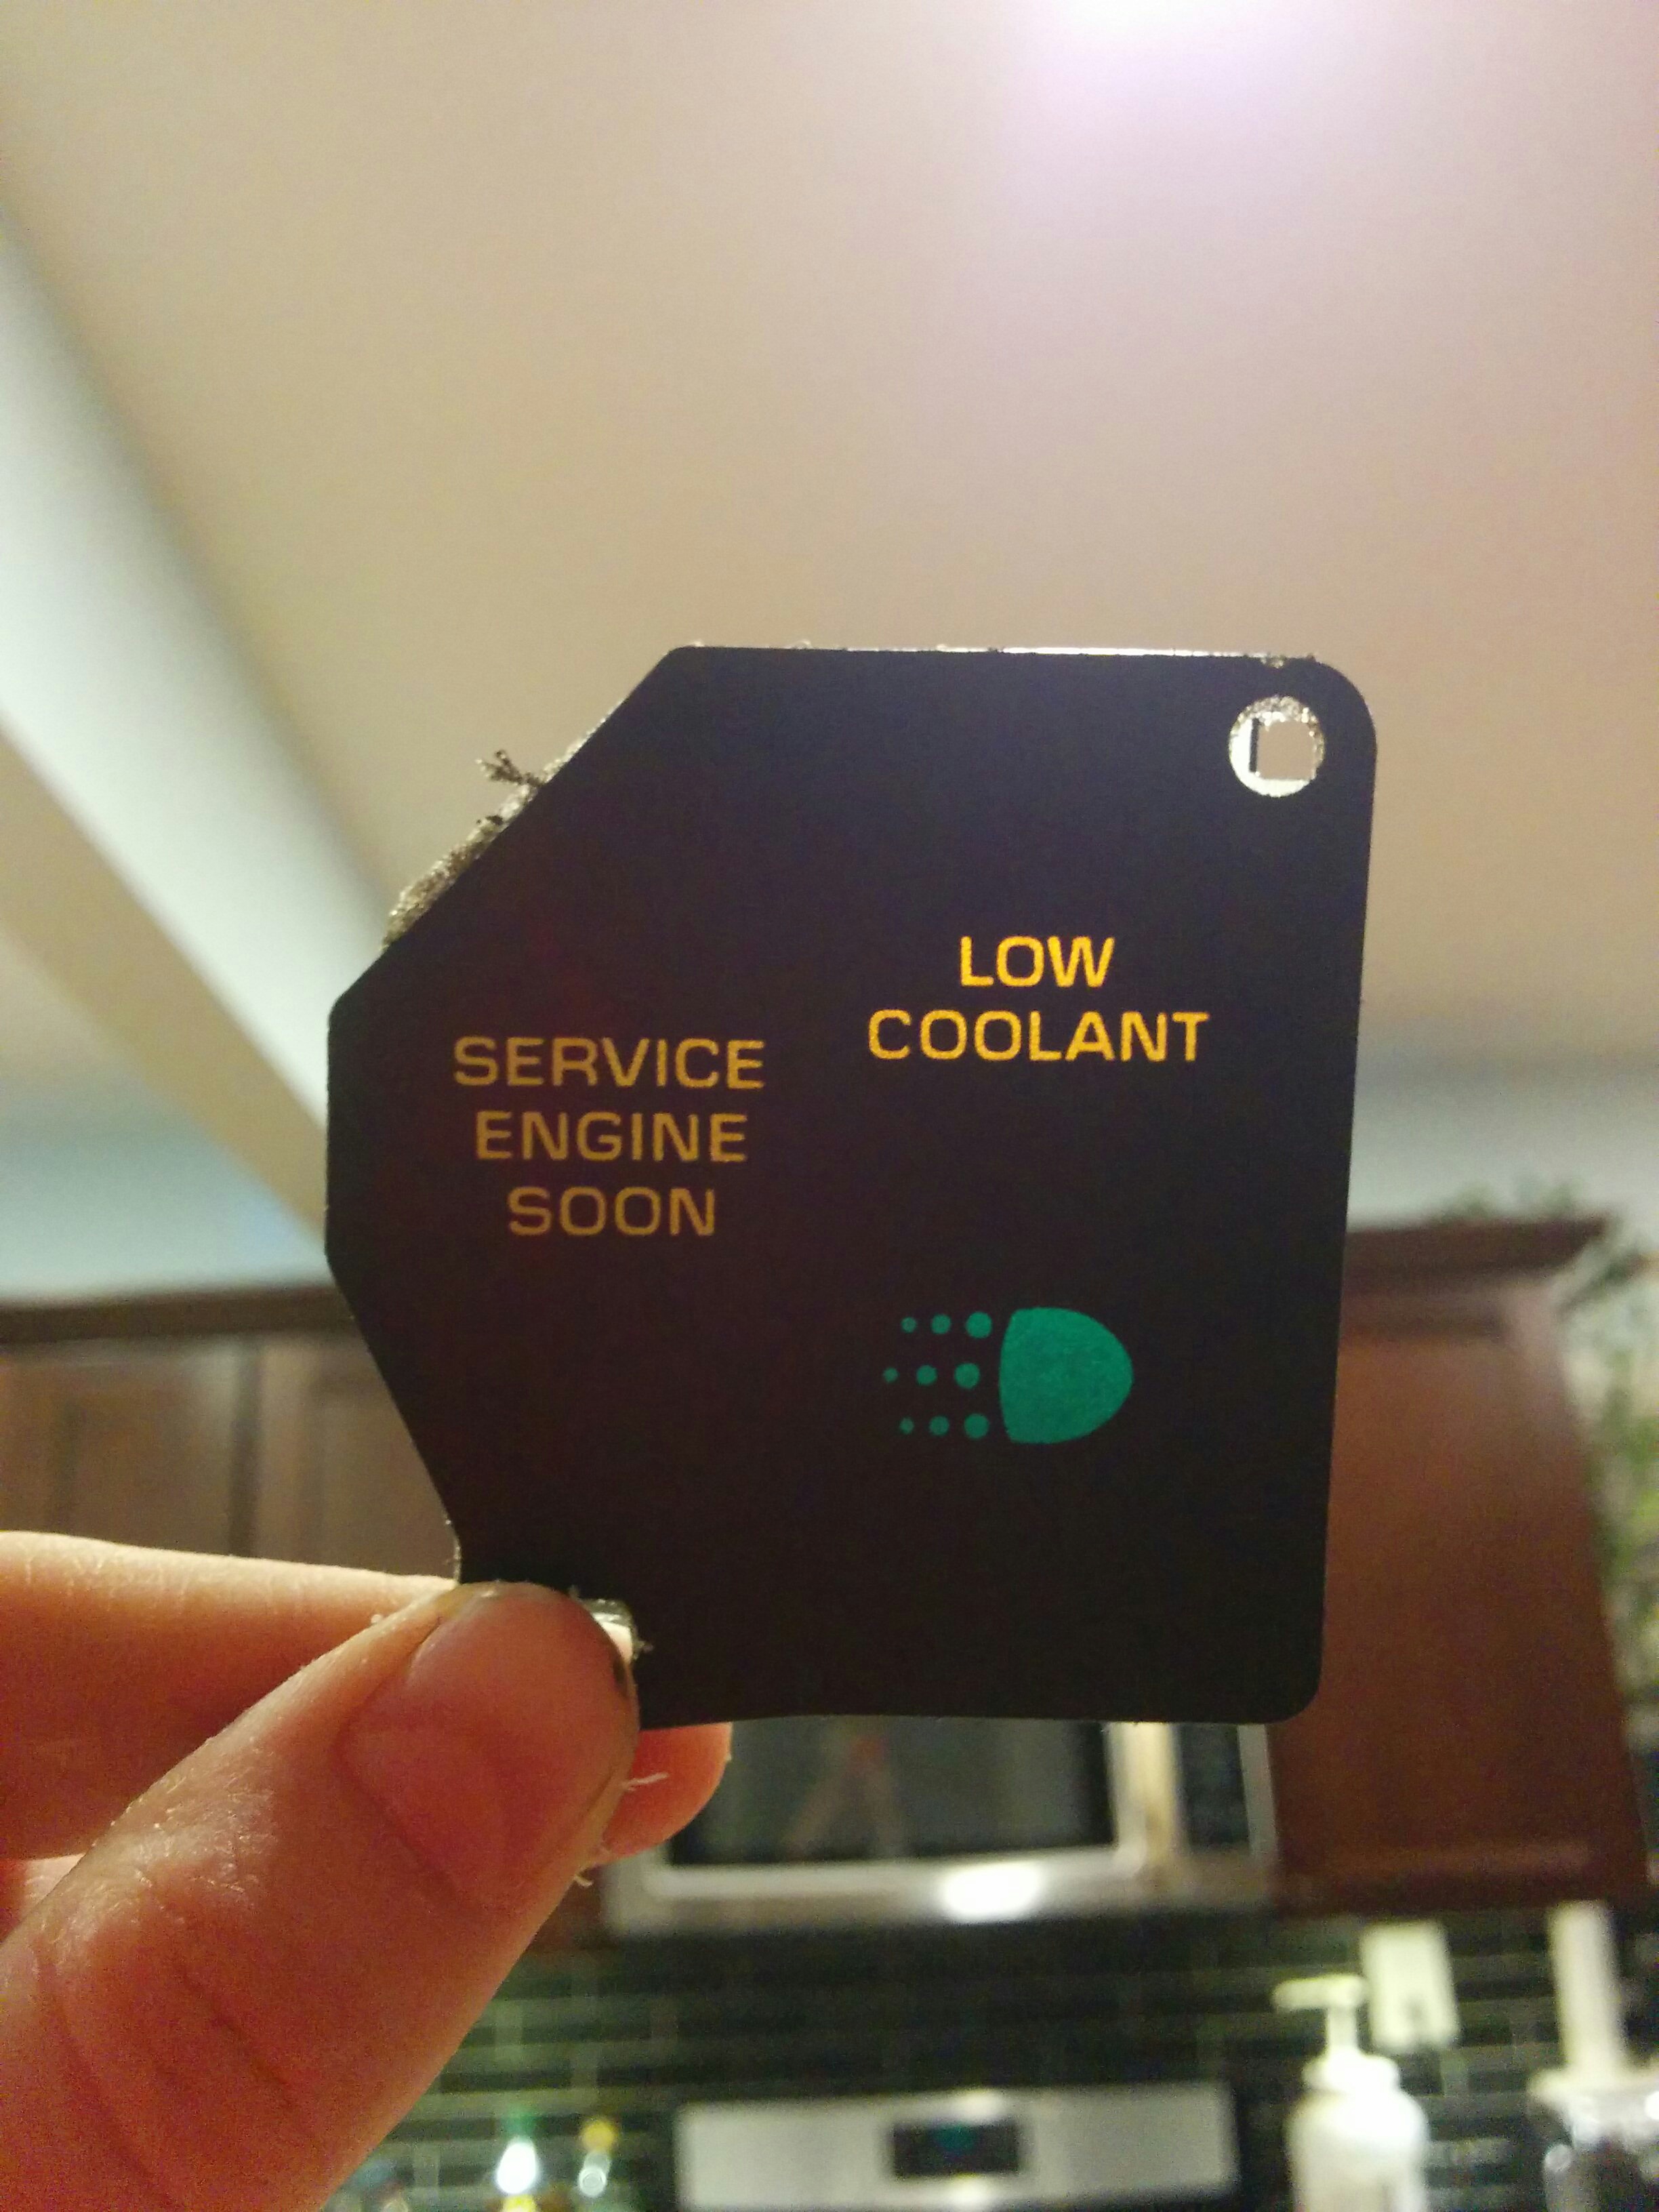

Interestingly, while the dash lights up in different colors, the underlying leds are all the same white color. The color comes from the tint in the translucent plastic it shines through.
I’d wondered about the holes in the back of the gauge cluster, since they seemed to be meant for bulb holders, yet none were present. Was I missing pieces, or…? After watching some videos and reading some forum posts, I discovered this is actually pretty normal. GM recycles a lot of designs between cars and they used this model of gauge cluster for several different vehicles, so the functions not used by my van were simply omitted.
While I was at it, I gave the transparent gauge cover a quick wash and polish since it was also looking a bit worse for wear. I didn’t take a picture because I tried to do it by hand and the results were somewhat unimpressive. :P
Speedometer Replacement no Jutsu

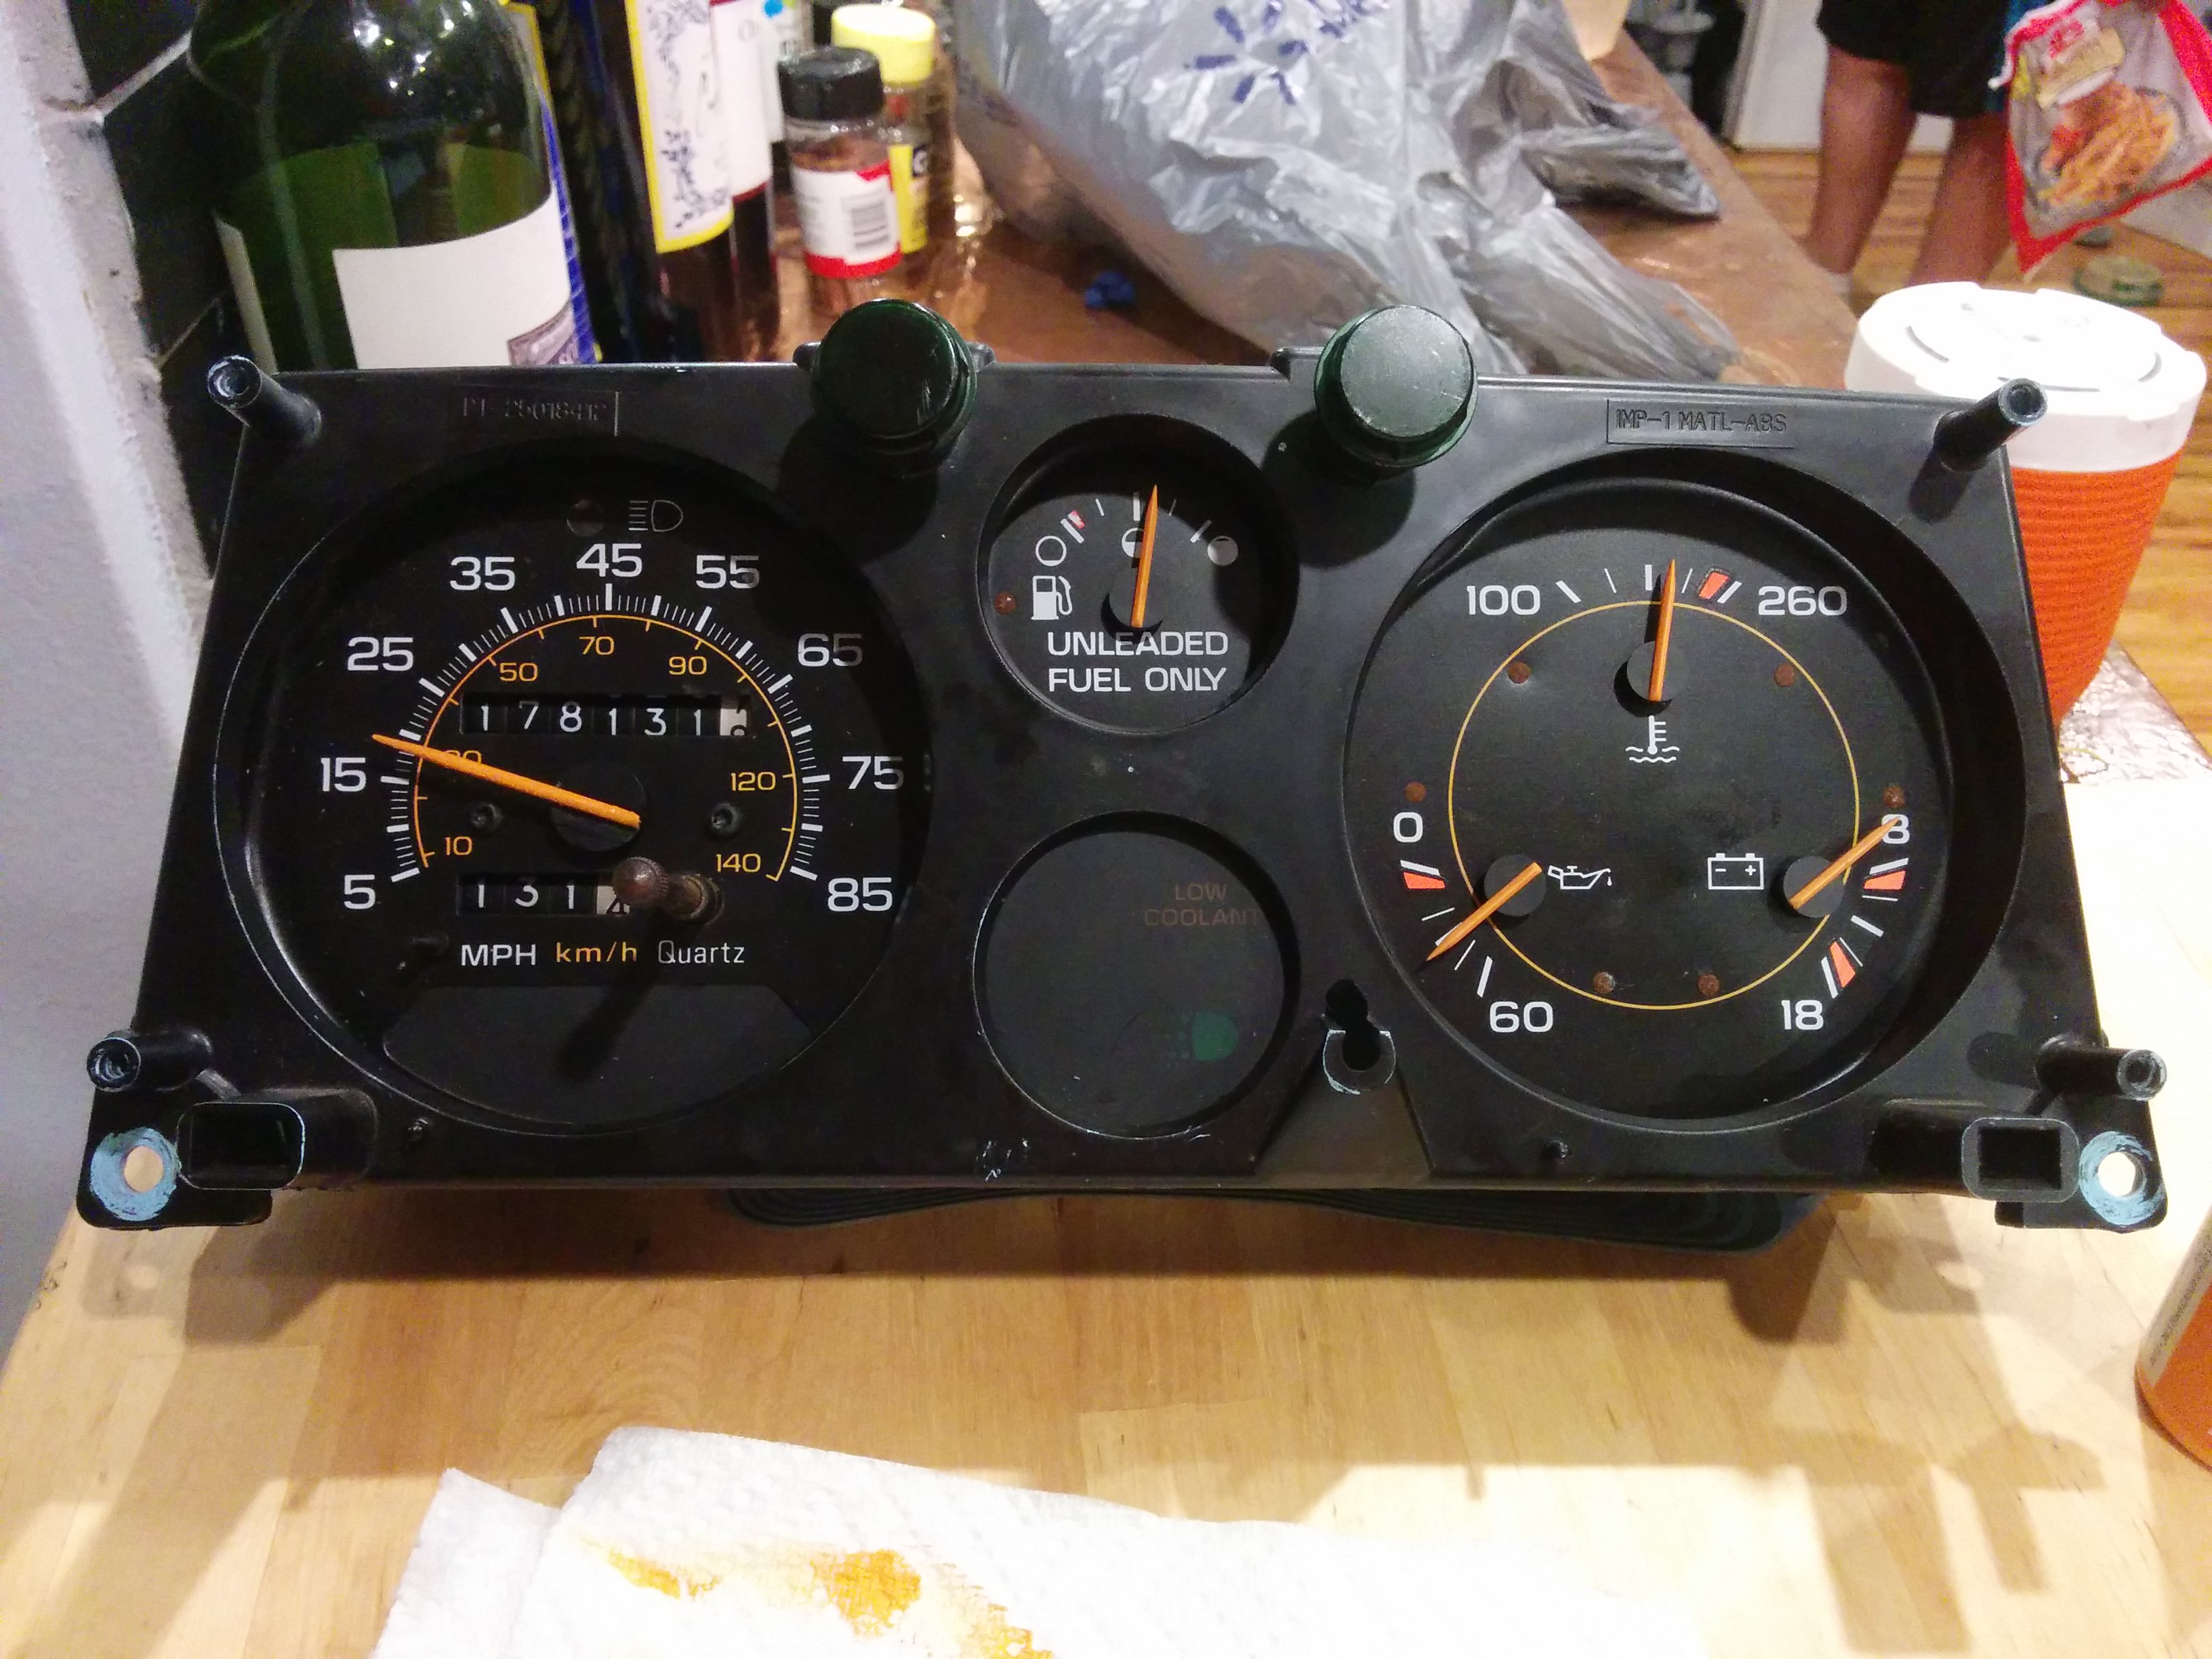
One unhappiness was that the spedometer indicator rather dramatically spontaneously combusted into multiple pieces at the gentlest of touches. I would have to find a replacement…
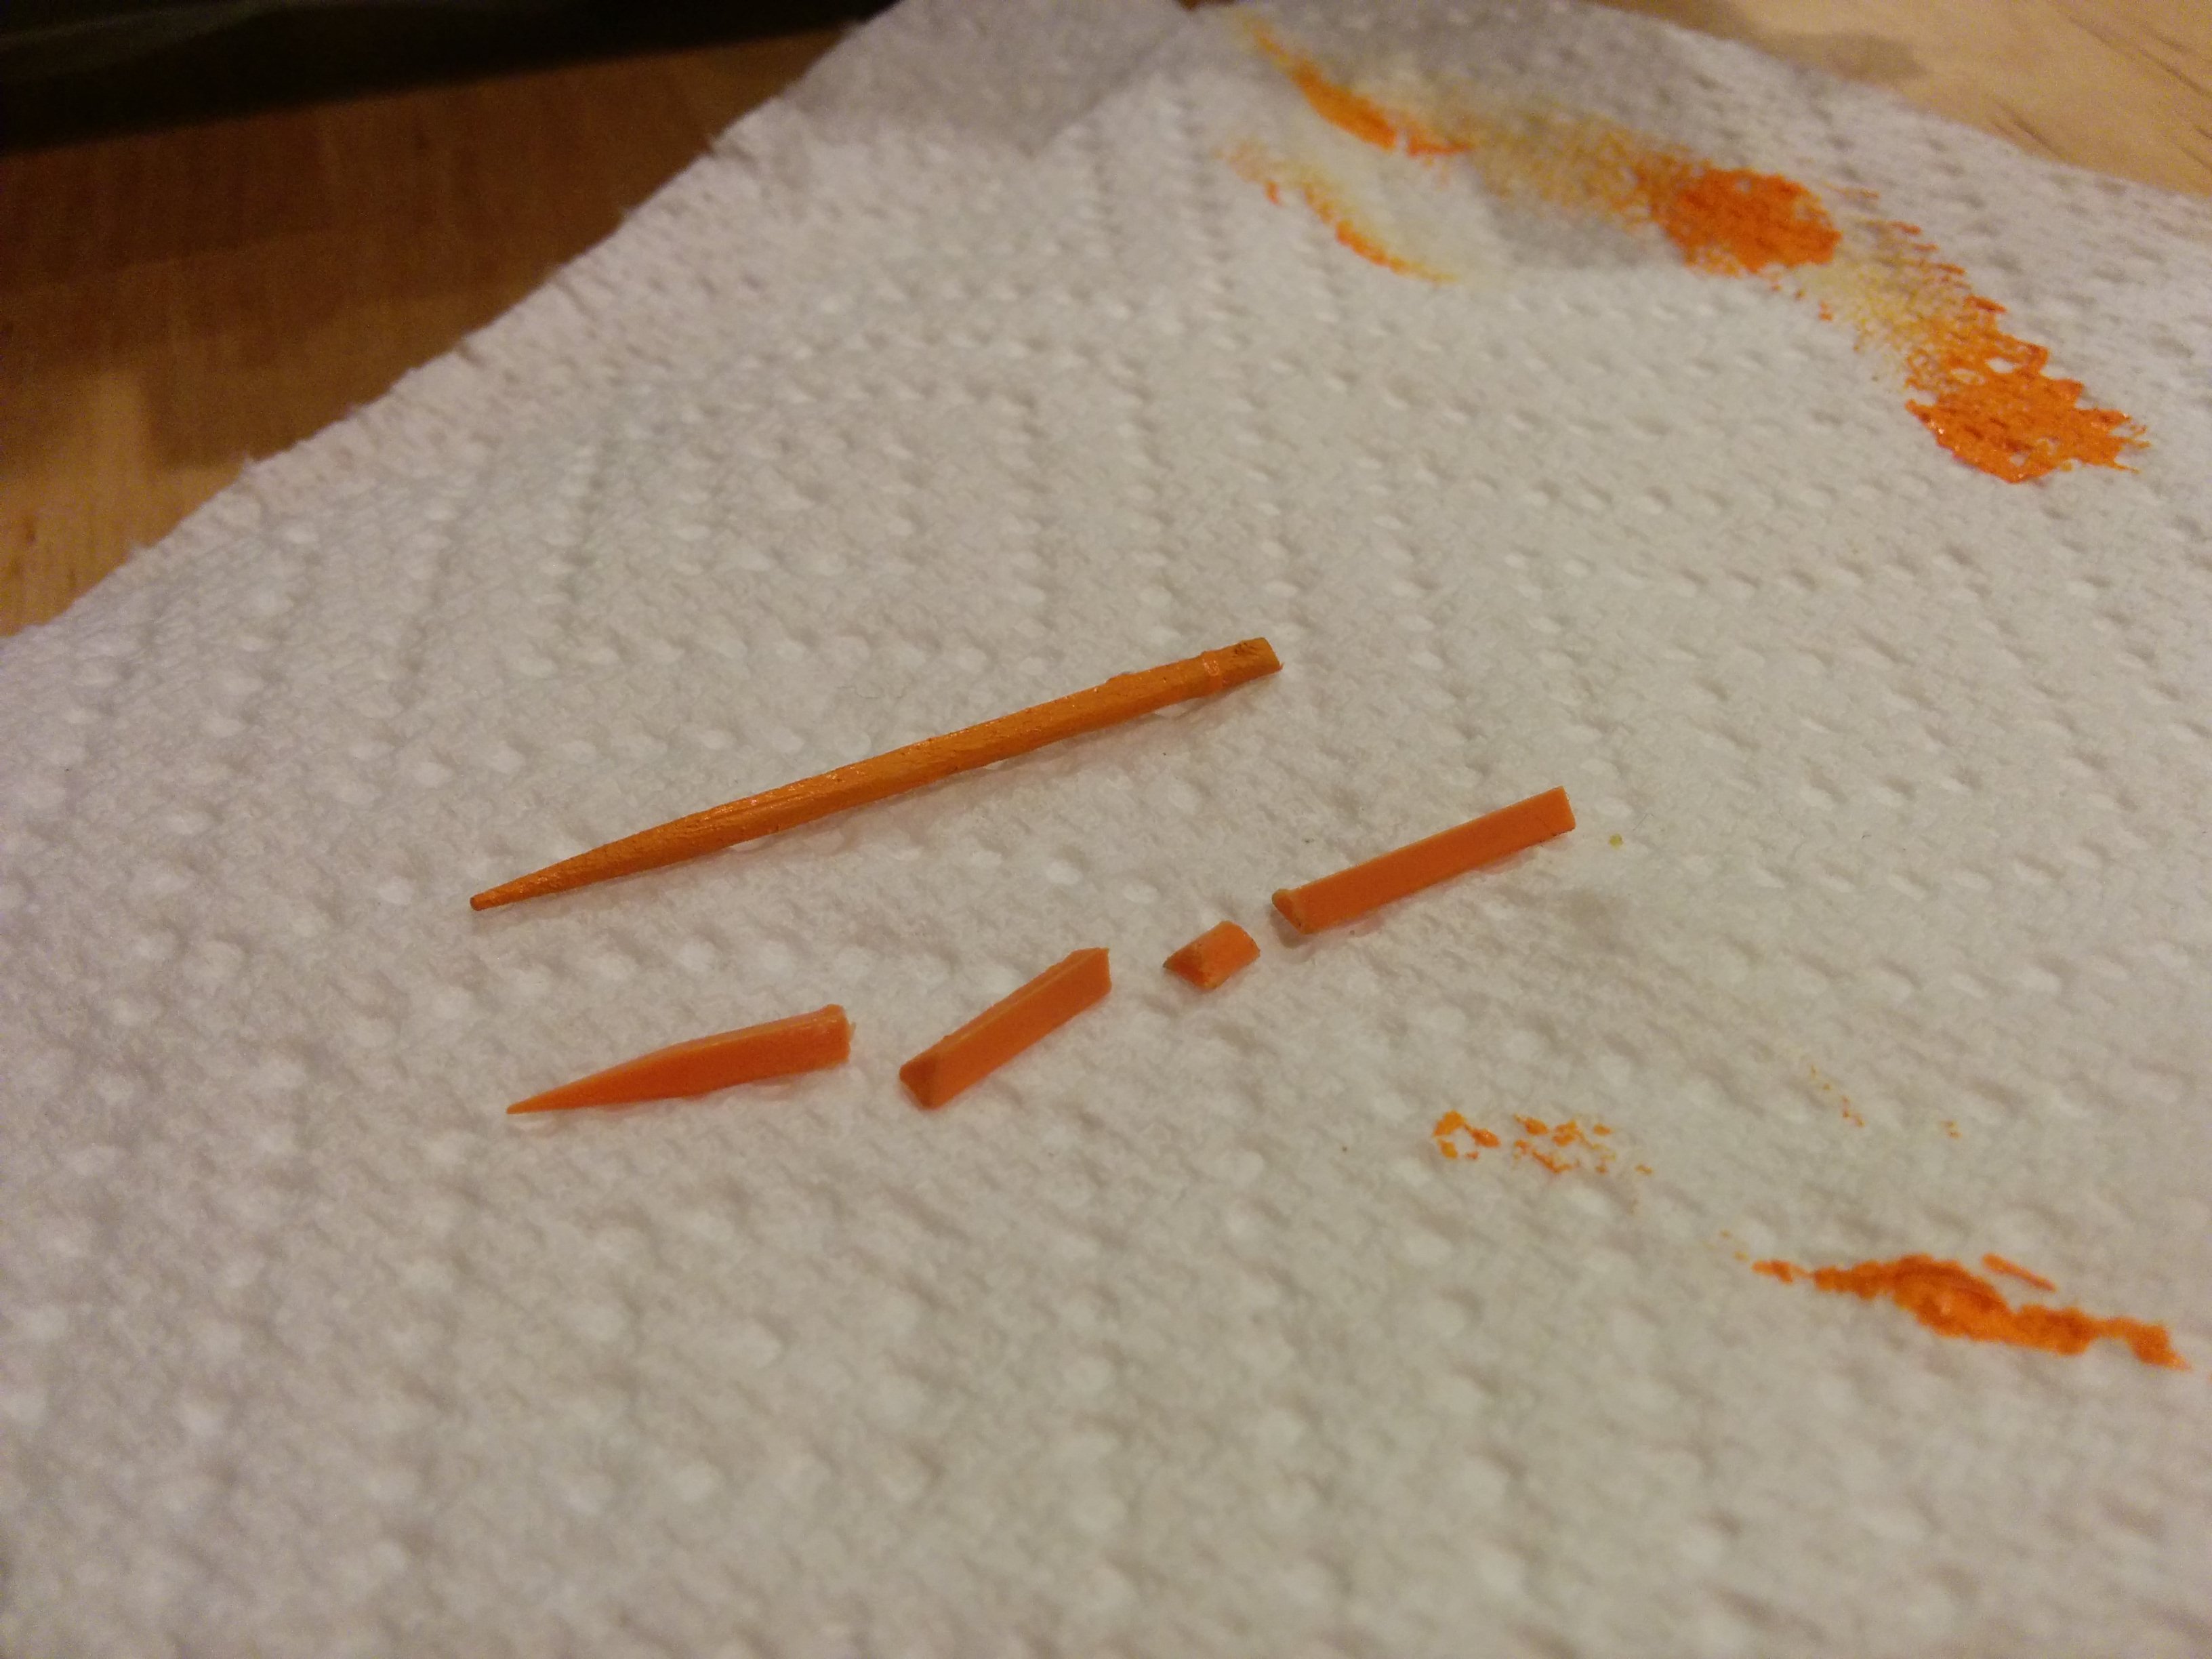
I cut up a tooth pick, painted it orange, and carefully superglued it where the original indicator had been. (I needed to put it in the same place or else the spedometer would be full of lies from then on.) I eyeballed the shade of orange in the Walmart acrylic crafts section so I was pleased to have nailed it correctly.
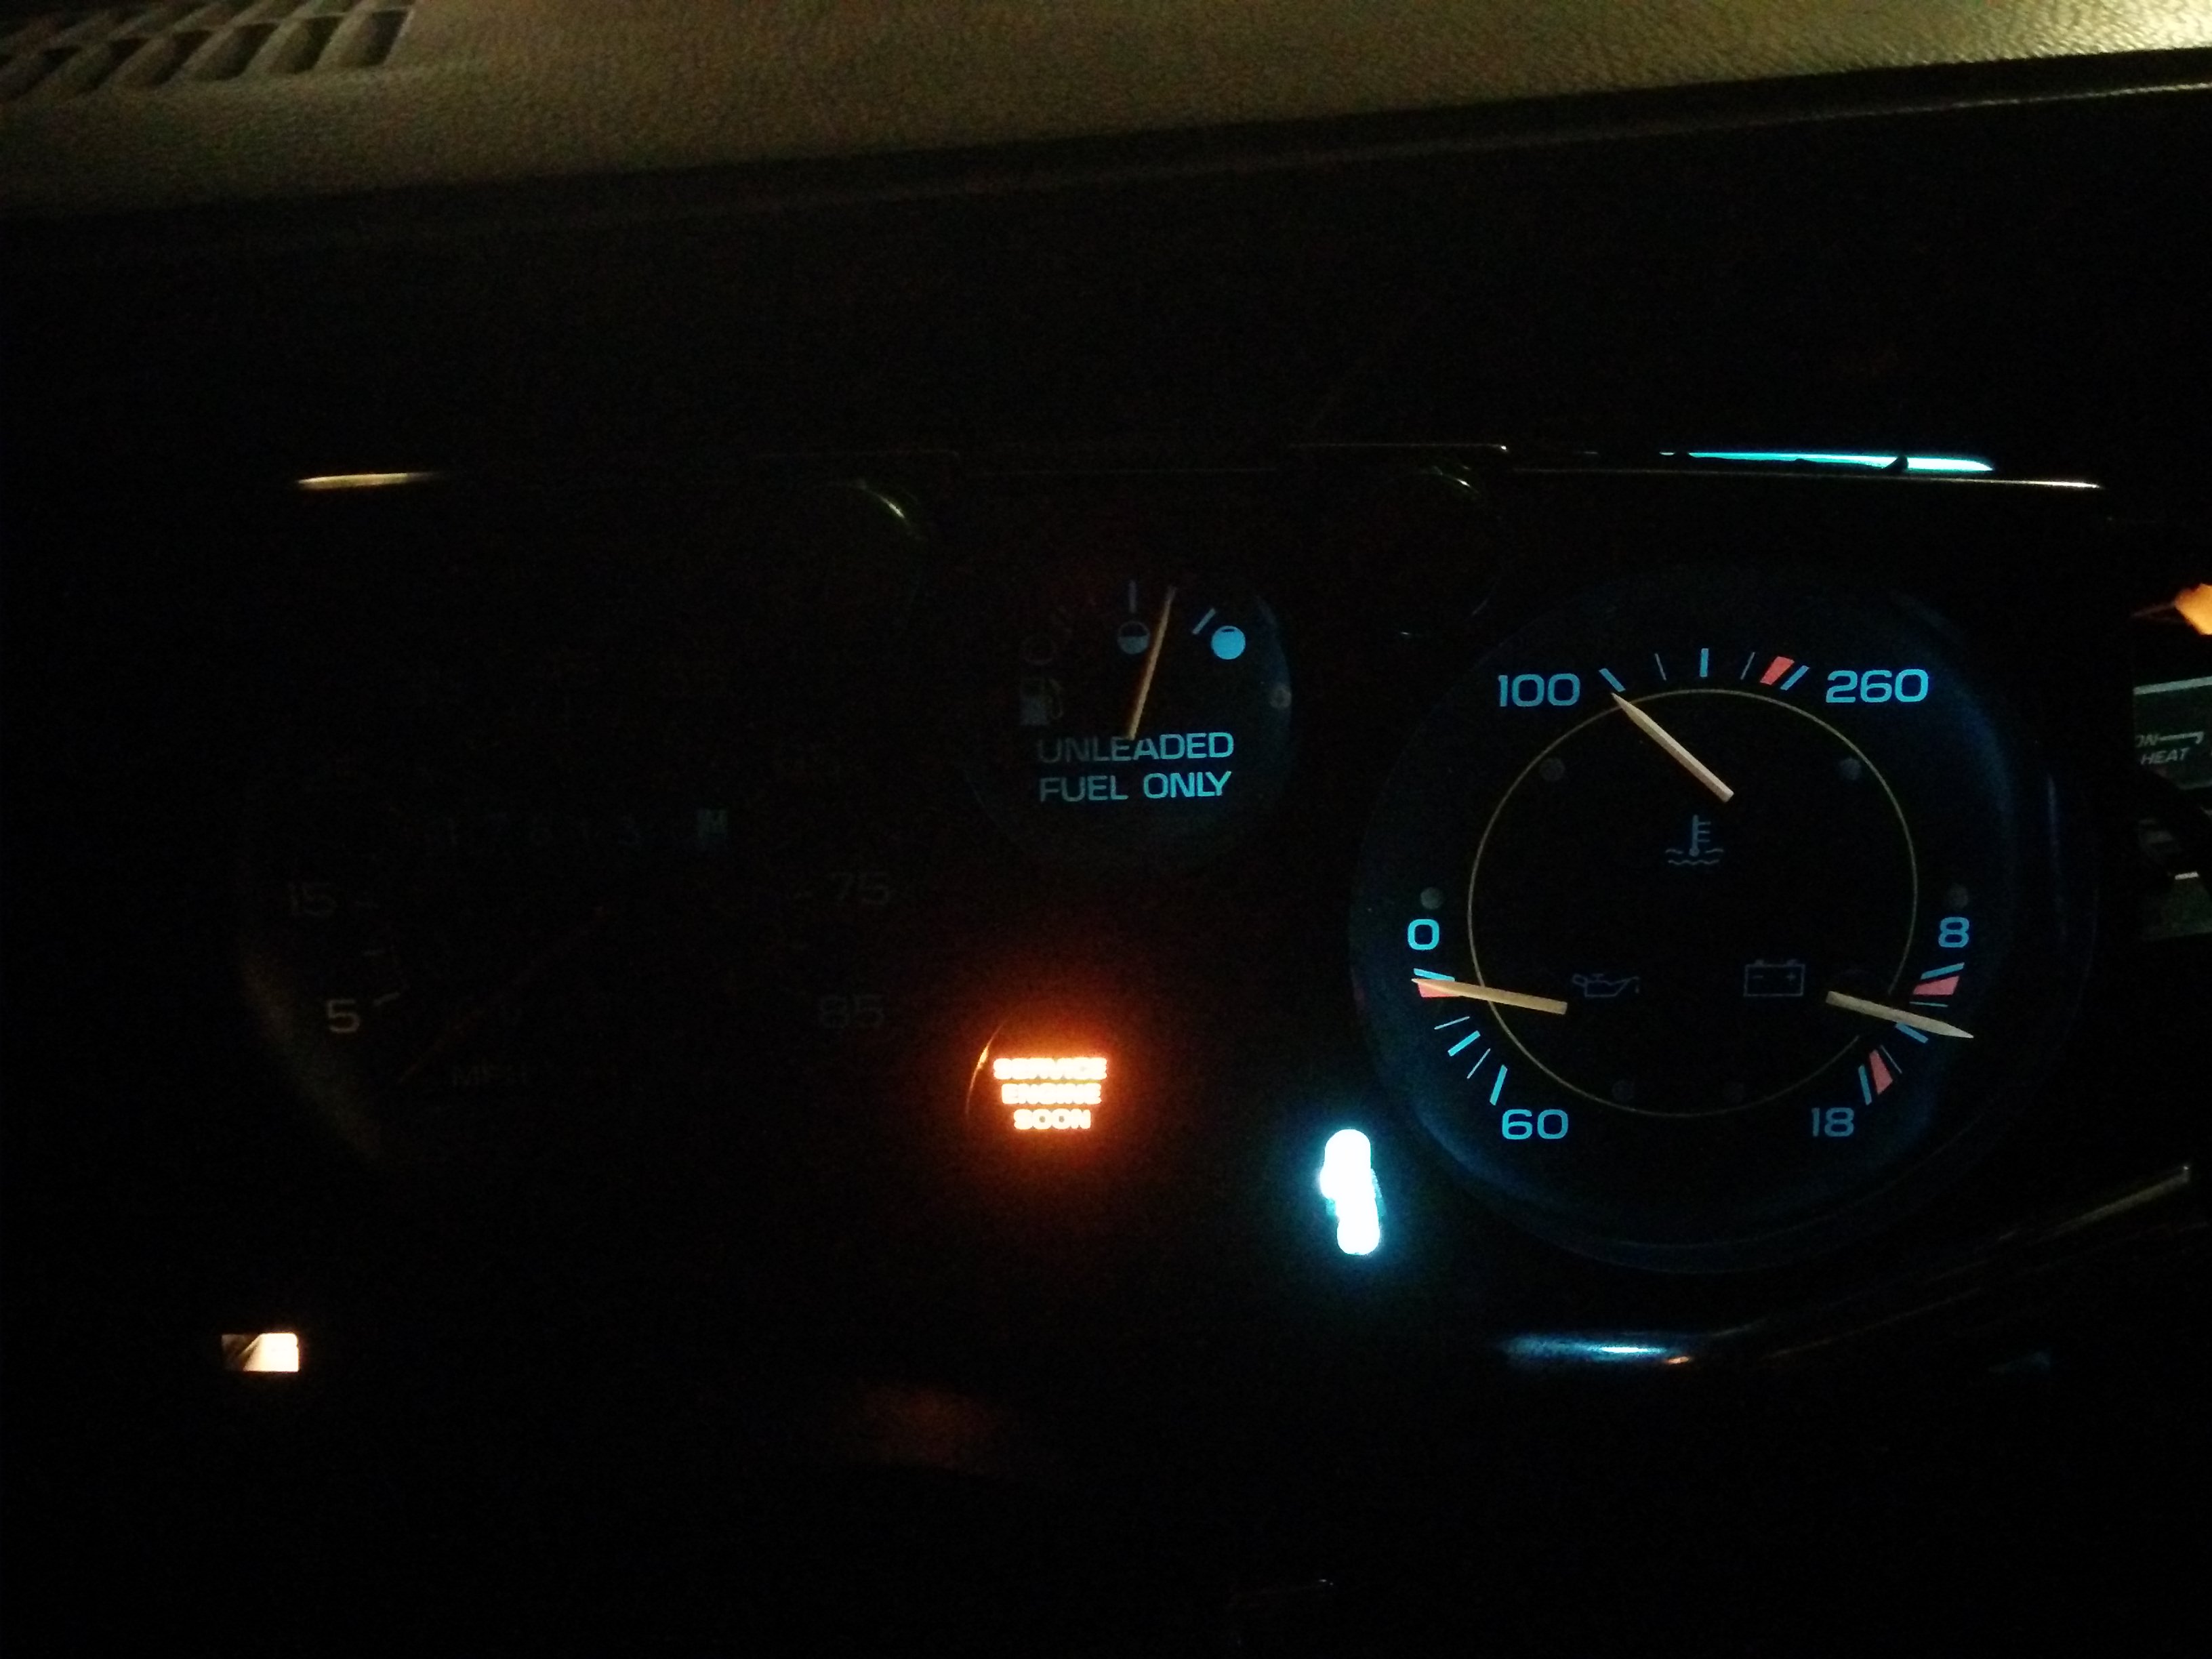
You can’t see it well but the dashboard actually is lit on the left side. It’s just very very dim.

Now with all the leds added. The leds have a polarity so you have a 50/50 chance of inserting it correctly at random. If you twist one in and it doesn’t light up, just flip it 180 and try again. There’s some light bleed around the edges here because the gauge cluster is plugged in but not screwed in.
Installing a Modern Radio
My contribution to the process pretty much began and ended with researching and picking out one that I liked. As with the engine maintenance, I watched and observed closely to scavenge what knowledge I could.
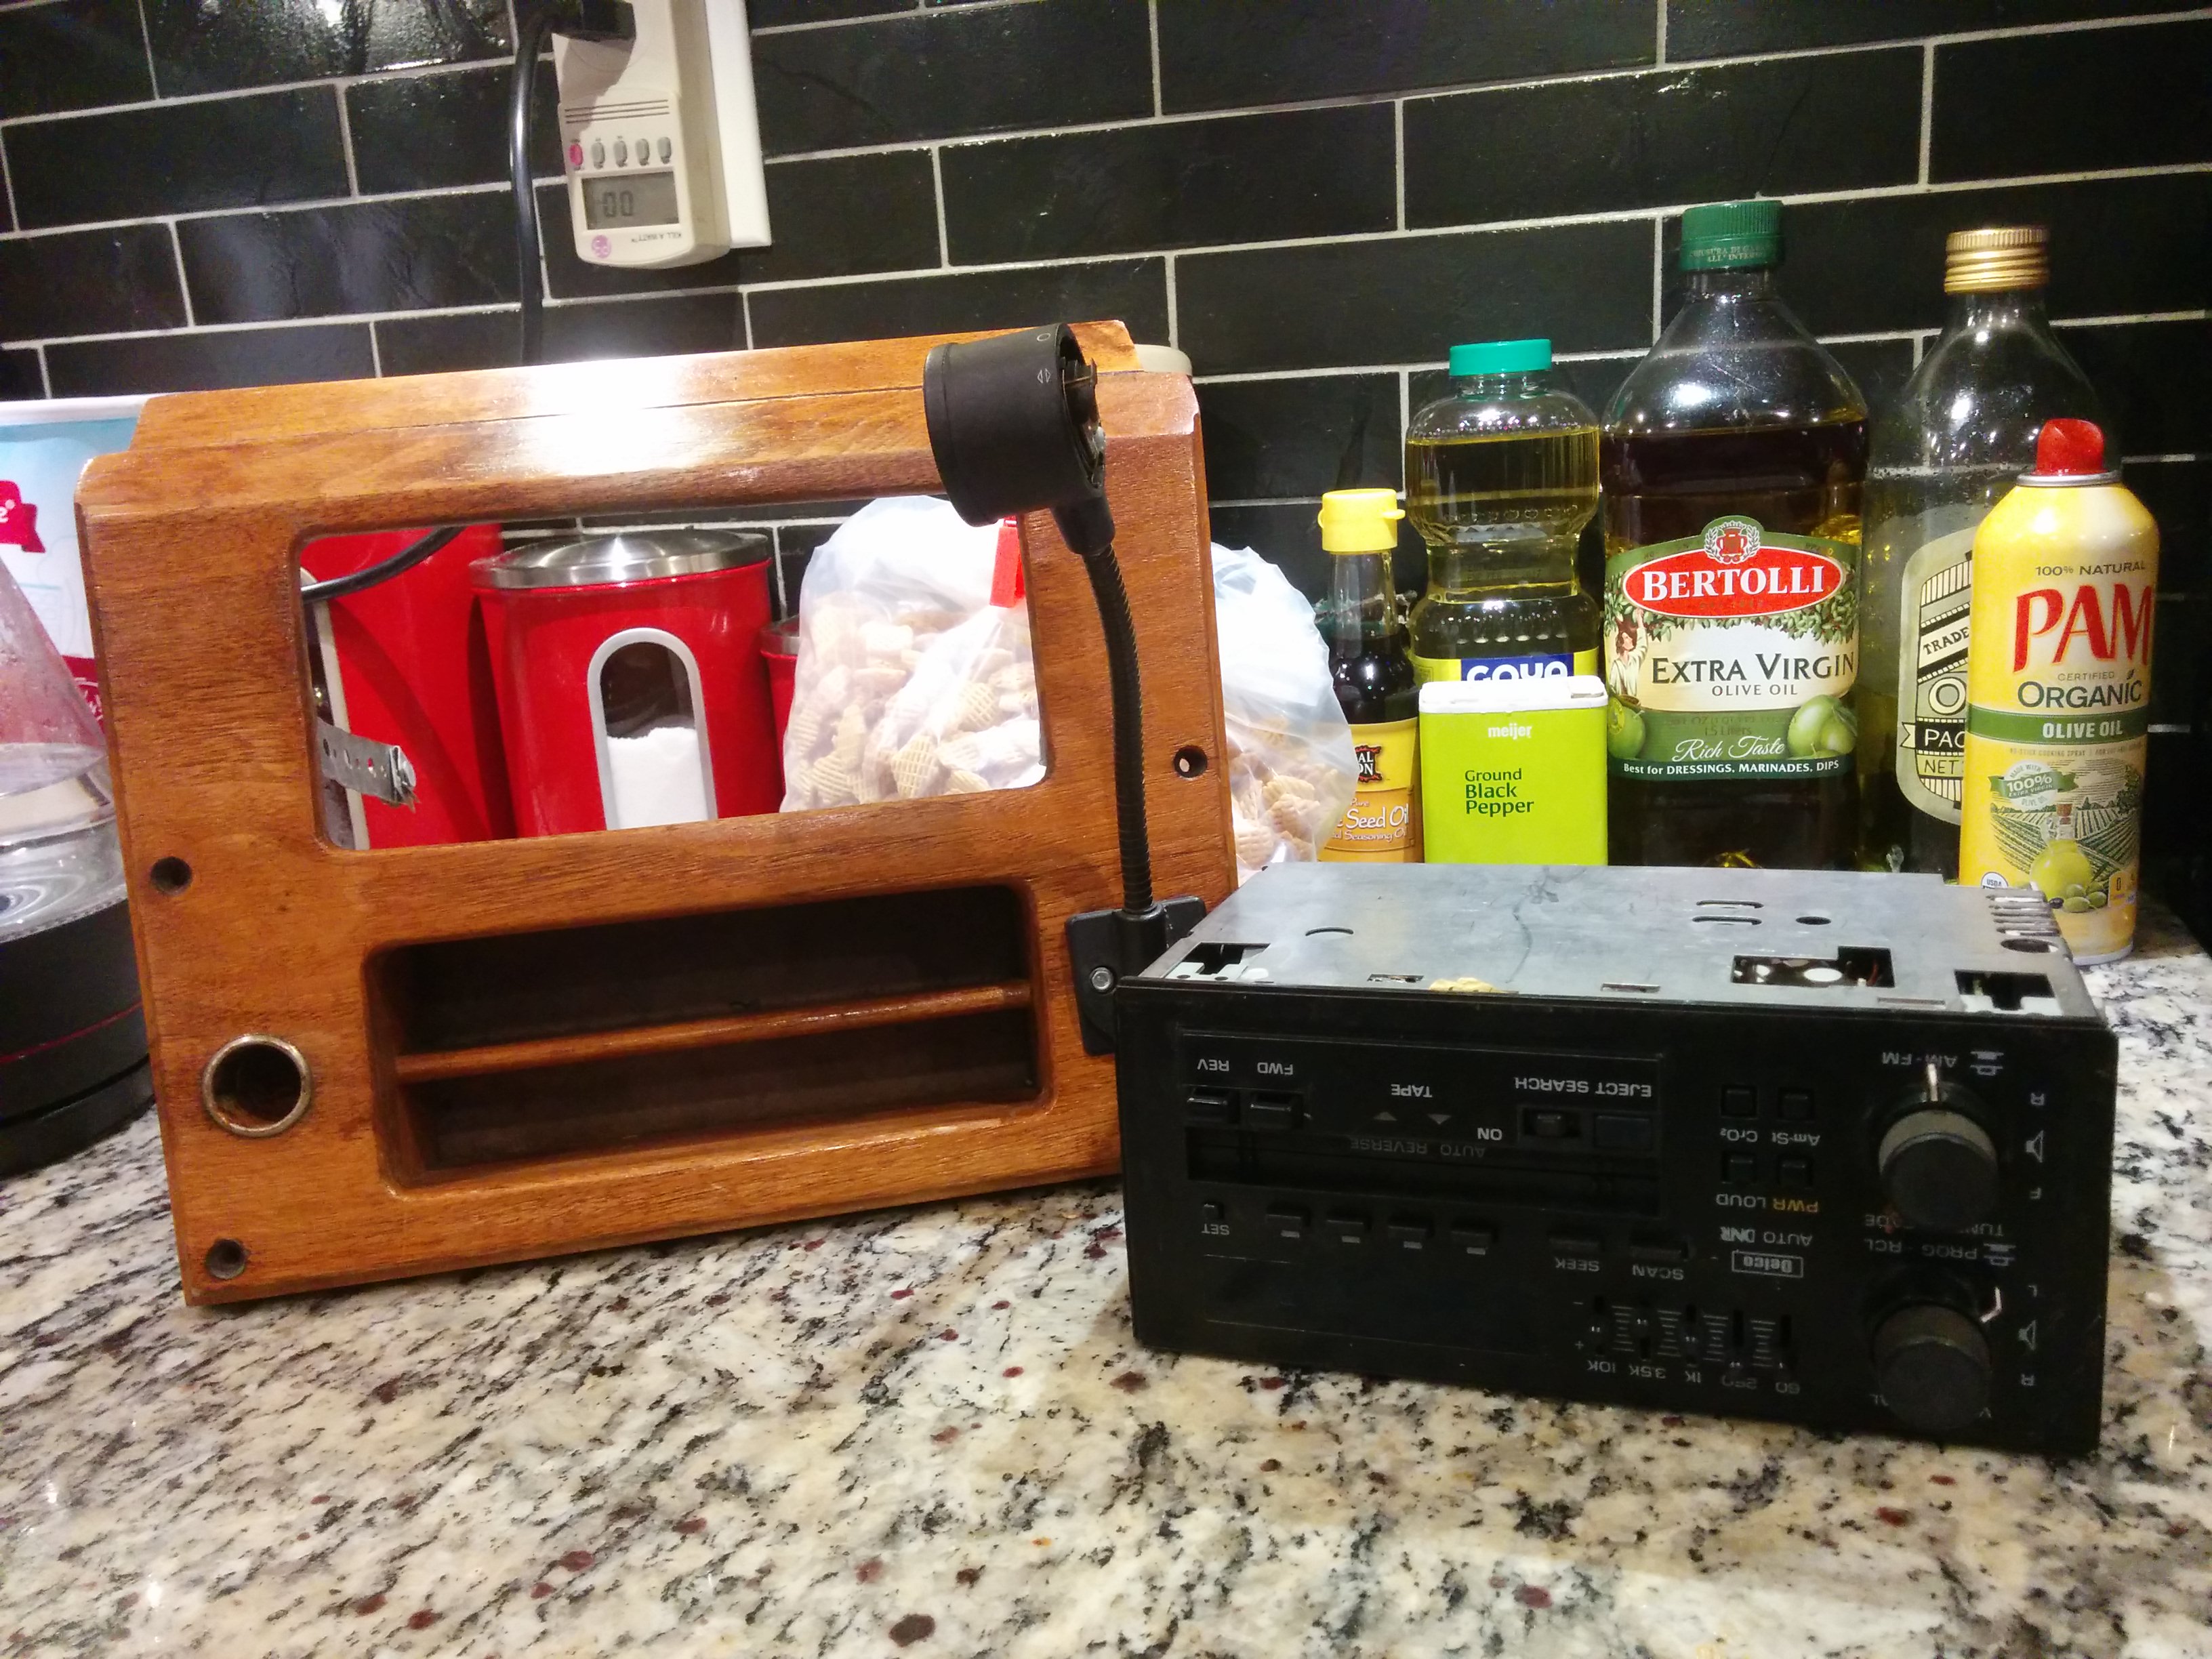
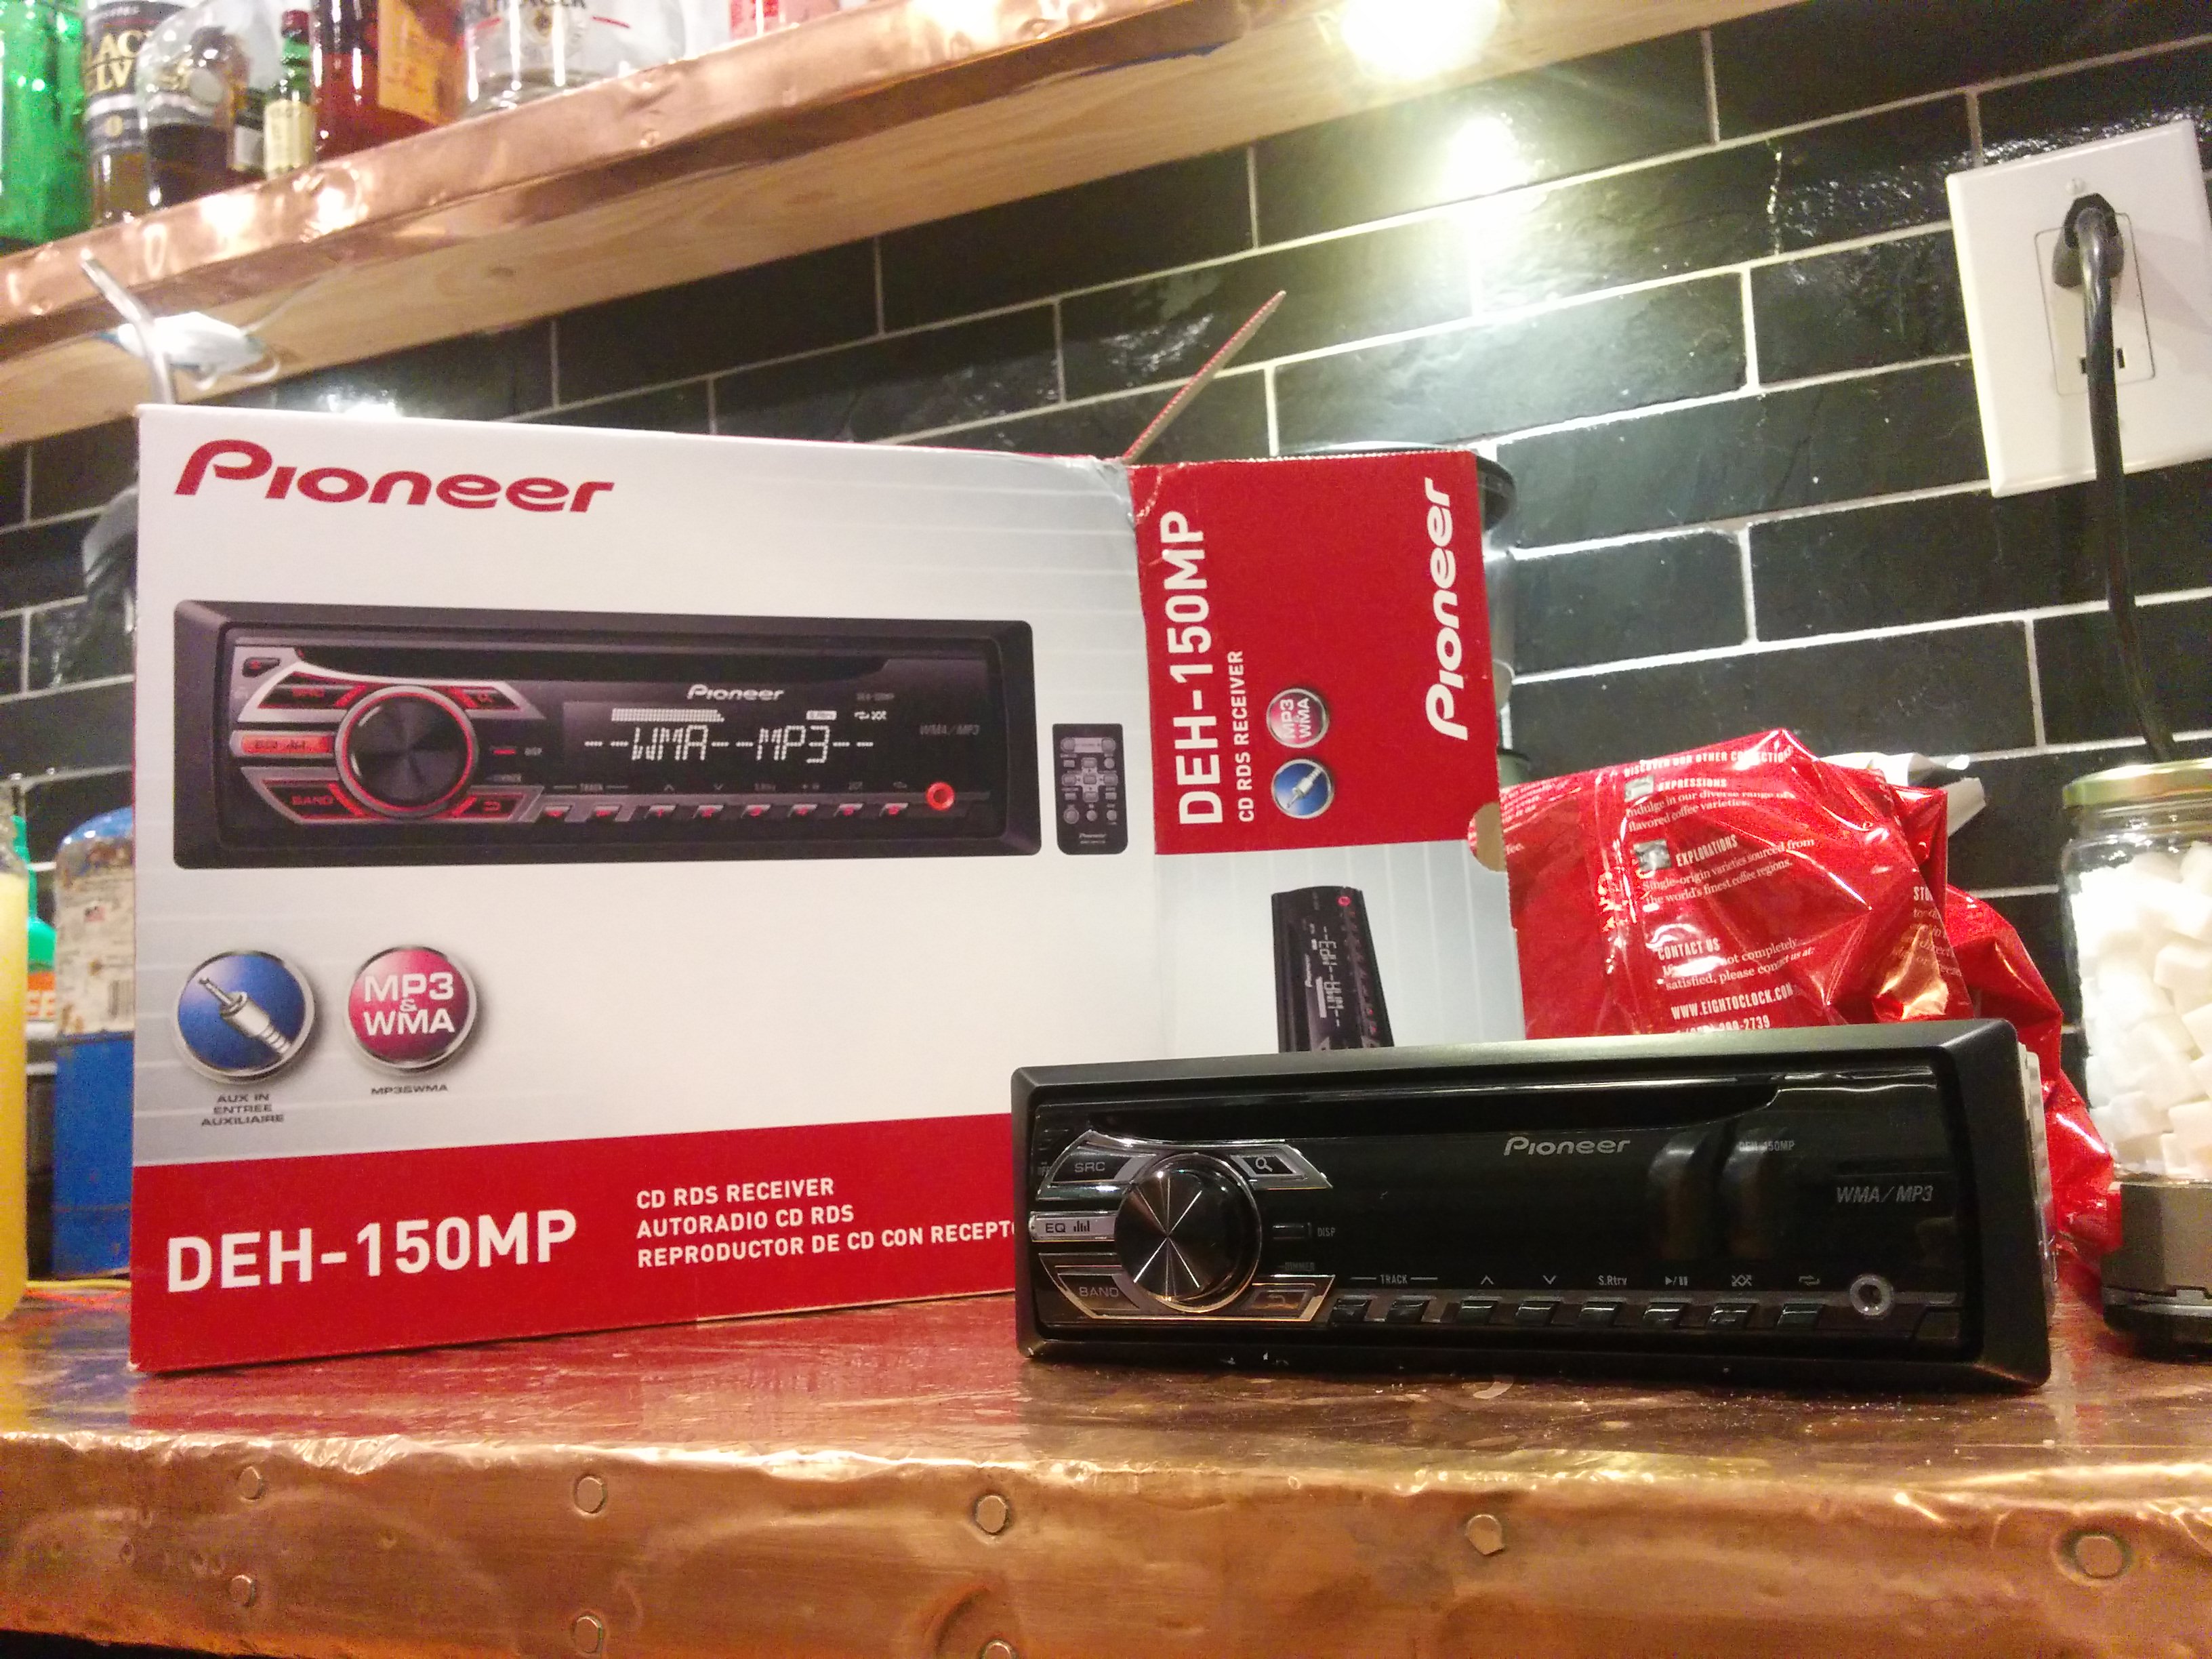
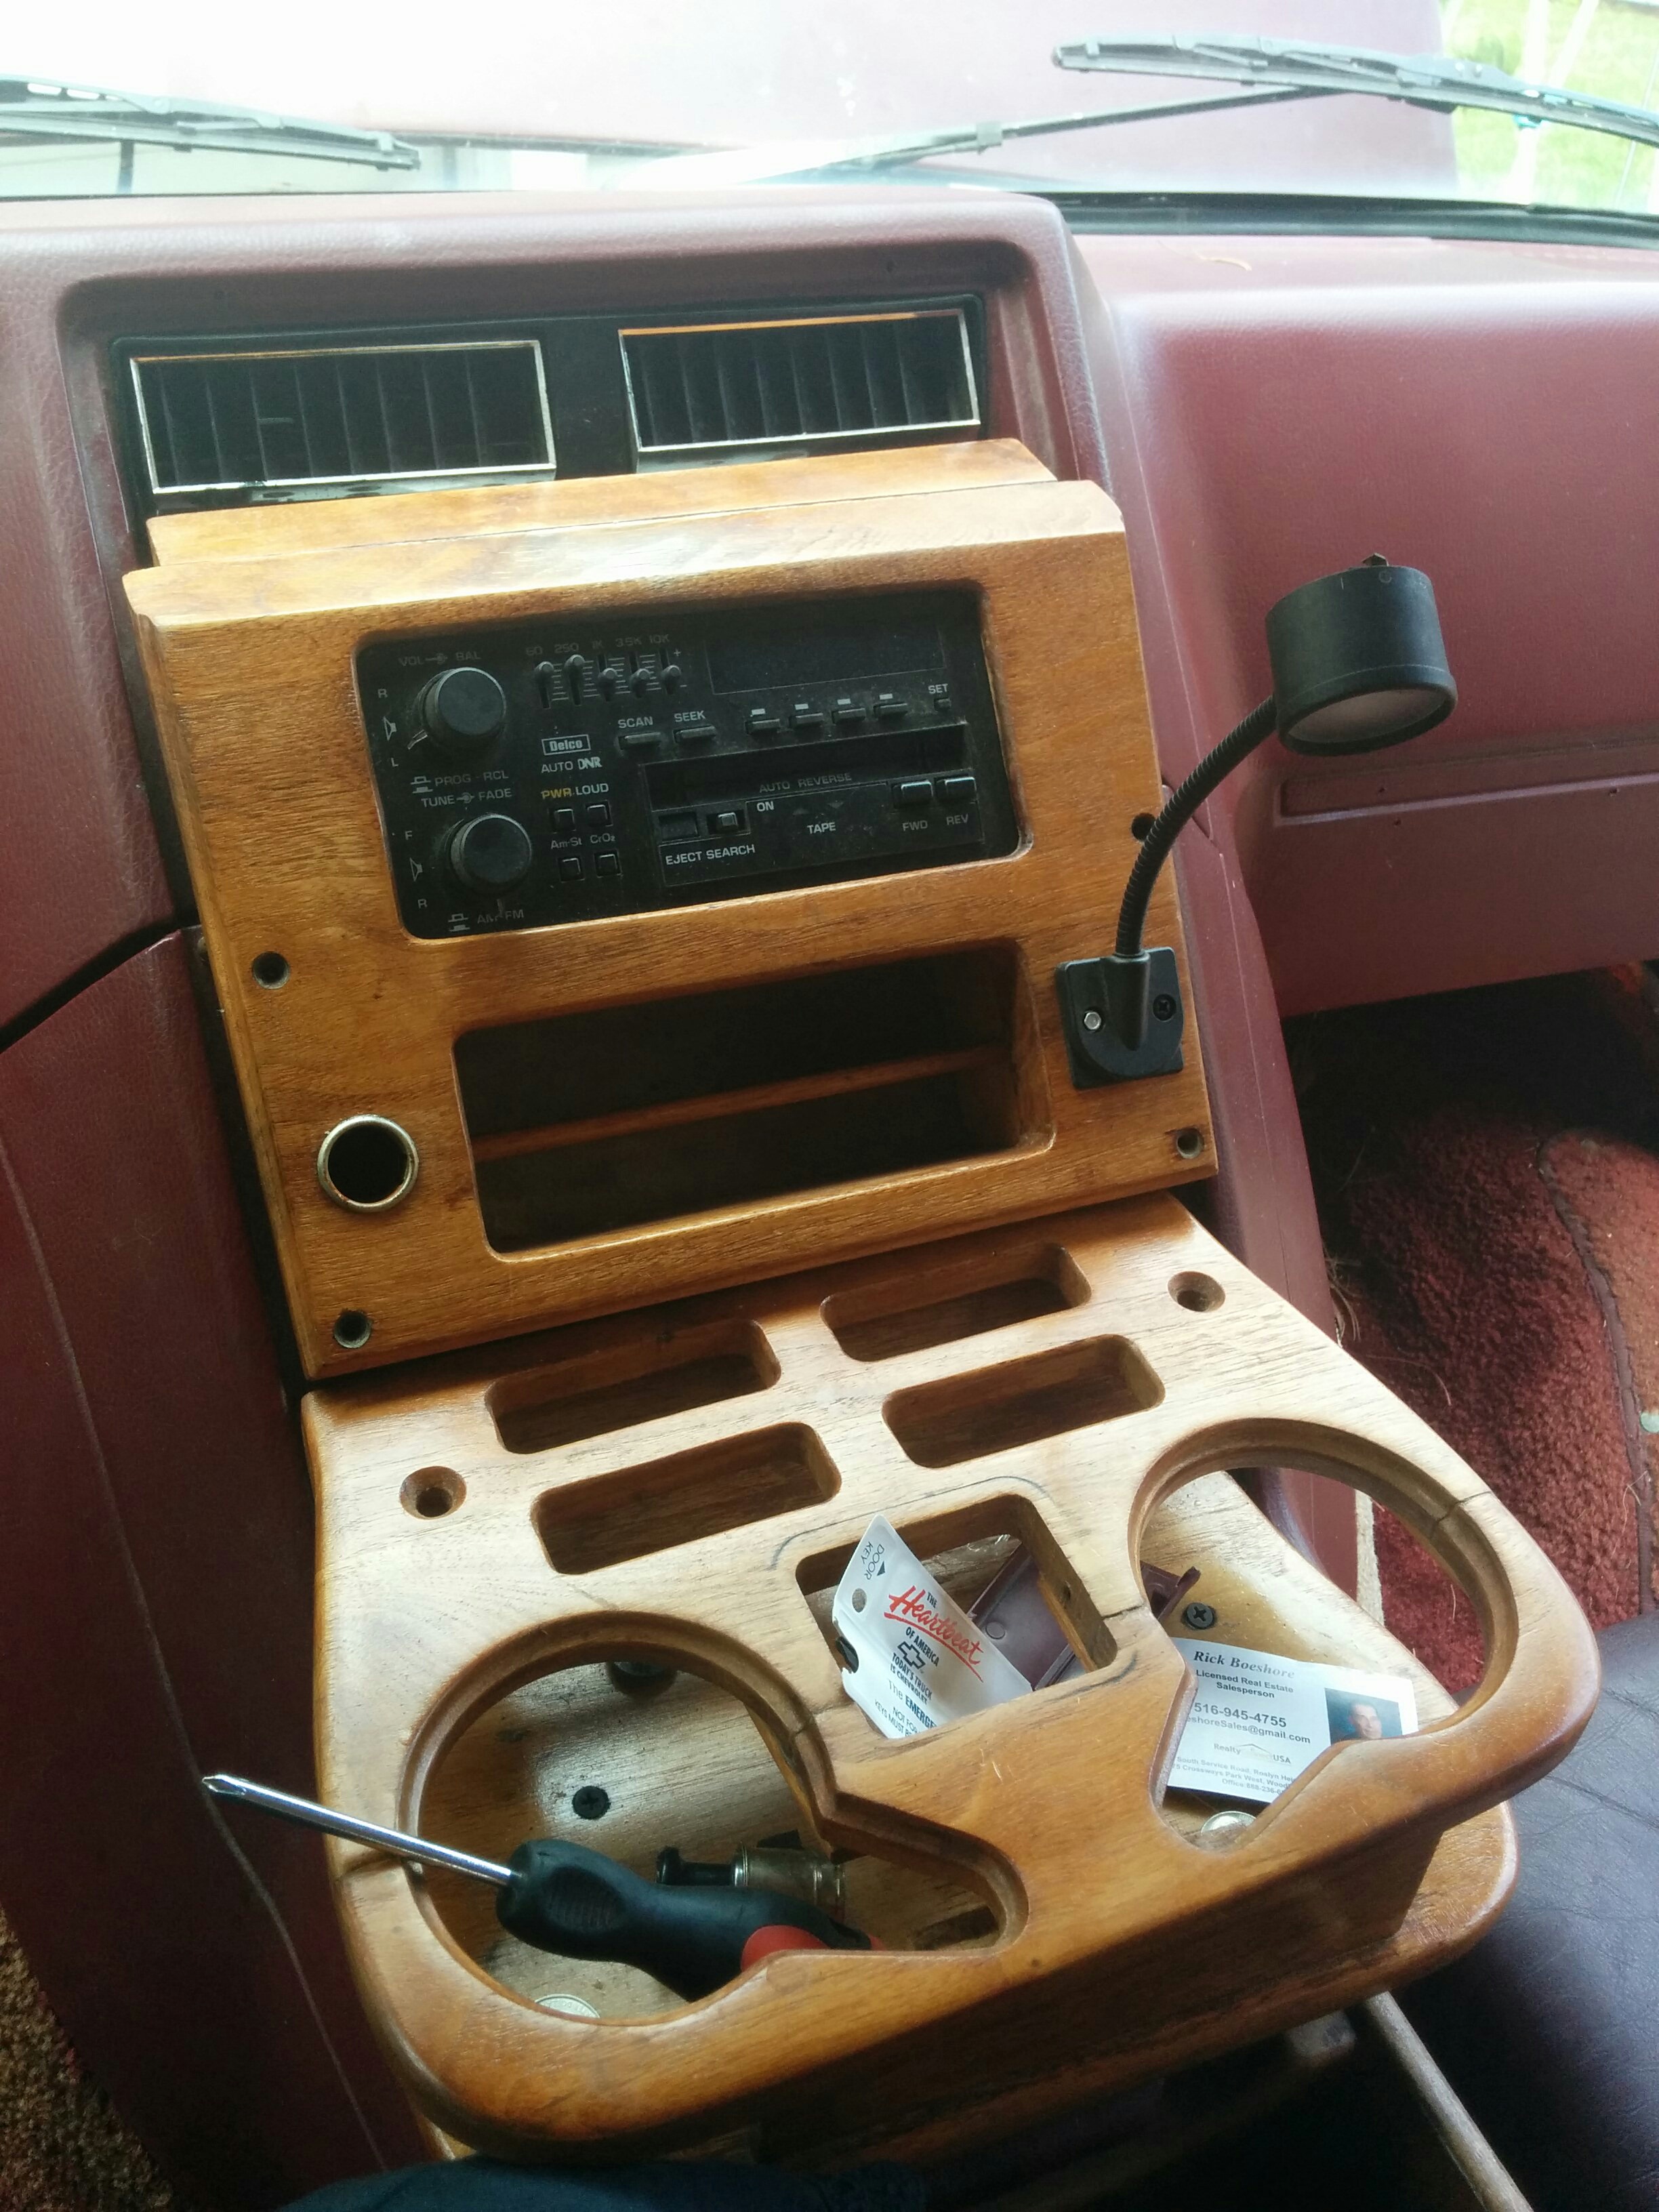
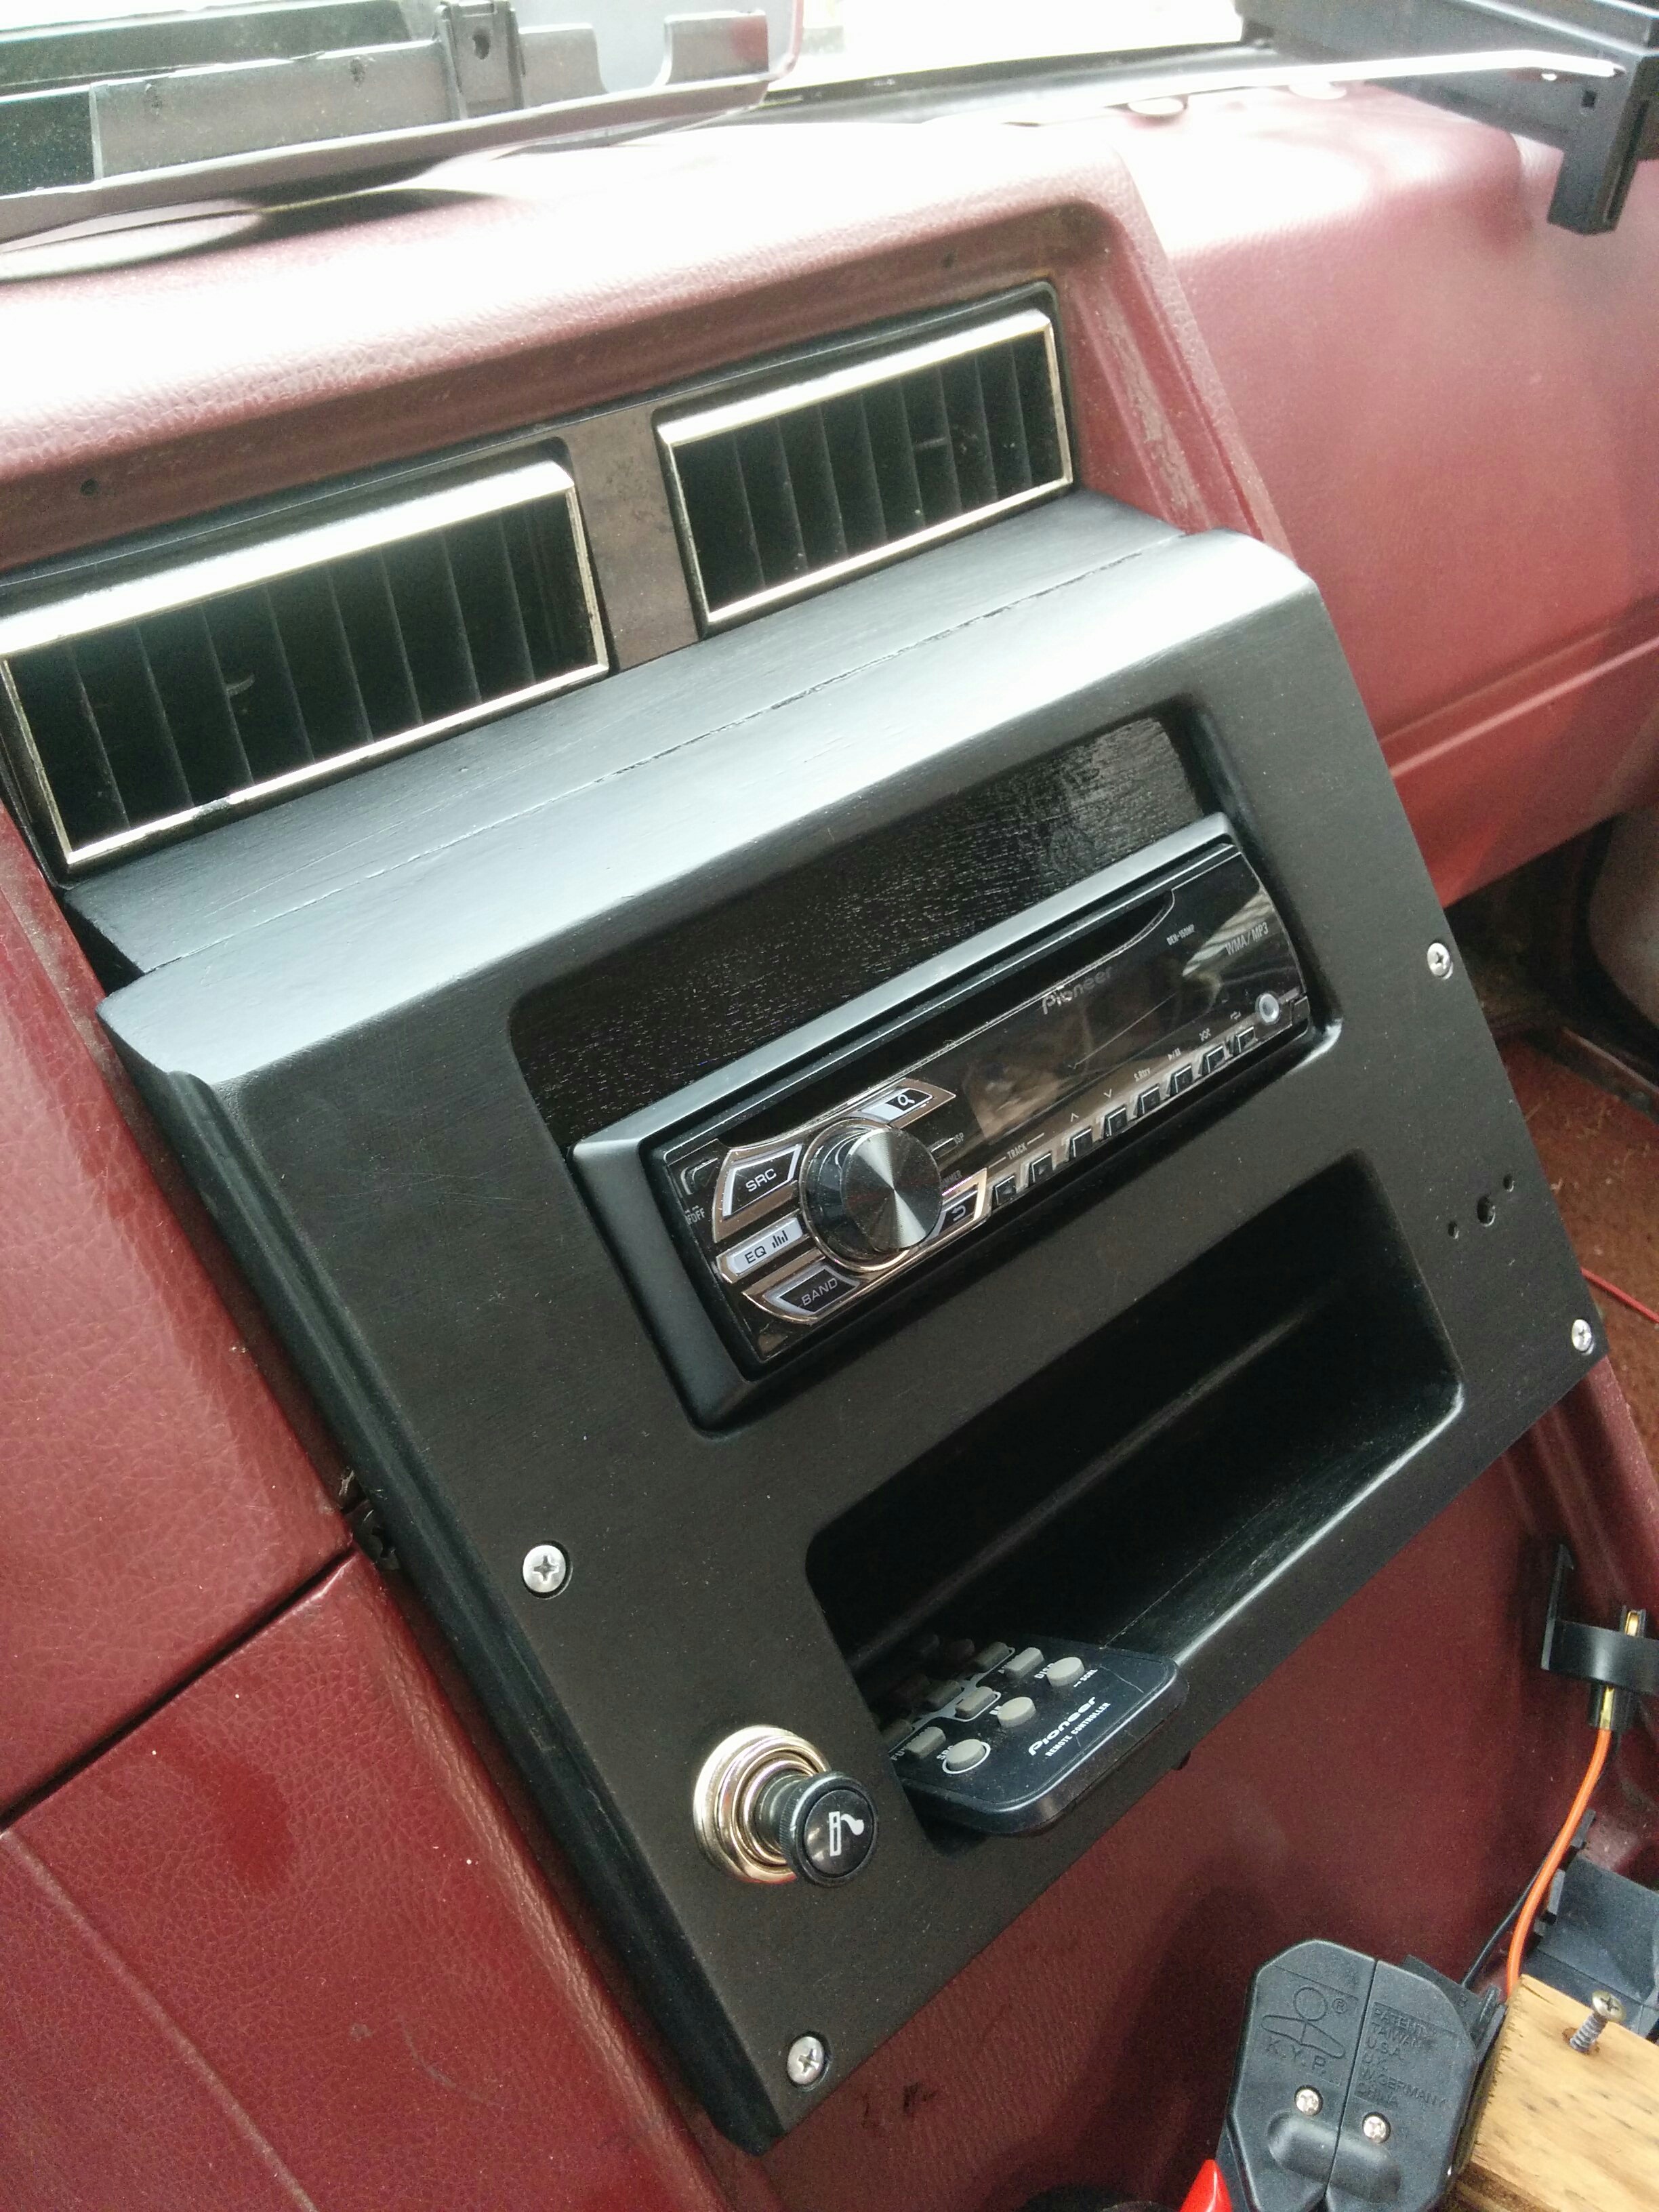
The radio I got was a $60 Pioneer DEH-150MP. The functionality suited me and the color scheme pleased me. To install it, I had to order a “Metra 70-1858 Radio Wiring Harness For GM 88-05 Harness” ($5) and a “Metra AW444GM Gm Multi-Kit 1982-Up].” ($14) I am 75% sure we used at least one piece of the adapter kit. There are a few different form factors for radios. The old radio was a “double DIN” and the new one was a “single DIN,” which meant it took up half the vertical space compared to the old one; I would need to find something to fill in the “hole” left by the larger original radio. I ended up using a scrap of hastily spraypainted luan paneling to fill in the area left vacant by the smaller radio.
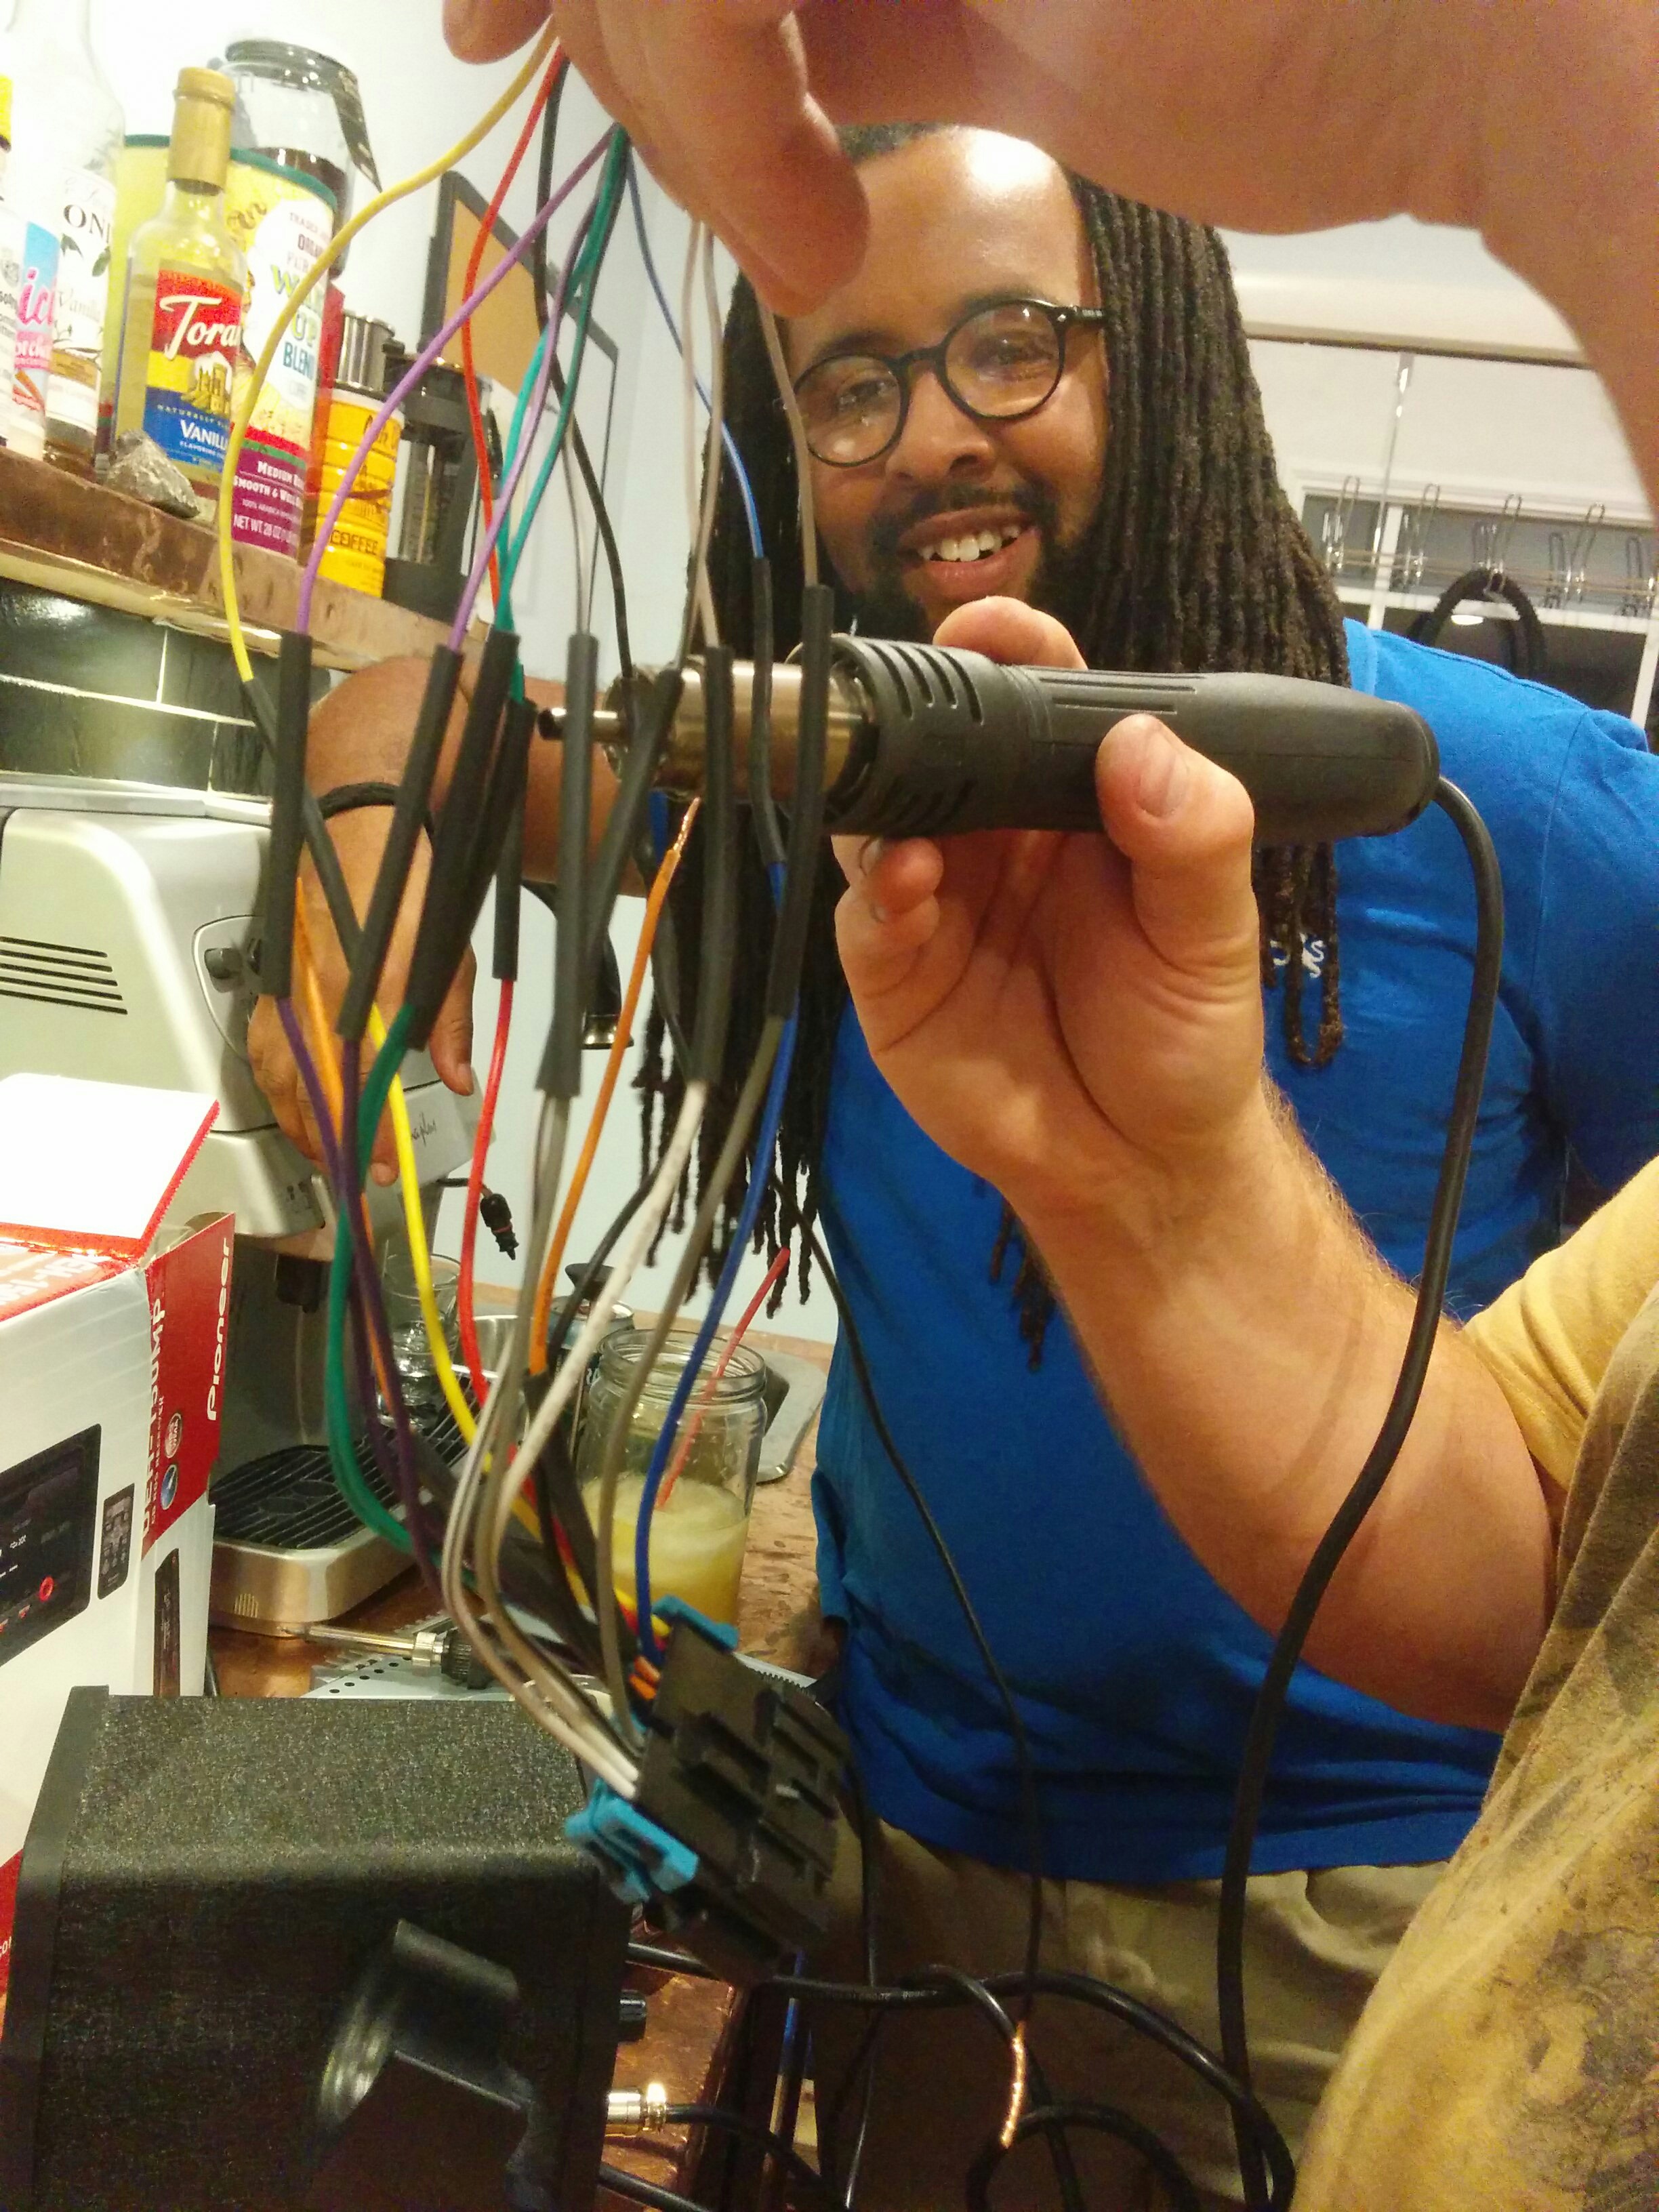
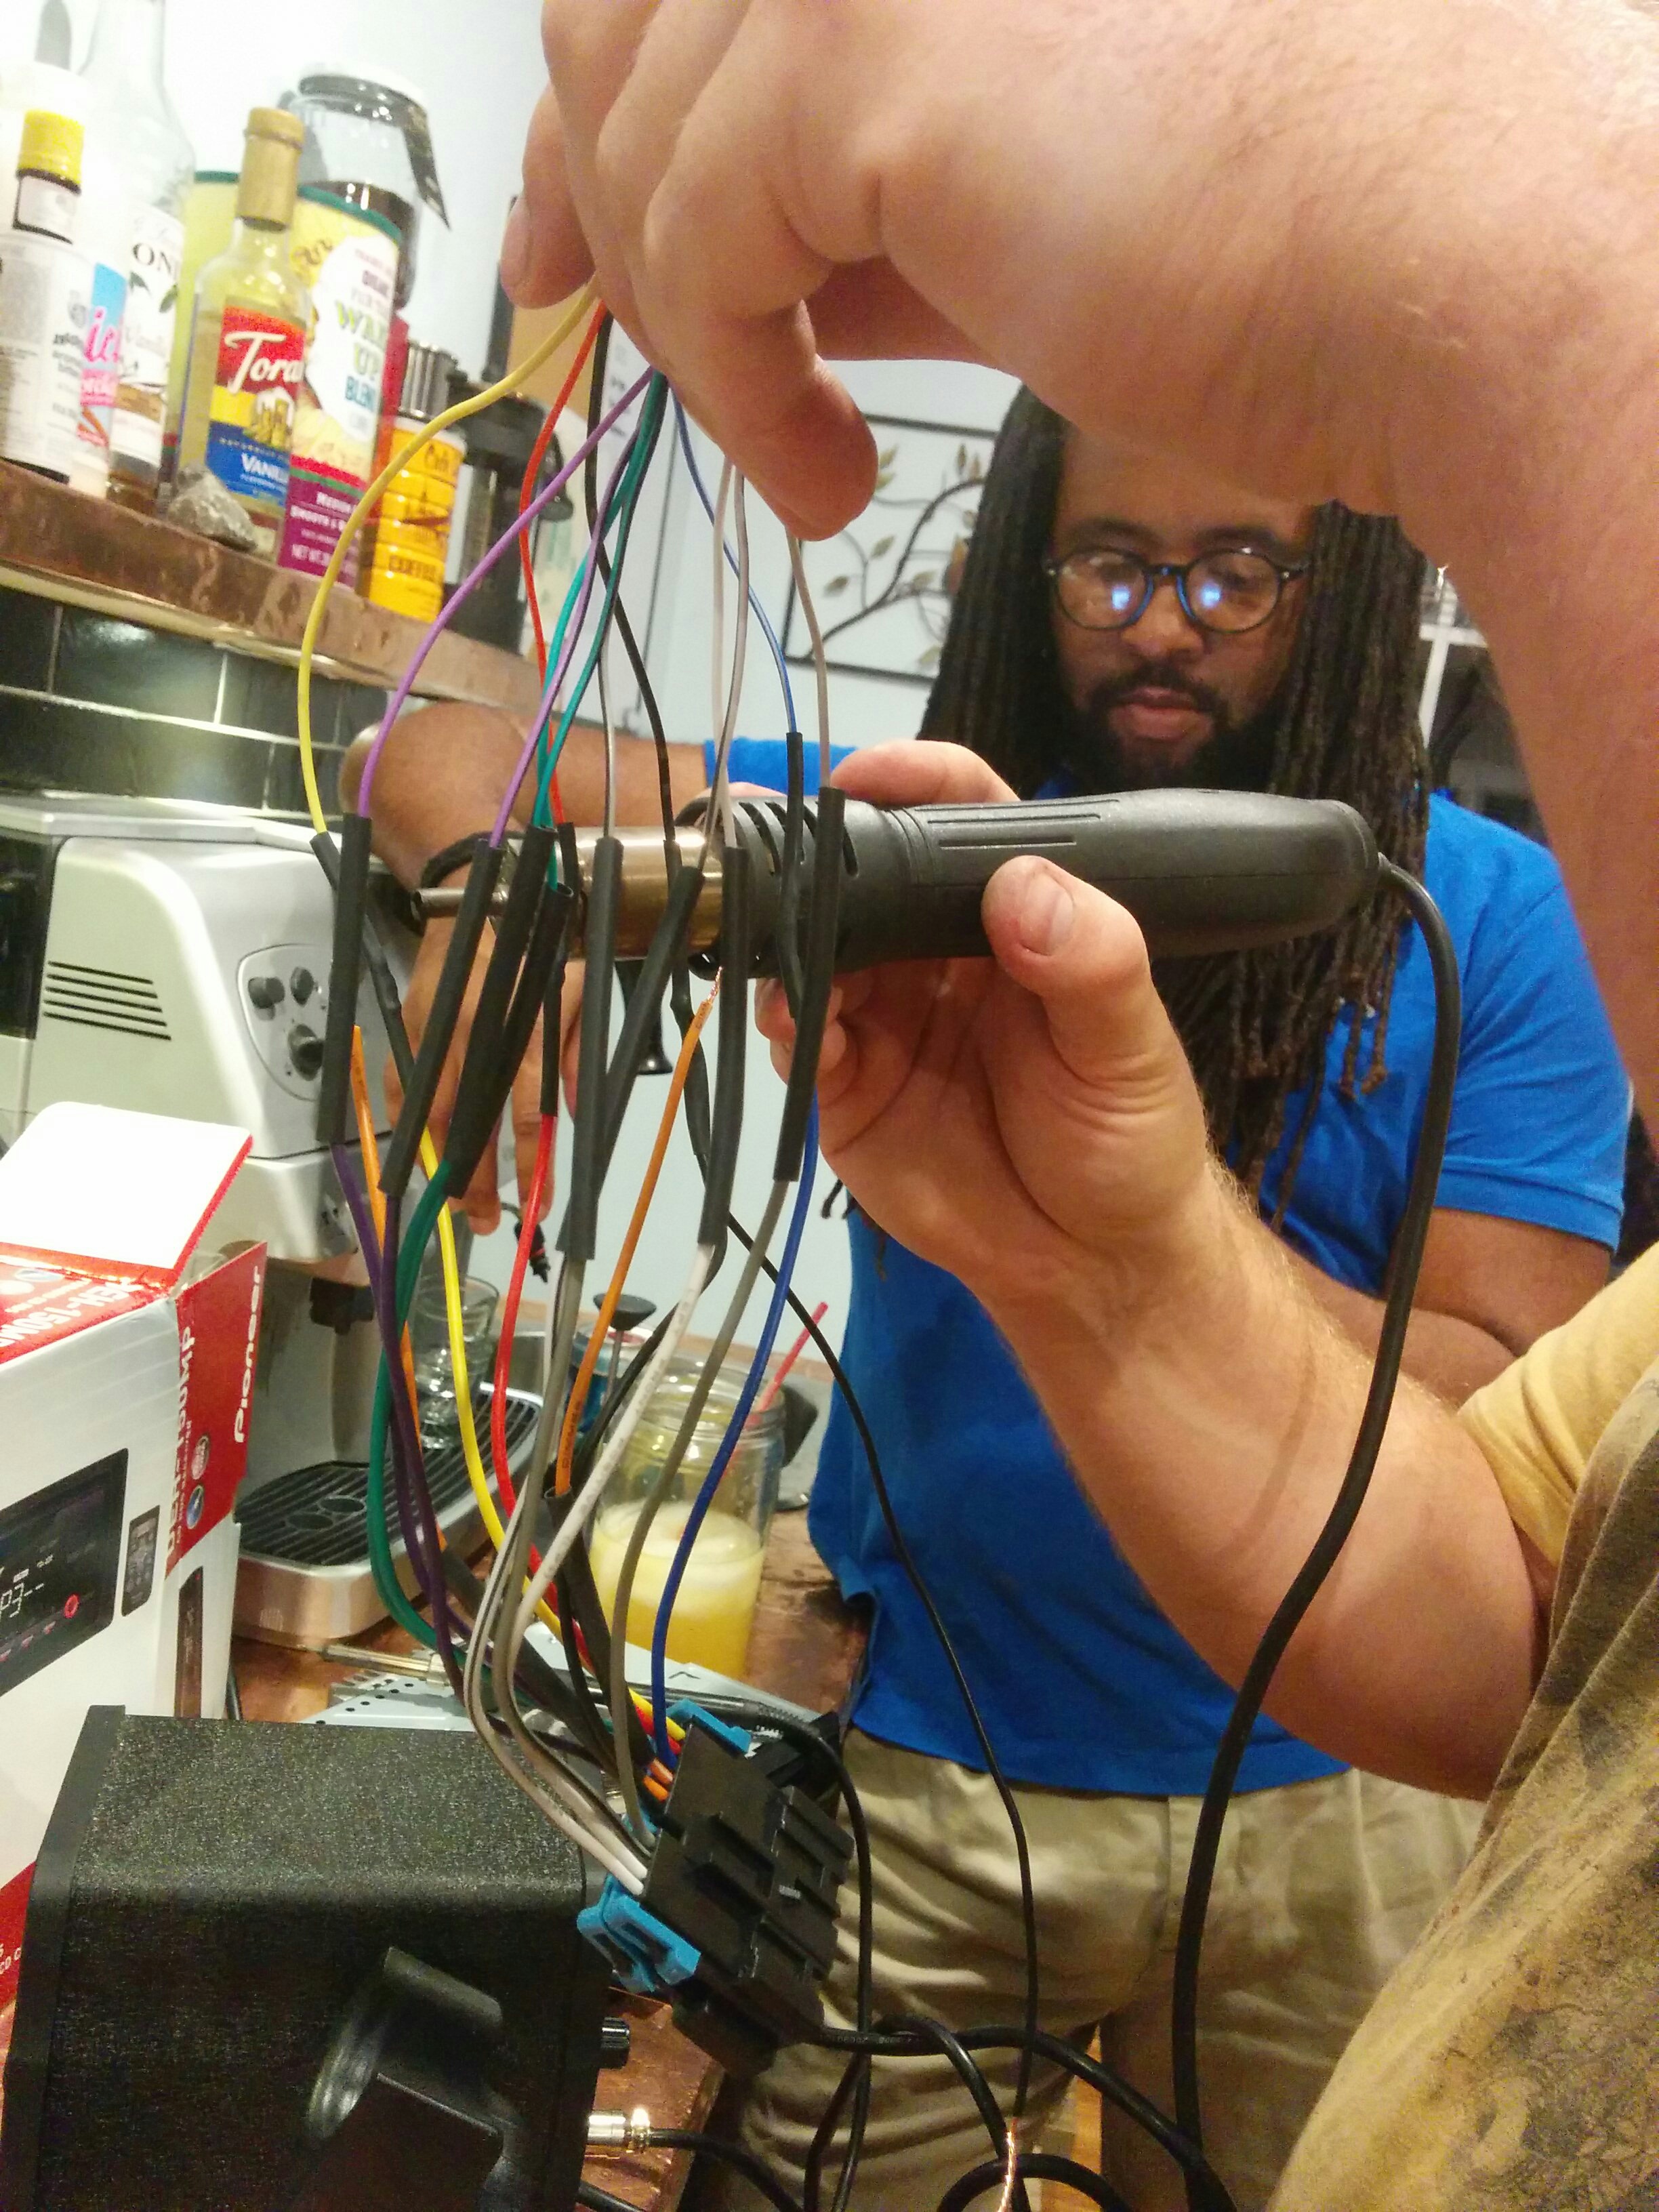
One neat trick I had learned from Garrett is that you can just hold a piece of heat shrink in the air over a soldering iron tip and the heat coming off the iron will shrink the tubing in place for you. For this much heat shrink the hot air blower was preferable, though.
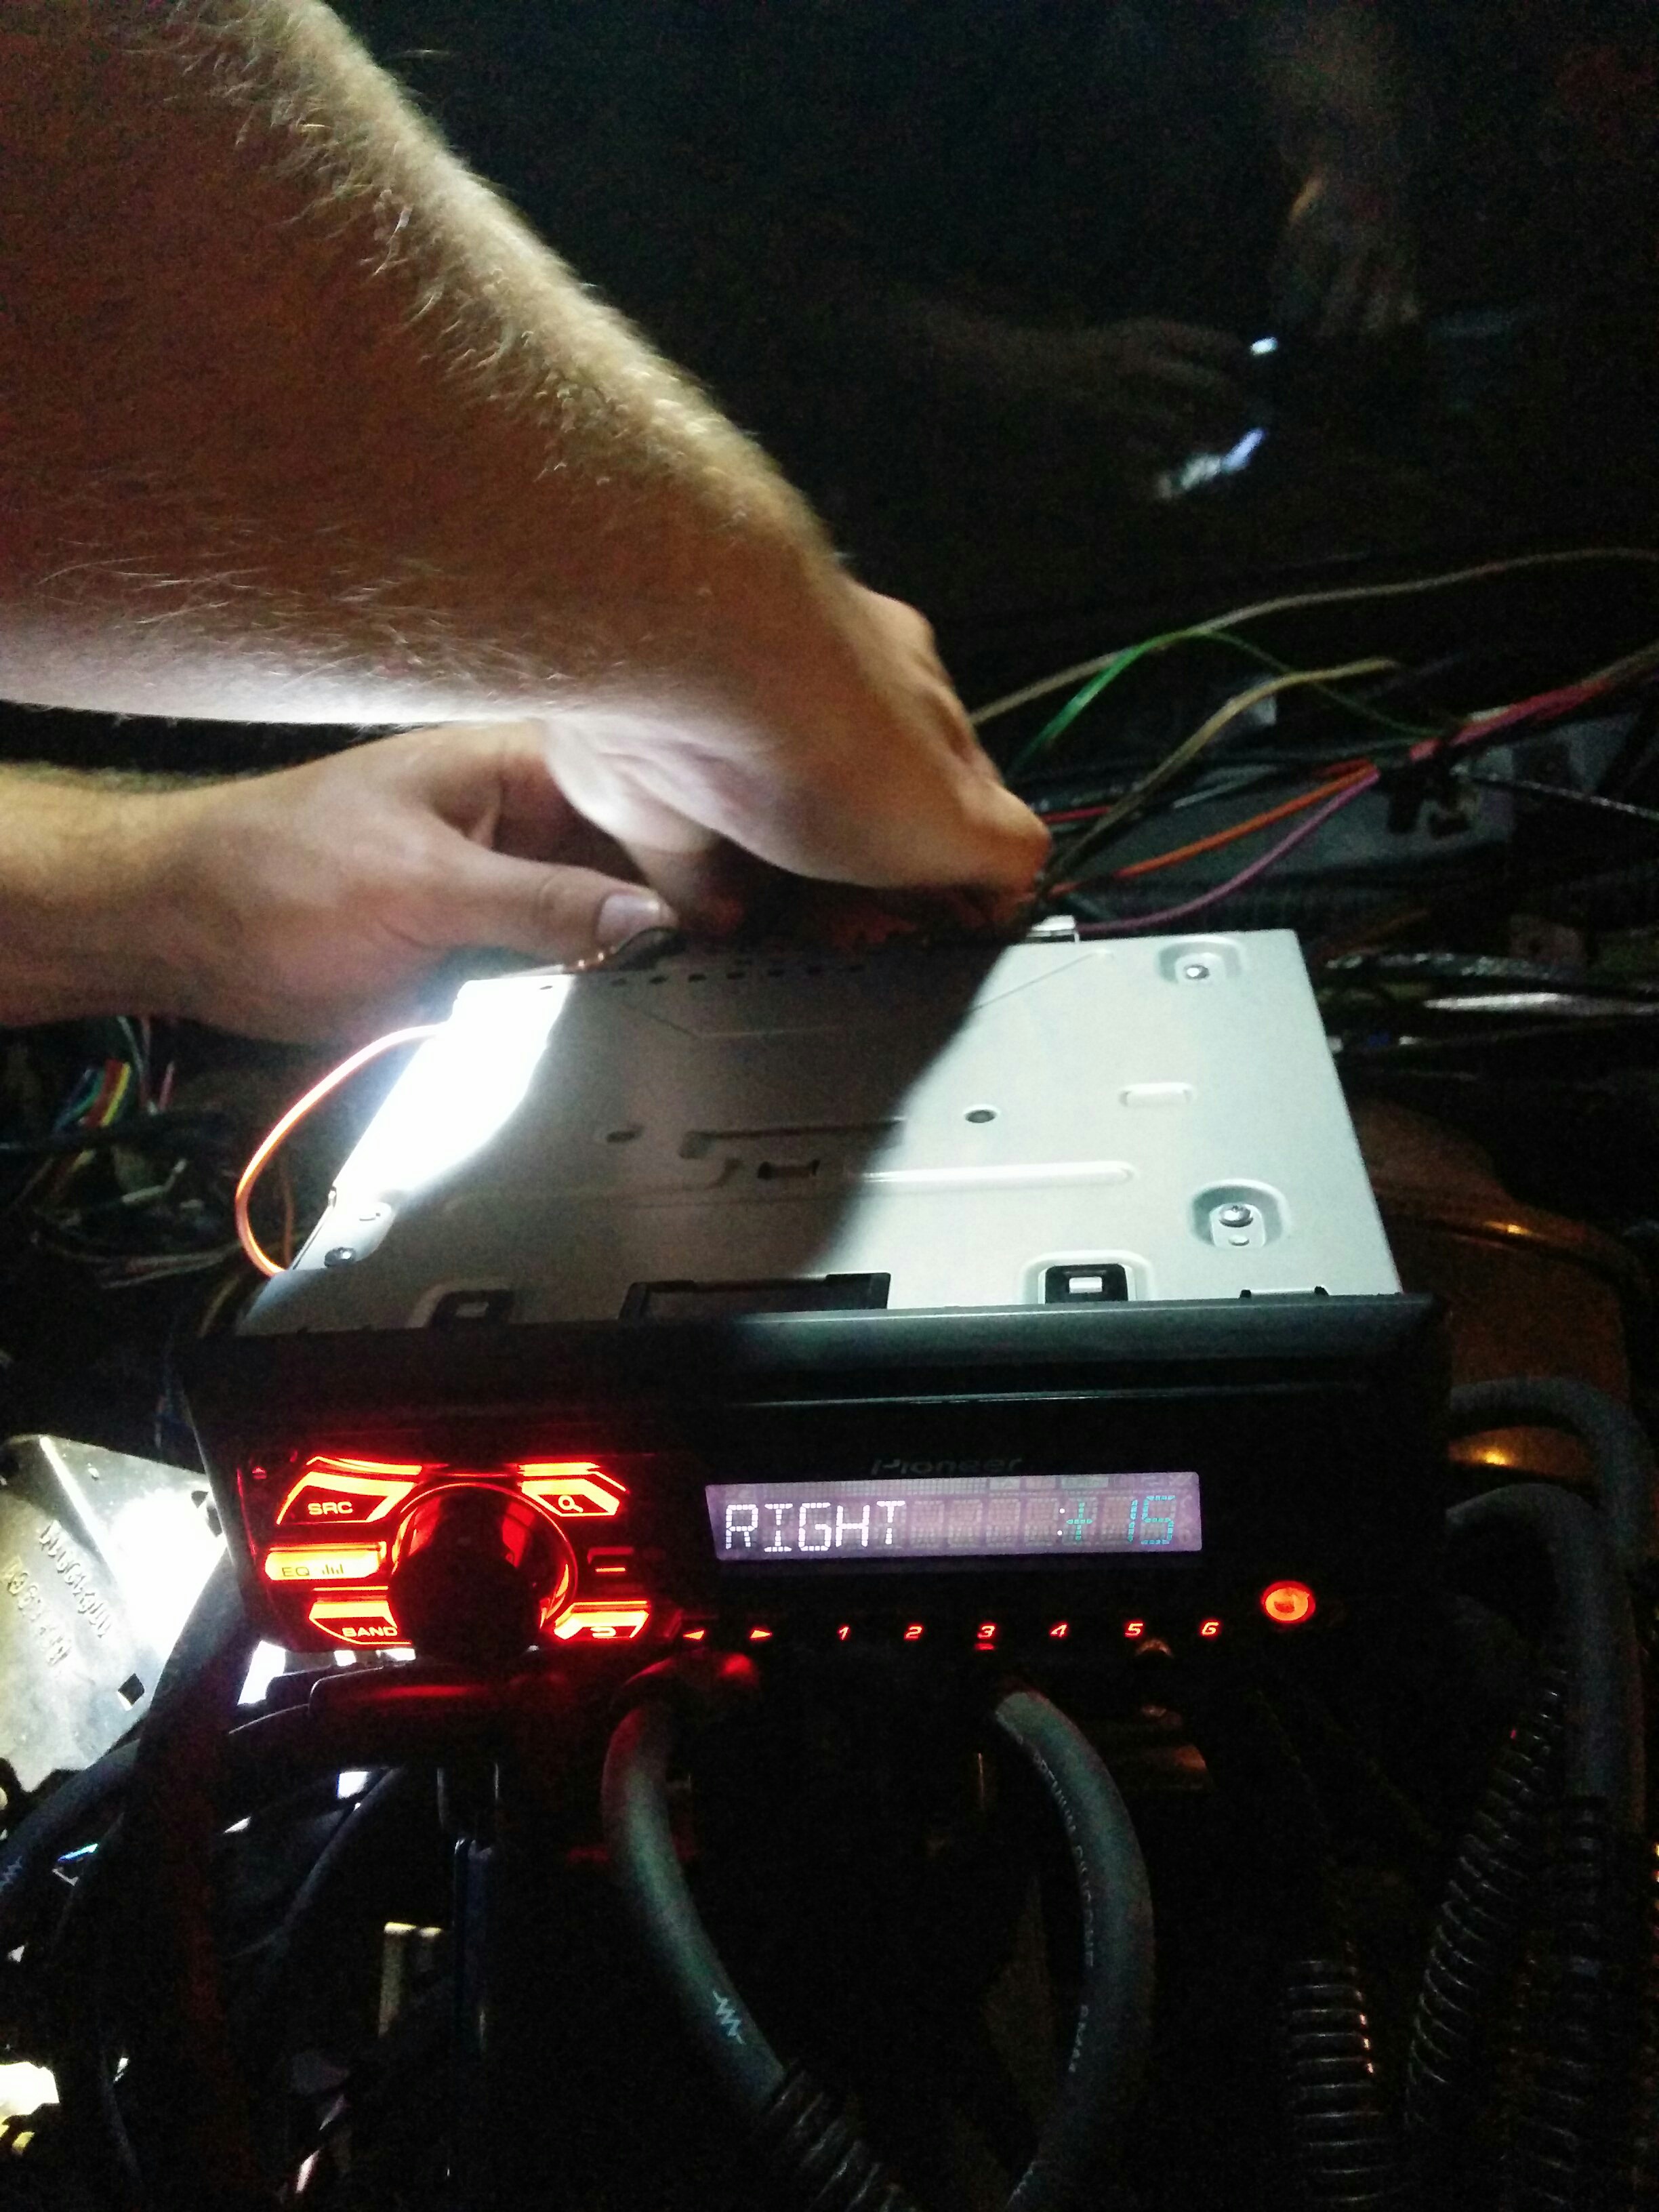
I’m not sure how many radios Garrett has installed on cars but I got the feeling that it was probably a lot. He was alarmingly fast at it. He nonchalantly tossed all the pinout charts to the side without even really looking at the them and blazed through A/B testing different combinations of wire placements until the sound turned on in the right place at which point he would secure the wires and move on.
Dashboard 12V Power Outlet
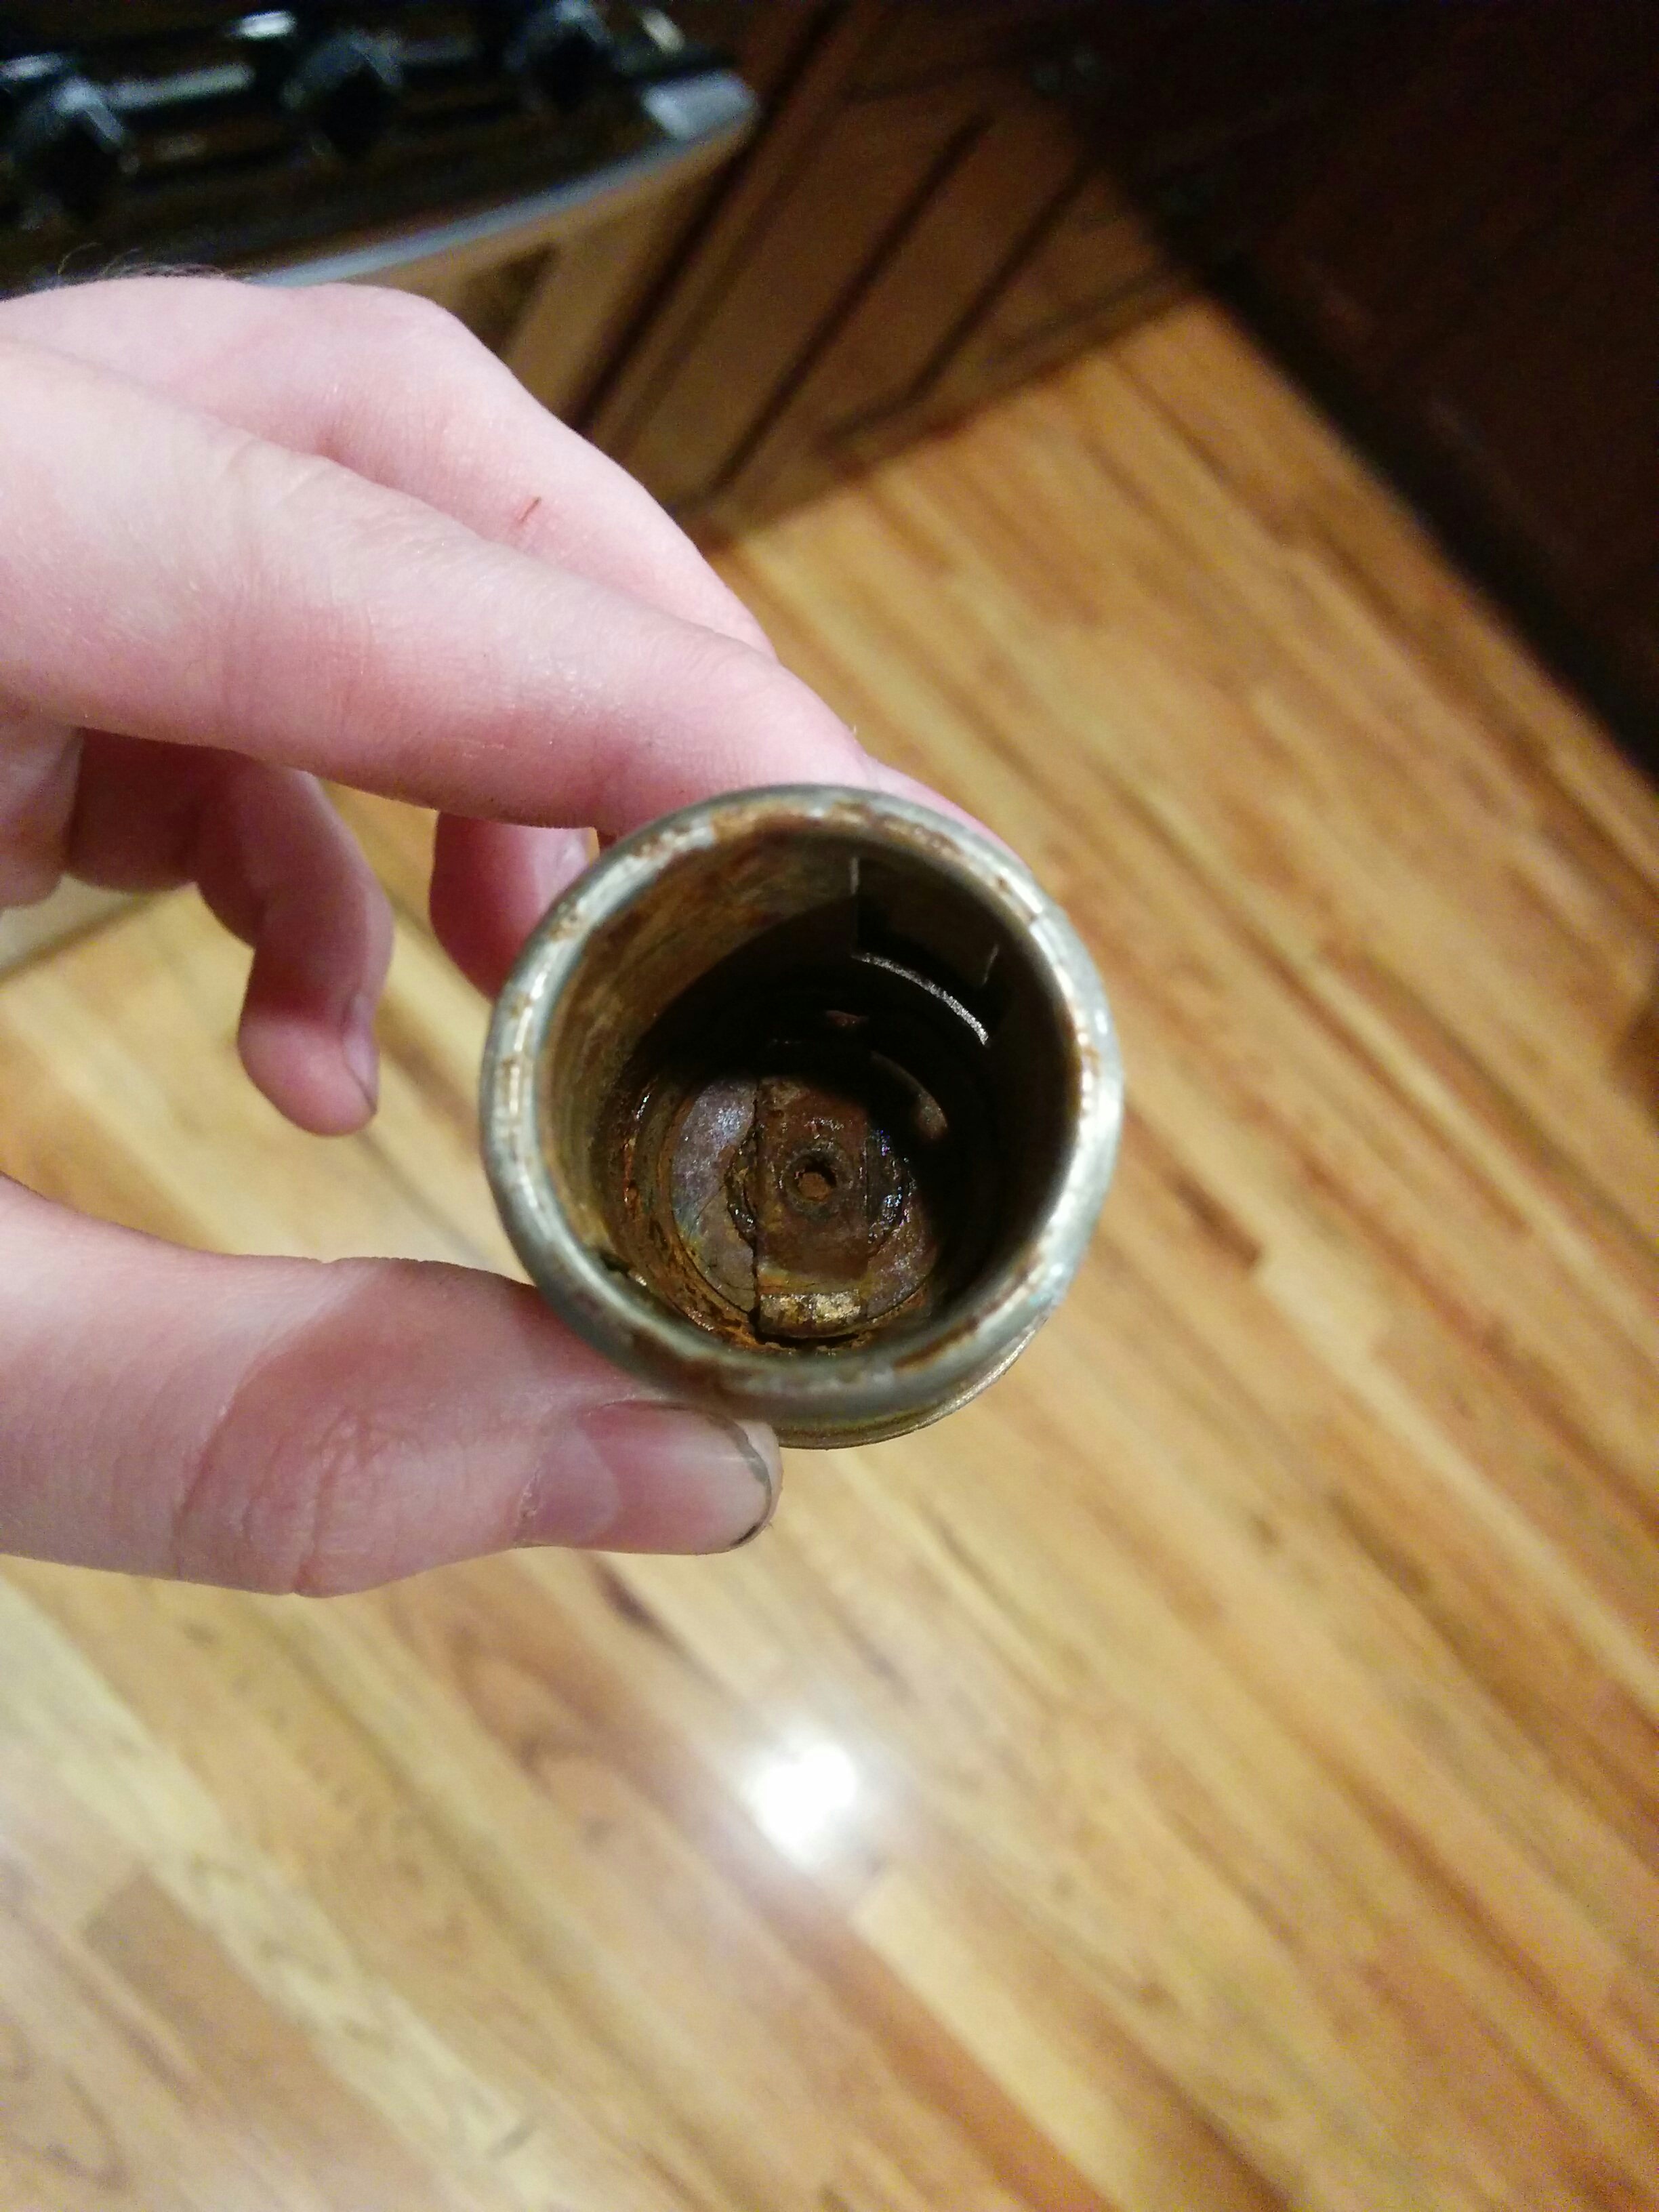
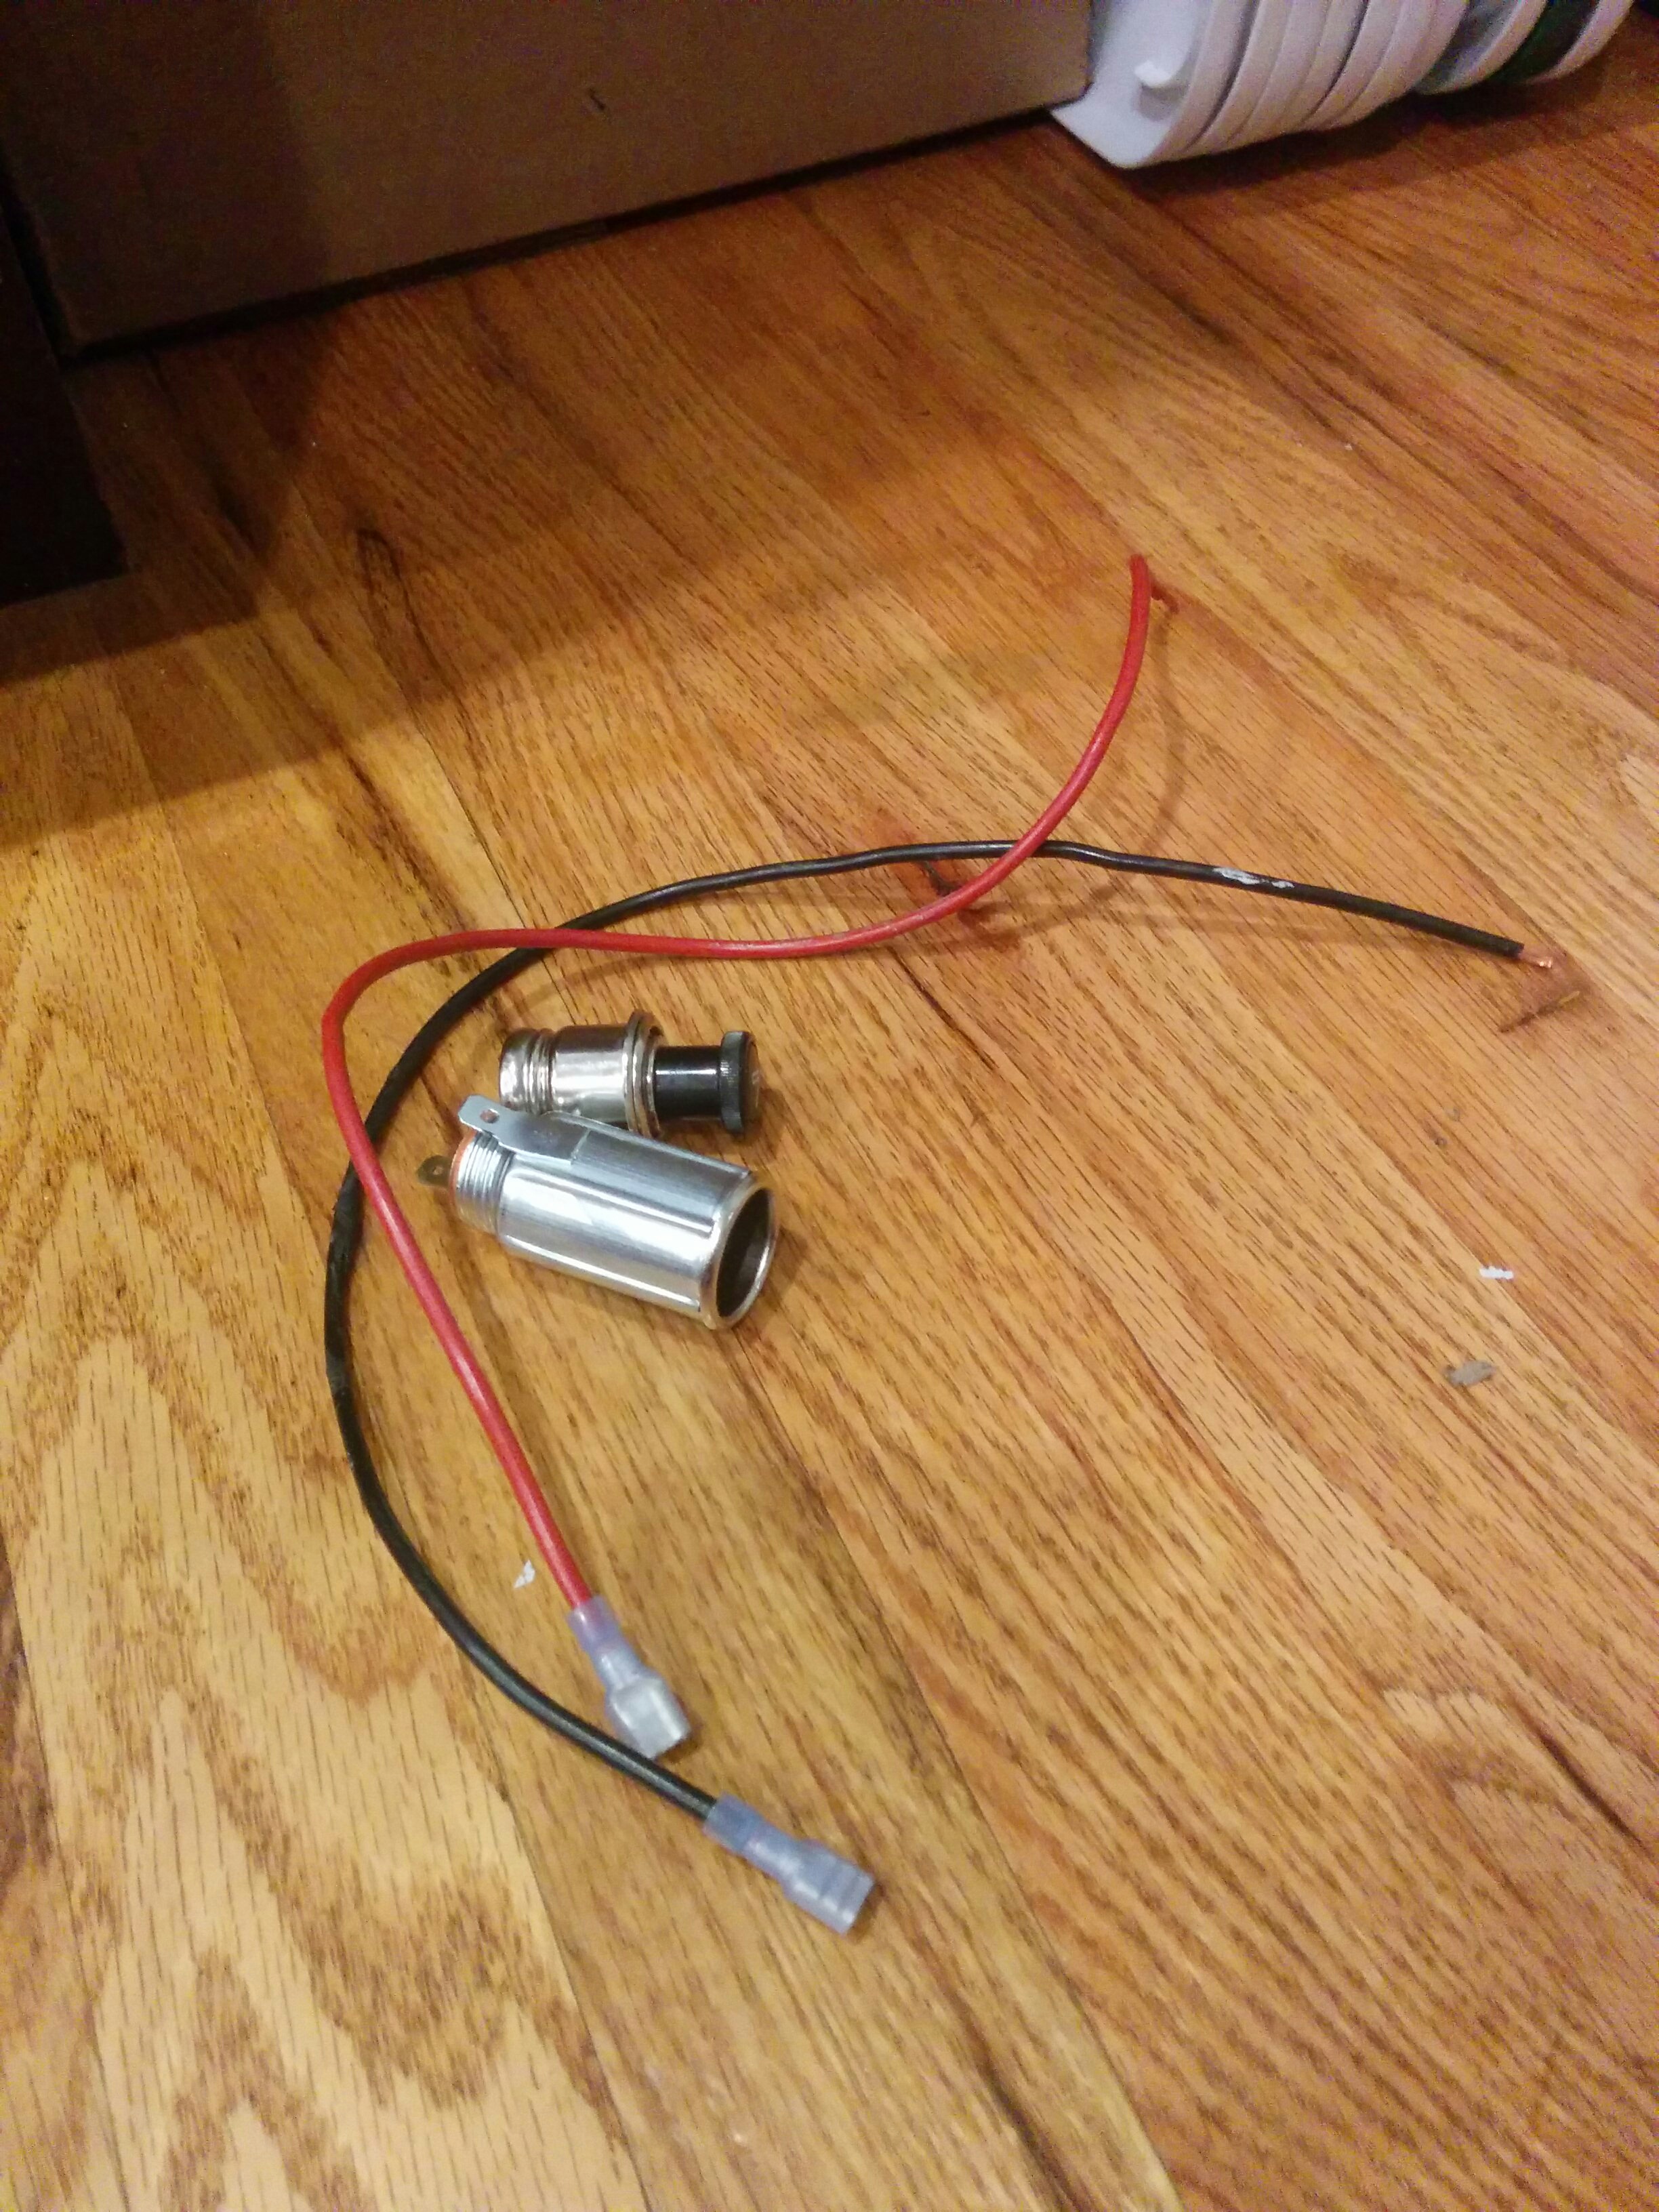
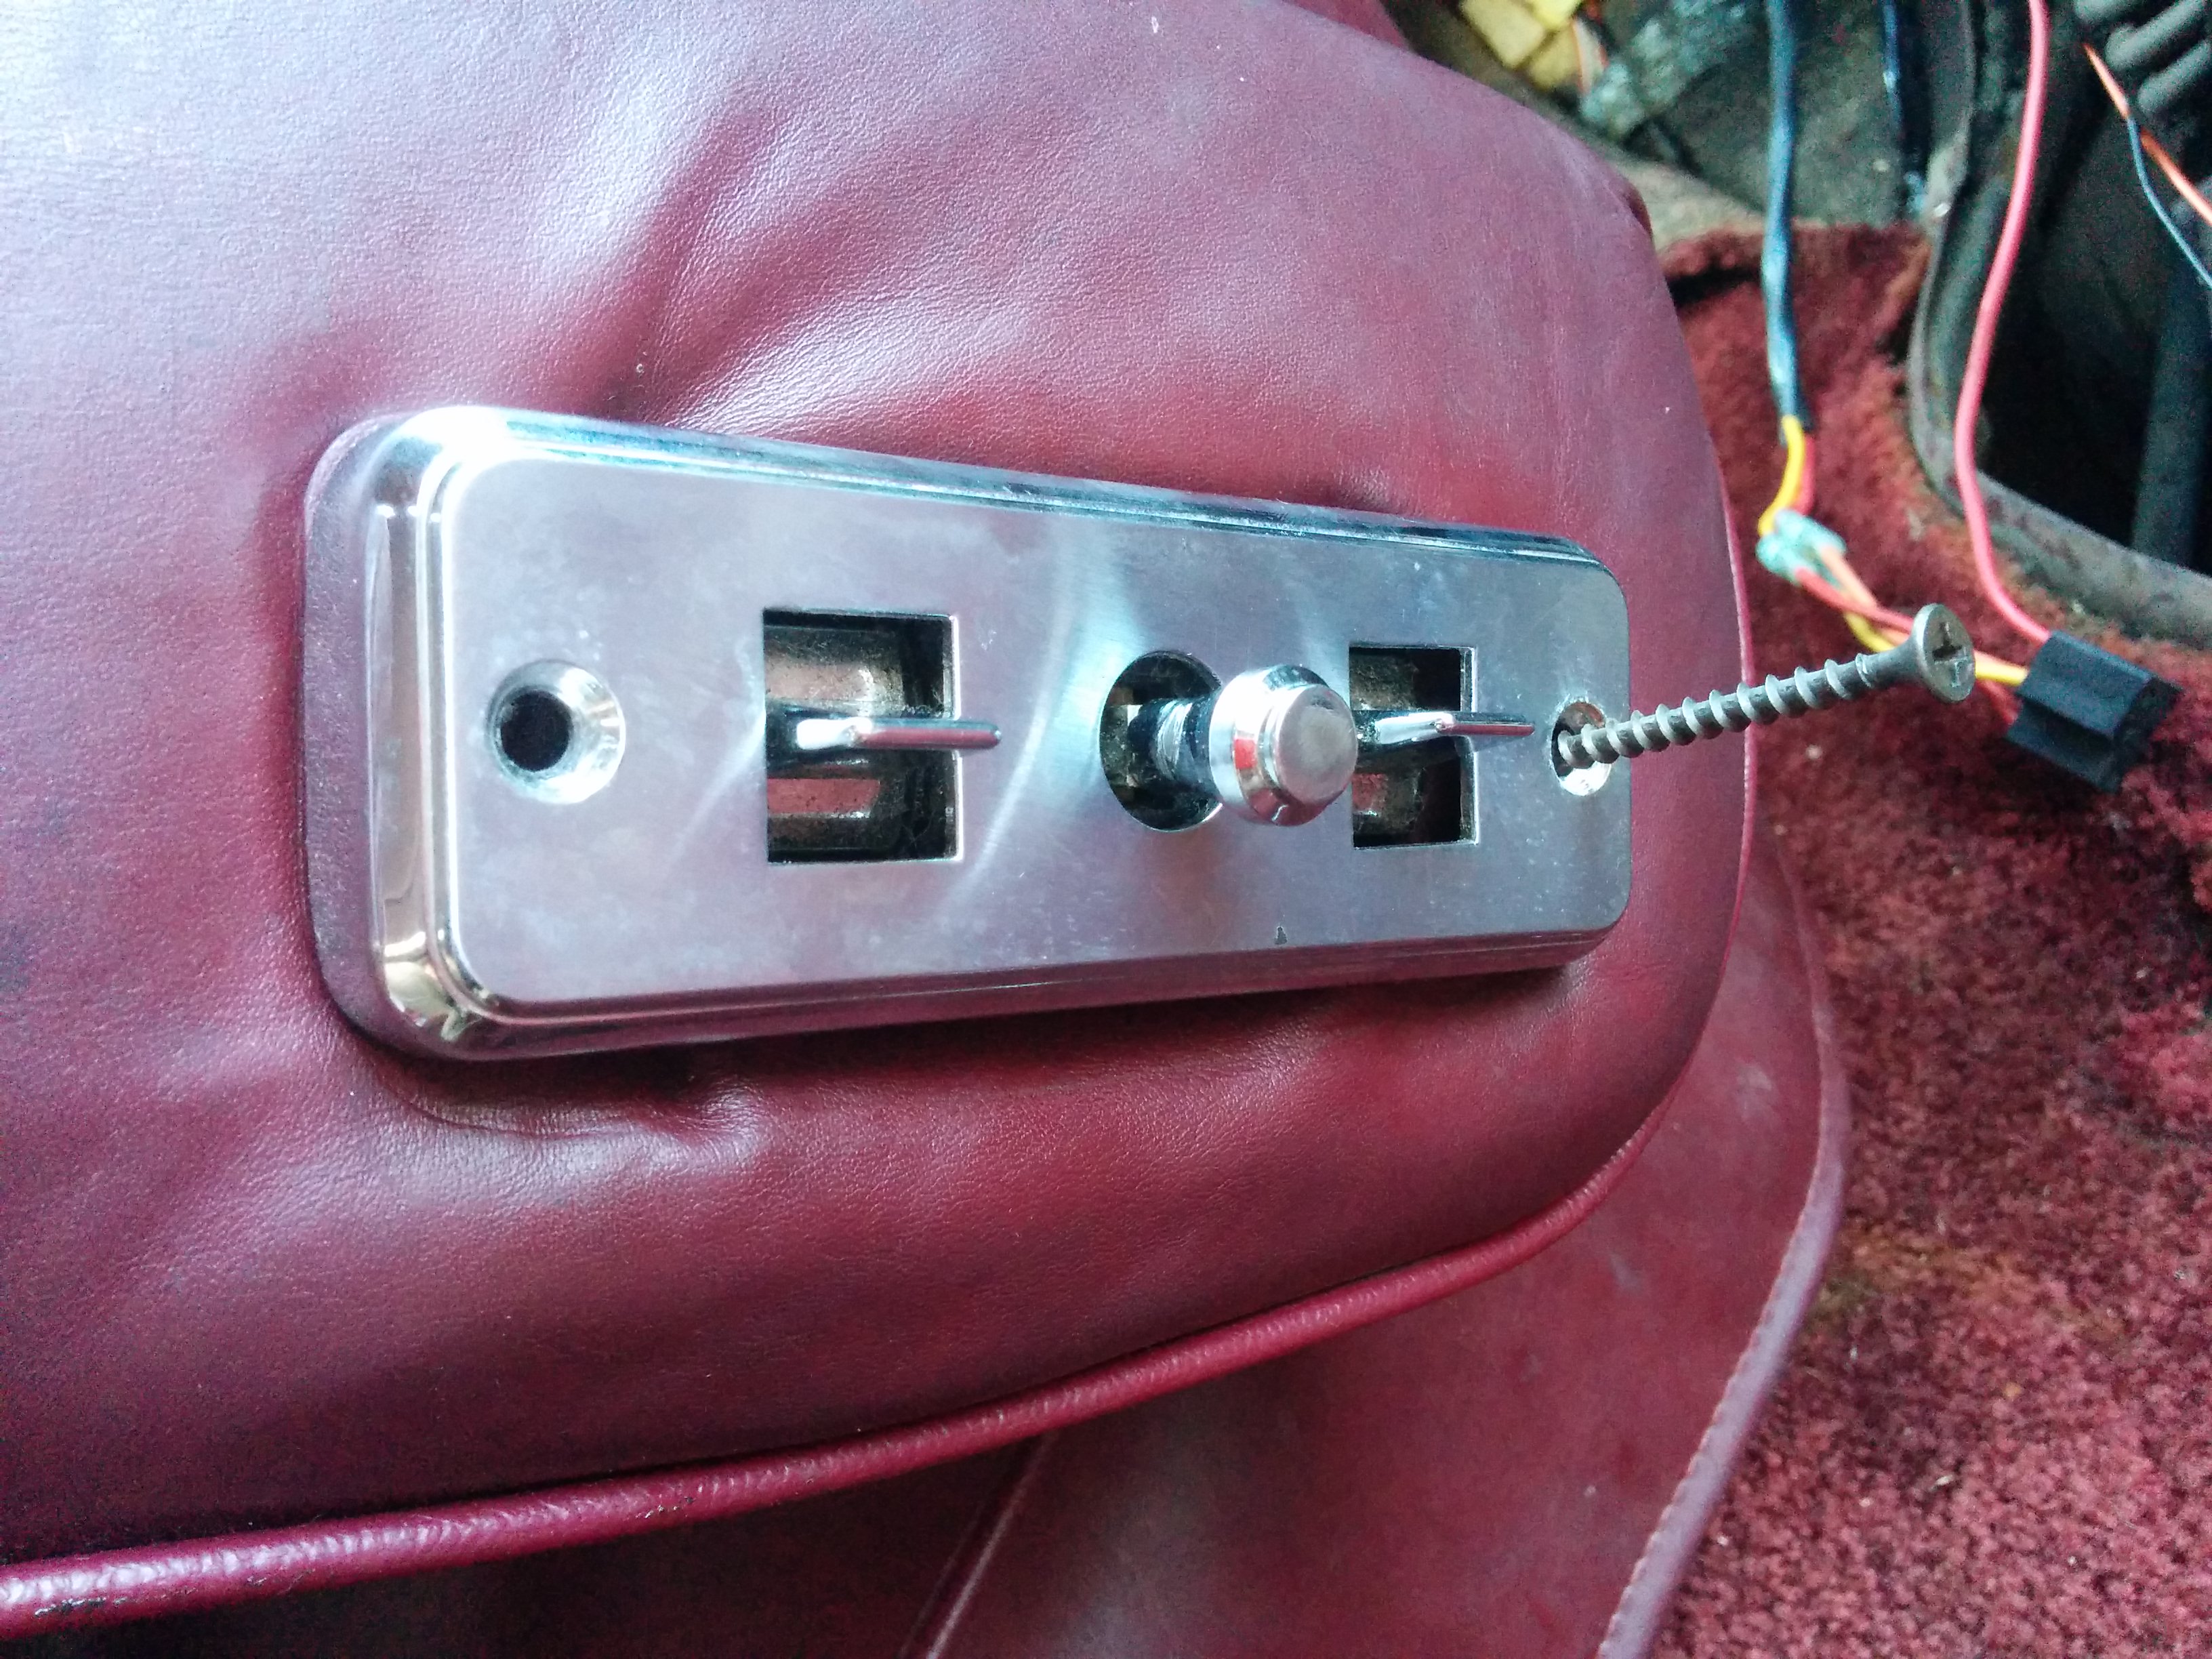
While I had the ugly brown wood console out…I wanted to be able to charge my phone off the van while driving around, but the 12V-to-USB adapter wasn’t putting out a ton of power. After pulling the cigarette lighter it was pretty clear why. Replacing it was pretty simple, it simply slides in from the front. Then you put the wires back as you found them (or look it up online if you forgot like I did).
Intermittent Power Chair Failure
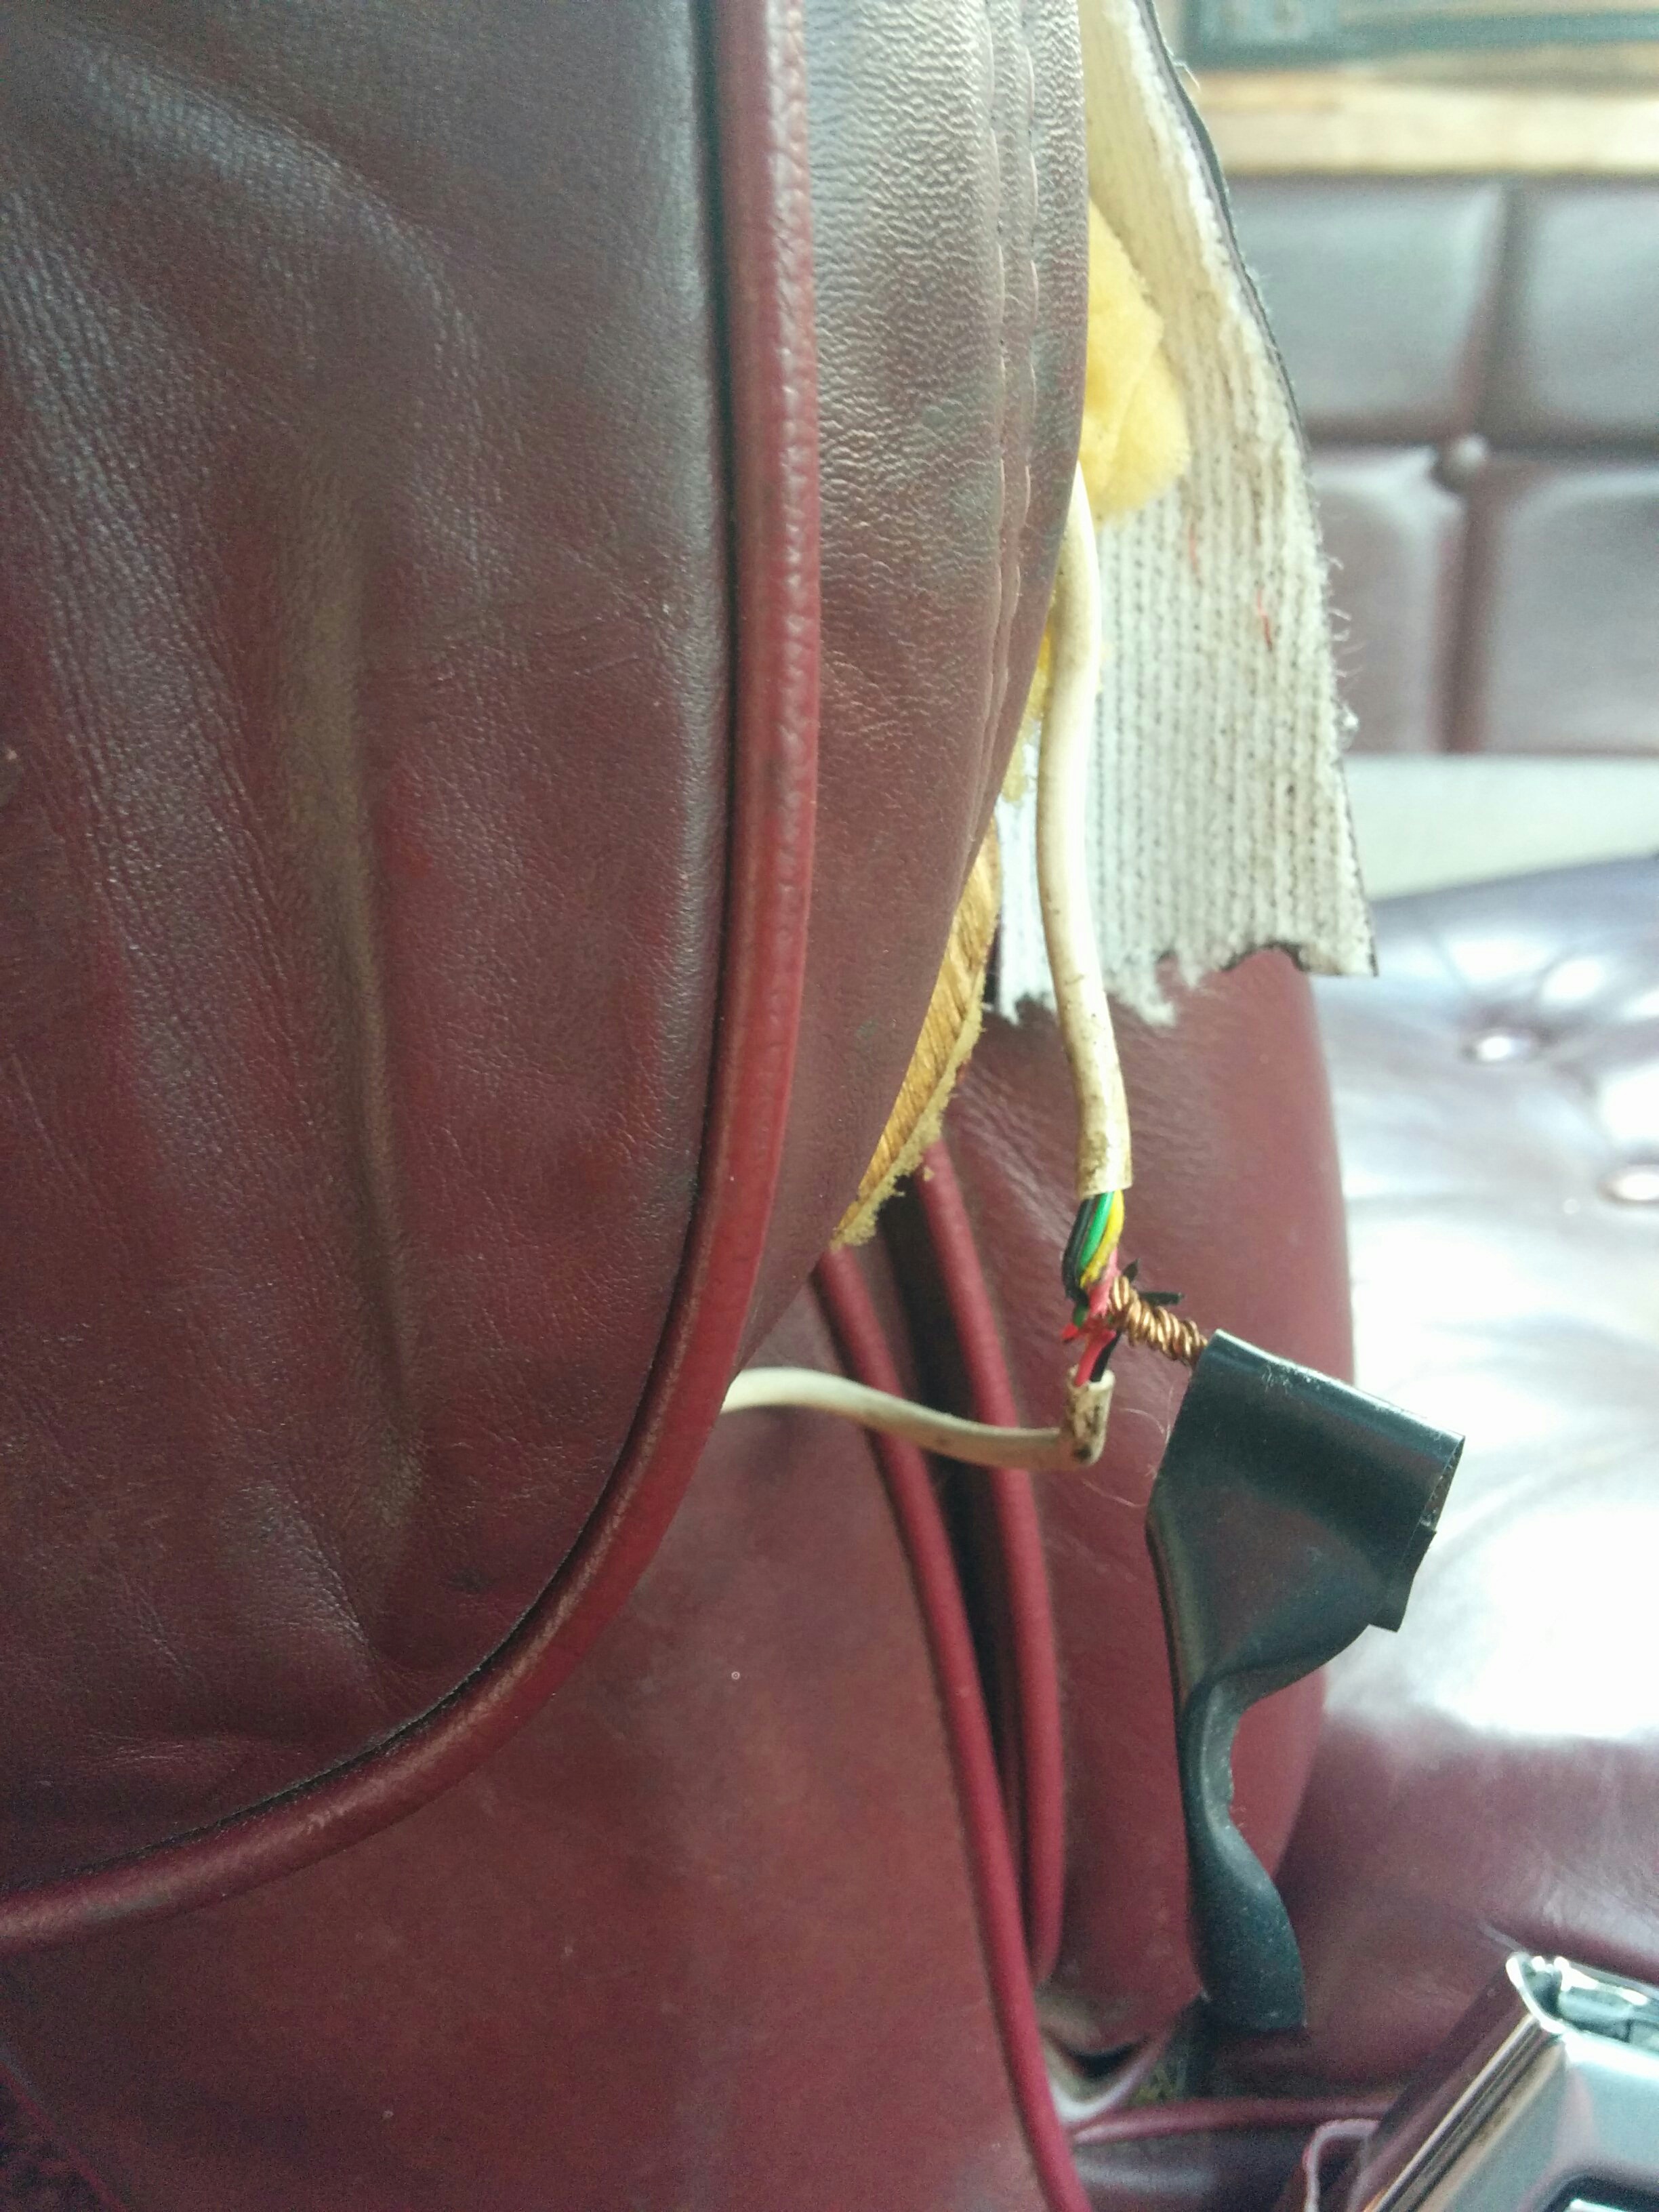
From time to time the seat would stop working. We checked under the chair to see what horrors might be lurking beneath.
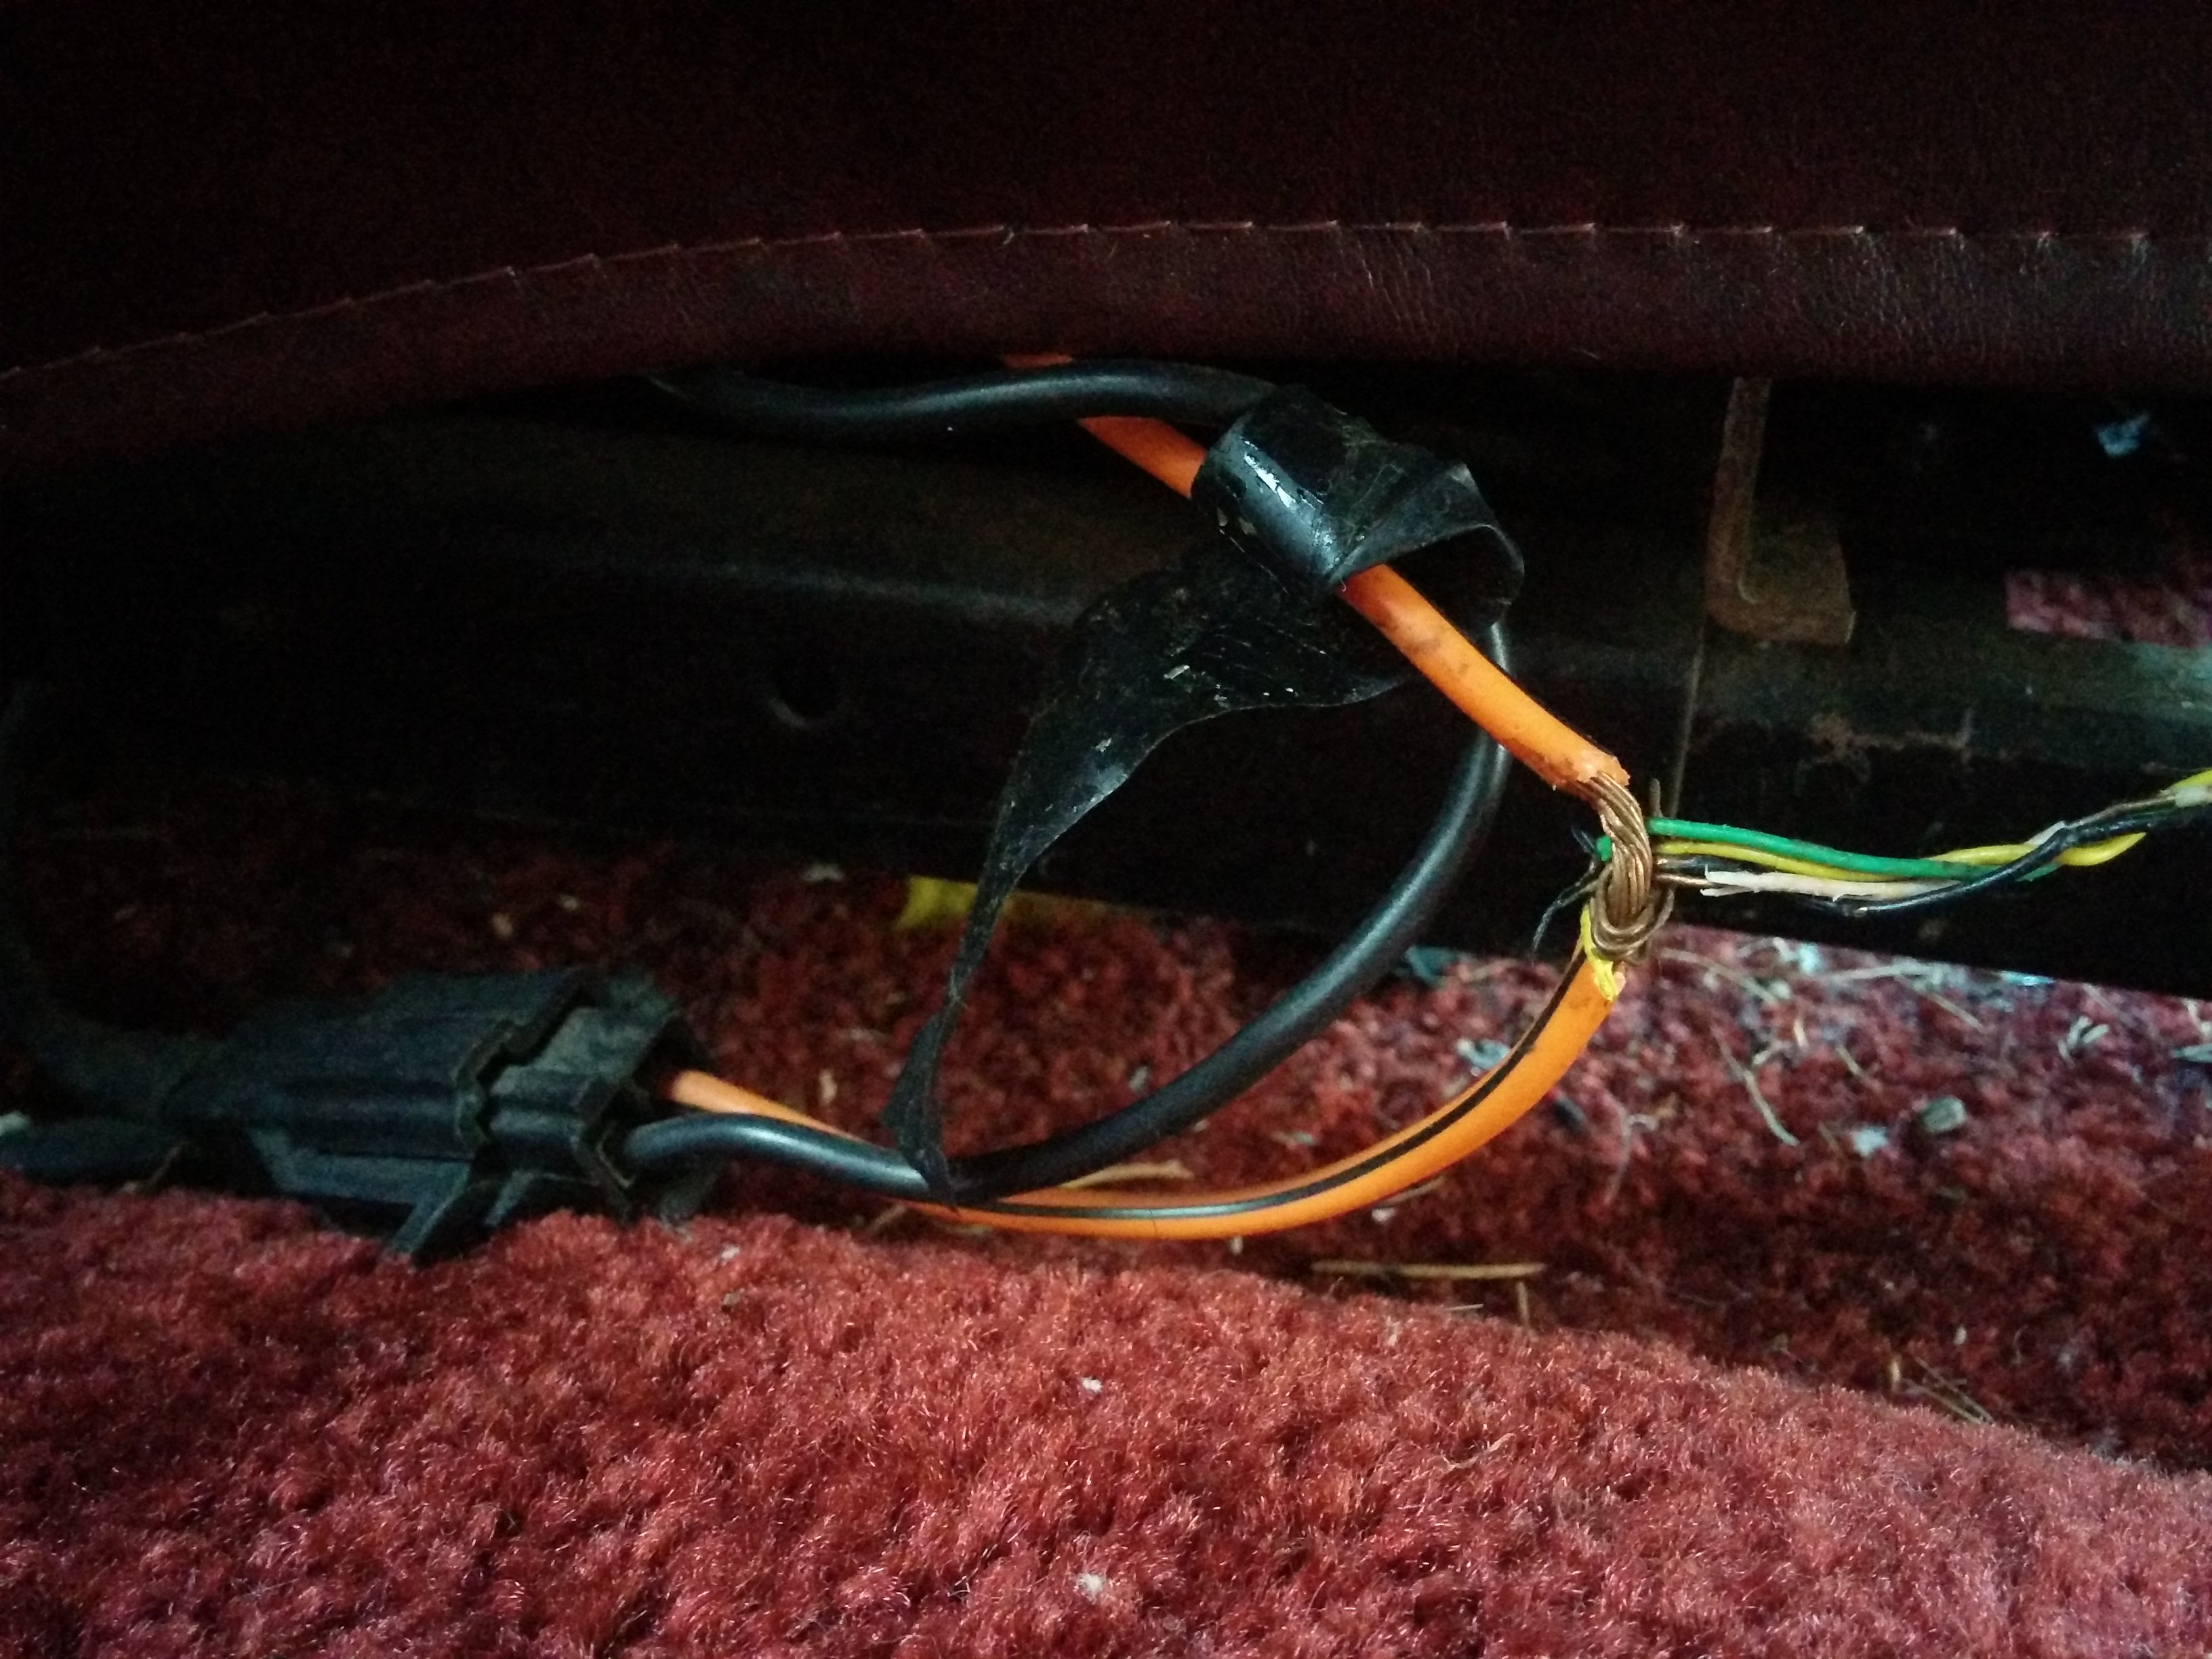
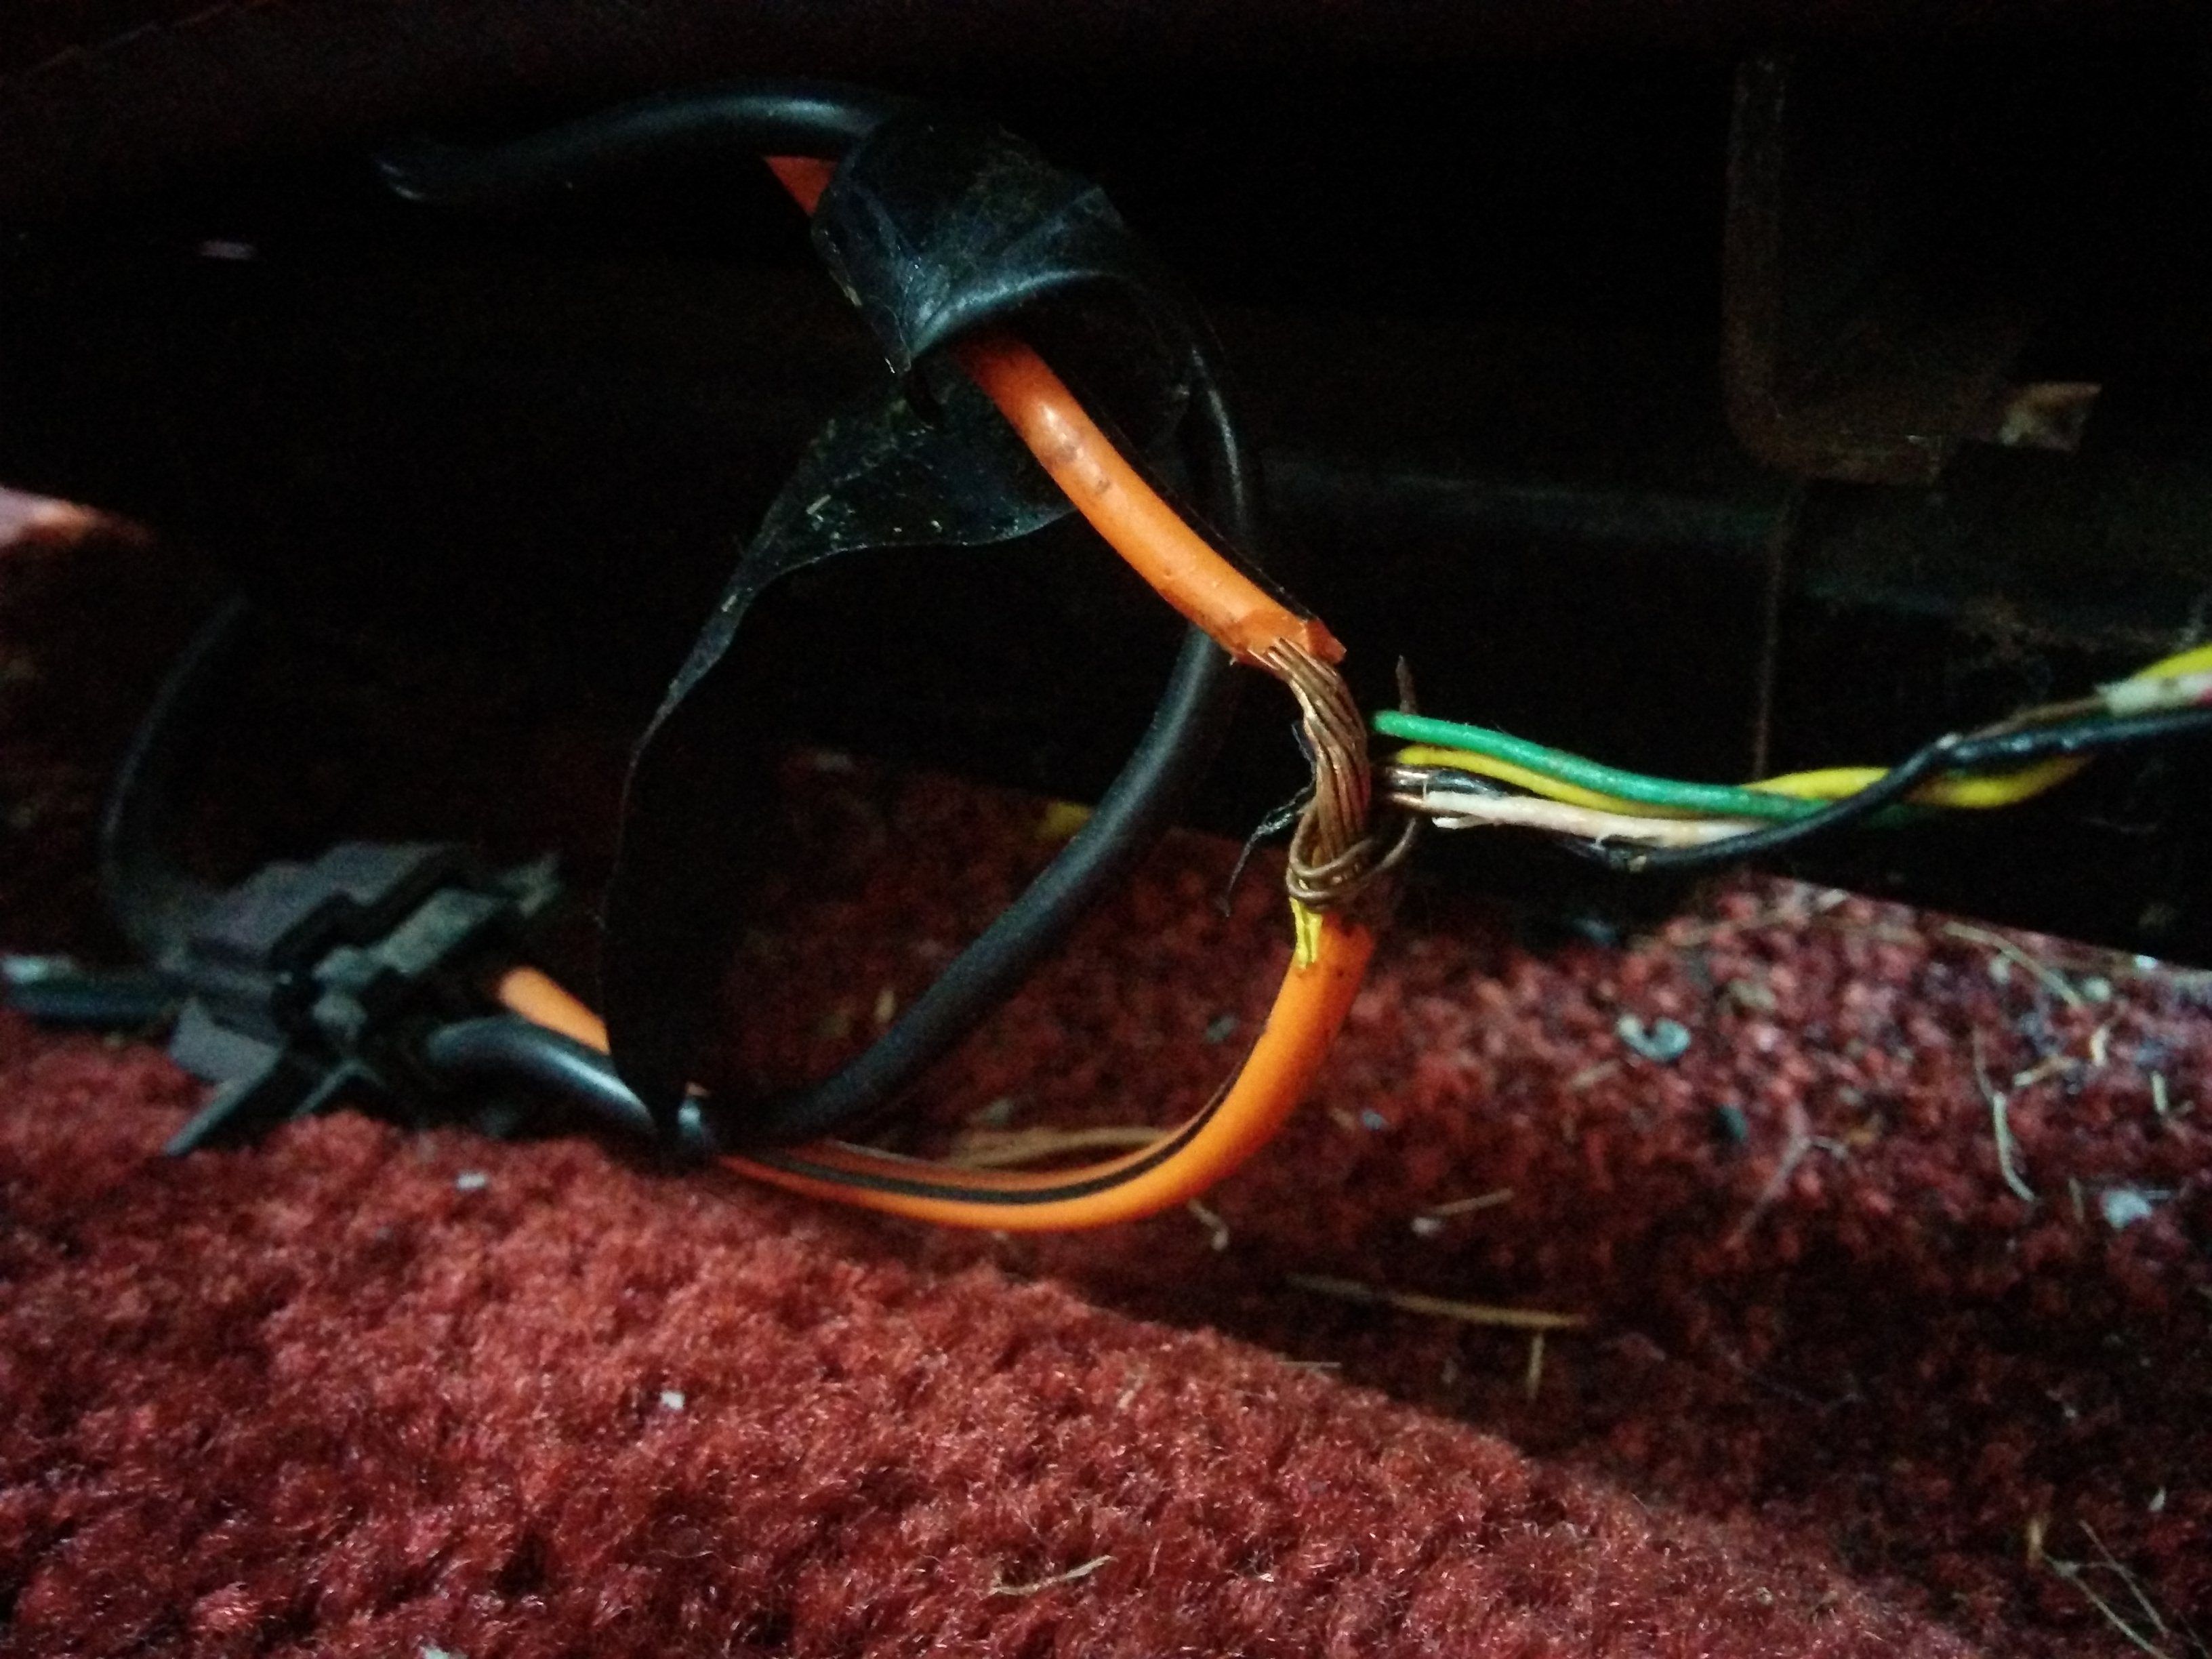
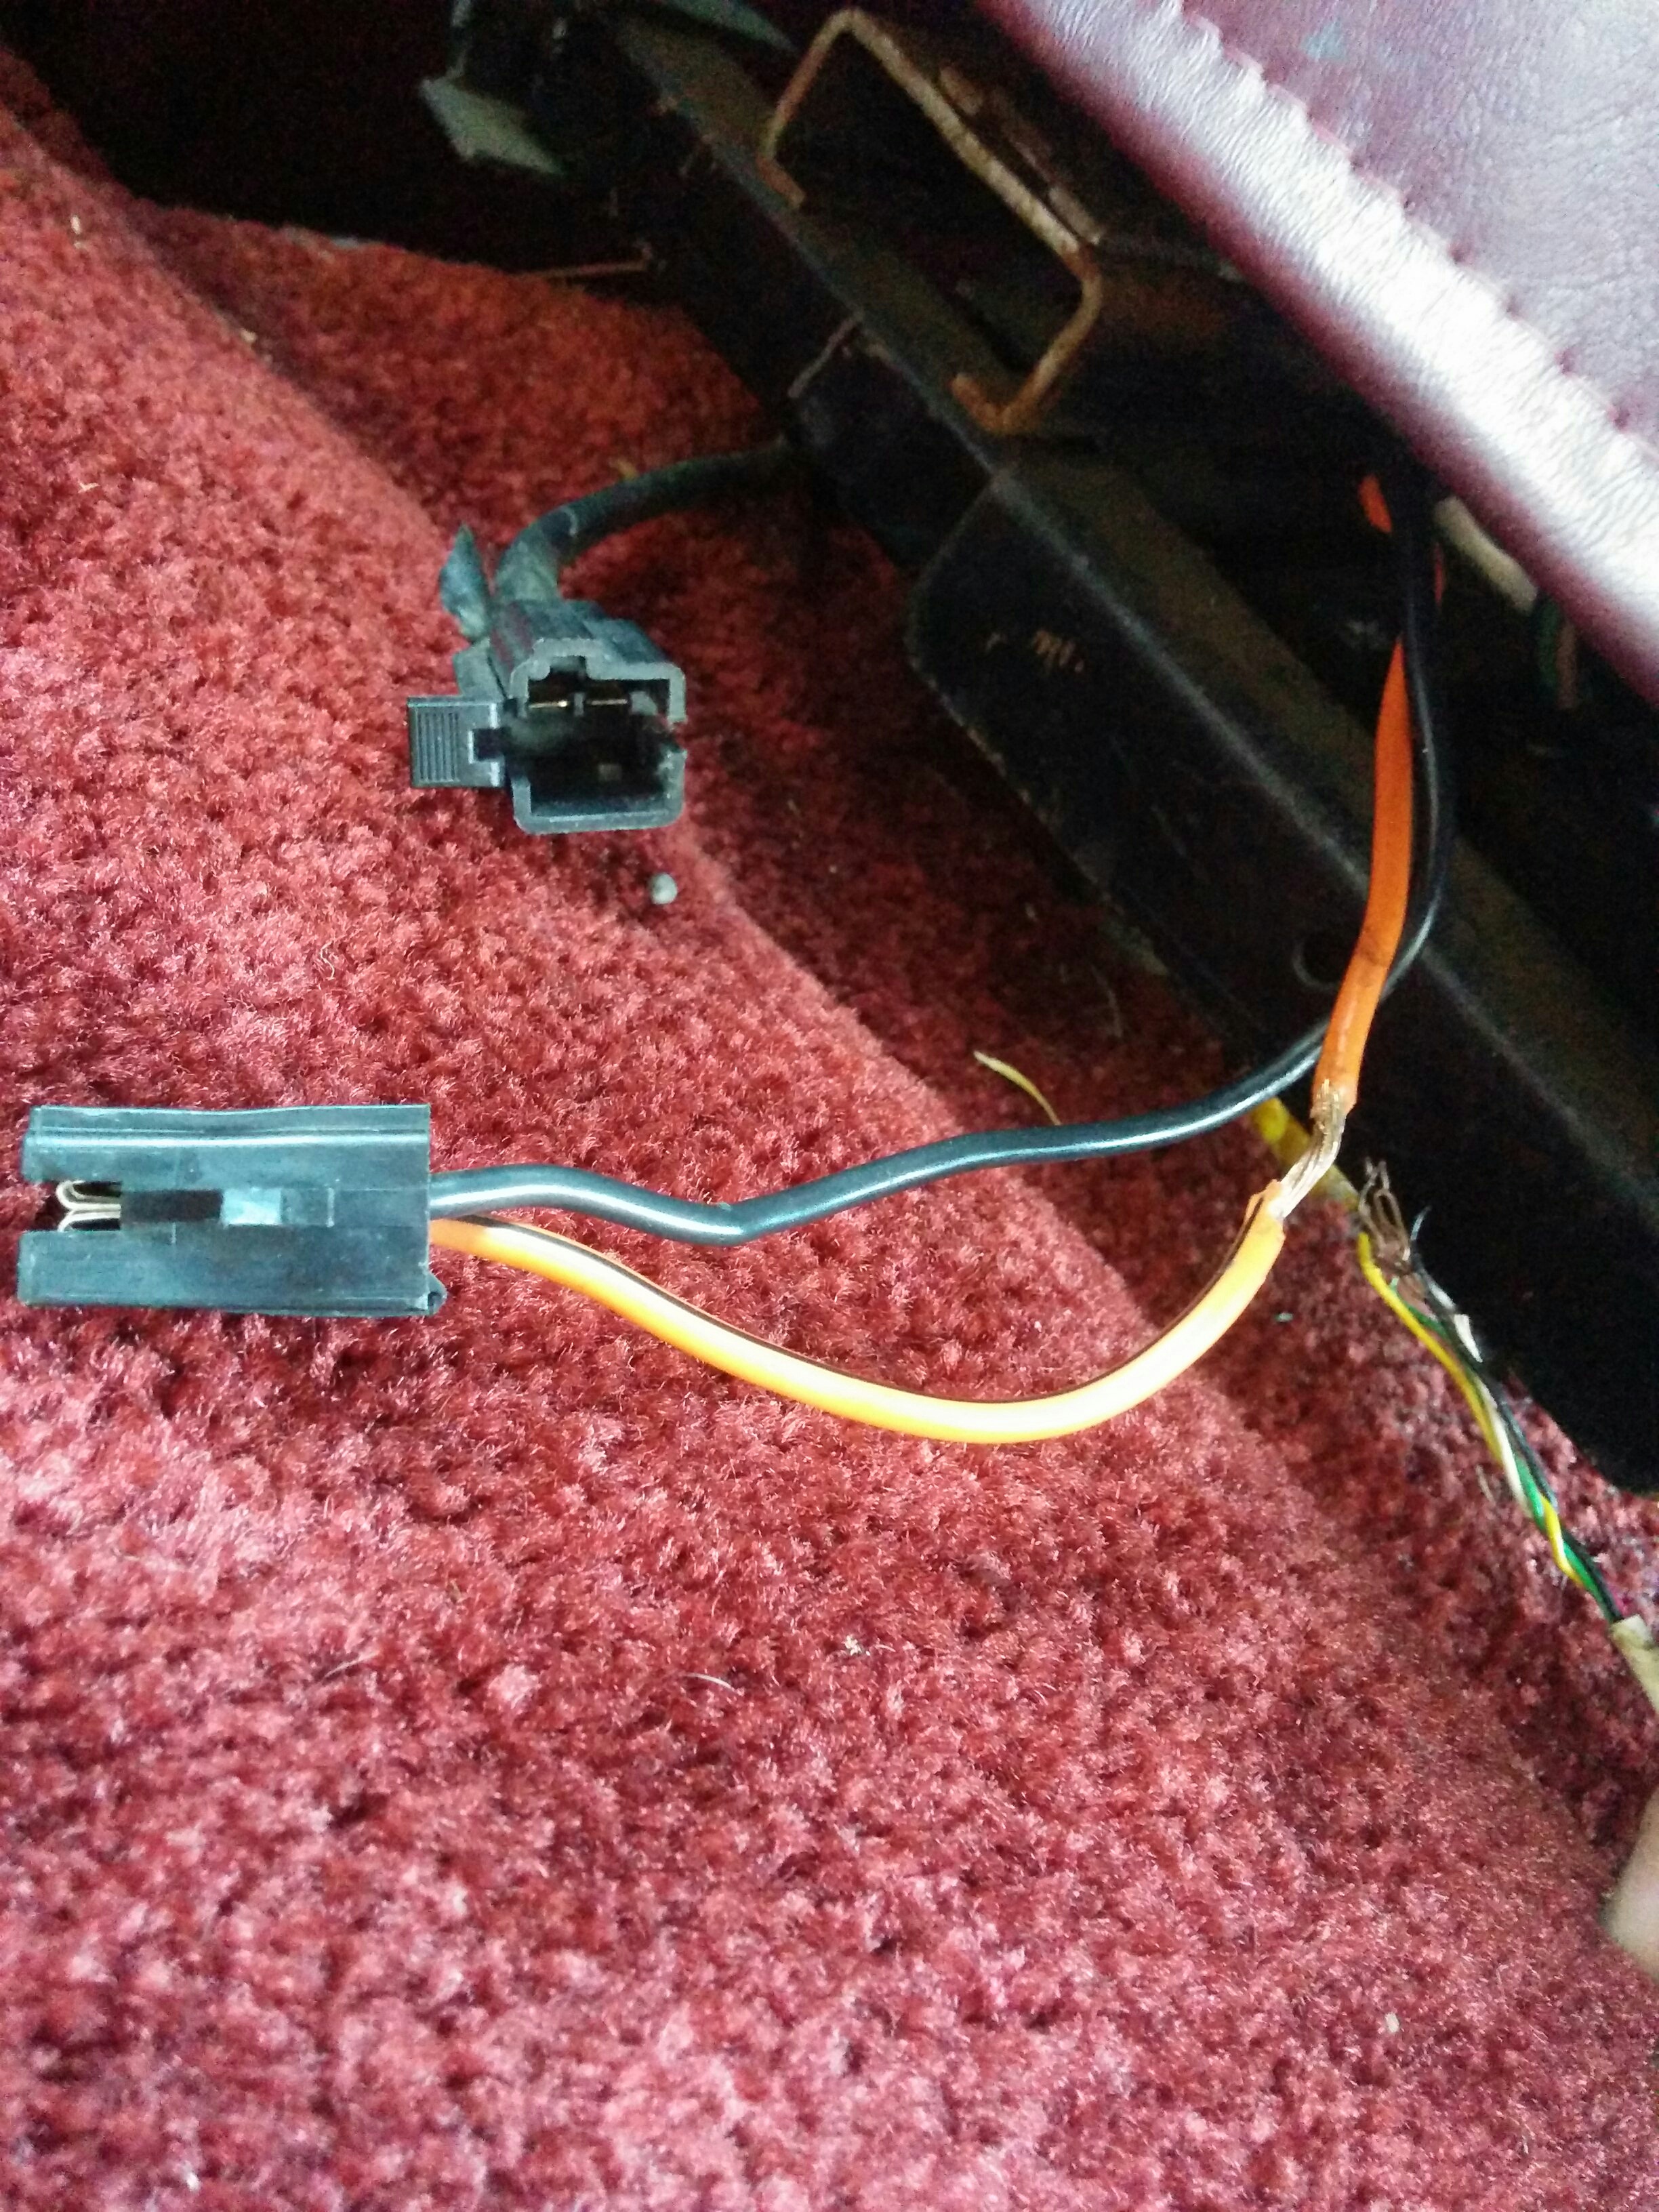
At this point we looked for where the wiring made its way to the front and found it didn’t go under the carpet, but instead vanished outside to the bottom of the van…
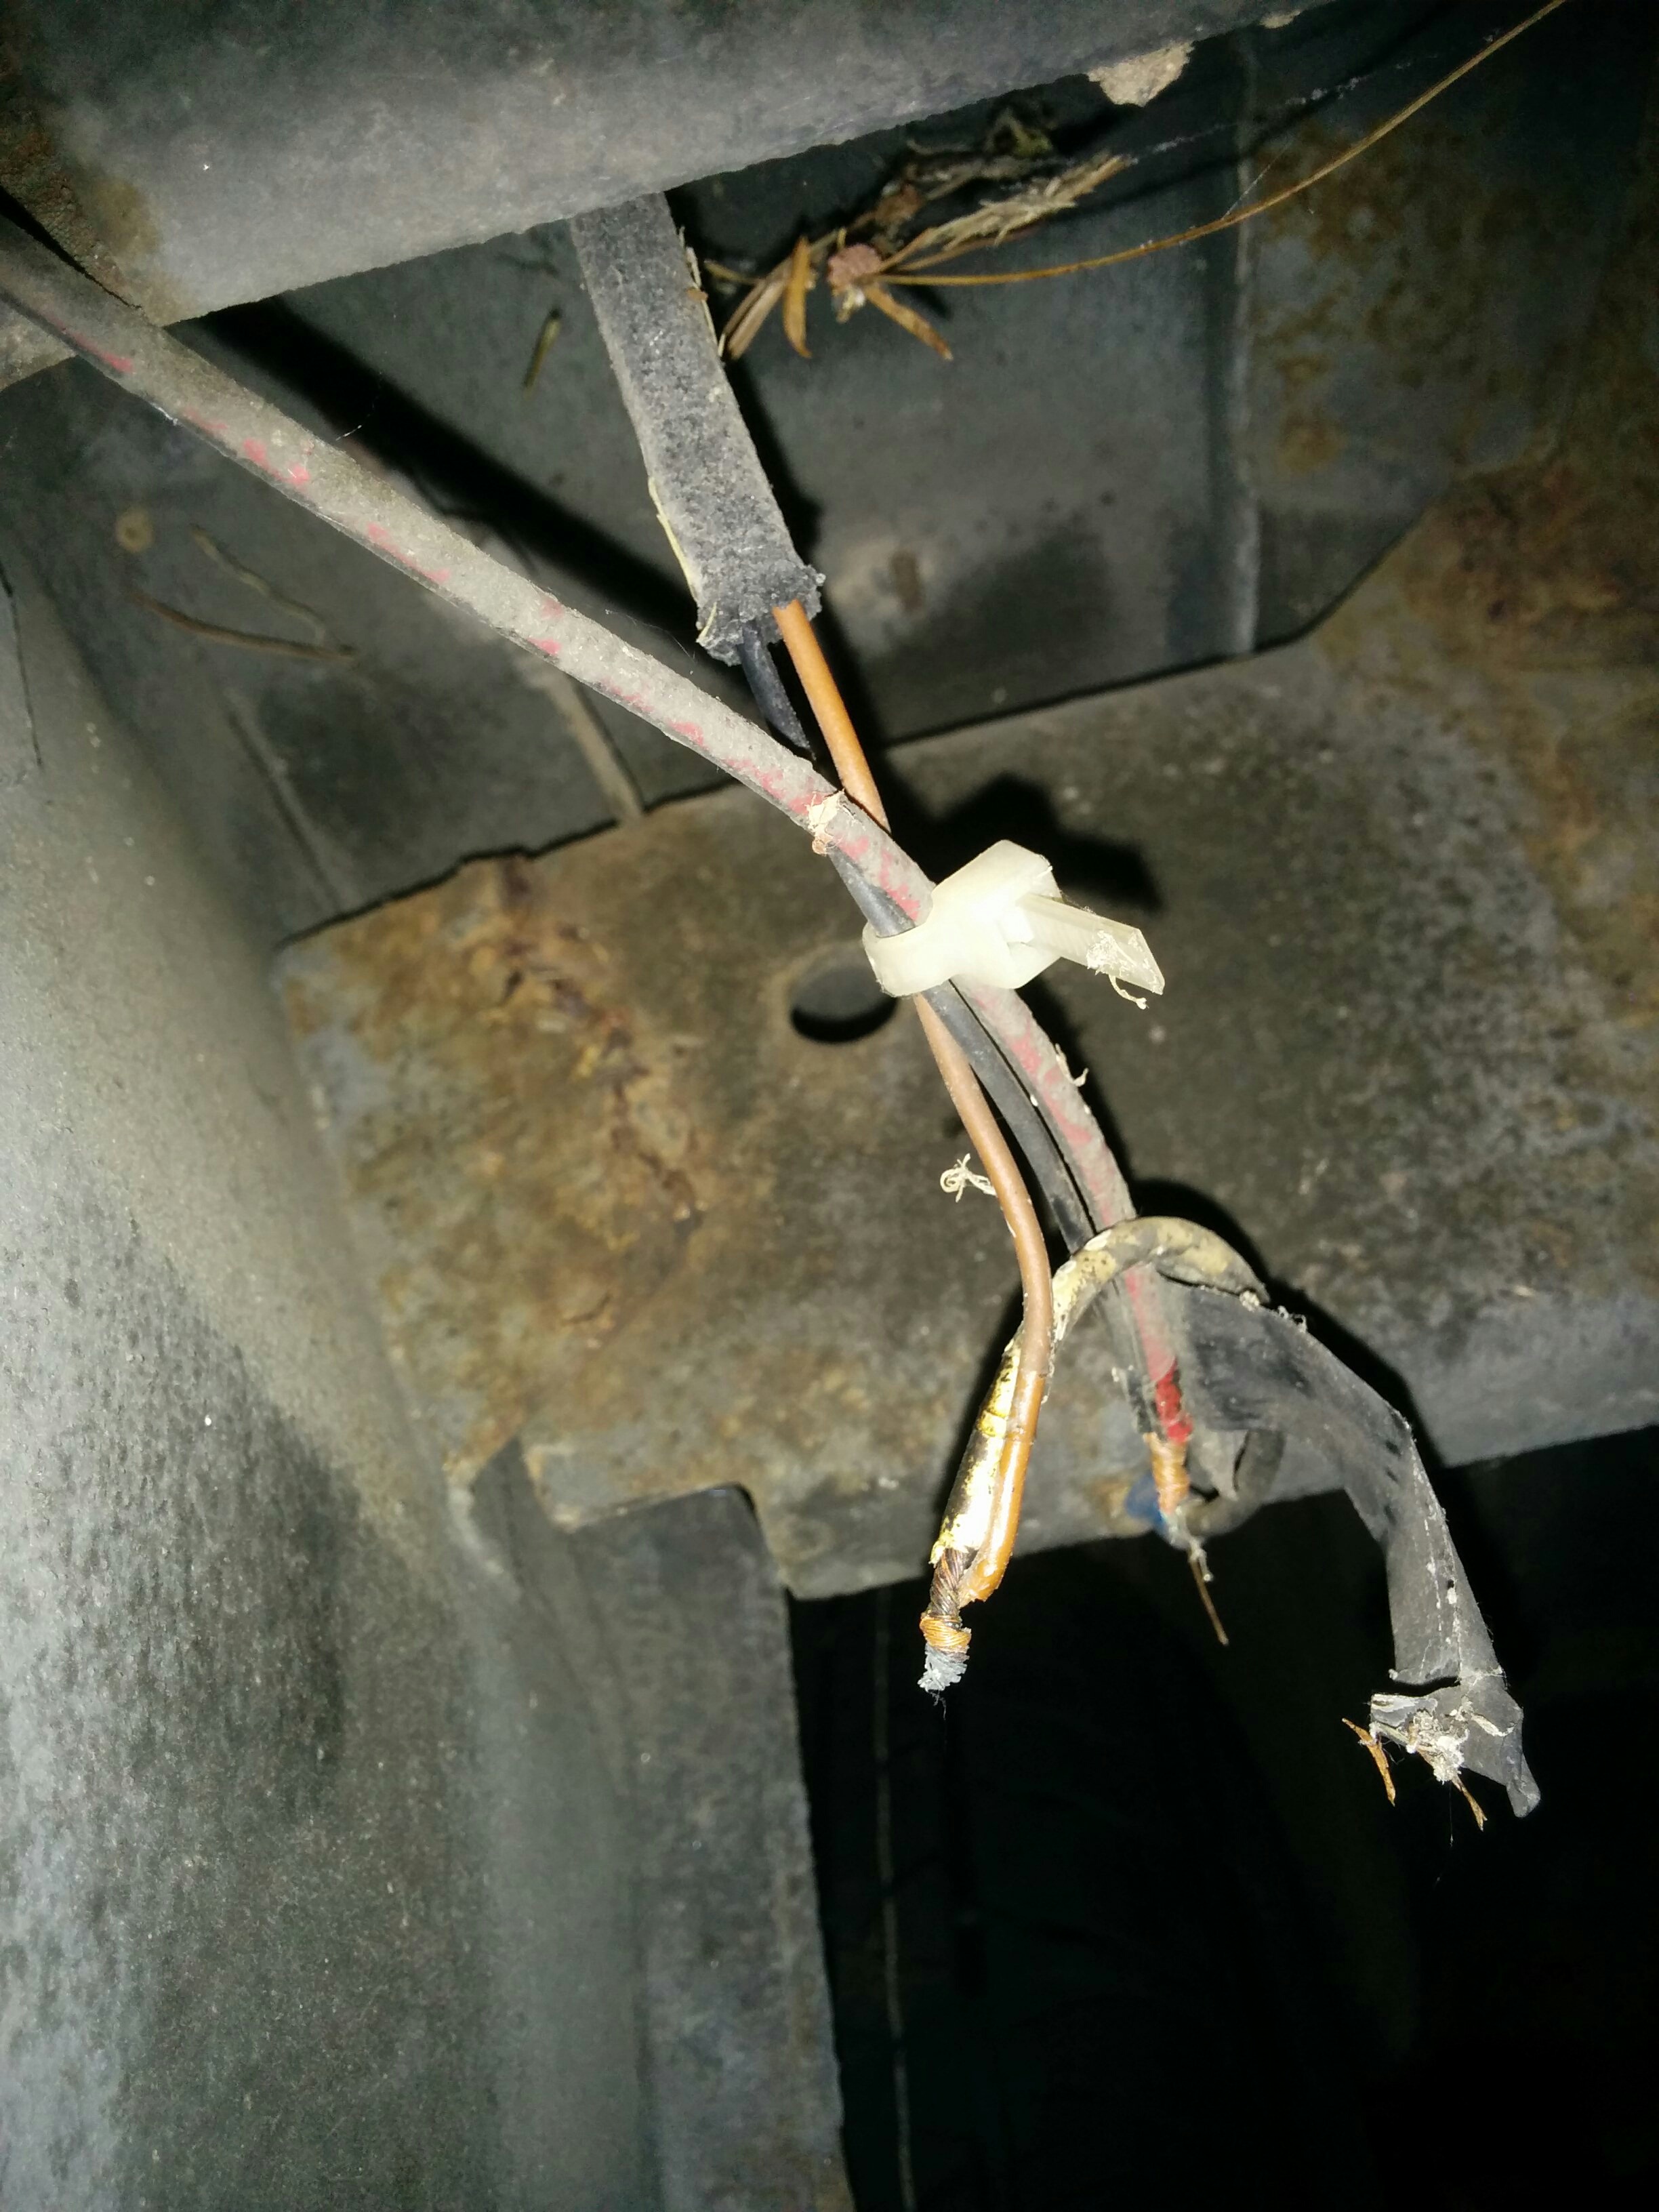
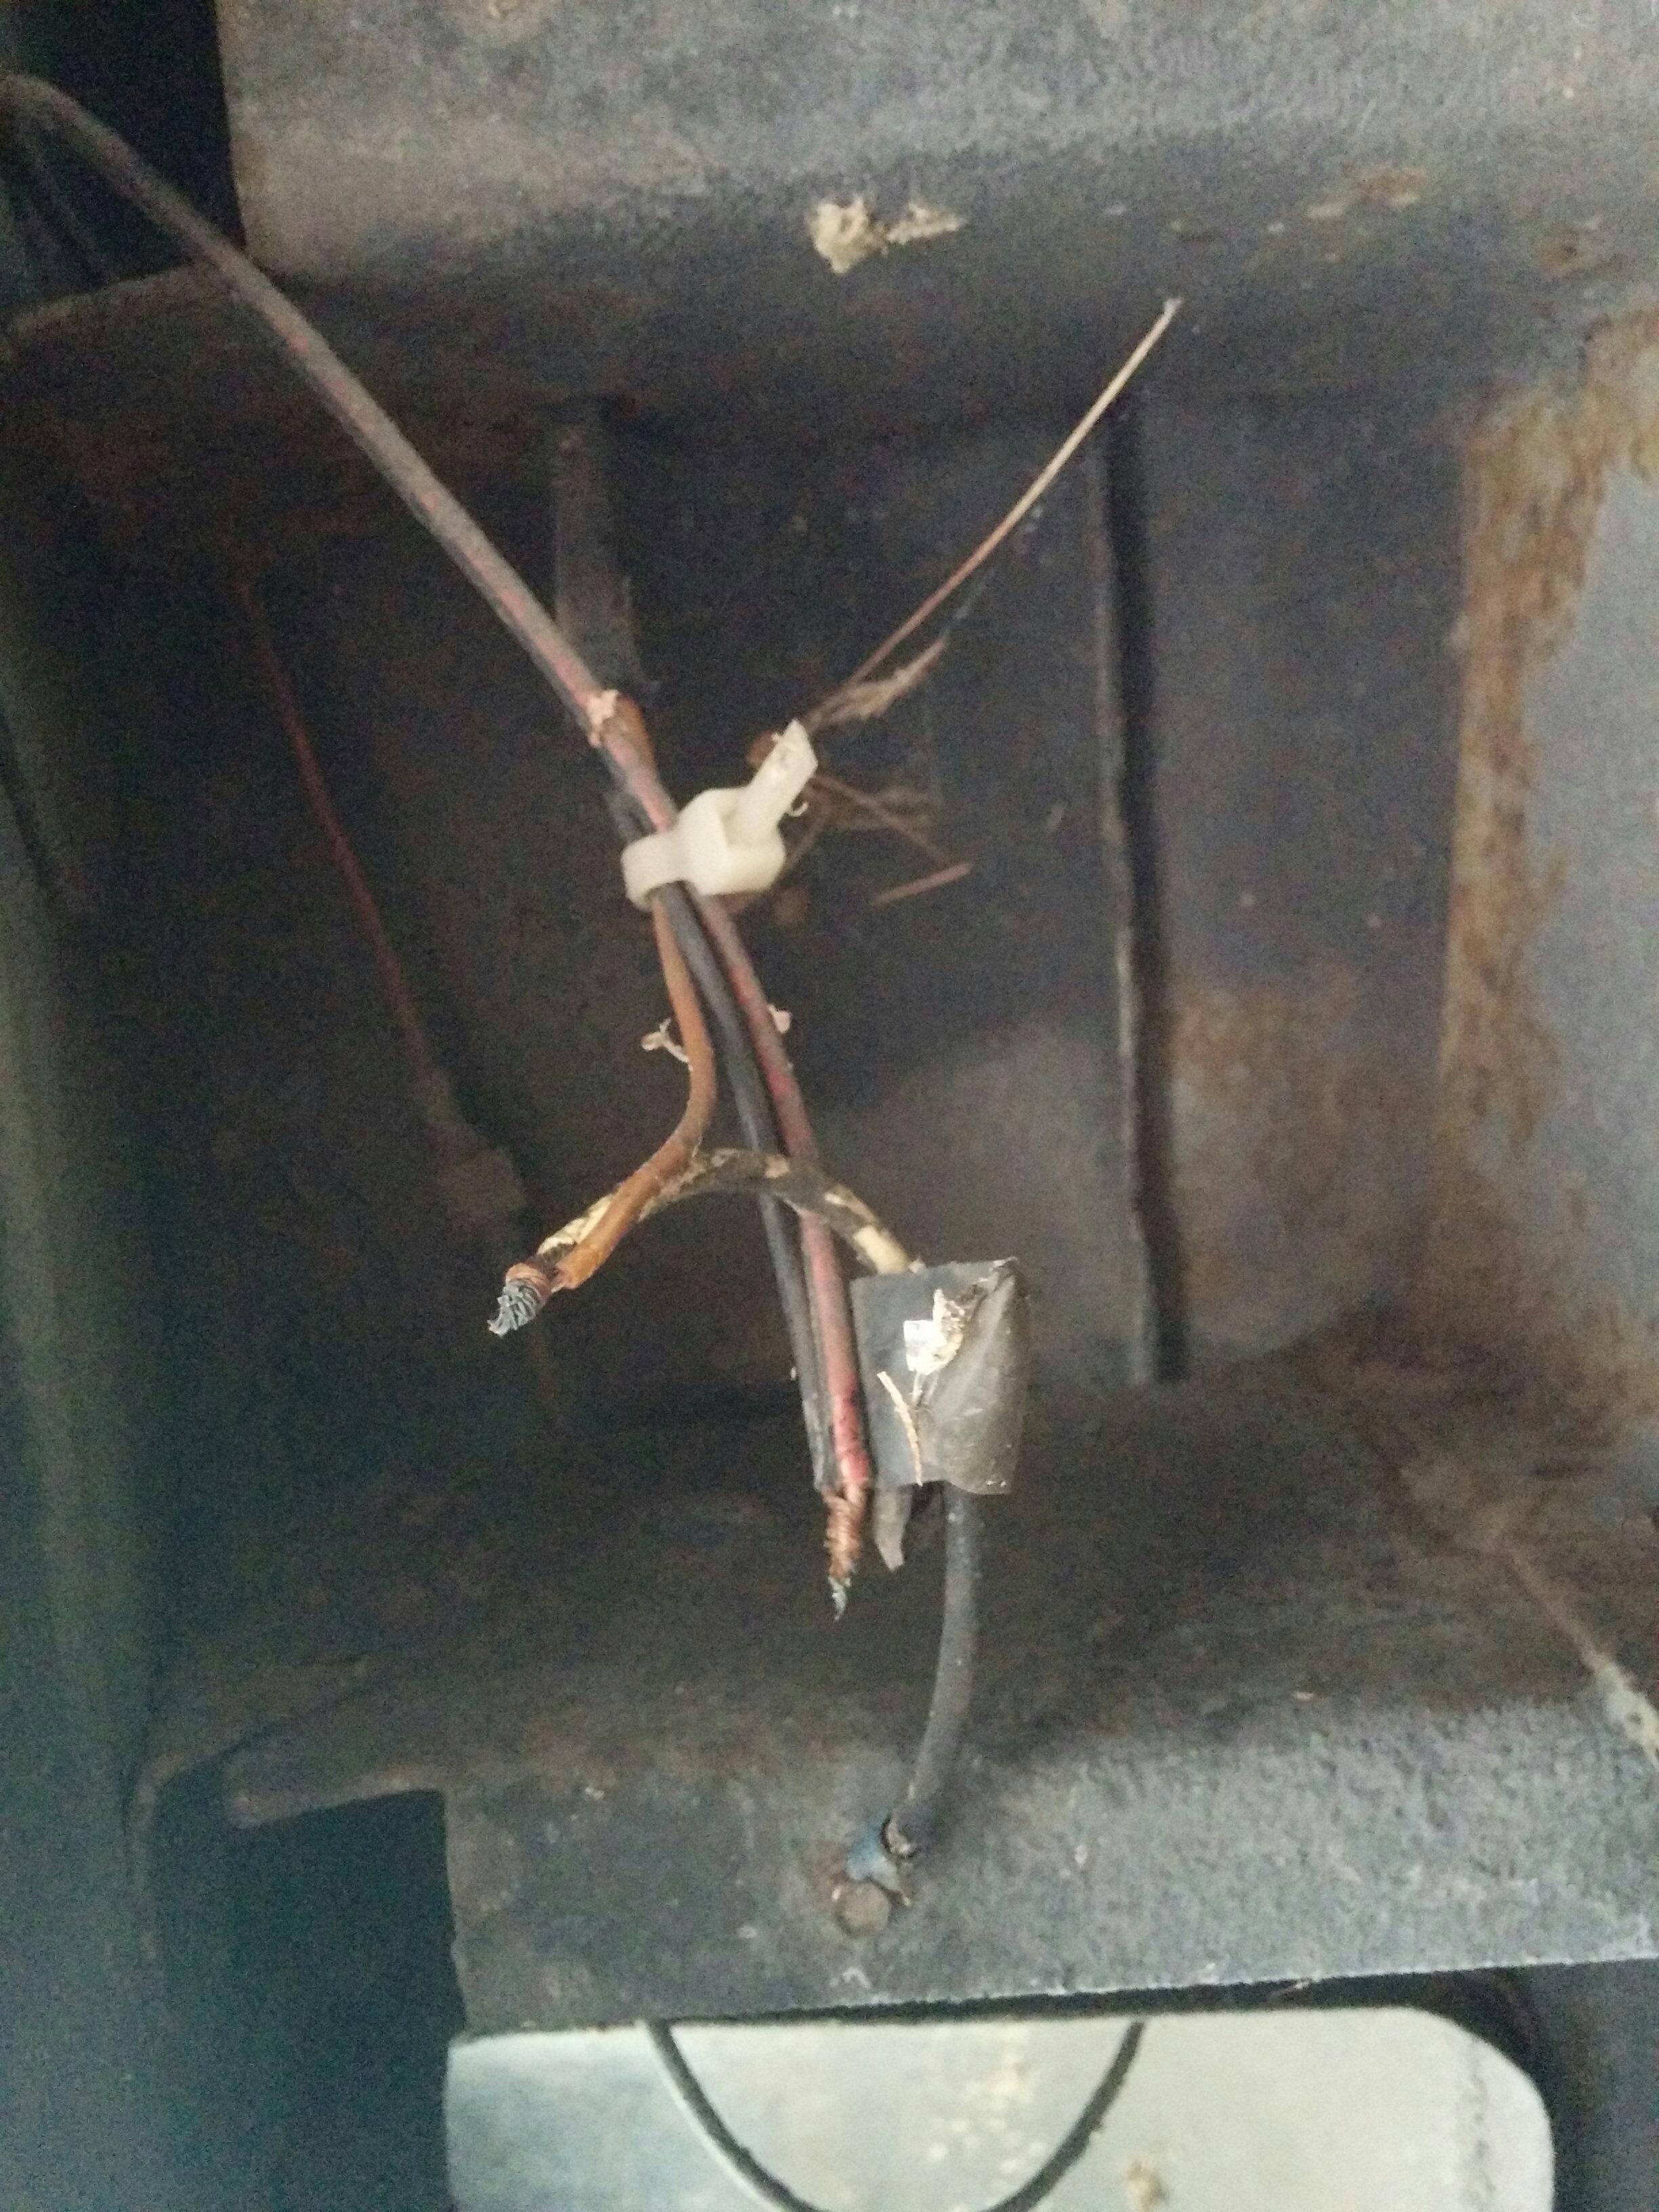
…where we found this doozy. 🥴

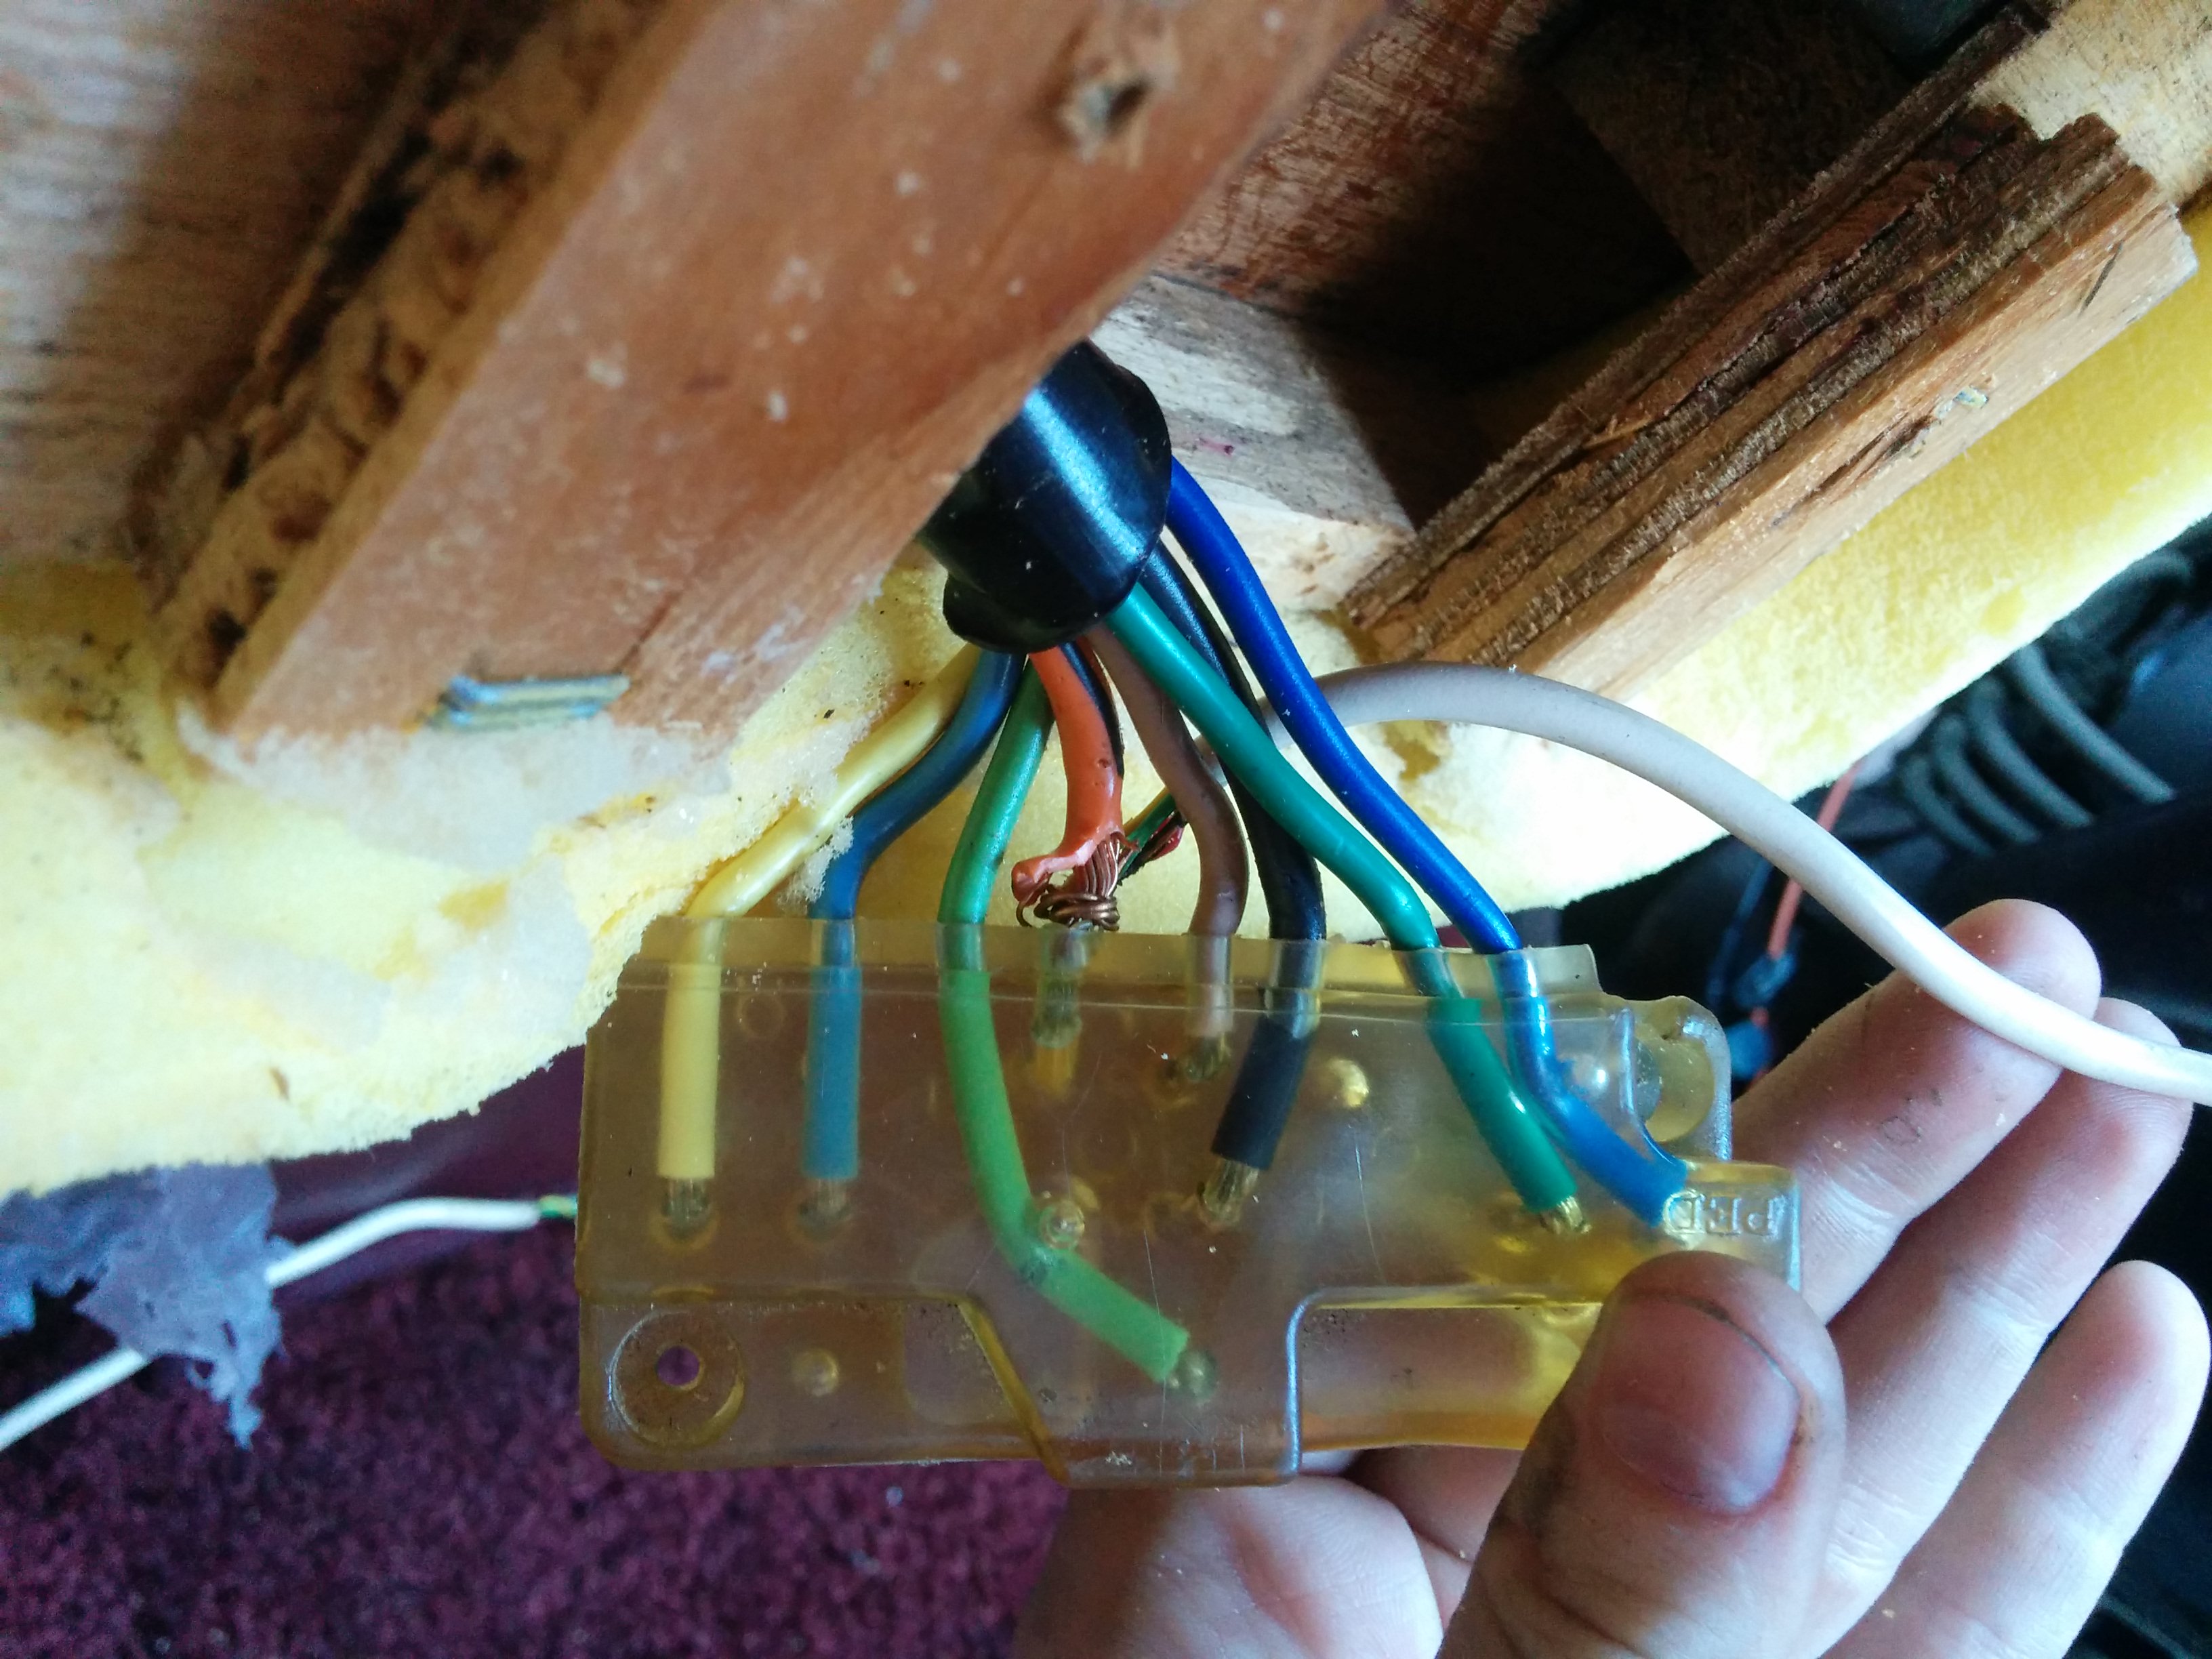
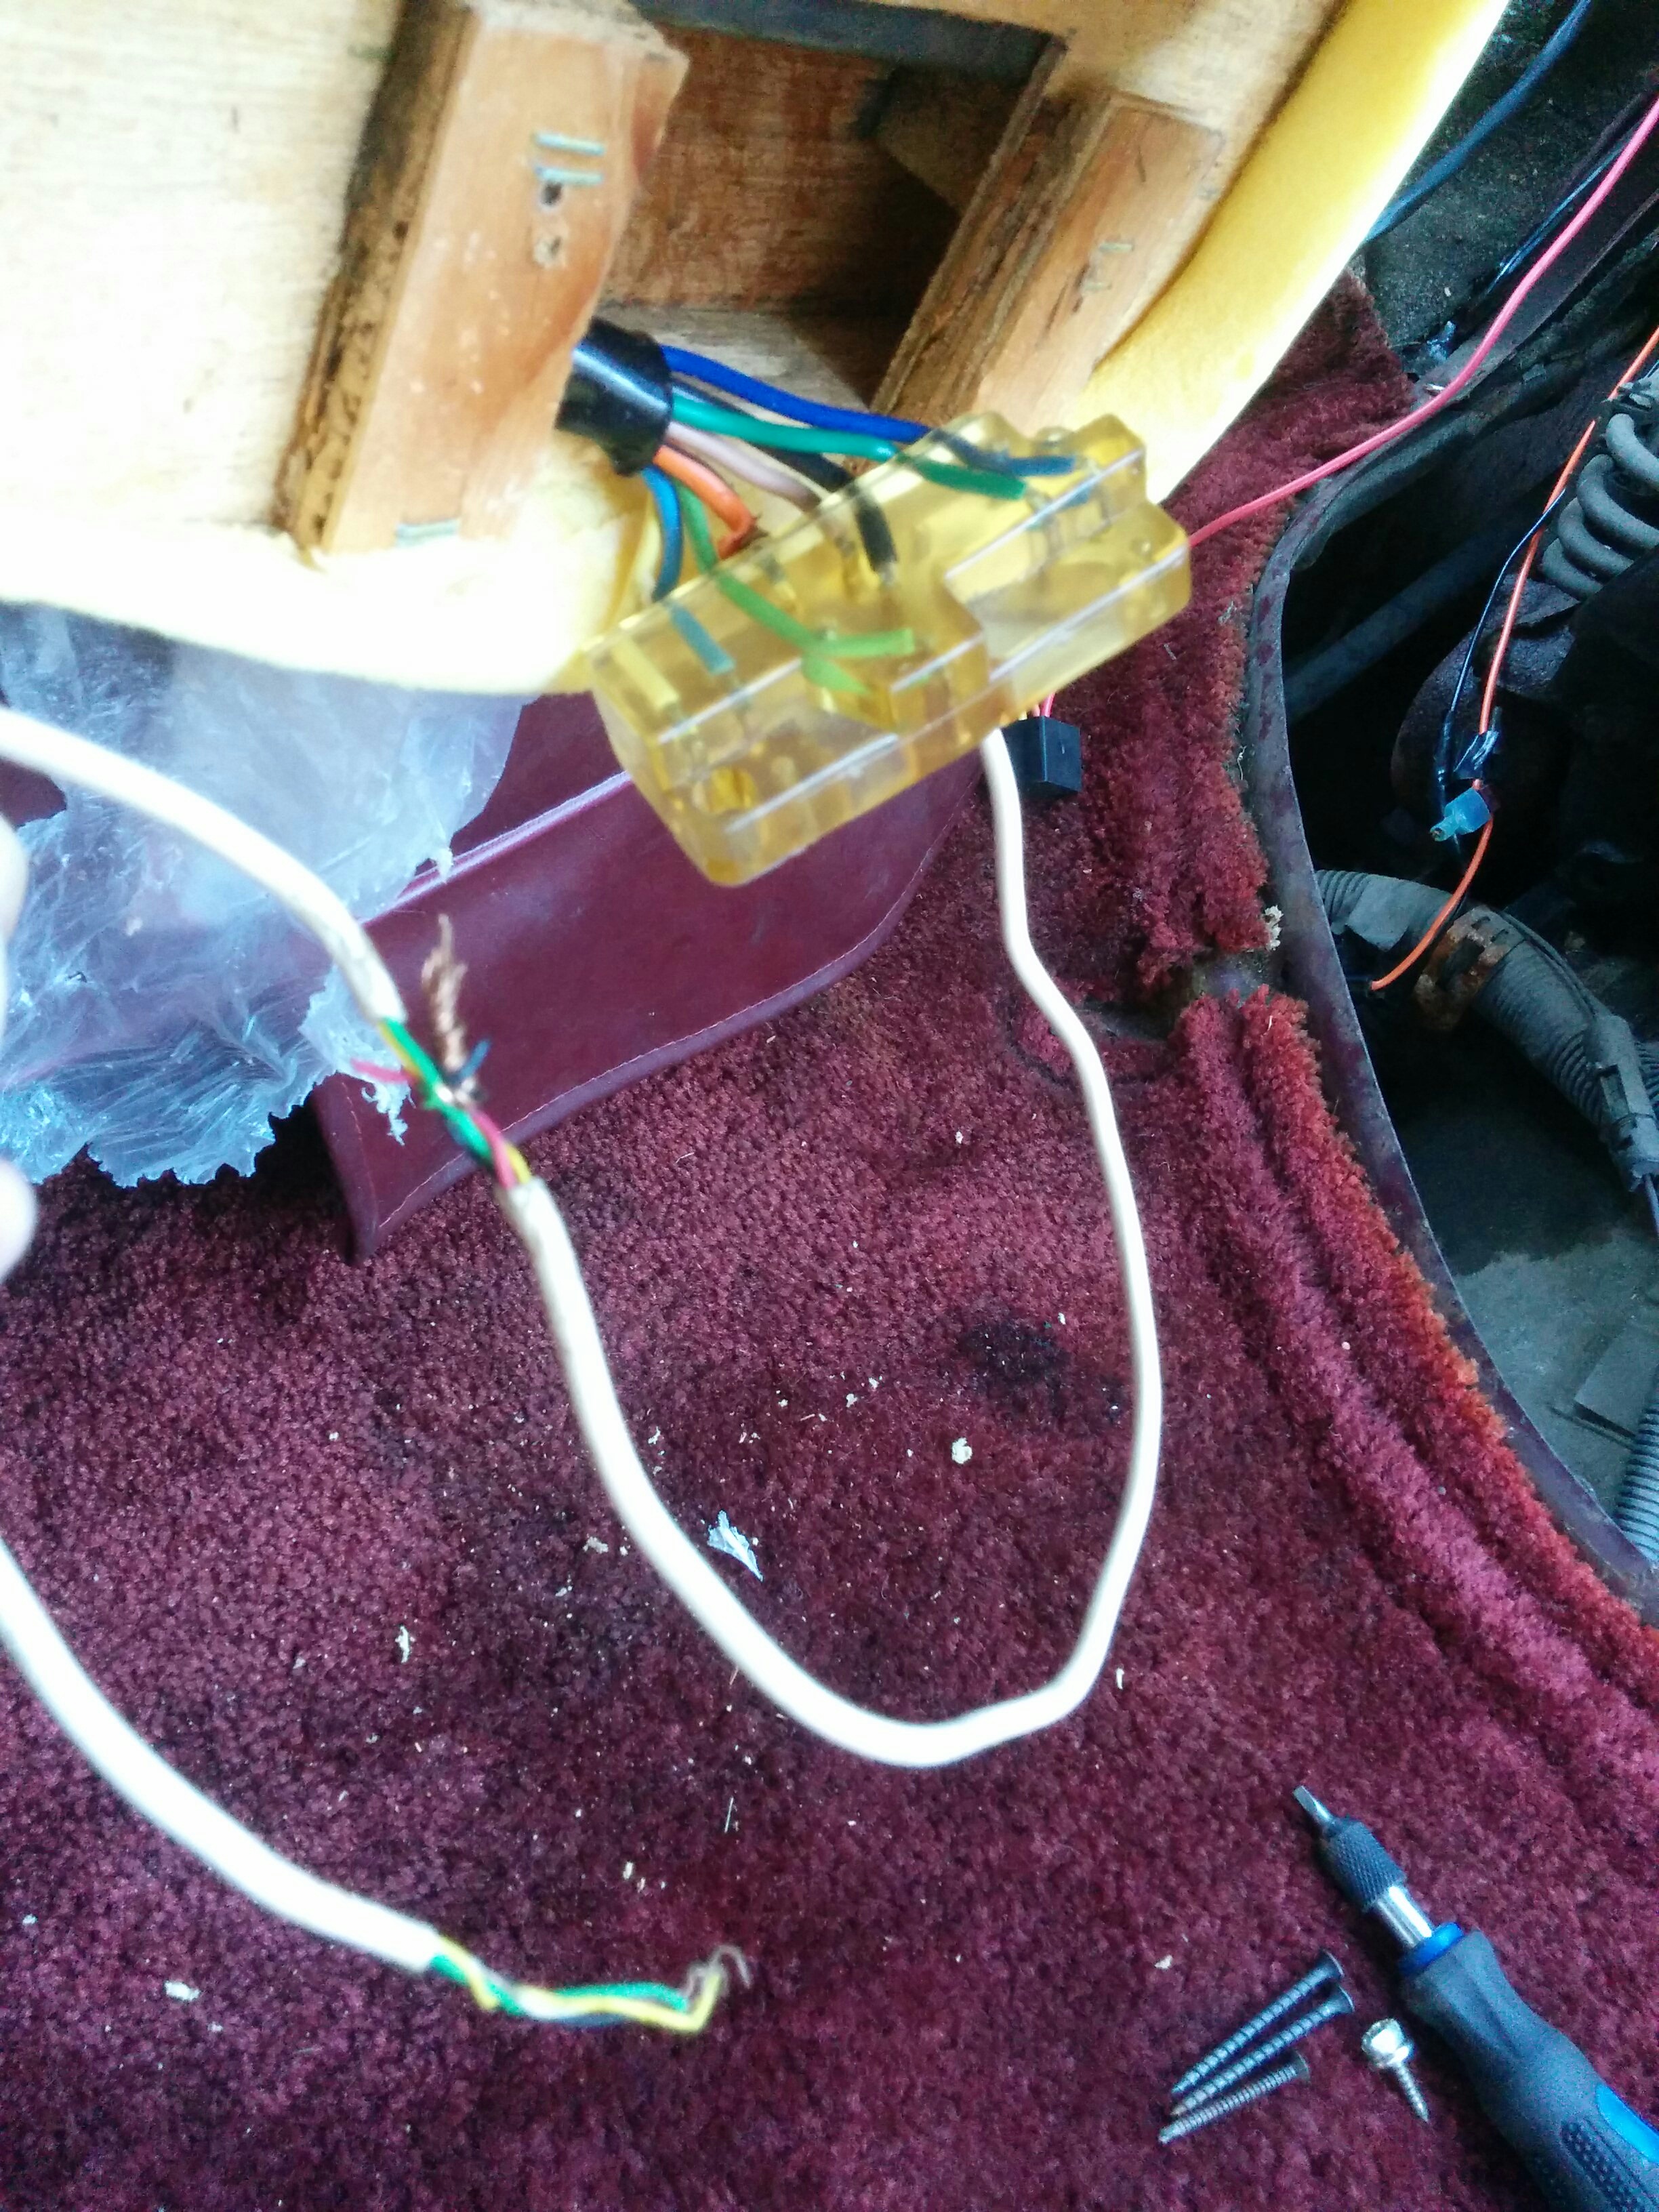
The rest of the chair wiring was investigated and the sketchy discoveries seen above reconnected in a less crazed fashion.