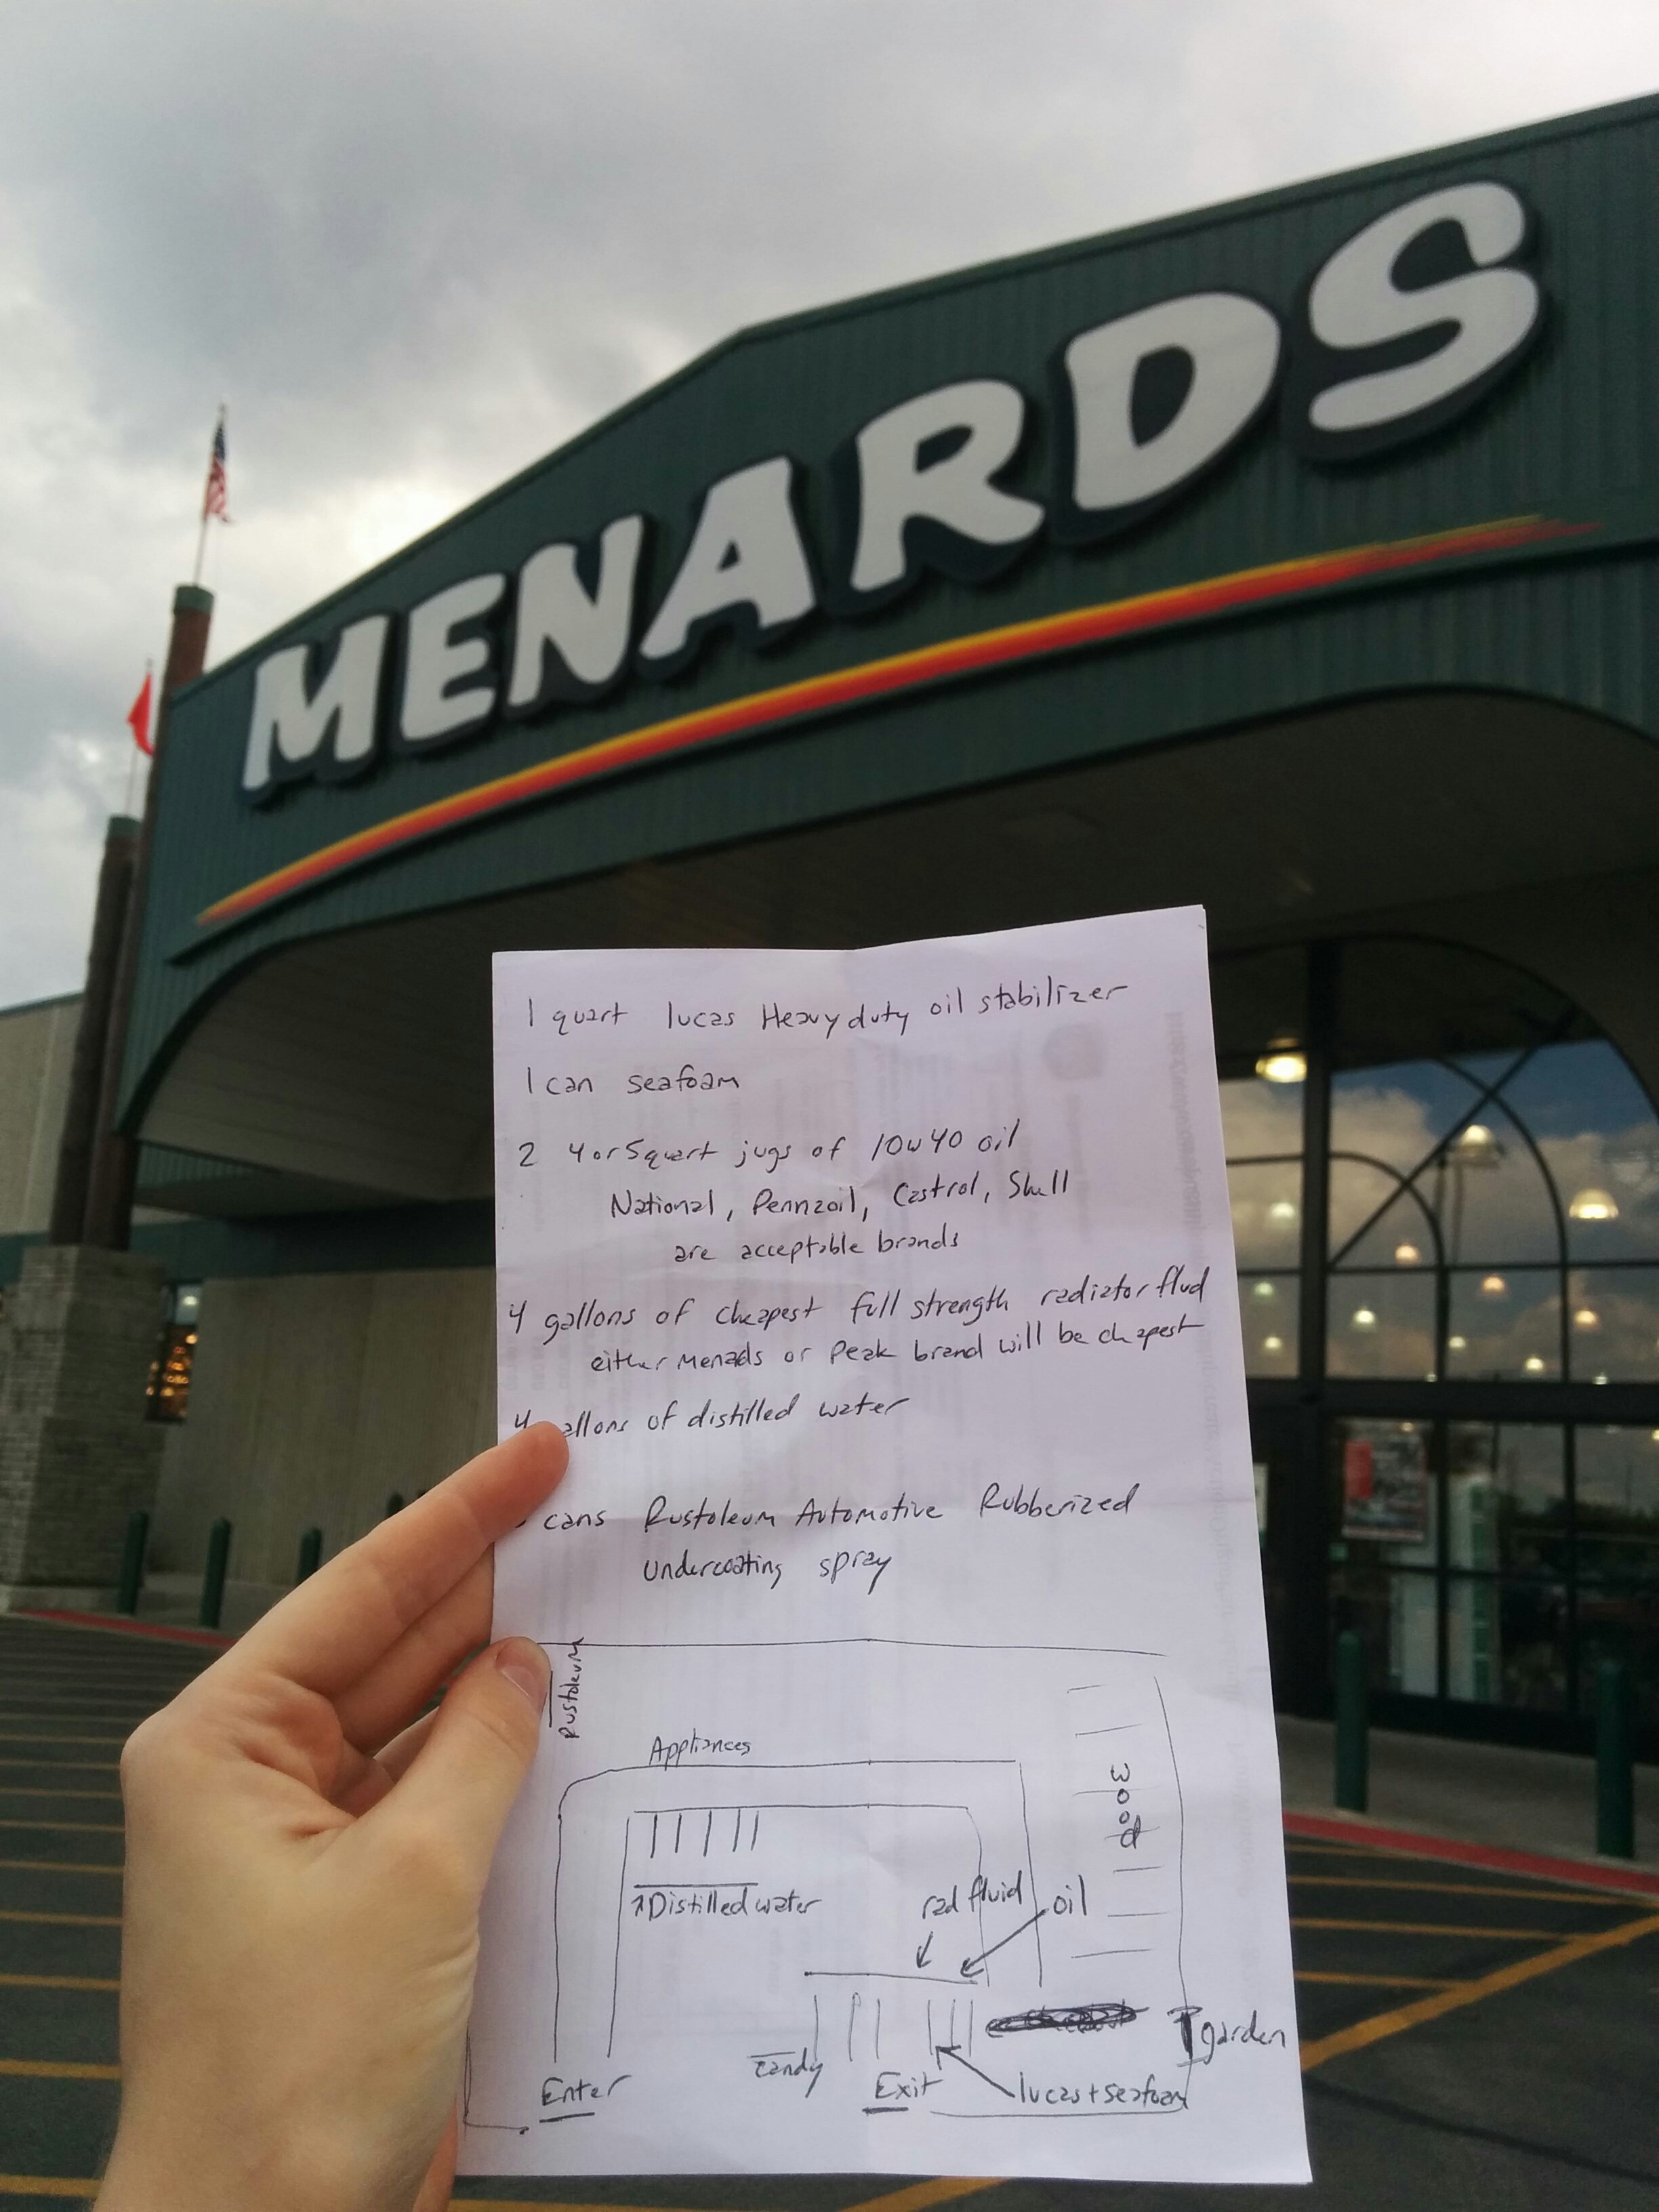
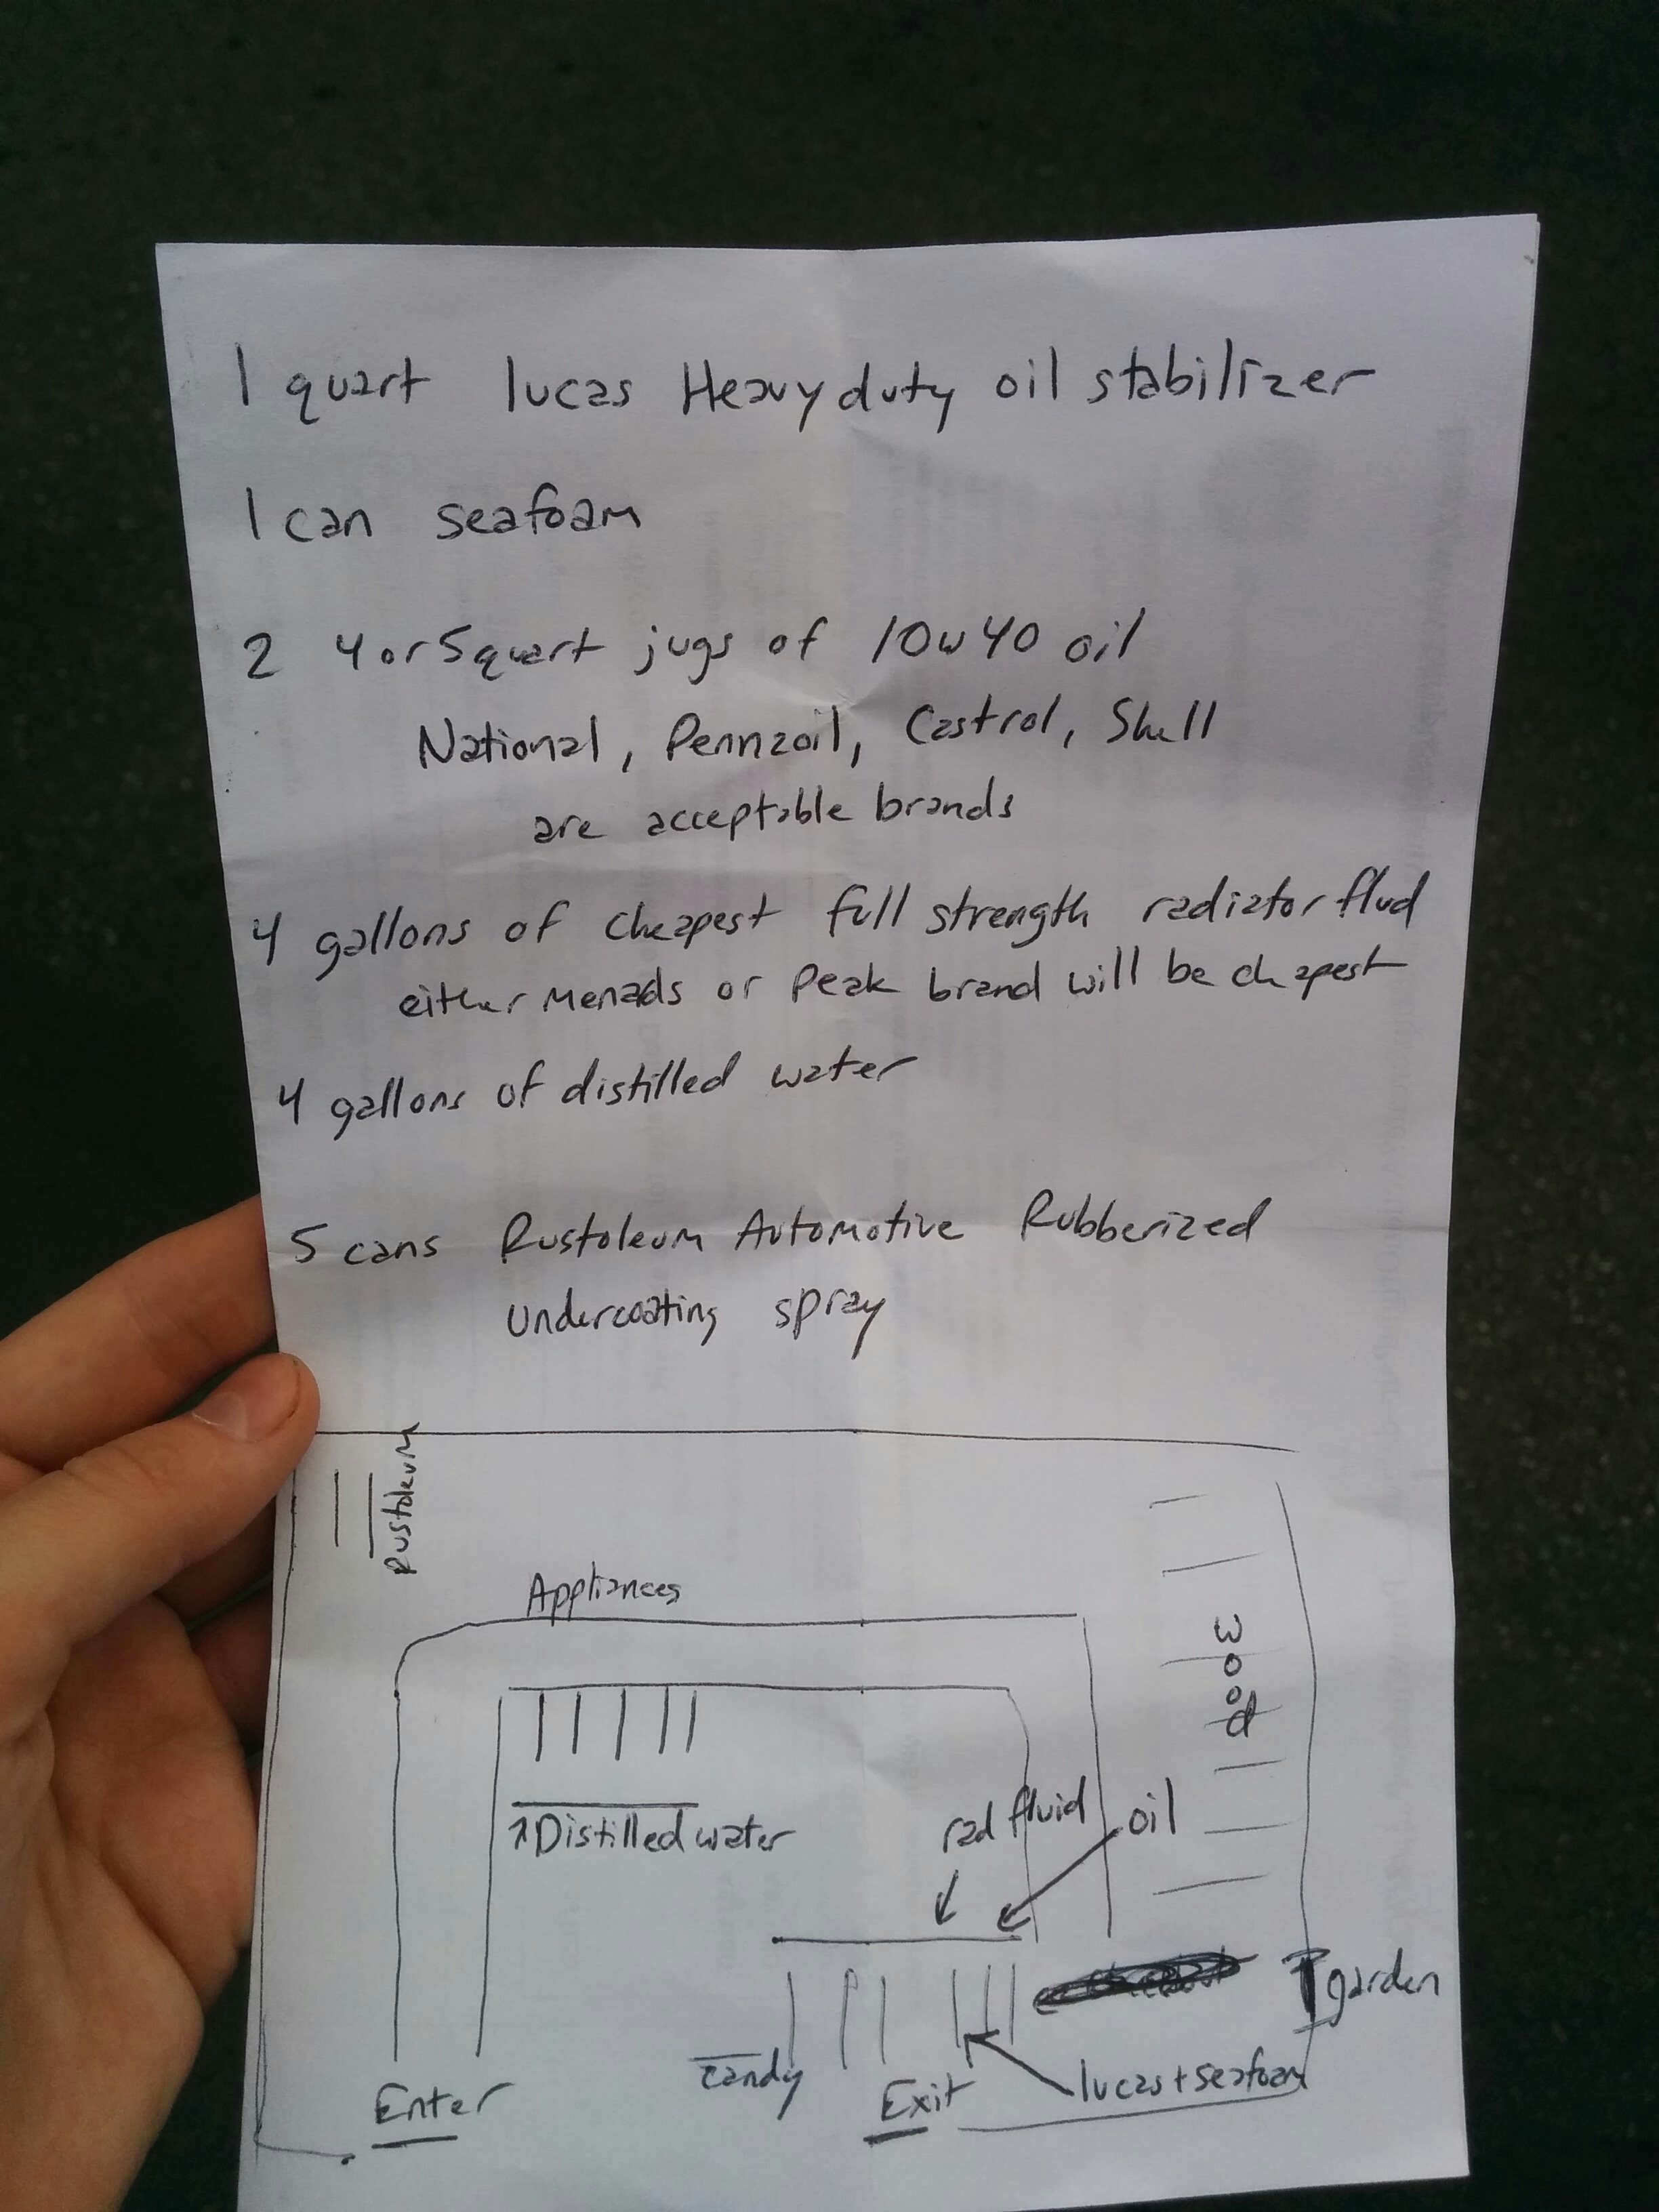
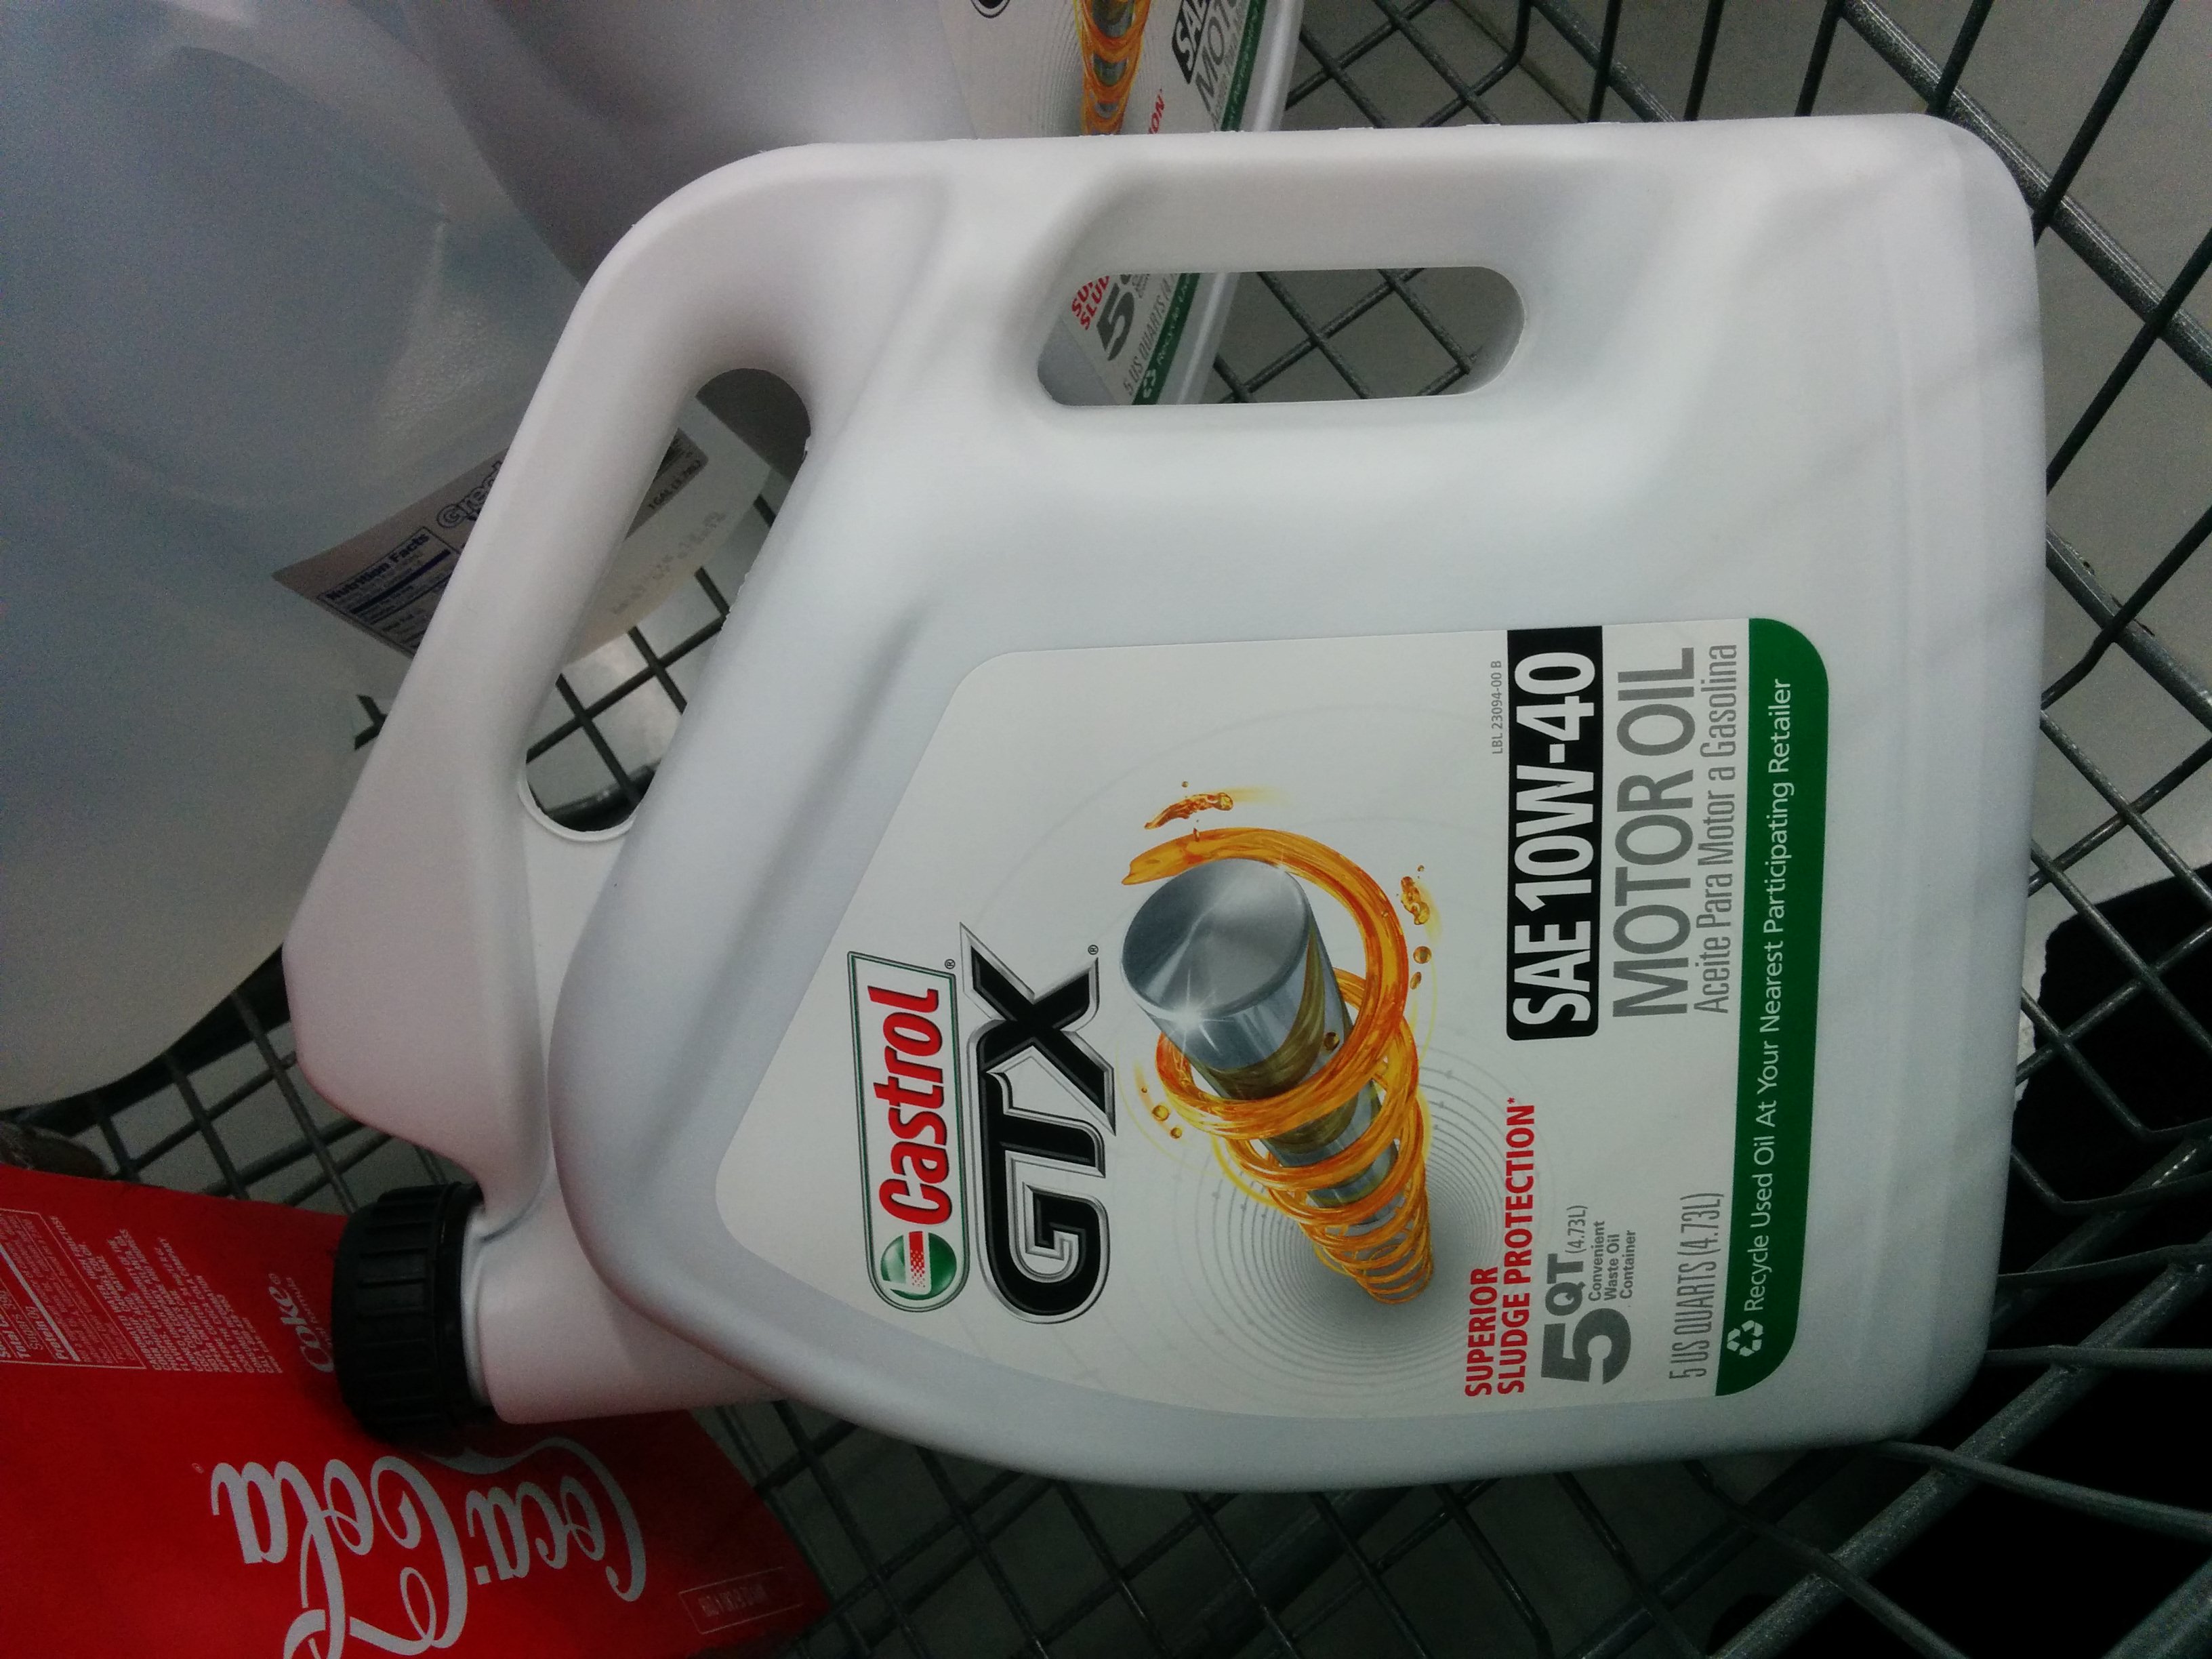
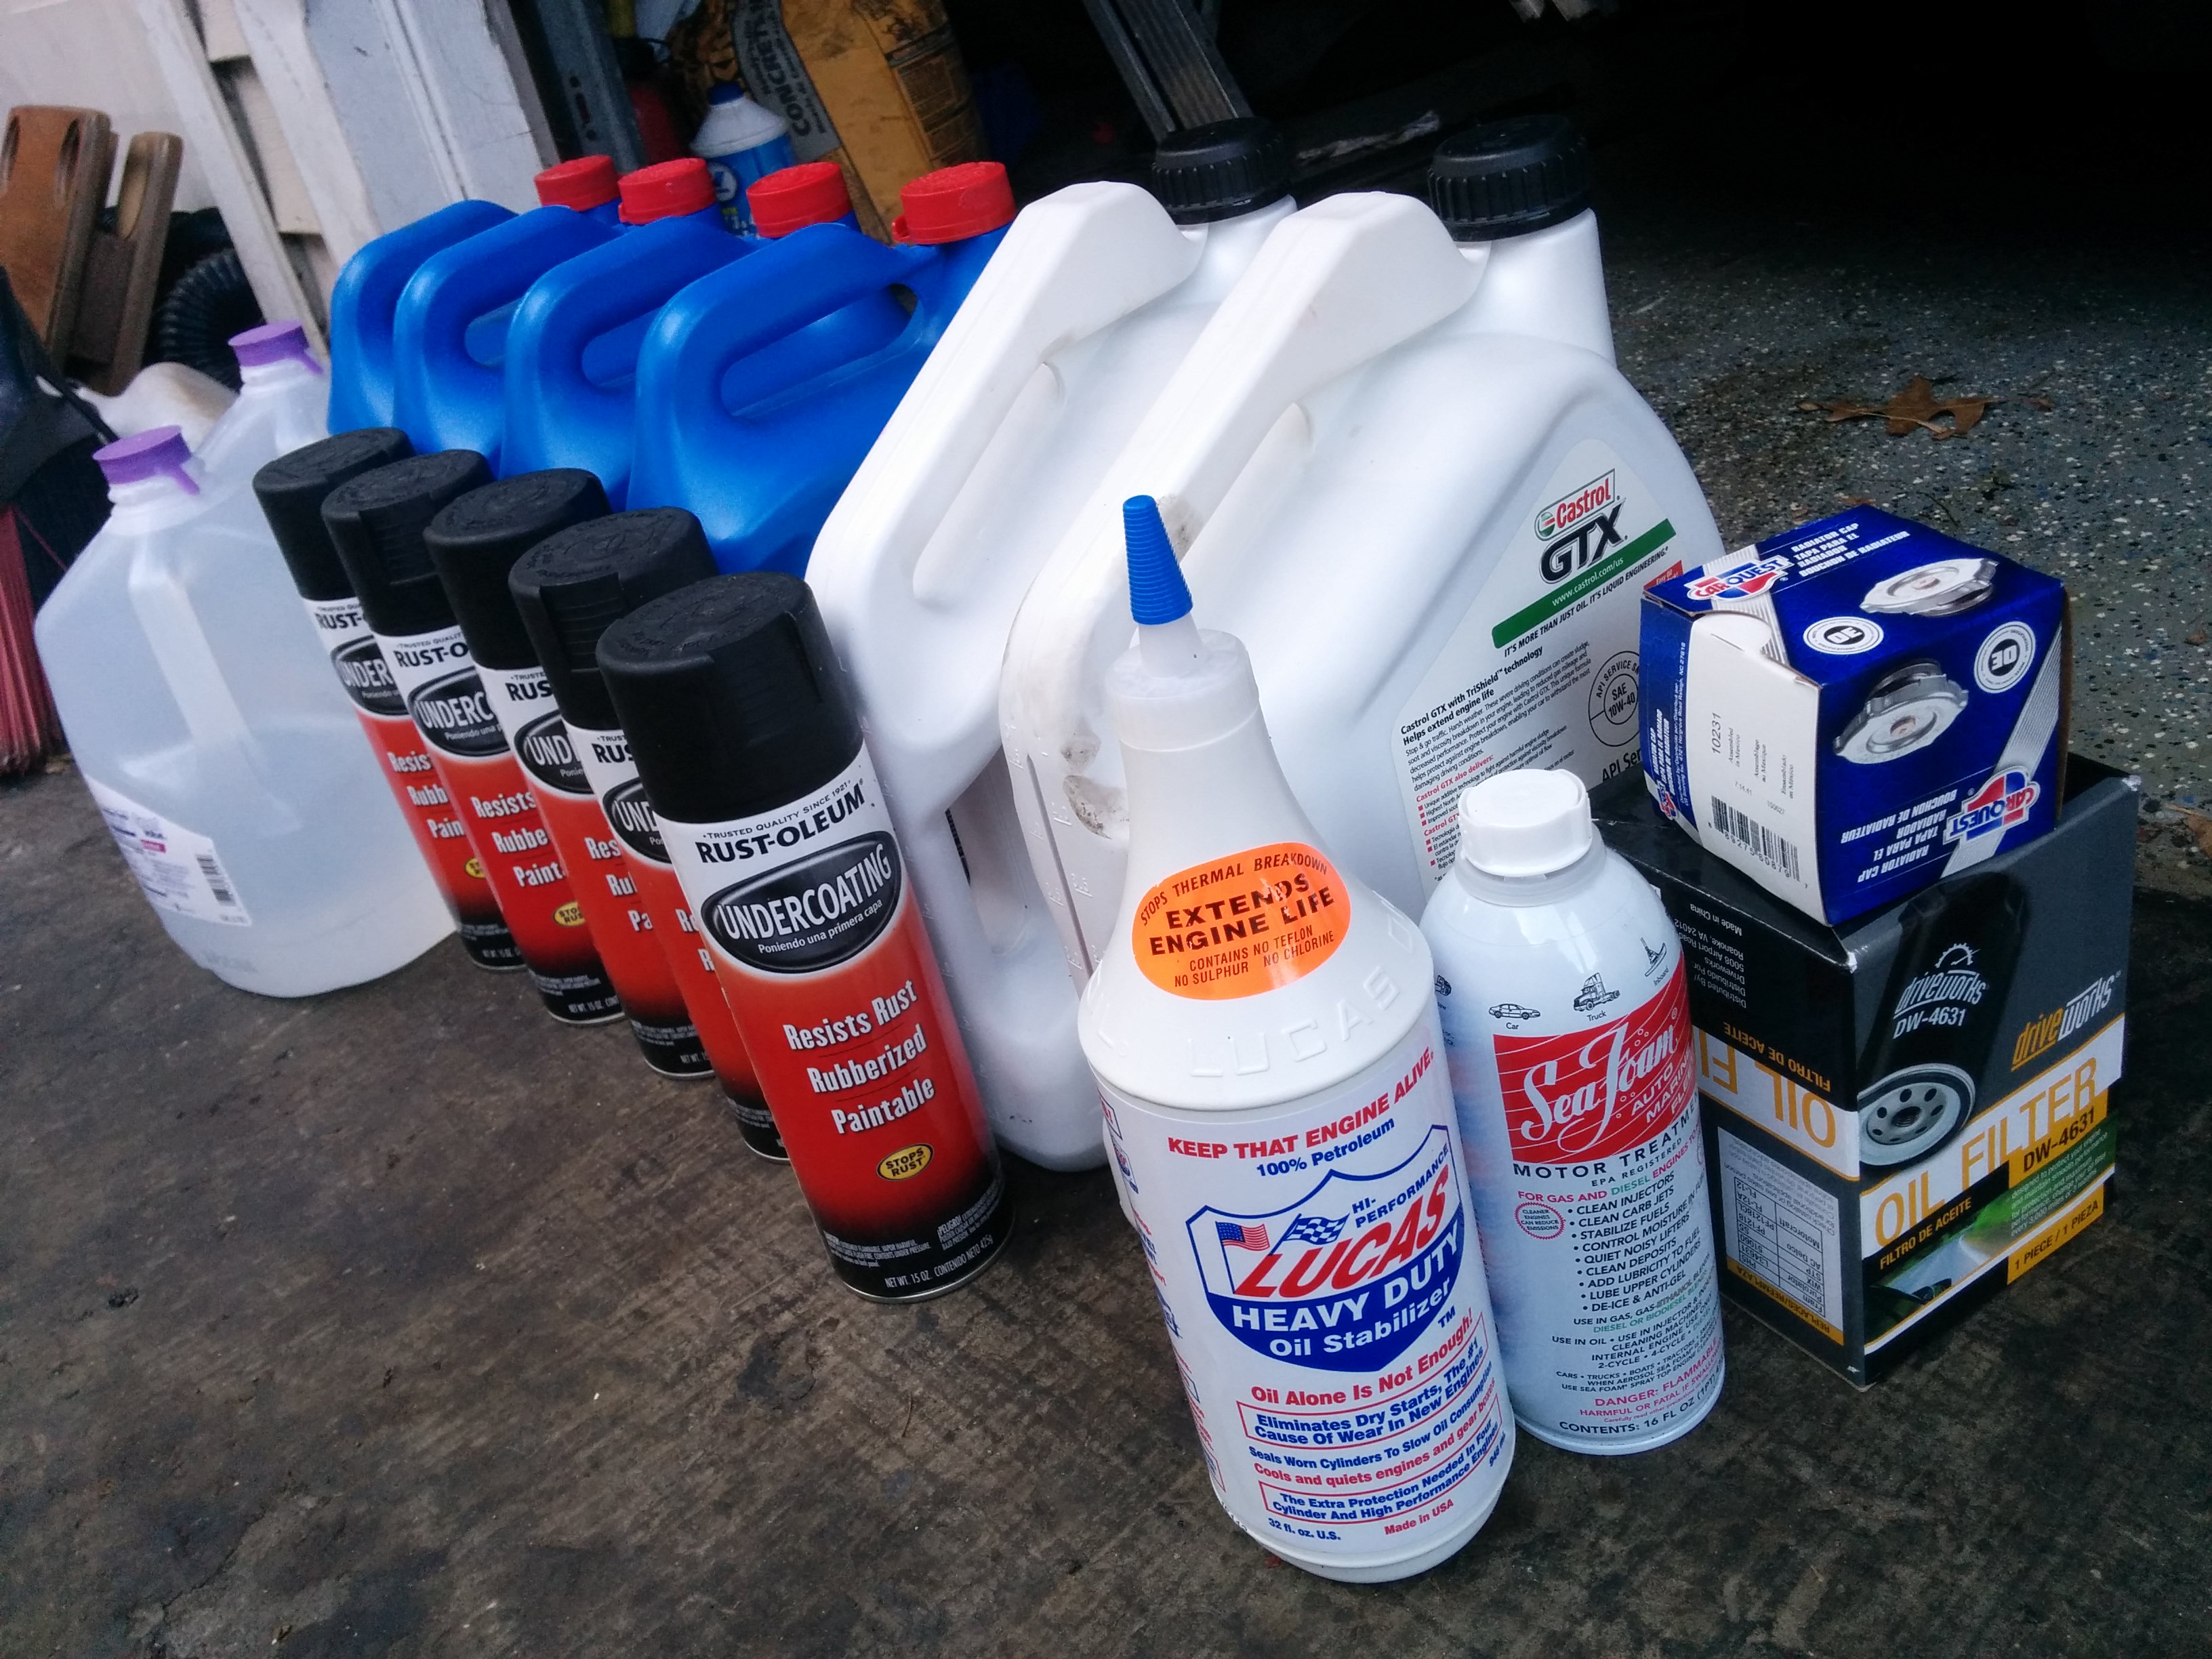
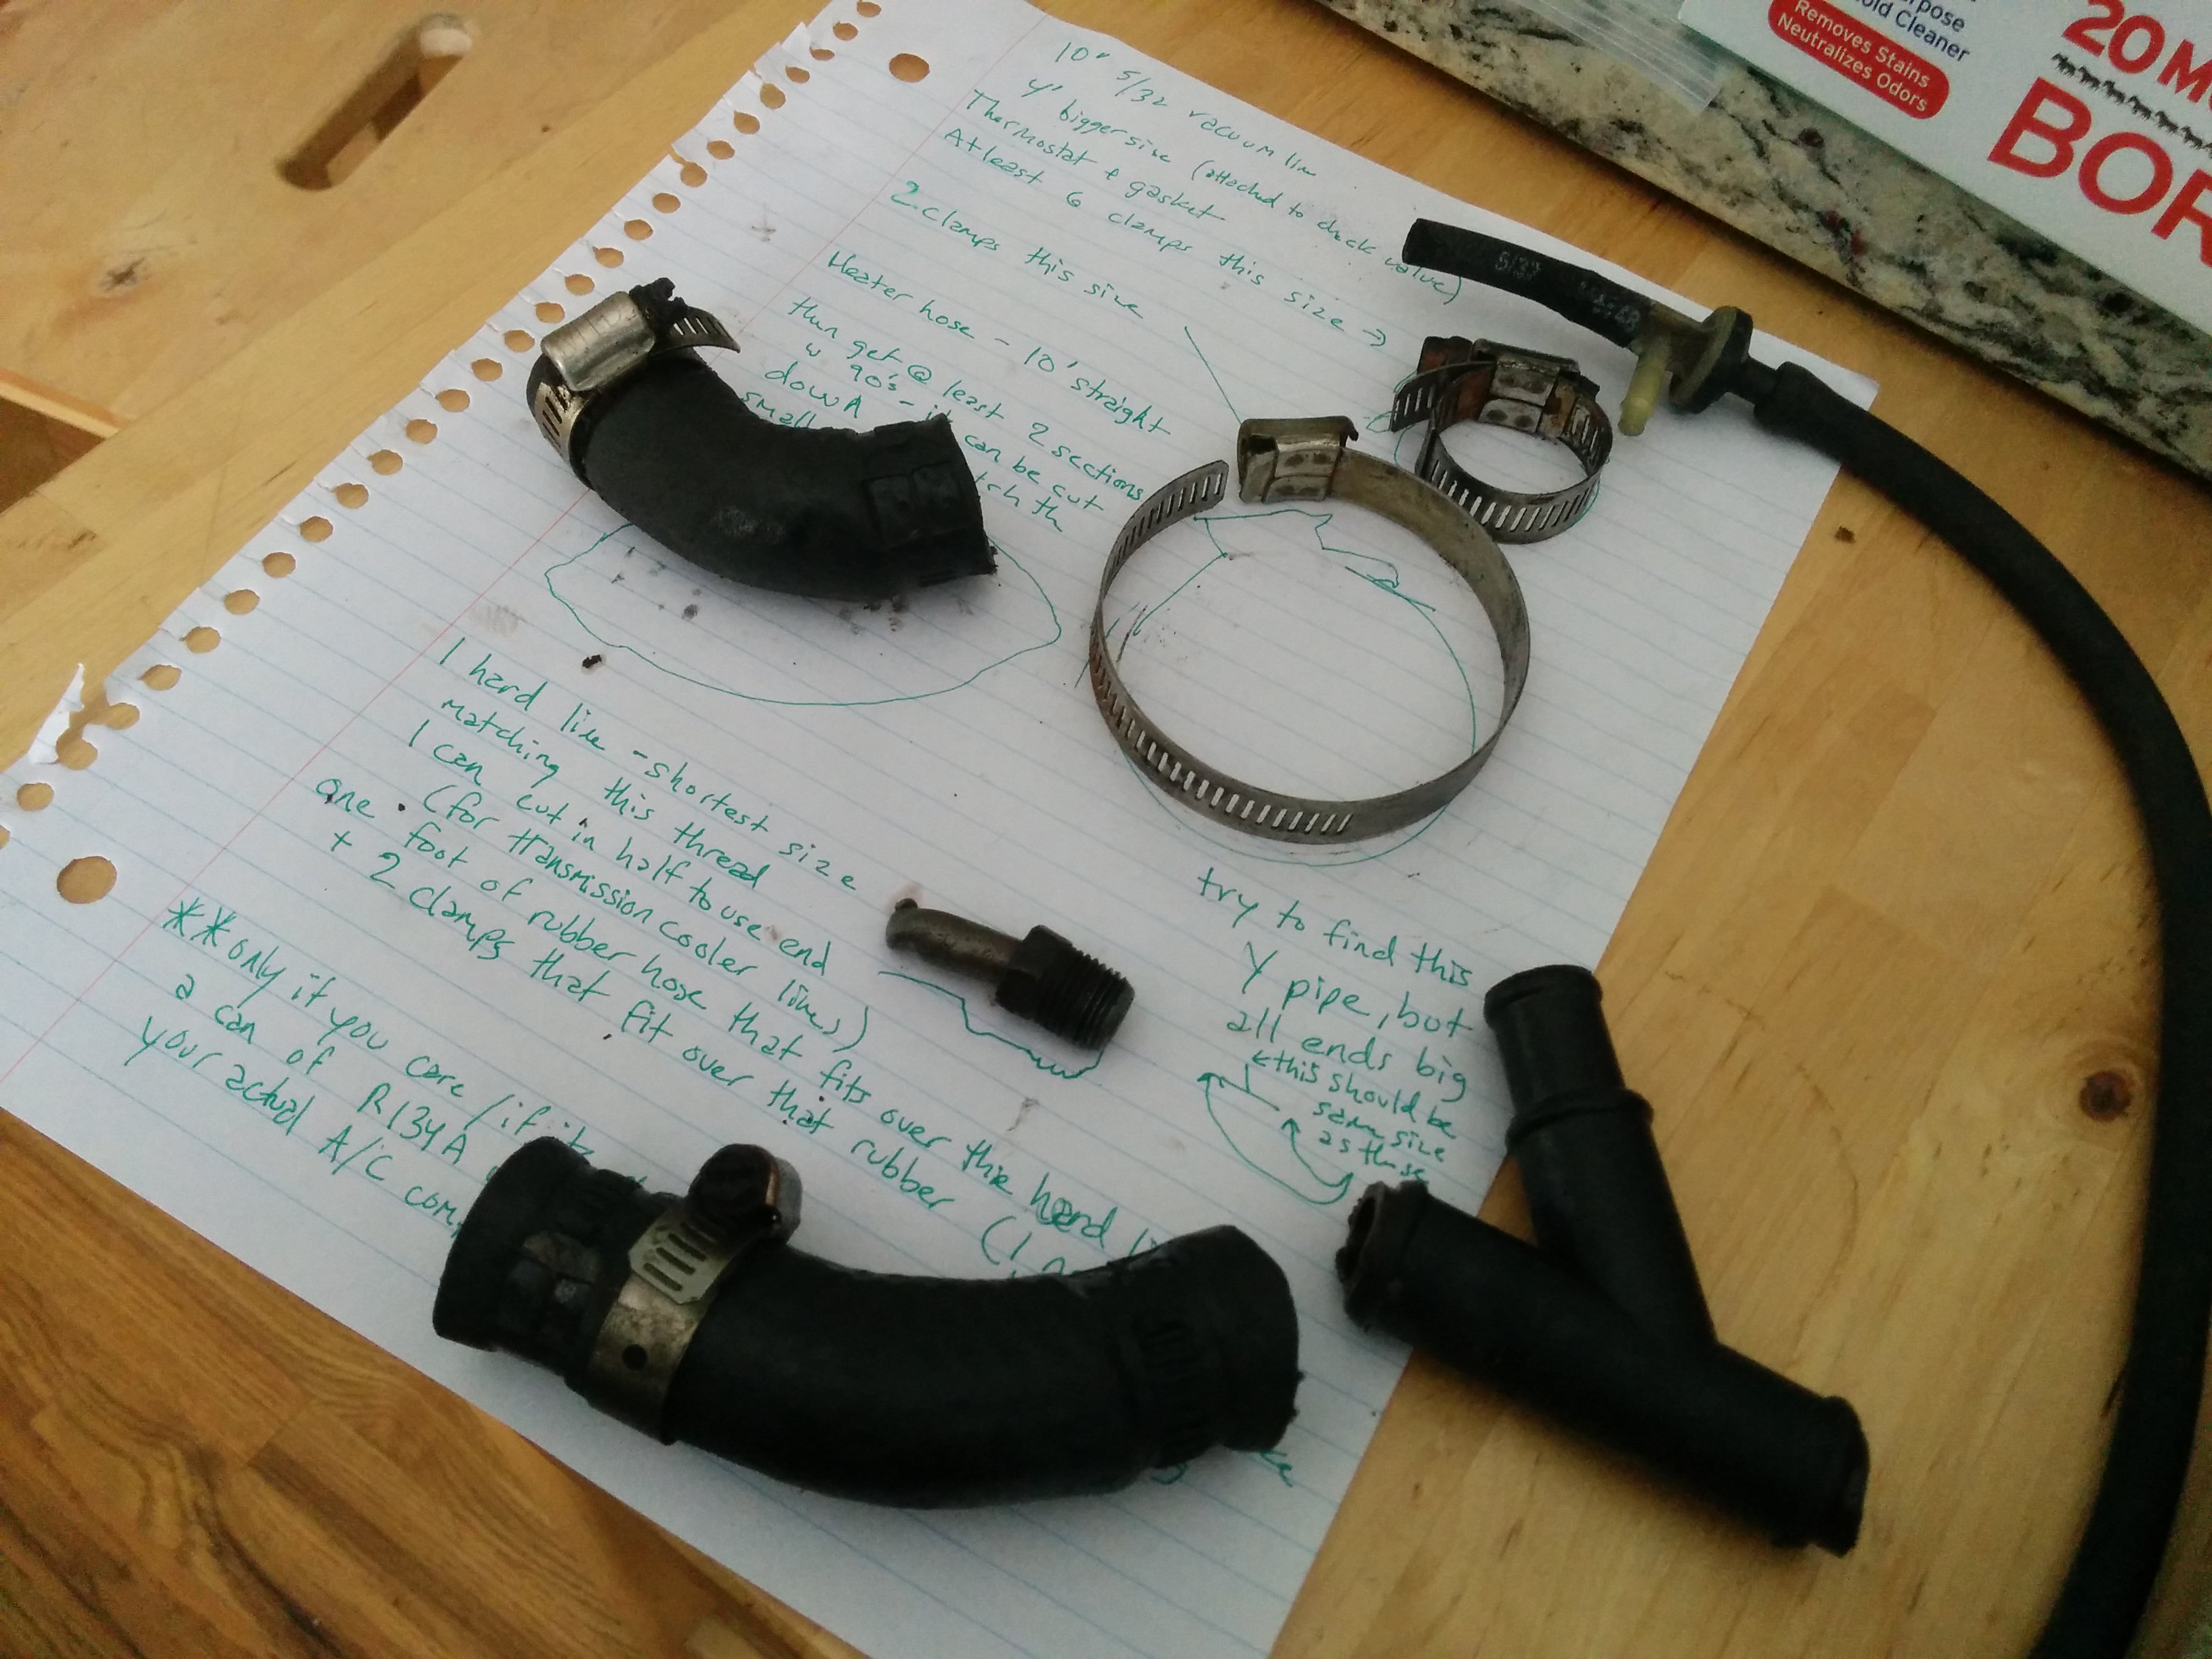
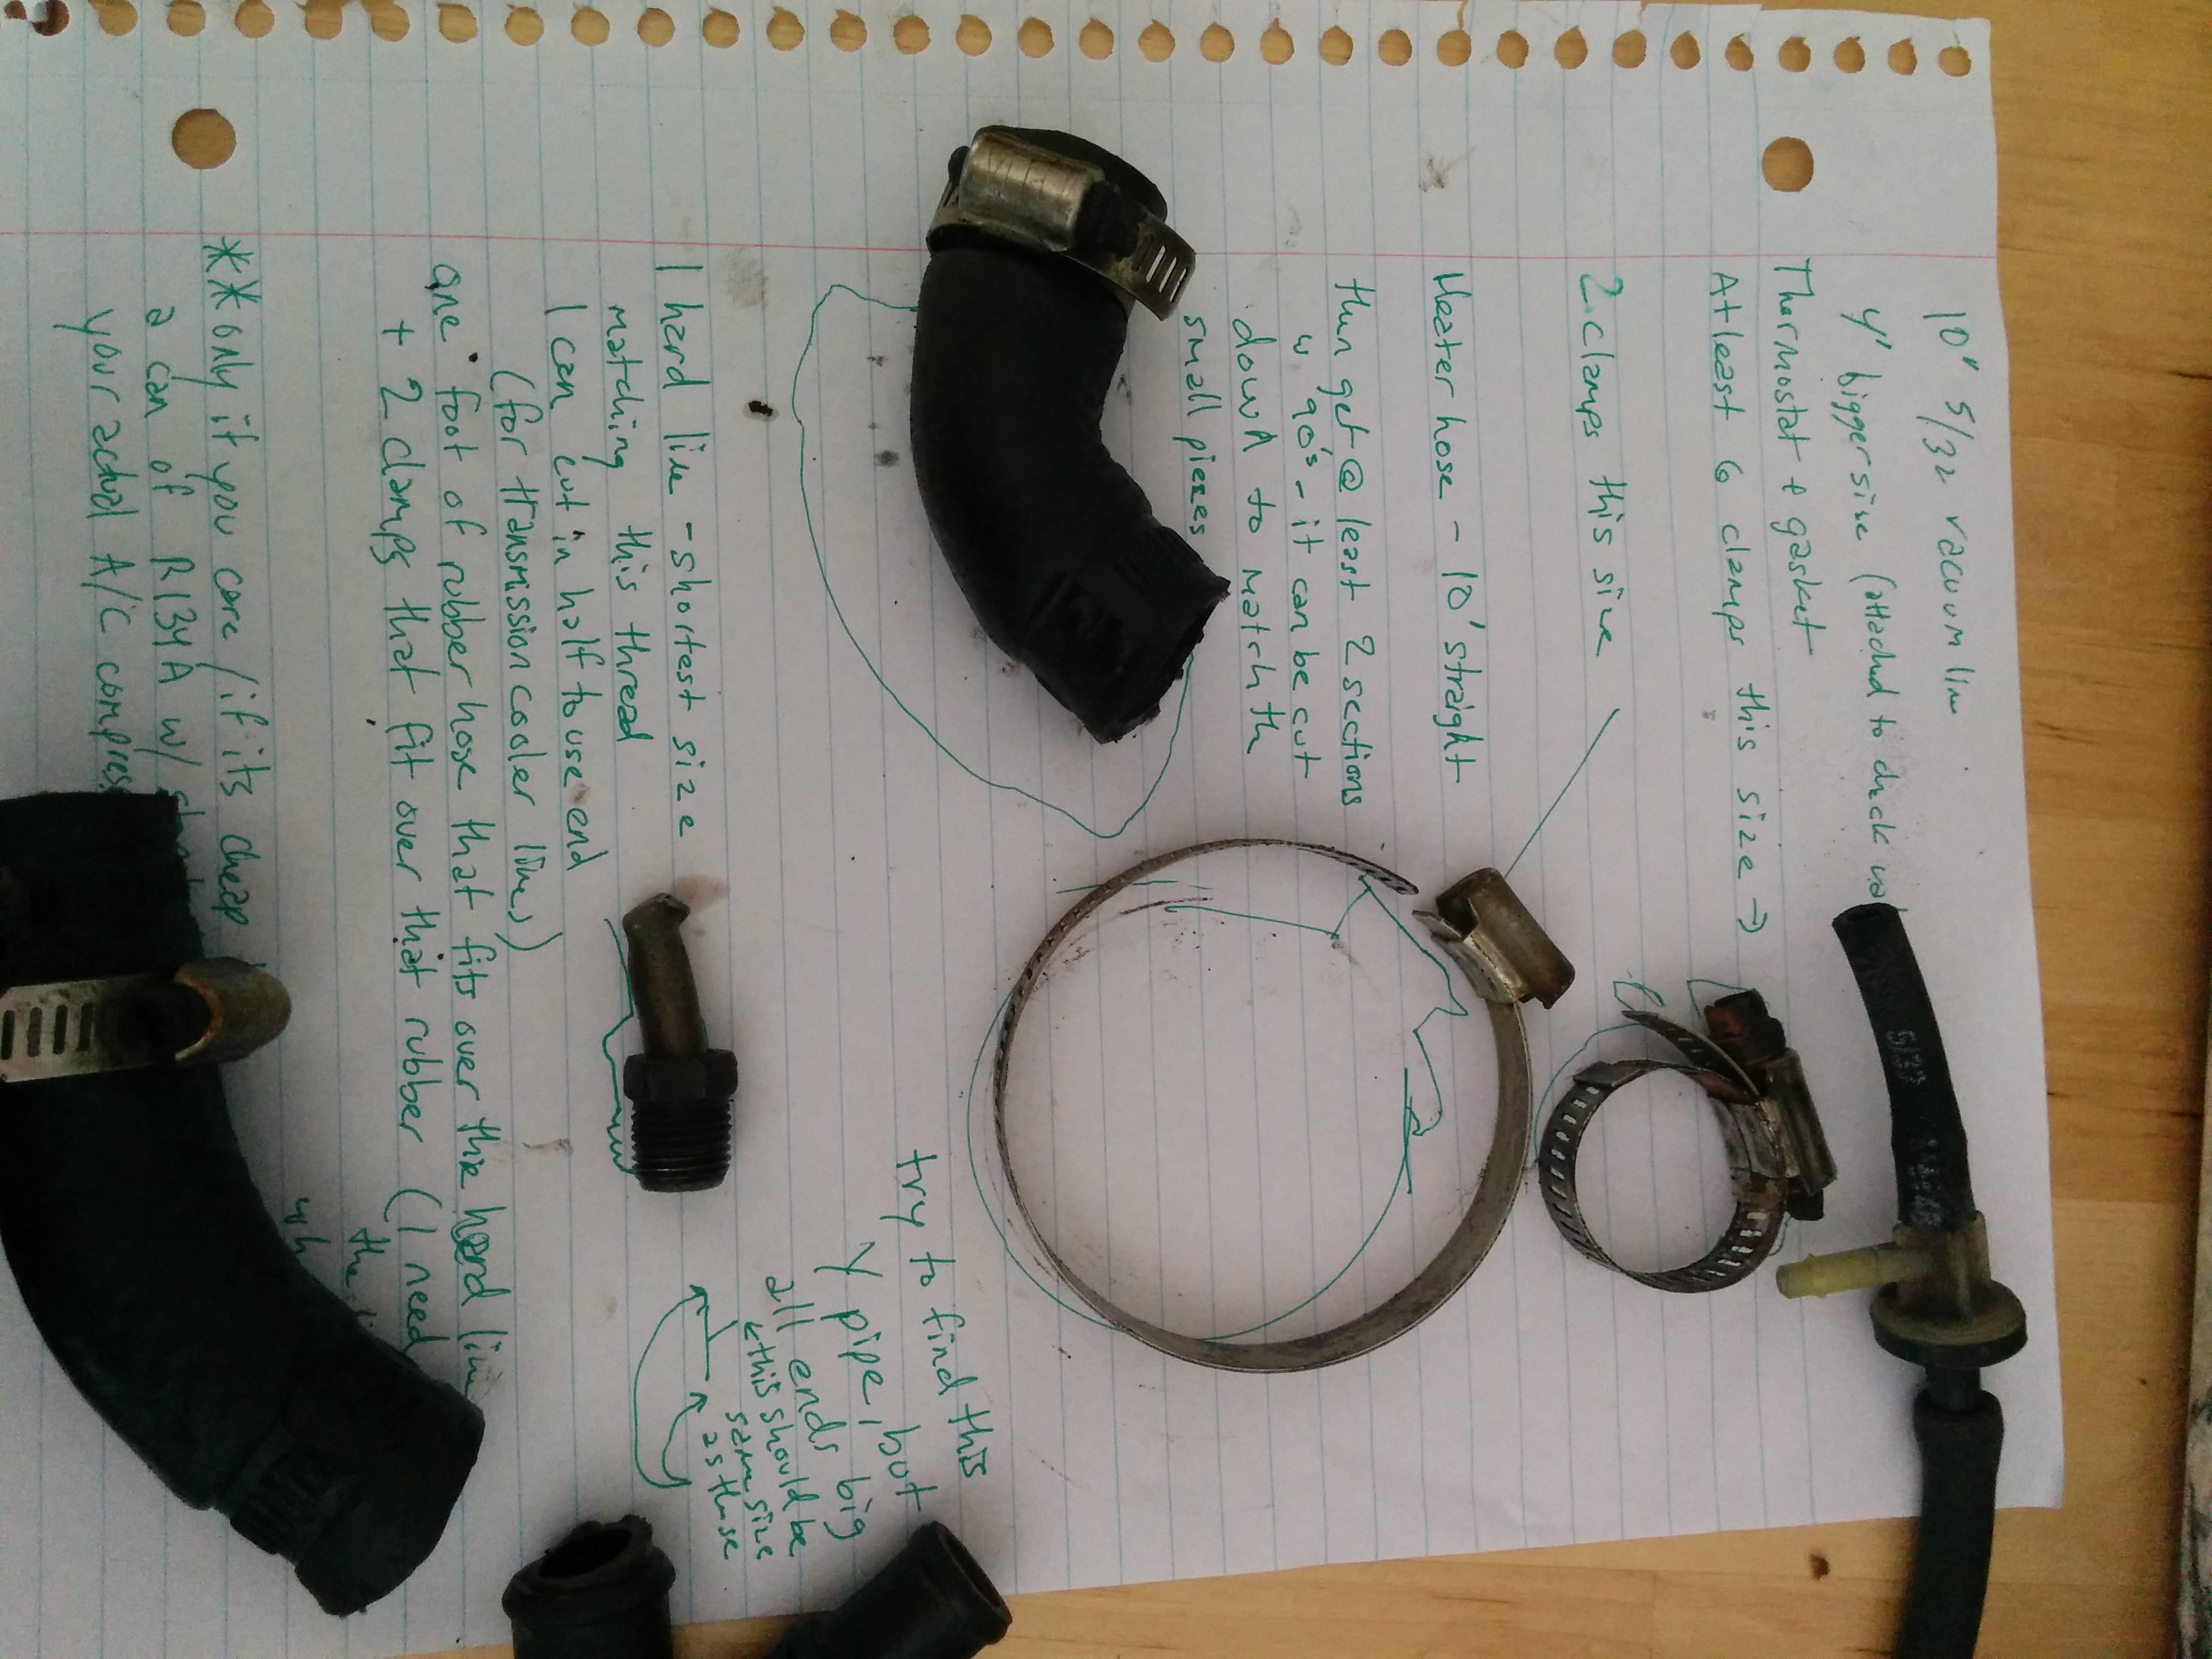
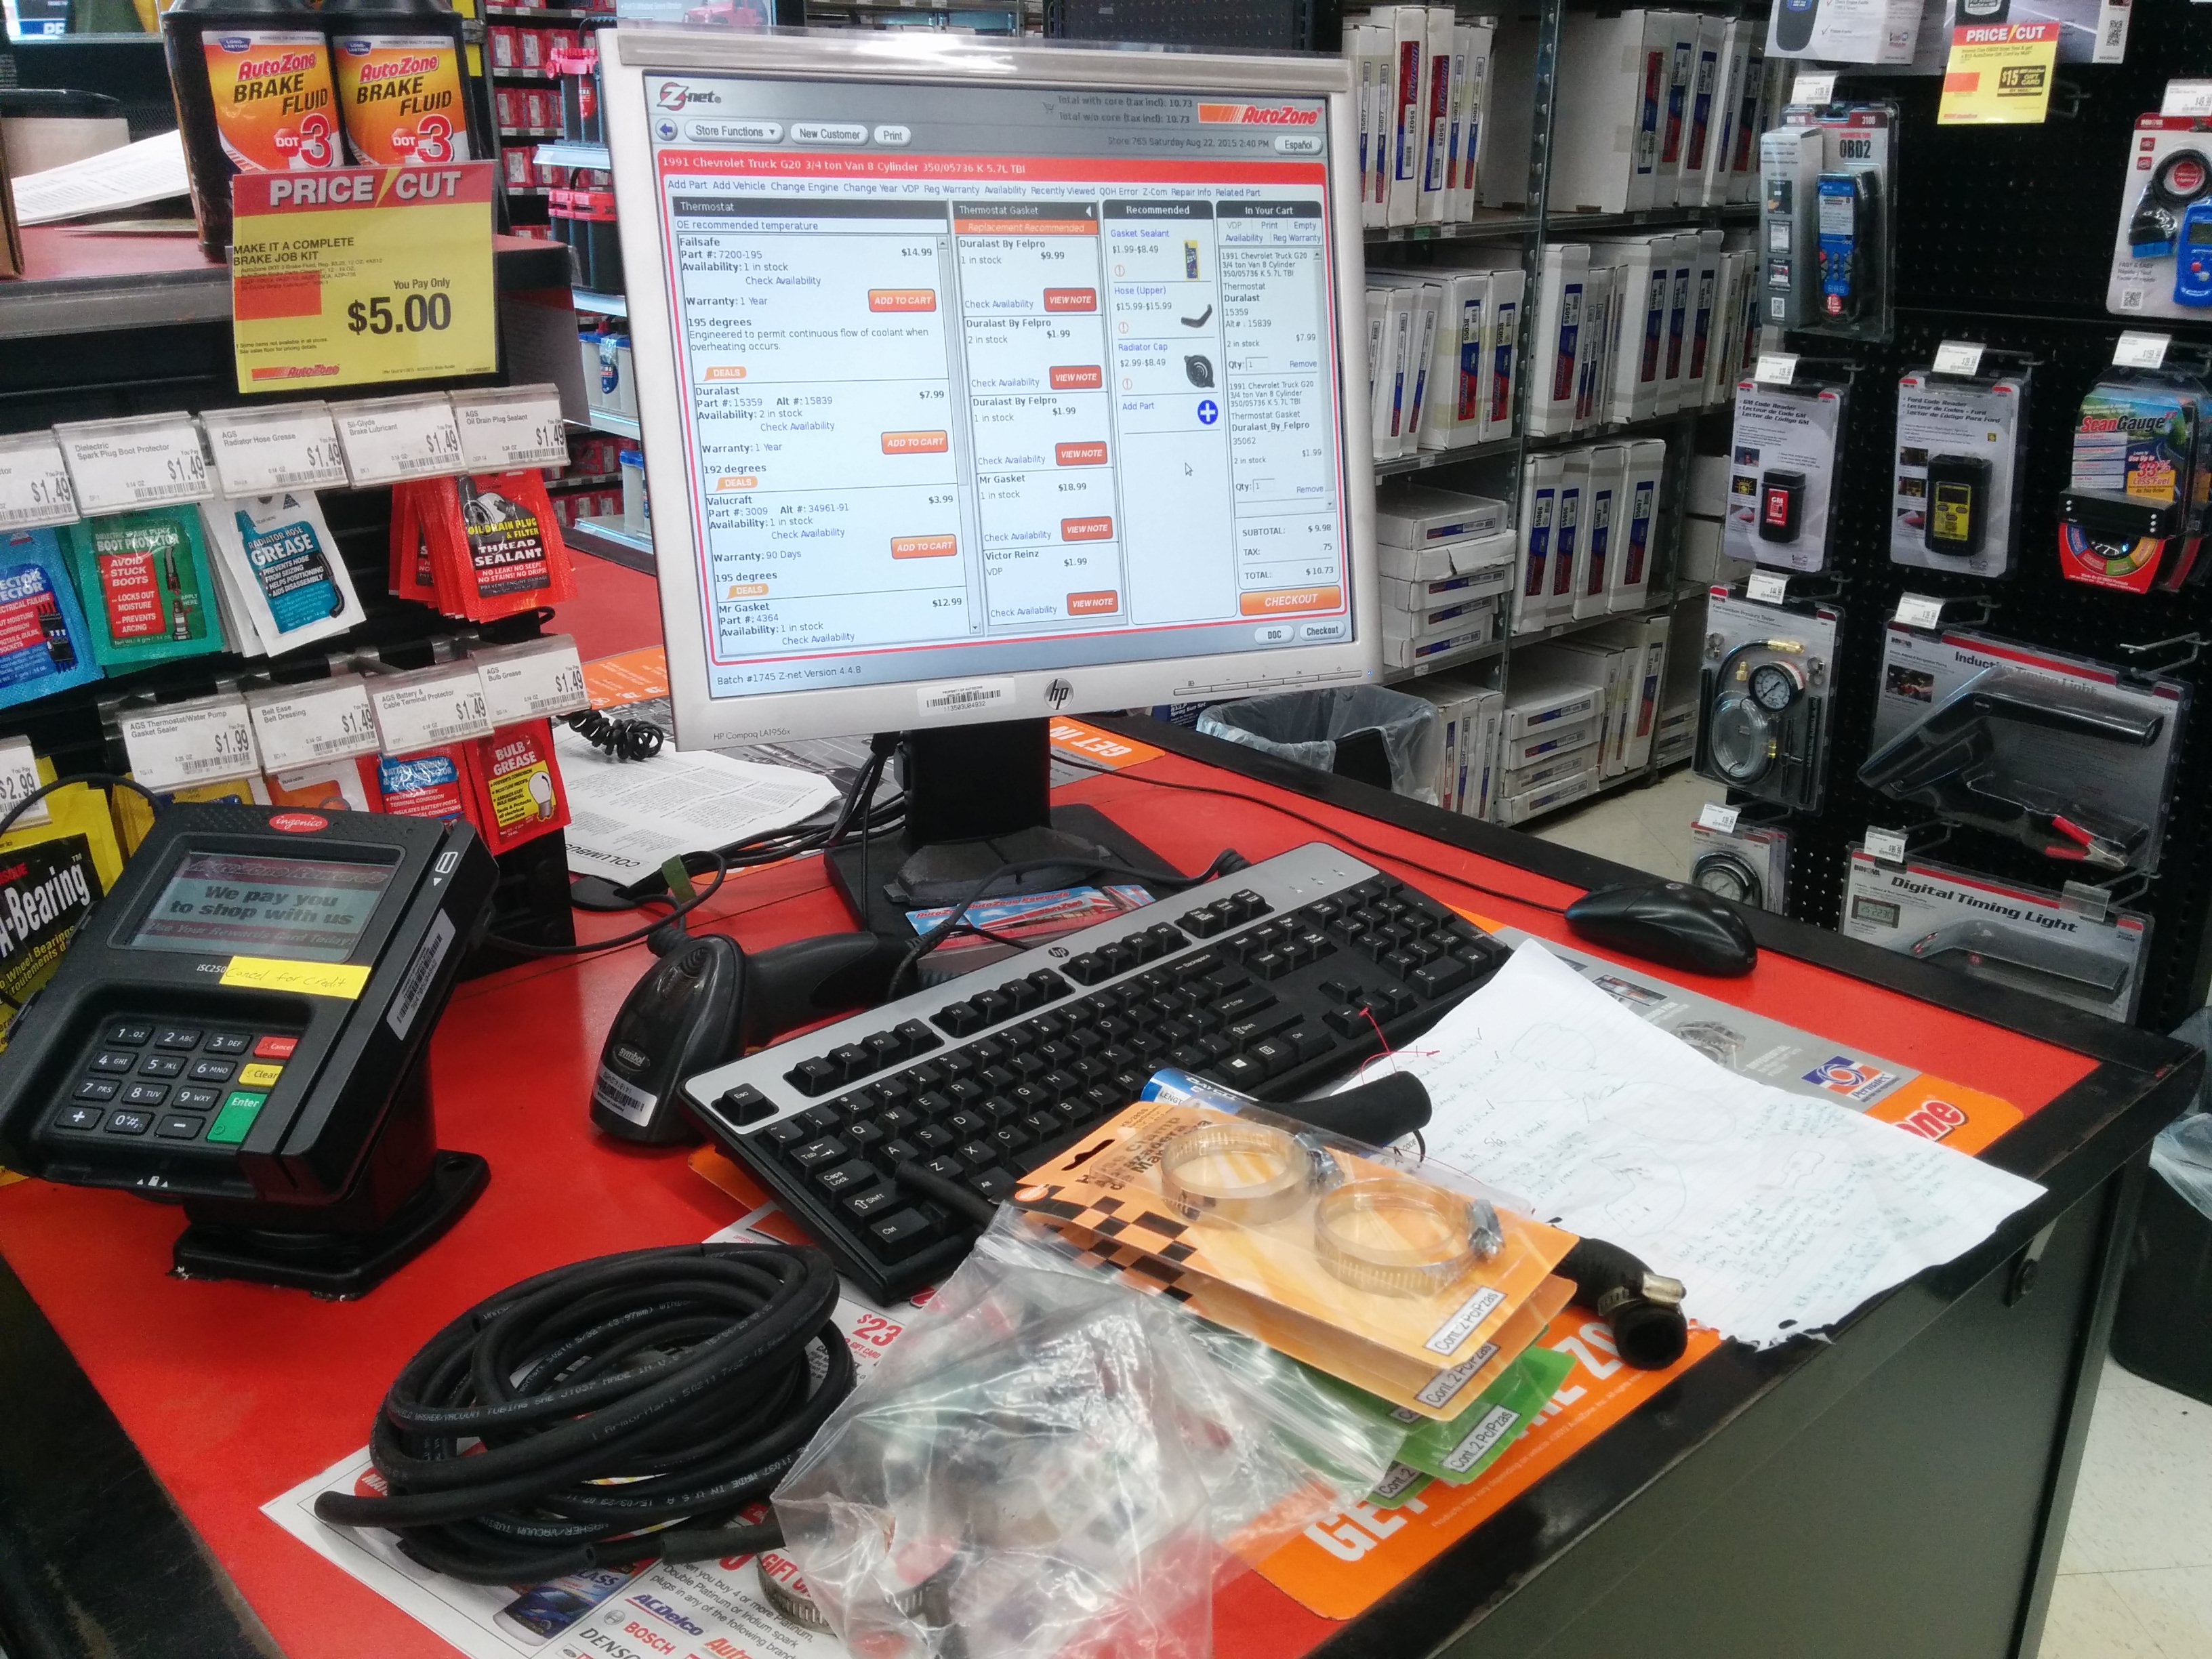
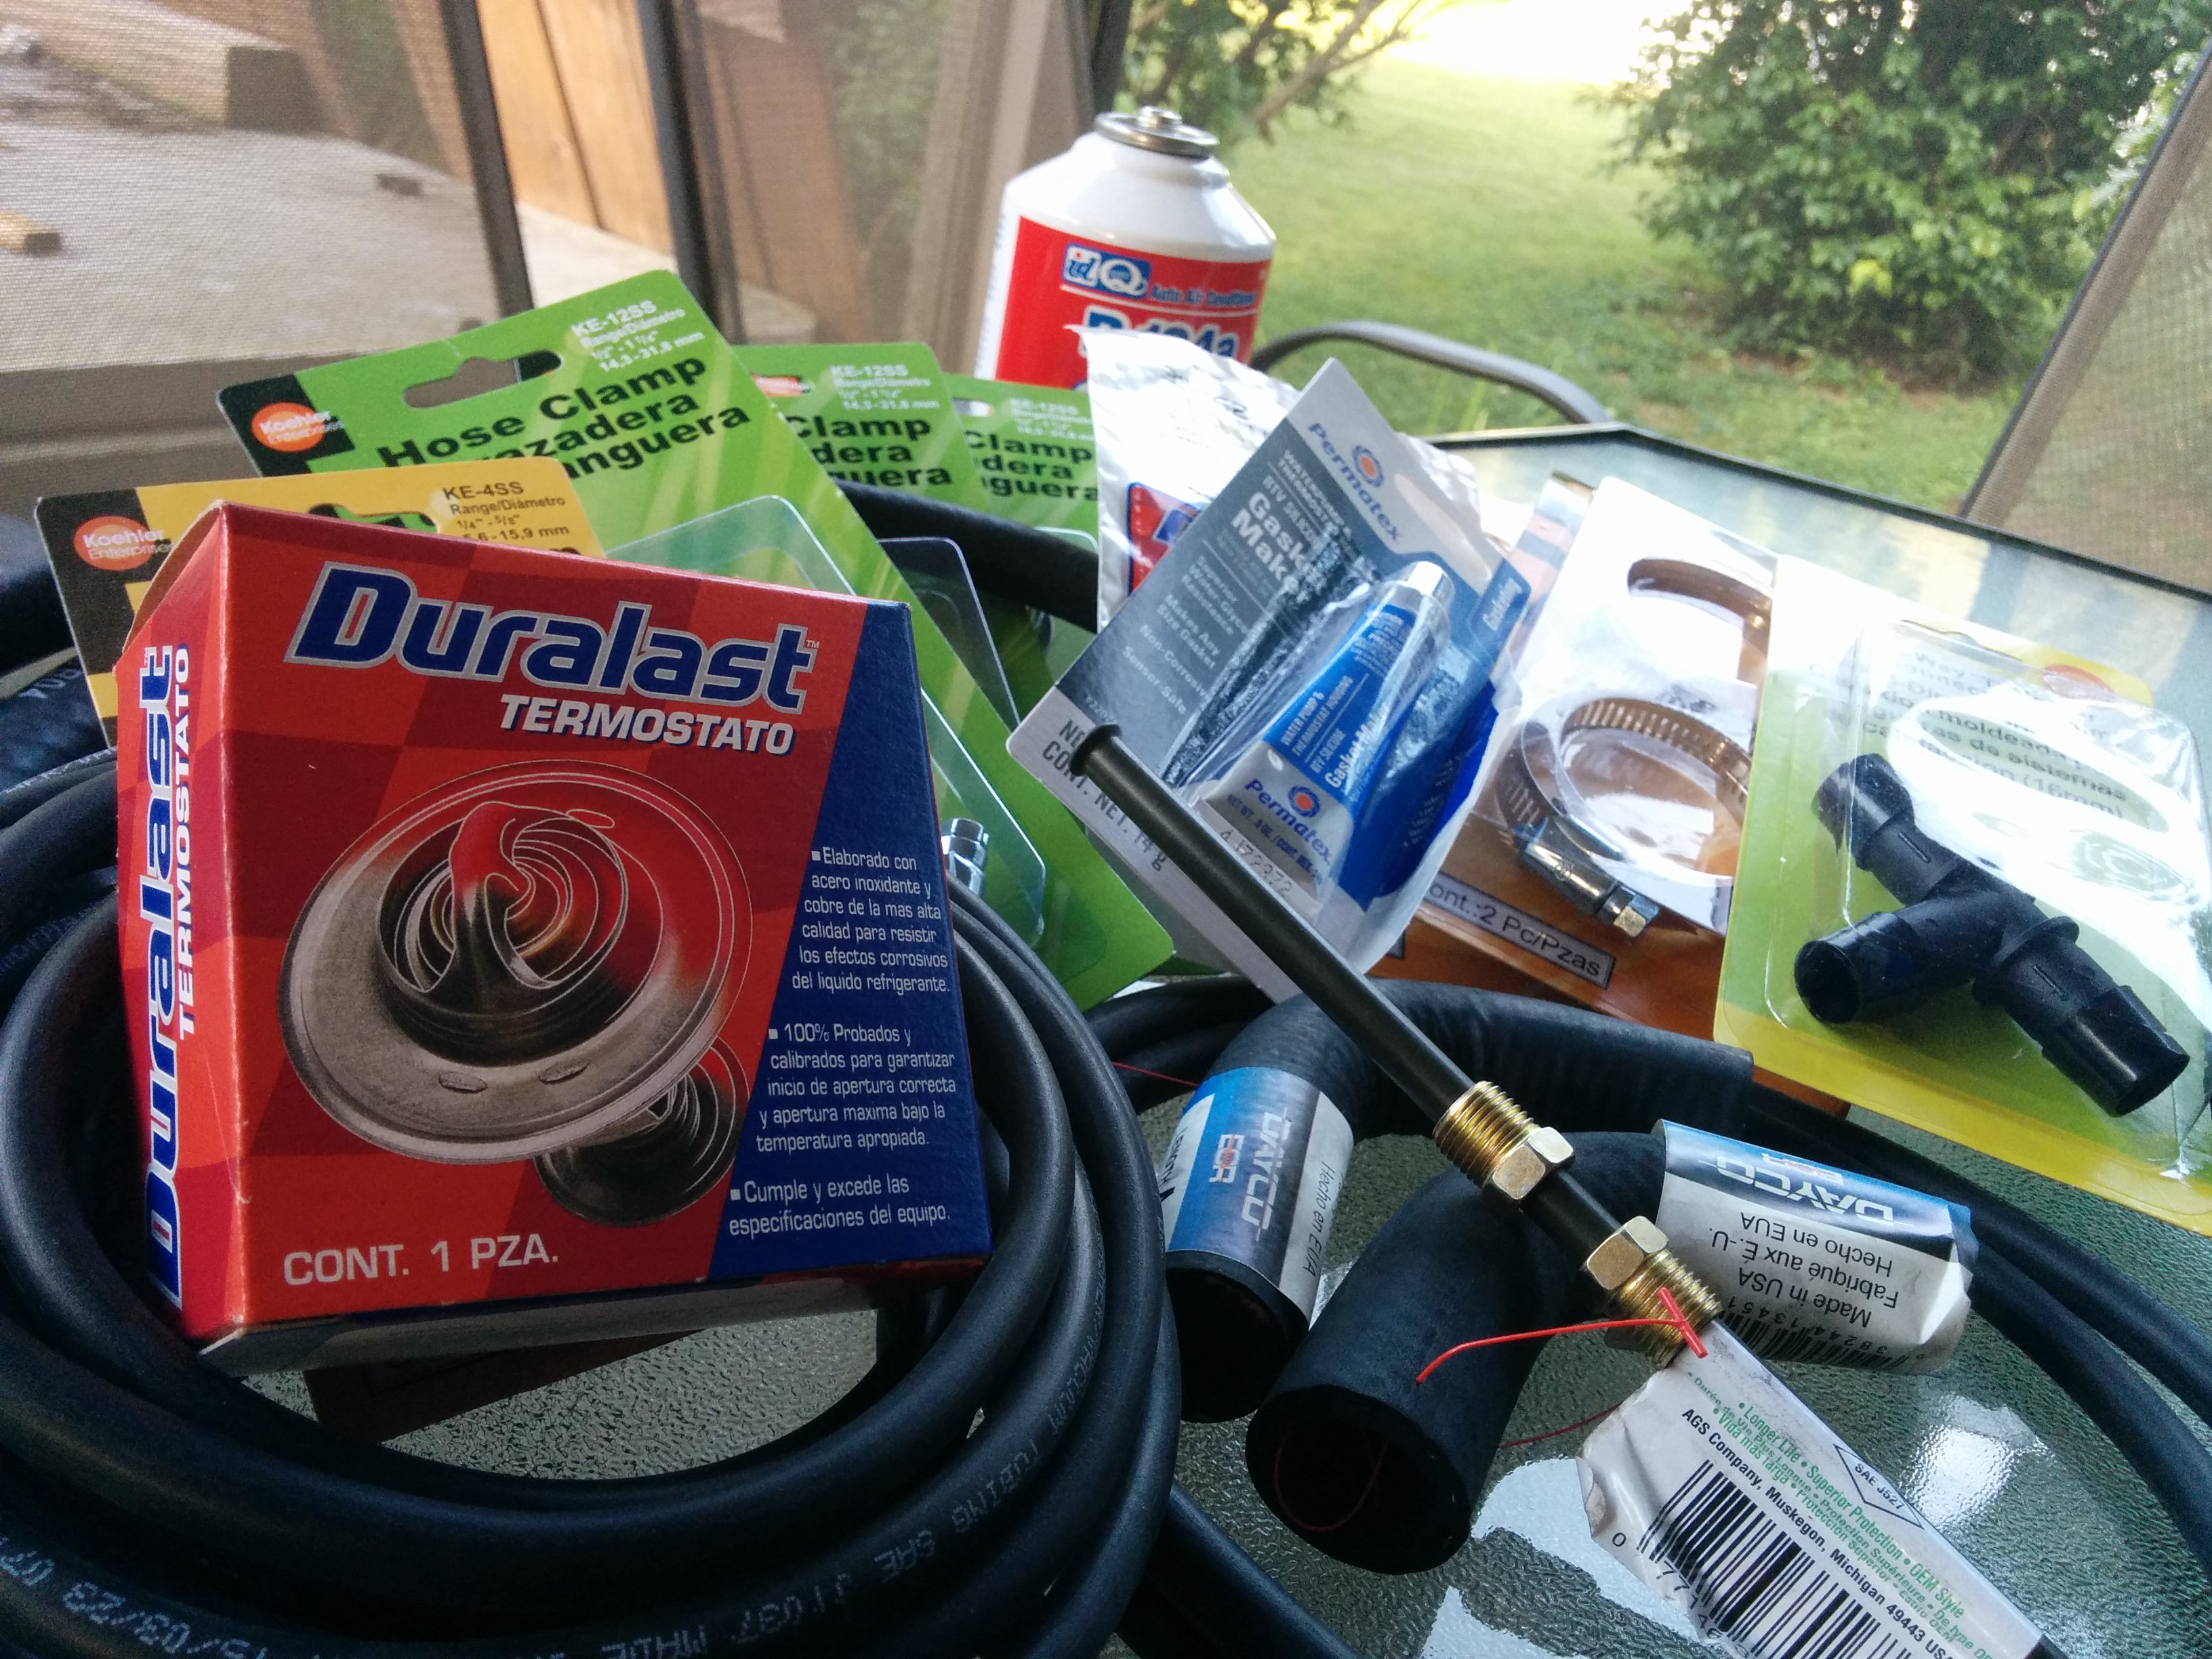
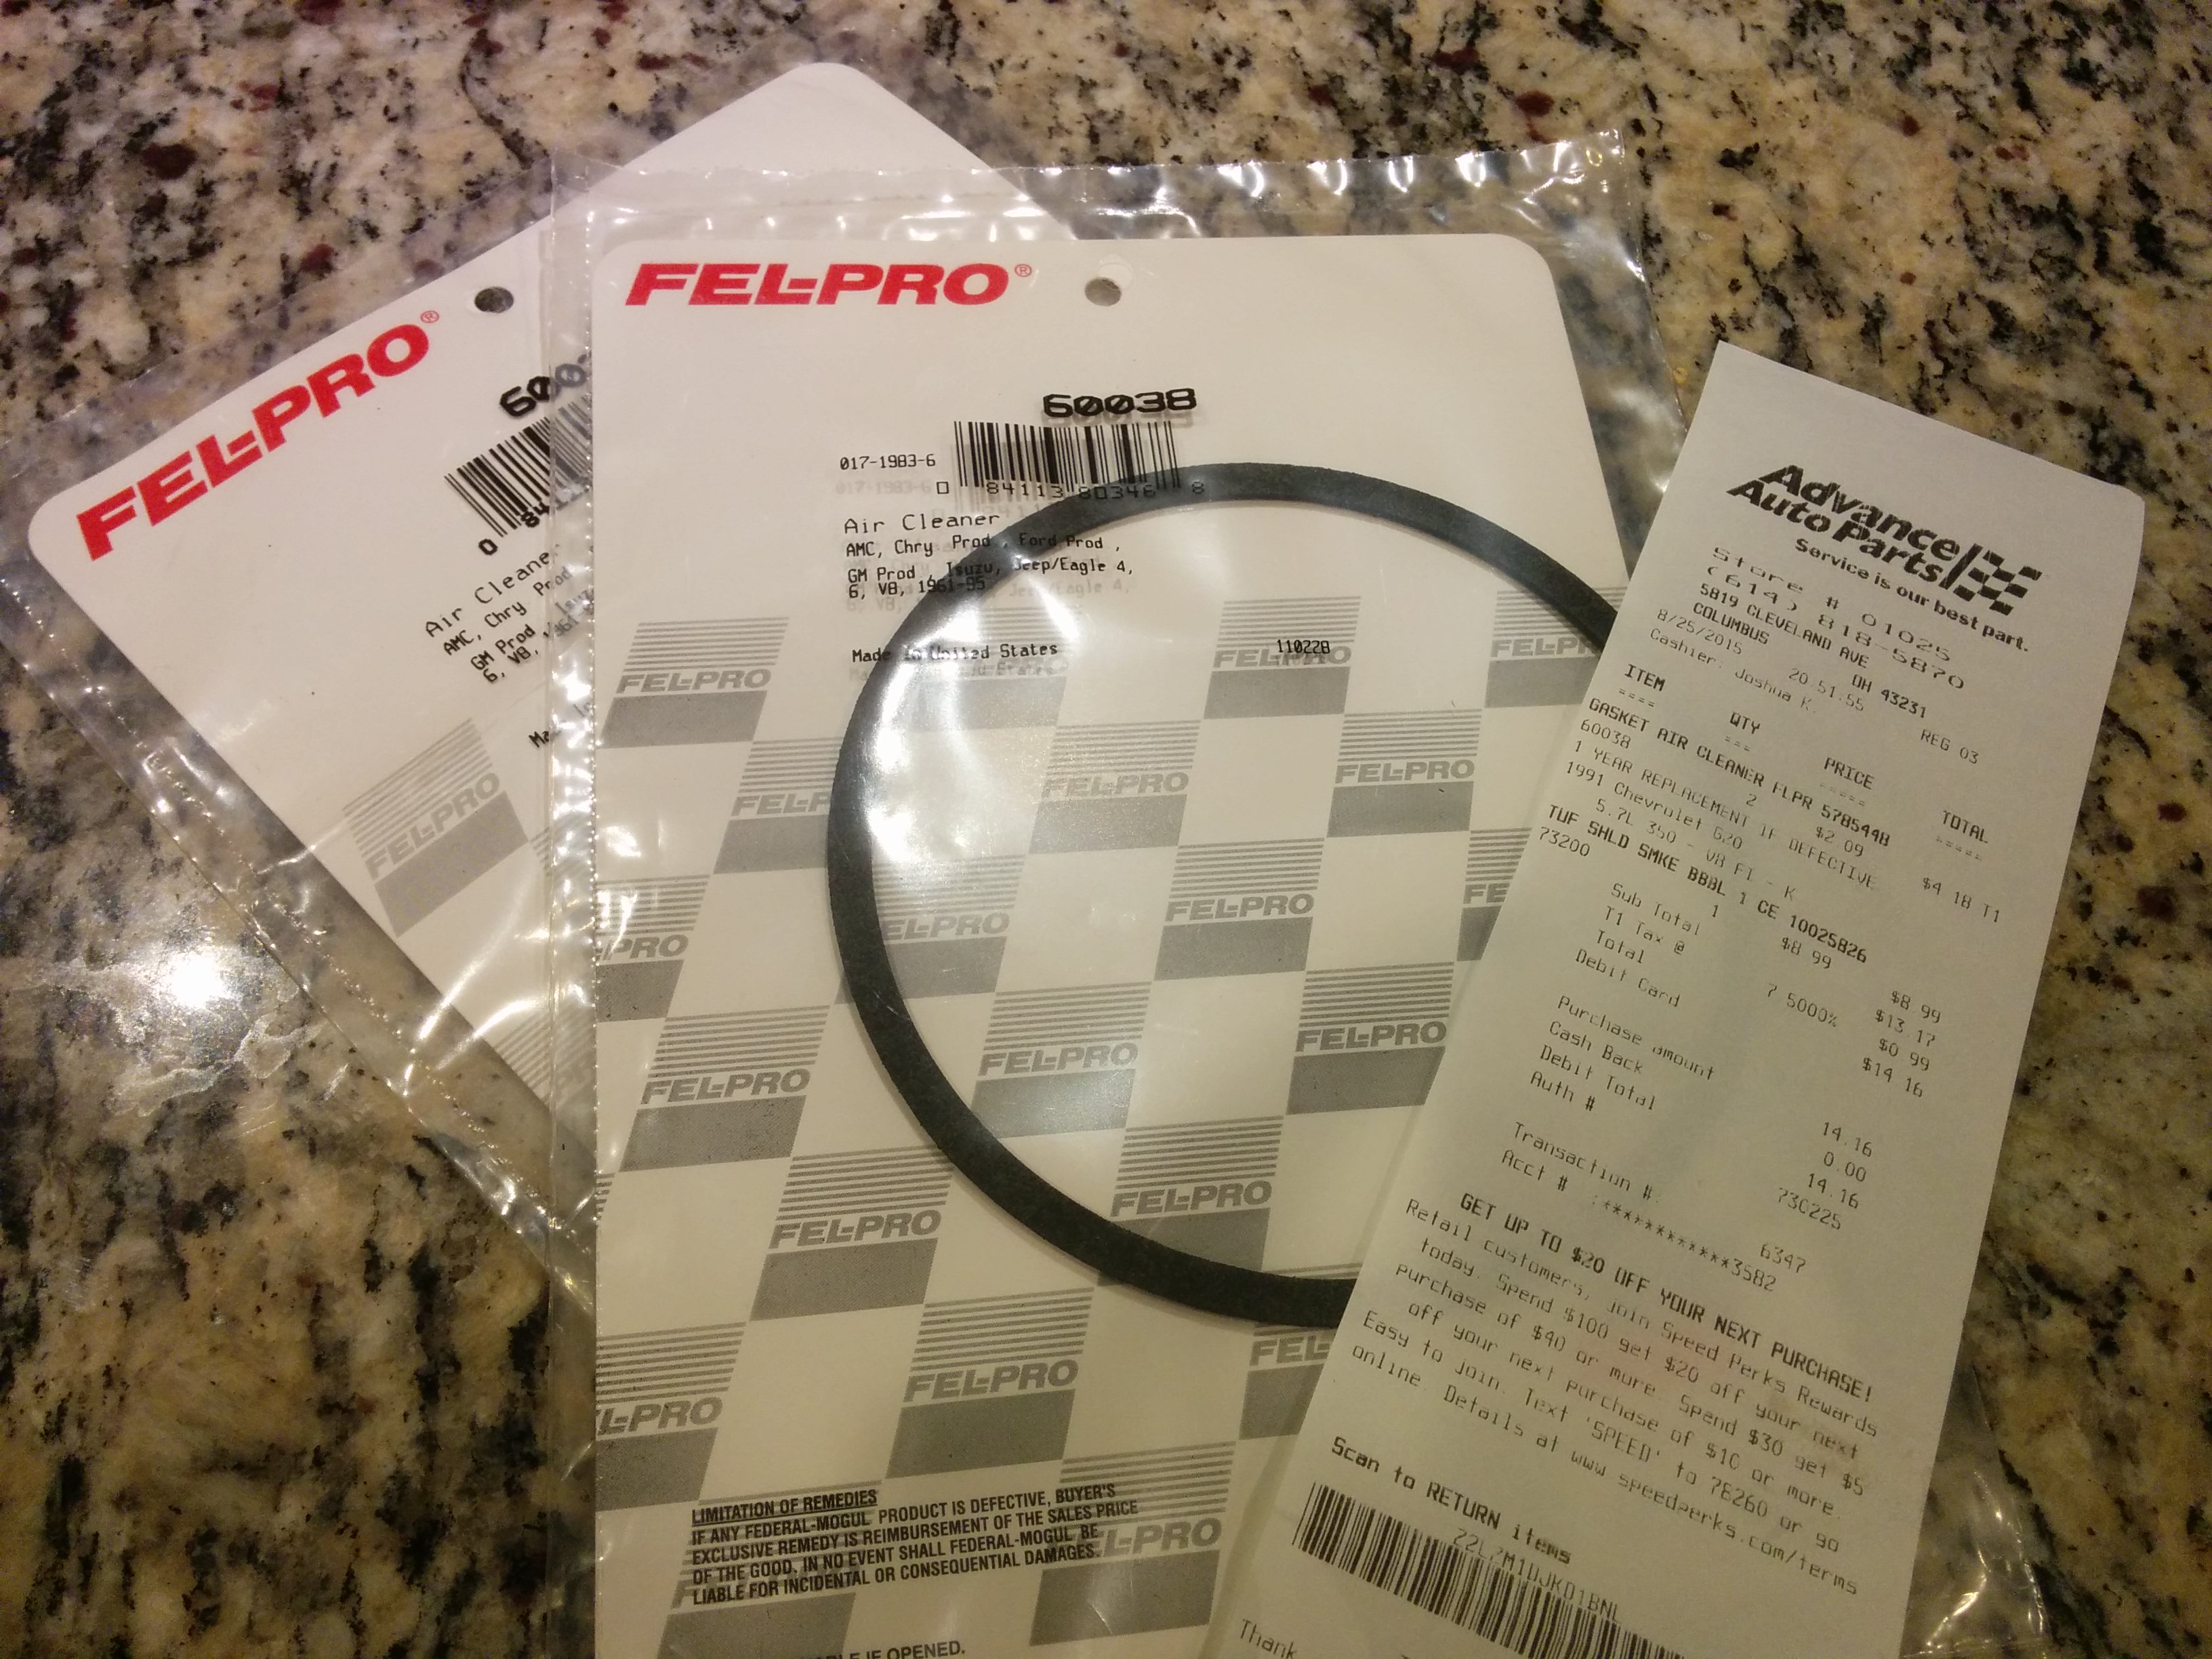
The first step was changing out most of the fluids (oil, coolant, etc). Since Chevy van parts are so cheap, and because the van was both old and high mileage, we would also pre-emptively replace some common wear items (like sensors) or things that looked about to age out of existence (rubber hoses, gaskets). I was given a shopping list and sent to Menard’s.
Supply Run
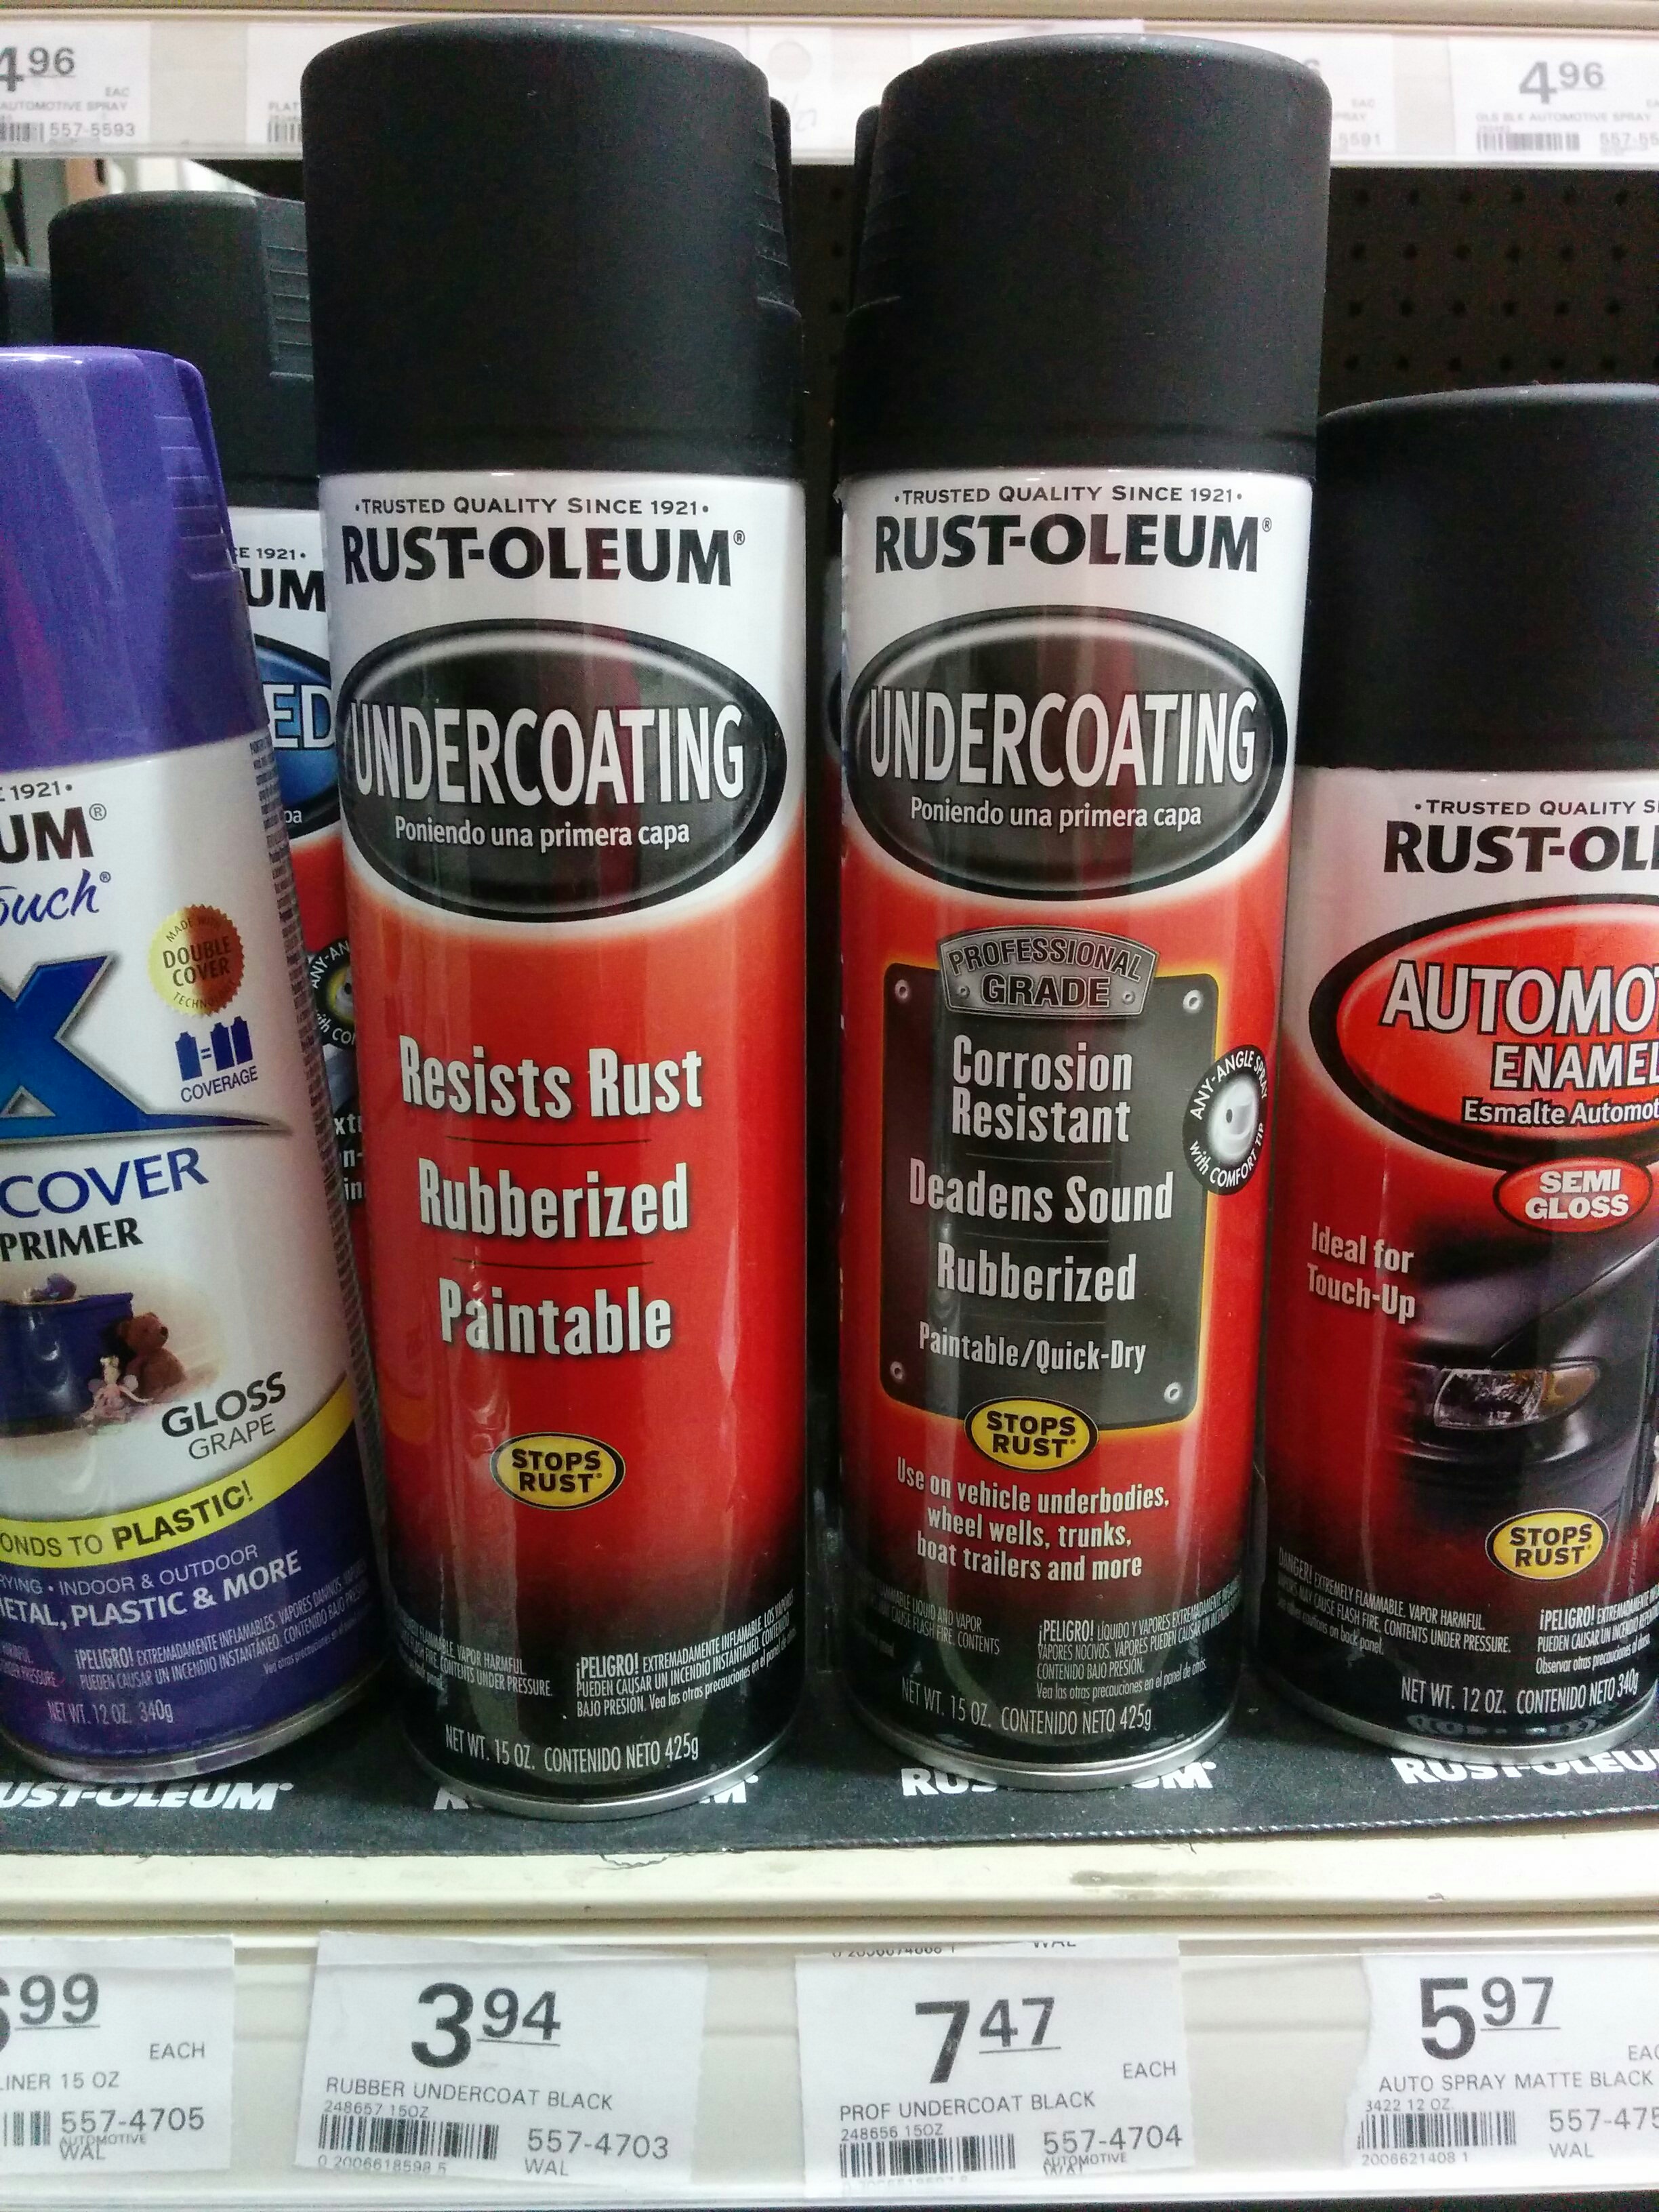
Why does the pro cost twice as much?
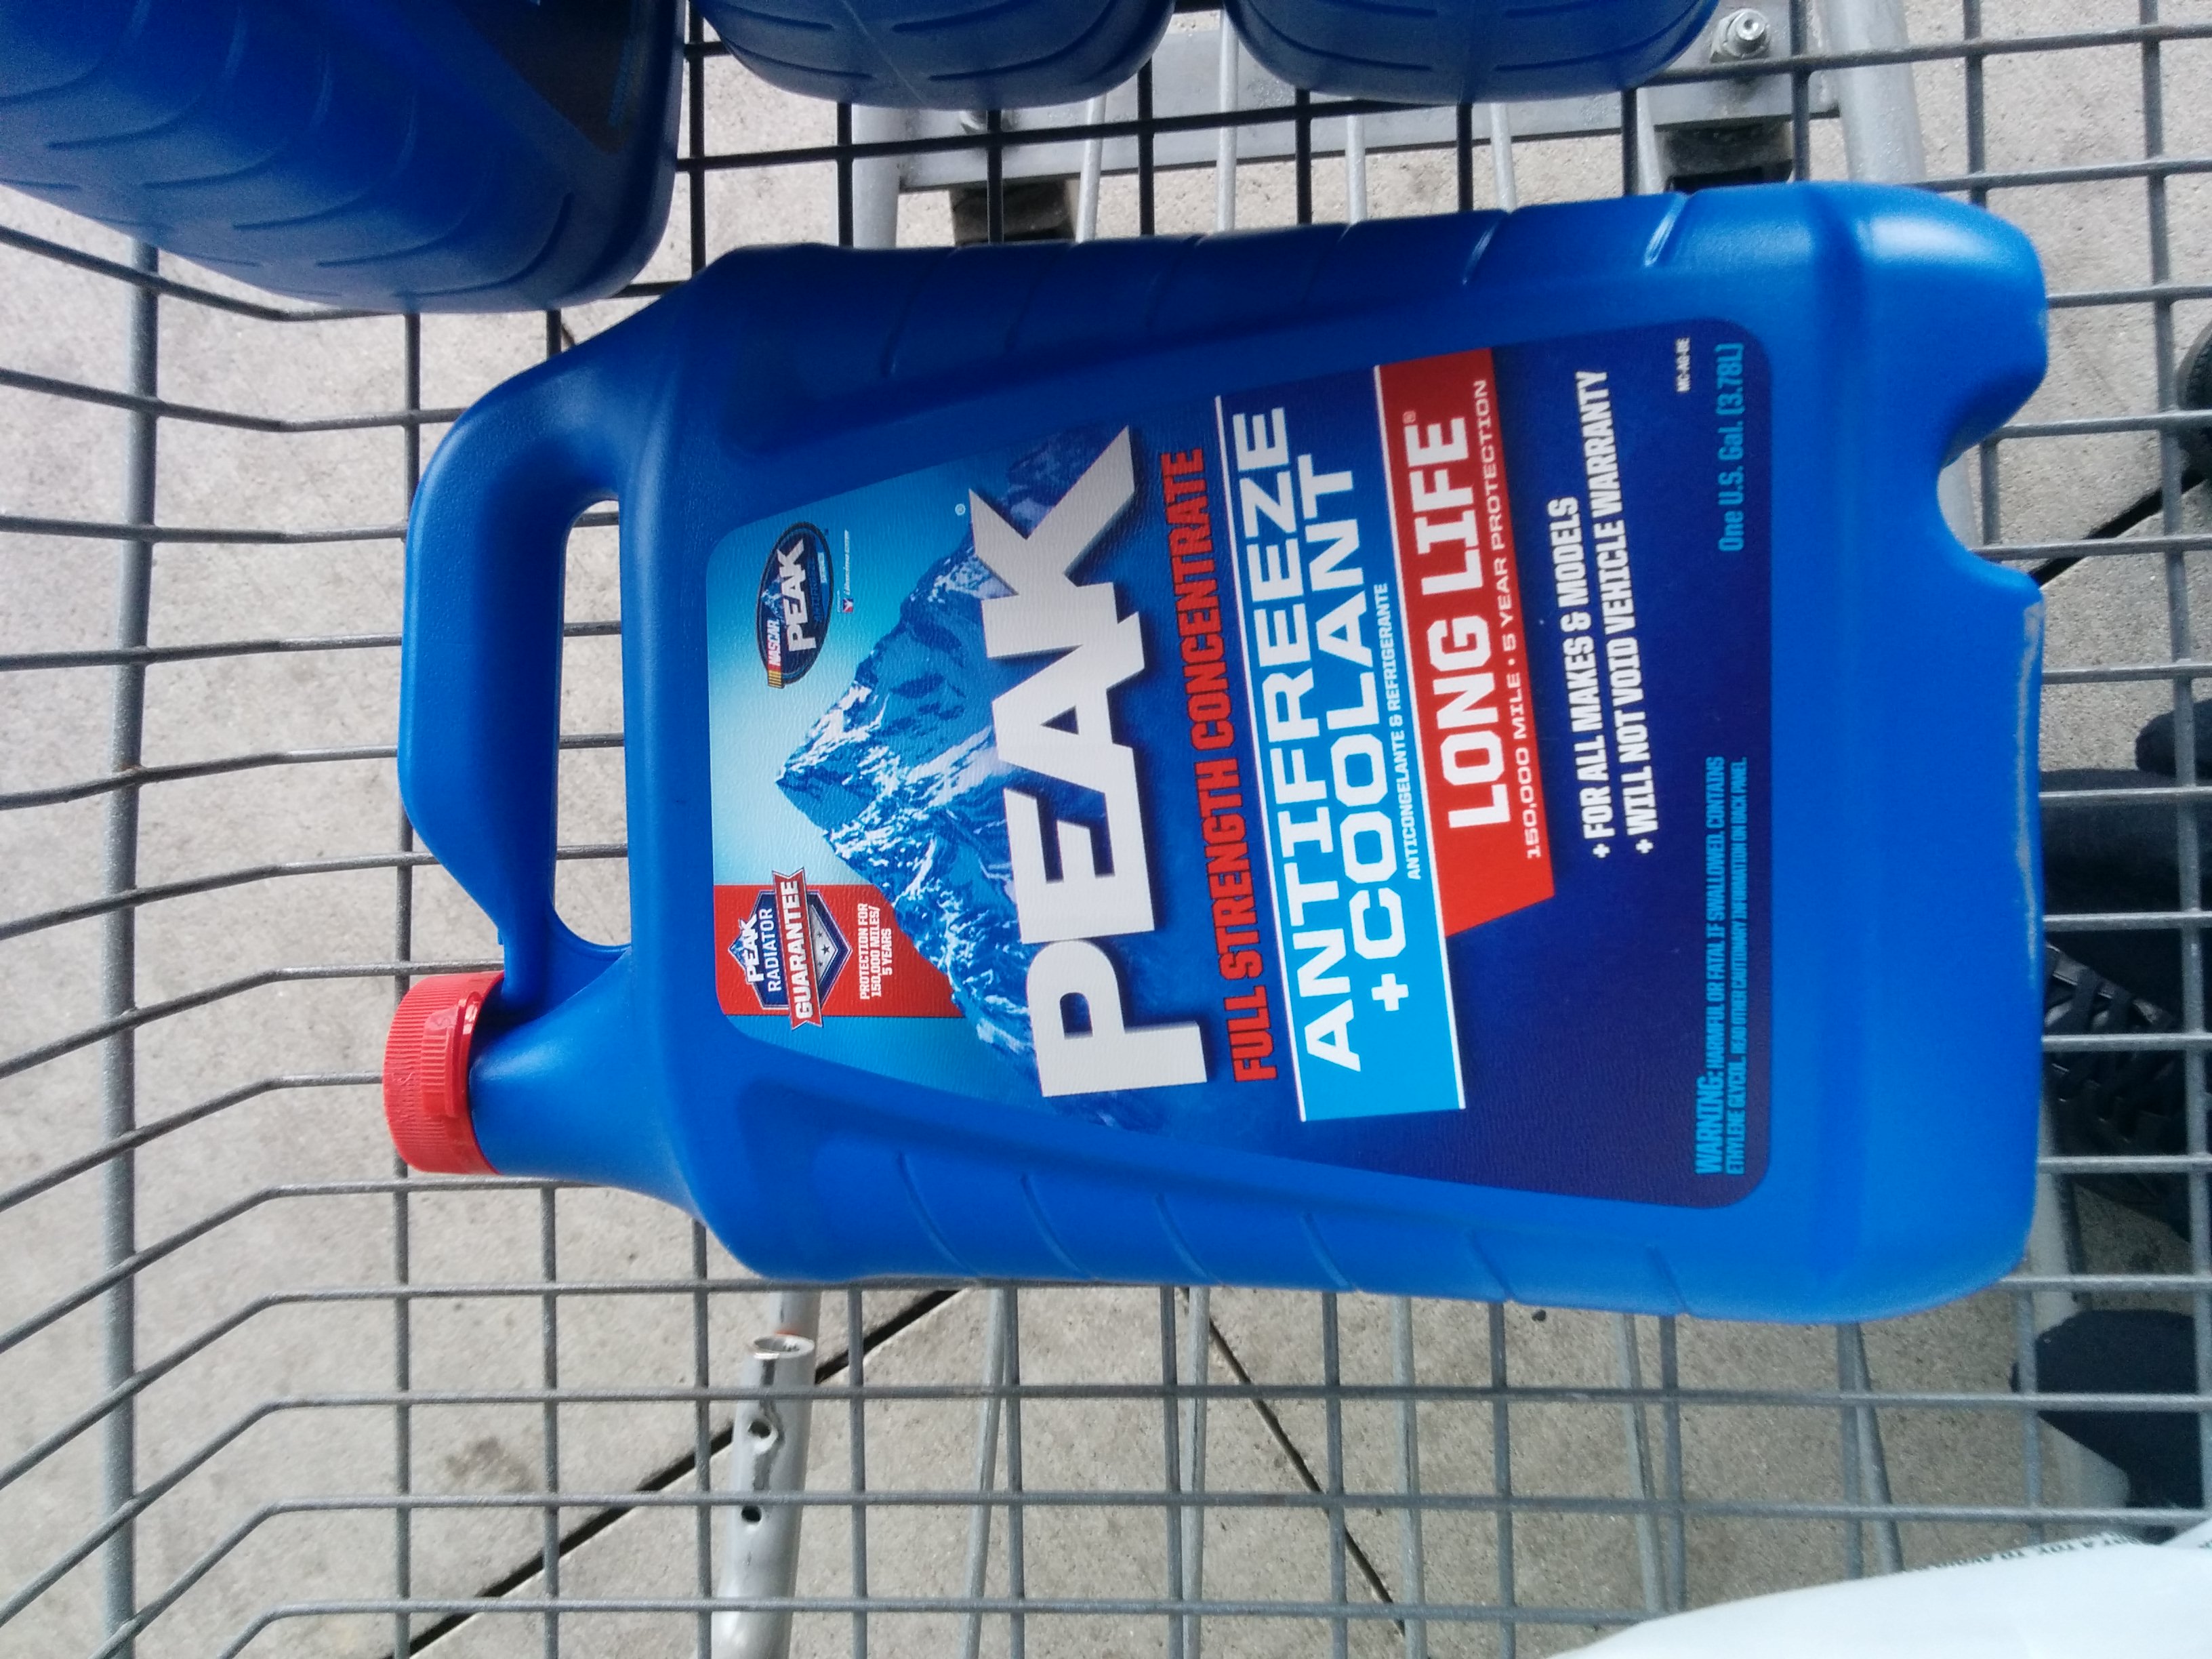
The first of that day’s TILs was that different cars use different coolants. These are color coded (red, green, blue…) and come in practically every color on the pride flag. The compatible coolant types typically correlate to whether the recipient vehicle’s country of origin is Asian, European, American, or GM. But some can also take a universal coolant. Certain coolants can be mixed together and others…really can’t. (On the internet, I discovered alarming statements such as: “When mixed together they form a thick, jelly-like substance that stops all coolant flow, leading to overheating and destruction of the engine.”)
Coolant comes either pre-diluted or un-diluted. It is cheaper to get the un-diluted, so I would get distilled water and we would dilute it ourselves (especially since Iron Van needed so much of it…). It’s a simple 50/50 ratio so nothing too complicated.
The second TIL was that older engines like a slightly thicker oil. Oil viscosity is usually written as two numbers, separated by a “W.” The number before the W indicates the oil’s viscosity at 0°F and the number after the W indicates the viscosity at 100F. I got “10W-40” for my van.
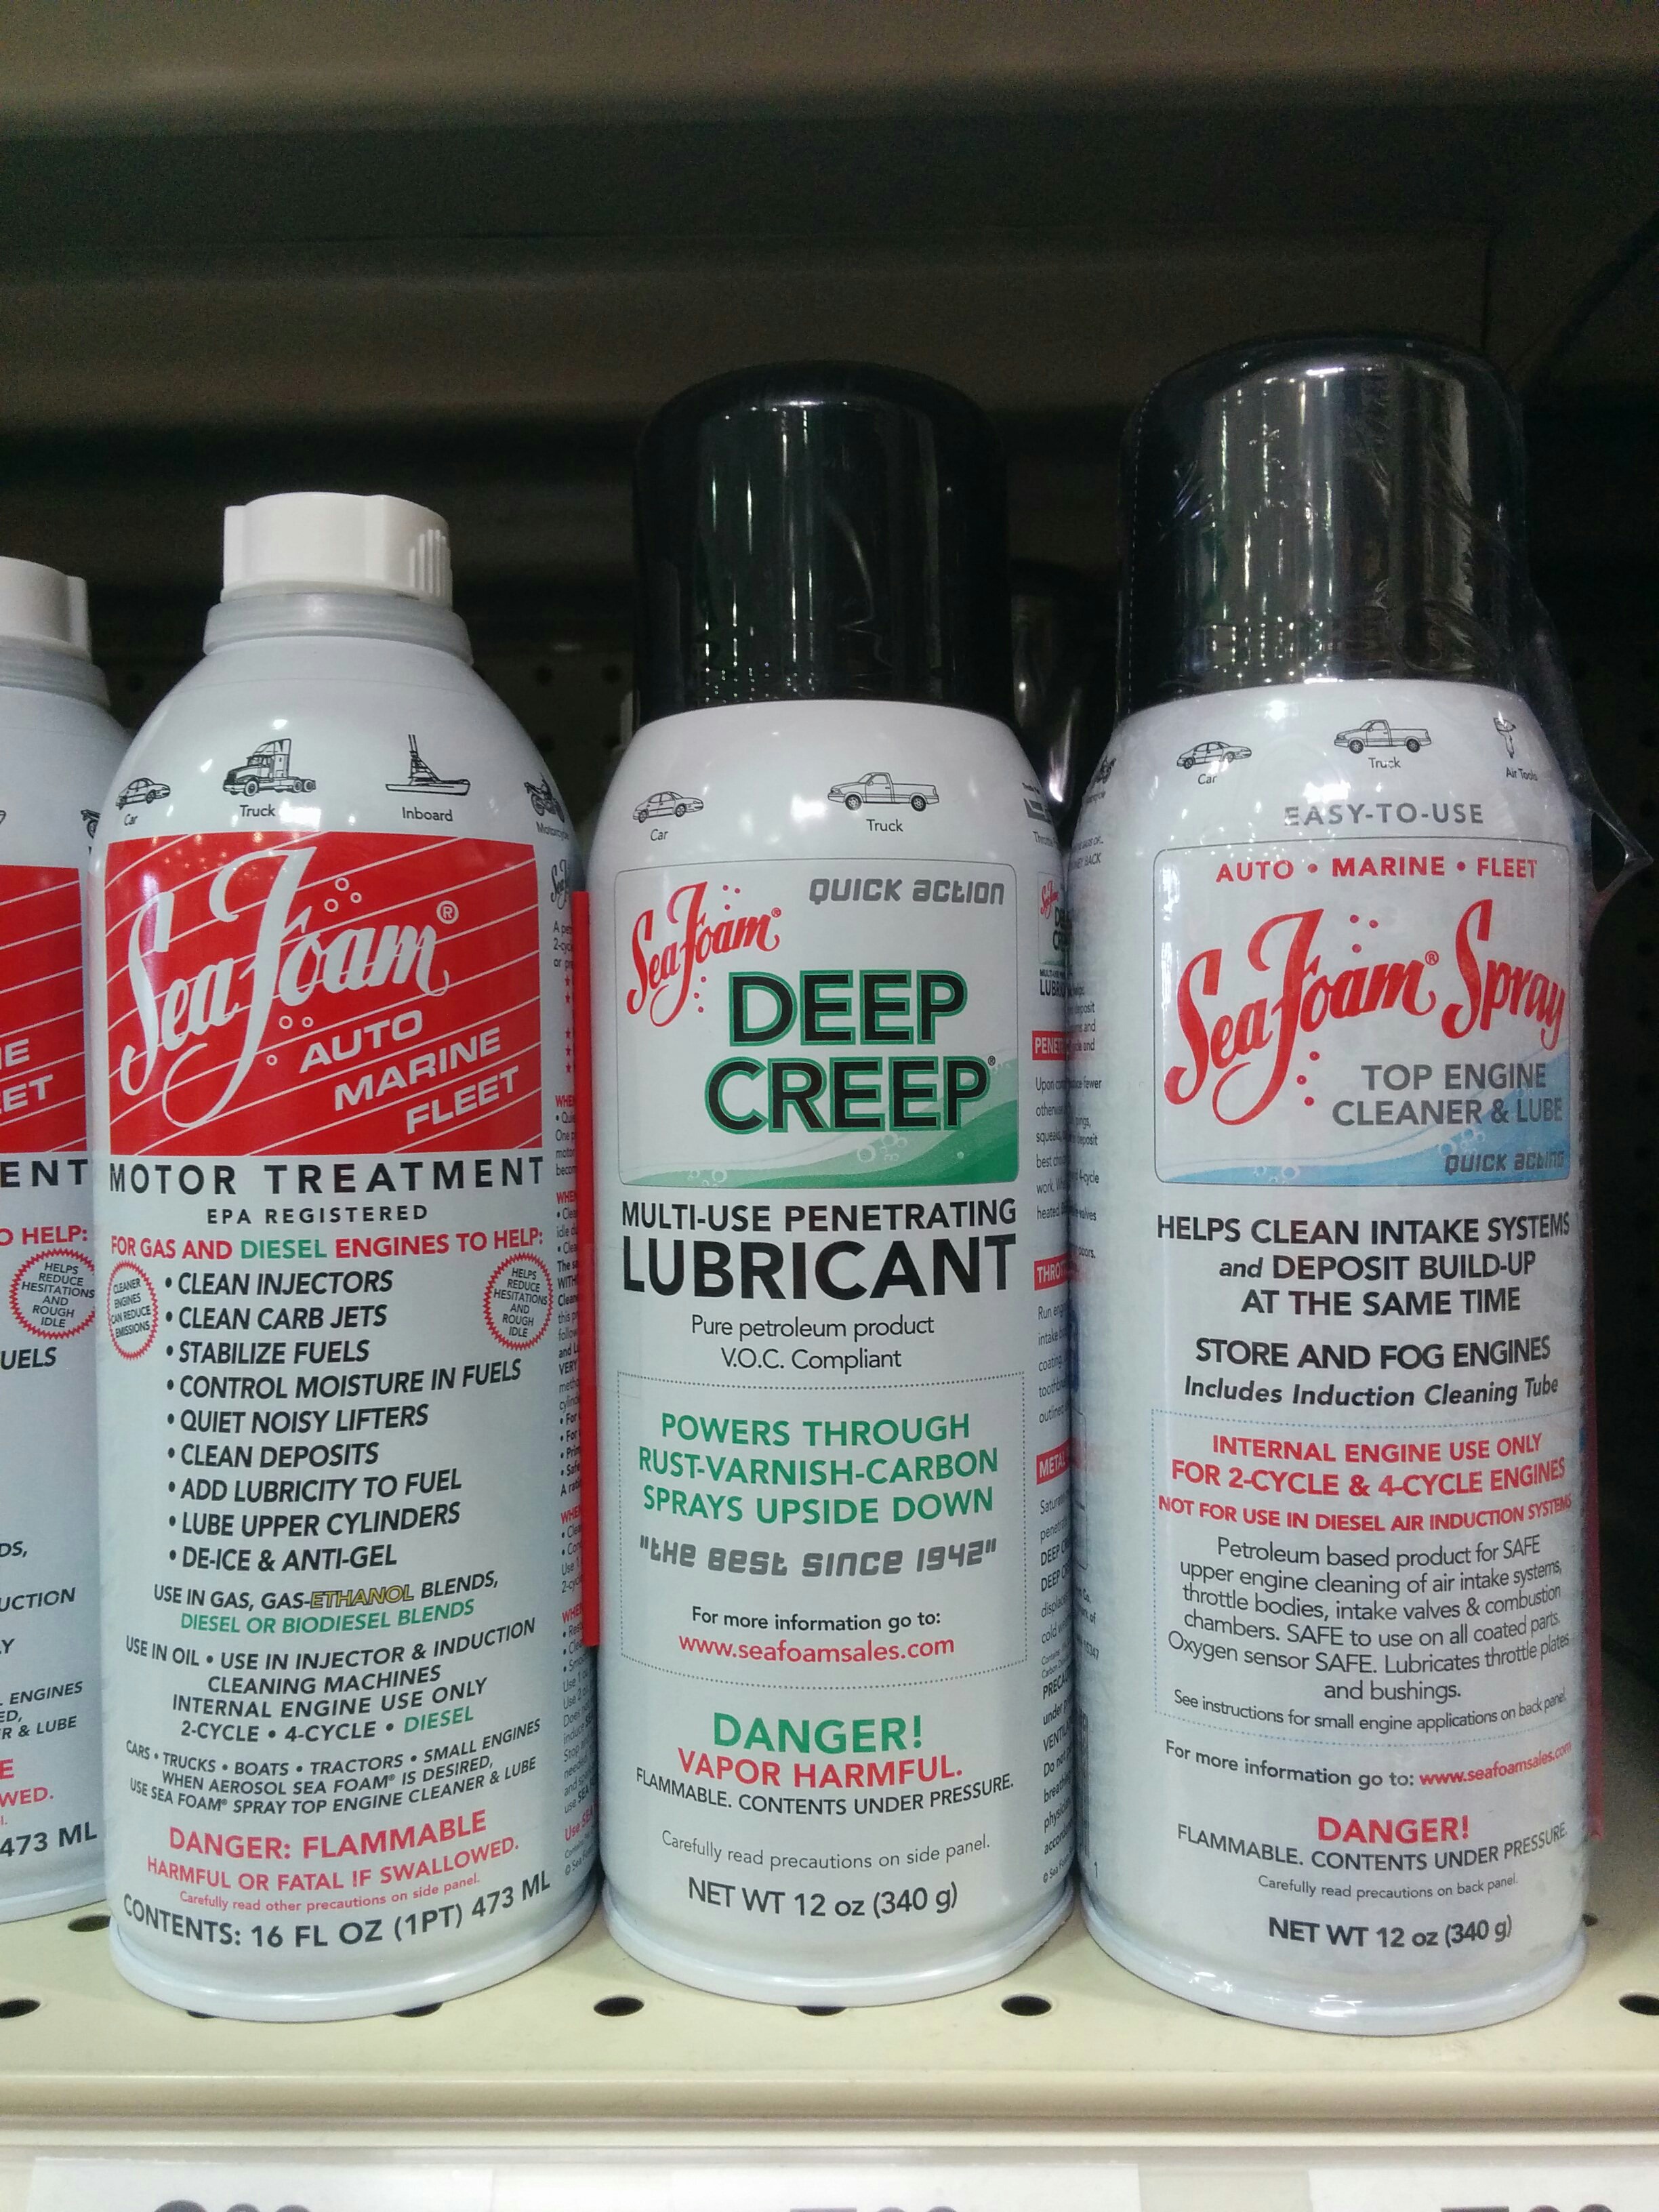
My first time purchasing Seafoam!
Finally, I had procured all the necessary fluids for my van (and myself).
Oil Change
There are no photos of this because it was a disaster. These vans are usually quite simple to change the oil on. So rather than watch the process passively from the side, I asked to be guided through doing it myself.
I was set up with an oil pan, ratchet, etc. But as much as I wriggled and wrenched, I couldn’t get the oil filter off. Feeling underpowered, I let Garrett have a try. Well, he couldn’t get it off either (LOL). After a chain of escalations the filter was finally pried off, but it was quite mangled and Garrett and the ground were both covered in oil. :( He does countless oil changes per year and this one was the worst he’d had in quite some time. Apparently this is a common issue with oil changes done in oil lube shops because the lazier employees will use power tools to put the oil filter back on with waaay too much more force.
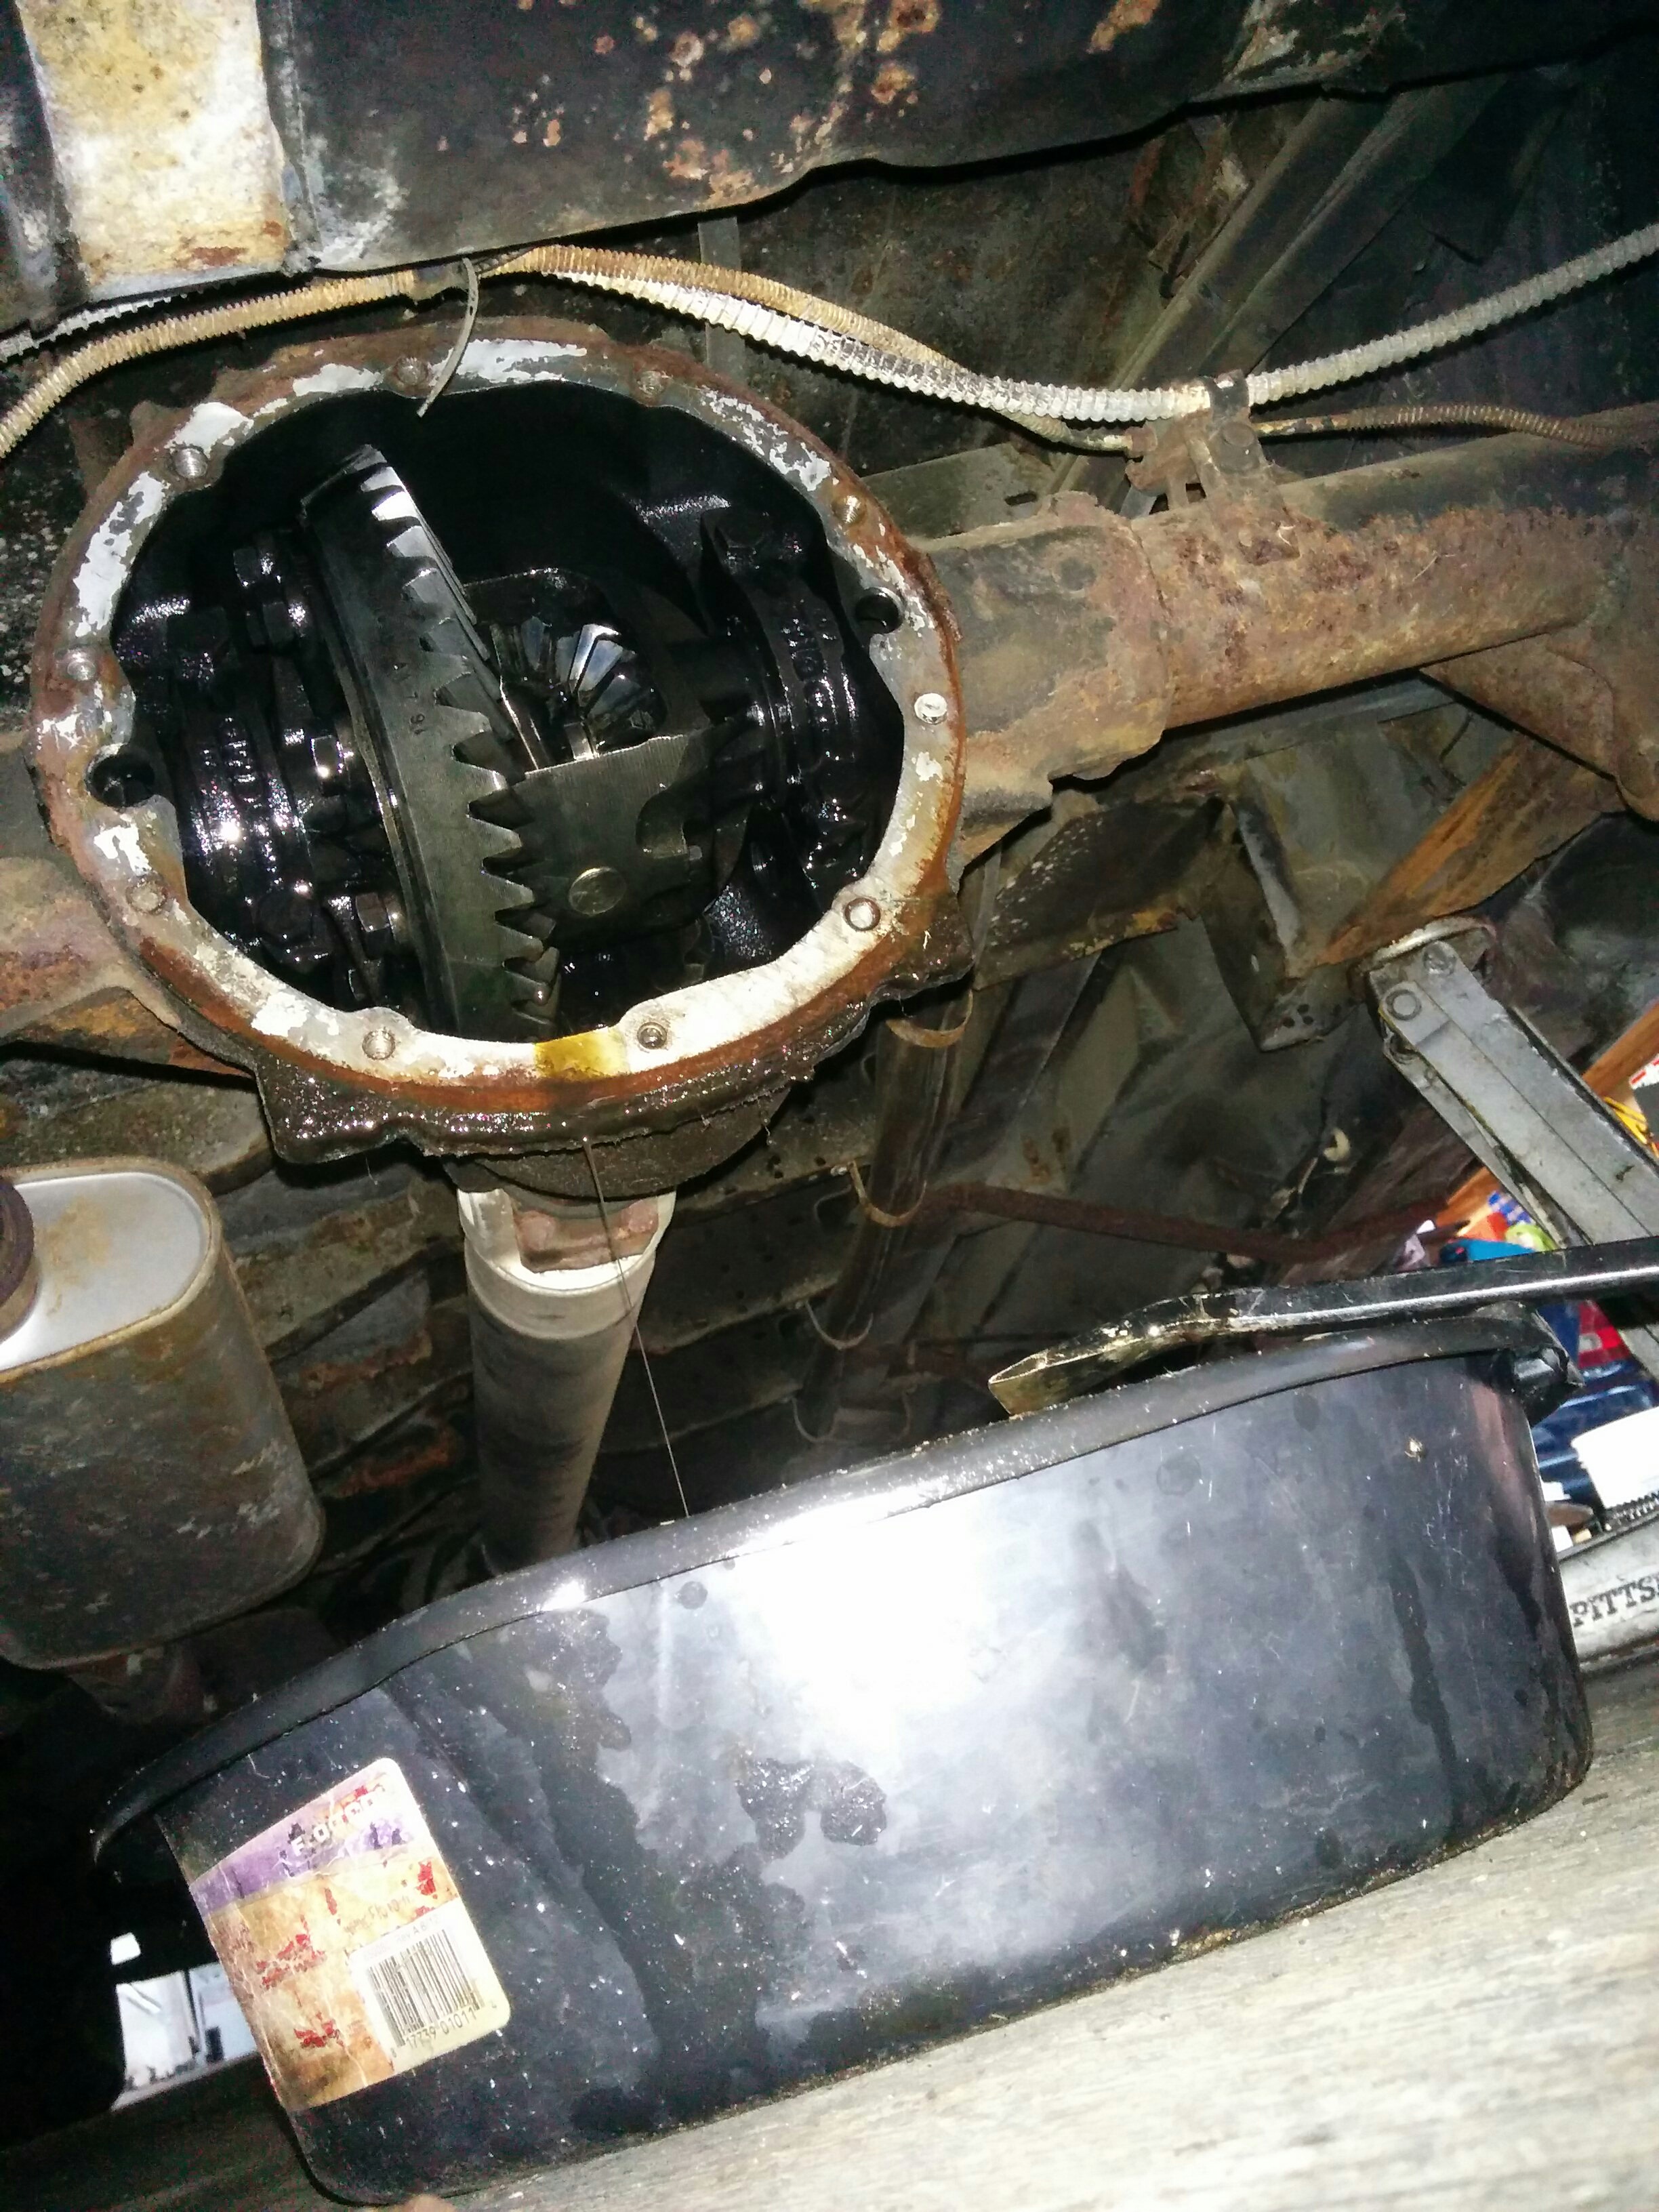
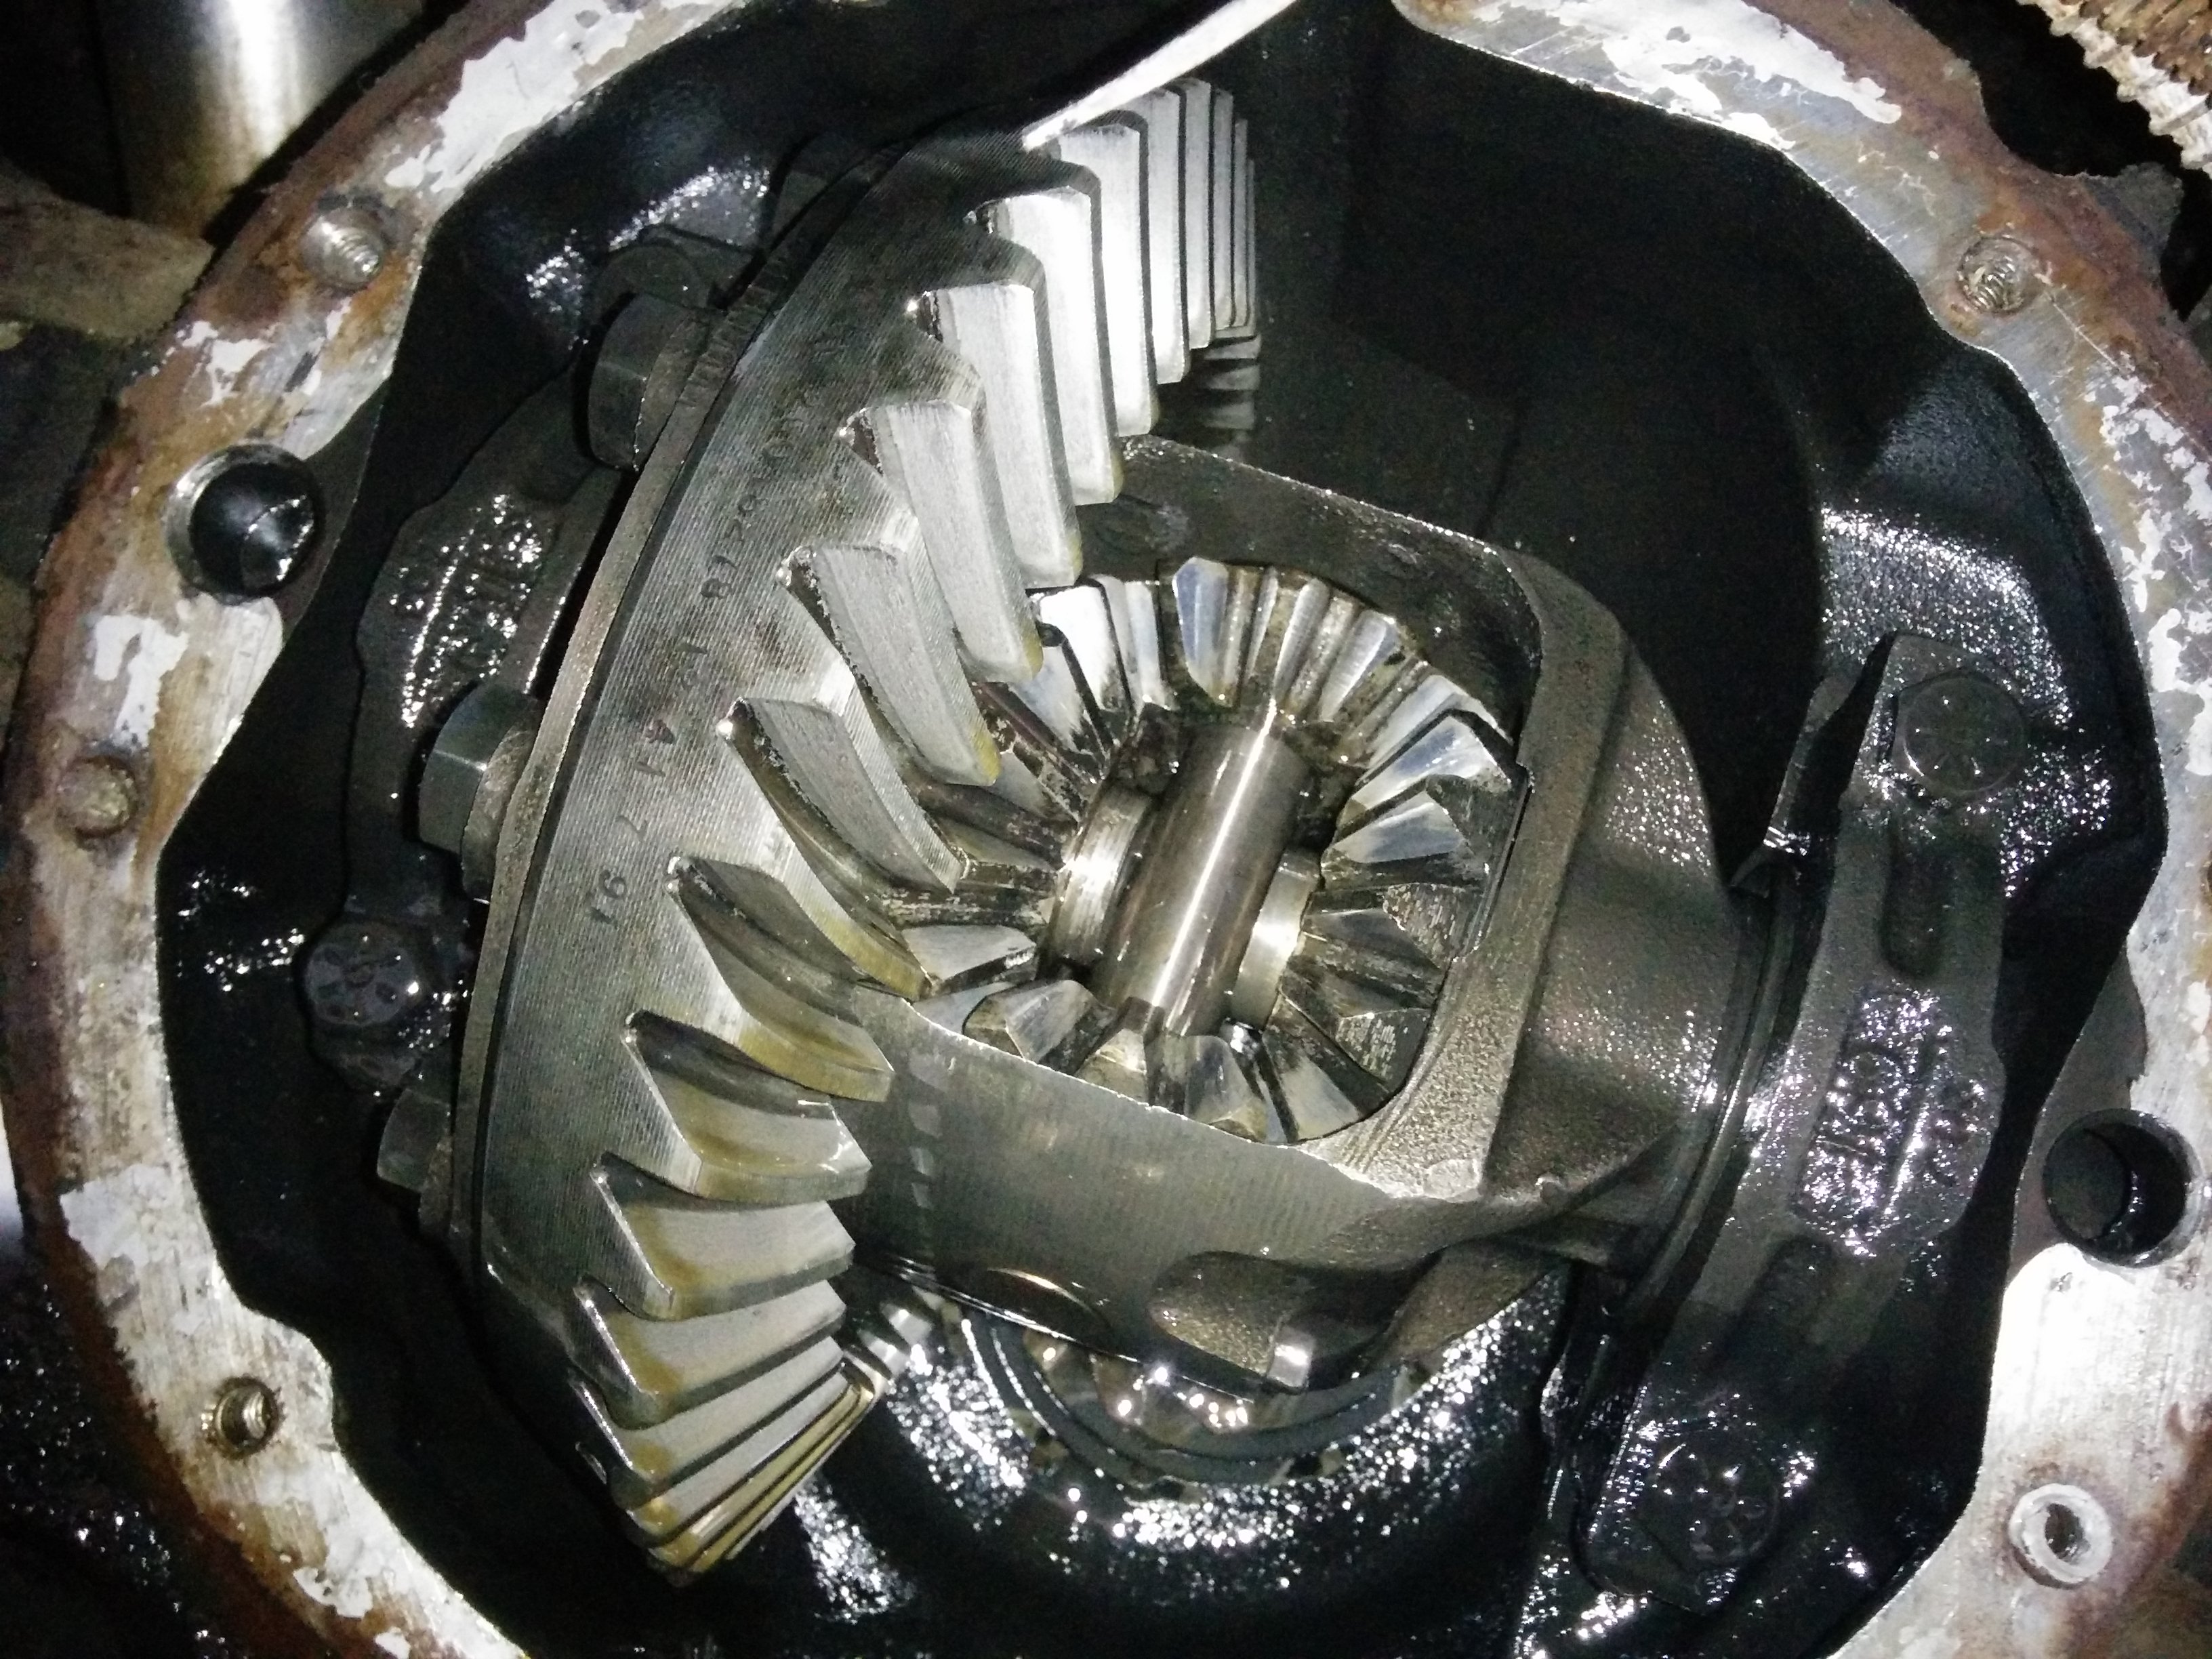
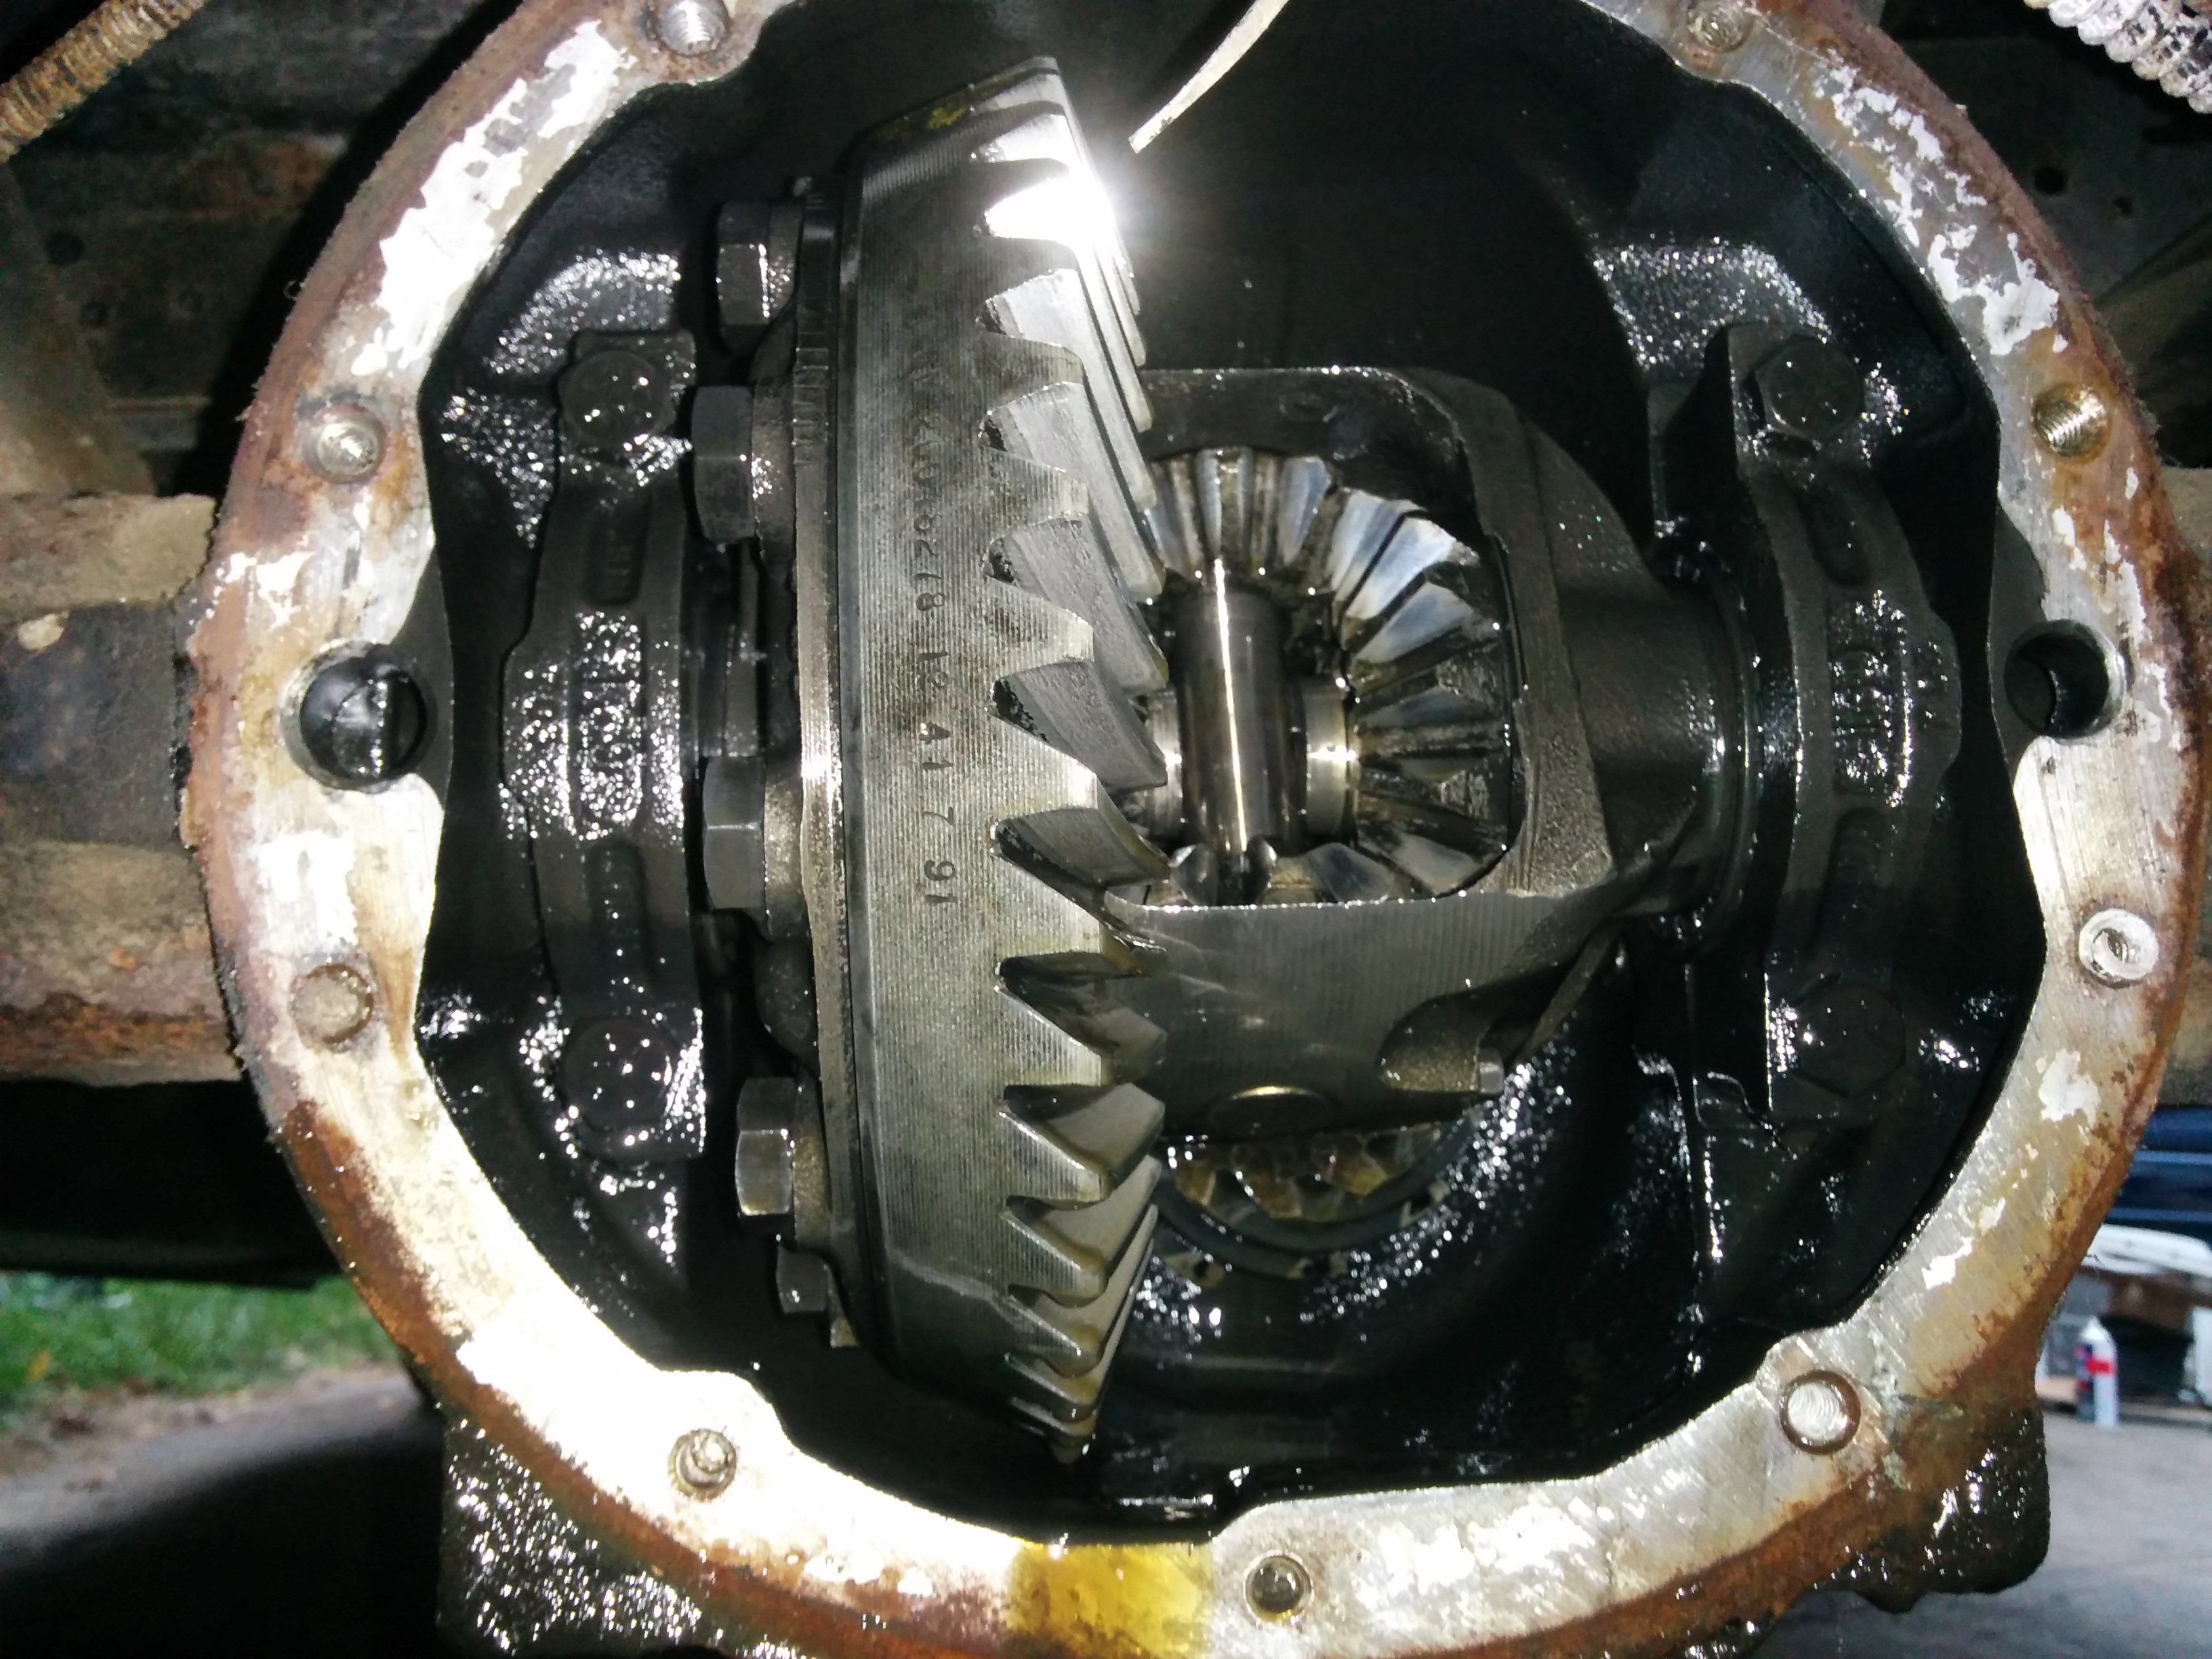
Differential Oil Change
I didn’t know what a differential was (or that it even had oil to change) so I asked the cliff notes from Garrett and made sure to google it further later. Here’s an excellent 1937 video by General Motors on the topic. Differential oil changing isn’t done as often as engine oil changing and requires a different (typically heavier) type of oil. I don’t remember which specific one was used.
Crazy to think these things are so old yet still look so shiny.
Radiator and Coolant
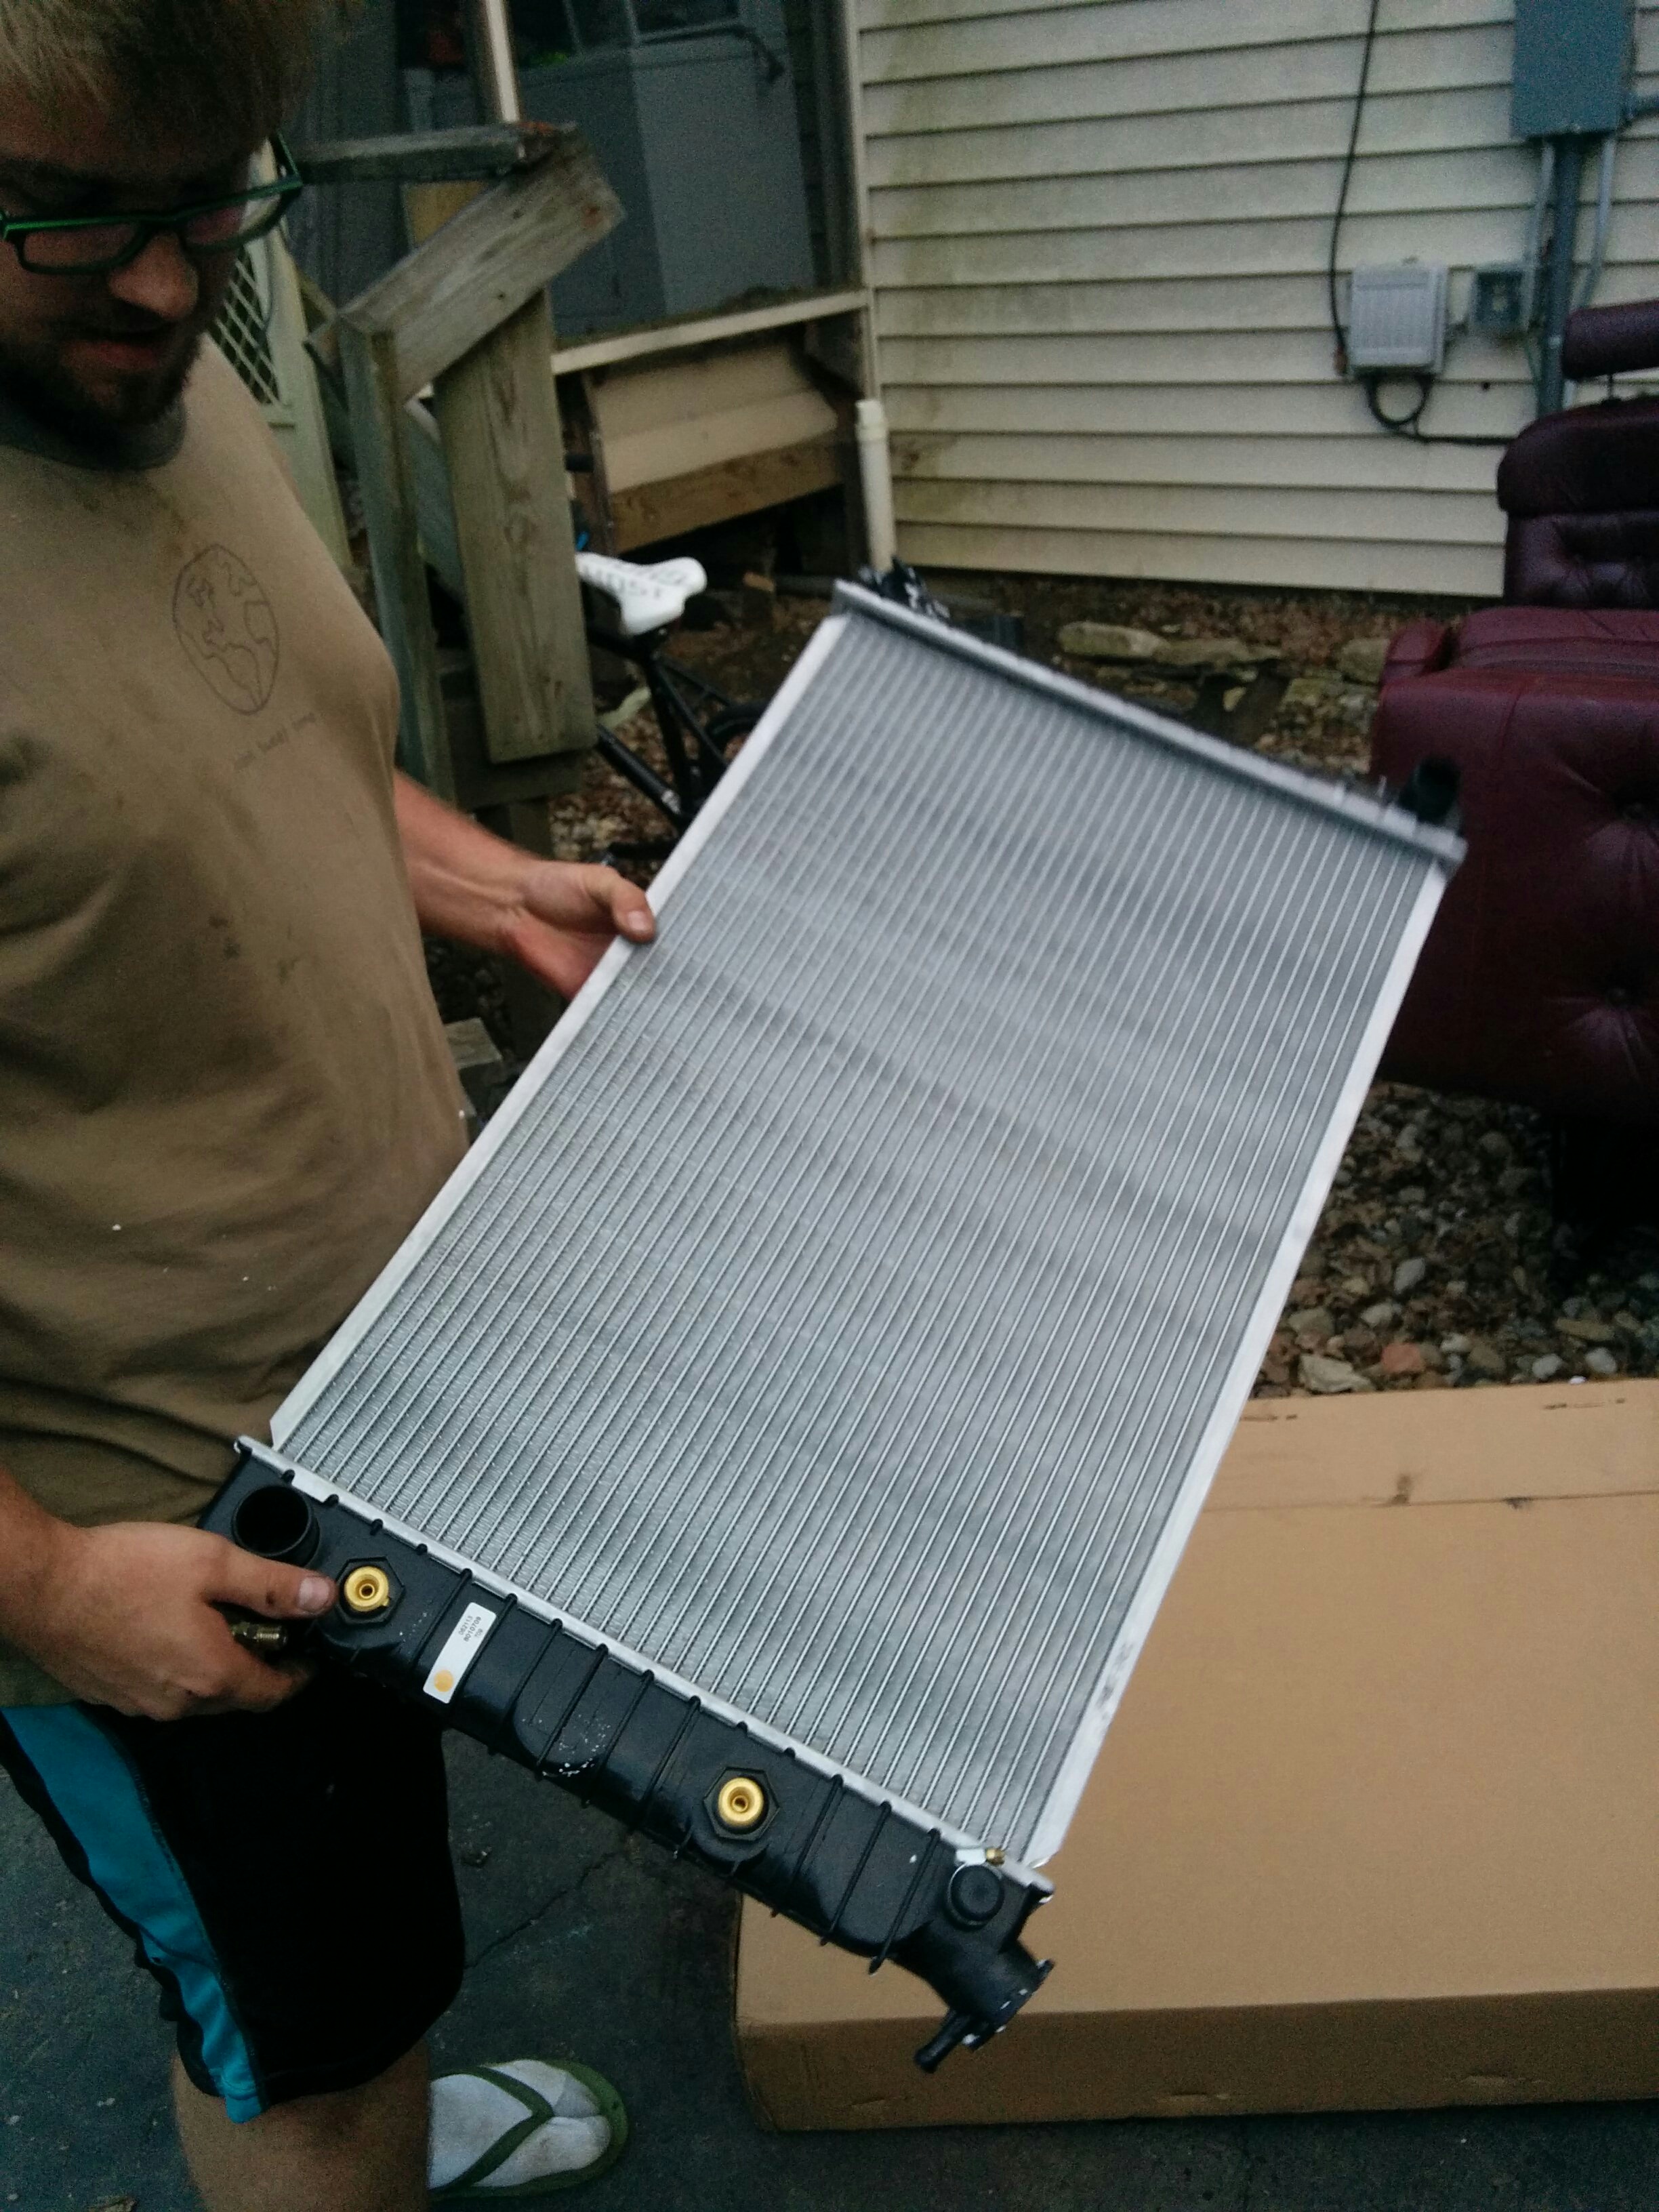
Liquid coolant passes through the radiator to cool down before circulating back through the hot parts of the engine to pick up more heat. All the little fins are to maximize the surface area to speed up cooling. My existing radiator was super friable and basically crumbled to the touch. My first radiator-related TIL was that when checking the coolant level, you want to wait until your engine has cooled down because it expands when warm (and if you take off the cap when it’s pressurized, you might get sprayed…).
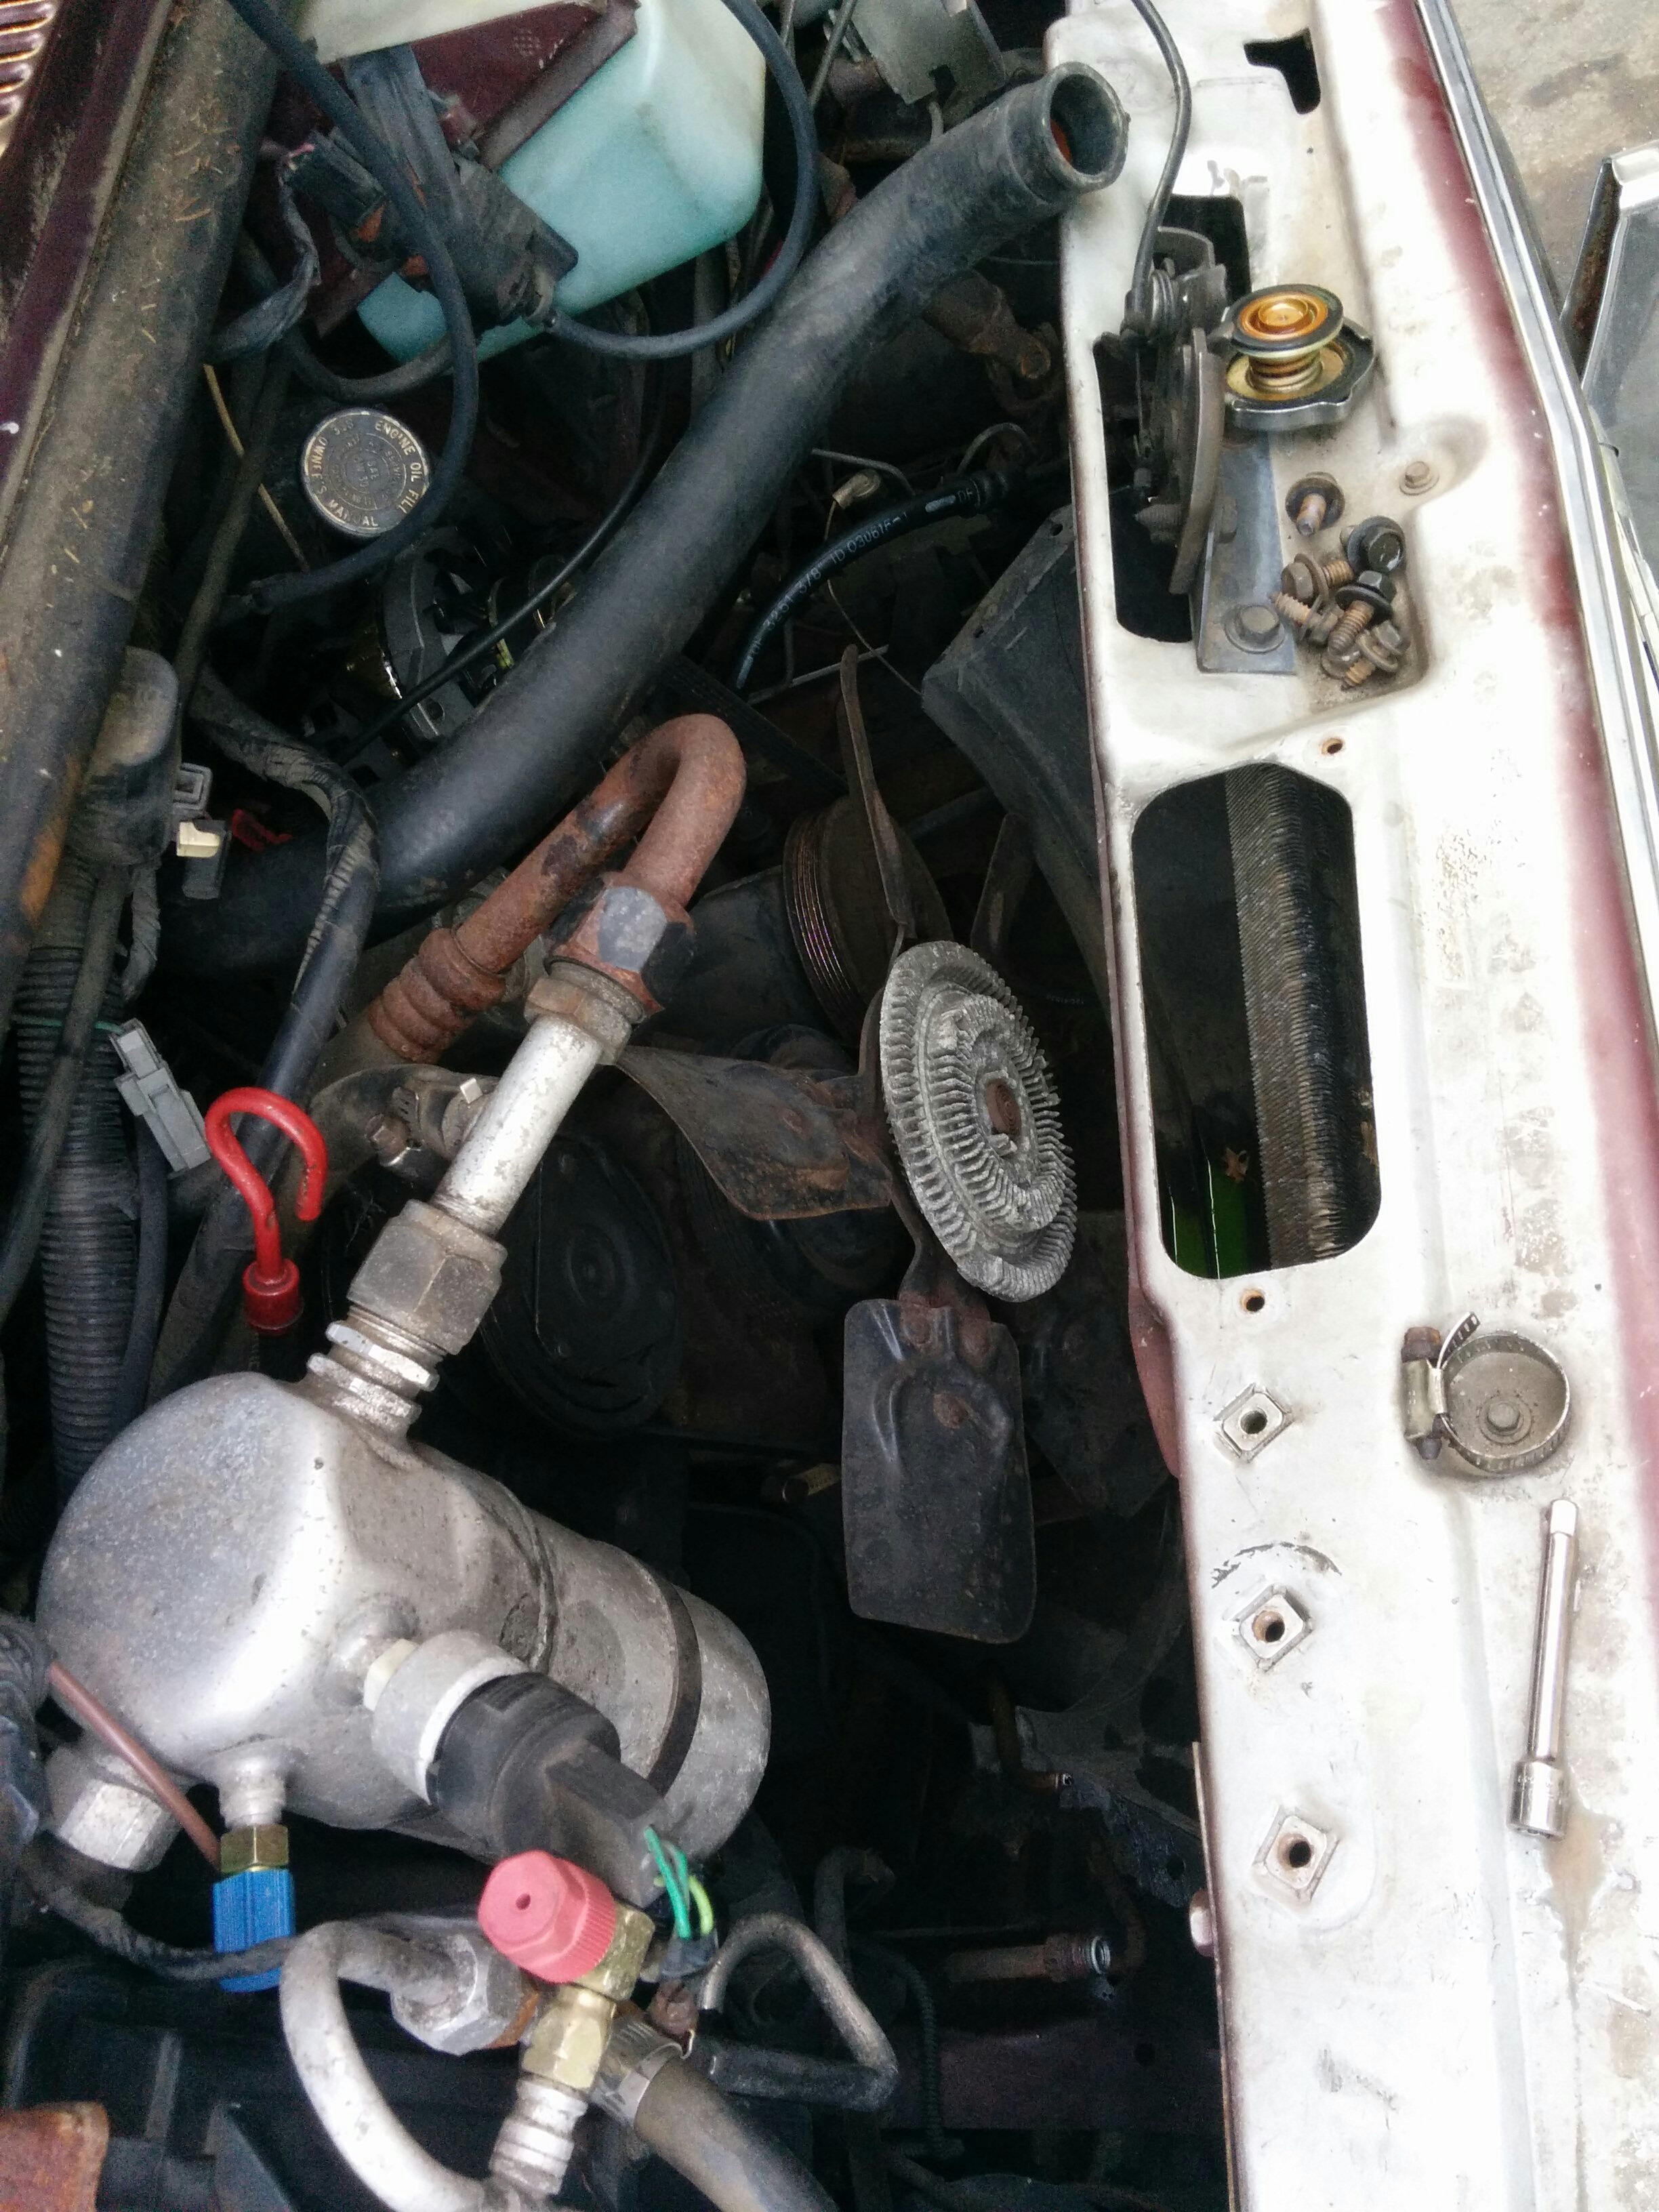
Changing the radiator is also a bit like open heart surgery in that coolant will start bleeding everywhere if you just start unscrewing things. Luckily, we were changing out the coolant anyway which made conservation of coolant less of a concern.
At this point I got a basic rundown of the what exactly I was looking at. Garrett was very patient with my repeated “what’s that”-s over the course of the project. (“Your a/c compressor.” “Your alternator.” “Your crankshaft.” “Your gas tank.”) At the beginning of this I couldn’t really identify anything in an engine bay except the dipstick and the coolant jug. By the end, I could generally recognize the various parts and had at least a vague idea of what they were supposed to do. I was really glad to acquire a baseline of automotive knowledge through this project. For much of my early life, cars were a mysterious black box of unreliable and life impacting unpredictability. Learning how they worked (and having an idea of how to fix them when problems occurred) was very empowering and helped decreased my anxiety around cars significantly.
After some preliminary investigation into the condition of my old hoses, I had a new fetch quest when I woke up the next morning.
The radiator was installed and the coolant replaced with only a minor incident (requiring the deployment of cat litter). My A/C compressor worked, but the air conditioning refrigerant all left to attack the ozone layer a few hours after being put in. Alas. :(
O2 Sensor
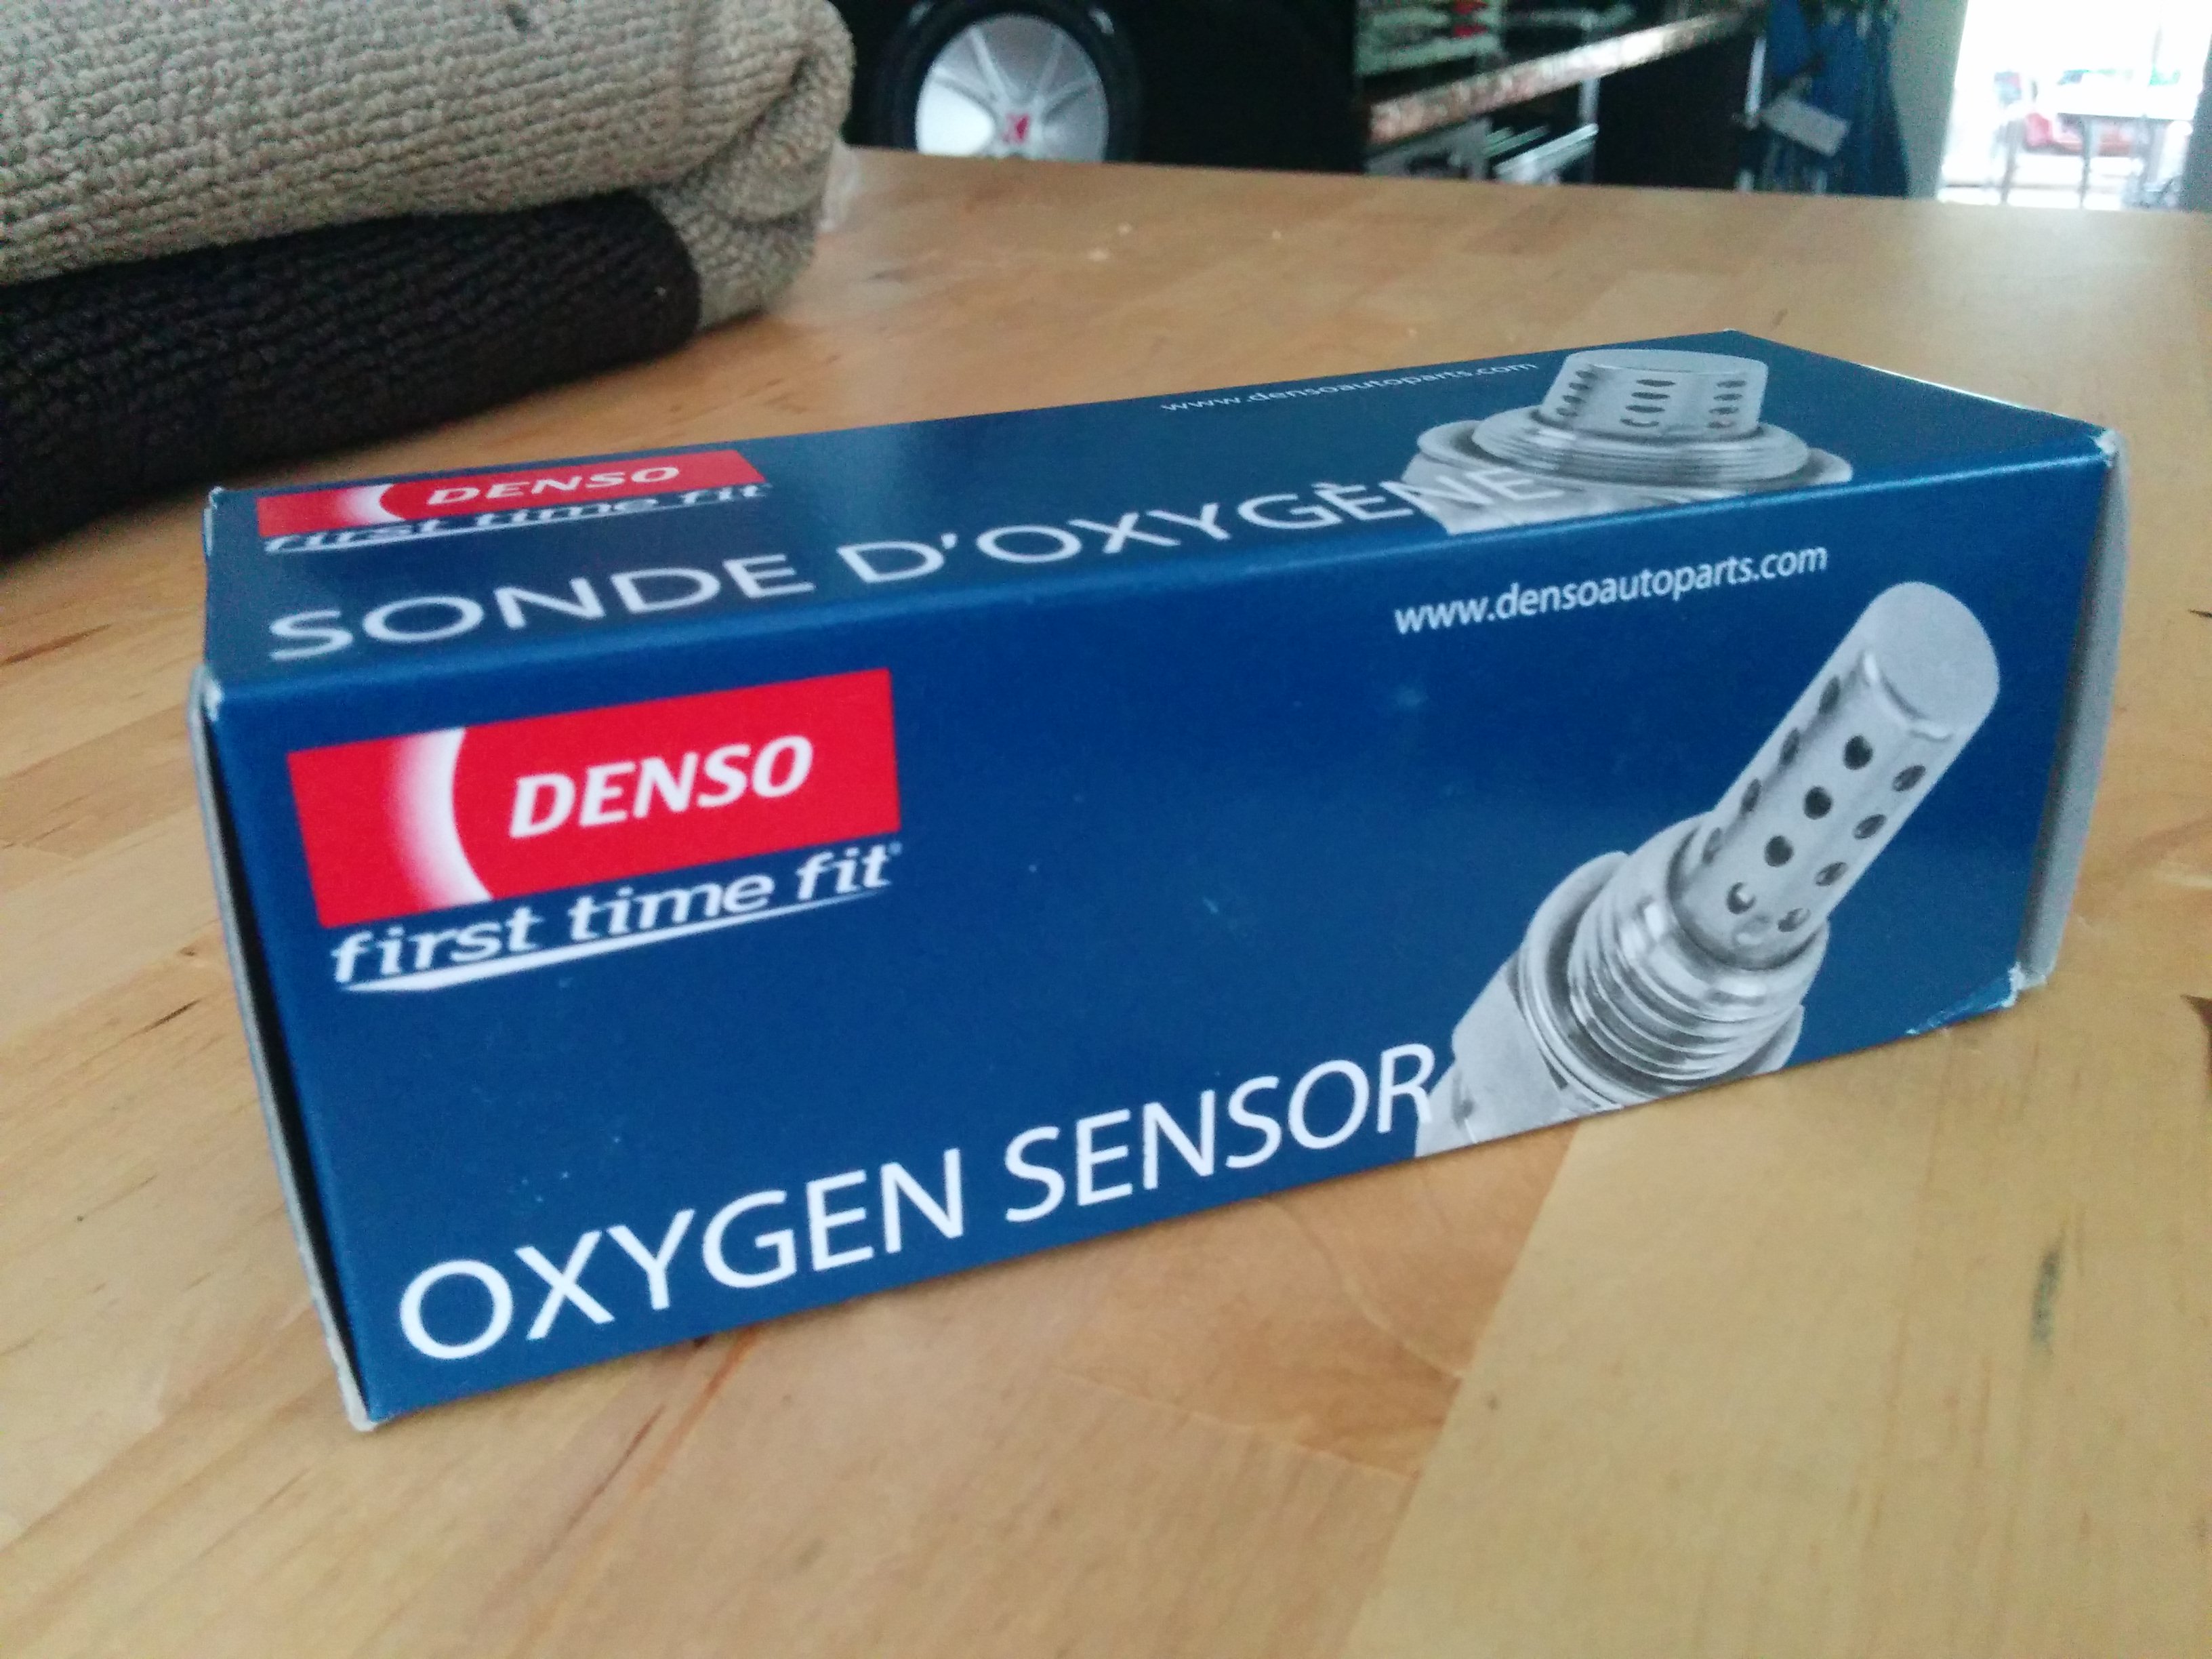
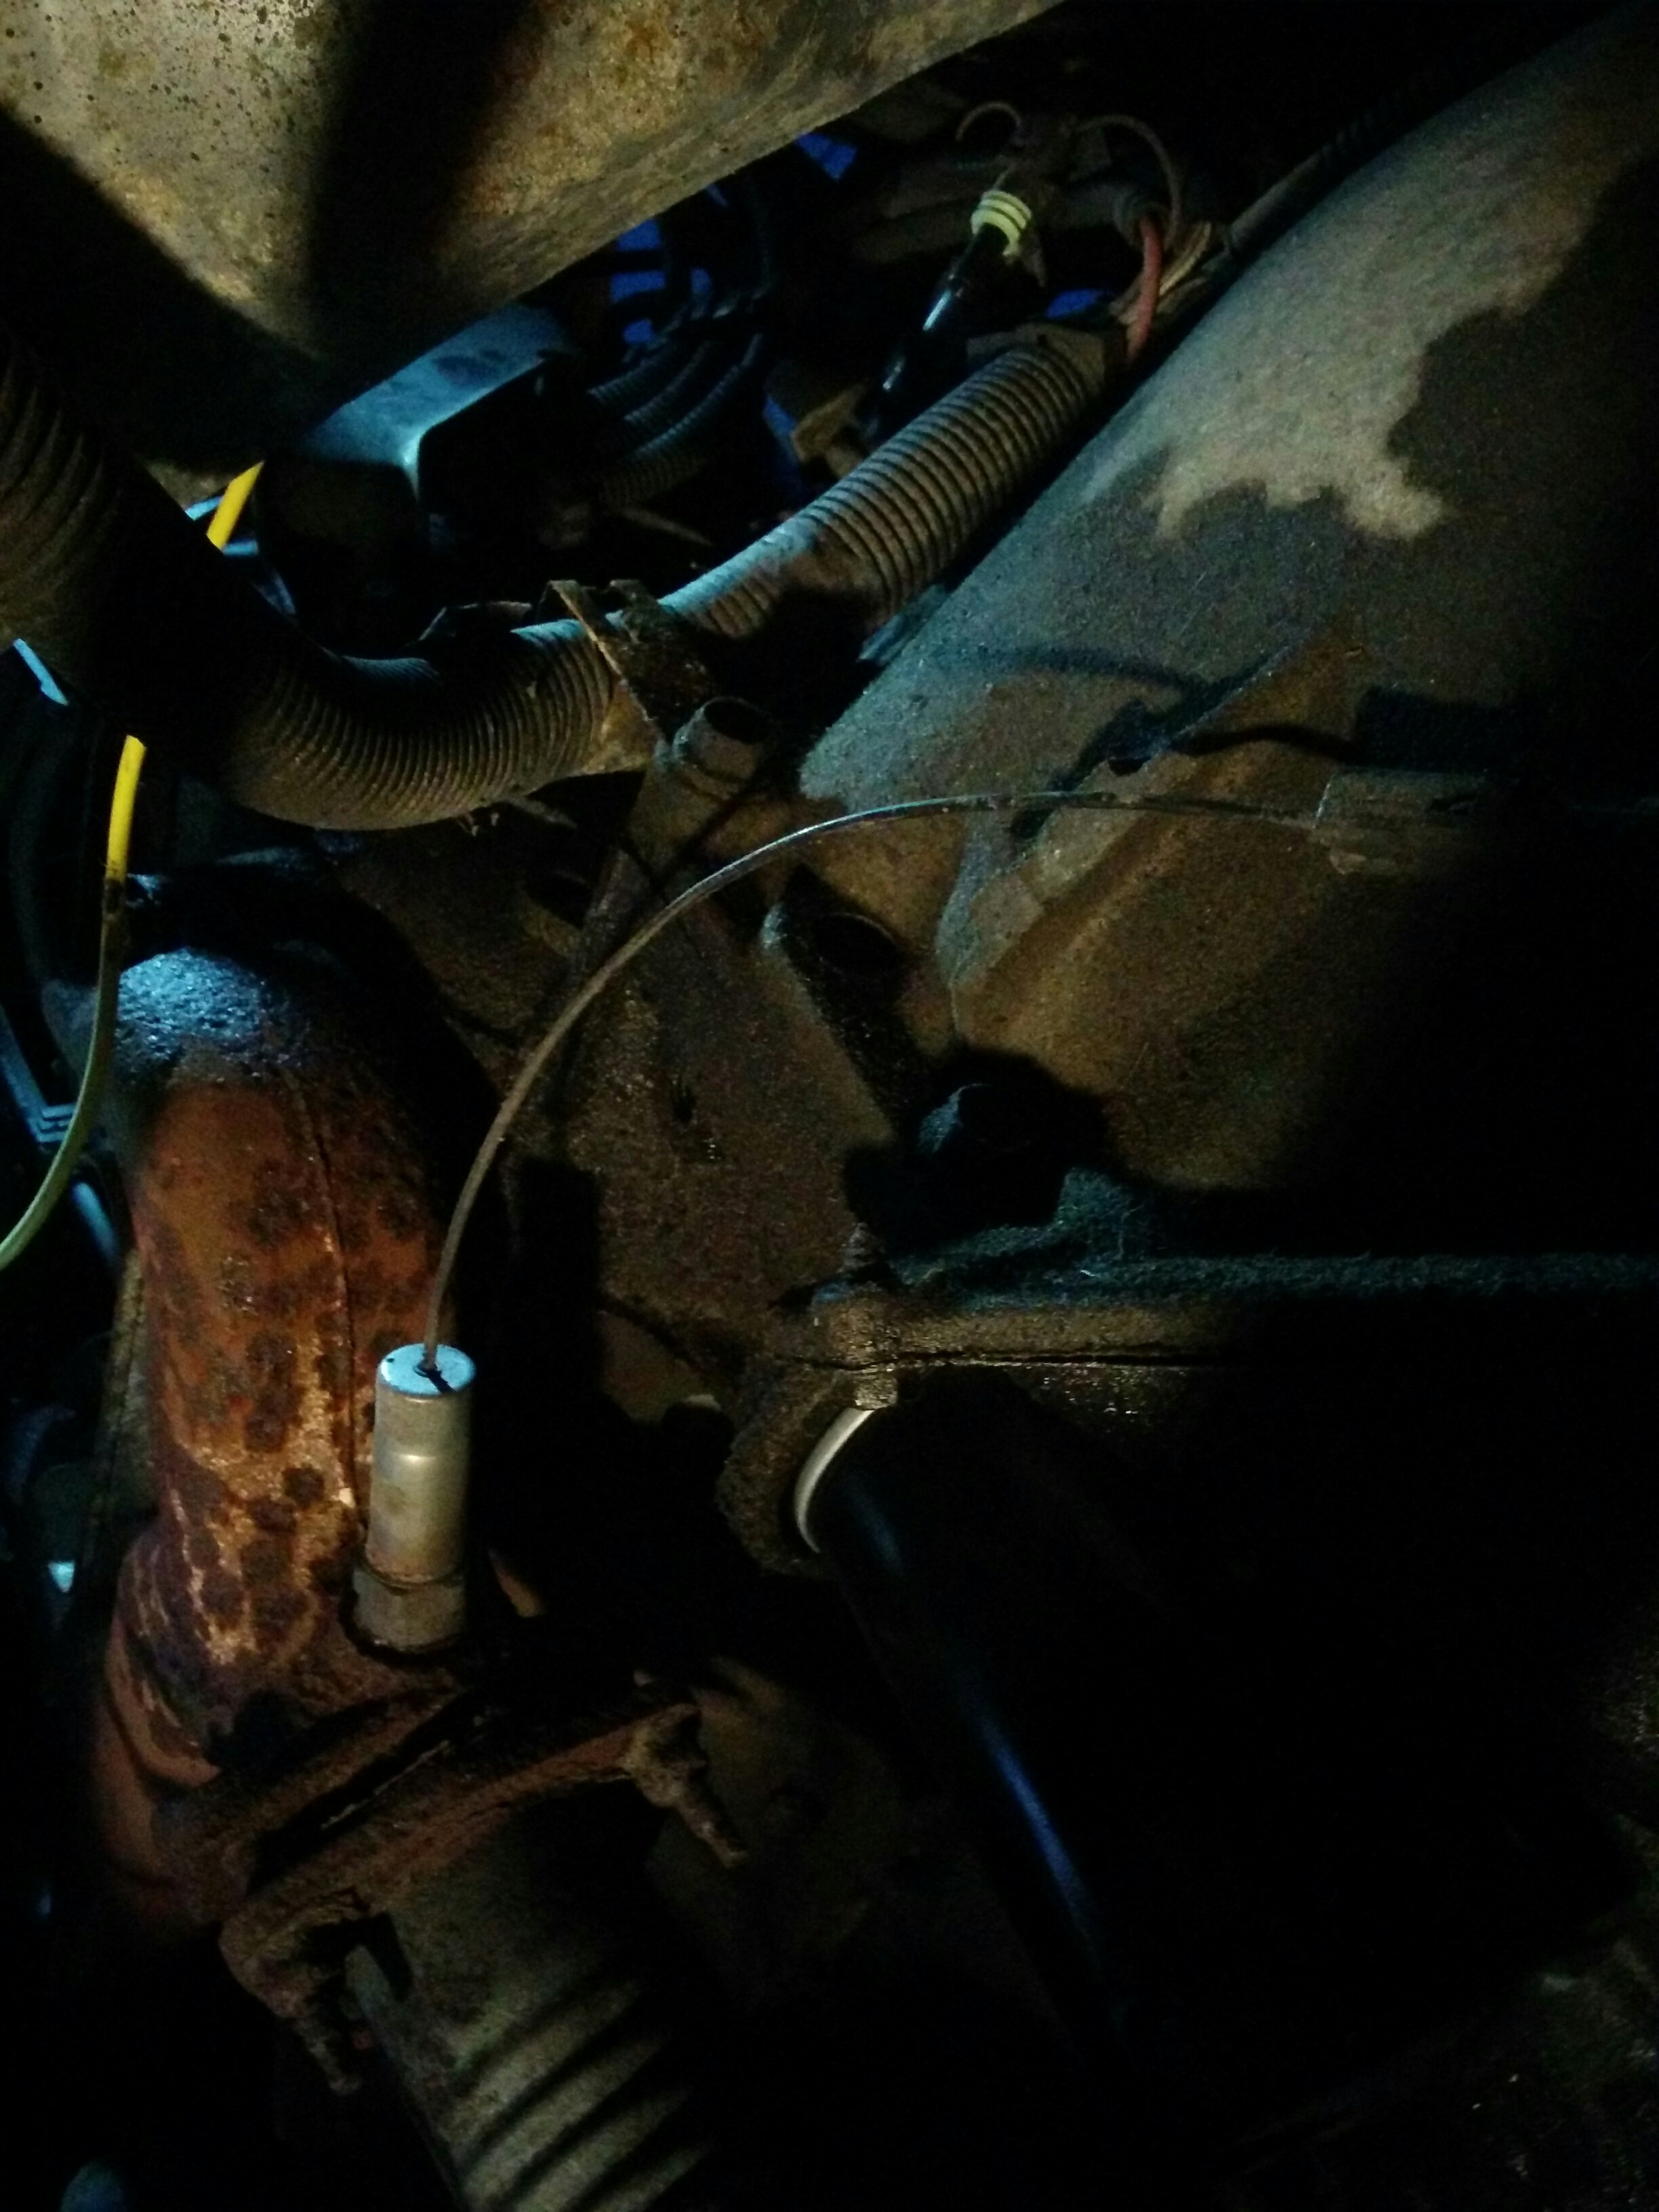
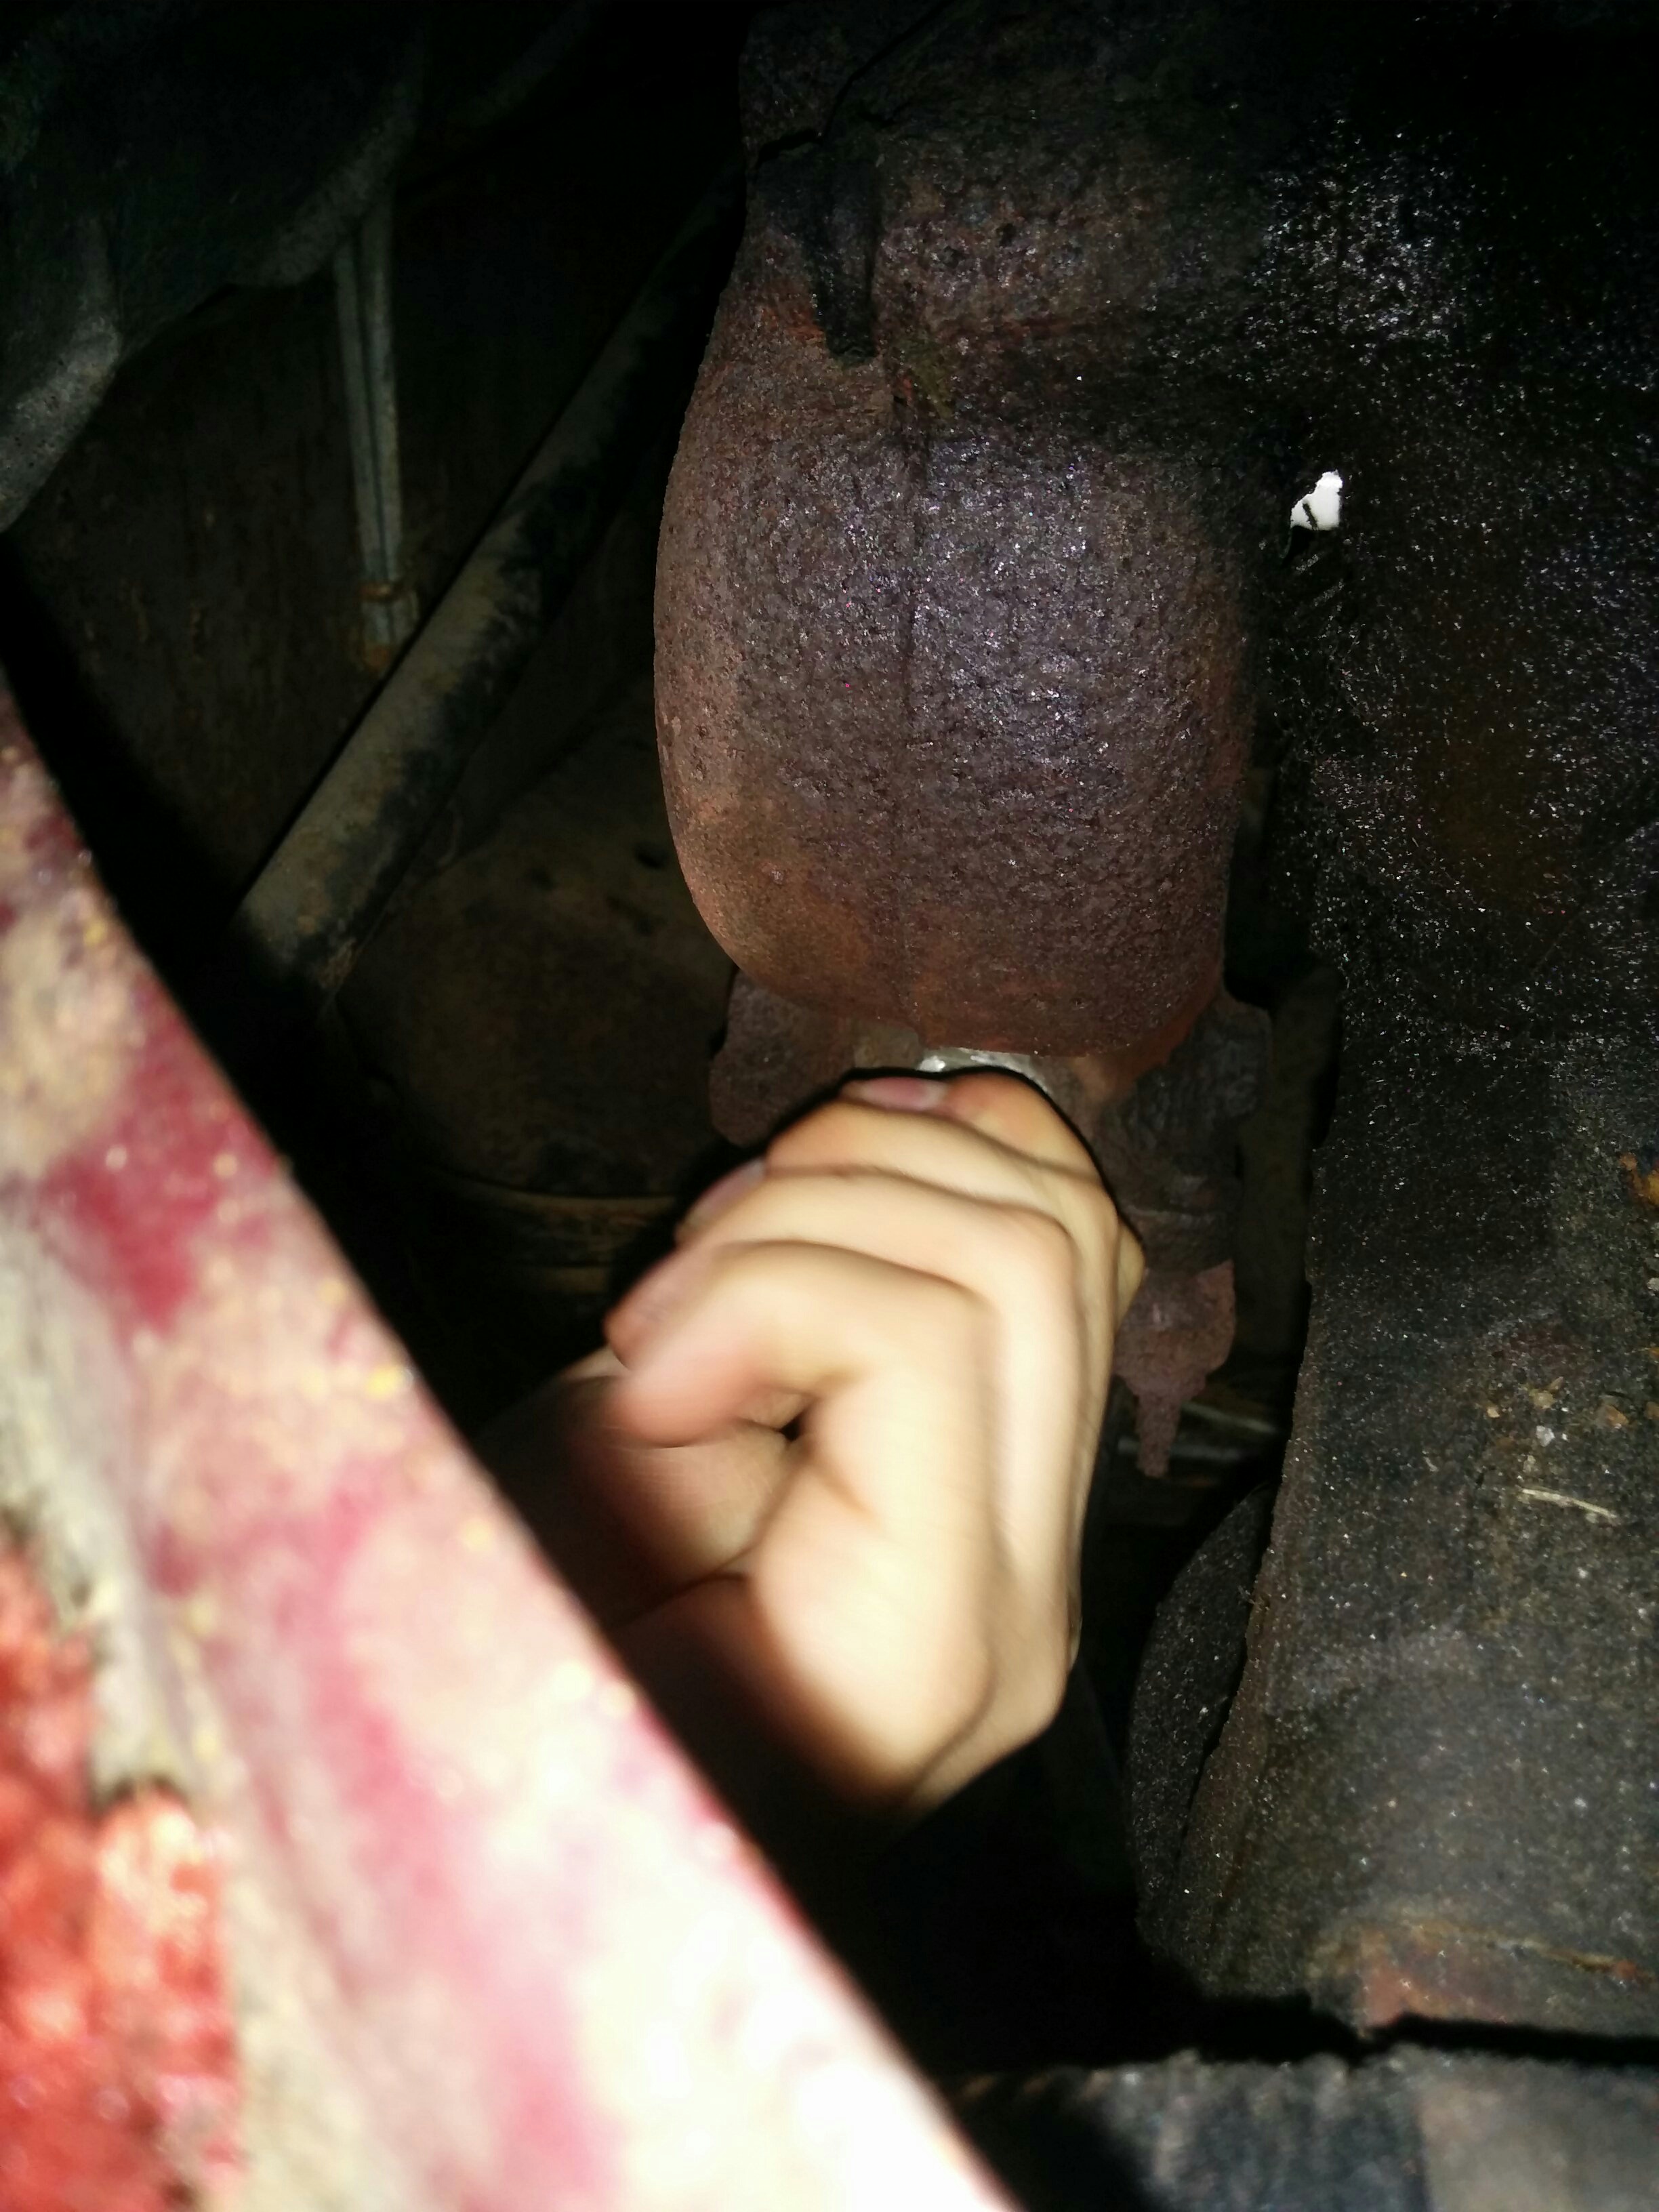
This oxygen sensor lives on the “exhaust manifold,” which is the thing between your engine and your catalytic converter. The exhaust manifold directs the leftover gases from combustion out of the vehicle; it’s basically what your car engine “exhales” into. The van’s computer can use the sensor to check how much O2 is left post-combustion and adjust the air/fuel ratio as needed.
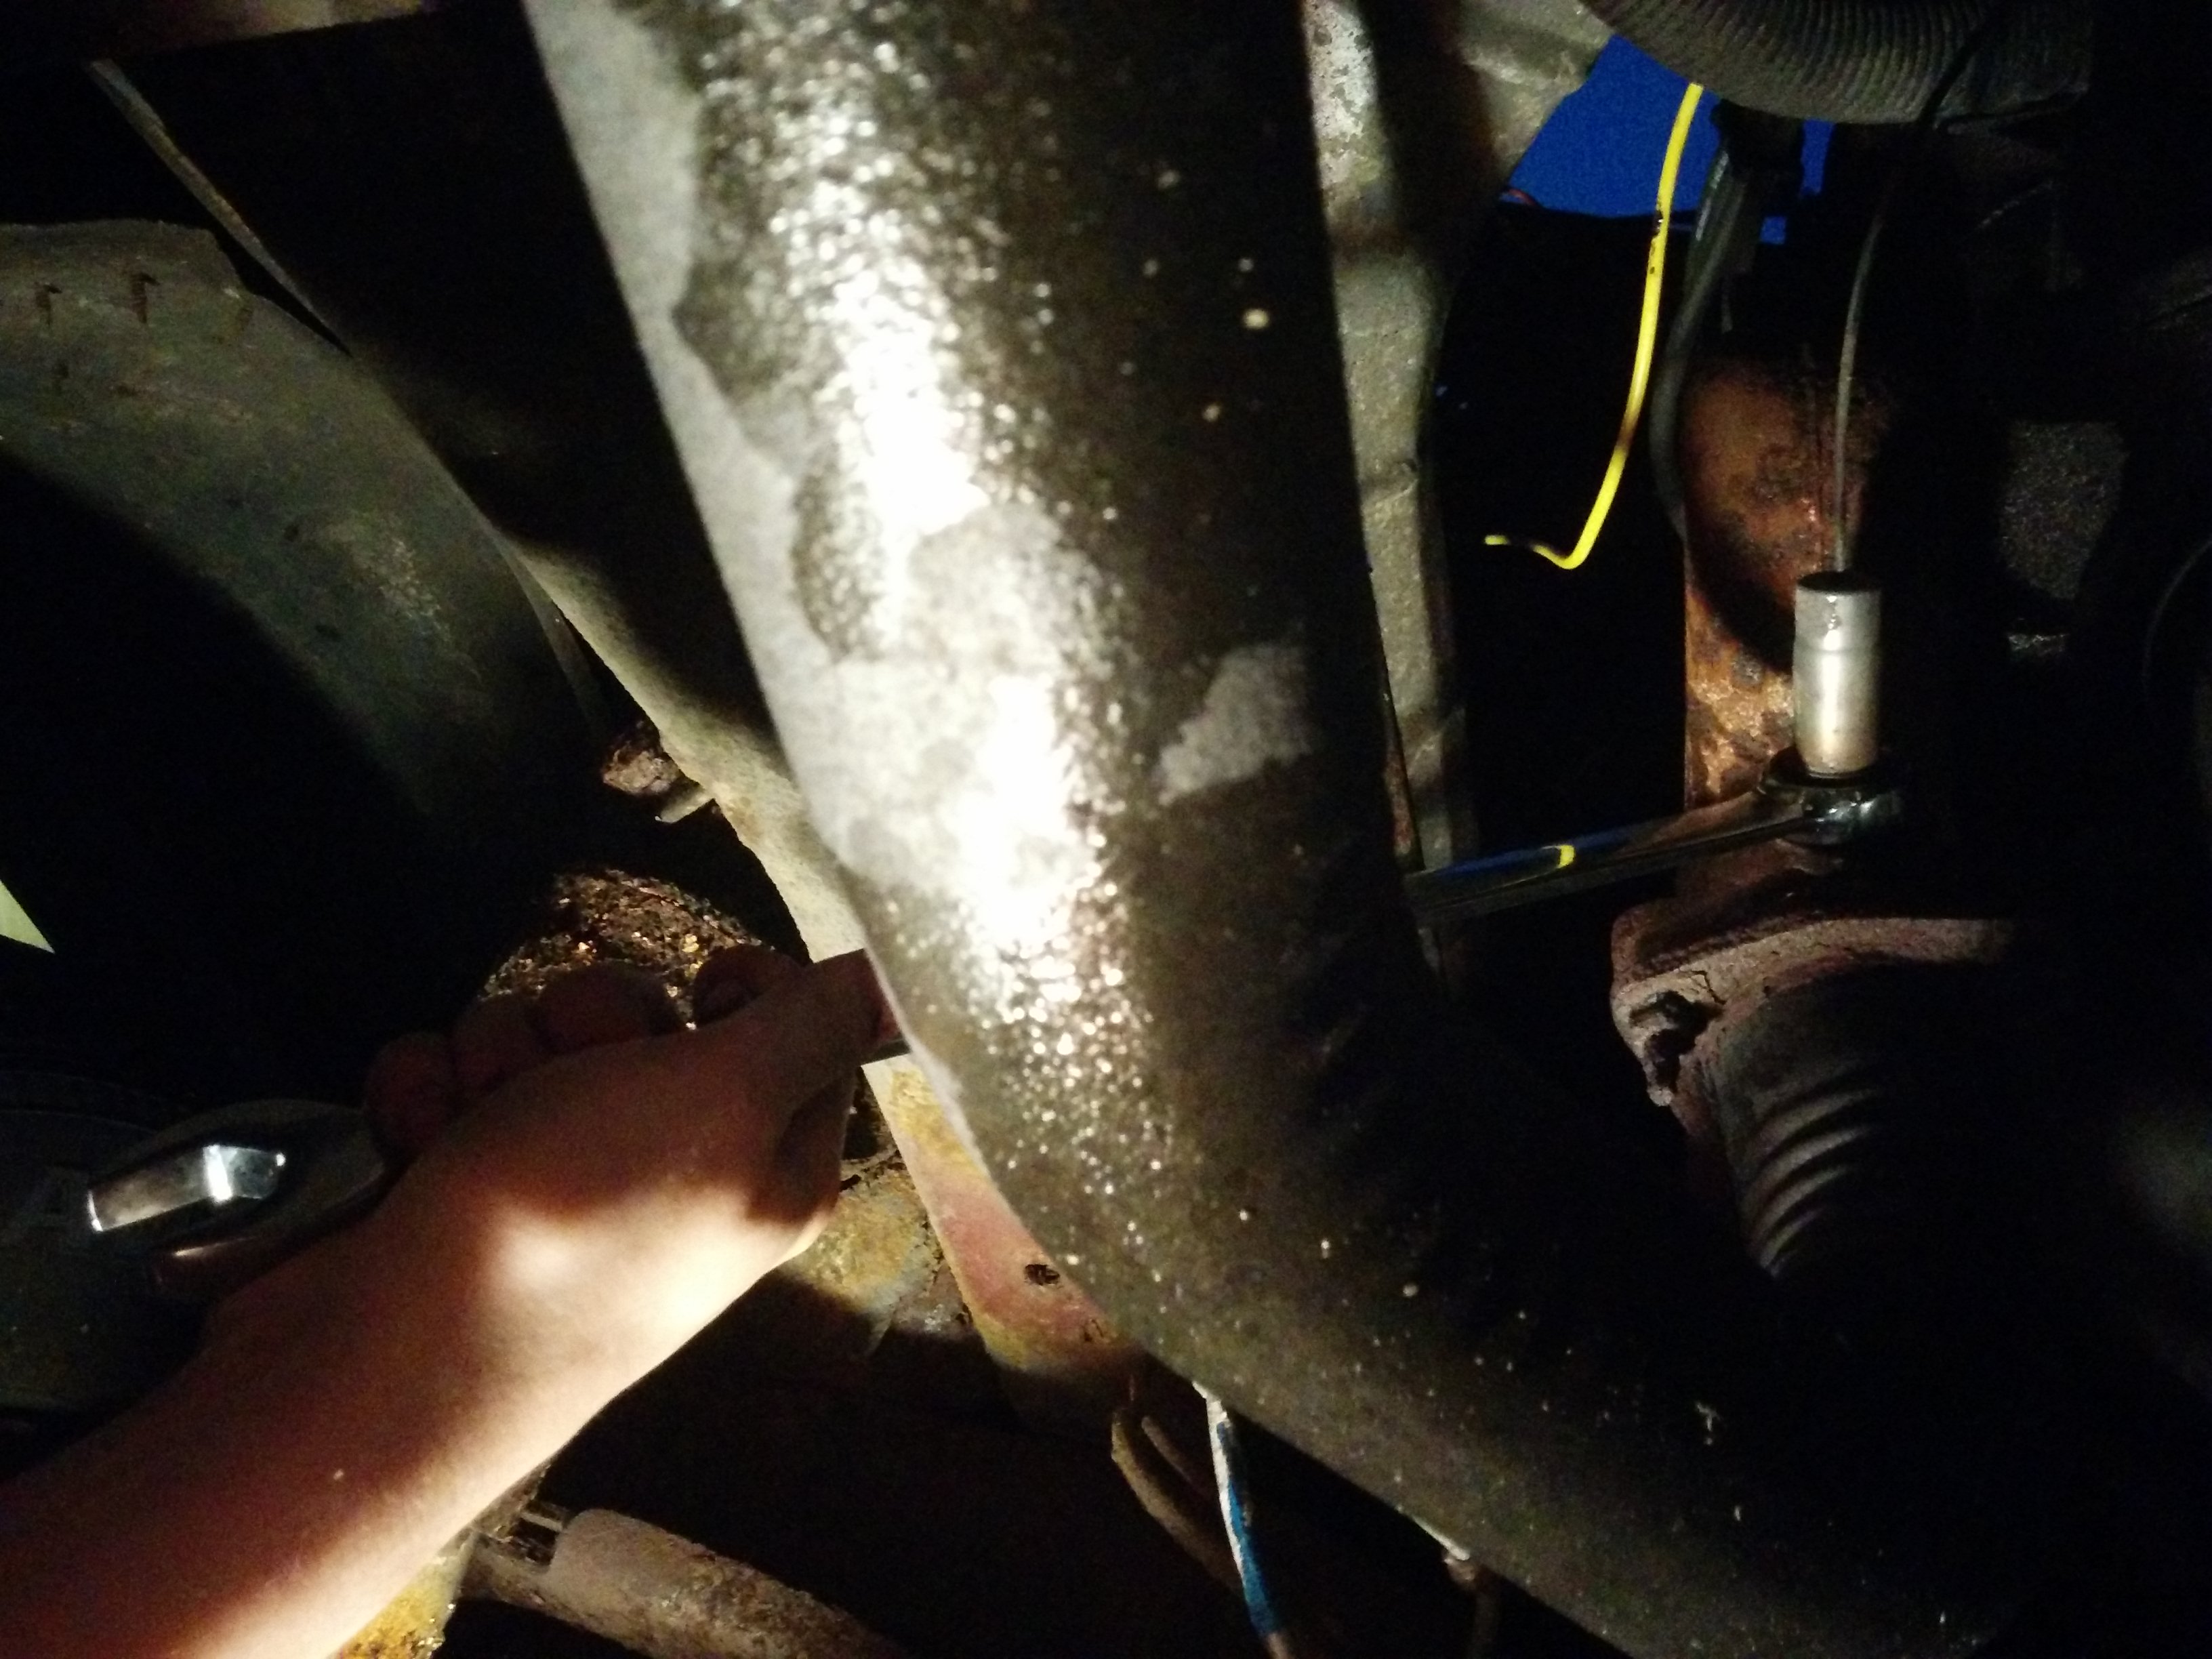
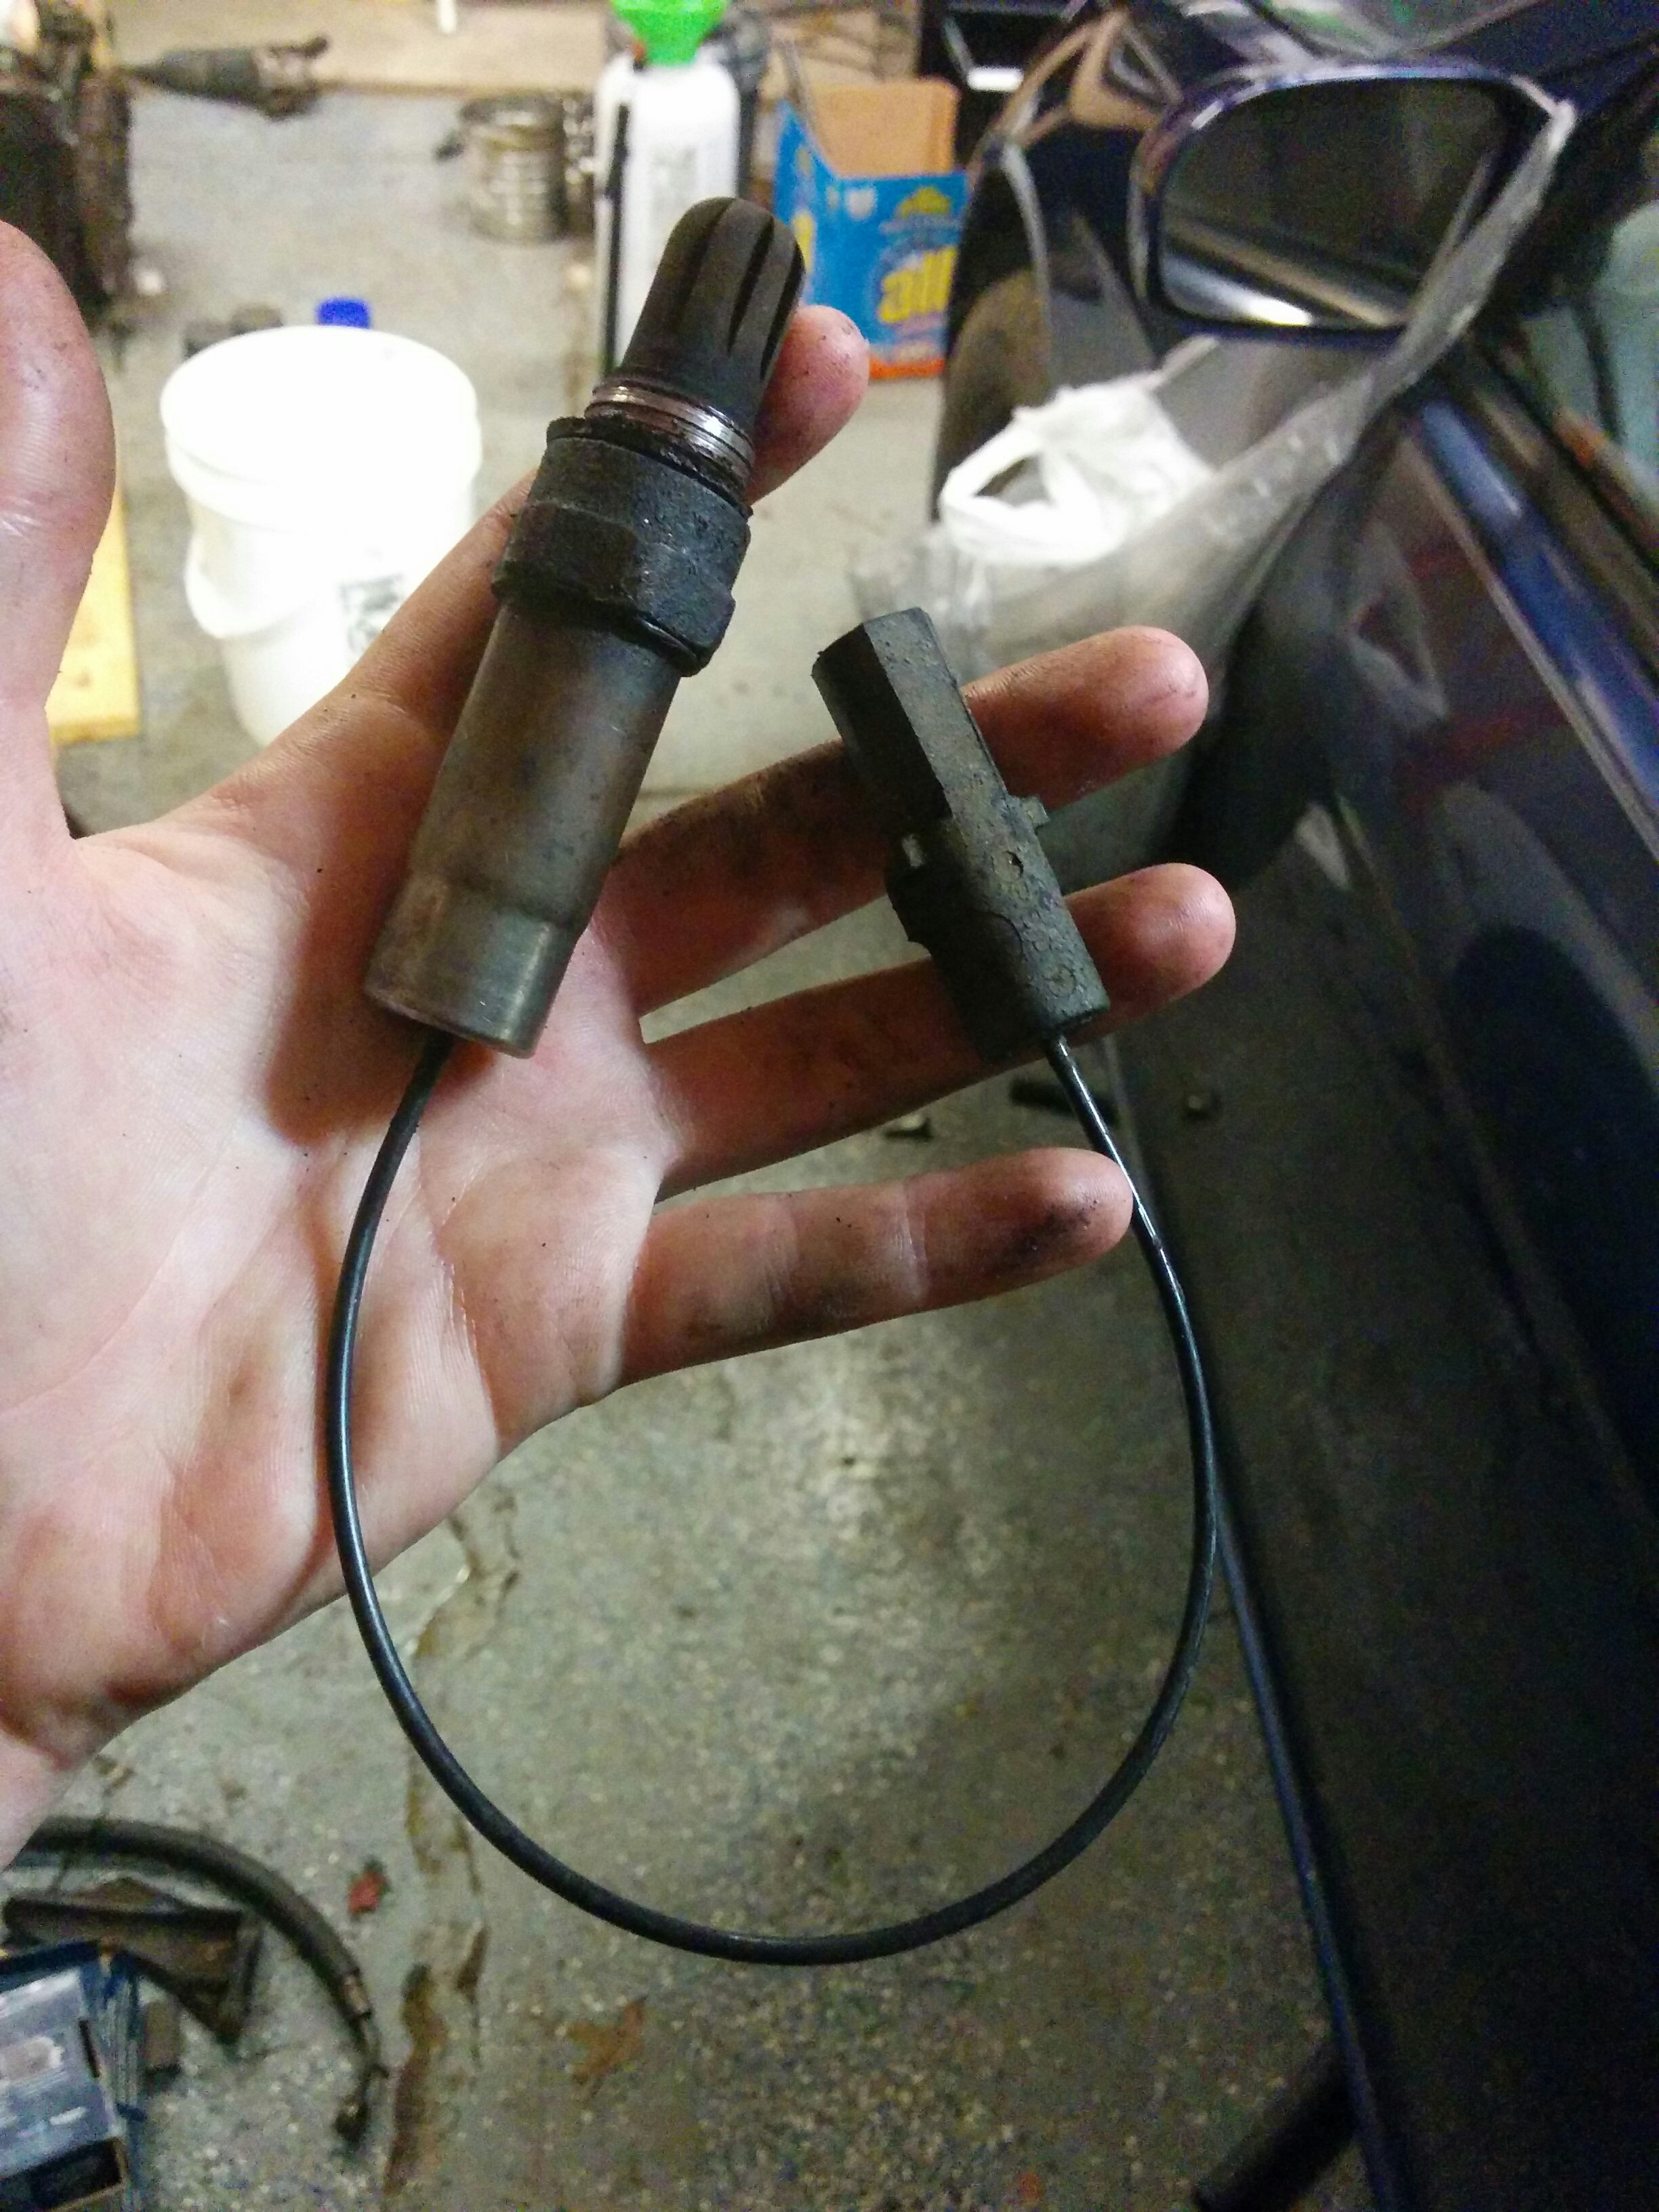
The O2 sensor does get kind of dirty over time, making it a “nice to have” low hanging fruit of preventive maintenance. All you have to do is go under the car and unscrew it.
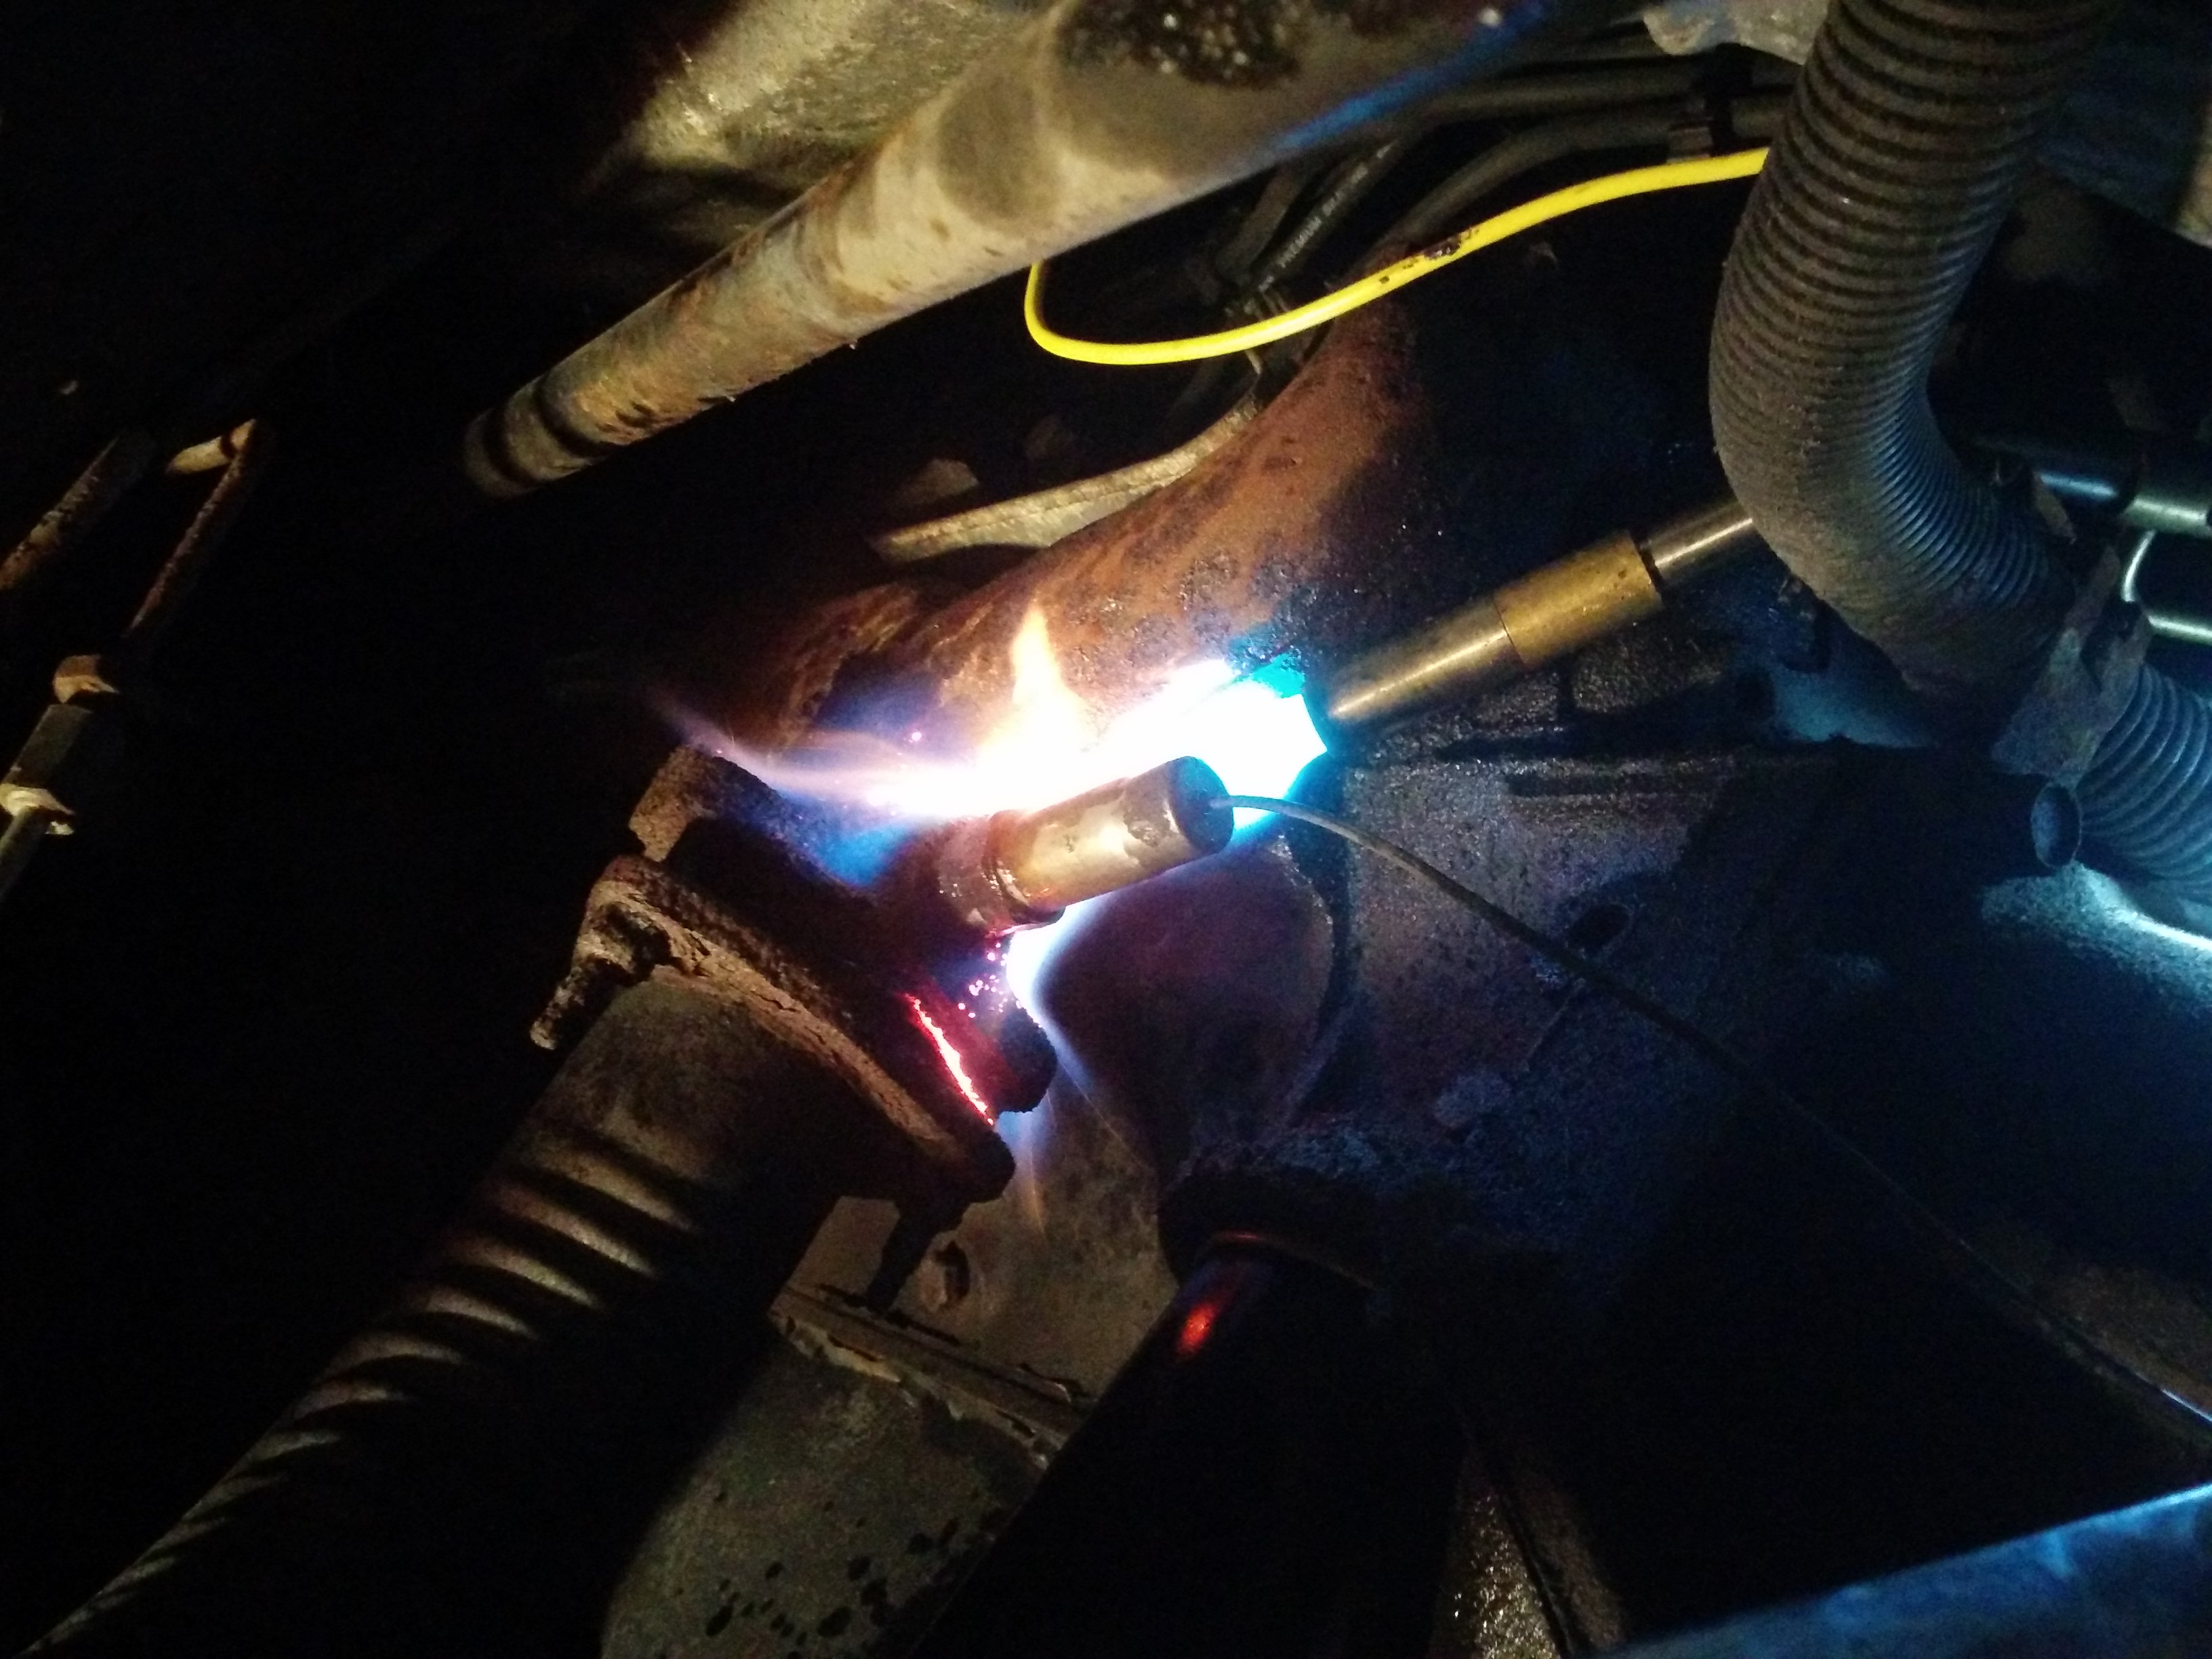
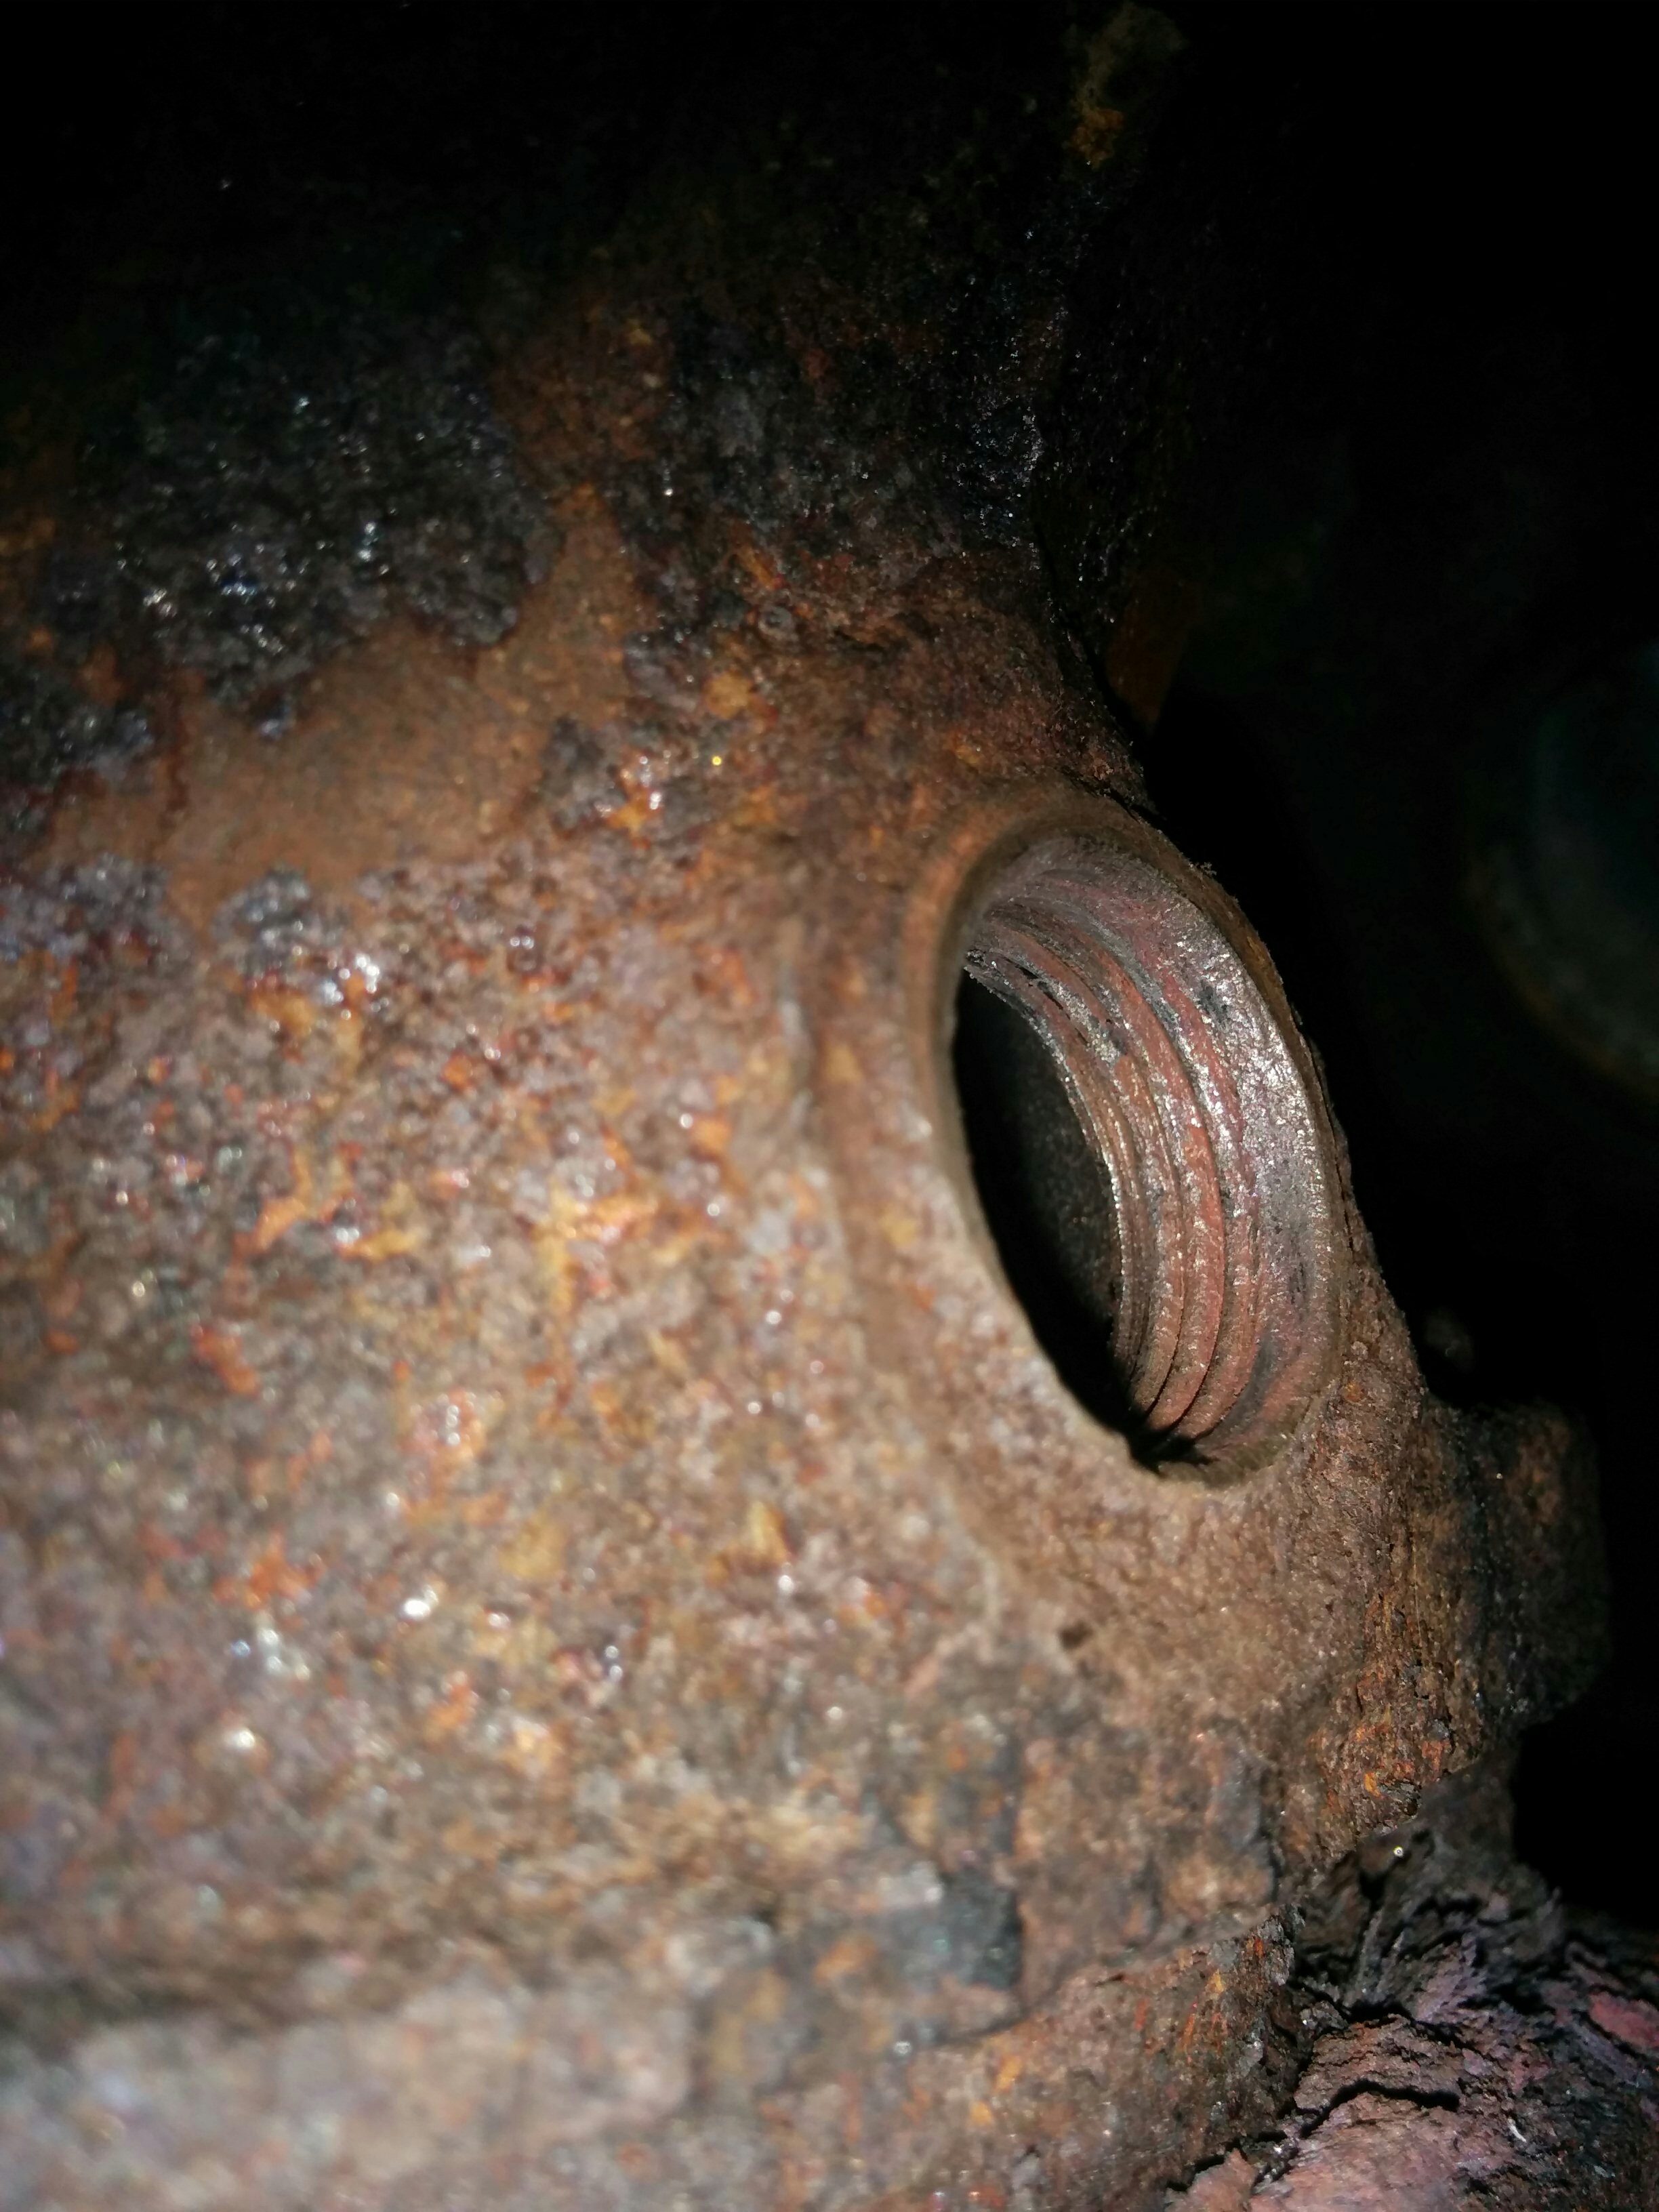
Unfortunately, this too had rusted into place.
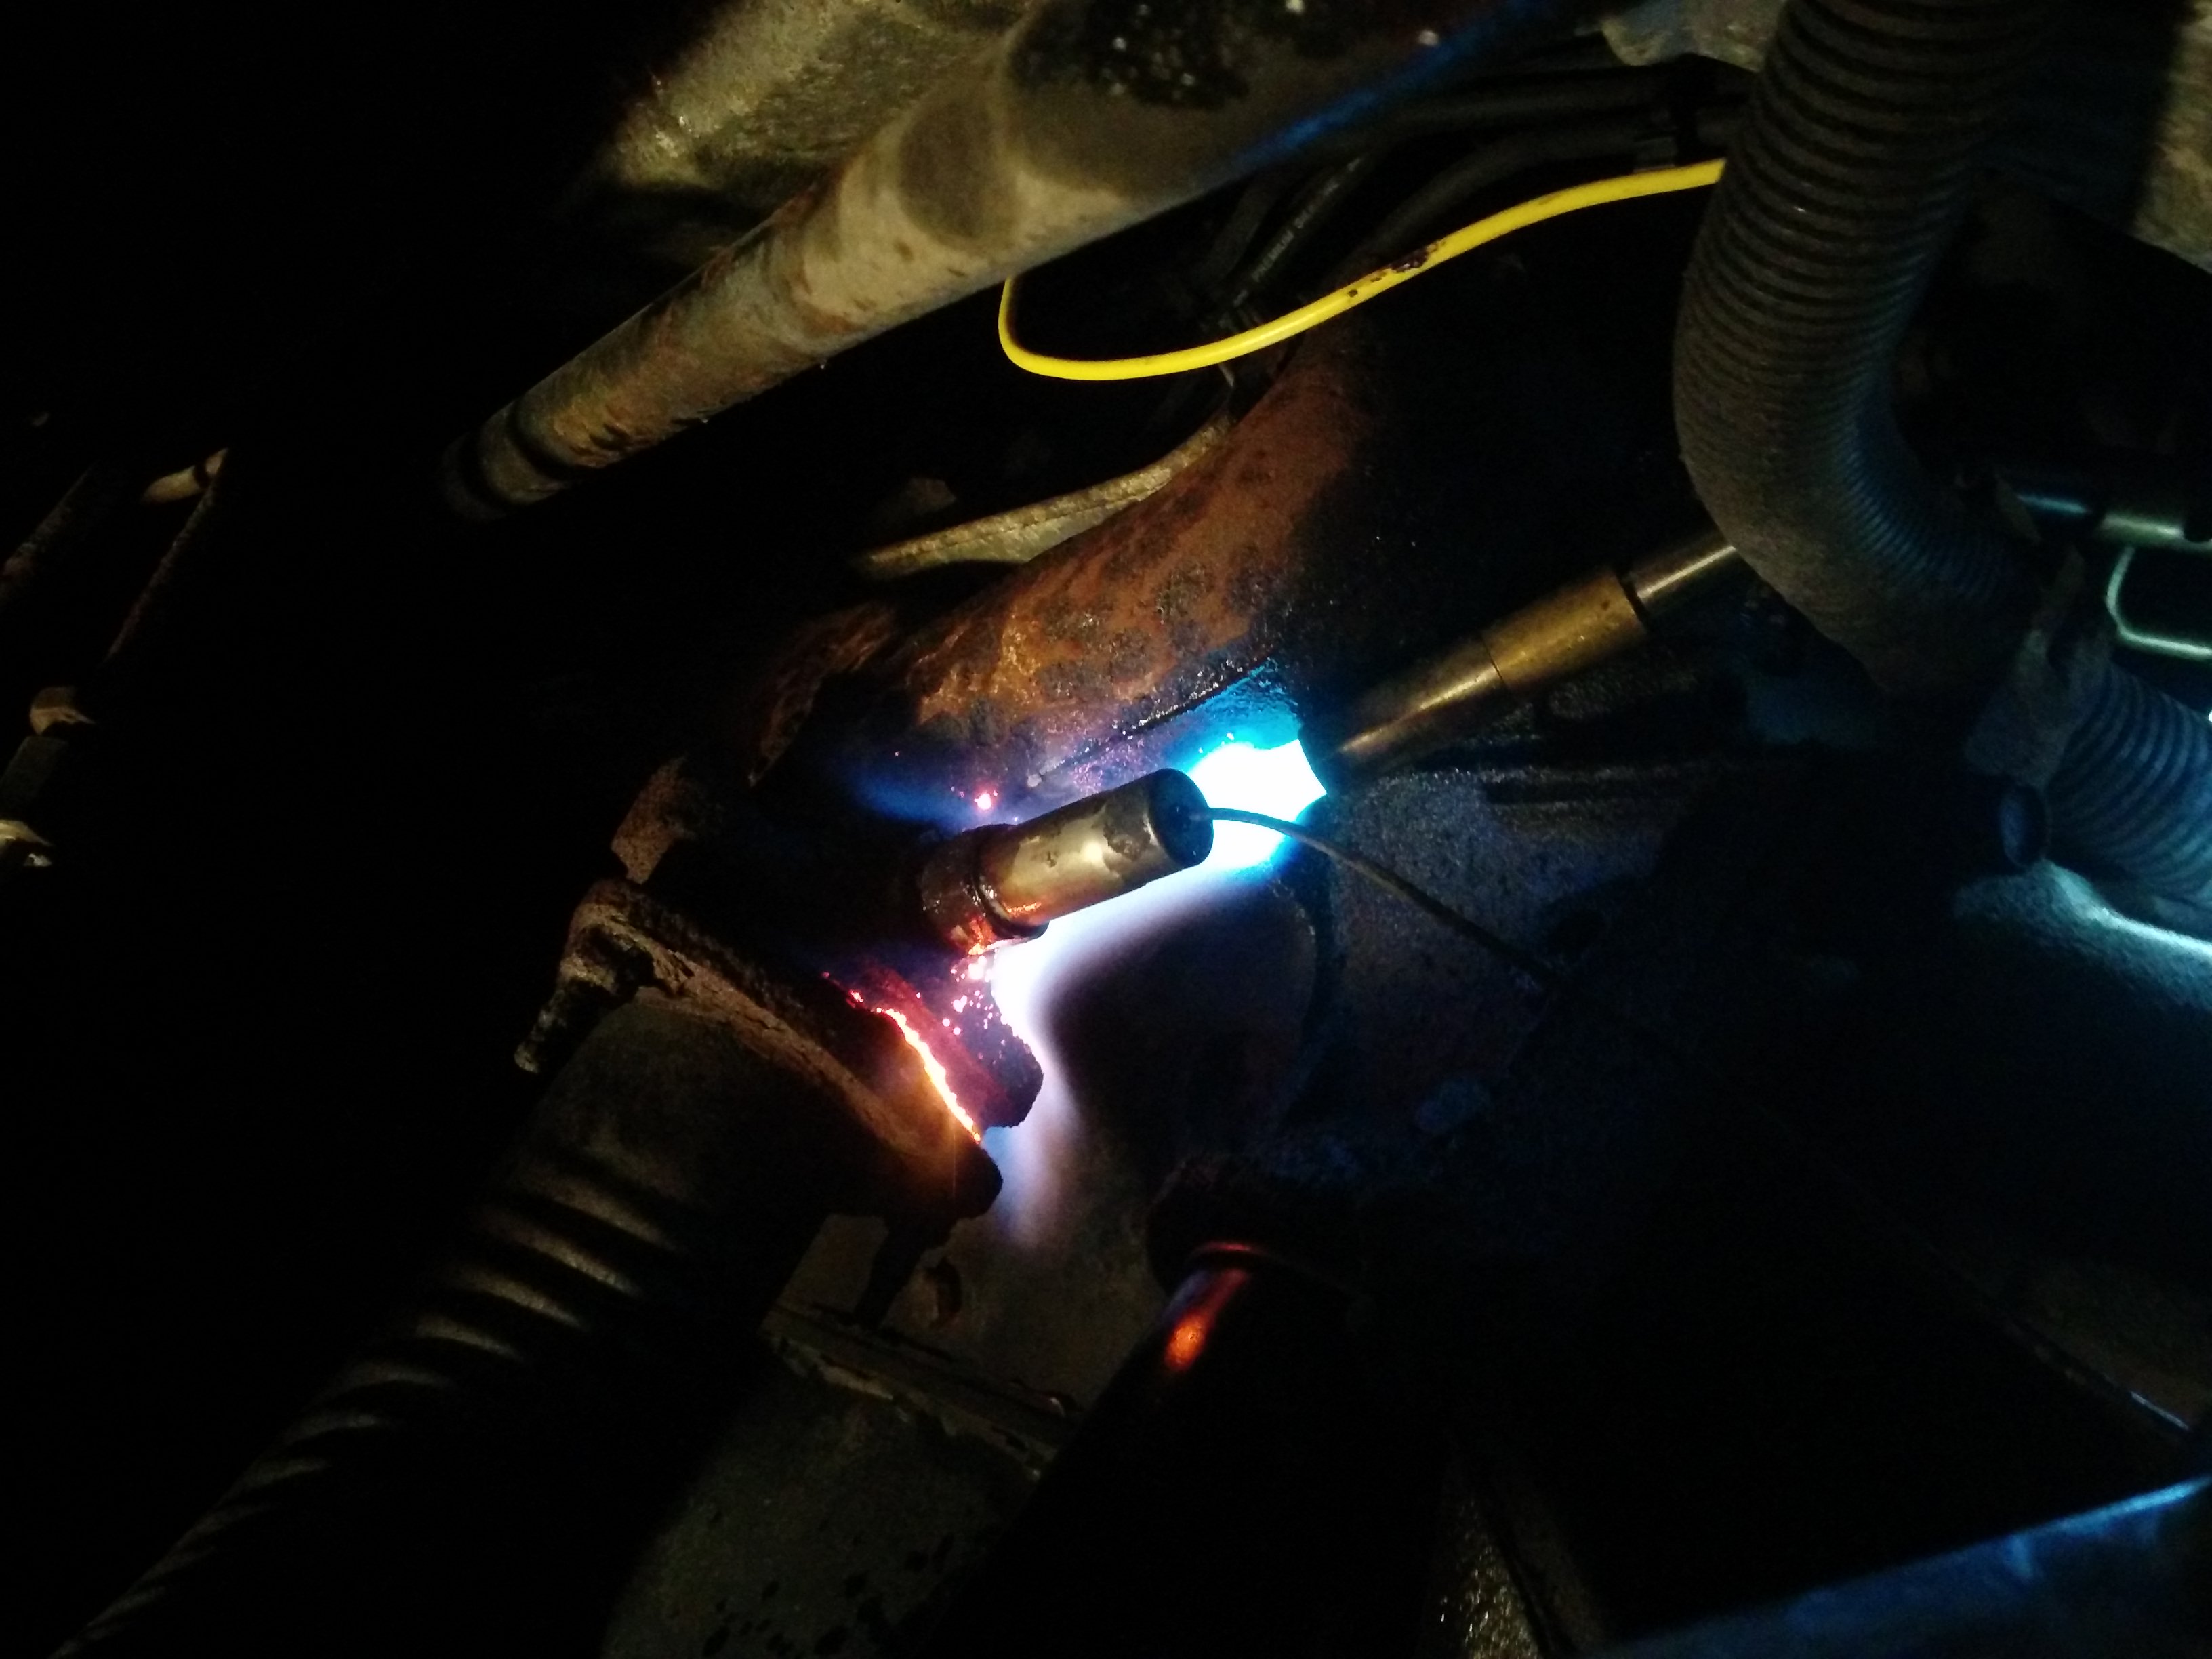
The penetrating oils were deployed, and later, more…flammable tactics.
This last technique was successful in freeing the old O2 sensor.
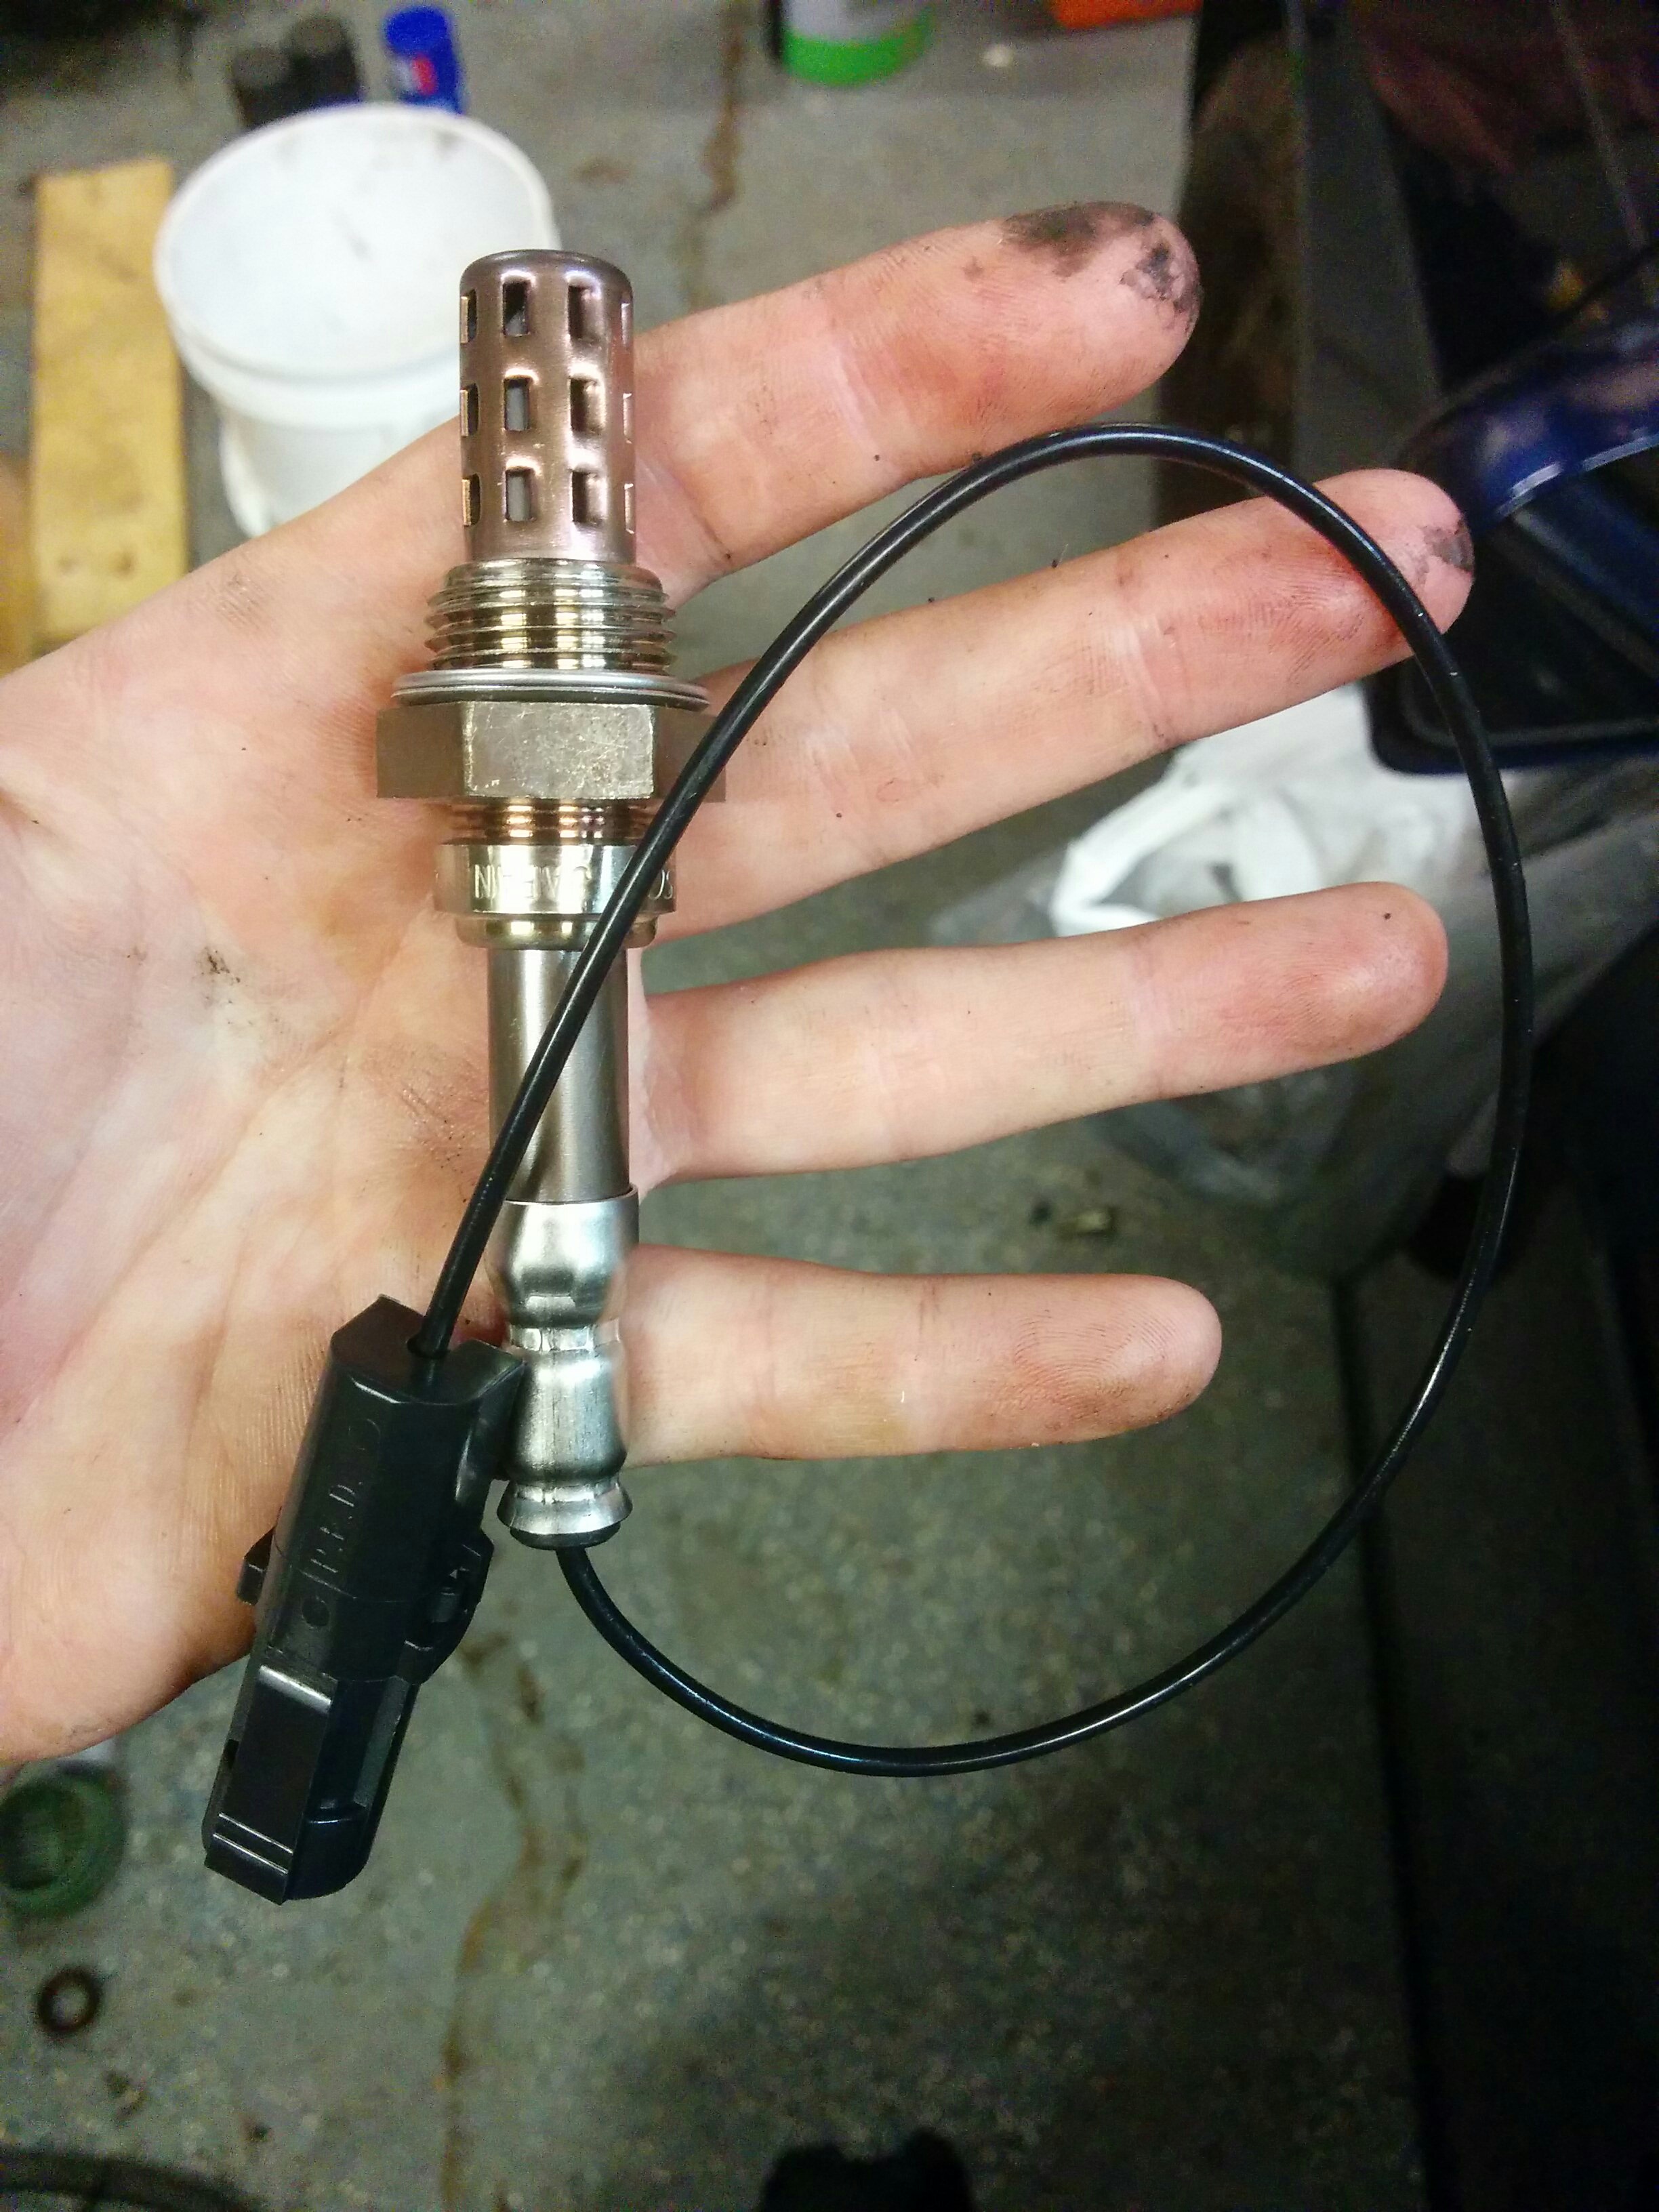
Now that the old one was out, it was time to put the new one in.
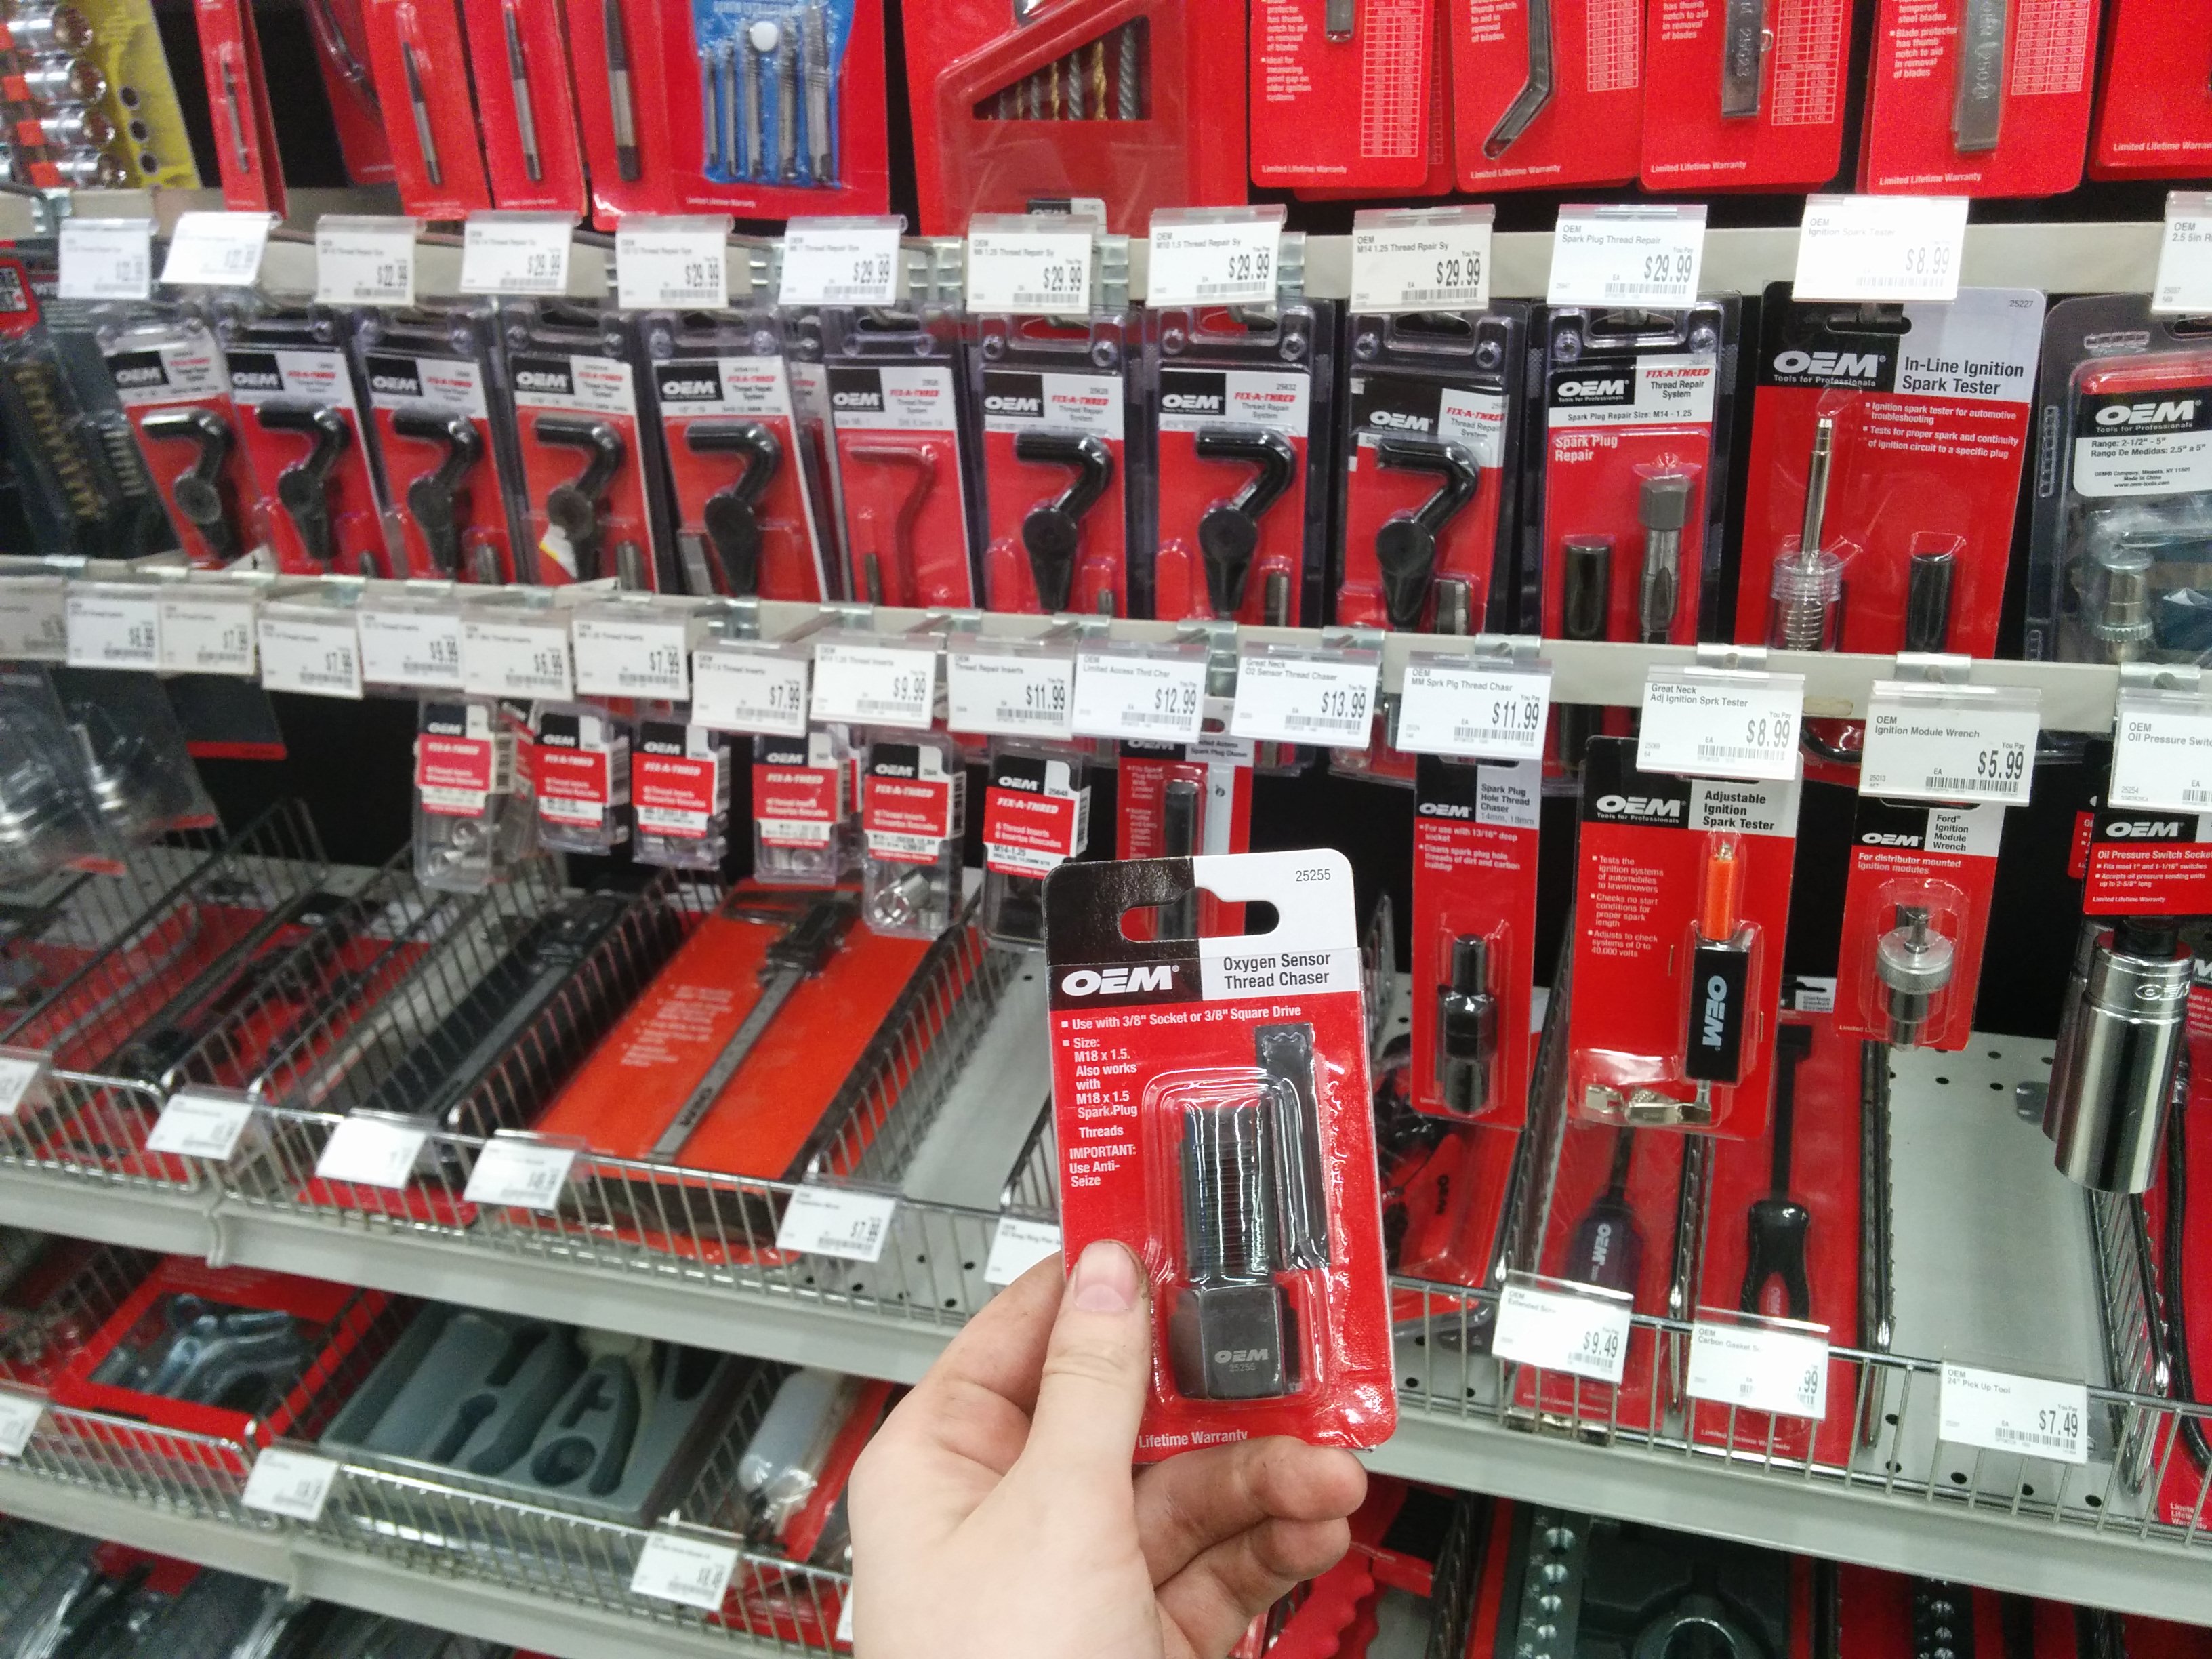
A short time later, I was deployed to AutoZone to purchase something known as a thread chaser.
I found it interesting that something was specifically sold for this use case.
Unfortunately, the thread chaser alone was not sufficient…it still wouldn’t screw in.
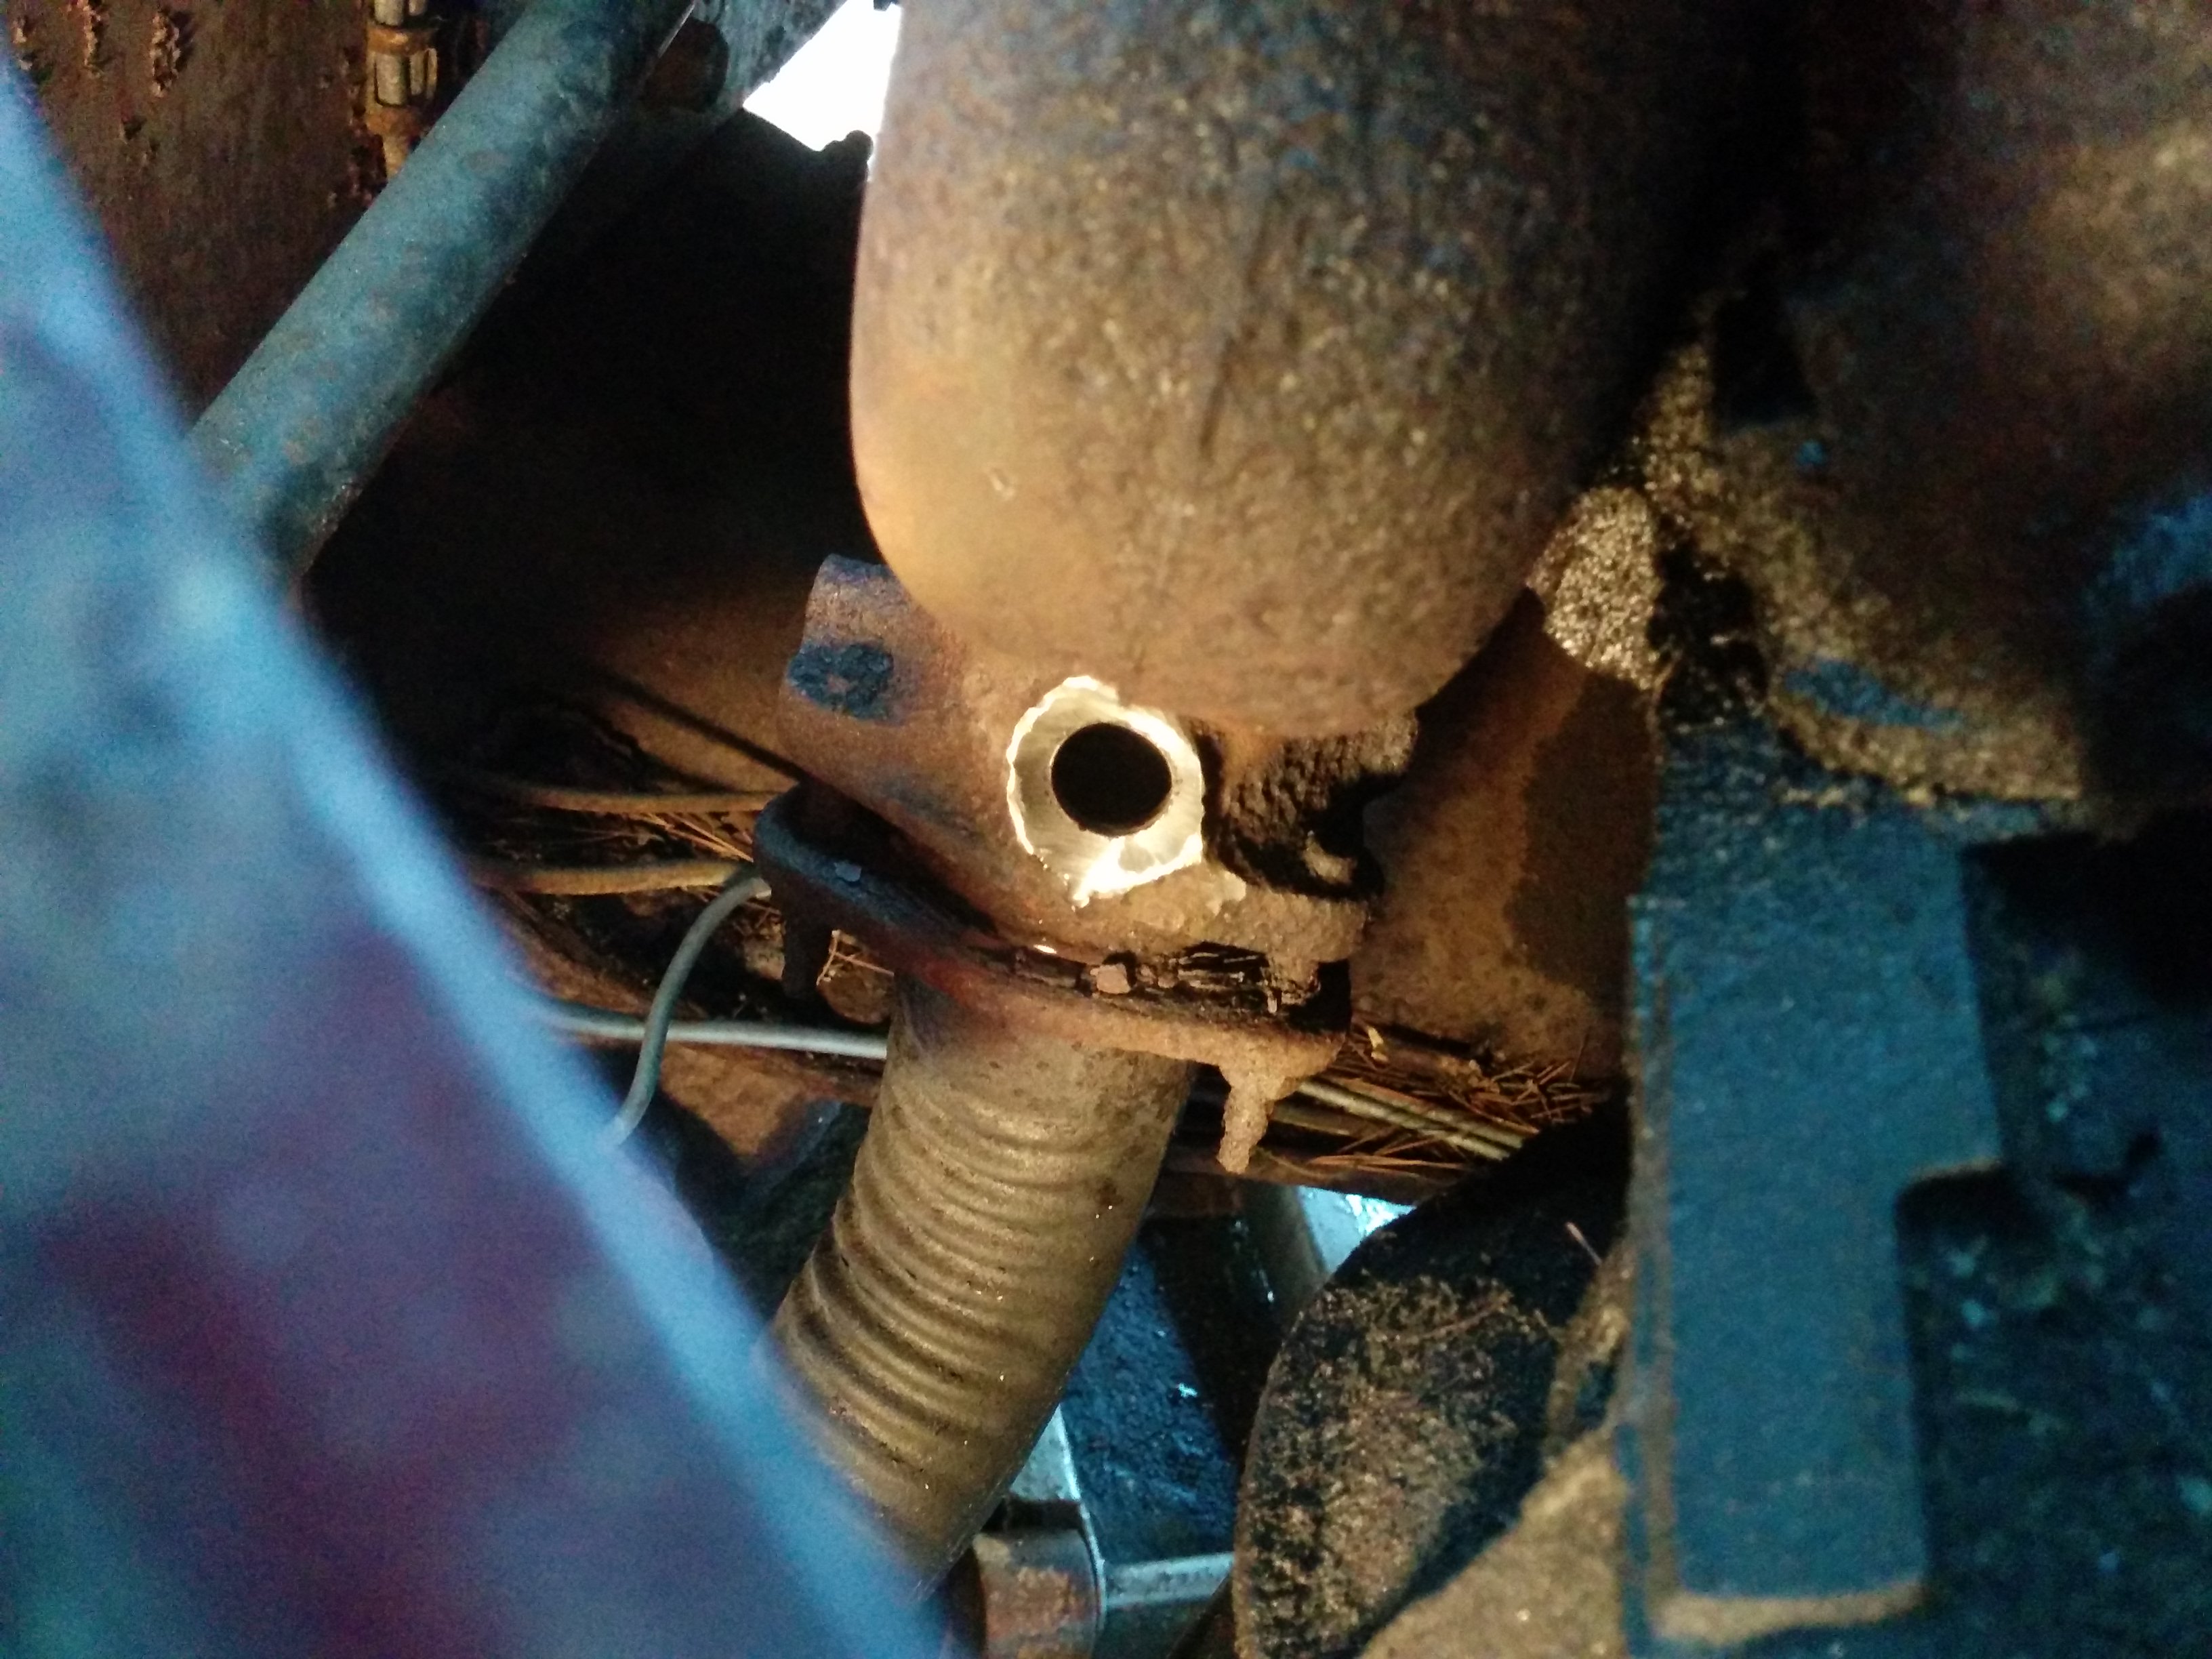
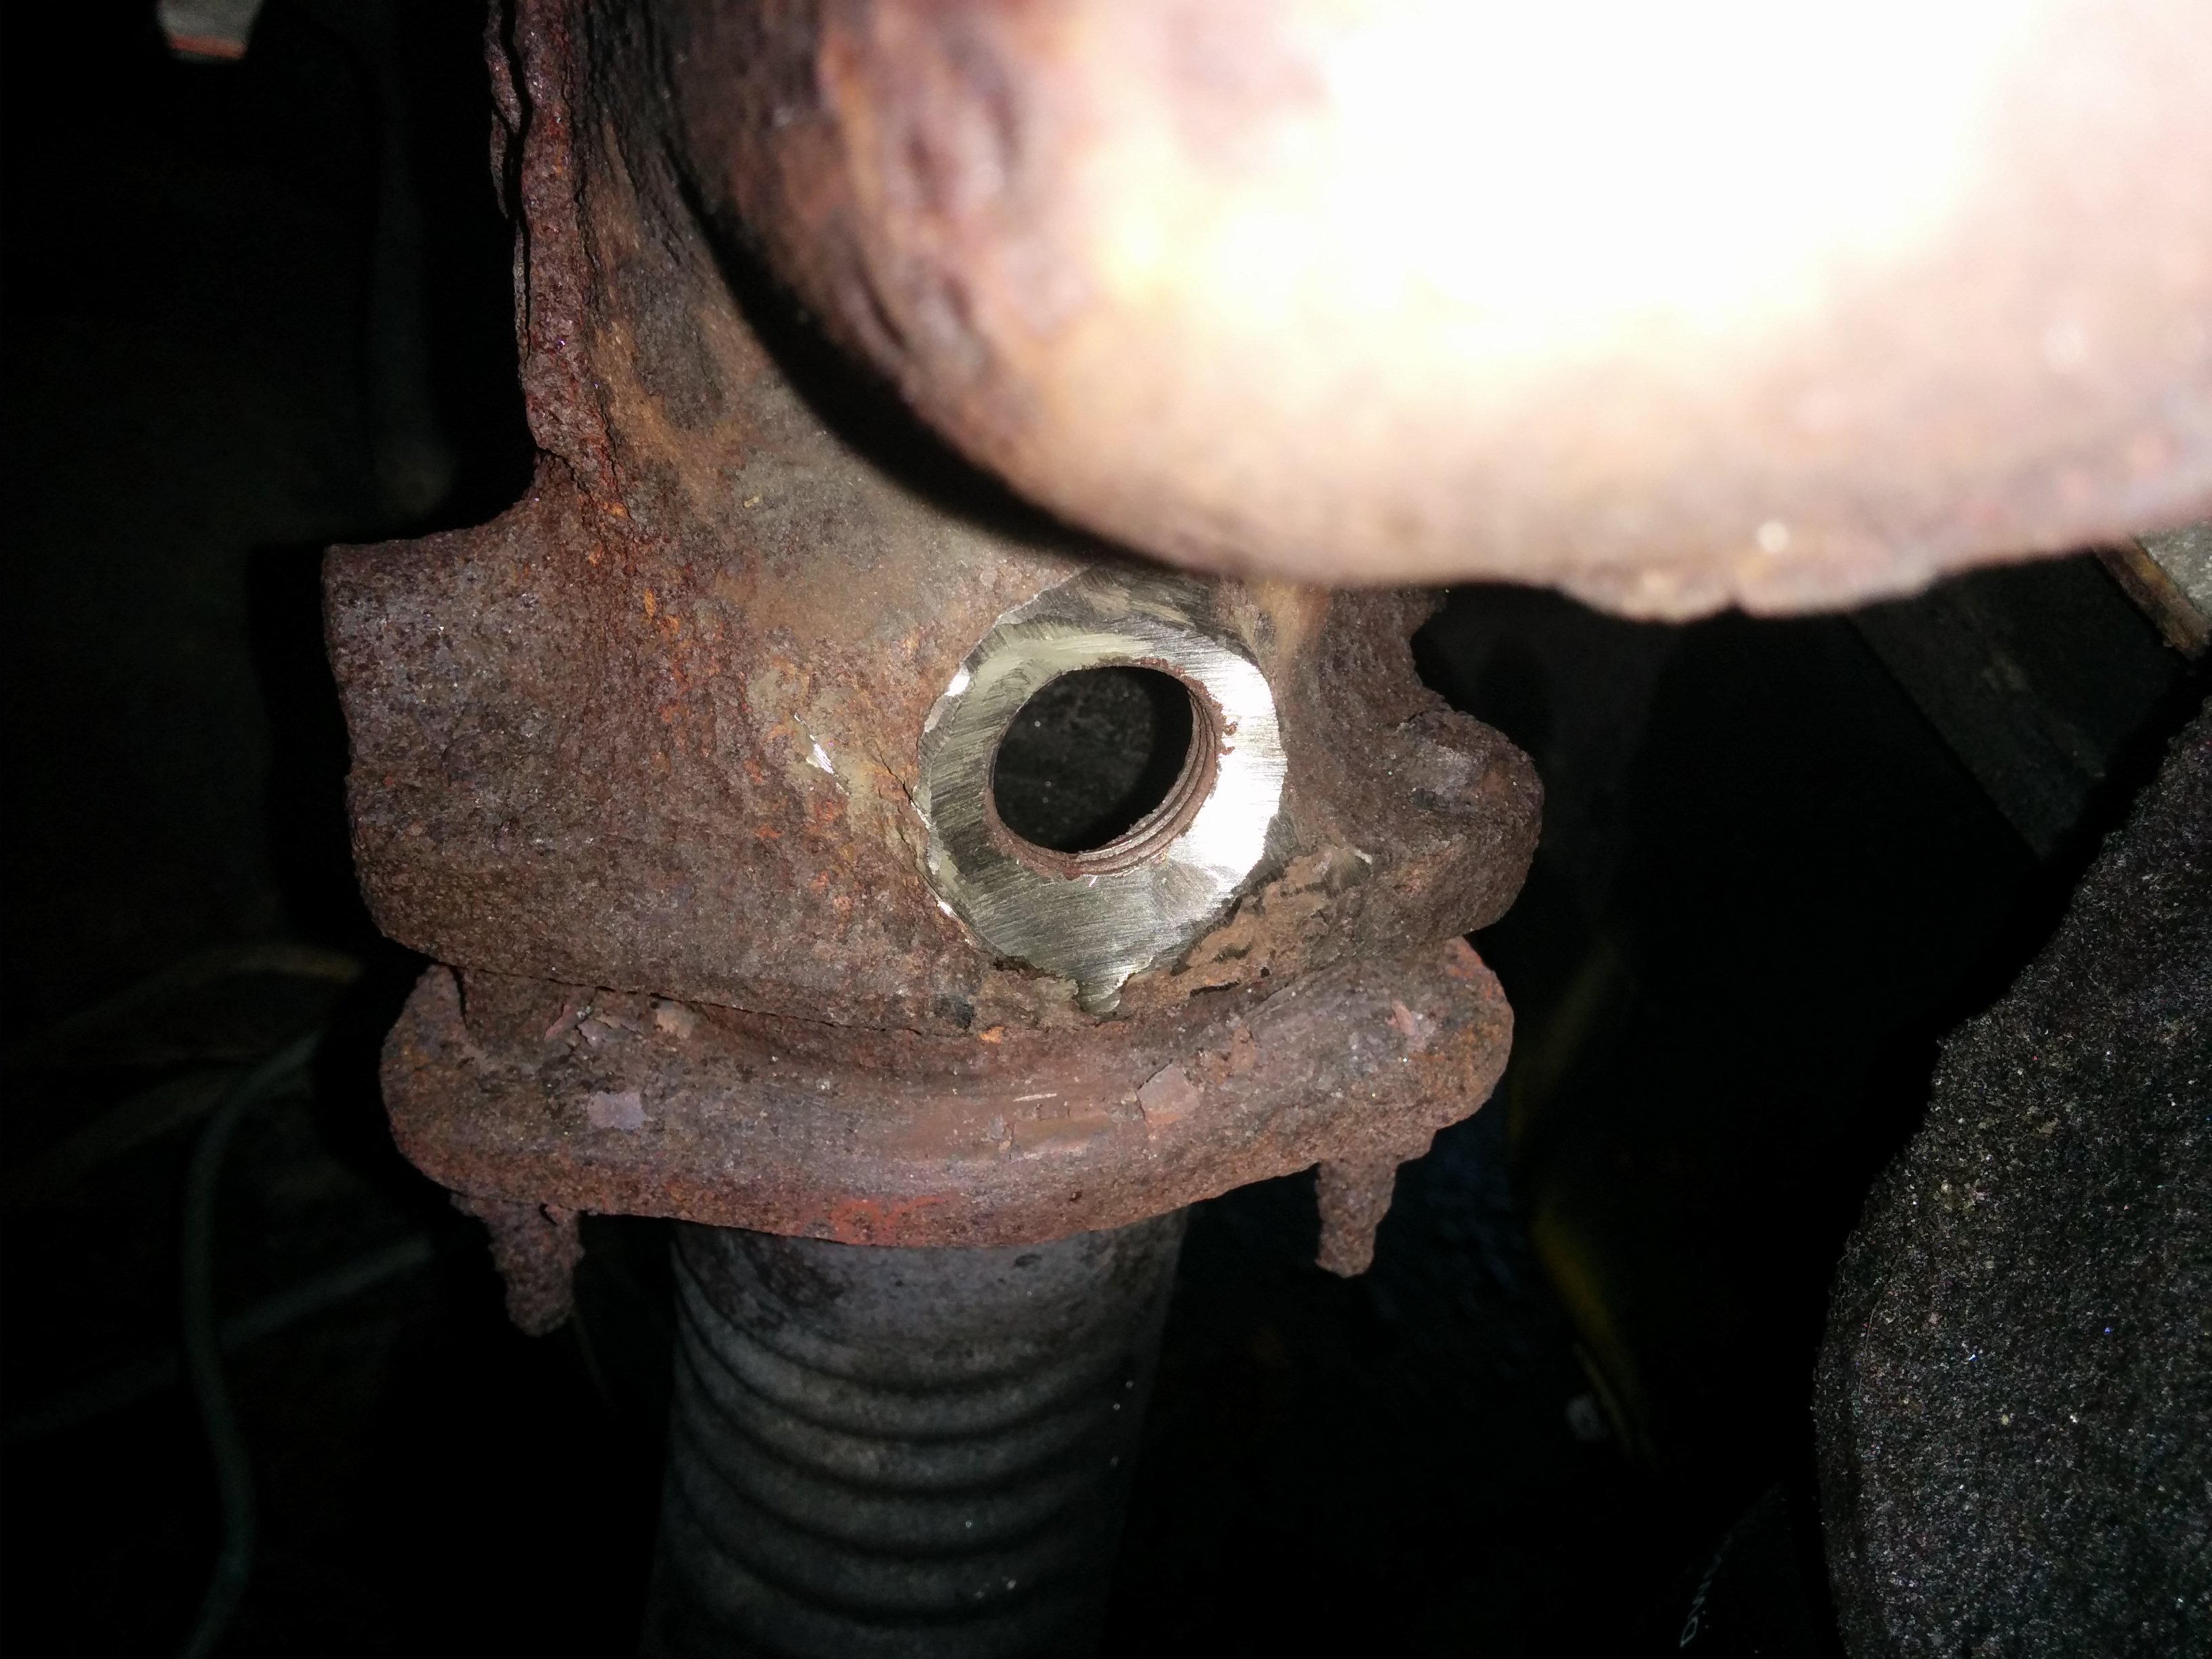
Garrett carefully drilled out a tiny bit of the entrance and we were both relieved when the oxygen sensor finally consented to screwing itself in.
Fuel Injector Fondling/Cleaning
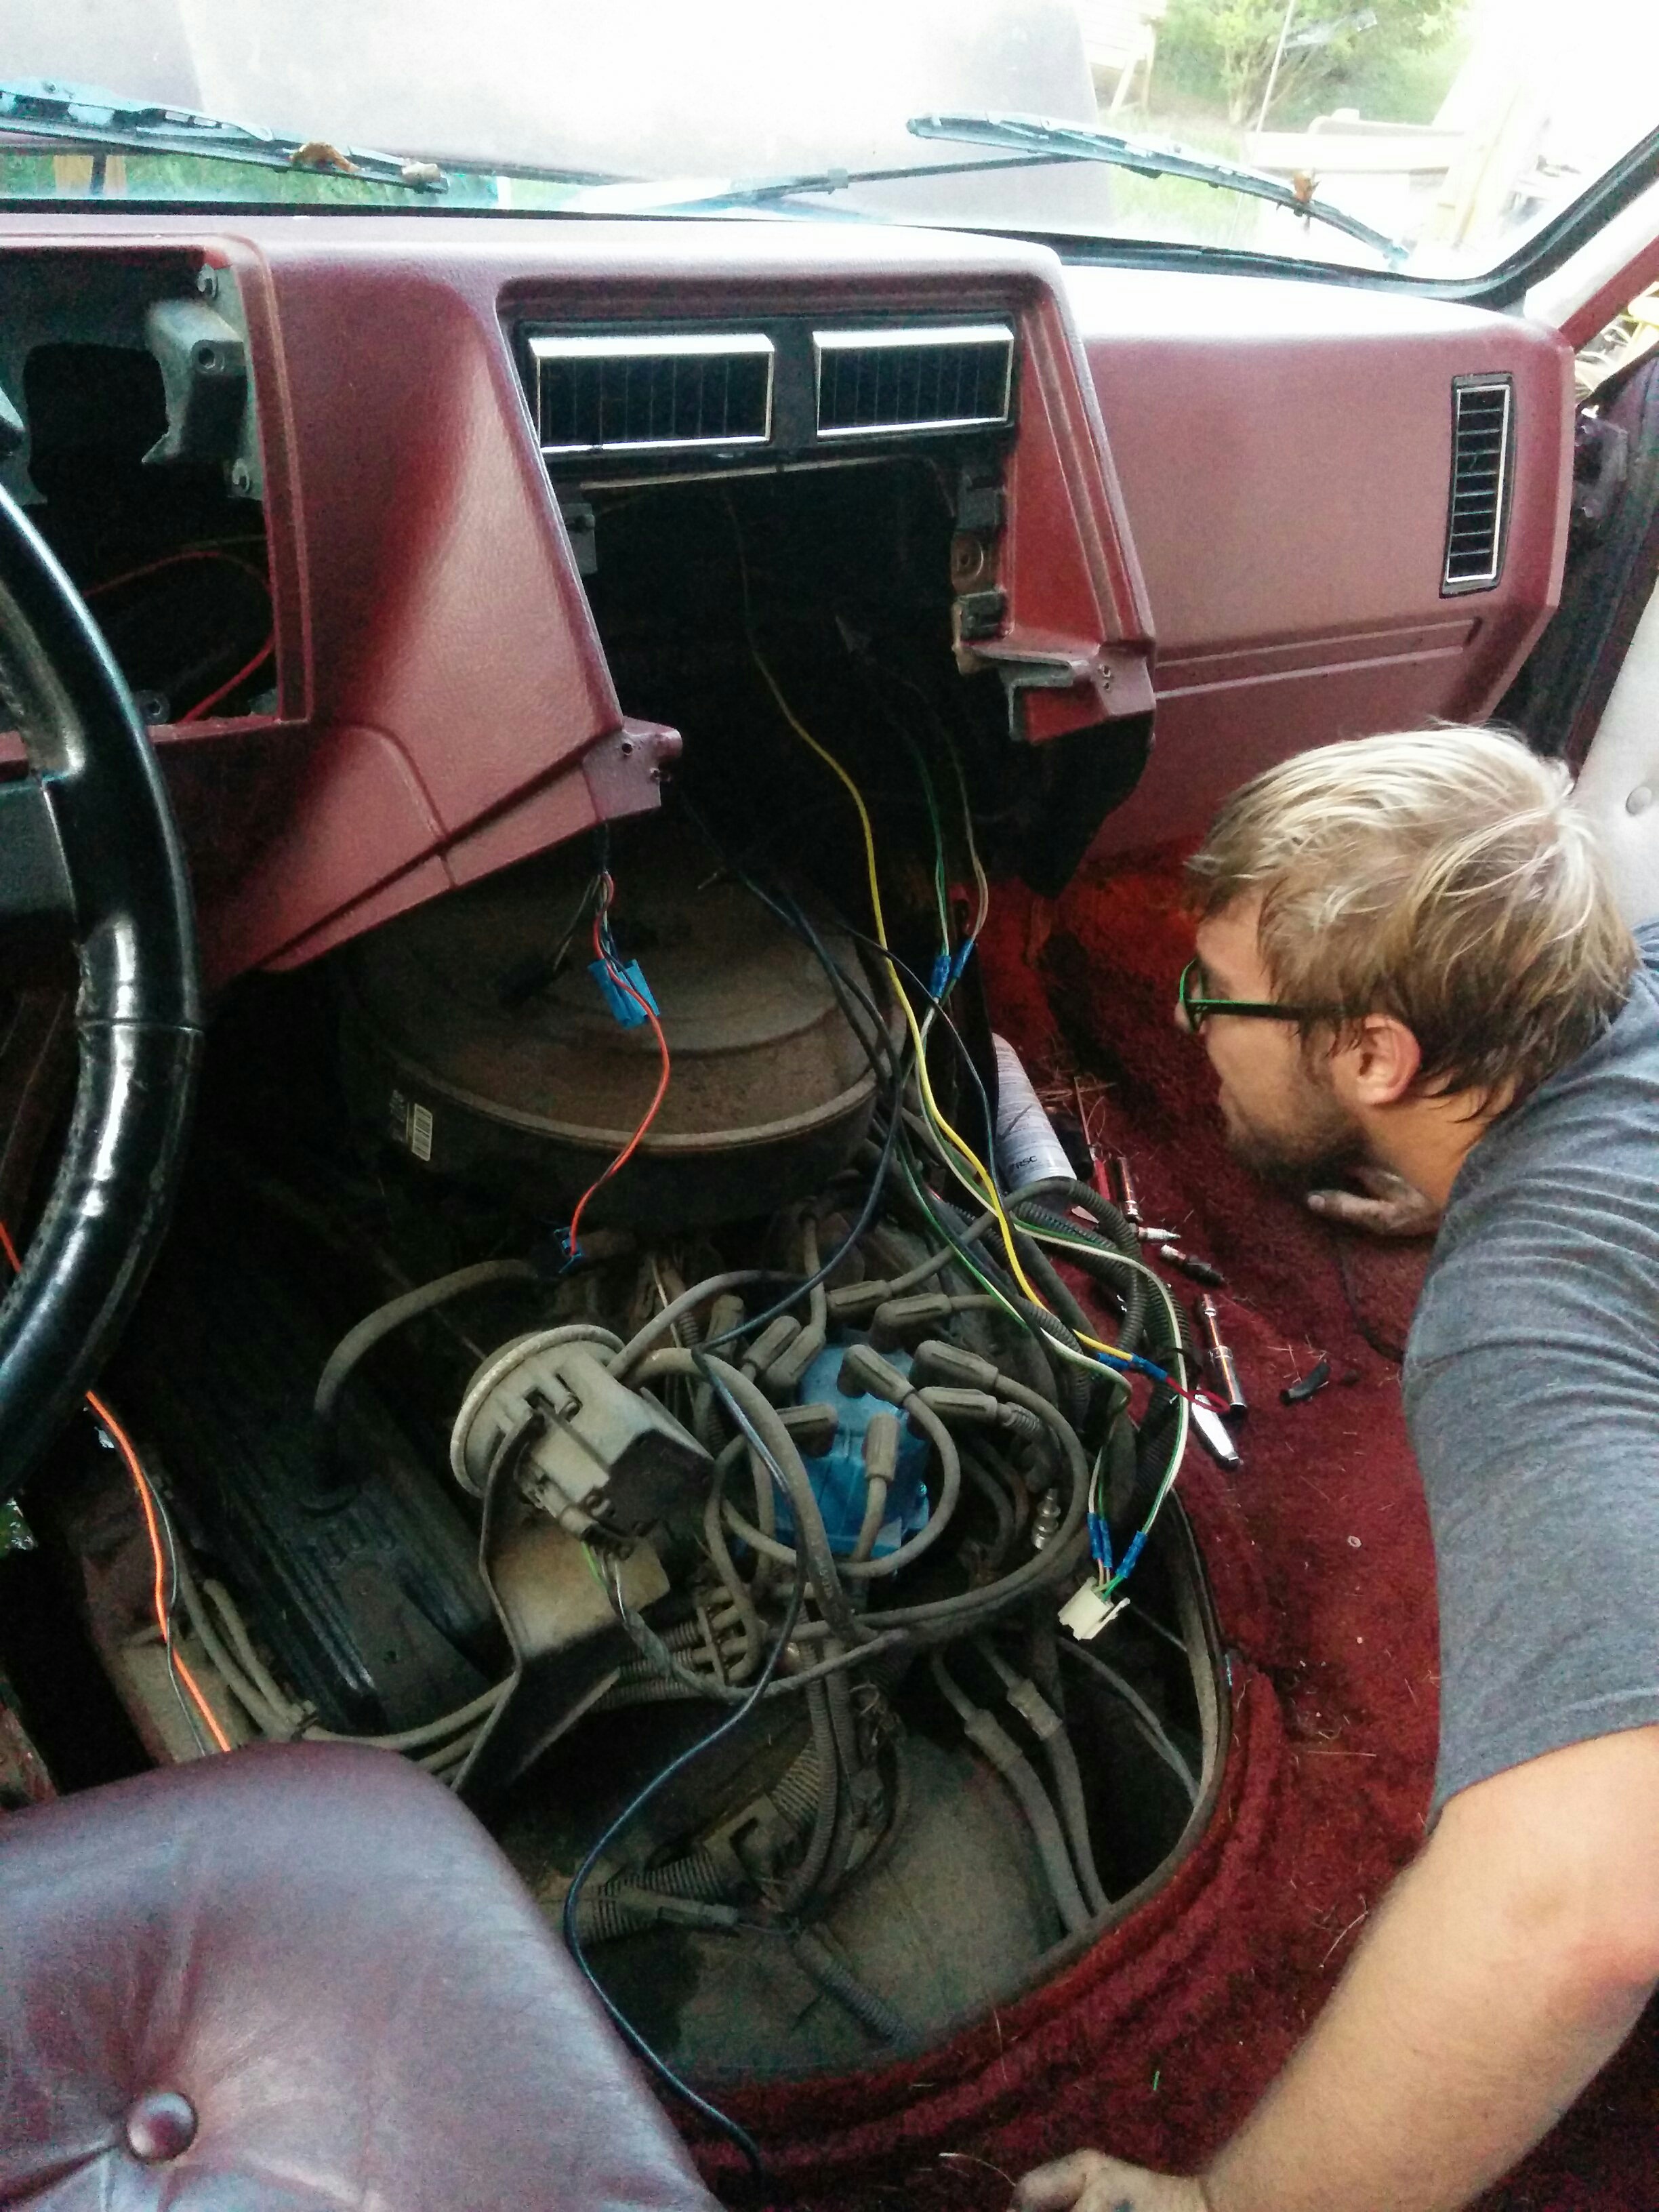
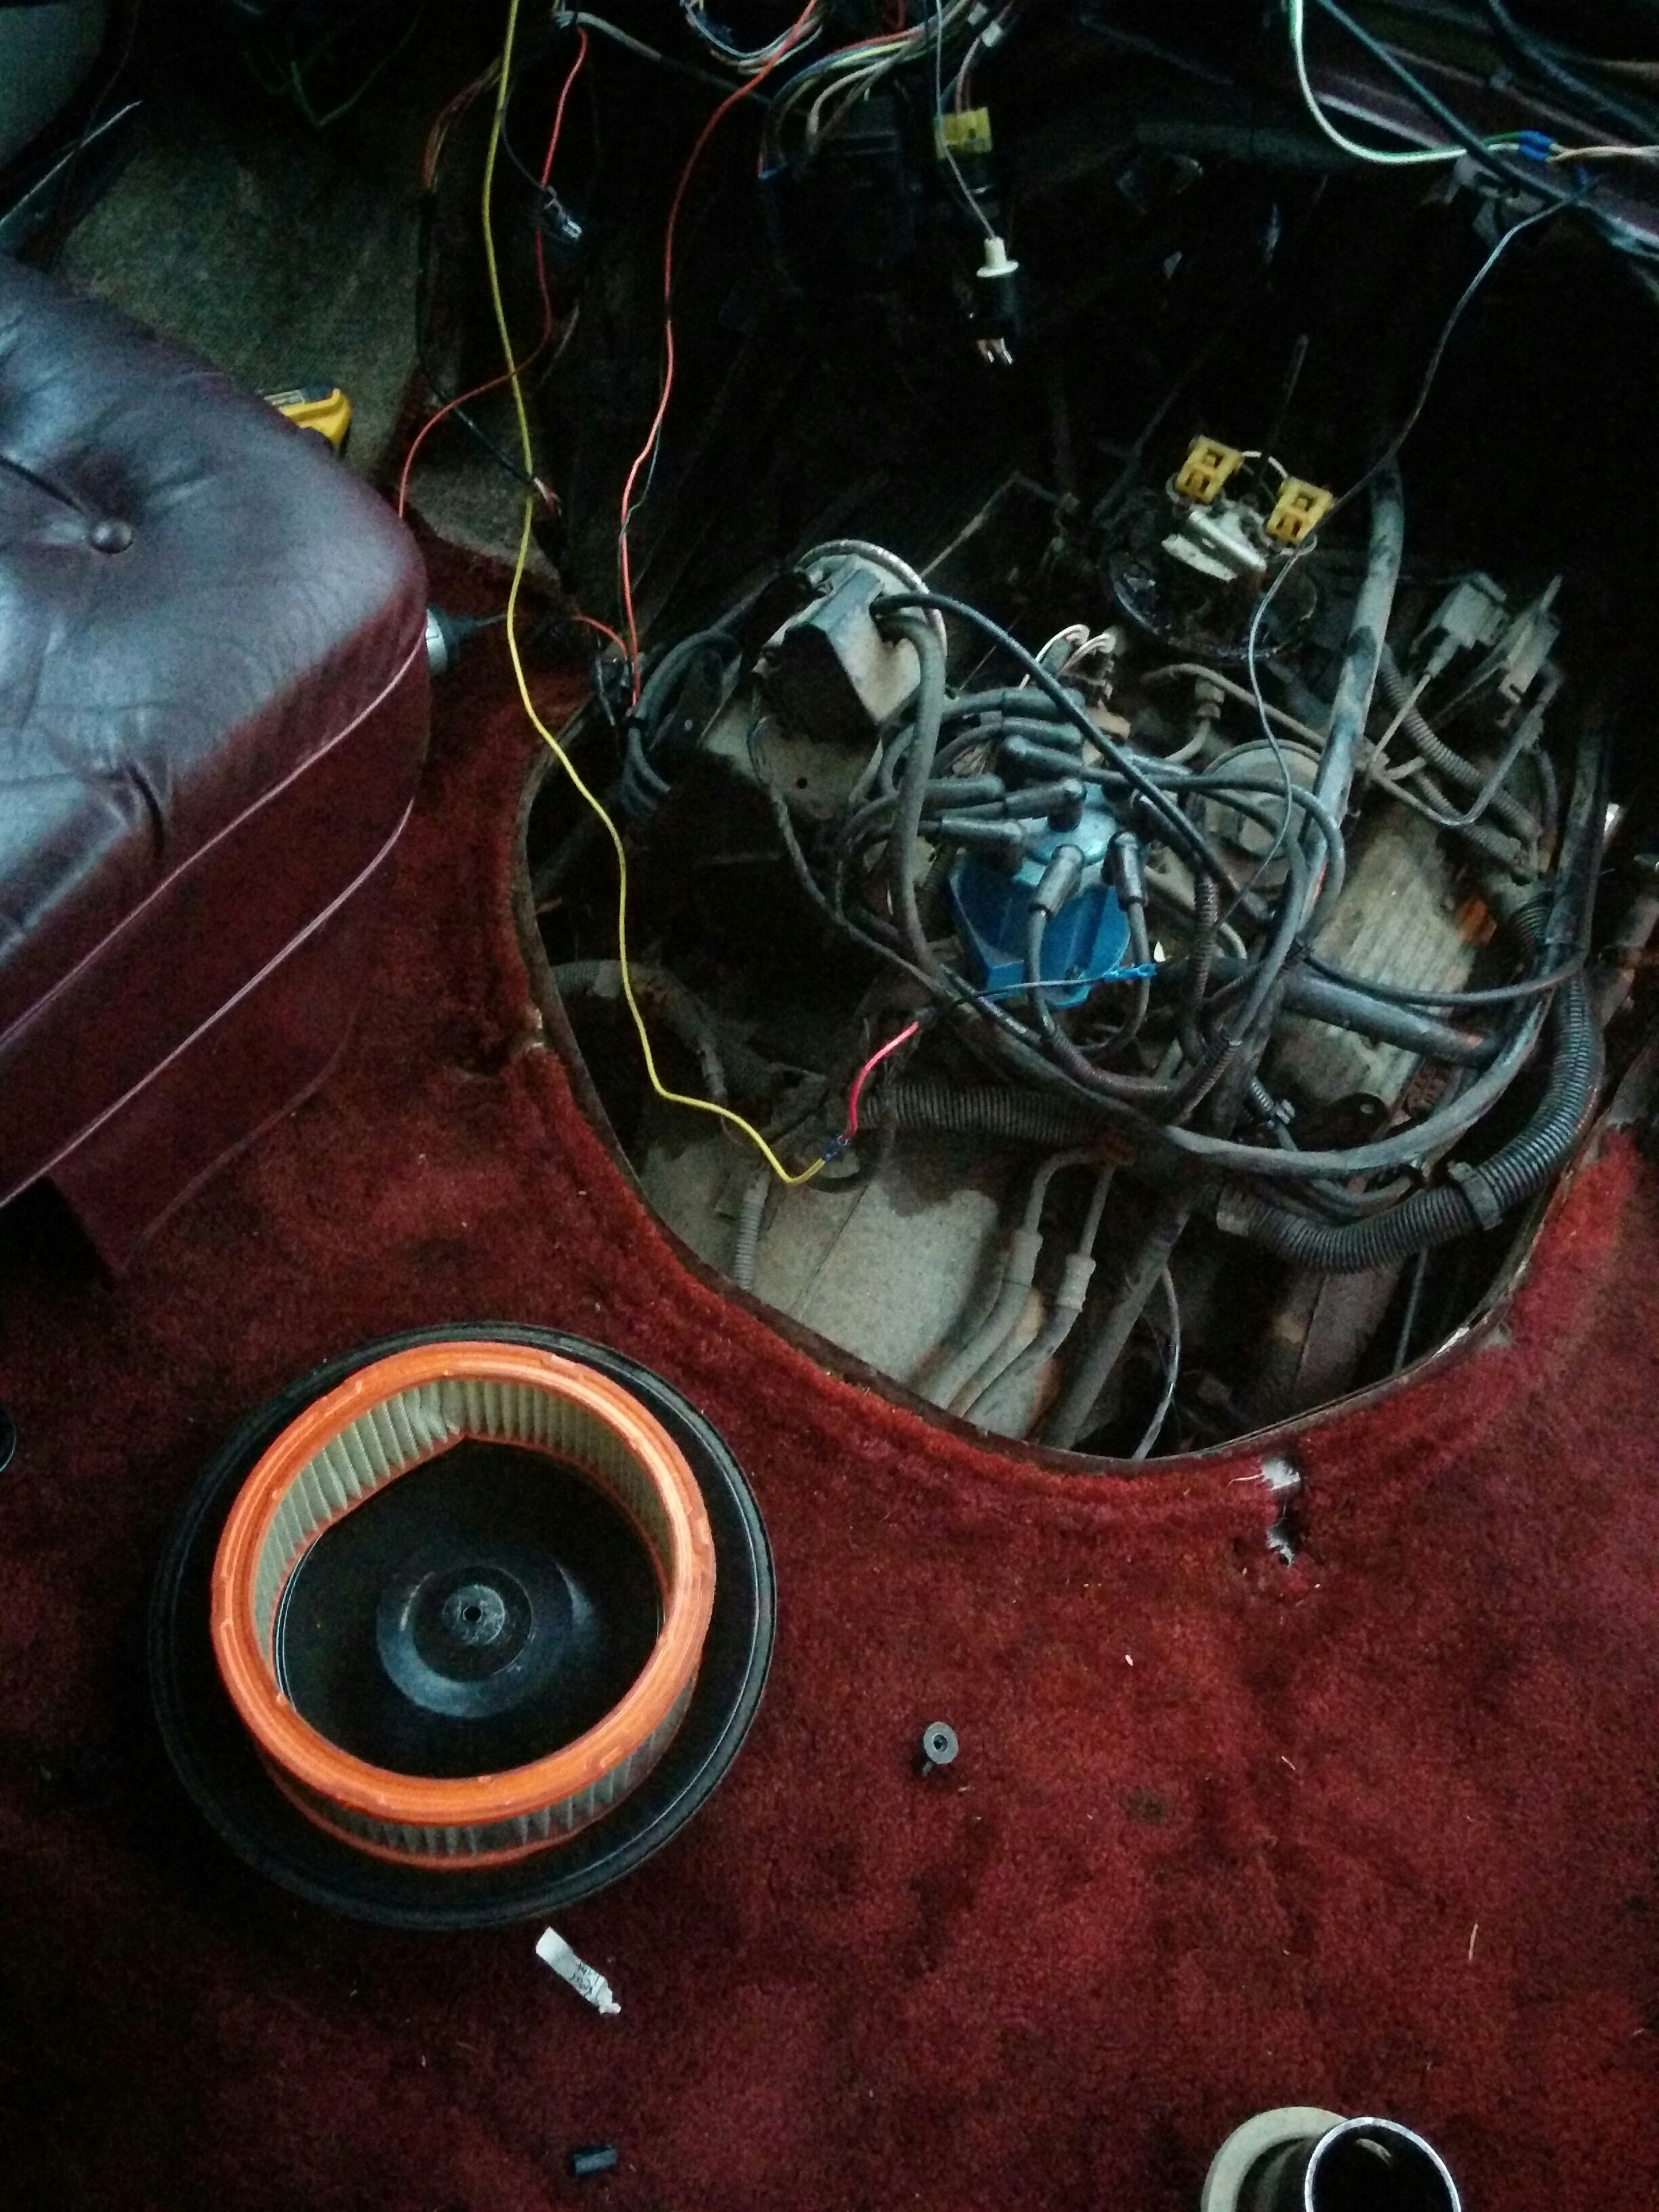
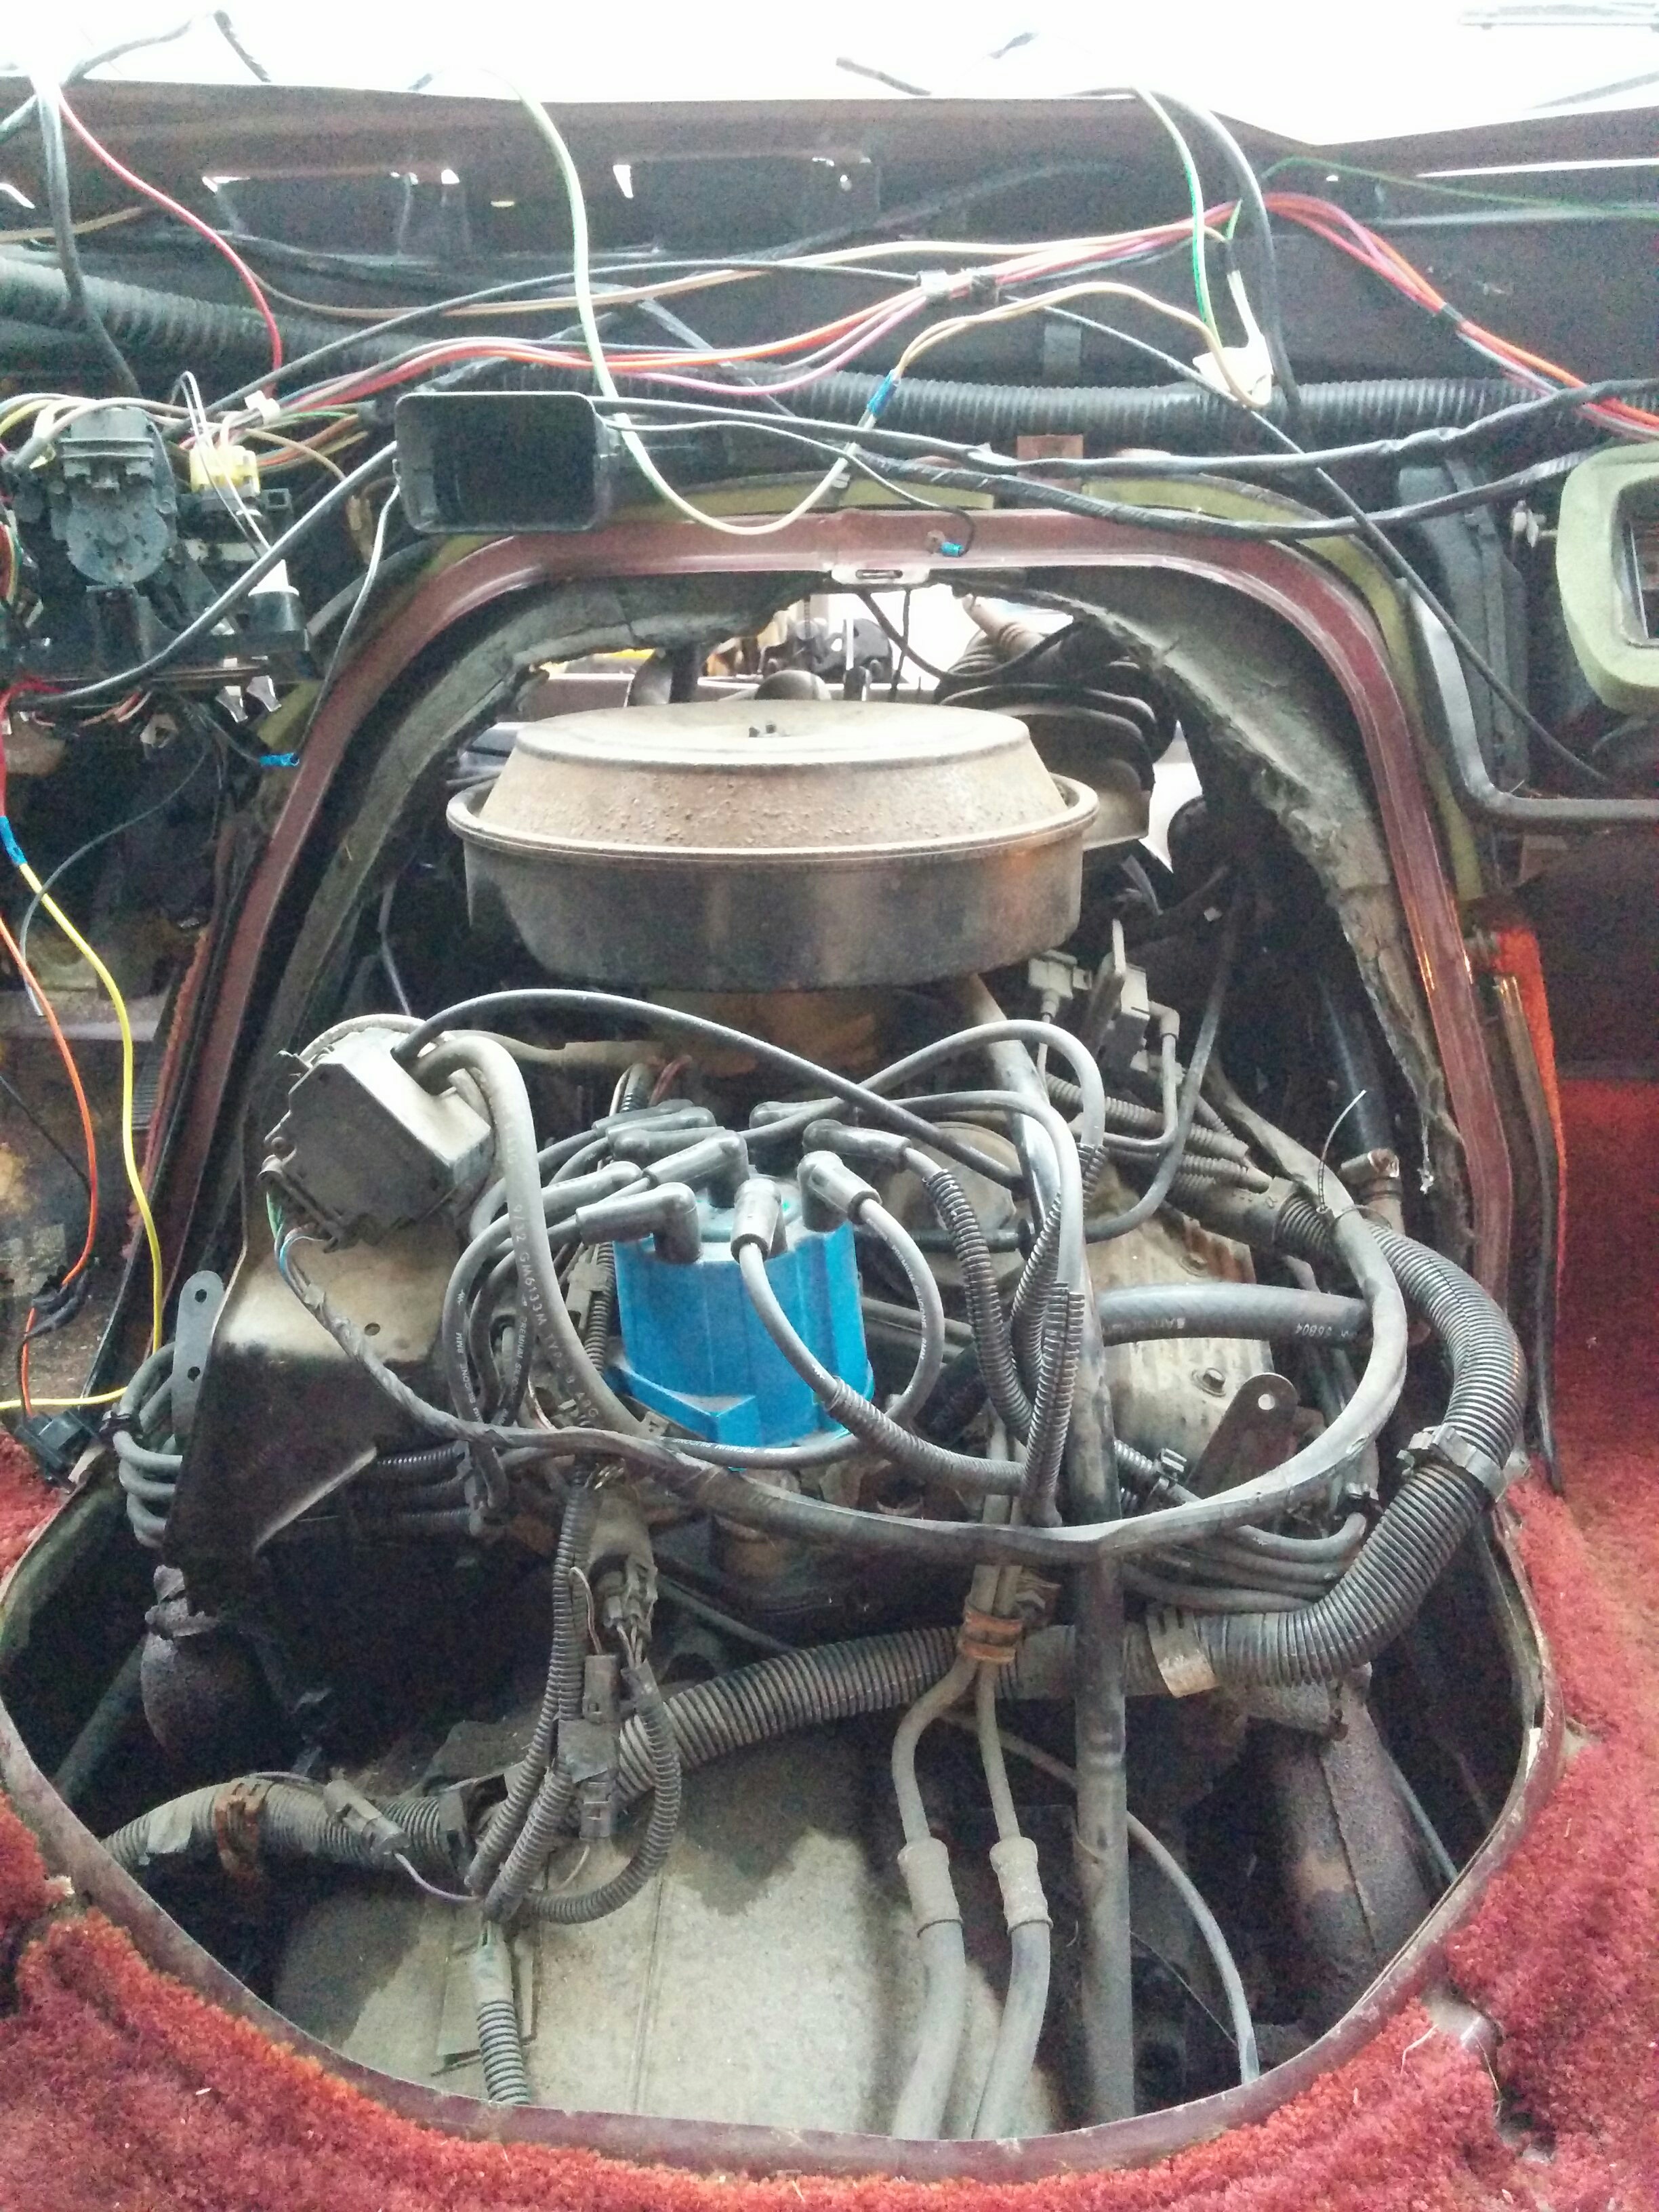
With the radio housing removed, you could then remove the “doghouse” covering the engine. This was a lot easier to do if you removed the passenger seat, but is technically possible to do with it in place.
The cold air intake (CAI) filter roosts on top of the engine block. It is inside the thing that looks like a brown hat in the previous photo. Here you can see its orange underbelly (this is the actual air filter part).
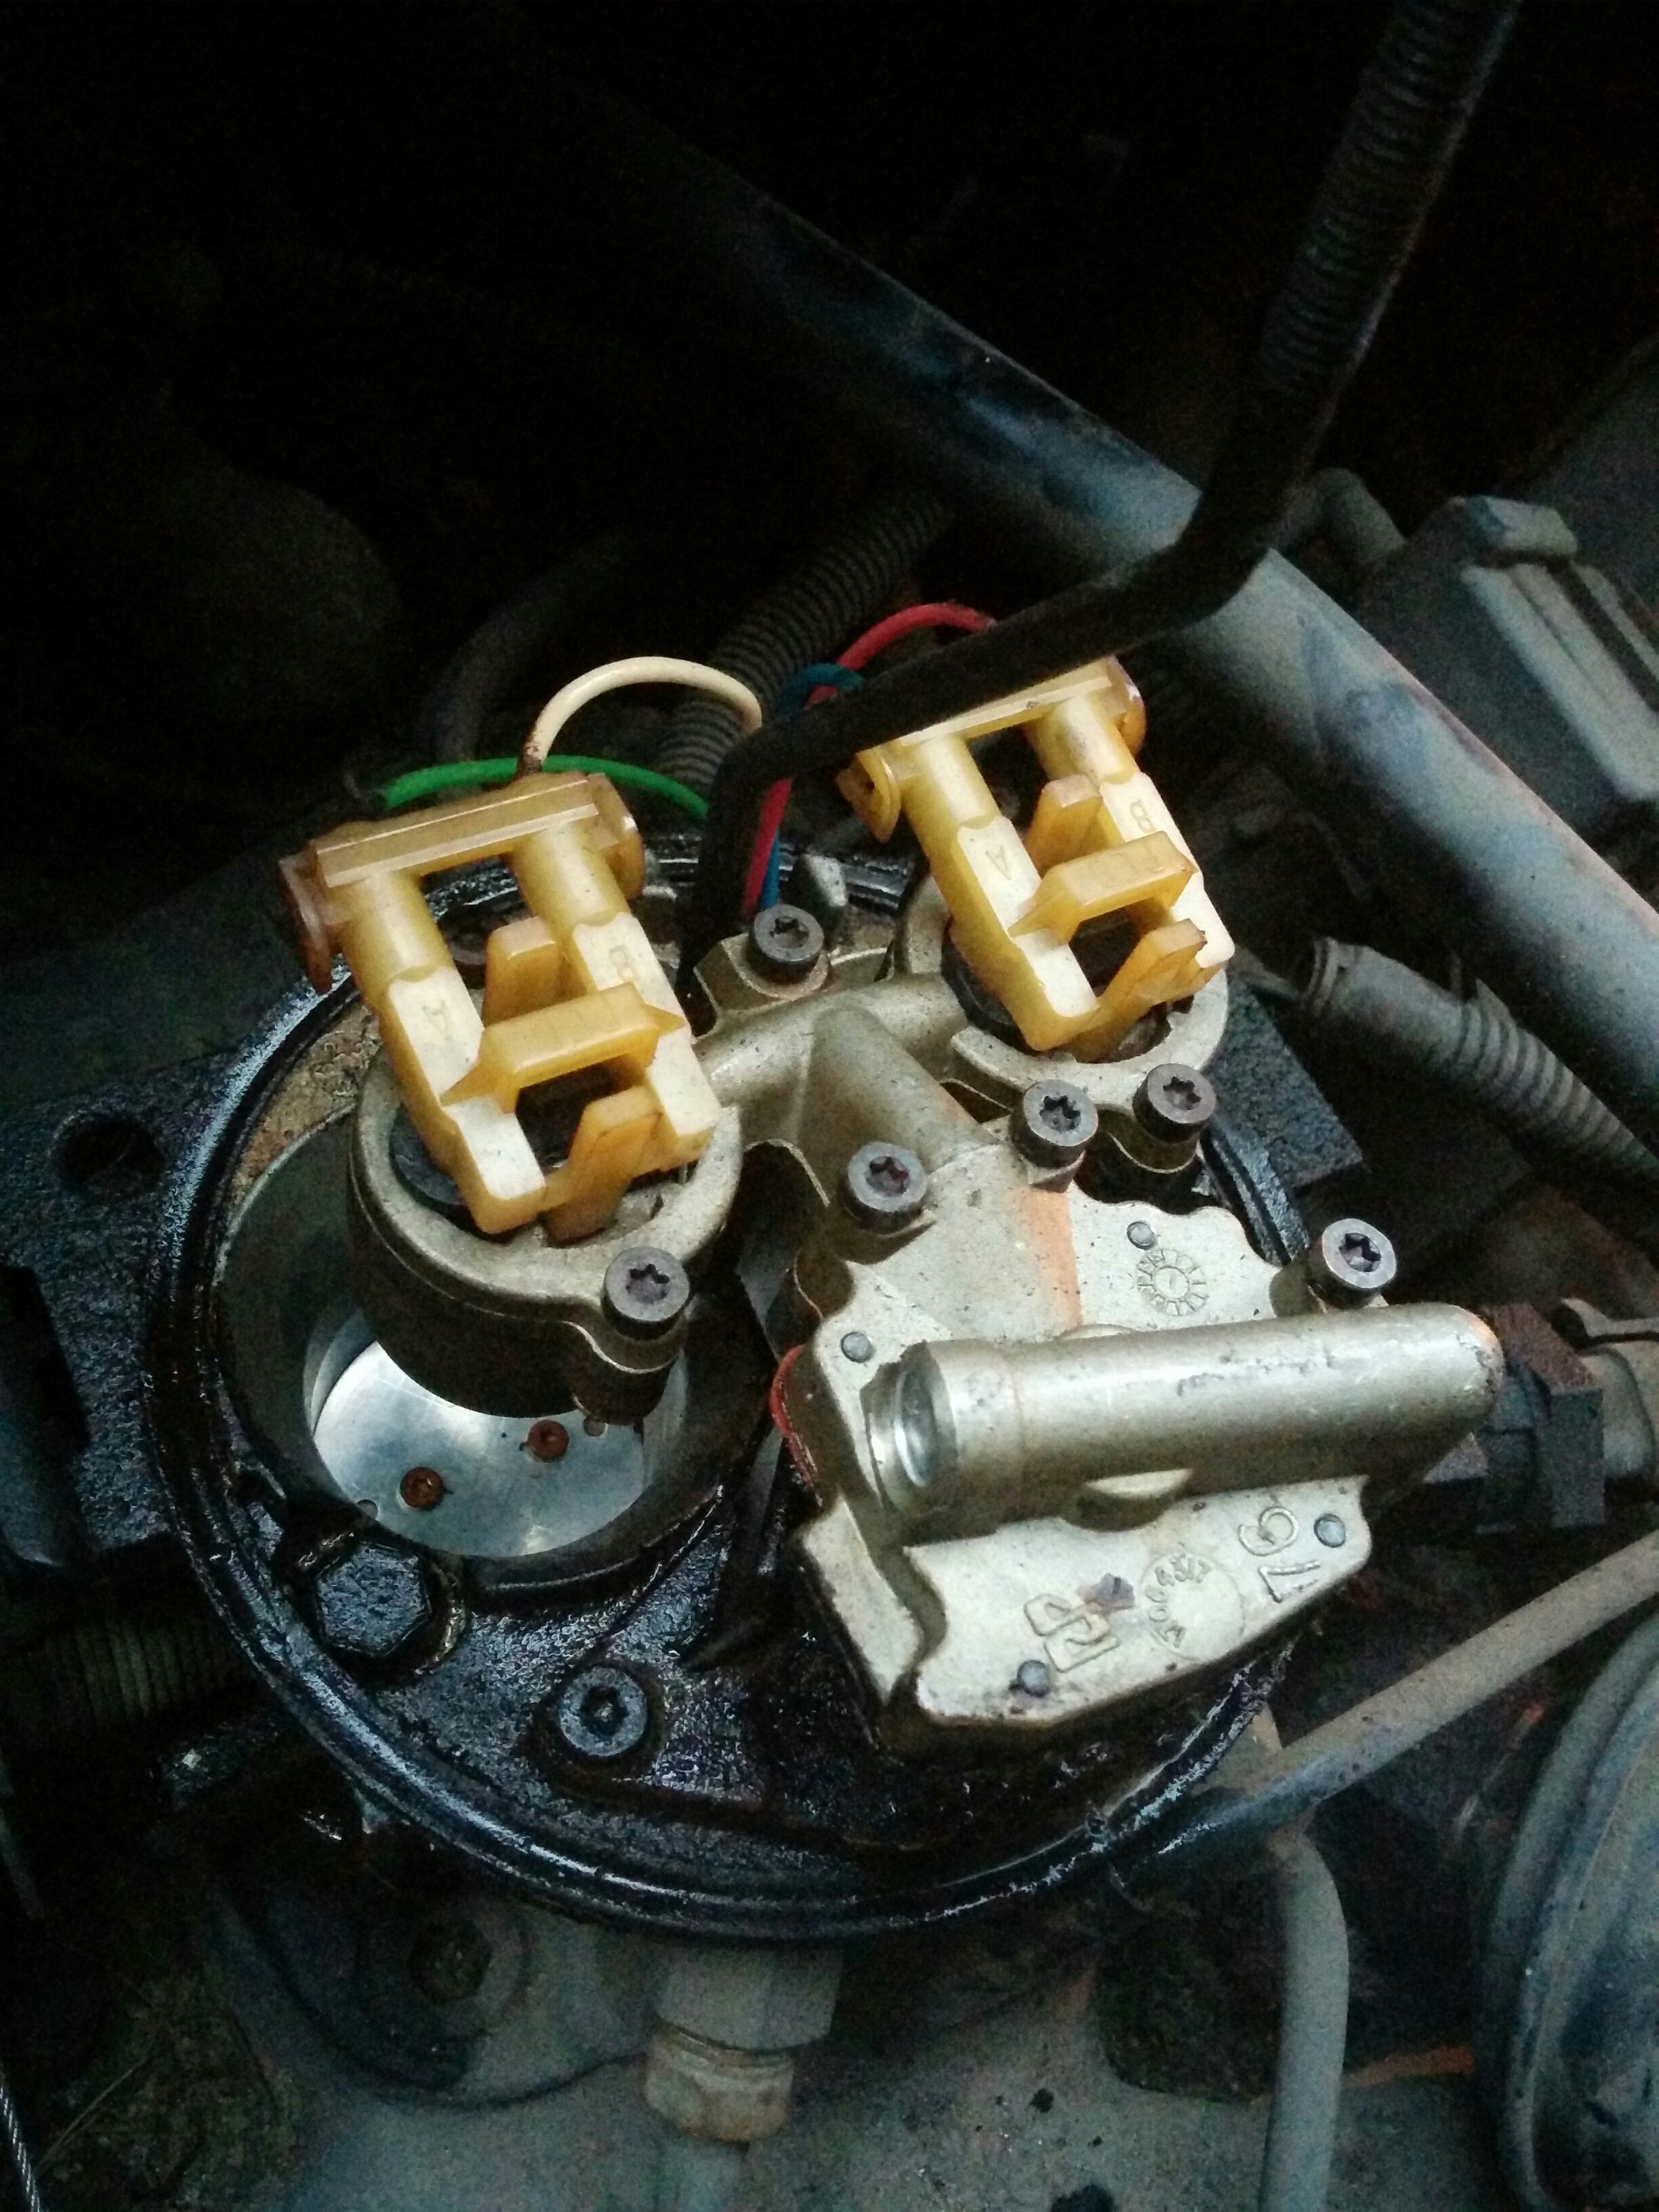
Underneath the air intake were the fuel injectors. Iron Van is “throttle body injected,” which means there’s a flappy metal disc in there too (you can see it directly under the yellow fuel injector, it has two brown fasteners in it). It flips up to let the air/fuel mixture in when you press the gas pedal. Garrett had some cleaning chemicals he spritzed it with and we ogled the engine in action together as we hit the gas pedal.
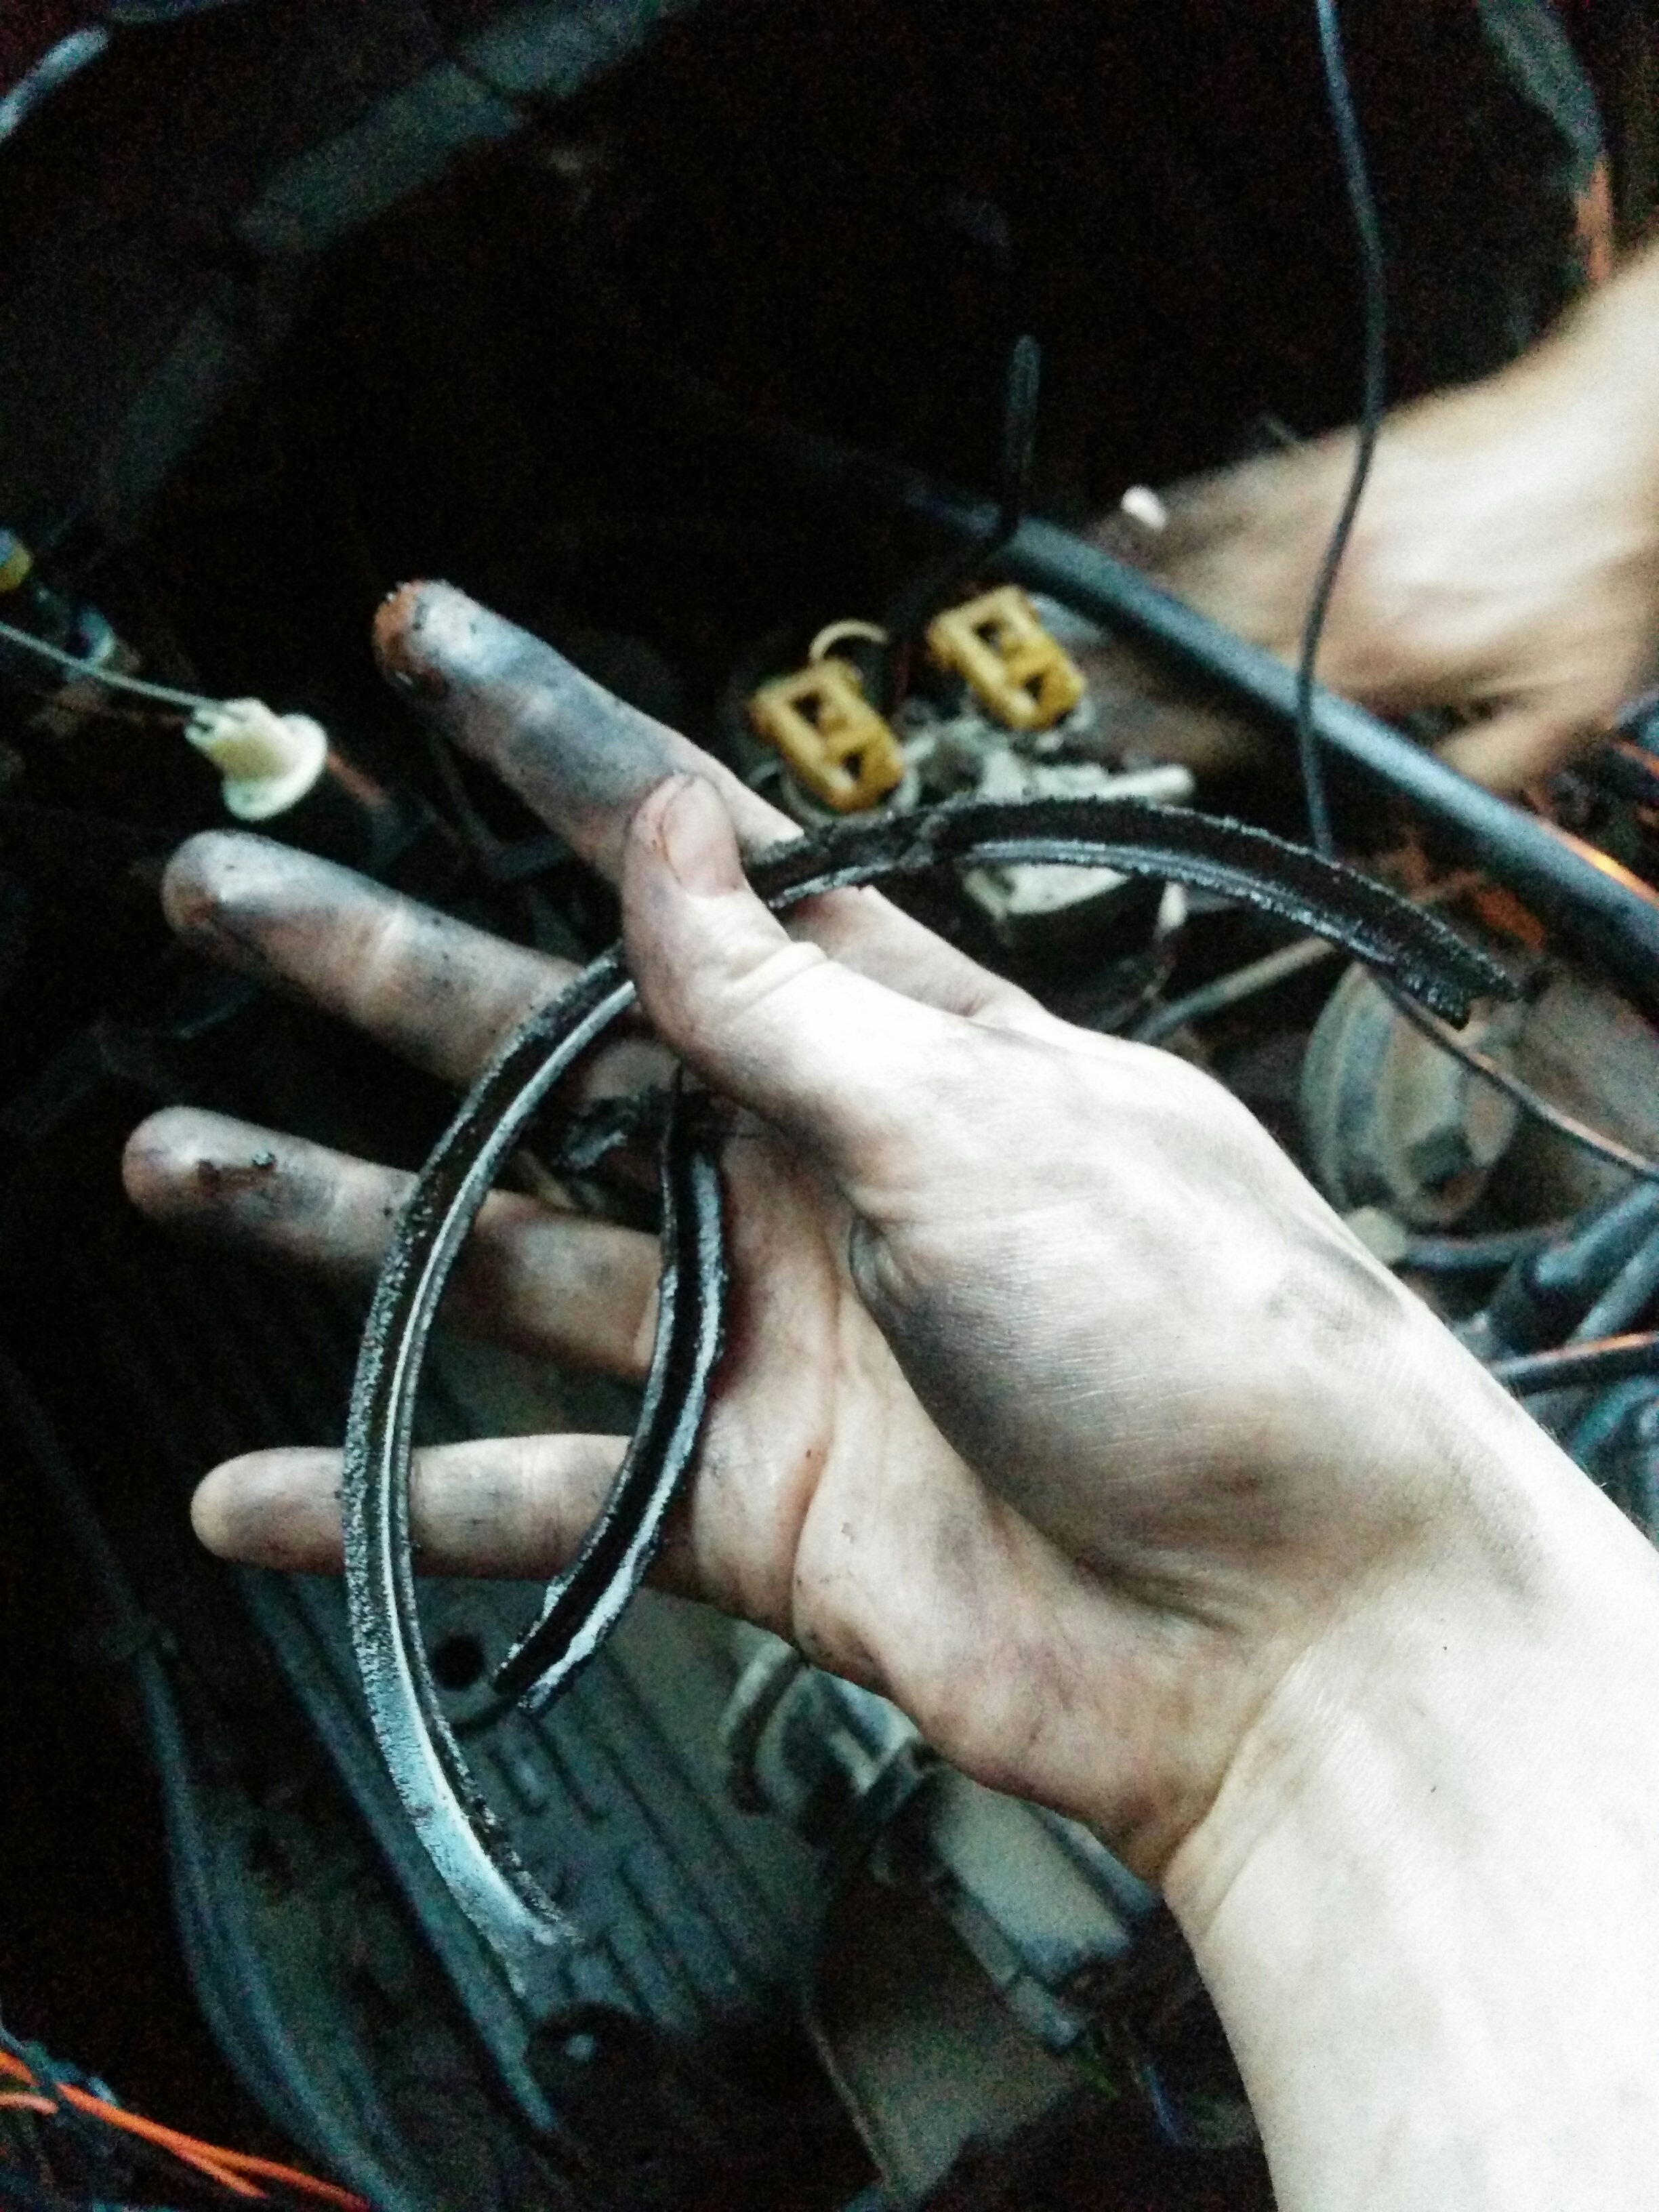
When we opened up the fuel injectors, the gasket basically disintegrated from age… thankfully, since this is a bog-standard GM van with one of the most common engines ever made, parts were available in stock nearby and for very cheaply.
Spark Plugs
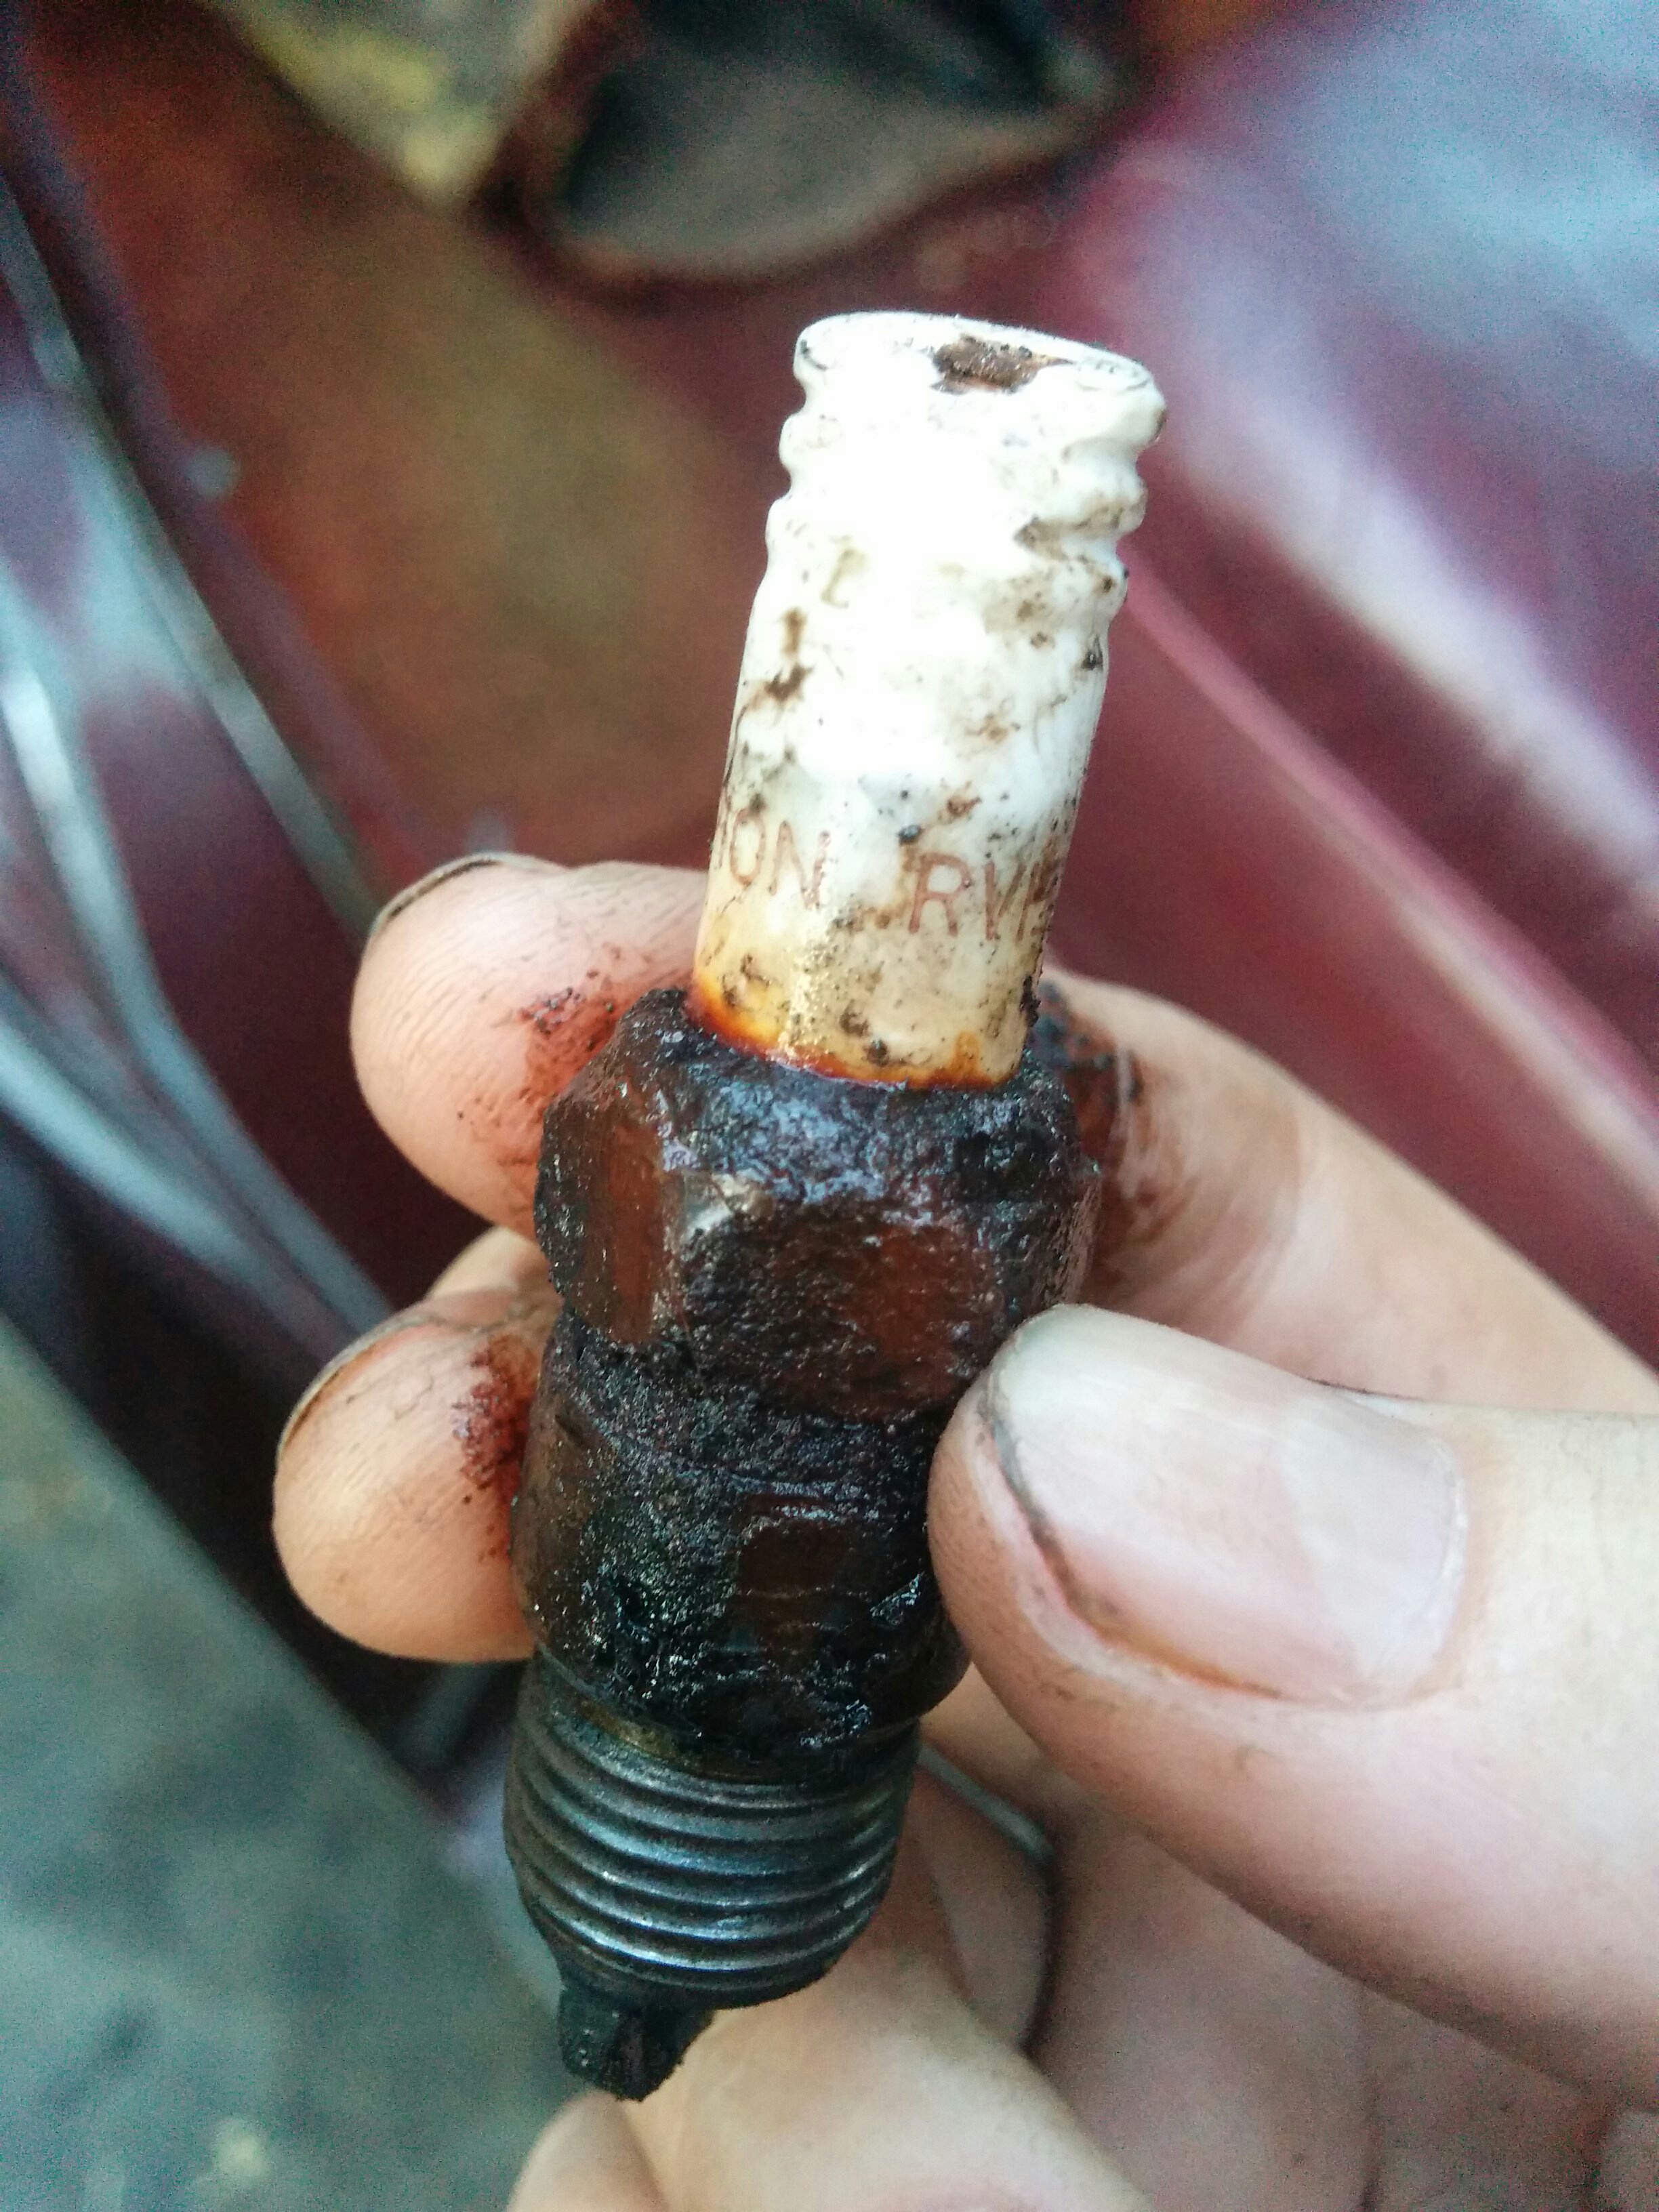
We also replaced the spark plugs. Since Iron Van is a 350 block v8, he has 8 pistons, which means (as it turns out) 8 spark plugs, one at the top of each cylinder. That’s a lot of spark plugs. (Most cars have 4-6.) Thankfully they weren’t too expensive despite having to get so many of them. $2-3 each or so? I don’t think we used shitty quality ones either, even the name brand ones were very affordable.
Replacing the spark plugs was a much simpler process than I expected. The blue “distributor cap” in the photo has wires leading to where the plug lives. For each of the wires, you unplug the connector, unscrew the old plug, and screw in the new one. The holes the plugs live in are deep and the screwing/unscrewing part takes some time since the threads go on for what feels like forever. Once they’re in place, the plugs need to be secured down to a certain torque setting. Mechanics like Garrett have a good idea of what that feels like and can do it by touch. It doesn’t take a lot of force - it’s just hand tightened and then finished off with a gentle snug of a ratchet. Since spark plugs screw straight into the engine block you don’t want to hulk out on the plugs. Newer cars have aluminum engine blocks that are relatively soft and easy to crossthread if your aim is a bit off when starting to screw it in. Luckily, Iron Van’s engine block is made of 1990s cast iron, so it was not too much of a concern here.
Another TIL was that you can’t mix and match the spark plug cables (each cable goes to a plug in a specific cylinder) so you have to either do them one at a time or set things to the side in a way that you can put each cable back in its original position. (A lot of people on the forums realize this too late…lol.)
We also dumped some Seafoam in the gas tank before taking it down on the highway down to Cincinnati for the solar panel install. After that and the fuel injector cleaning, Garrett declared that the exhaust “smelled much happier” (?). Apparently Iron Van also had the smoothest sounding GM engine he’d ever encountered. Yay!
Alternator and Battery
After installing the solar panels, we got in the van to drive home and found that the battery was dead. This was again plausible as being an old battery, doors open all day, etc.
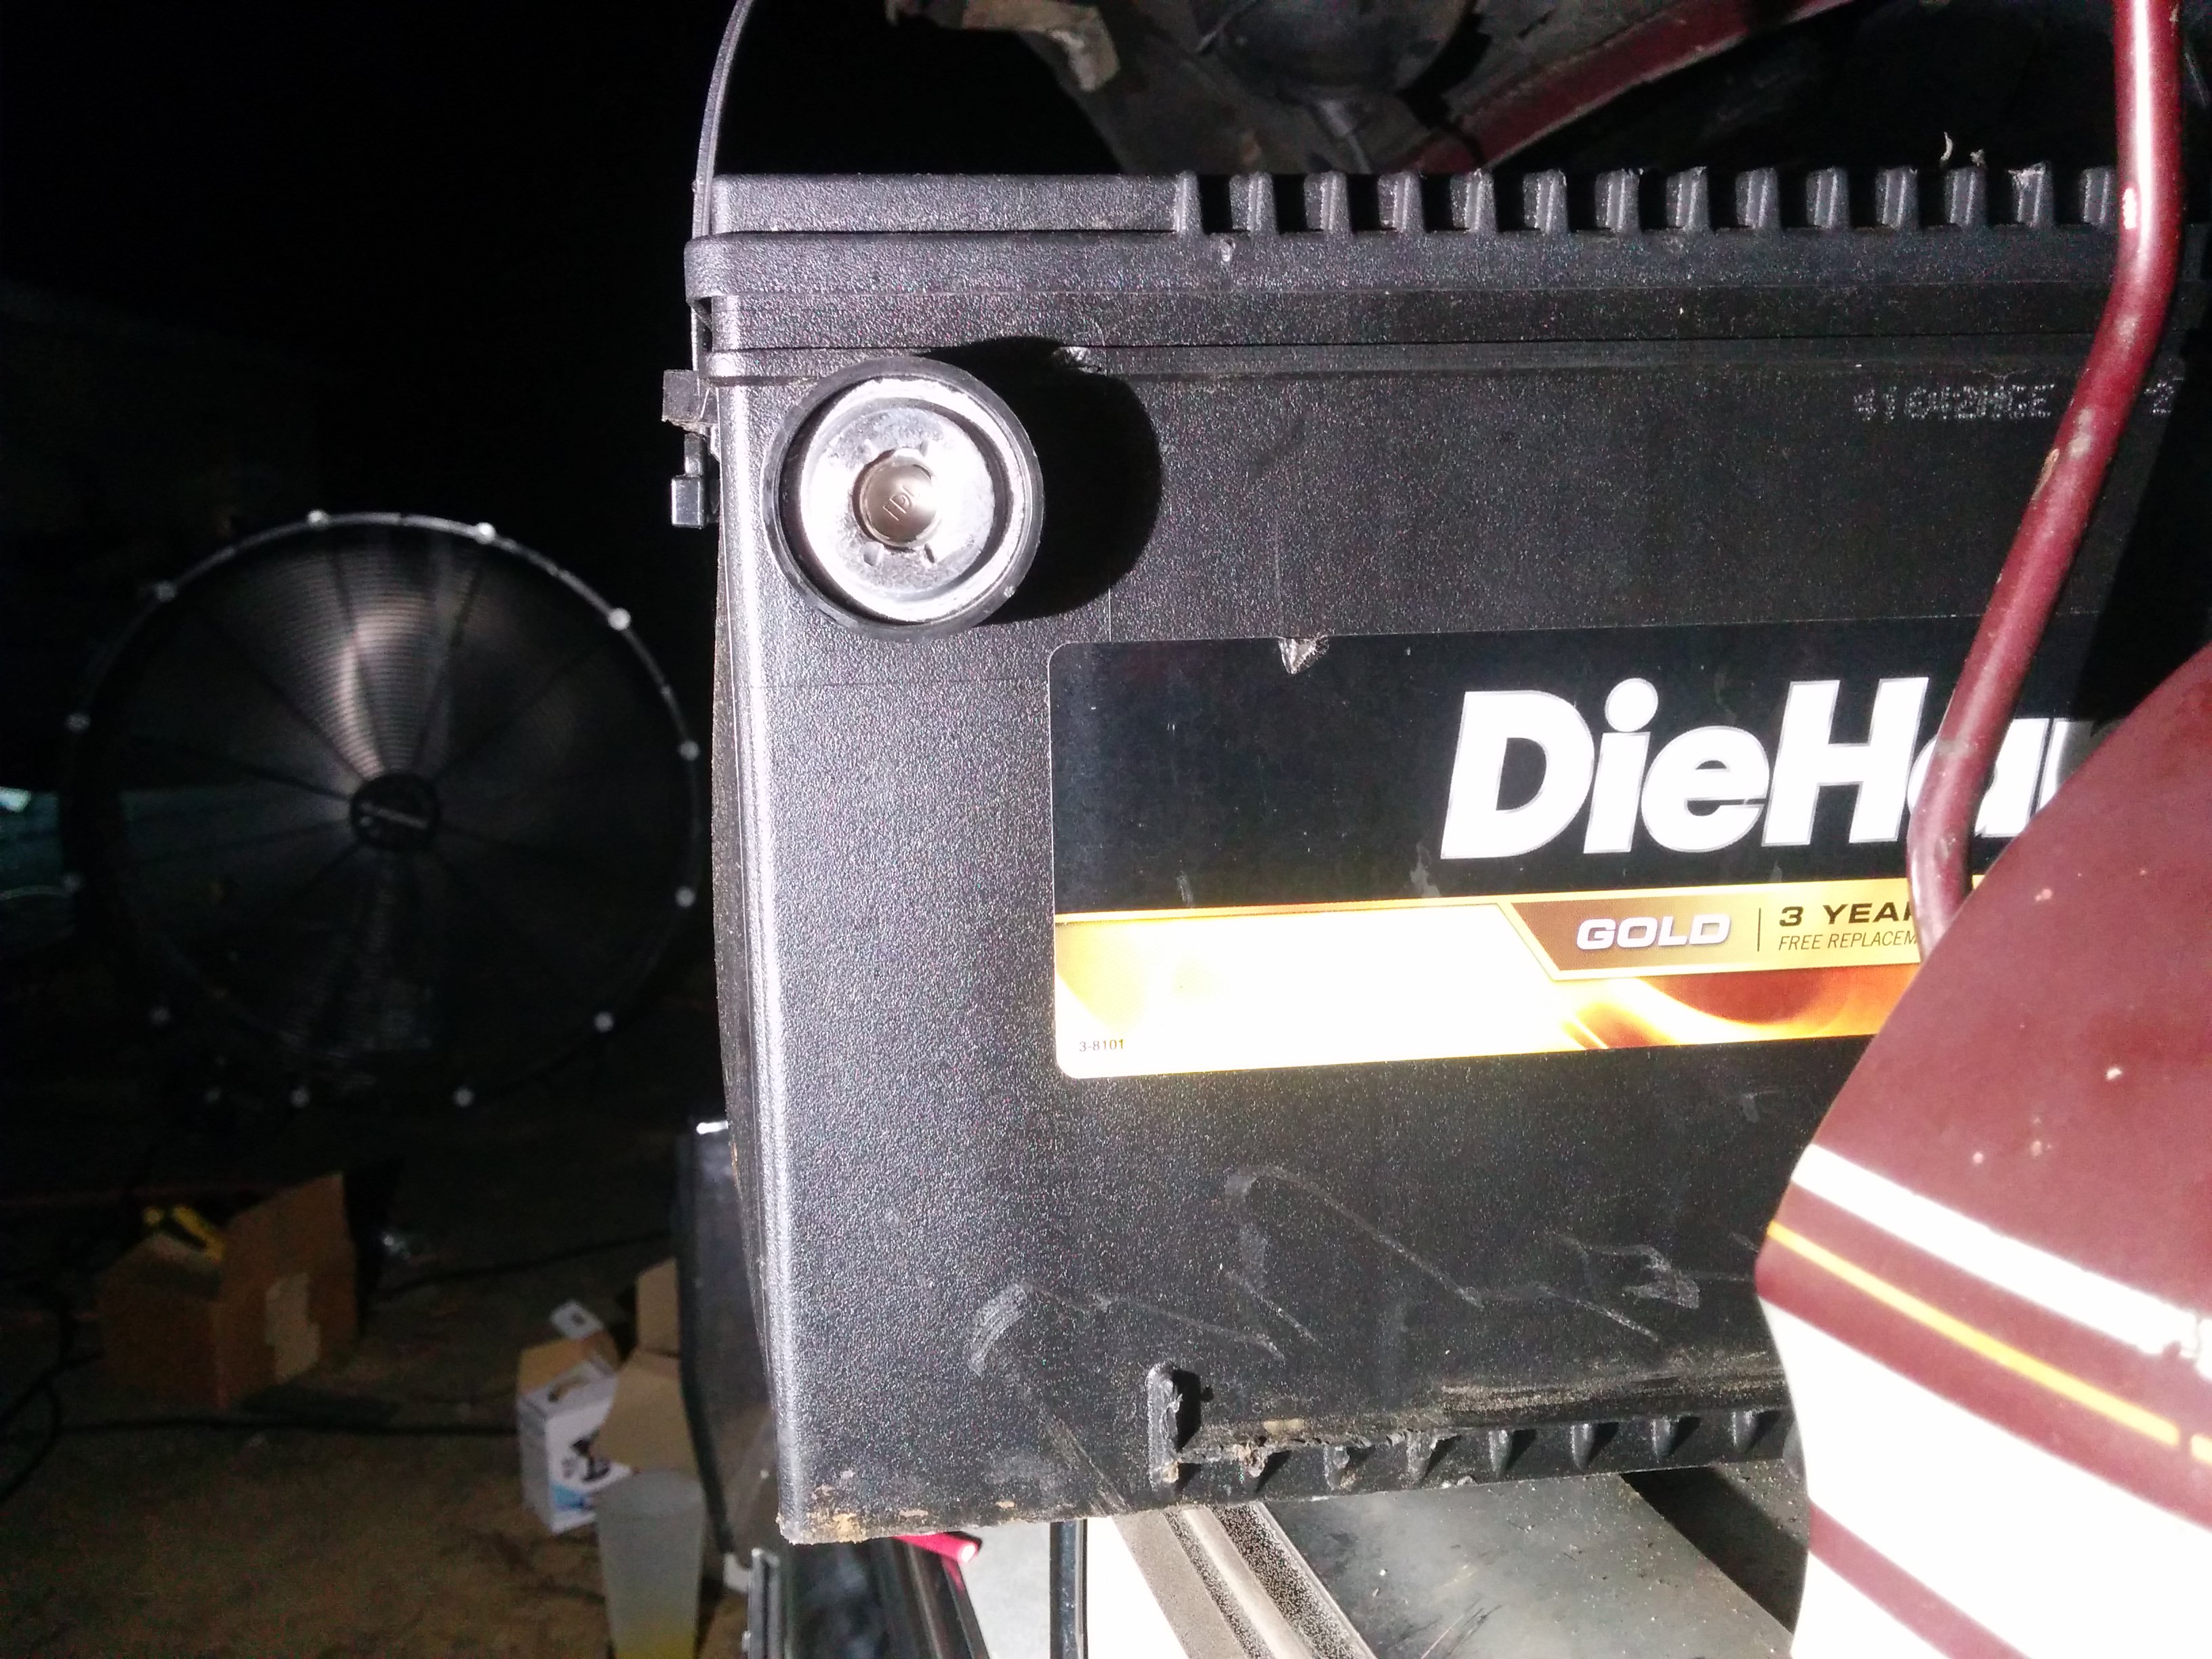
We drove to Walmart, got a new battery, and we drove back to Columbus. But not long after, the van stalled without warning on the way back from Menard’s. So it was NOT the battery…or at least not just the battery. From this fiasco I learned more about the relationship between the battery and the alternator.
The alternator charges the battery while driving (I knew at least this much…), but if something is wrong with the battery, the alternator may overwork itself to death trying to charge it to full. However, if the alternator is bad, that can also kill the battery because the battery drops too low on charge over time and becomes damaged. This can lead to a sort of chicken-and-egg scenario where you’re not sure who is killing who. *spiderman pointing meme*
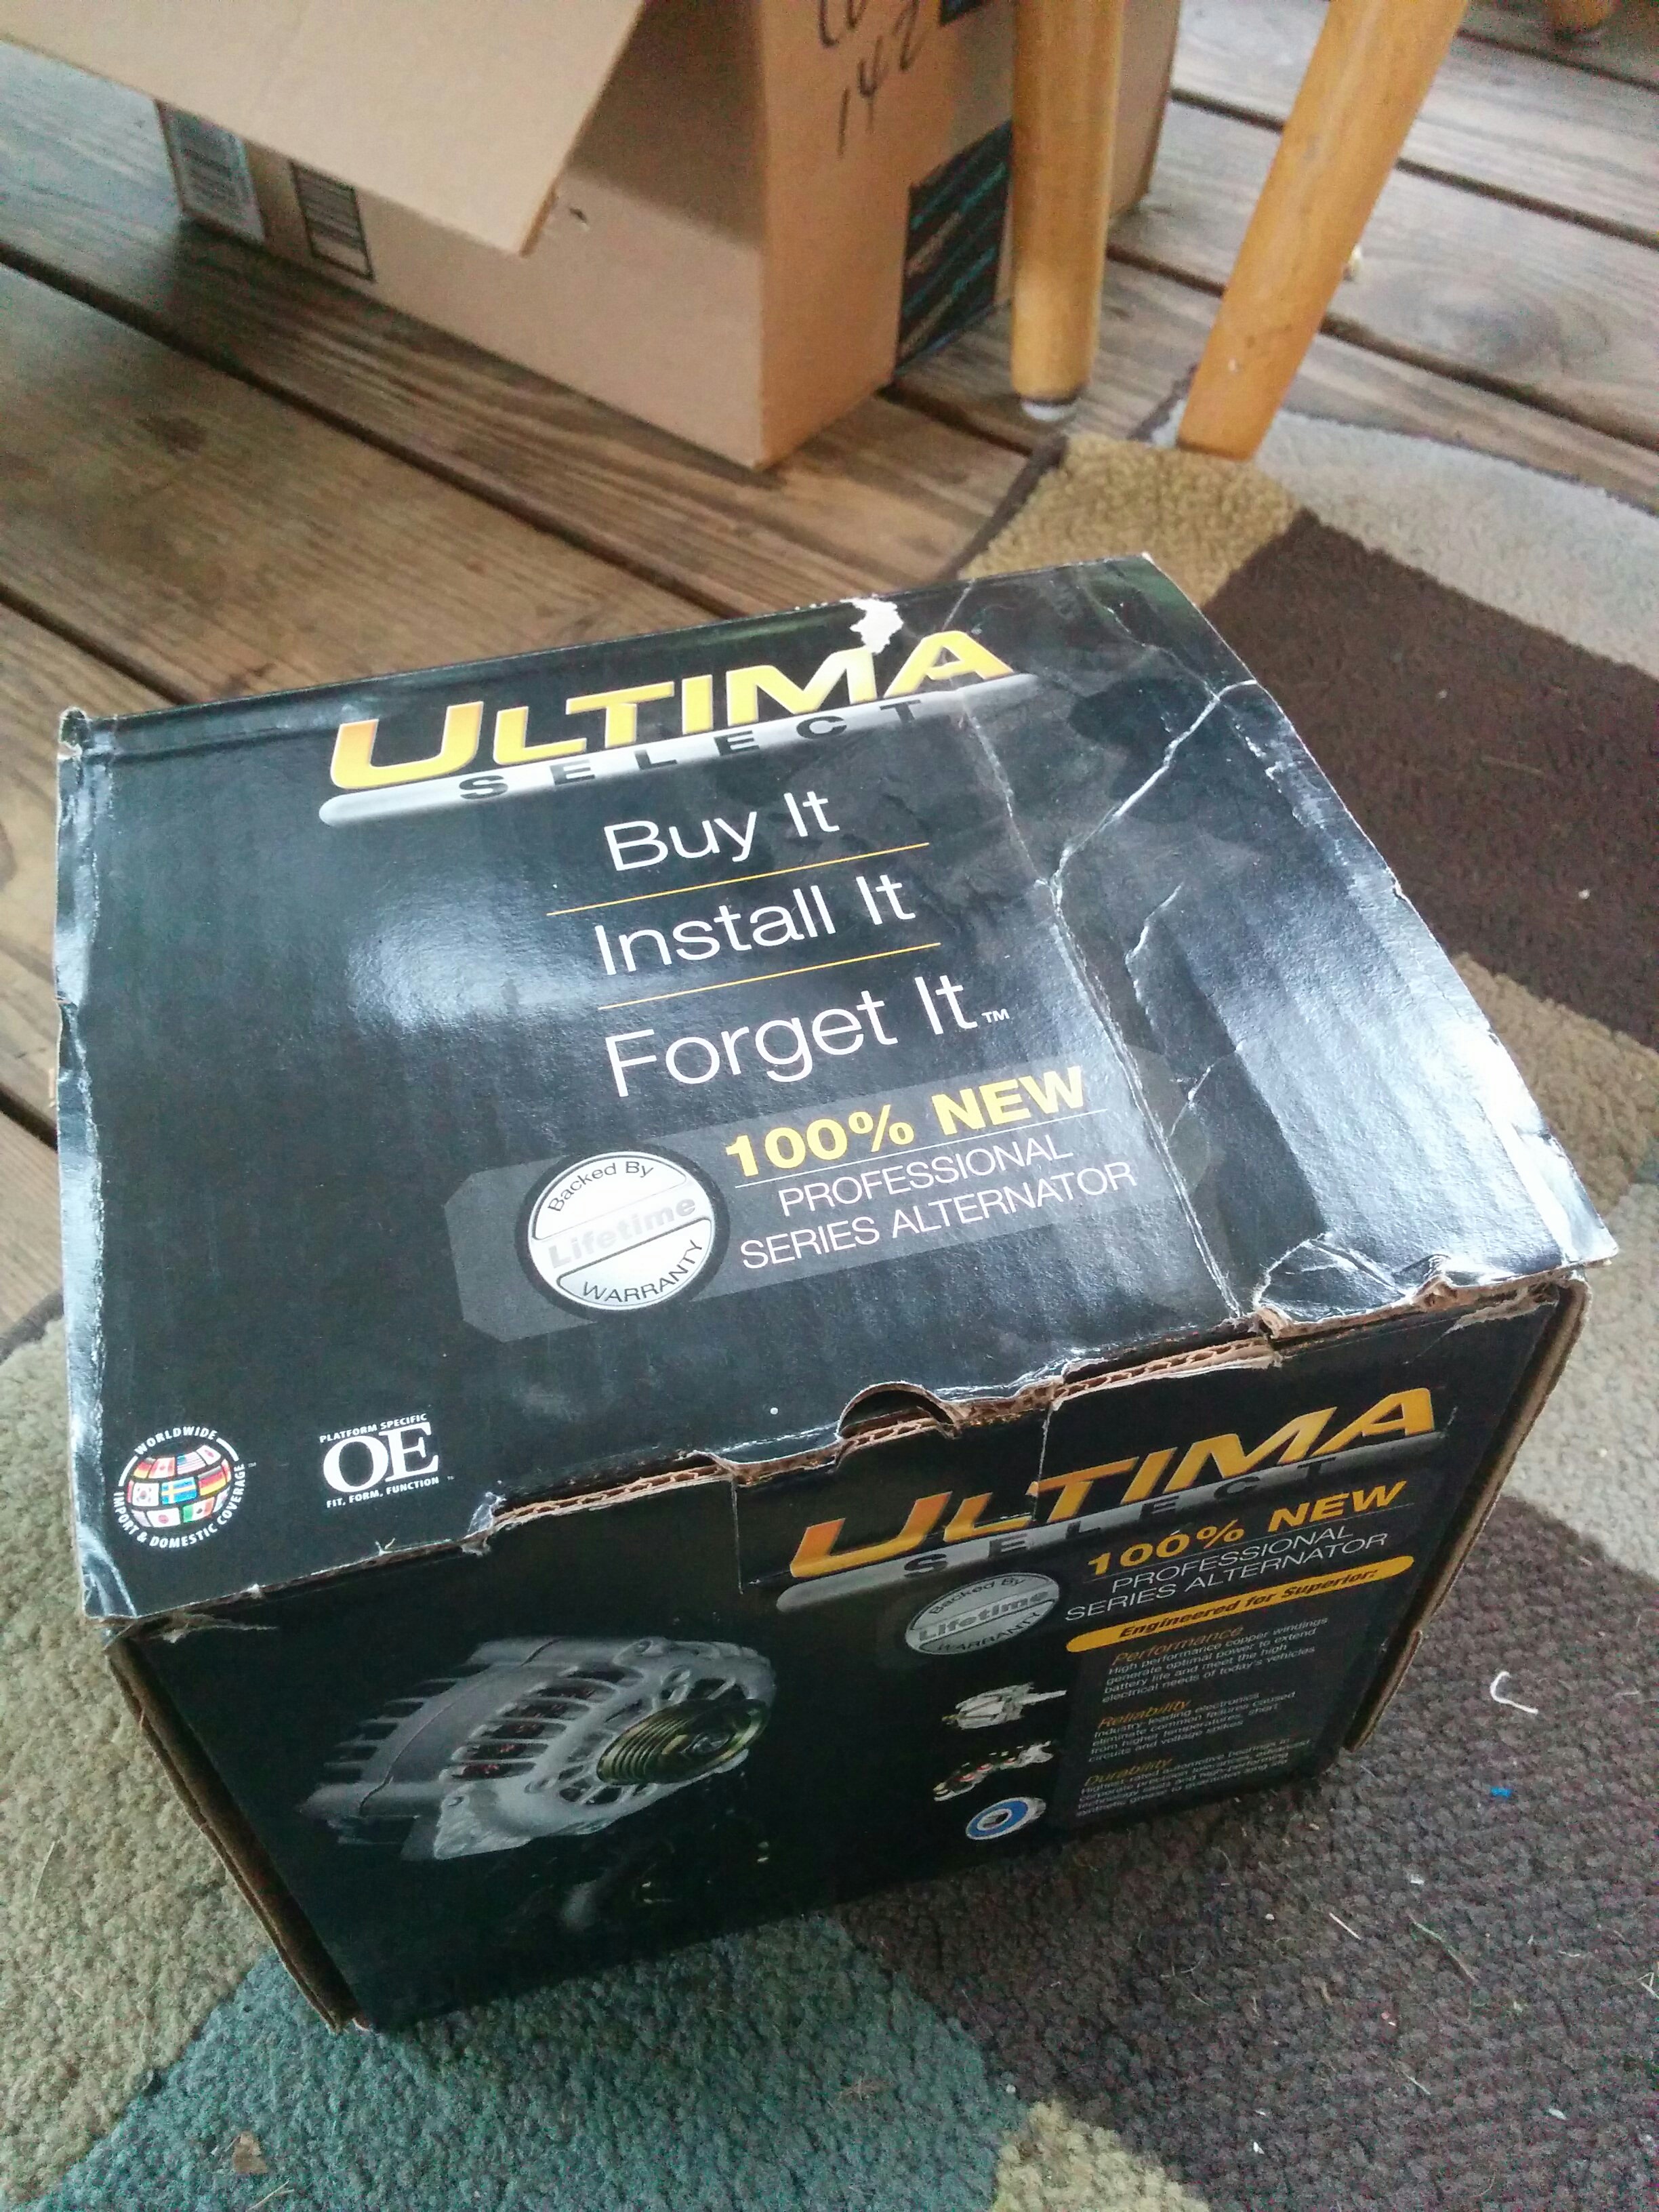
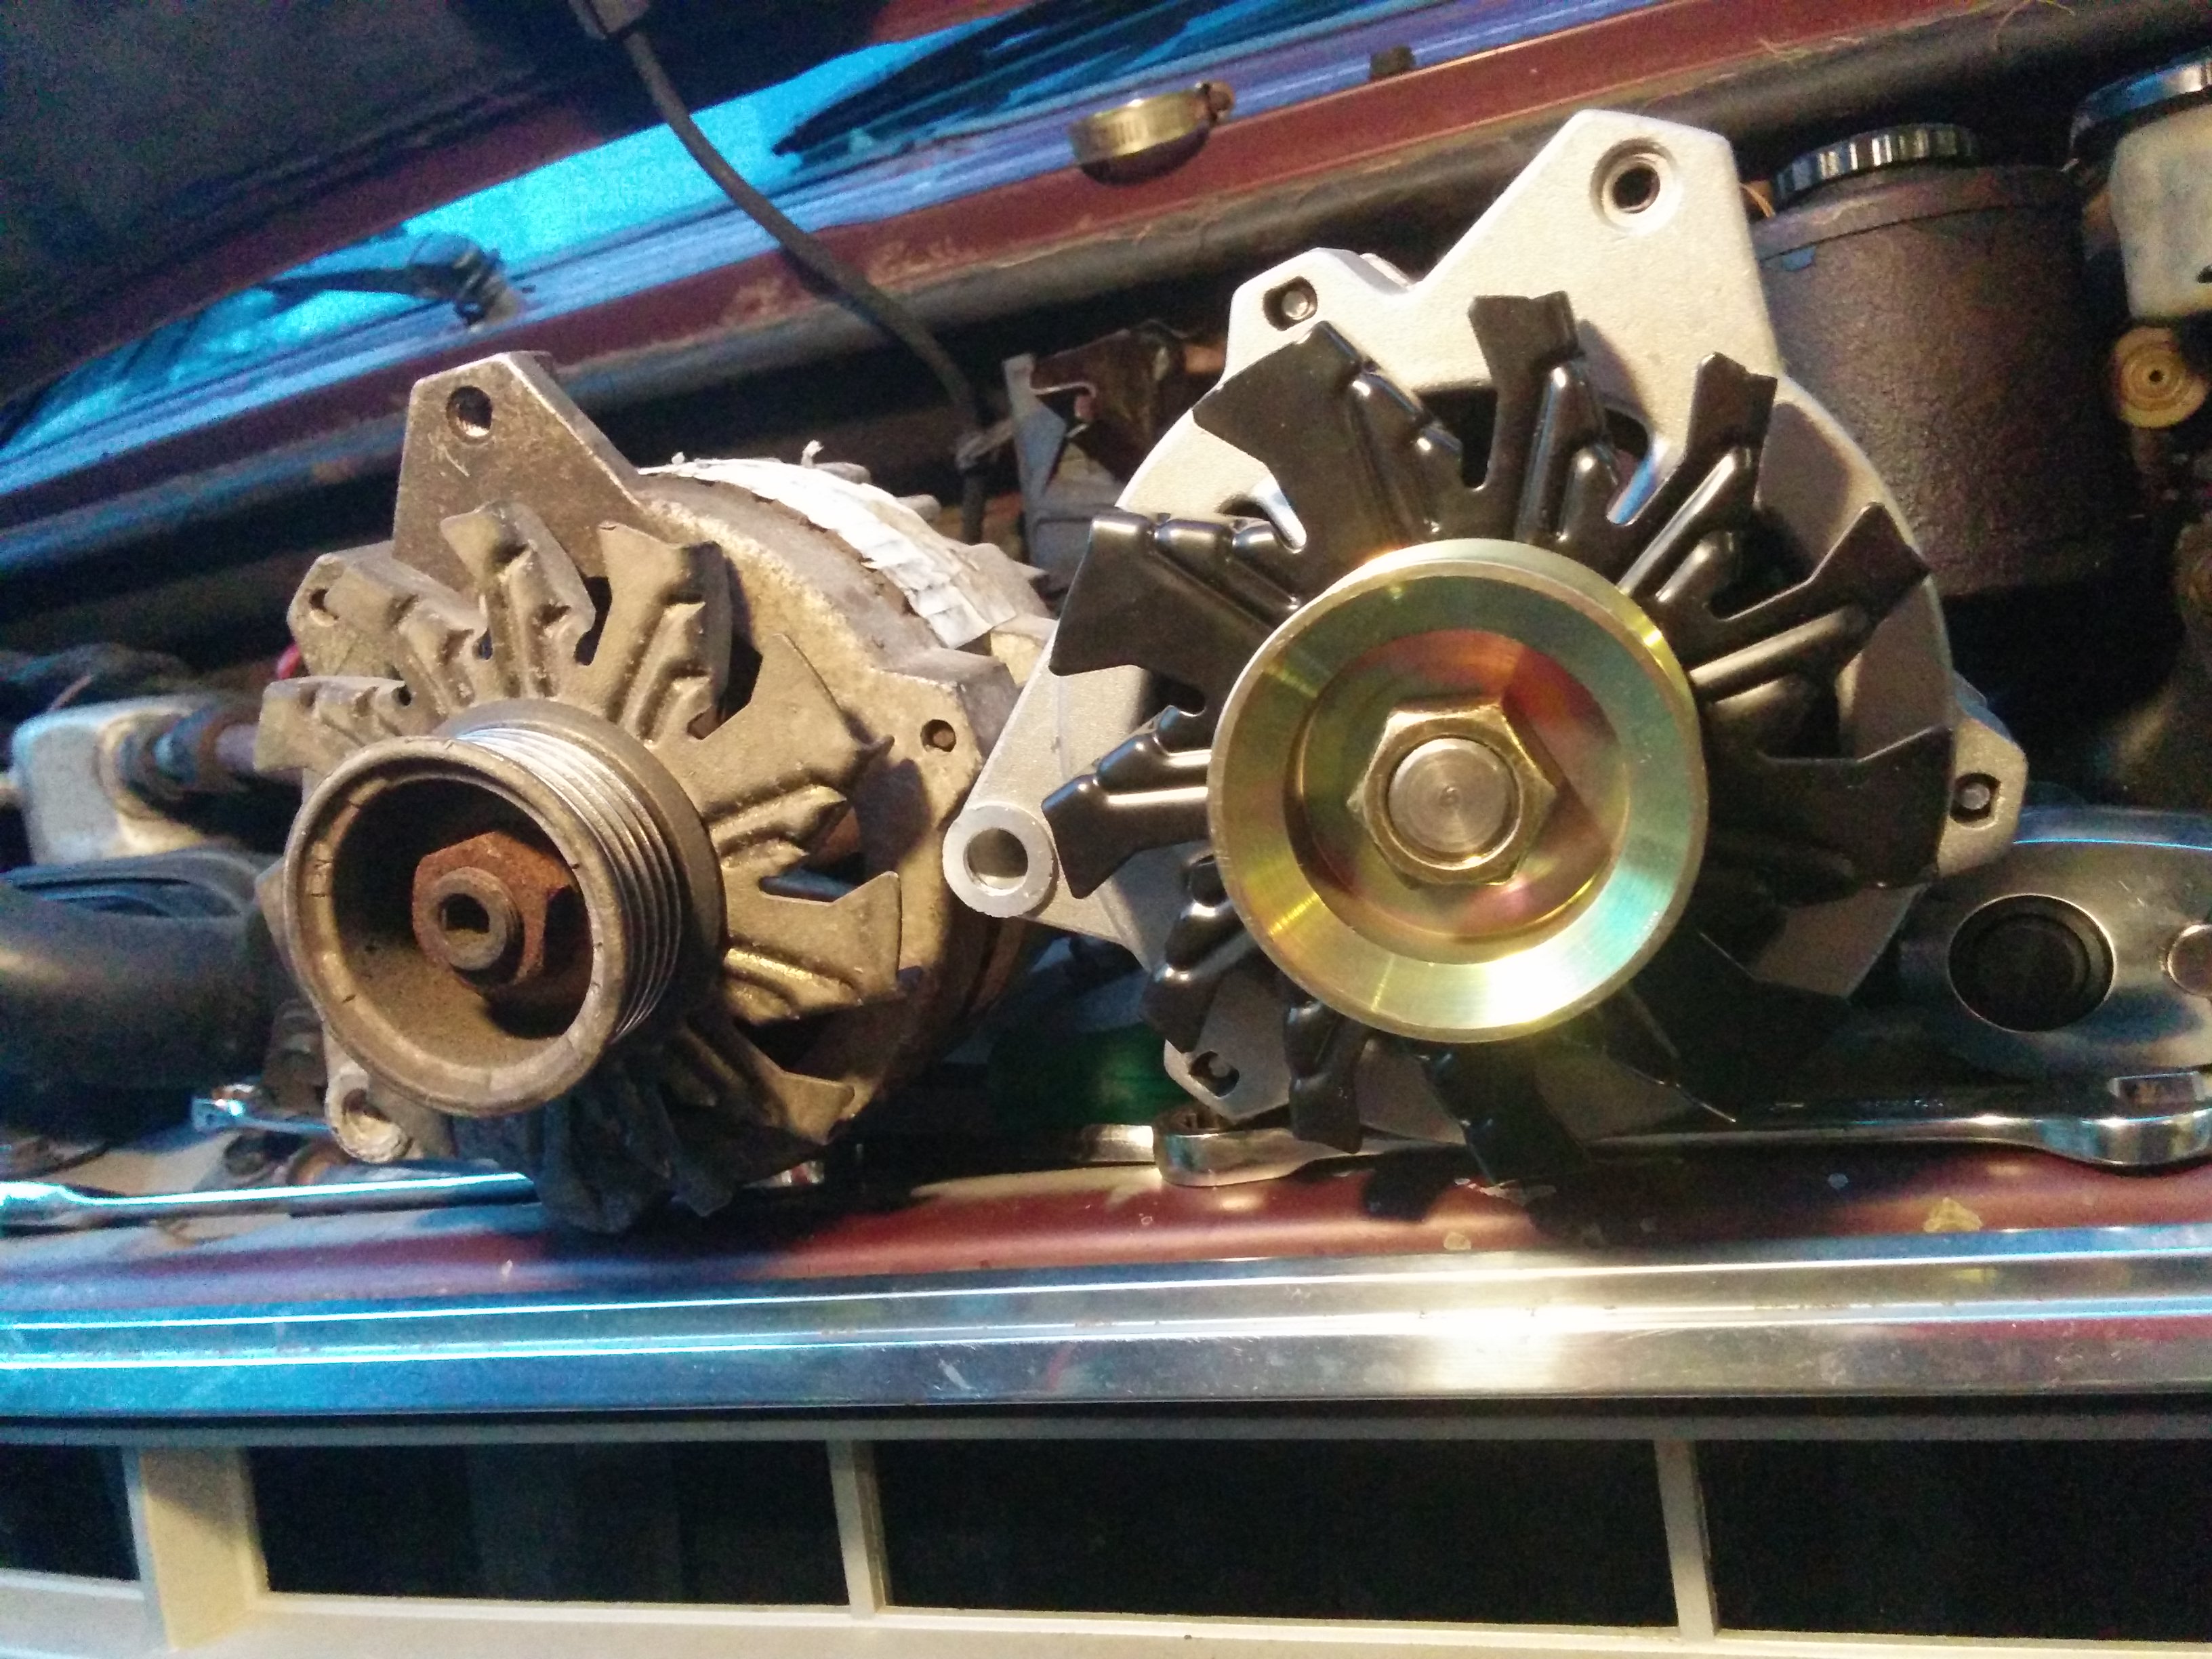
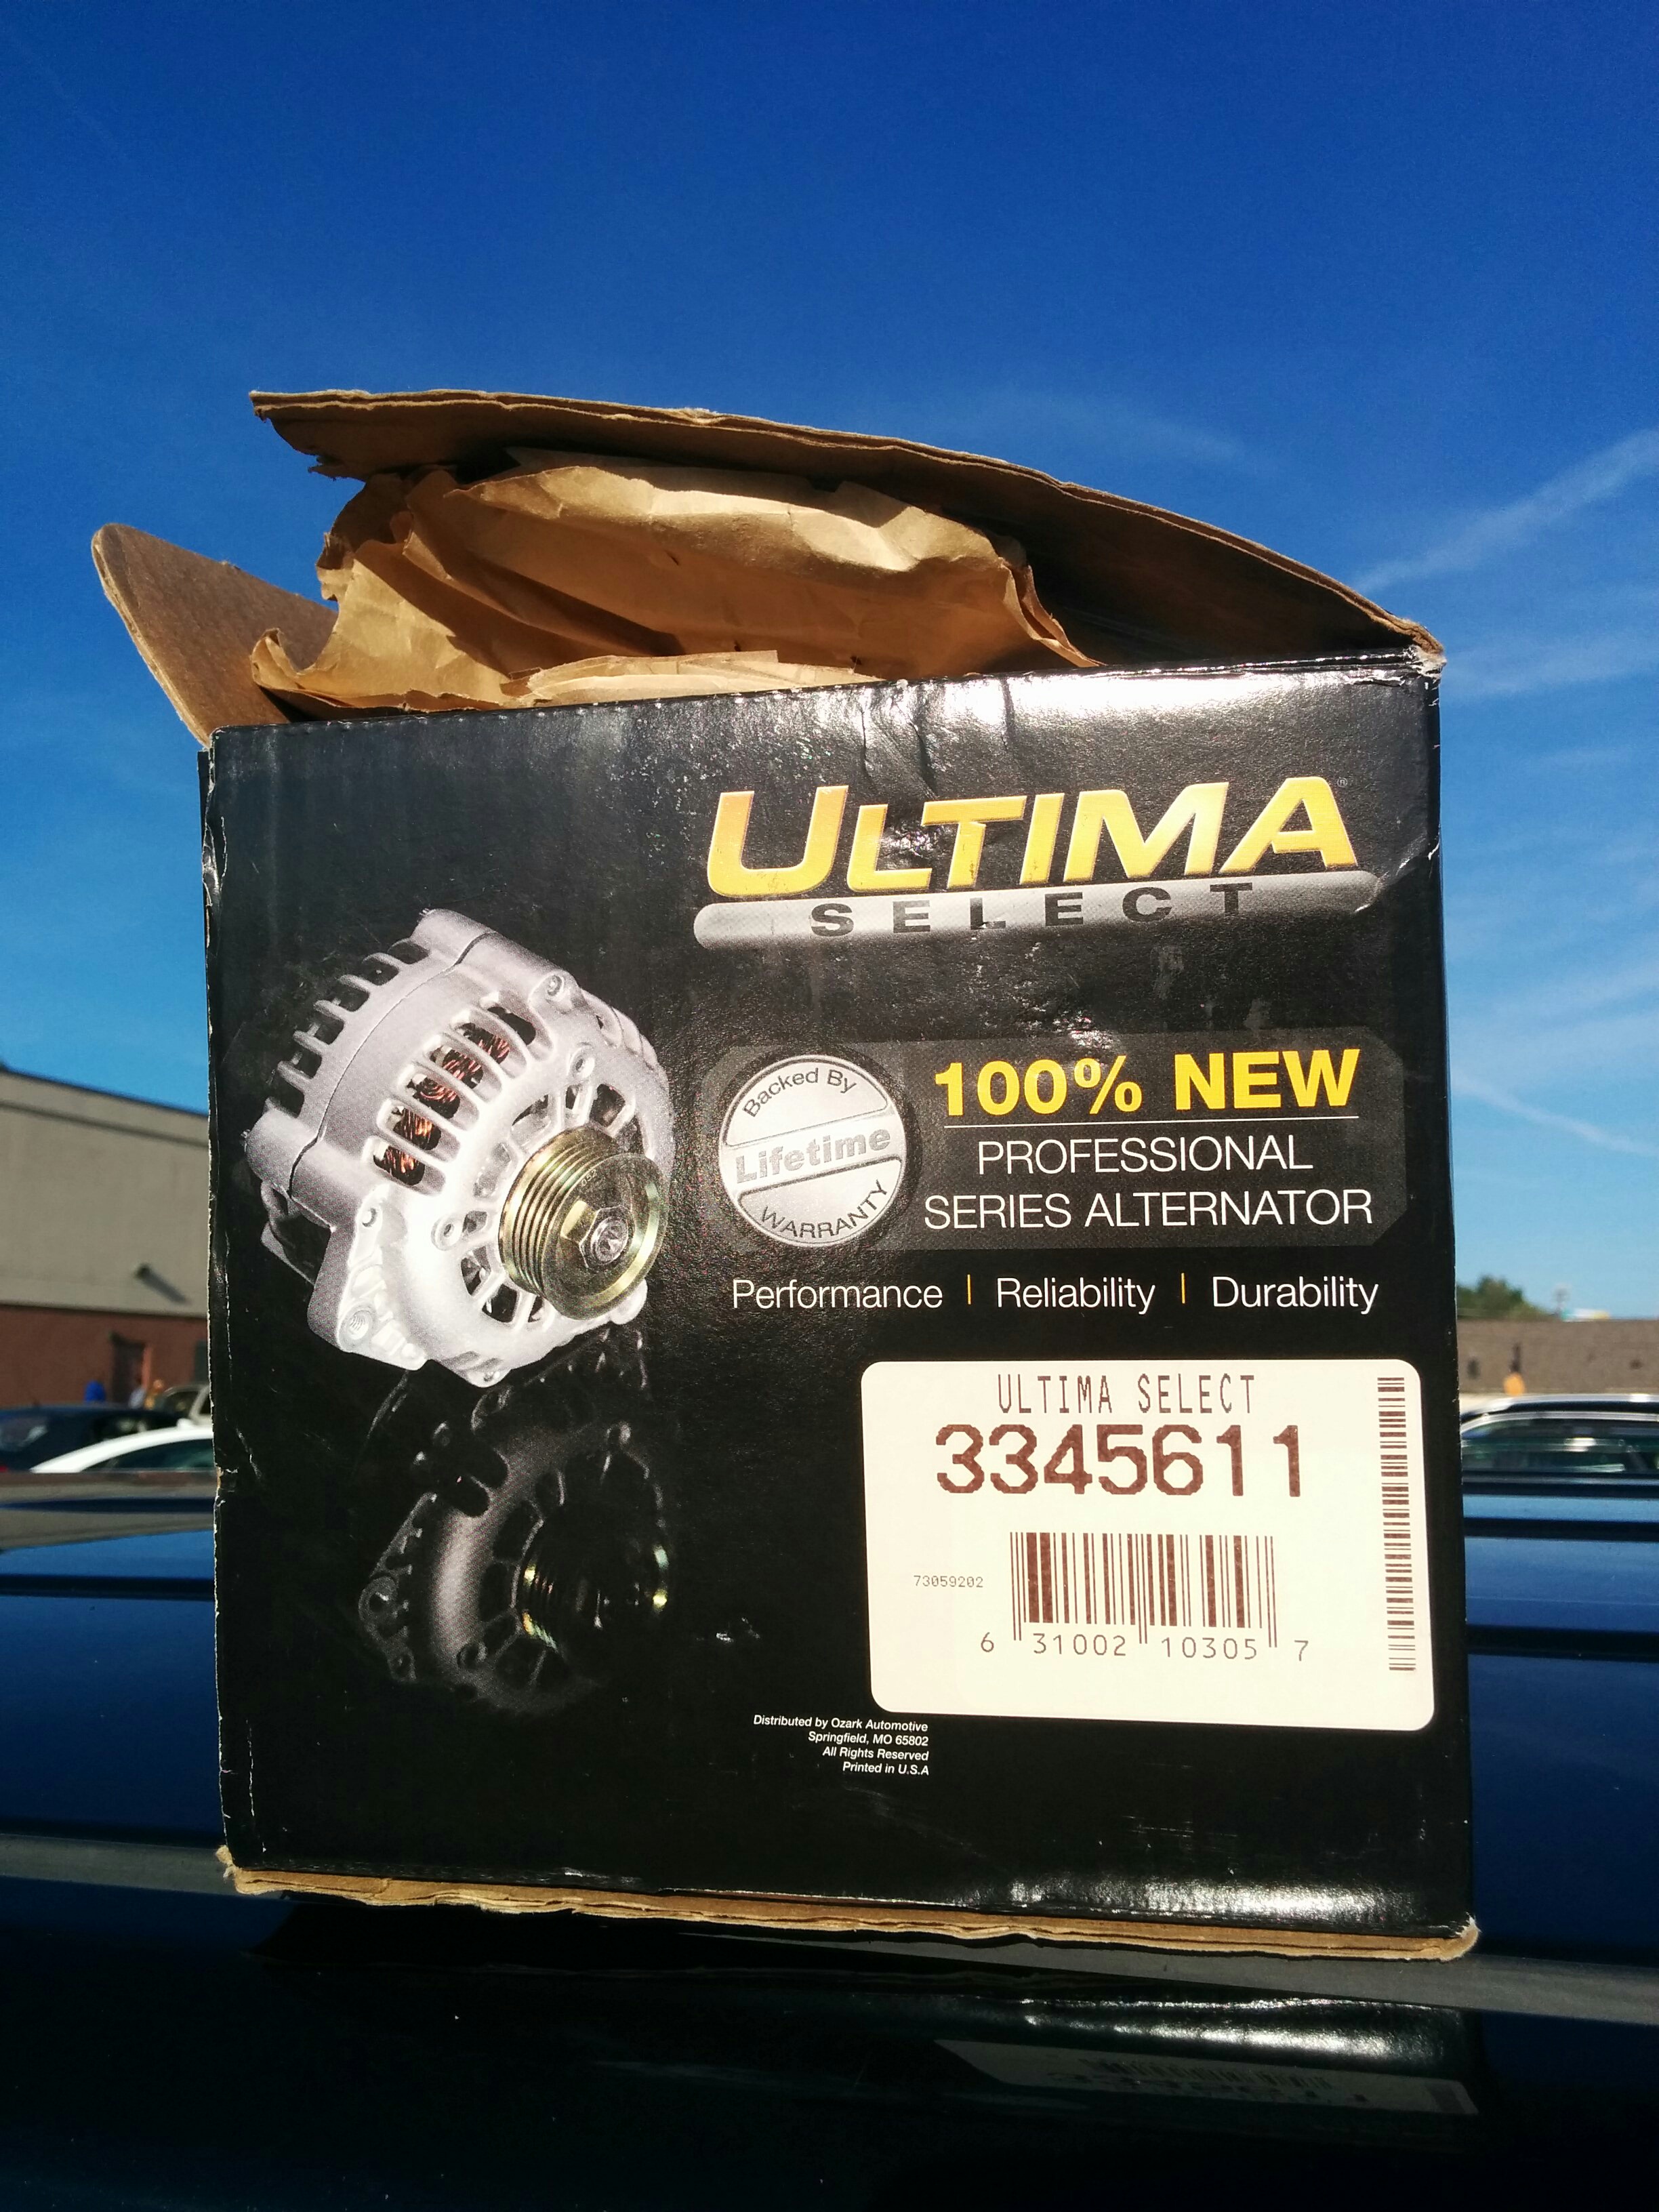
Next up would be a new alternator (the one in there was so old that replacing it was a good idea anyway). I wanted to be able to charge my LiFePO4 battery off the alternator, so I got a105amp model (Ultima #3345611). Charging non-lead acid batteries that can absorb a lot of current can be hard on the alternator, but I still thought it would be good to have the option in a pinch.
100% New!
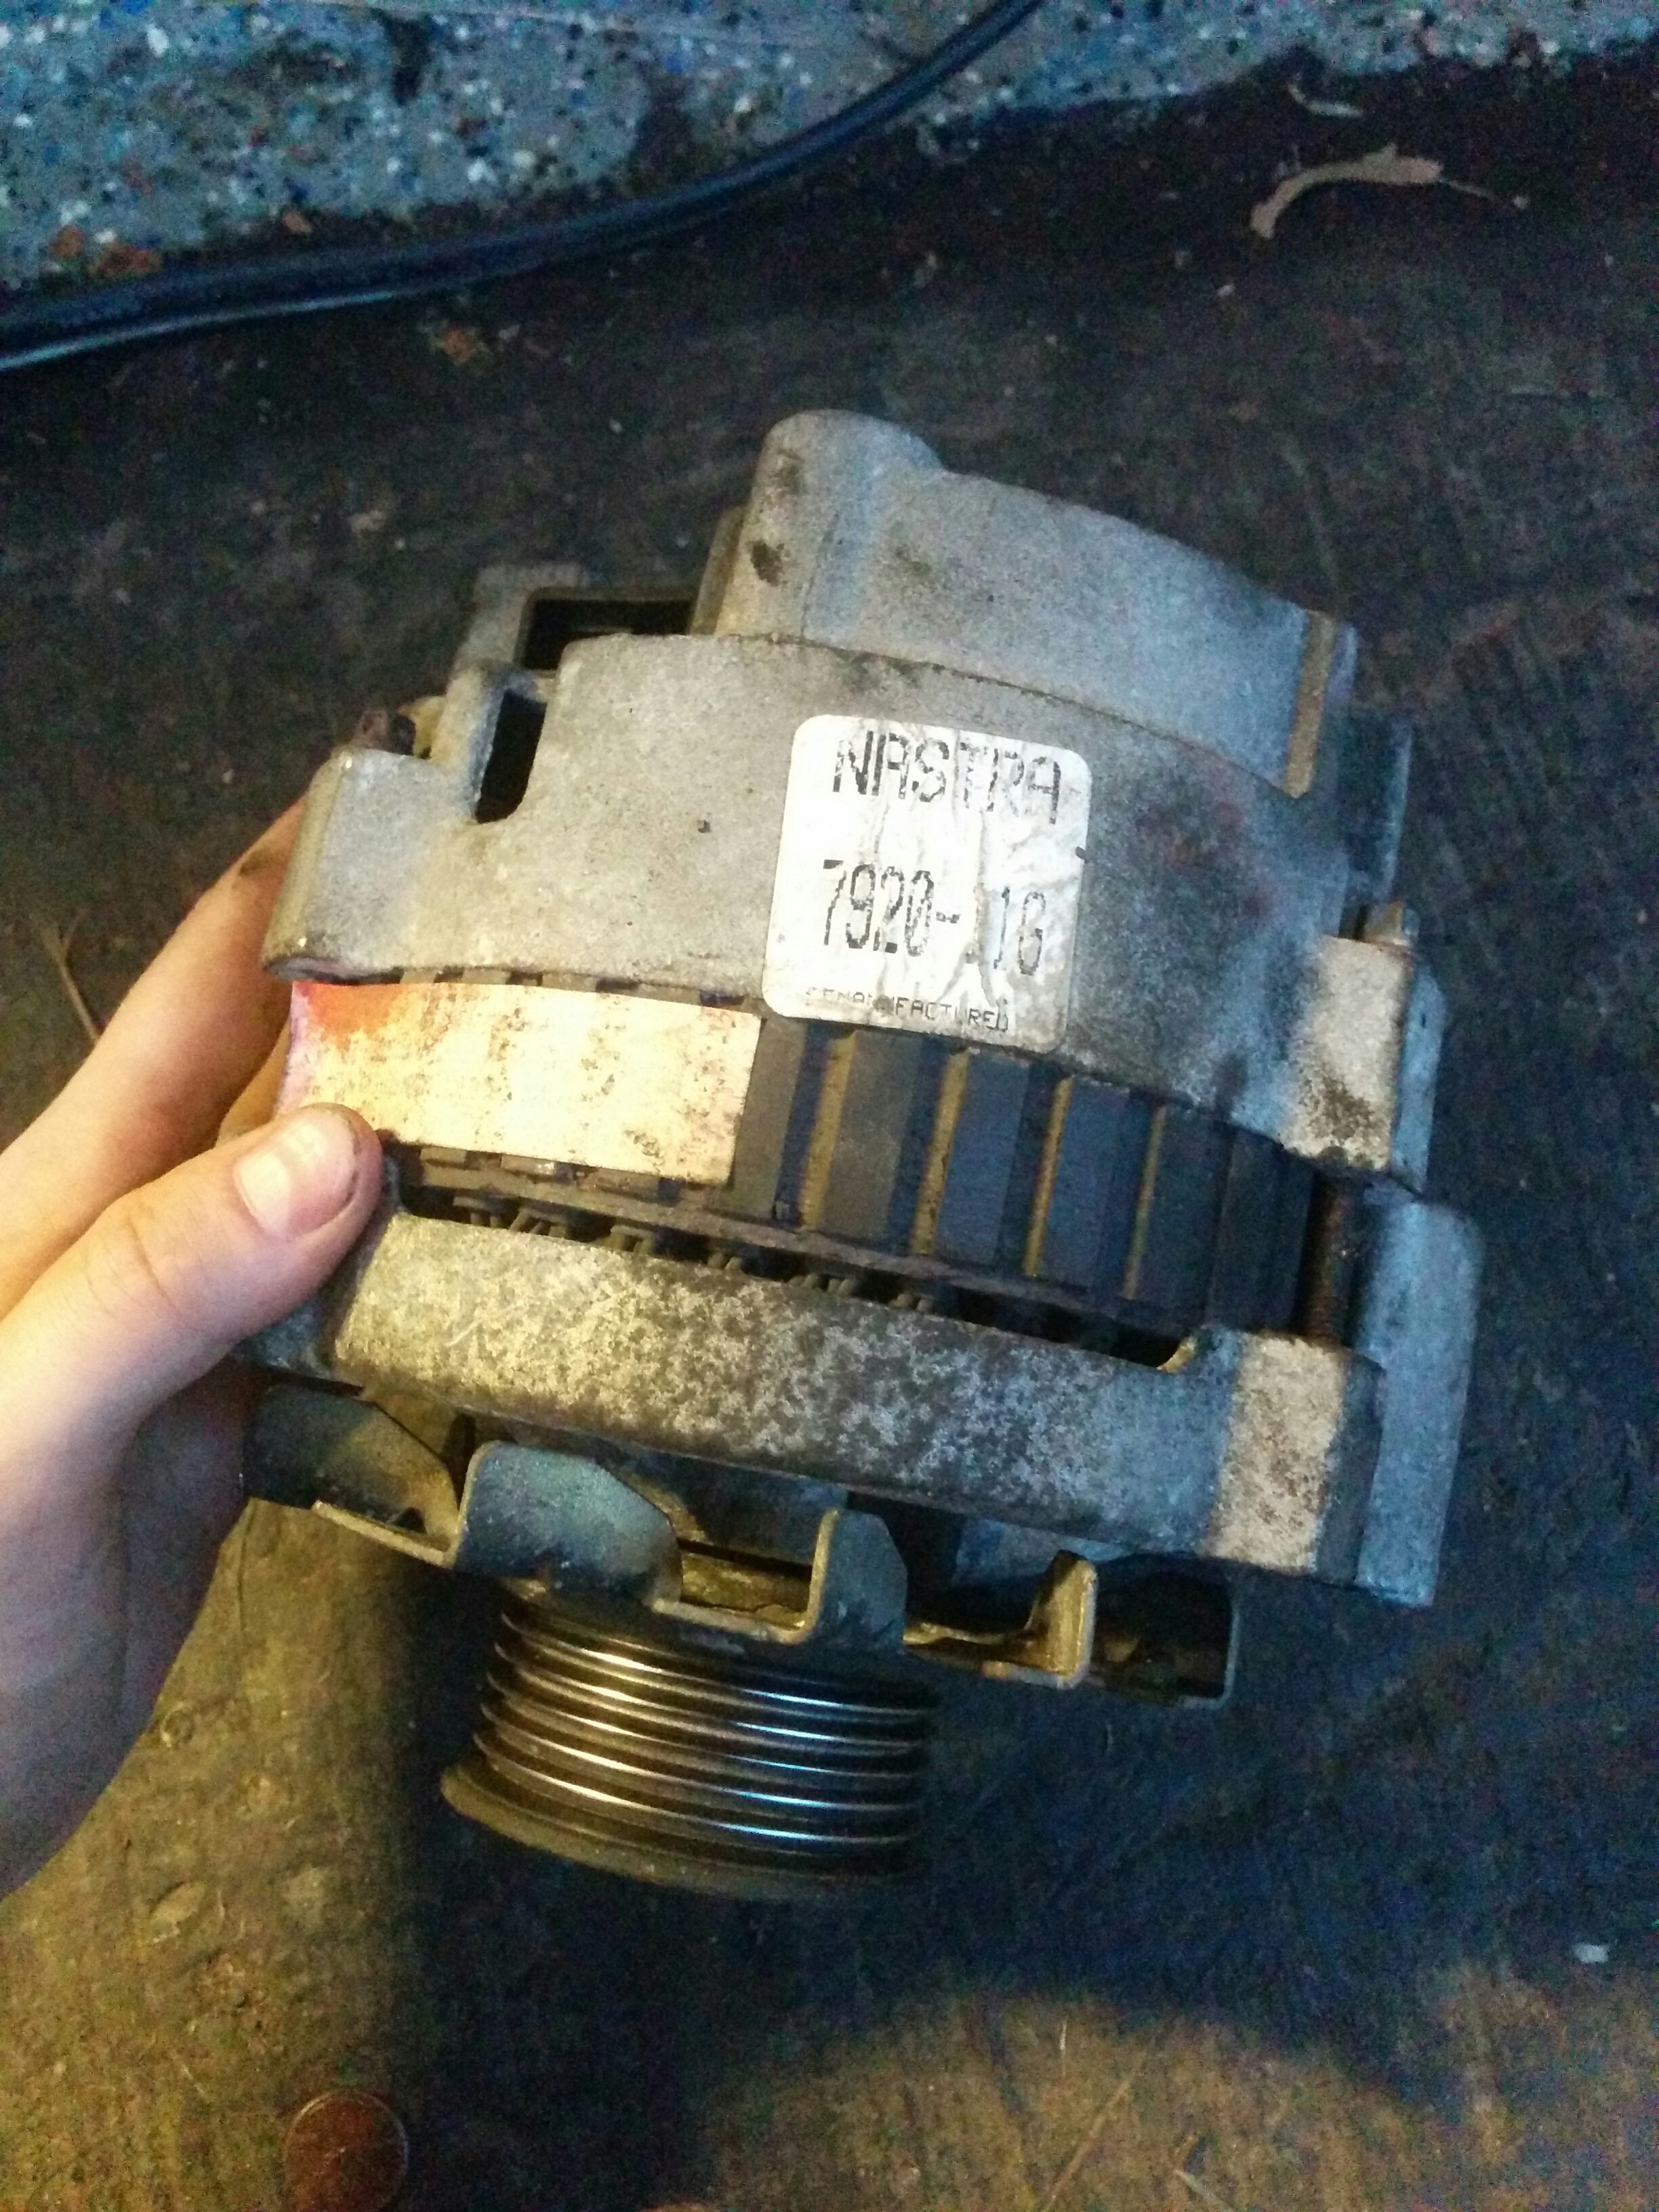
Another TIL from all this was the existence of what’s known as a “core charge,” which is something akin to a reverse bottle deposit for car parts. Some parts are valuable enough that trading the old one in when buying the new one is an expectation that is essentially baked into the price. When you buy the new part, you hand over the old one (either immediately if you can or on a second trip if you can’t) to the place you are getting the new one at, and they knock a chunk of the price off the cost of a new one in exchange. The amount of money you get back is typically significant enough to be worth following up on. This also means that if you buy something online, the cost of shipping the old part back may actually make a local option a better value, since you can just hand it over in person.
Upon installing it, we discovered the wire to the old alternator was incredibly old and rusted. Garrett added a fresh wire and the electrical system worked fine after that (to my great relief!).
