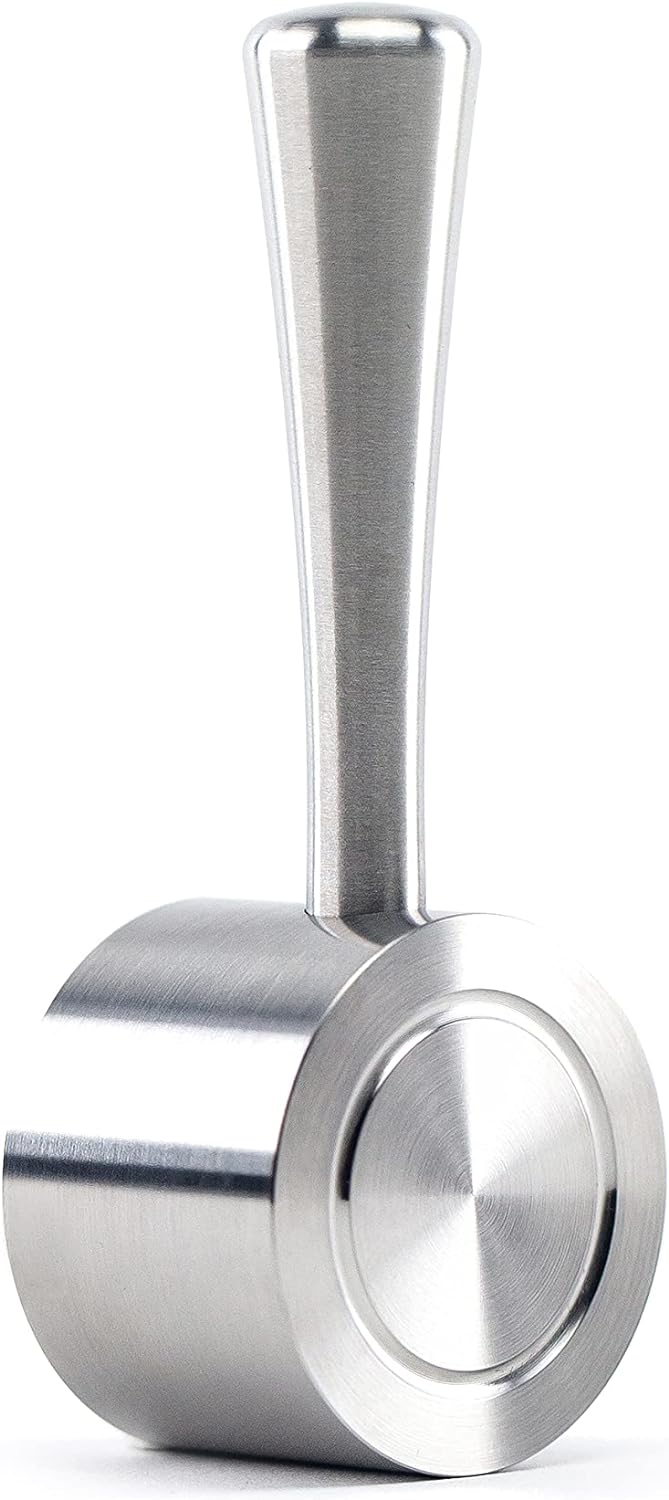
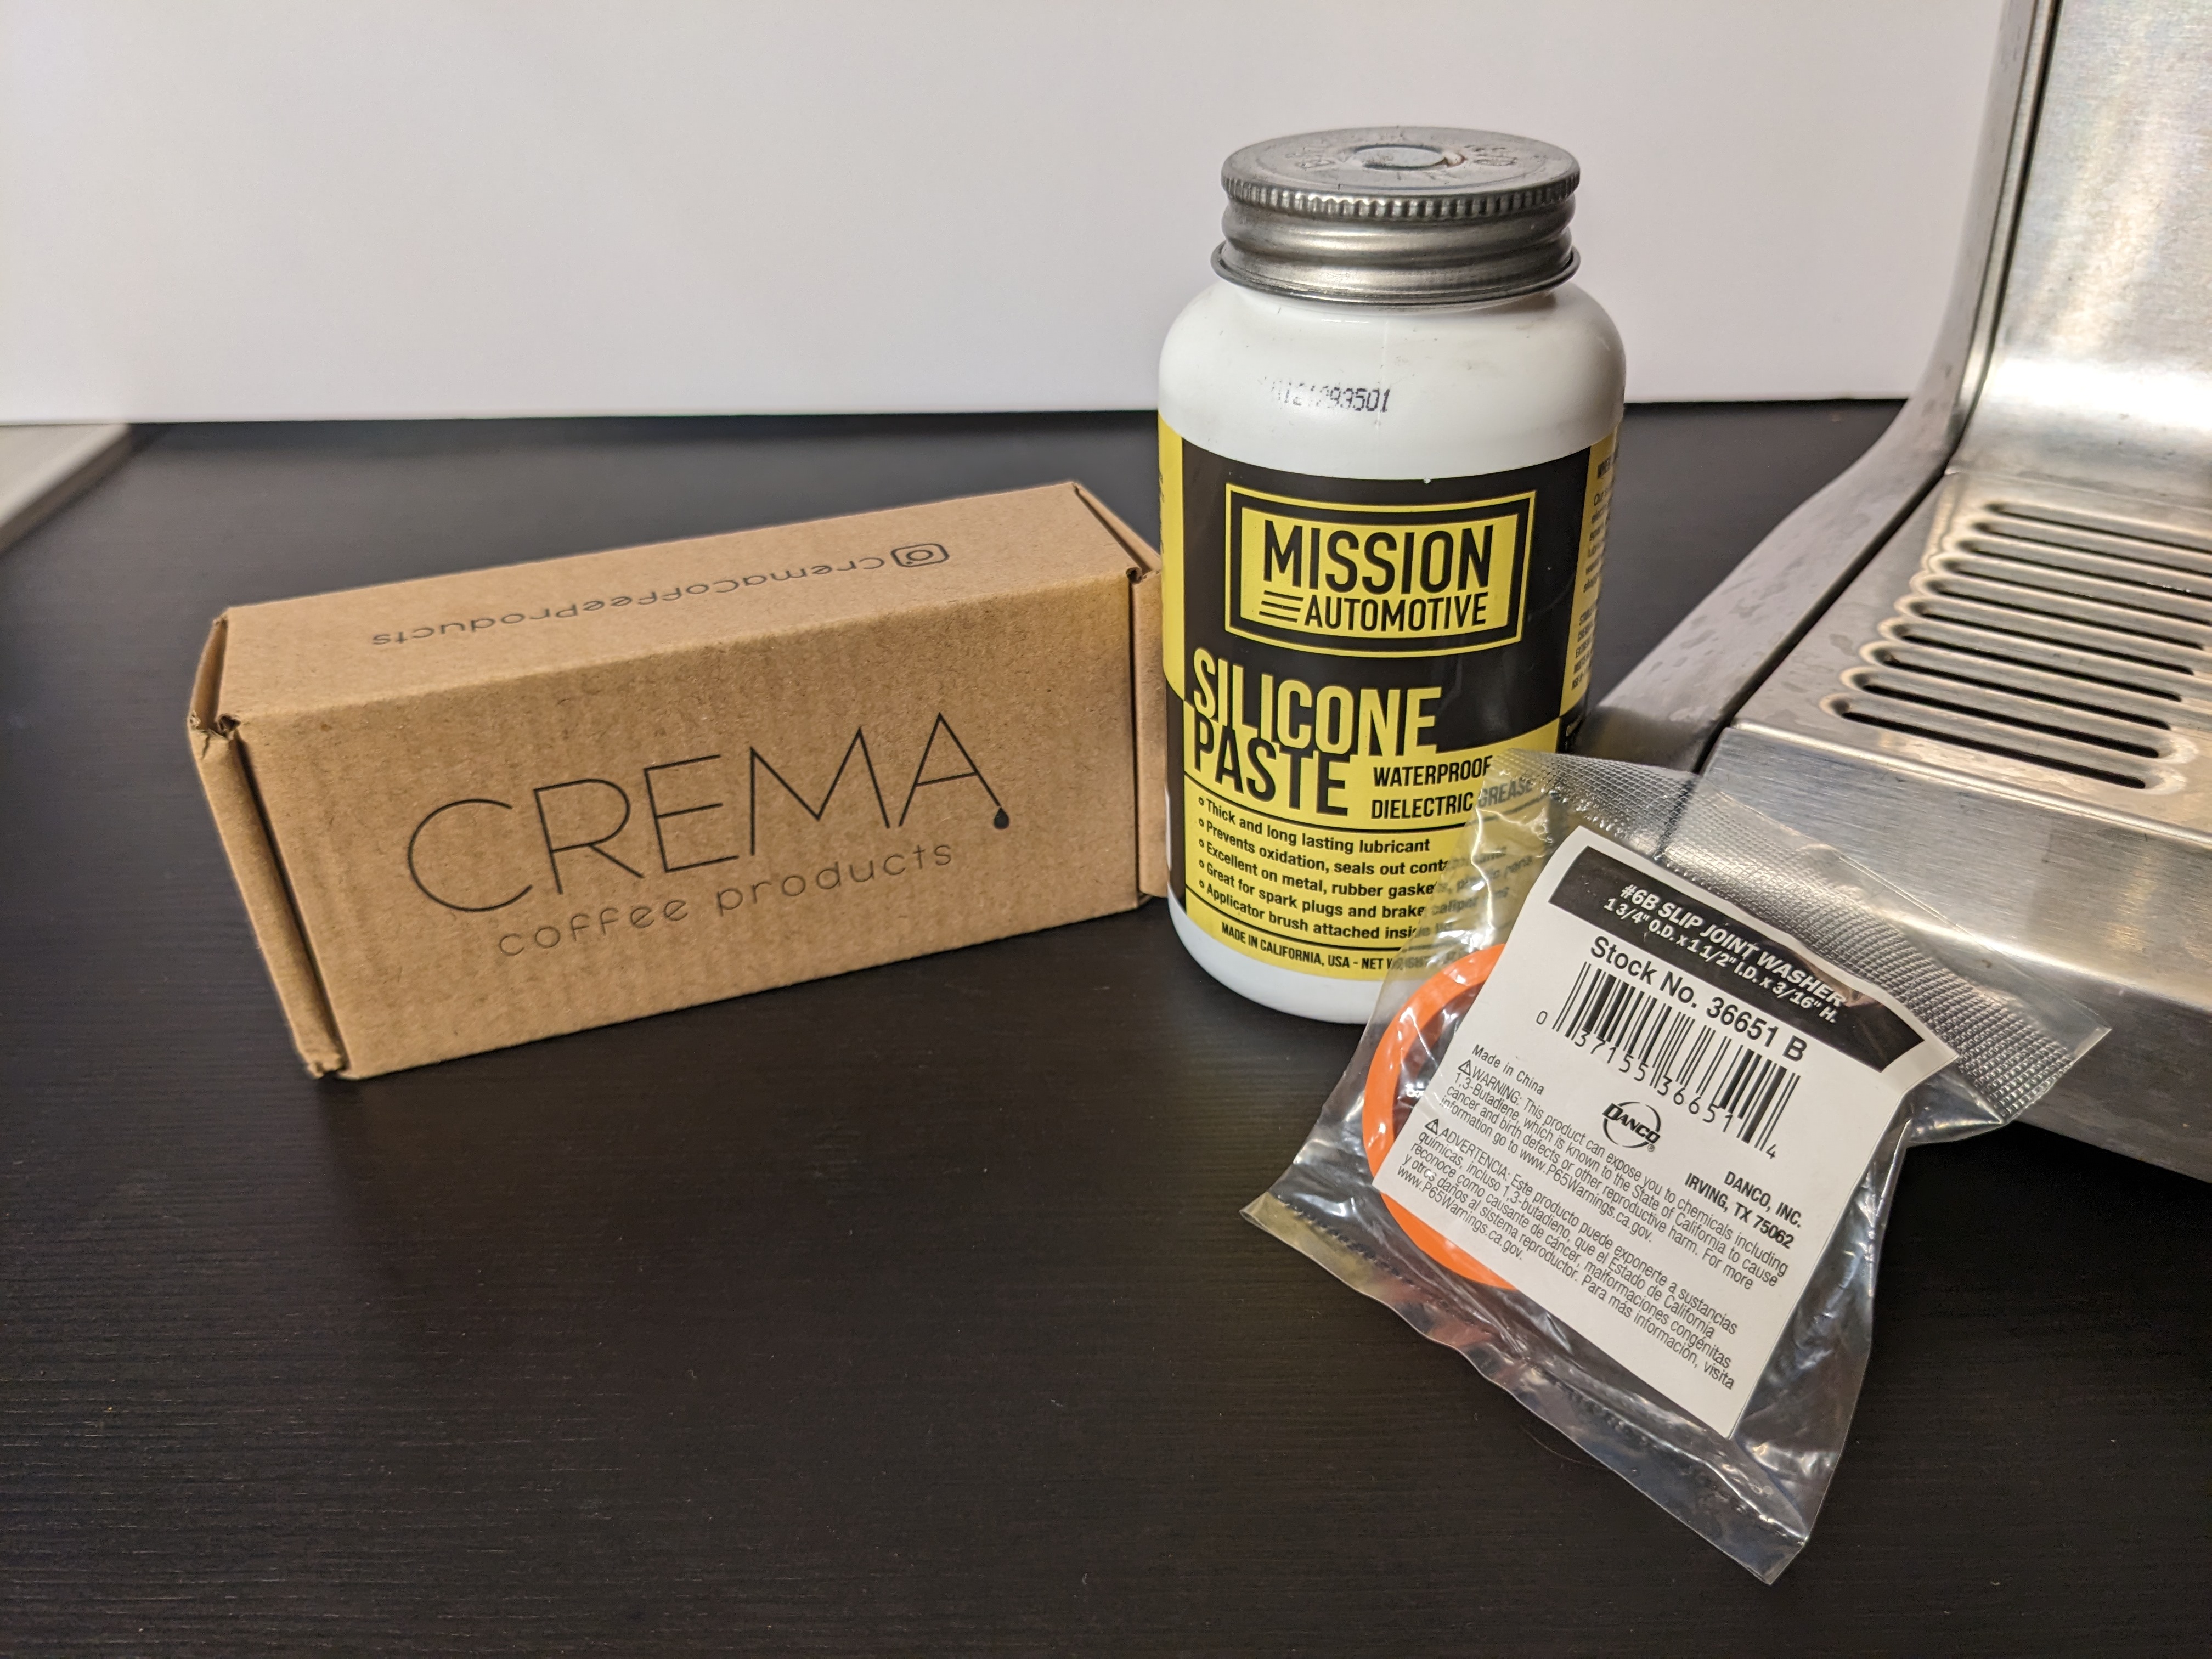
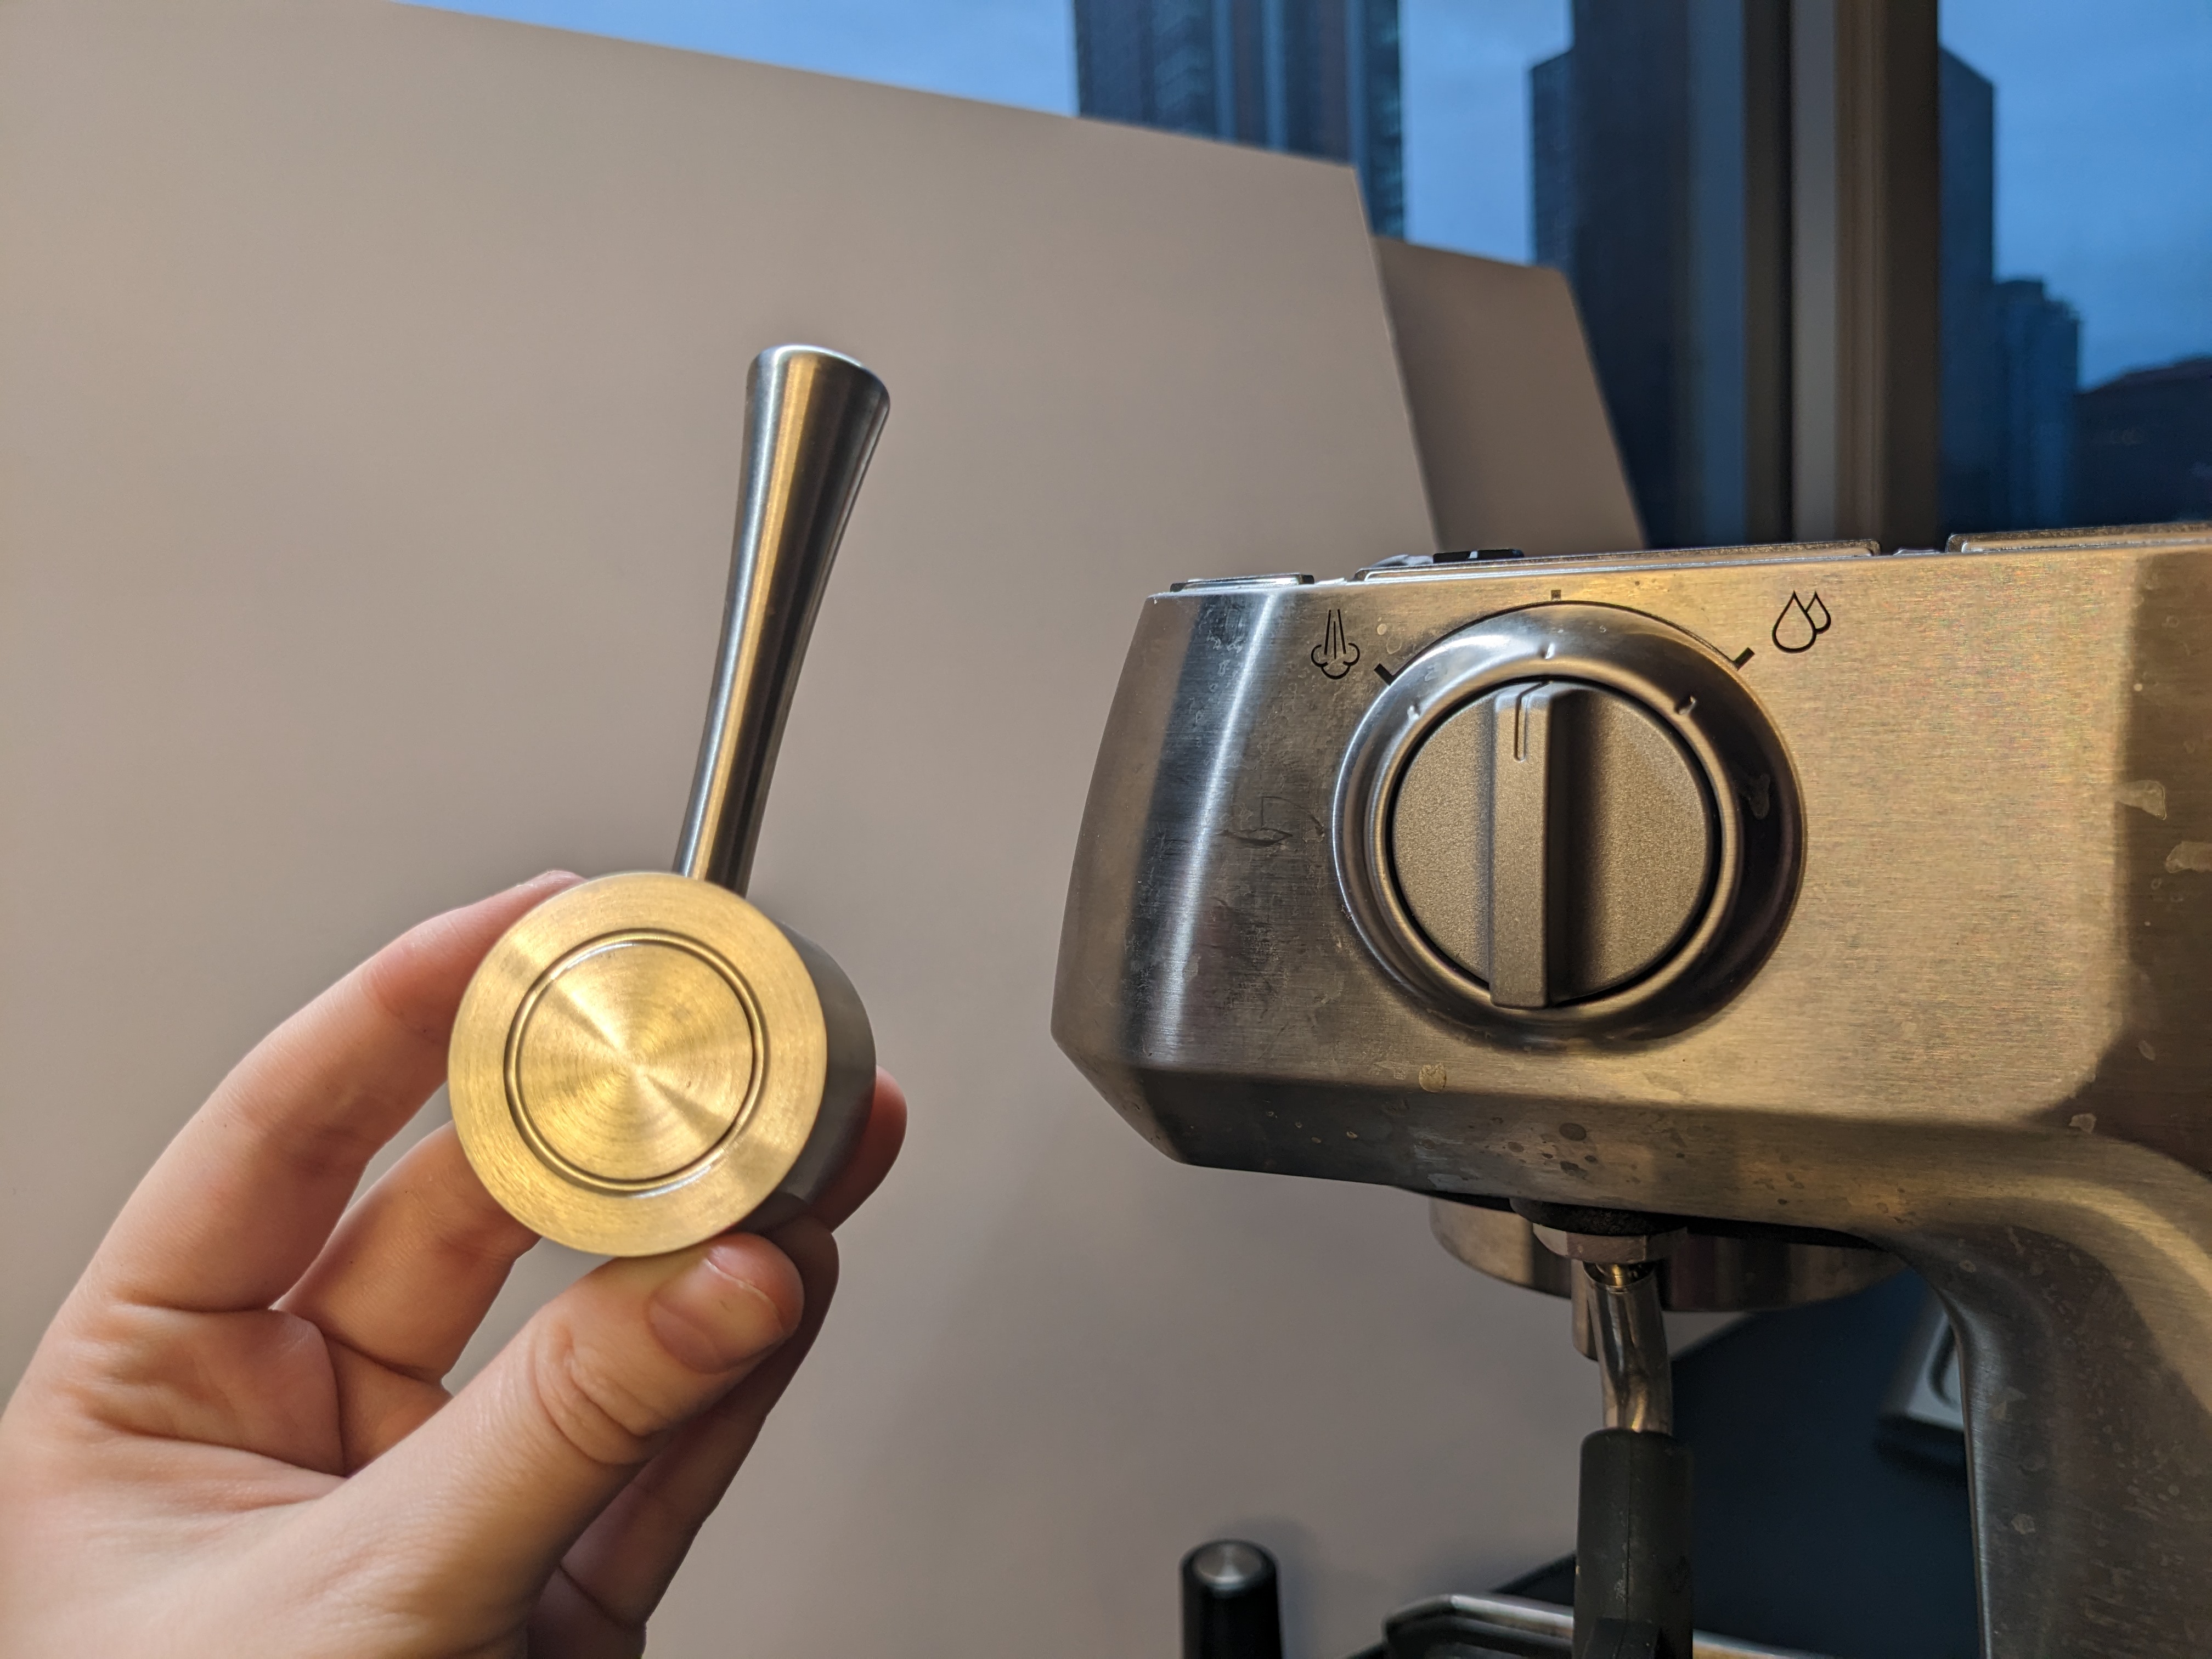
I was generally very happy with my Breville with the exception of one thing: the three way mode selection dial. It was stiff to begin with and got significantly worse over time. Eventually it got to the point where I could not turn it off with one hand - not great for something you need to use while steaming hot liquids. However, this is such a common problem that there is actually a steel aftermarket replacement part for it: the CREMA COFFEE Replacement Steam Lever.
A must-buy if your Breville steam knob is too tight to turn
By kevicon in the United States on January 6, 2023
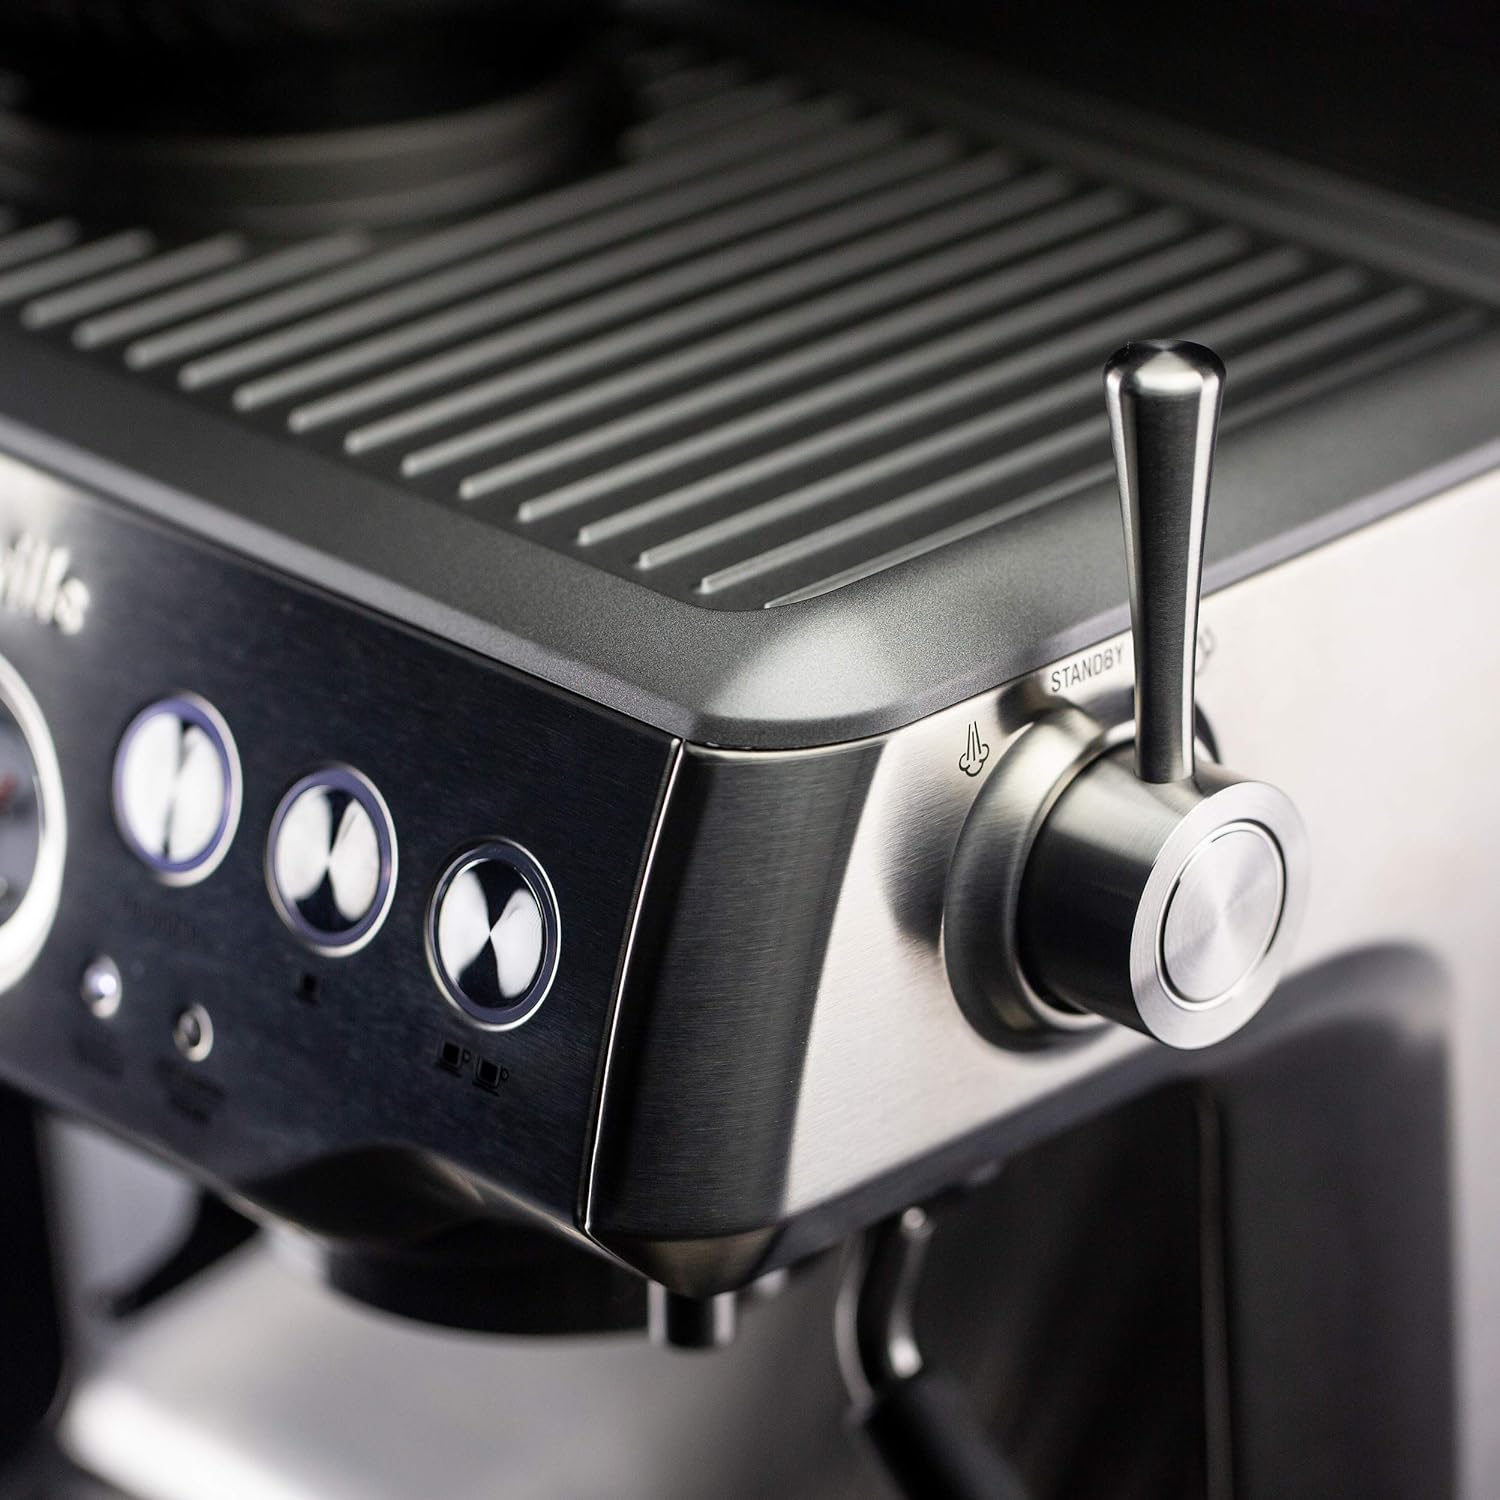
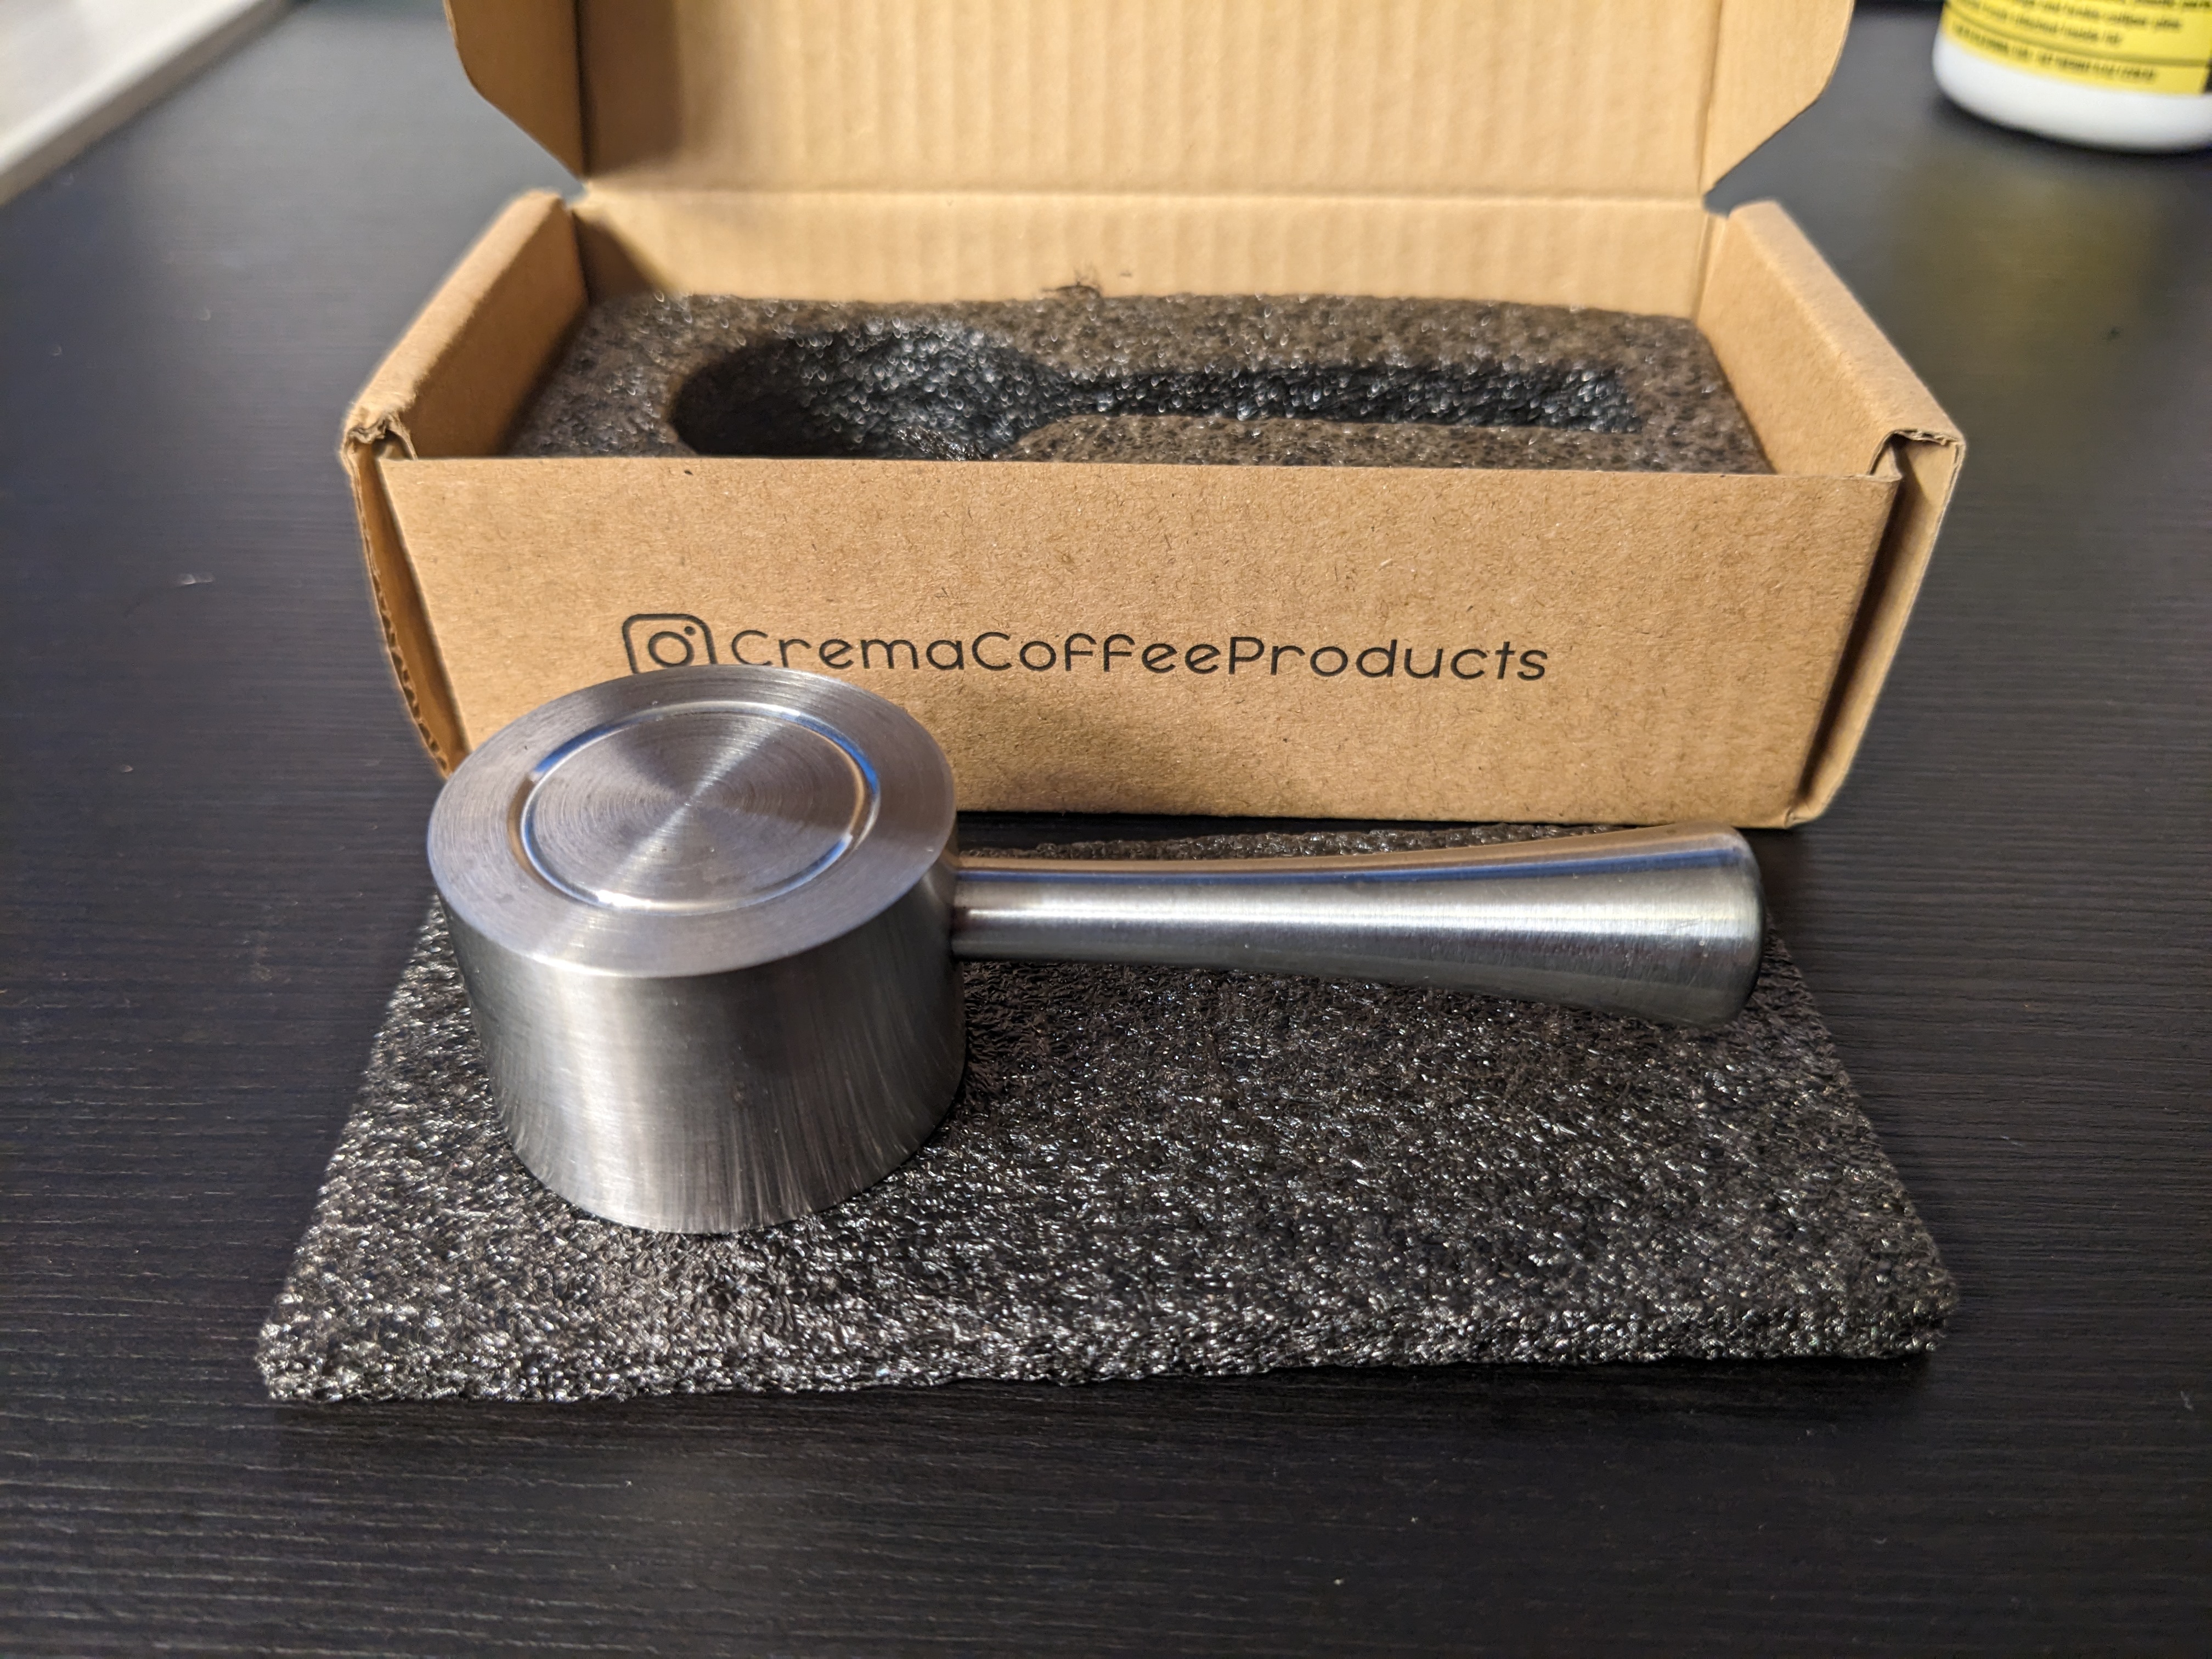
The Crema replacement lever for my Breville machine is a solid and attractive piece of machined metal. I'd say it's more solid and substantial than almost any part of the original machine! More importantly, it solved a major problem for me. The steam knob on my machine has always been a bit difficult to turn, but, after five years of ownership, I've found the knob to be so difficult to turn it's been almost unusable. When I contacted Breville to inquire about a fix, they informed me that for $295(!) I could send it to them to be fixed or replaced with a refurbished machine. No thanks! Instead, I purchased this lever for a fraction of that cost and now can turn the control much more easily, given the additional leverage that an actual lever provides.
It’s $40, which is kind of silly, but it goes on $600+ coffee machines, so I guess it’s not surprising. To be fair, it at least felt like a $40 handle. It was machined nicely and had a decent heft to it. The Crema handle matches the elegance of the original machine to a degree that would be impossible with a resin or FDM printed part, and the Breville has such a beautiful design that slapping a block of PLA on it feels too much like committing an aesthetic war crime. OTOH, most decent machines come with a handle like this, and Breville’s cheaping out here with a plastic one really smells a lot like “planned obsolescence.”
Breville and/or various reviews claim you will void the warranty on the machine by installing this lever, although it is unclear how true this really is.
I am not a lawyer and this is not legal advice, but this should not void your warranty in the United States. Under the 1975 Magnuson-Moss Warranty Act, the US government mandates that you can open your electronics without voiding the warranty, regardless of what the language of your warranty says. You may have to sue Breville though if you want them to enforce the warranty though. - Tyler Hamer, Amazon Review
I’m also not sure how they’d tell if you just put the old one back before sending it in…but if it’s $295, aka half the price of a new machine, for them to “fix” something as basic as the handle the “warranty” is probably too cost prohibitive to be worth much anyway.
One issue mentioned commonly in the reviews was the handle tended to wobble a lot once installed:
Wobble Fix Instructions
By Tyler Hamer in the United States on September 24, 2021
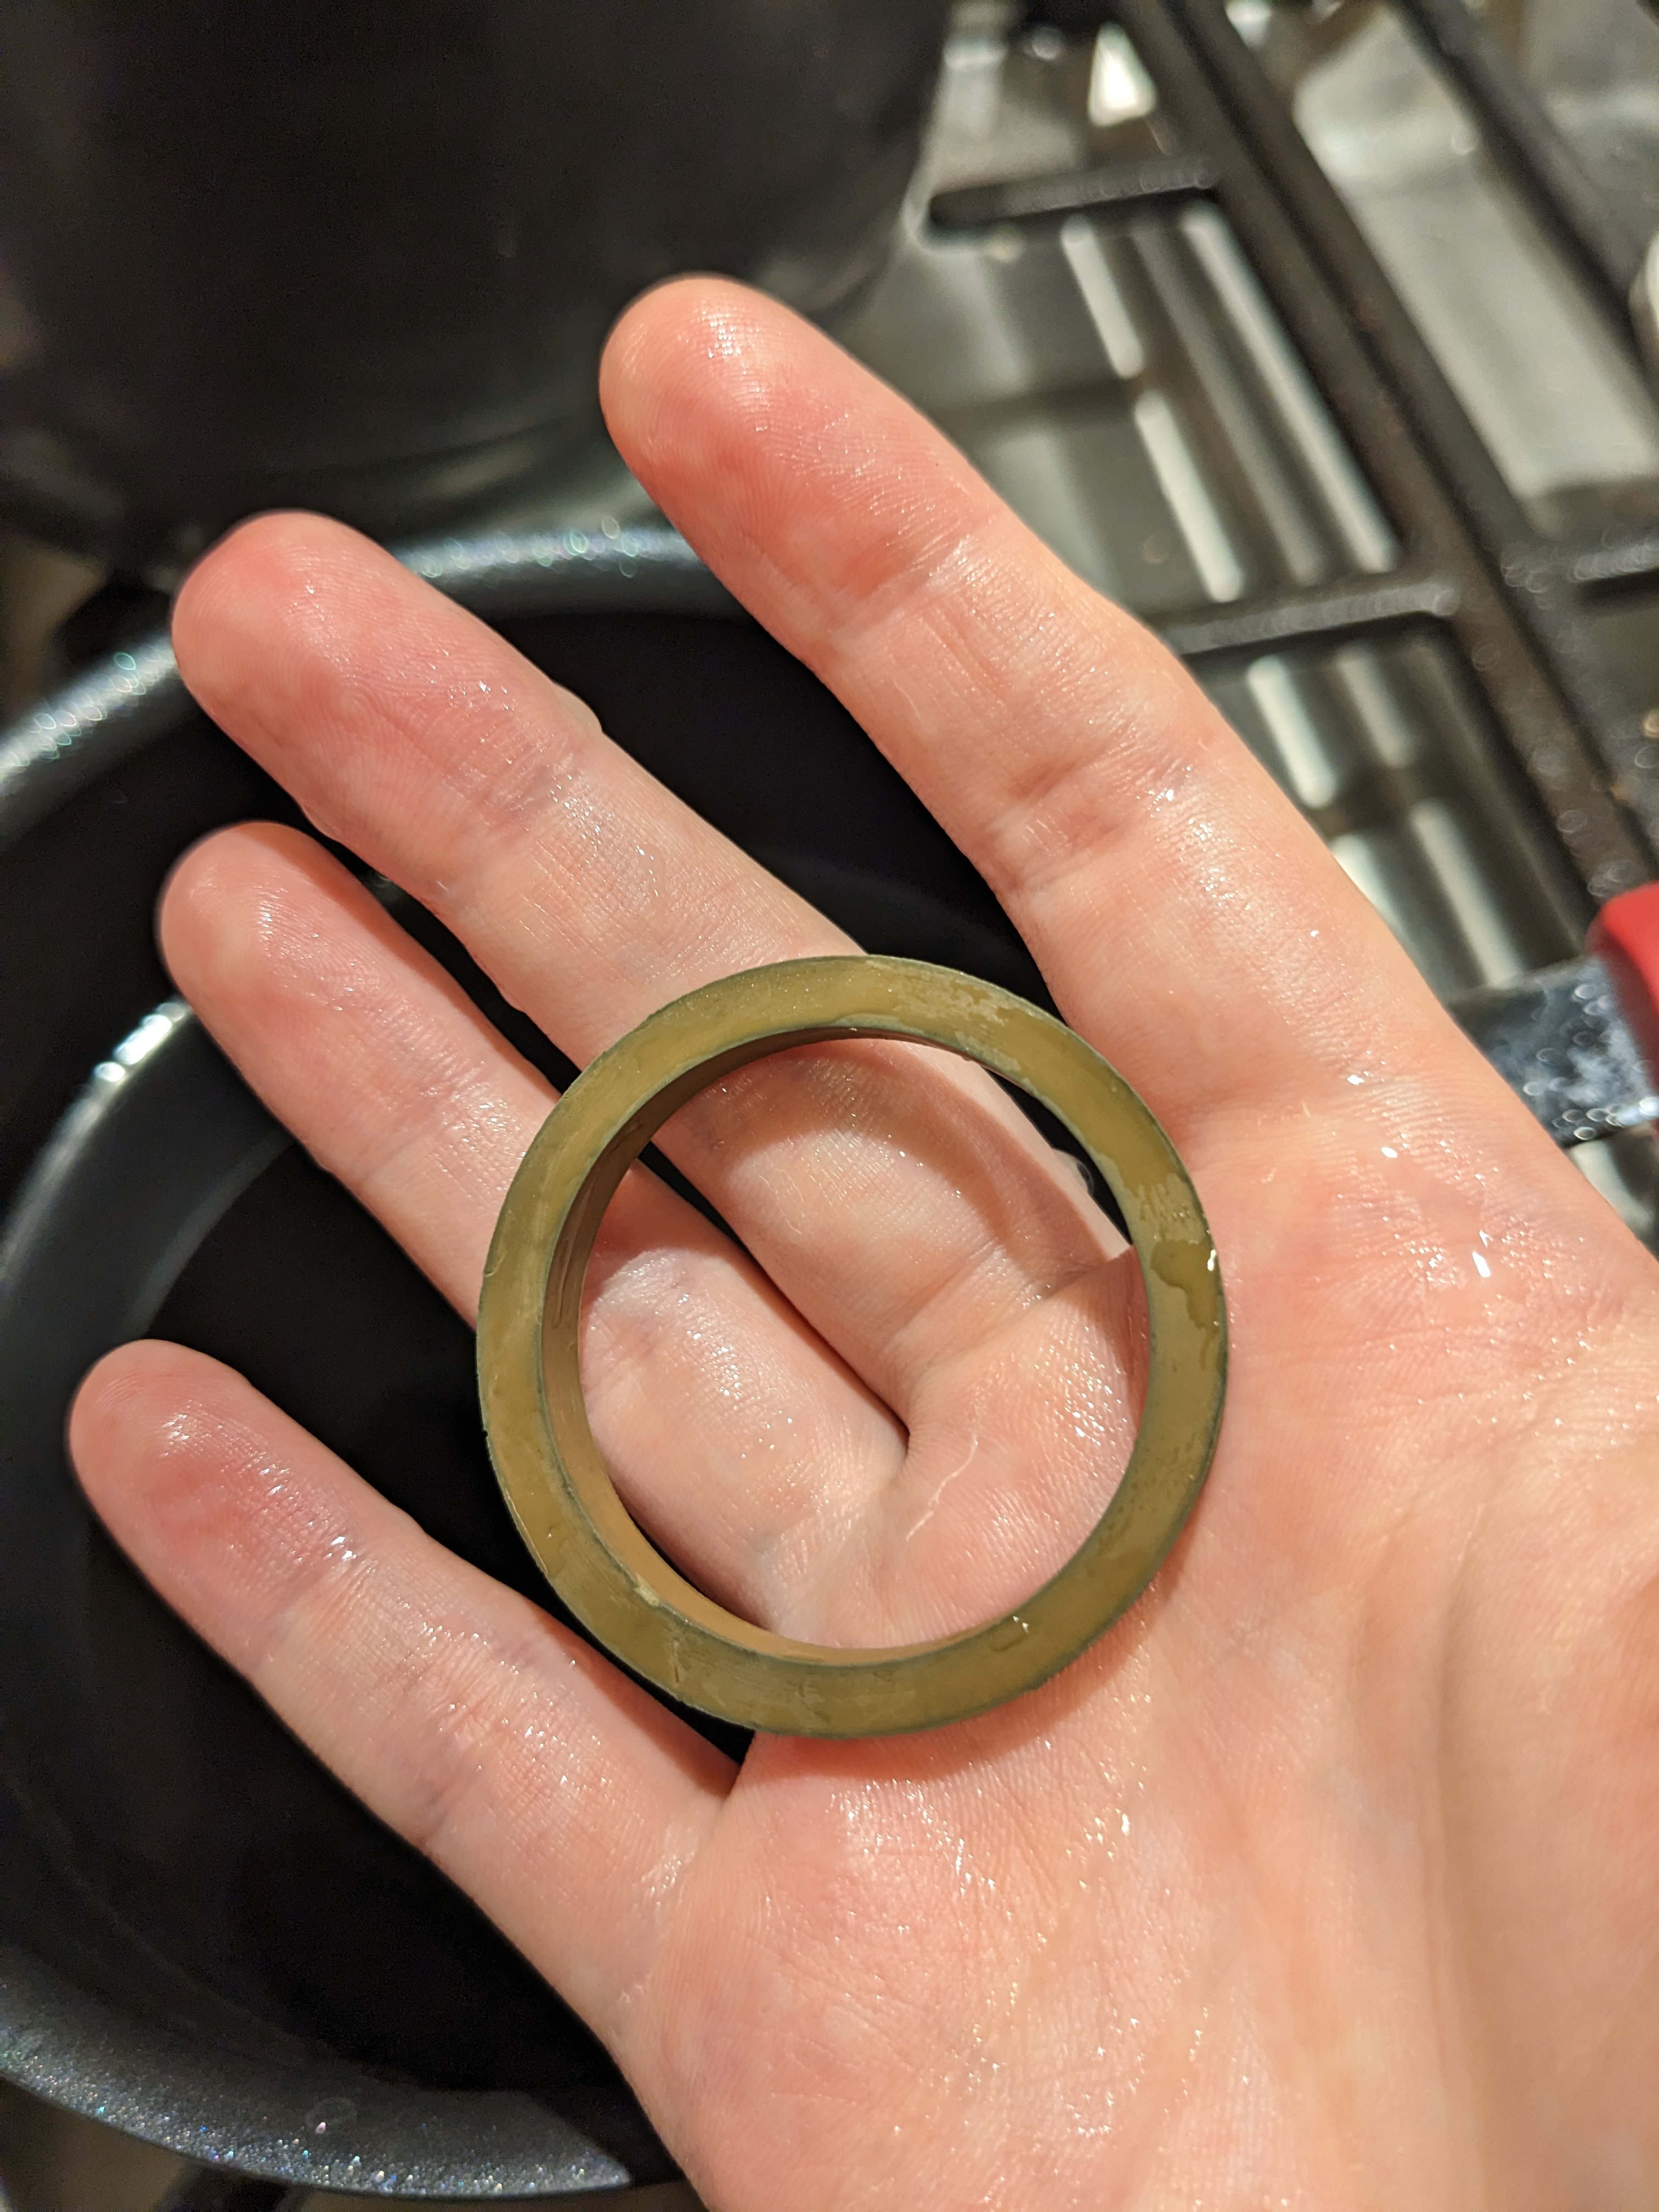
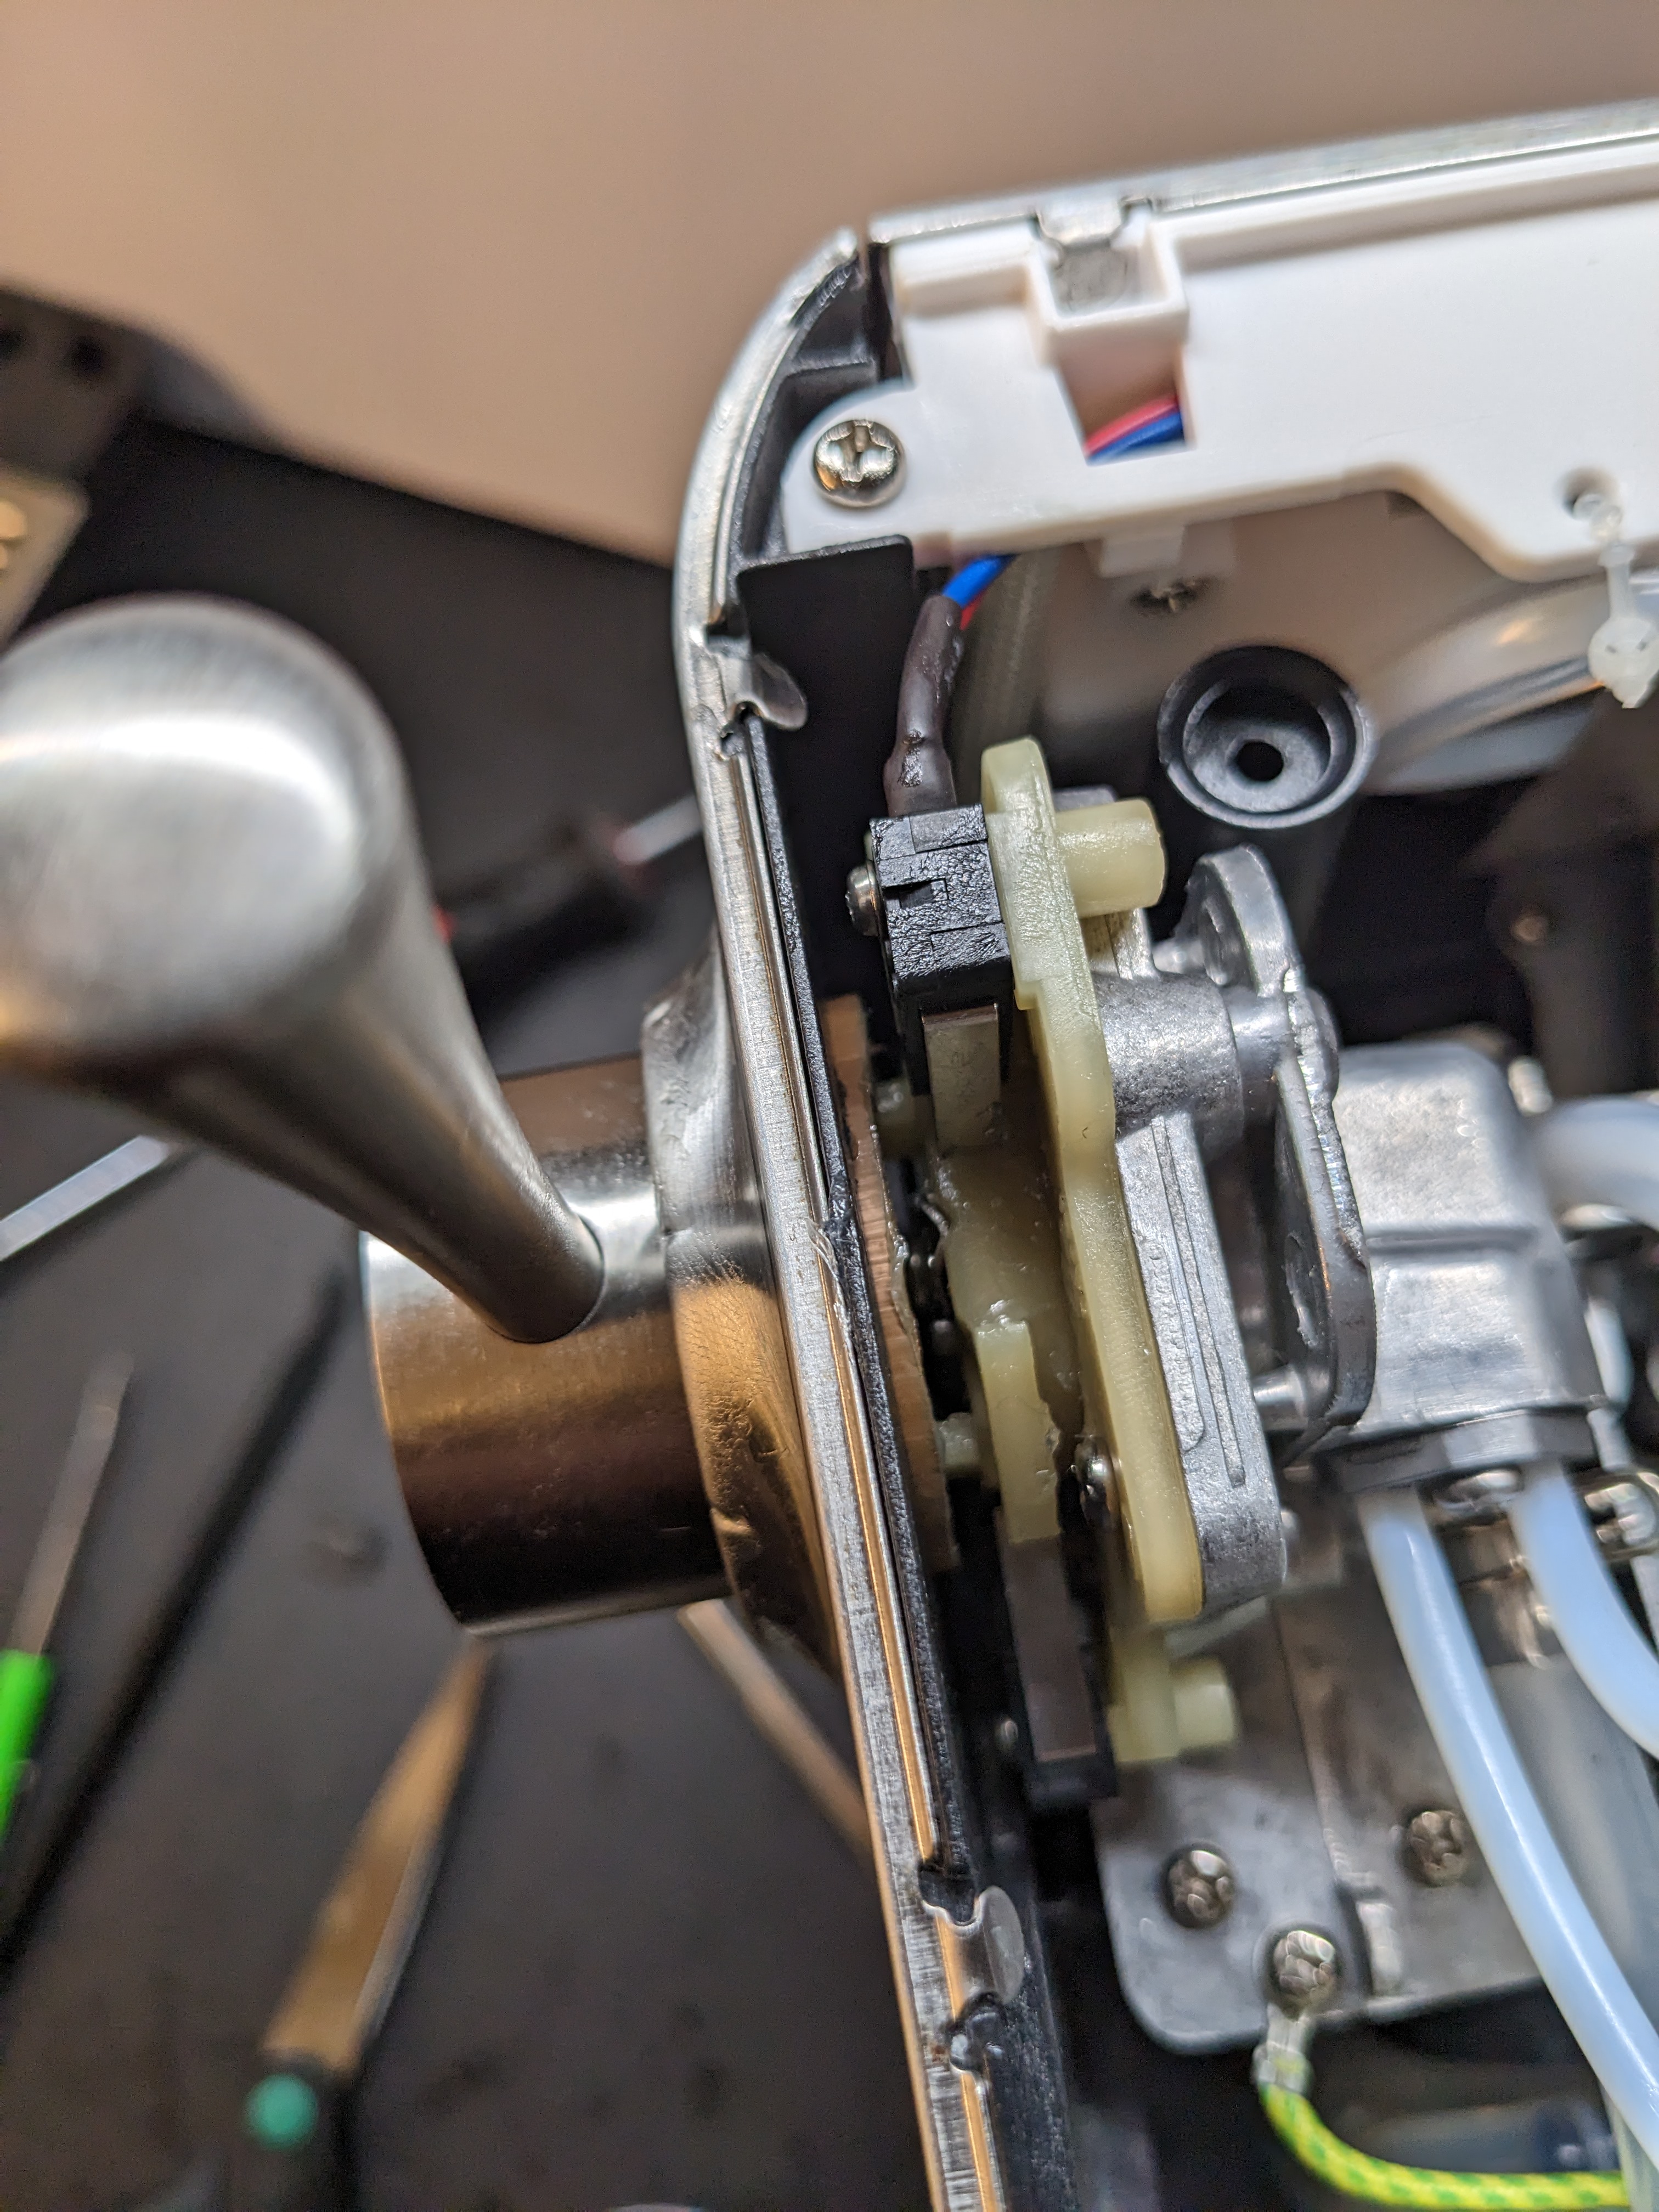
As many noted, the Crema steam lever wobbles once installed. The wobble is caused by (1) a lack of a radial bearing/bushing to constrain the lever radially and (2) poor axial stiffness as the lever itself and the mechanism to which it attaches are both cantilevered.
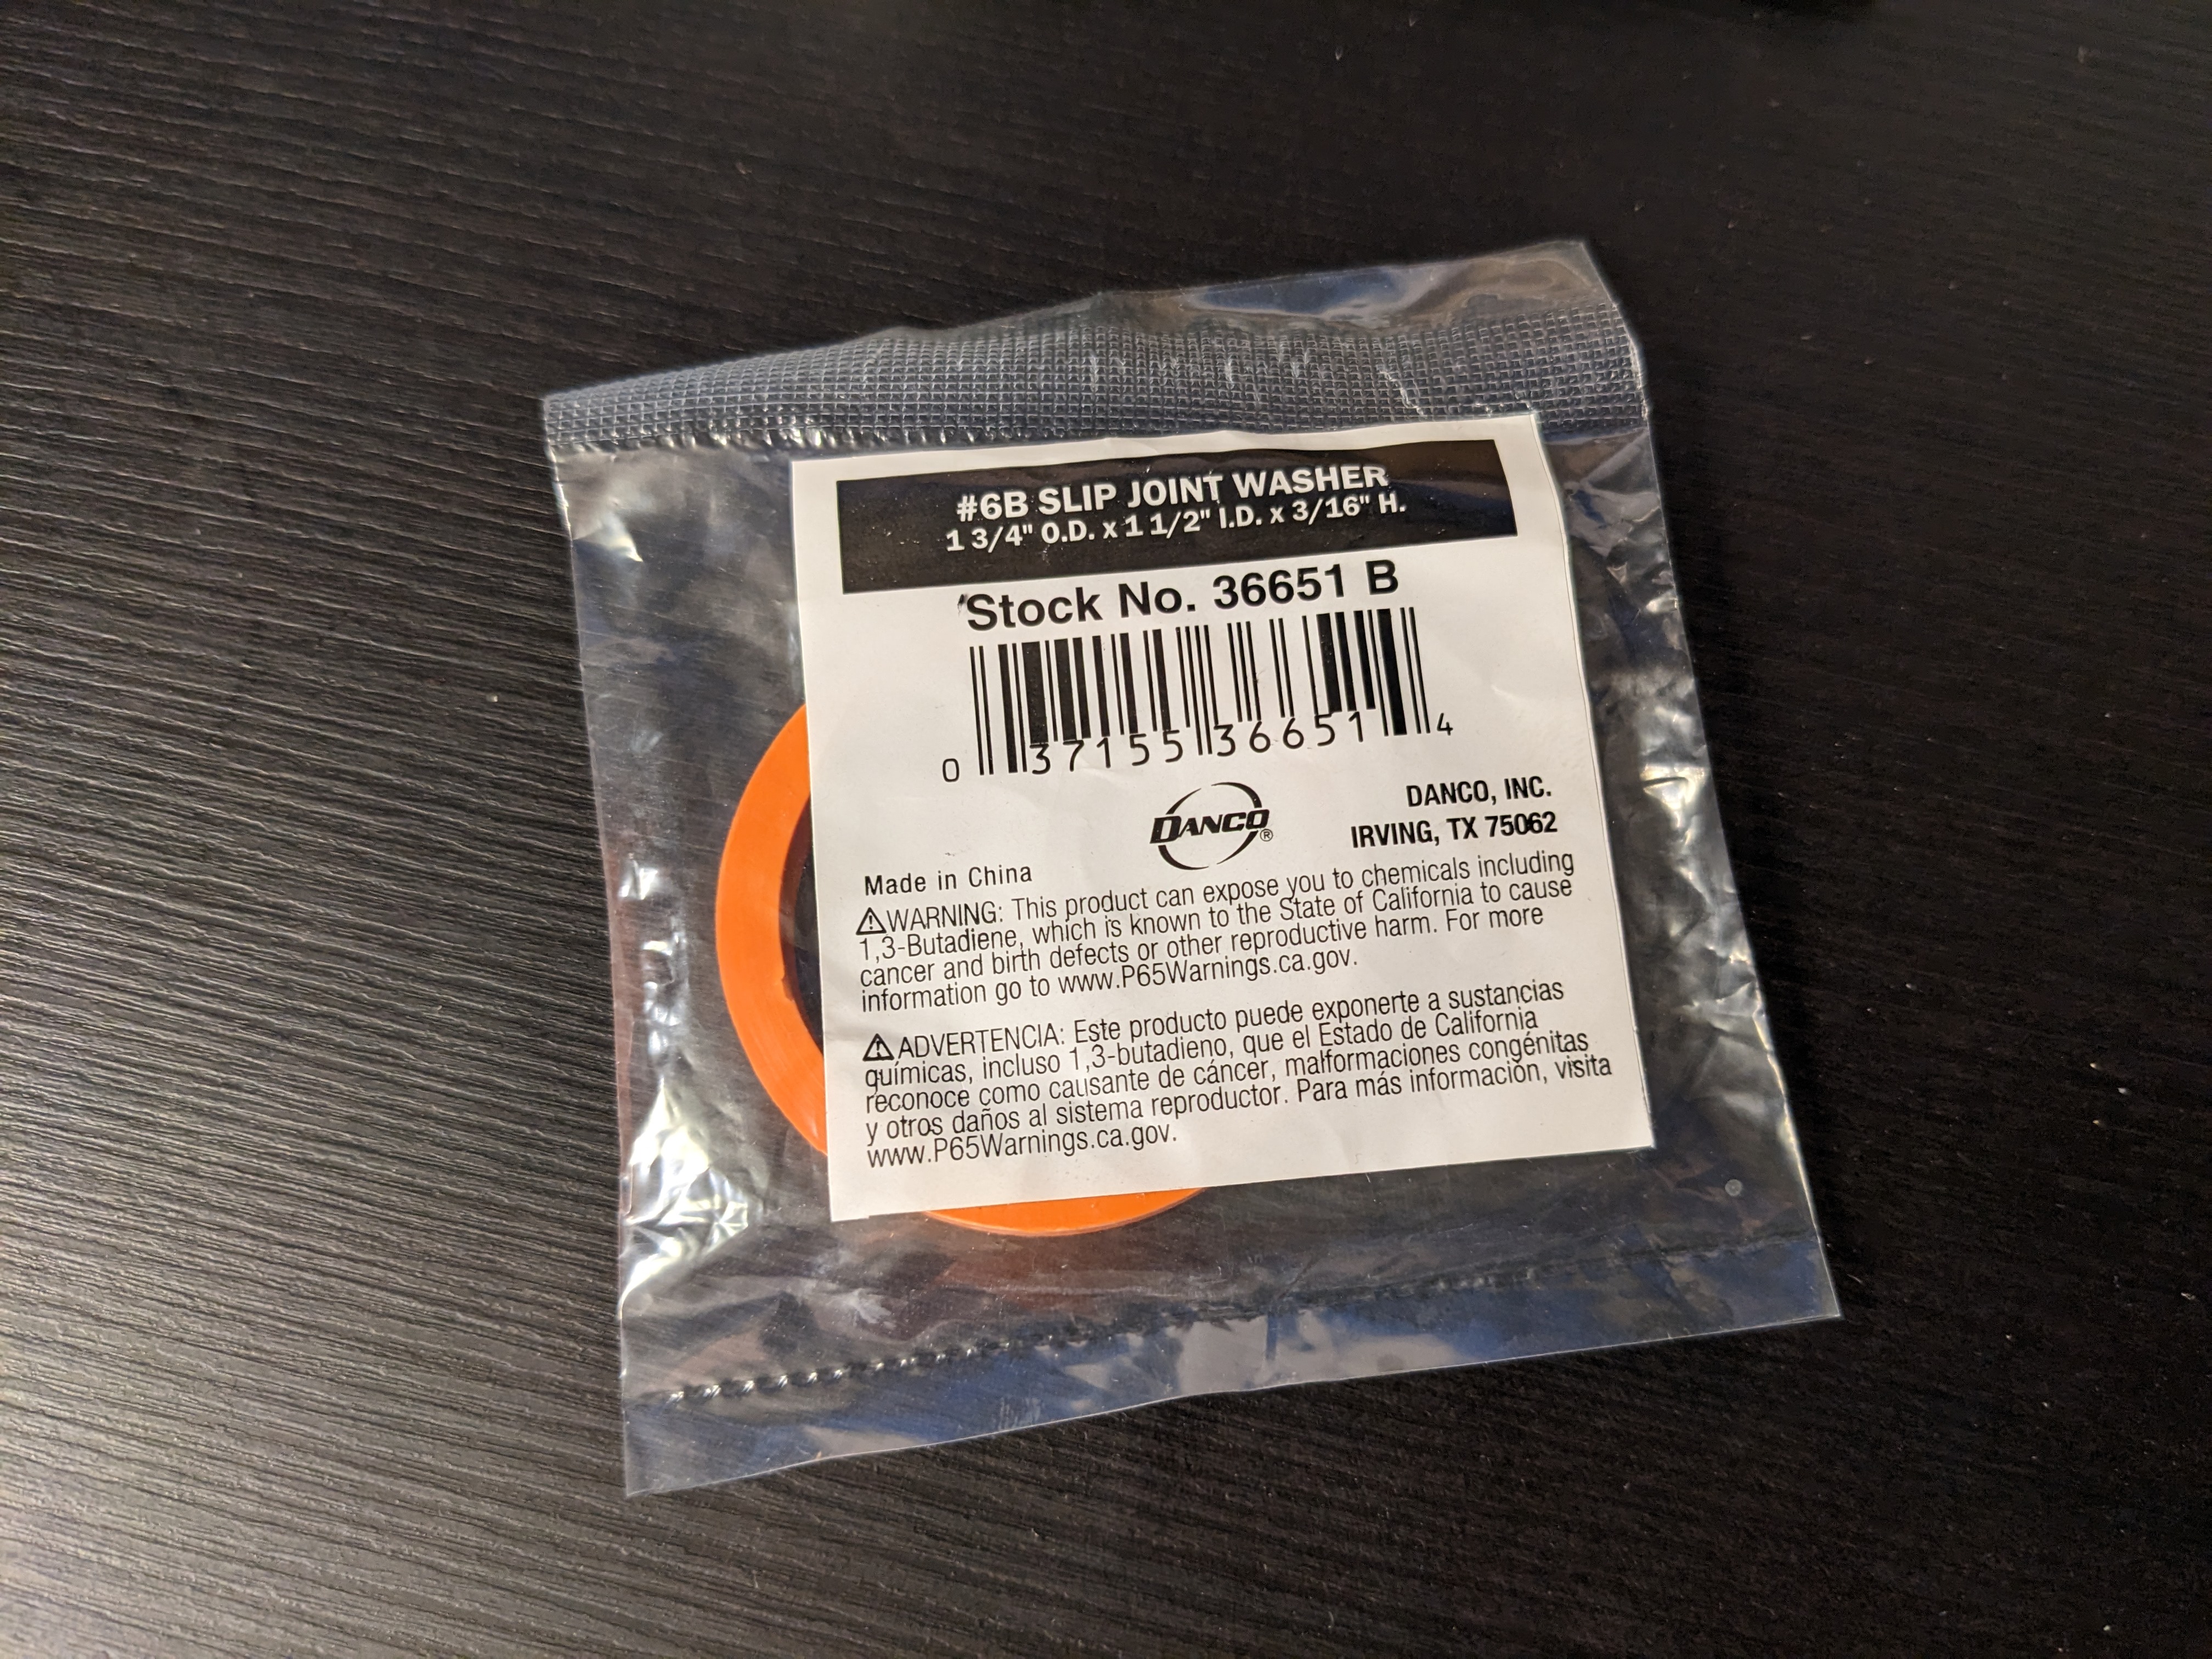
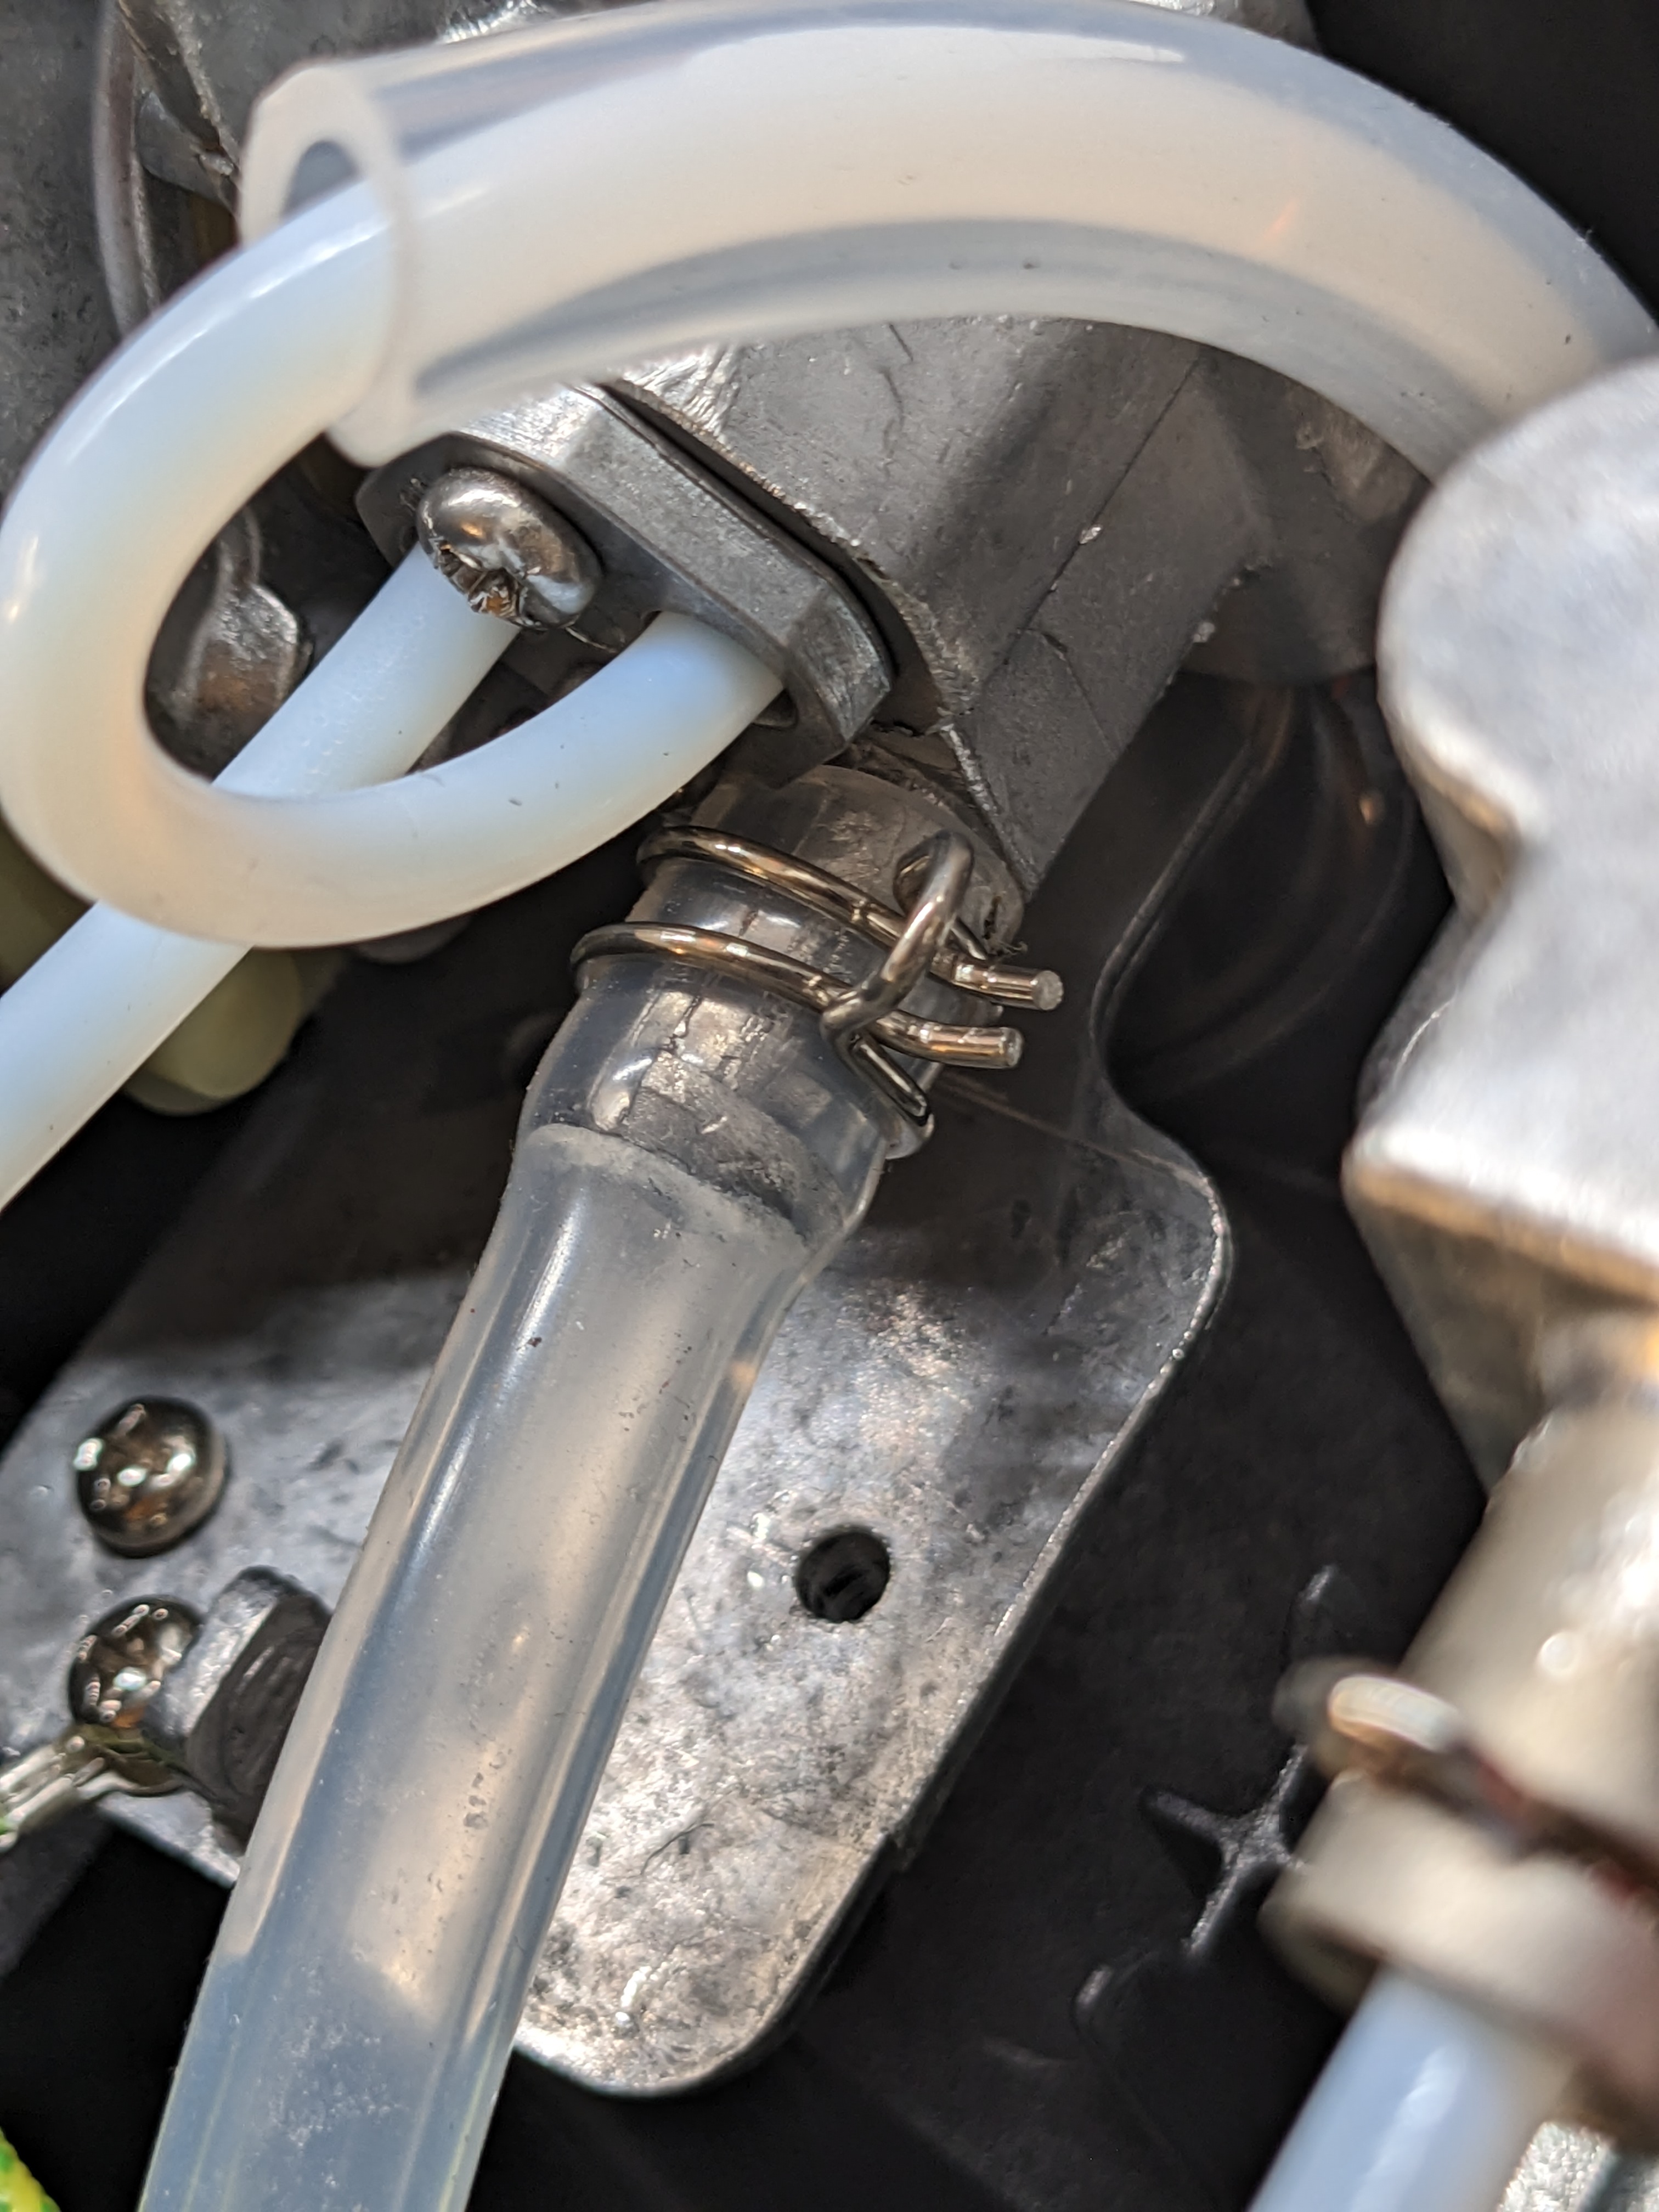
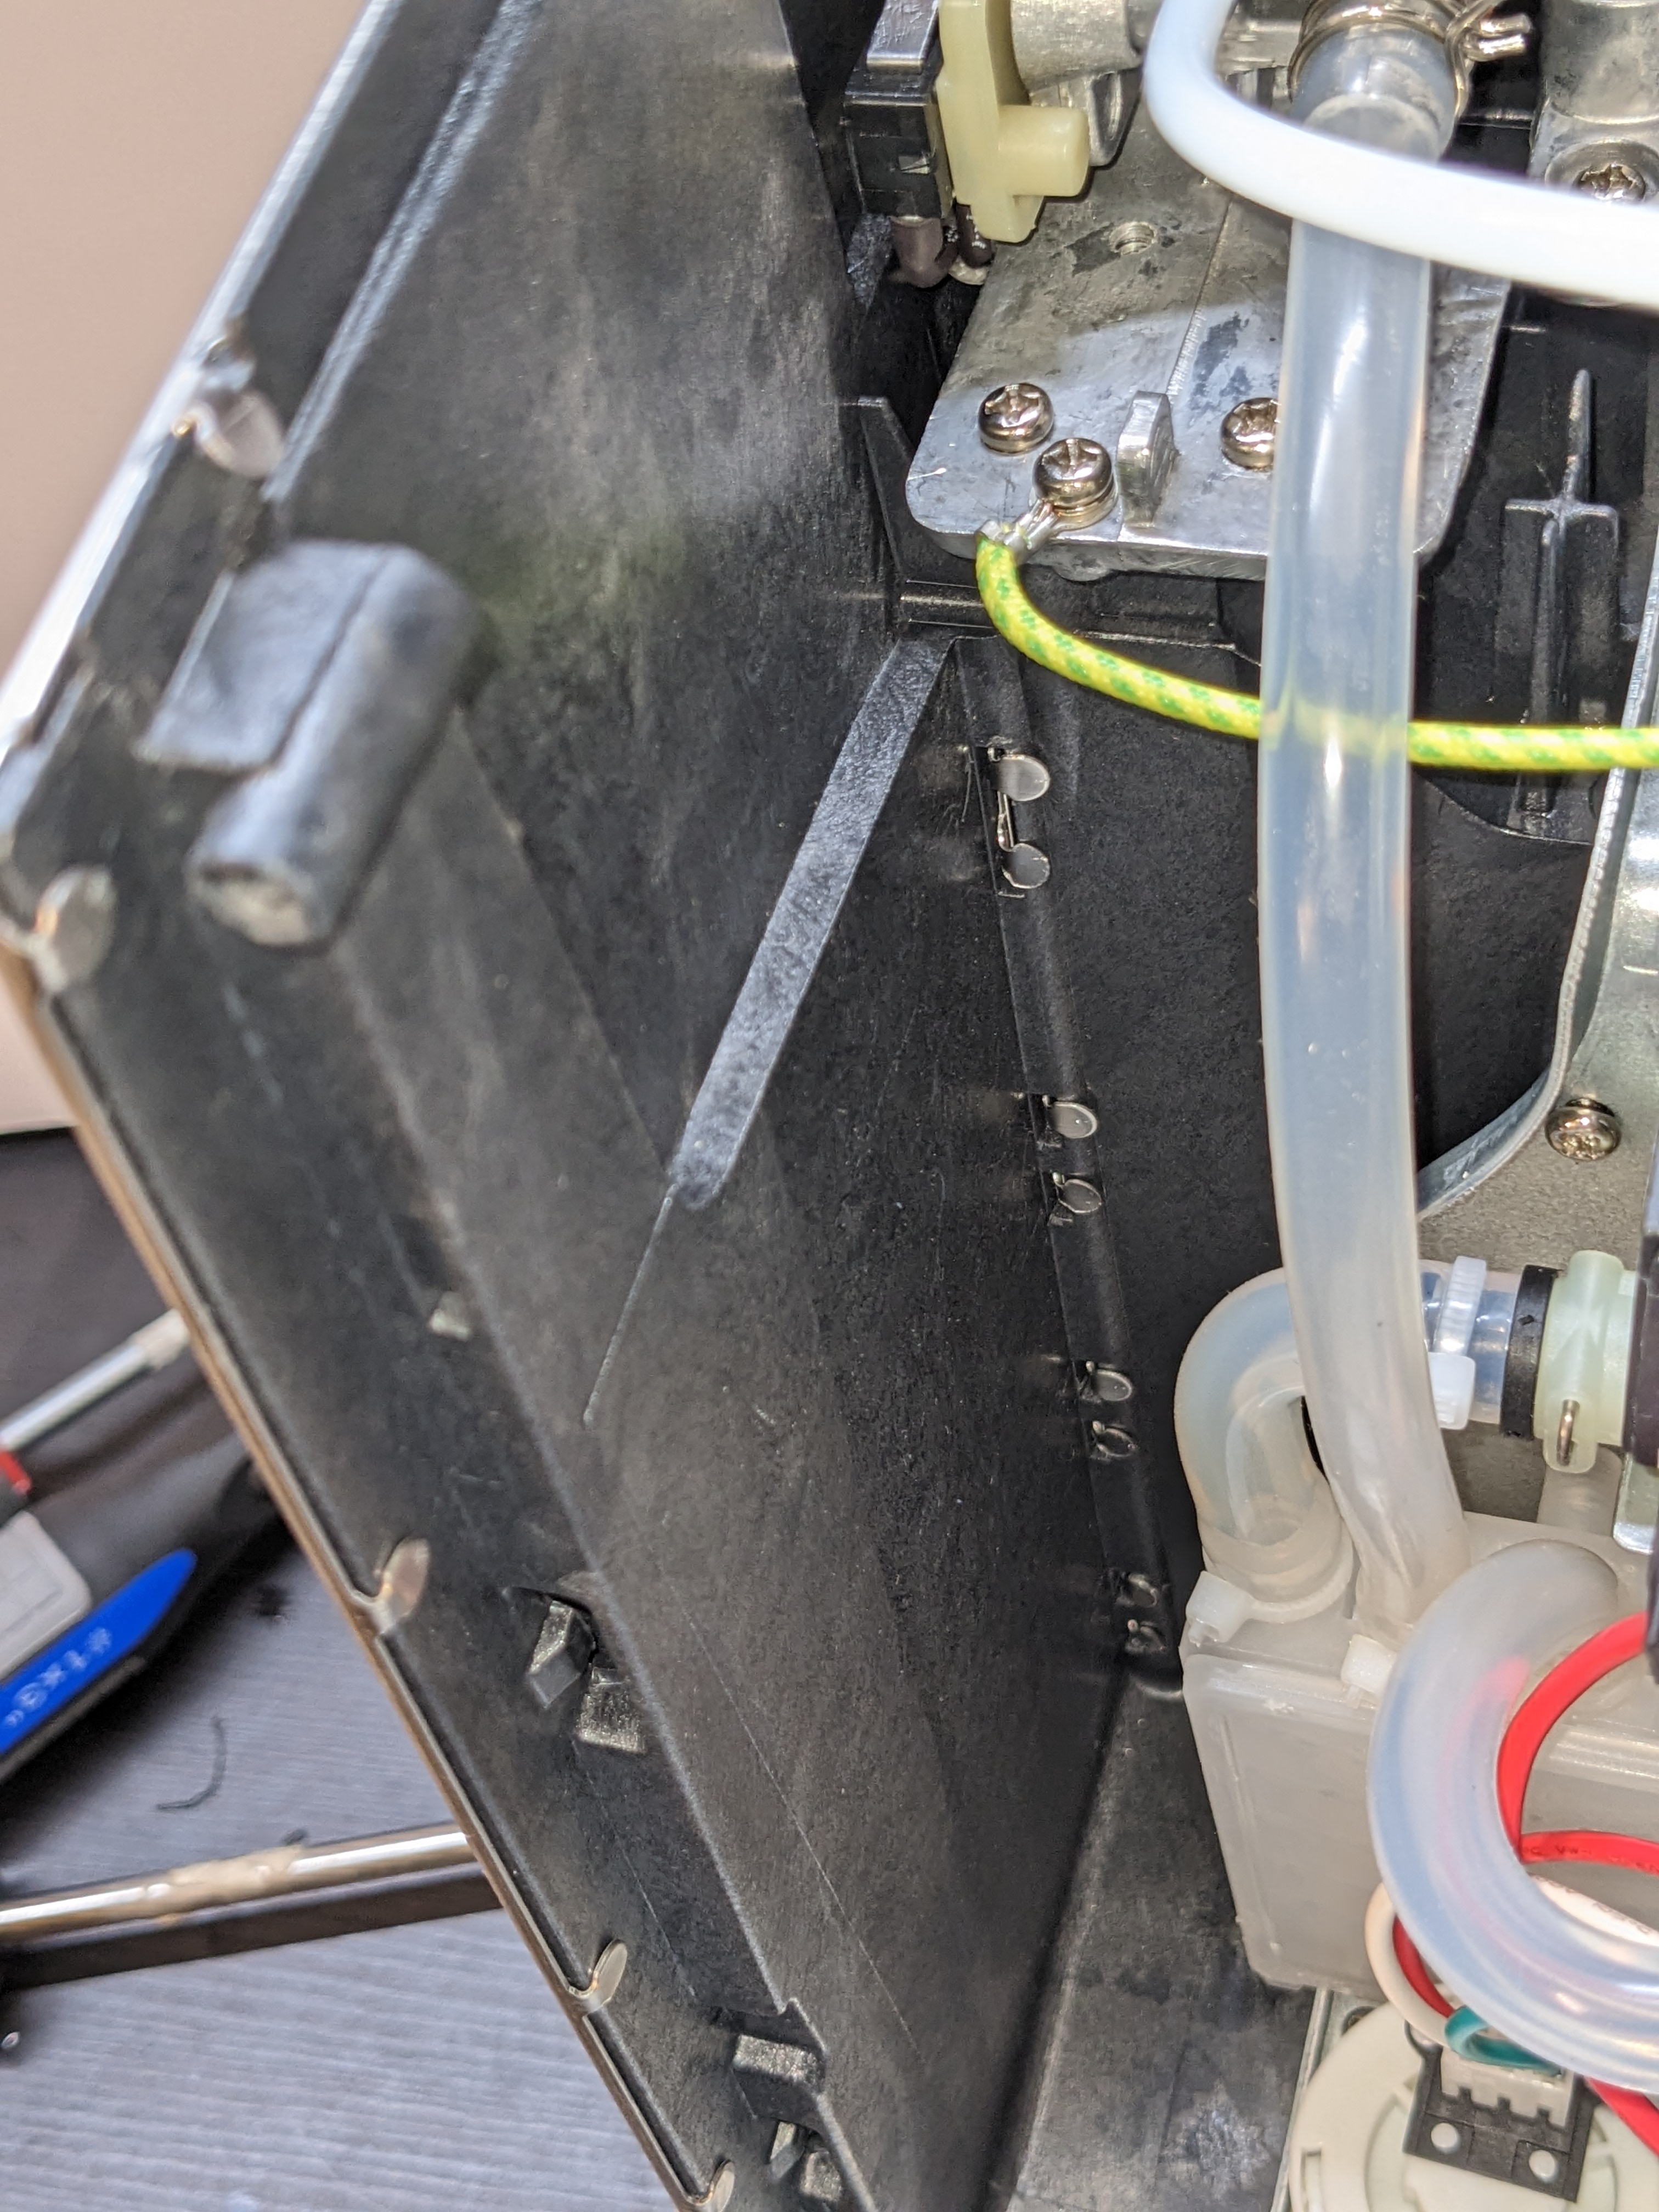
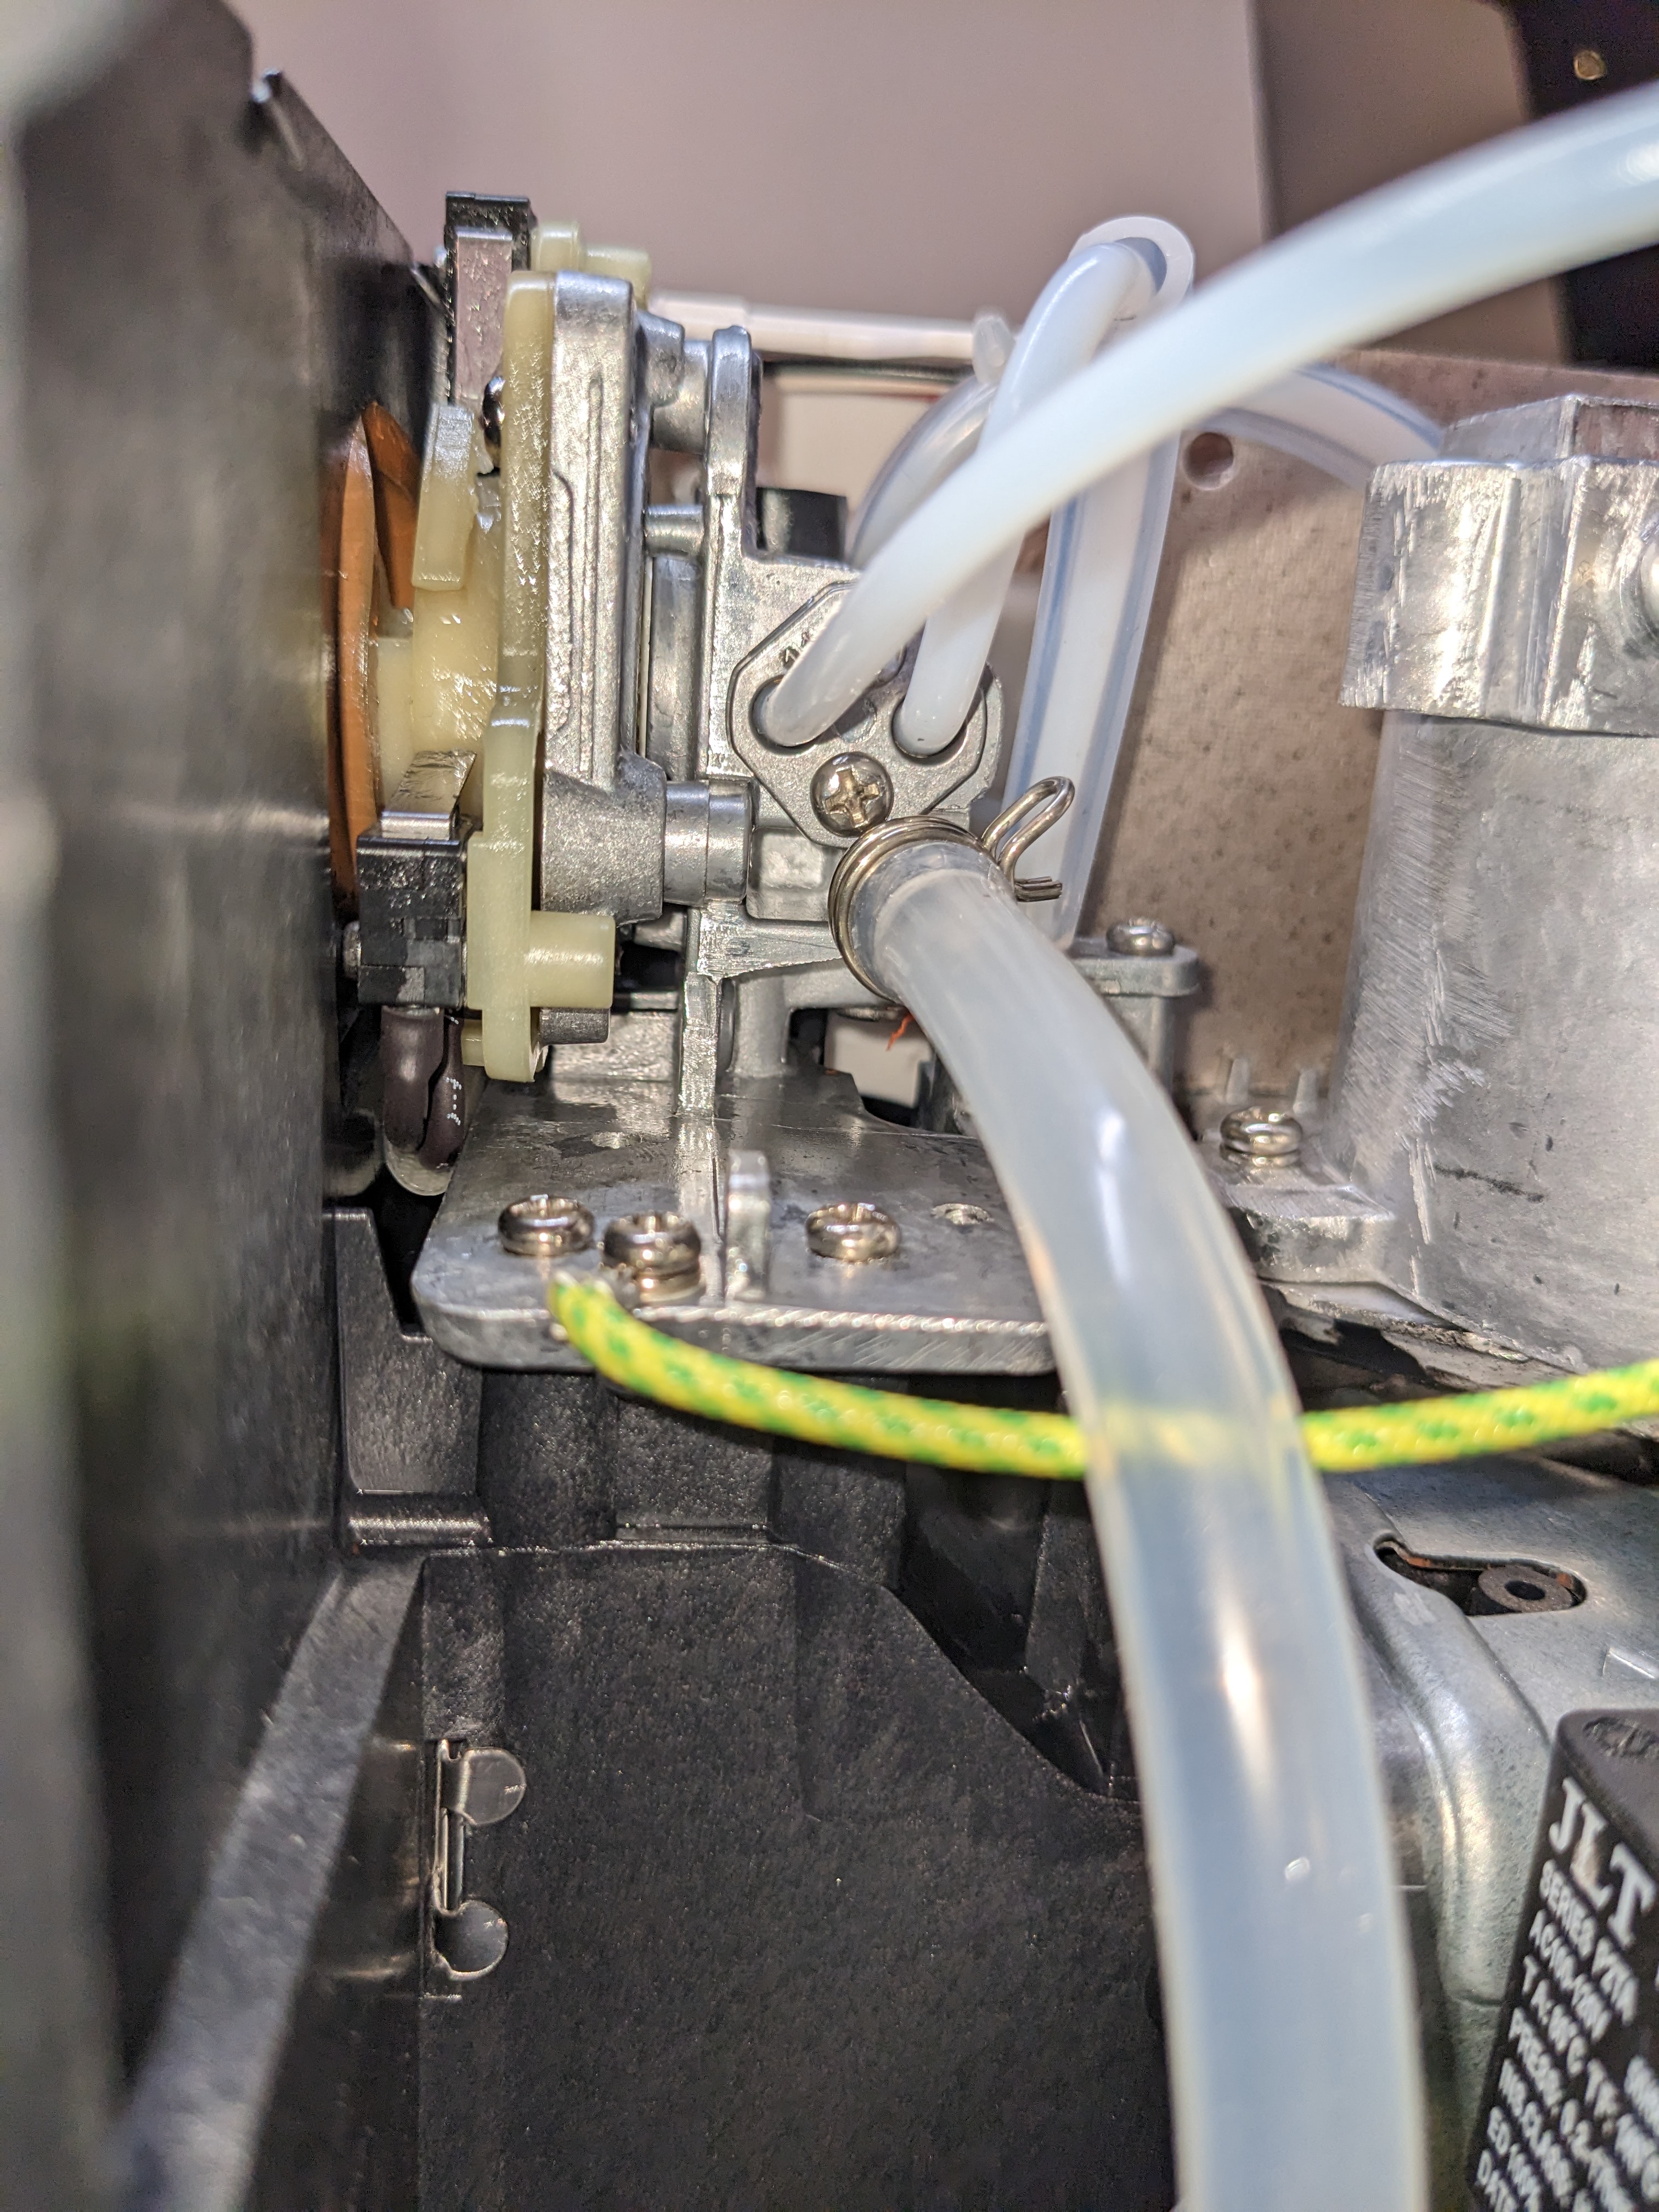
Neither of these are Crema's fault, but explain why Breville uses a light weight plastic knob. Following the review from @TheBigTime, I got a rubber 1-3/4" OD x 1-1/2" ID x 3/16" thick slip joint washer and plumbing lube from my local hardware store. As shown in the photos, the rubber washer can be jammed into the gap between the machine's frame and sheet metal cover to provide radial support. This eliminates a good amount of the wobble, but does not eliminate it fully since there's nothing to increase the axial stiffness. I think the remaining wobble is fine.
The supplied screws which attach the lever are M3-0.5 x 10mm. I had to replace with M3-0.5 x 6mm as Crema did not drill one of the holes deep enough. That's poor quality control so 4/5 instead of 5/5 stars.
Many of the Amazon reviews for the Crema handle recommended the “o-ring solution” for the handle. Put the ring in the hole, lube the inside of the ring with a bit of PTFE or silicon lube, then slide the handle through the hole until it snaps into place. Sounded easy enough. (I’m not sure what was going on with the screws but mine seemed ok.)
O-ring recommendations ranged from:
- 38mm ID x 50mm OD, 6mm thick
- 1 3/4 OD x 1 1/2”, 1/8” thick
- 1 3/4 OD x 1 1/2”, 1/16” thick
All I could find at the last remaining local hardware store was a 1 3/4 OD x 1 1/2” x 3/16” o-ring, so that’s what I got. I found it too large to wedge into the hole stably, and would recommend a smaller one so you can avoid the hassle of chopping it down to a more workable size. Get a black one if you can. (My local hardware store only had this orange one, but ordering online cost a lot more than the $0.50 of the irl o-ring.)
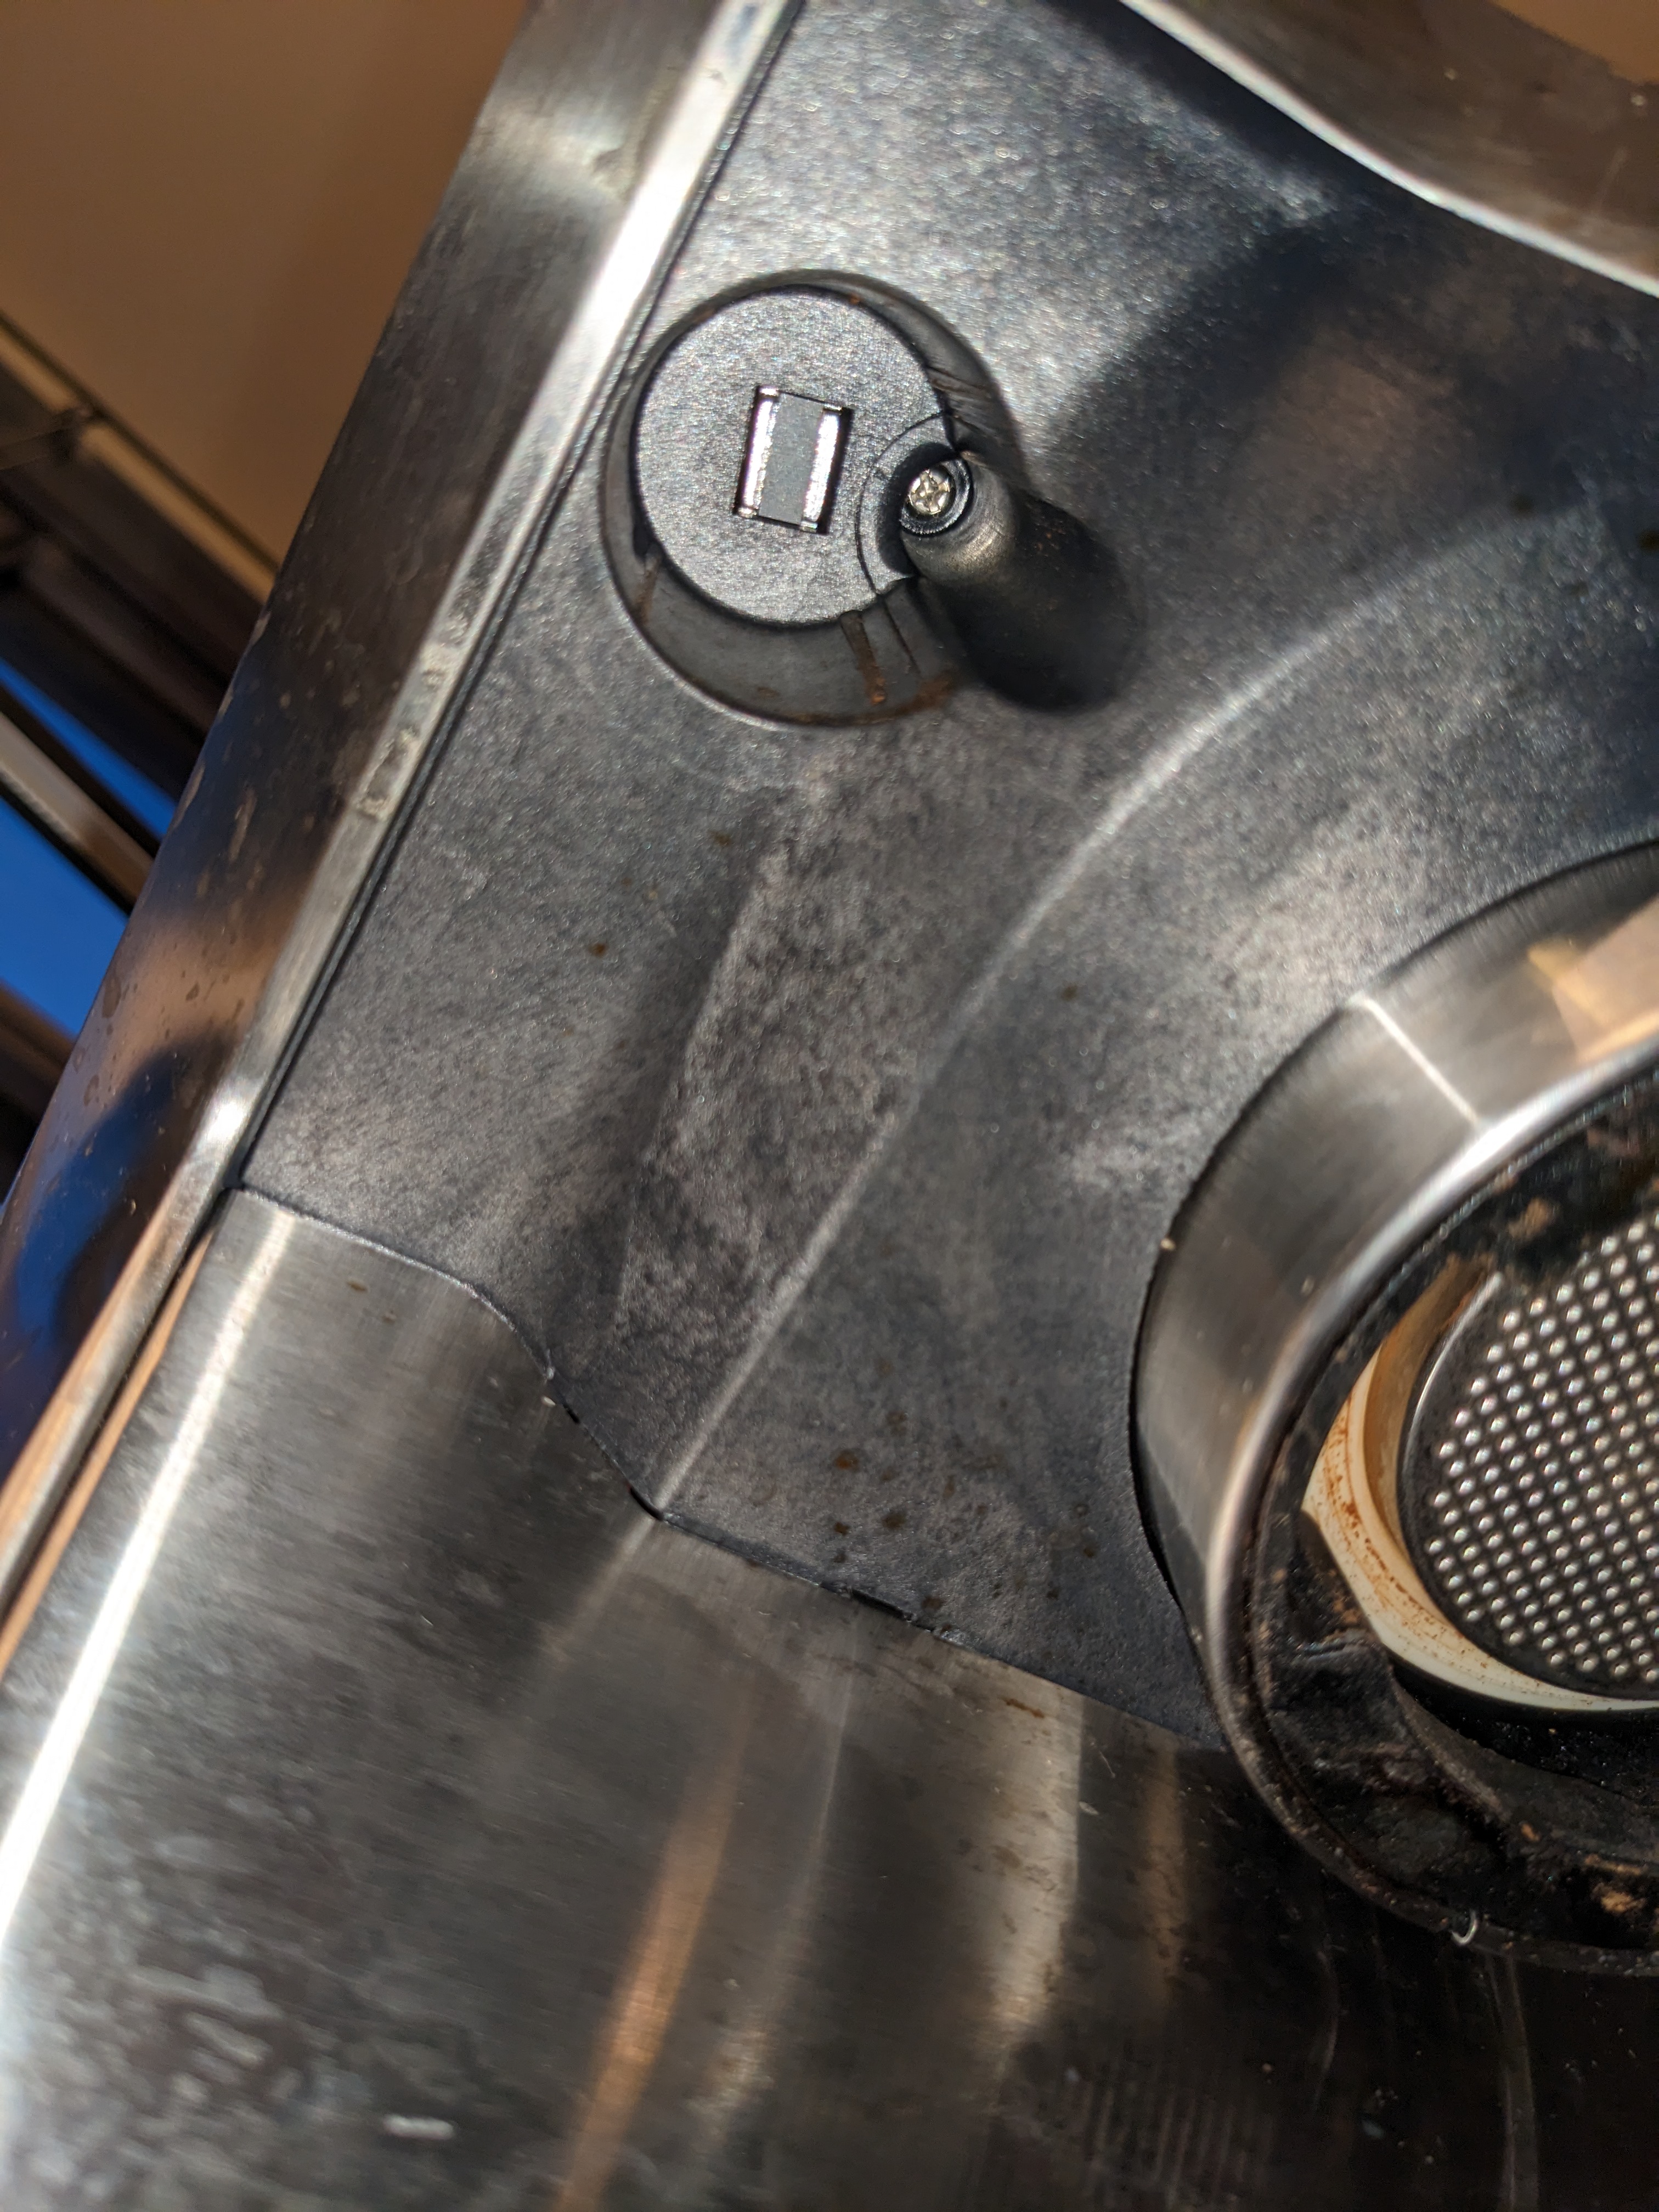
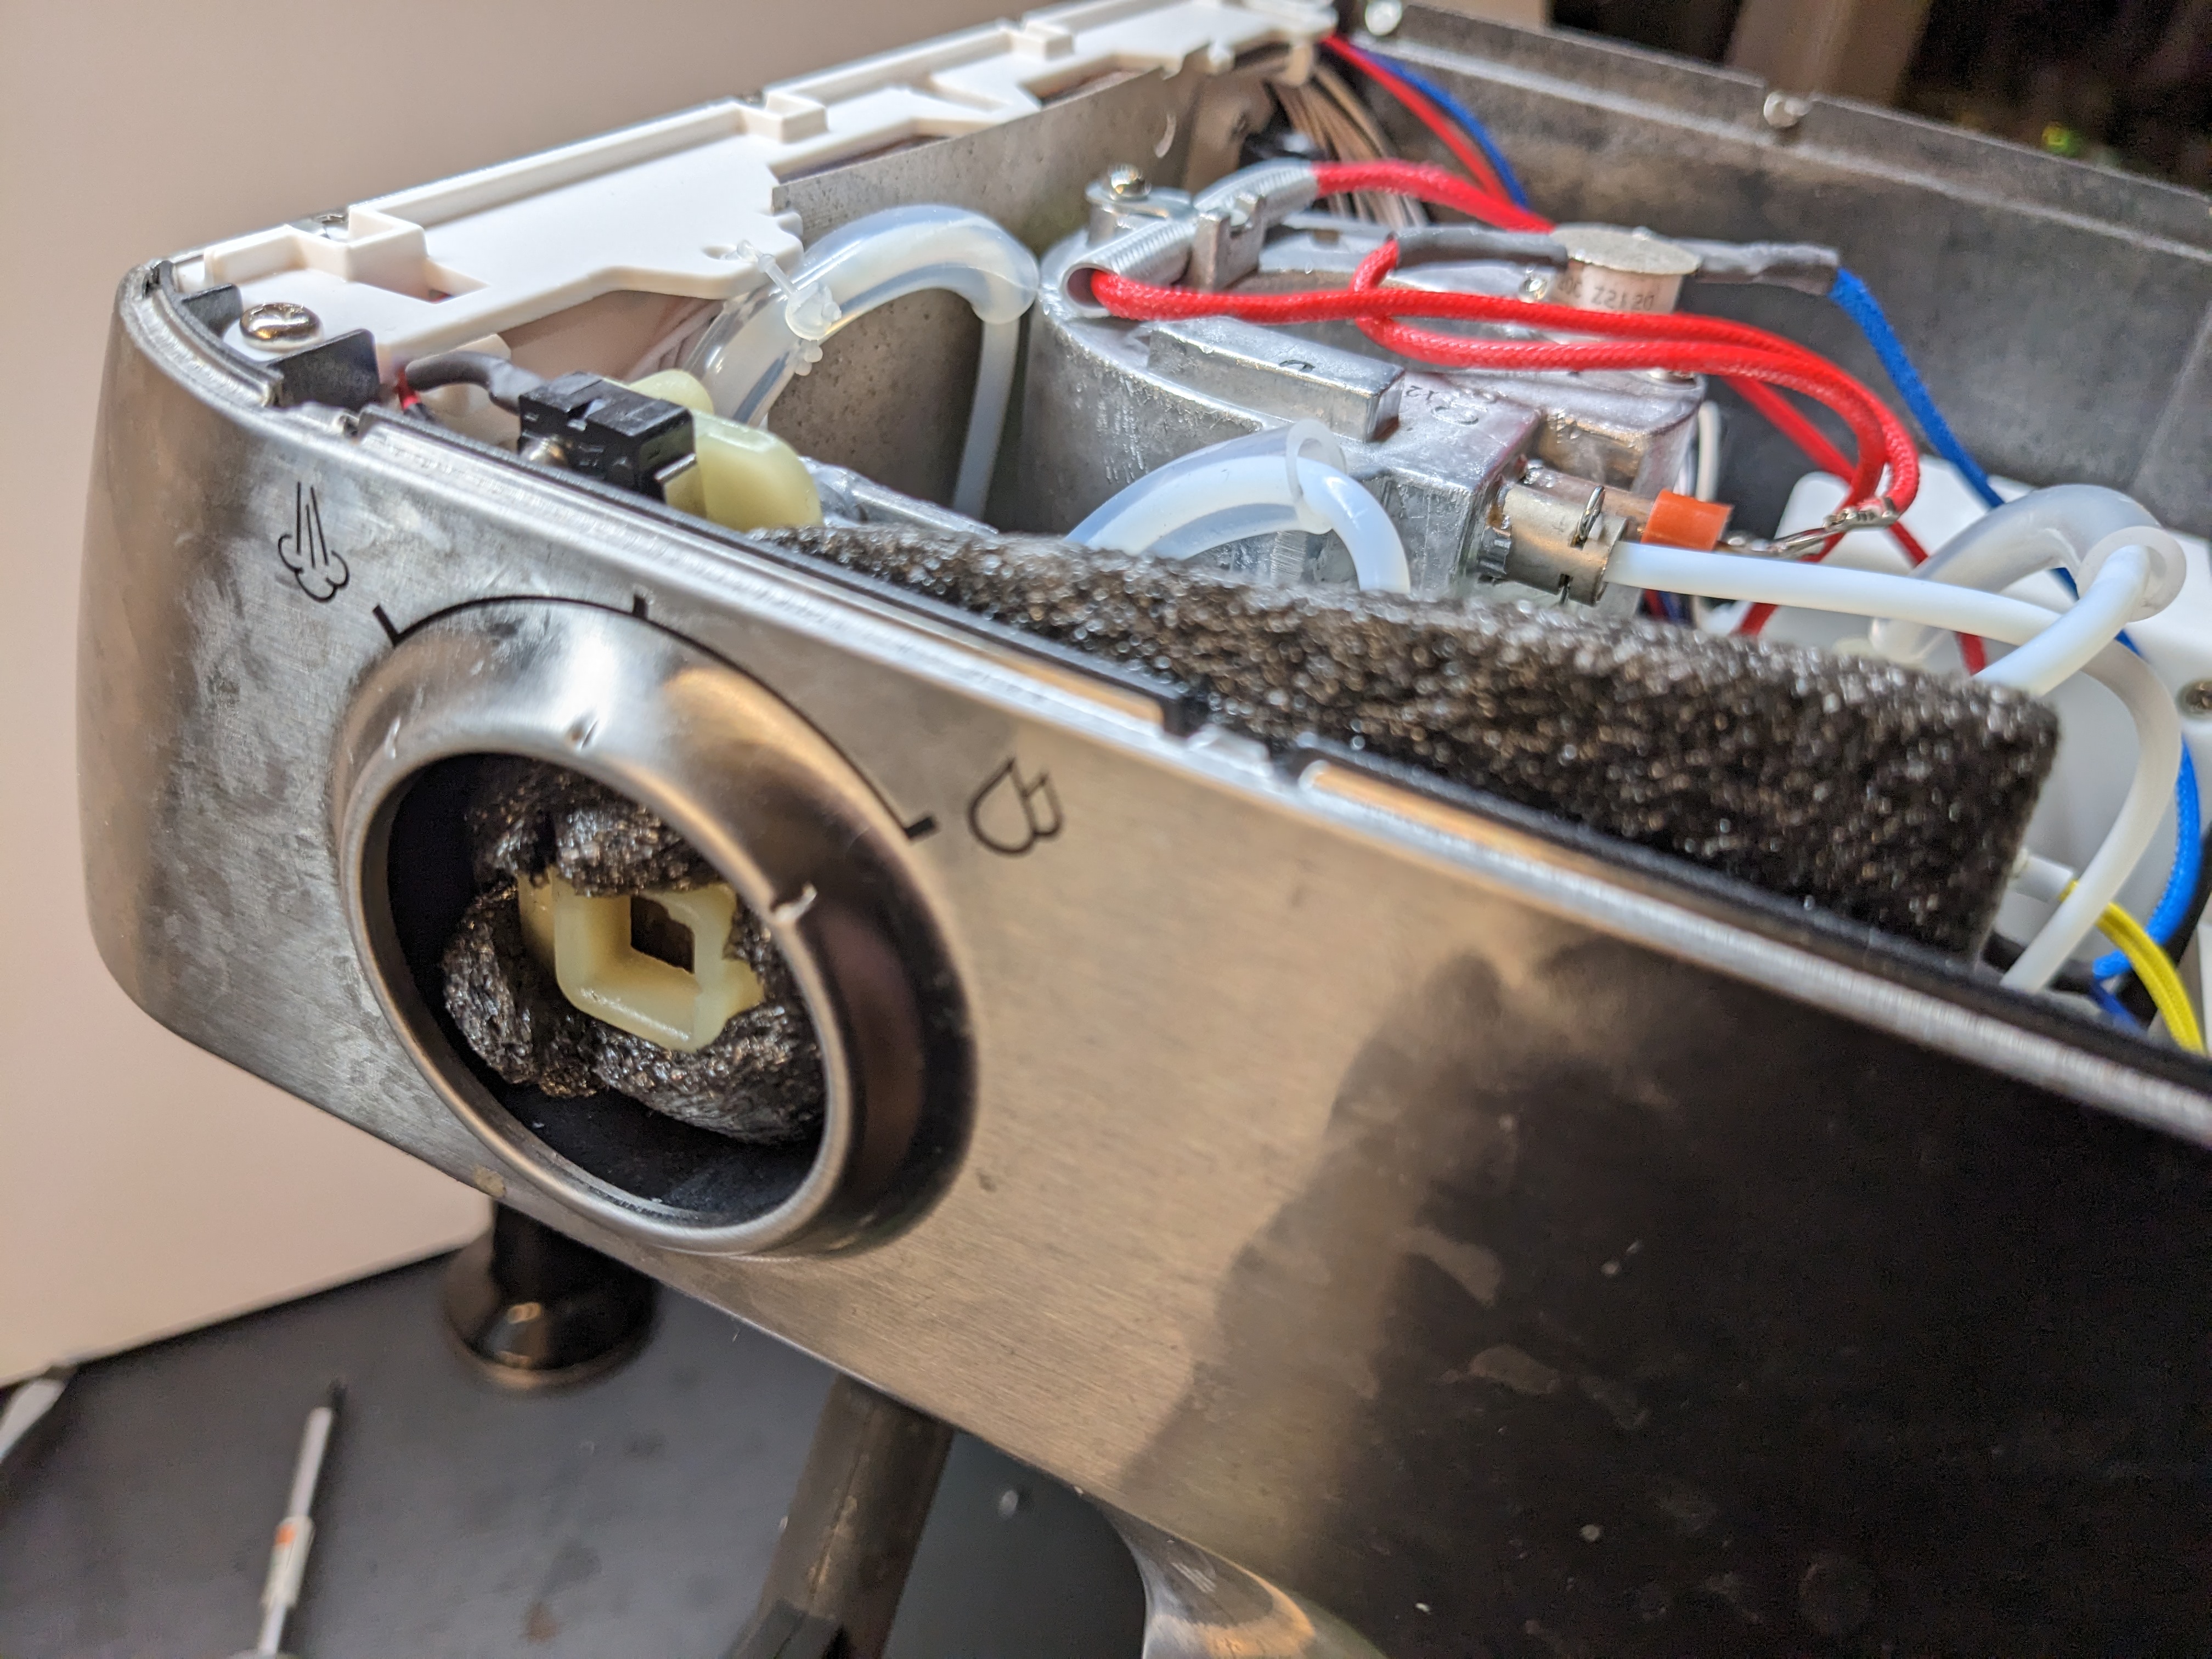
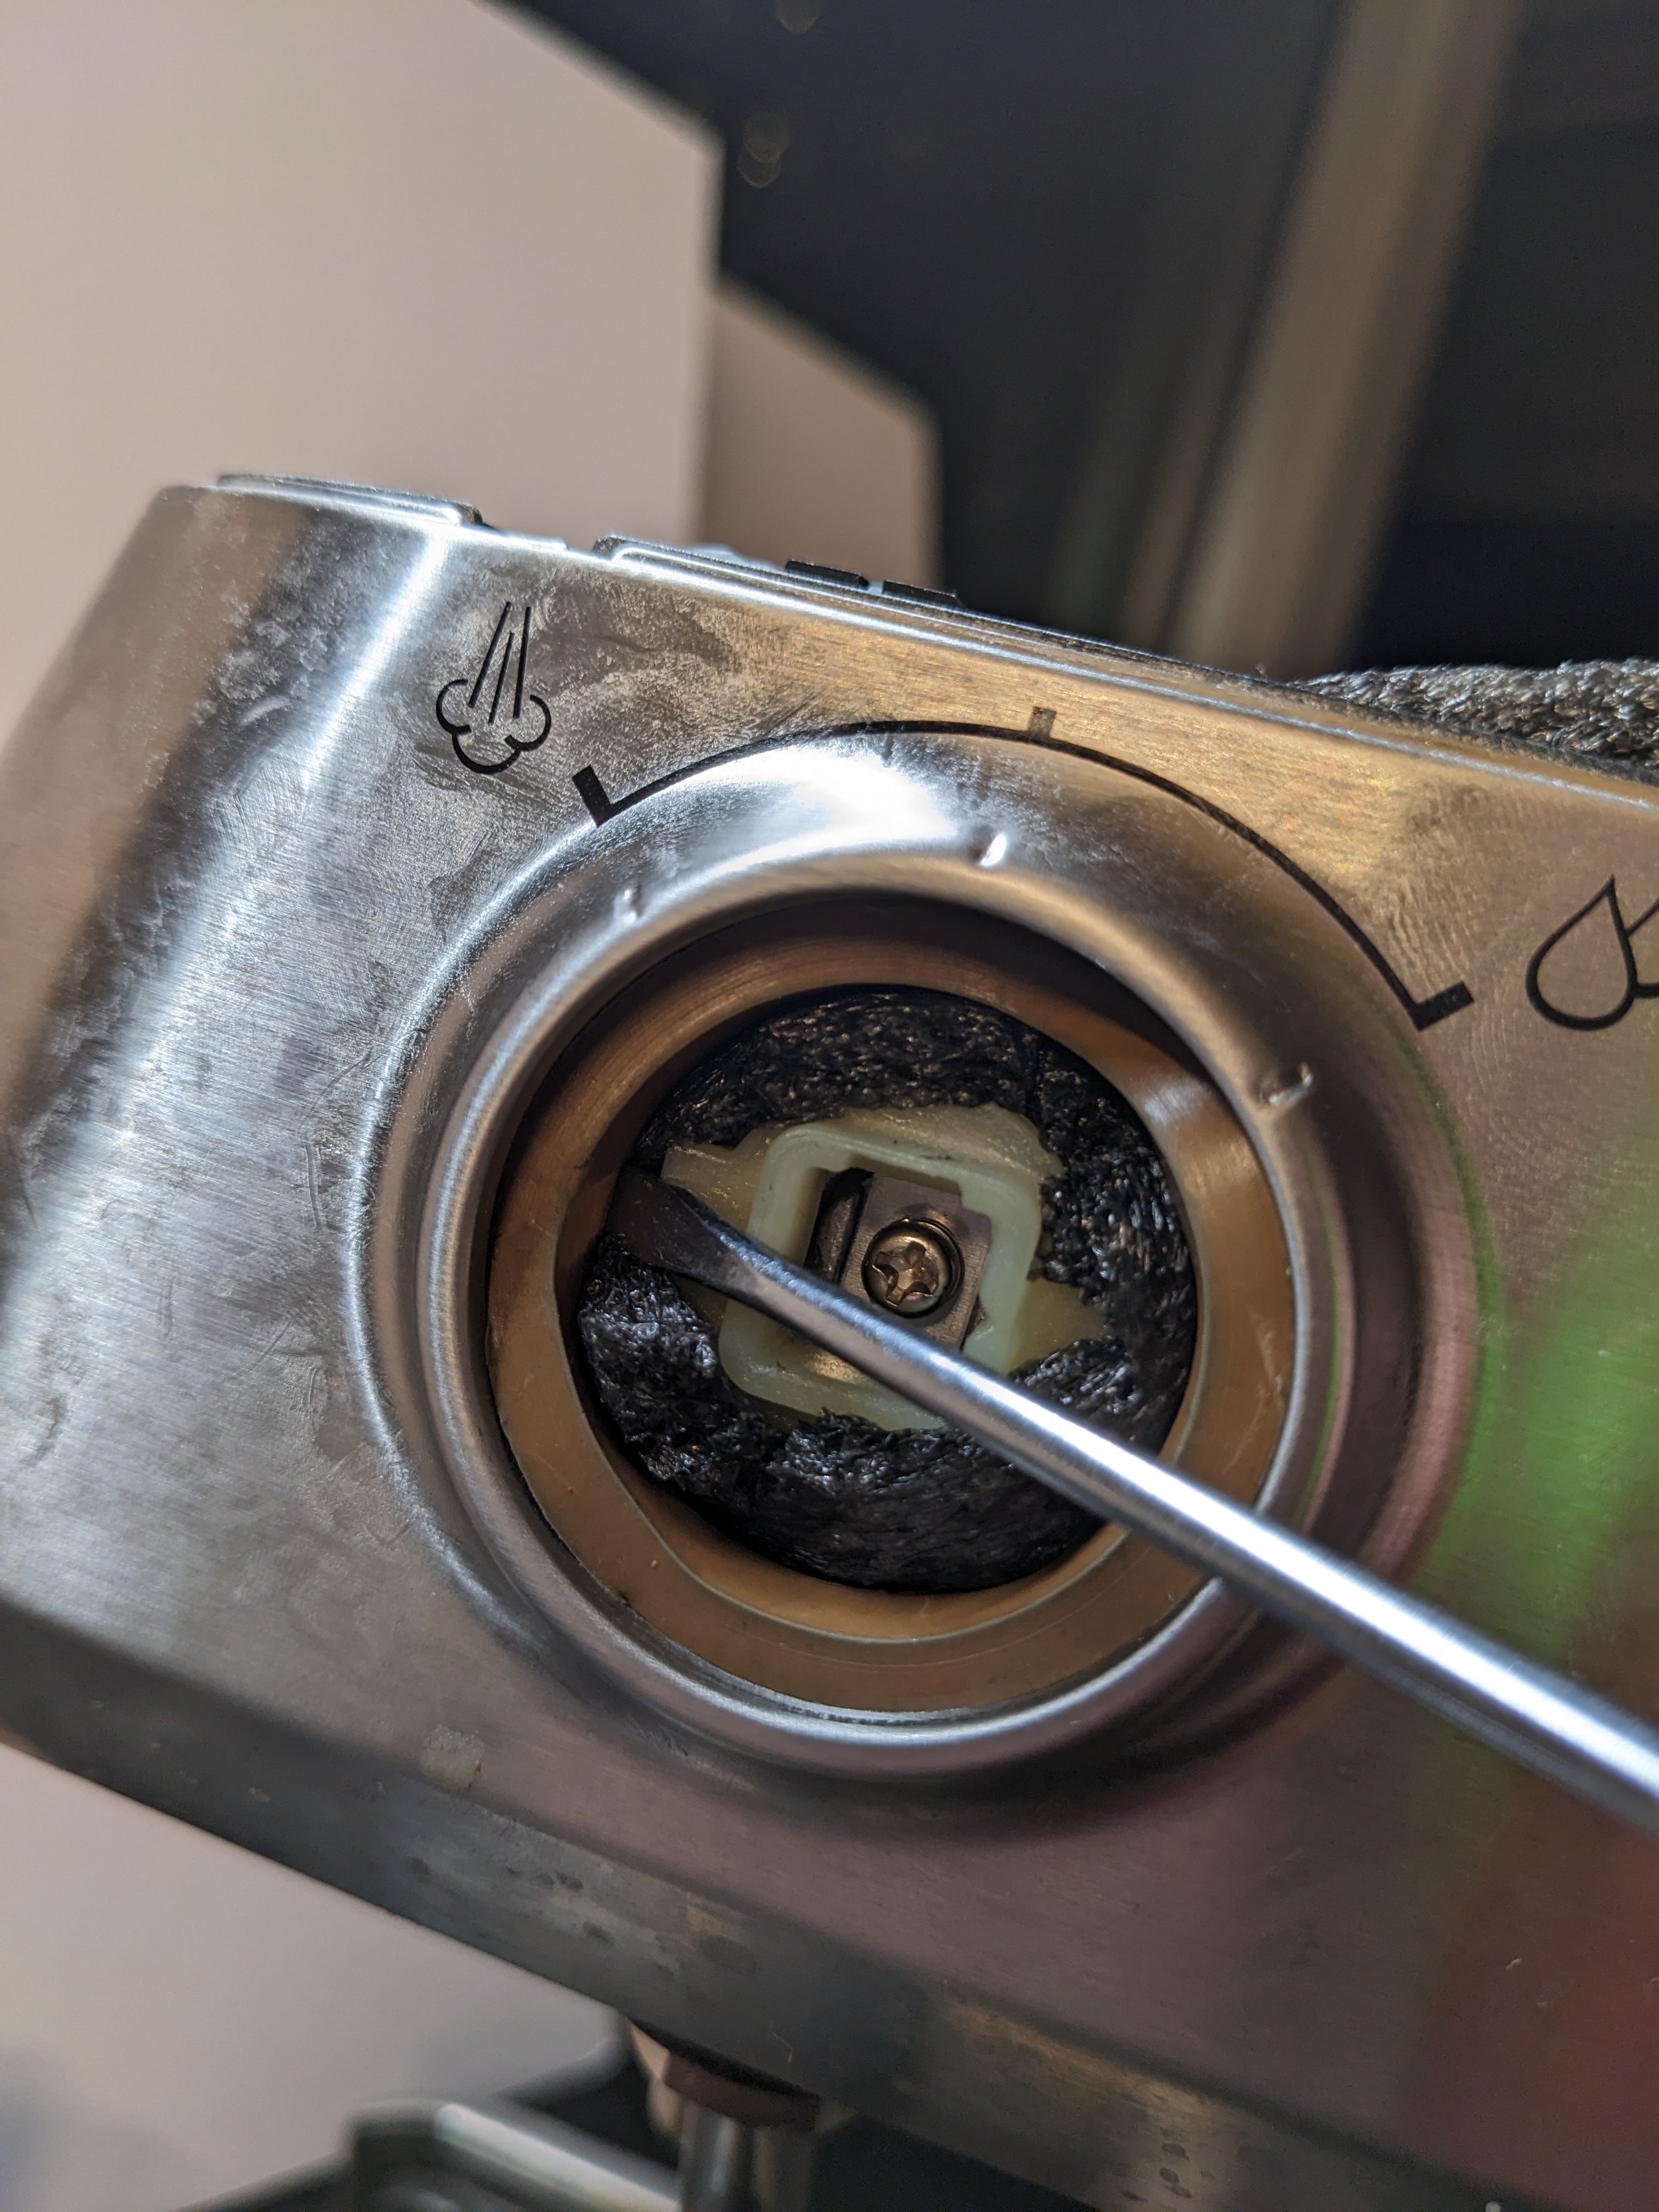
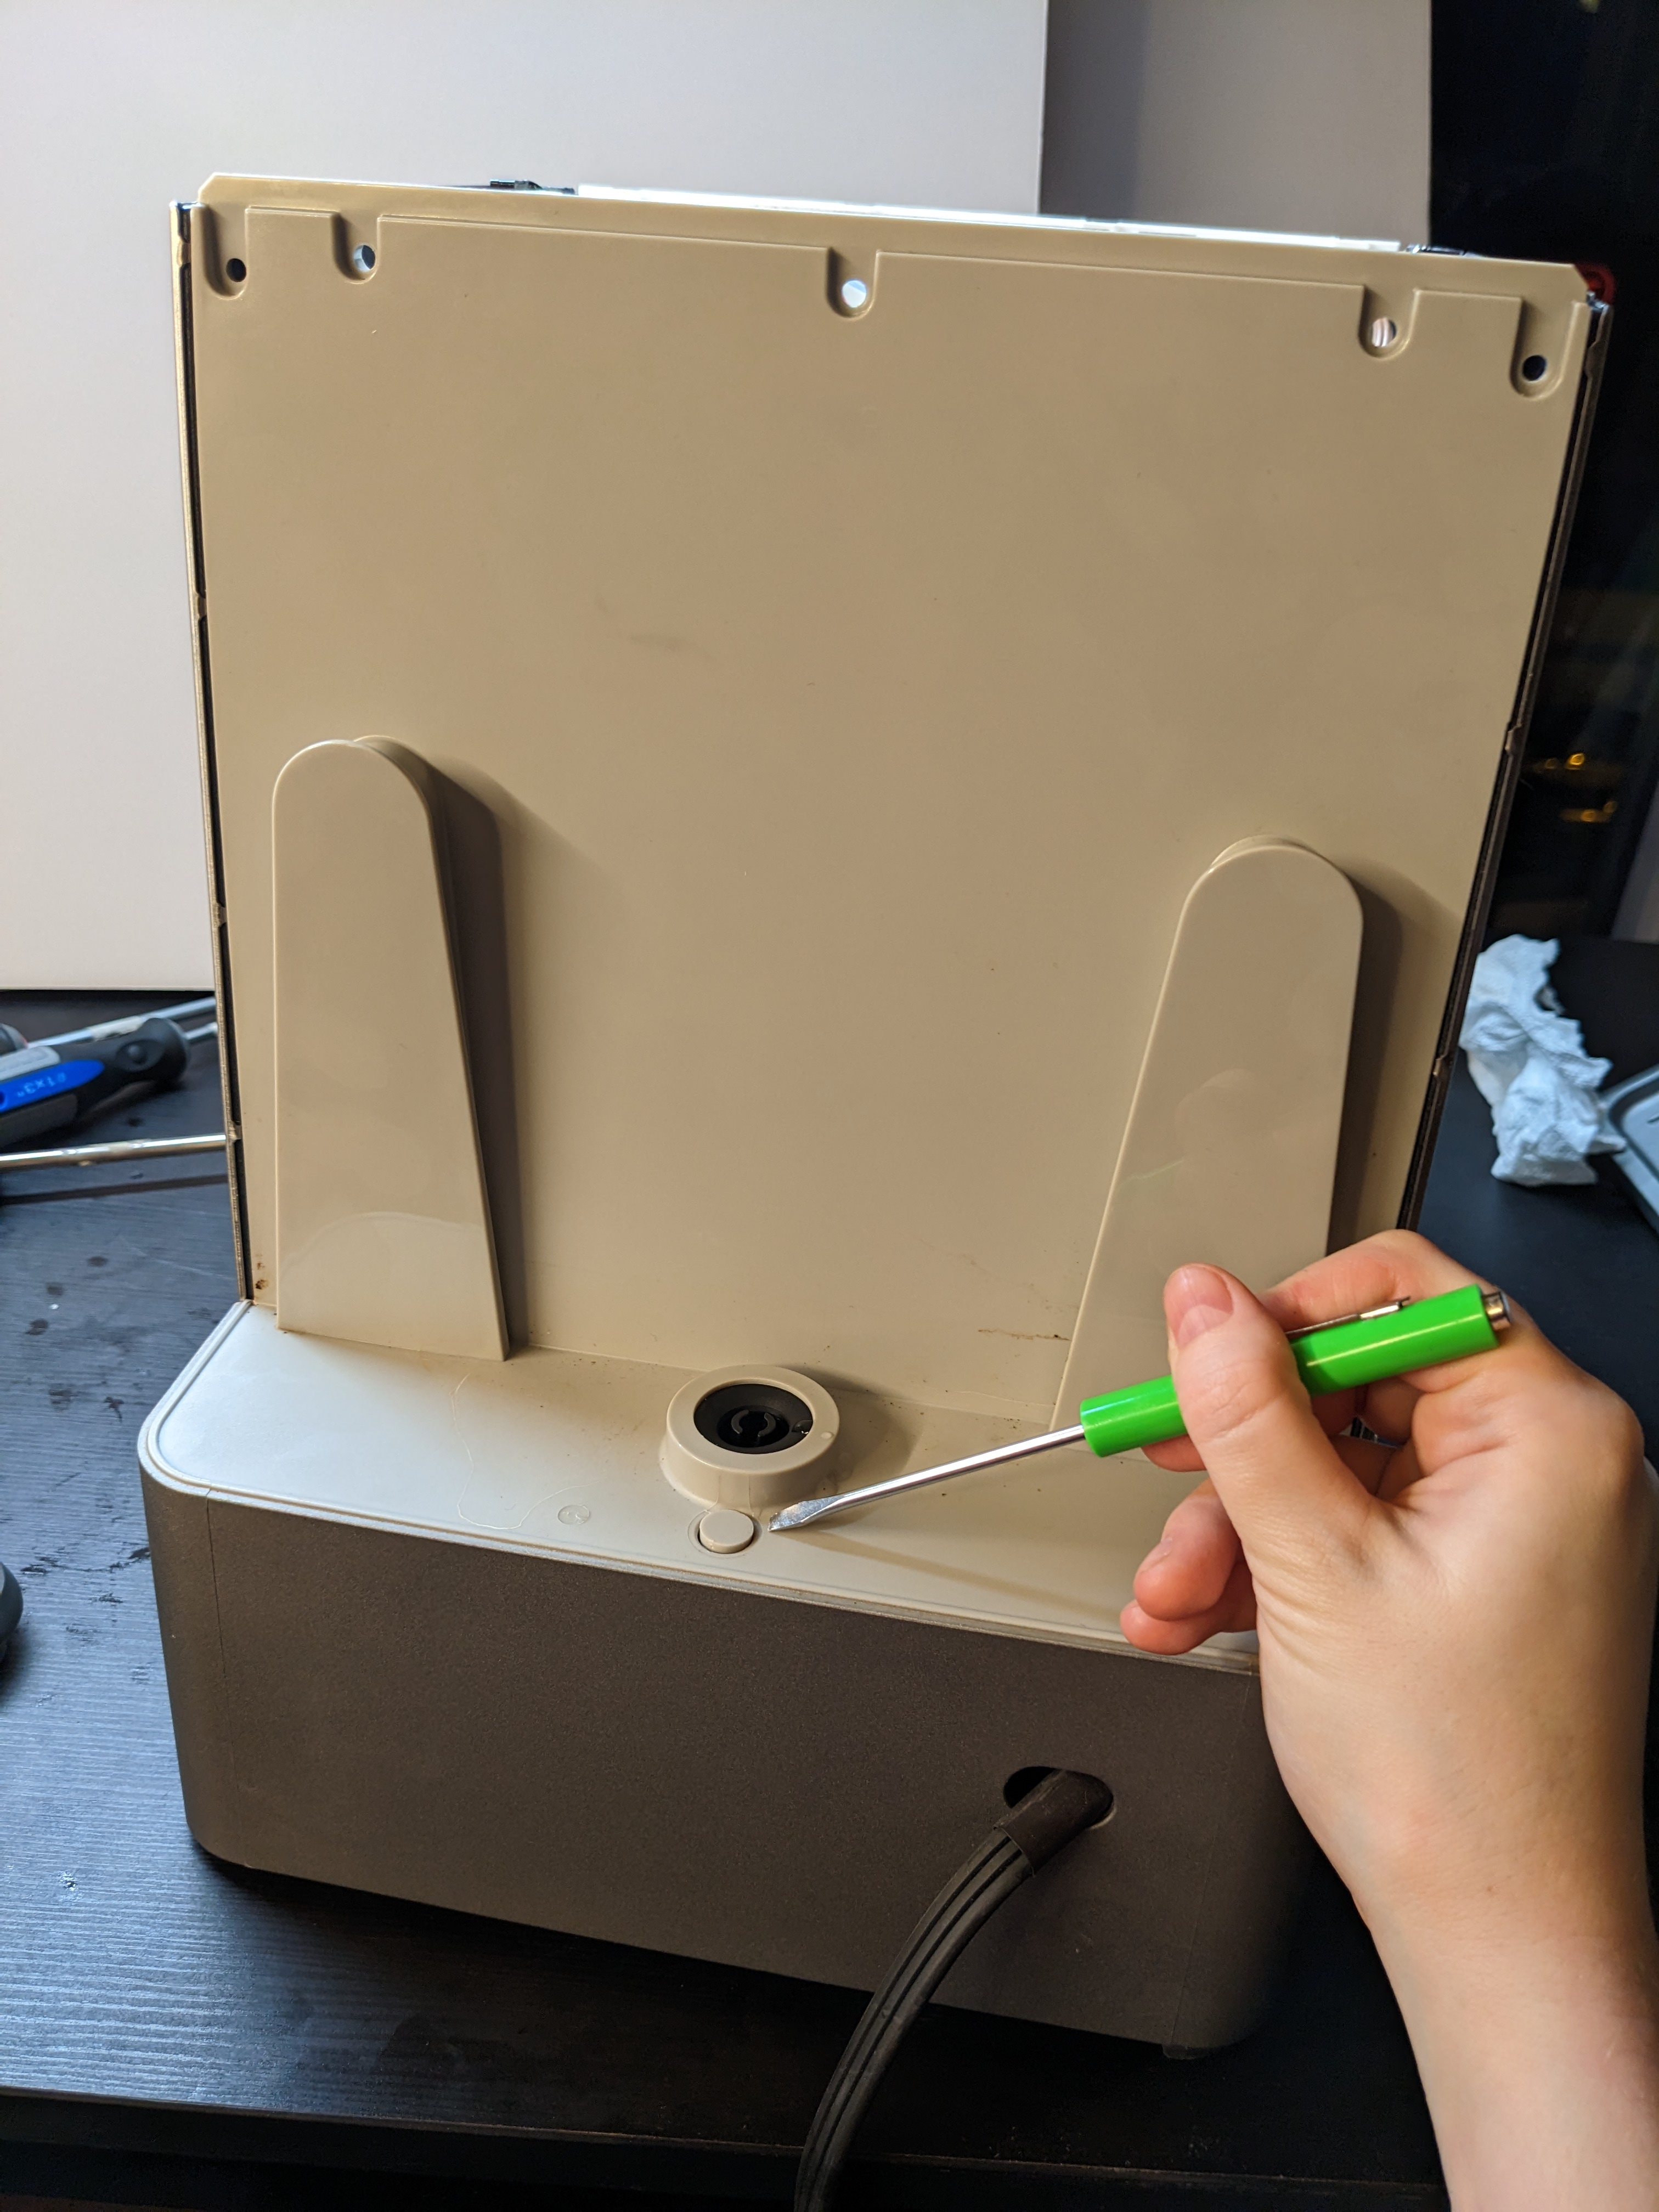
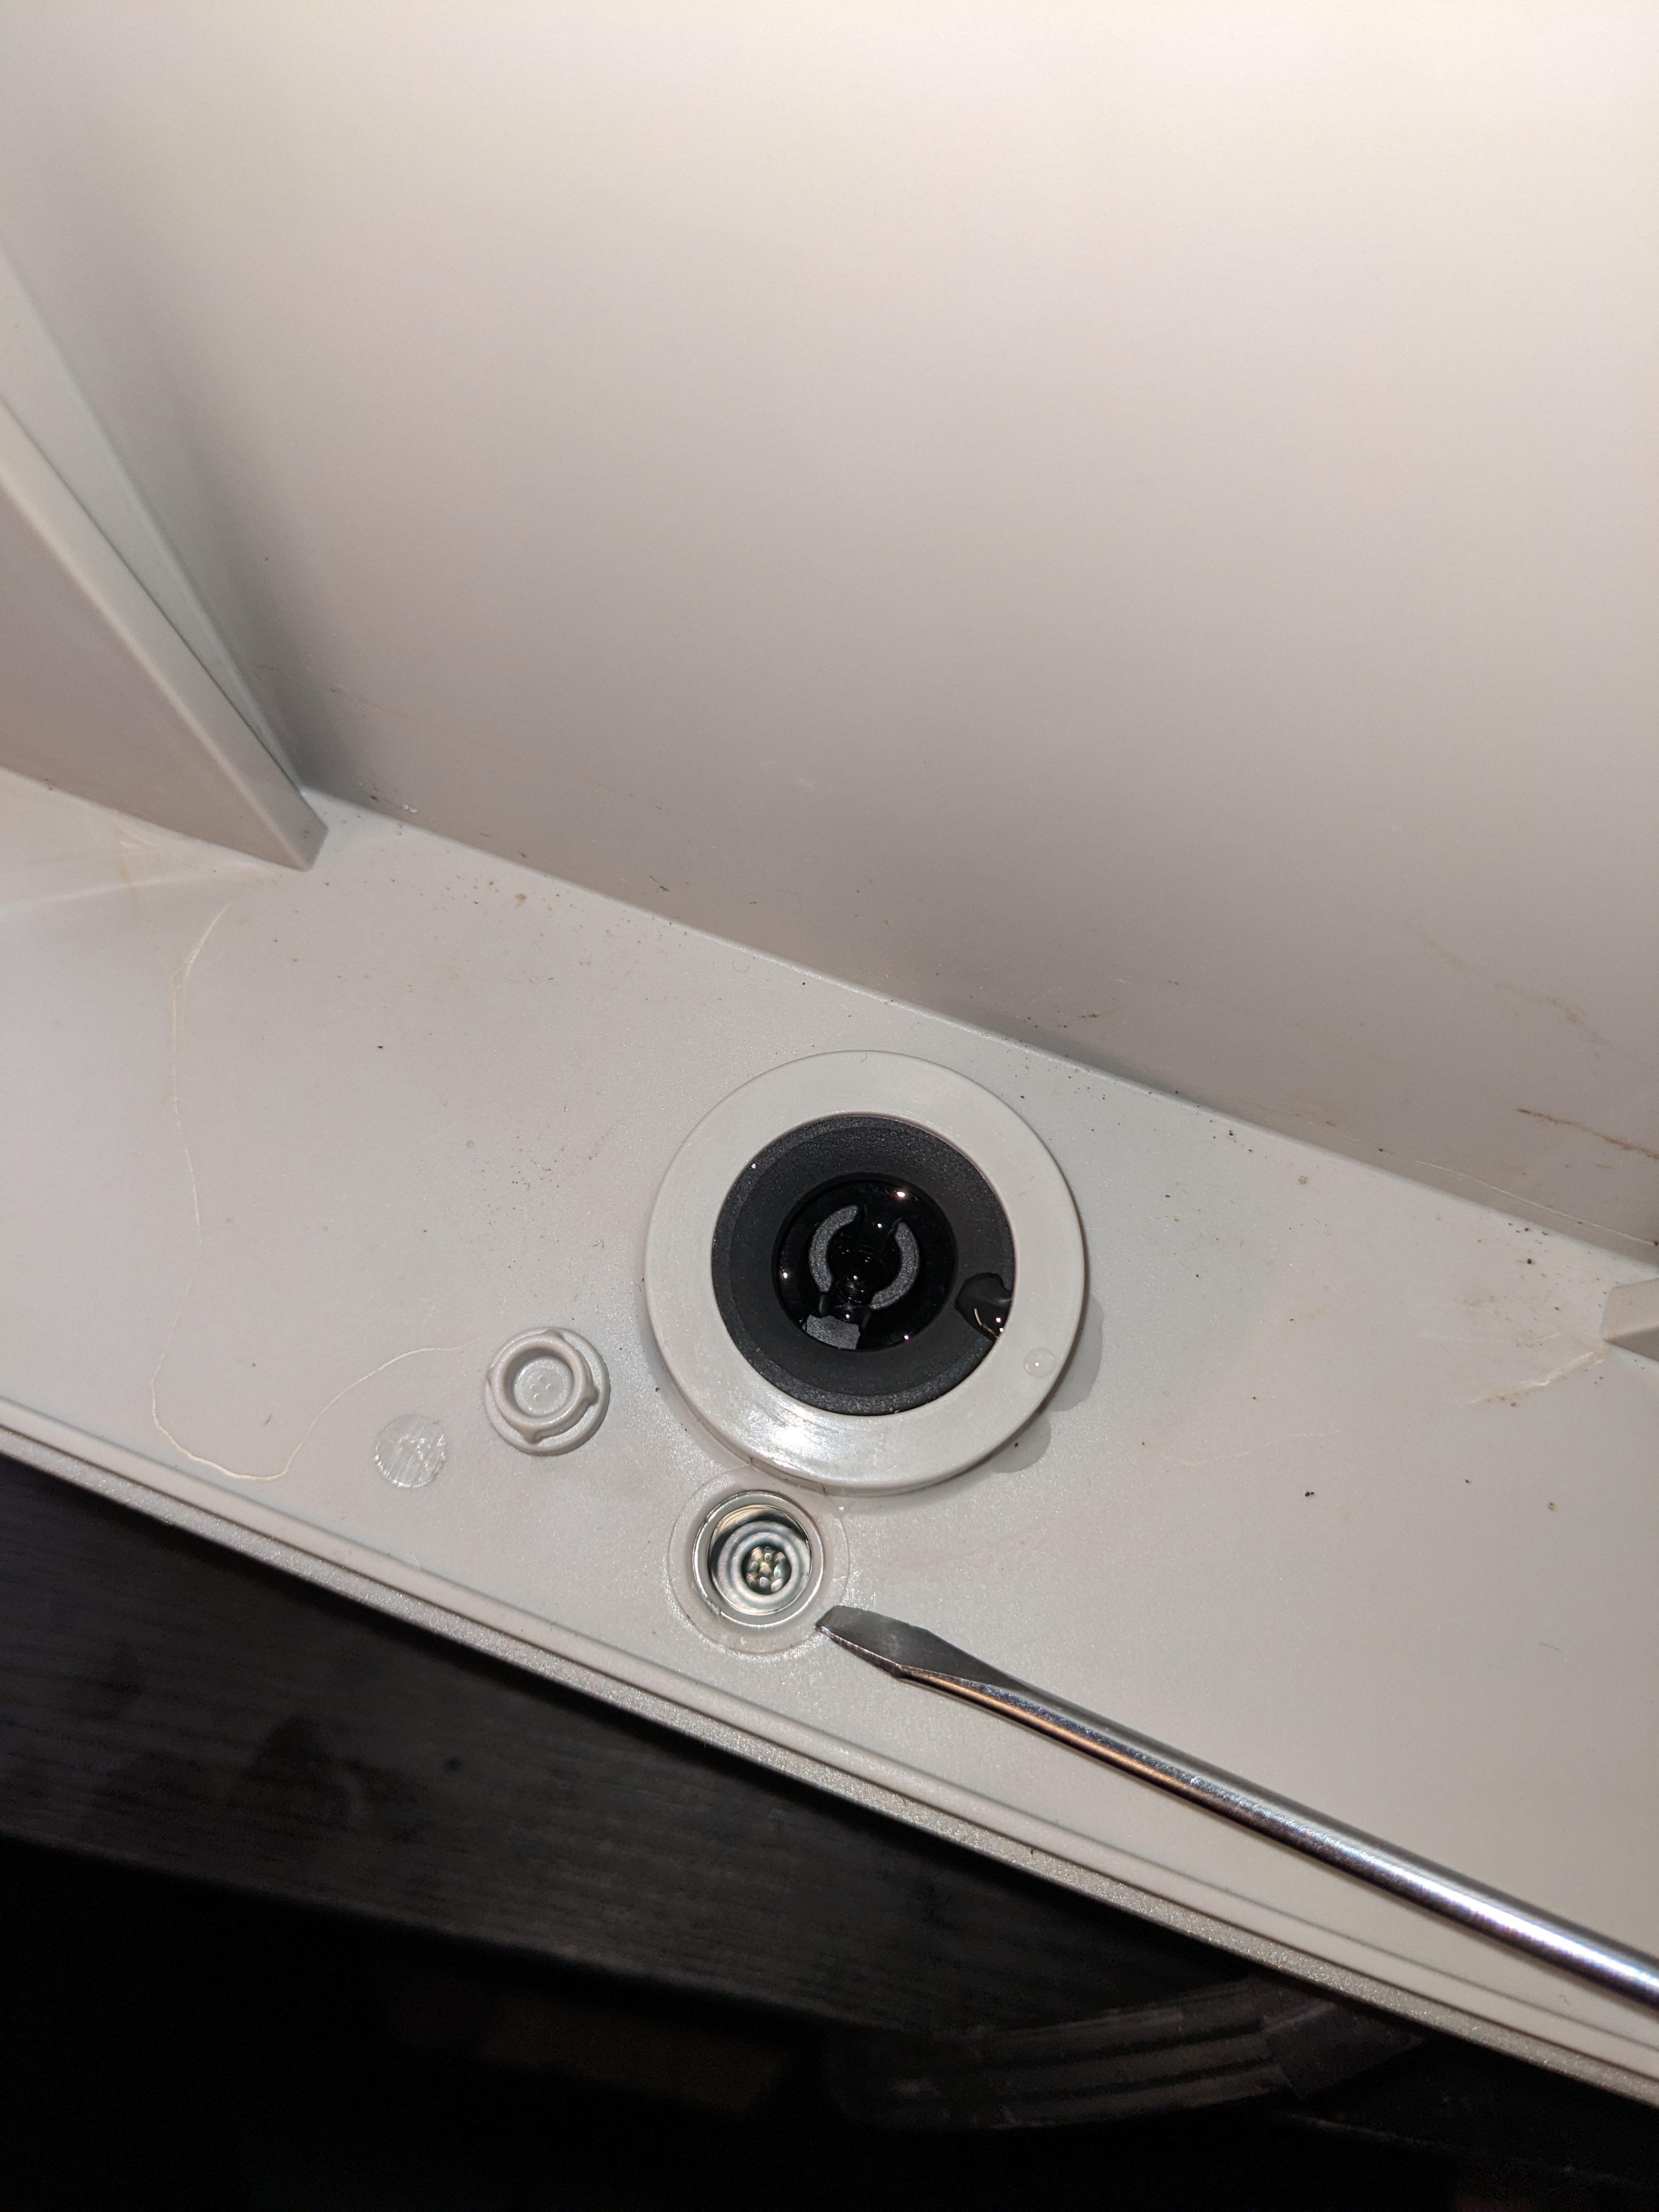
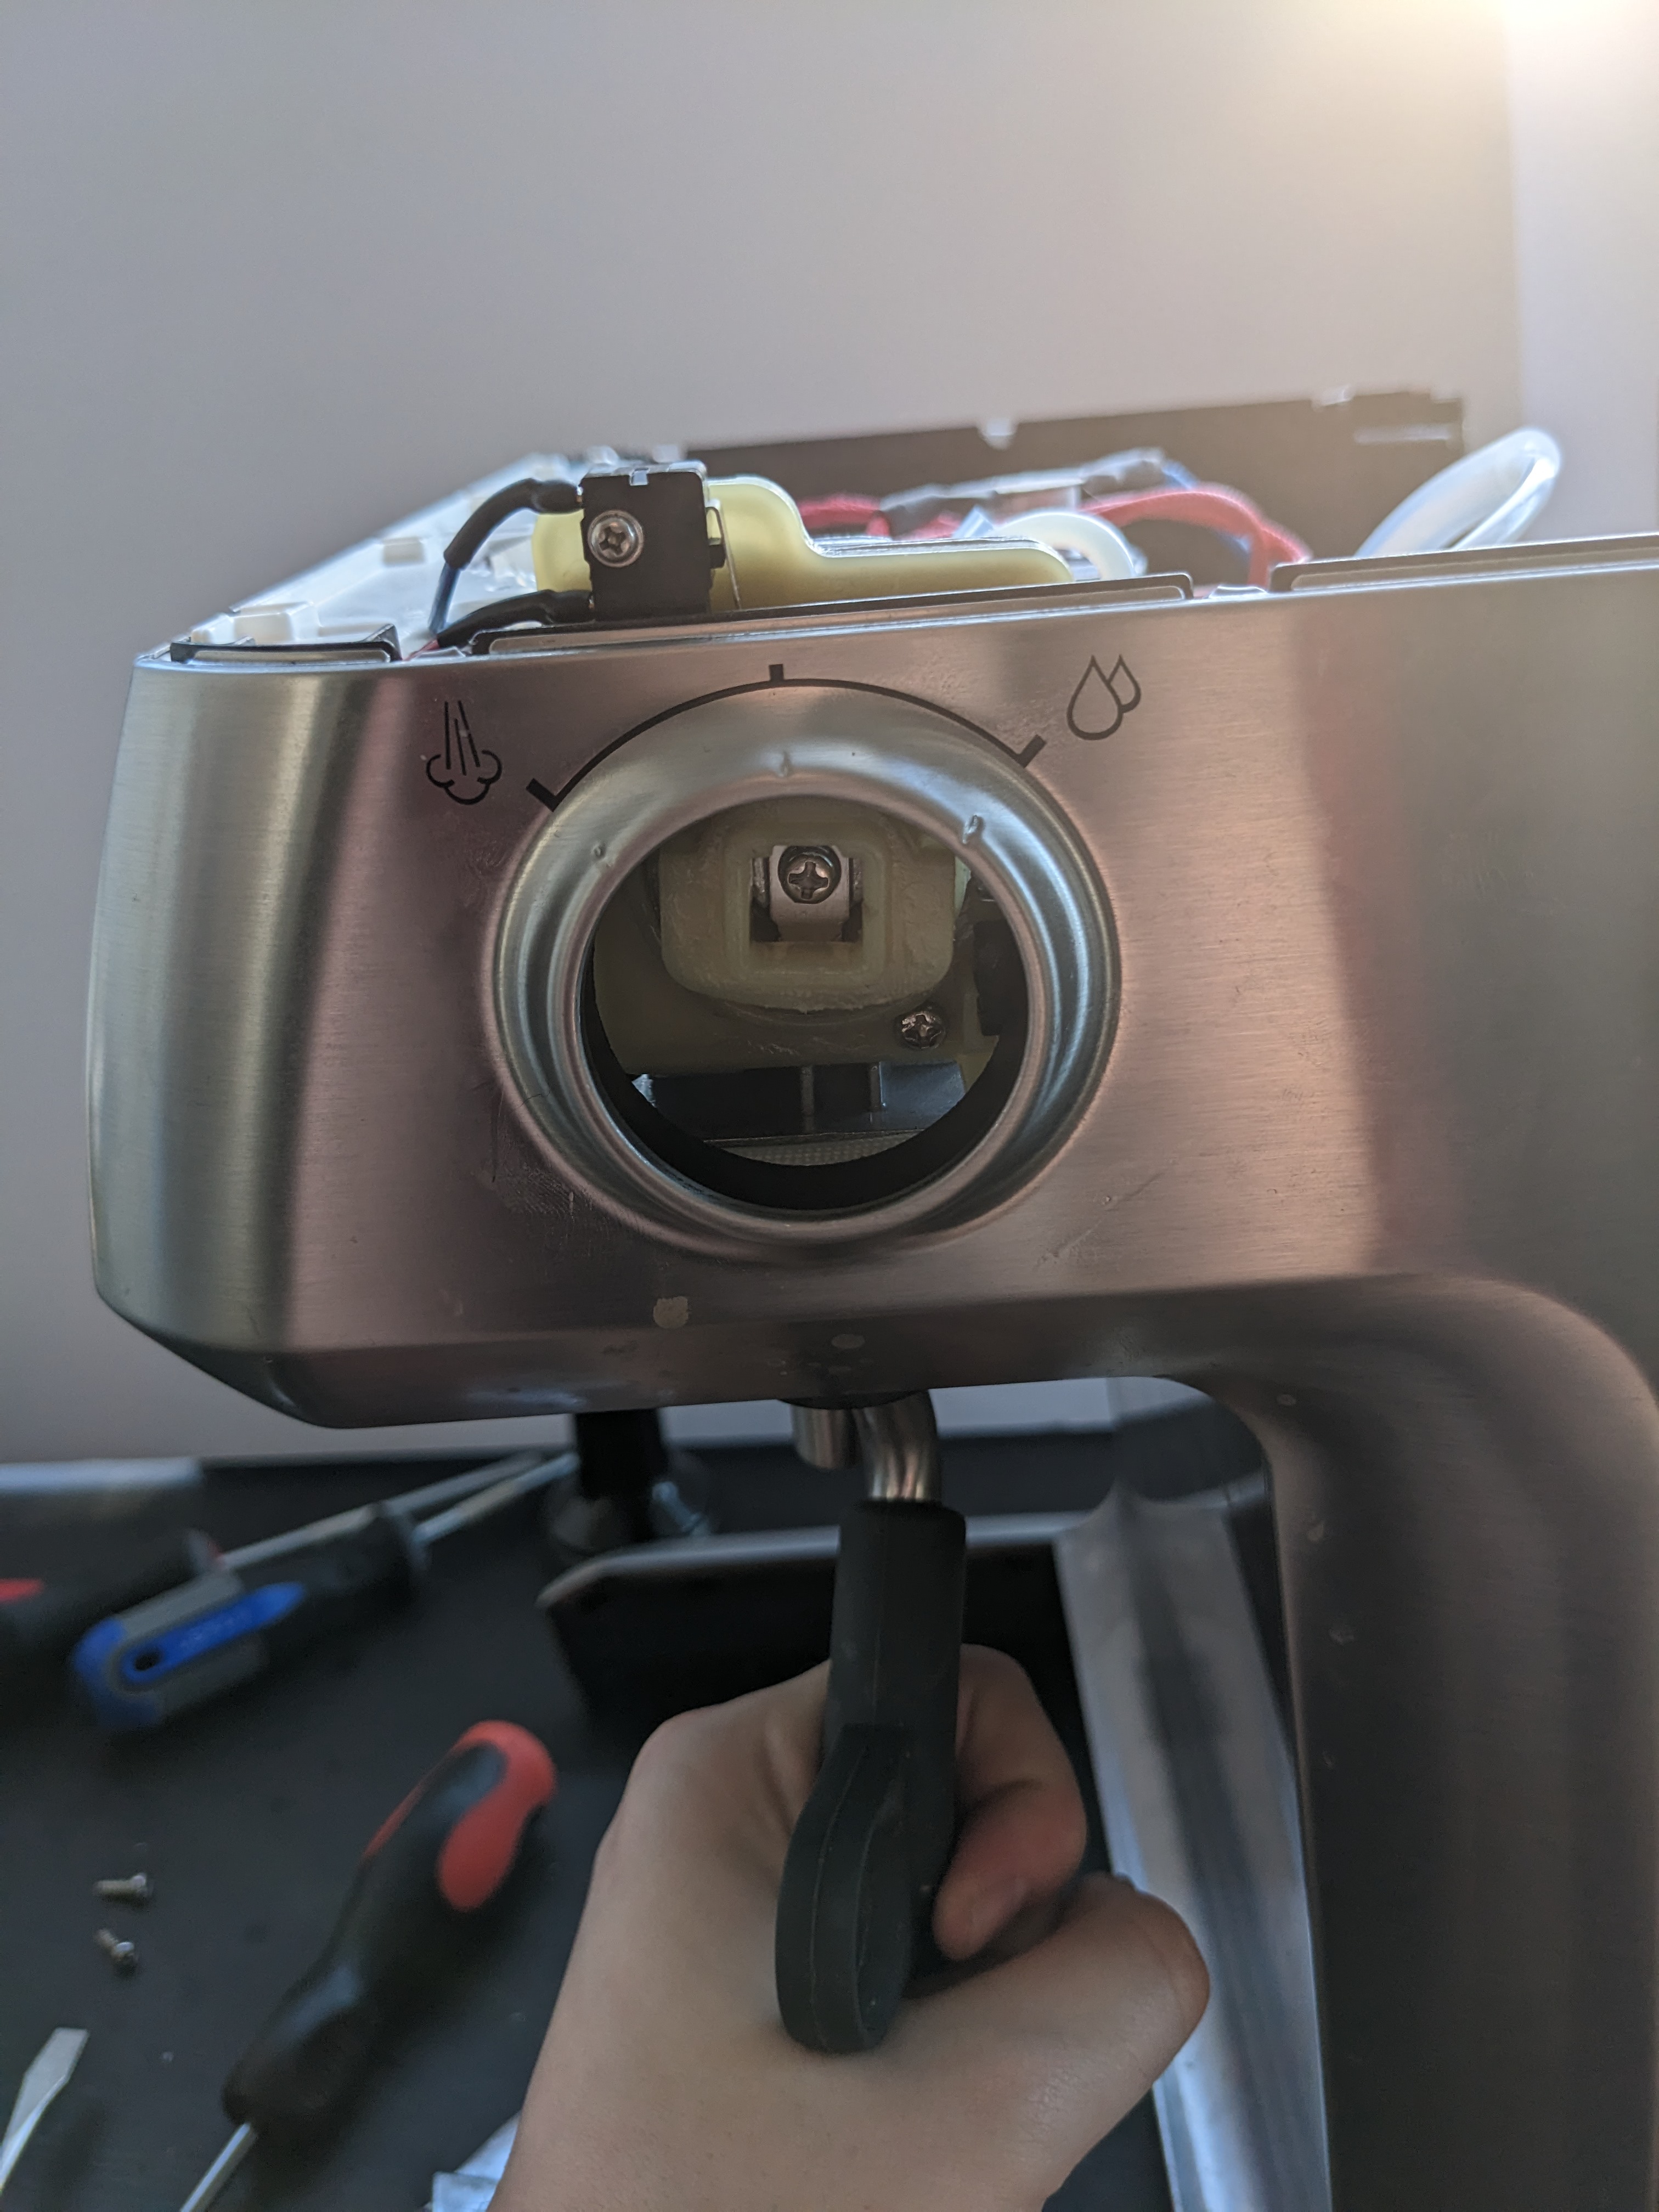
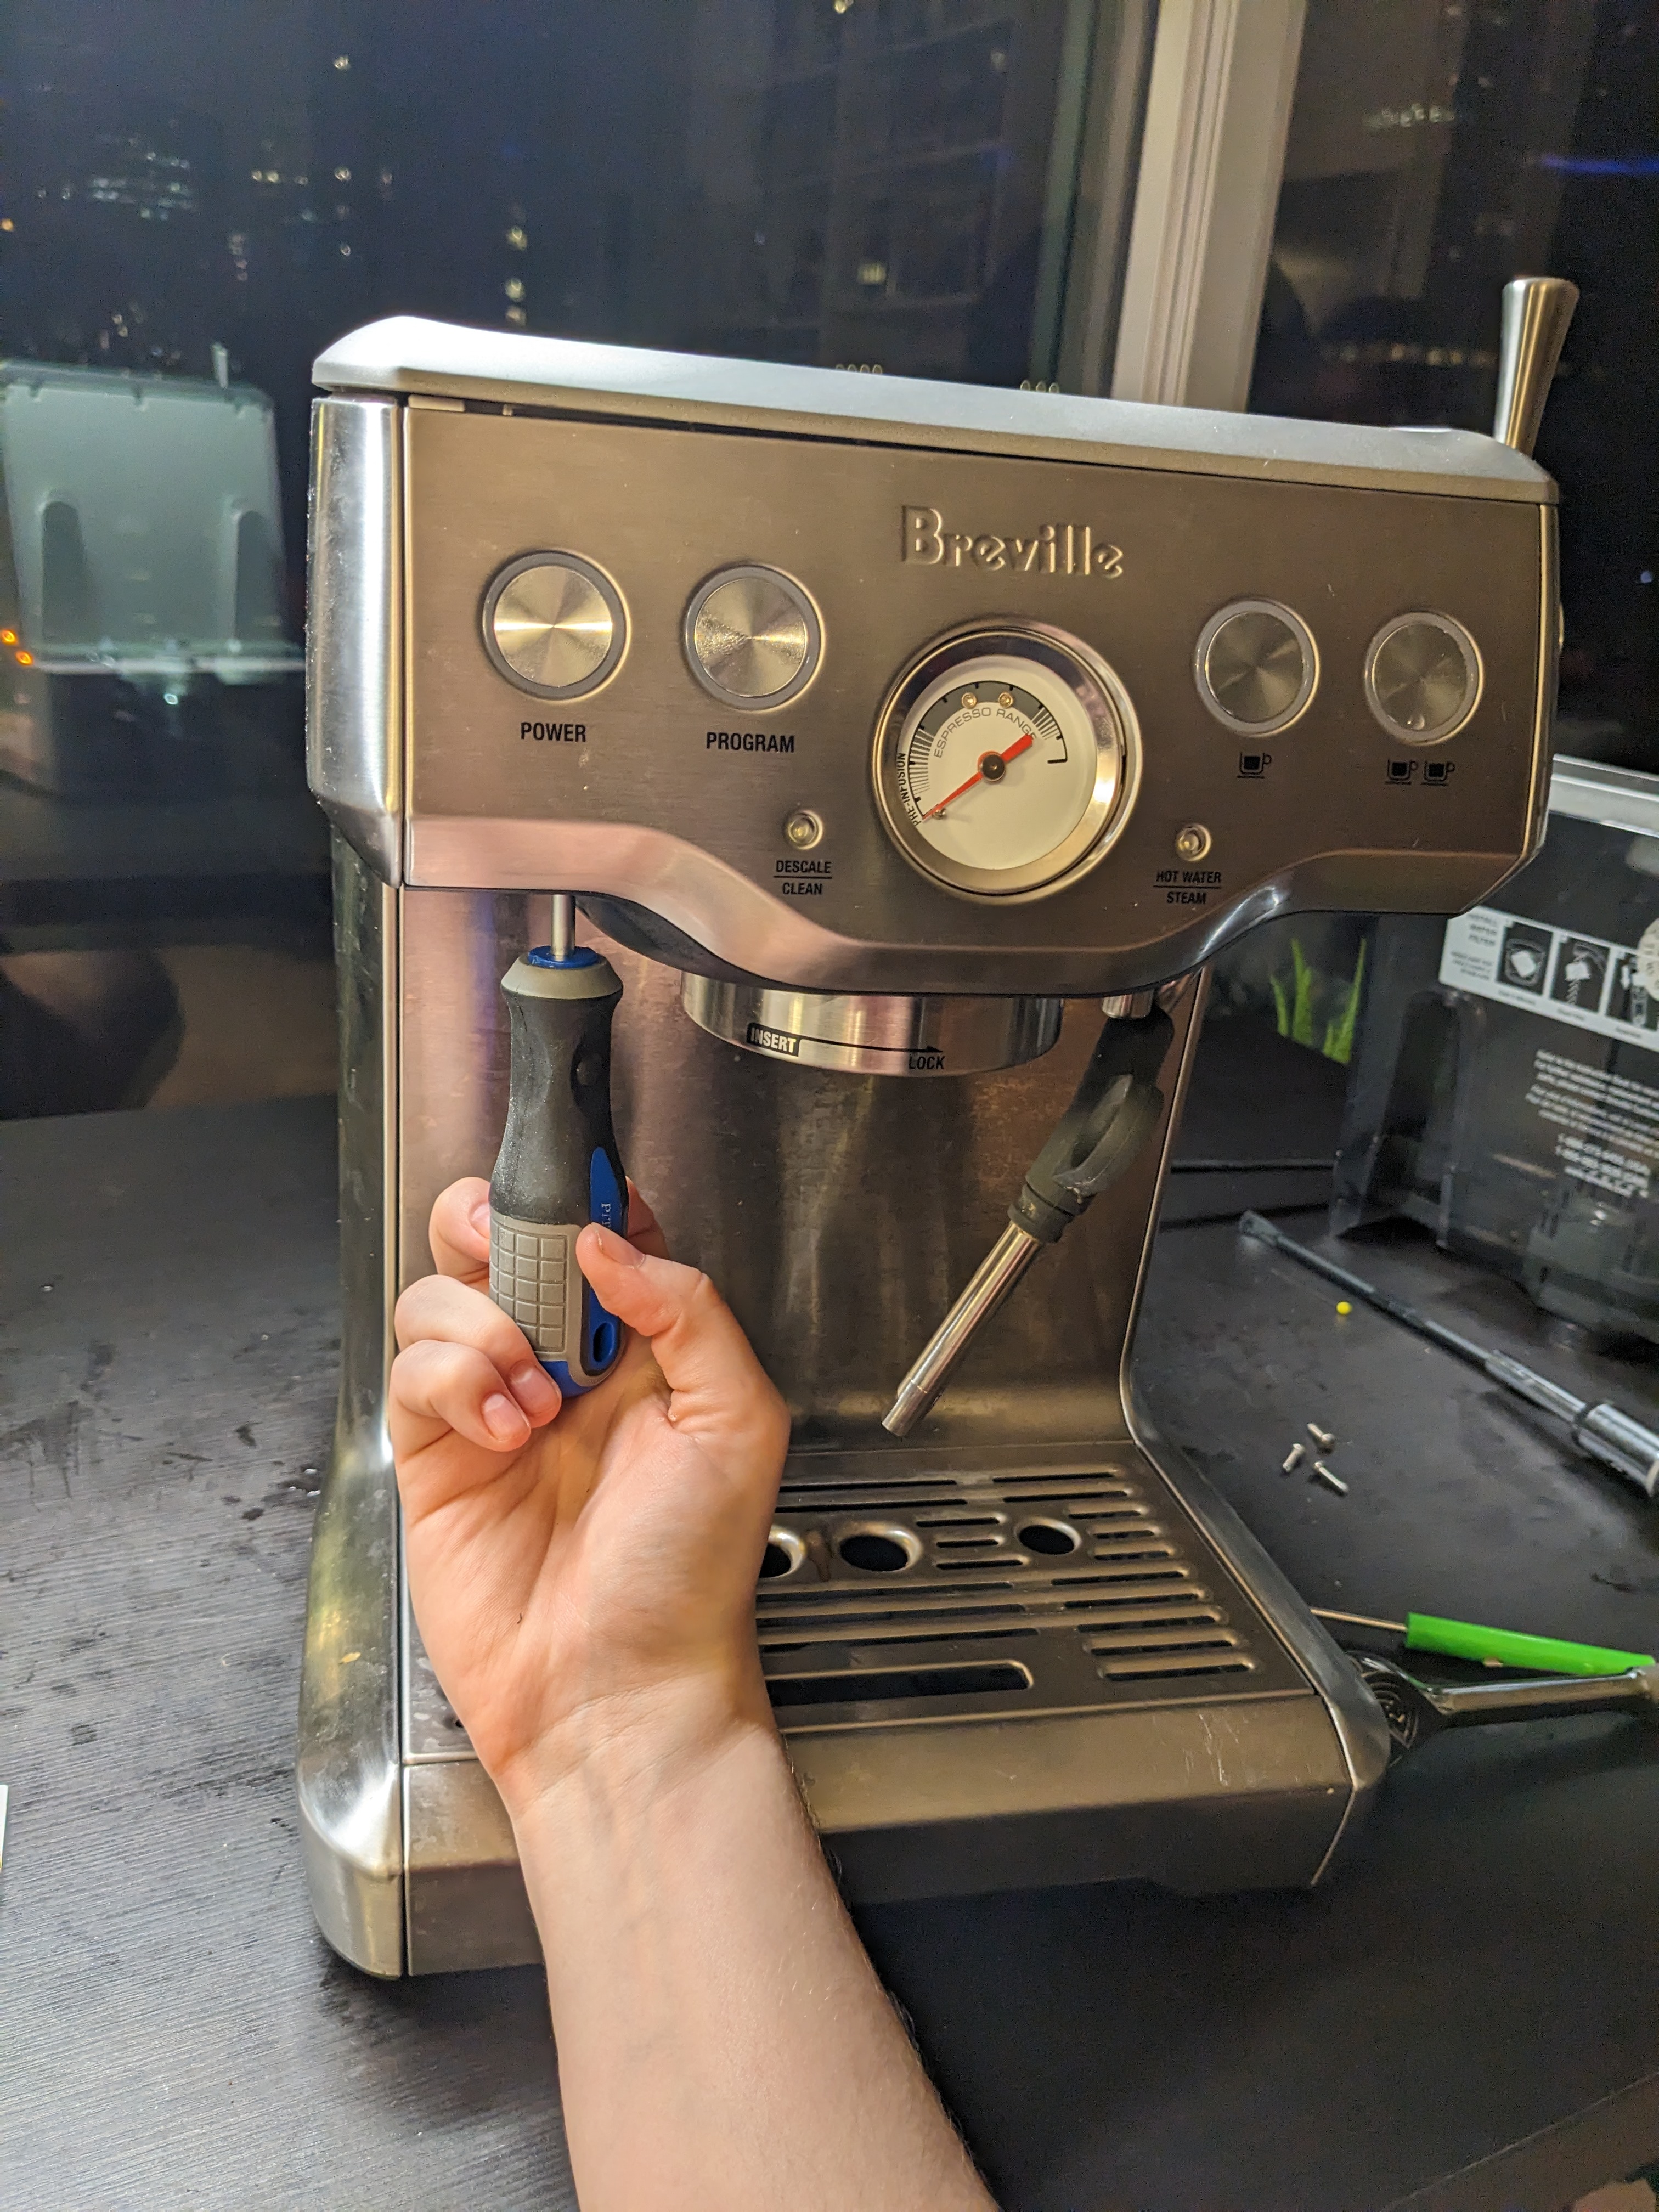
Note: a lot of screwdrivers with replaceable bits aren’t going to work. I had to dig around for a screwdriver that 1) was skinny enough to fit down the hole 2) long enough to reach the bottom 3) not so tall that it can’t fit between the floor and the ceiling of the machine. Just to fuck with you, the magnet that holds up the tamper will try to grab away your screwdriver since it’s in the same spot.
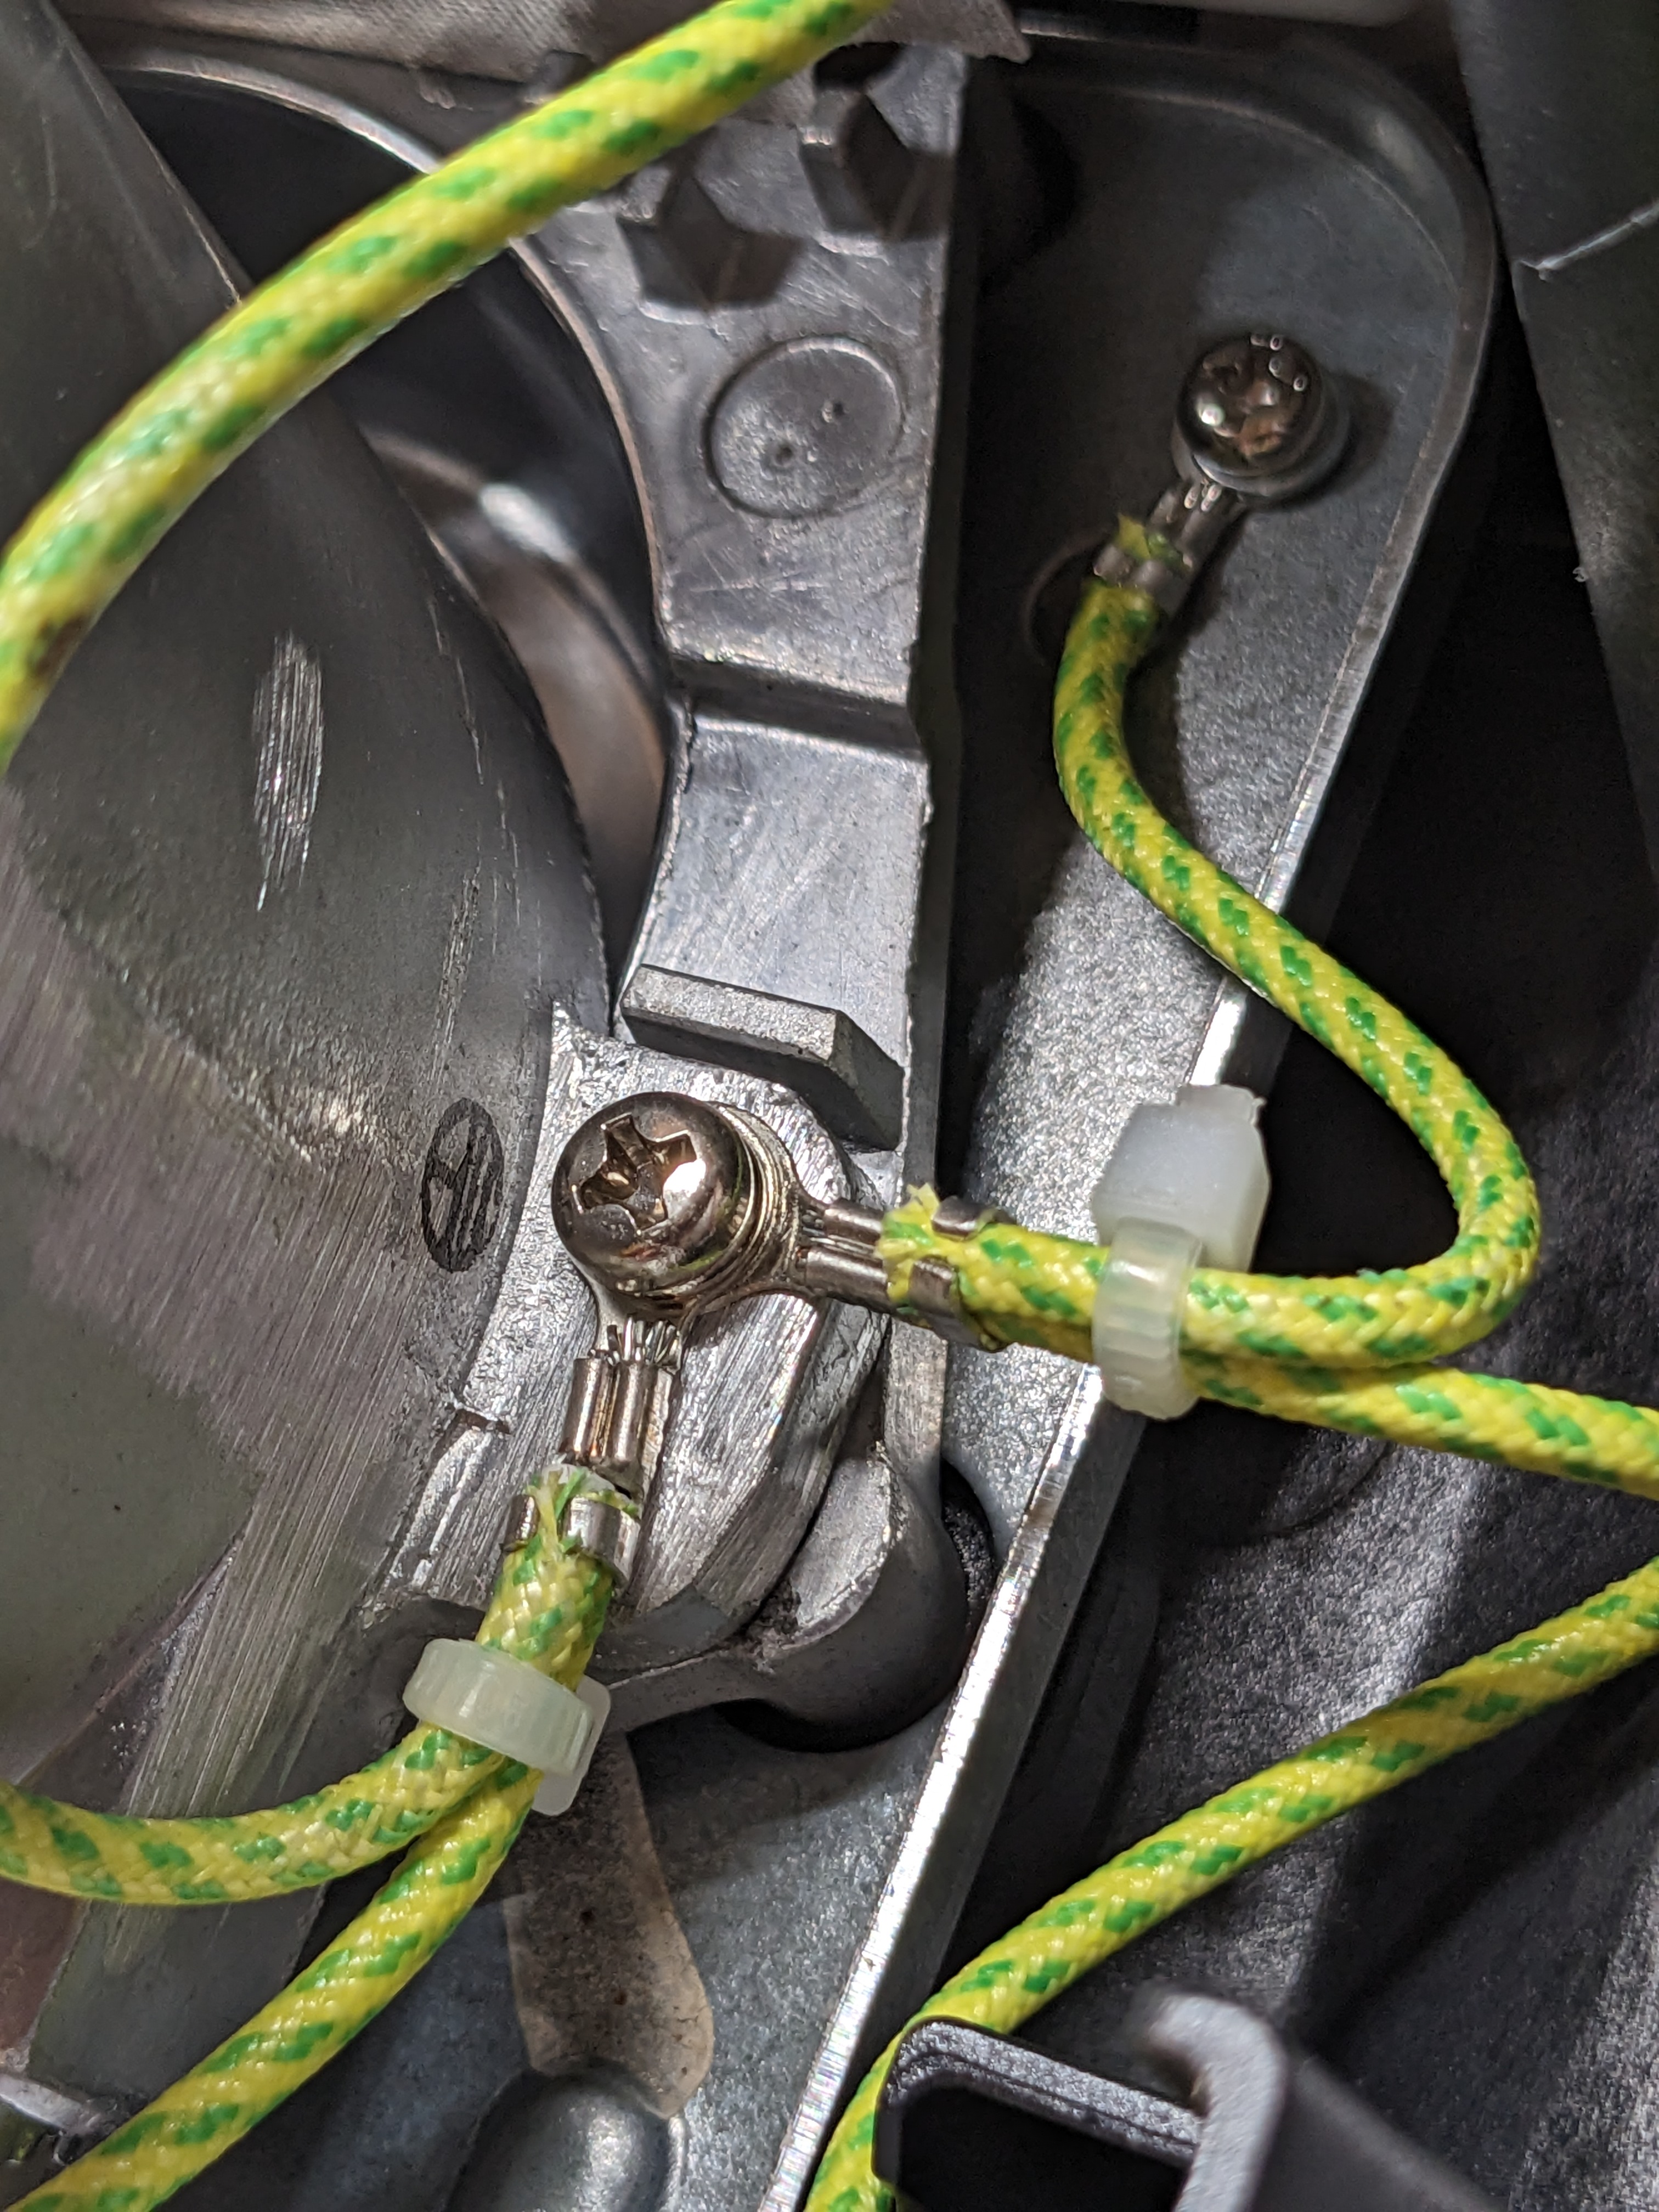
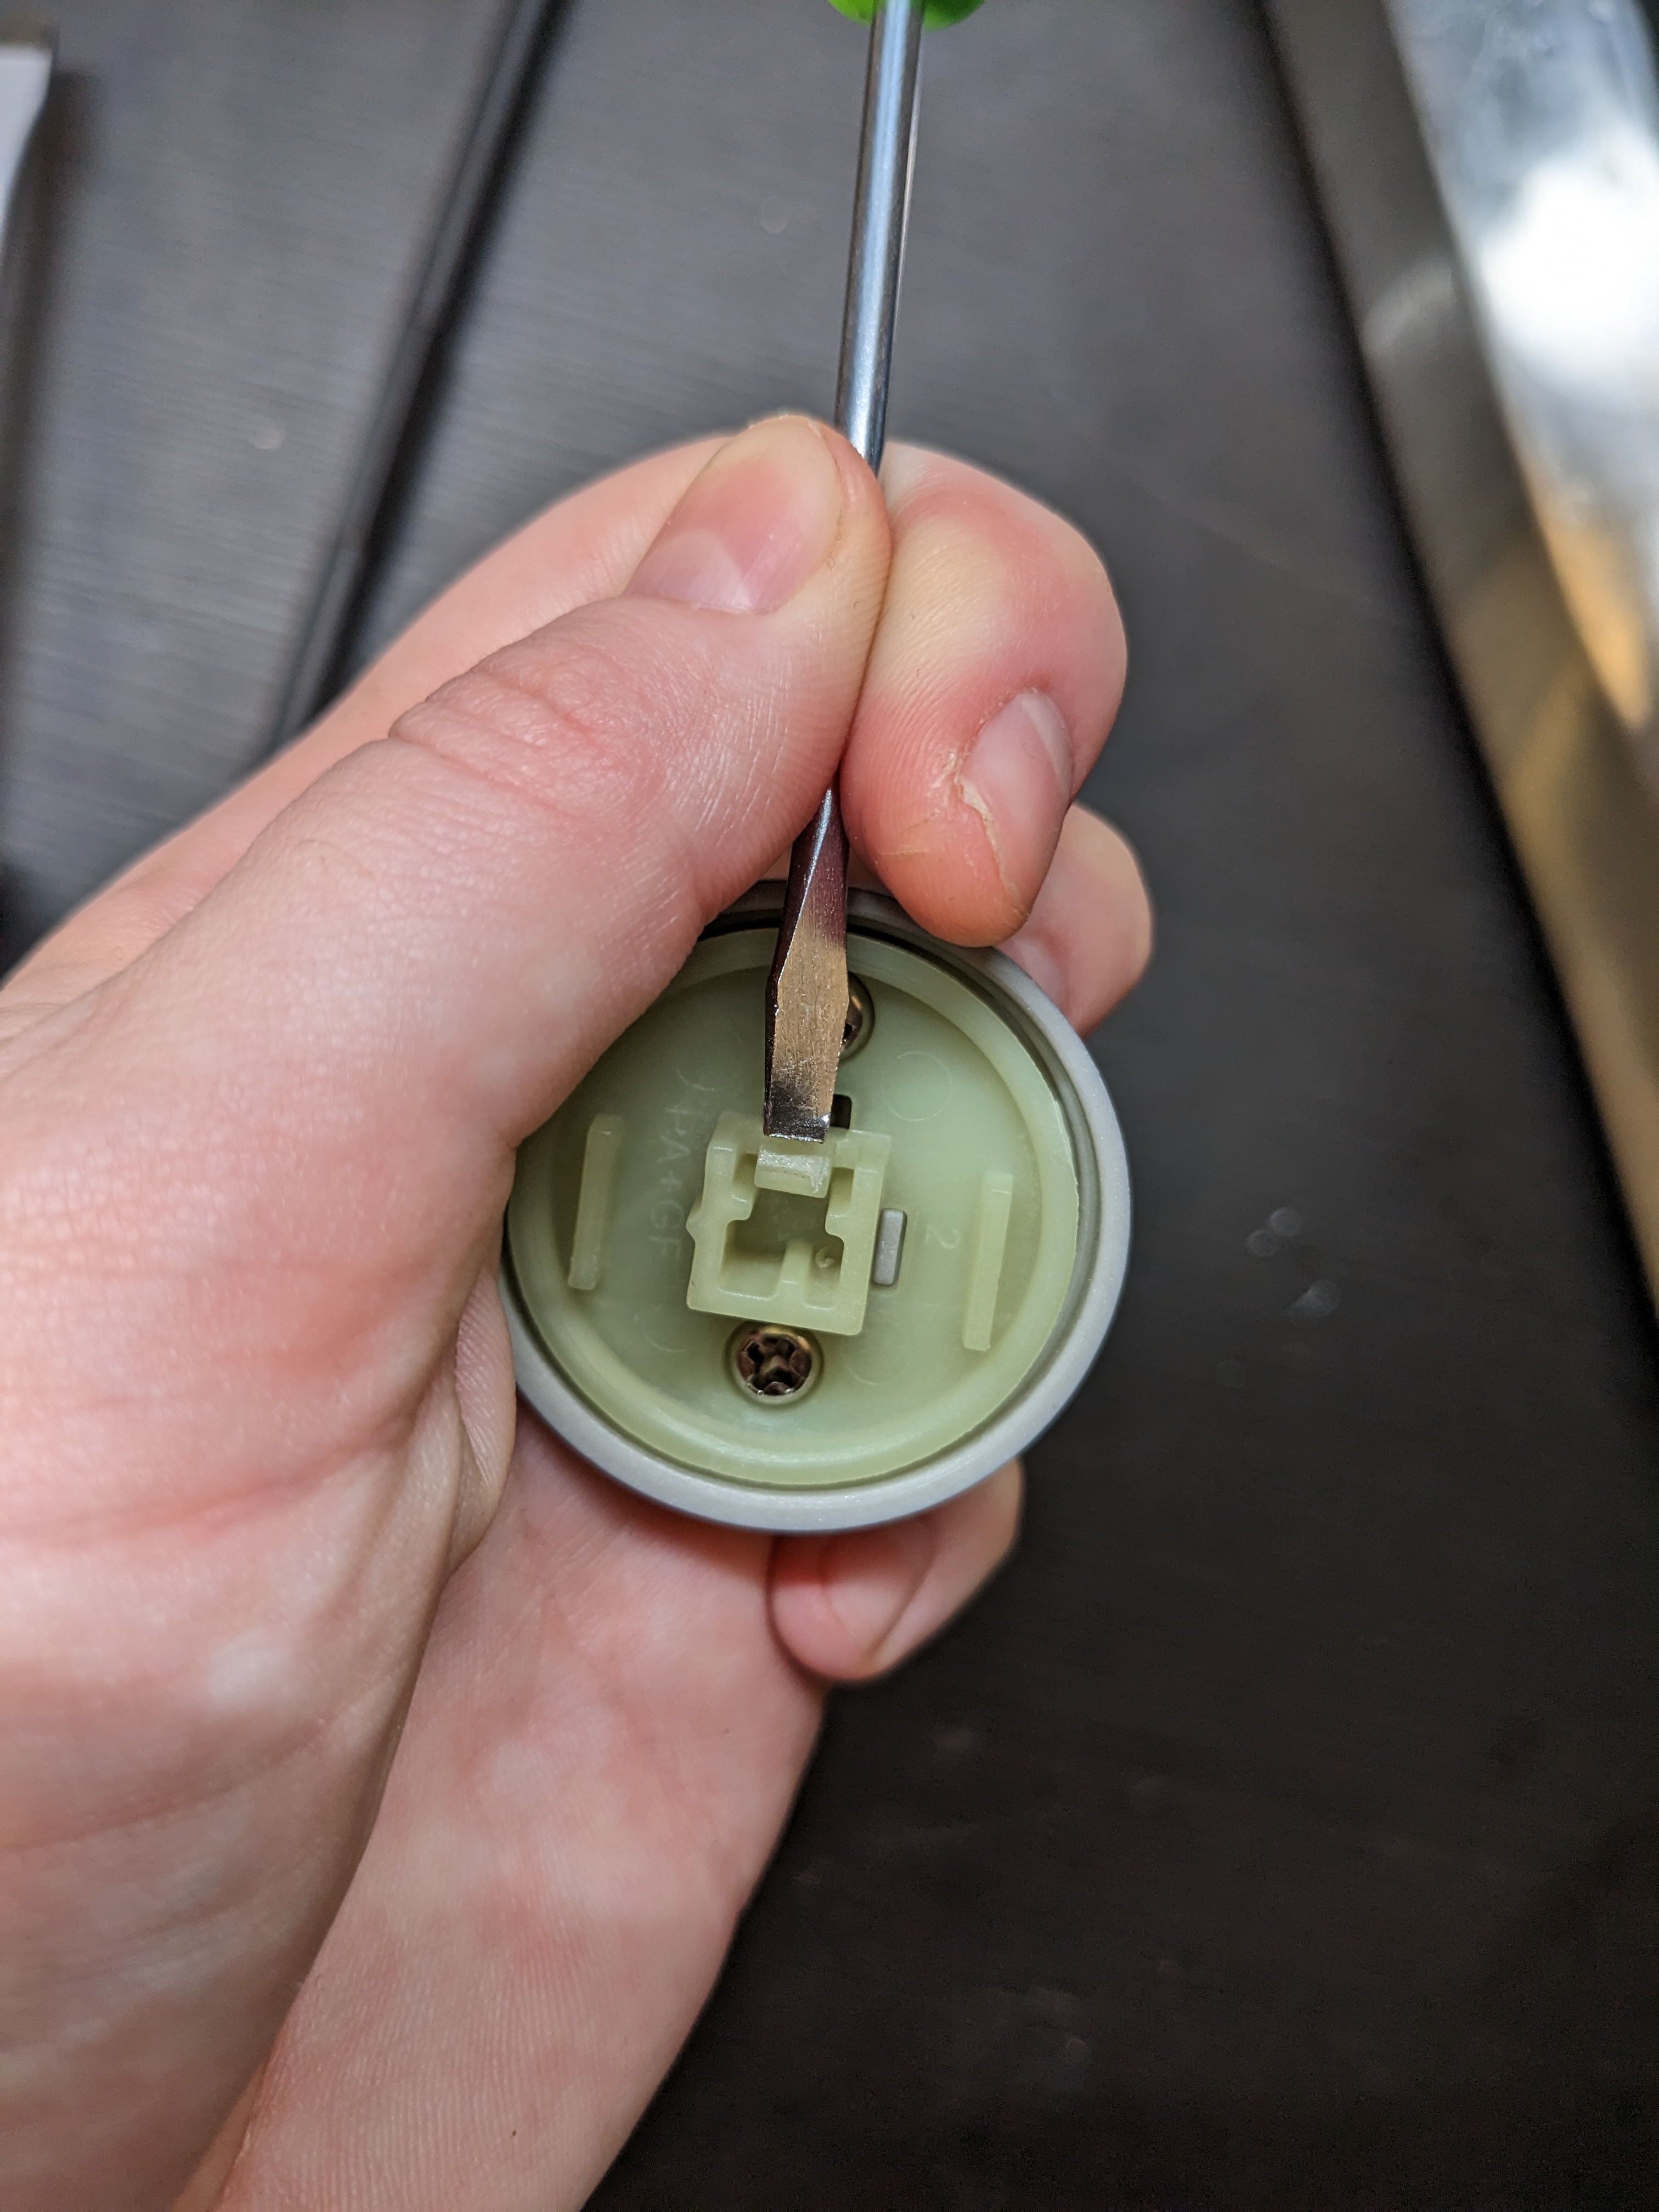
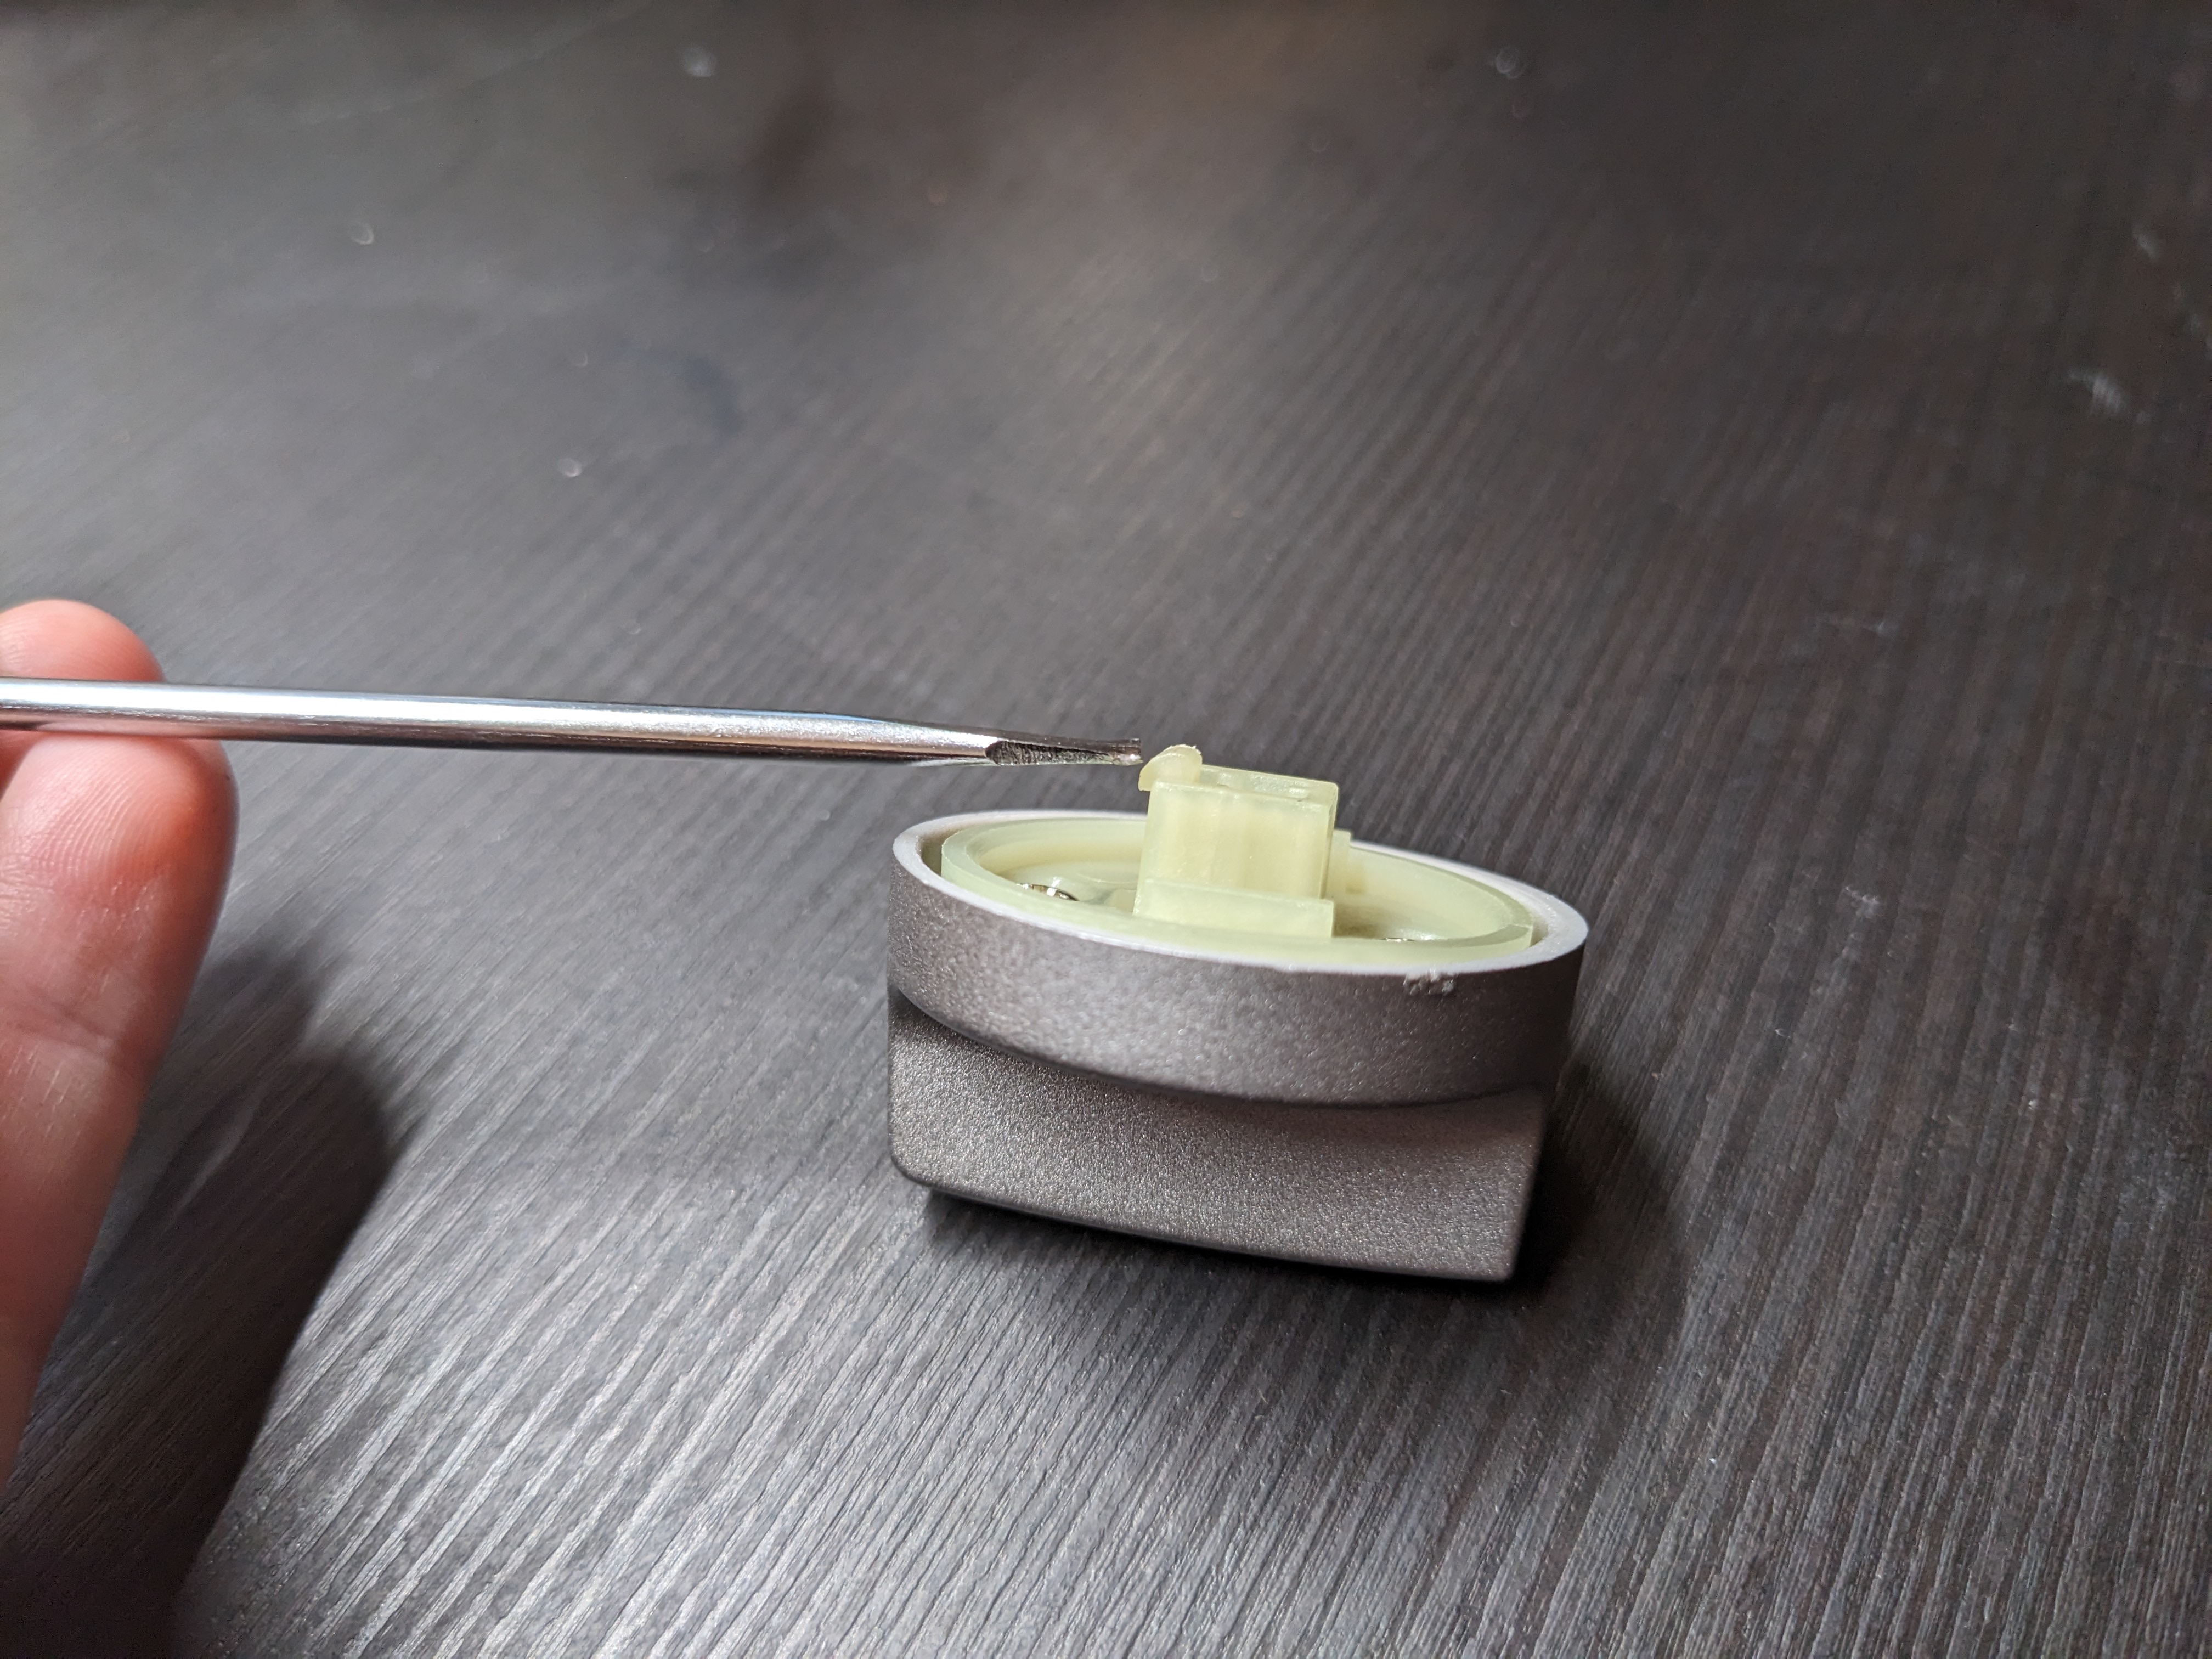
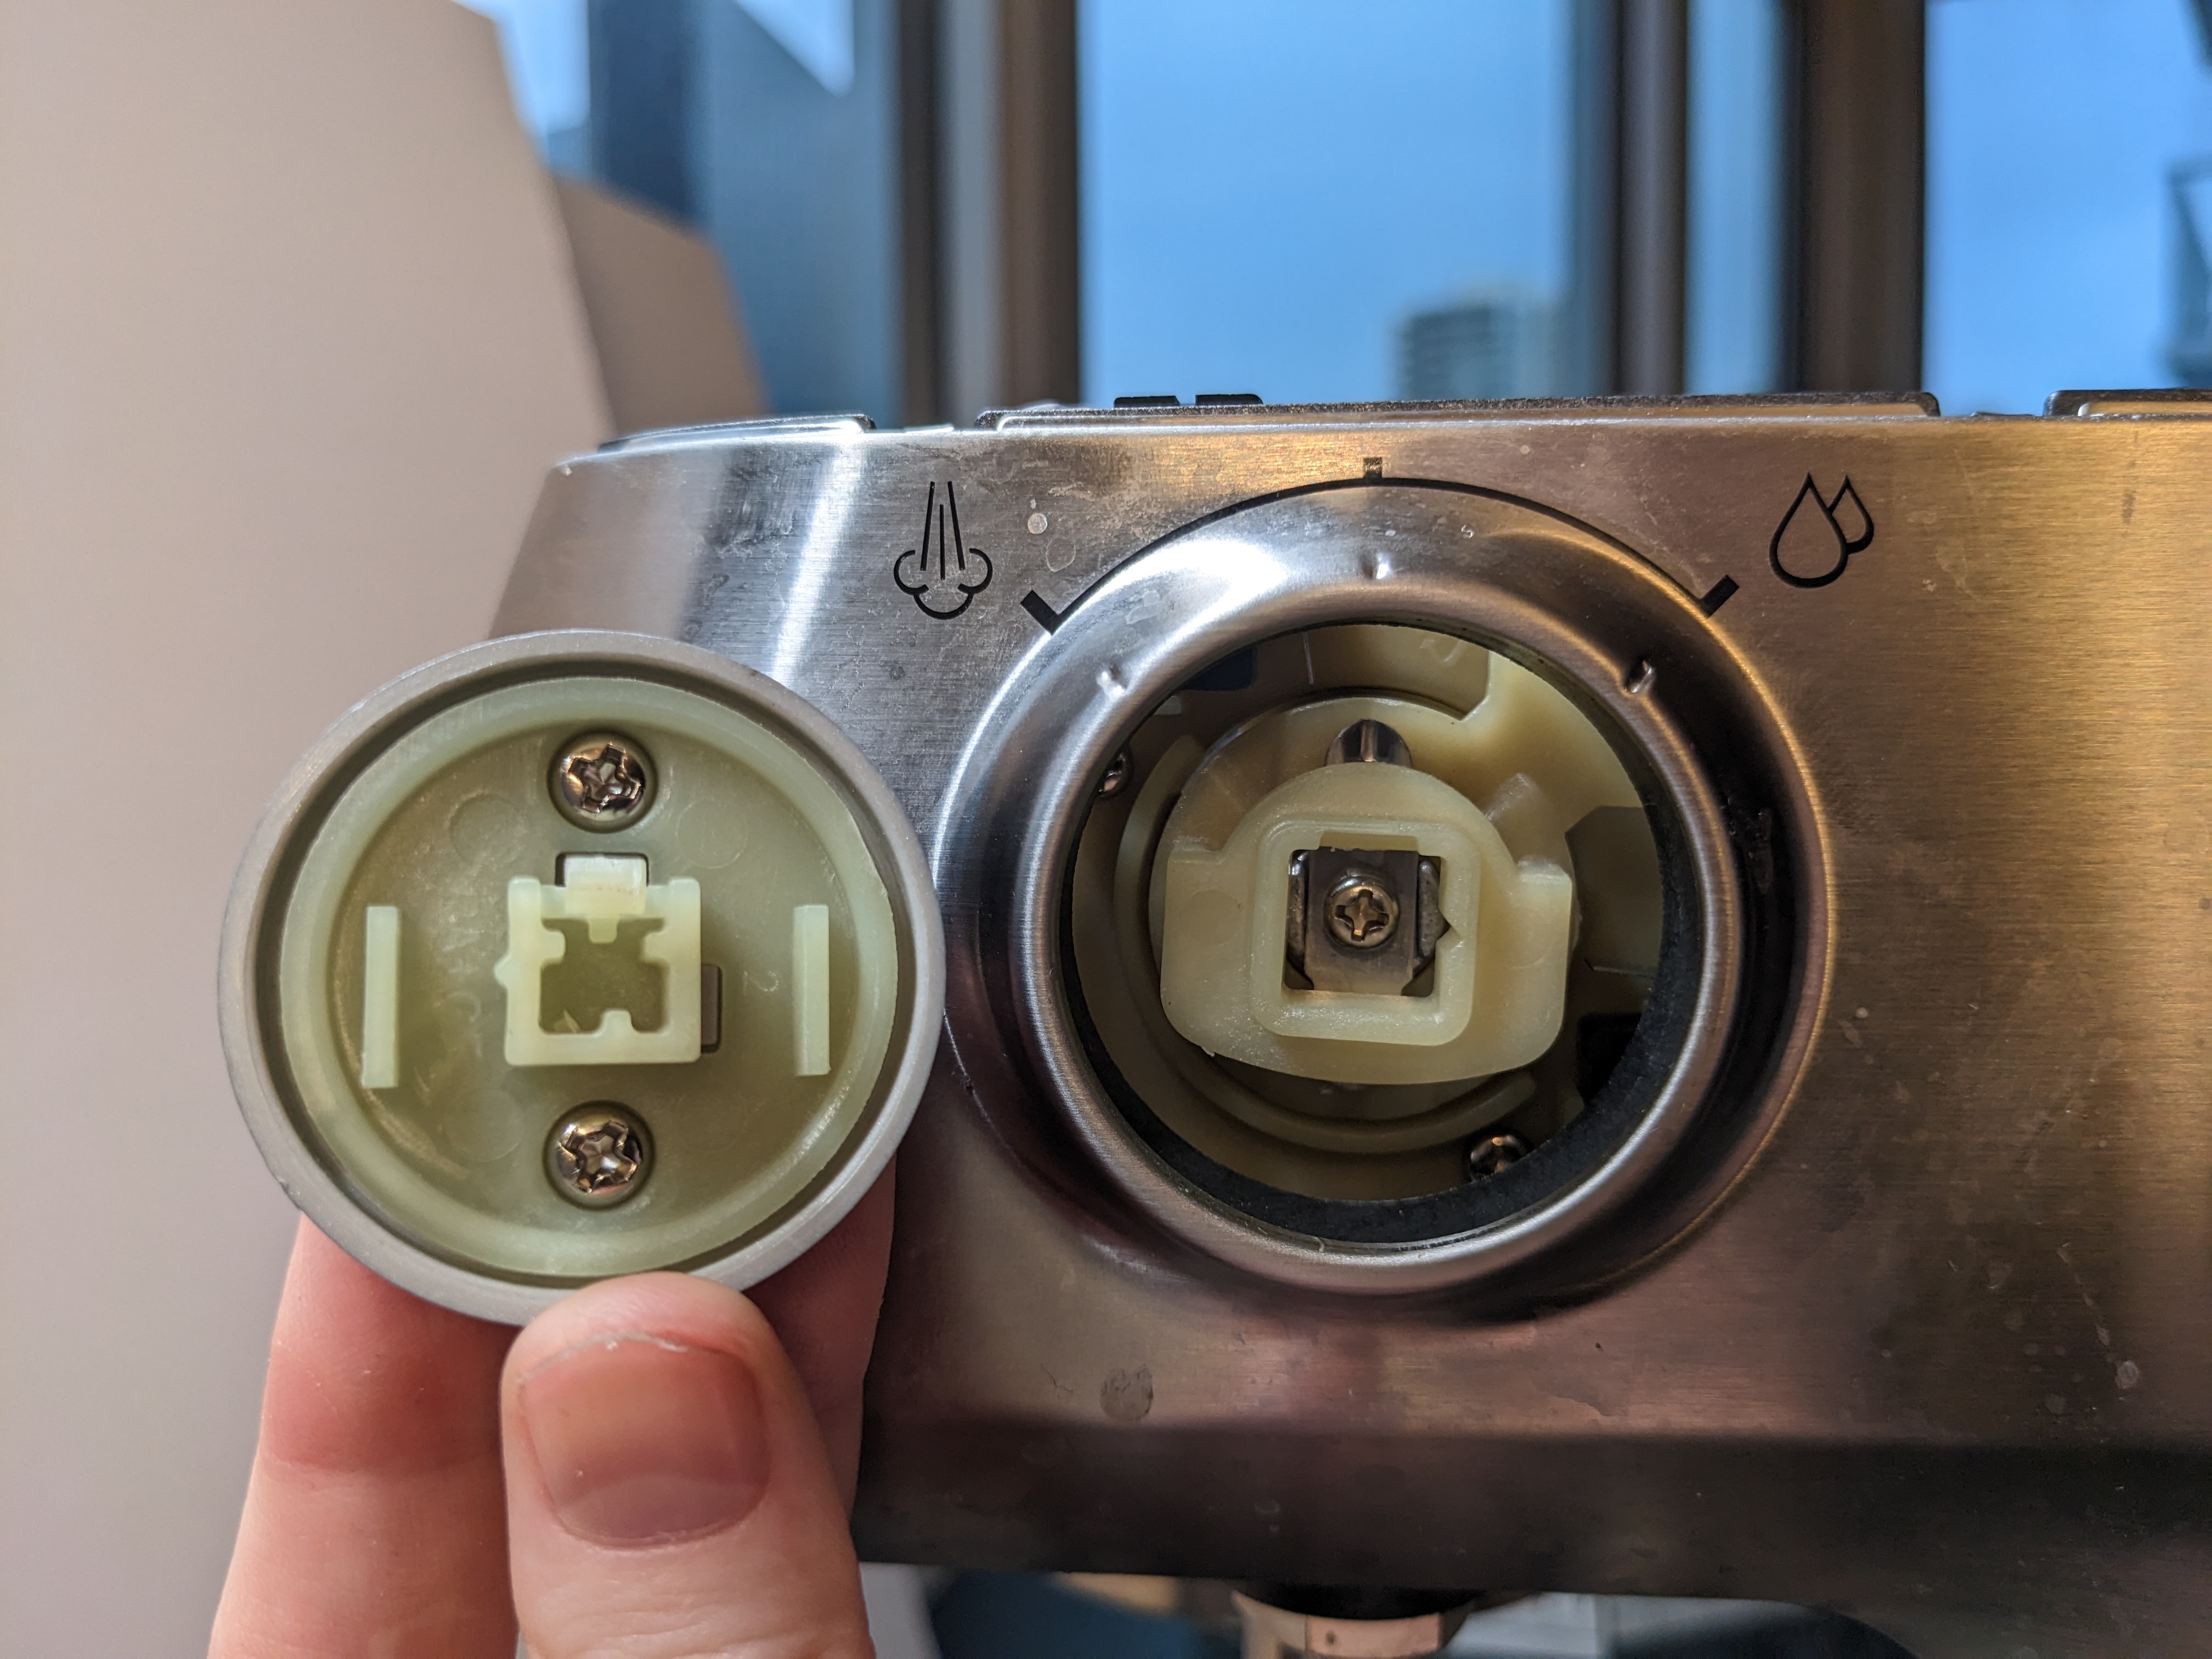
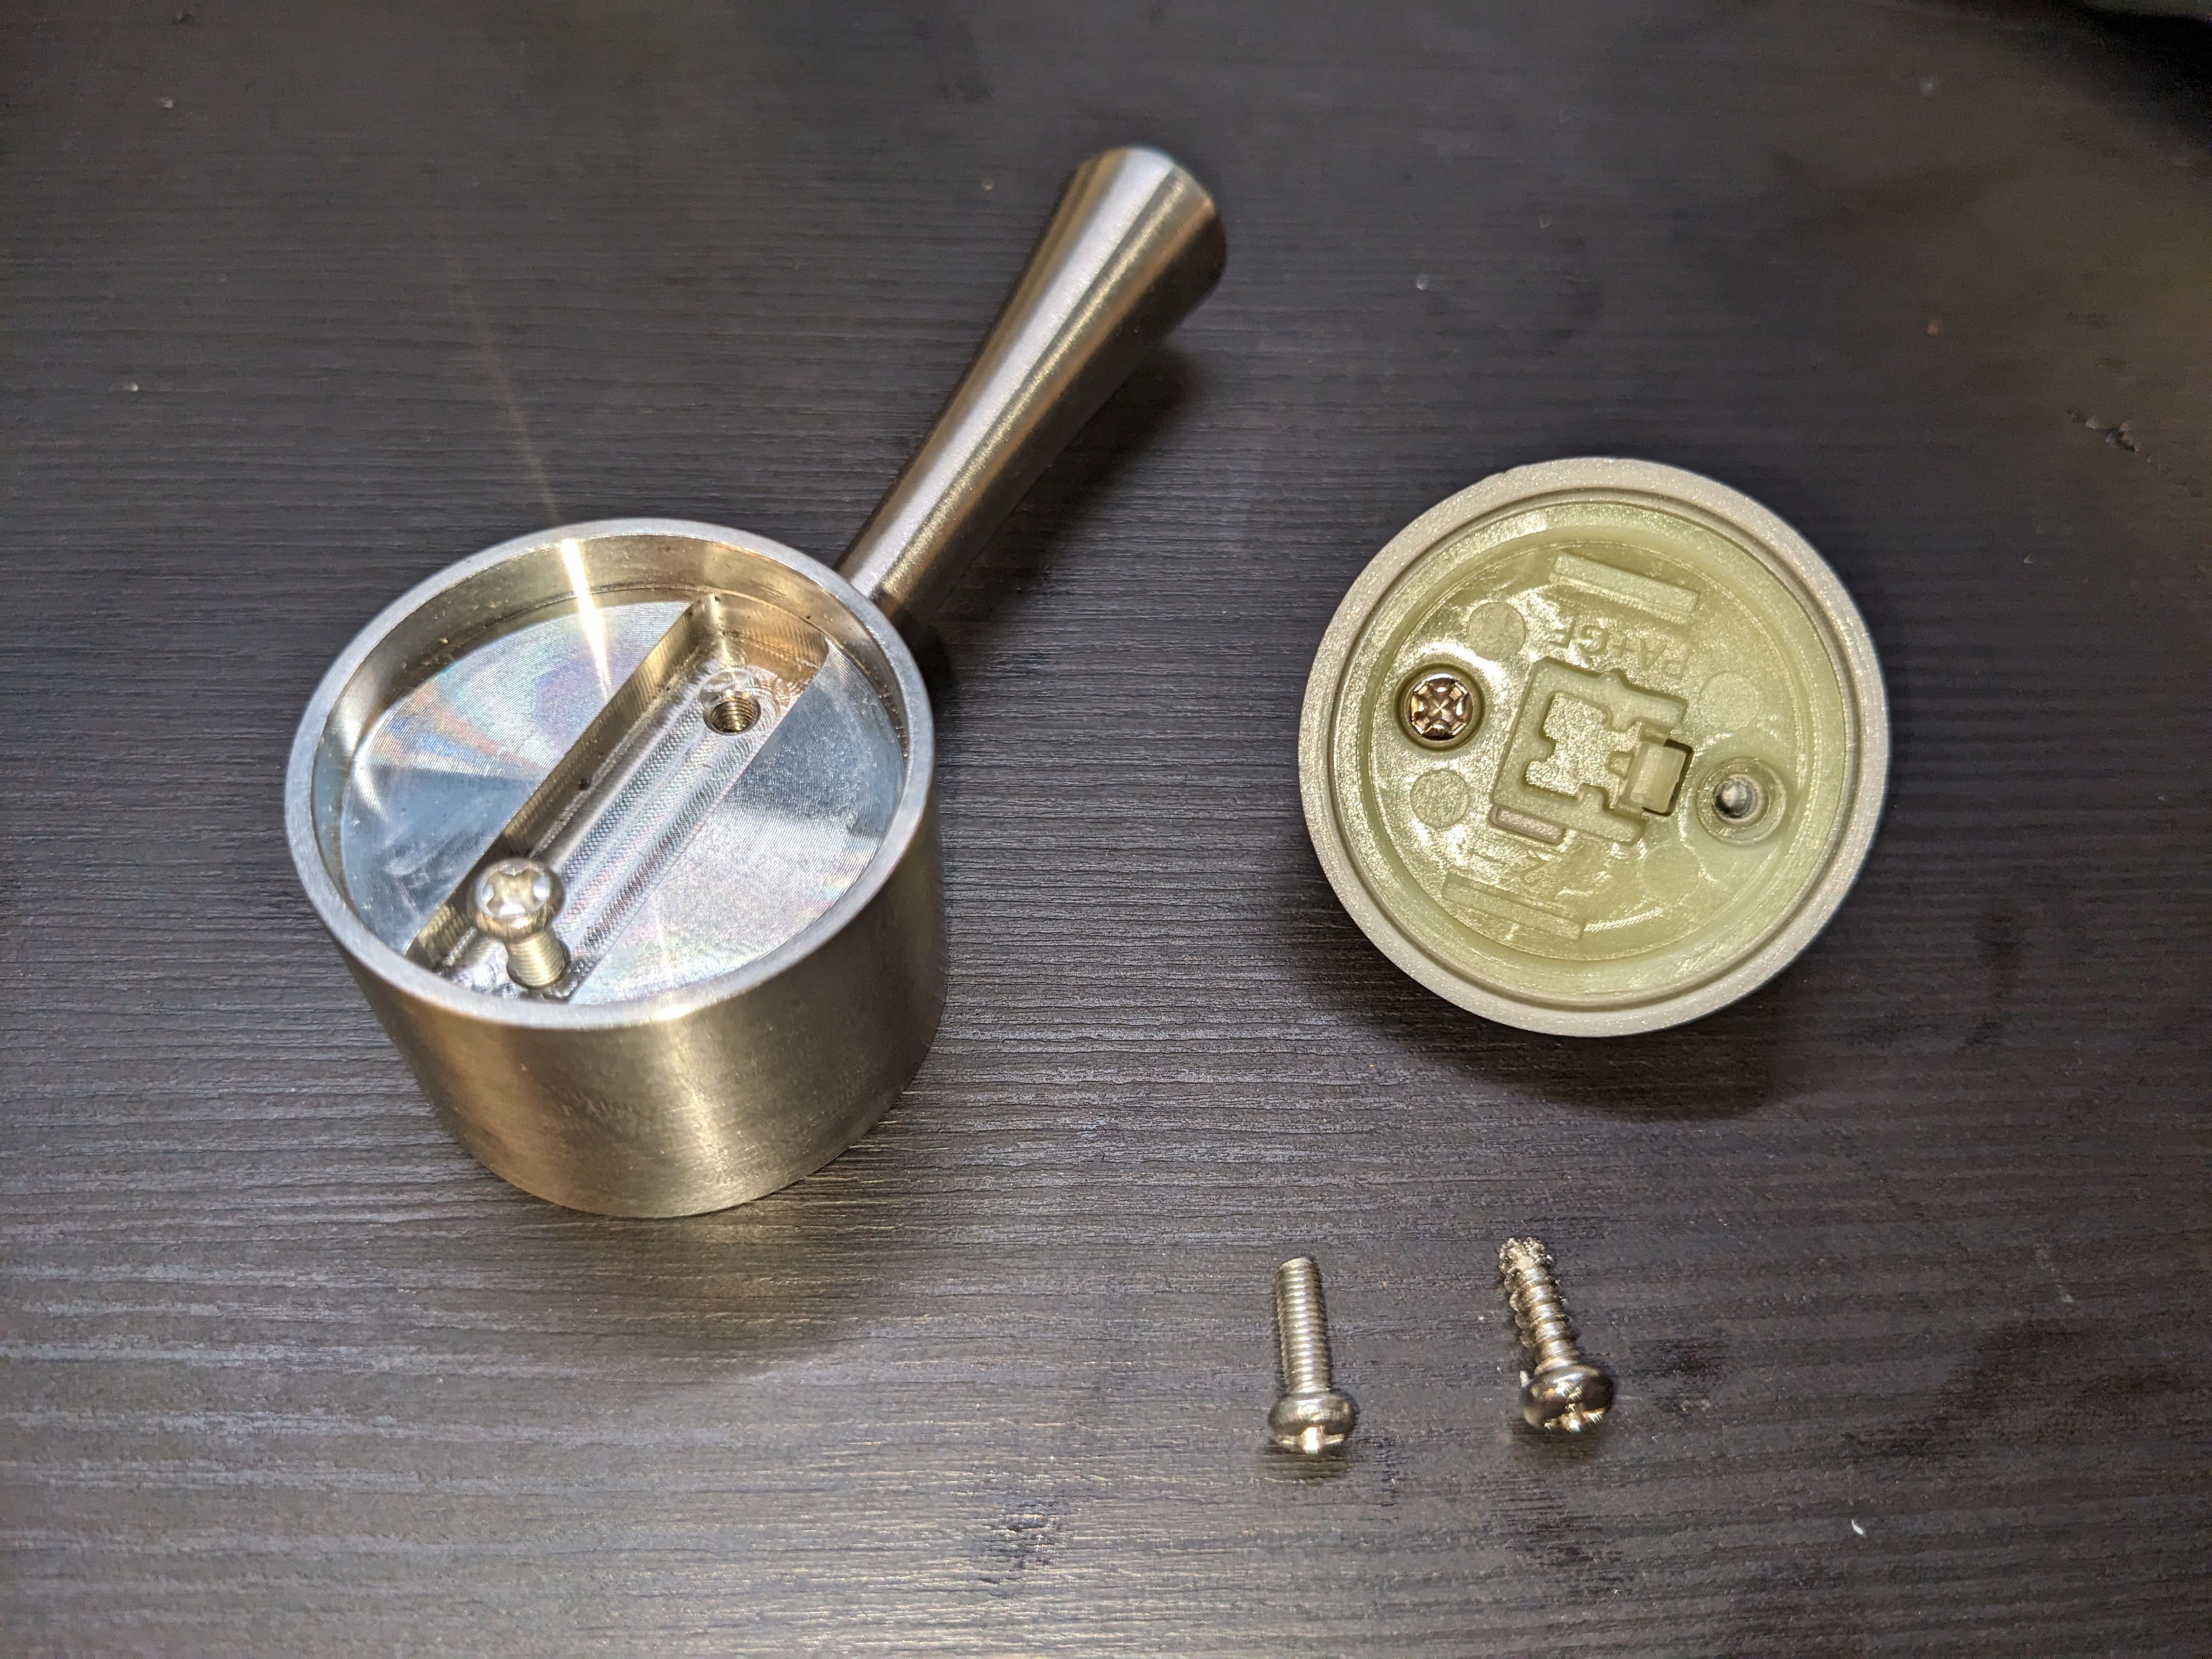
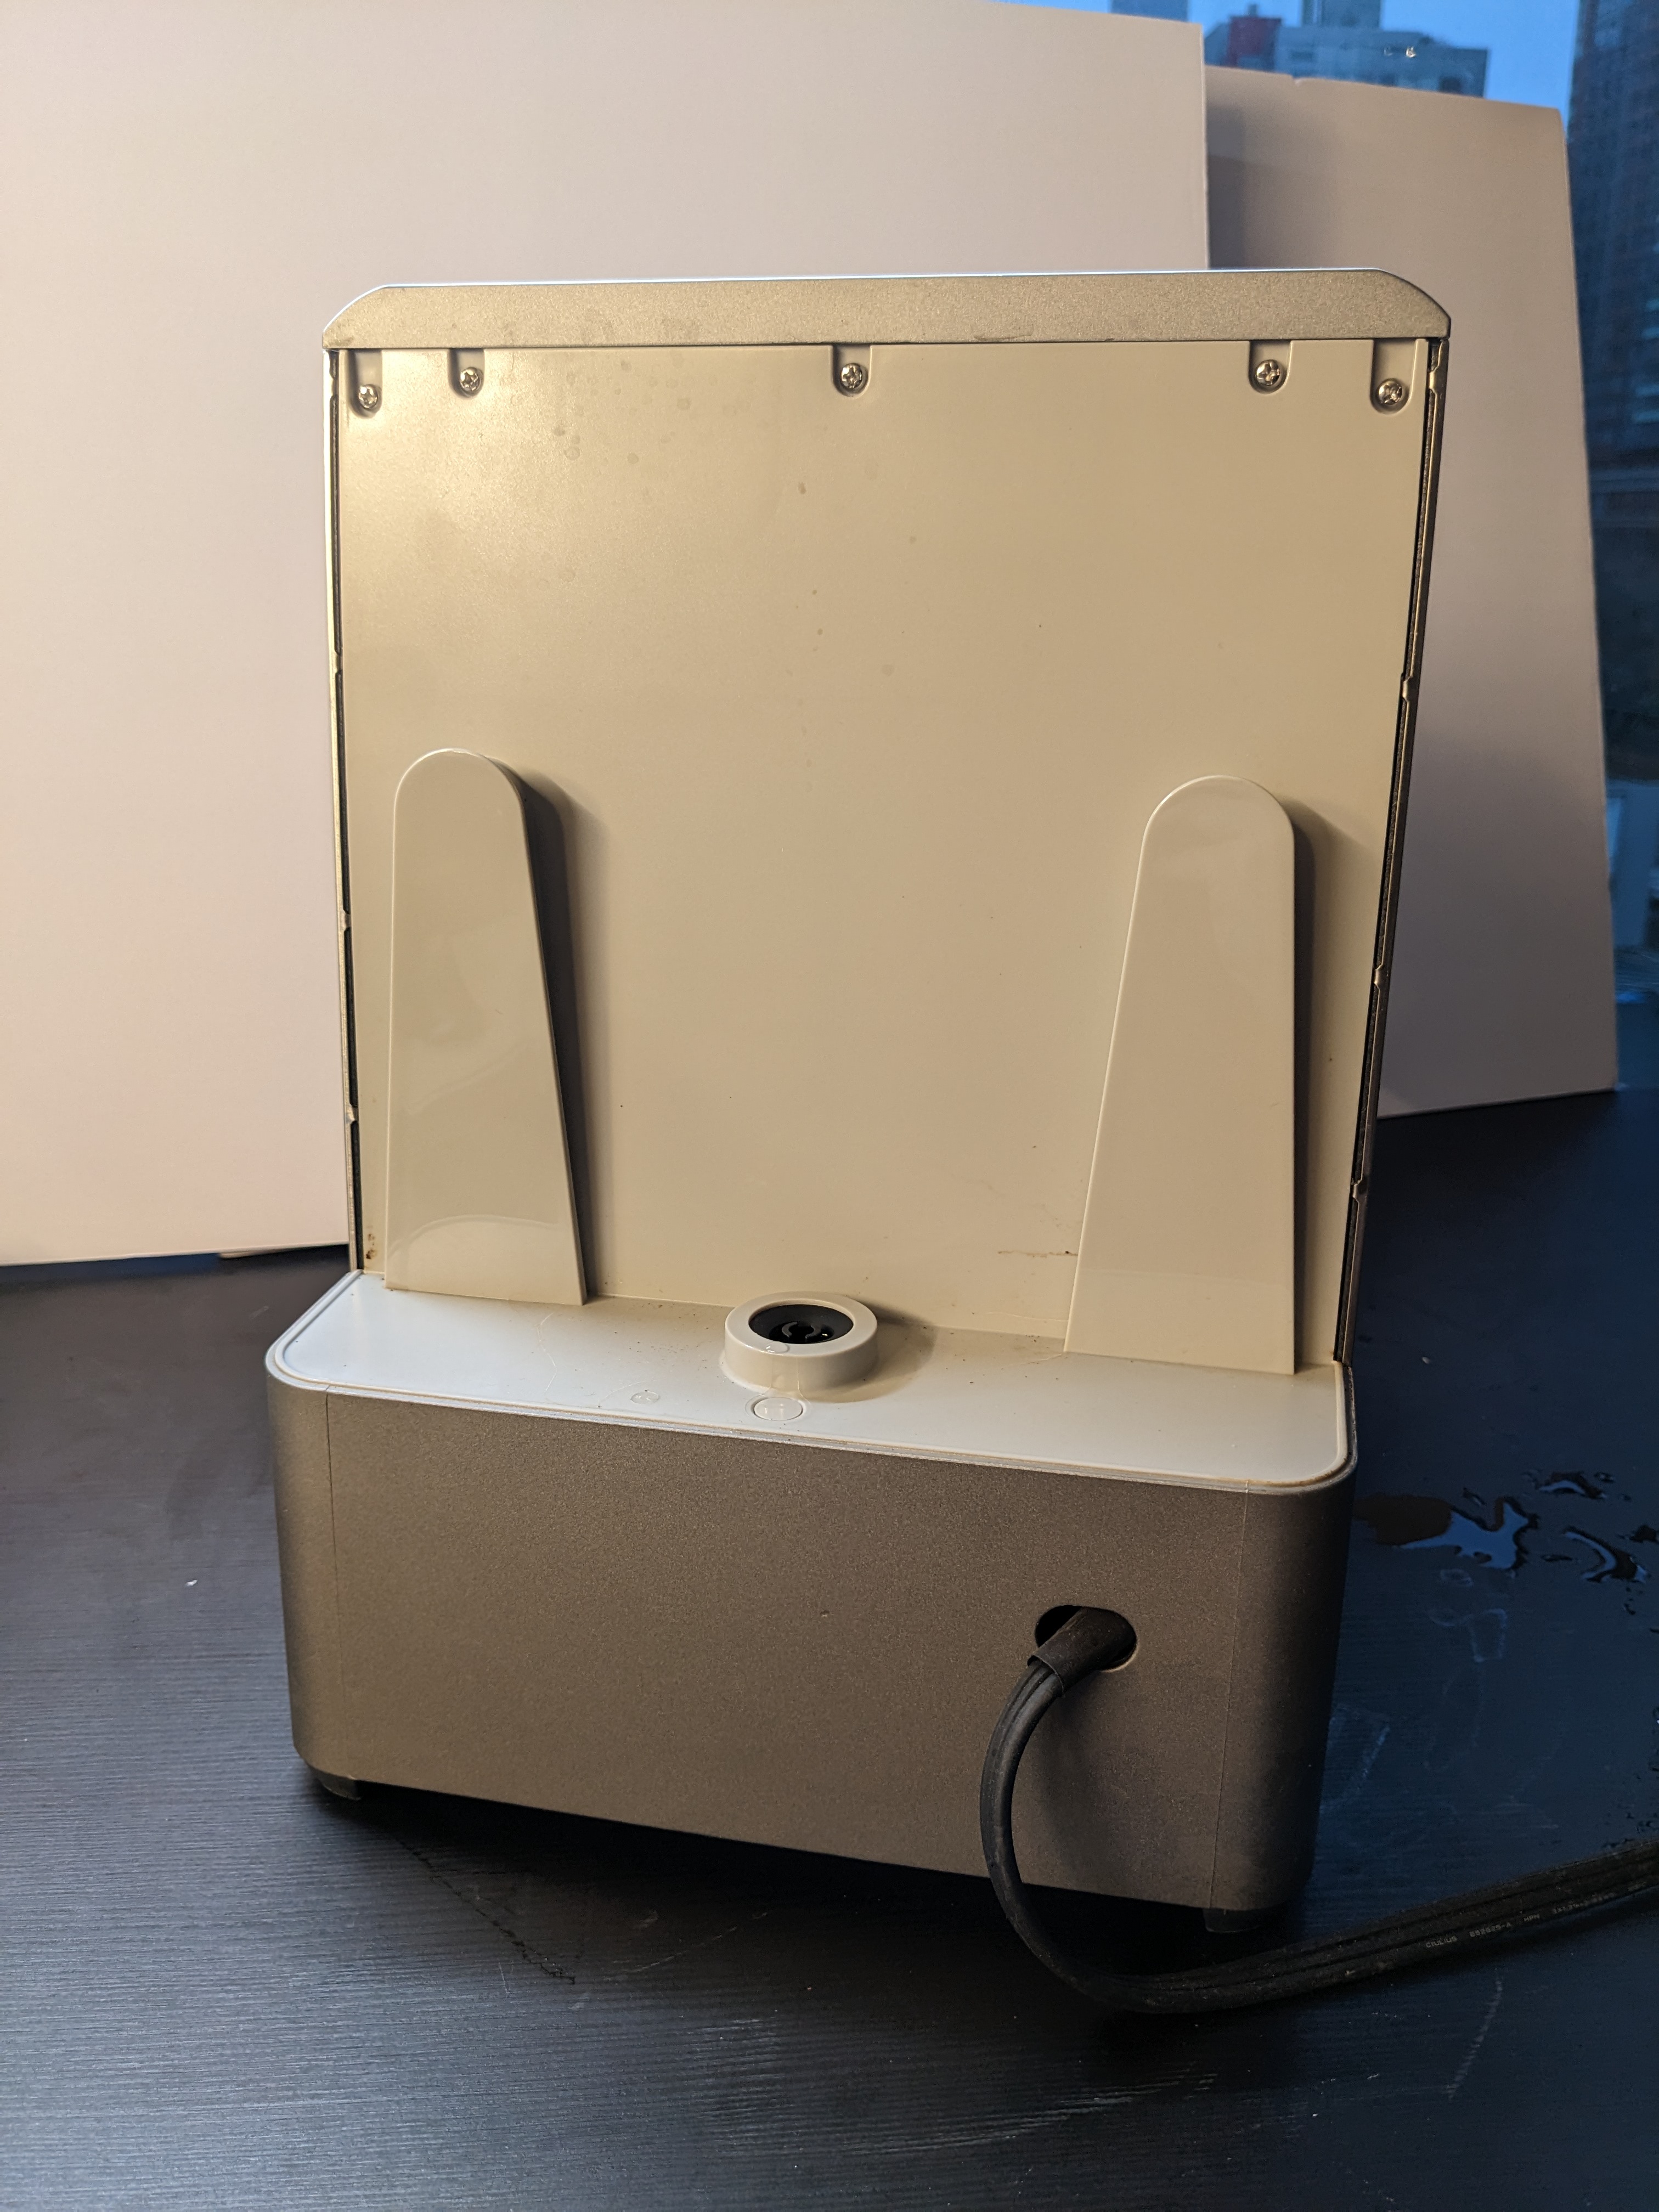
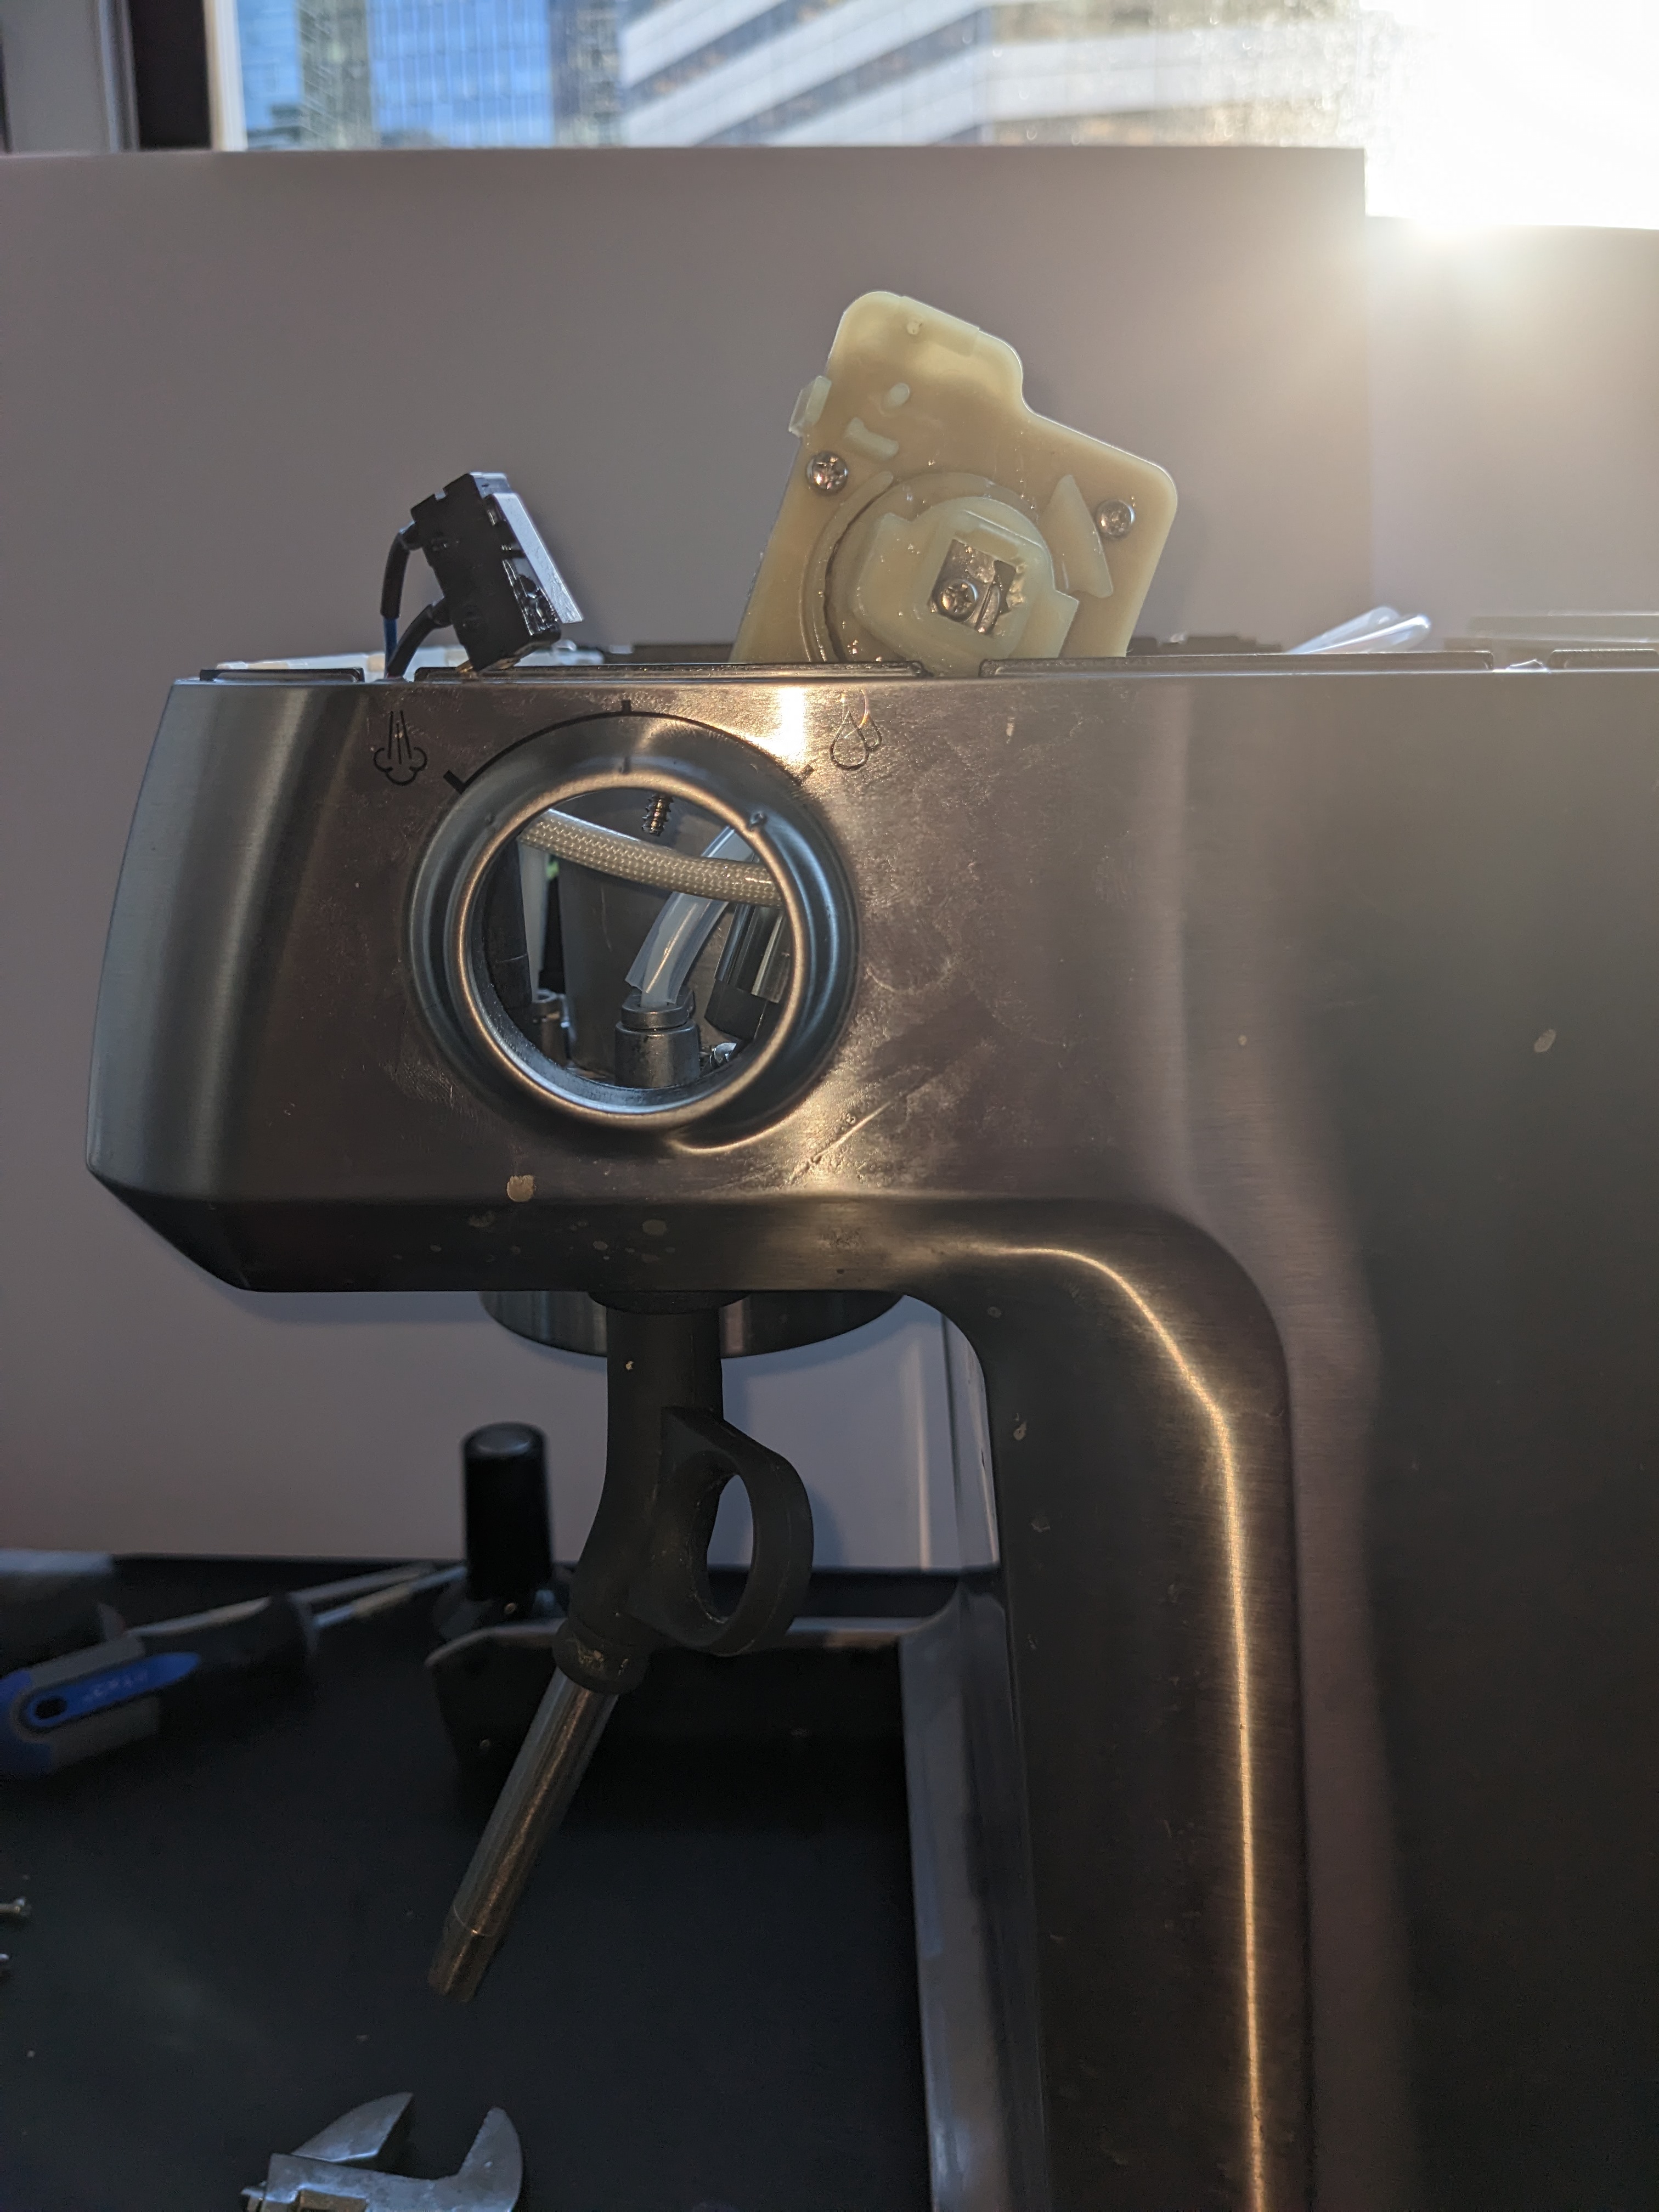
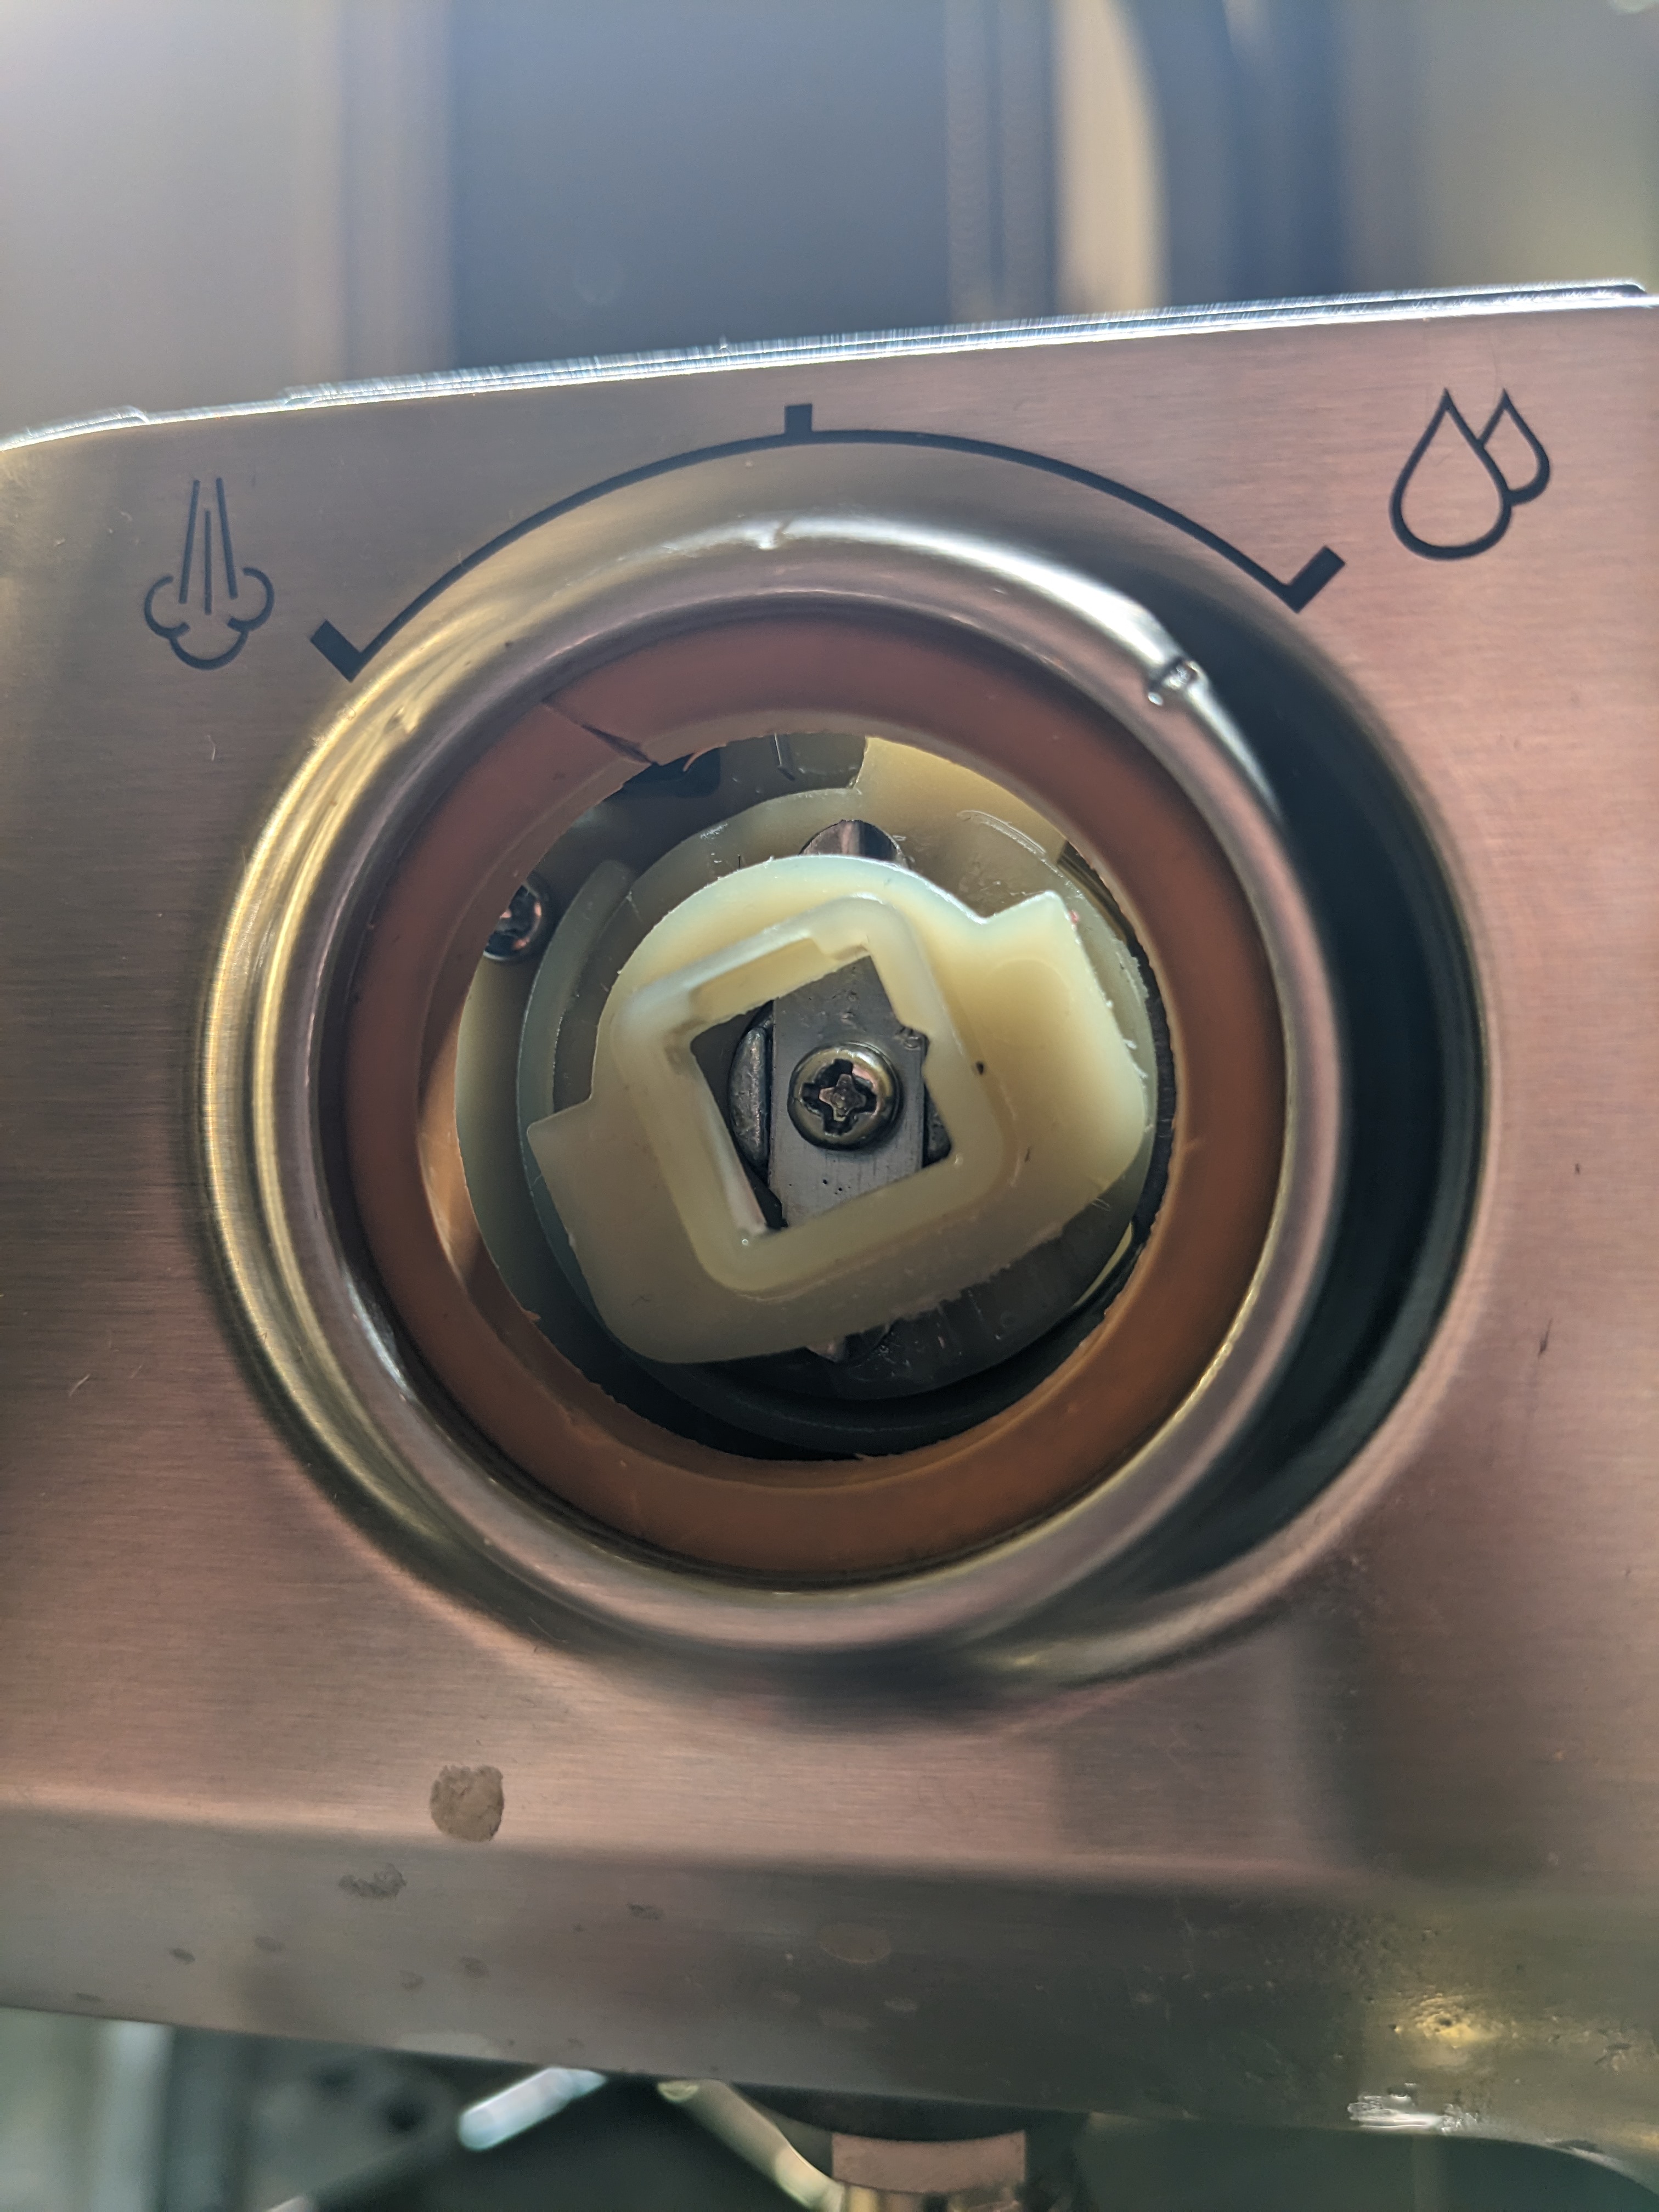
Removing the yellow-ish internal plastic brace from the silver plastic dial and mounting it onto the new metal handle. Unsnapping the retaining tab for the original handle is a somewhat delicate operation and people often break the tab. (eReplacementParts.com used to sell the piece as part number SP0001534, but as of 2024 these all seem to be ominously discontinued…proceed with caution.)
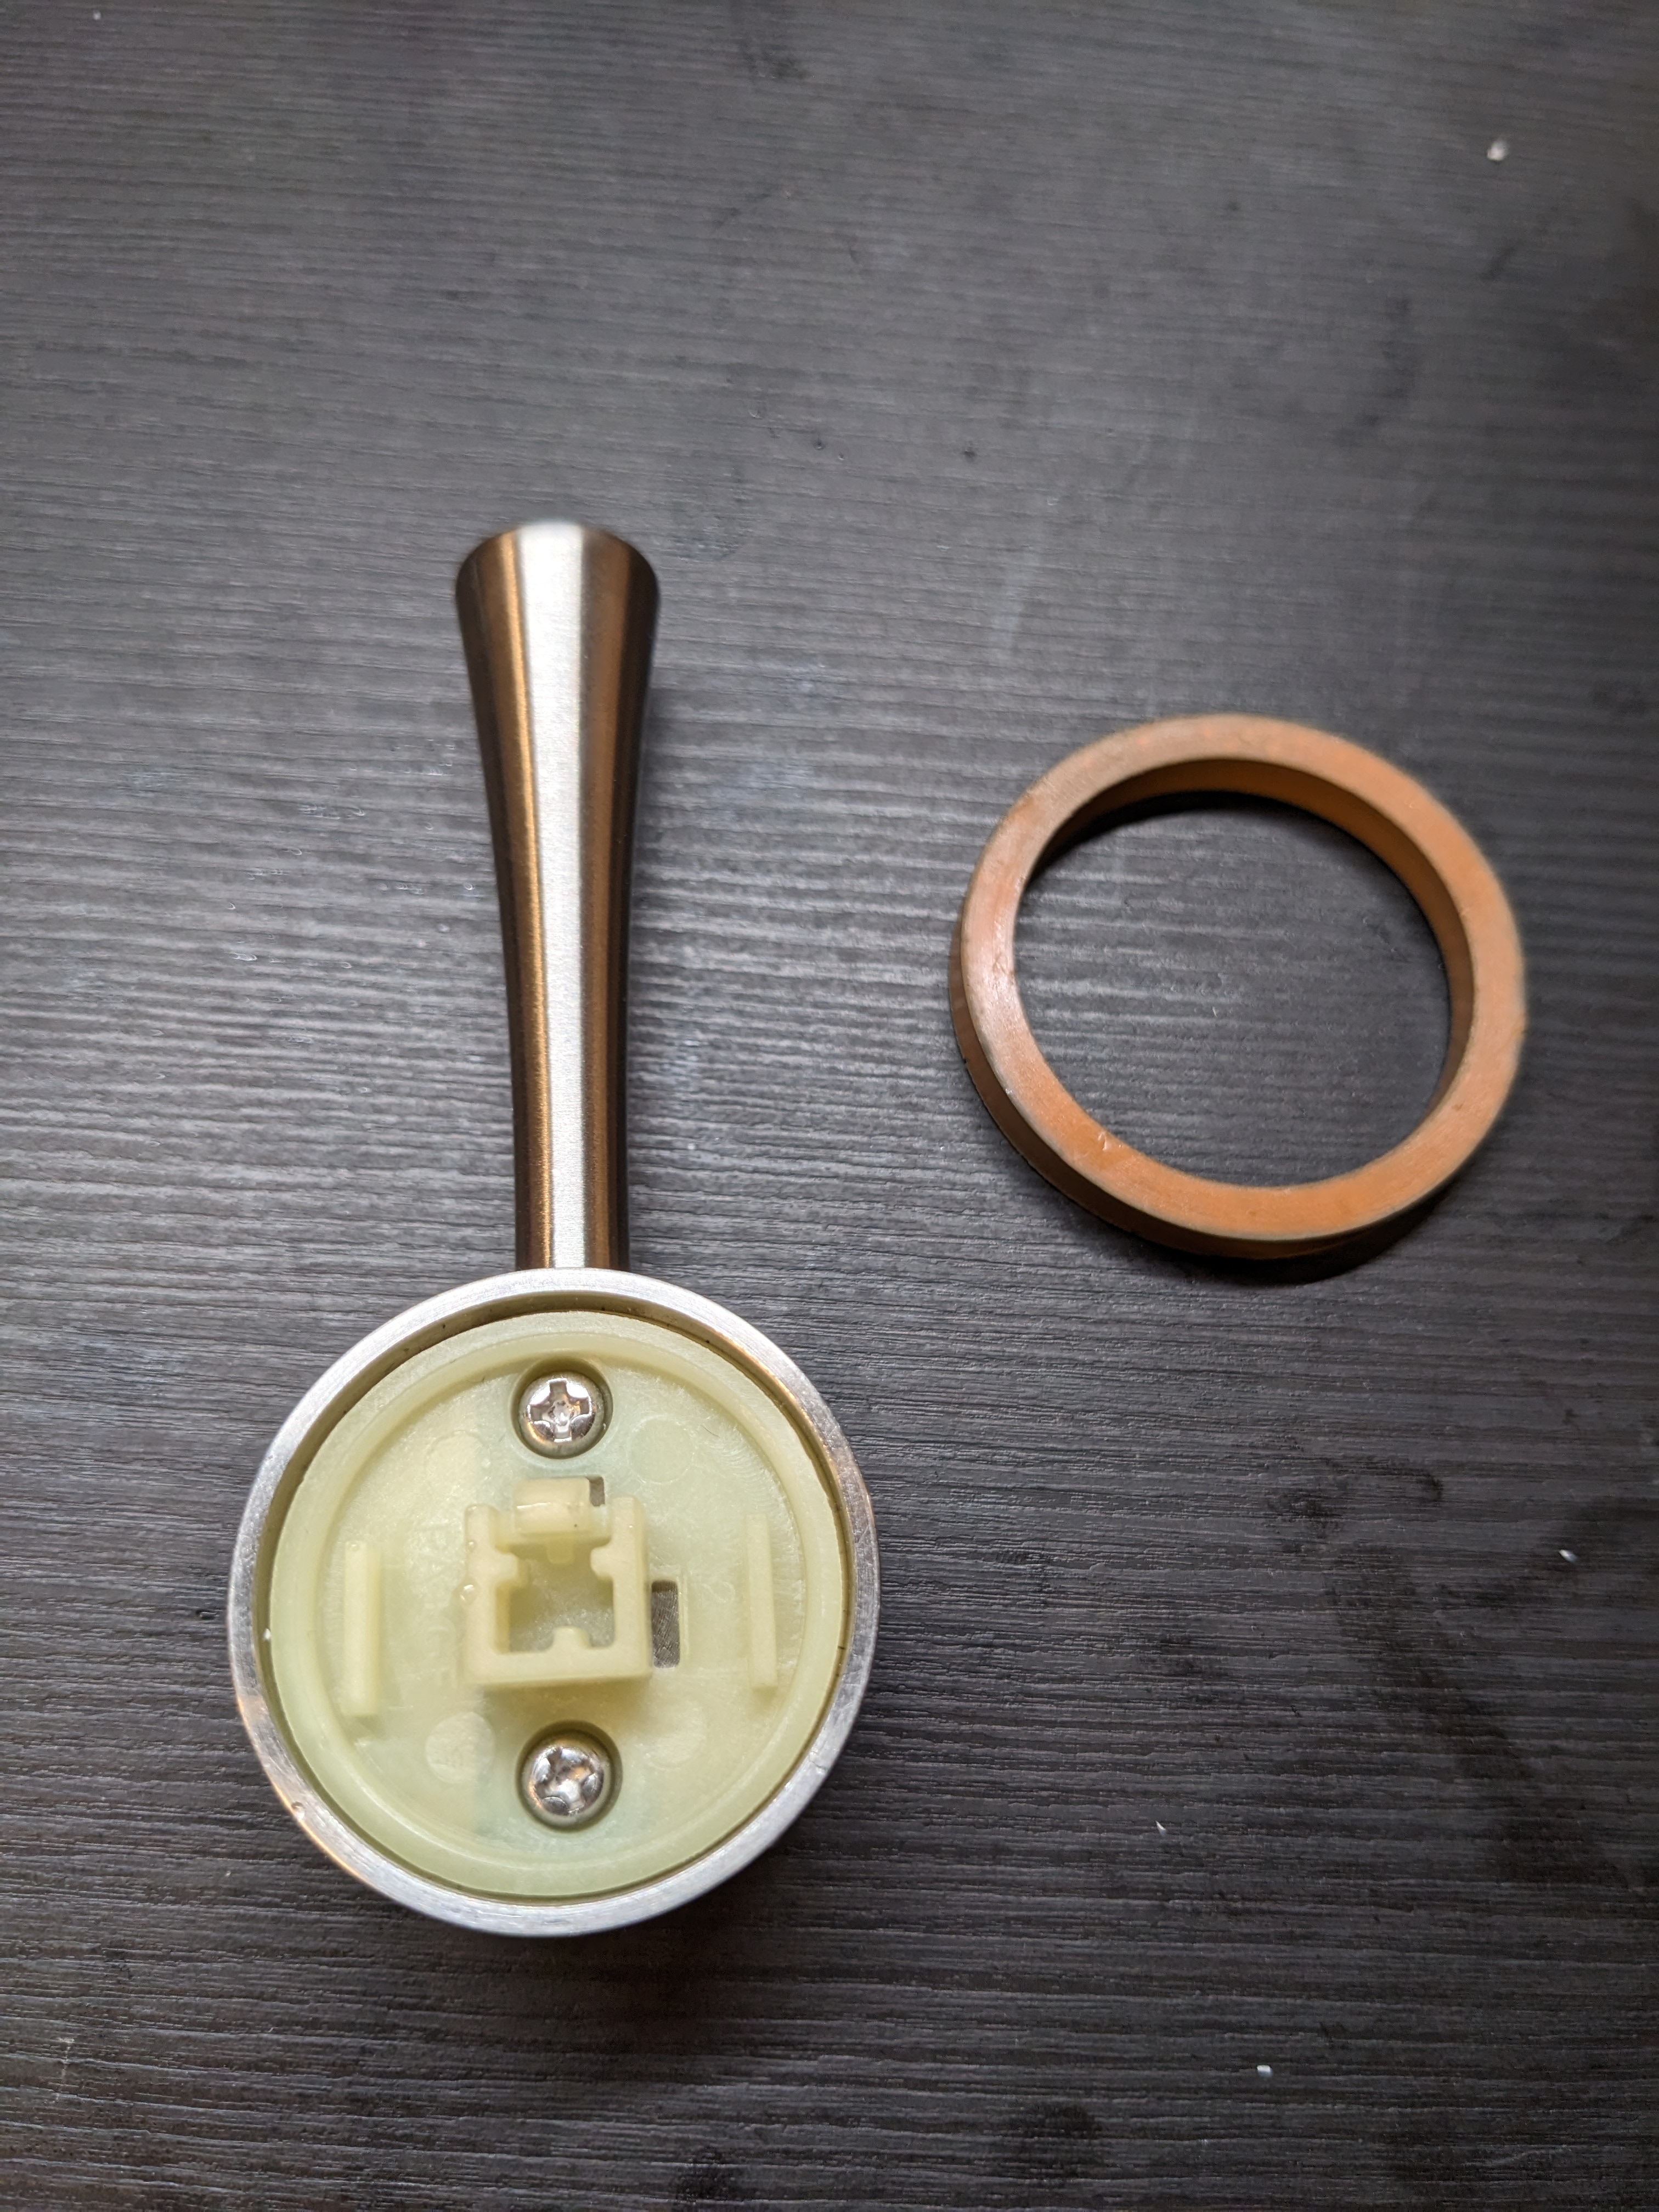
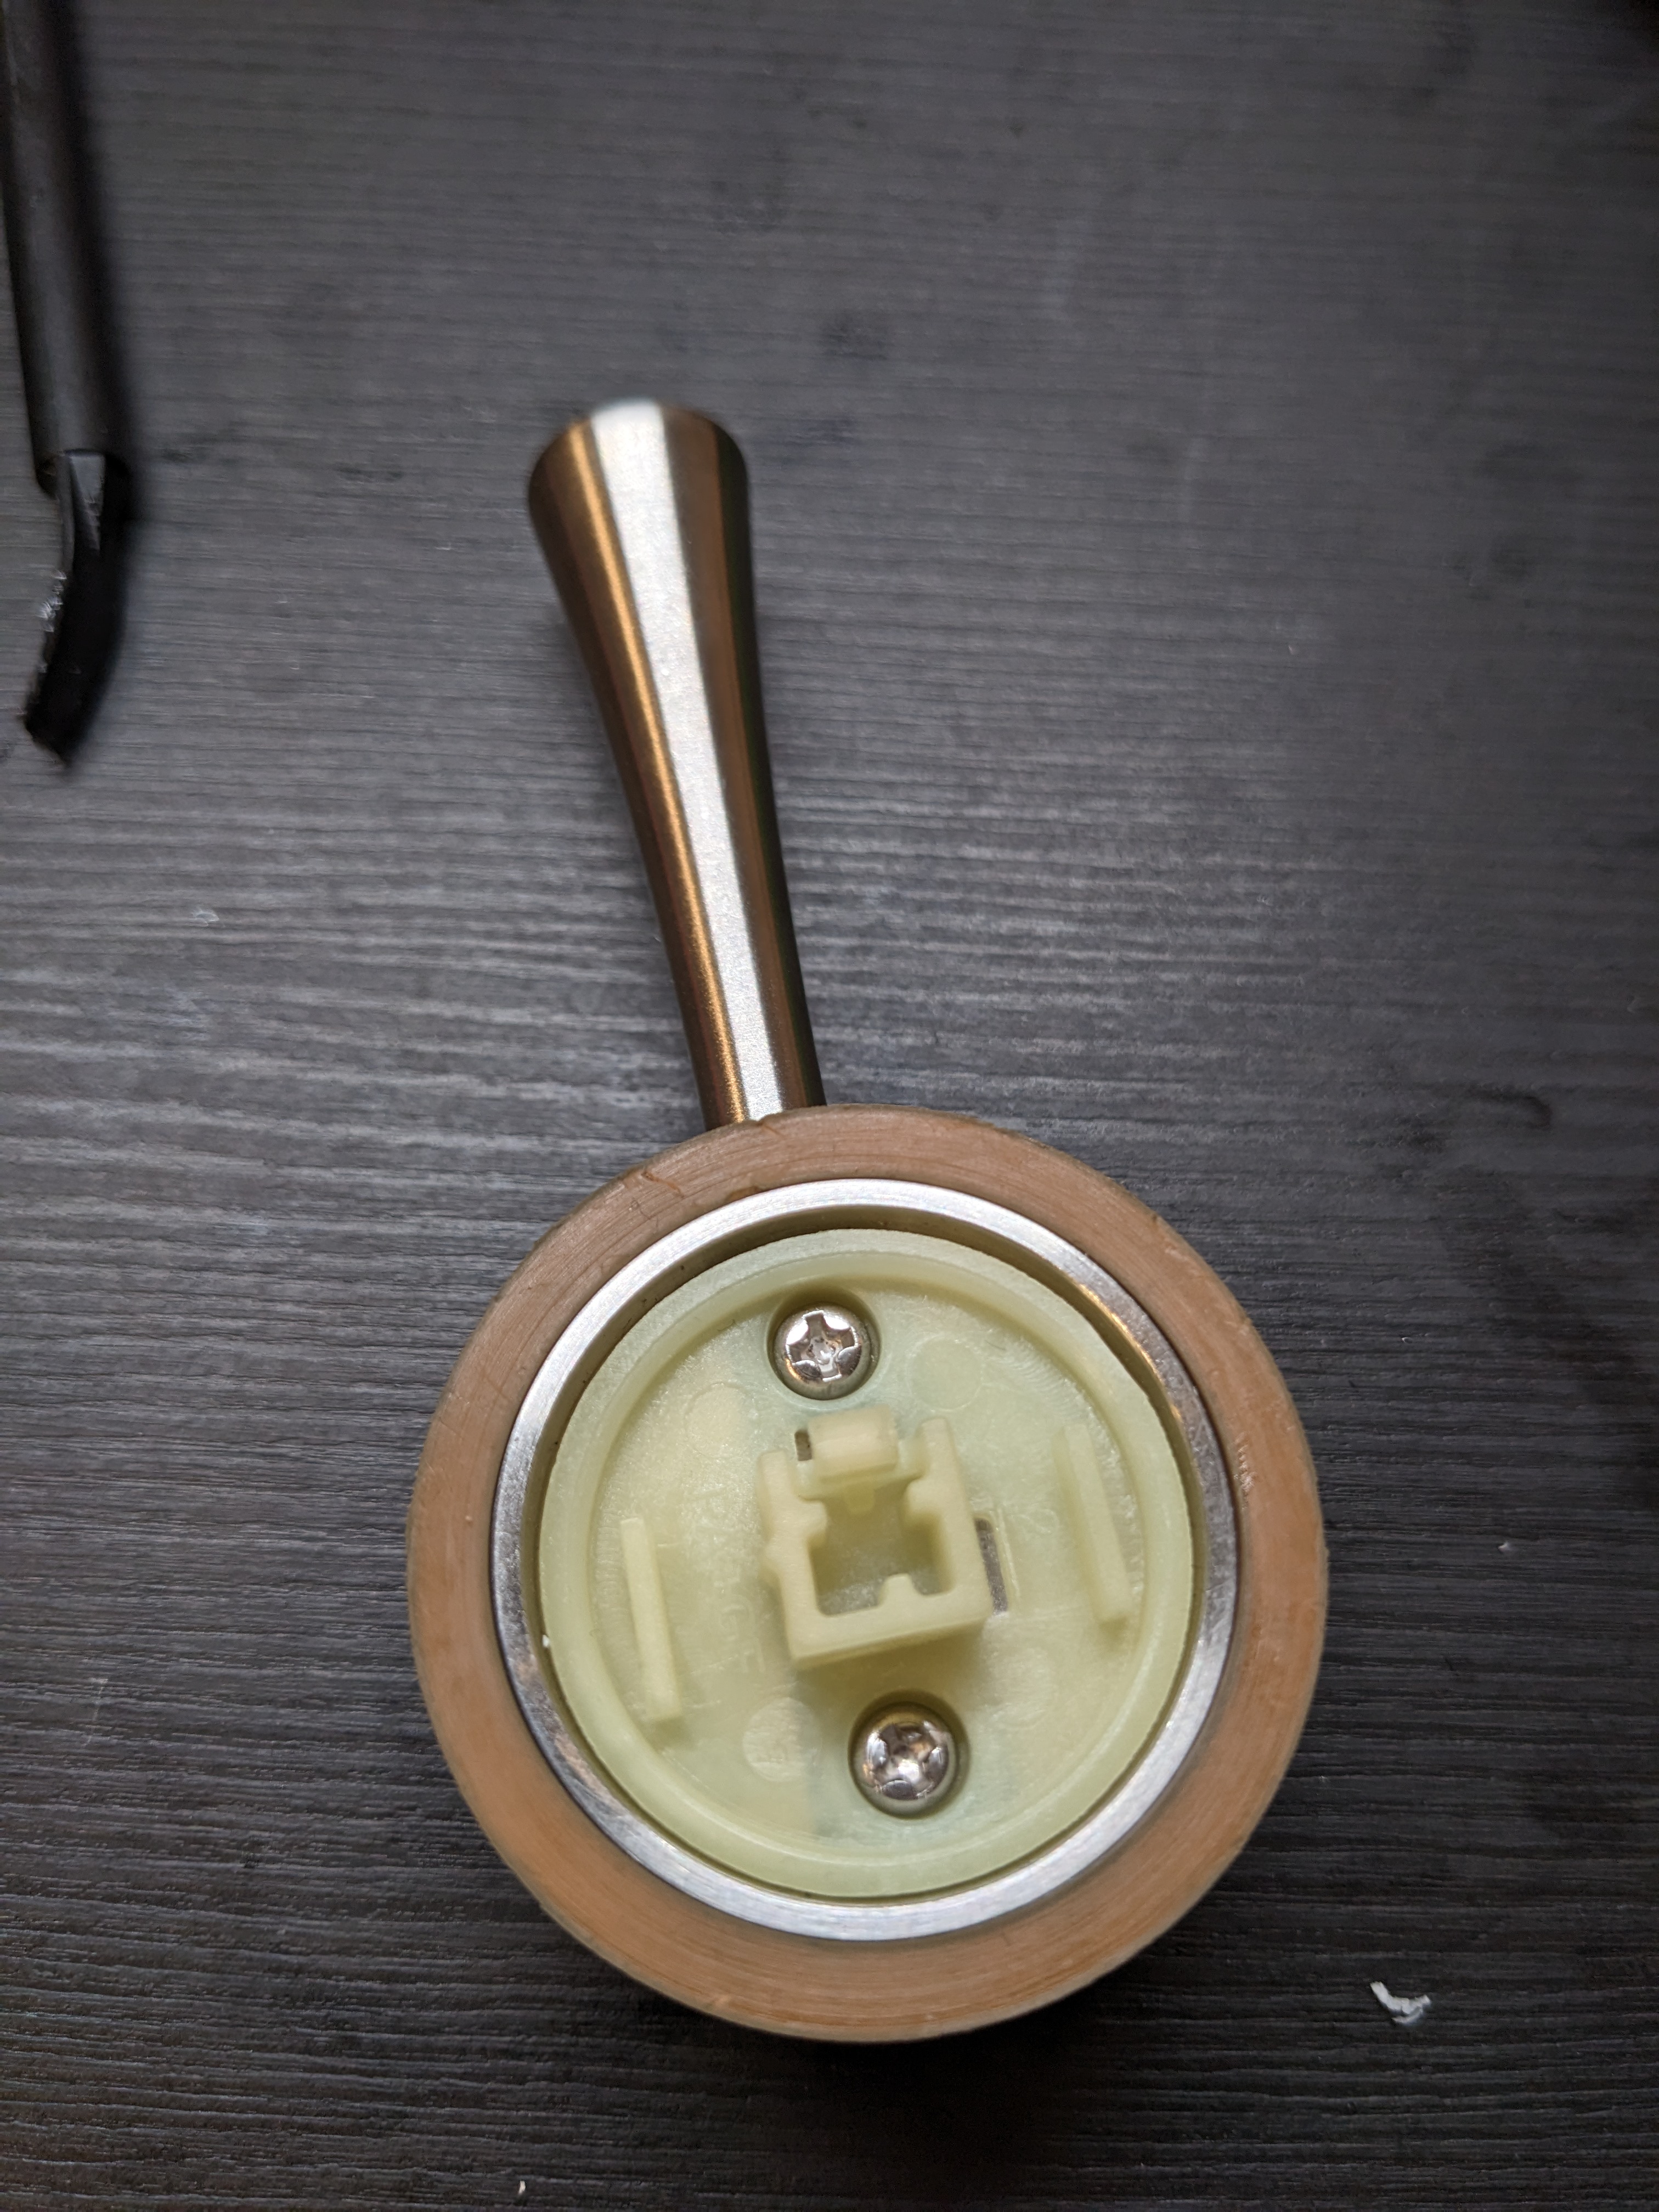
The base of the handle is slightly smaller than the base of the original knob, leaving a tiny gap between the machine. Not a big problem, but the bright orange stood out a lot if you looked into it at just the right angle. Since I had a pot of RIT dylon going for some wig fiber dying I tossed the o-ring in the pot to see what would happen. The dye didn’t really take, but it did darken the orange slightly, which was good enough for my purposes.
Once I finally got the o-ring in (no easy task), I pushed the handle through until the plastic latch clicked in place. I stuck some silicone lube in between the discs where the friction seemed to be originating and tested the handle by gently working it back and forth, but the handle torque was clearly doing all the work. Maybe the lube wasn’t able to work its way deep enough into the mechanism.
I wasn’t sure the o-ring would stay in place and indeed when I poked it slightly it seemed like it would work itself out over time. So, I detached the handle again and removed the o-ring. I would cut it down to size and see if it would stay better that way.
In the meanwhile, I was also hoping to maybe root cause the source of the original problem: the hard to turn knob that got worse over time. The handle can add a lot of torque in a place not really meant for it, and in some sense this solution is just over-powering a resistance that shouldn’t have been there in the first place. If whatever was causing the escalating stickiness could be reduced or eliminated, it wouldn’t need much force to turn, perhaps extending the life of the assembly.
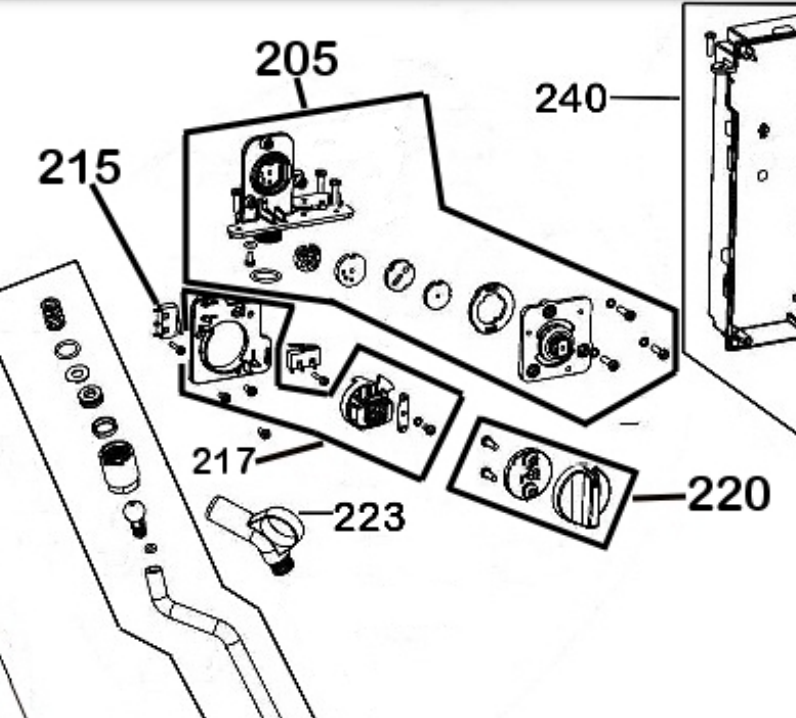
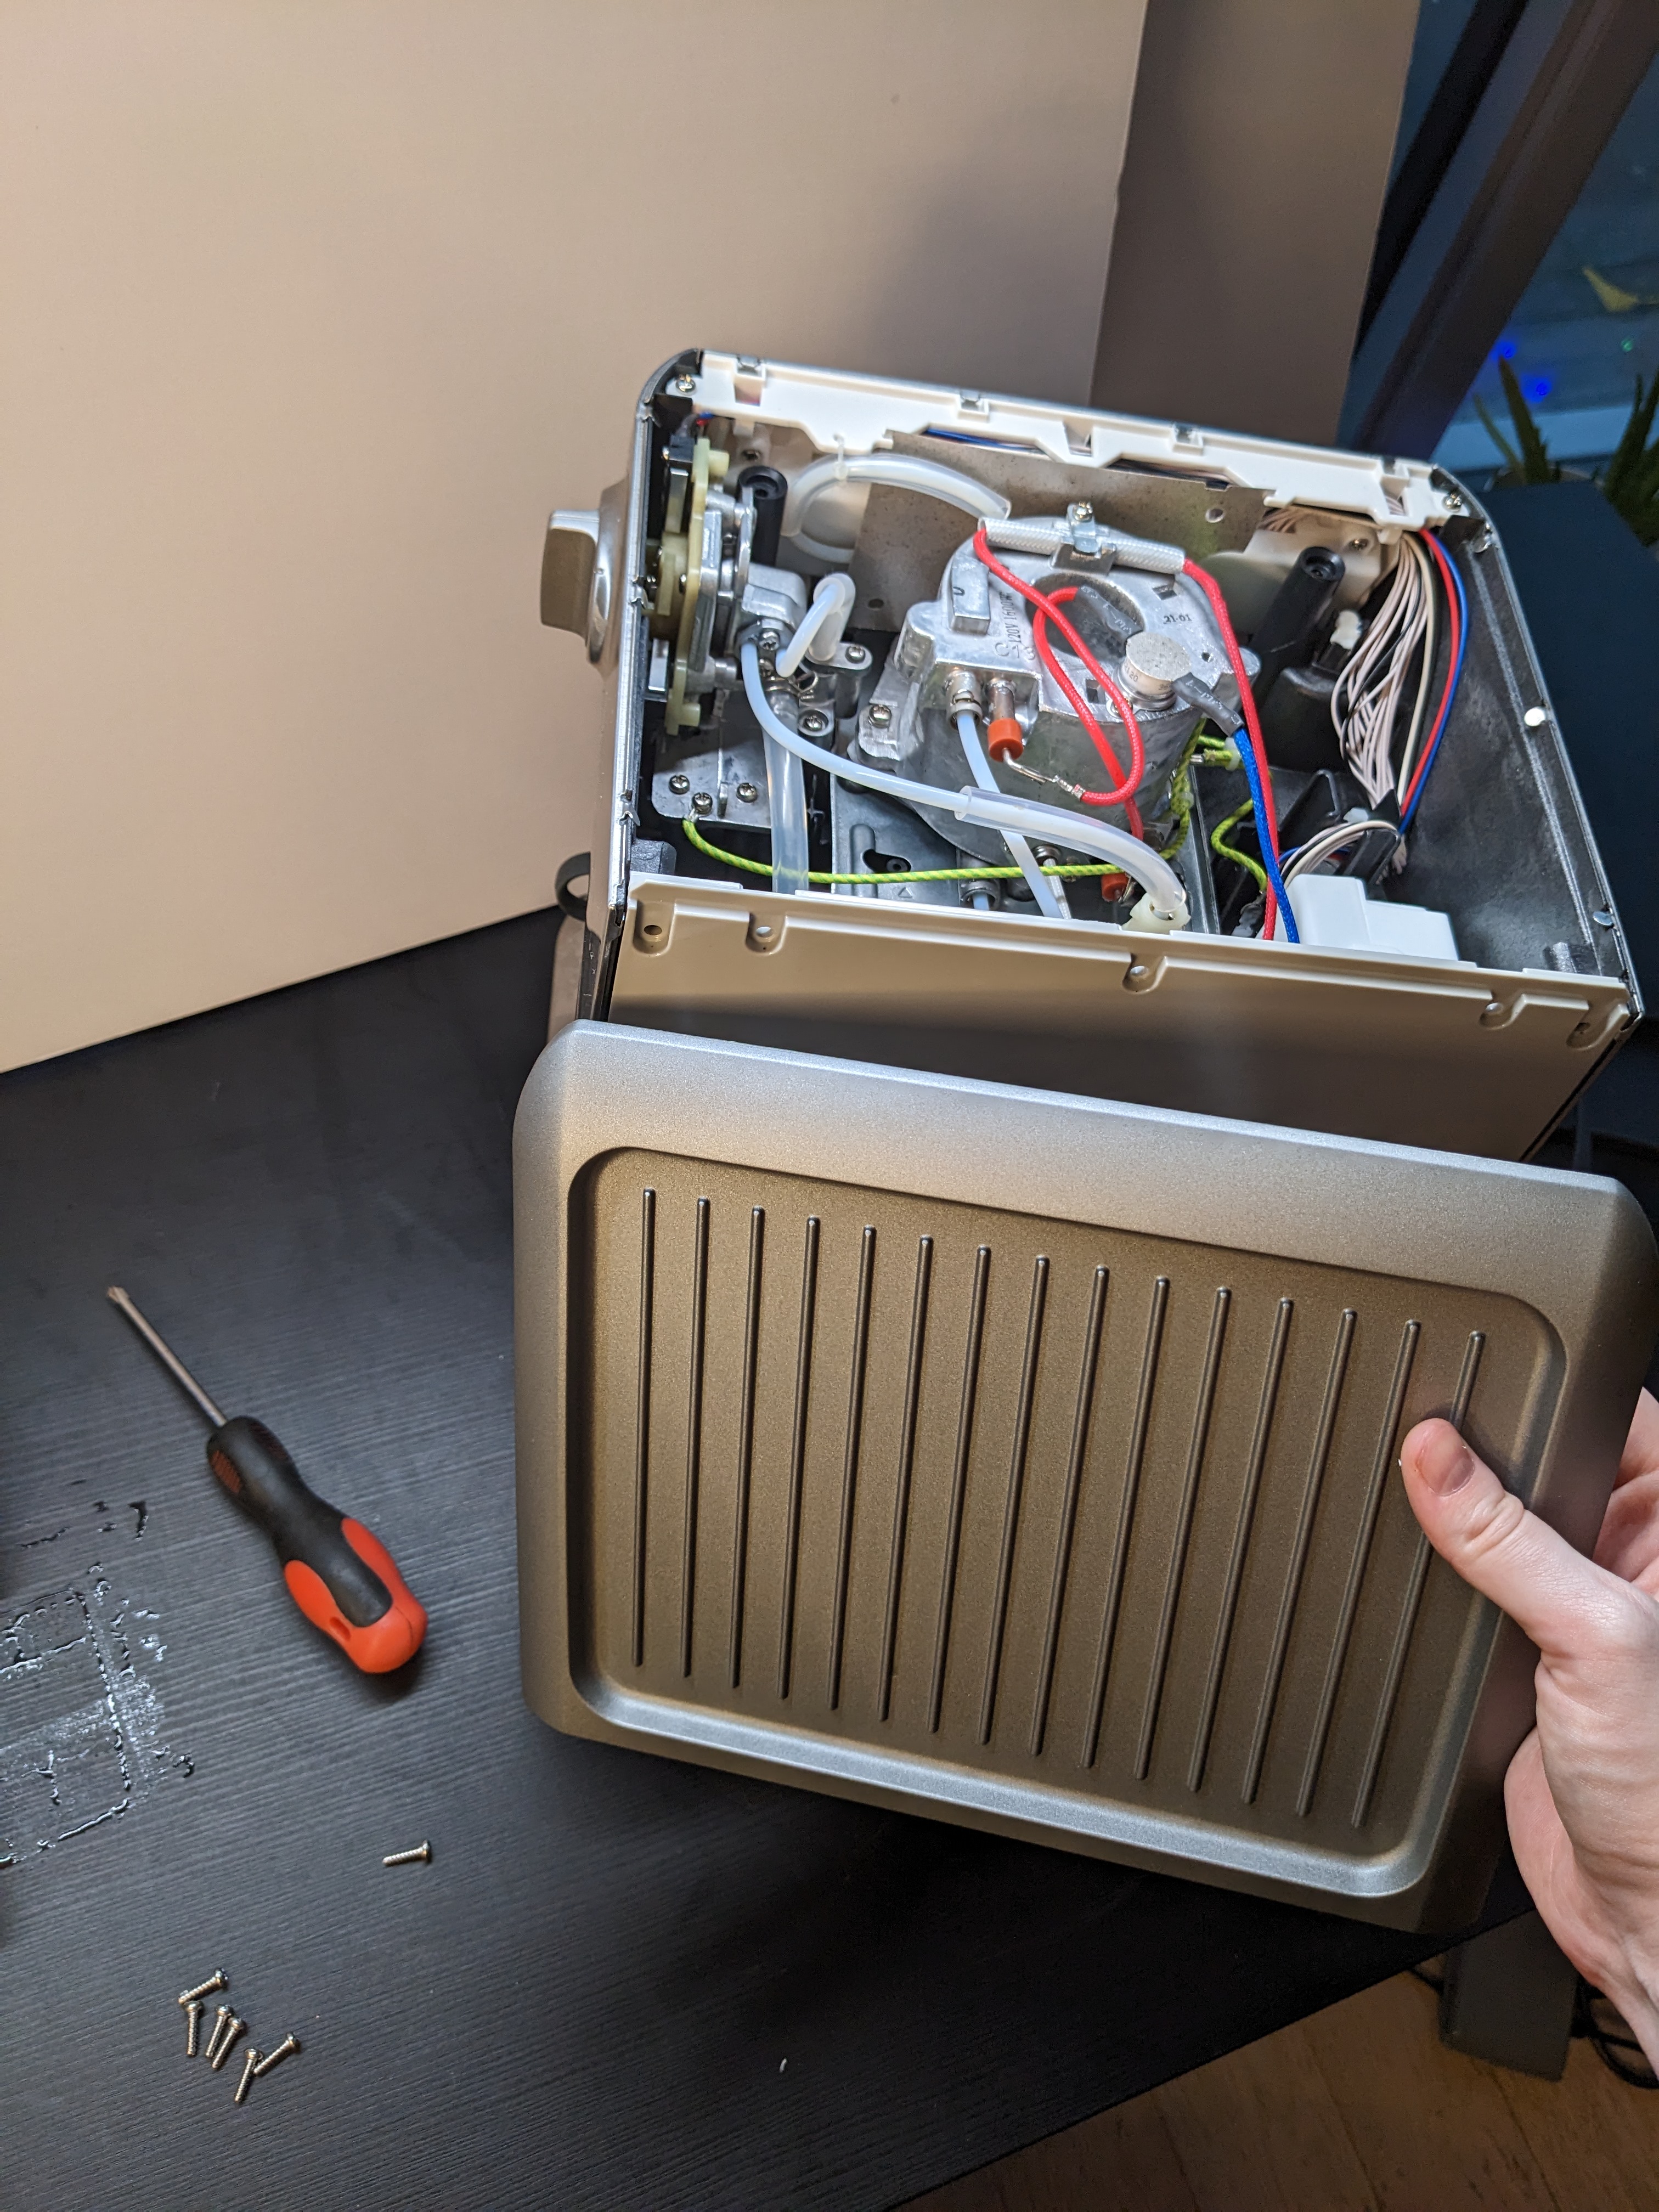
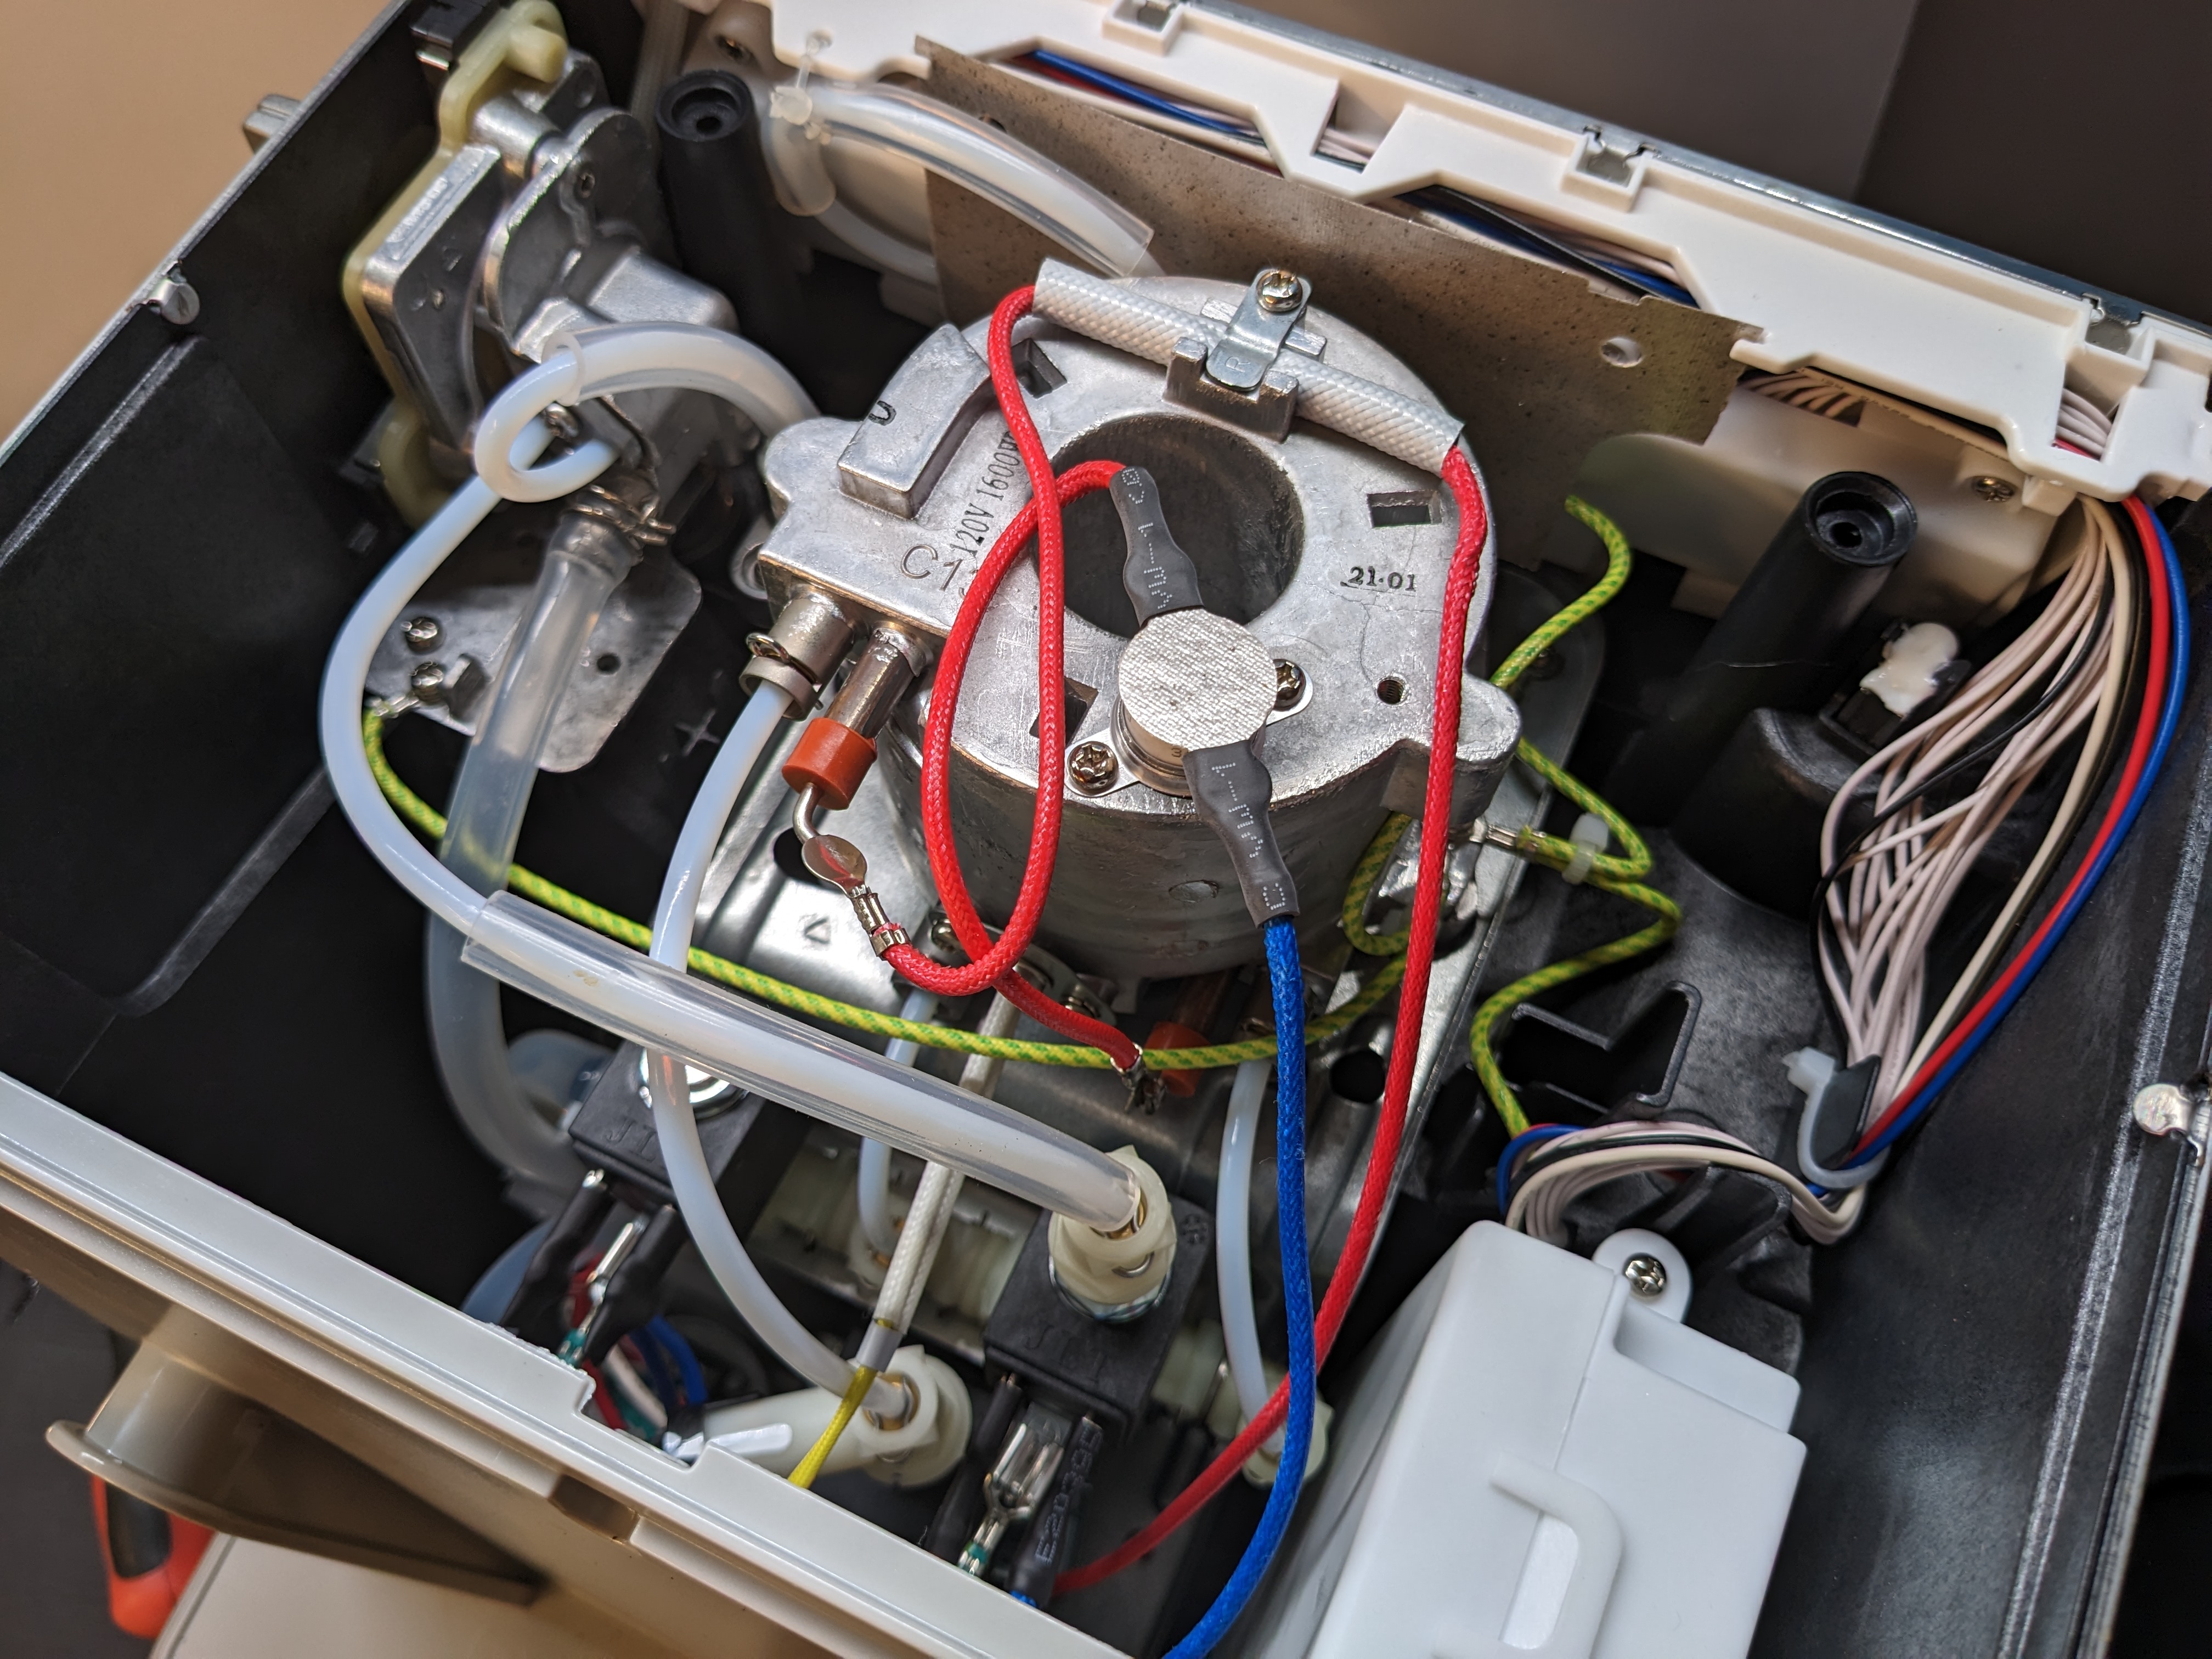
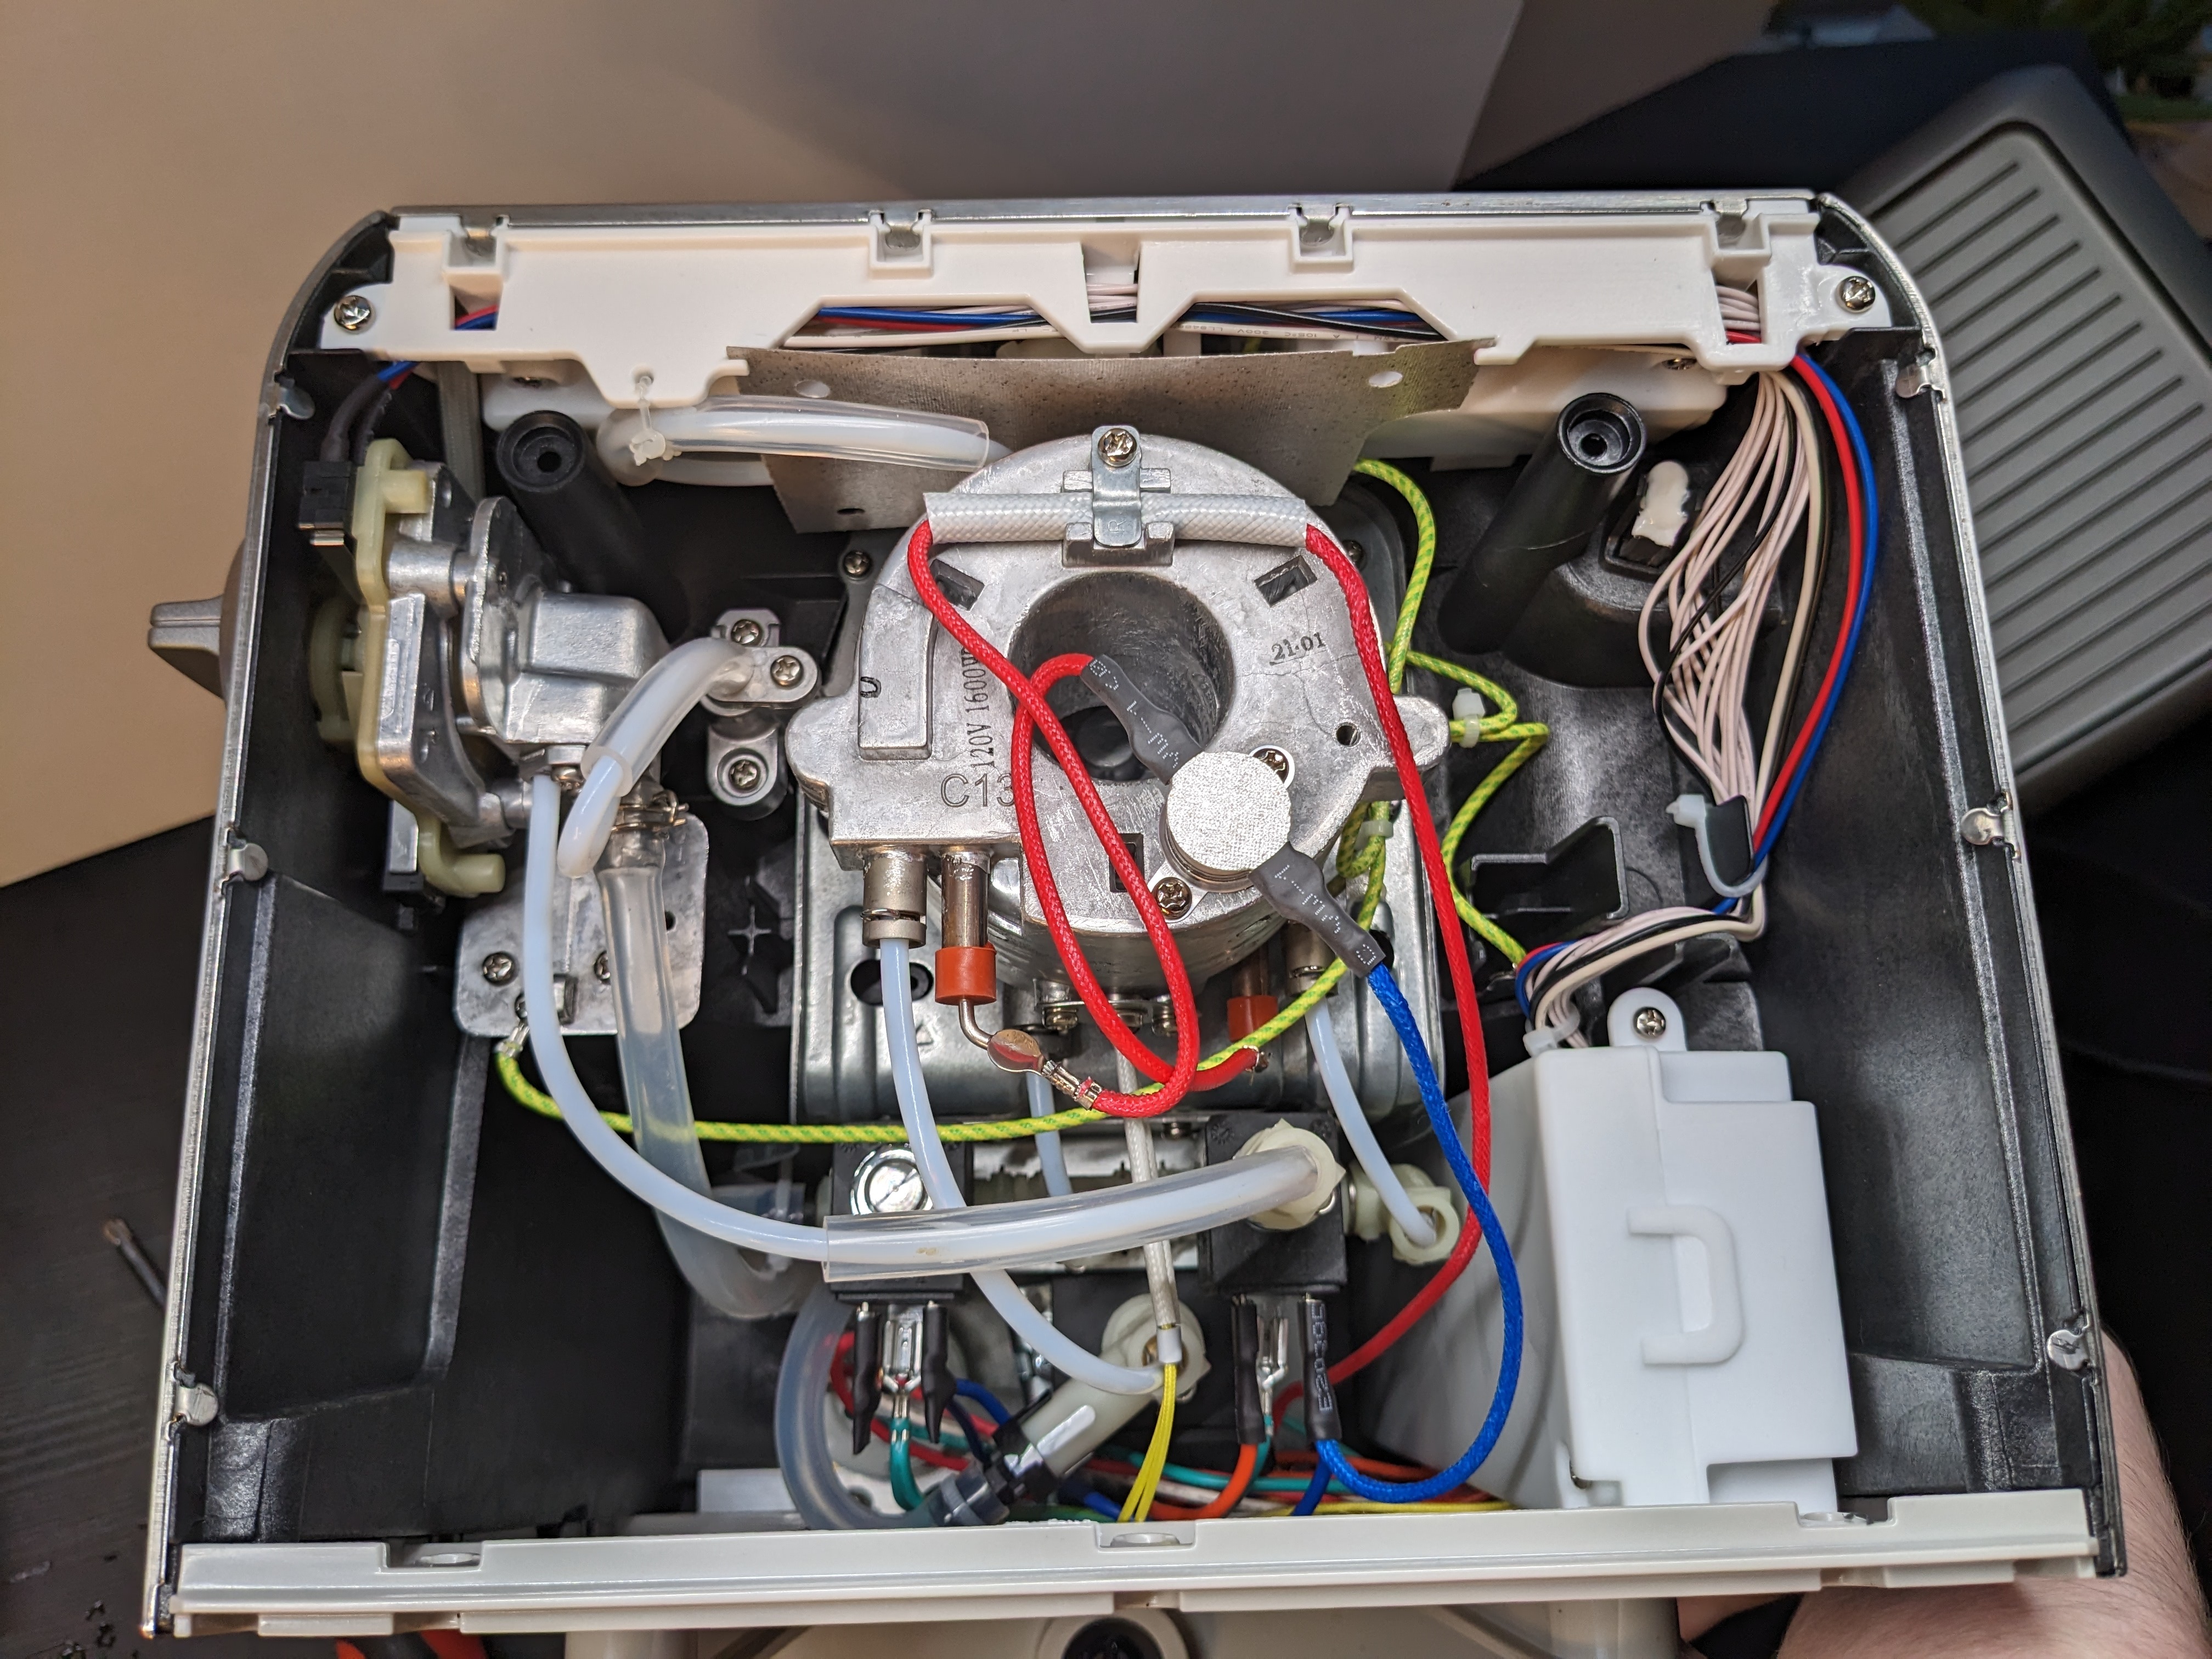
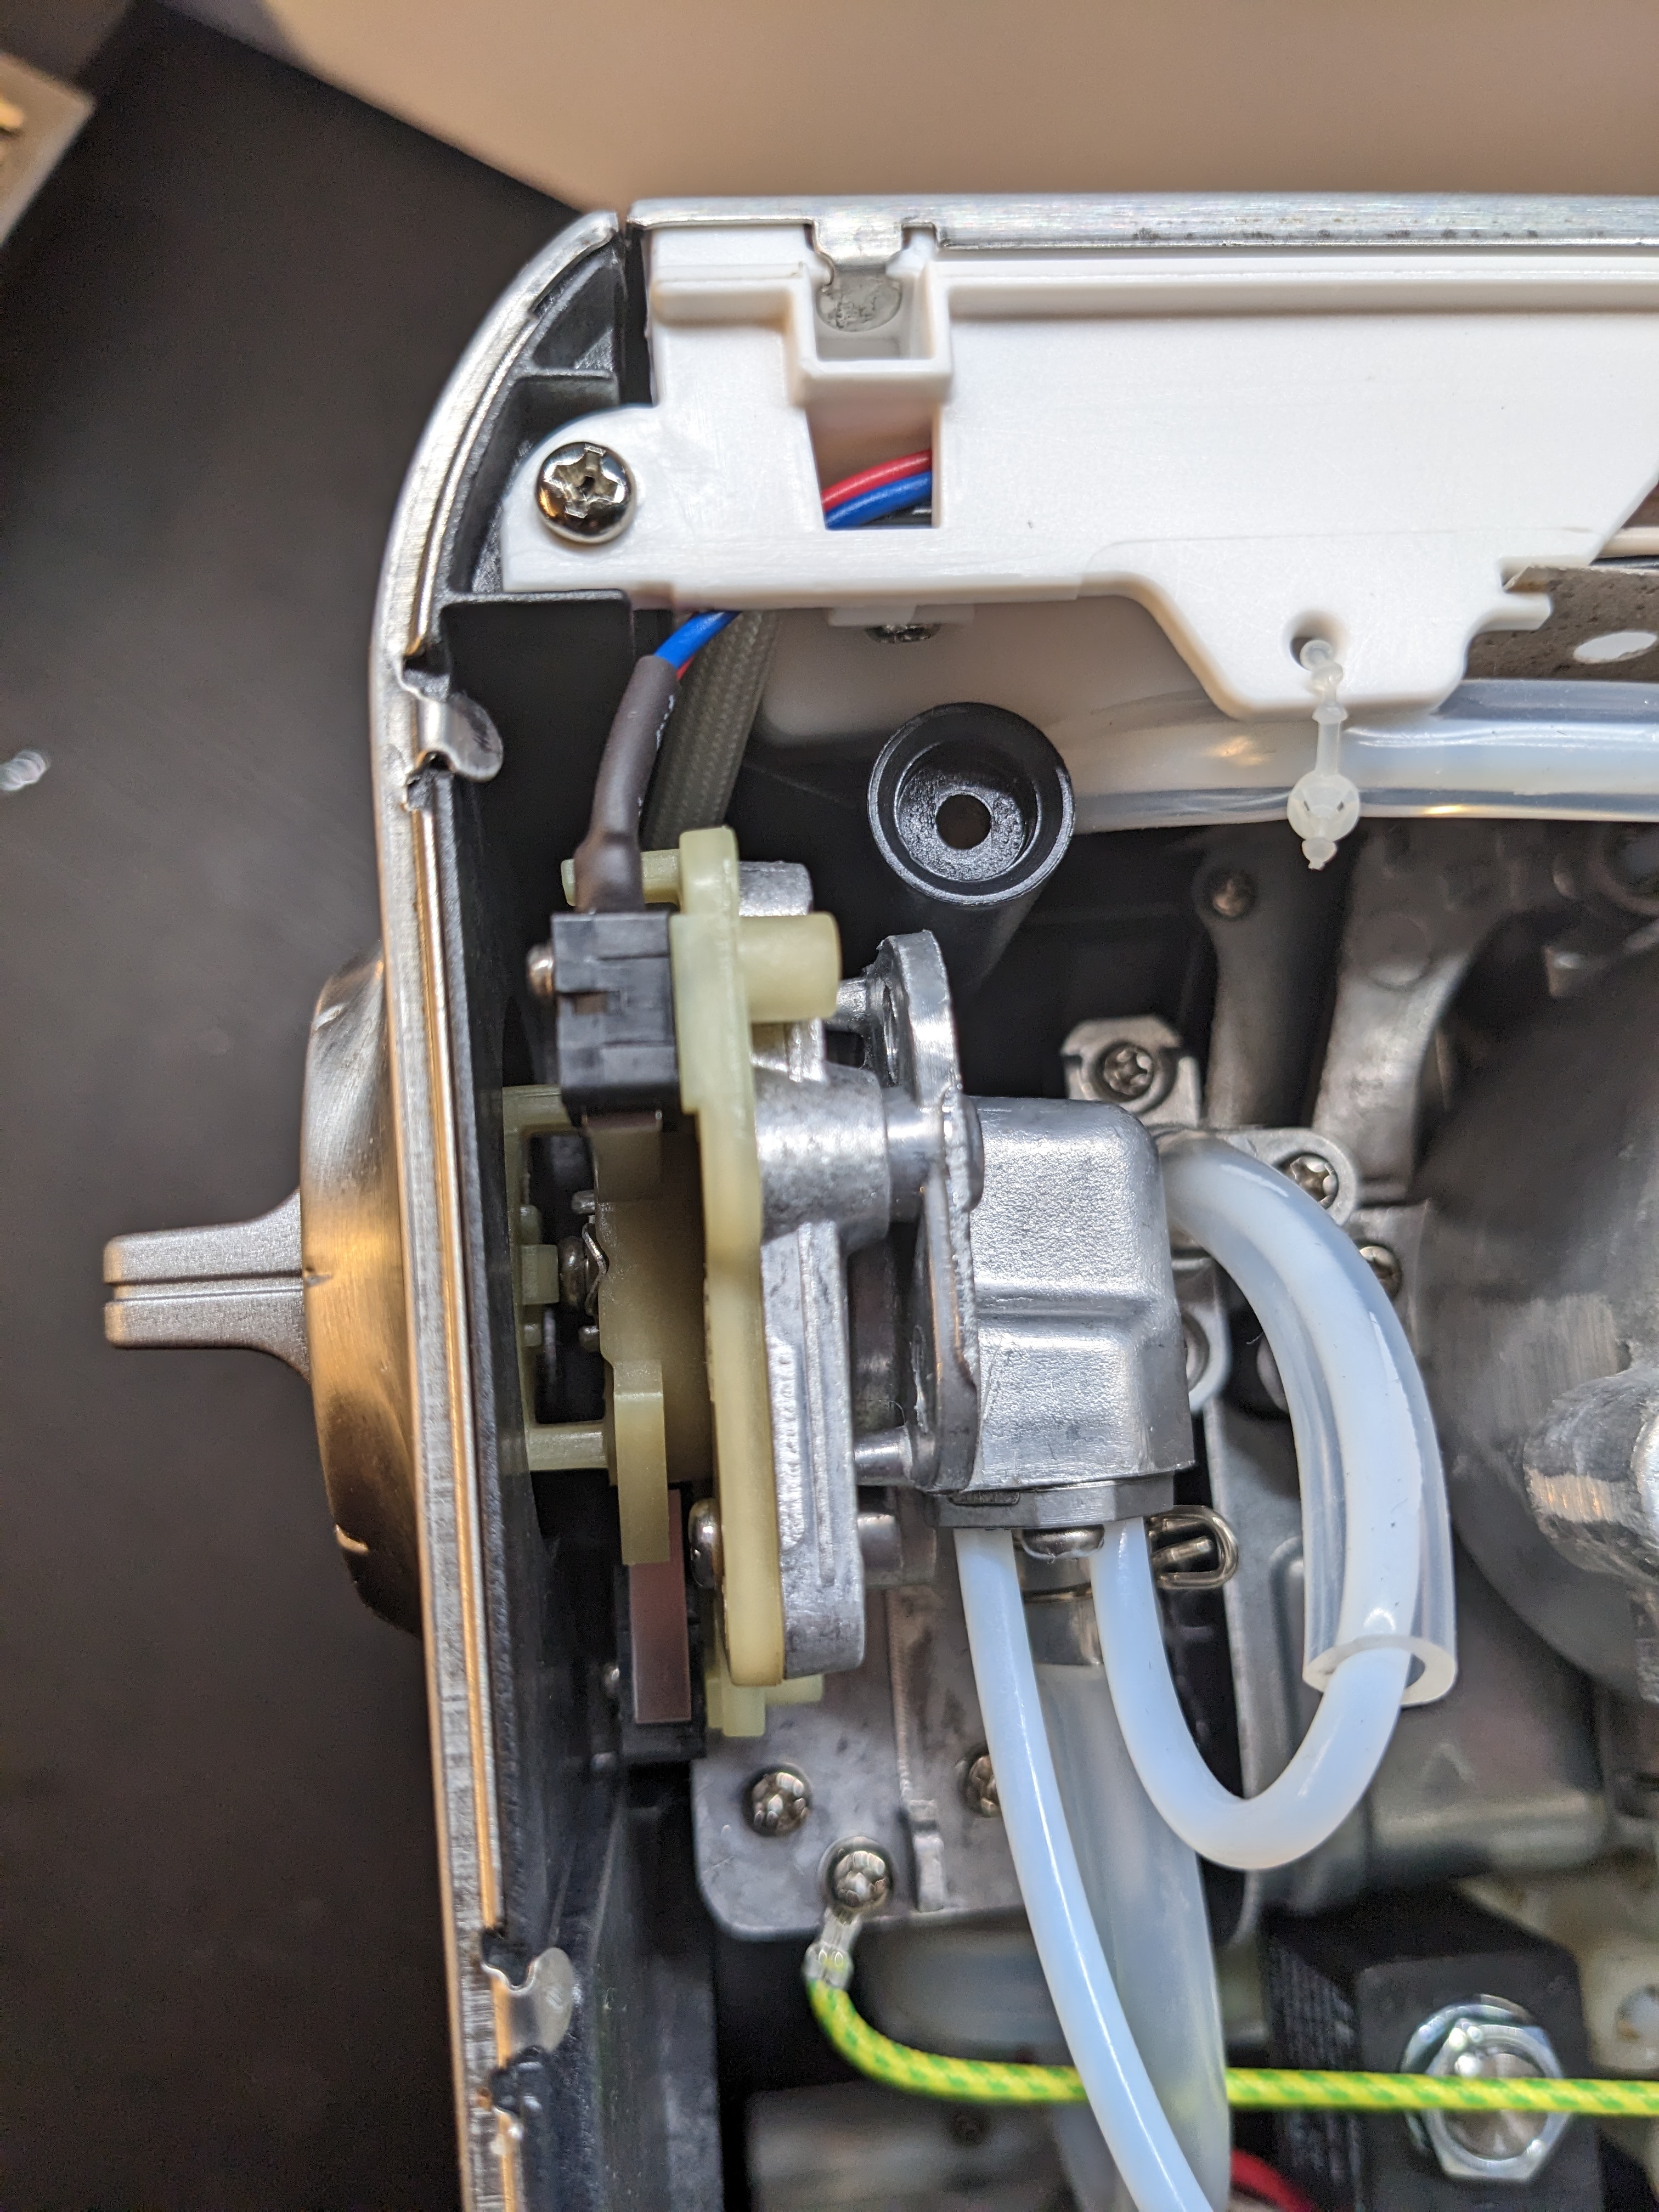
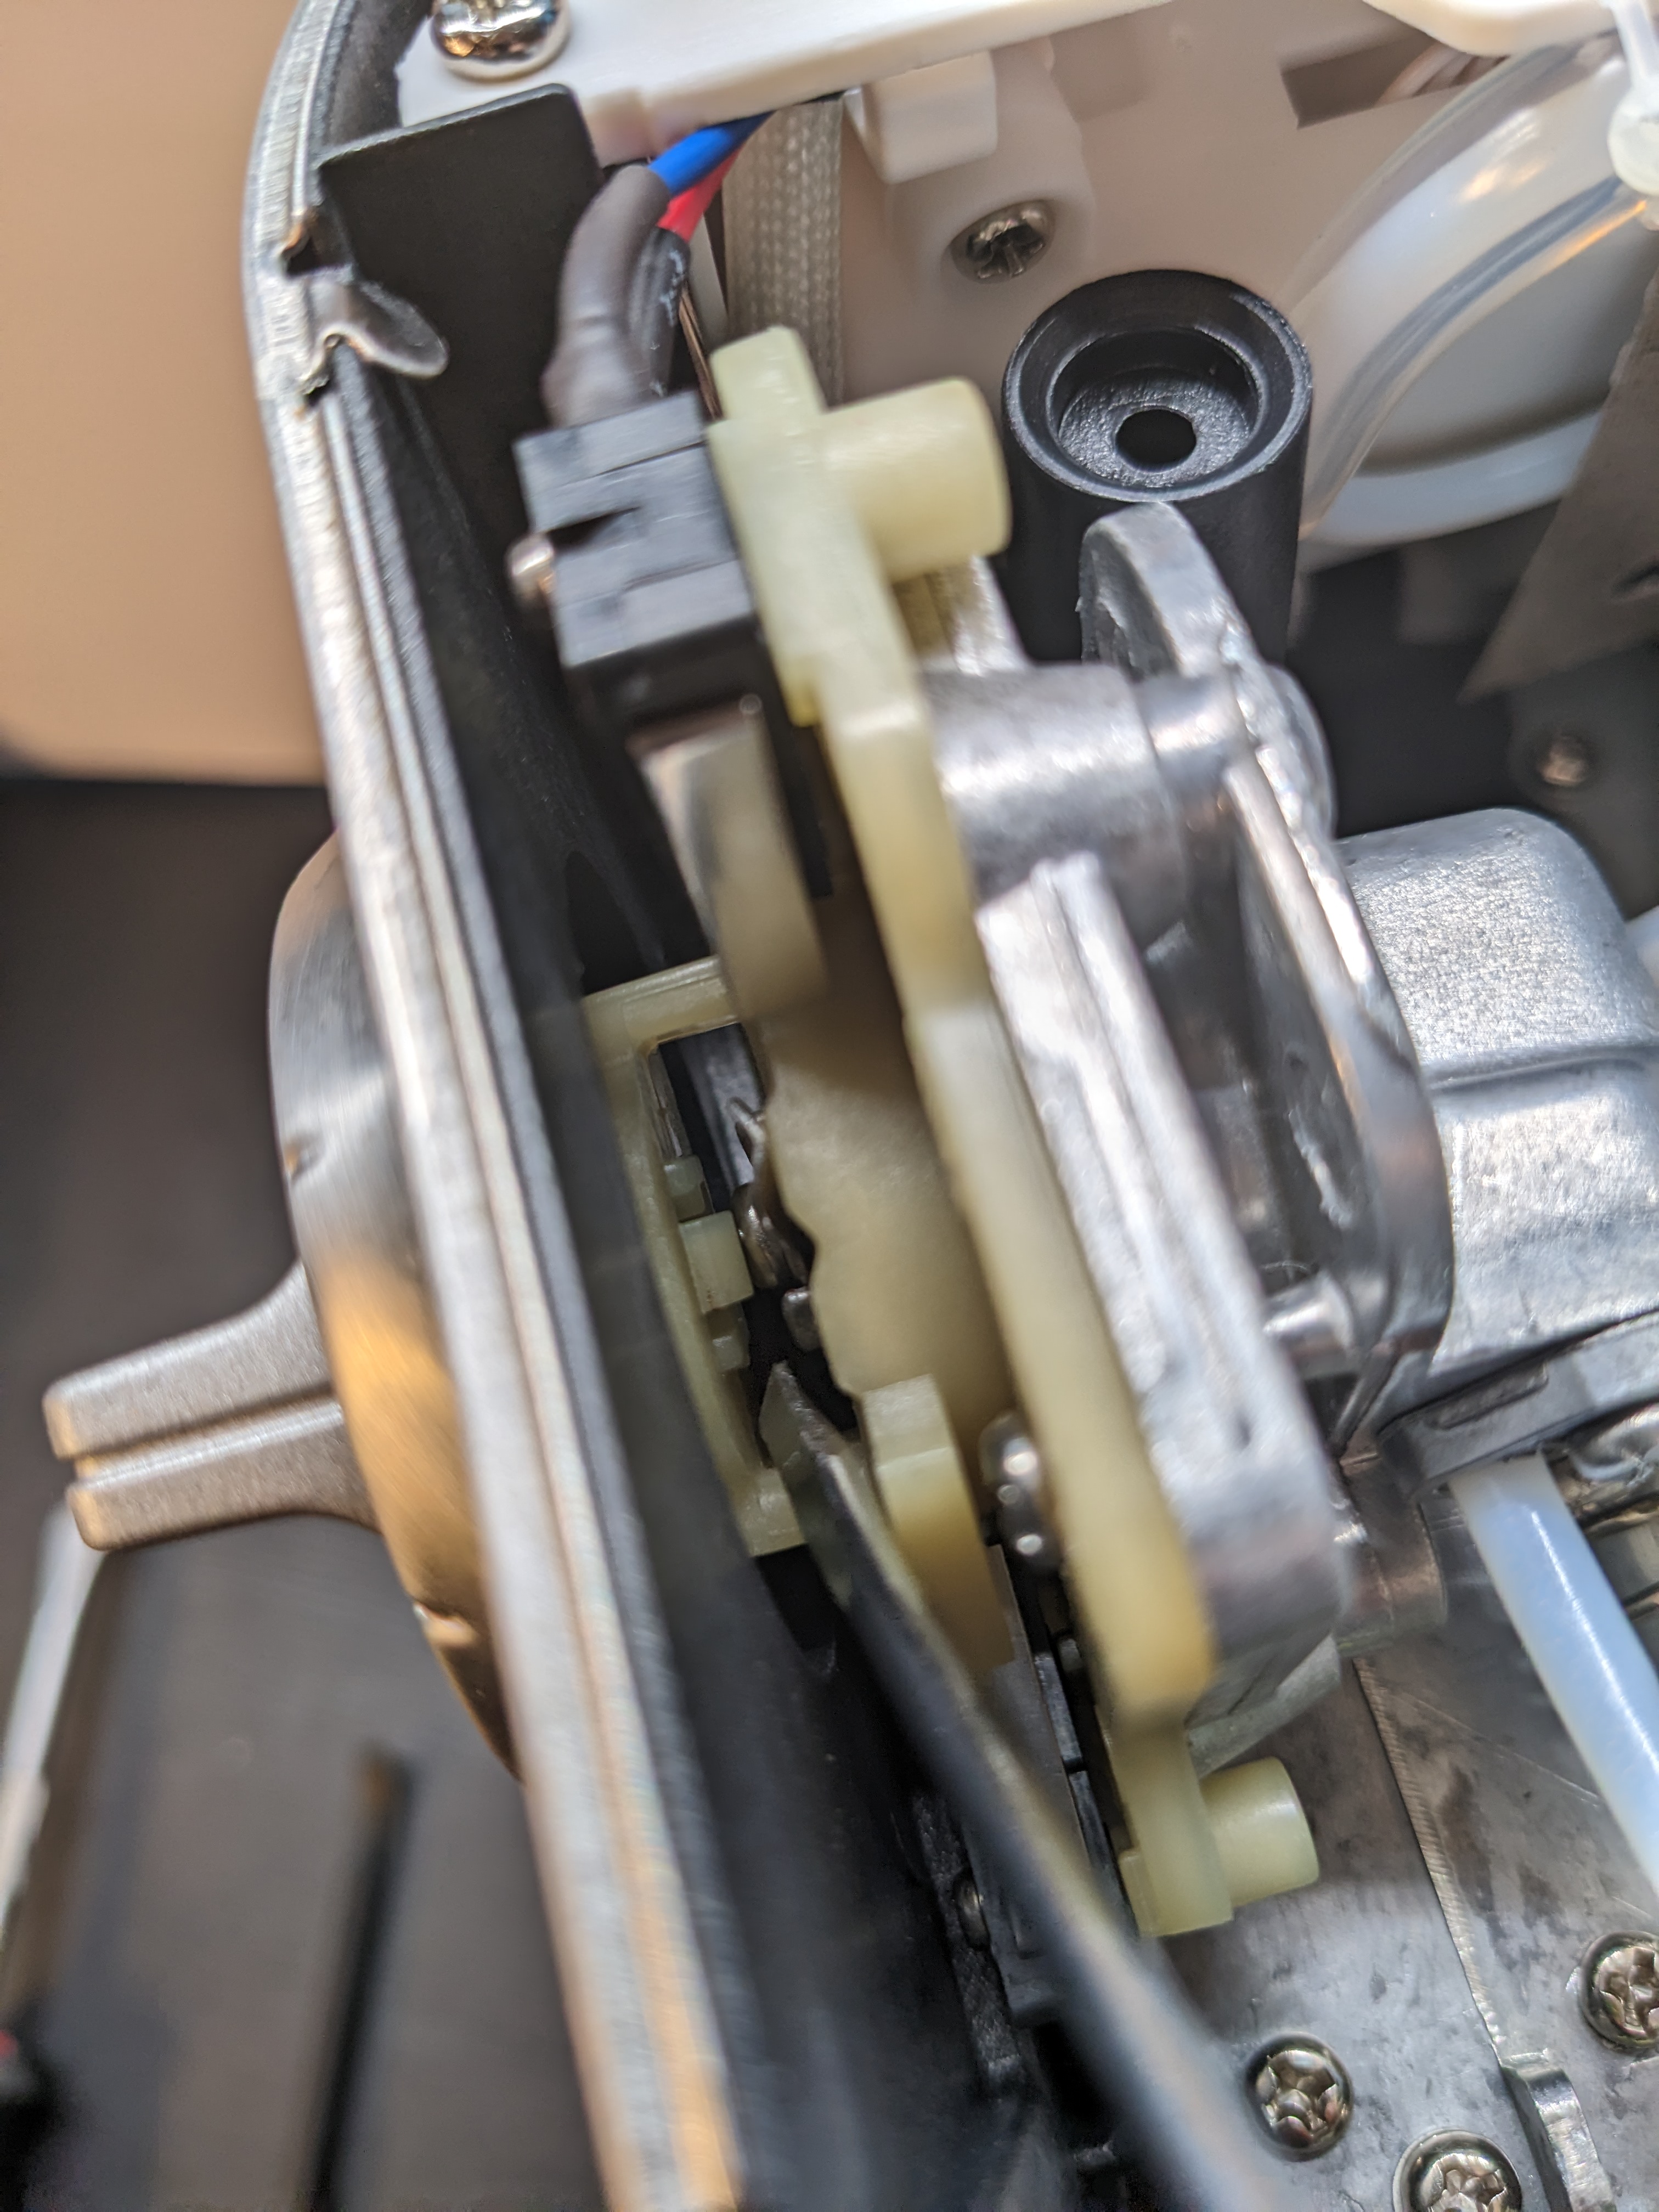
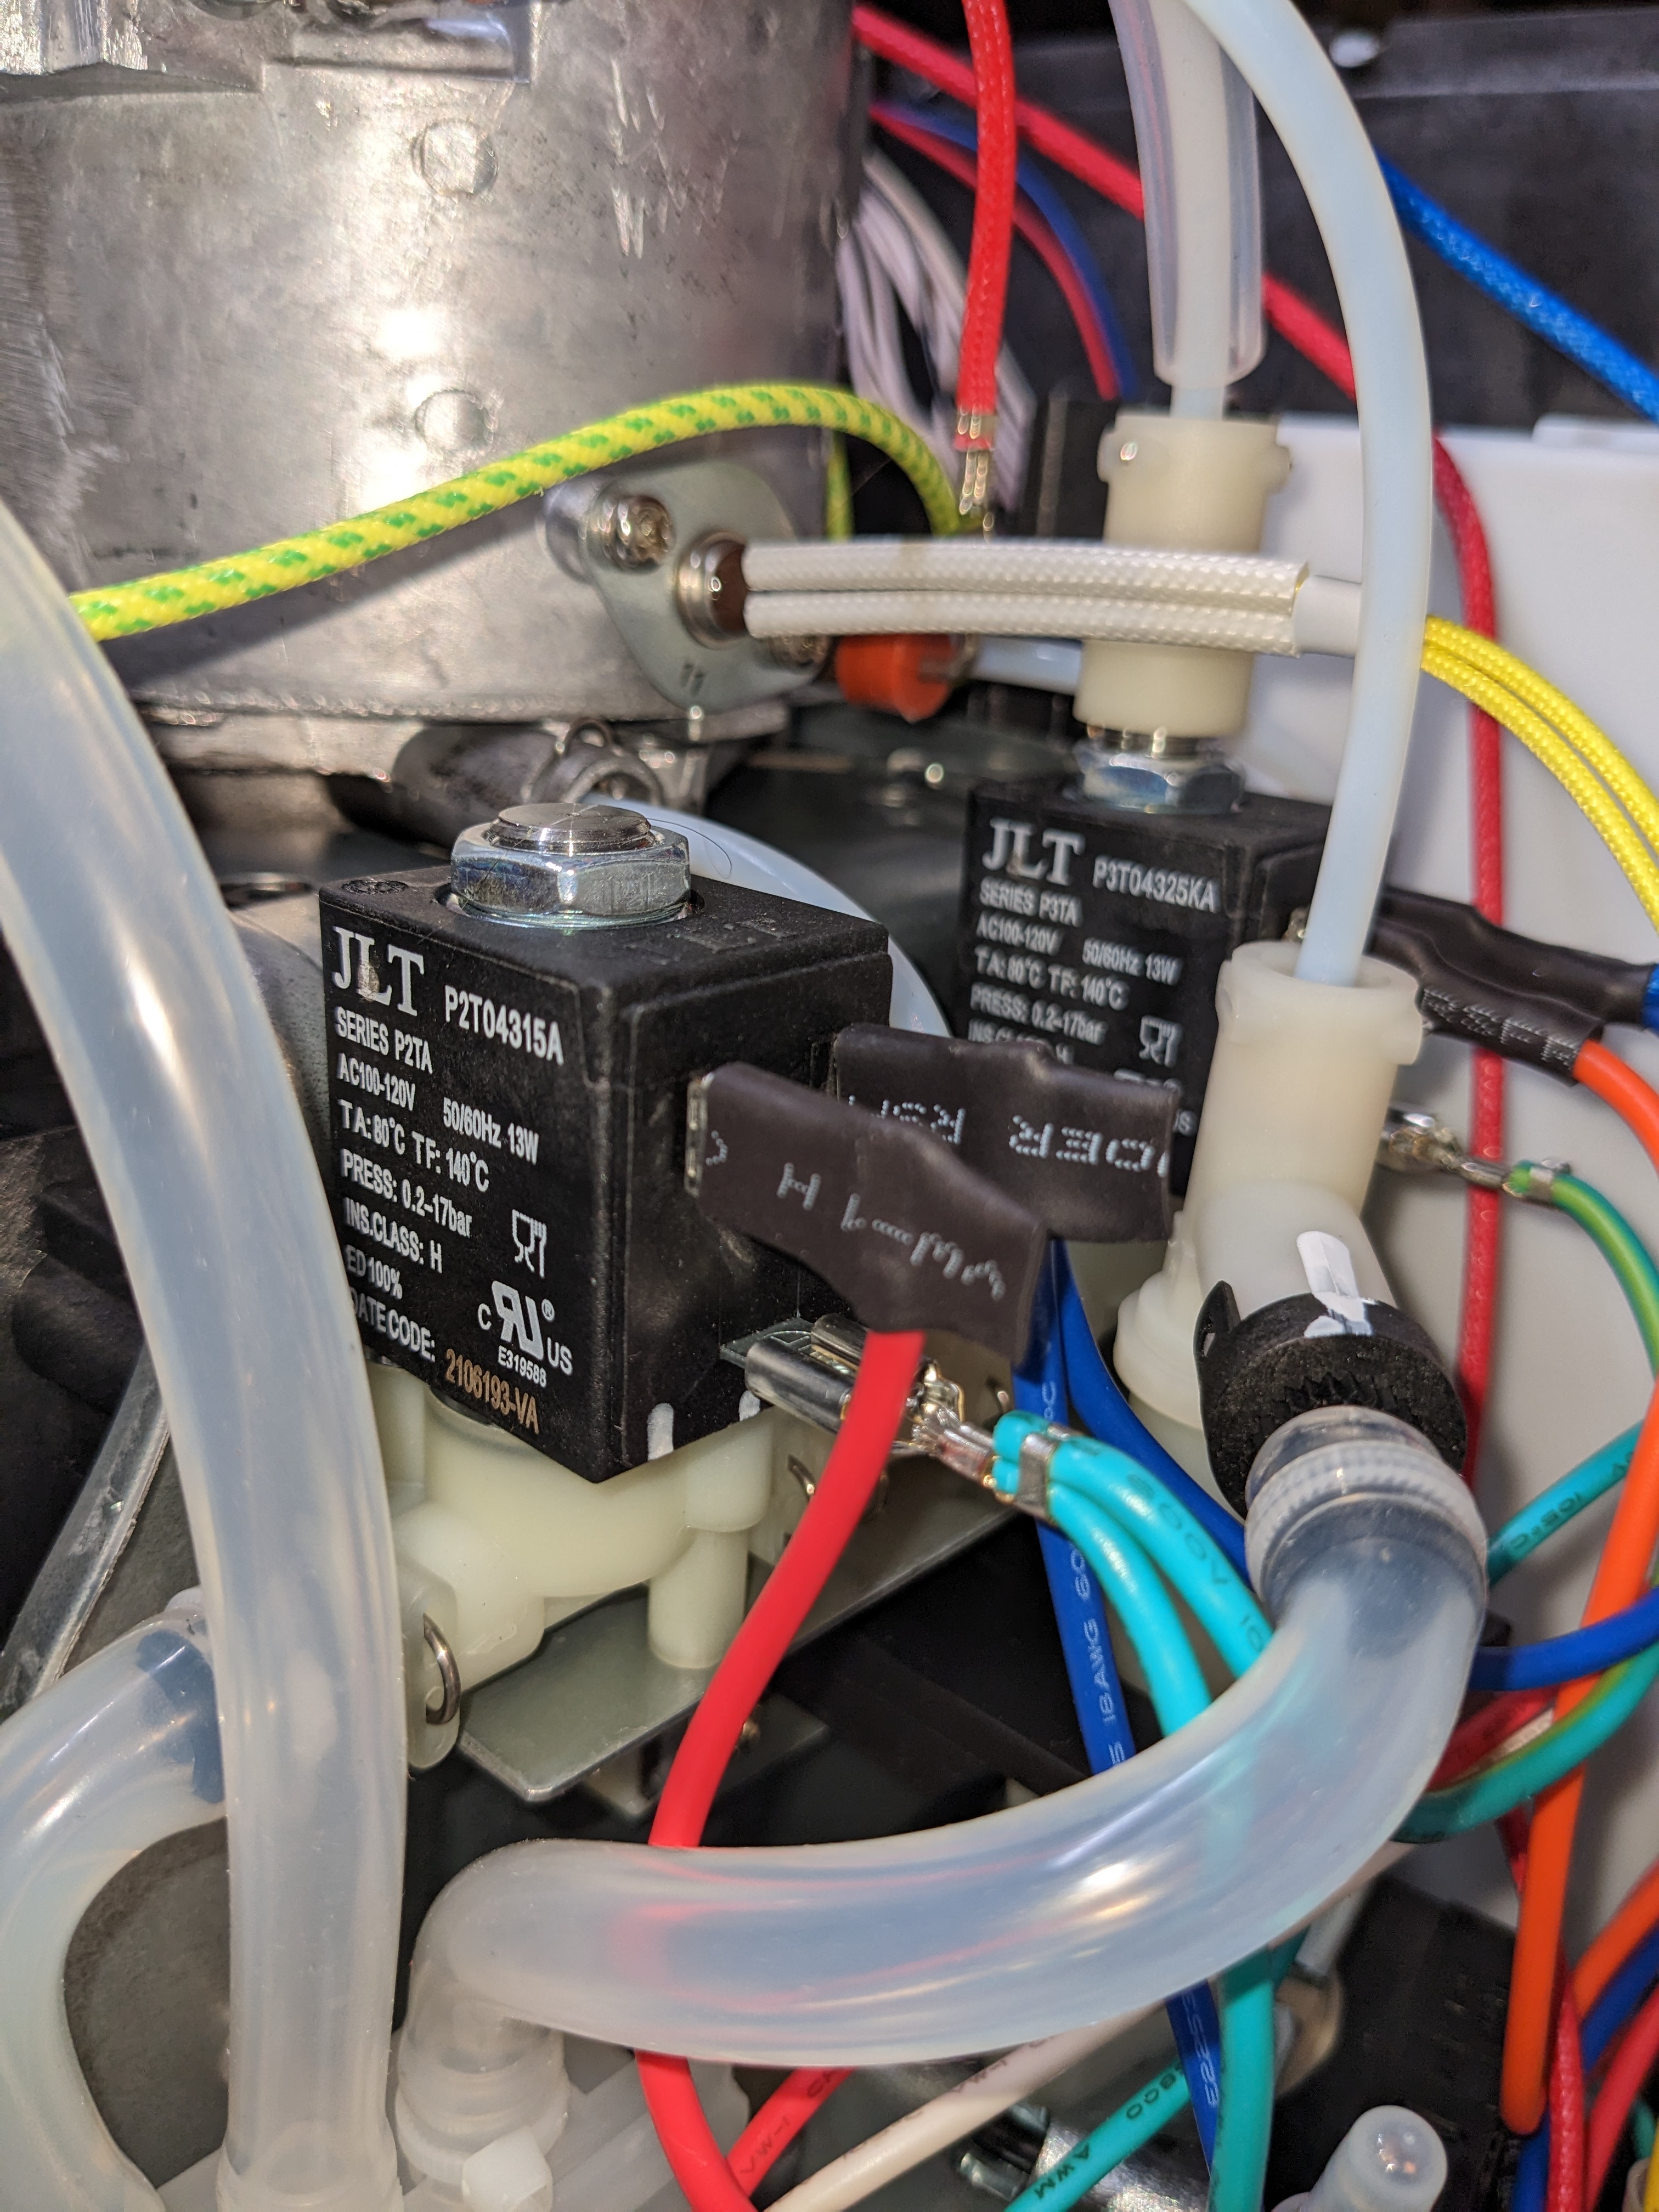
Looking at the Breville exploded diagram for the machine and doing some reading, this sort of switching mechanism is commonly used in water faucet valves (similar use case, I guess). It’s a stack of ceramic discs with holes in them that you twist in or out of alignment. You can see some photos of a similar ceramic disc assembly on an older model here. I could see how mineral build up here could perhaps make it more difficult to turn over time. That would also explain why my lube did nothing - it wasn’t going to get anwhere near those things from where I was shoving it.


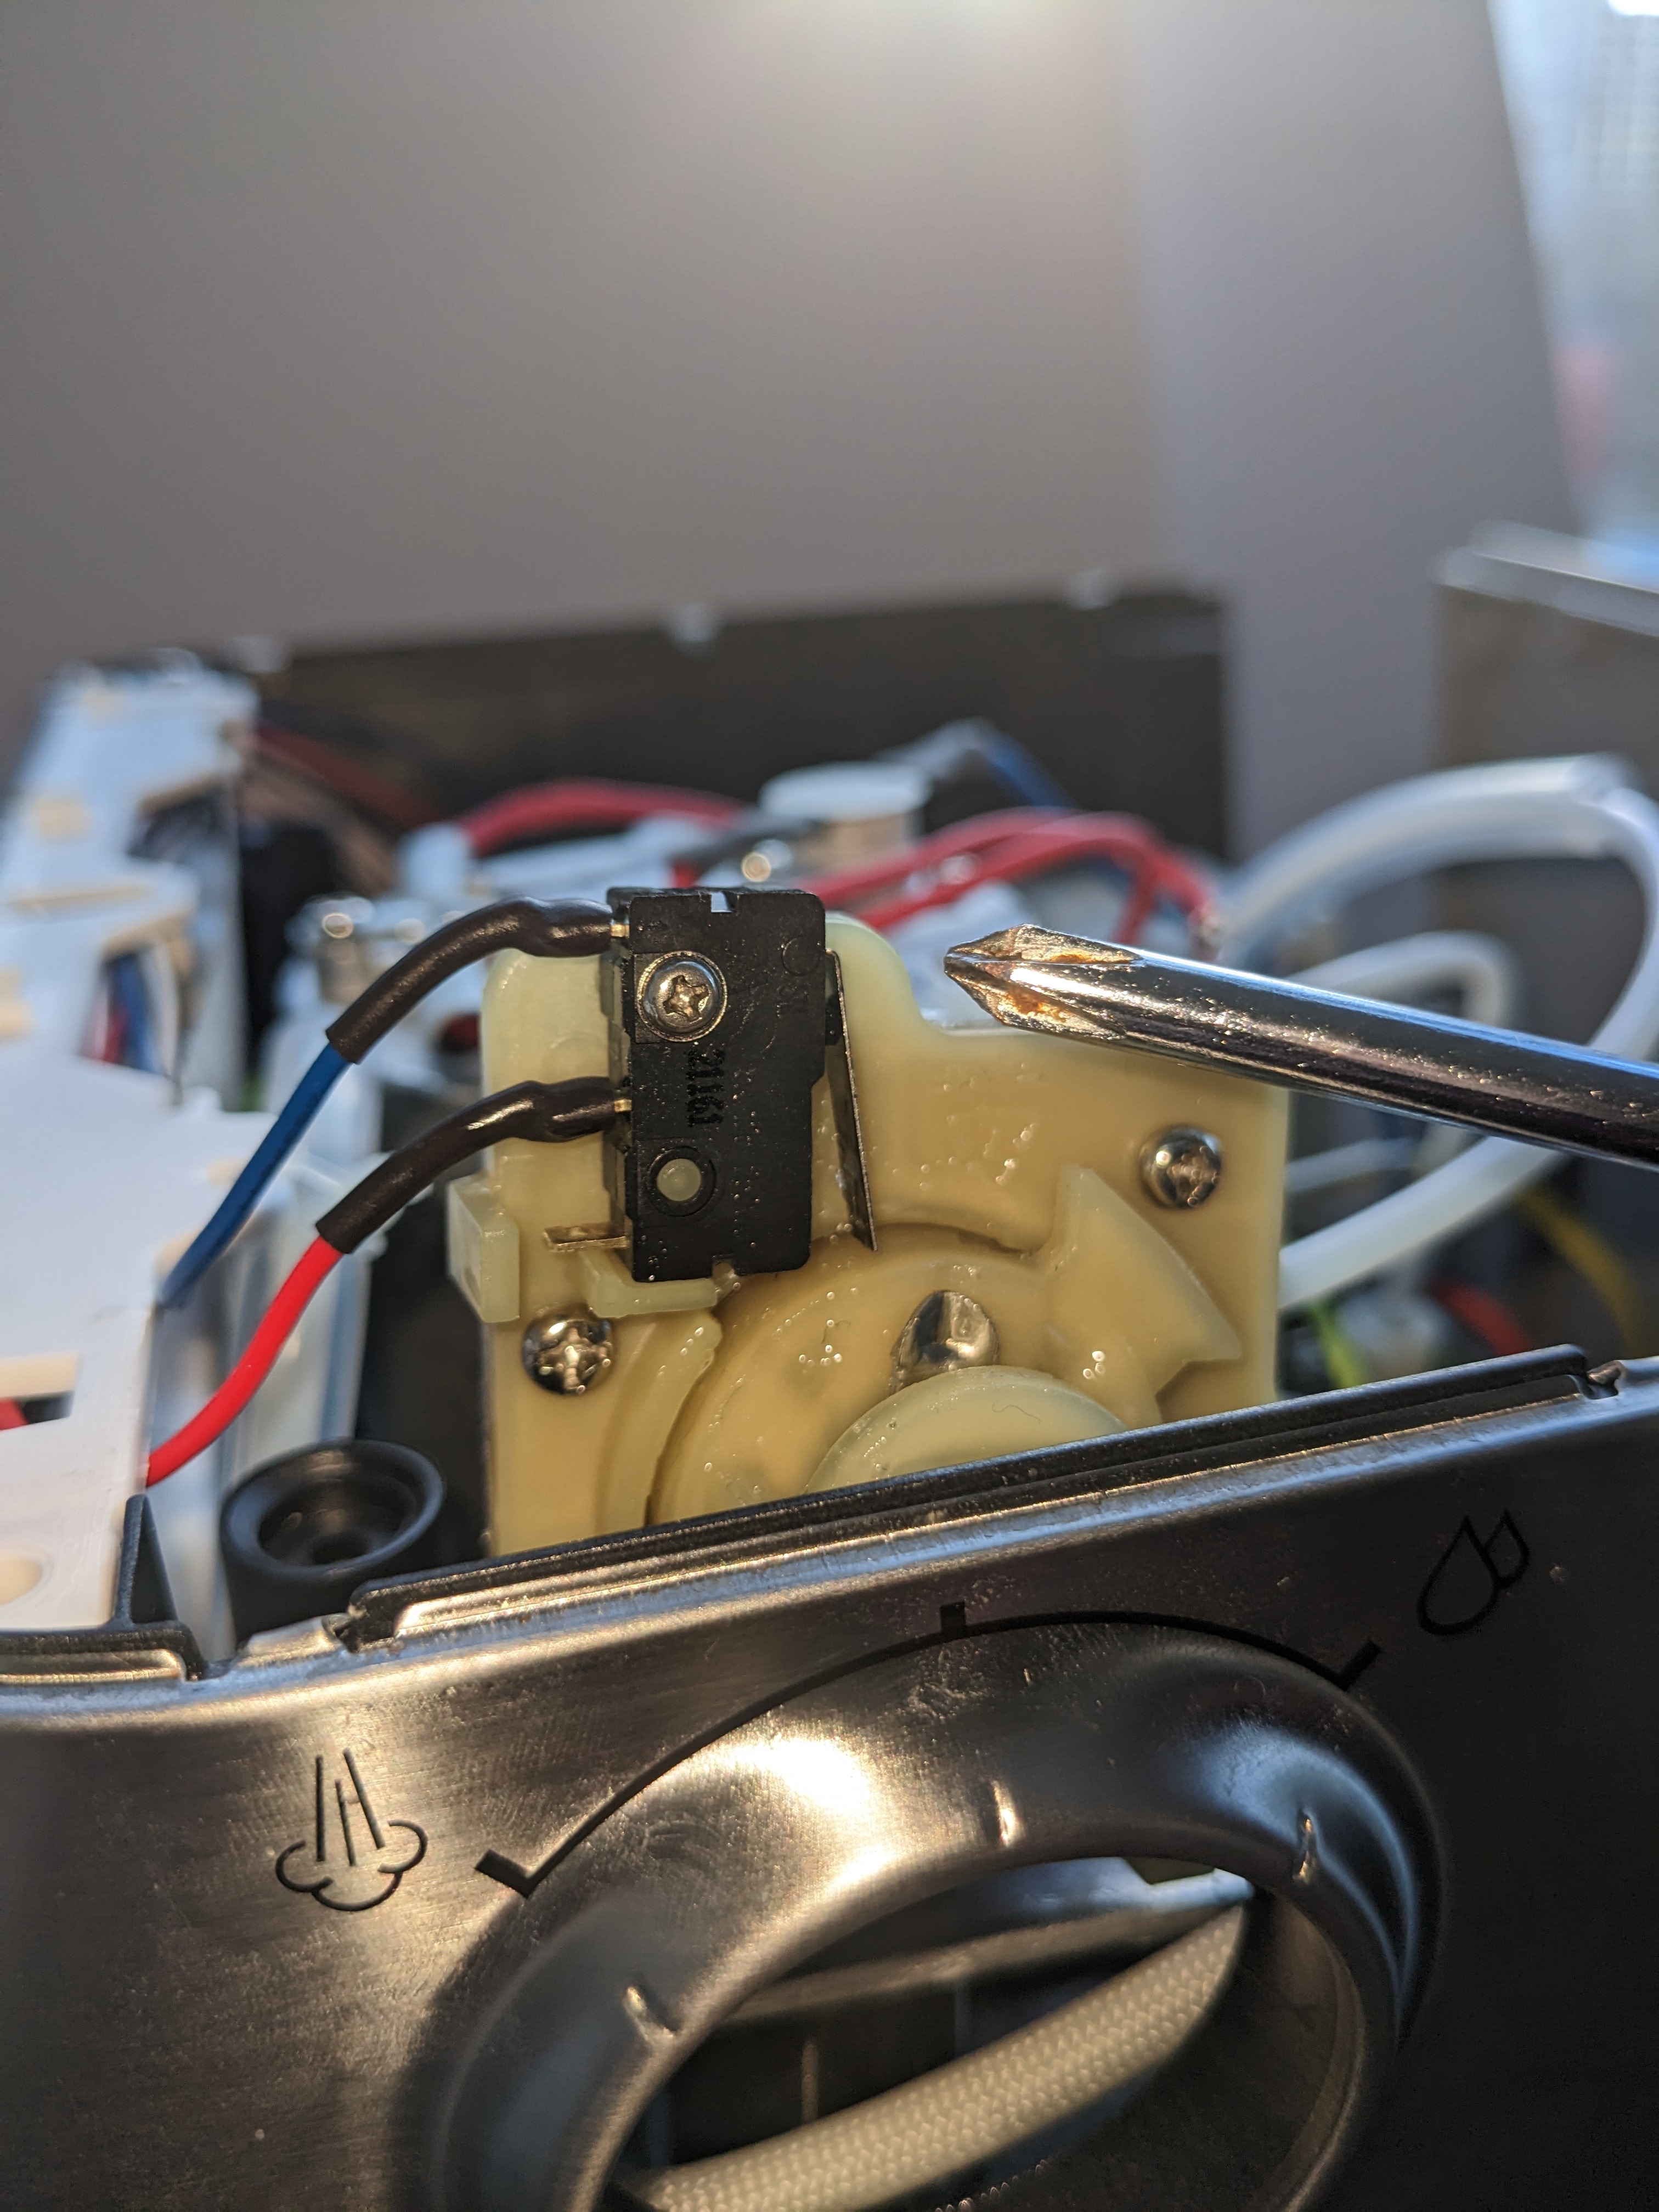
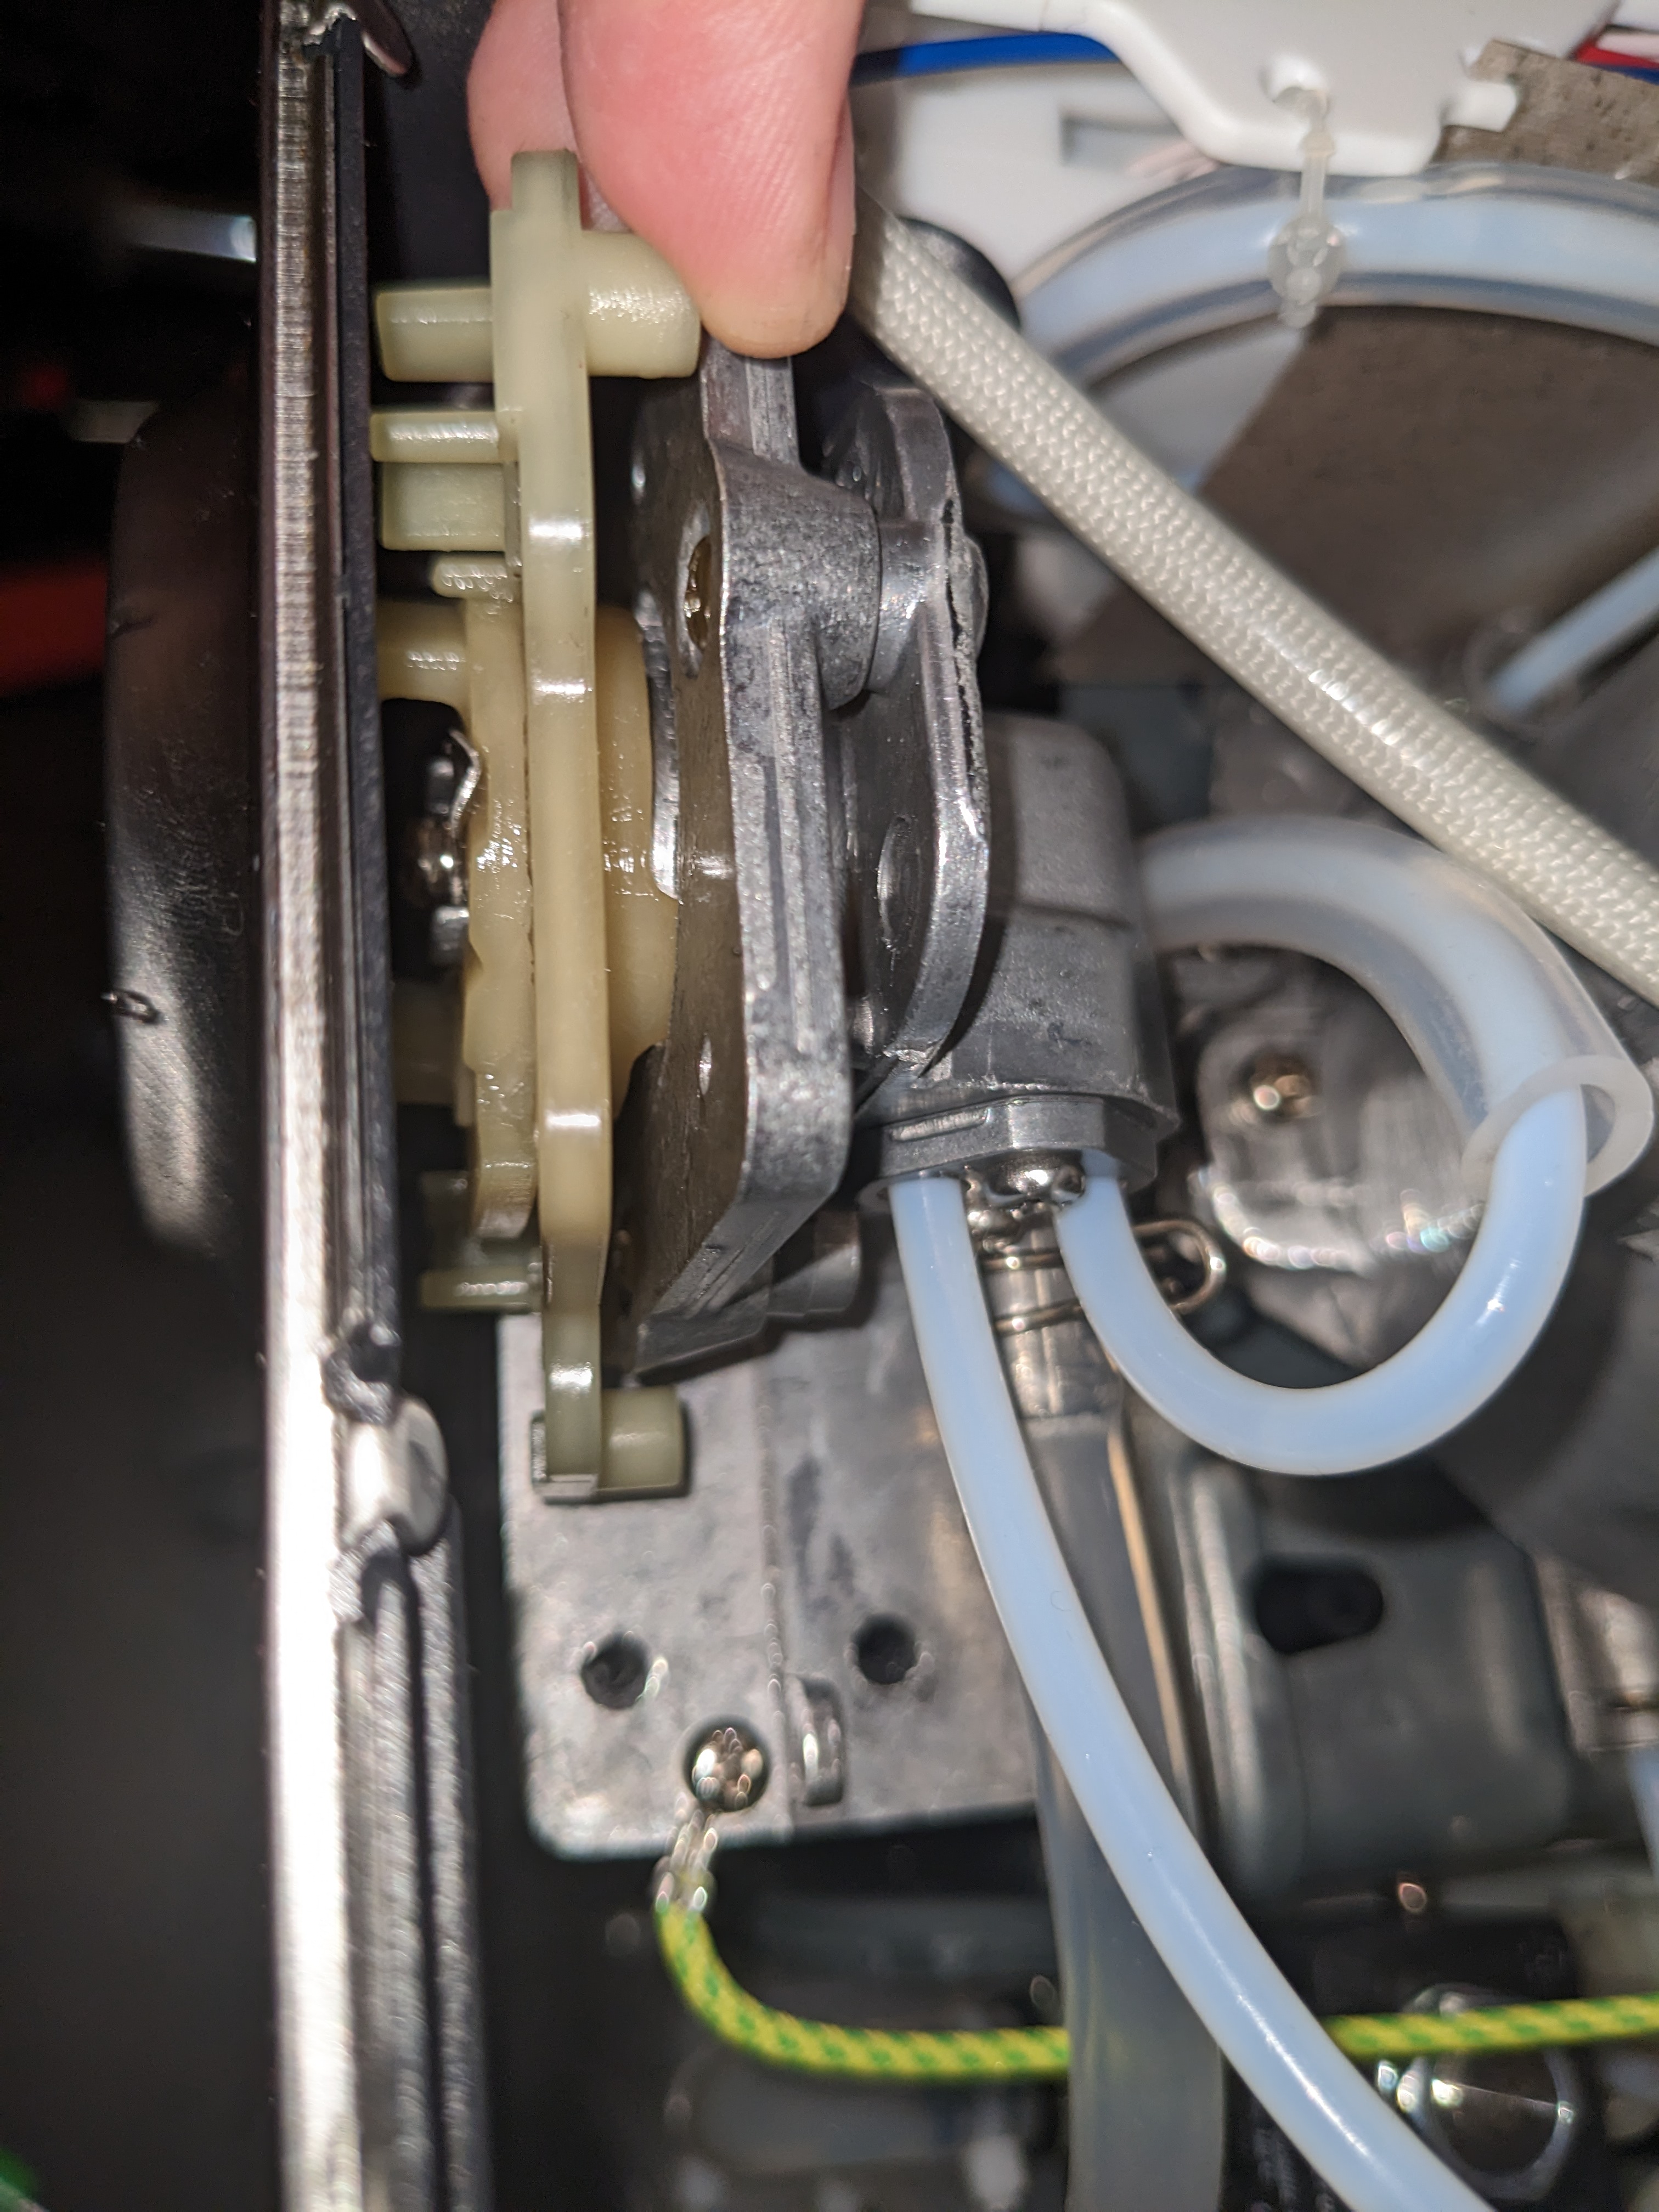
The screw holding the discs together was very robustly installed. The delicate plastic latch connection for the handle made more aggressive approaches difficult. I tried to see if I could remove the assembly to get a better angle or just more leverage, but after partially disassembling it, it was just barely too fat for me to extract it through the opening I had created. To progress further, I would’ve had to disconnect a bunch of crap off that I was not totally confident about getting back on again. Hmm.
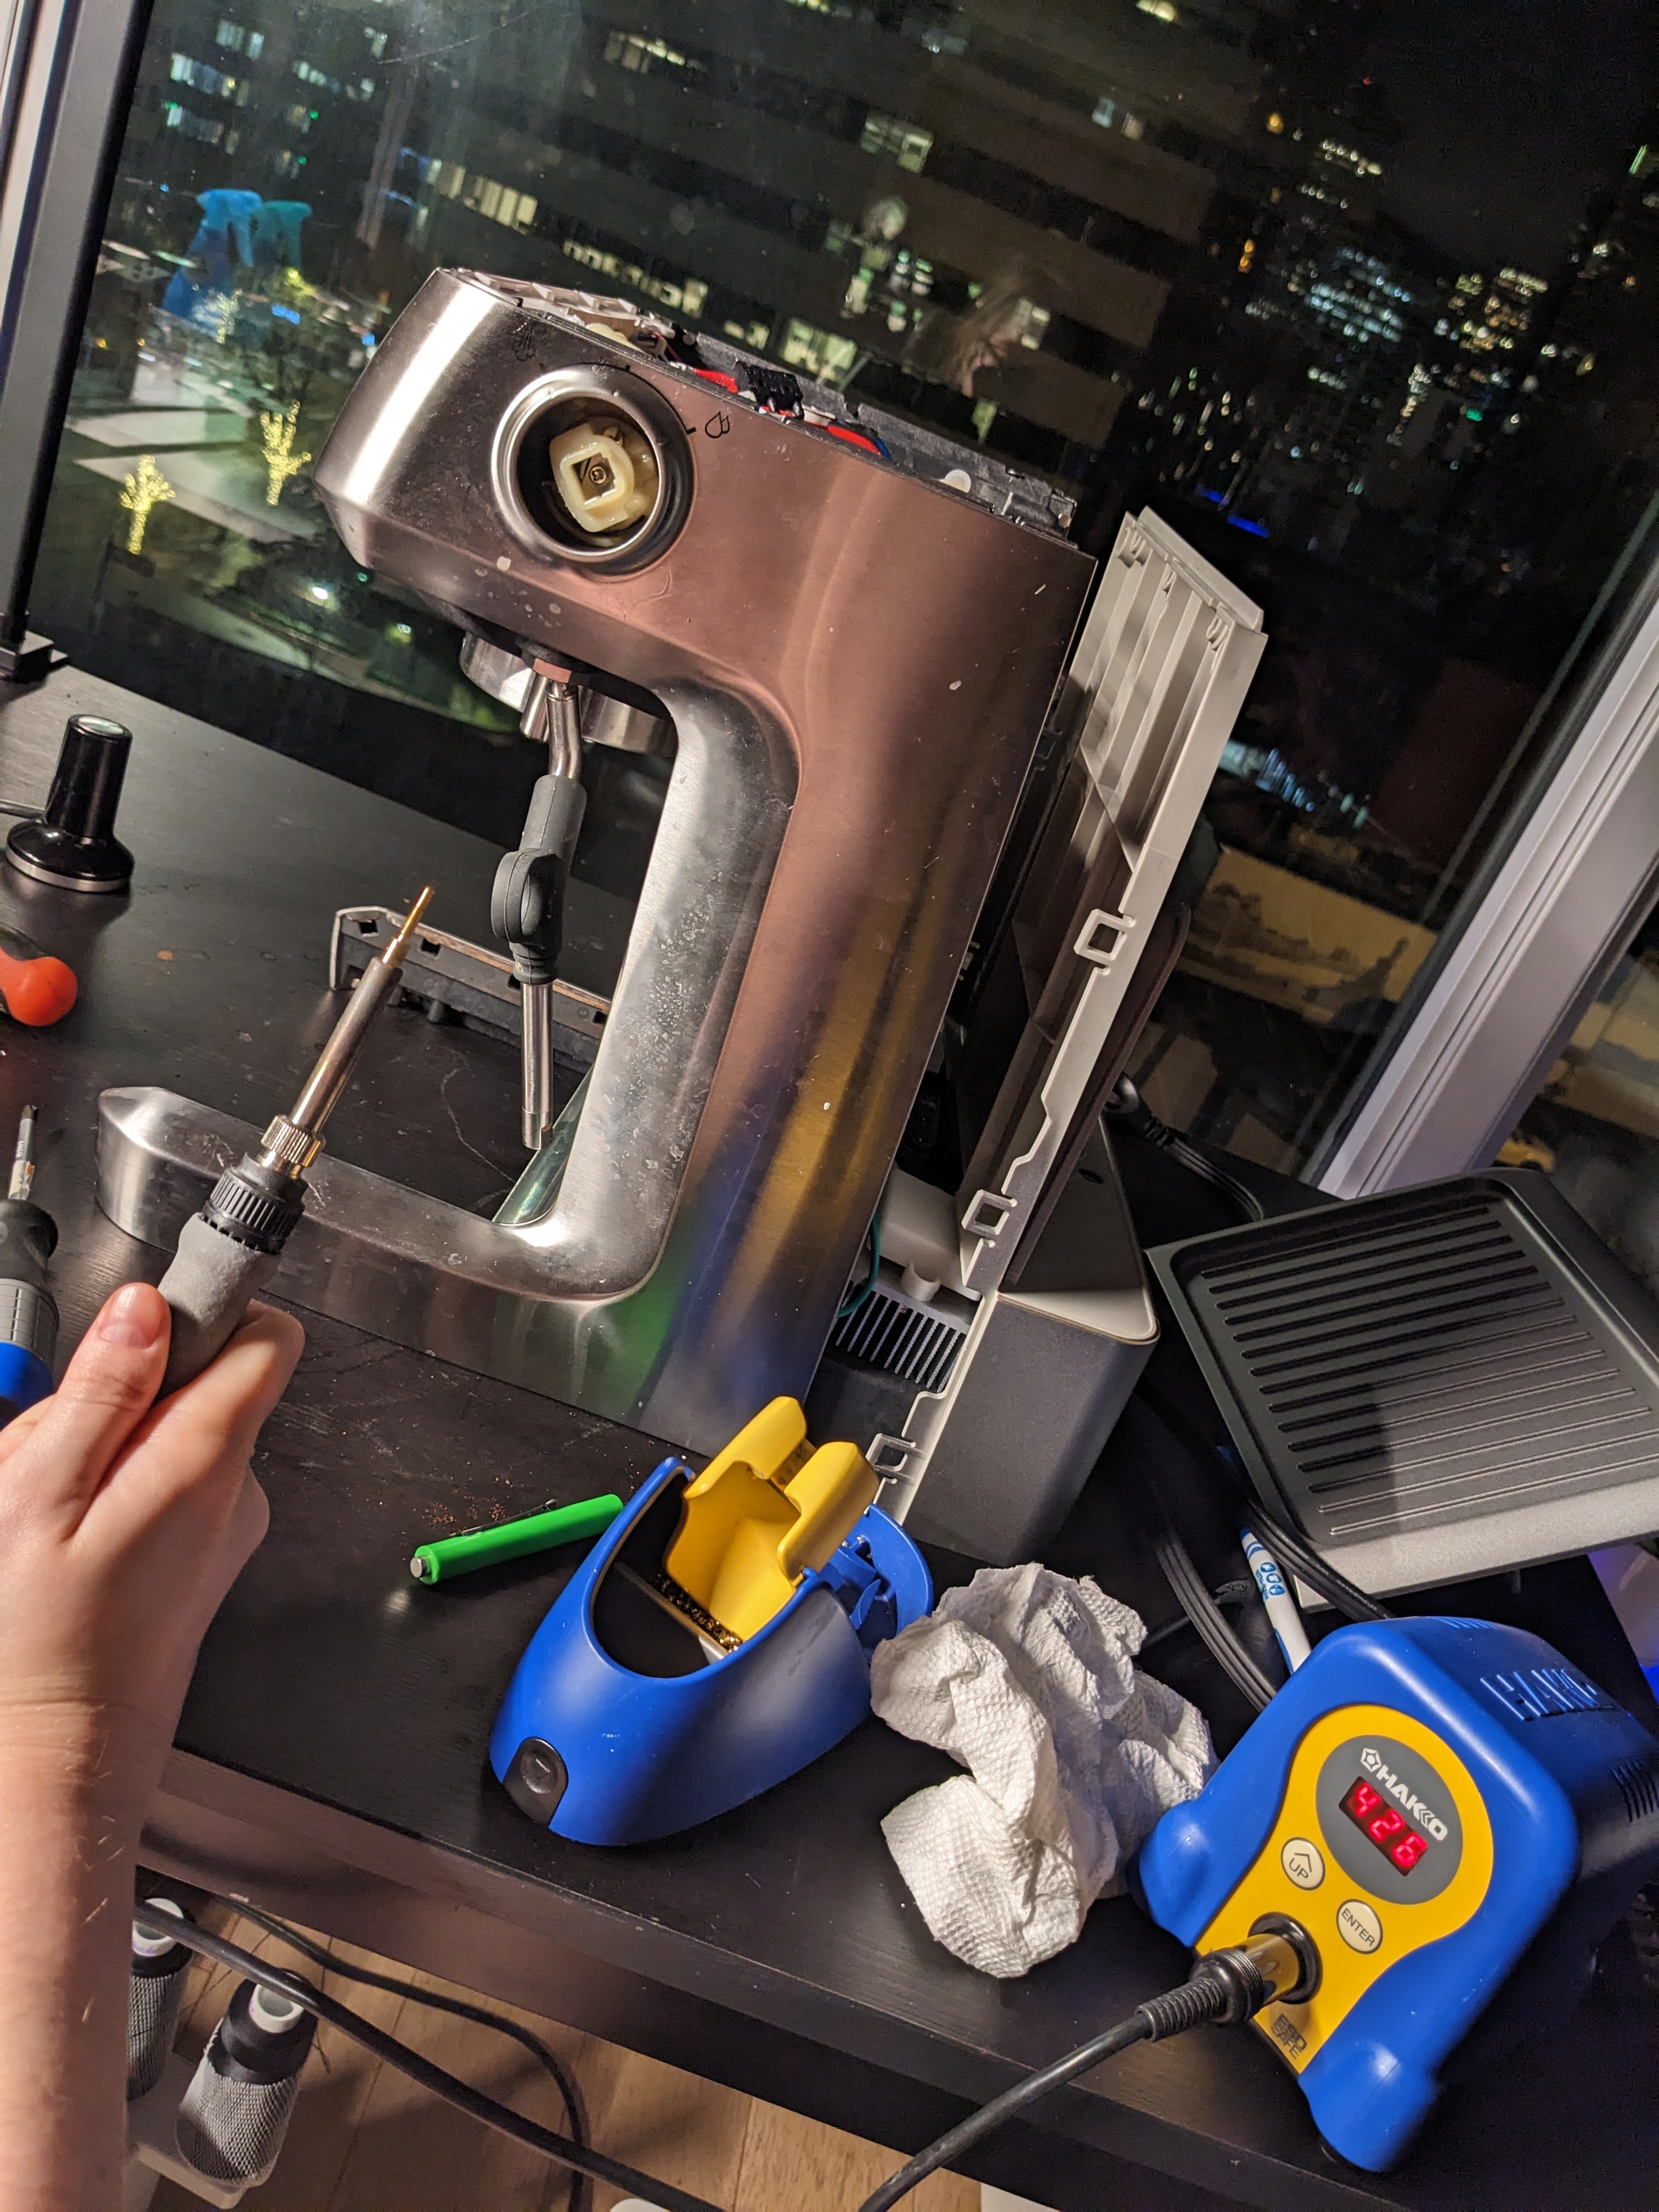
It’s pretty likely given how stuck the screw was that some sort of factory loctite had been applied. I tried to touch my soldering iron to the screw, but it was a delicate maneuver given the amount of plastic surrounding it. In the end I decided to table the endeavor for the time being. There’s no sense breaking a machine part in pursuit of reducing wear and tear on it - especially when that part is no longer easily replaceable. Sometimes discretion is the better part of valor. ;)
I ended up cutting the o-ring in half lengthwise (to make it skinnier) and then cutting a small segment out with the remaining ends overlapping at a ”/” angle. Probably there are better ways of doing it, but I wanted to get things buttoned up before I faced a caffeine-less morning the following day. ;P
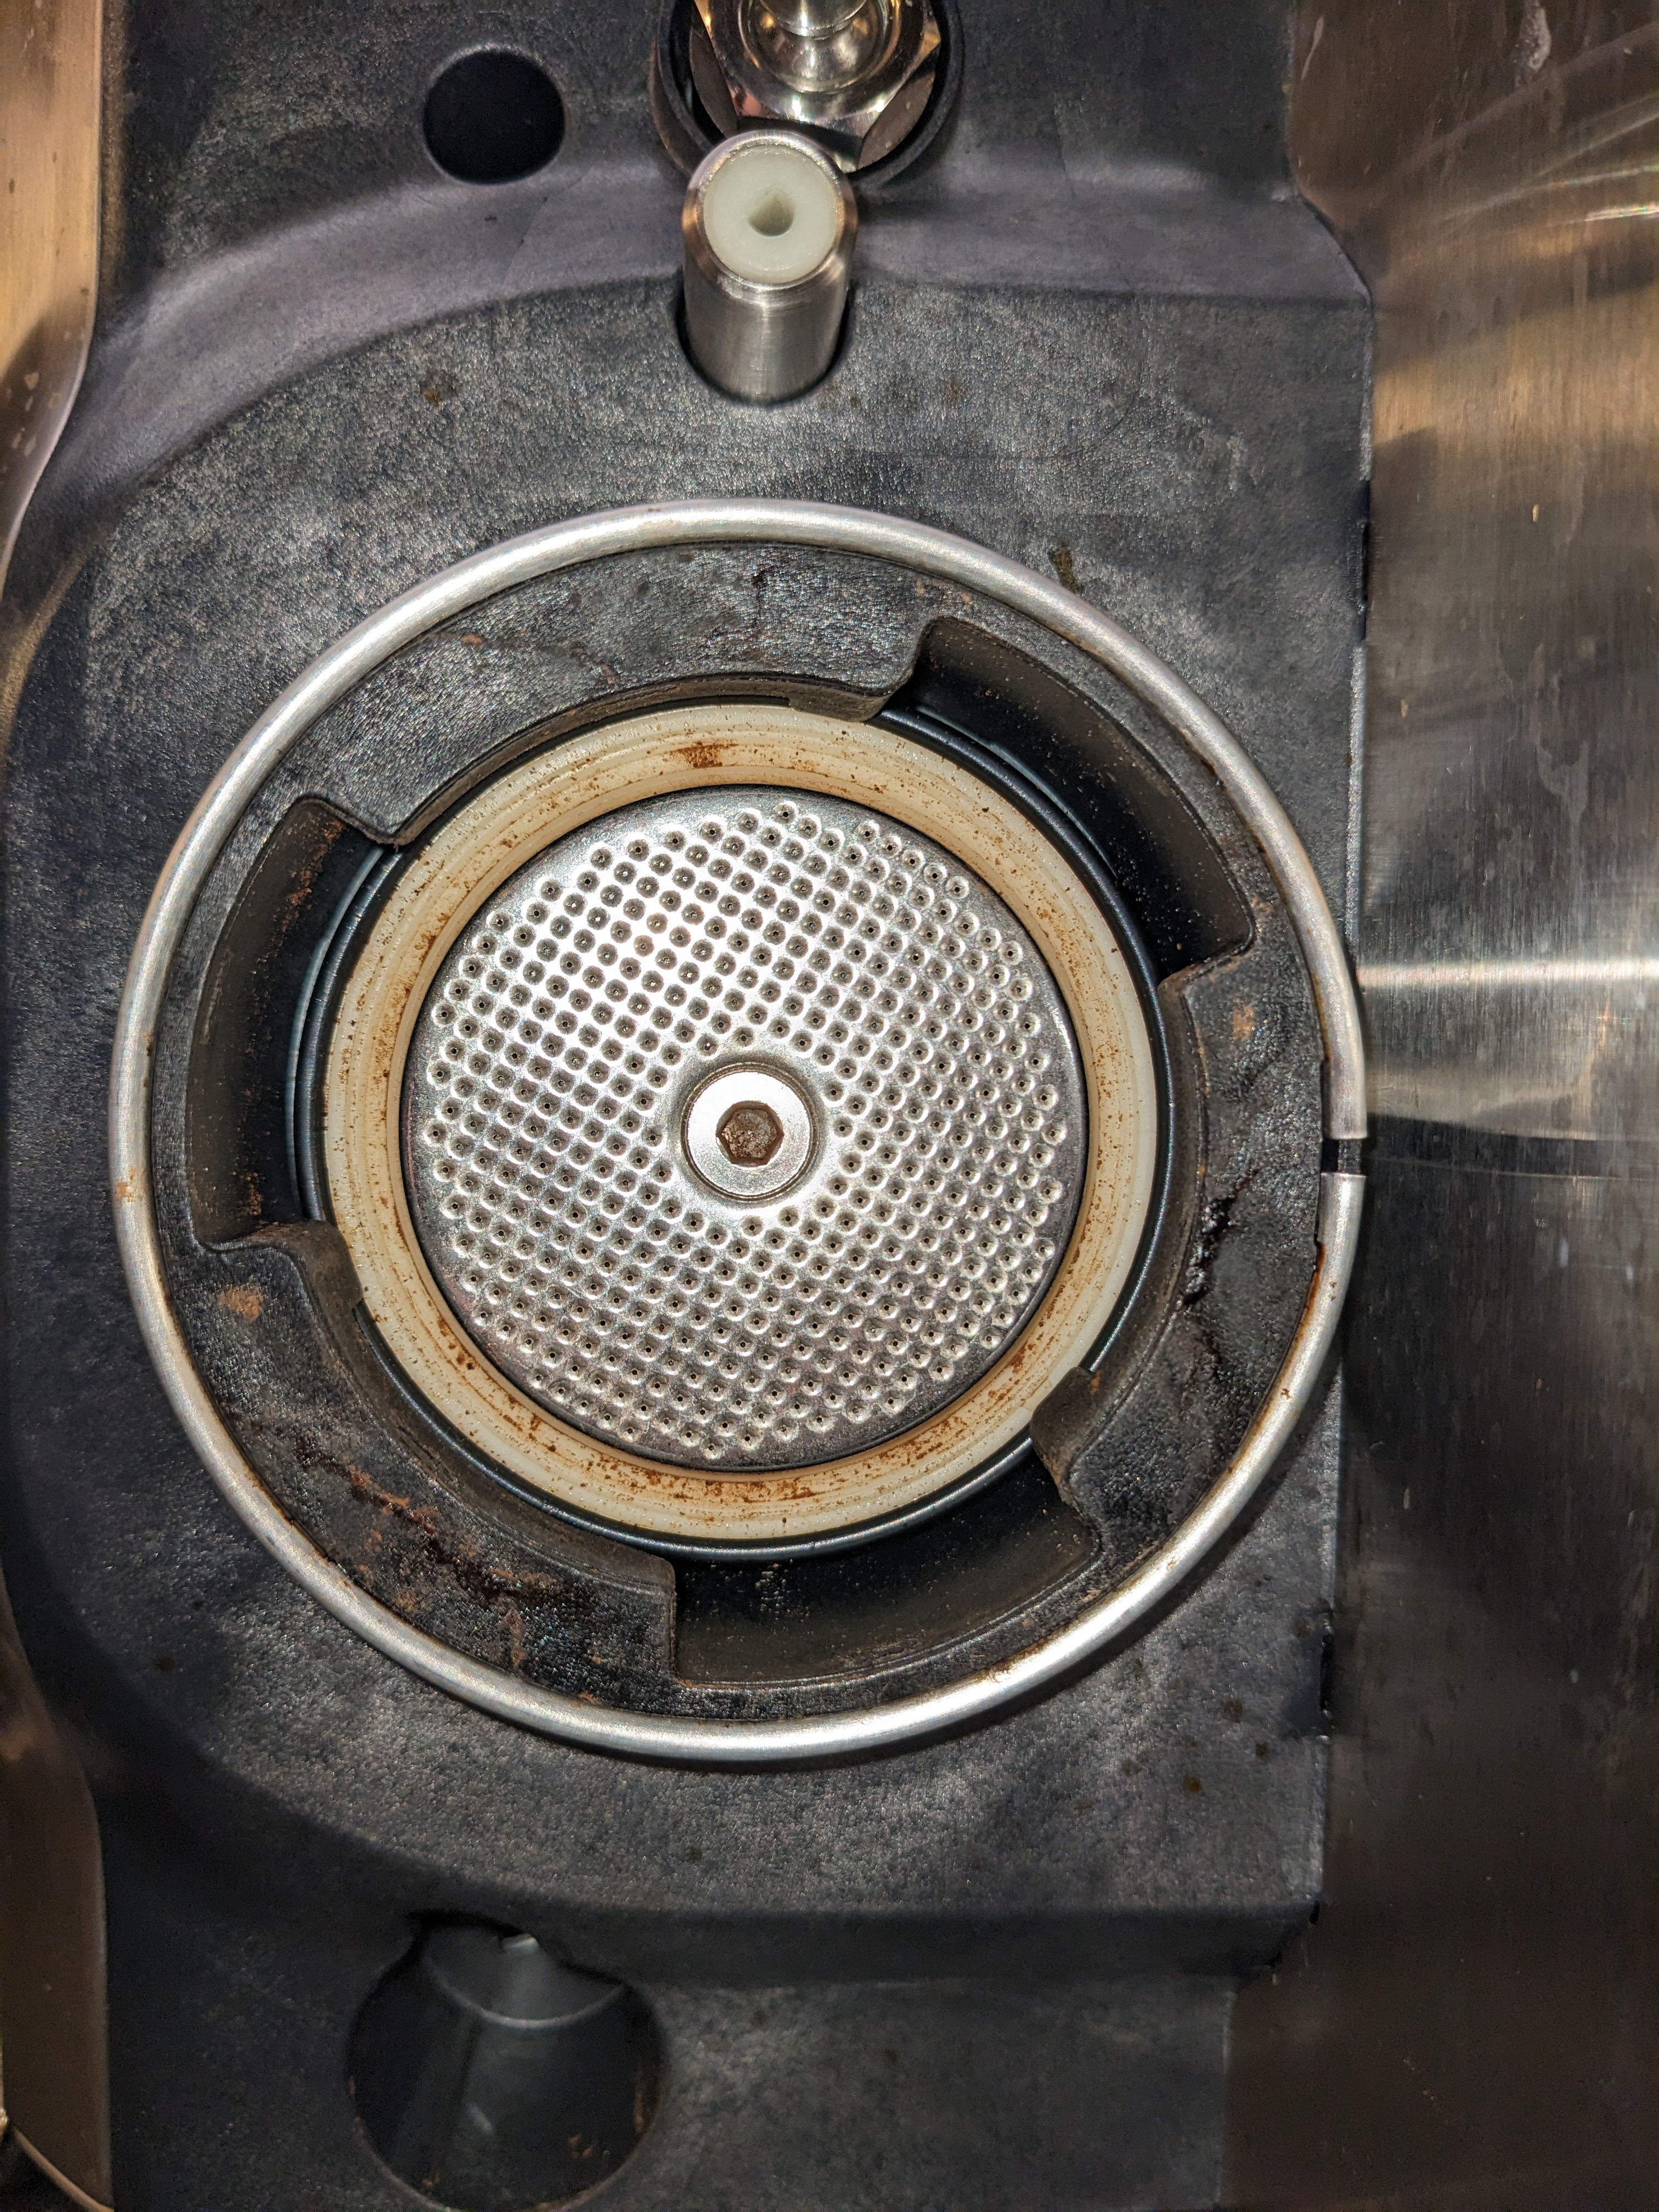
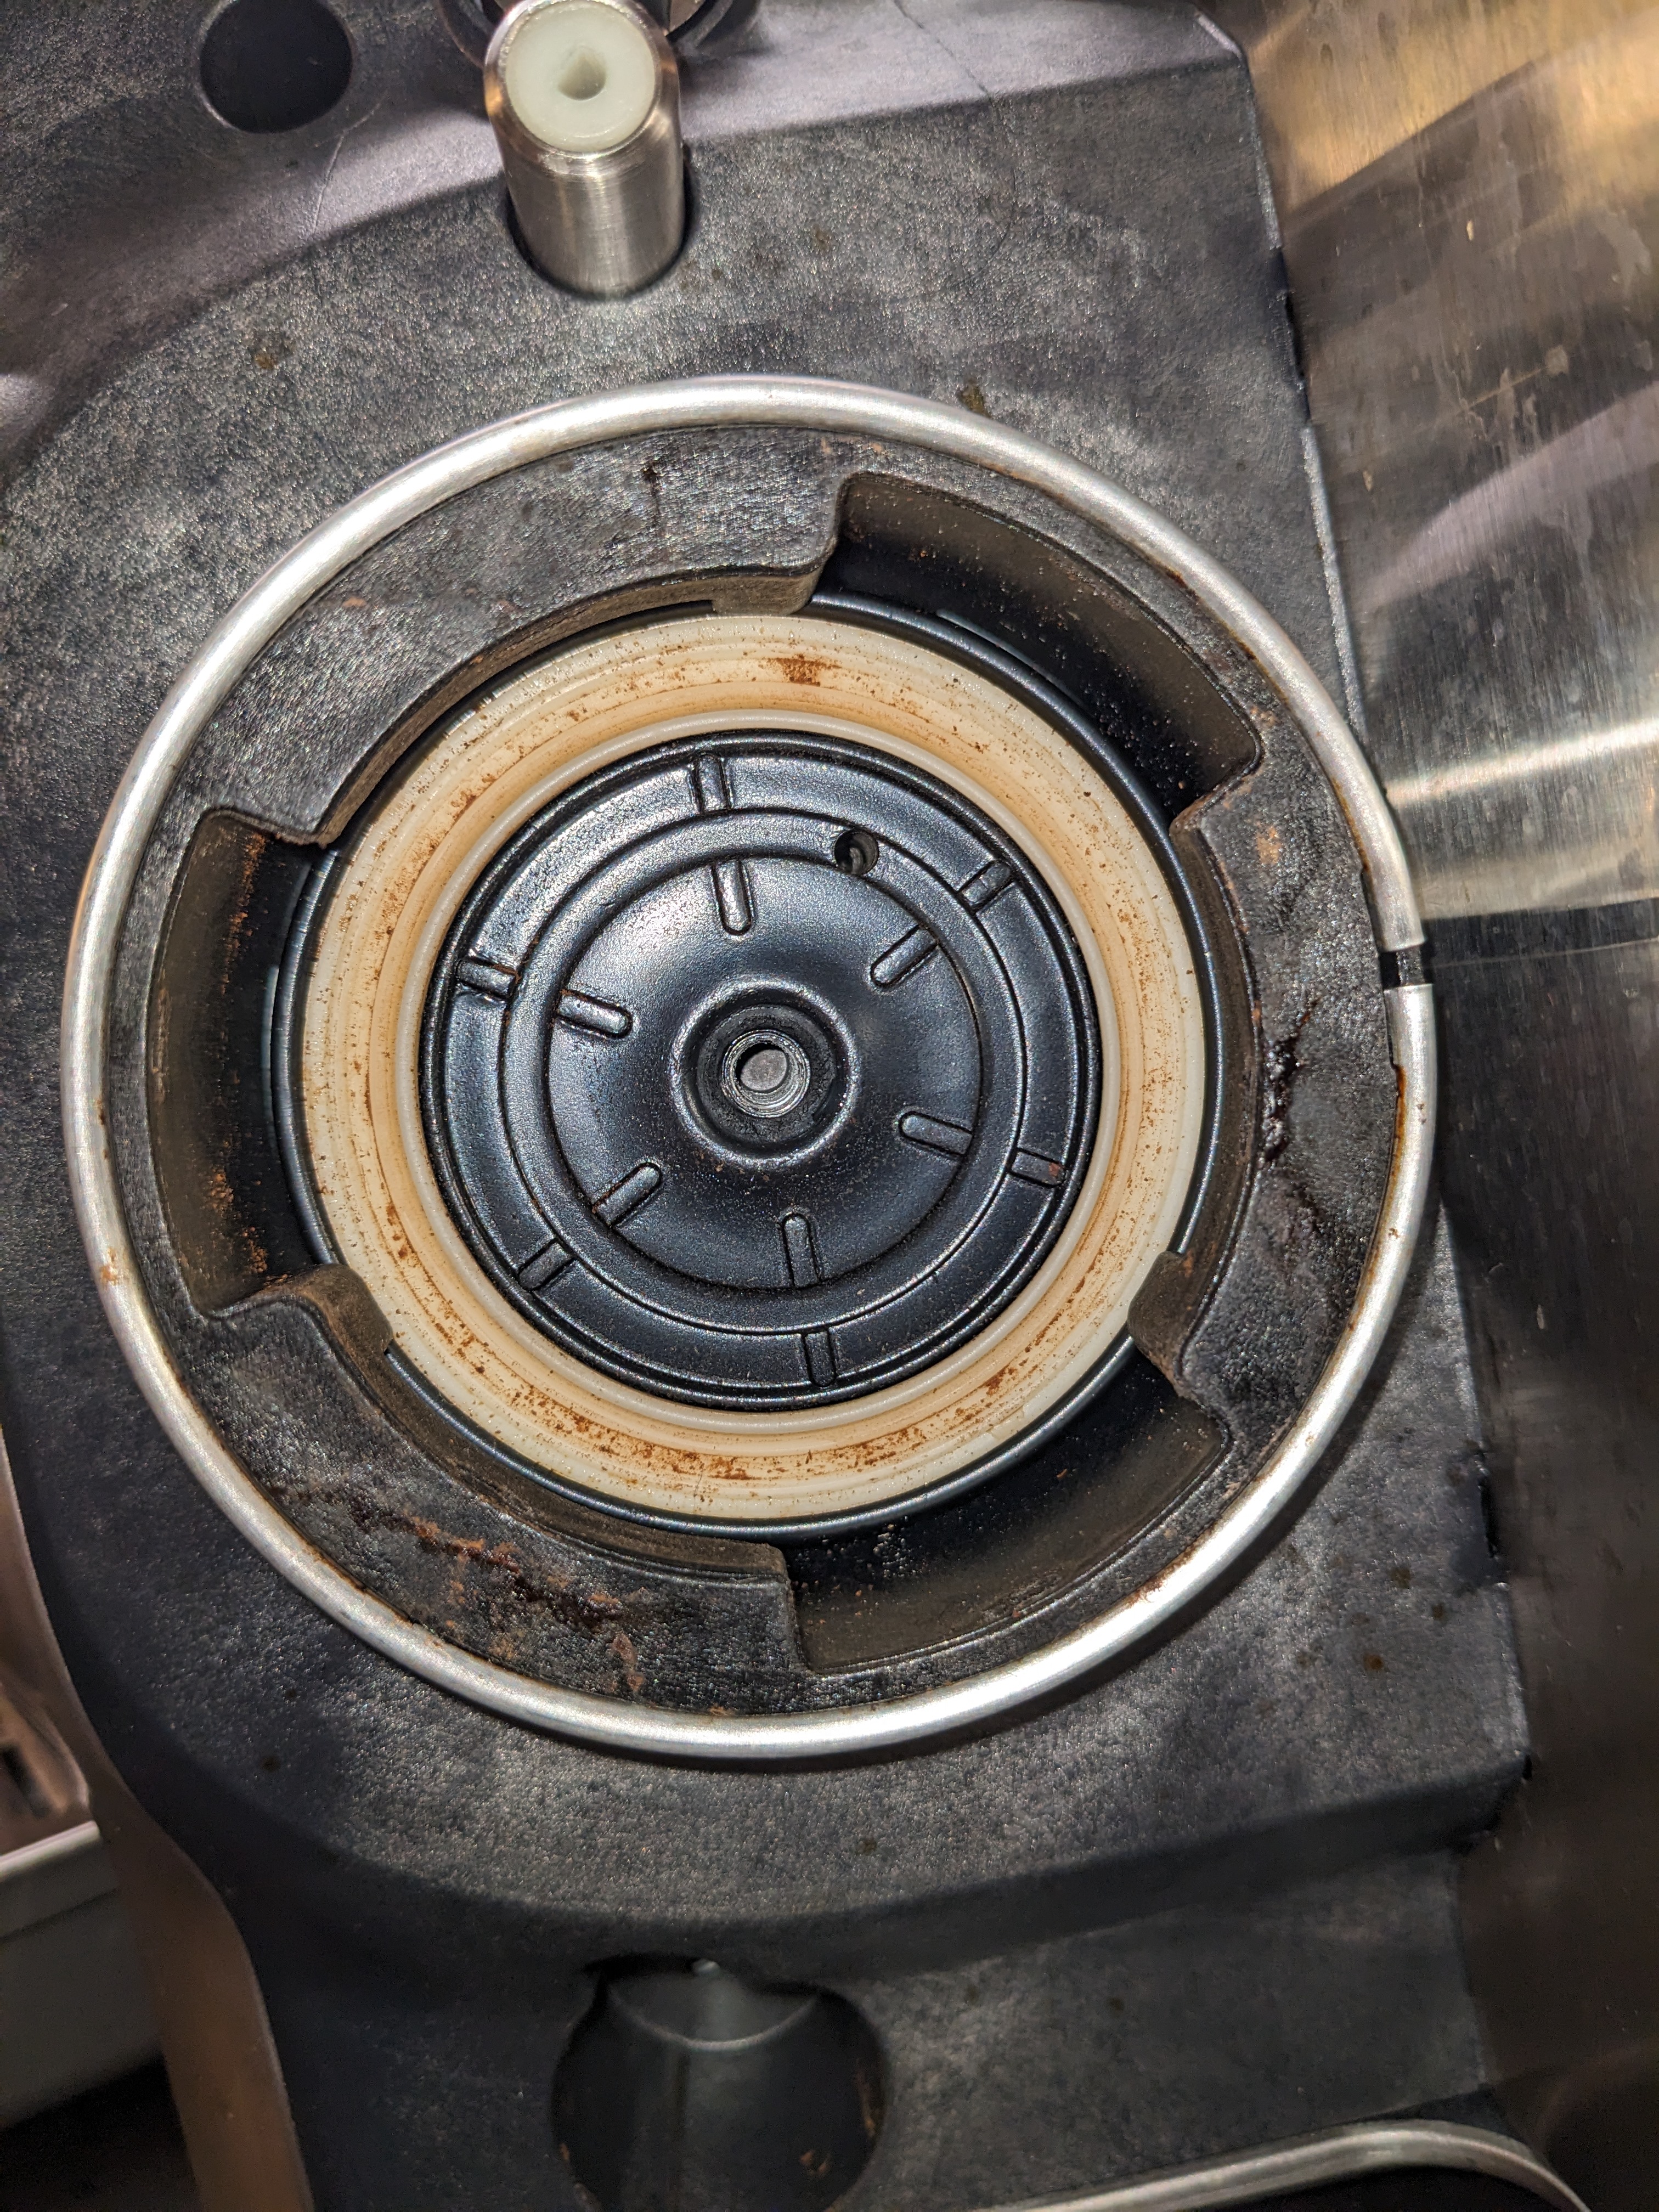
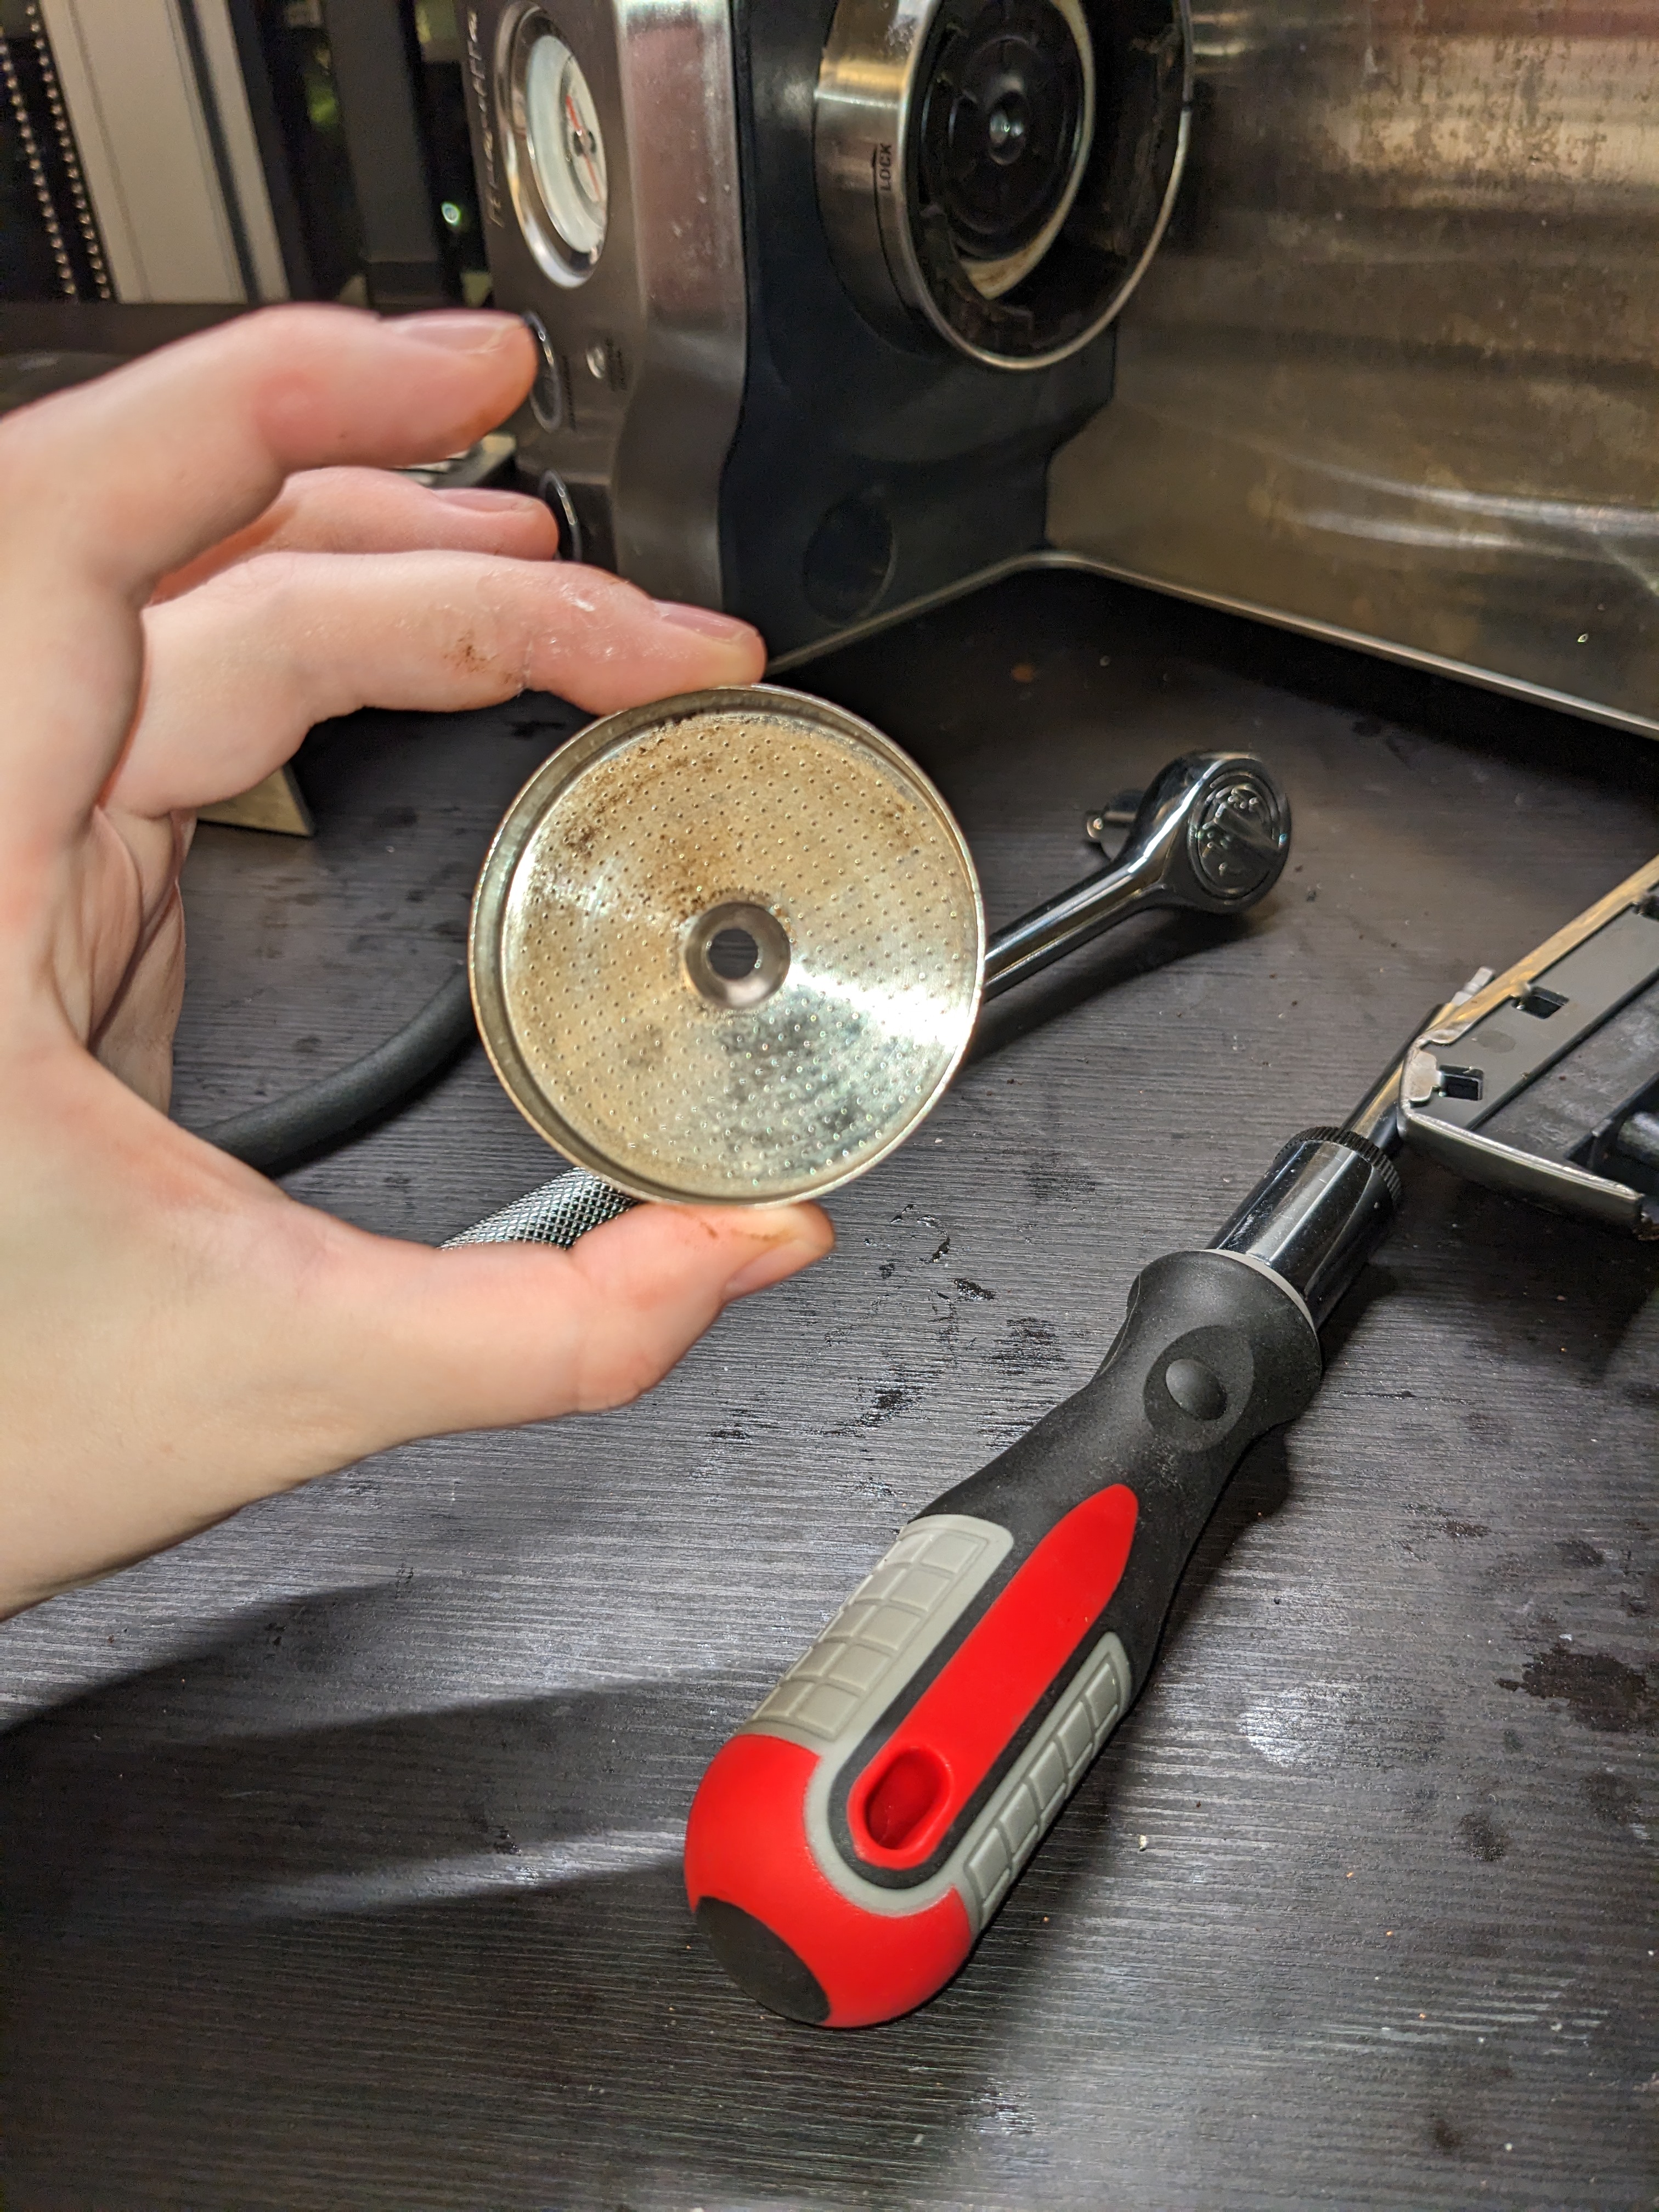
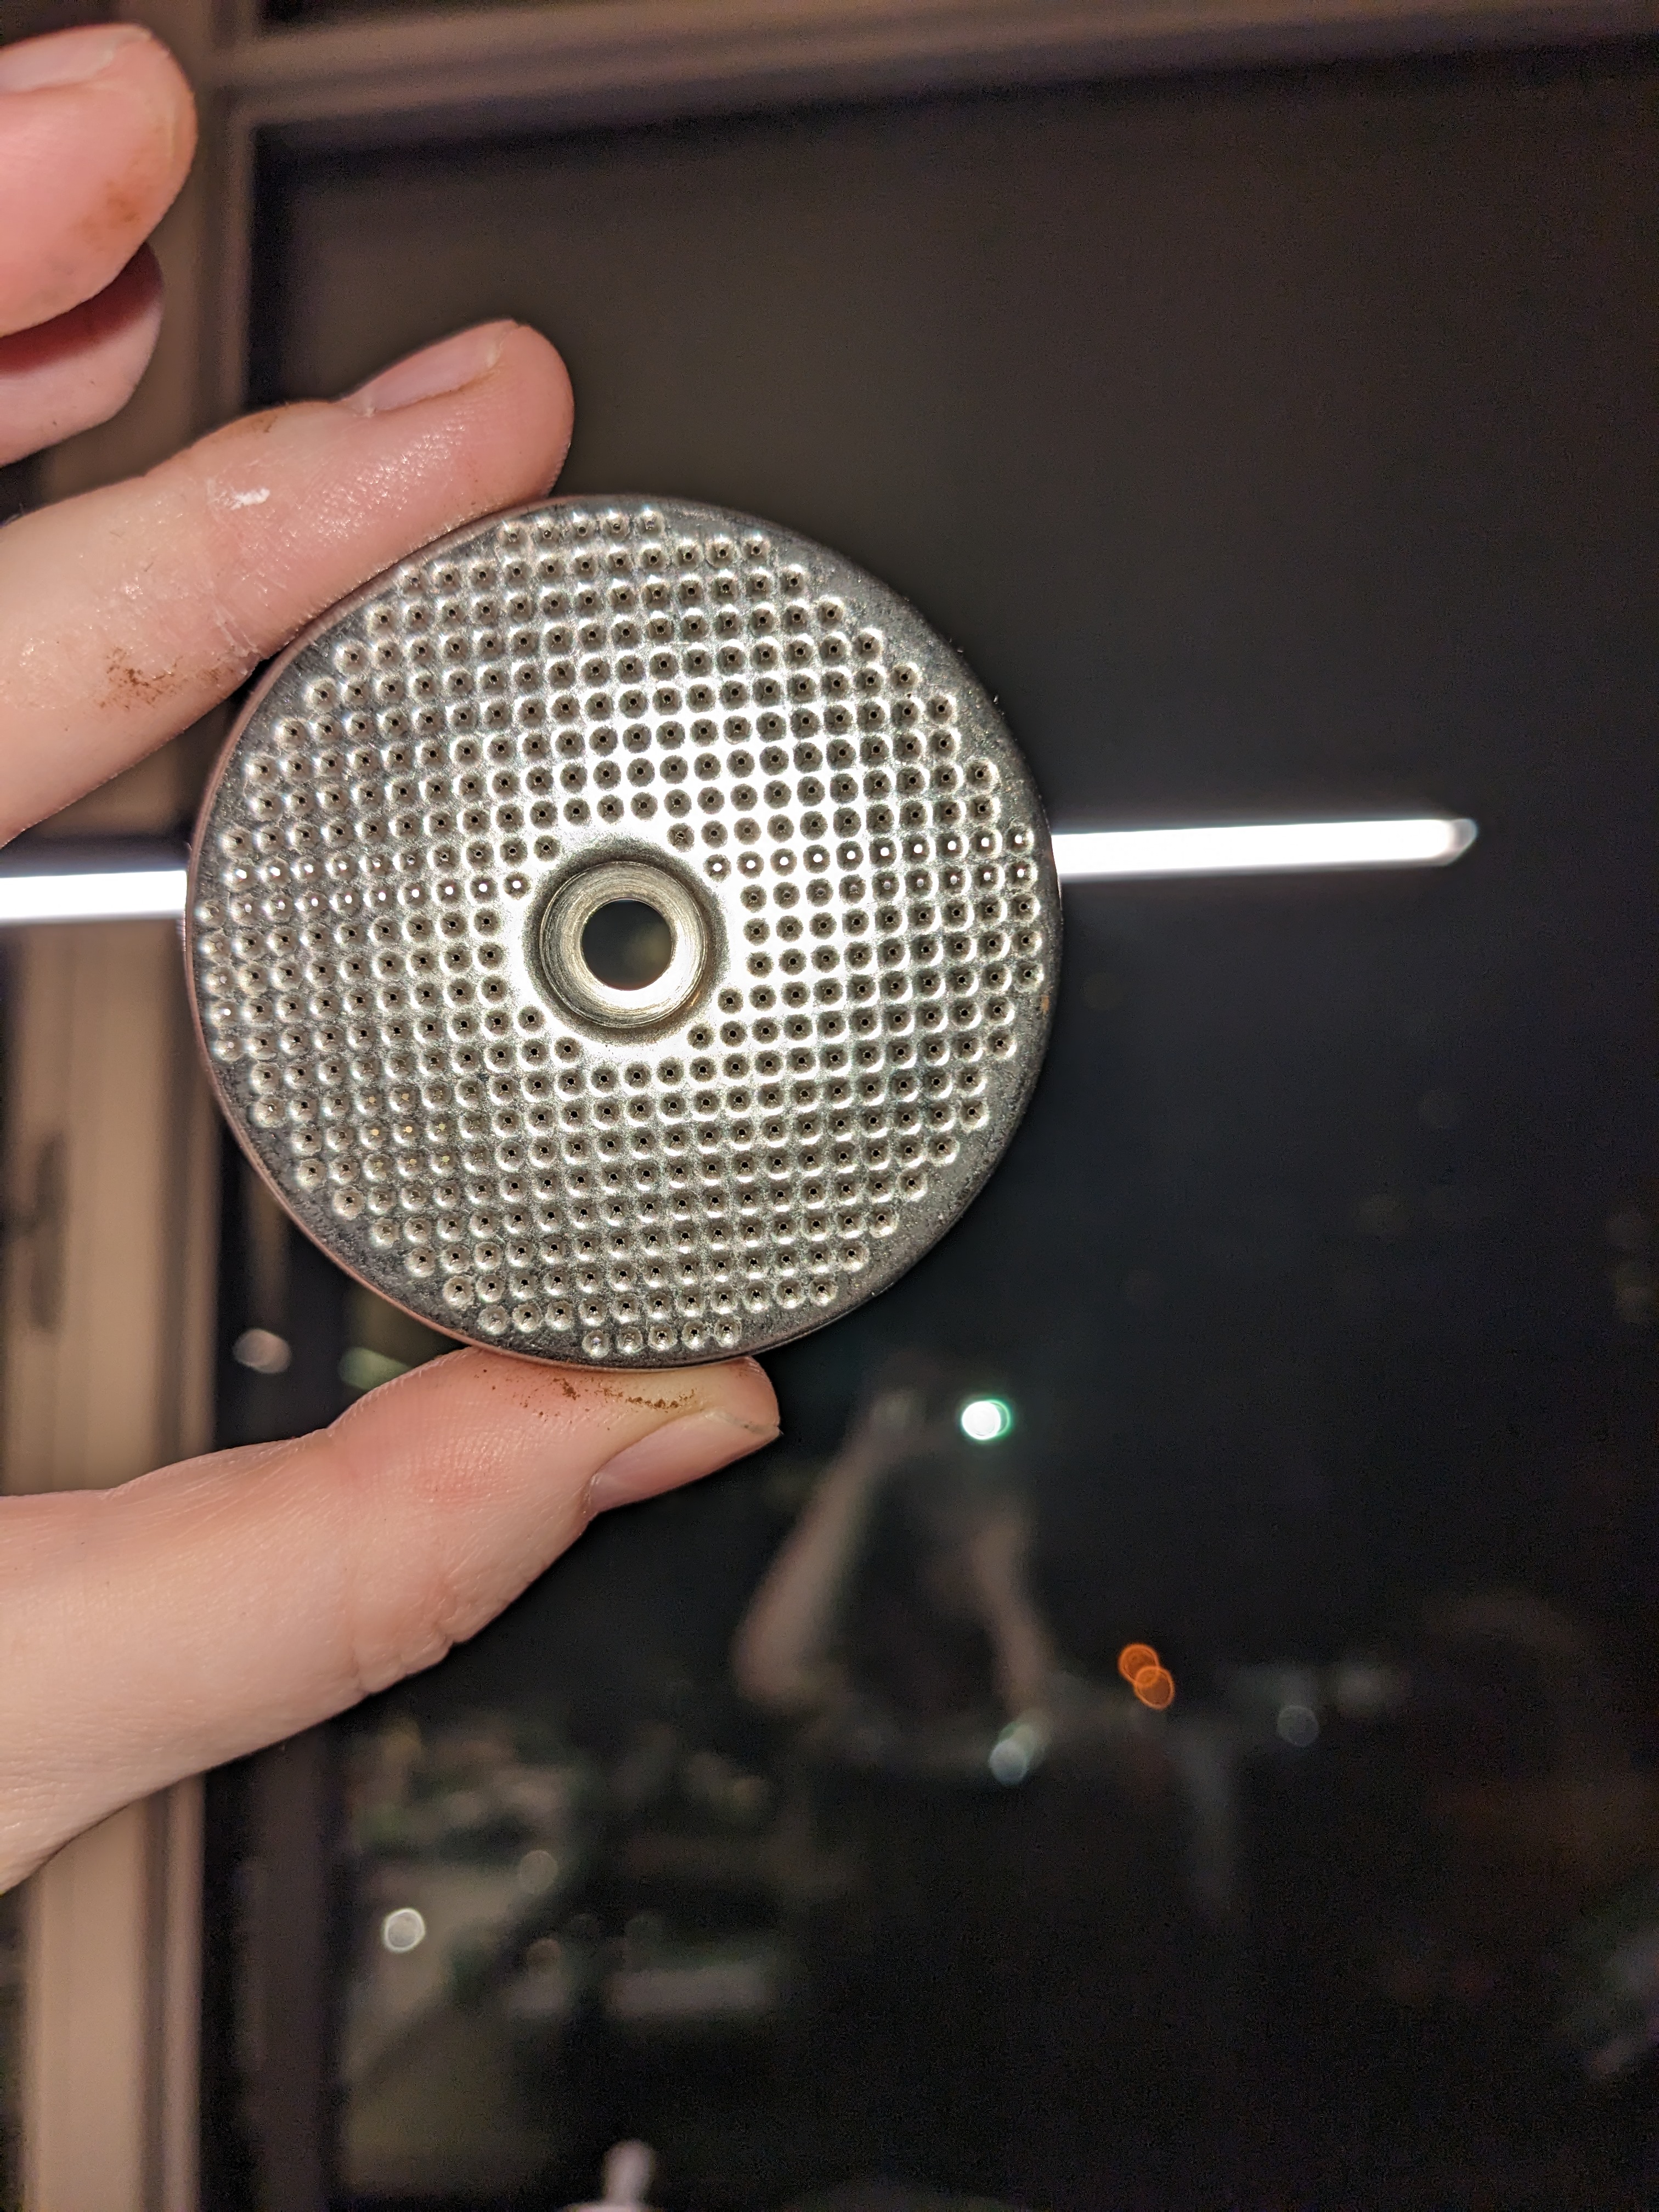
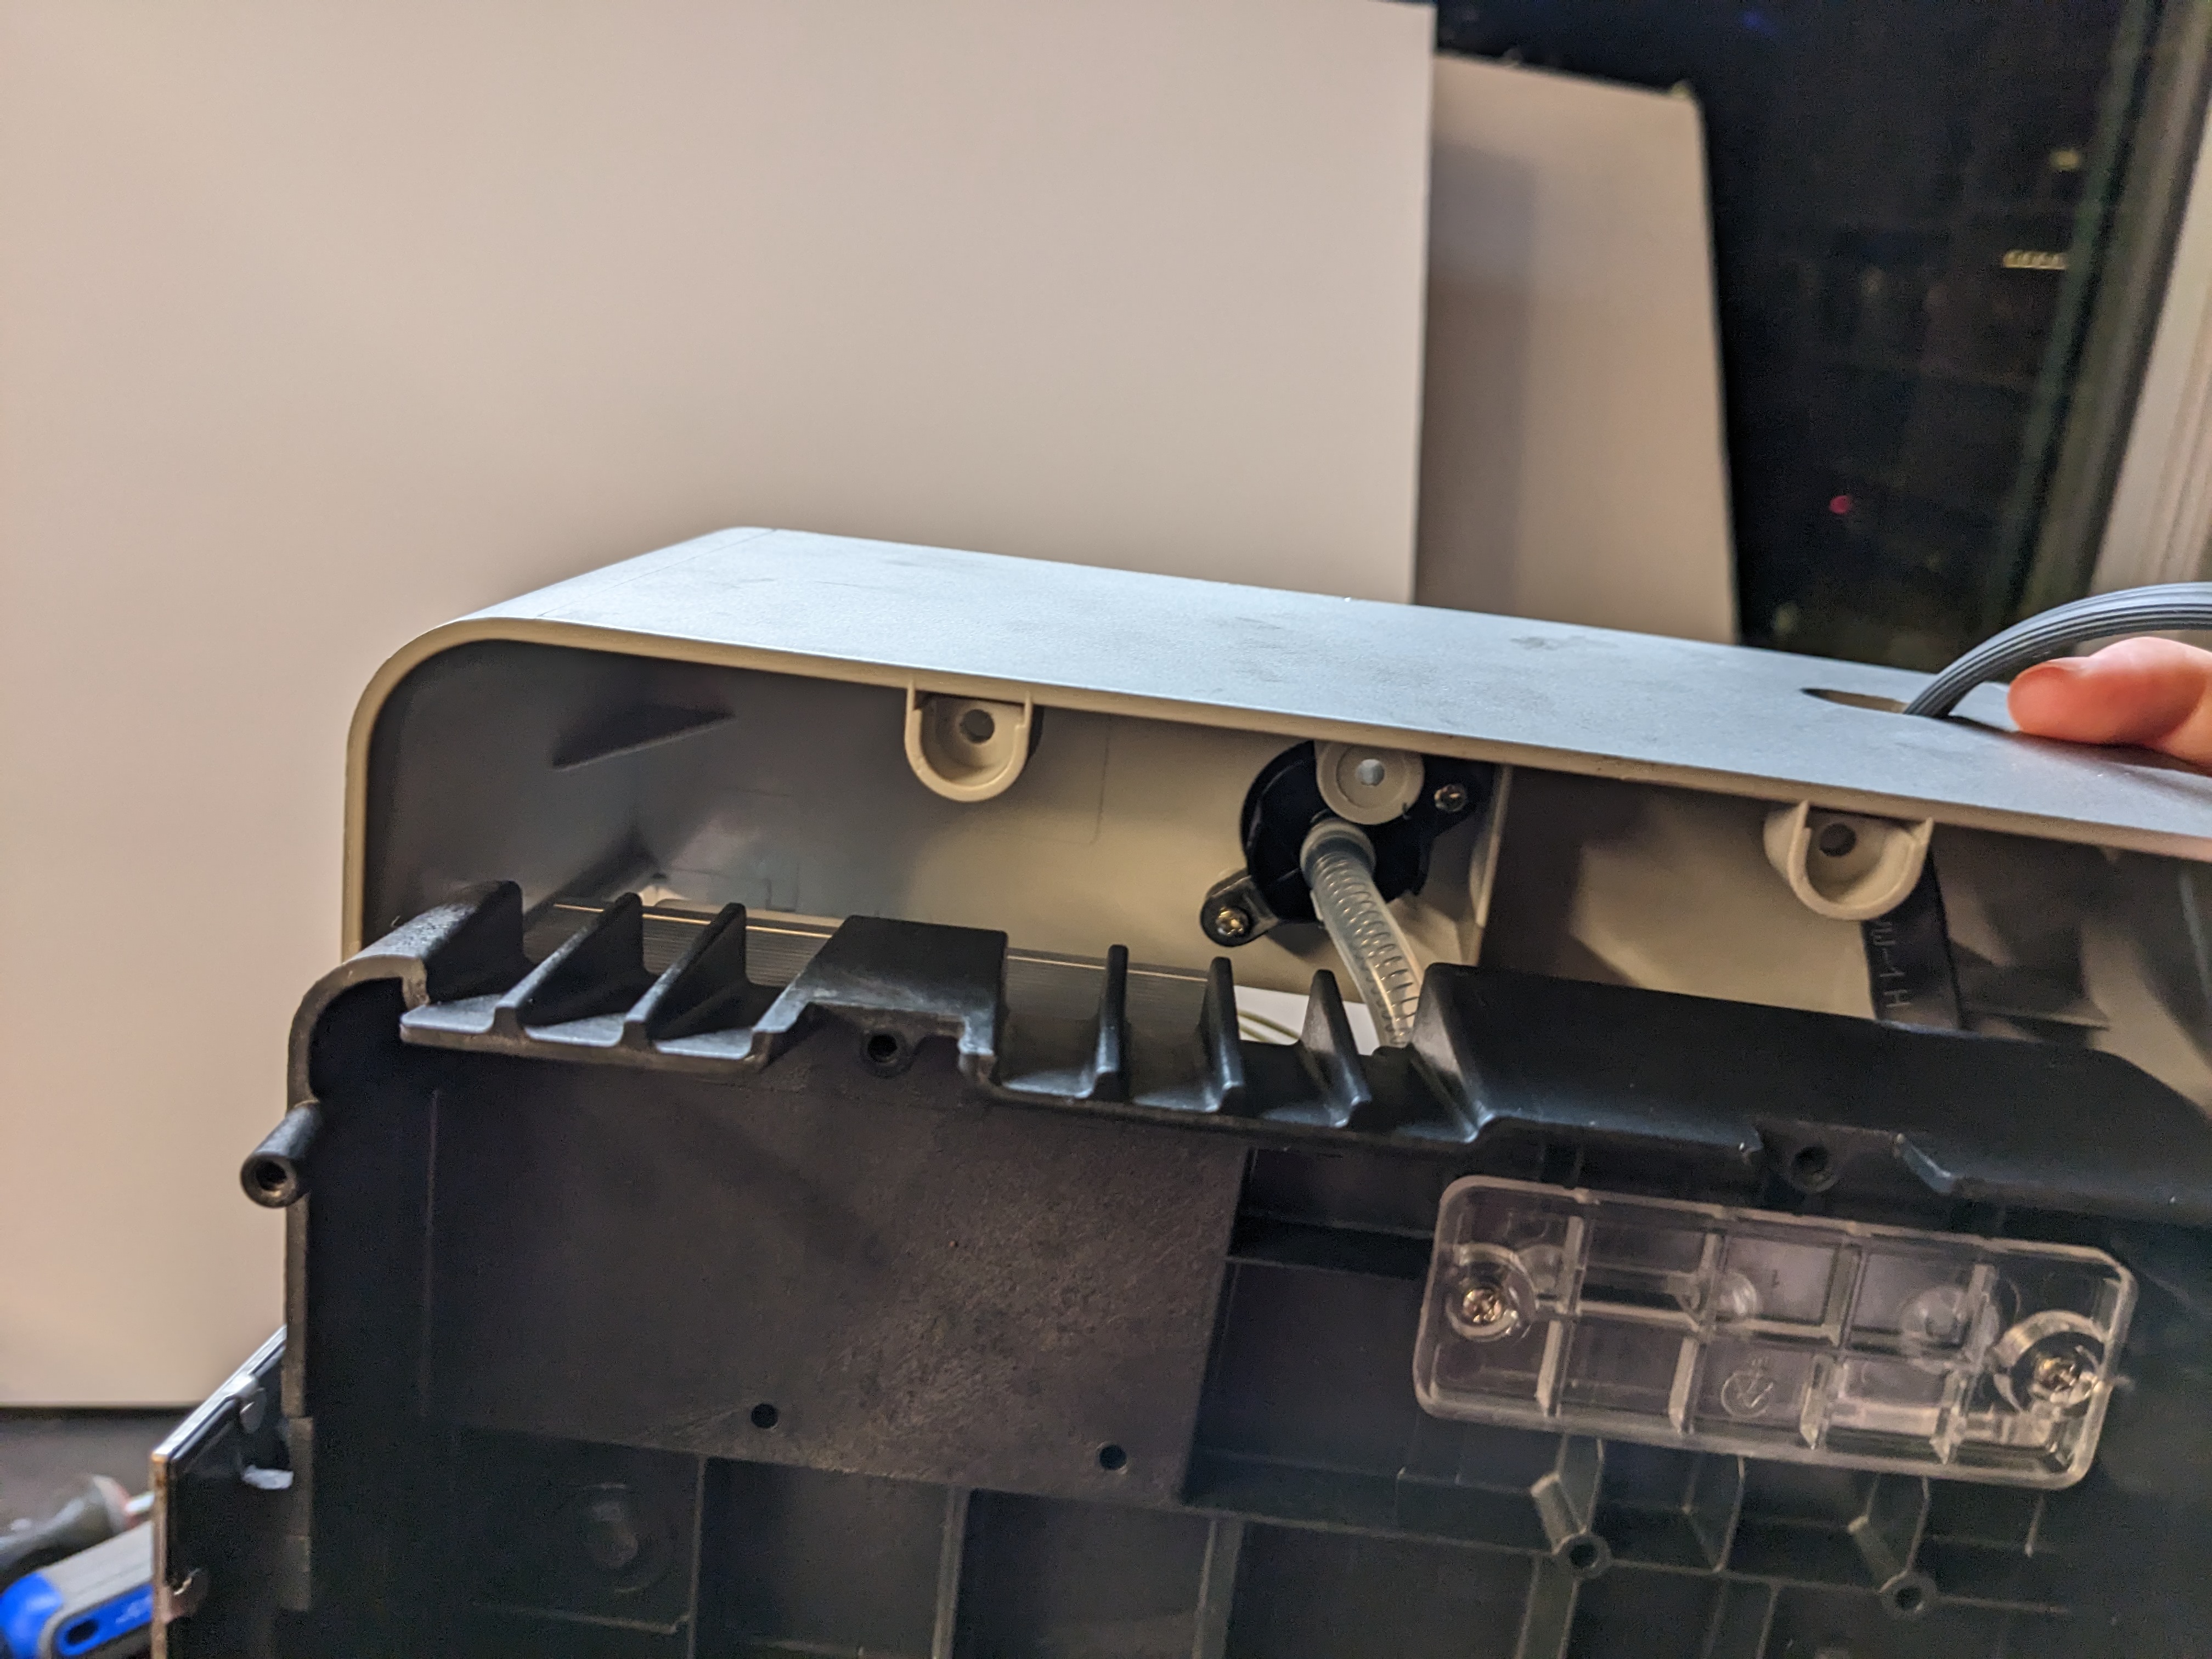
I quickly removed the screen on the group head for cleaning while I had it on my work desk. (This is right above where the coffee holding handle/portafilter locks into place.) One good tip I read was to use a bit of food safe lube when screwing this back in. Since there’s a lot of moisture here it can sort of rust itself in place and become impossible to remove without nerve-wrackingly drilling out the group head.
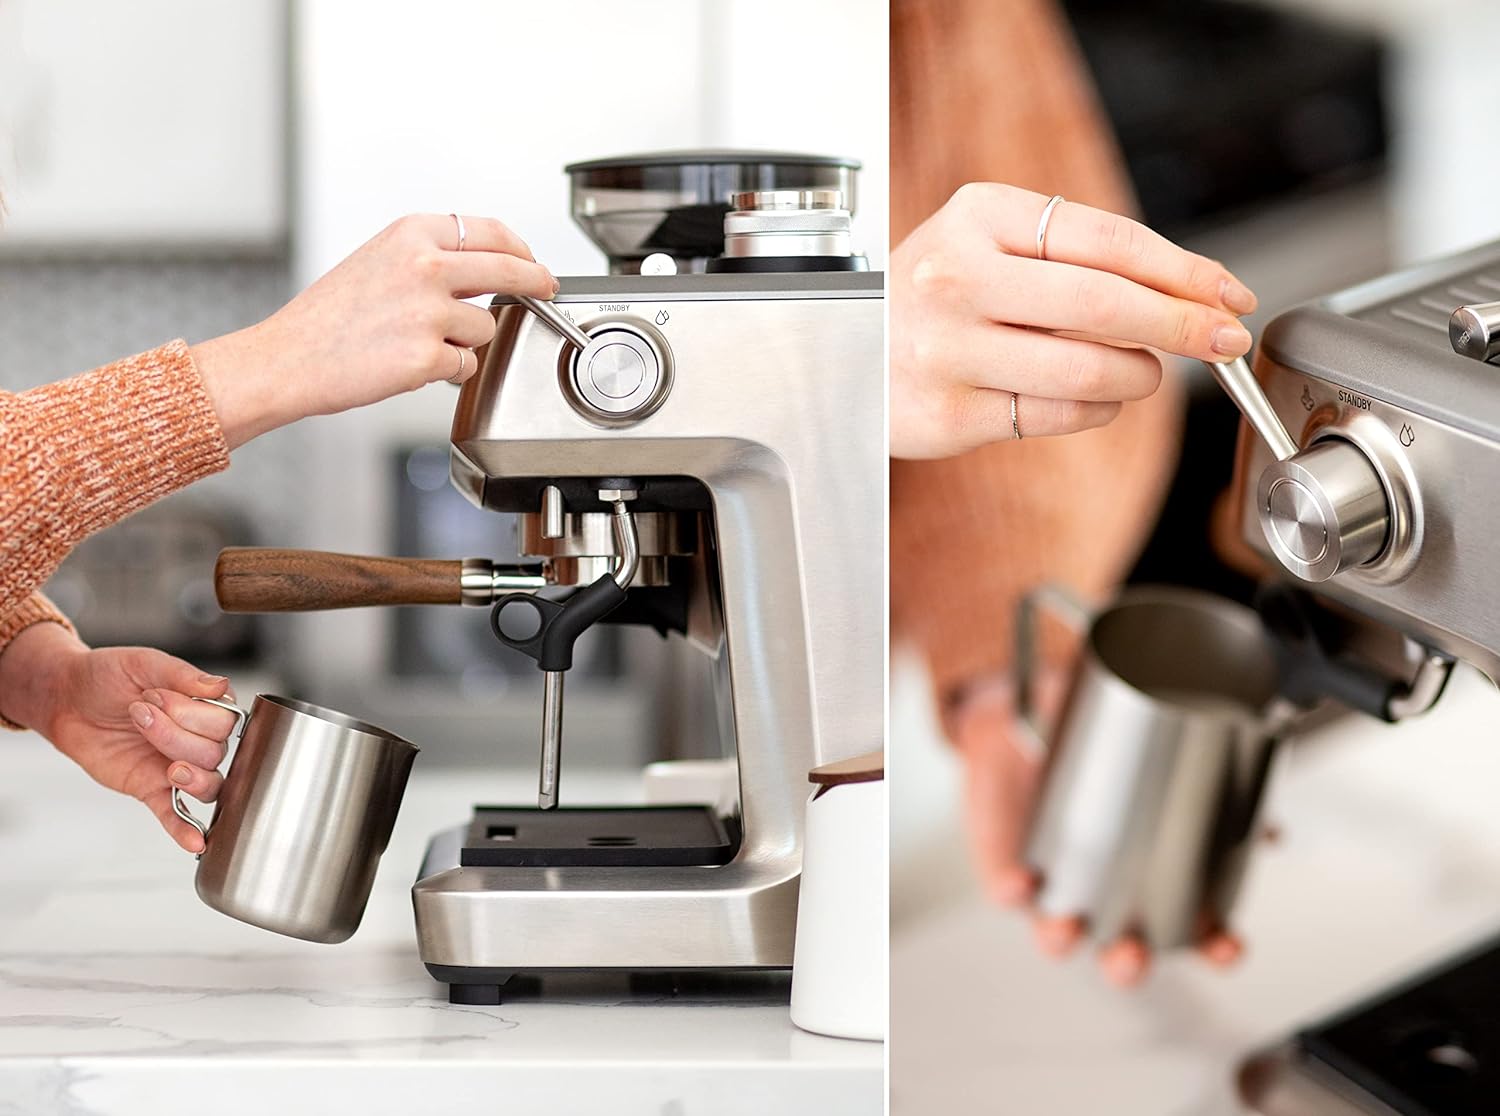
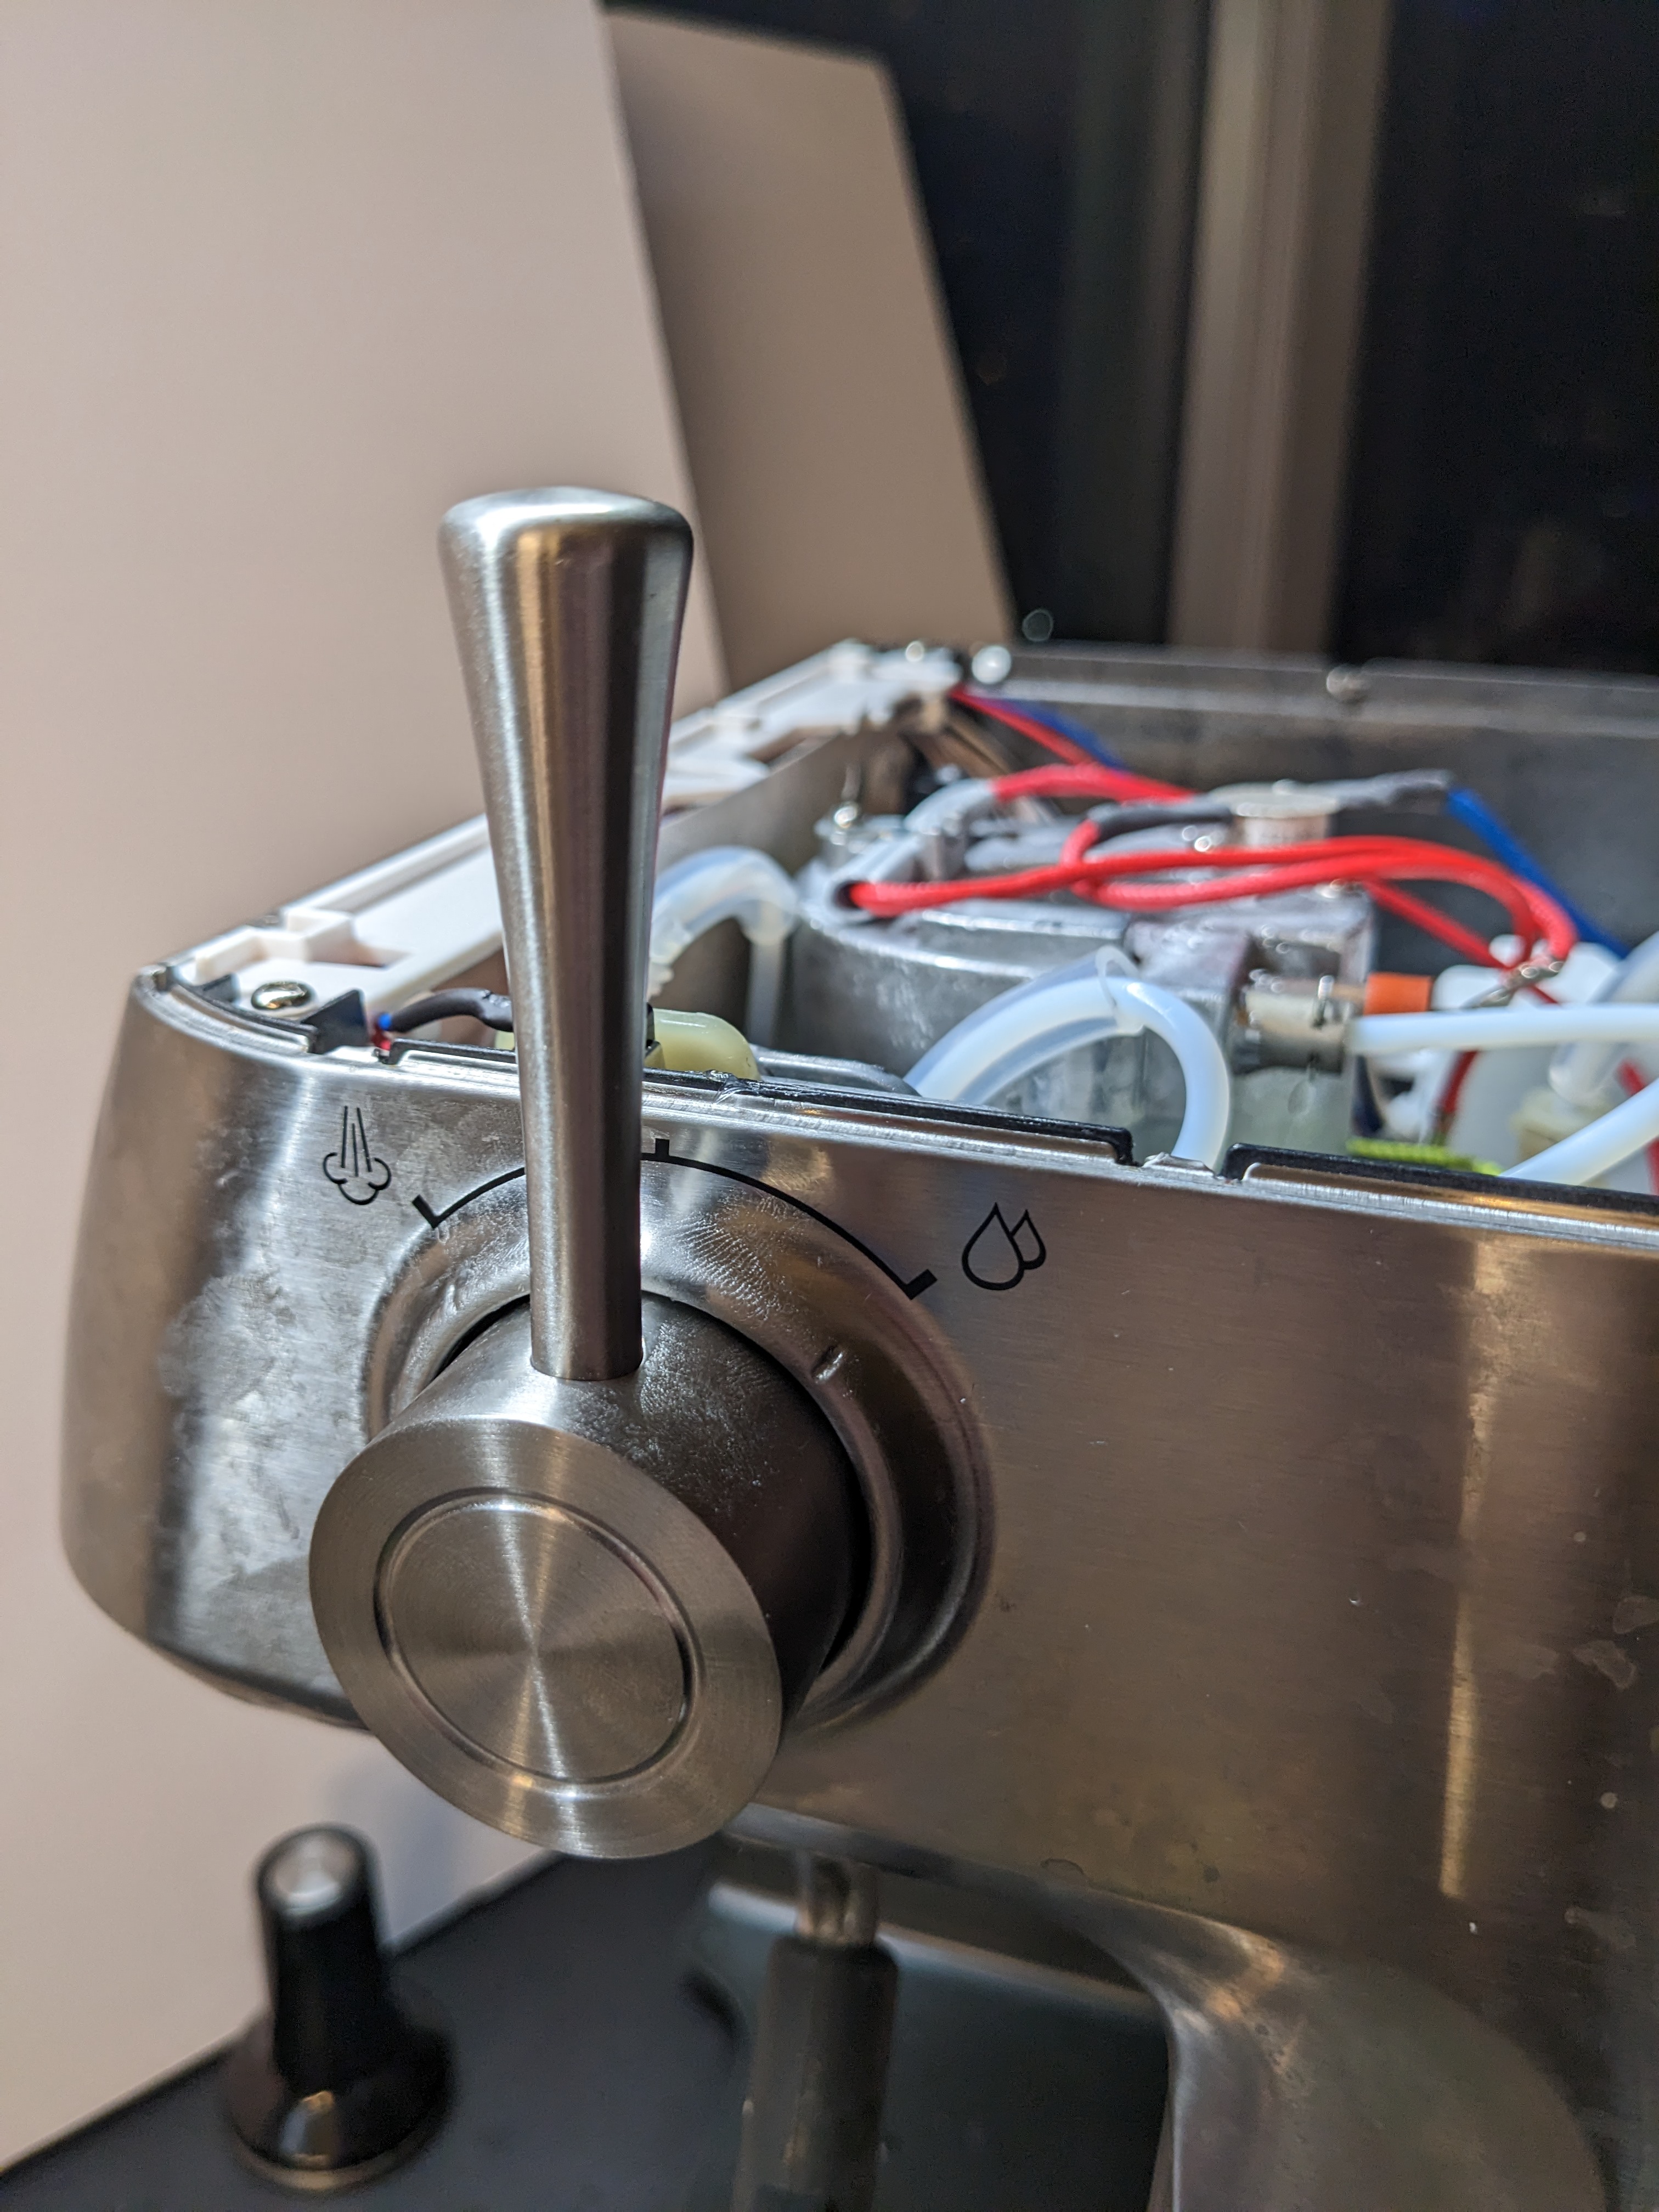
The handle has worked out really super well. I recommend it 100% for anyone who struggles with grip strength on the default dial. It makes the machine much more enjoyable to use and it’s a lot smoother and faster to turn on and off. The center “Off” position doesn’t feel as well defined as it did with the knob did so you can easily slide past it with your newfound torque, but you adapt in a day or two.
As a final note, I would be gentle with the lever.
To be on the safe side, I grab it from the center when turning rather than the end of the handle. This still gives me much more leverage than I had with the original knob, but it ensures that I'm not putting too much sideways pressure on the plastic ring. I'm very careful using the lever, to avoid damage to the assembly. It does feel like it will break the connection to the snap mount eventually tho. The handle creates different force angle than the standard Breville knob, causing it to feel like it will break.
The Breville’s plastic machine internals will fail long before the metal lever will. I will update this post if the mount fatigues itself to death, but so far everything is fine. If it does blow up then it’ll be time to get the weird disc assembly out and RCAed. ;)
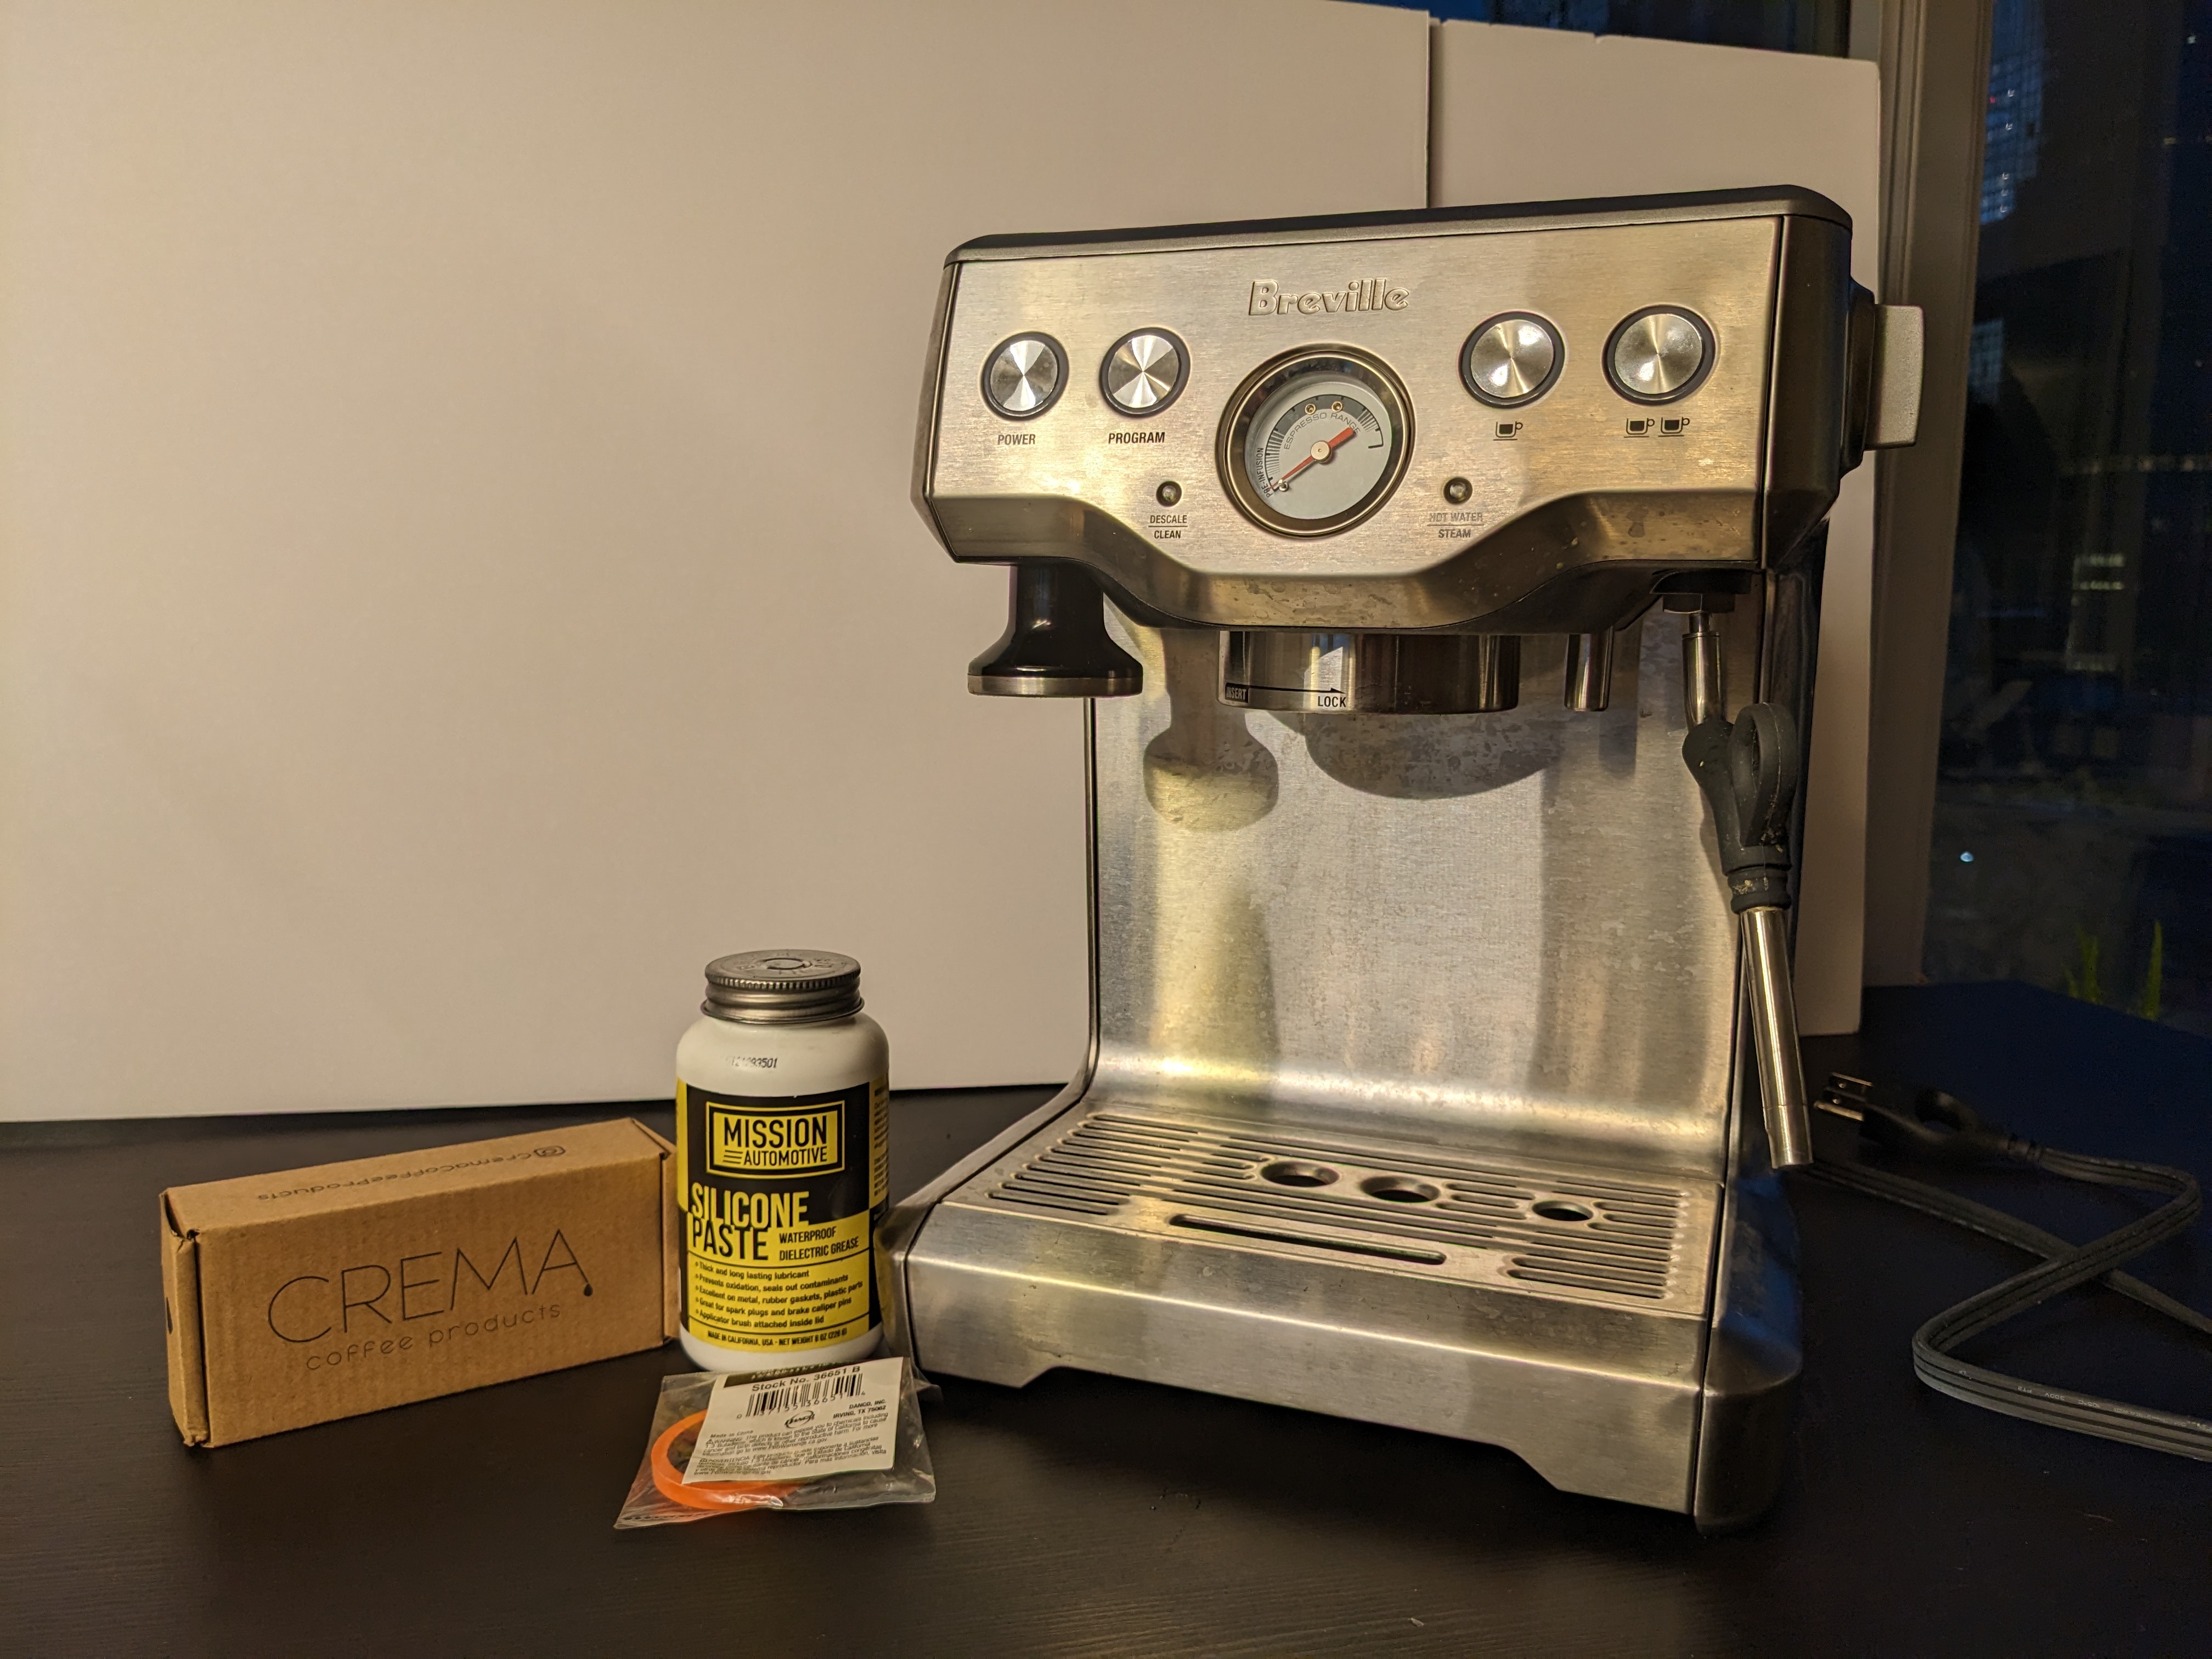
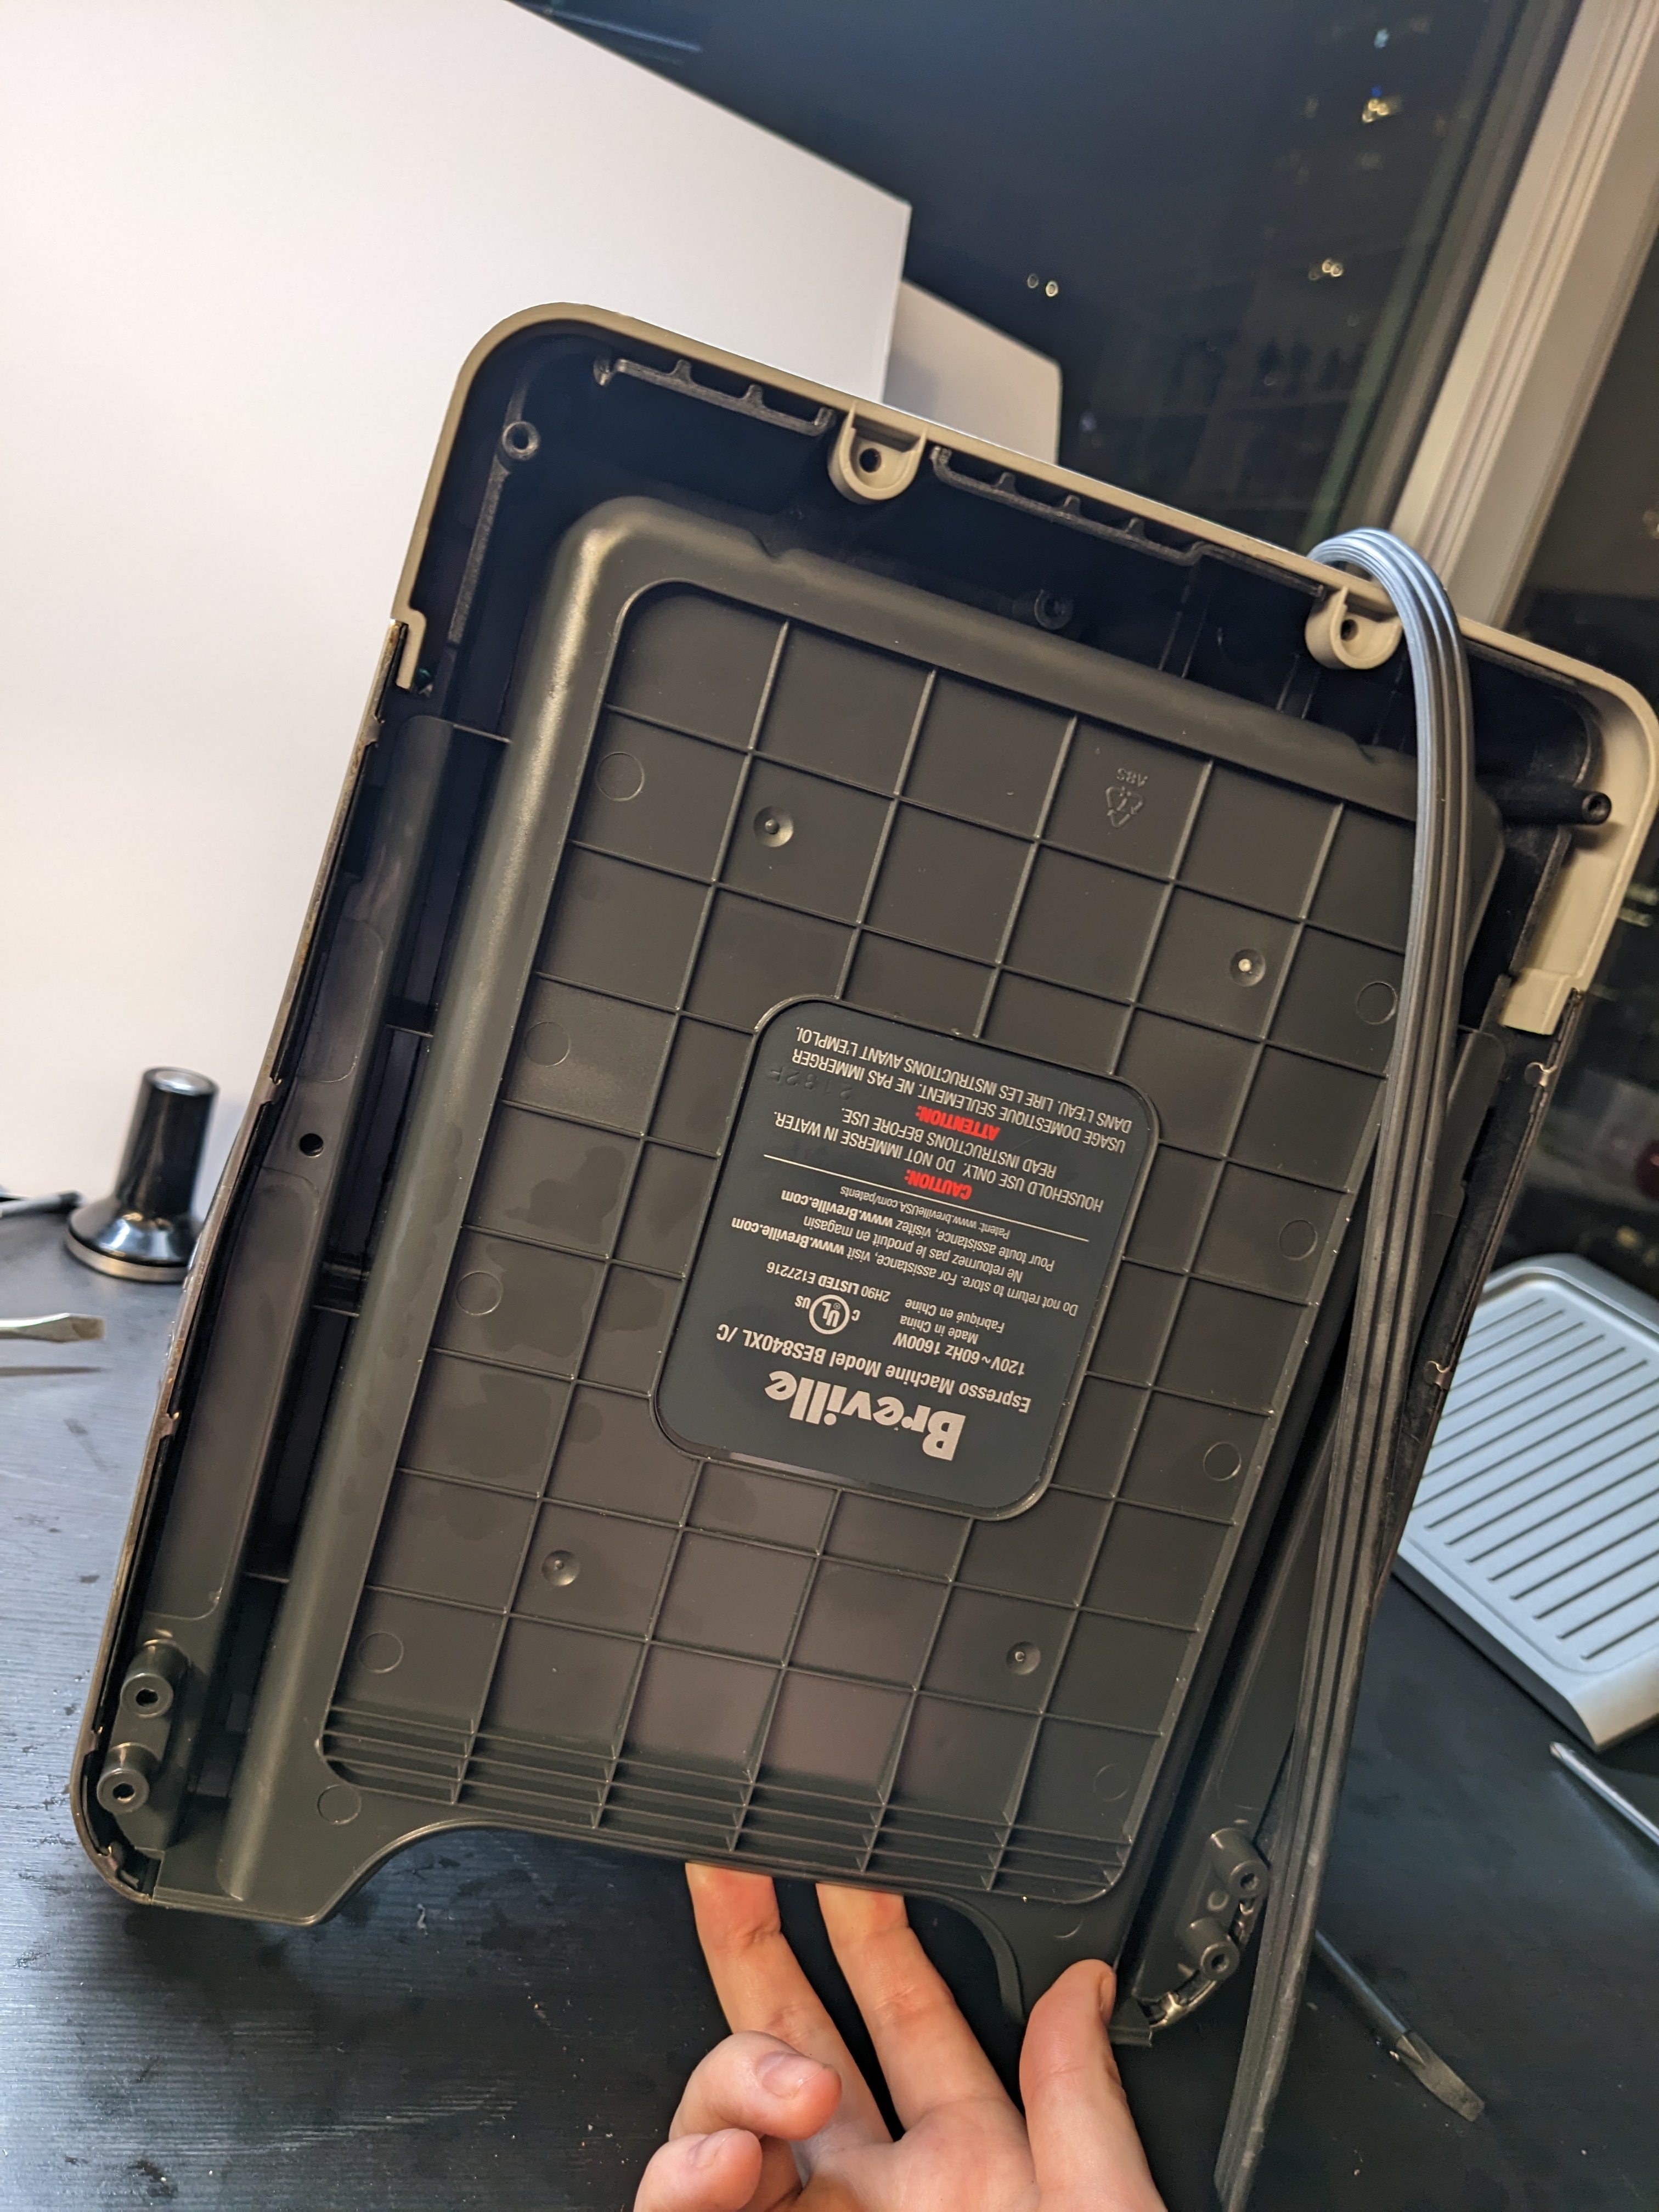
Supplies
Other Useful Breville Related Posts
Most of these are for the closely related 800ESXL, not the 840, but still useful. Breville does seem to like to discontinue parts but there are plenty of “generic” substitutions, if you know what to use (I don’t, so I’m making this list for future reference :P).
- Repair Notes for the Breville 800ESXL Espresso Machine (not the same model but there are commonalities…explore the rest of this site at your own peril, lol)
- FIXING A BREVILLE 800 SERIES PROFESSIONAL ESPRESSO MACHINE
- extreme breville mods - a newbie learning extreme espresso making with an espresso machine that has no business being extreme
- BREVILLE 800ES Repair Diary / Common Faults
- FIXING A BREVILLE 800 SERIES PROFESSIONAL ESPRESSO MACHINE