DJ Iroha (Beatmania IIDX)
The Source
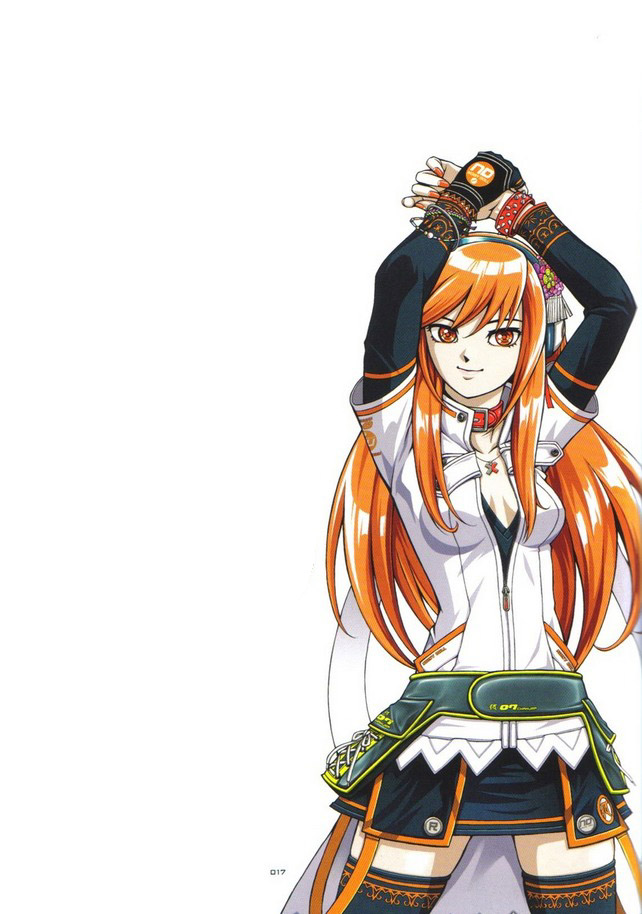
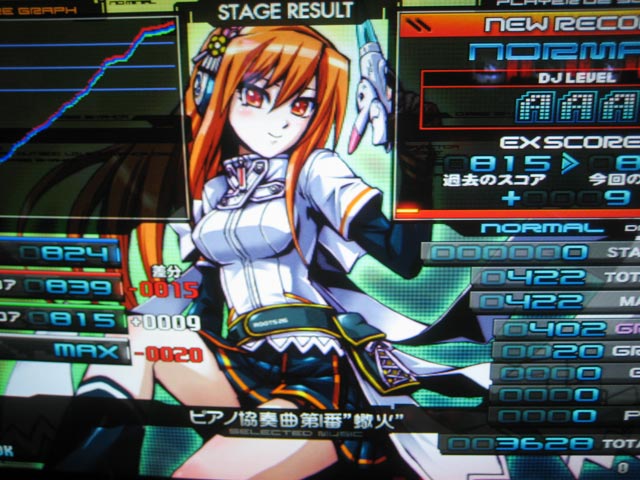
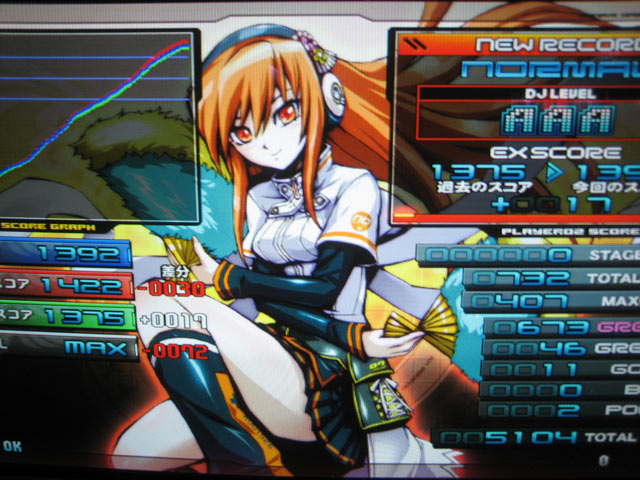
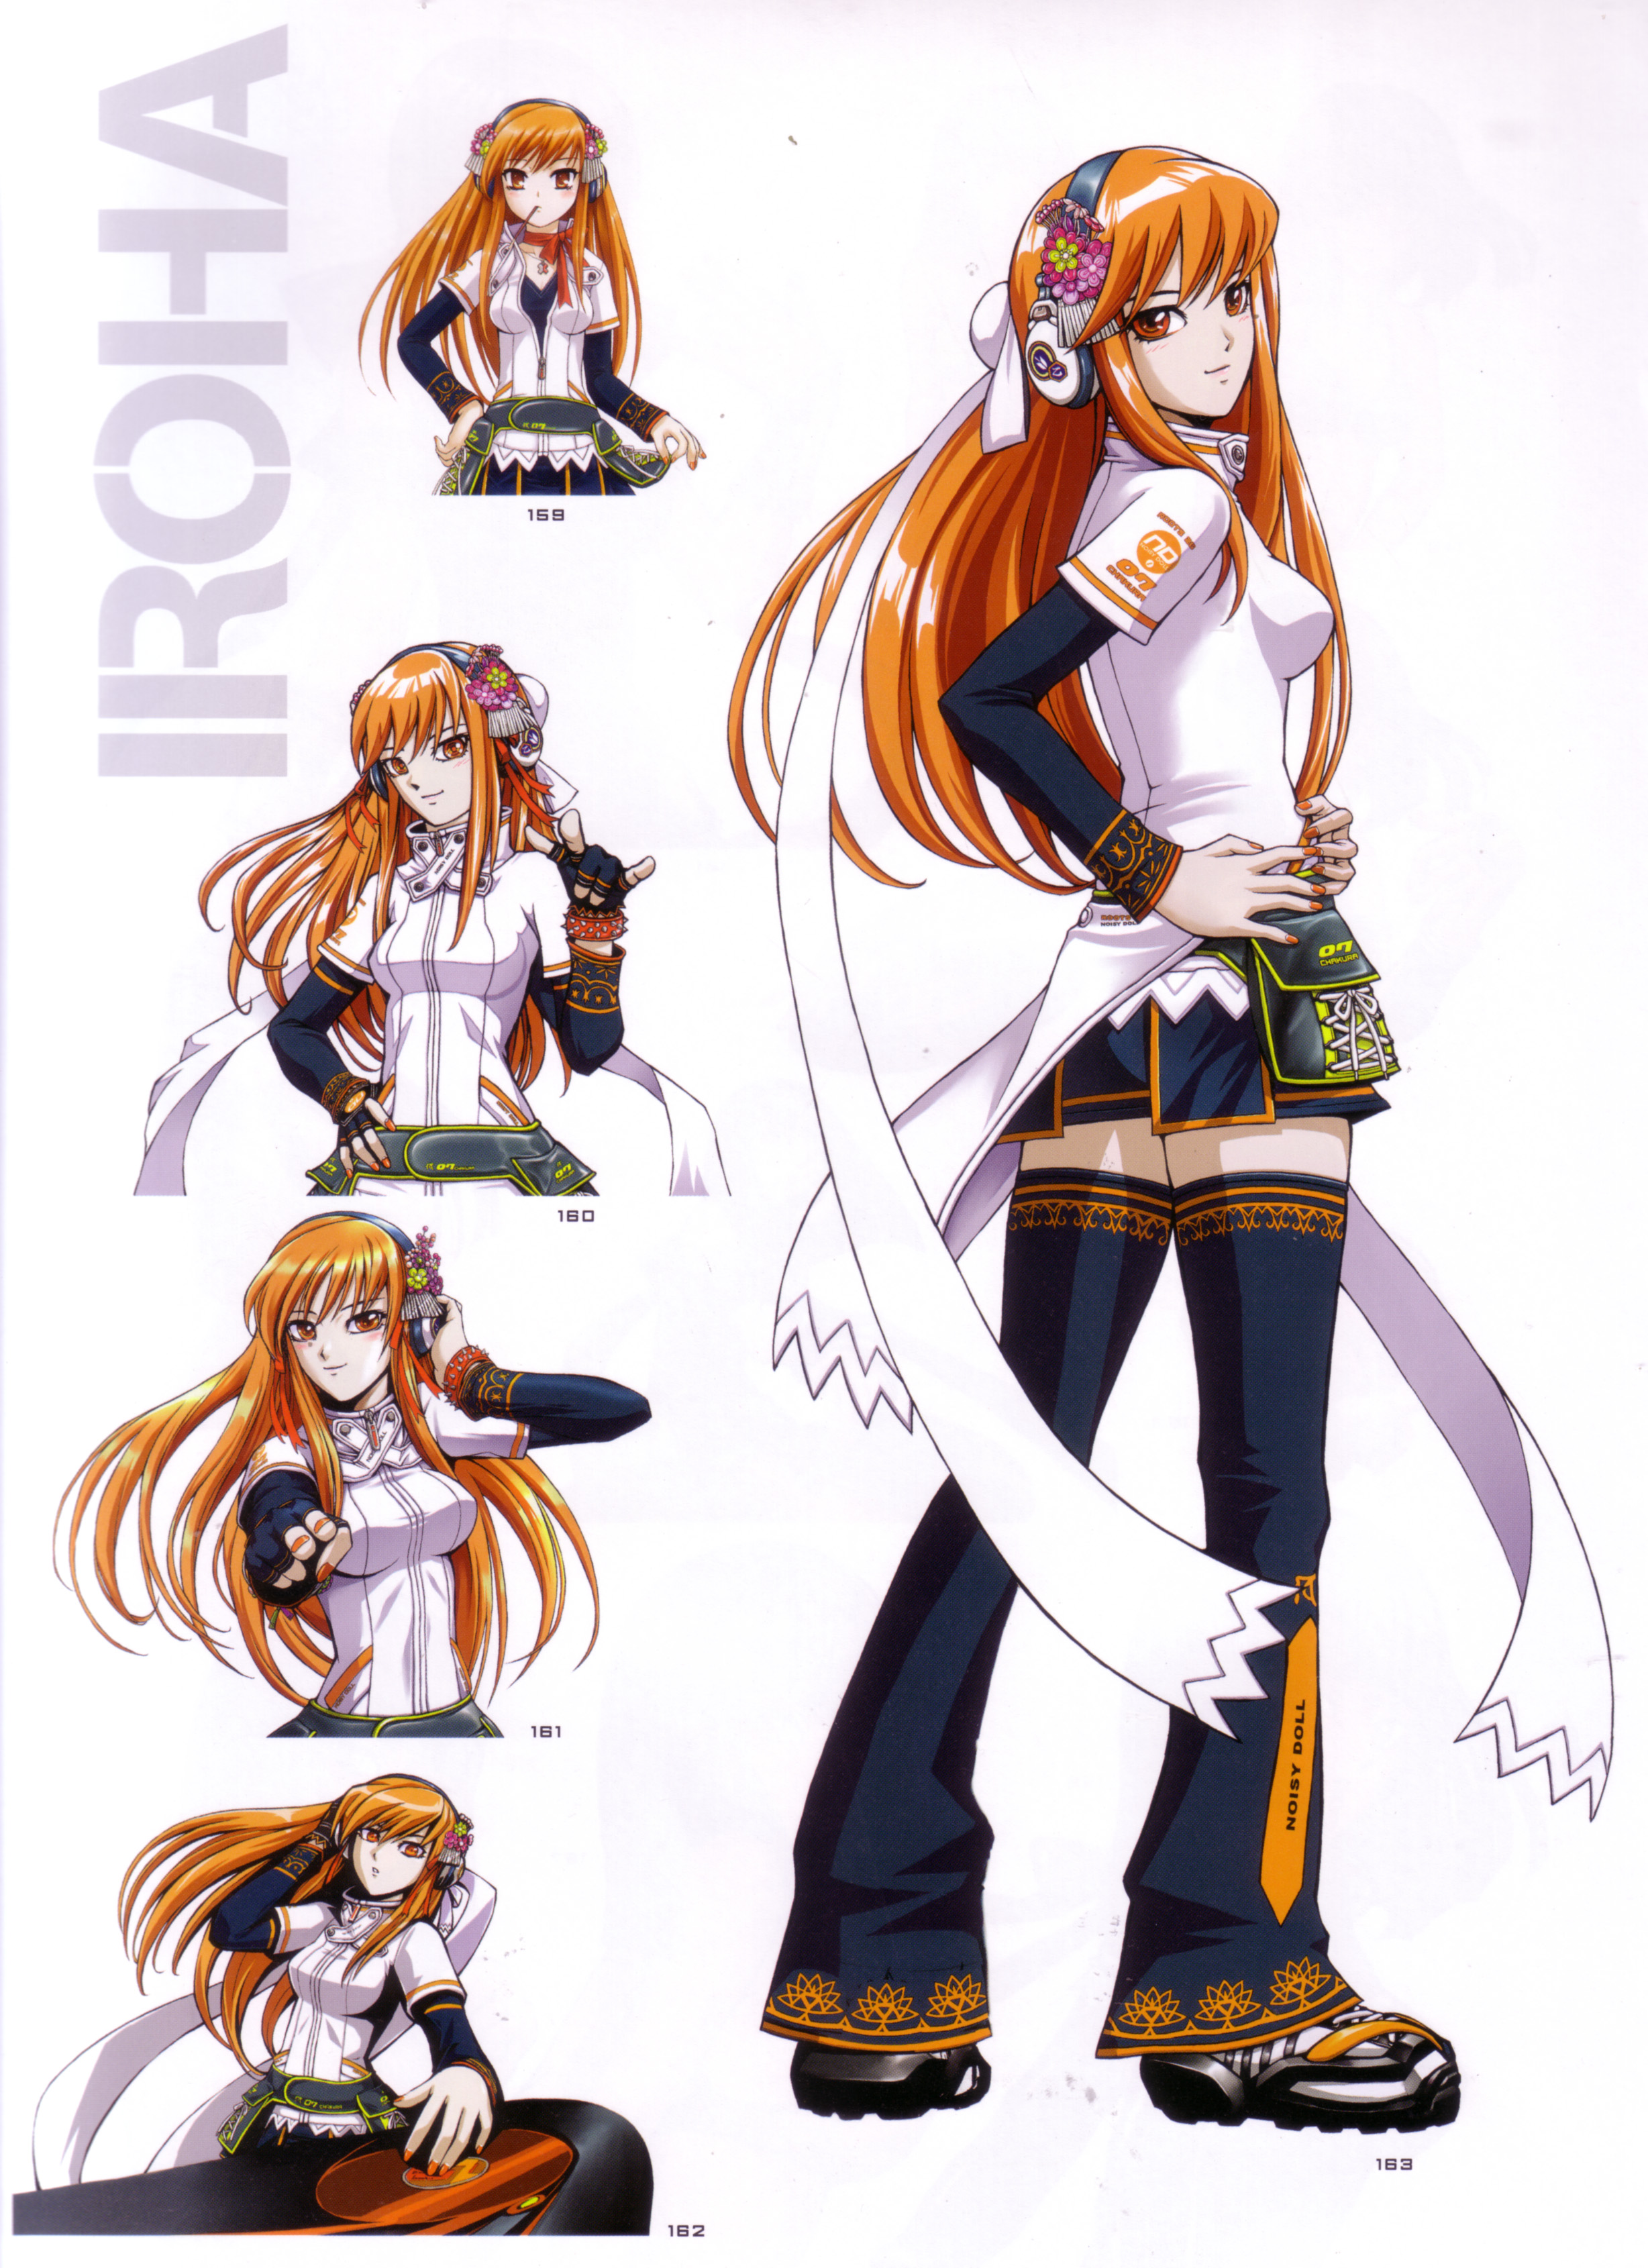
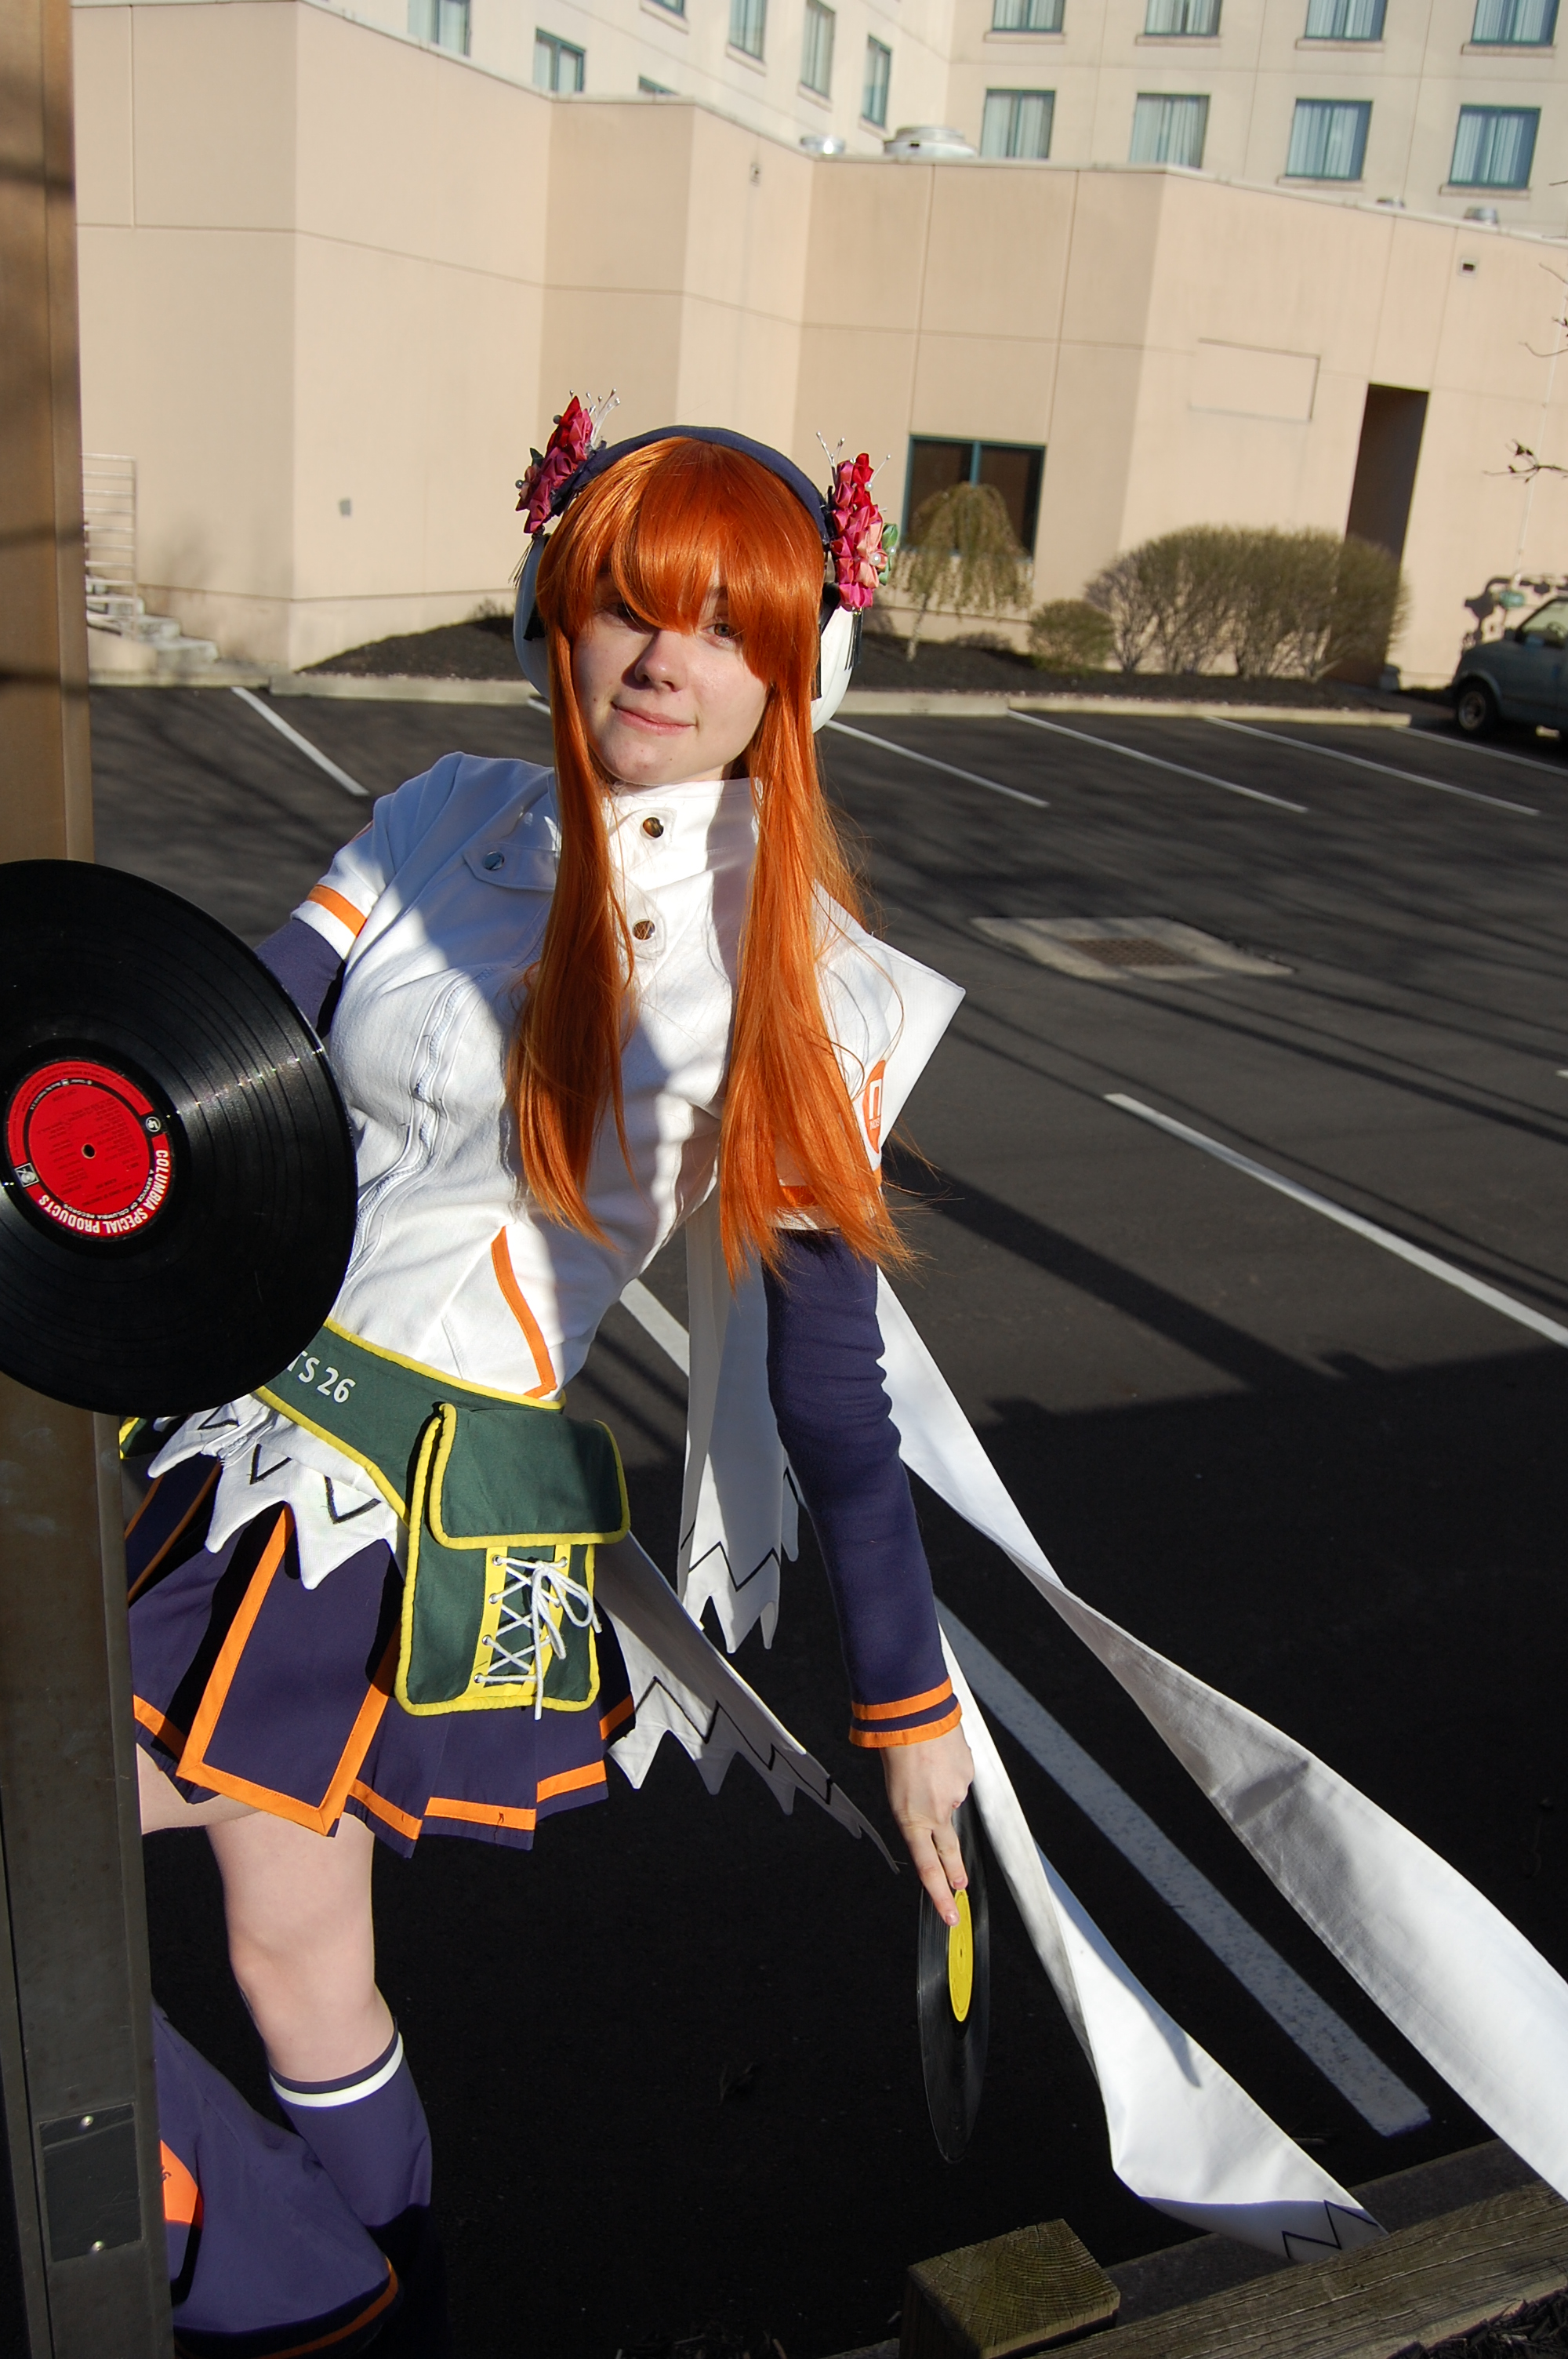
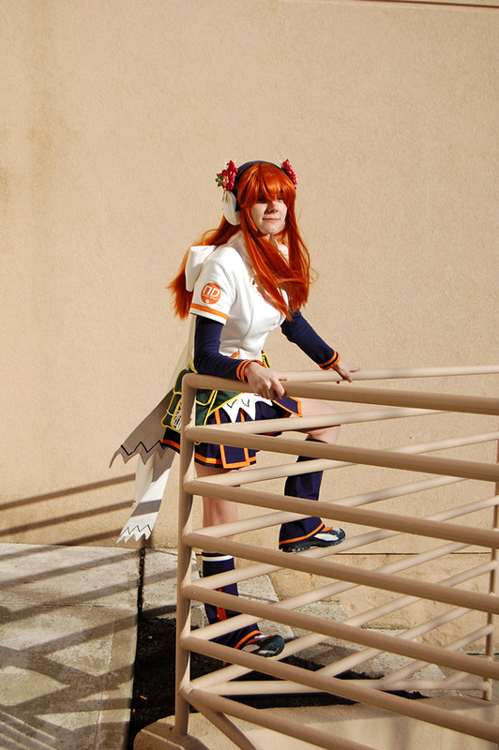
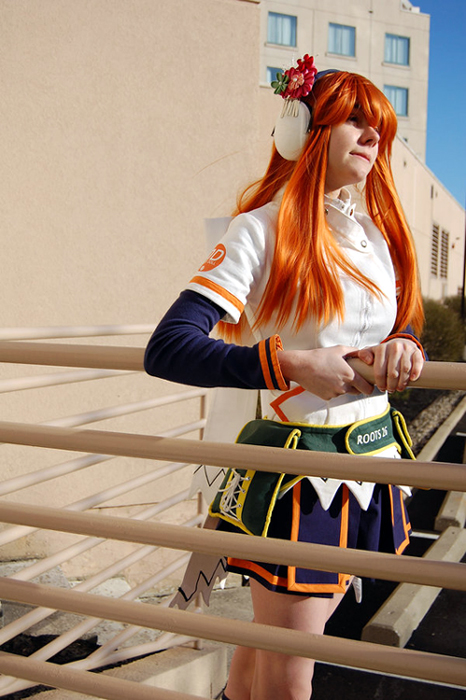
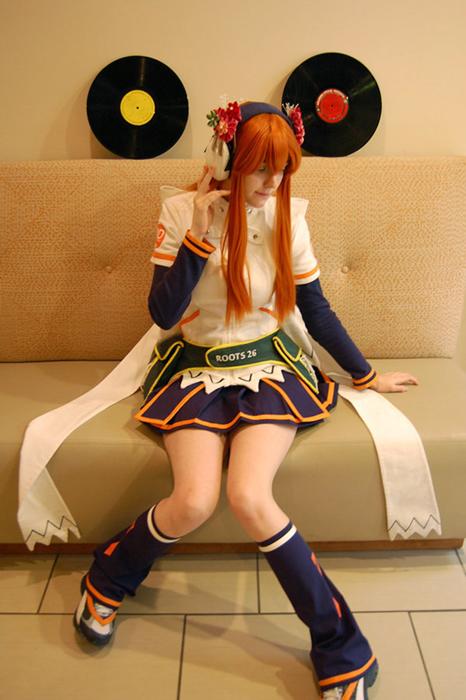
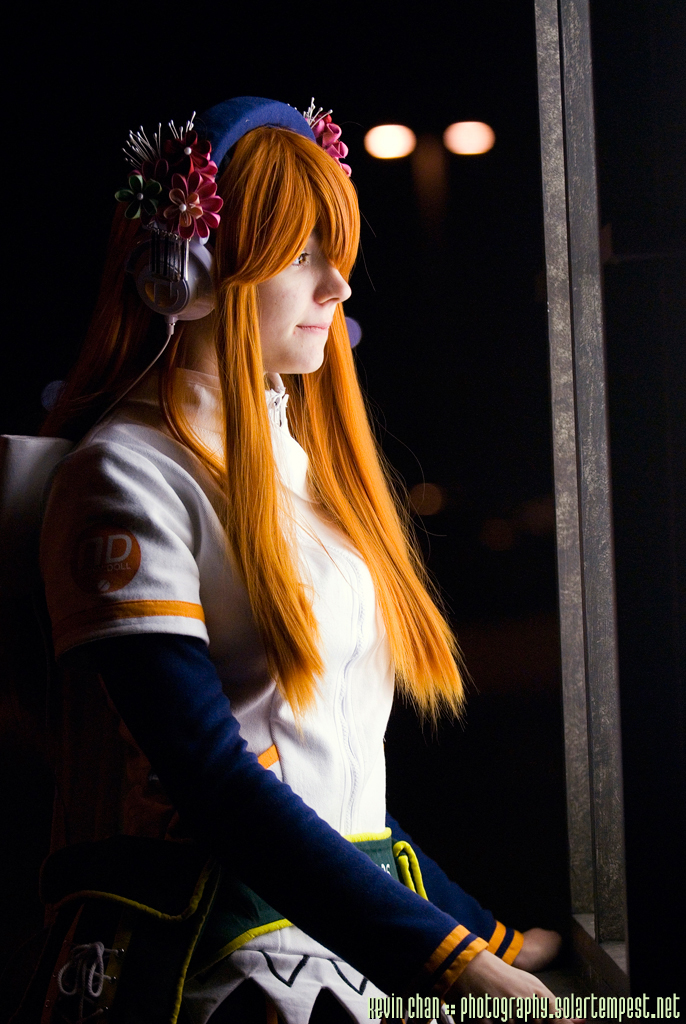
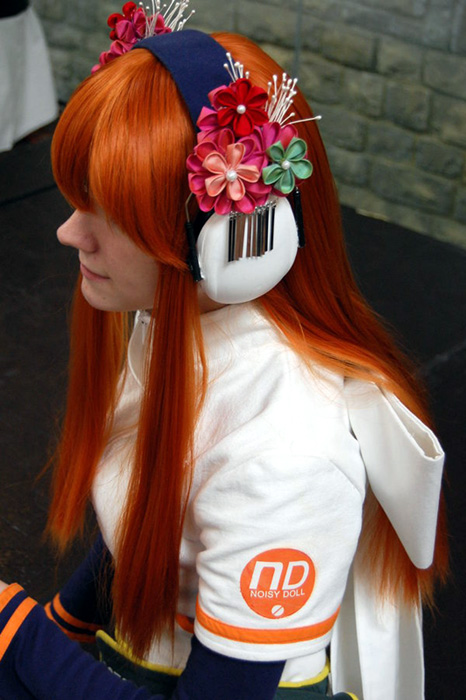
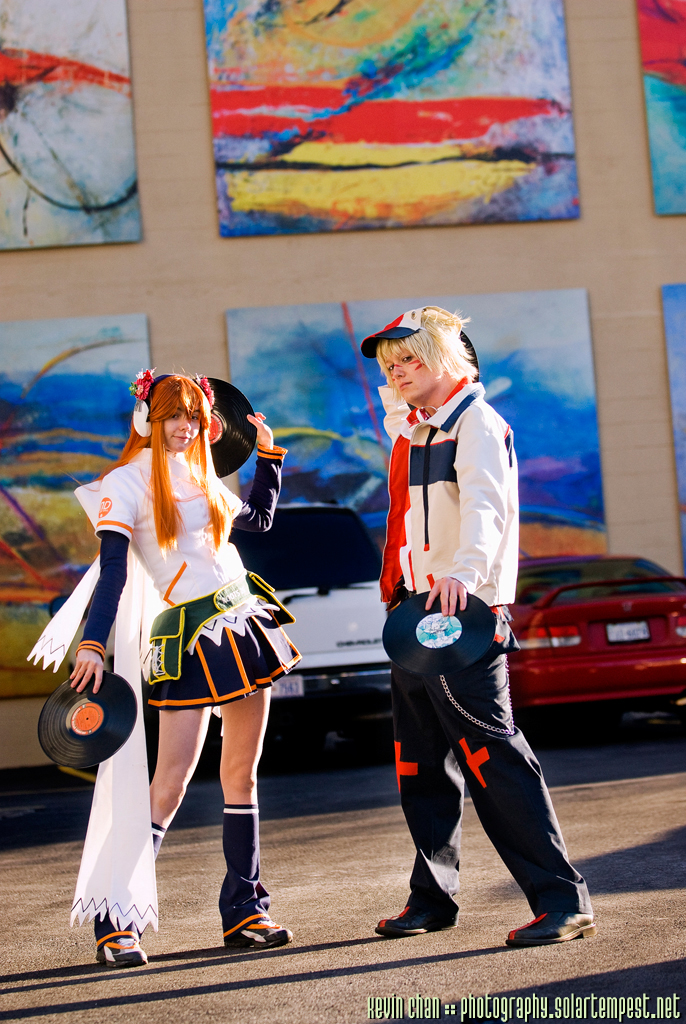
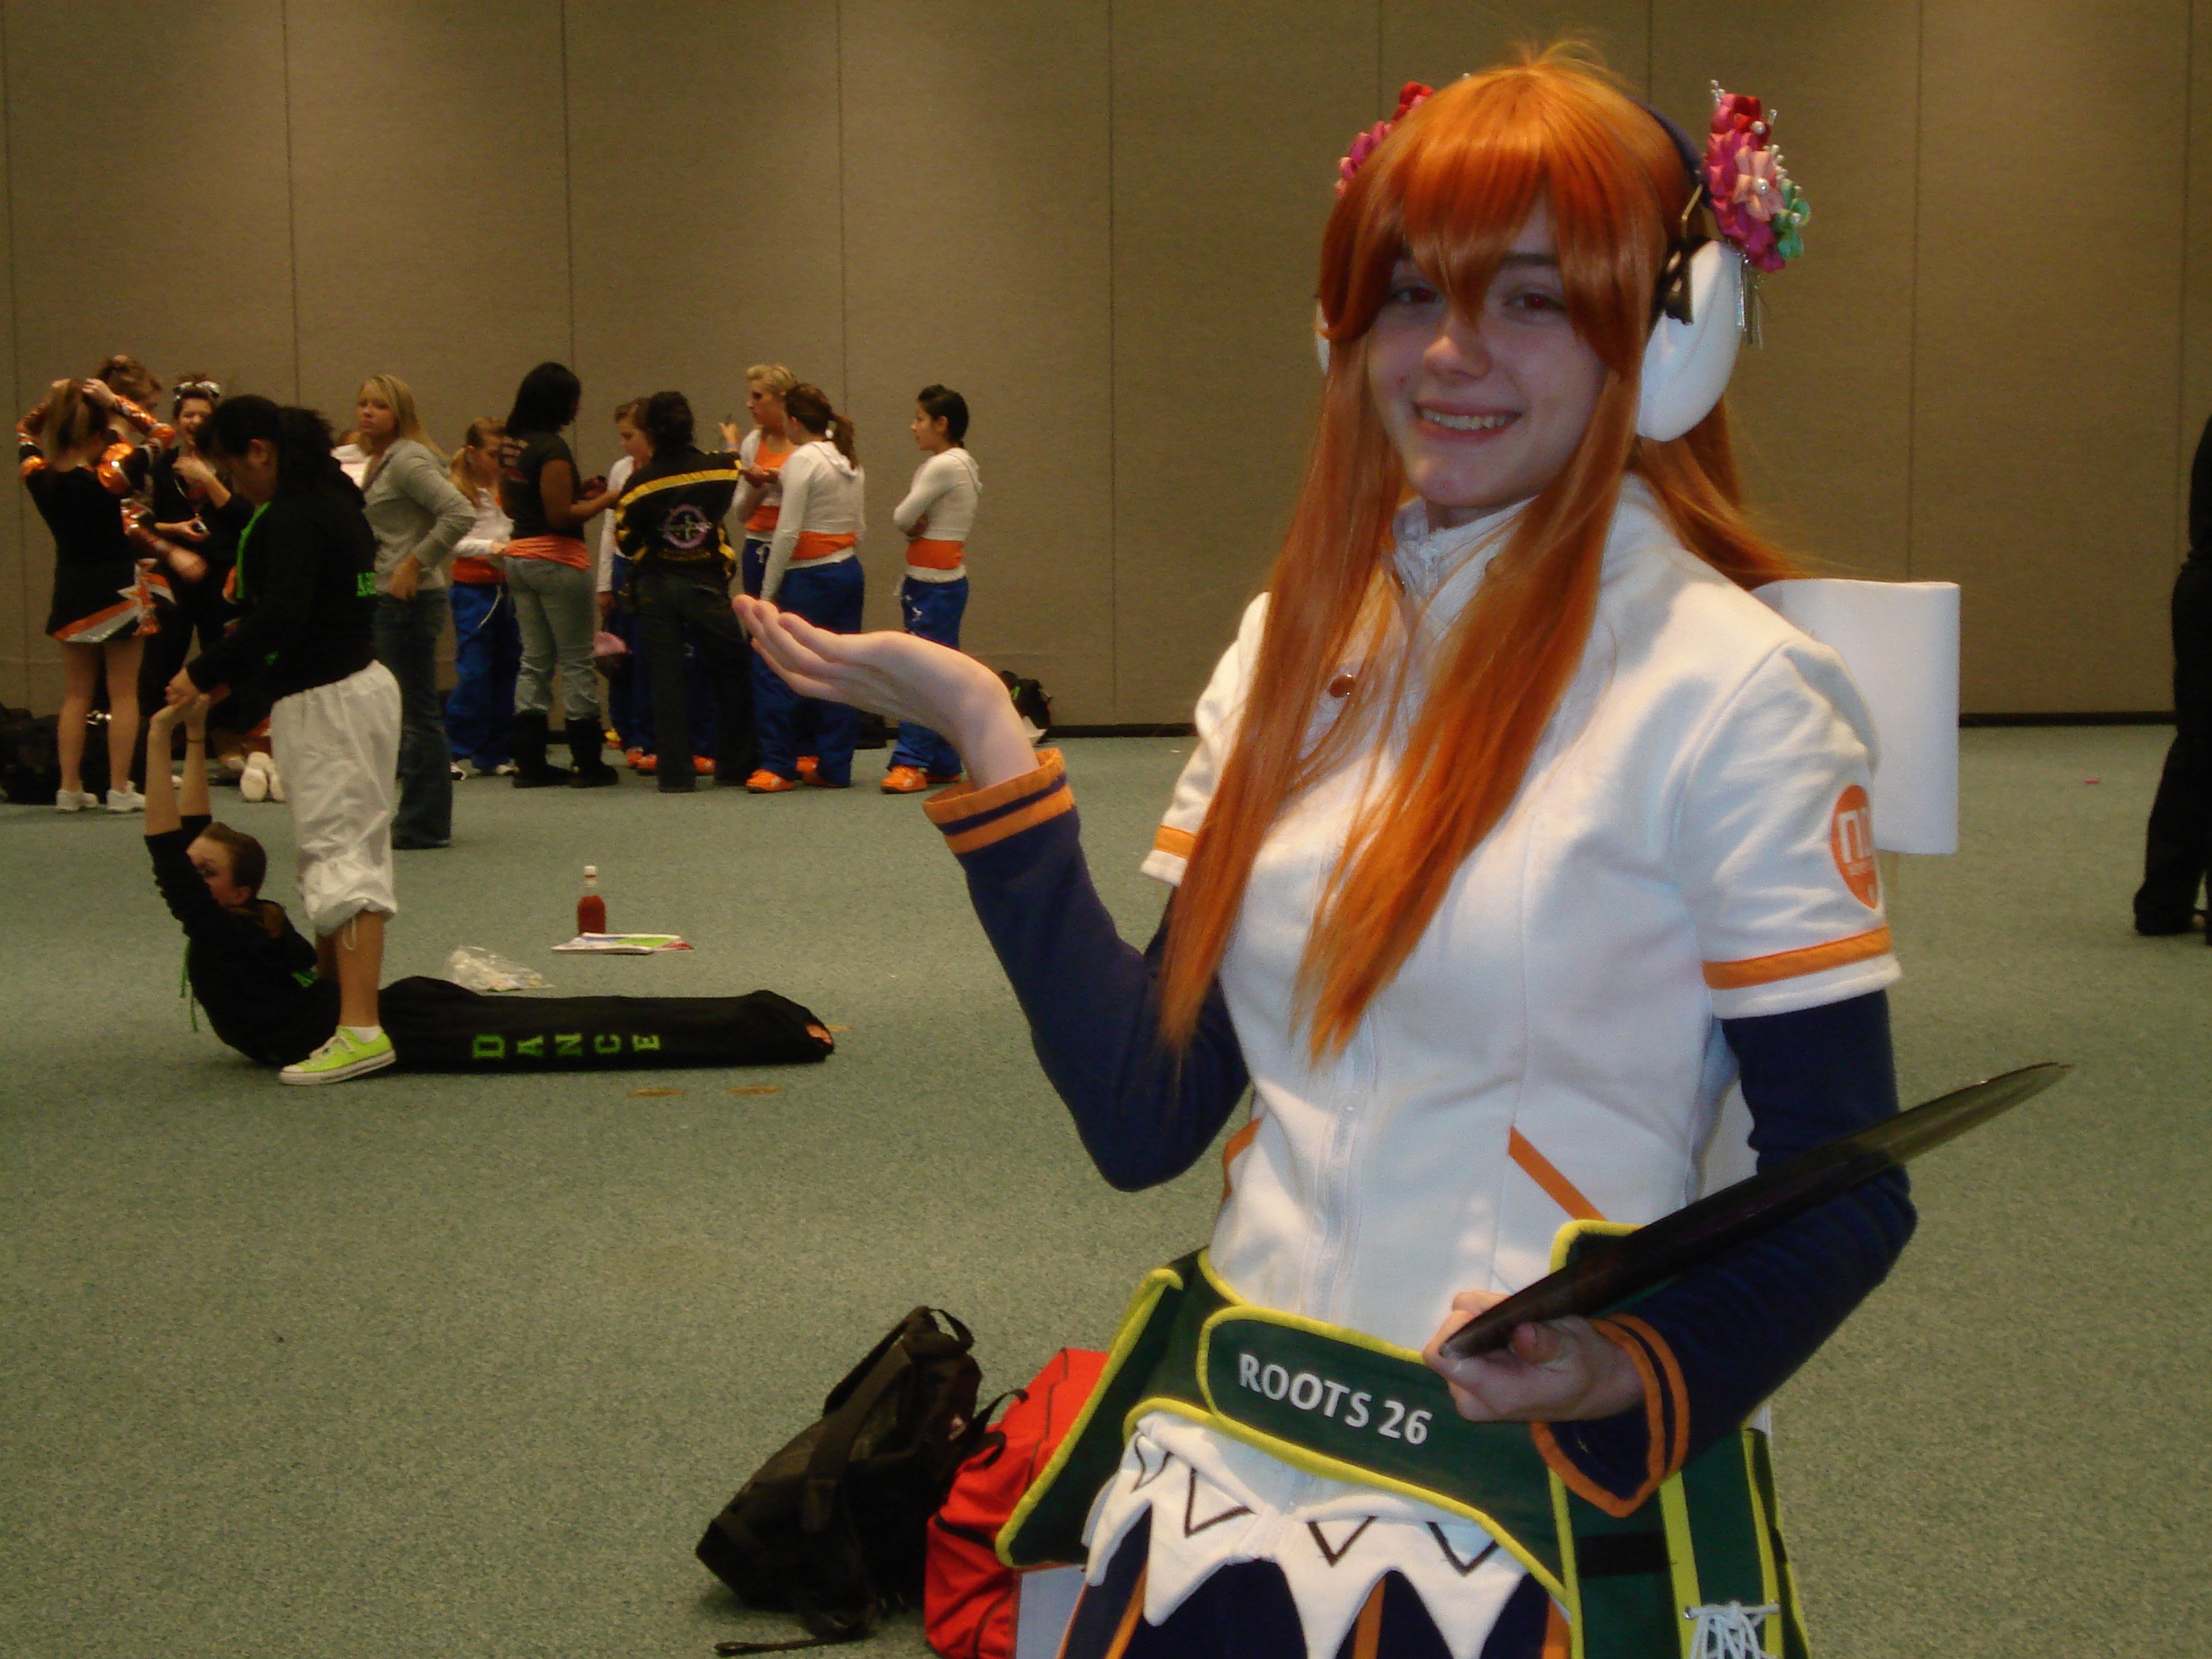
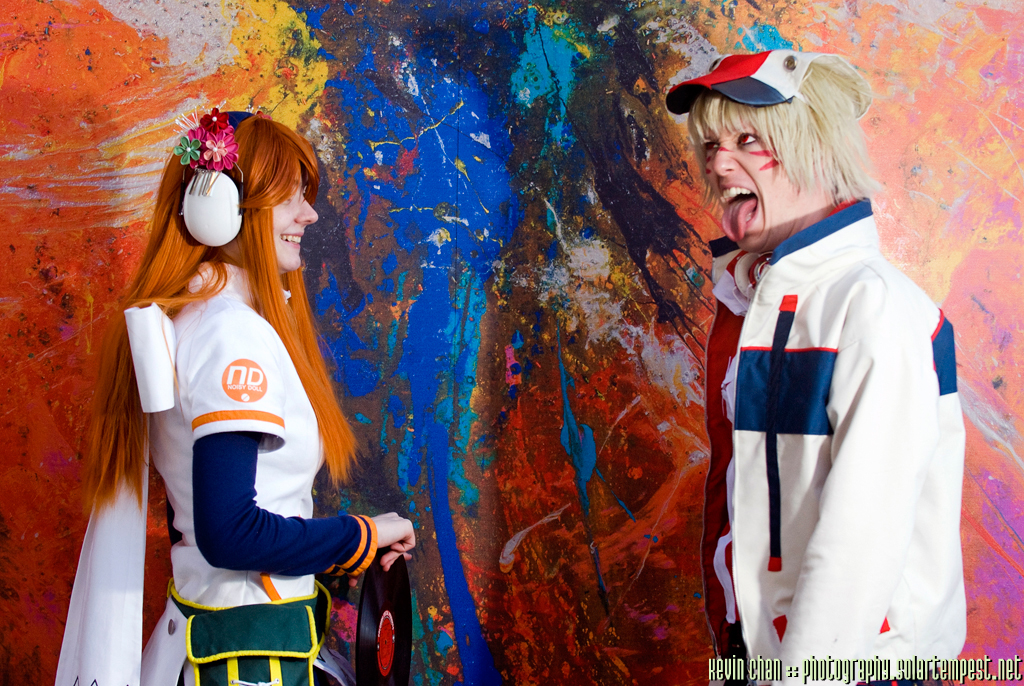
Beatmania character designs offer a great combination of style and technical challenge. There are two main Iroha designs: one with a miniskirt and long legwarmers, and a newer one with short legwarmers and a pleated skirt. I really like the updated design and found it super cute. Unfortunately, most of the official art is of the “default” long-warmered version. The best references for the new design were the two afore-linked score screens and an incredibly detailed, yet ruthlessly ecchi figure. Iroha is probably one of the more Halloween friendly IIDX characters since - on top of a hobbyist interest in the occult - she is intermittently subject to possession by a dead DJ who apparently couldn’t fit enough Konami into a single lifetime.
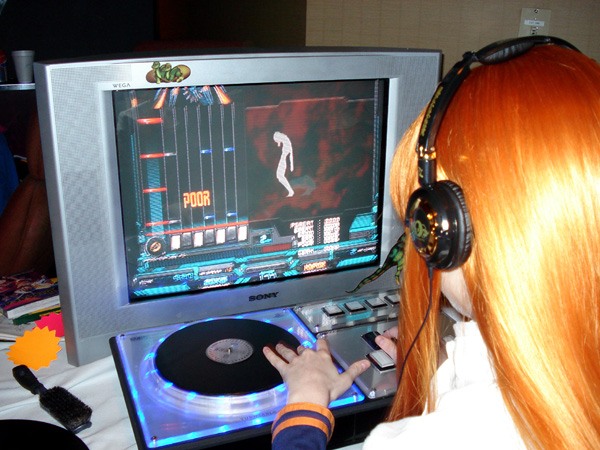
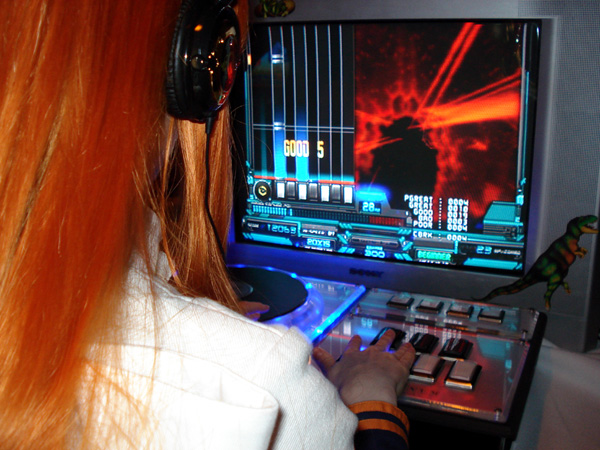
I remain an extremely poor IIDX player.
The Costume (2008-2009)
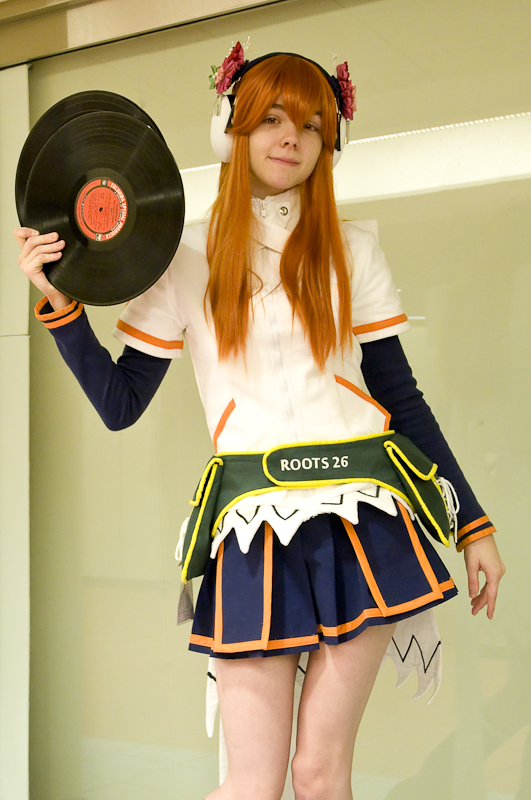
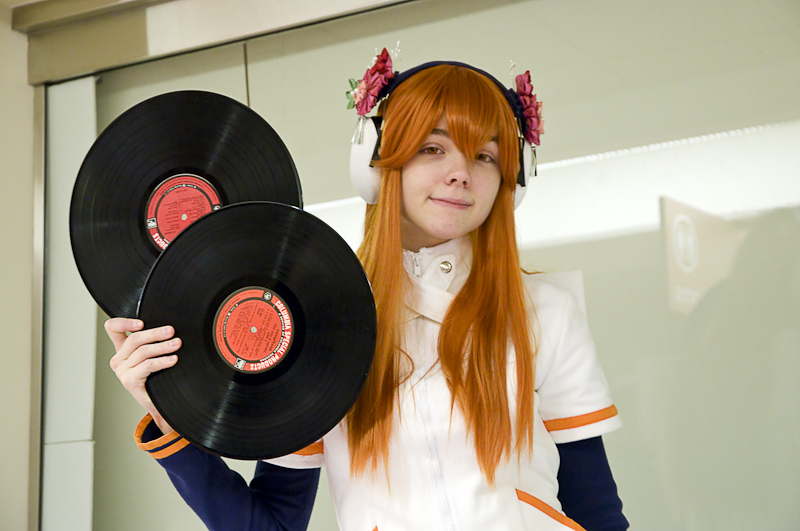
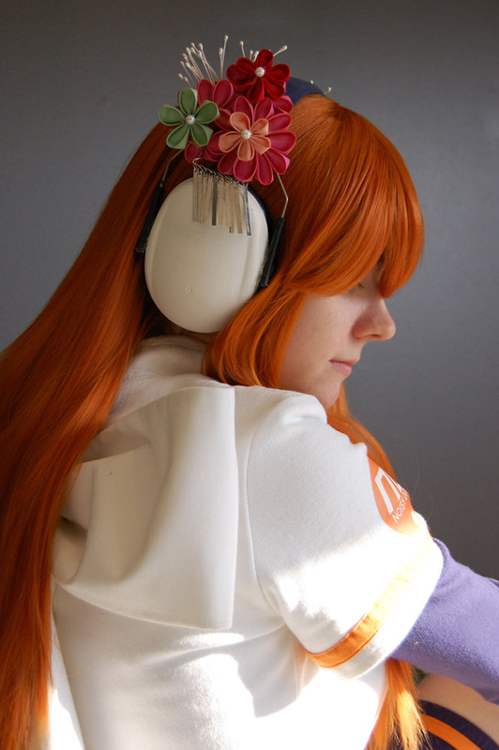
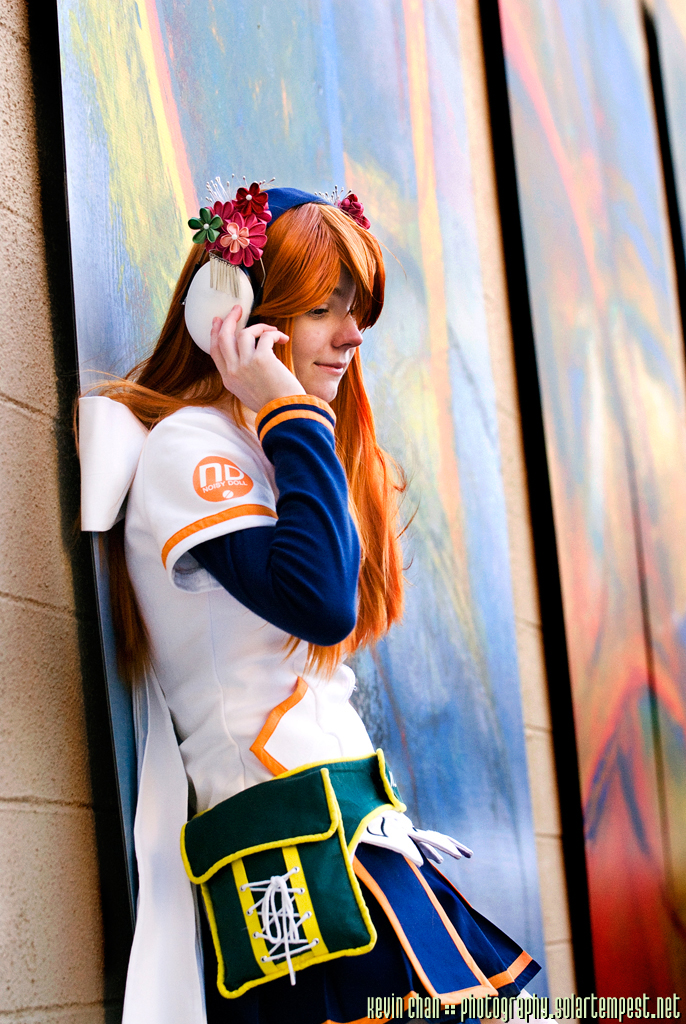
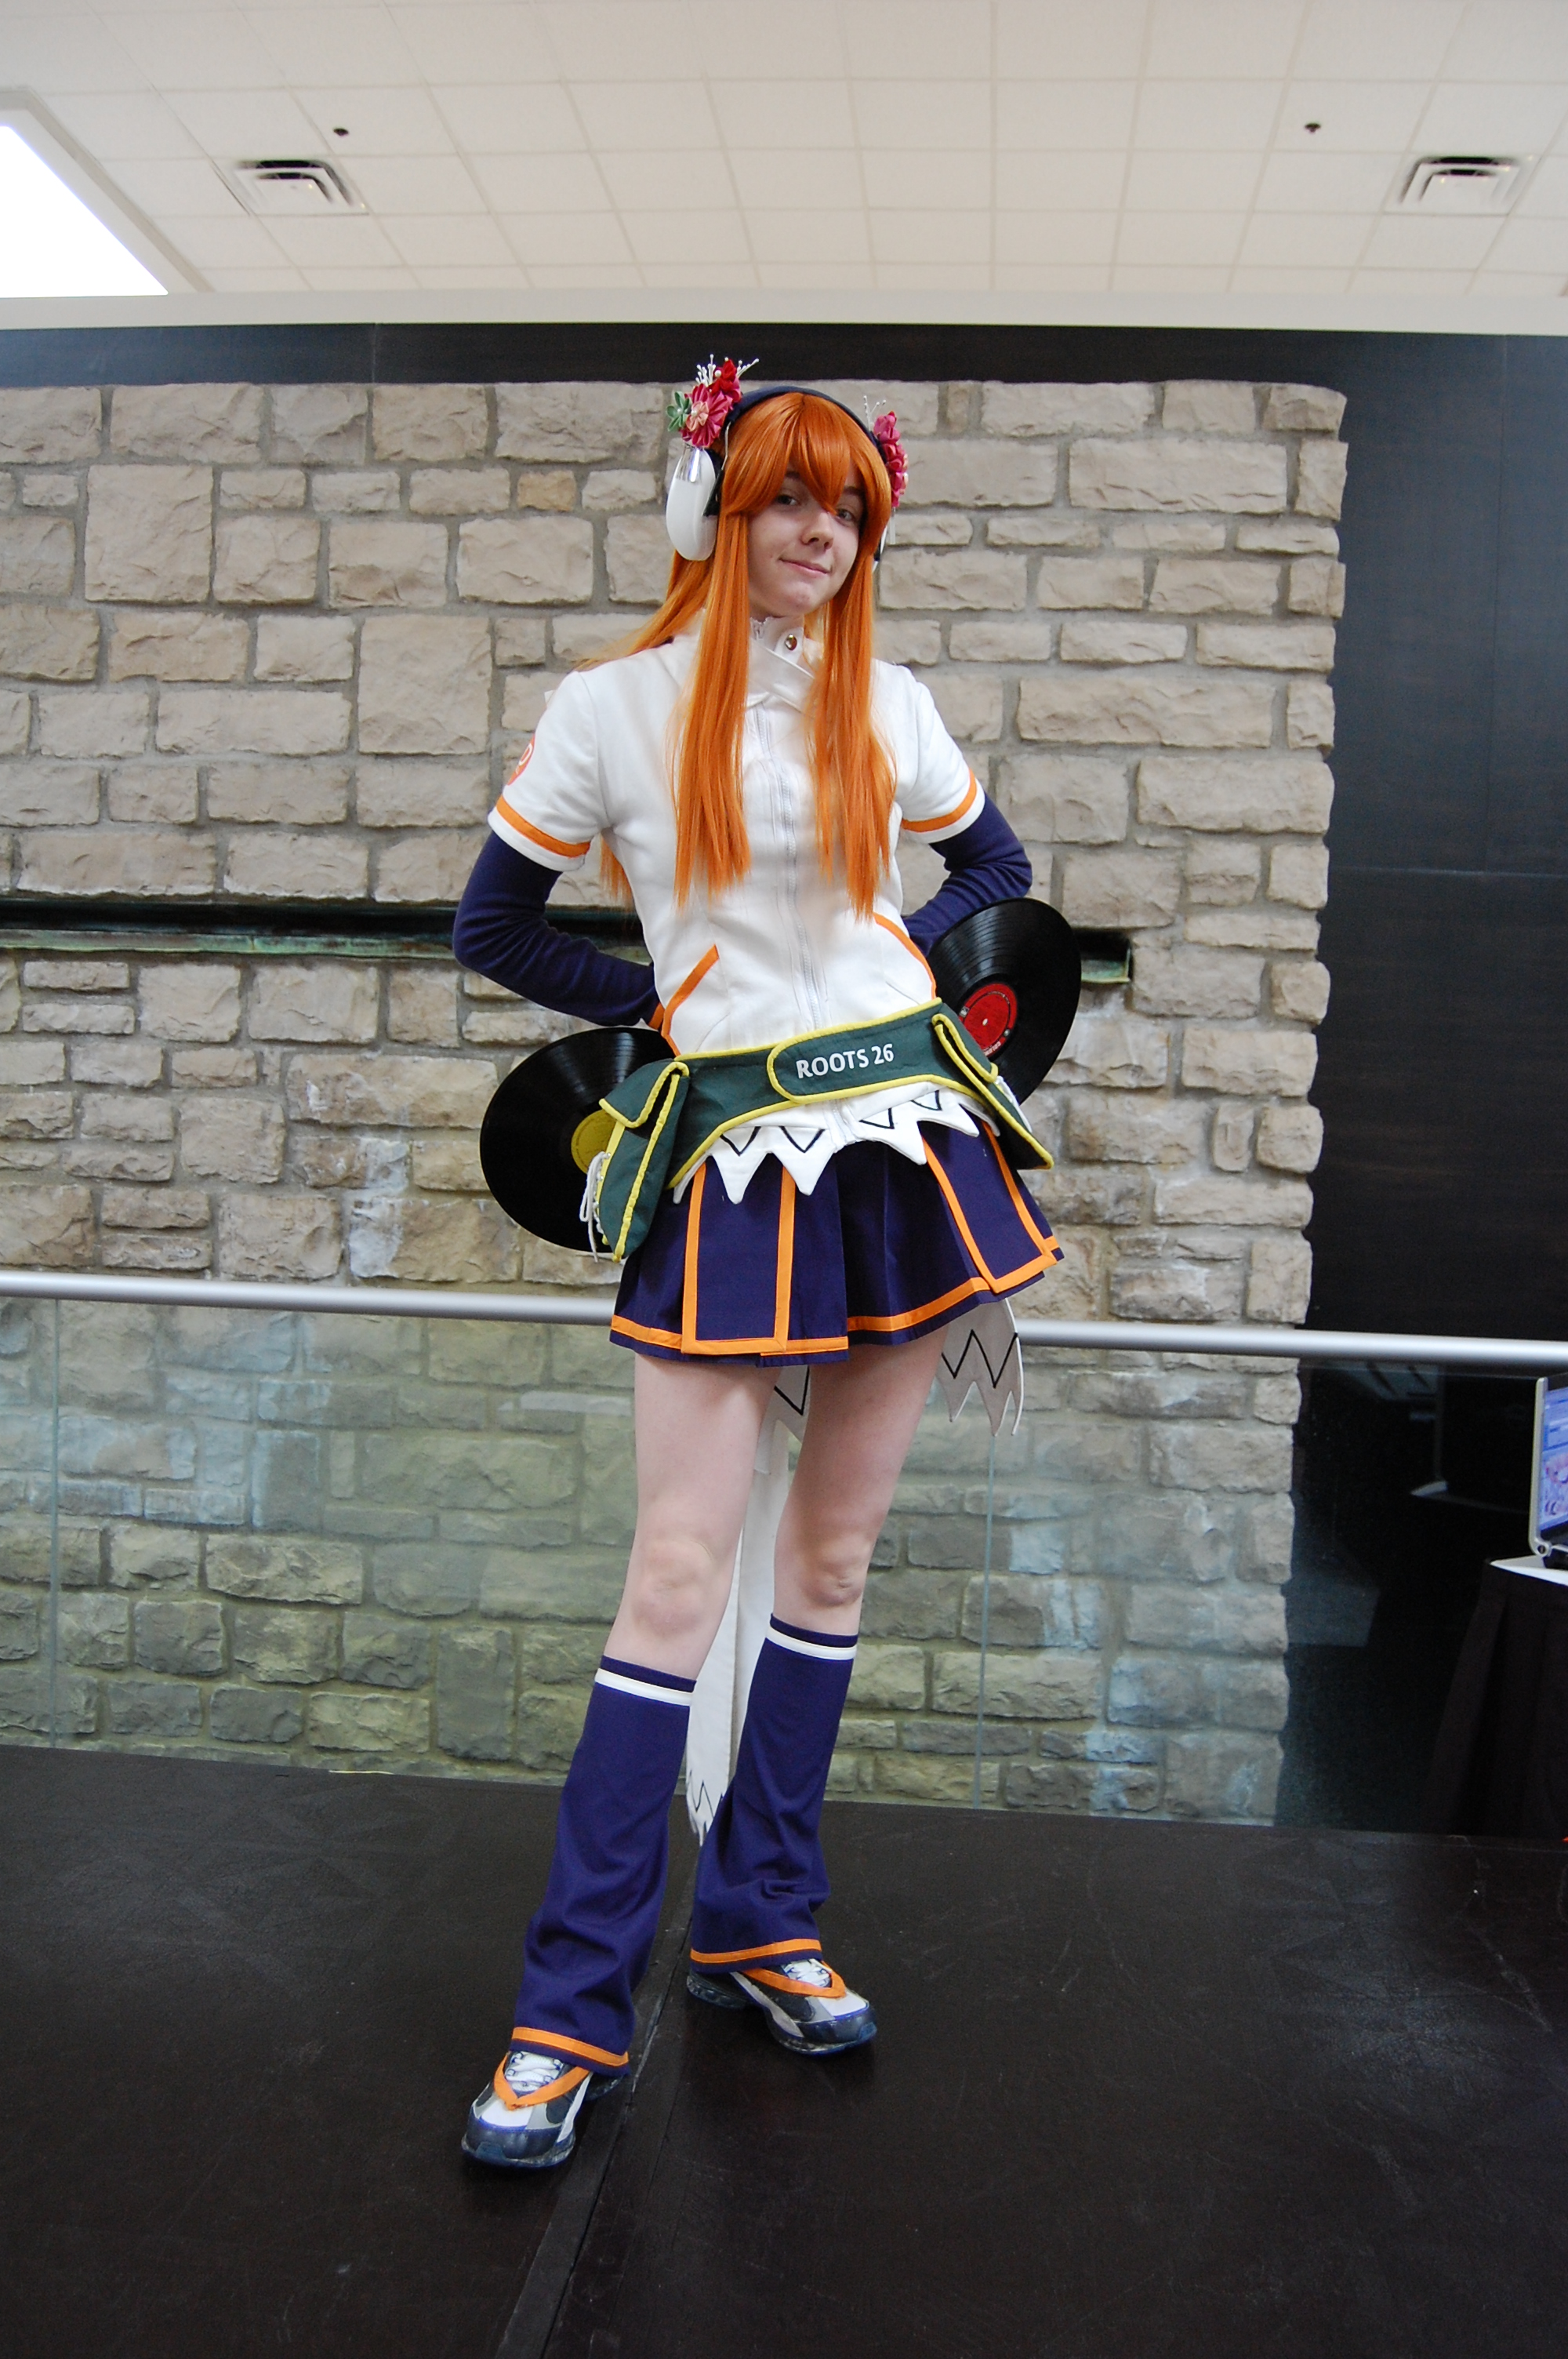
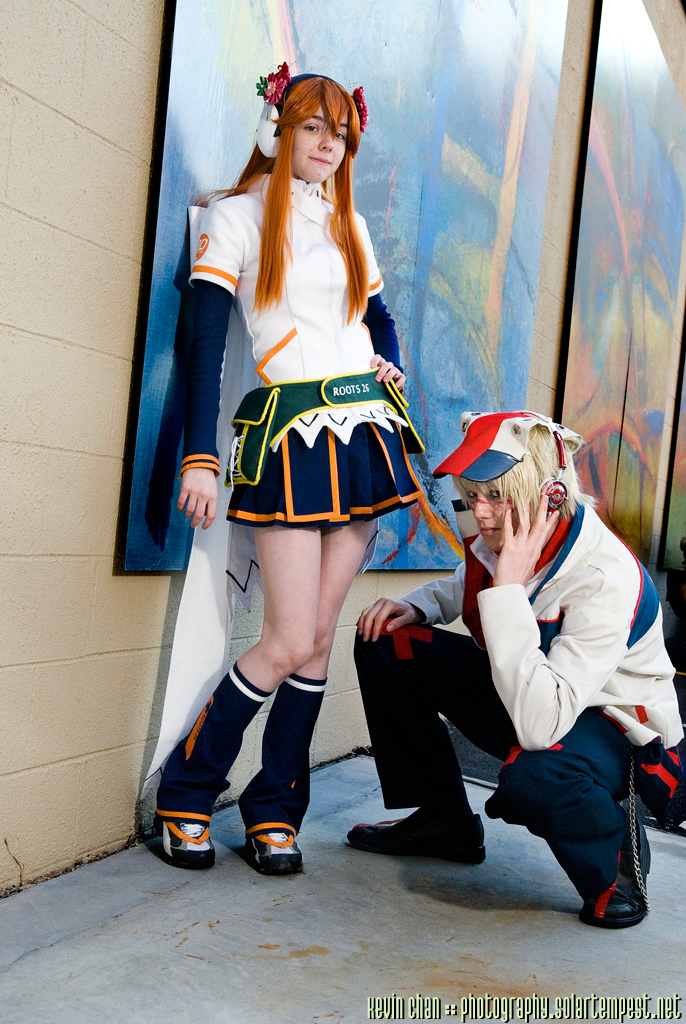
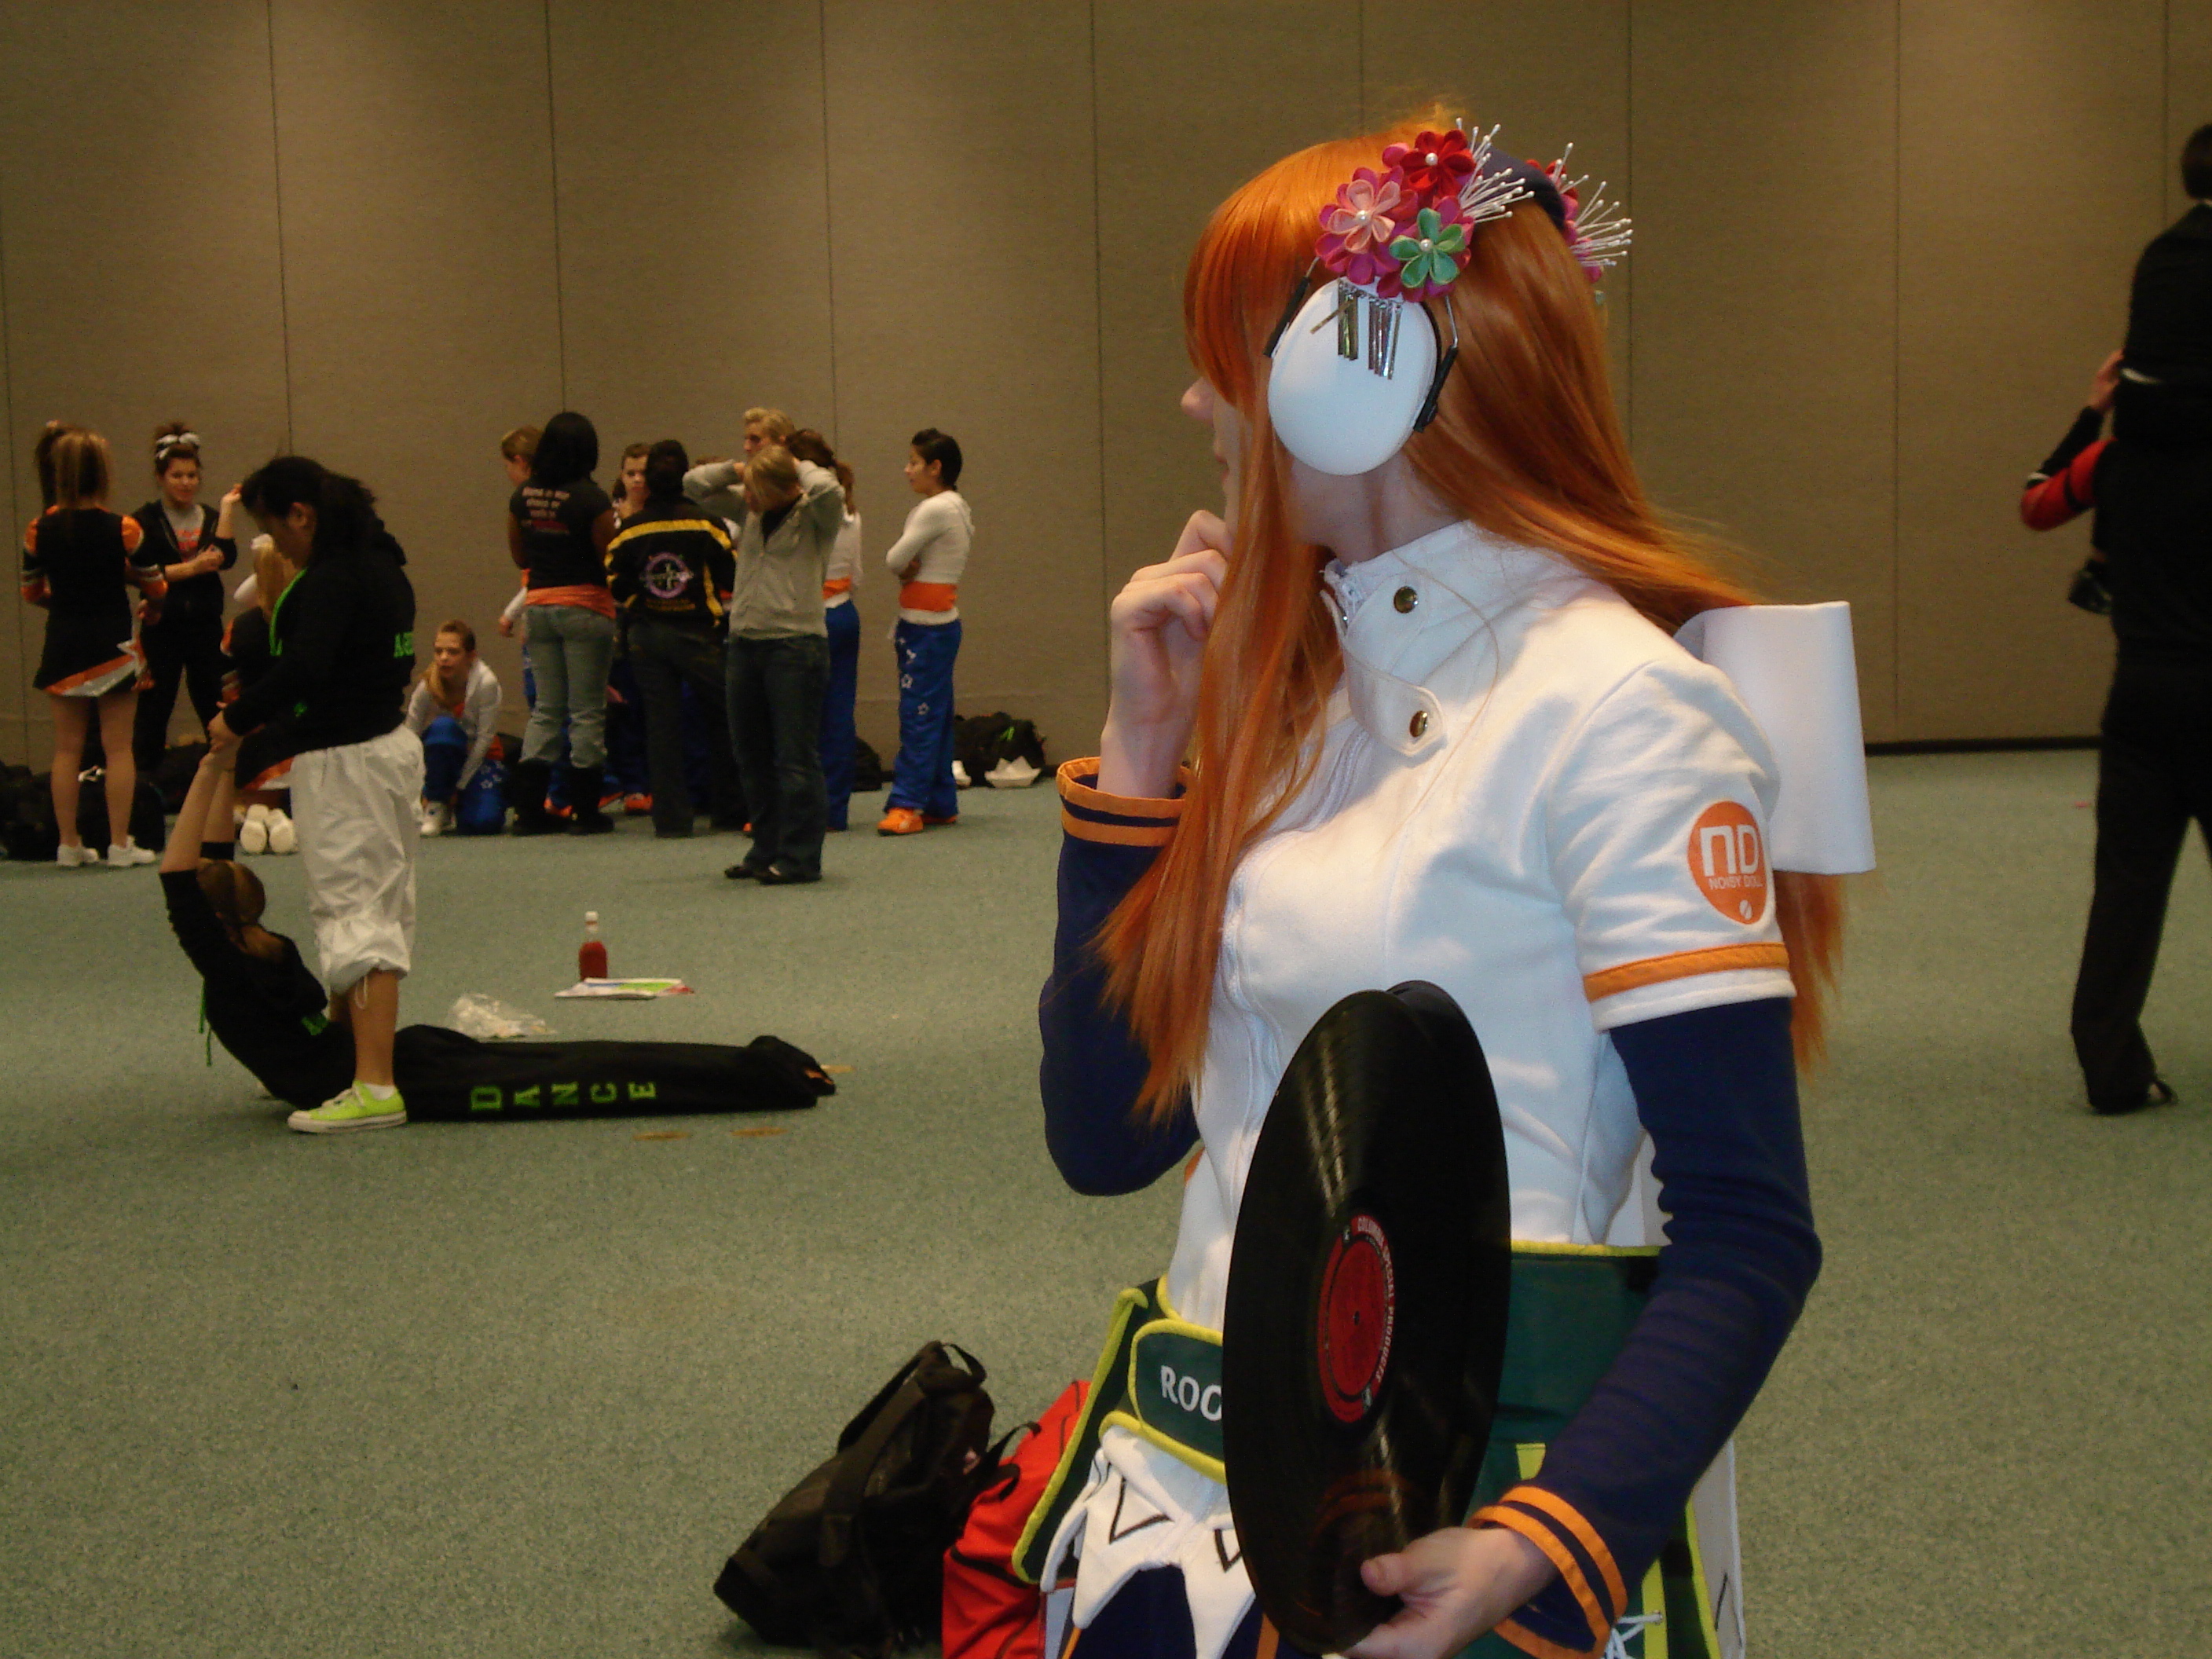
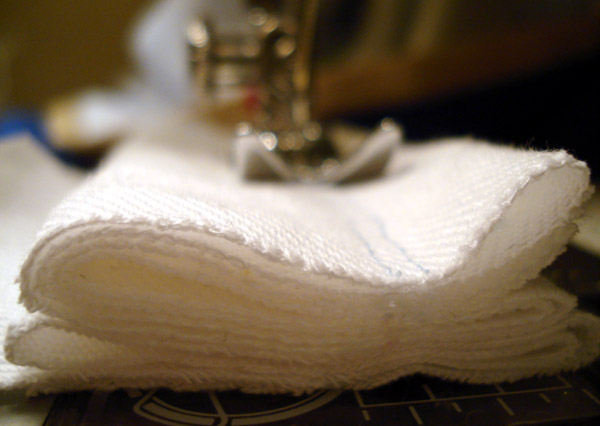
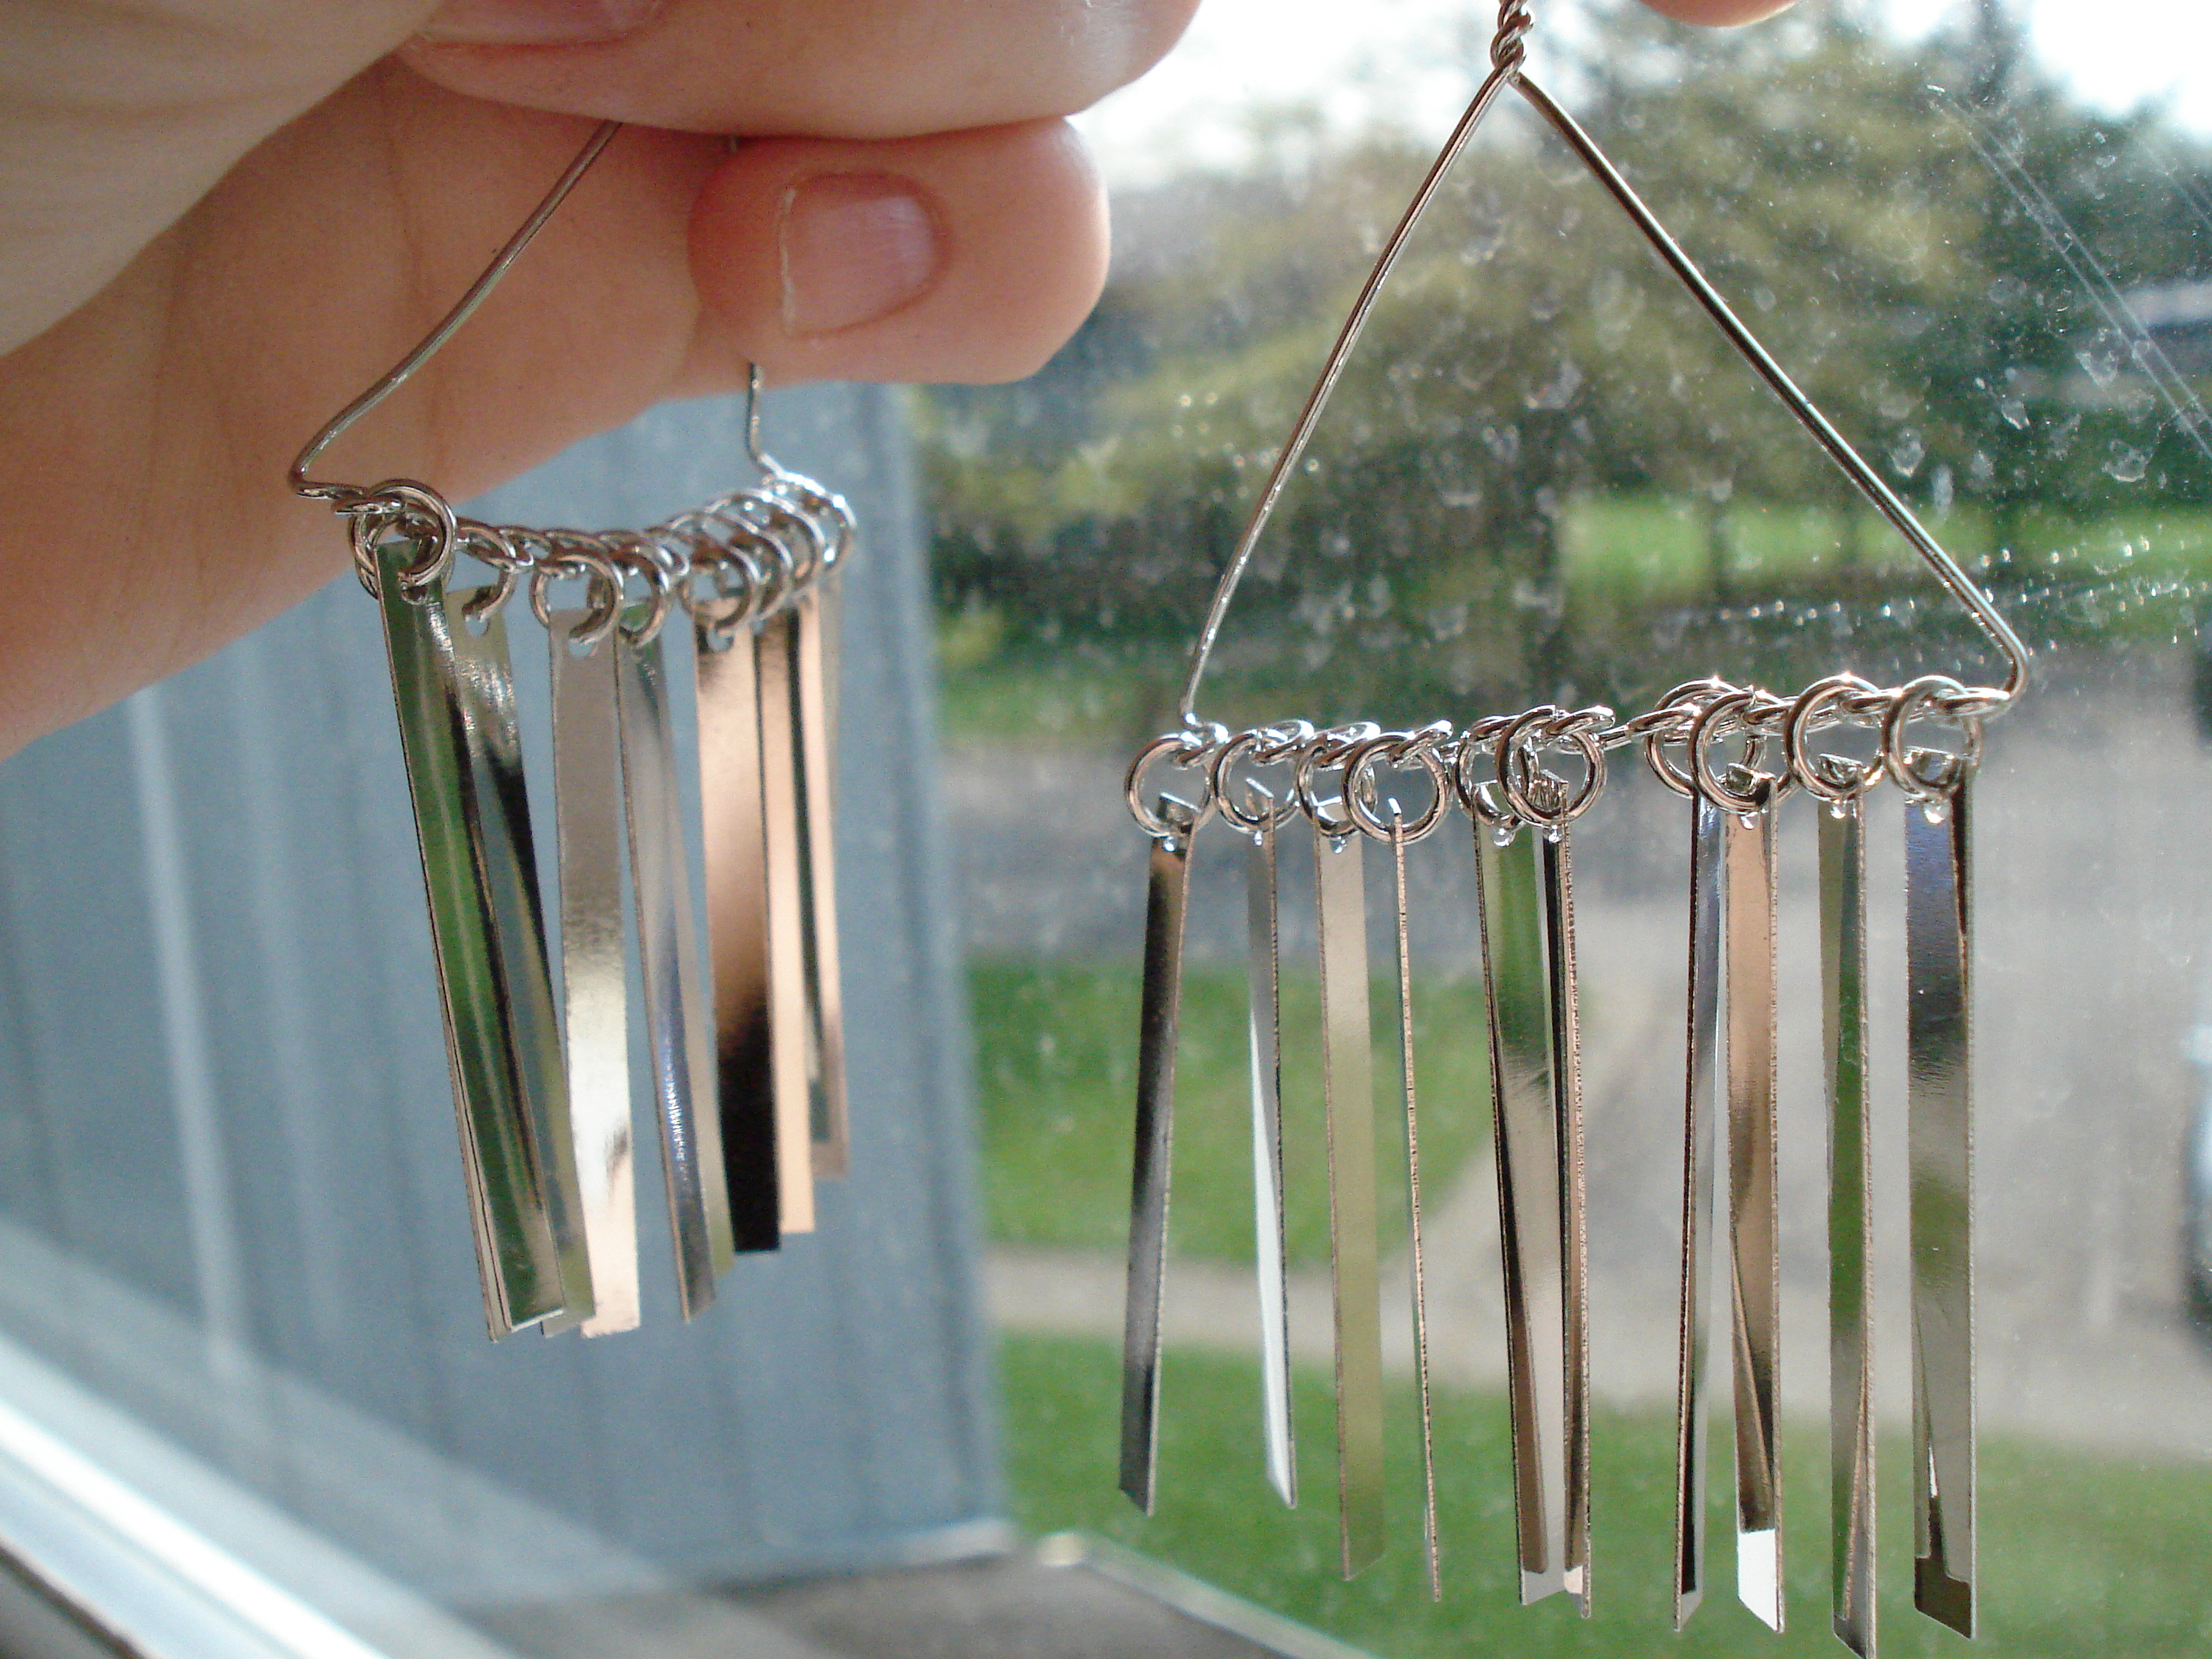
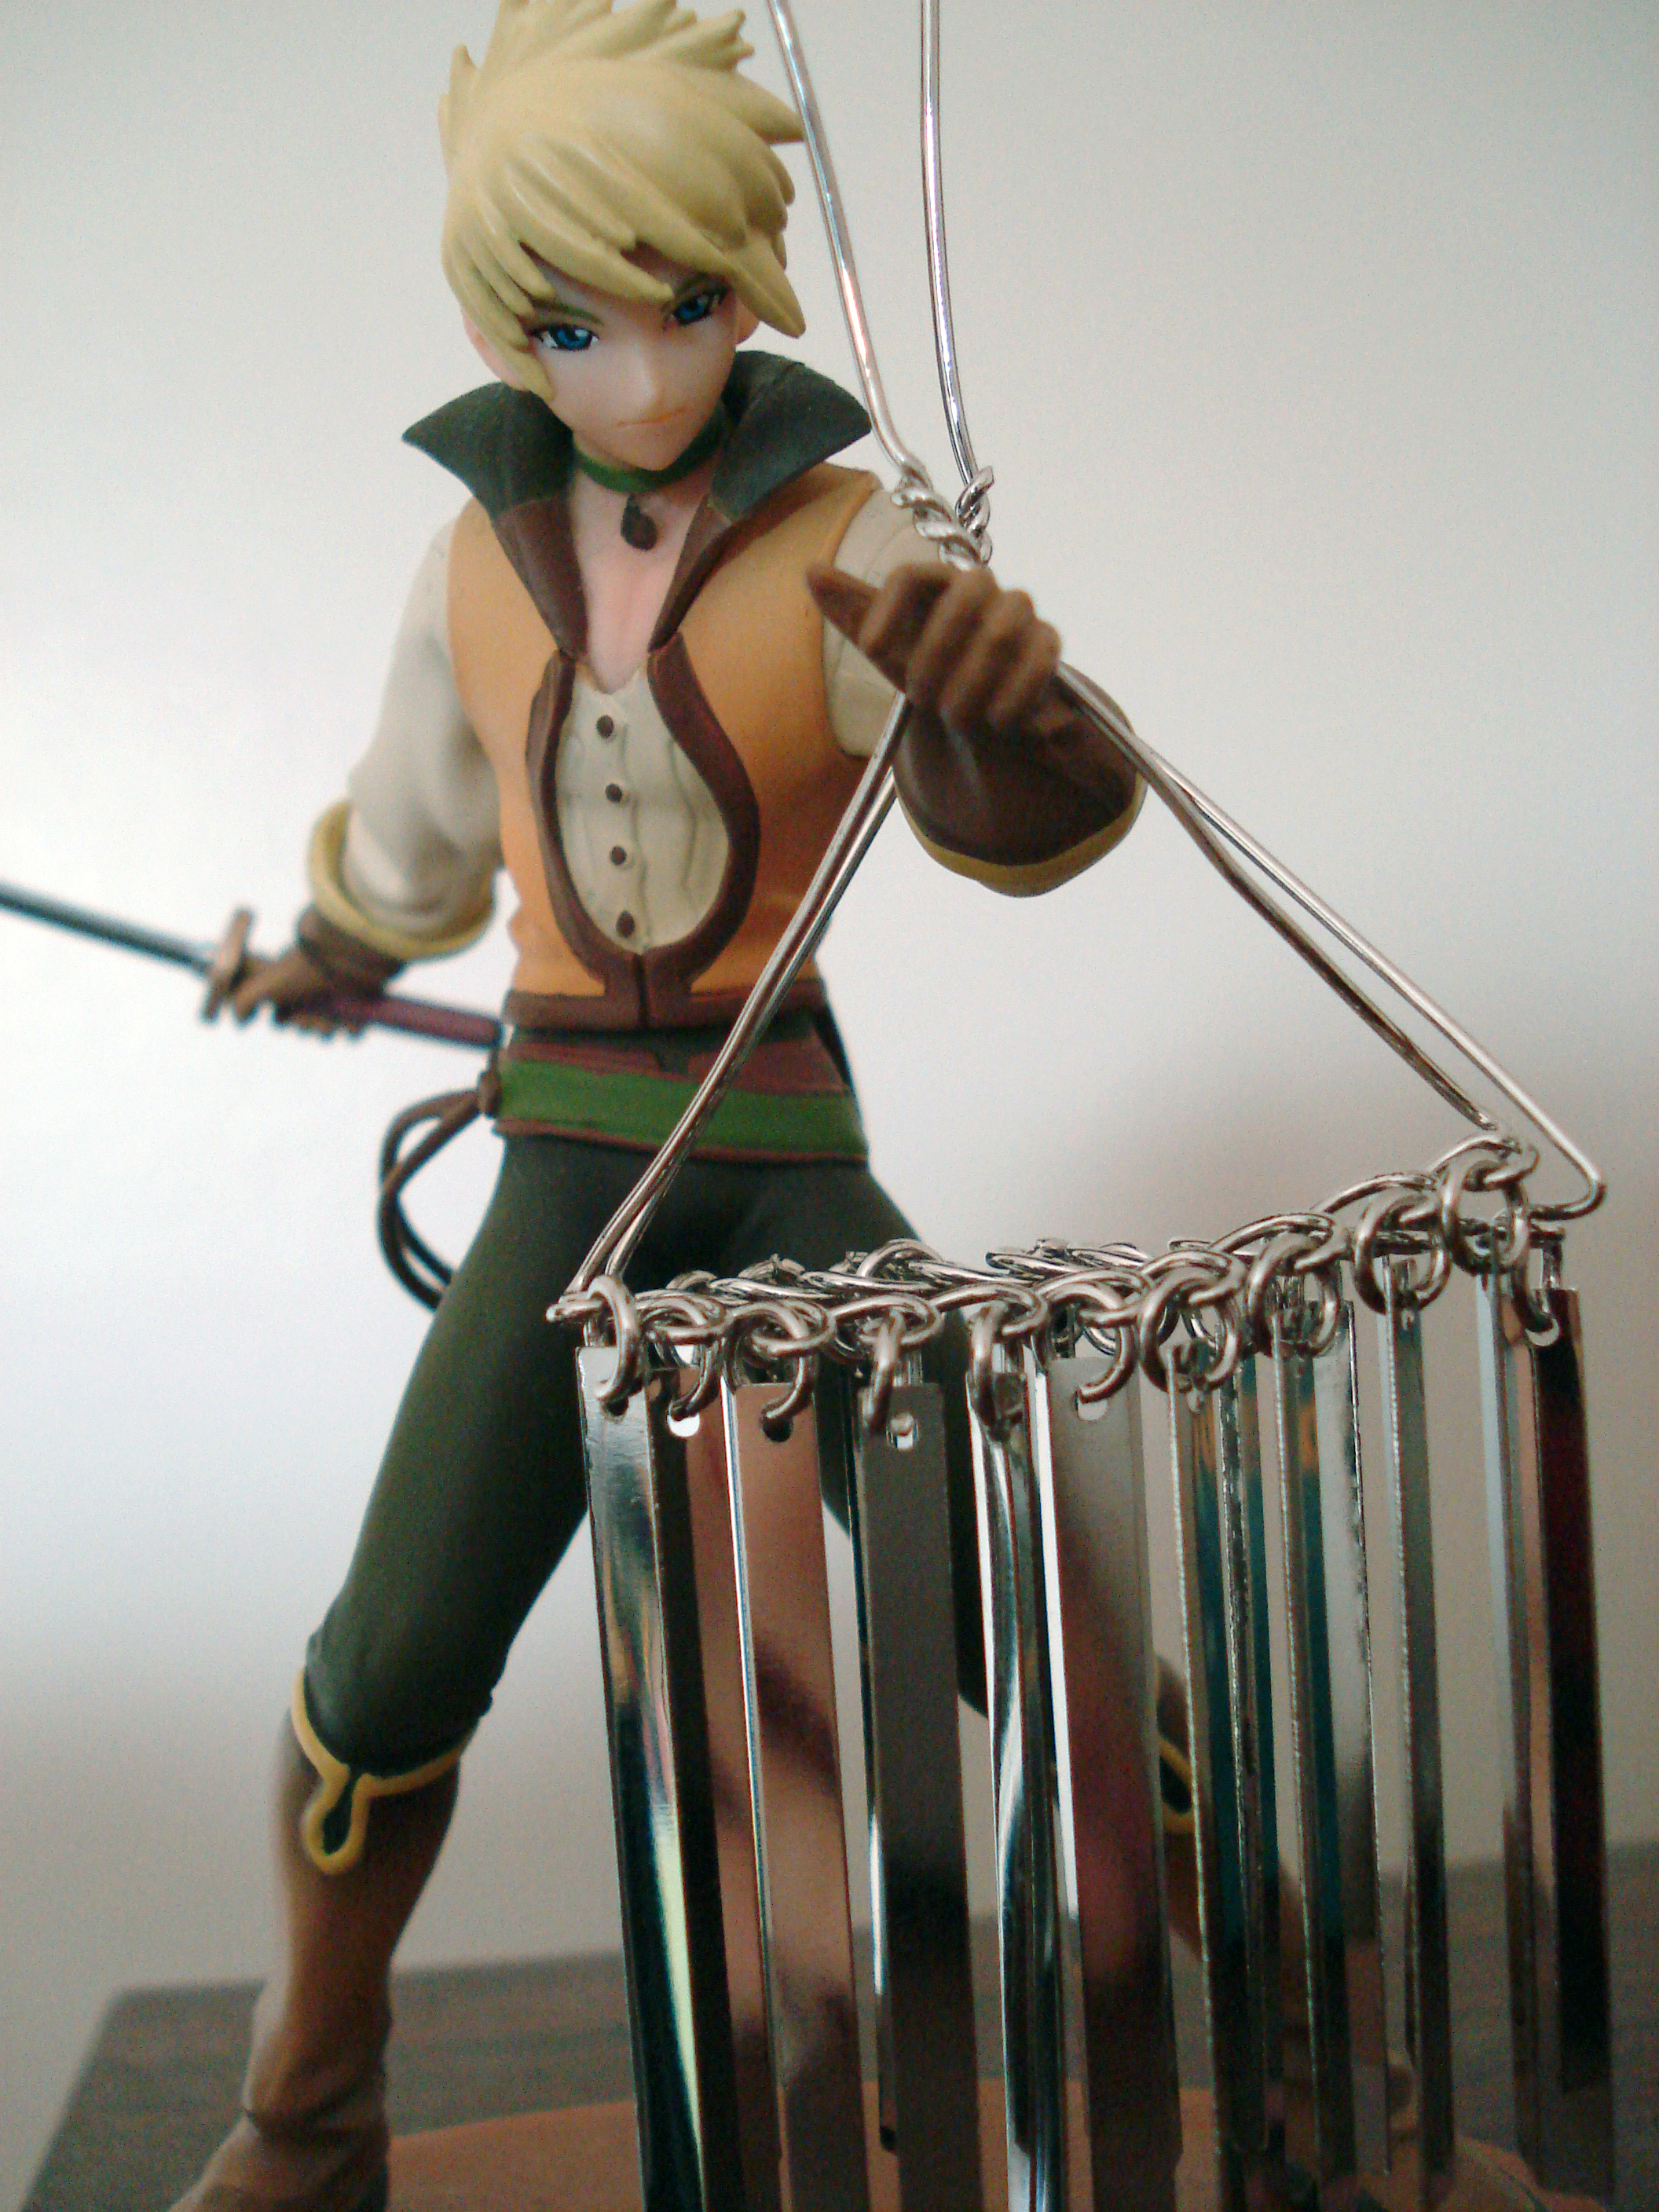
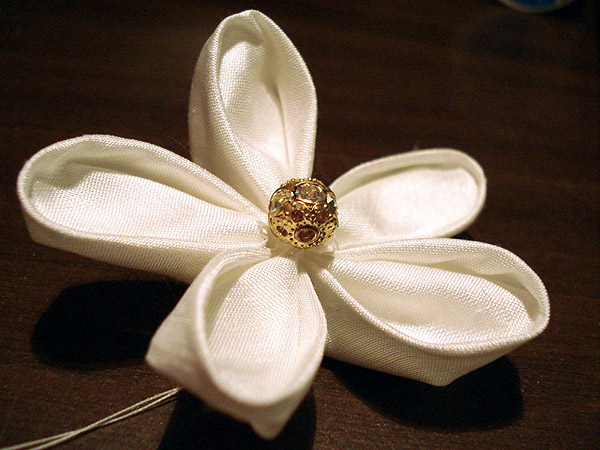
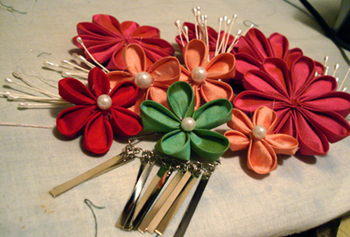
Iroha’s outfit has many time-consuming small details. I was vaguely aware that the hair flower things on the headphones were something that existed in real life. Those turned out to be “kanzashi. I sourced a set of “bira bira” (dangling metal strips) and some “starch glue” from Zipangu Treasures. I starched and hand-folded 90+ tiny squares of silk into flower petals and threaded them onto a string which I pulled tight to form each flower. Finally, a bead was sewn on top.
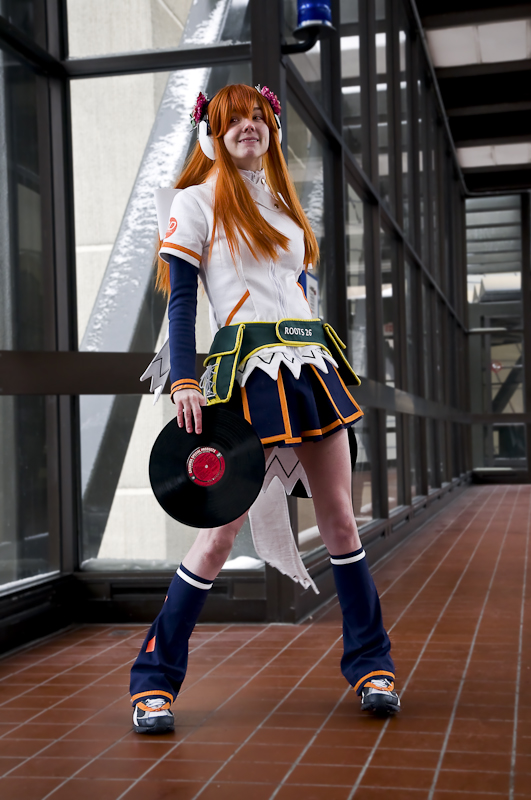
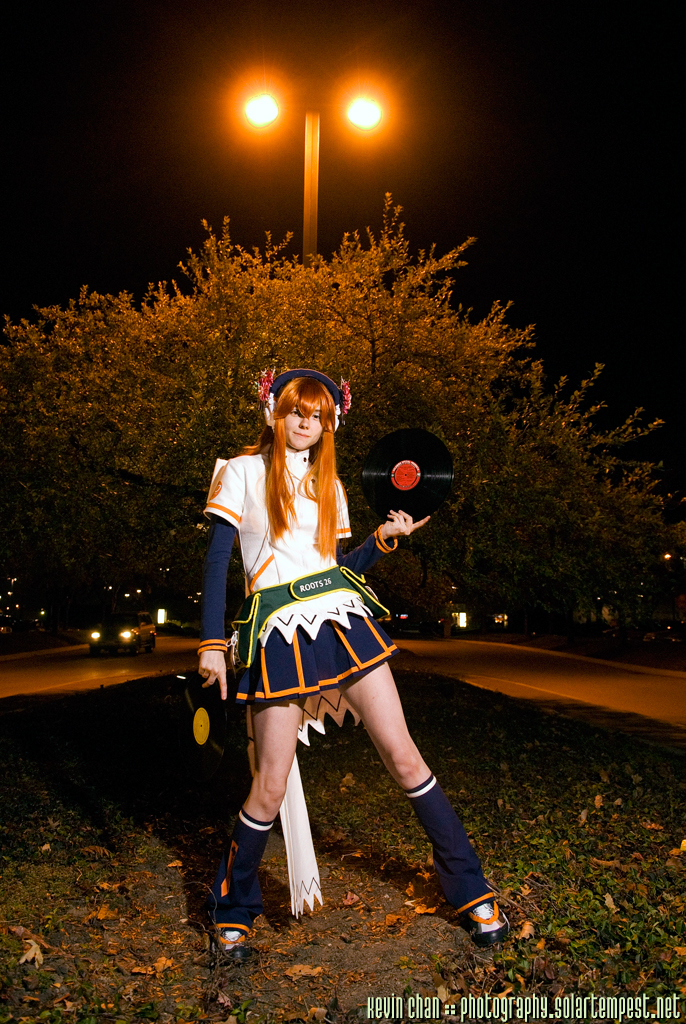
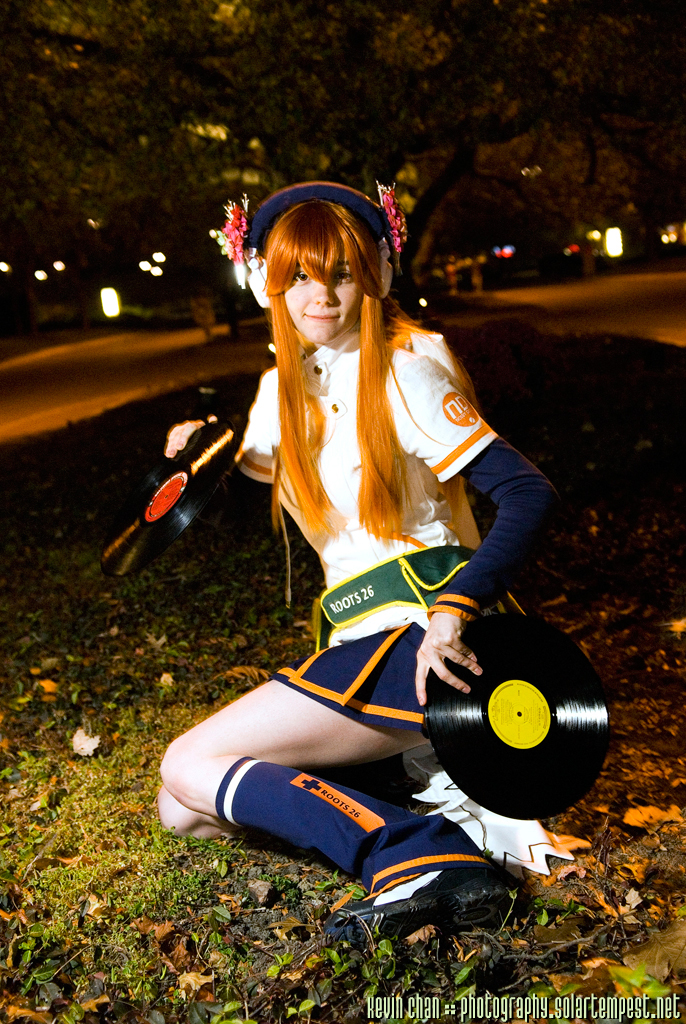
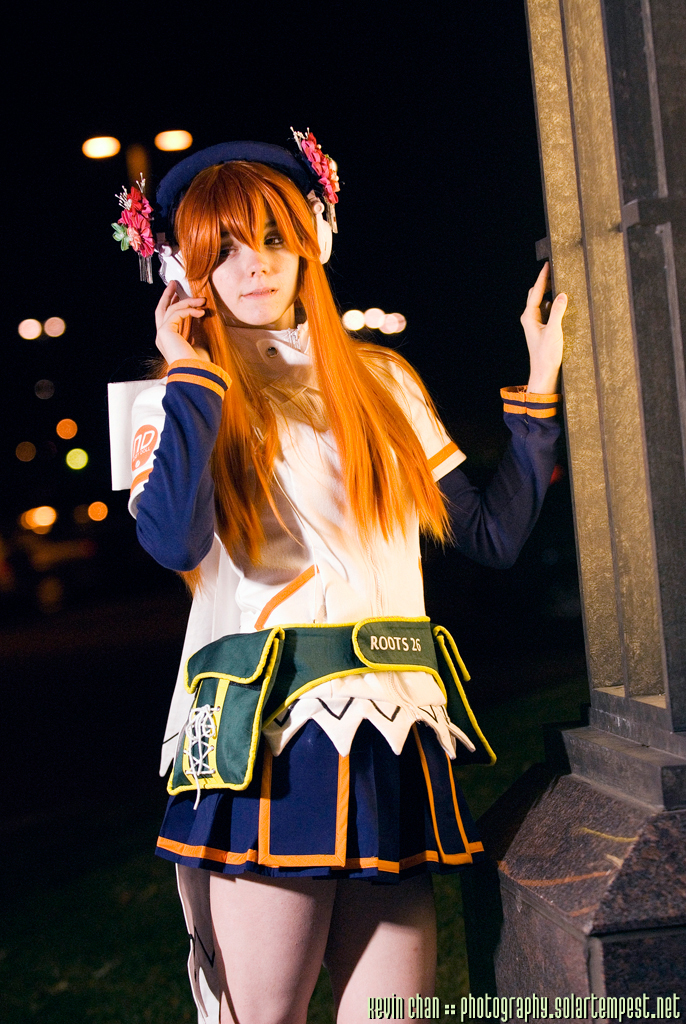
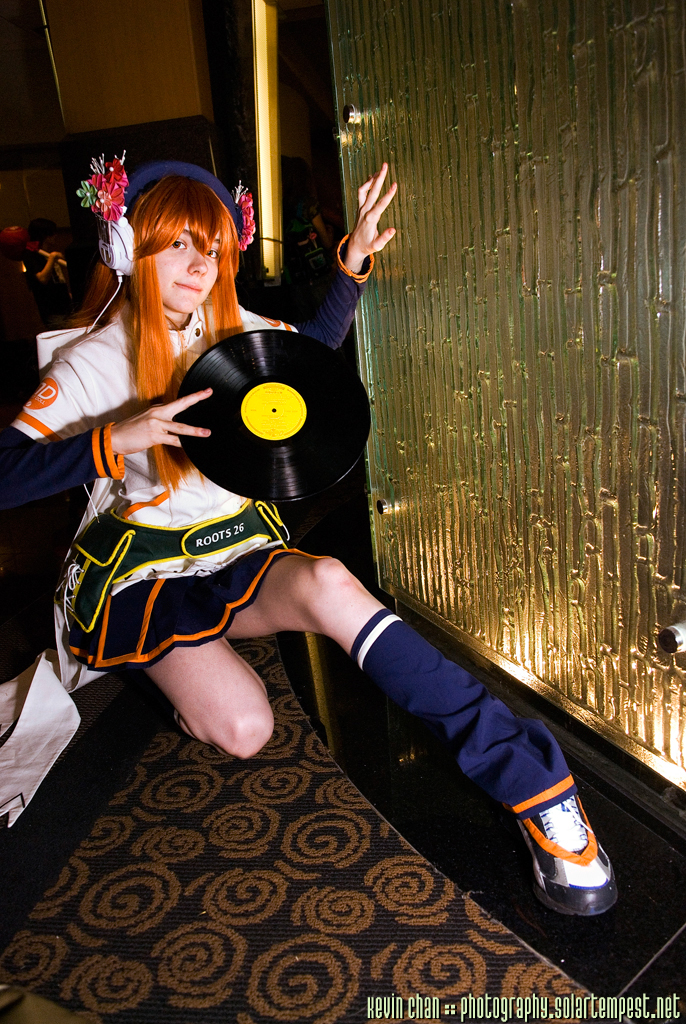
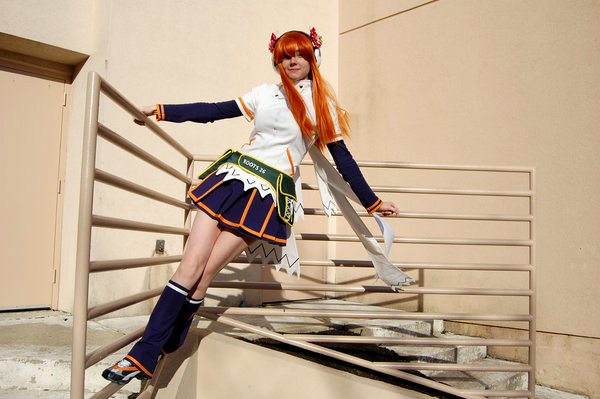
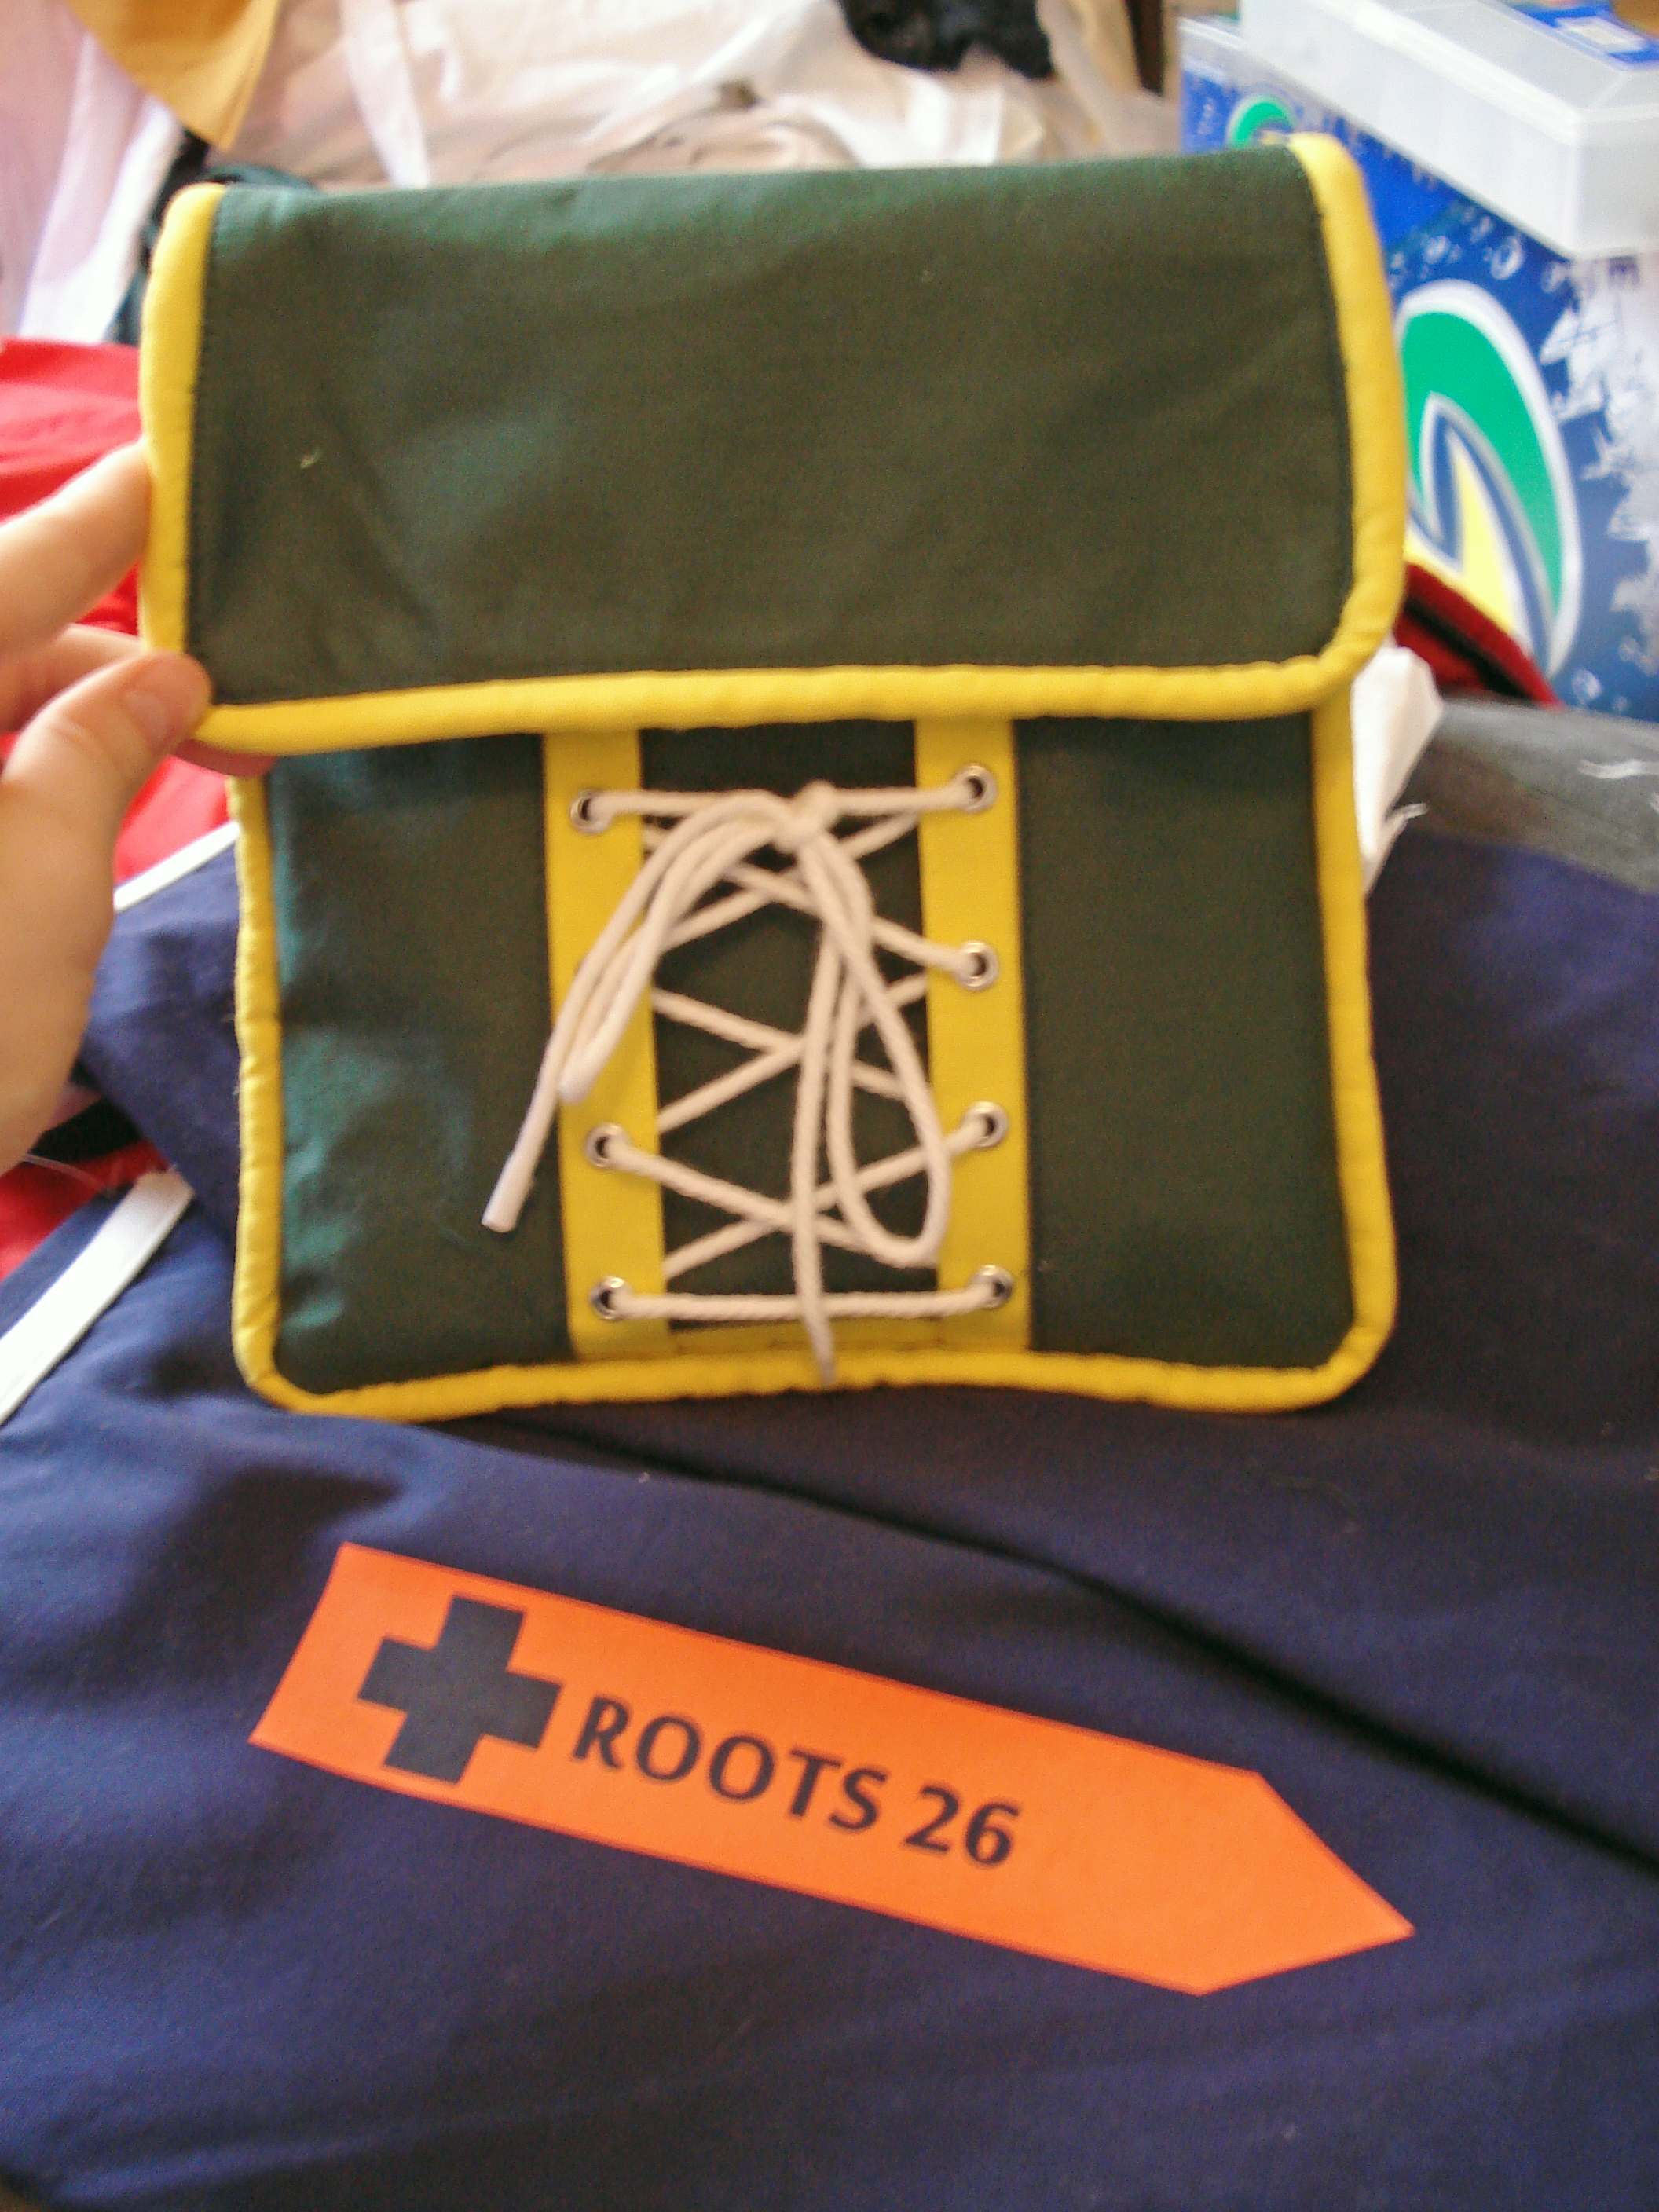
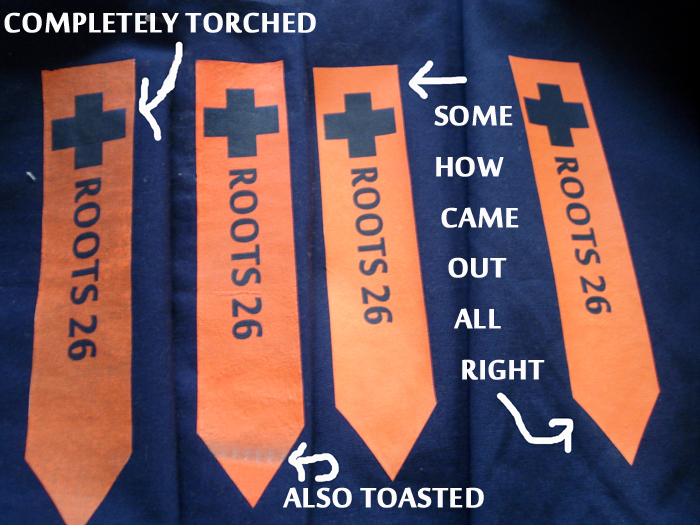
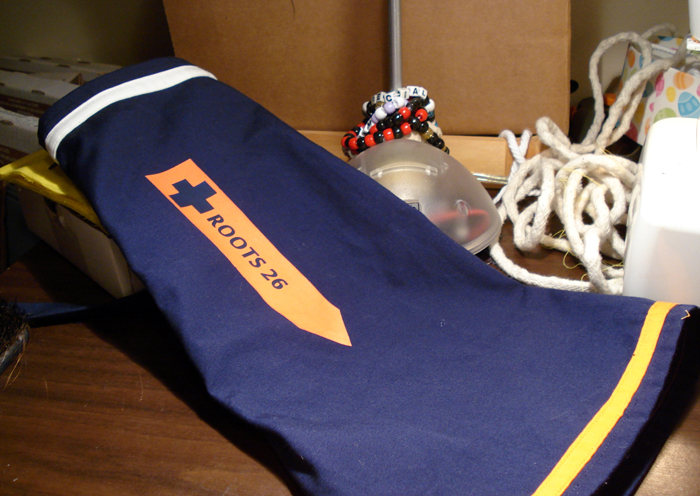
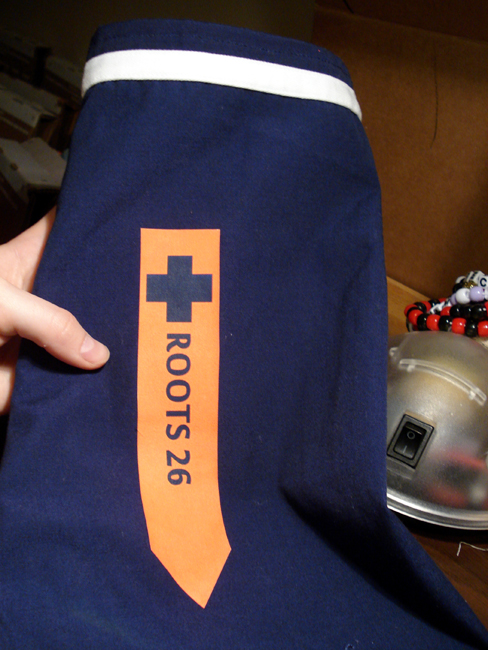
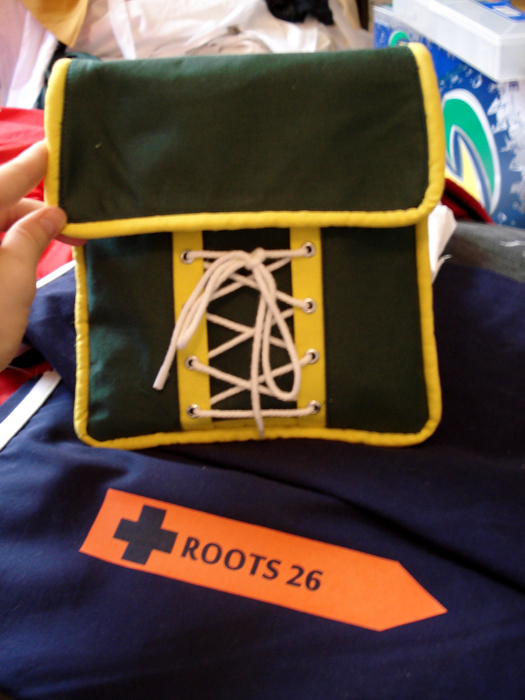
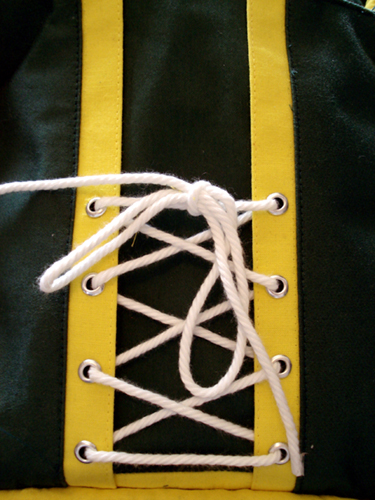
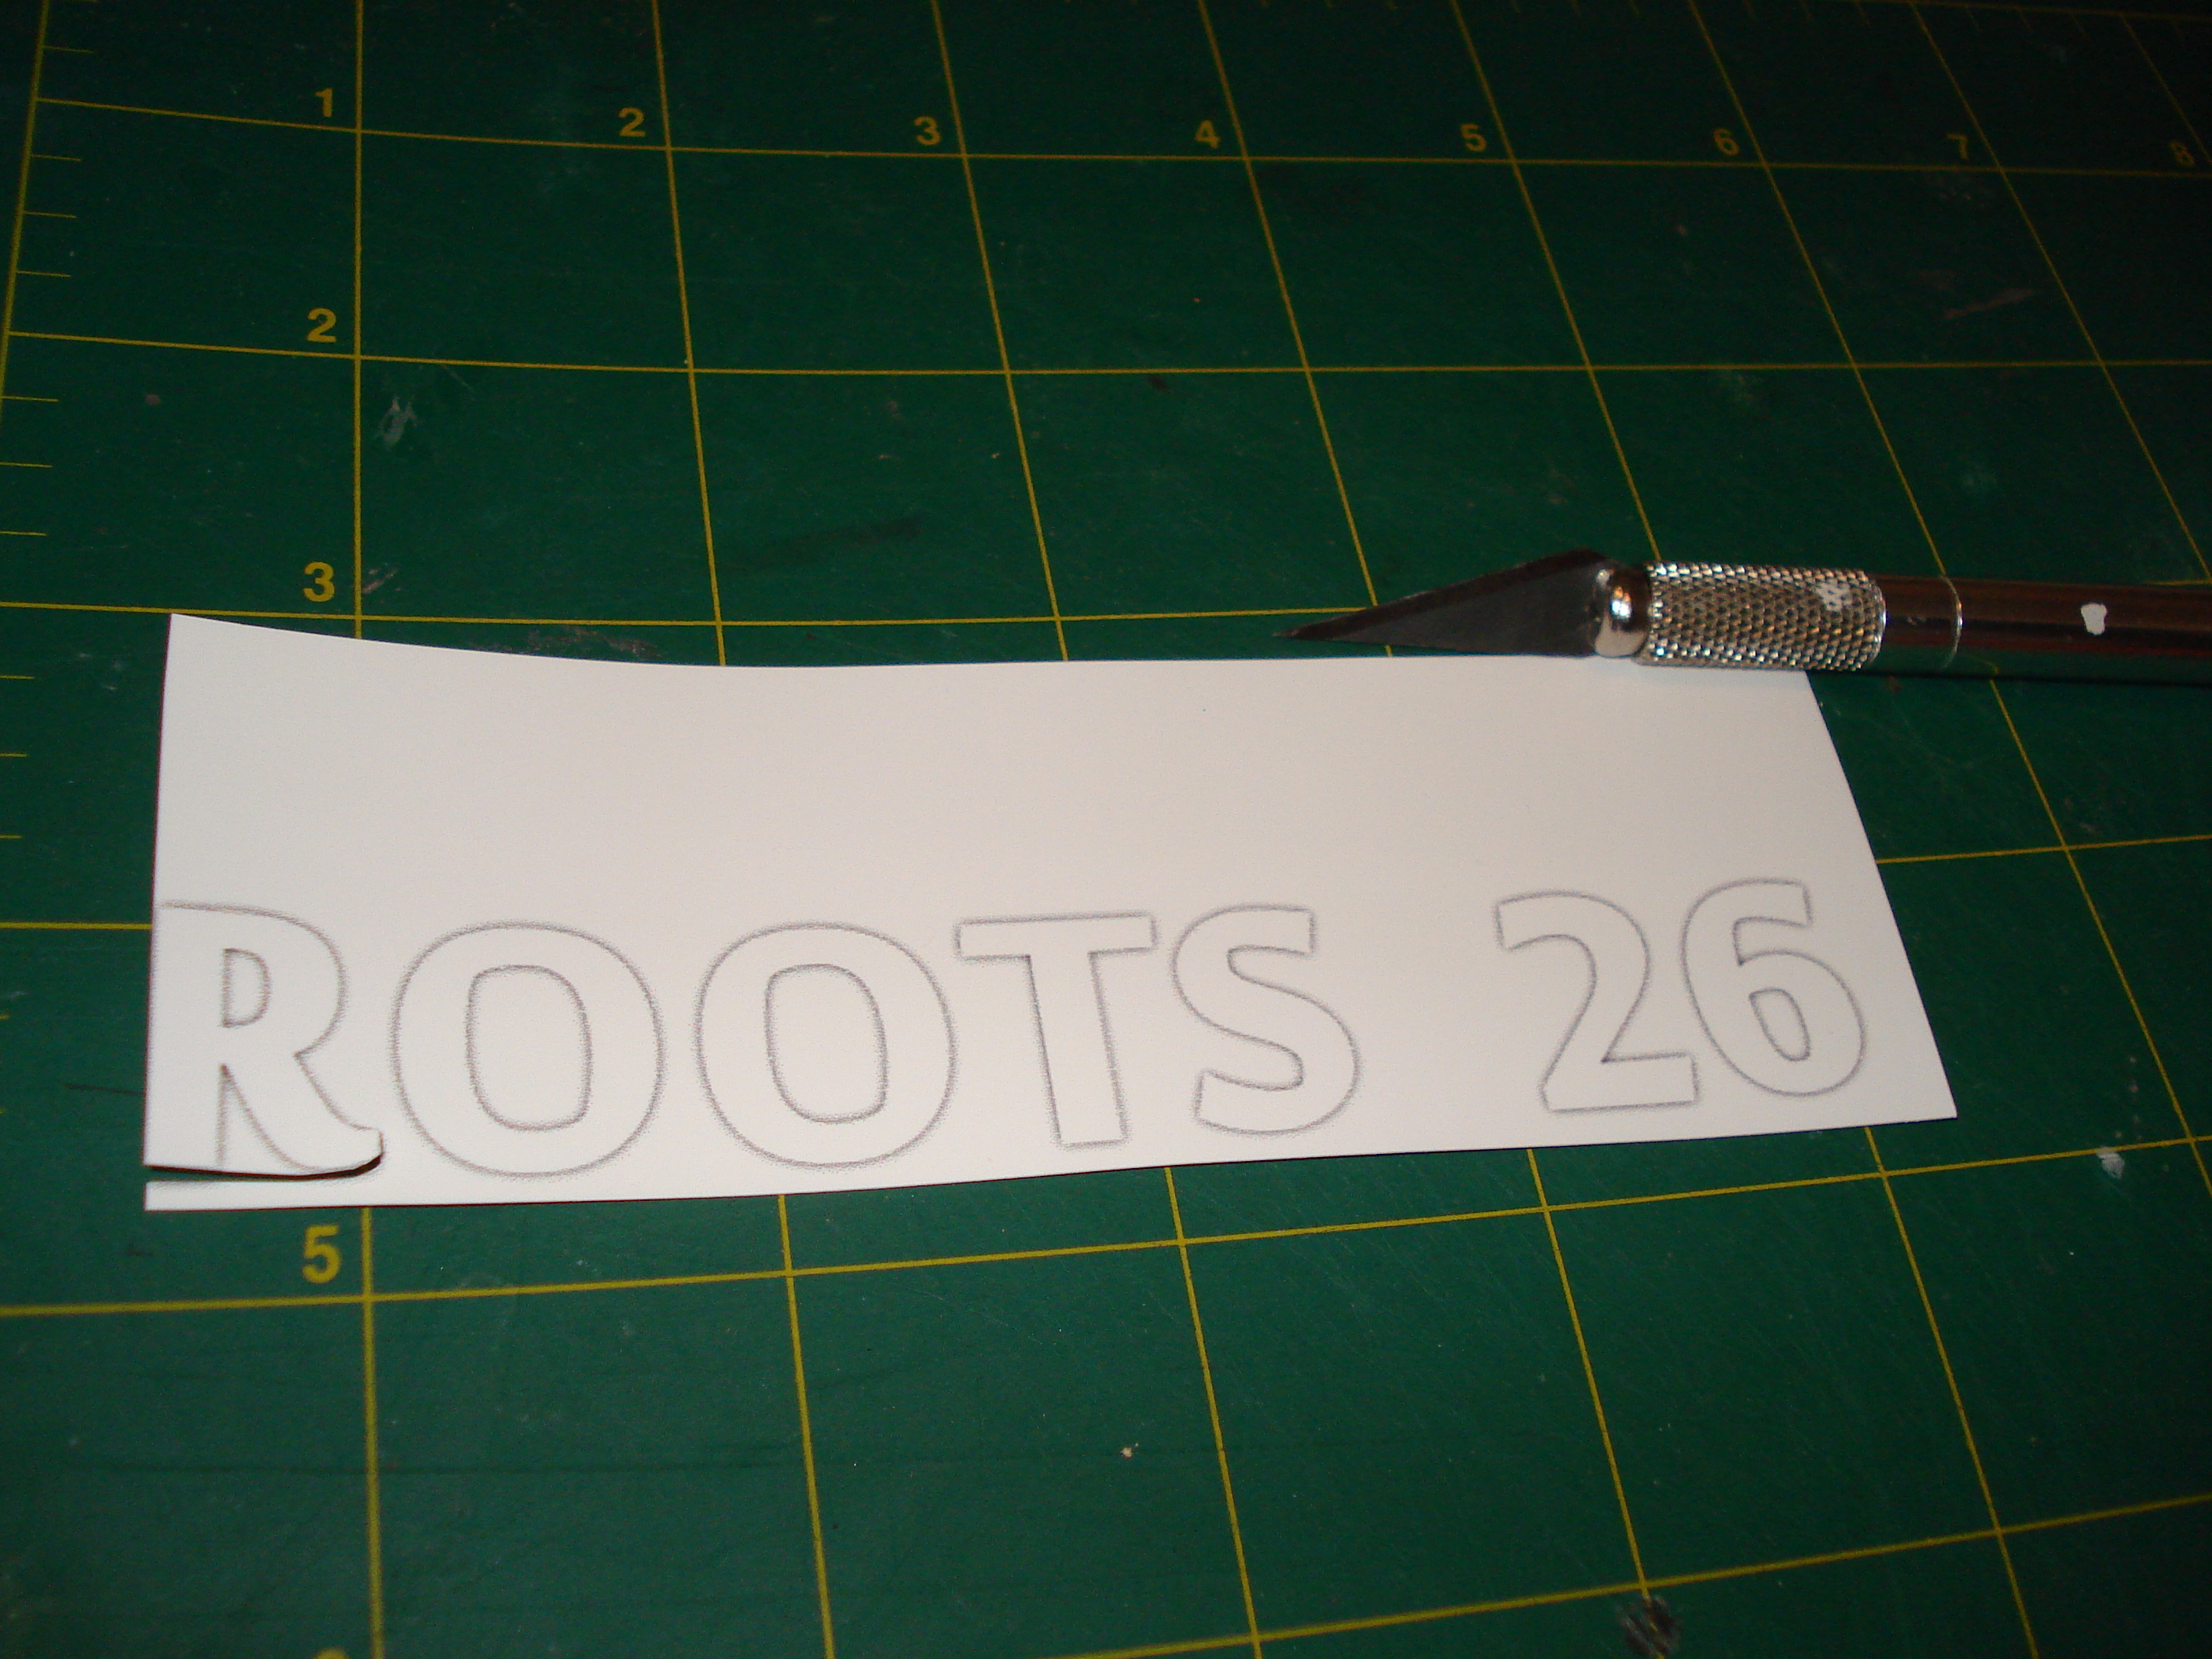
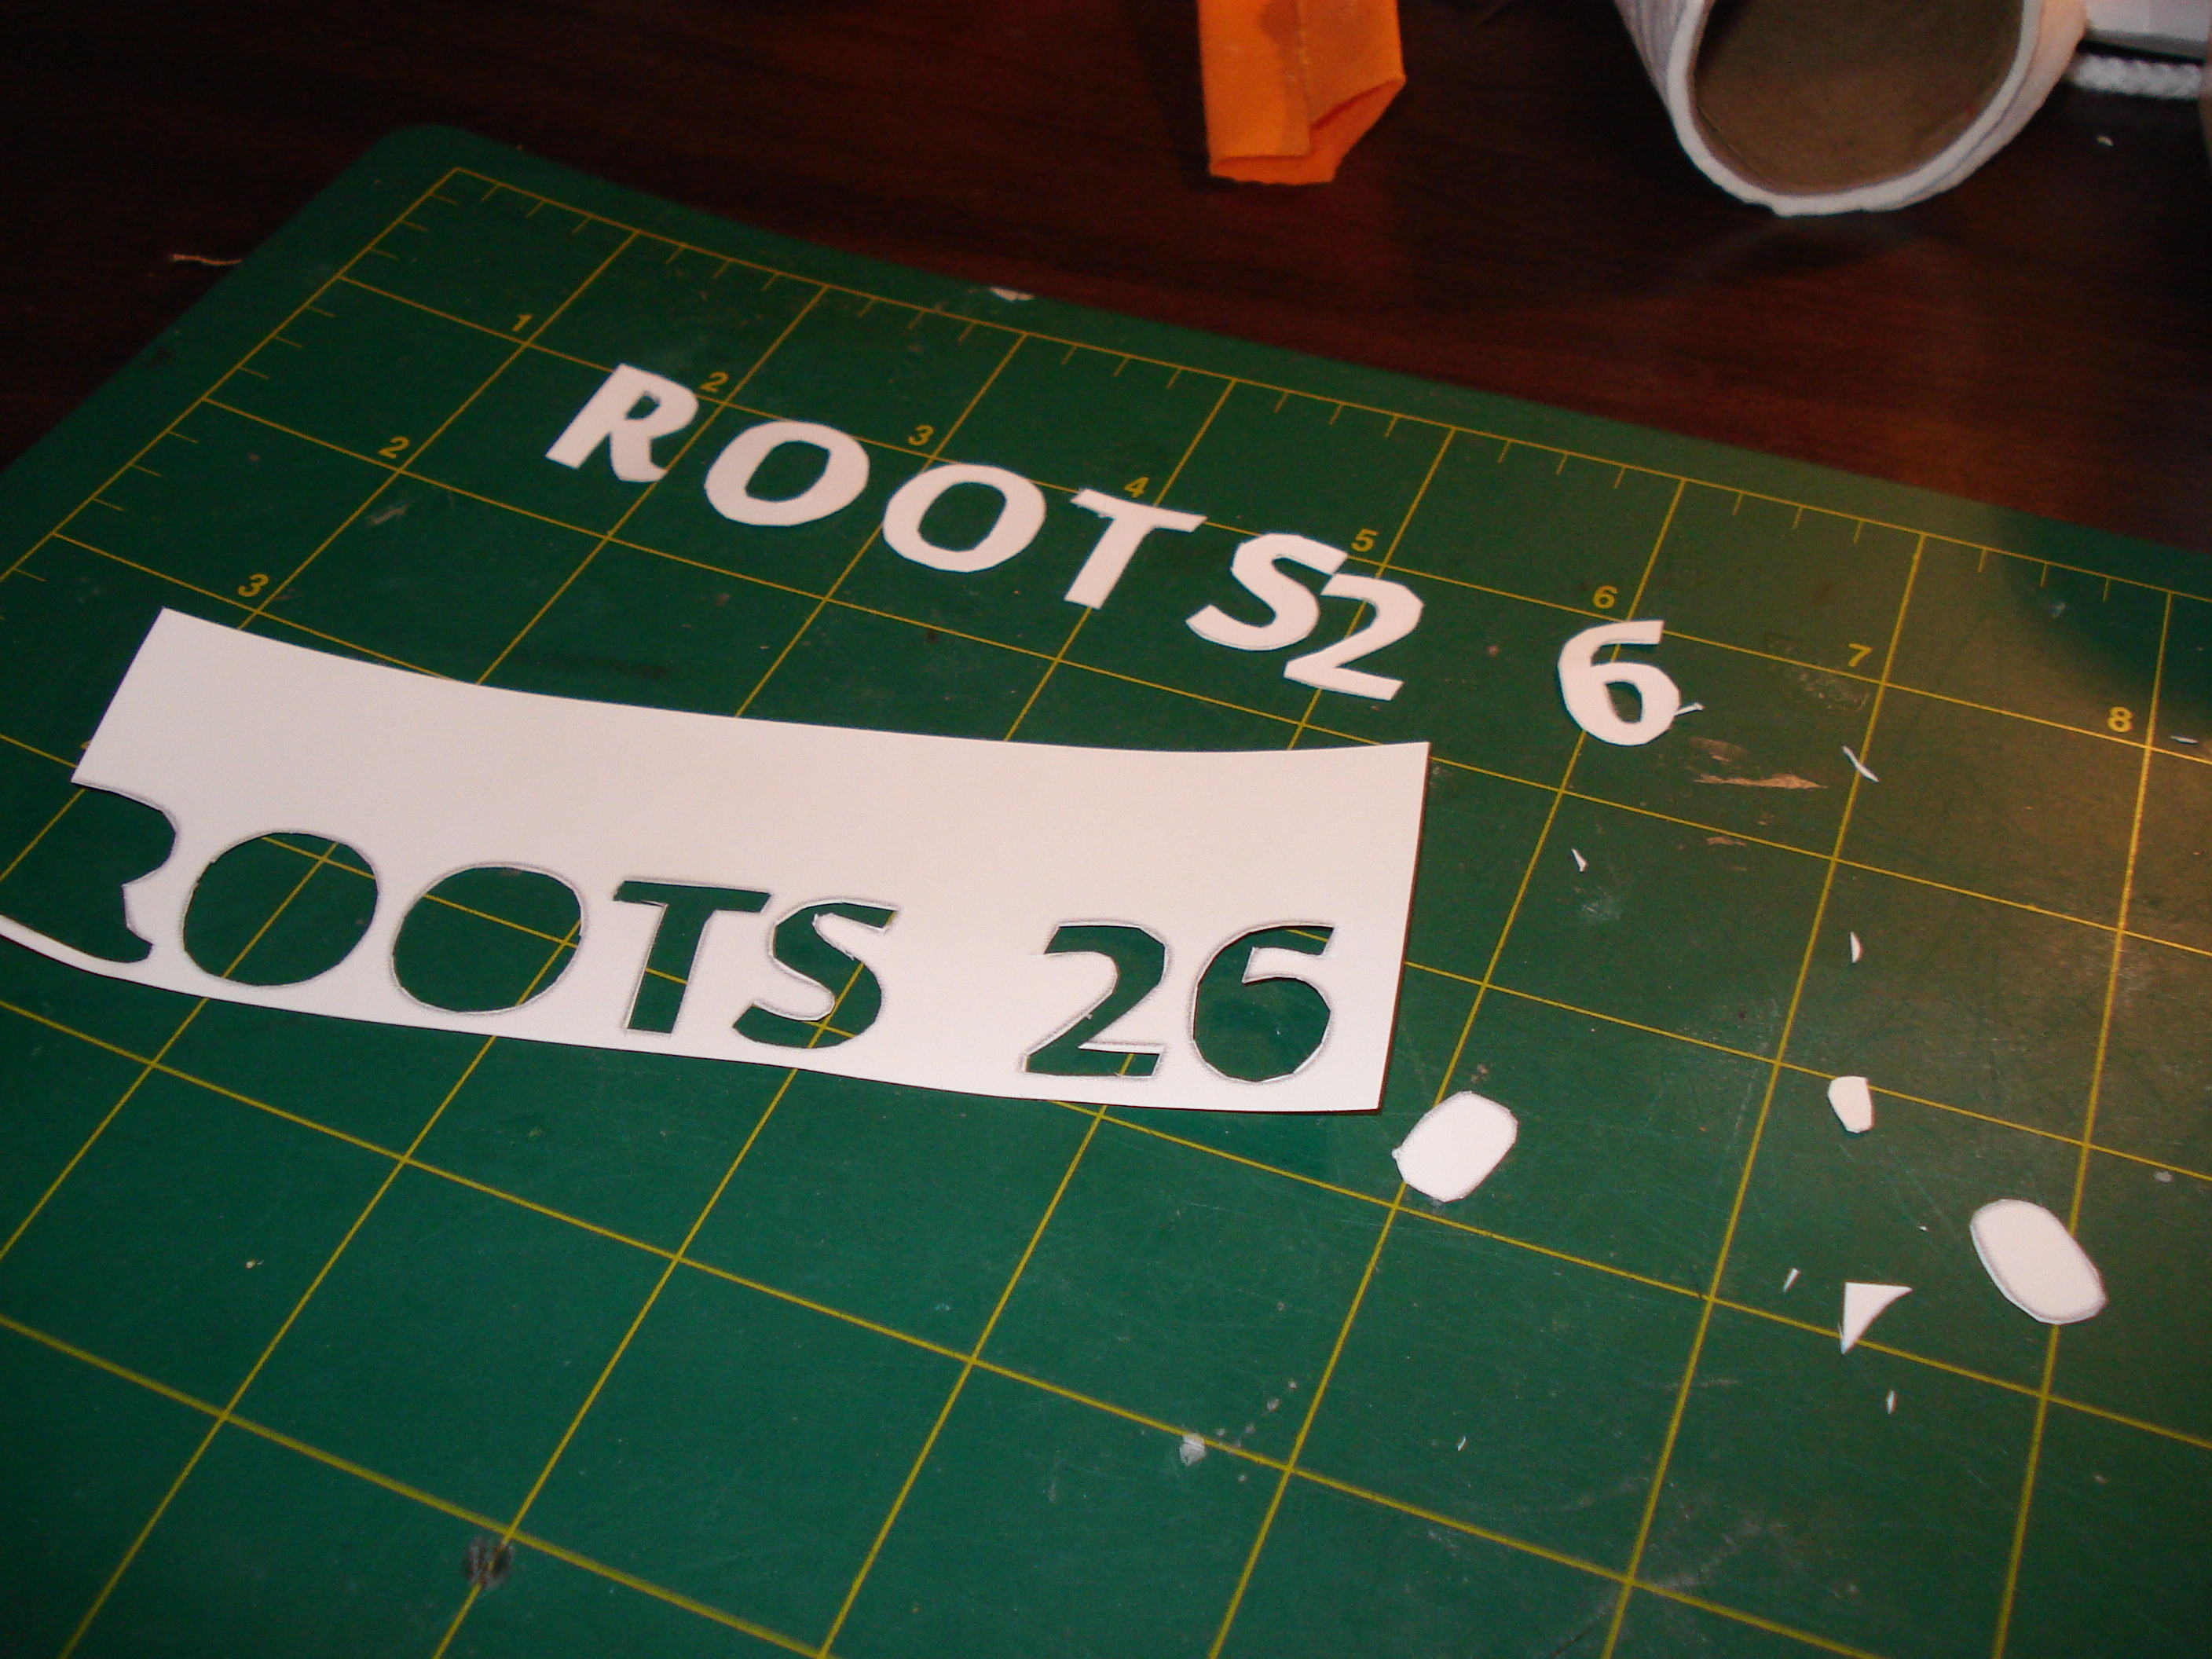
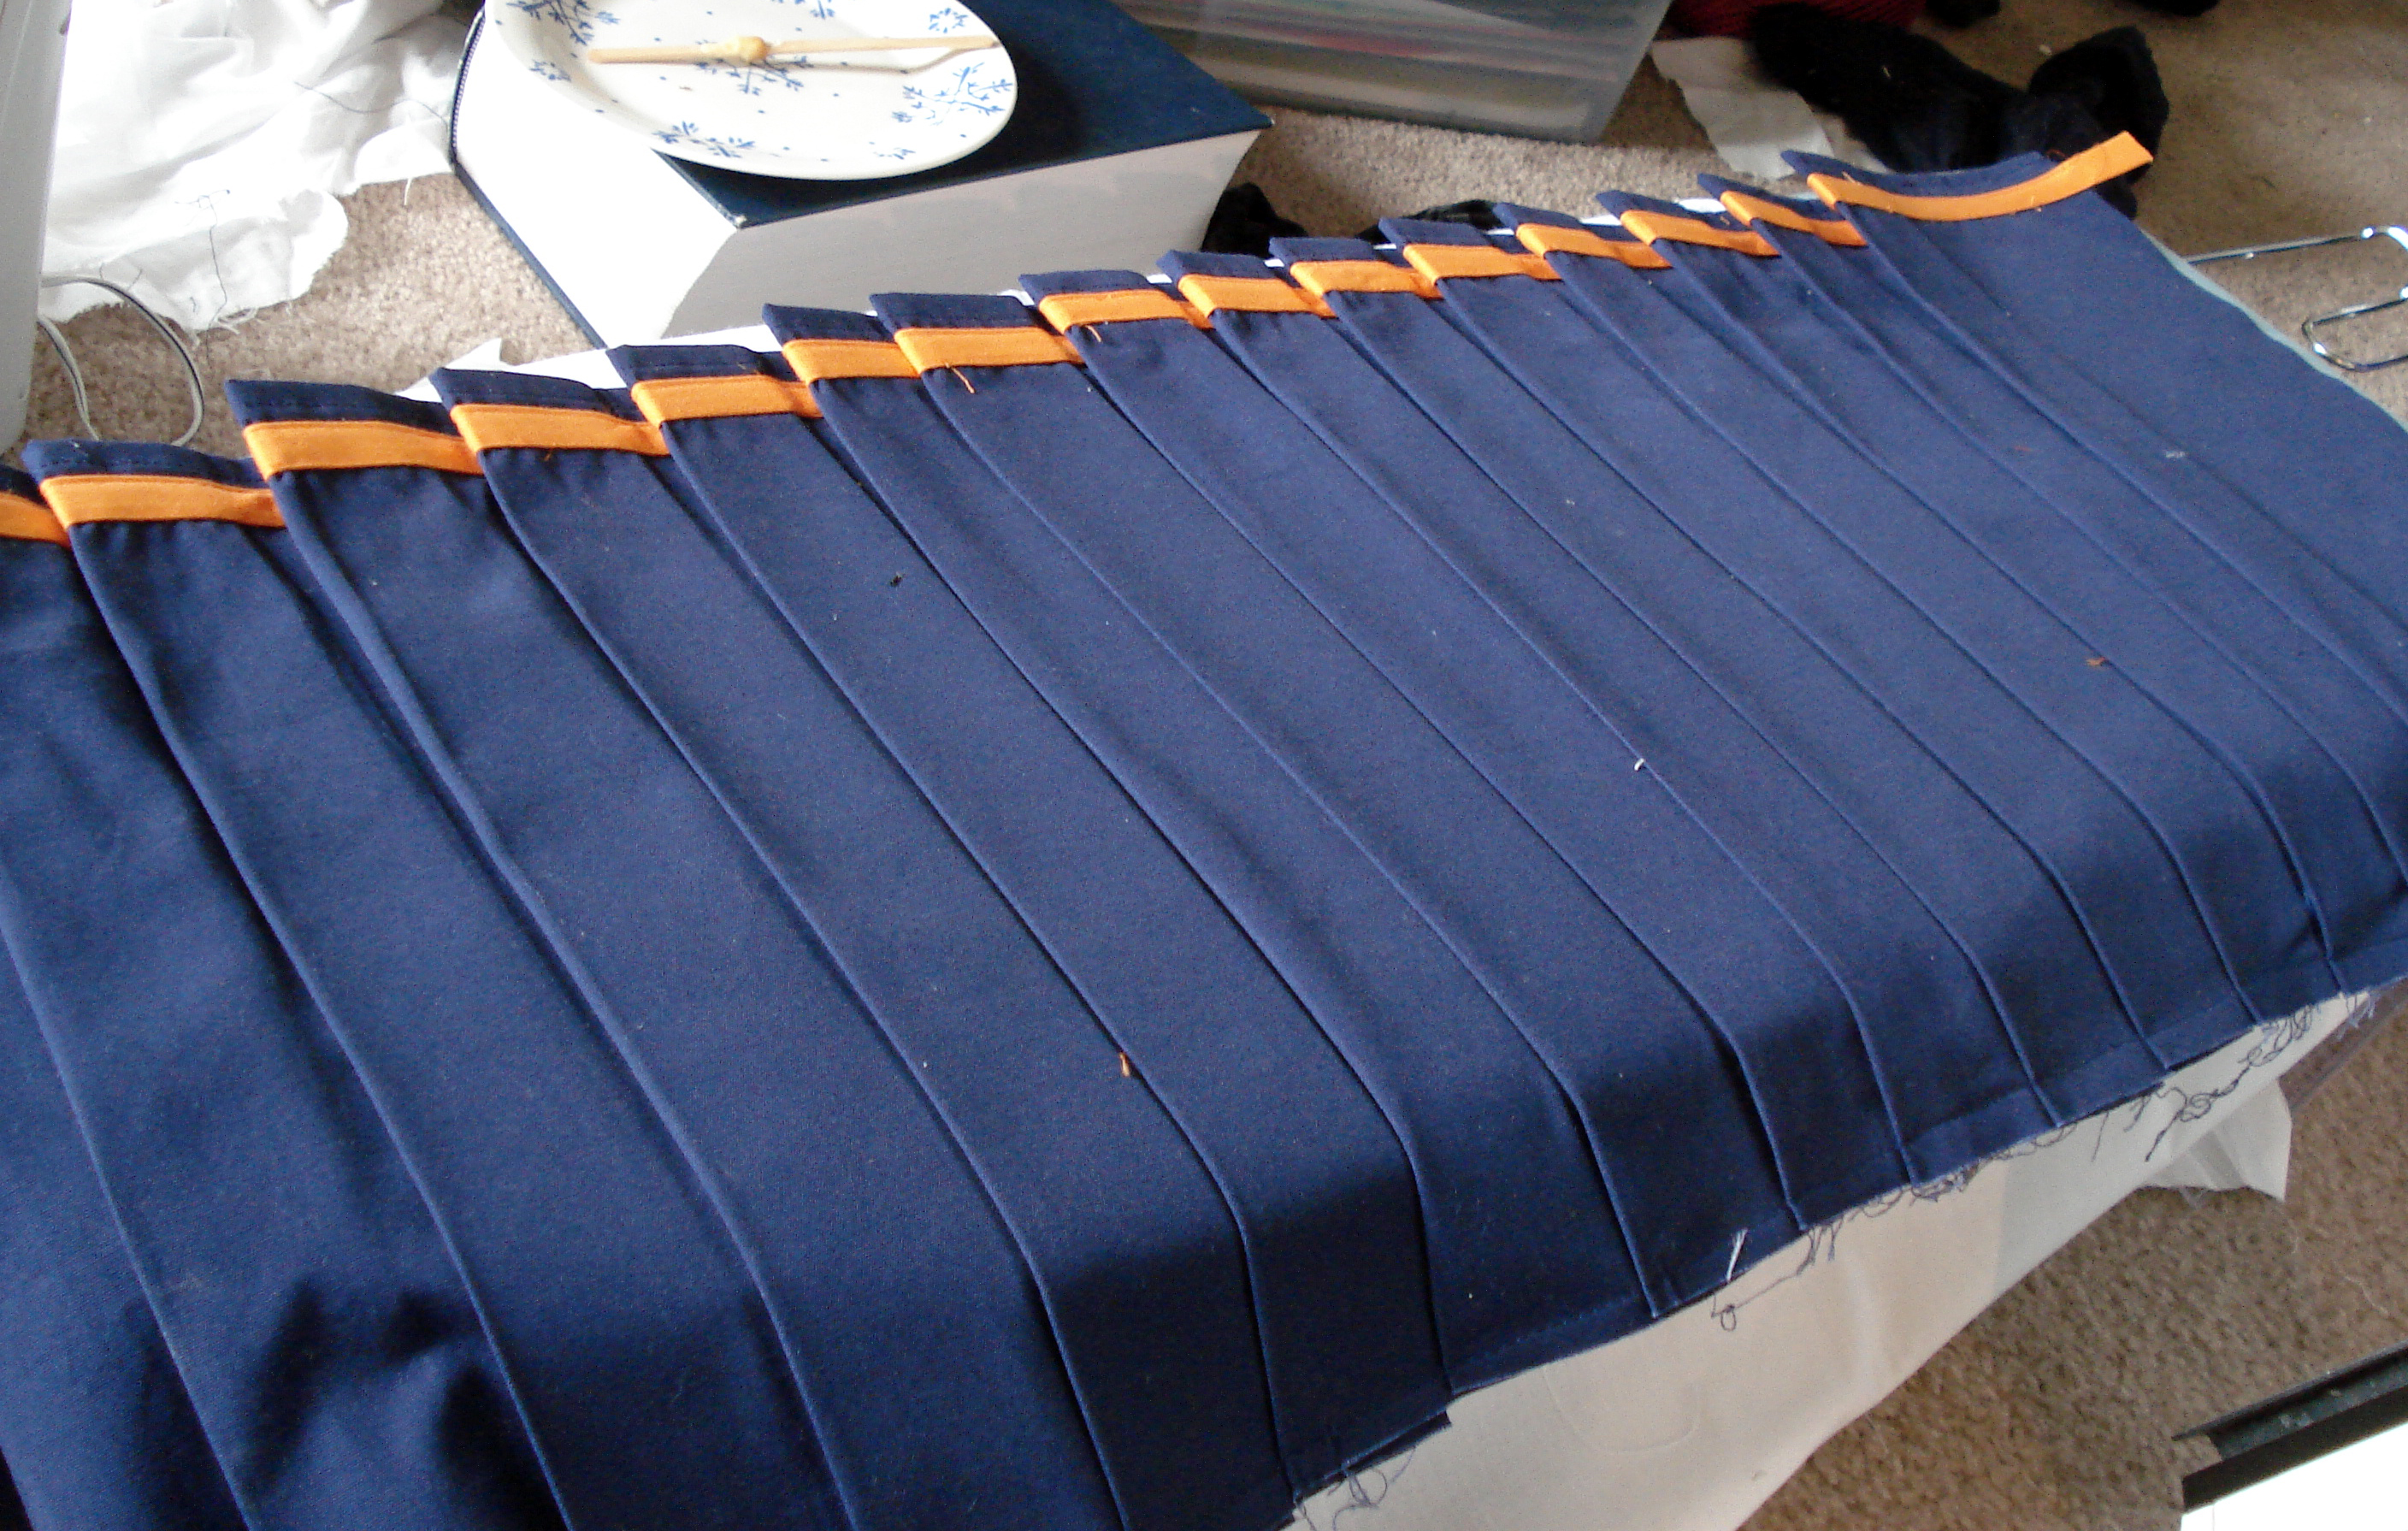
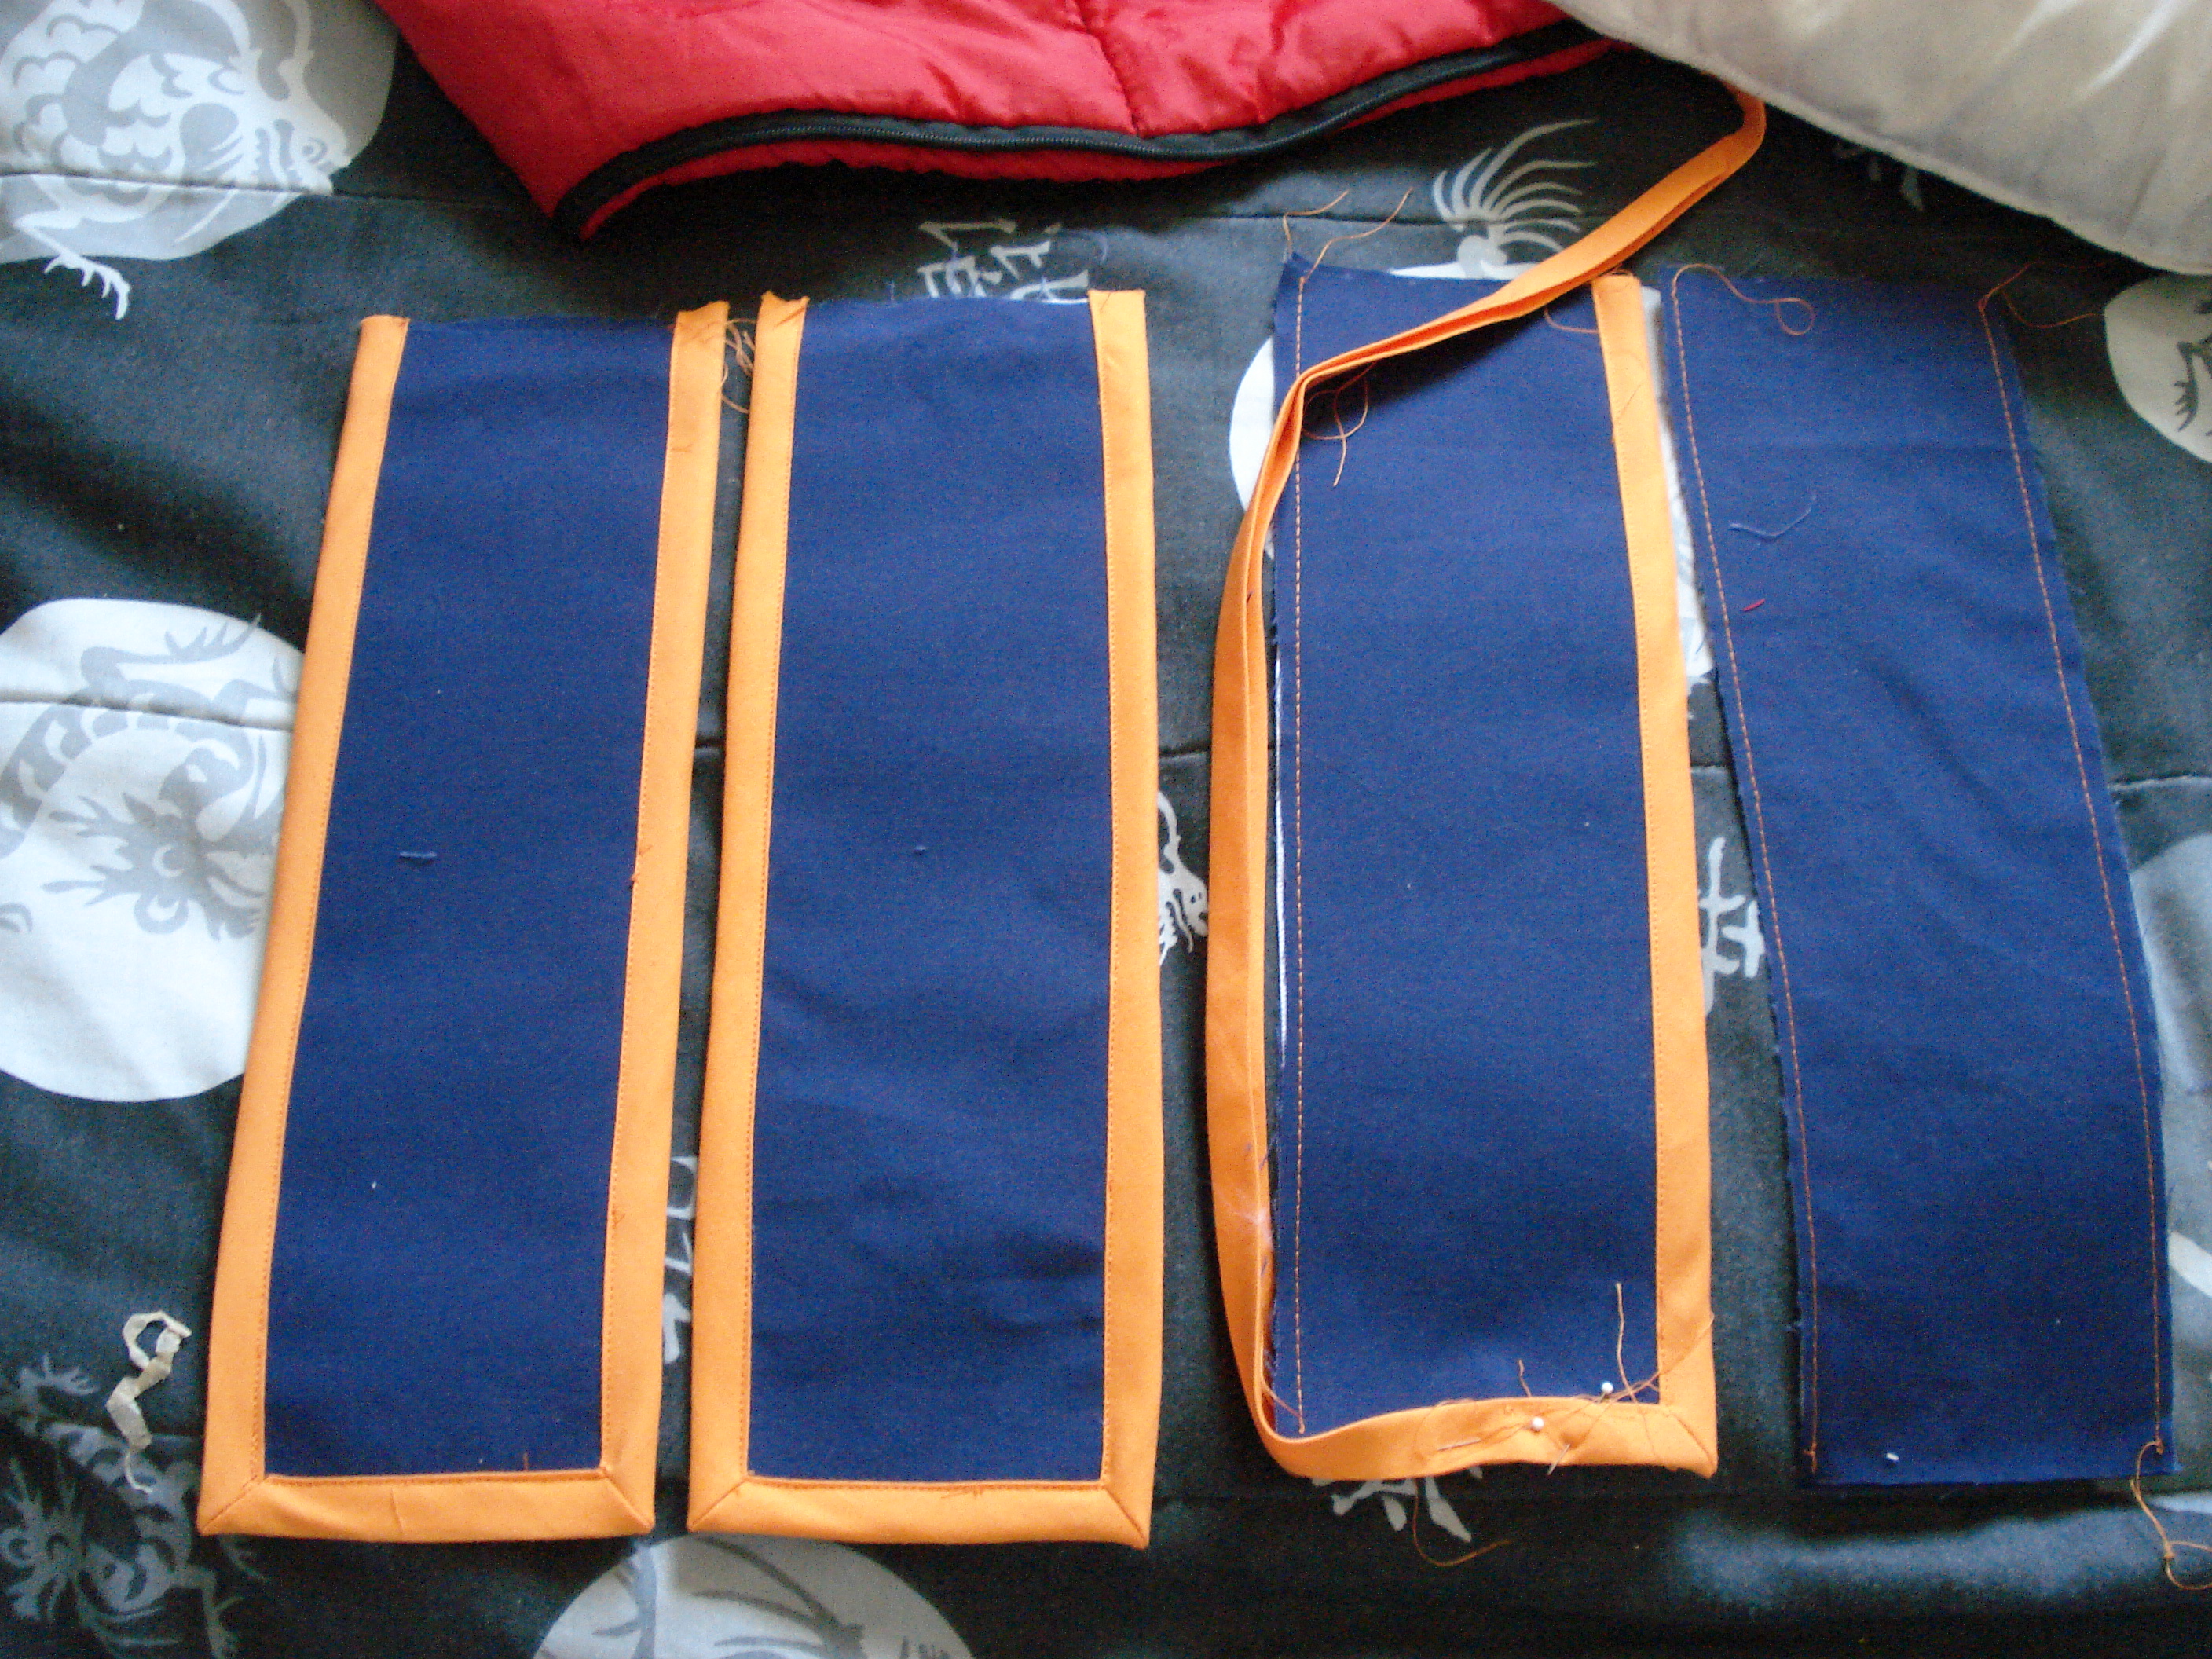
For the logos (ROOTS 26 etc) I made an attempt at recreating them in an image editor using the closest matching font I could find (fudging it a bit to be more “correct”), then inkjet printed it onto dark iron transfer paper. This era of cosplay largely pre-dated things like affordable vinyl cutters like Cricuts, so I to hand-cut the shoulder logos and ROOTS 26 and individually applied each letter to the belt. I made all the orange bias tape and yellow piping from scratch so that the color would be correct and it would match the other fabric.
I sewed the white jacket from two layers of chonky stretch denim (white over dark colors is always a pain, but this had good opacity). Pounding the seam allowances with a hammer allowed me to just barely fit everything under my presser foot. Unfortunately, my sewing machine was not happy about the 8 layers of denim it was encountering at intersecting seam allowances and I ended up killing my machine. Until then, all of my costumes had been made on the absolute cheapest $80 Kenmore (385.15212400) available at Sears. I had taught myself to sew on this from late 2005-2008. Now that my interest in sewing was firmly established, I opted to get a slightly better quality sewing machine. I investigated various models on display at a decrepit Sears store (in 2008, Sears was already clearly on its way out) and was stunned at the double lifting presser foot on the $180 Kenmore 385.18221. I ordered one online shortly thereafter. Per my immediate testing, it was plenty happy to sew through 12+ layers of denim and also just generally handled more smoothly and sports car like. I hadn’t realized just how much my $80 sewing machine was limiting me. It was genuinely far easier to sew on it than my previous machine.
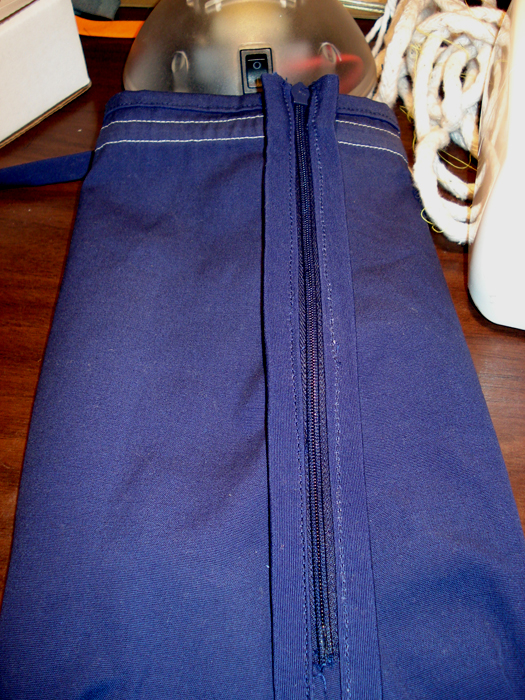
Overall, I was mostly happy with how the jacket turned out in terms of fit and feel, but I was rather disatisfied with the front zipper. I had used the center front seam for some bust shaping which turned out to be an amazingly bad idea when combined with a zipper…especially on a stretch fabric it is quick ticket to a wavy zipper. :) It’s a lesson I only had to learn once.
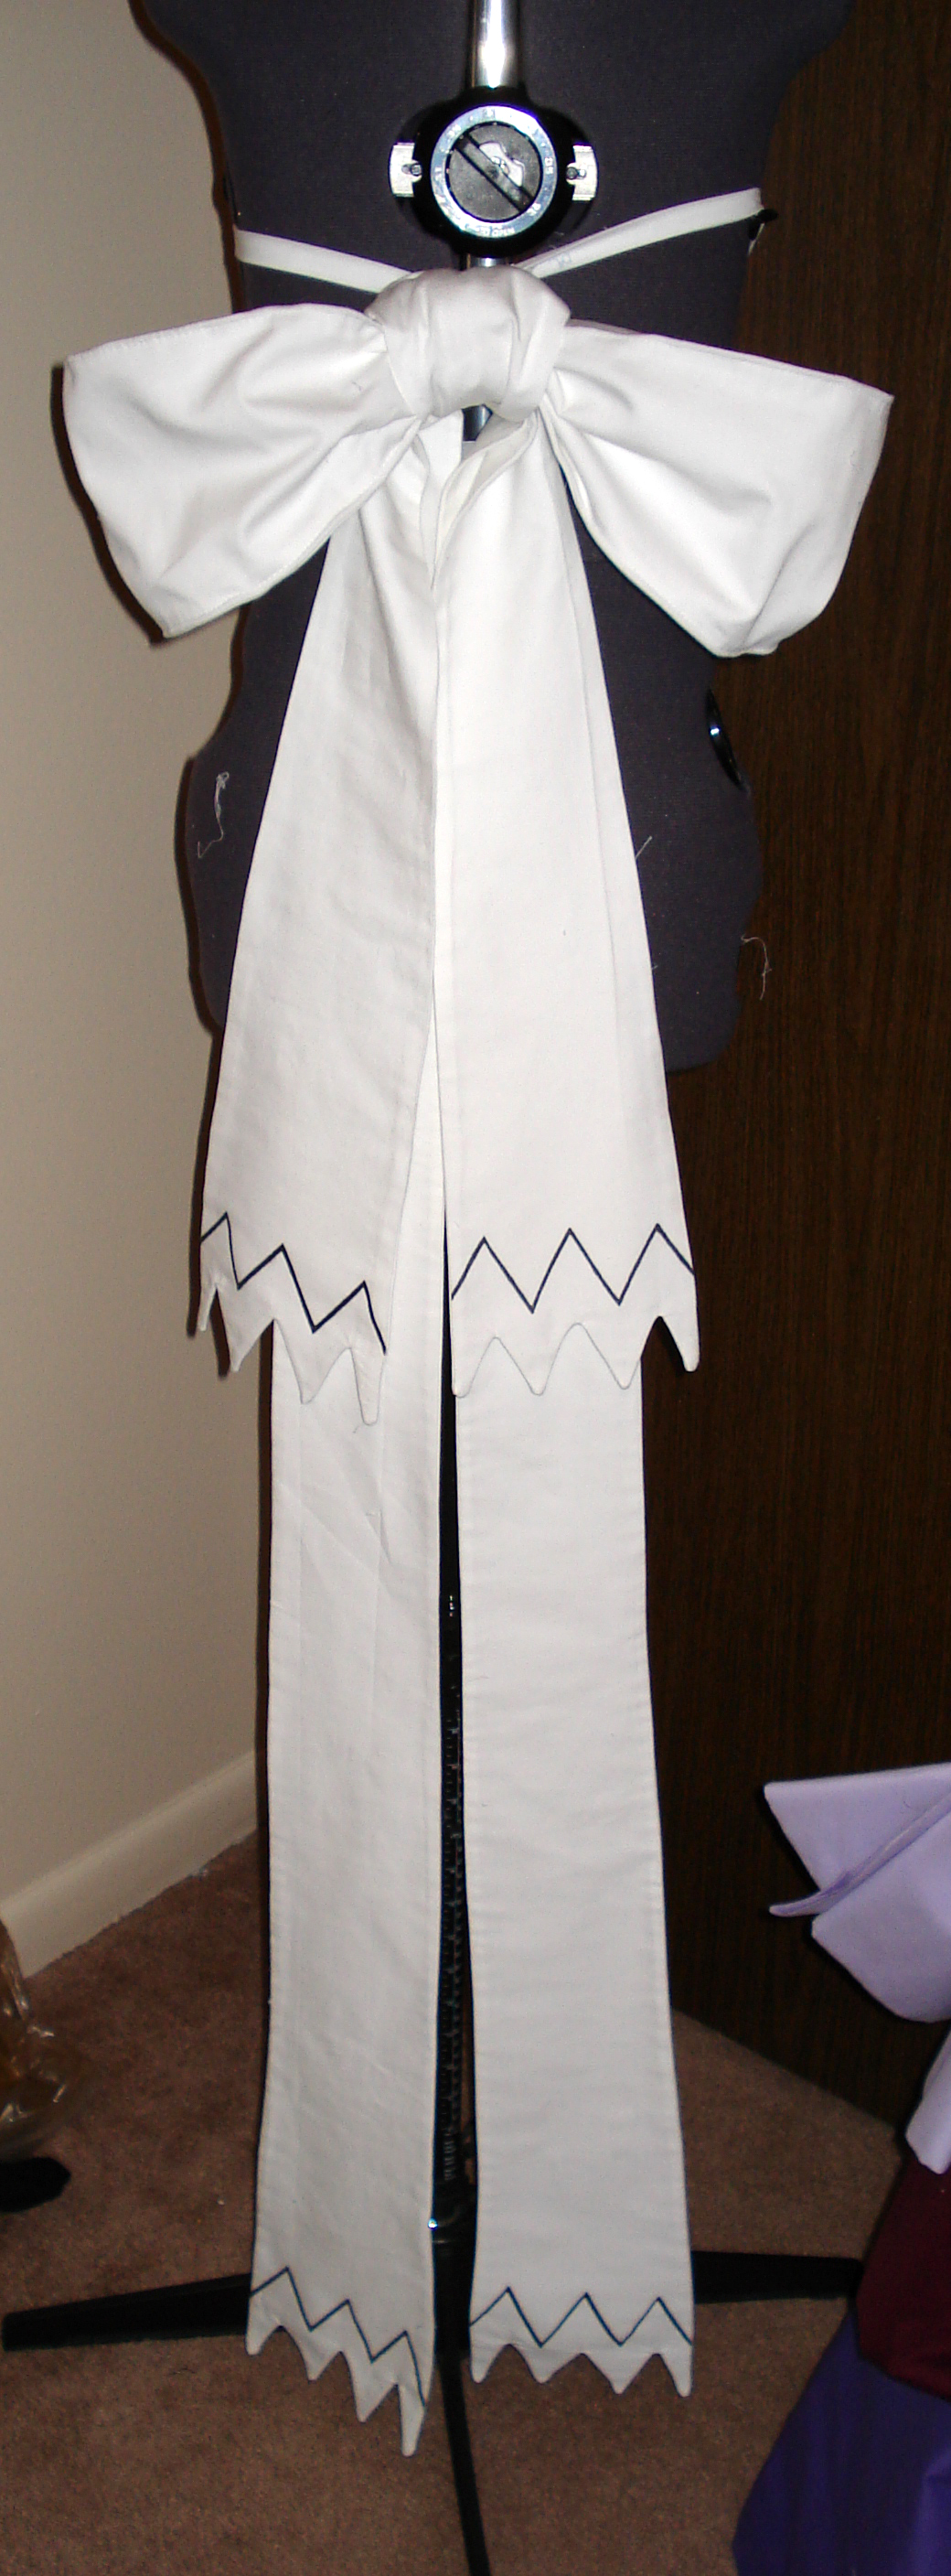
The back bow is also made of denim and attaches with giant snaps to the jacket. For the black zig zag pattern, I used freezer paper to make stencils as a resist for applying fabric paint.
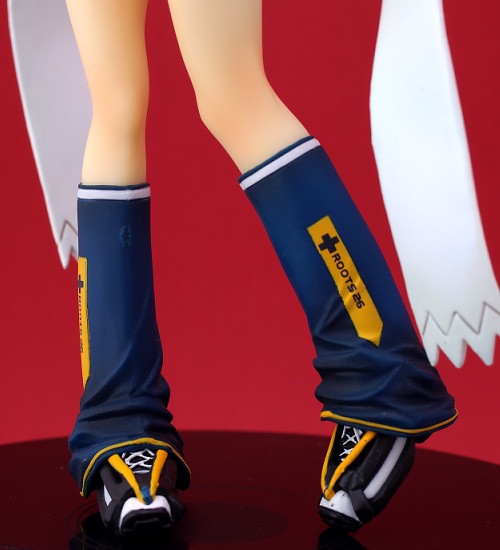
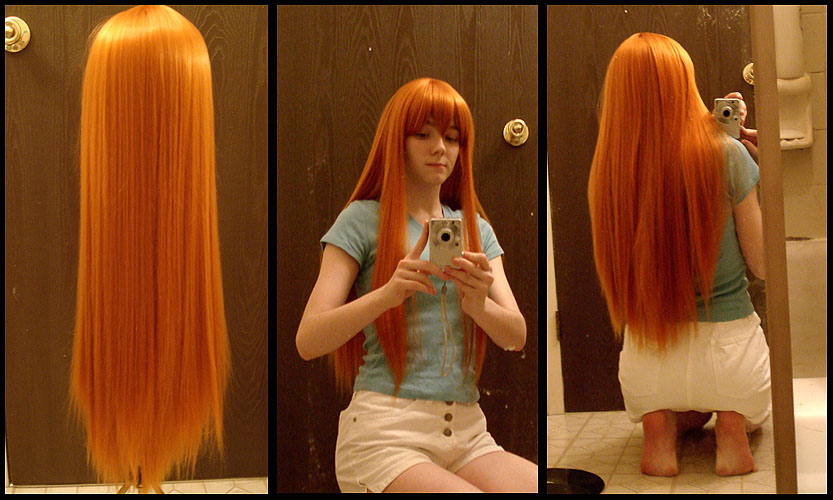
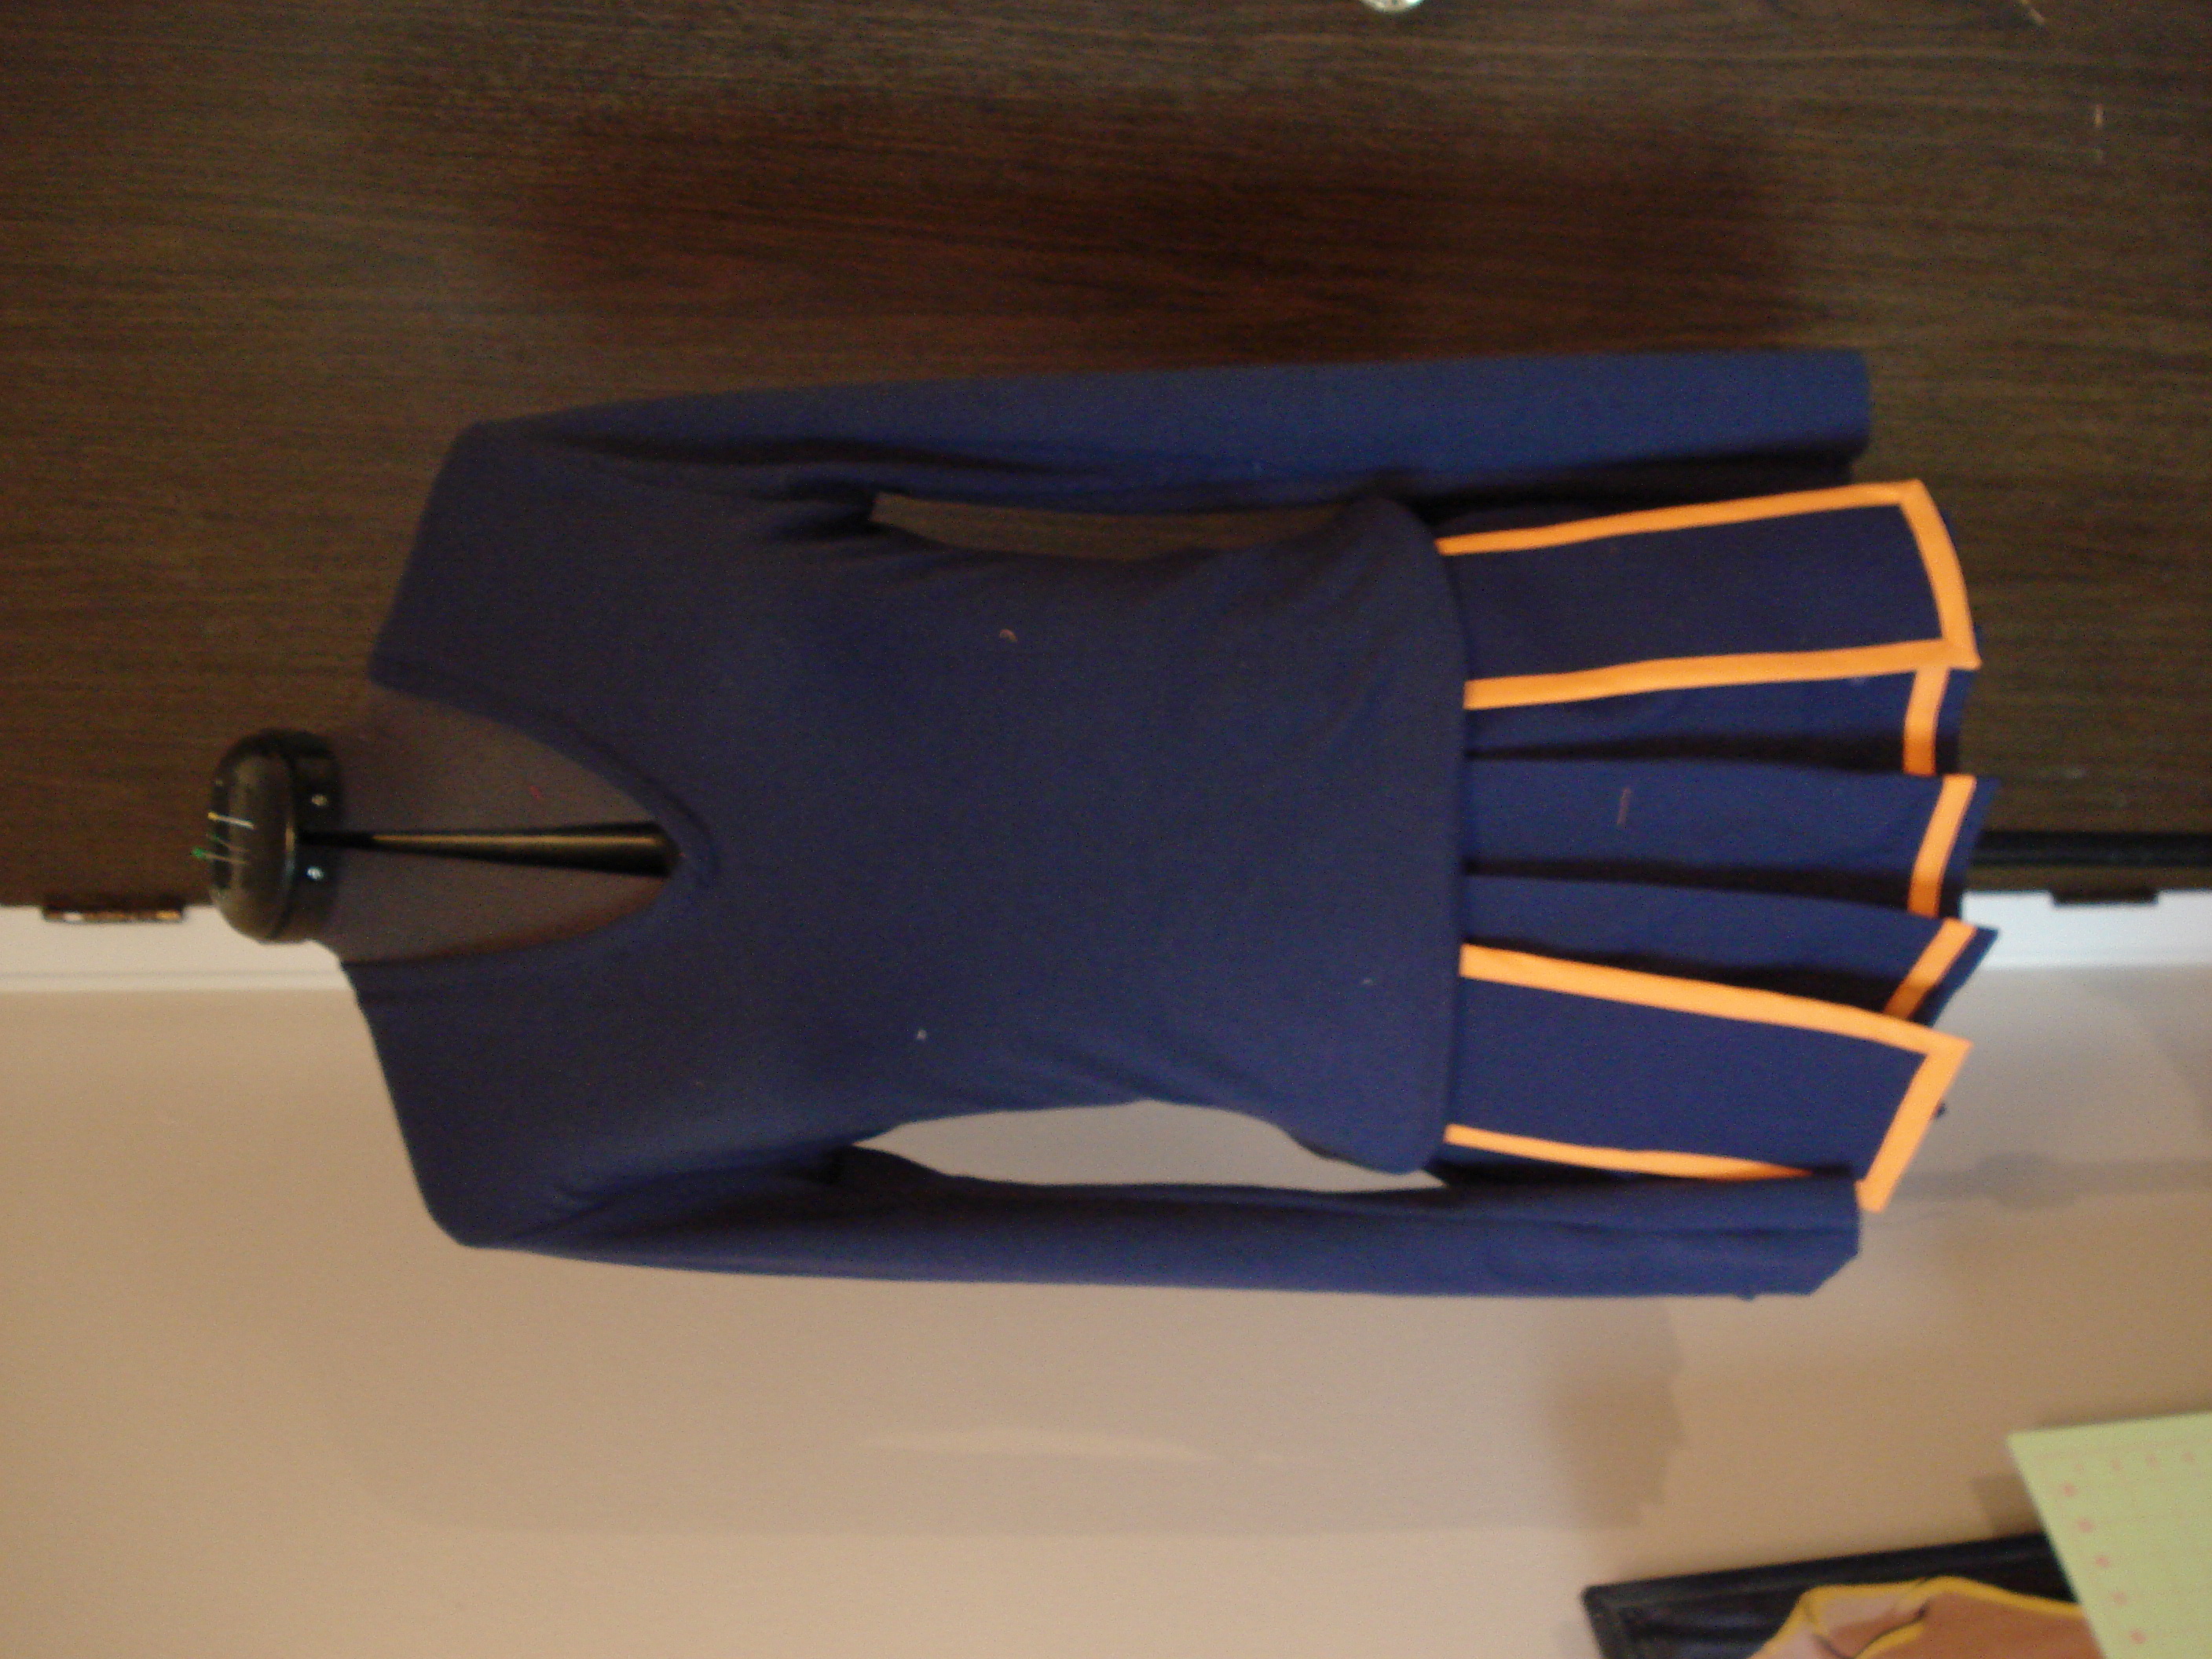
The shirt is made of Joann’s 60/40 poly-cotton navy interlock knit. You can only see the sleeves when I’m wearing it, but the few art pieces that show her undershirt show it to be a v-neck, so I installed a bound v-neck anyway to try out a technique I’d read in a library book. The legwarmers and skirt are a Joann’s navy “rodeo” poplin I had in my stash that matched my navy interlock really closely. The shoes are sneakers from walmart that I attached bias tape to and painted to match her shoes. They’re usually obscured by the legwarmers, of course.
For the headphones, at first I bought a pair of Skullcandy headphones, but the headband was too bulky and it ended up looking sort of strange. I later purchased, dremeled, and painted a pair of ear noise protectors with a thinner headband that had a much better shape. (Keep in mind that when talking to Bemani cosplayers, many of us cannot hear you well, since we’re wearing headgear that is meant to keep the music in and the sound out. :D) I covered the headband in blue interlock knit to match the shirt, and then reattached the kanzashi.
All in all, it was my first time using piping, iron on transfers, doing a zipper installation in a pleated skirt, and using hammer snaps (for the crossing straps on the front of the jacket, which I wanted to be functional). Looking back, 2008 was a major inflection point in my cosplay craftsmanship; I’d amassed a significant enough library of techniques and experience that my costumes started looking significantly more polished.
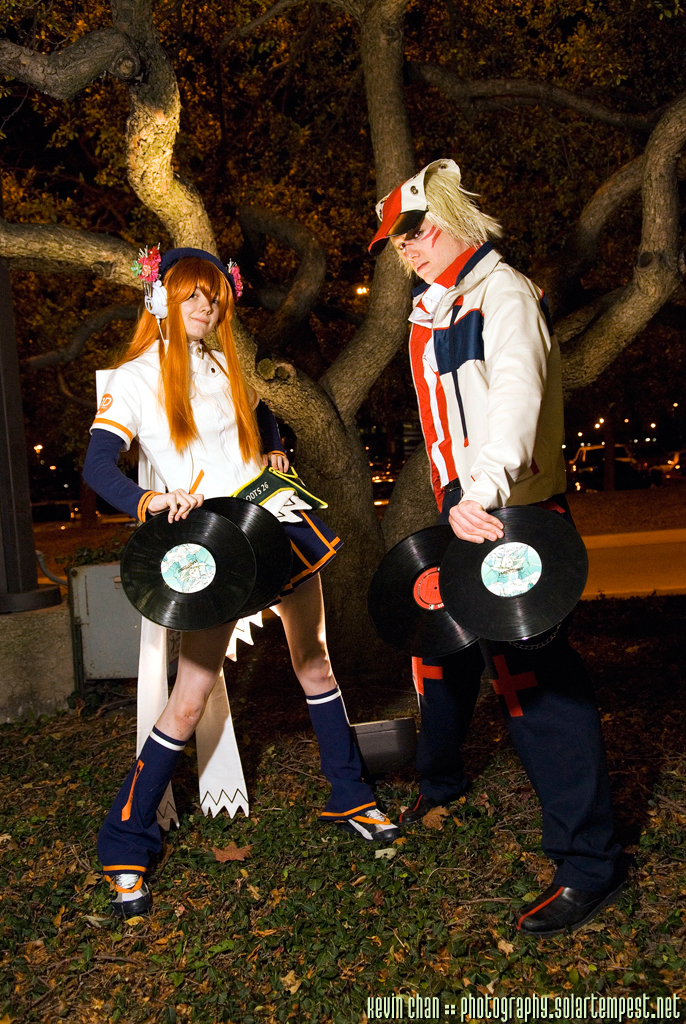
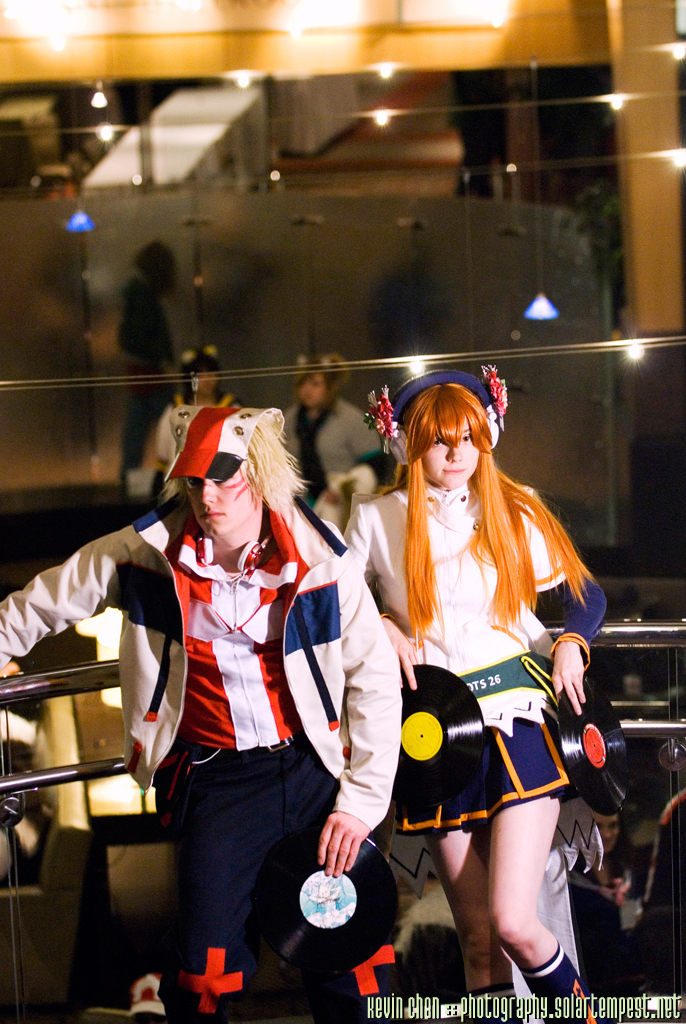
I was not very big on cosplay competitions for a number of reasons, the biggest ones being that I didn’t like going on stage and they always ate up your entire Saturday. However, as a courtesy to a stranded friend, I entered Iroha in the Youmacon 2008 hallway competition as part of a two-person IIDX group. We wound up winning the master’s division, largely on the strength of my costume, even though I had never won anything whatsoever in novice or journeyman before.
Photos
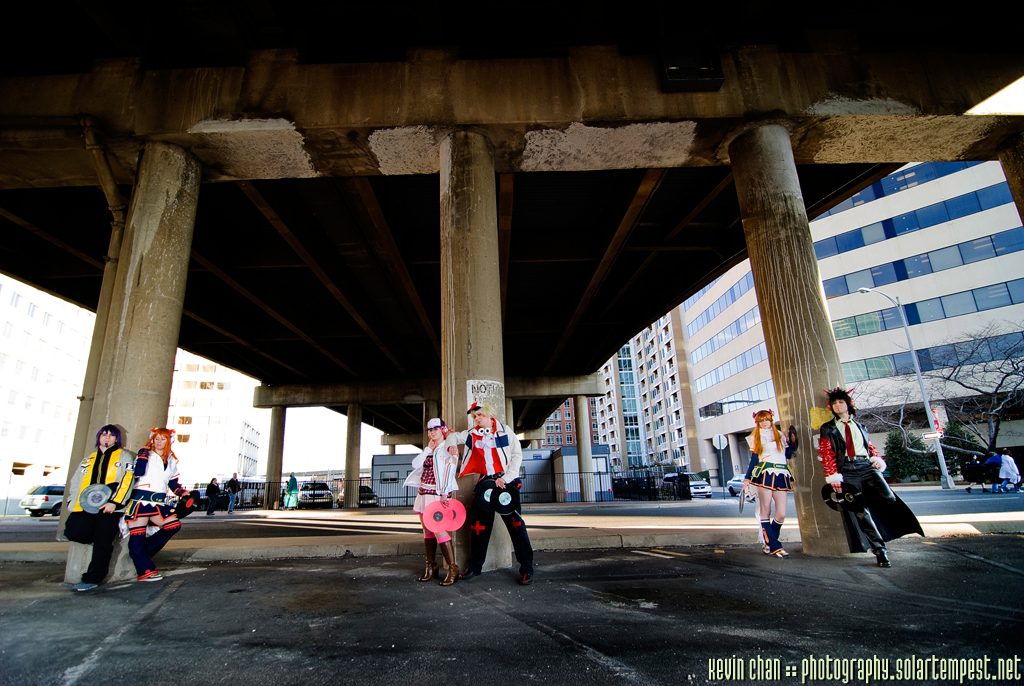
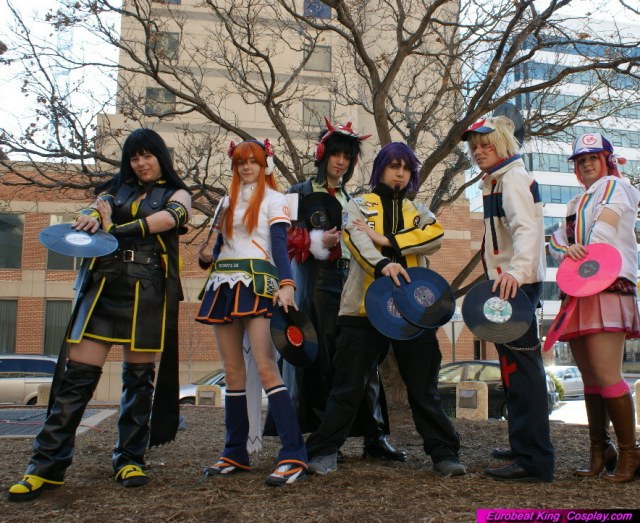
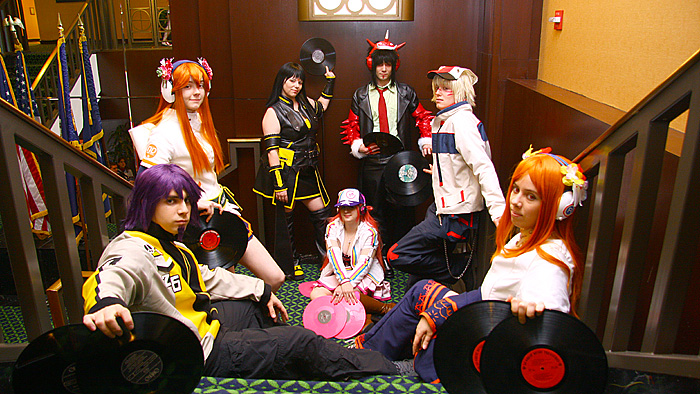
Group #1
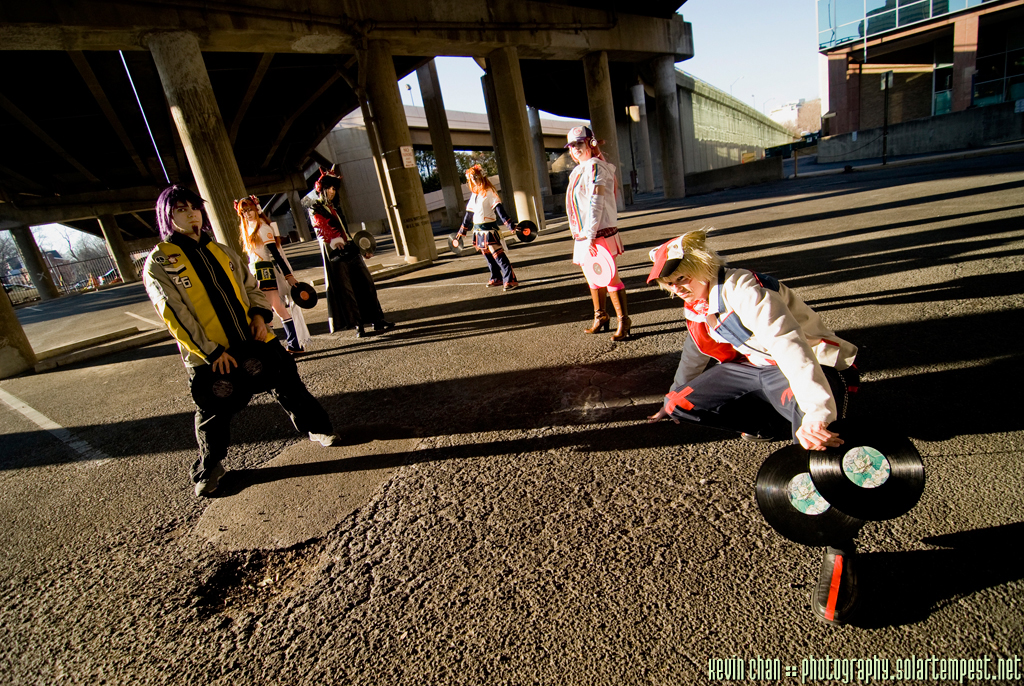
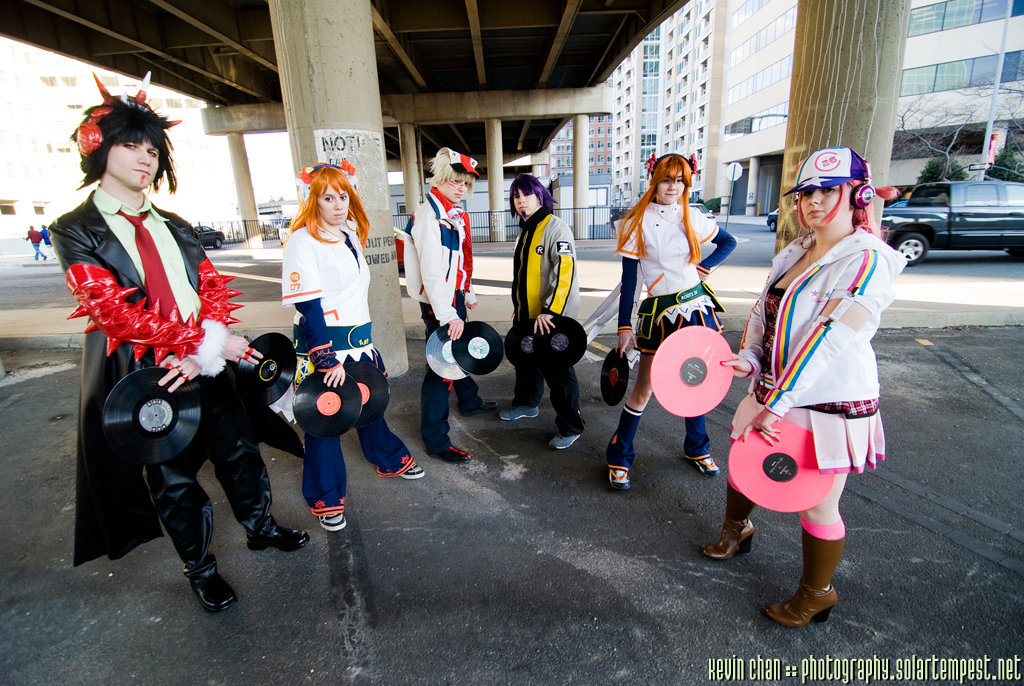
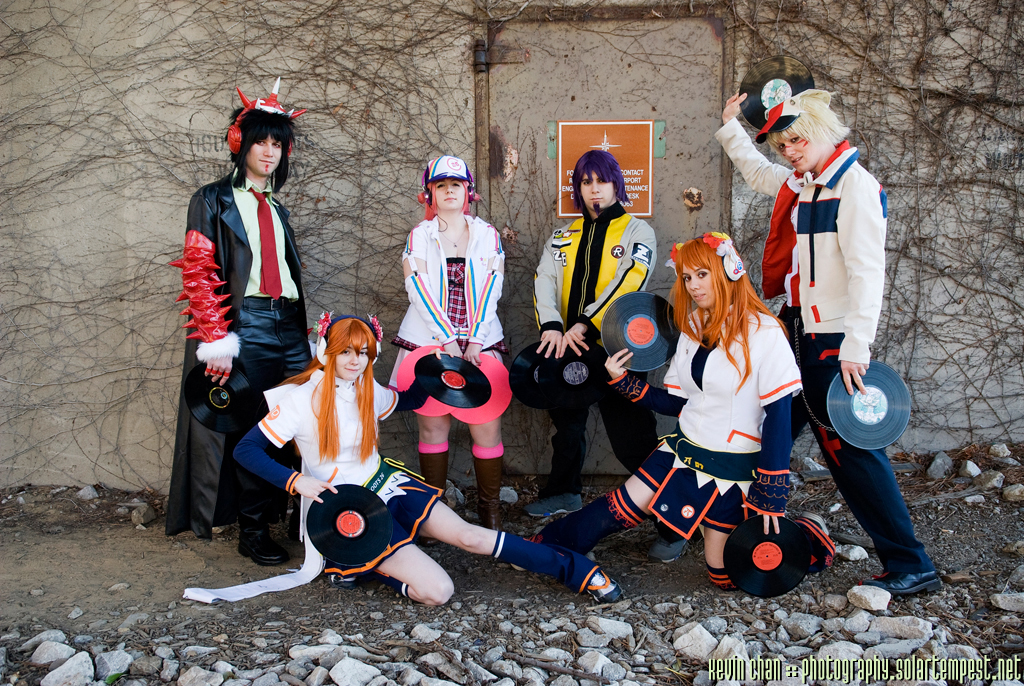

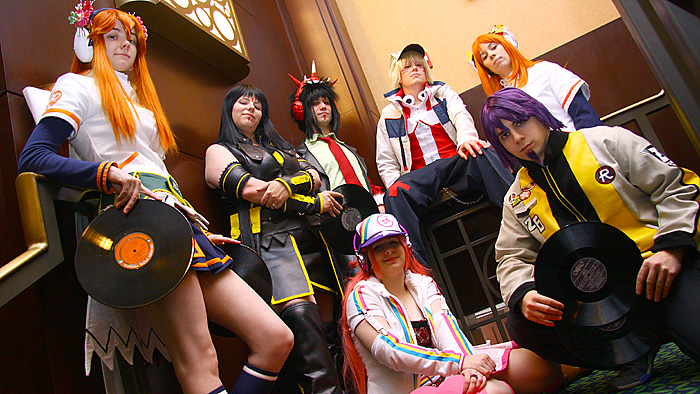
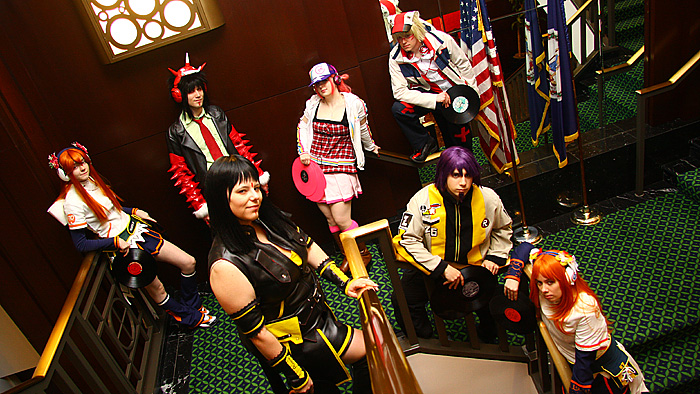
Group #2


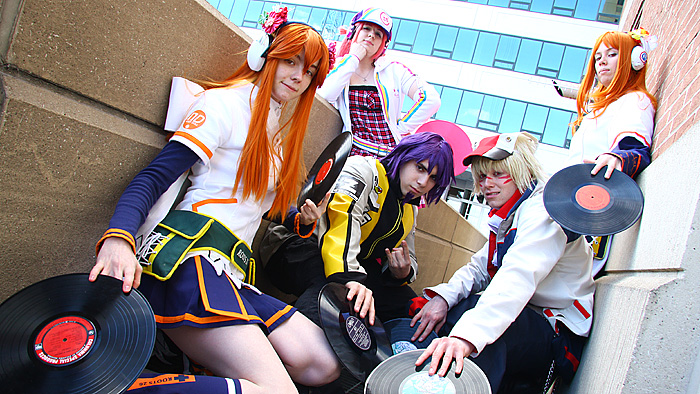

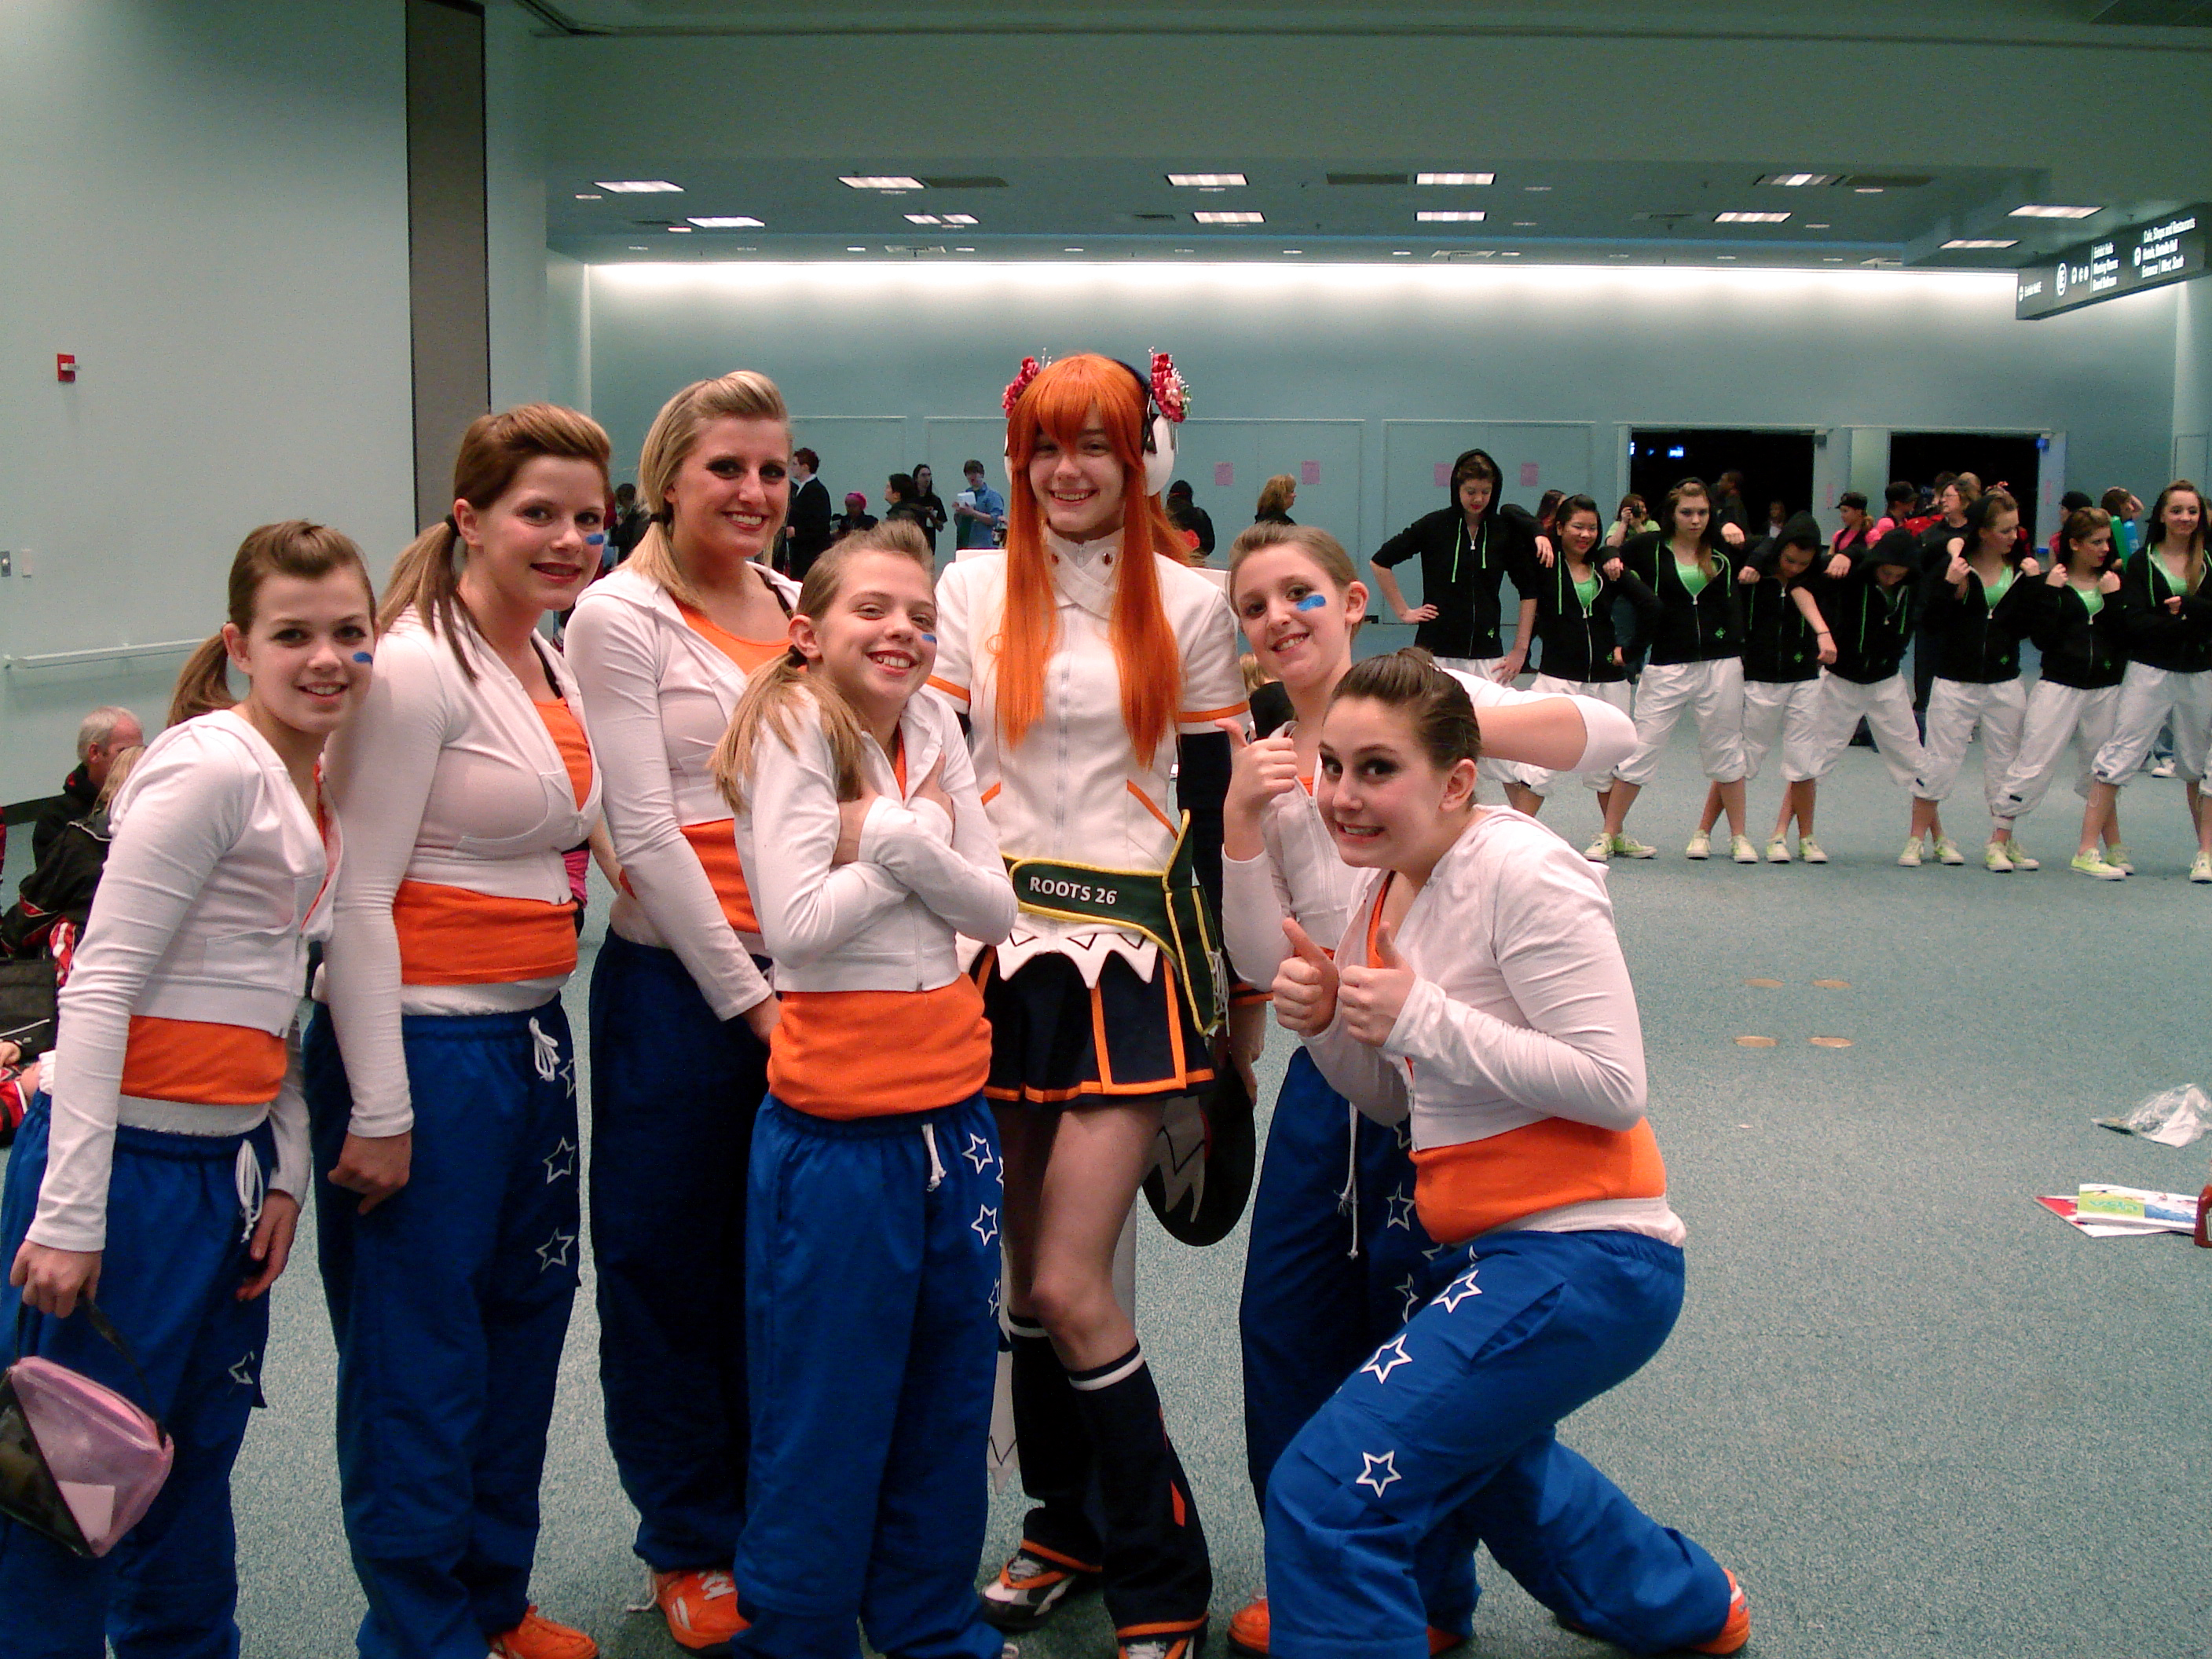
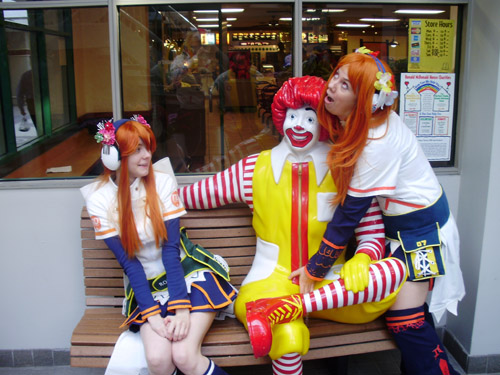
Cheerleading Convention Same Weekend As Ohayocon
Sillyness

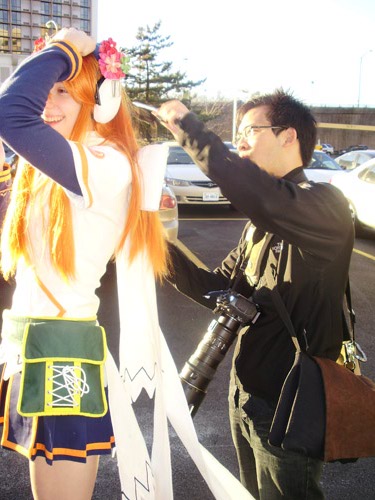
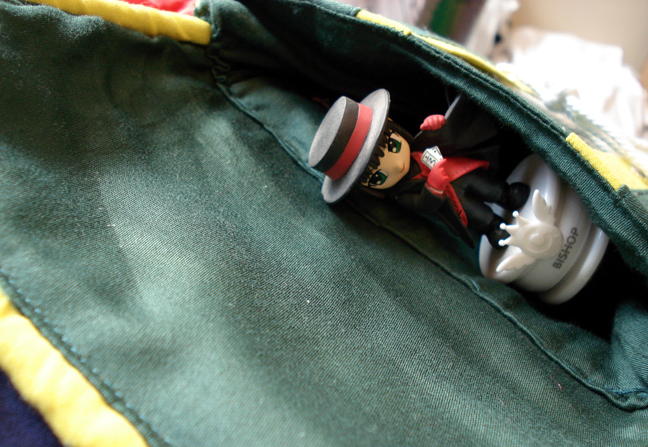
Progress
Reference