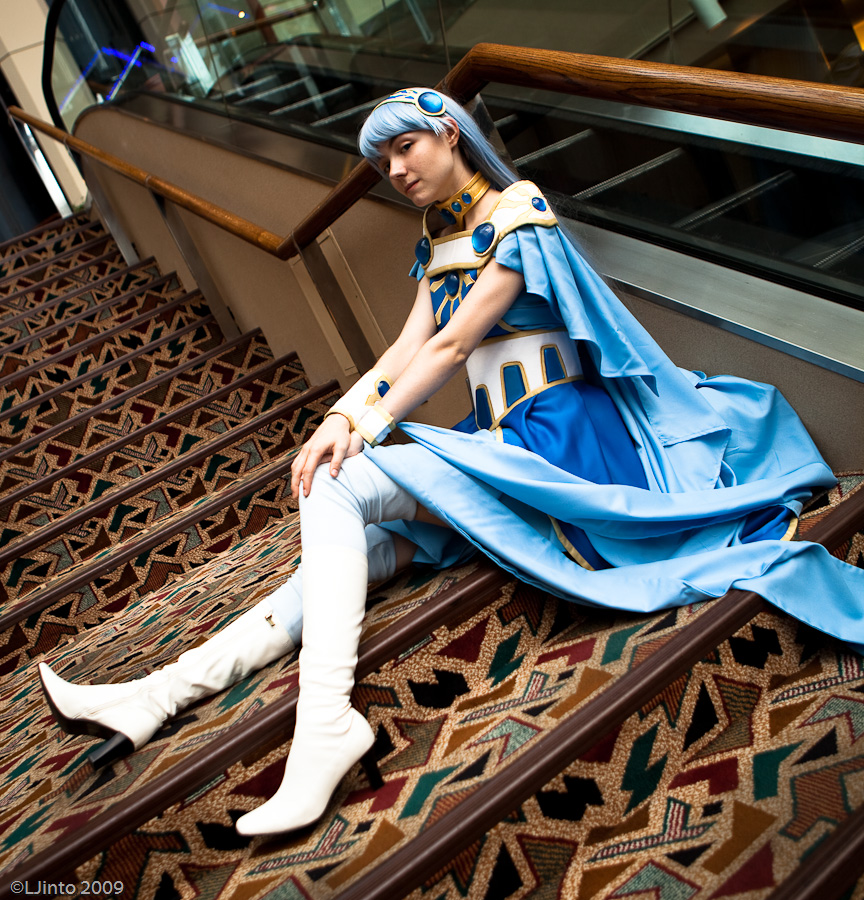
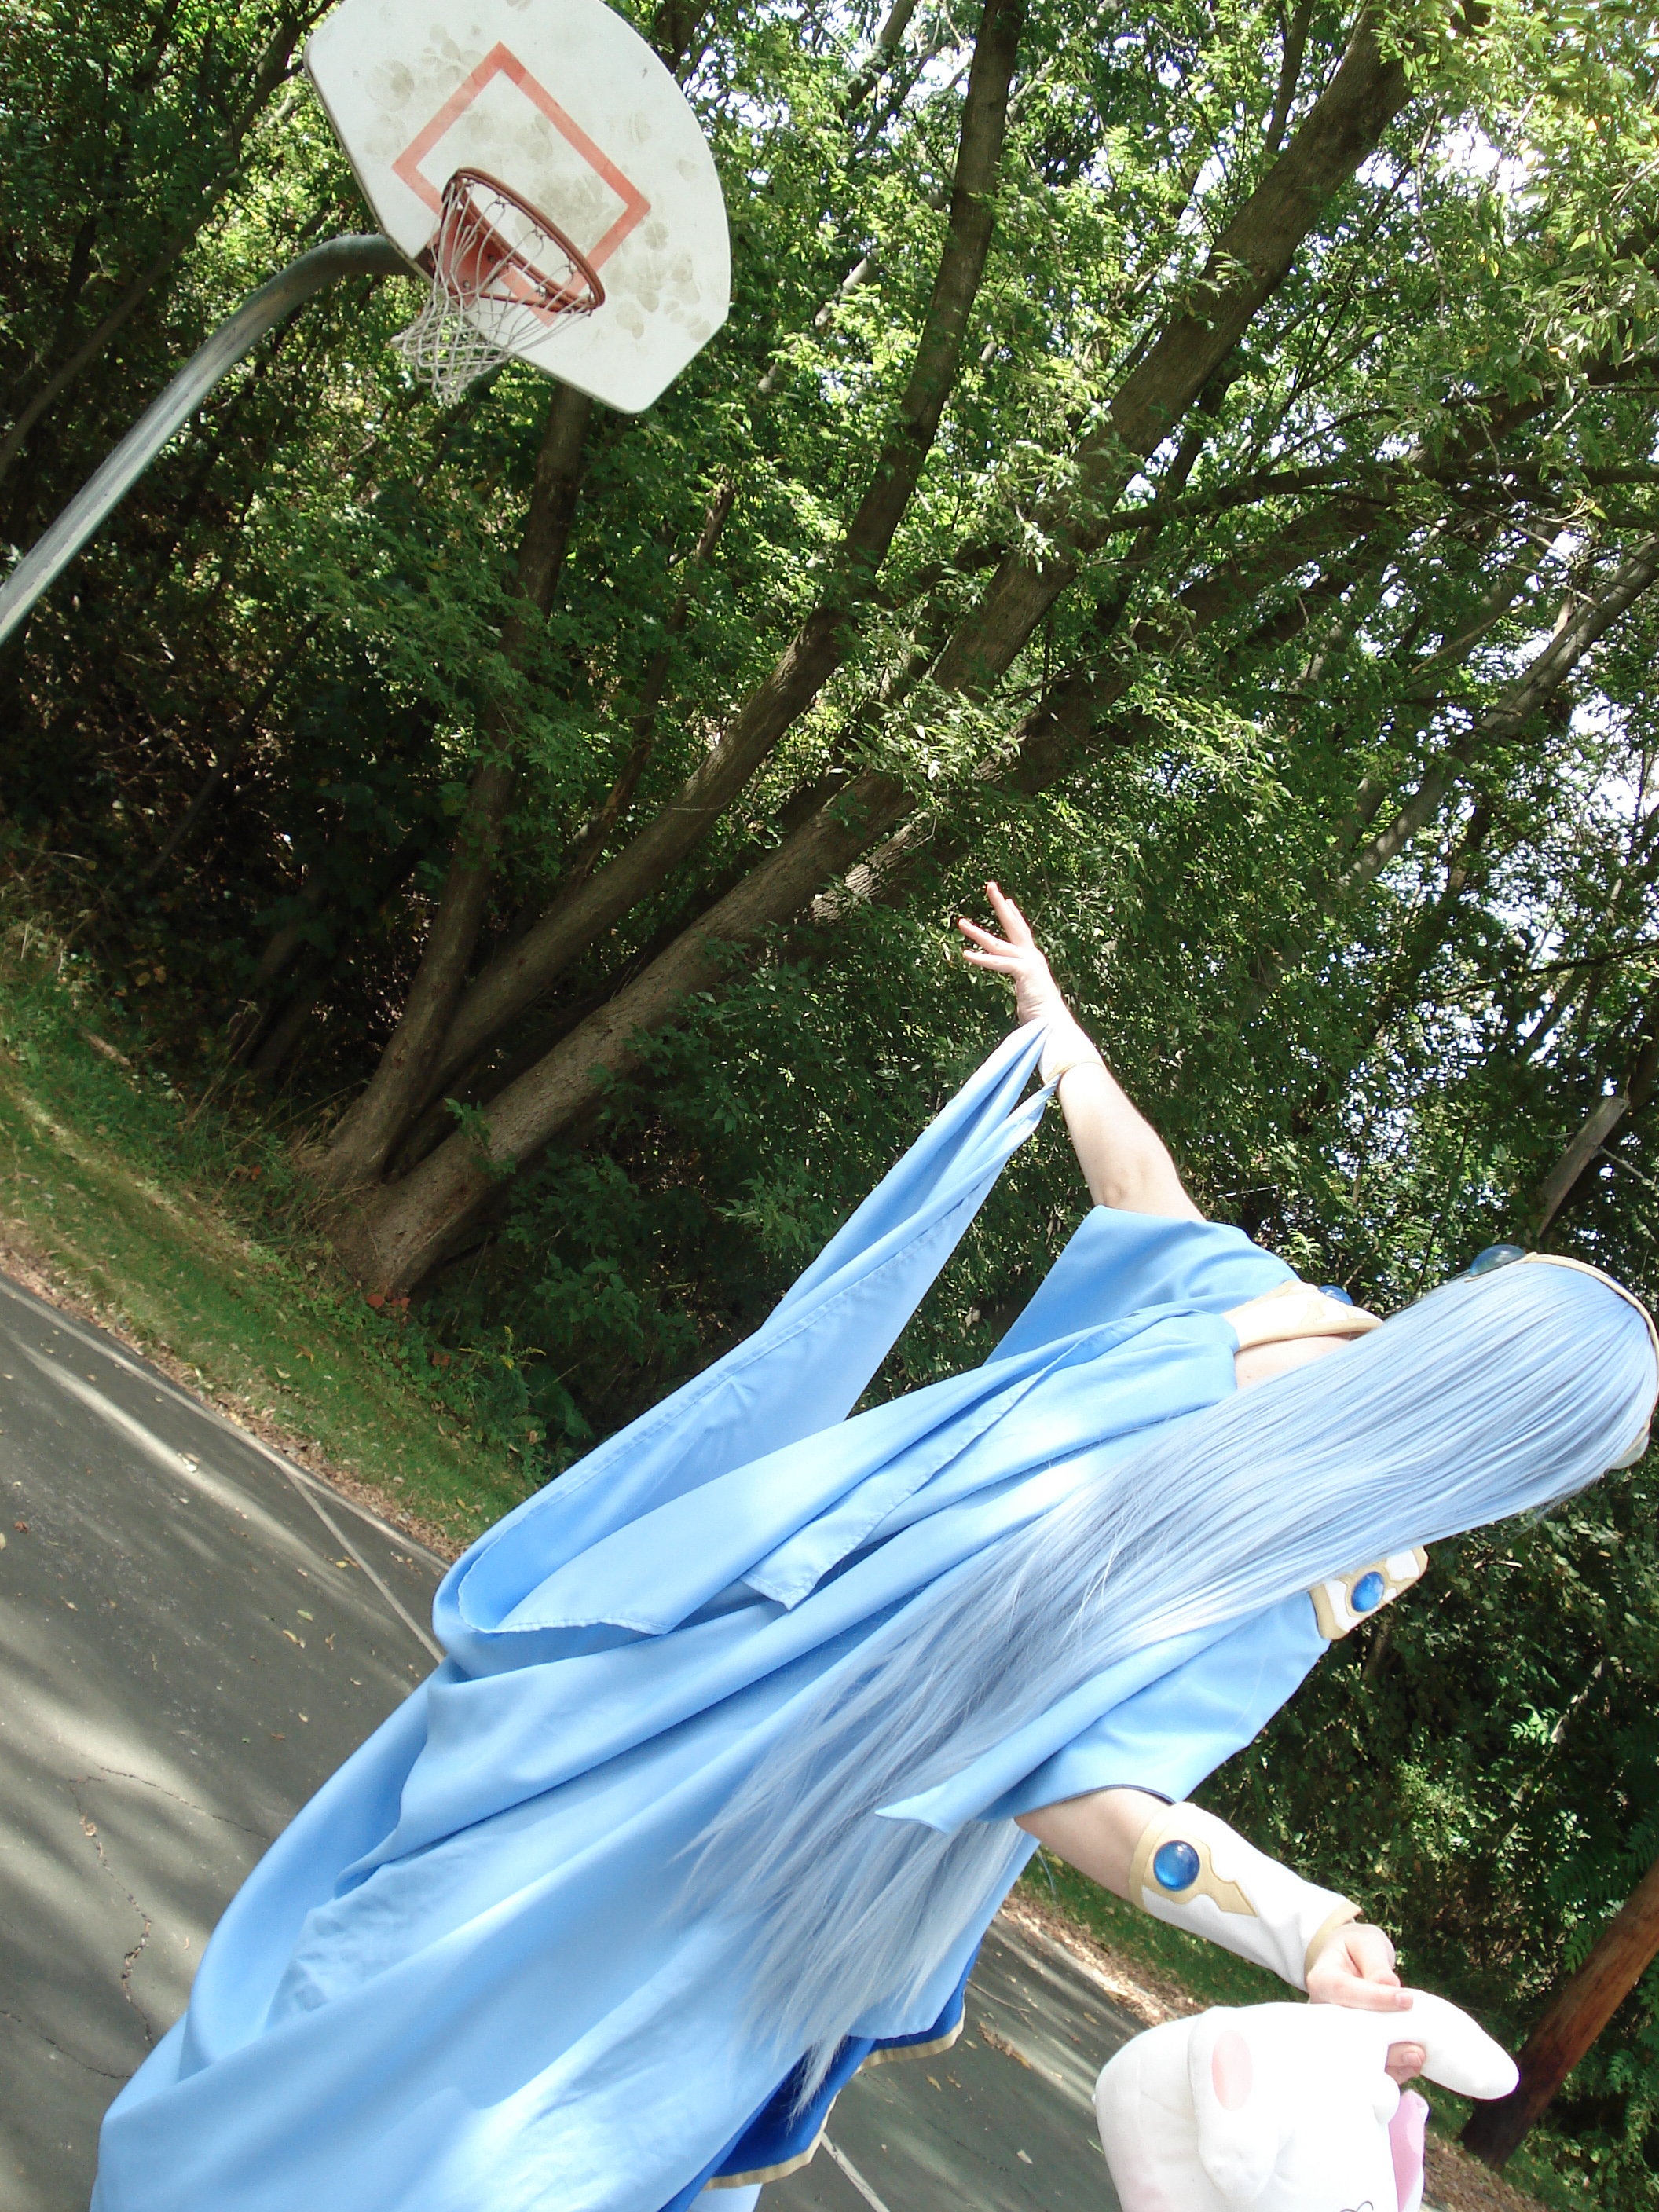
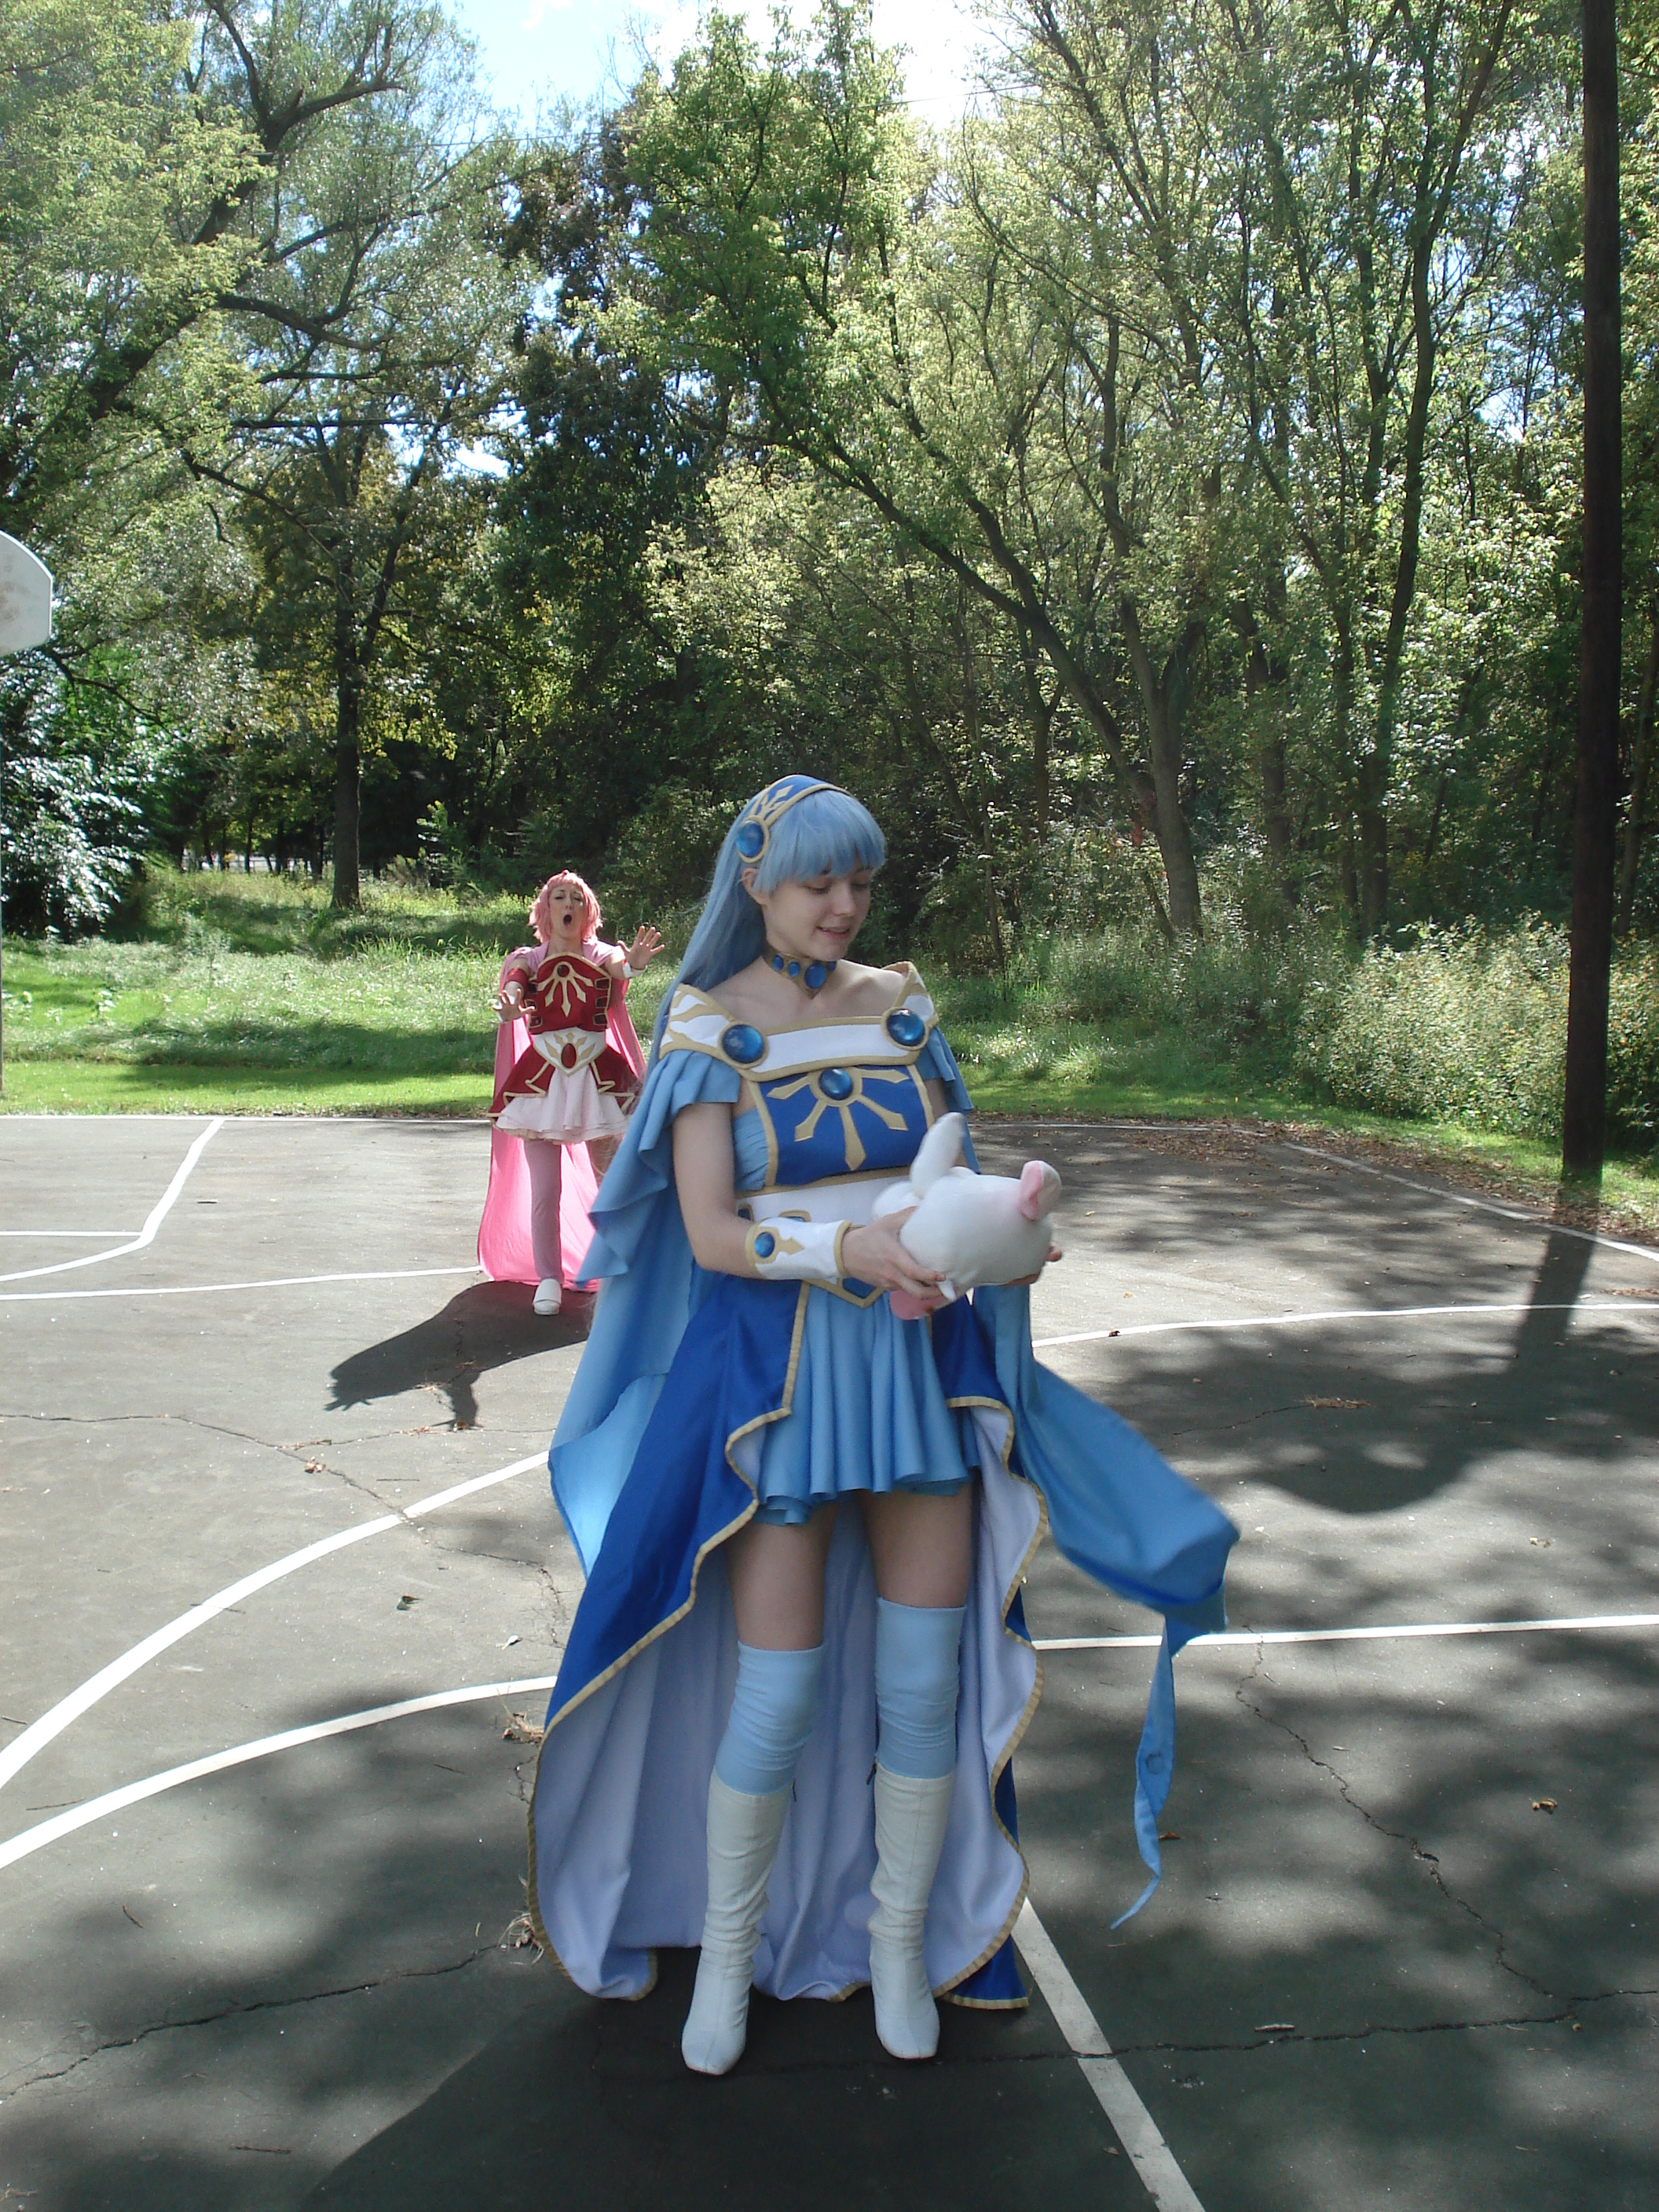
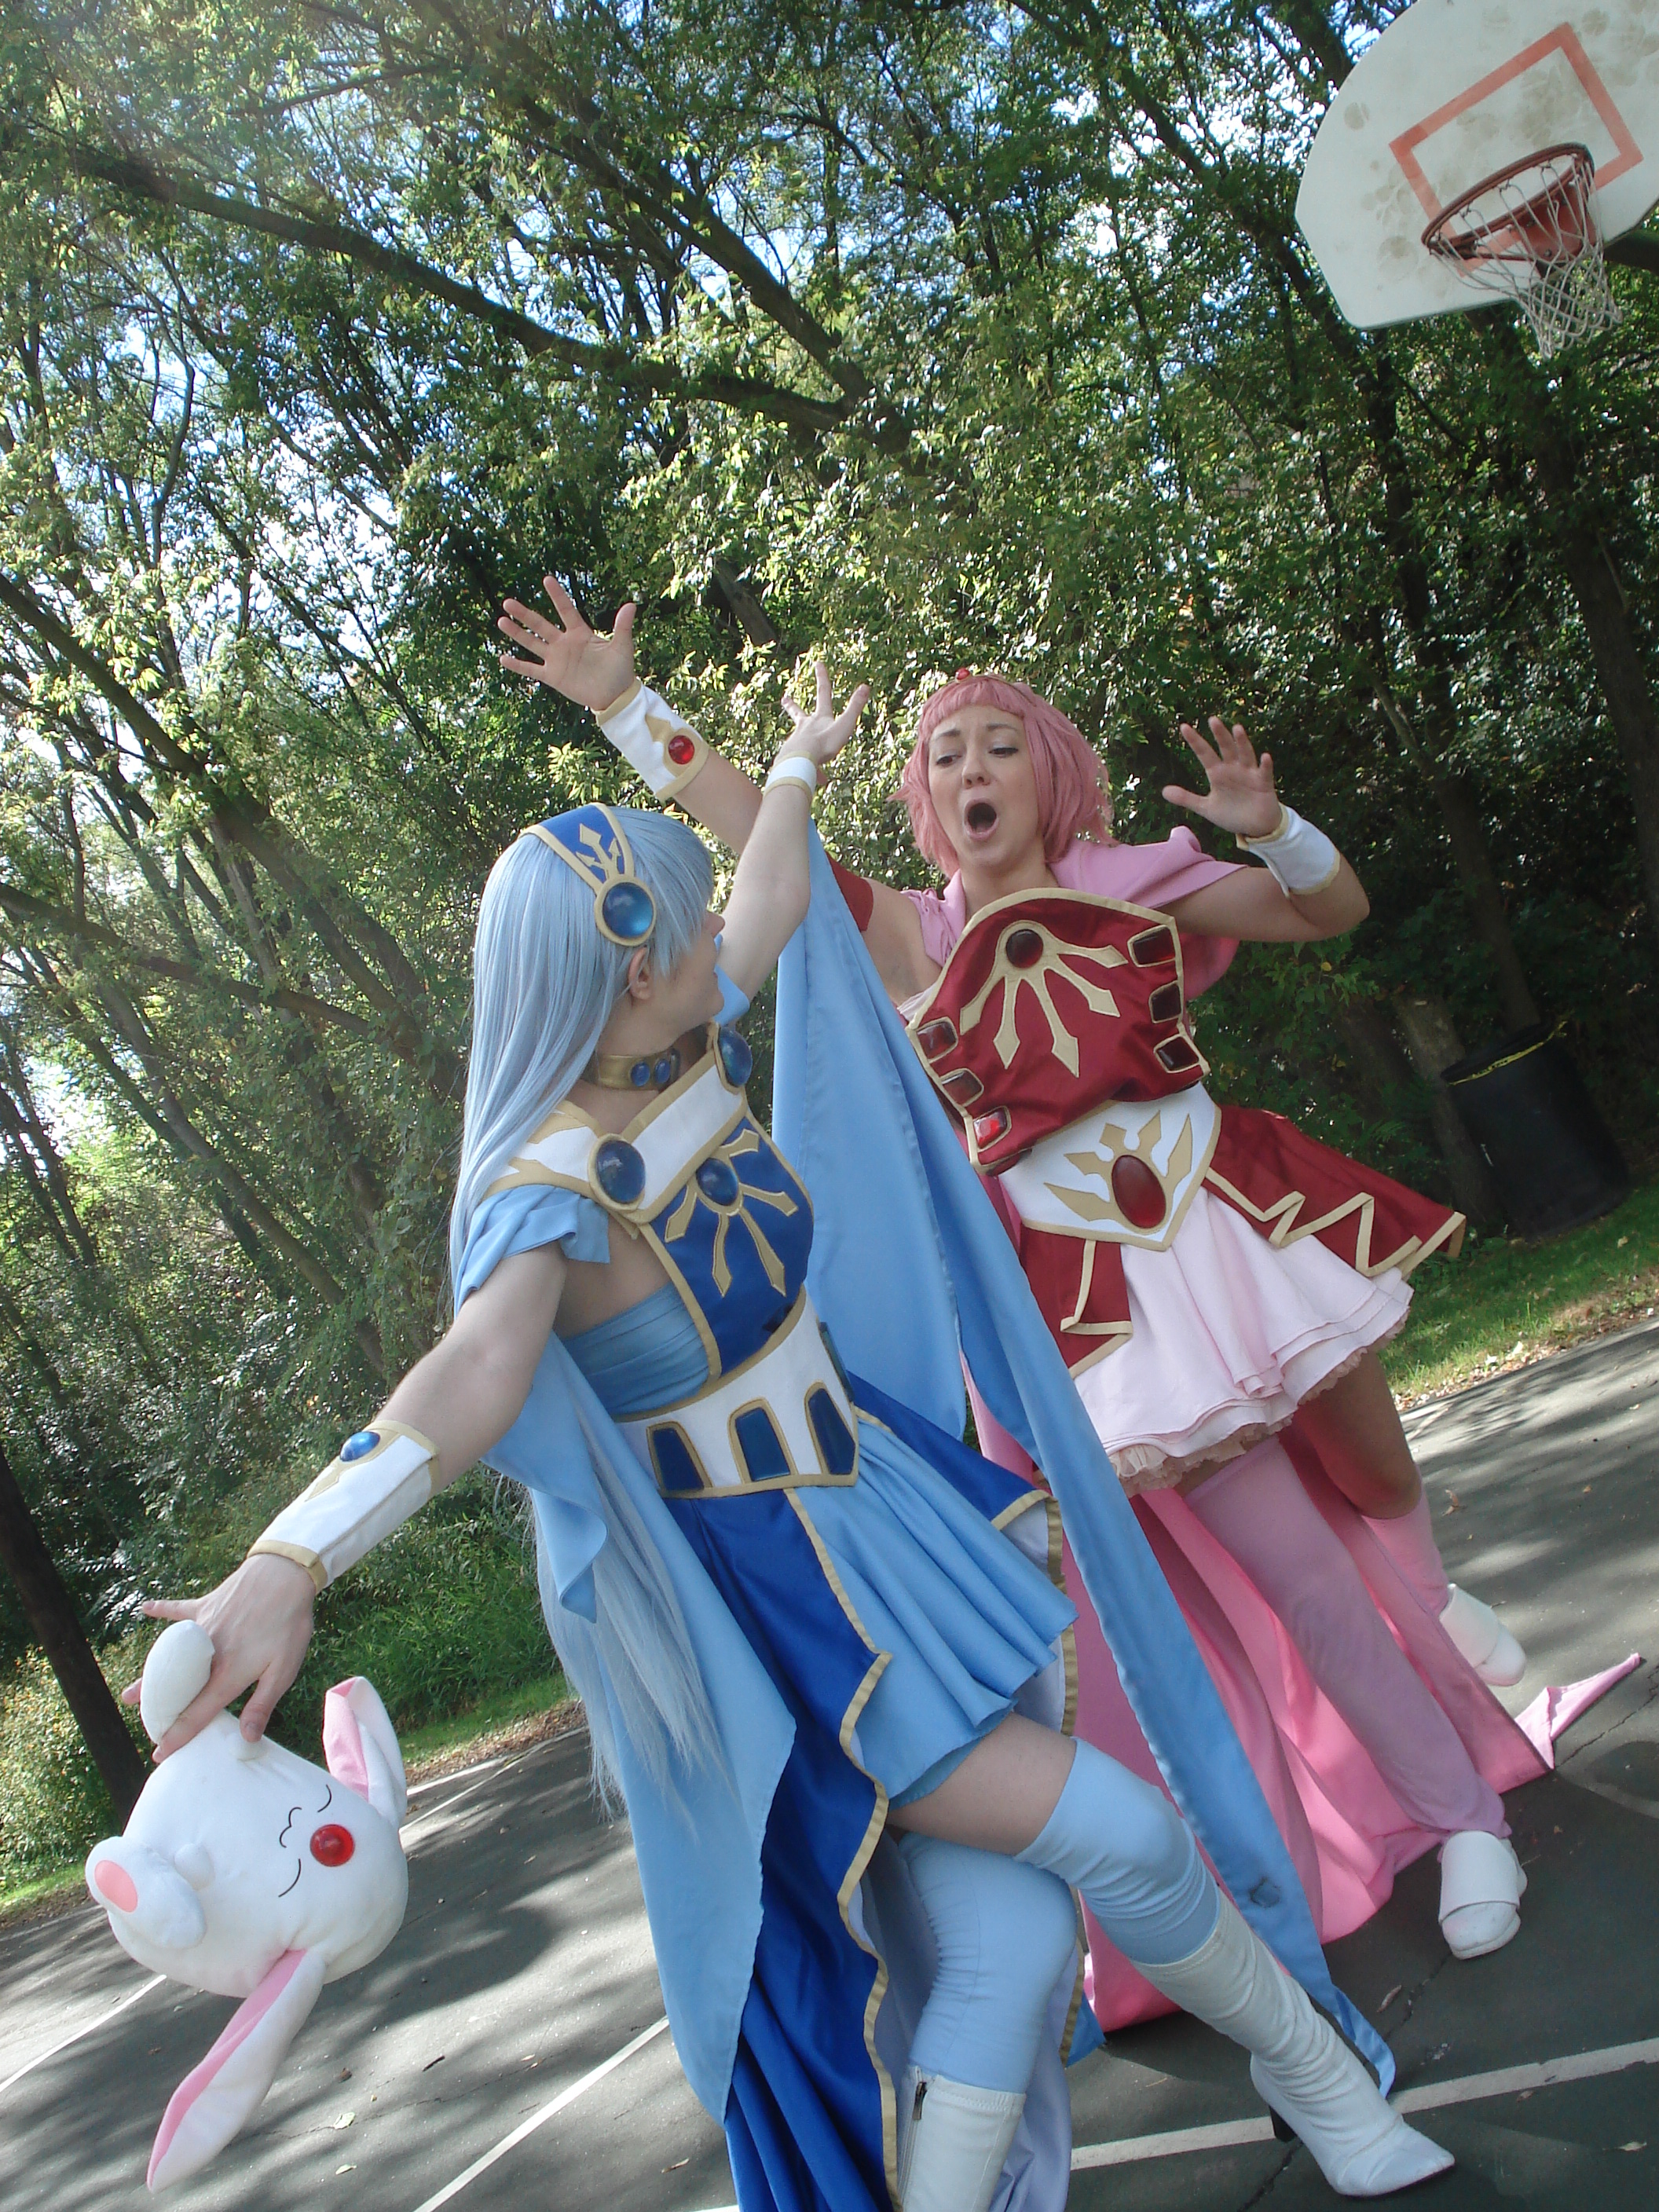
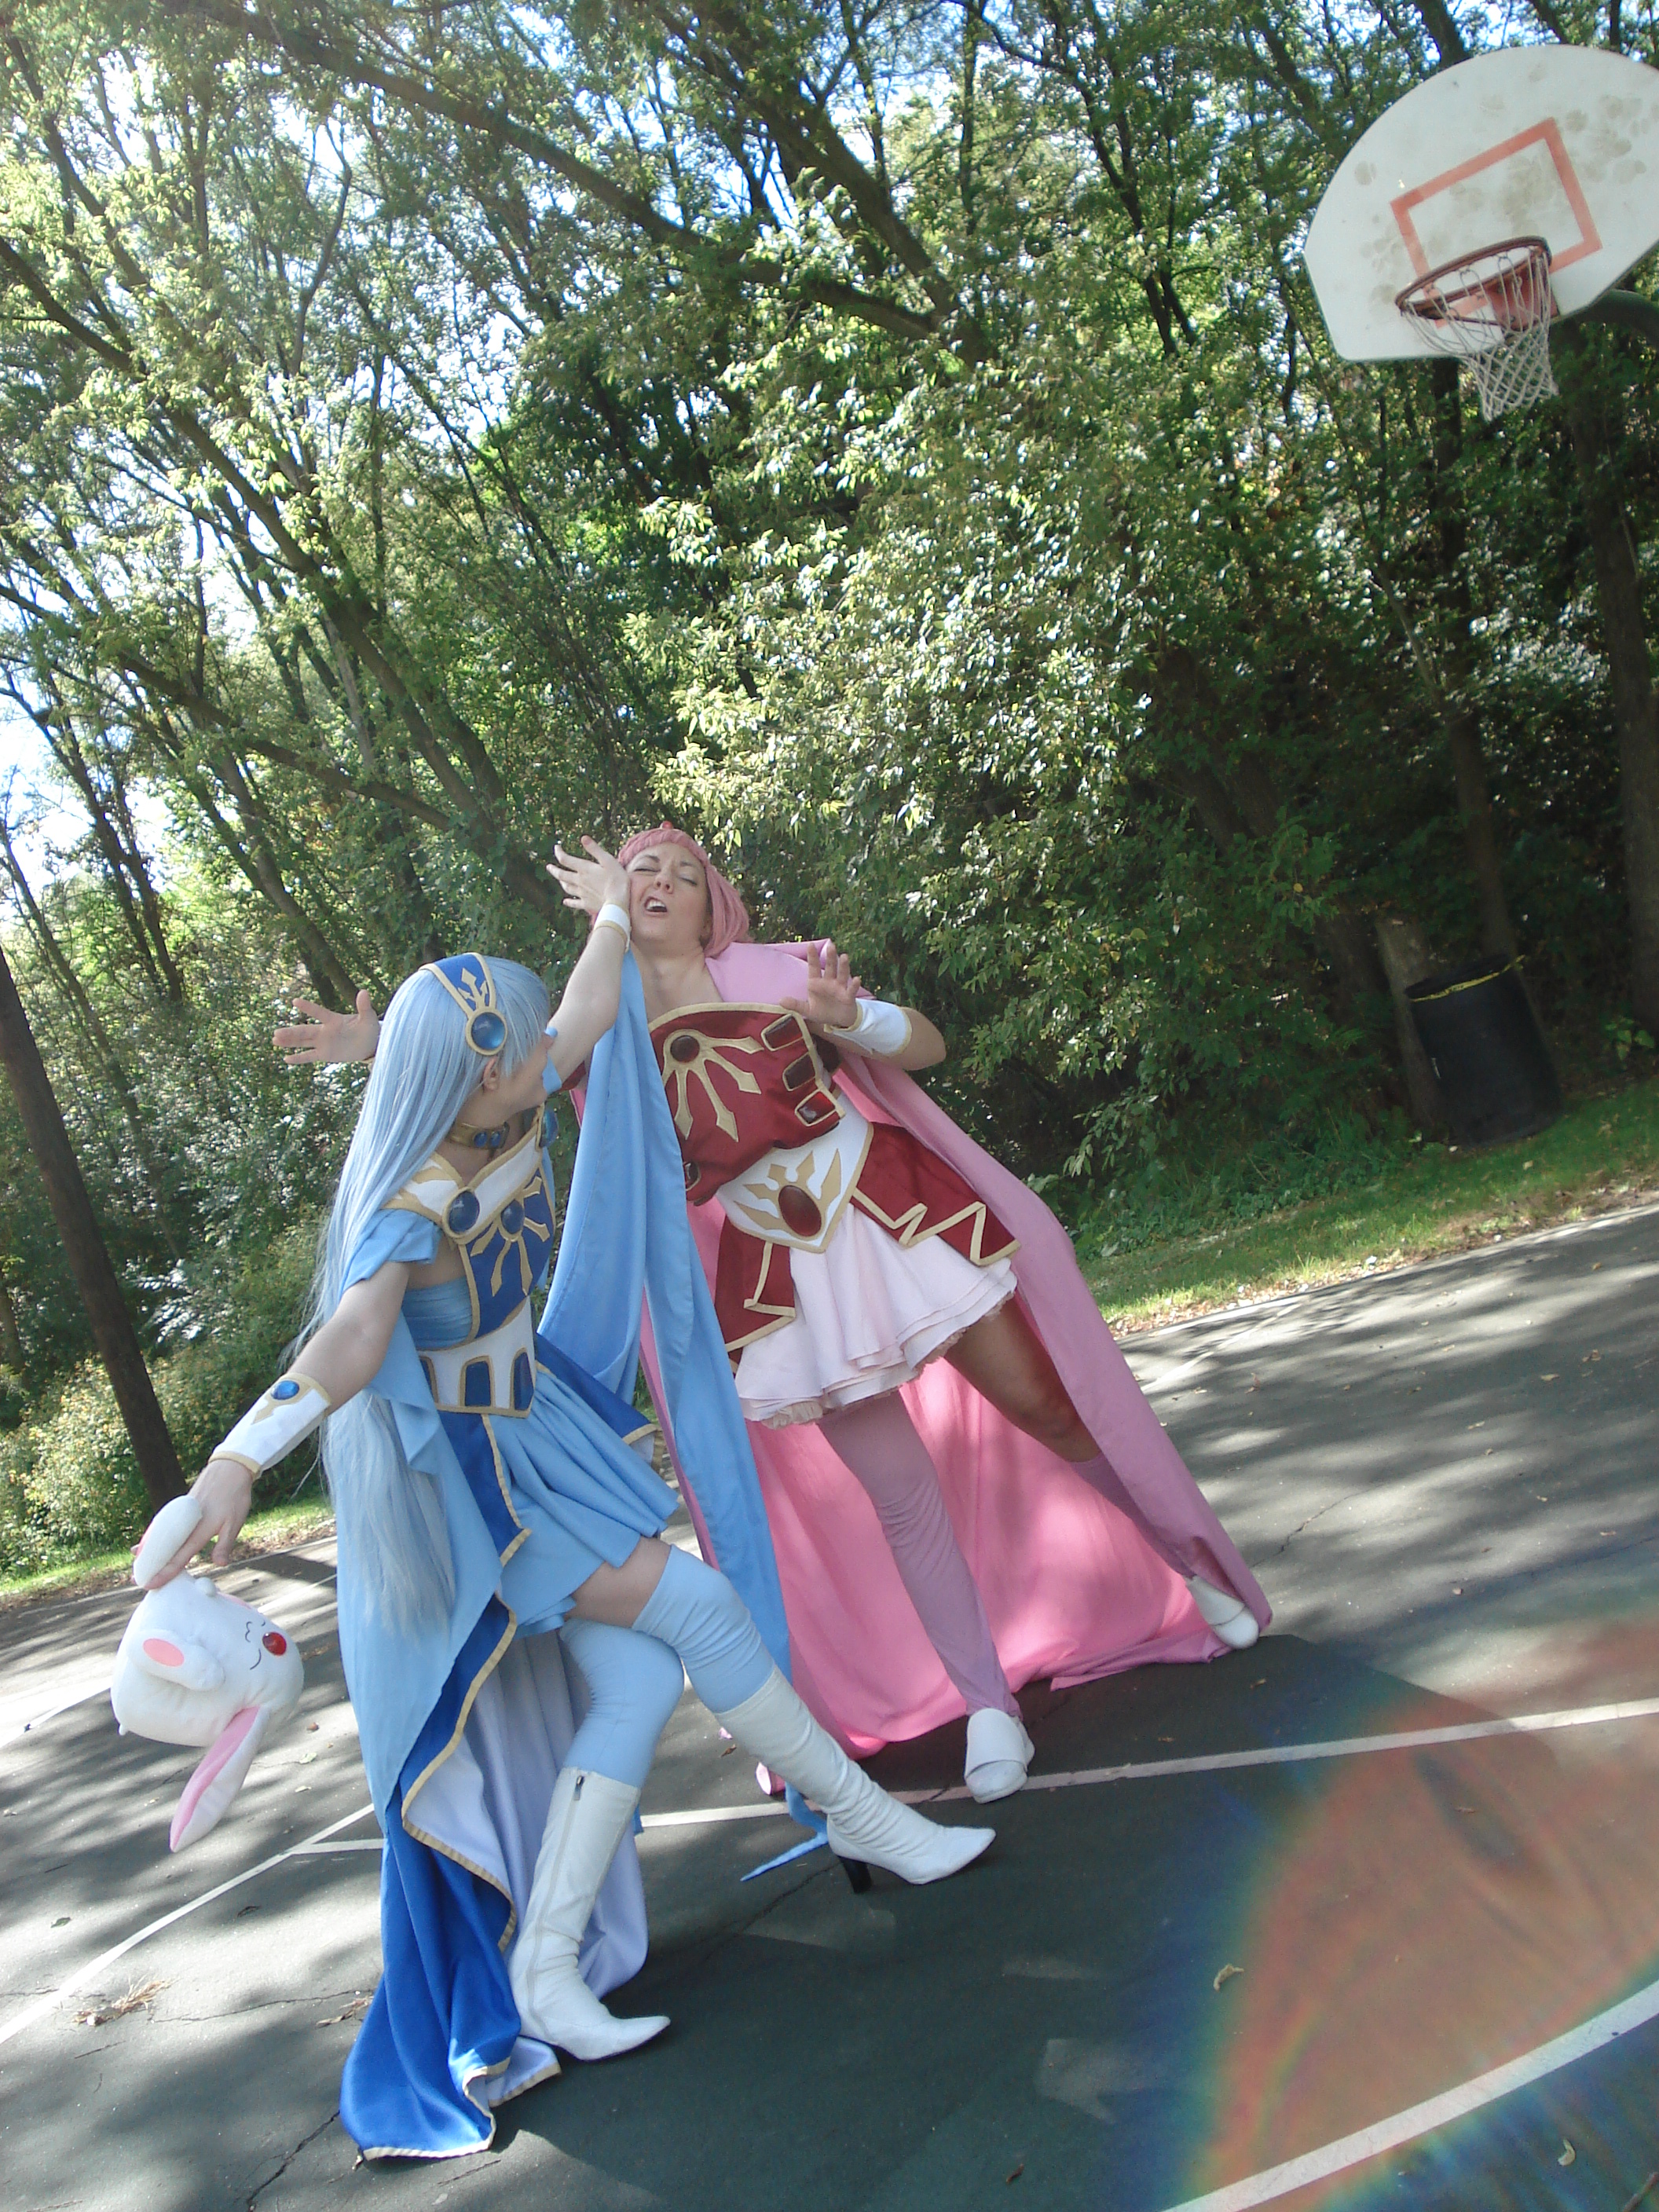
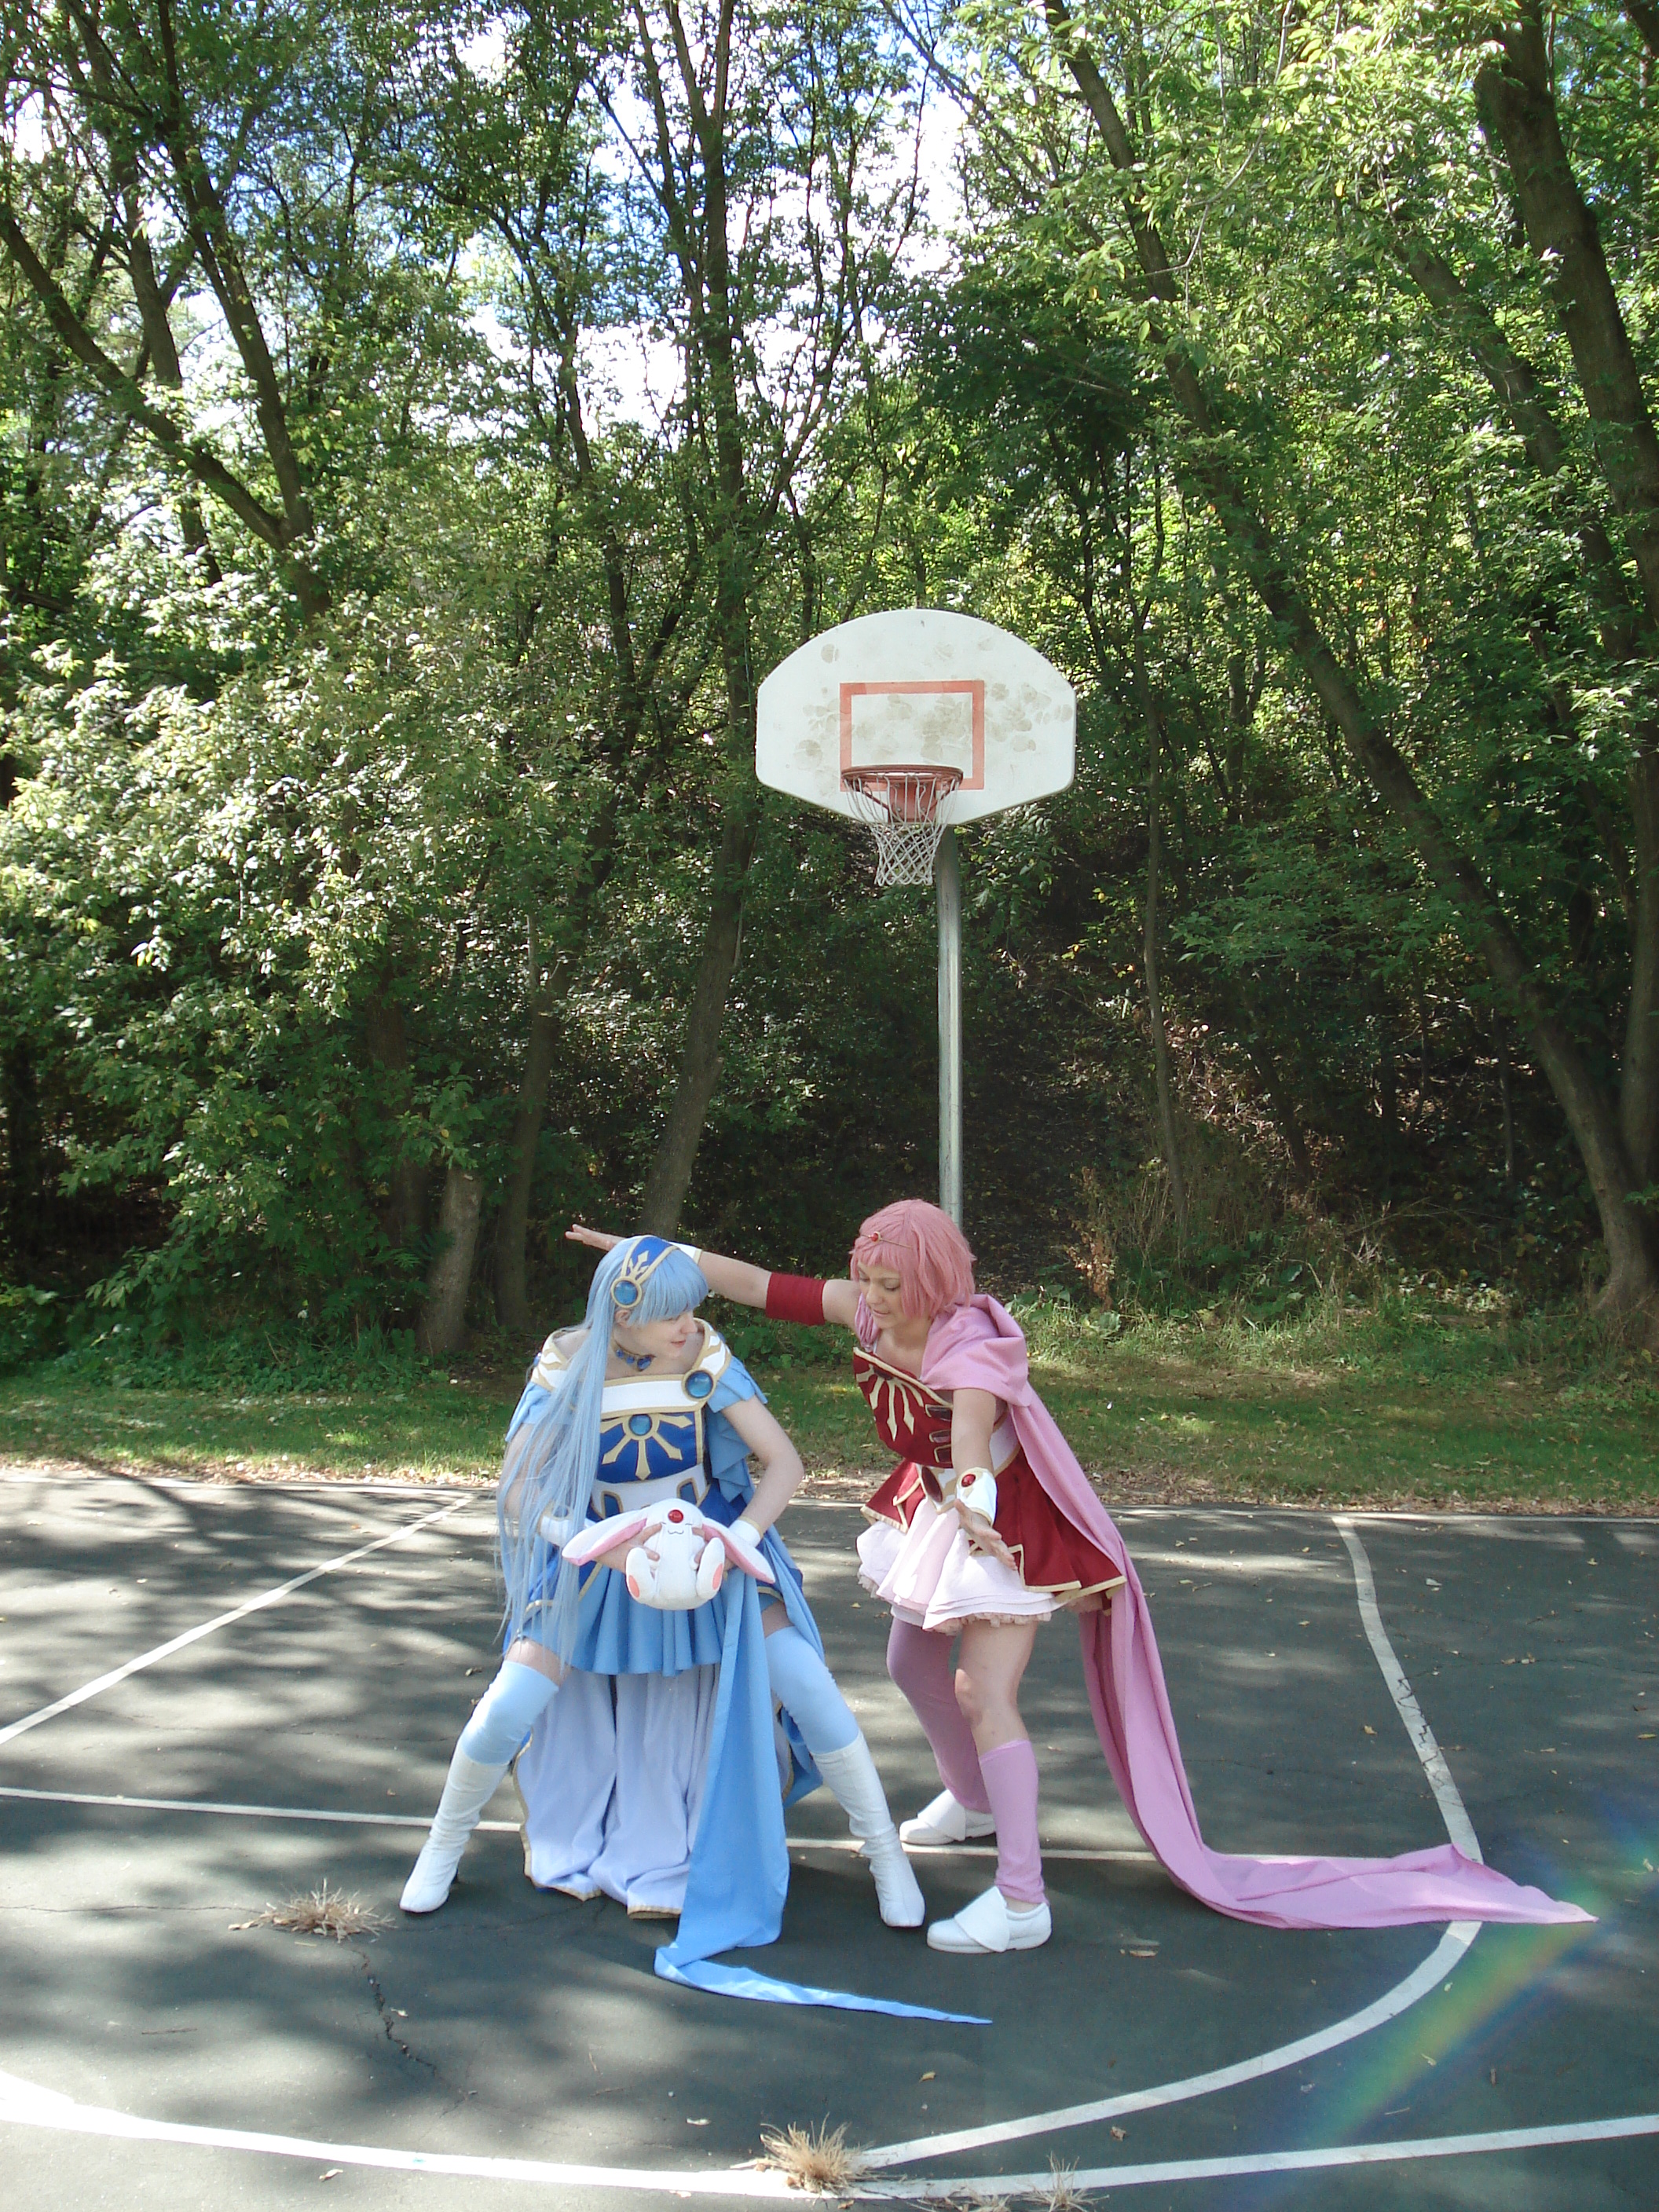
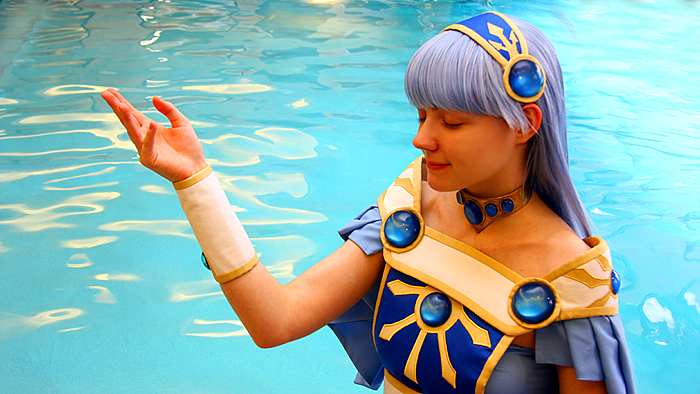
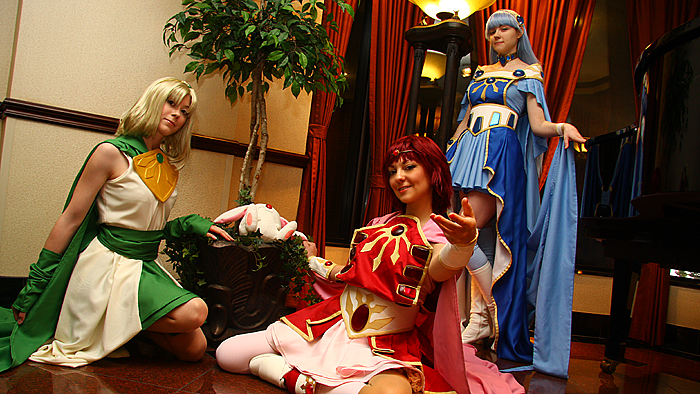
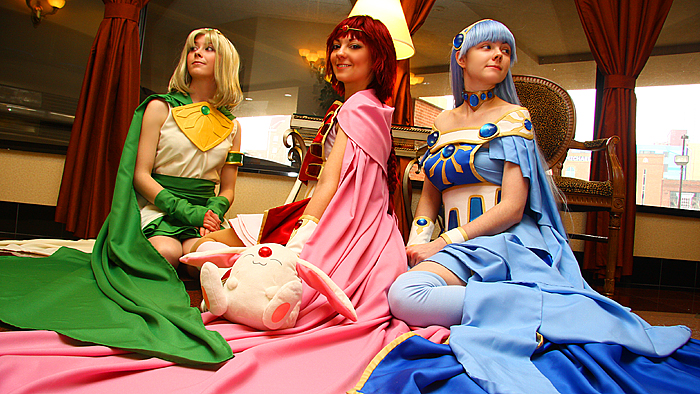
Umi Ryuuzaki (Magic Knight Rayearth)
The Source
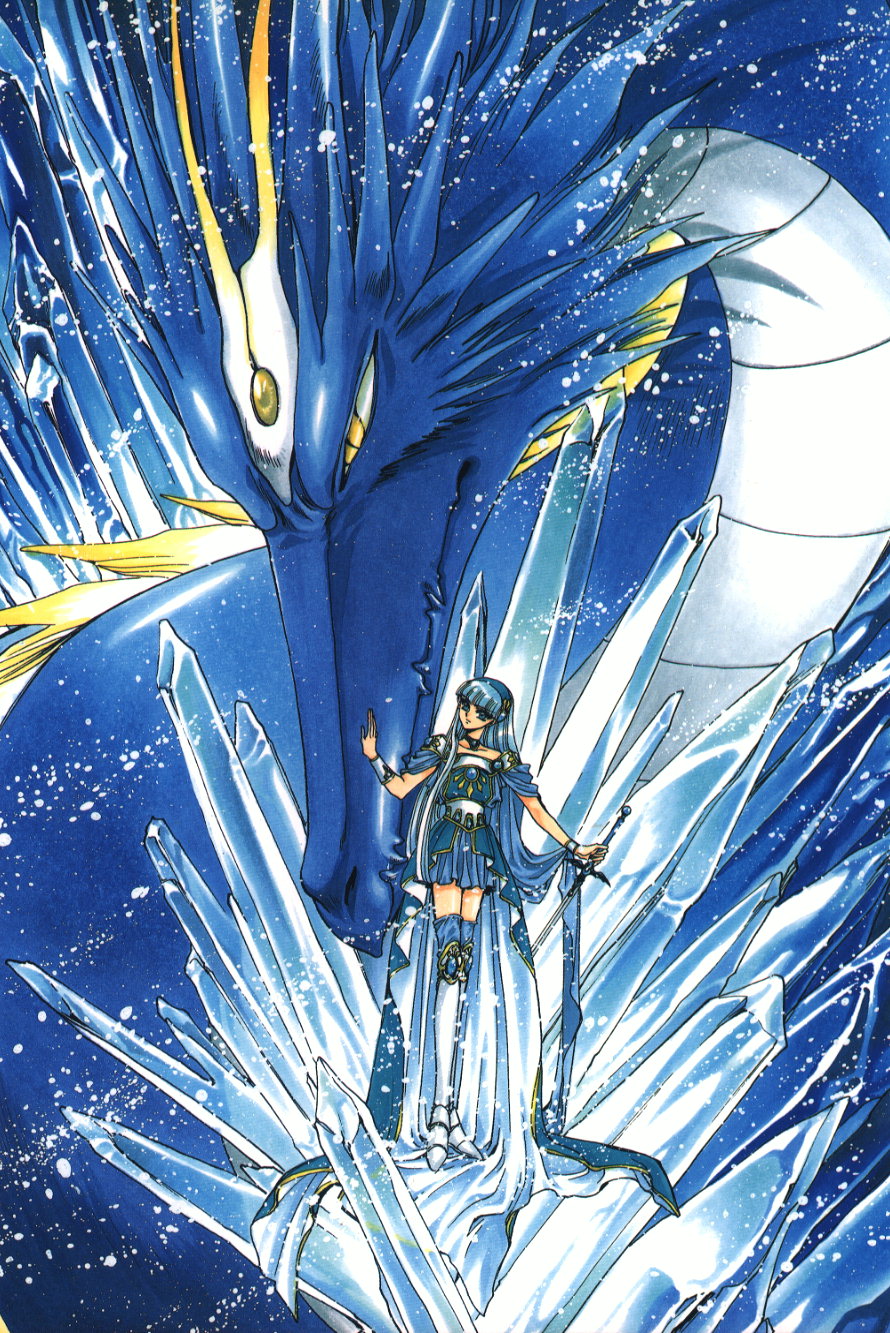
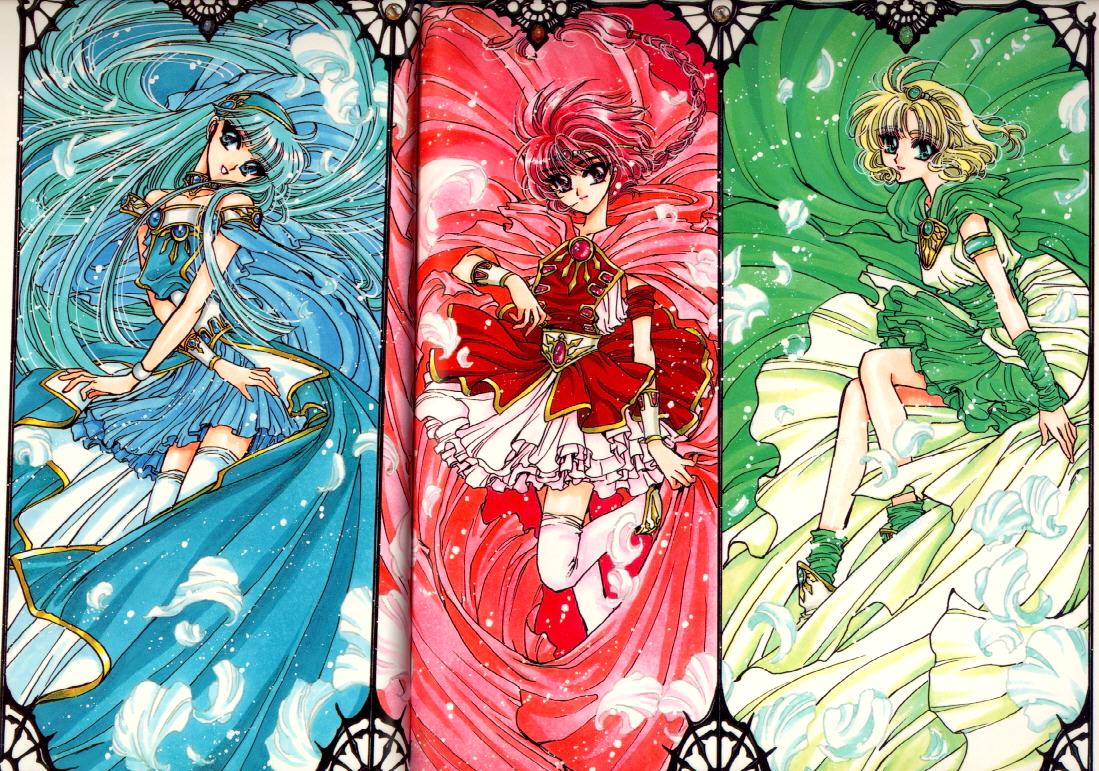
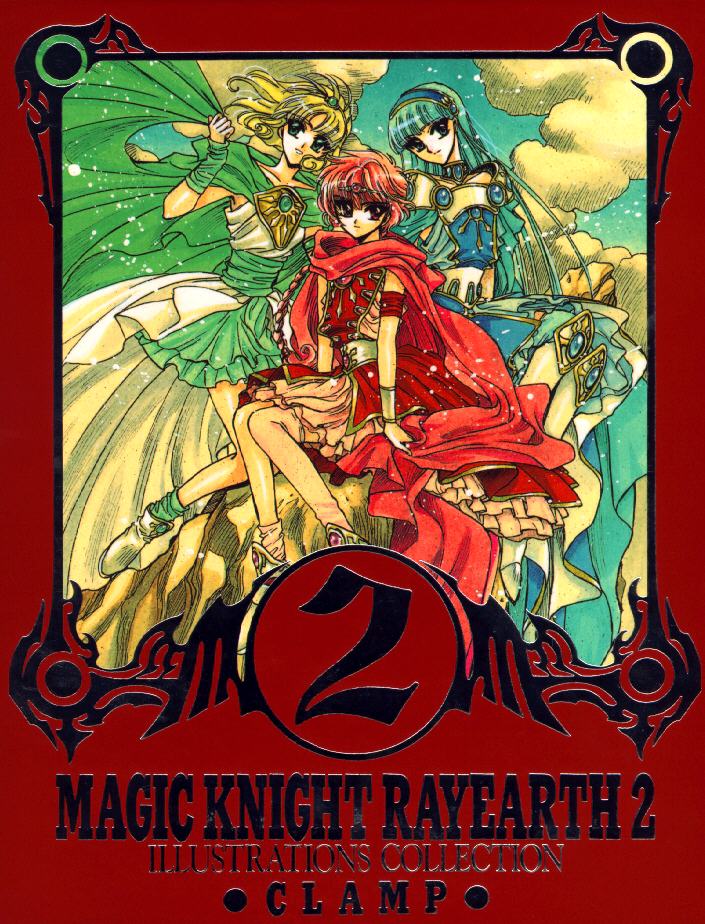
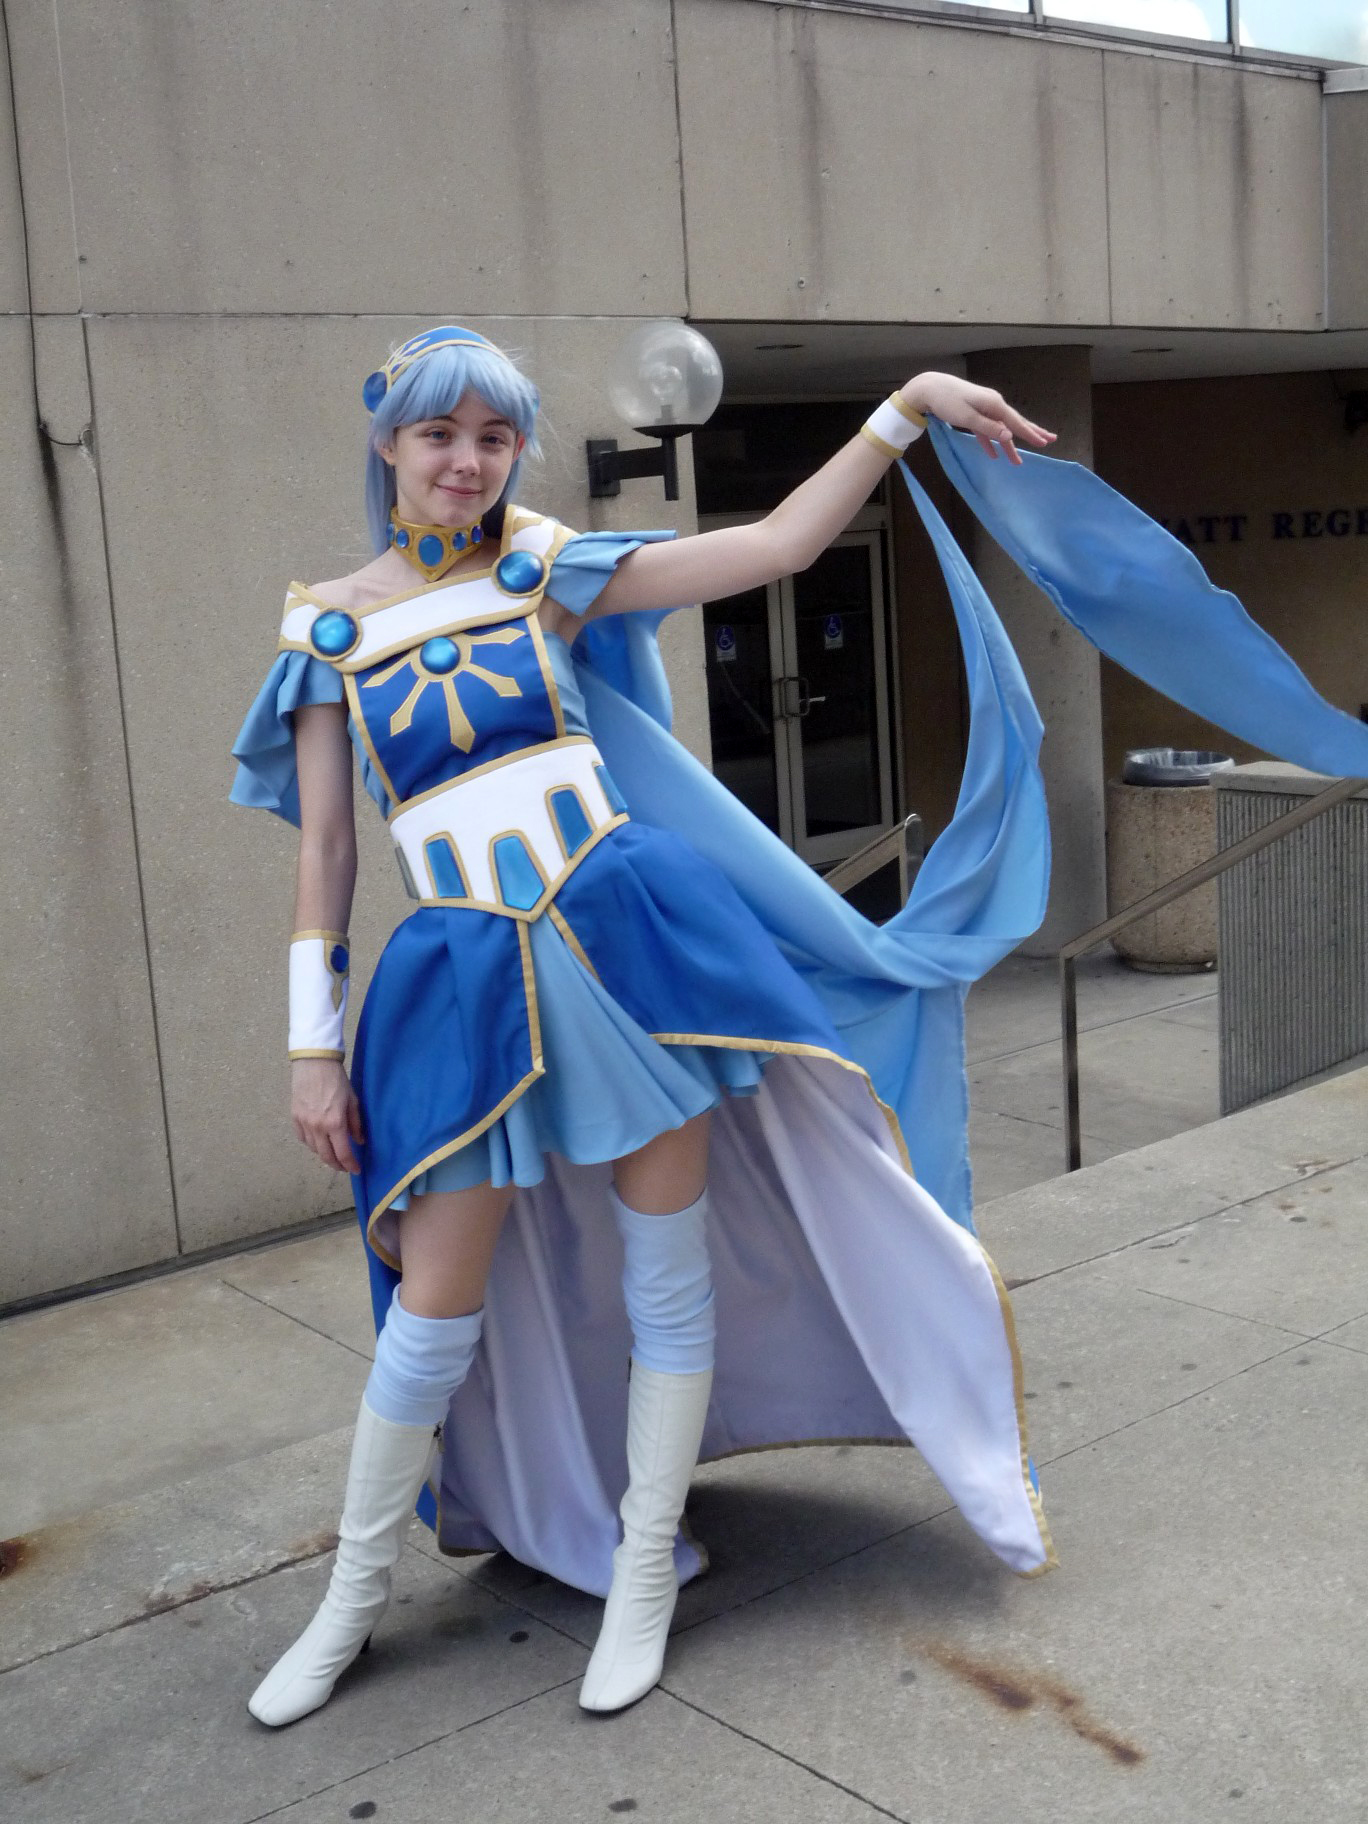
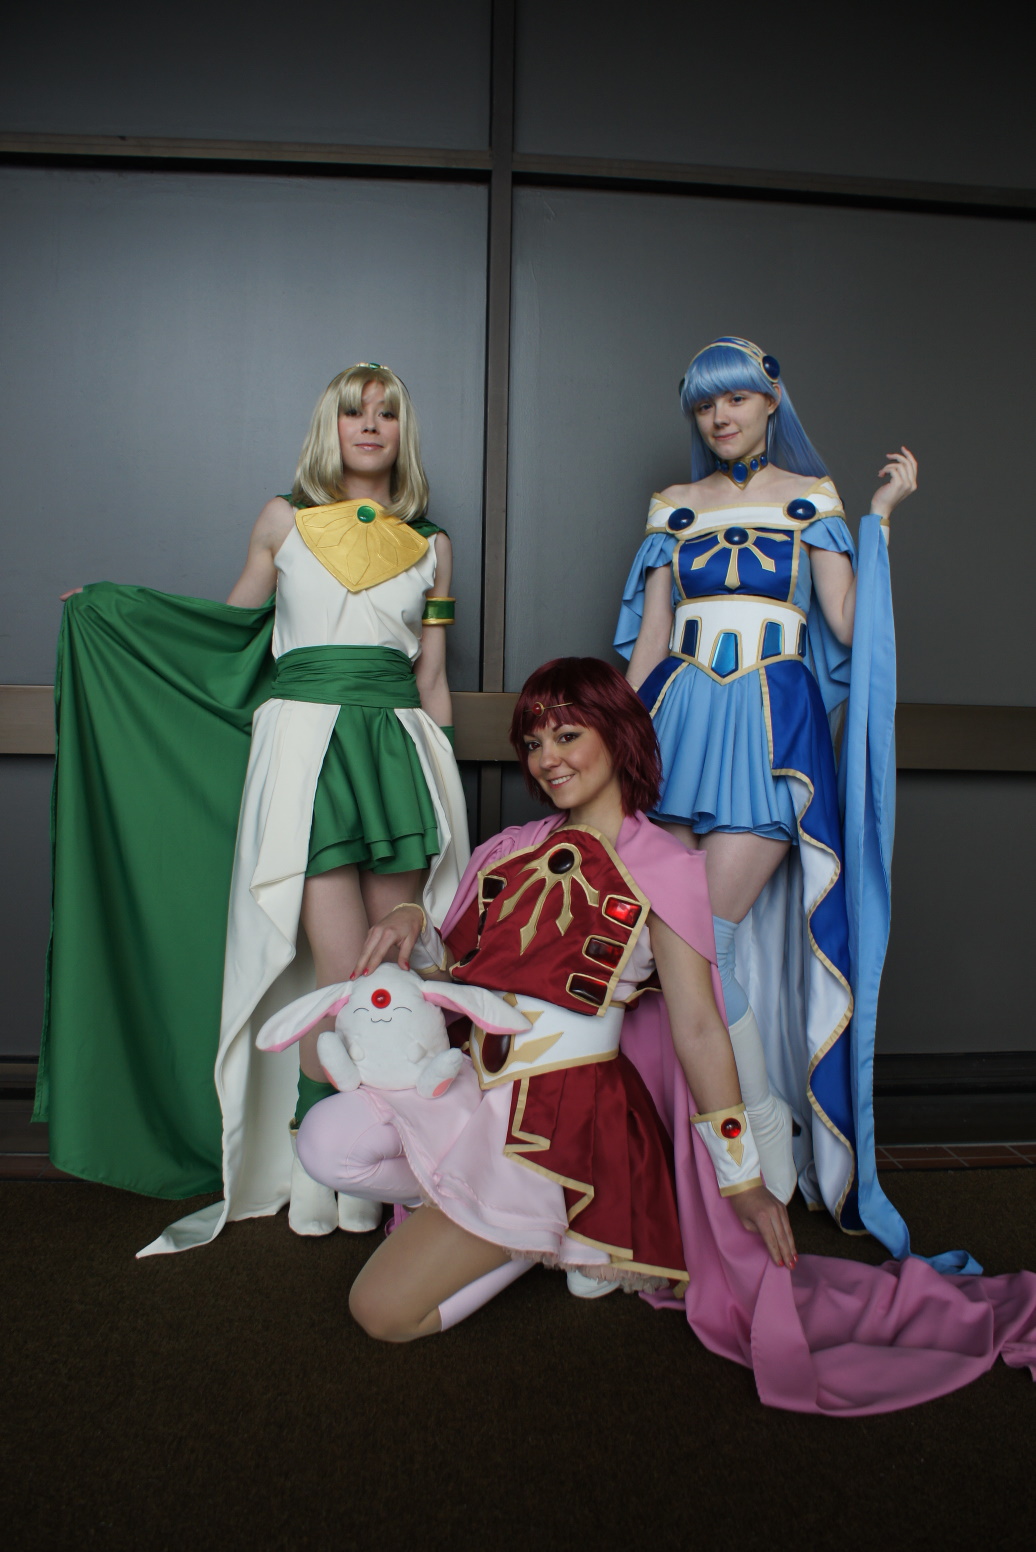
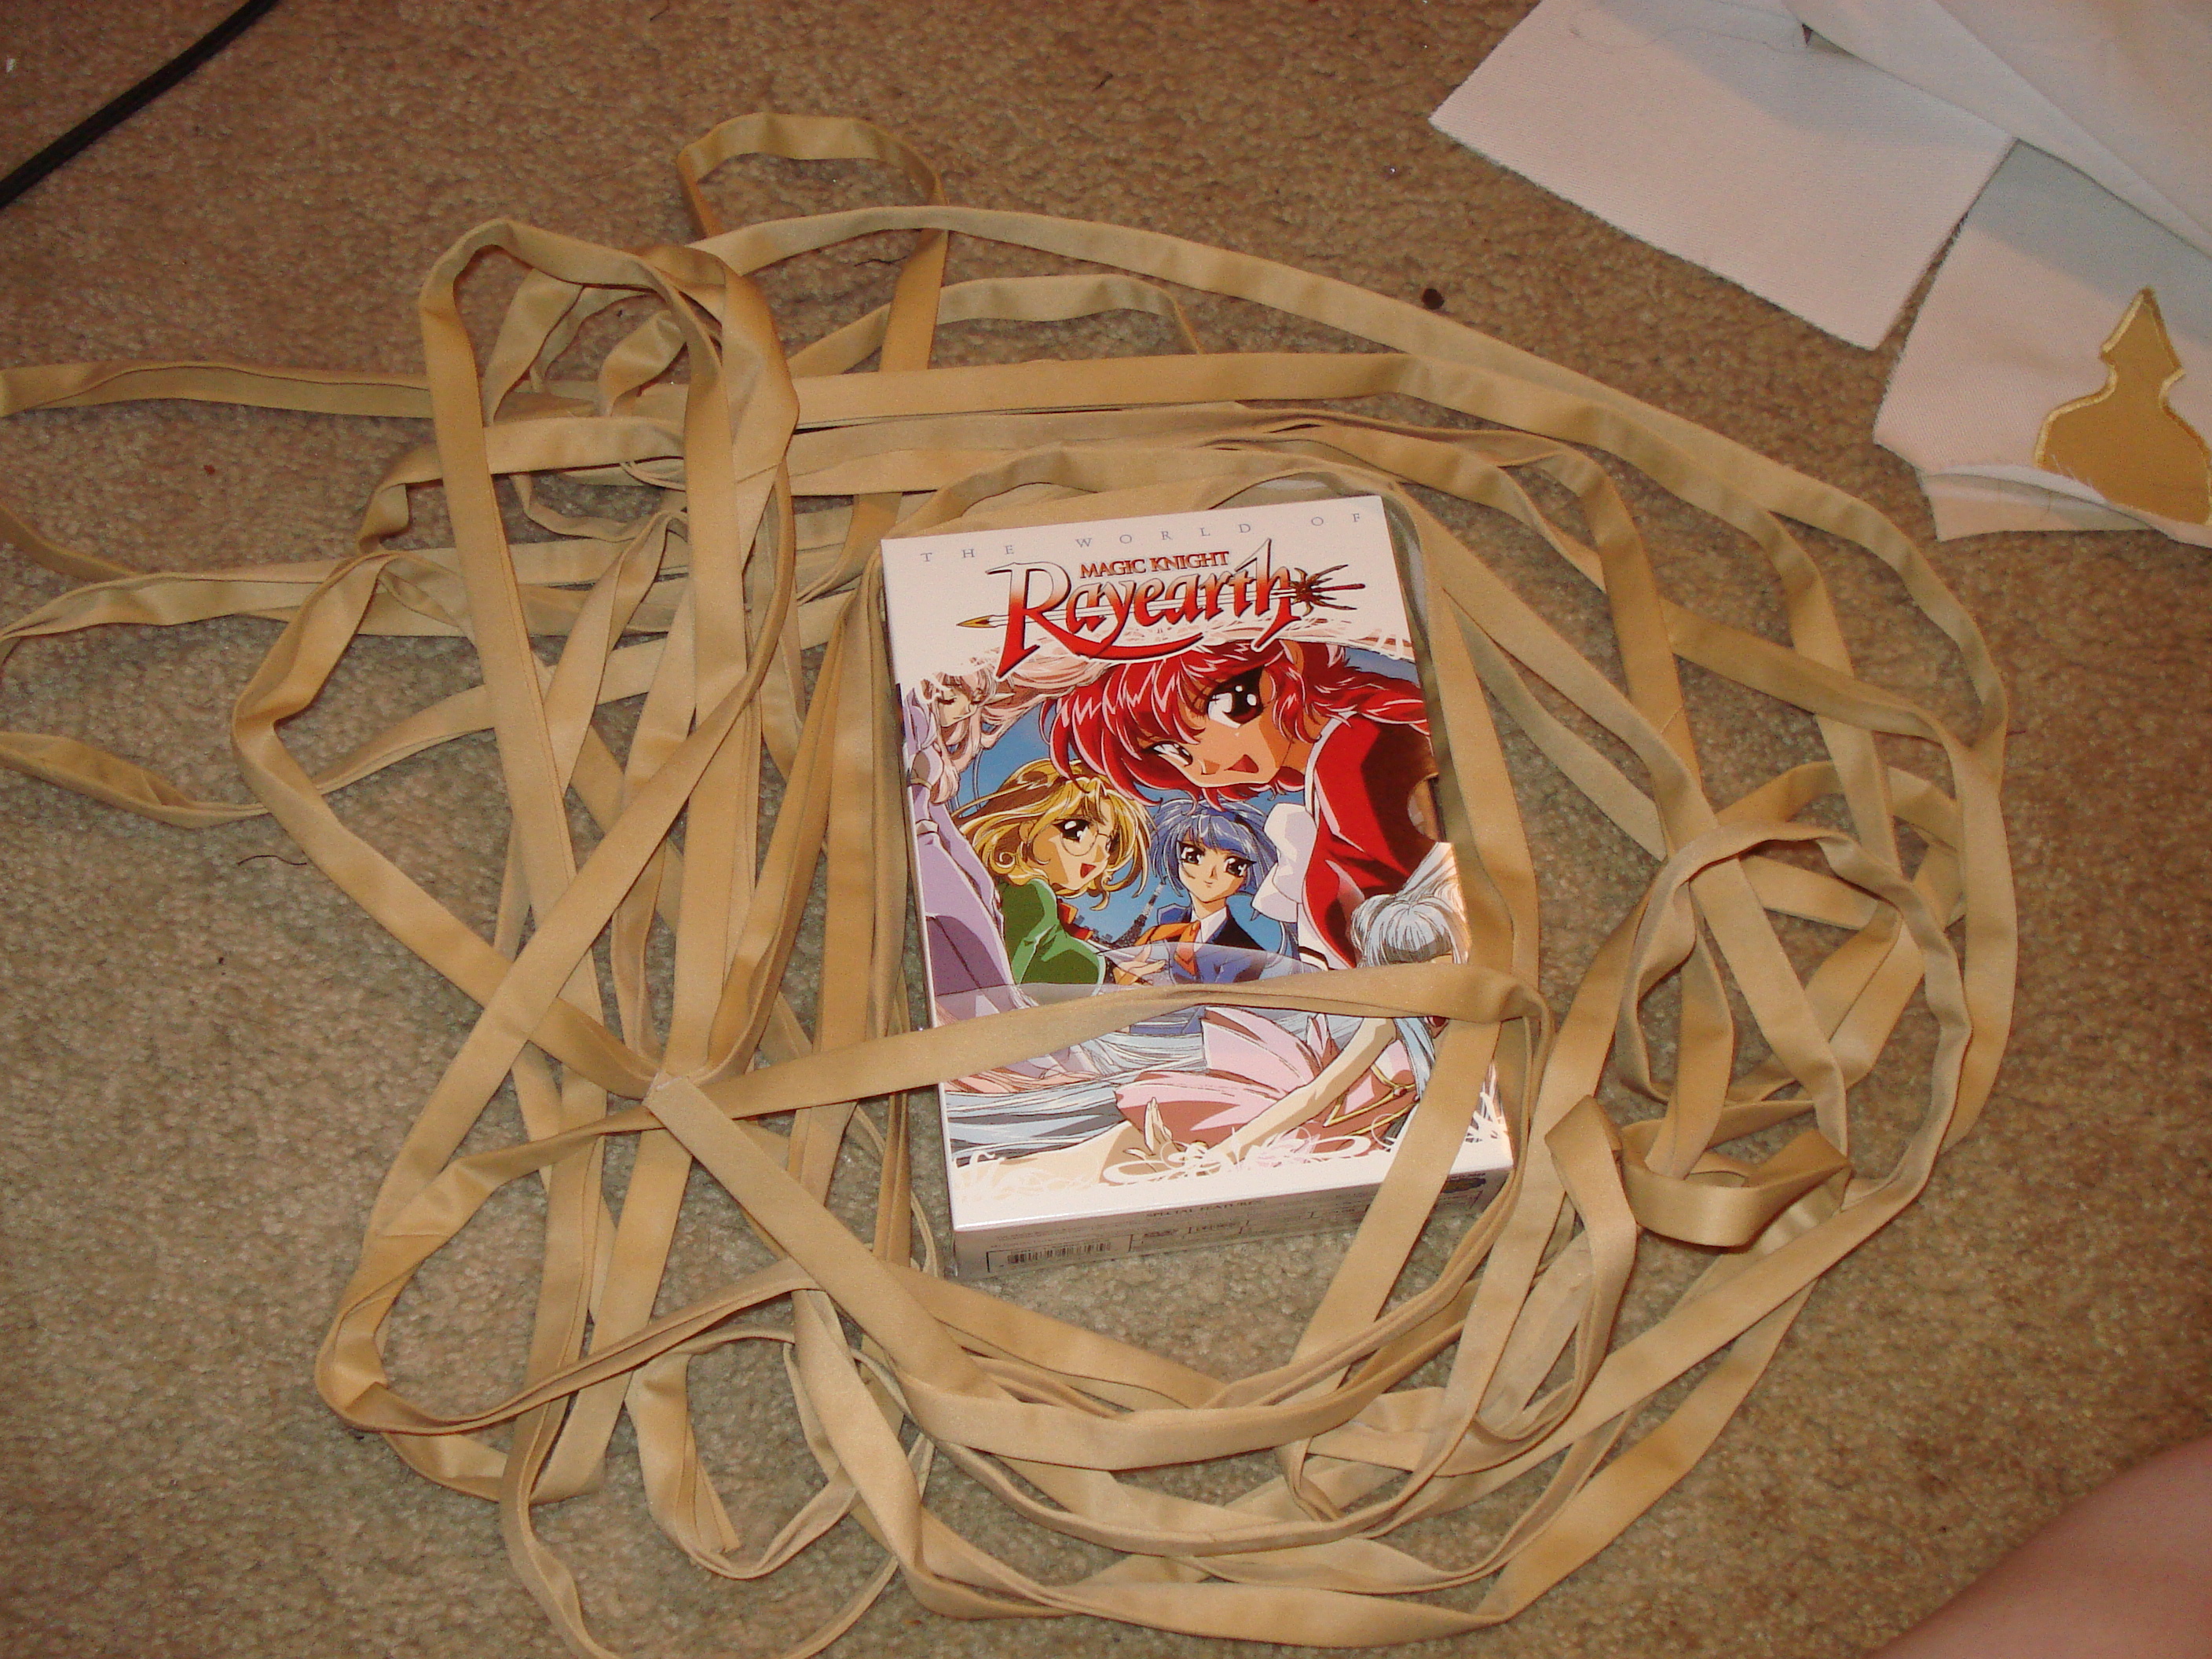
Magic Knight Rayearth was literally the very first manga I ever read. It’s a very unique cross-genre mashup of RPG, isekai, mecha, and magical girl elements. (I mean, mecha AND magical girls. What.) Umi is one of my dearest, not to mention earliest, favorites. The fencing rapier, the blue/white/gold color scheme, the dragon theming…
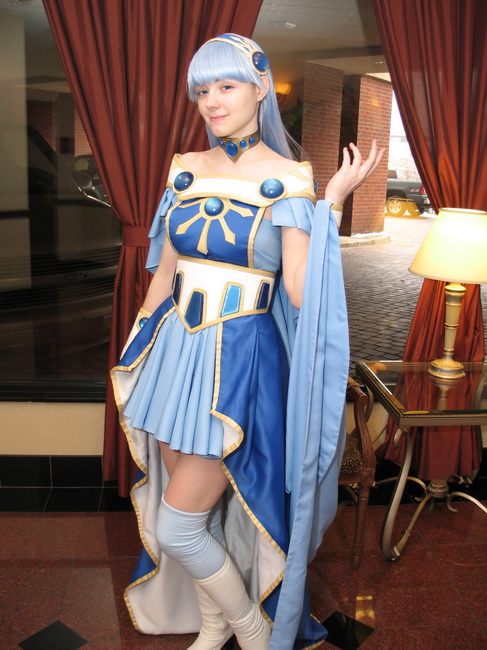
The Costume (2009-2010)
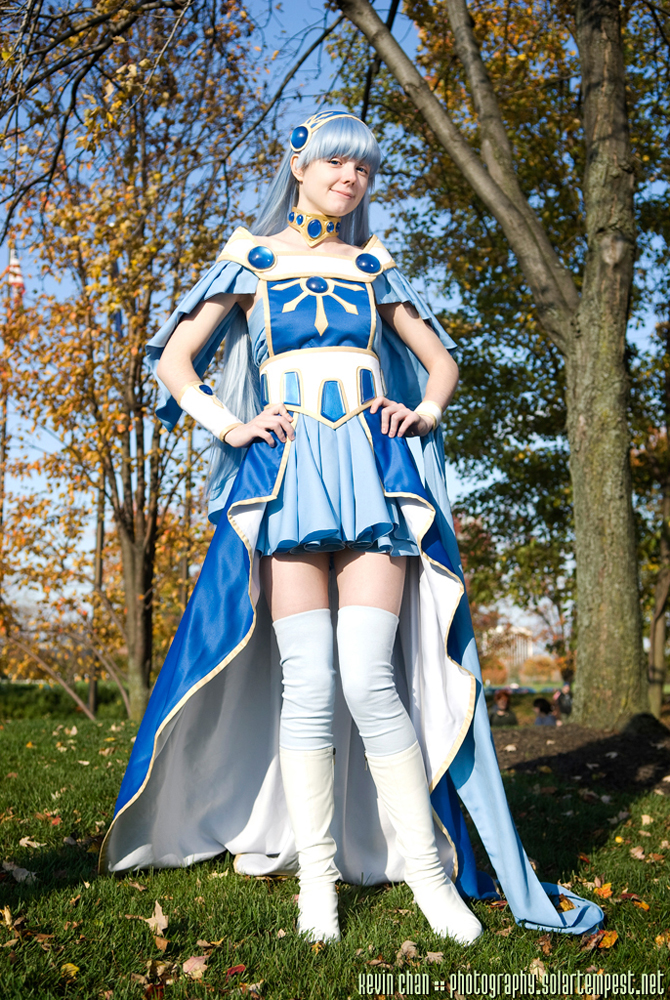
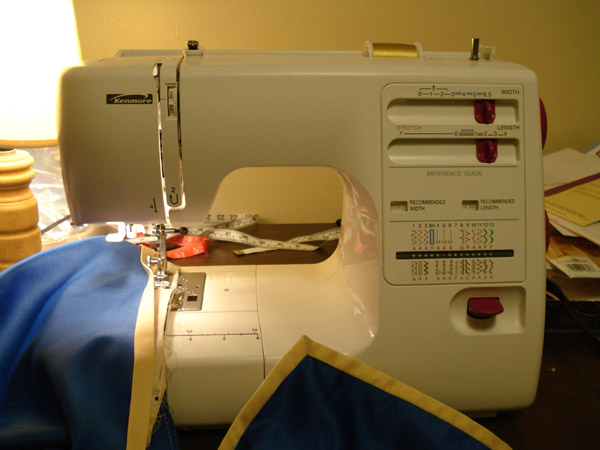
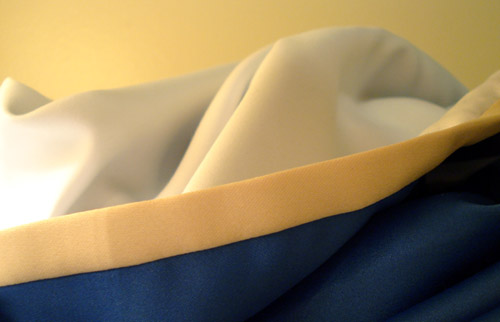
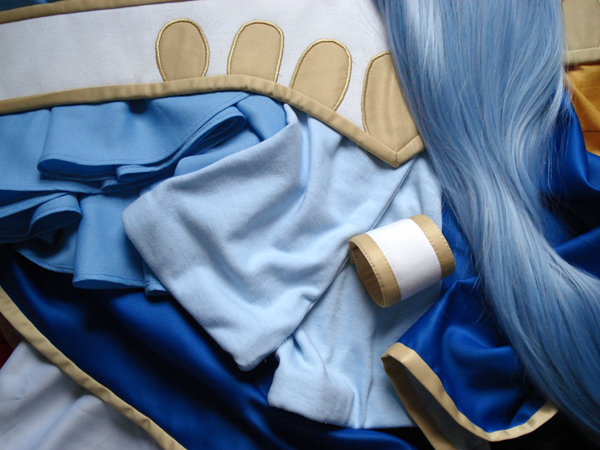
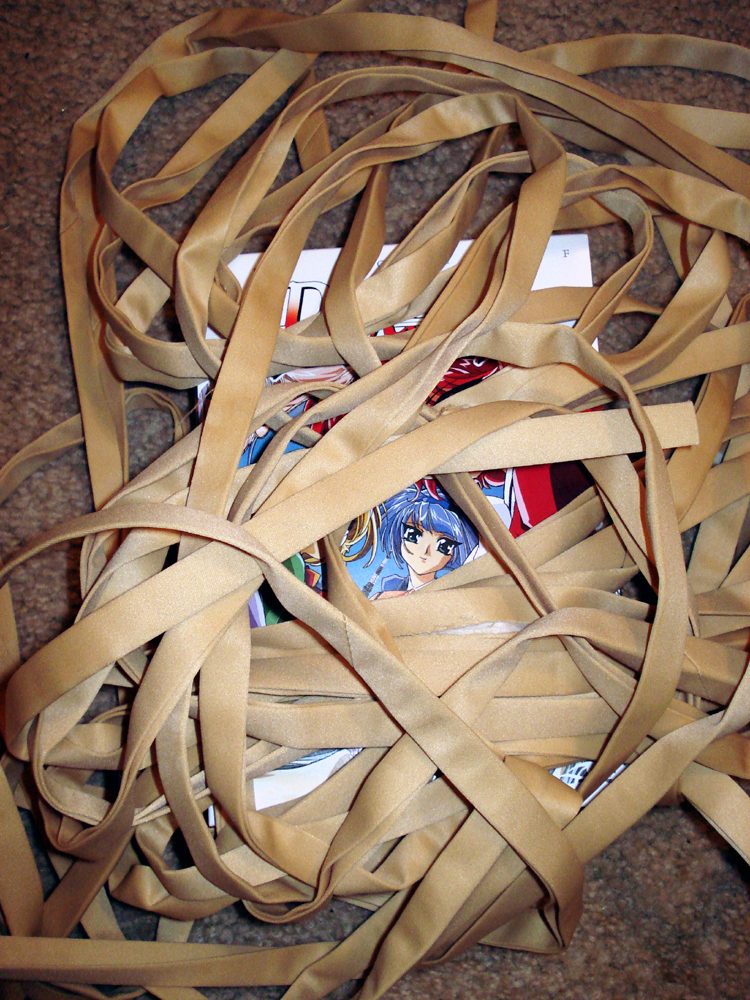
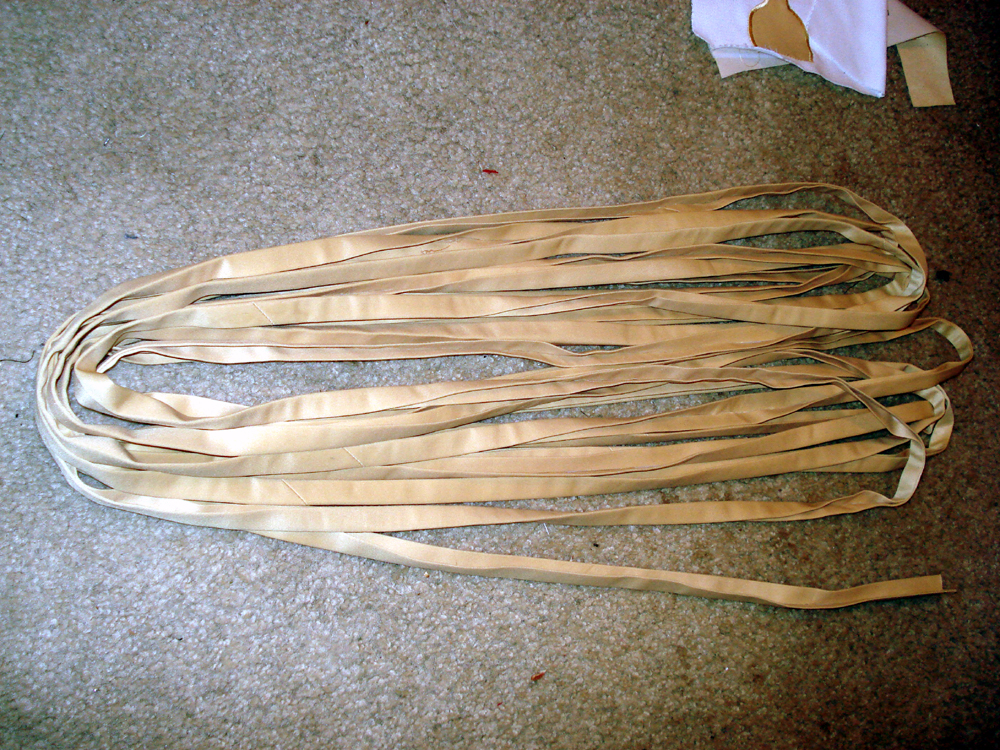
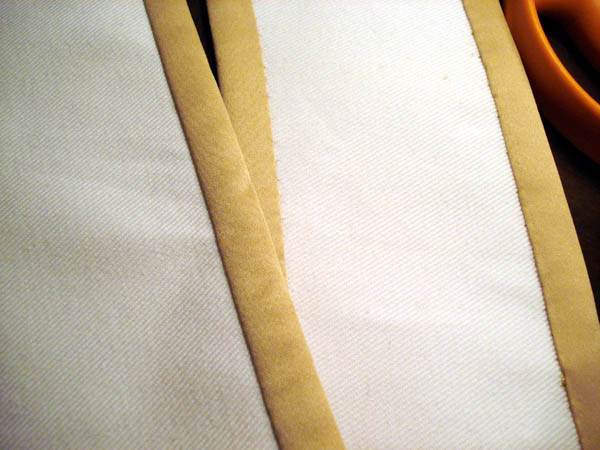
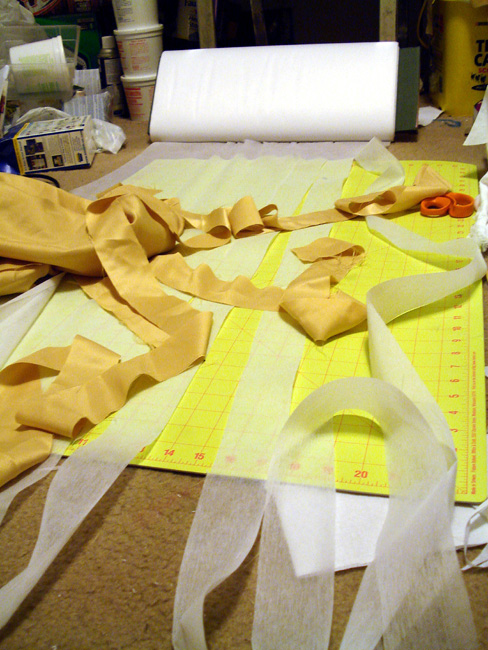
This was by far the the most intricate costume I’d attempted at the time. I spent about ~100 hours making it. The dark blue is casa satin I got on clearance for $1.70/yard. All the light blue is casa crepe. The gold trim is casa satin that was rotary cut and very lightly interfaced (for stability, and to hold a press) before being ironed into bias tape. Technically it’s just tape since it’s not actually on the bias.
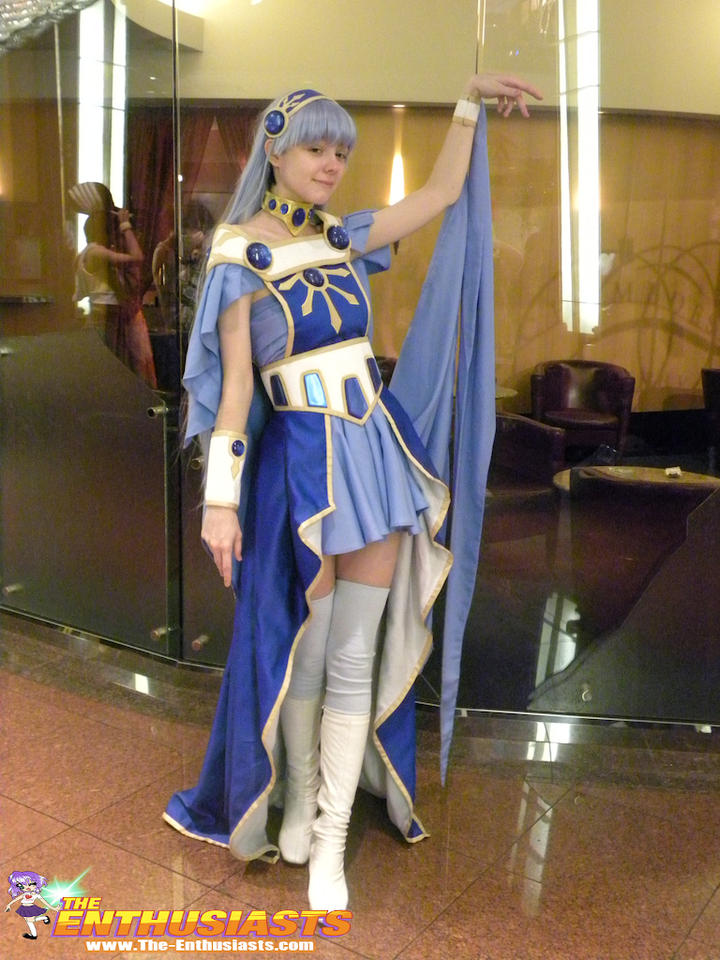
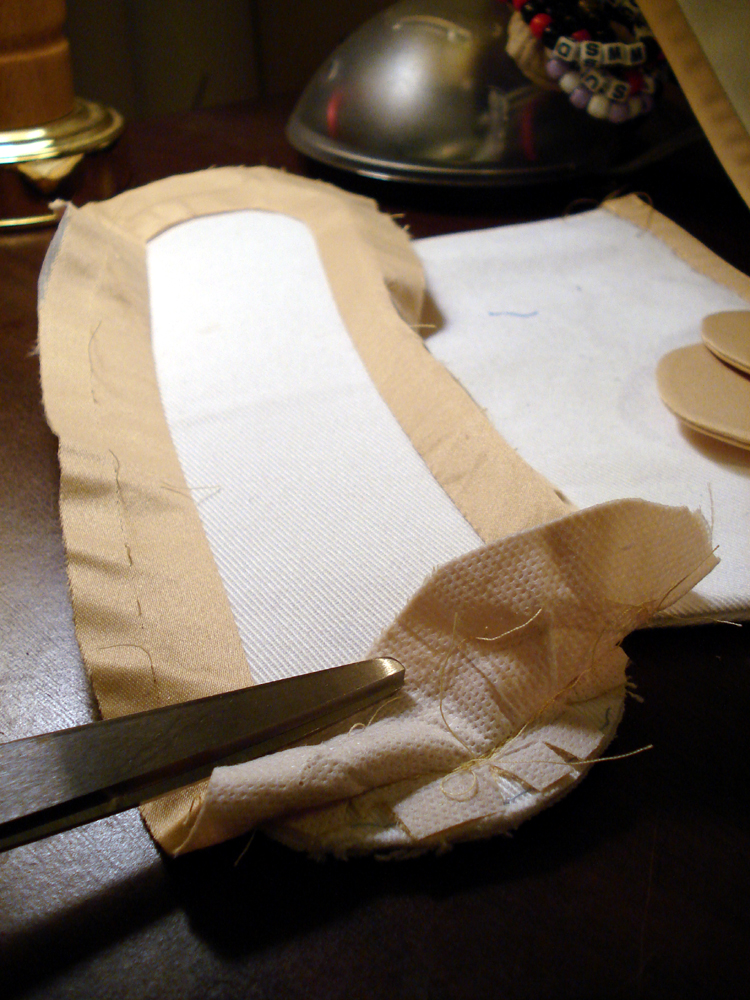
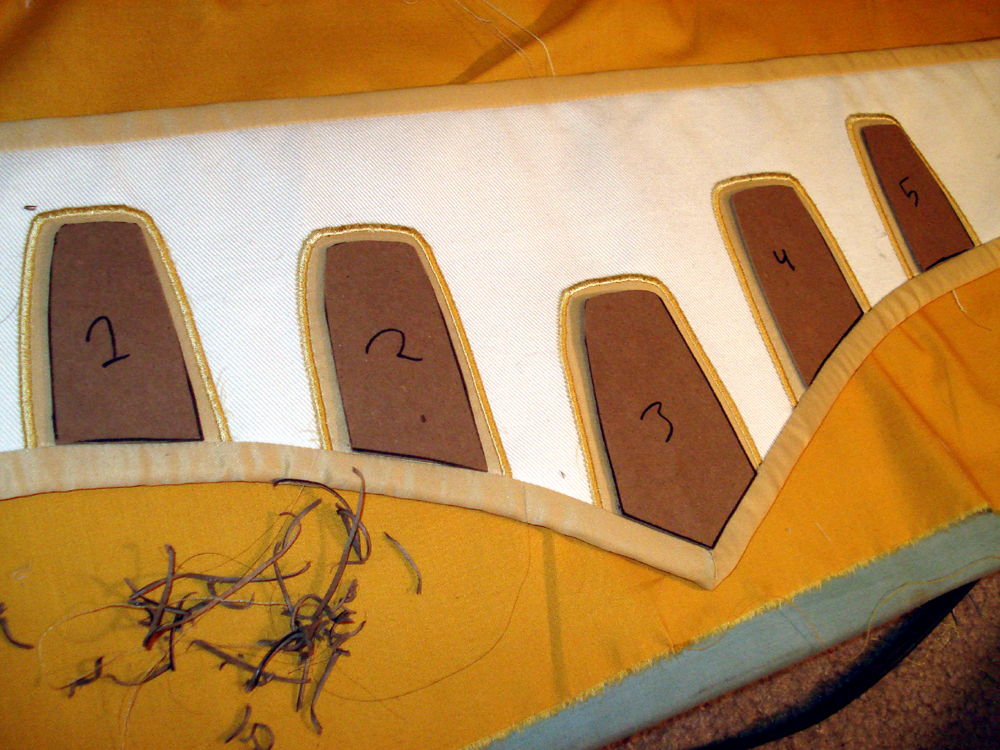
All of the white fabric is layers of white denim. In all cases, I began by interfacing the top layer of denim and, where required by the design (tabard, corset, shoulder pieces, and right cuff), I interfaced gold satin decals and staystitched them to the denim before satin stitching. After the top layer was prepared, parts that required additional stability (corset, shoulders) were paired with a middle layer of denim (interfaced on both sides), and then another layer of singly interfaced denim was placed on the bottom. These denim sandwiches were staystitched together before having the gold satin tape applied. (In retrospect, coutil might have worked better had I known of it instead of adding extra denim layers.)
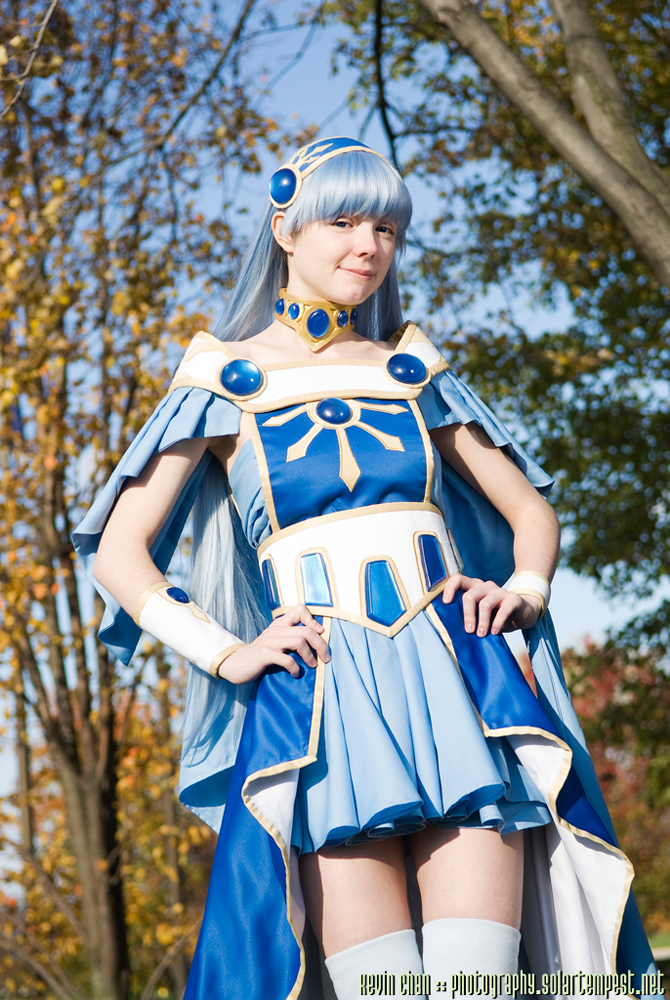
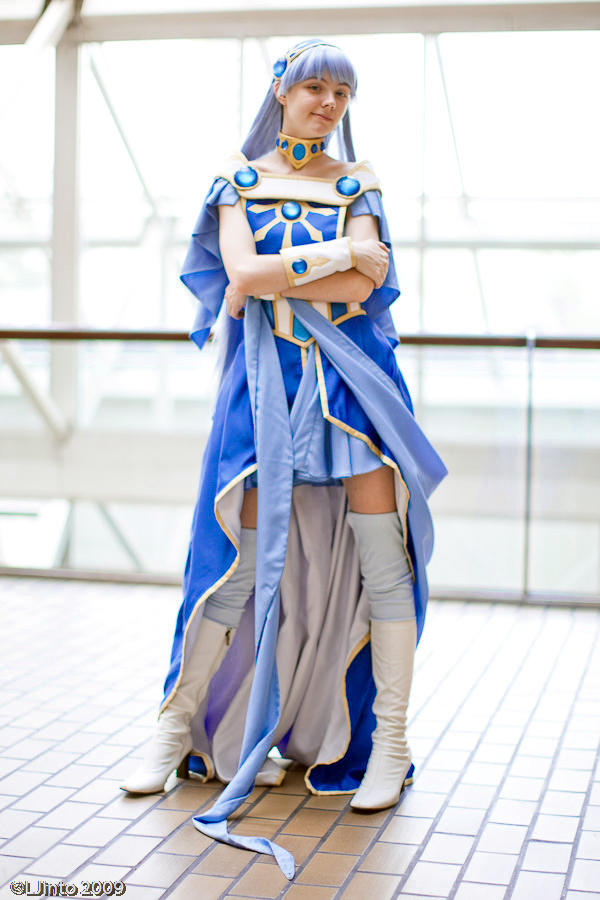
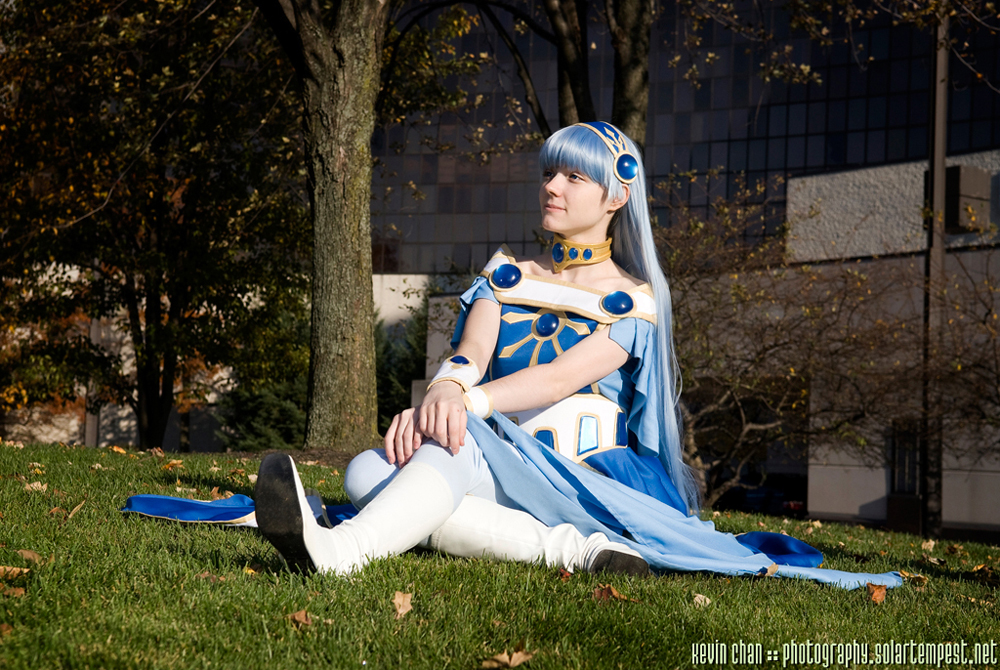
For the shoulder pieces connecting the front tabard to the back, I took an extra step of pinning the multiple denim layers together and shaping it into a curve by adjusting the inner layers to be of a shorter length than the outer layers. It’s a technique more commonly found in shirt and suit collars (which face similar challenges). Due to the bulk of the denim this was necessary to produce a smooth curve. The built up shoulder area is so stiff that it supports itself and I don’t need any straps to hold it up. I used woven interfacing for the blue tabard which helped it lay a little more nicely. This was my first time trying woven interacing and I liked it a lot!
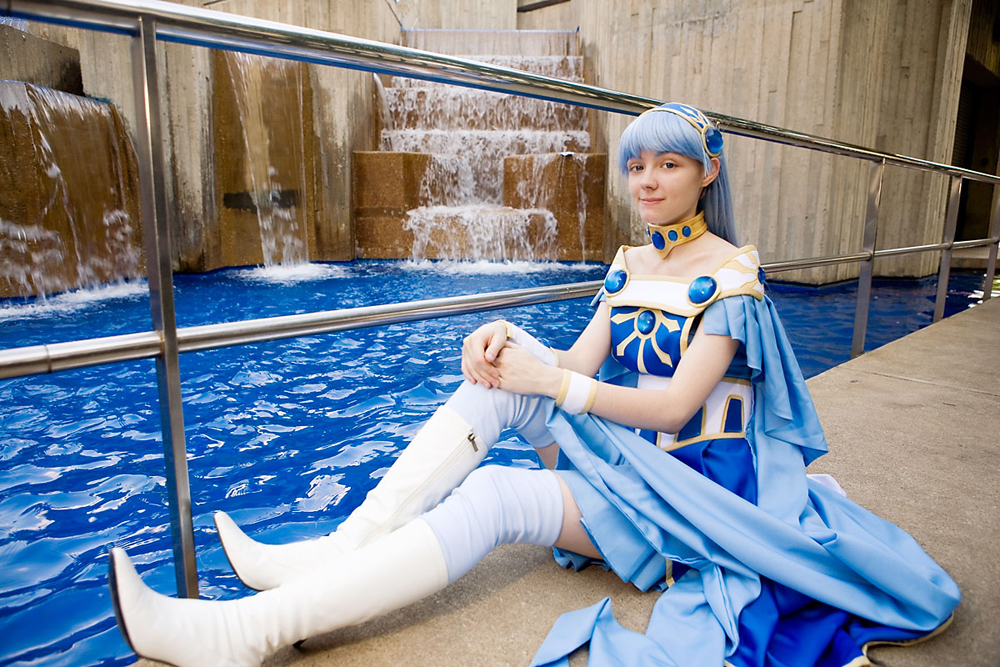
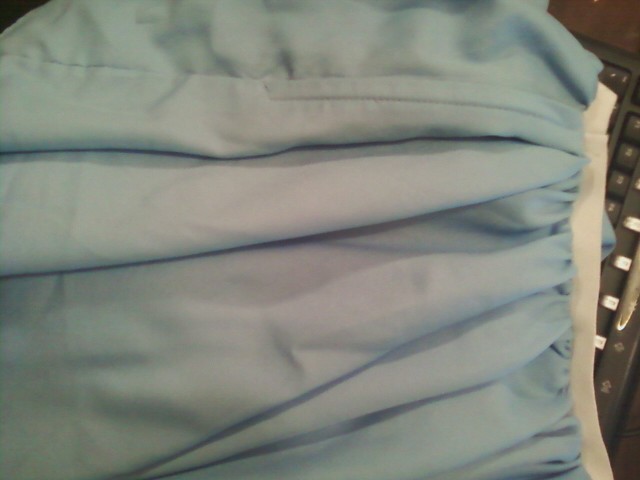
For the corset, I should have had added some side seams or made it a curved shape to help it better fit the waist since it turned out a bit blocky. After getting photos back from my first time wearing it at Otakon, I reduced the height of the waist cincher by ~1” and adjusted the overskirt’s pleating so that the underskirt would be more visible in photos, which looked 100x better (IMO).
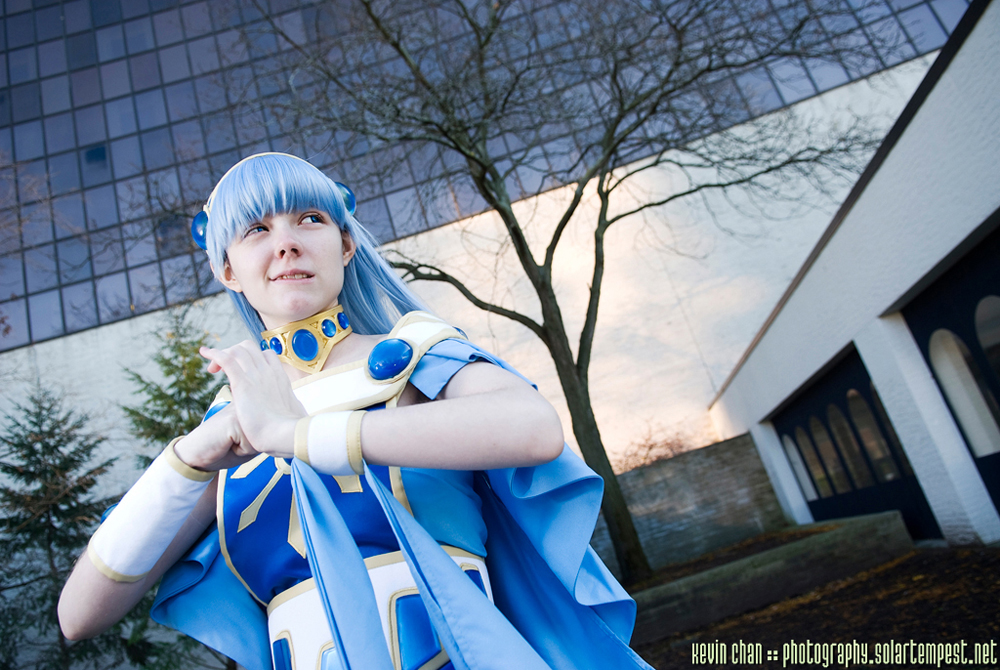
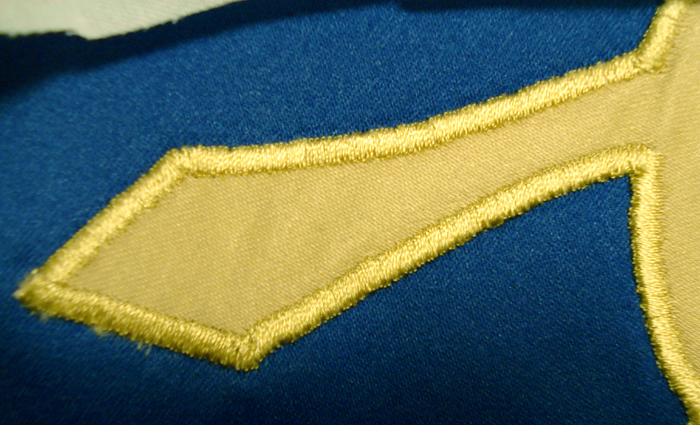
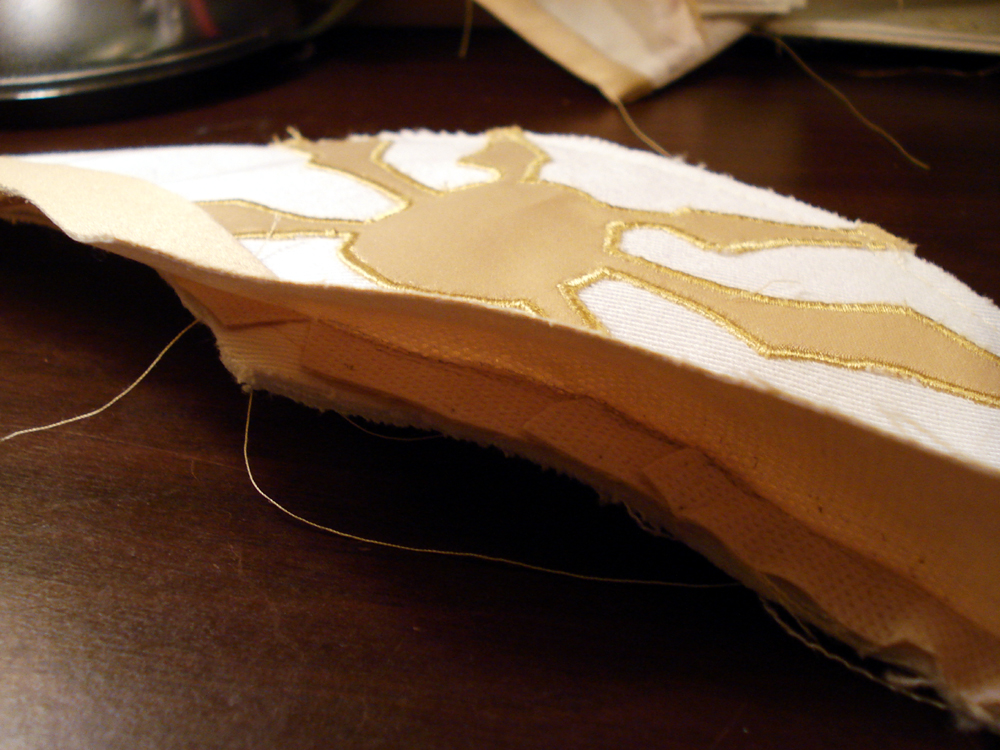
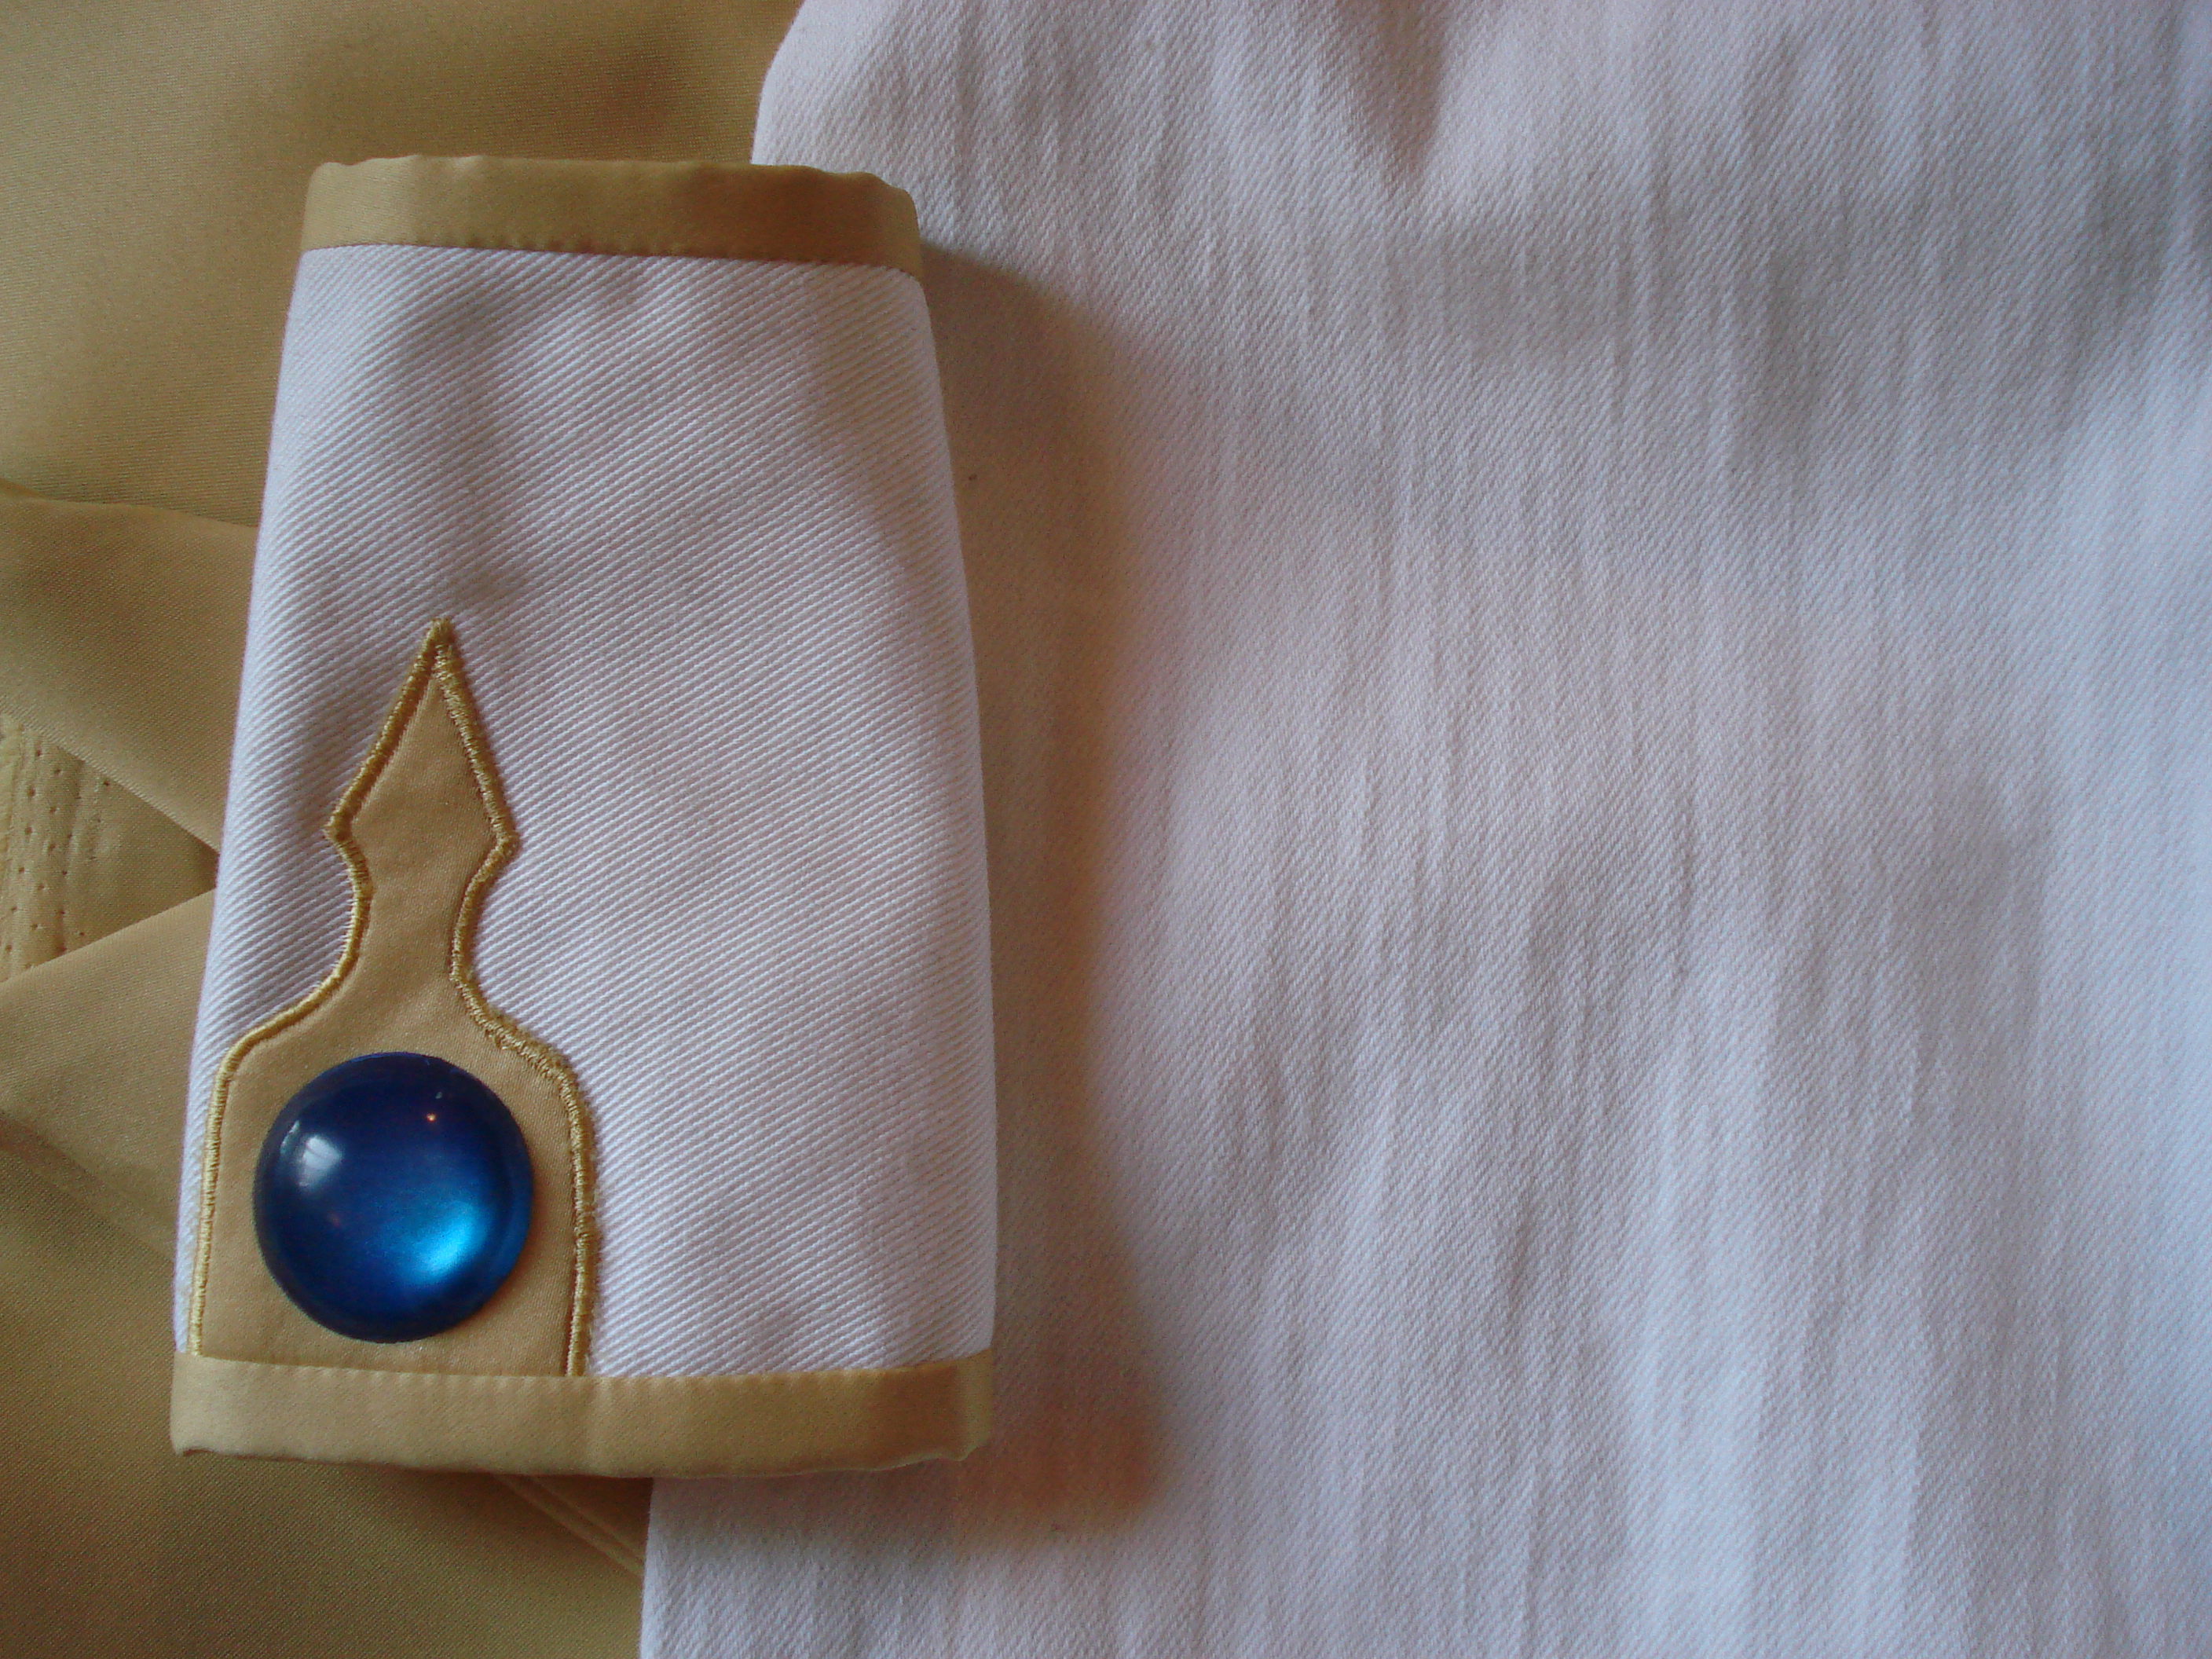
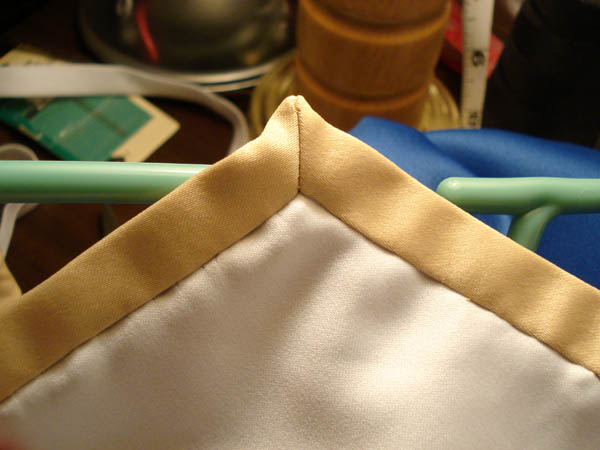
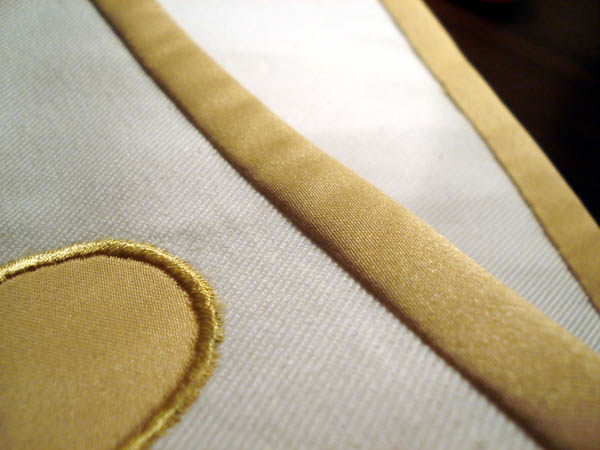
The hardest part was probably the front maxi pad. This sort of sharply curving design element is typically a great place to use woven cotton bias tape, but everything that looks like “bias tape” on this outfit is actually interfaced satin. What I ended up doing was patterning out a hollow satin oval which I carefully stitched down such that the inside loop had an enclosed seam allowance. Then I made a sandwich with a second piece of gold satin which I flipped to the inside to finish the outer loop edge (this is very hard to explain with text - see photos). The gold circles for the shoulder anchors and headband were approached with similar tactics.
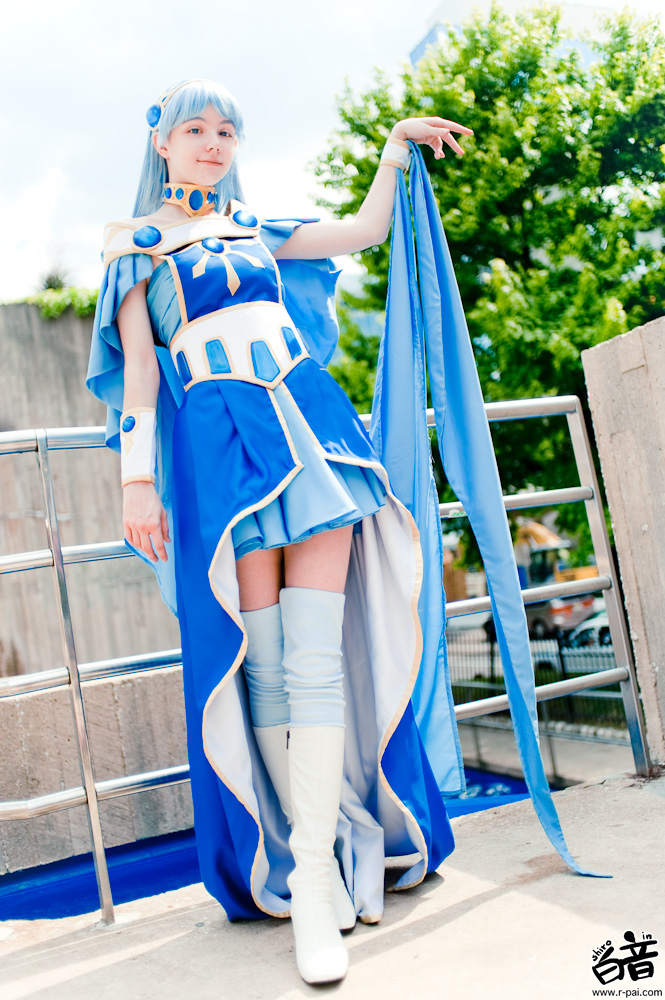
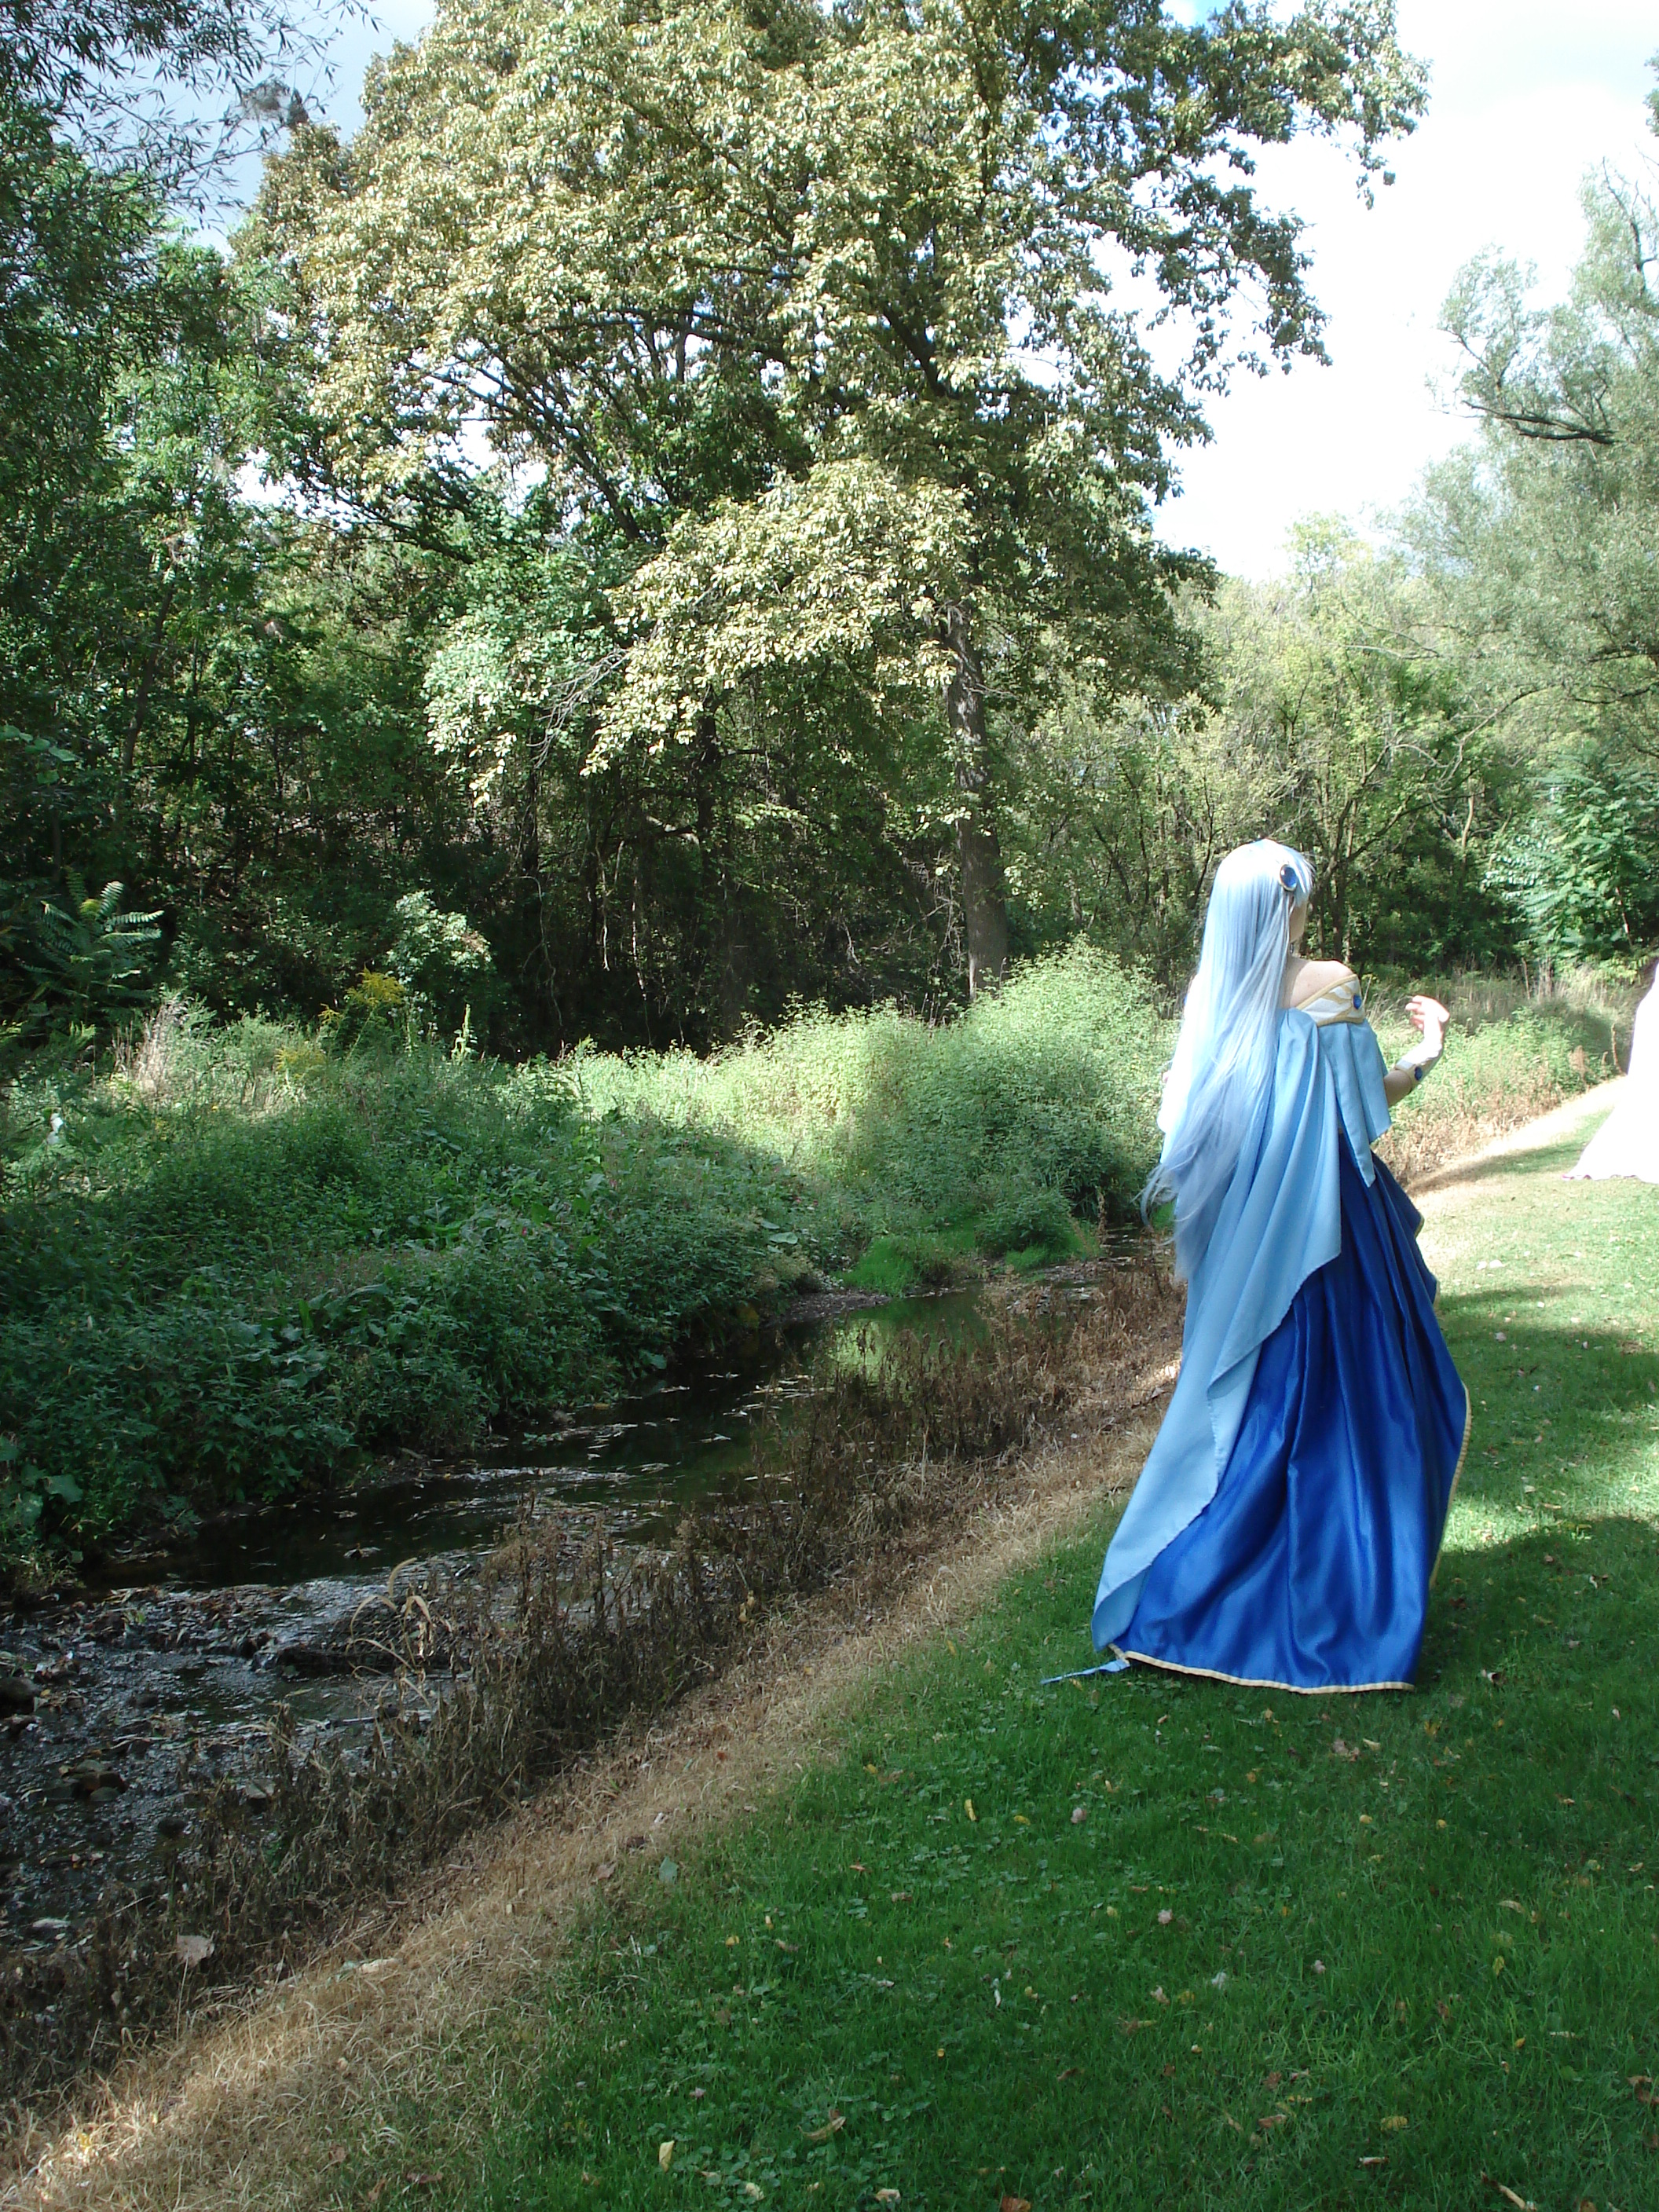
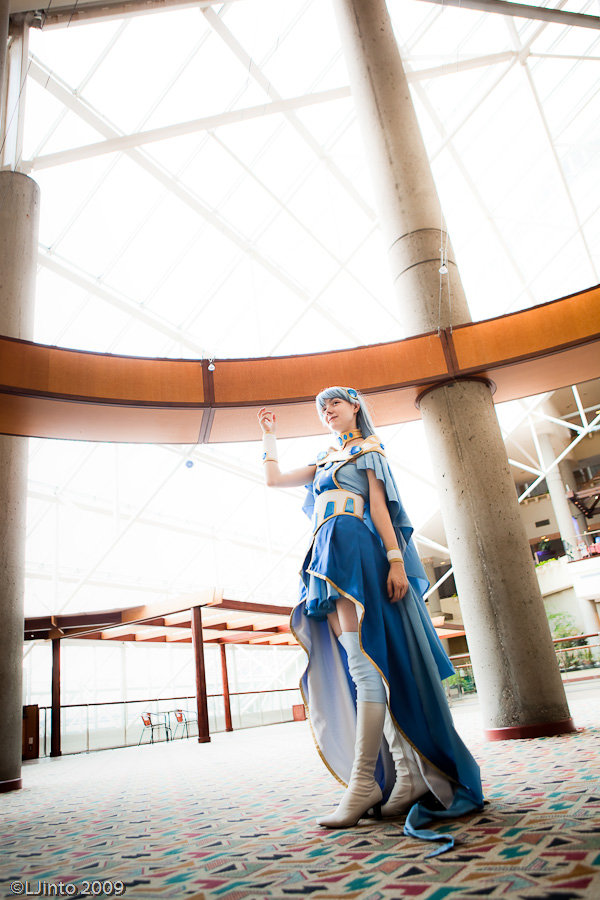
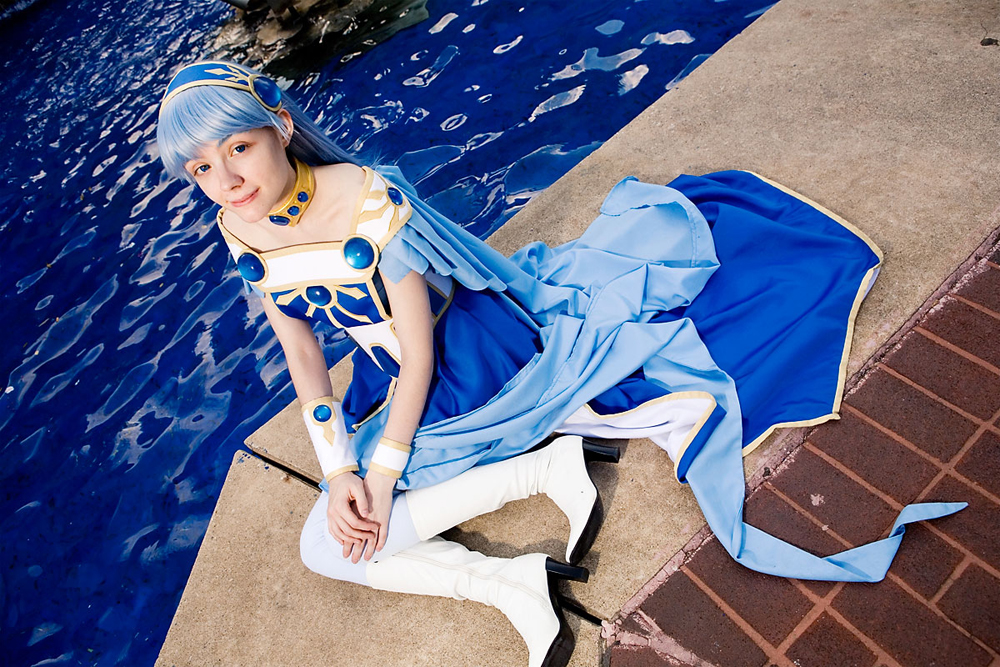
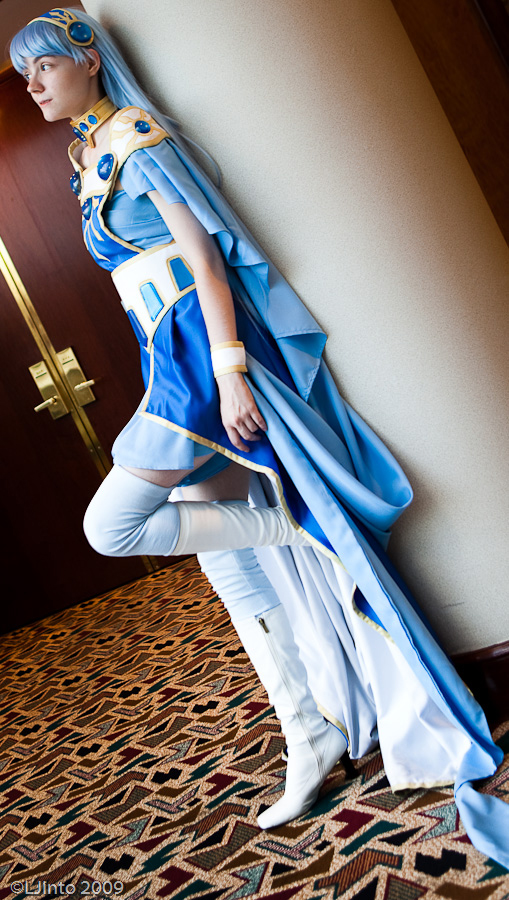
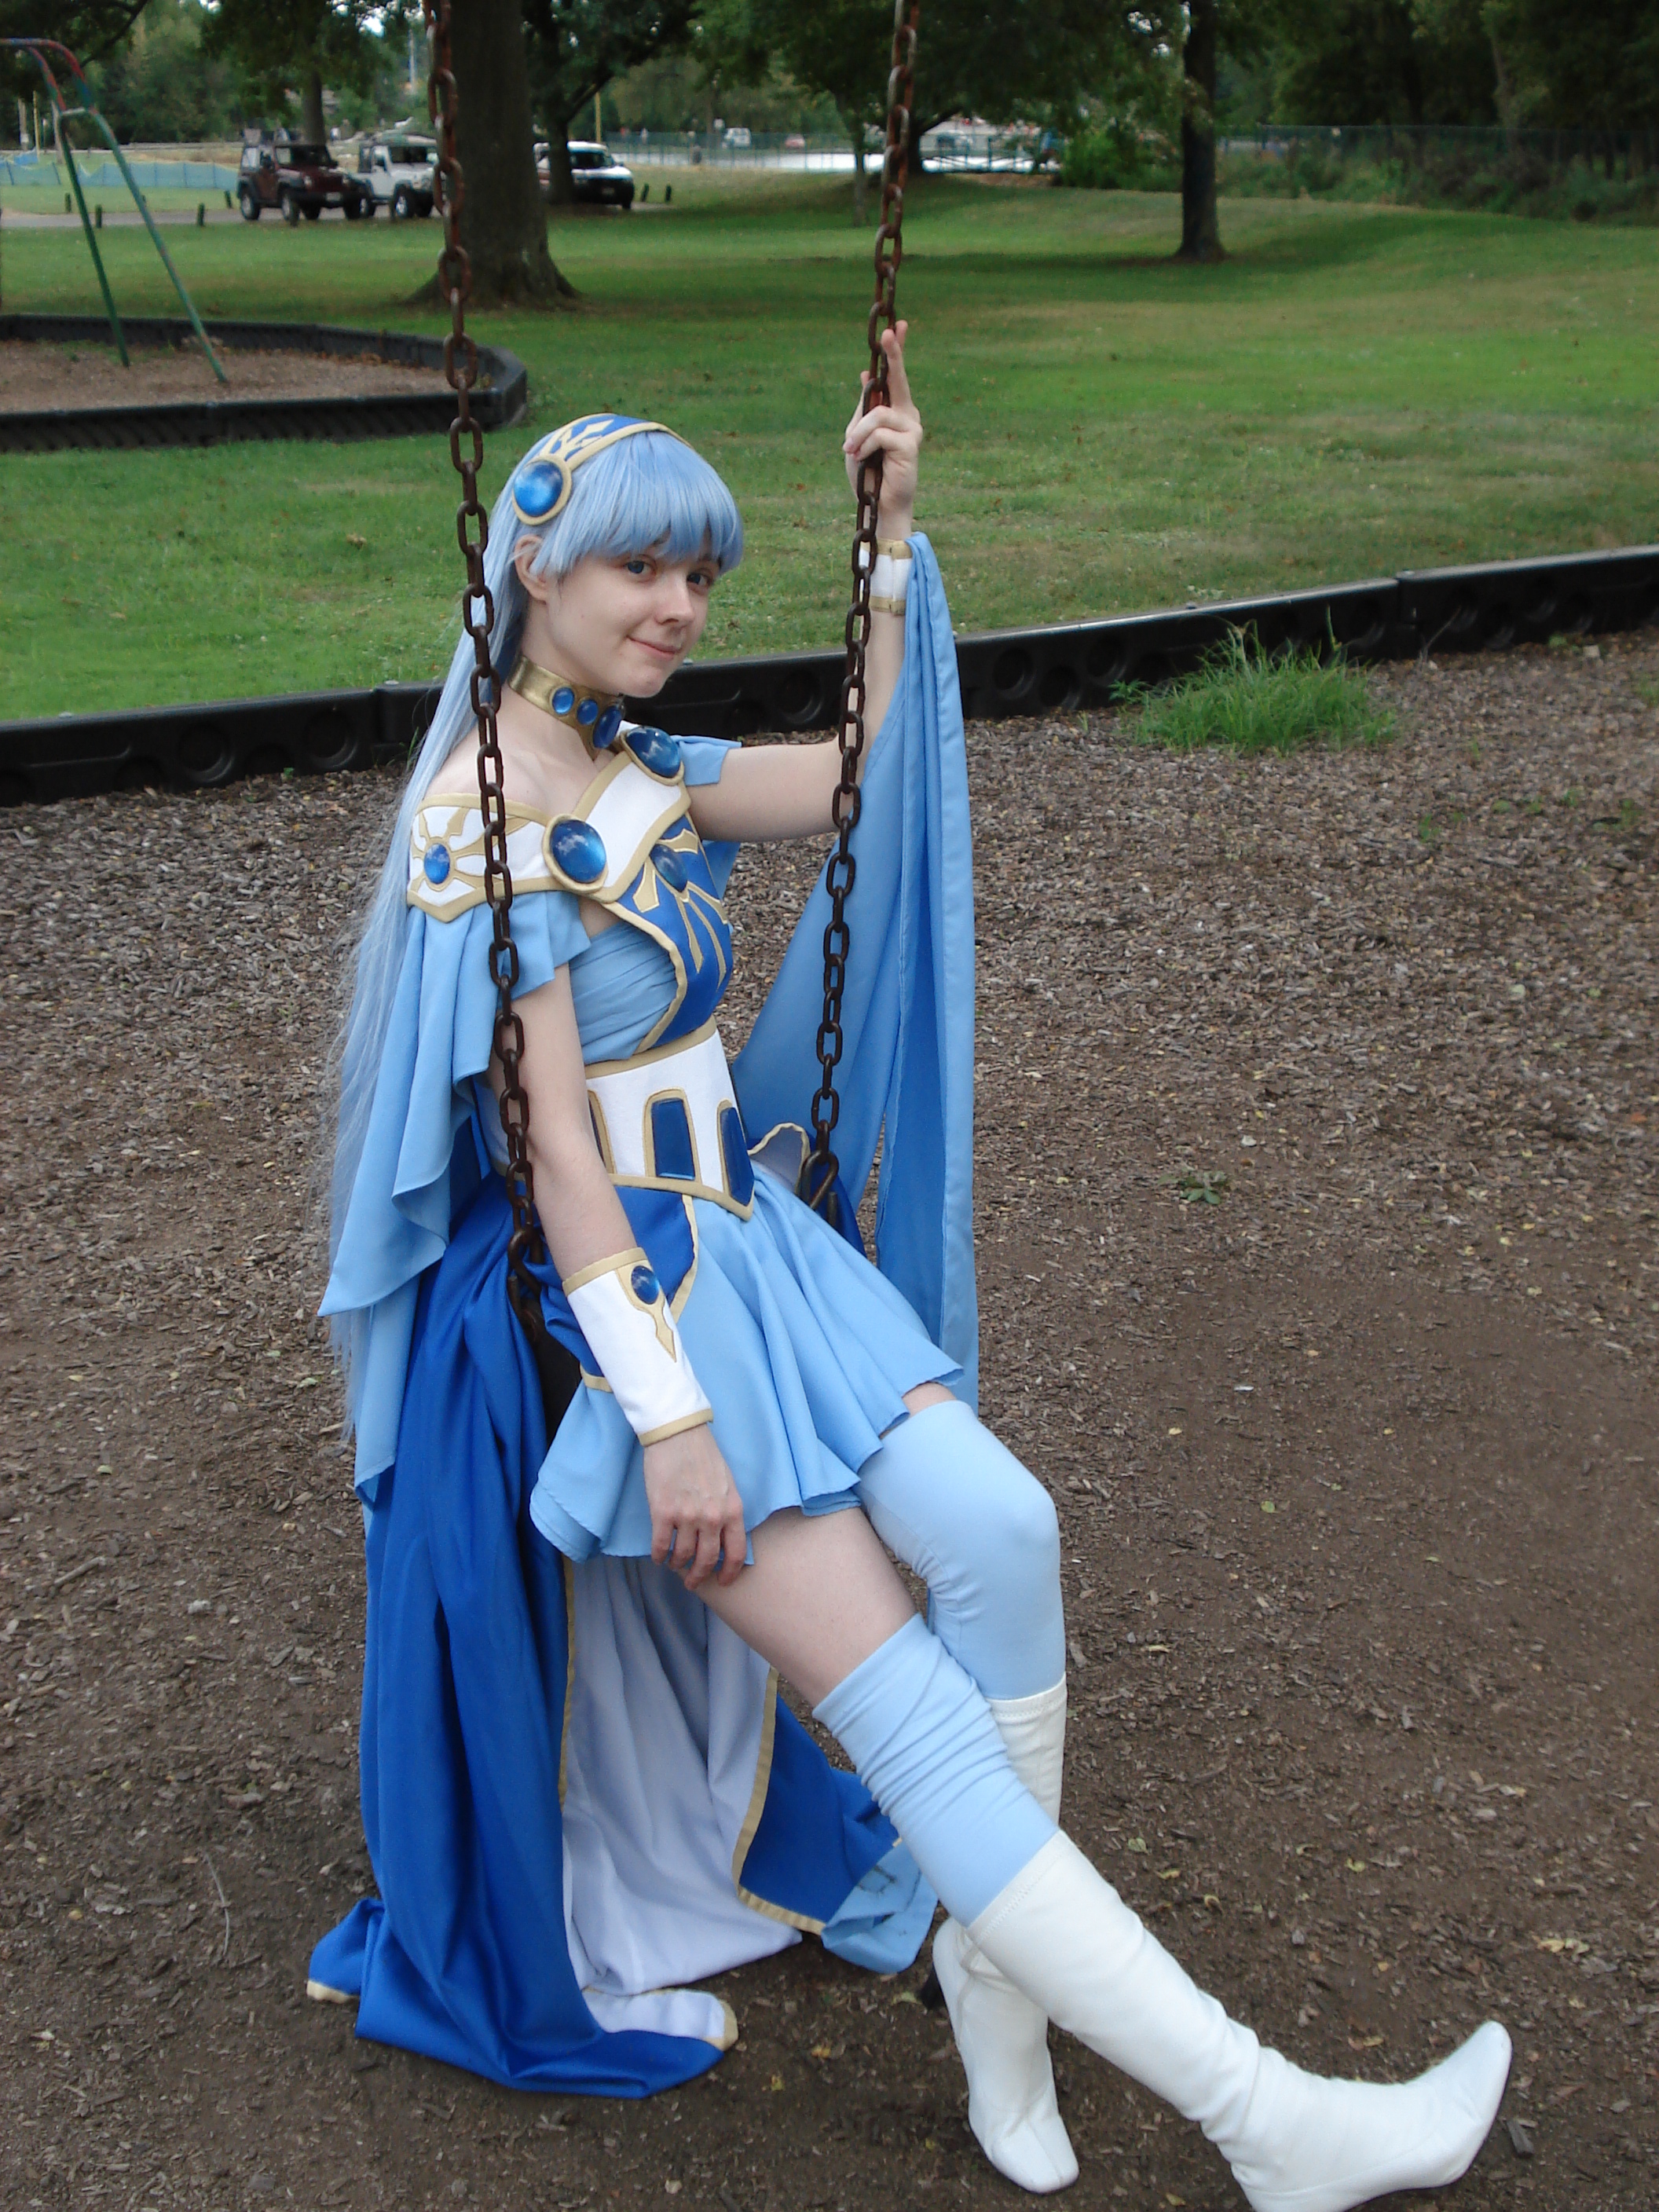
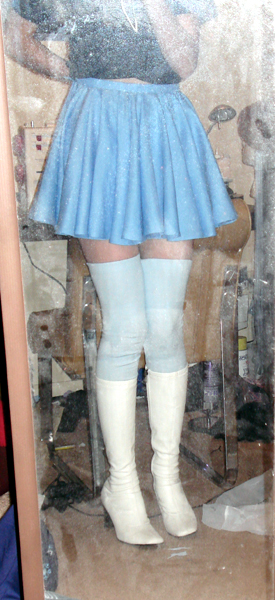
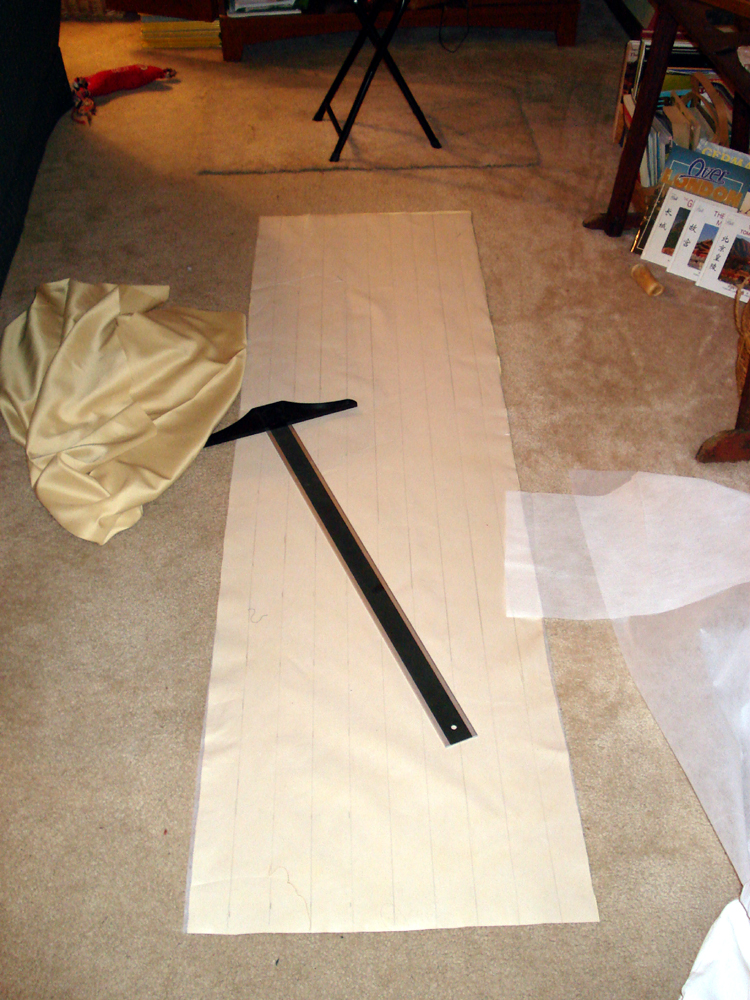
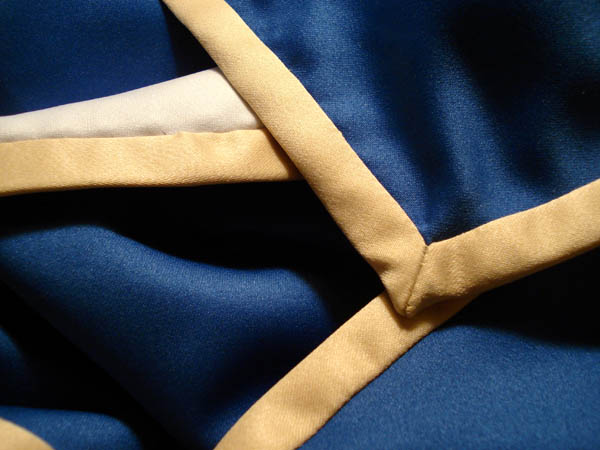
The undershirt, tabard, overskirt, and circle skirt all sprout out of about a four inch overlap underneath the corset, so there’s a lot of fabric vying for a very limited amount of space. I decided to make the light blue underskirt a circle skirt to try to help reduce bulk at the waist. (At first I installed a lapped zipper, but later I switched it out for an elastic waistband, which was much more comfortable.) The “waterfall” style of the overskirt means both the inside and outside are highly visible. The only way to really get a nice outcome was to invisibly attach all the gold trim. This was down by machine sewing it to the front and then slipstitching it by hand to the white lining. (I think I had like 18 feet of it to do on the long waist-cape alone…D:) I did this for all gold satin tape on the entire costume which took a while, but the results were definitely worth it.
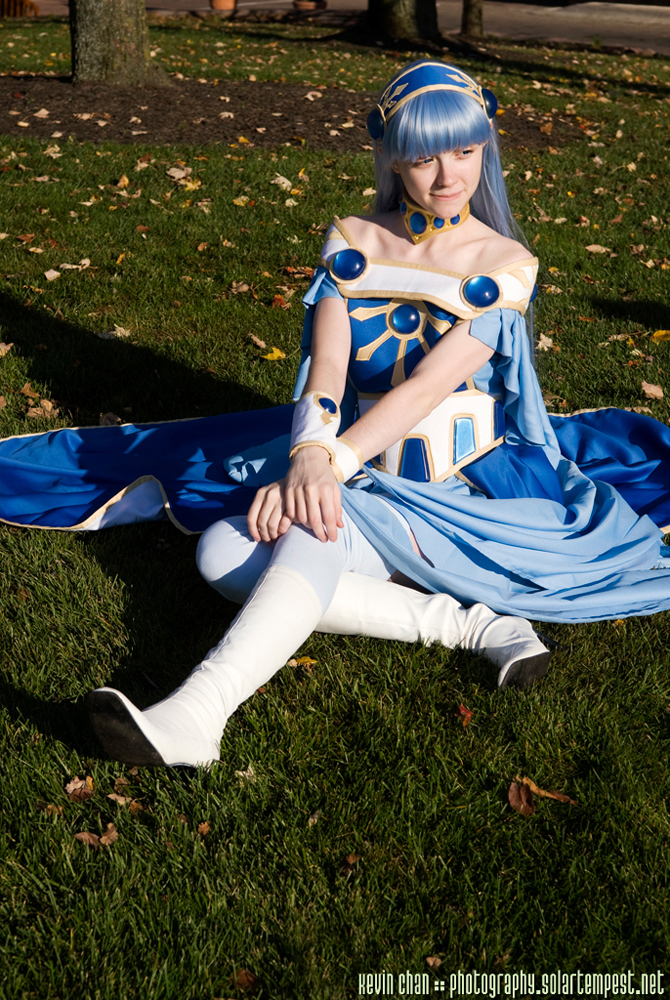
No light blue knit was available locally, so my first pair of tights were made of white poly-cotton interlock knit from Jo-Ann’s that I hand-dyed and added elastic around the top to help keep them up. I eventually found better fabric in NYC, so in later photos, the tights have been remade with a ~95/5 light blue cotton spandex from Spandex House. The collar is foamies hot glued together and painted with gold Jacquard fabric paint. Later, my Hikaru made me one out of brass.
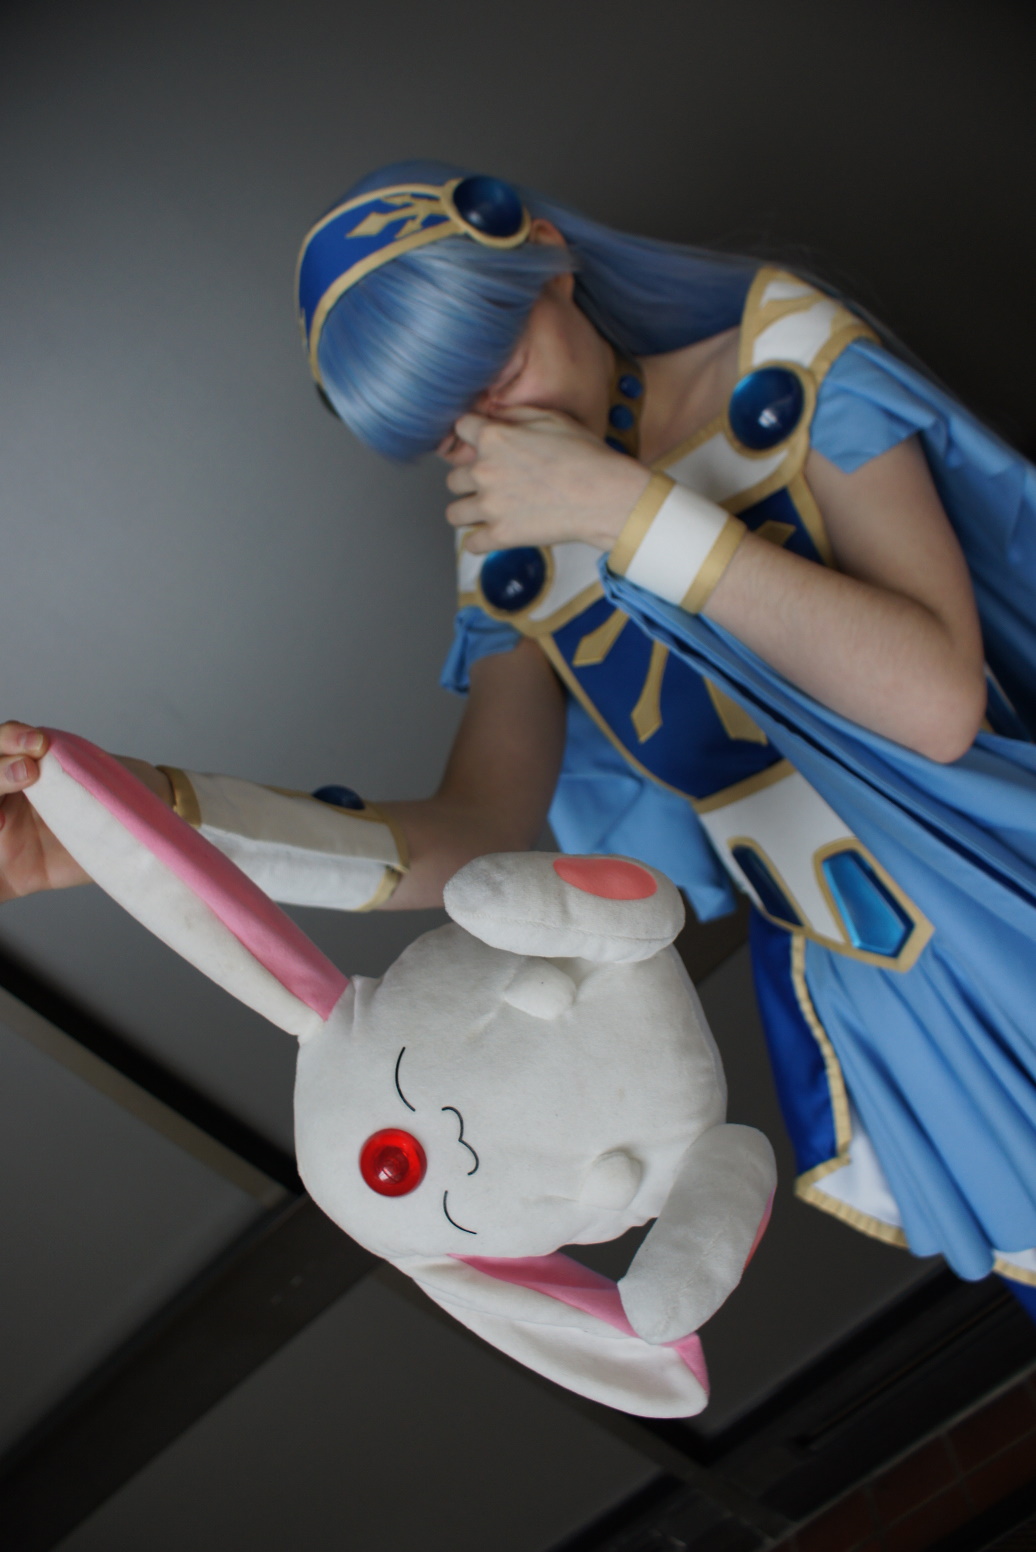
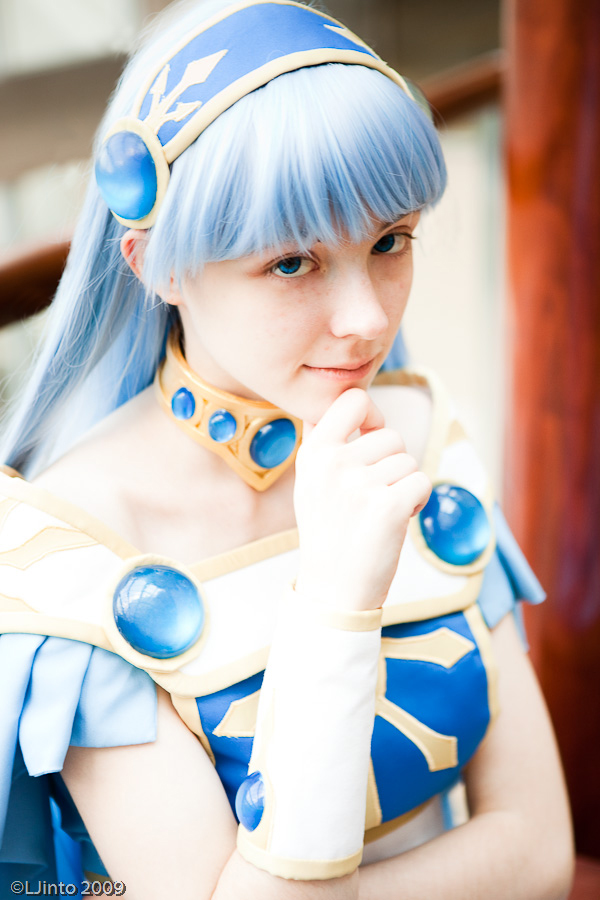
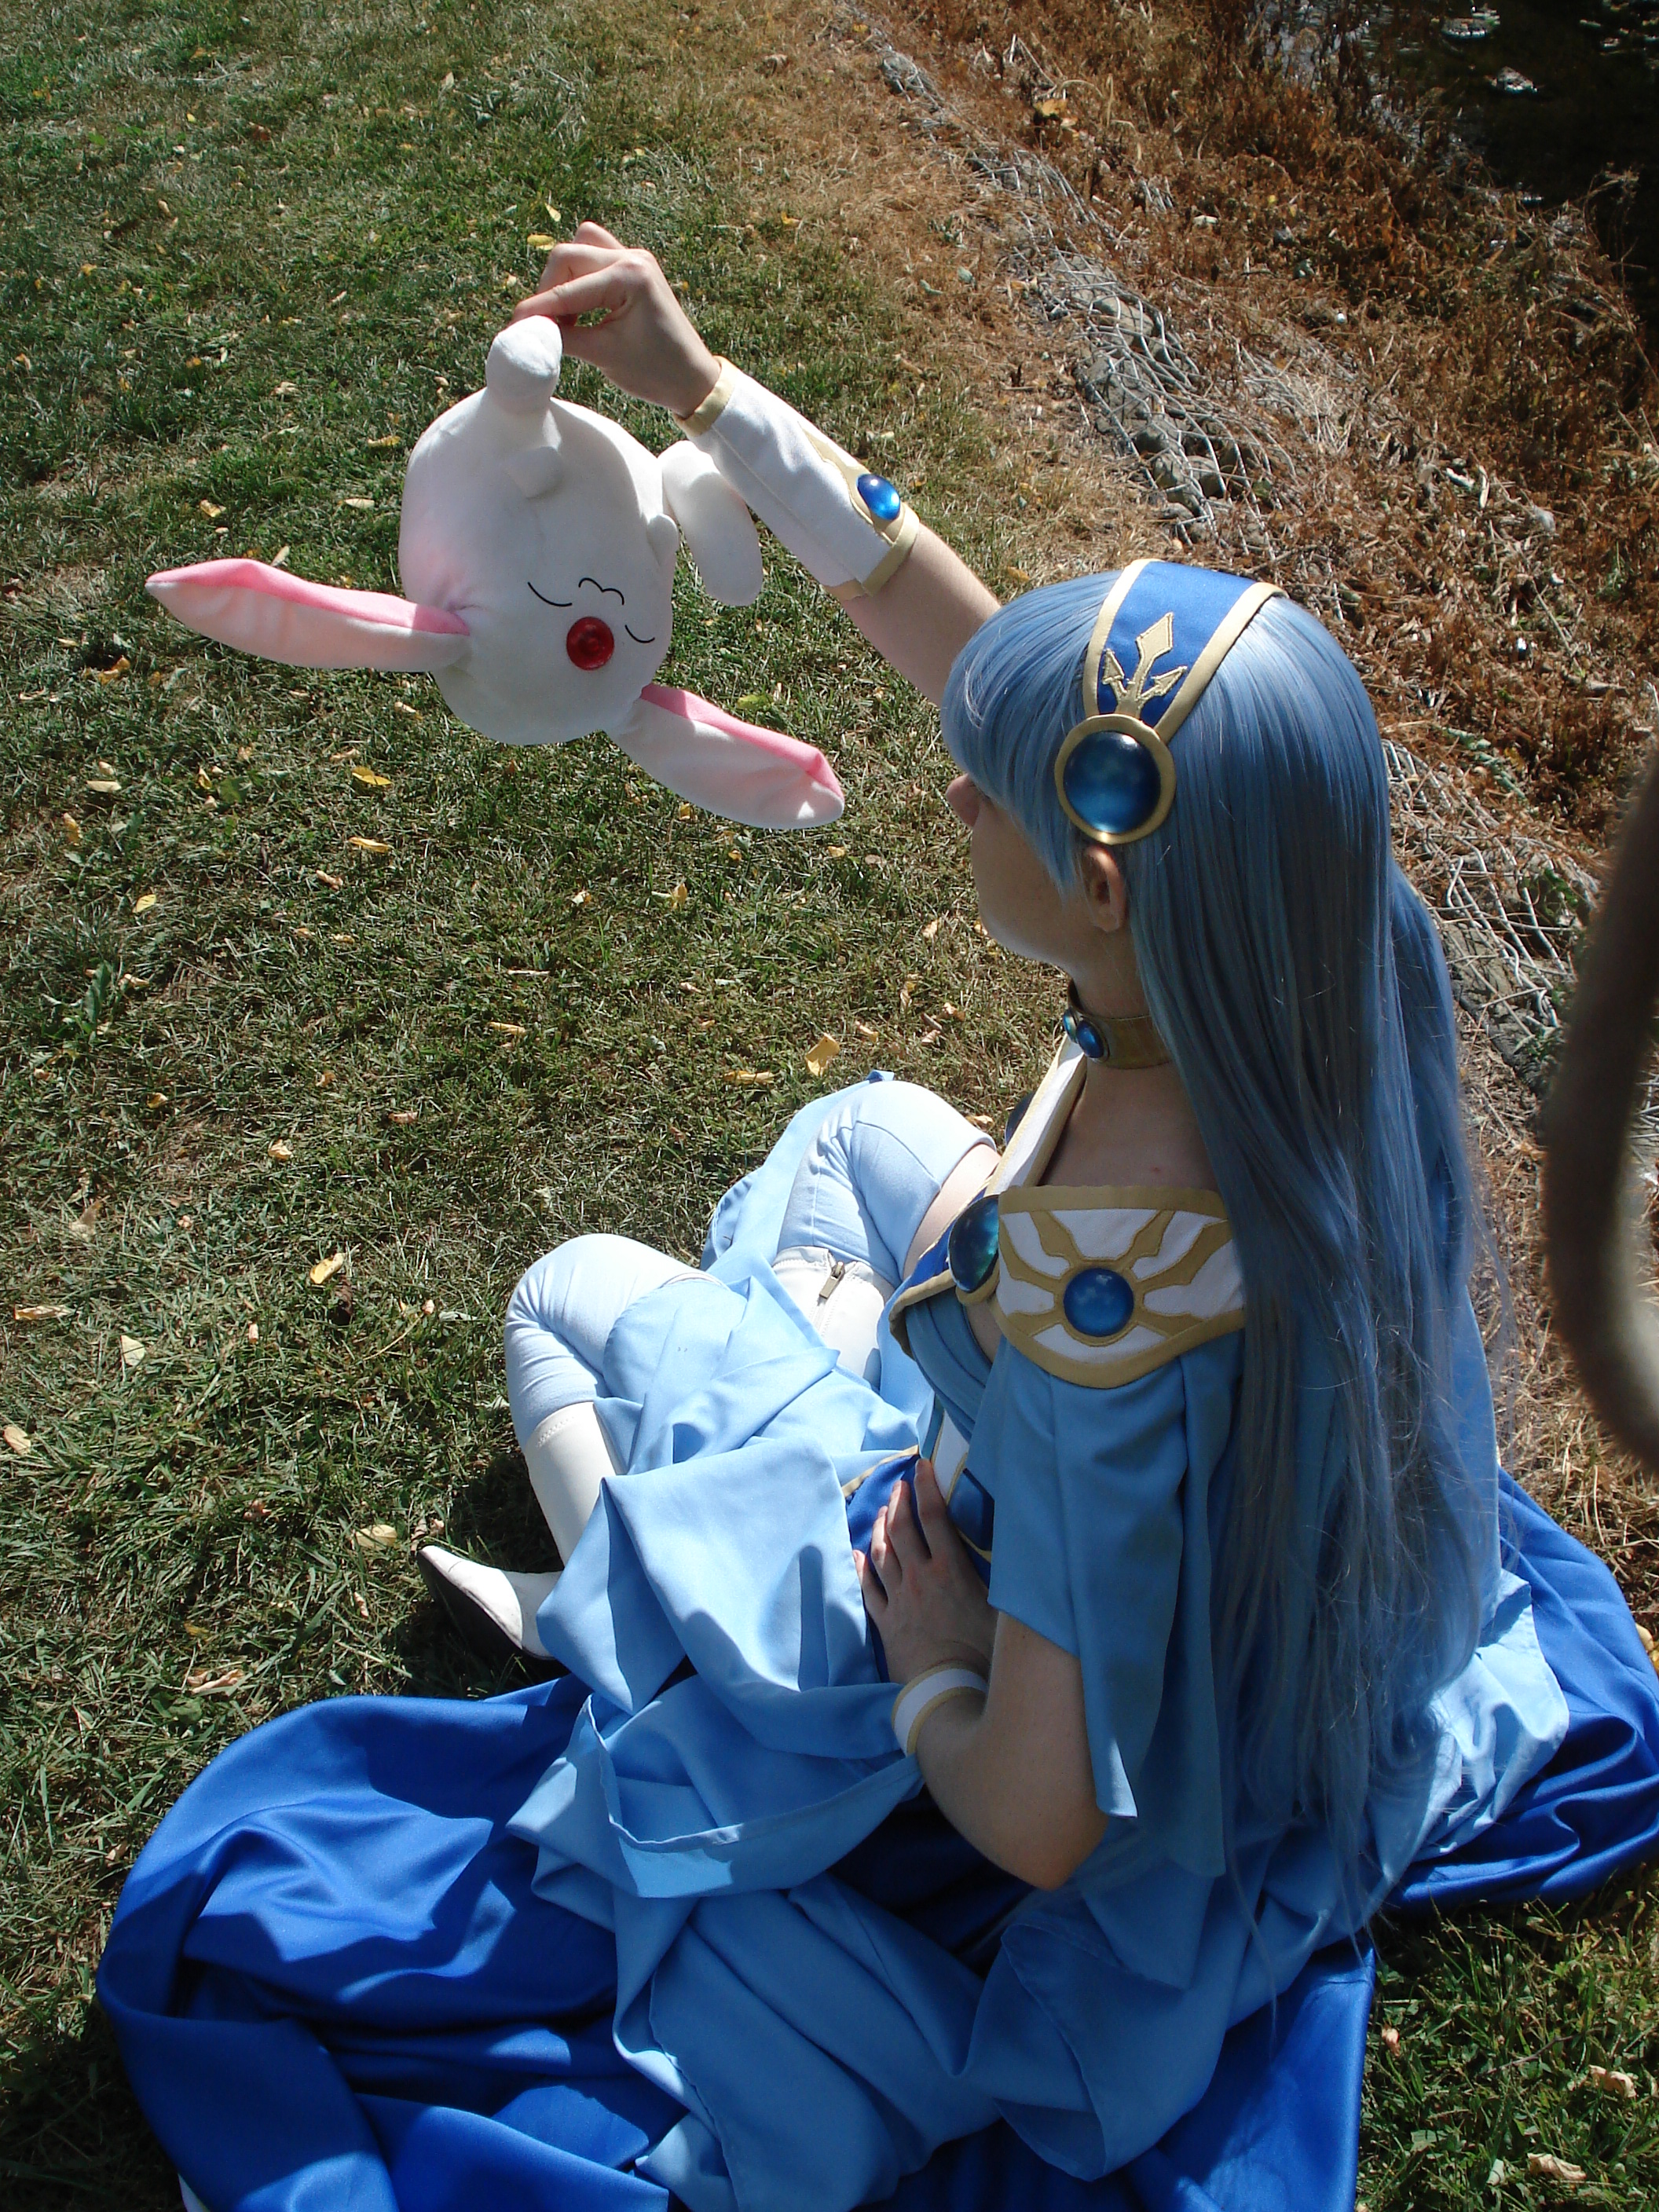
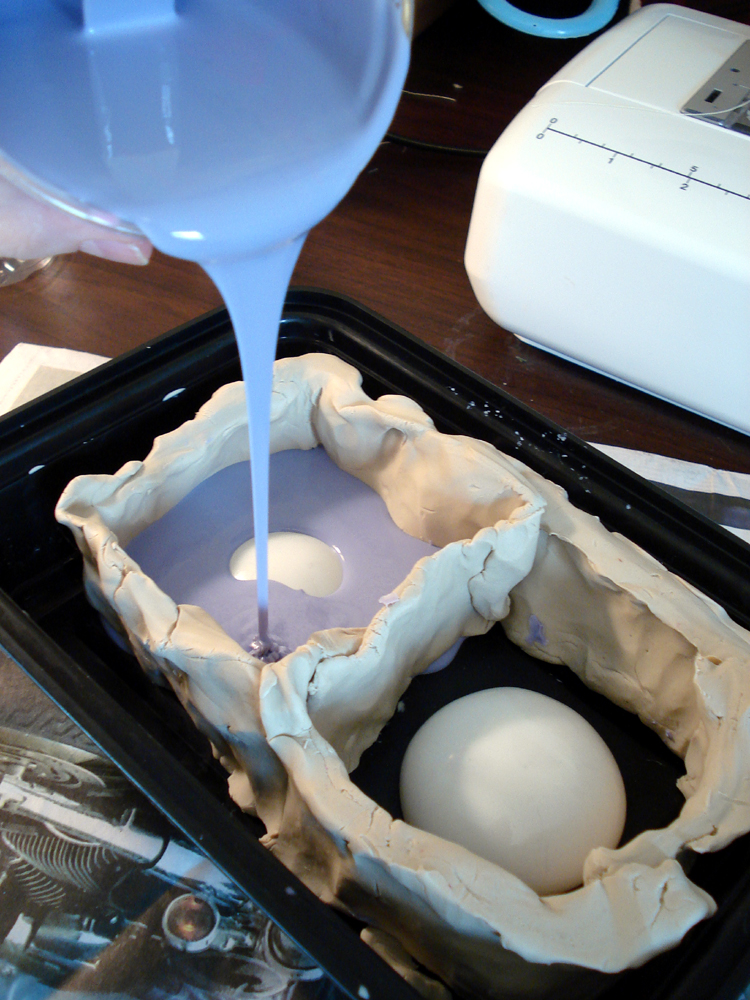
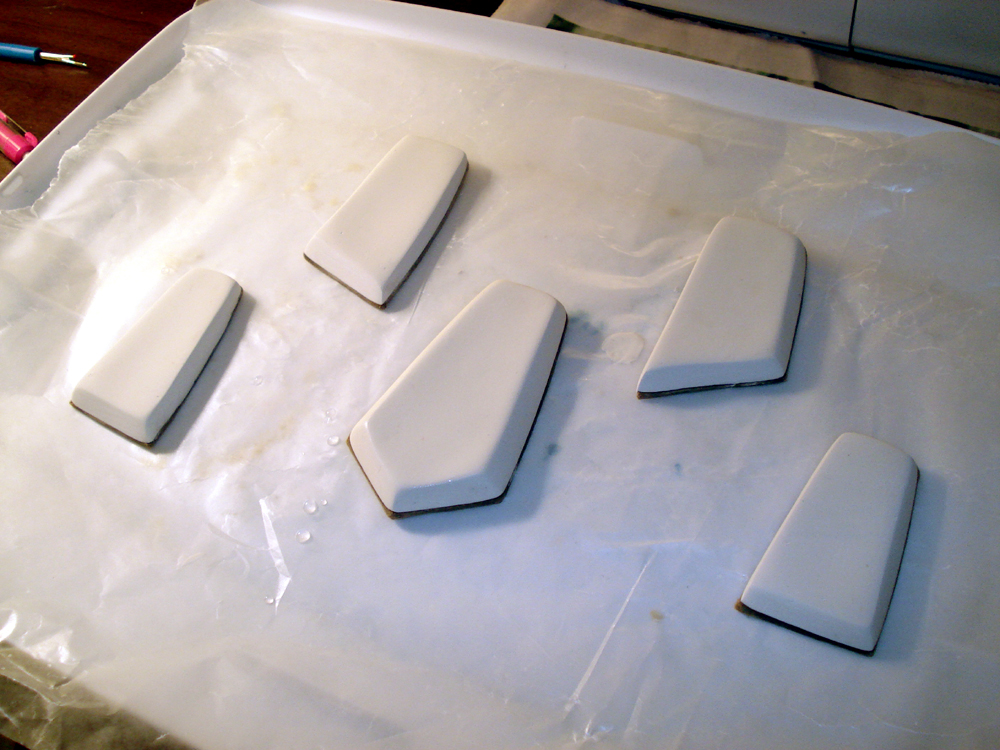
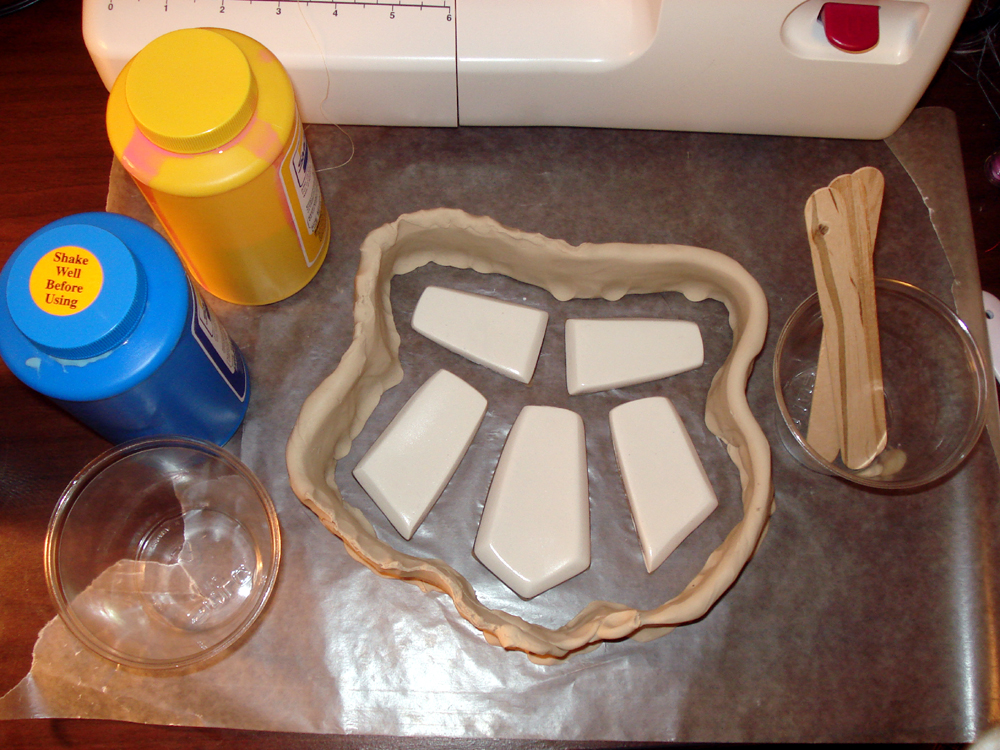
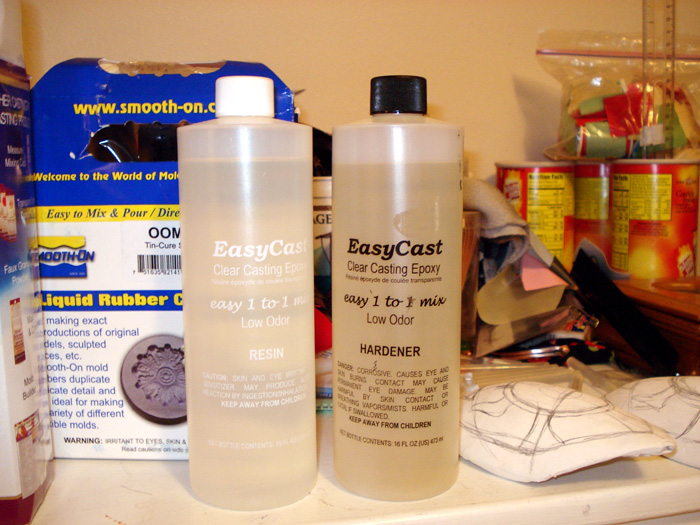
I hadn’t done any sort of mold making or resin casting before. For the wrist cuff and collar gems, I was able to use a combination of paint trays and that super common resin casting tray everyone gets from Michael’s to cast the gems. Umi has 20+ gems on her outfit, many of which are in shapes that you just can’t buy at a store. For these, I had to make custom molds. I made the originals out of sculpey and sanded them down with increasingly fine grades of sandpaper, ending at 600 grit (that was the finest grit I could find at the time, but it would have been better to go higher). I sprayed a few coats of clear sealant on them at the end and allowed them to dry. Then I mixed up several batches of OOMOO casting rubber and dumped it on them to make gem molds. After this, the gems were finally cast in resin.
Since there were 20+ gems that all needed to be the same shade of blue, ensuring a consistent dye concentration across multiple sizes and batches of resin casting would have been challenging. For this reason, I did not tint my gems - they are clear. To color them, I painted the back of the gems with blue sparkly acrylic paint, which looked fantastic. I hot glued them to my costume. When I wore it for the first time at Otakon, they came loose over the course of the day, especially on the shoulder sleeve mounted ones - the acrylic paint didn’t adhere to the gem well enough. After thinking on it a while, I painted some stiff art paper with blue sparkle paint, dumped a pile of hot glue on it, and pressed the clear gem down on top with all my might. After the gems were backed in this way, I could then confidently hot glue them to my costume. This held up very well and the sparkle was only slightly reduced.
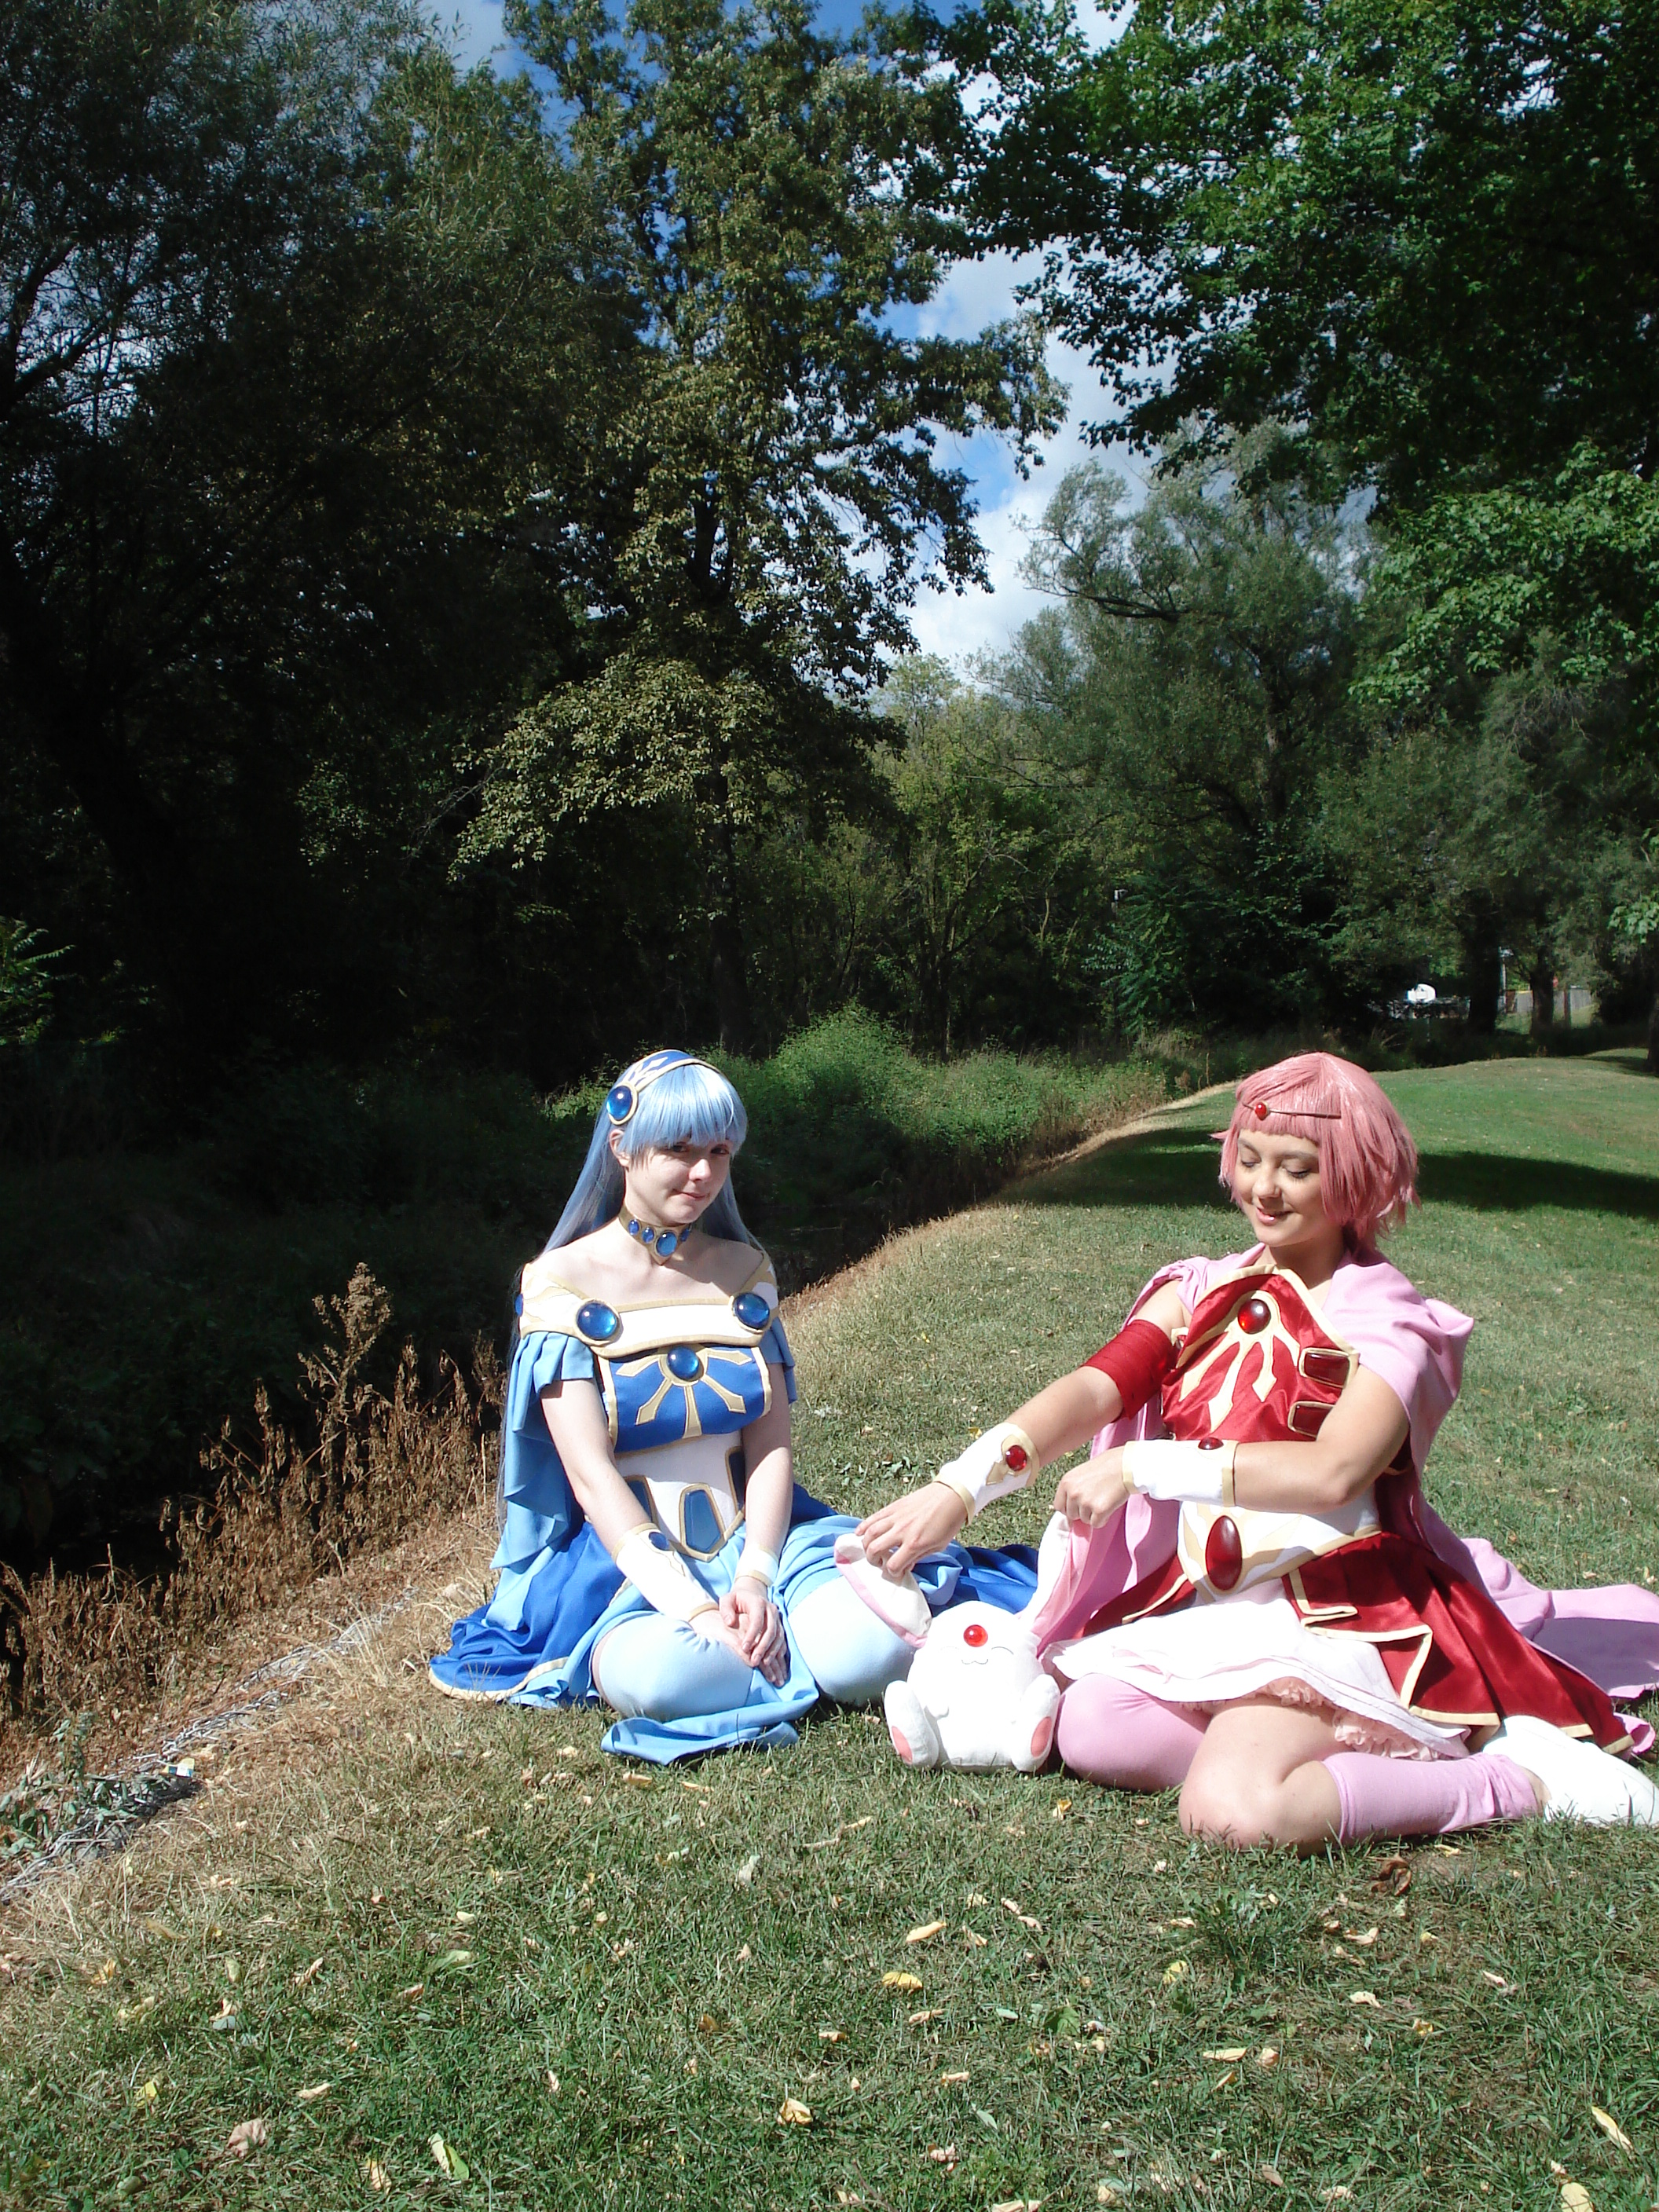
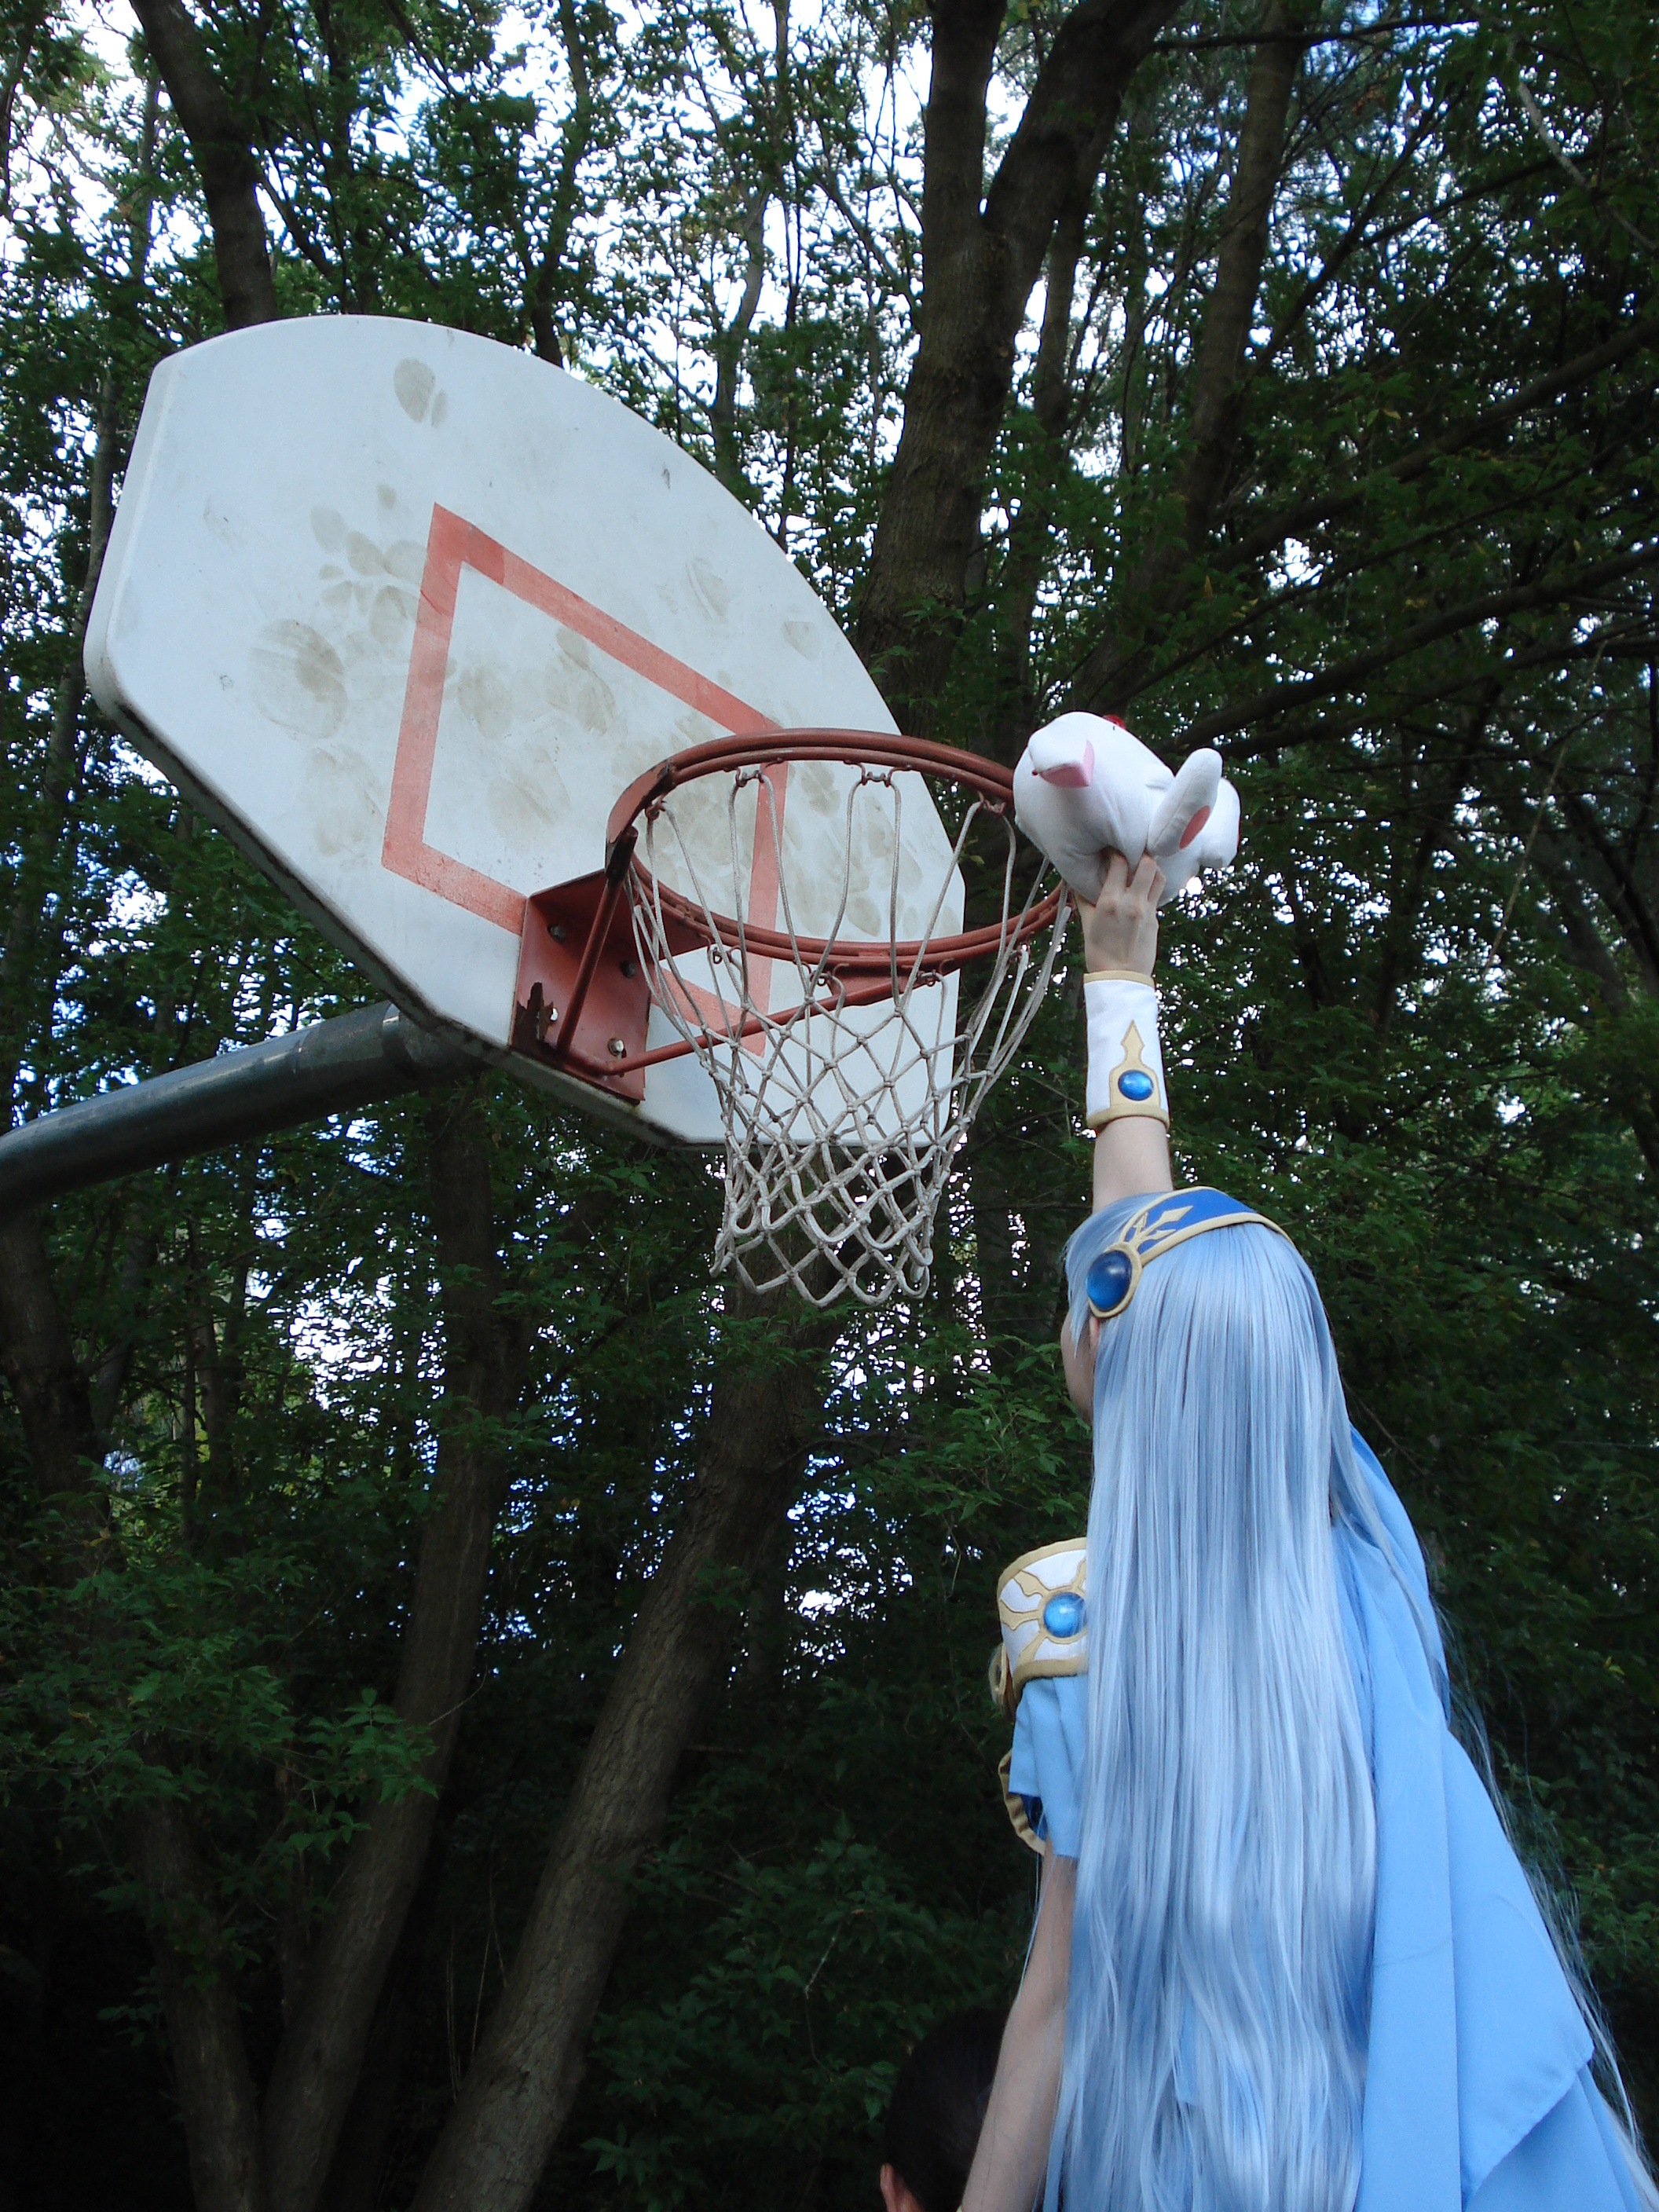
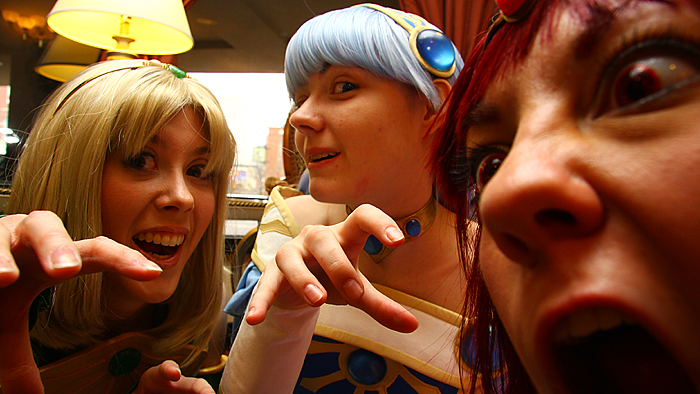
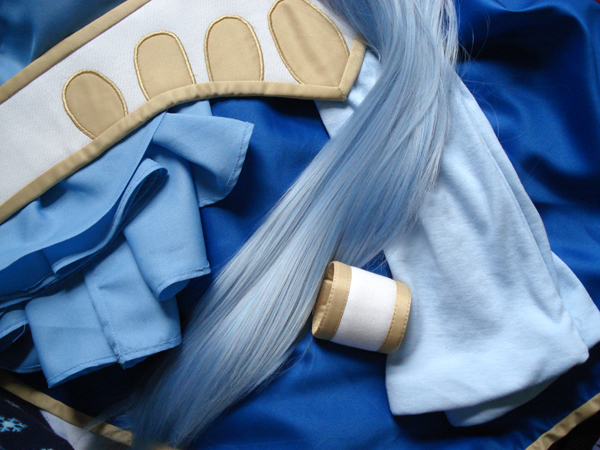
Almost all “blue” costume wigs available in 2009 were this identical shade of hideous green-blue that clashed horribly with the various Umi-blues. I saved up a long time and imported a 90cm powerlon (heat resistant) wig in ice blue from Cyperous. It was the most expensive wig I had ever bought, so it took a while to get up the courage to cut the bangs short enough. :) Finally, I purchased blue colormax contacts that similarly matched the hue of the wig and fabric. On the Hikaru costume, I provided the pink and gold fabric and made all the stabilized gold tape - and since this was the second time around, I was smart enough to block fuse the satin first. :P
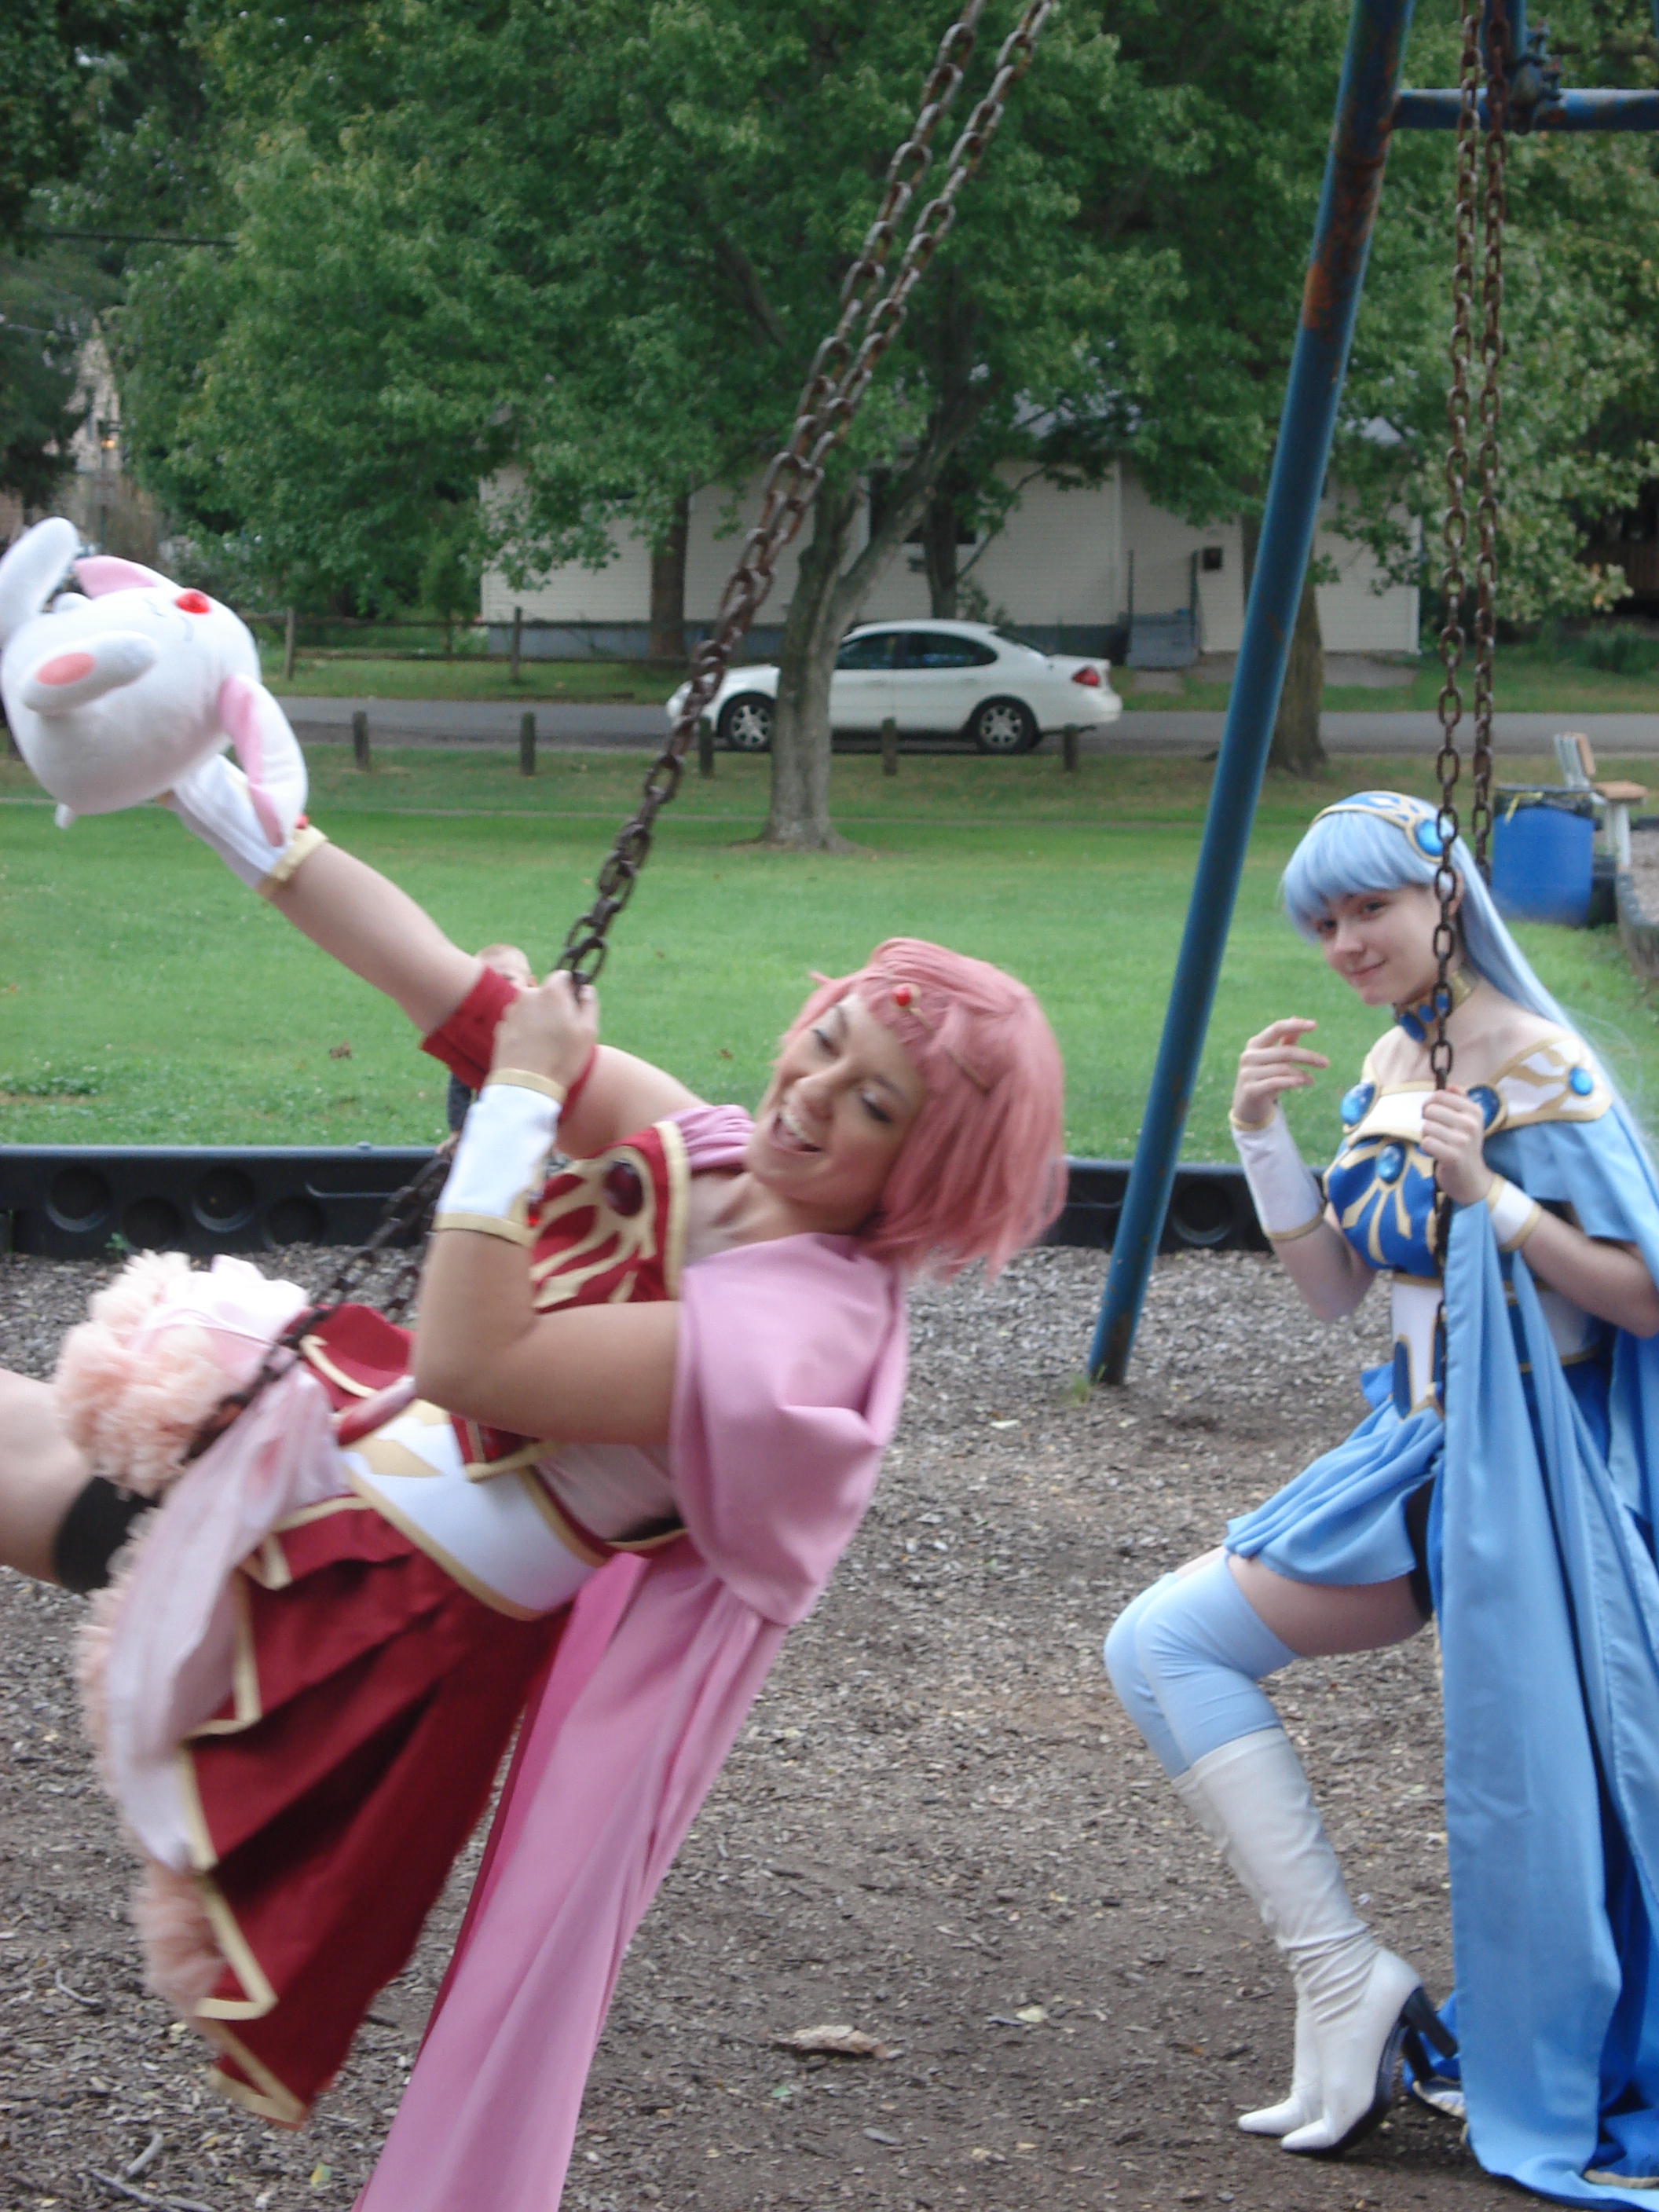
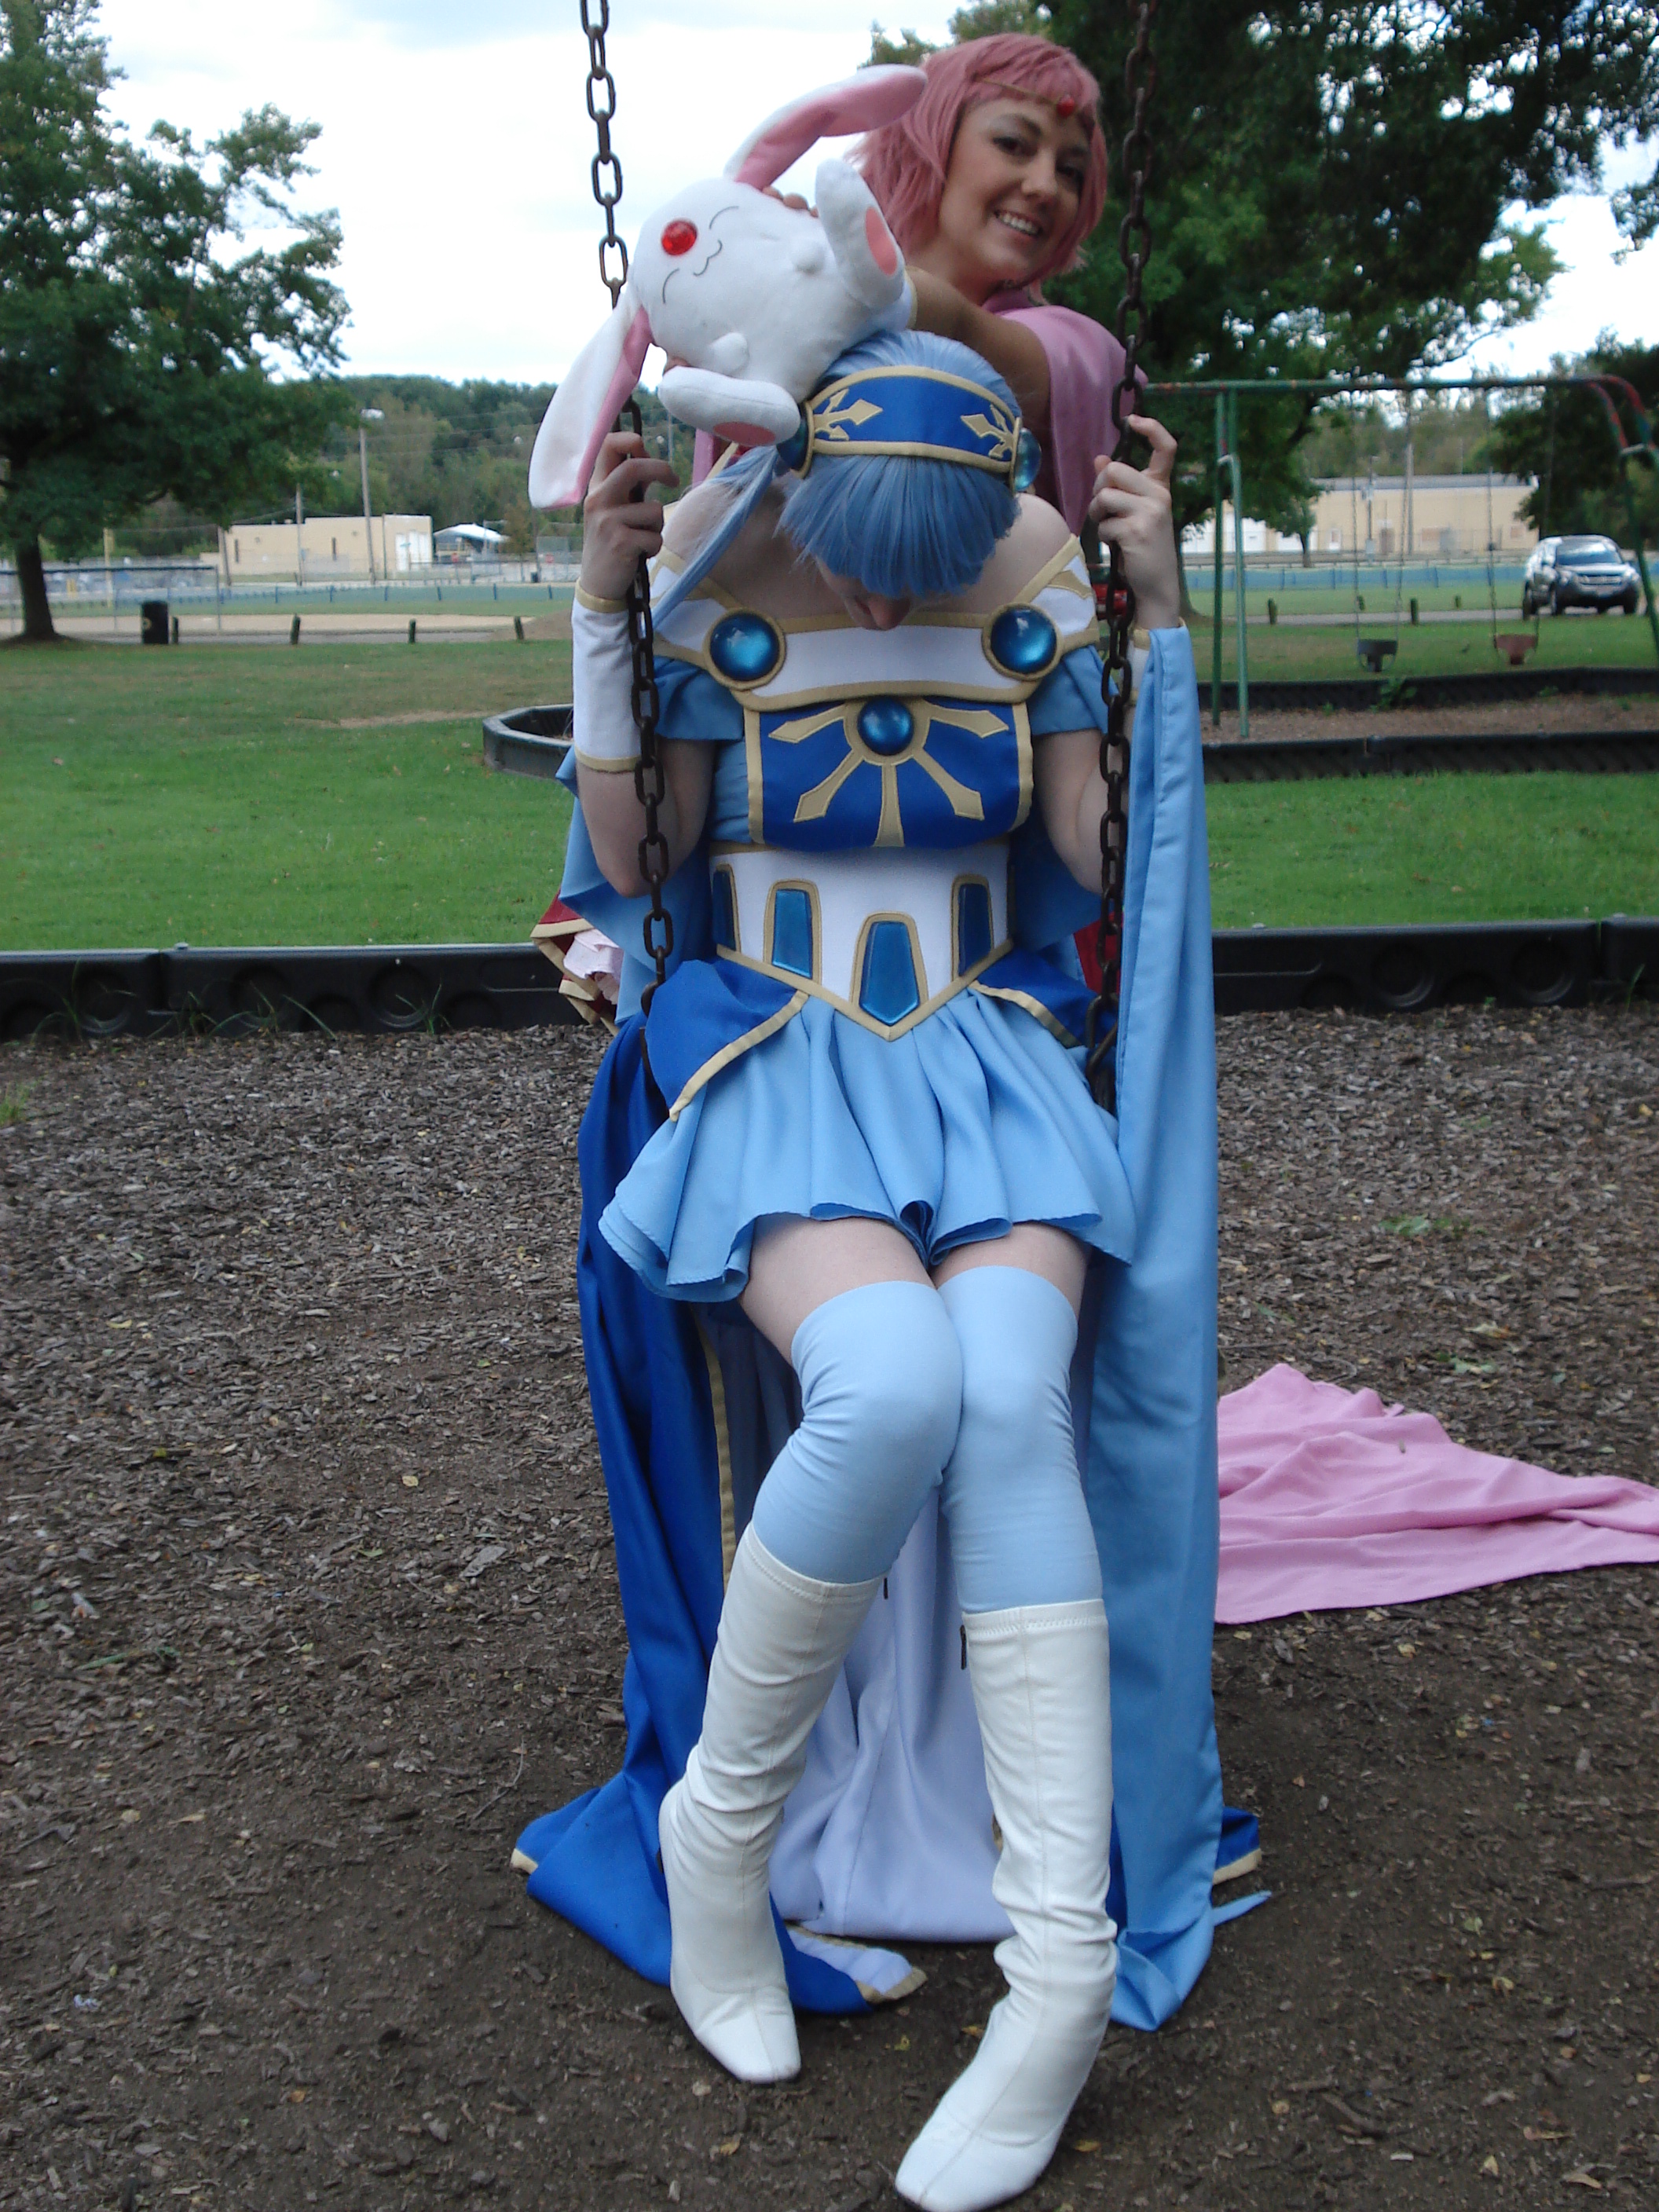
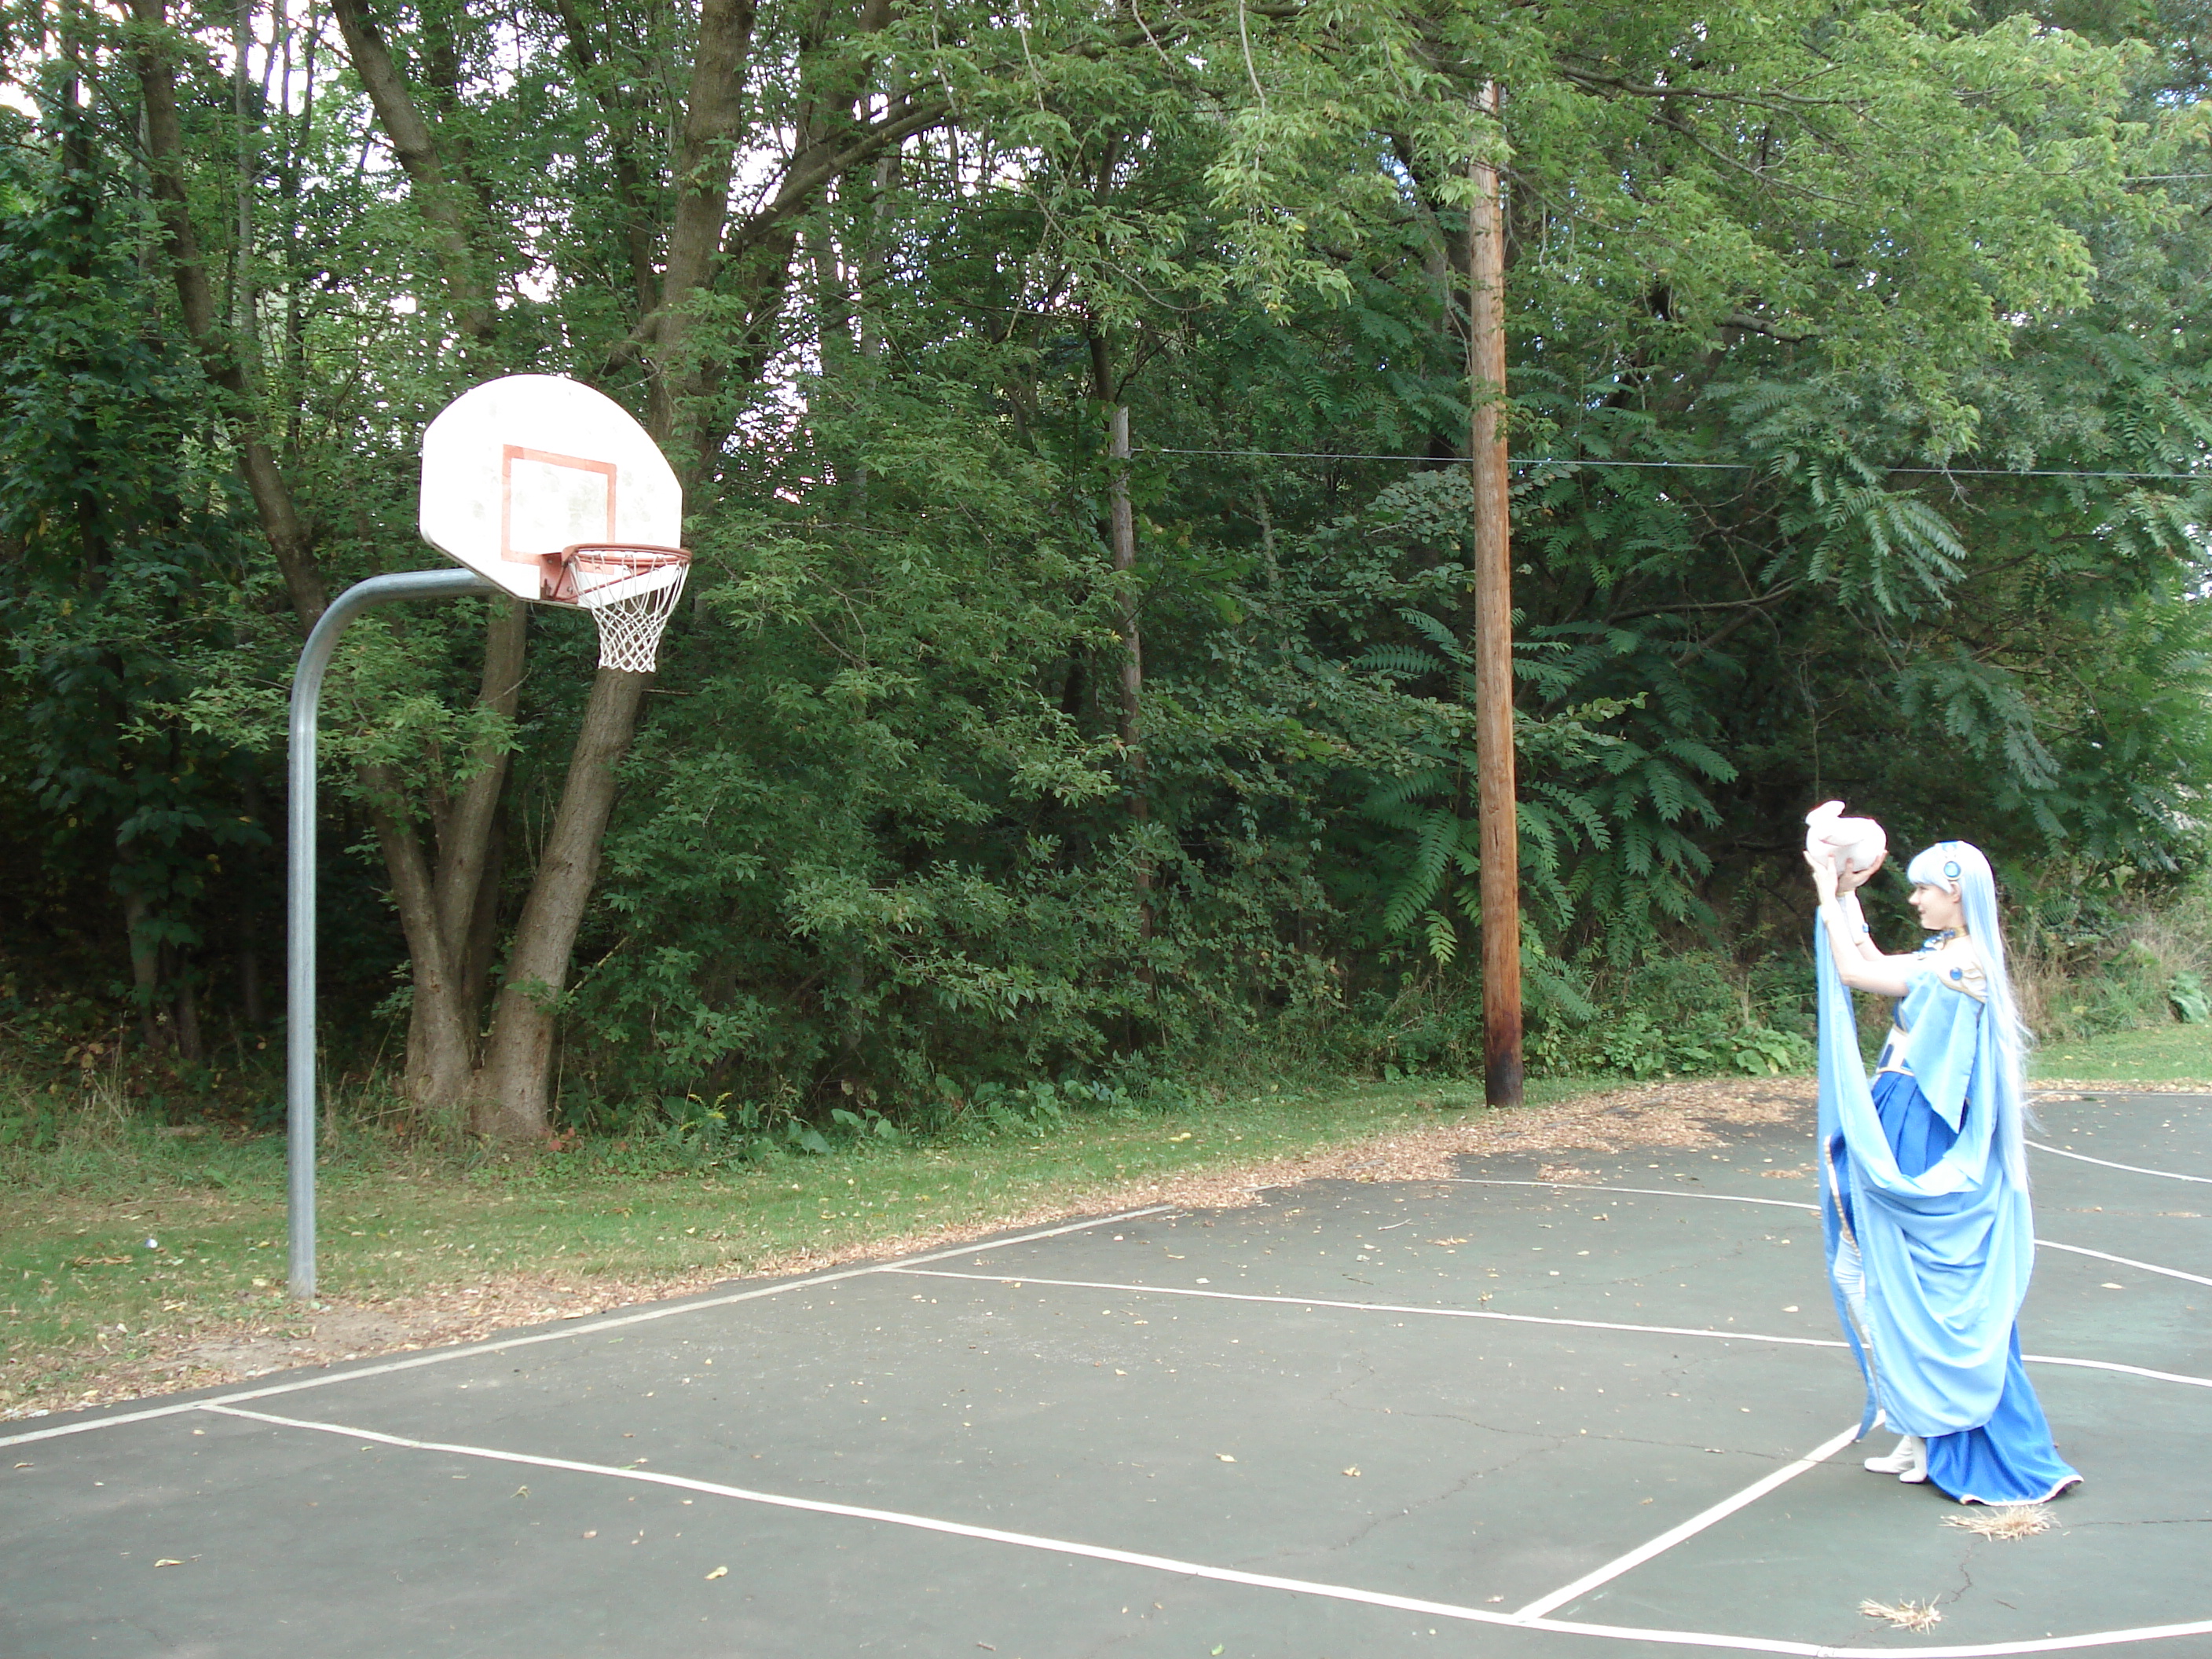
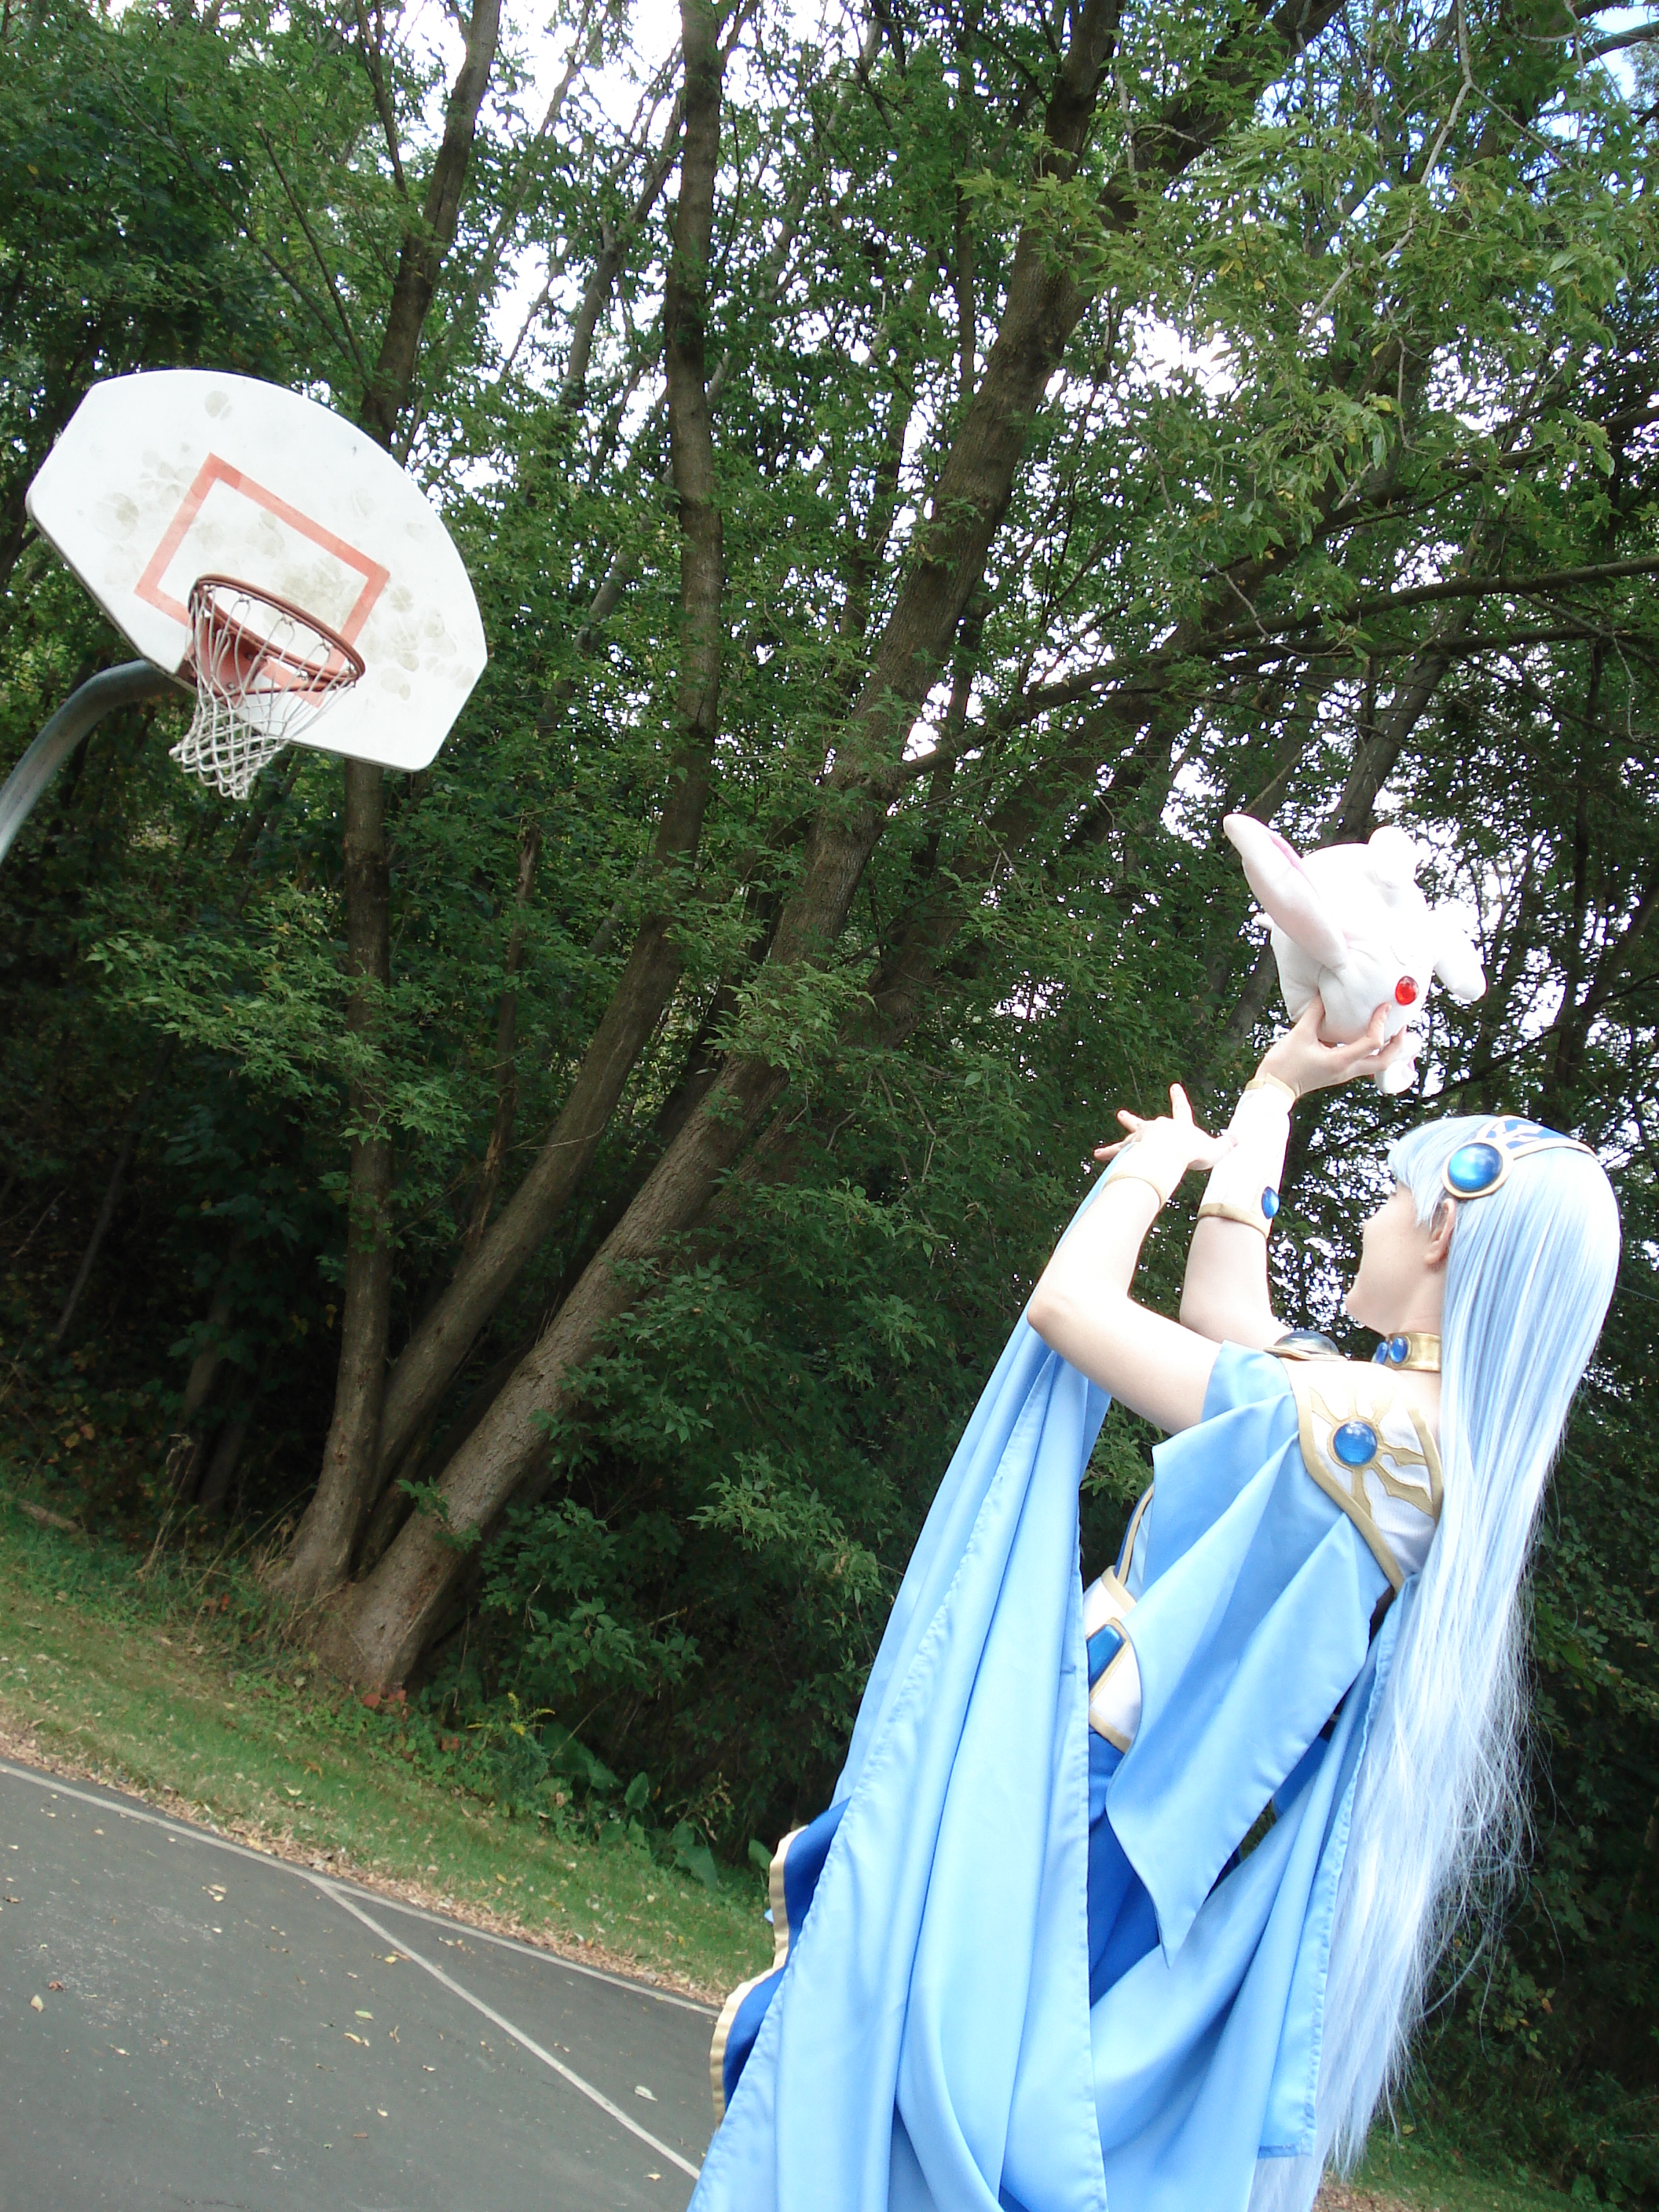
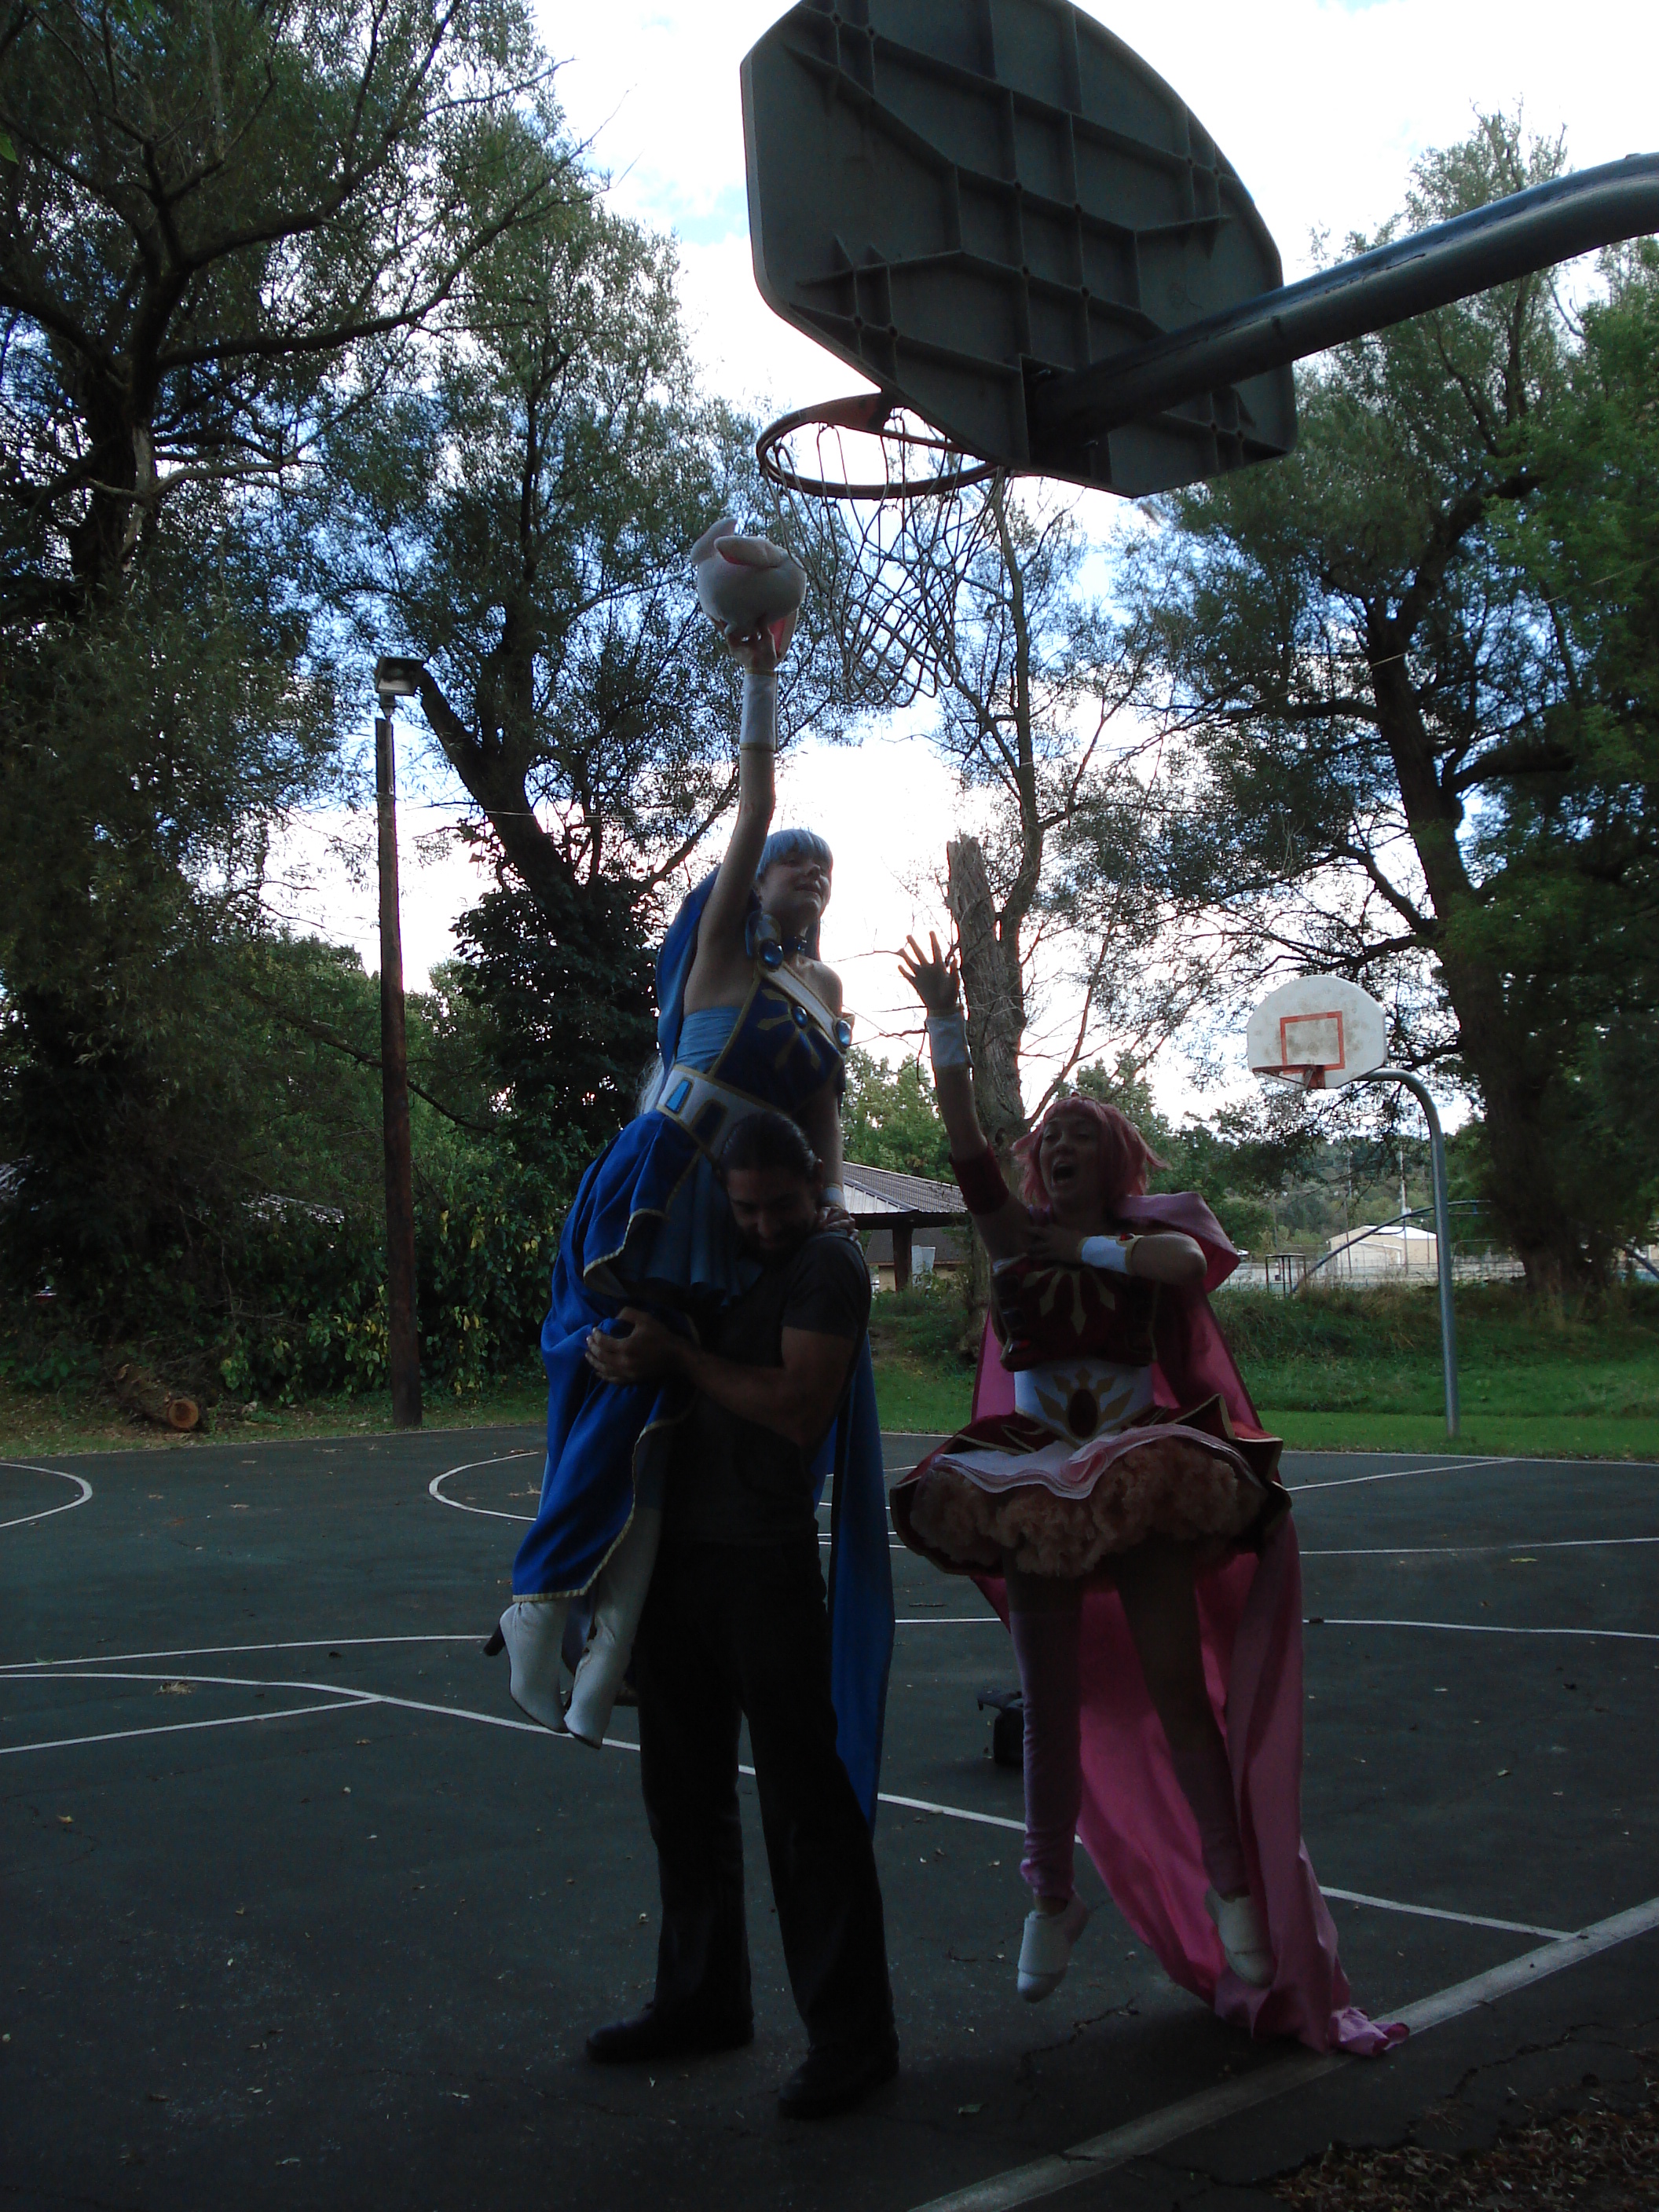
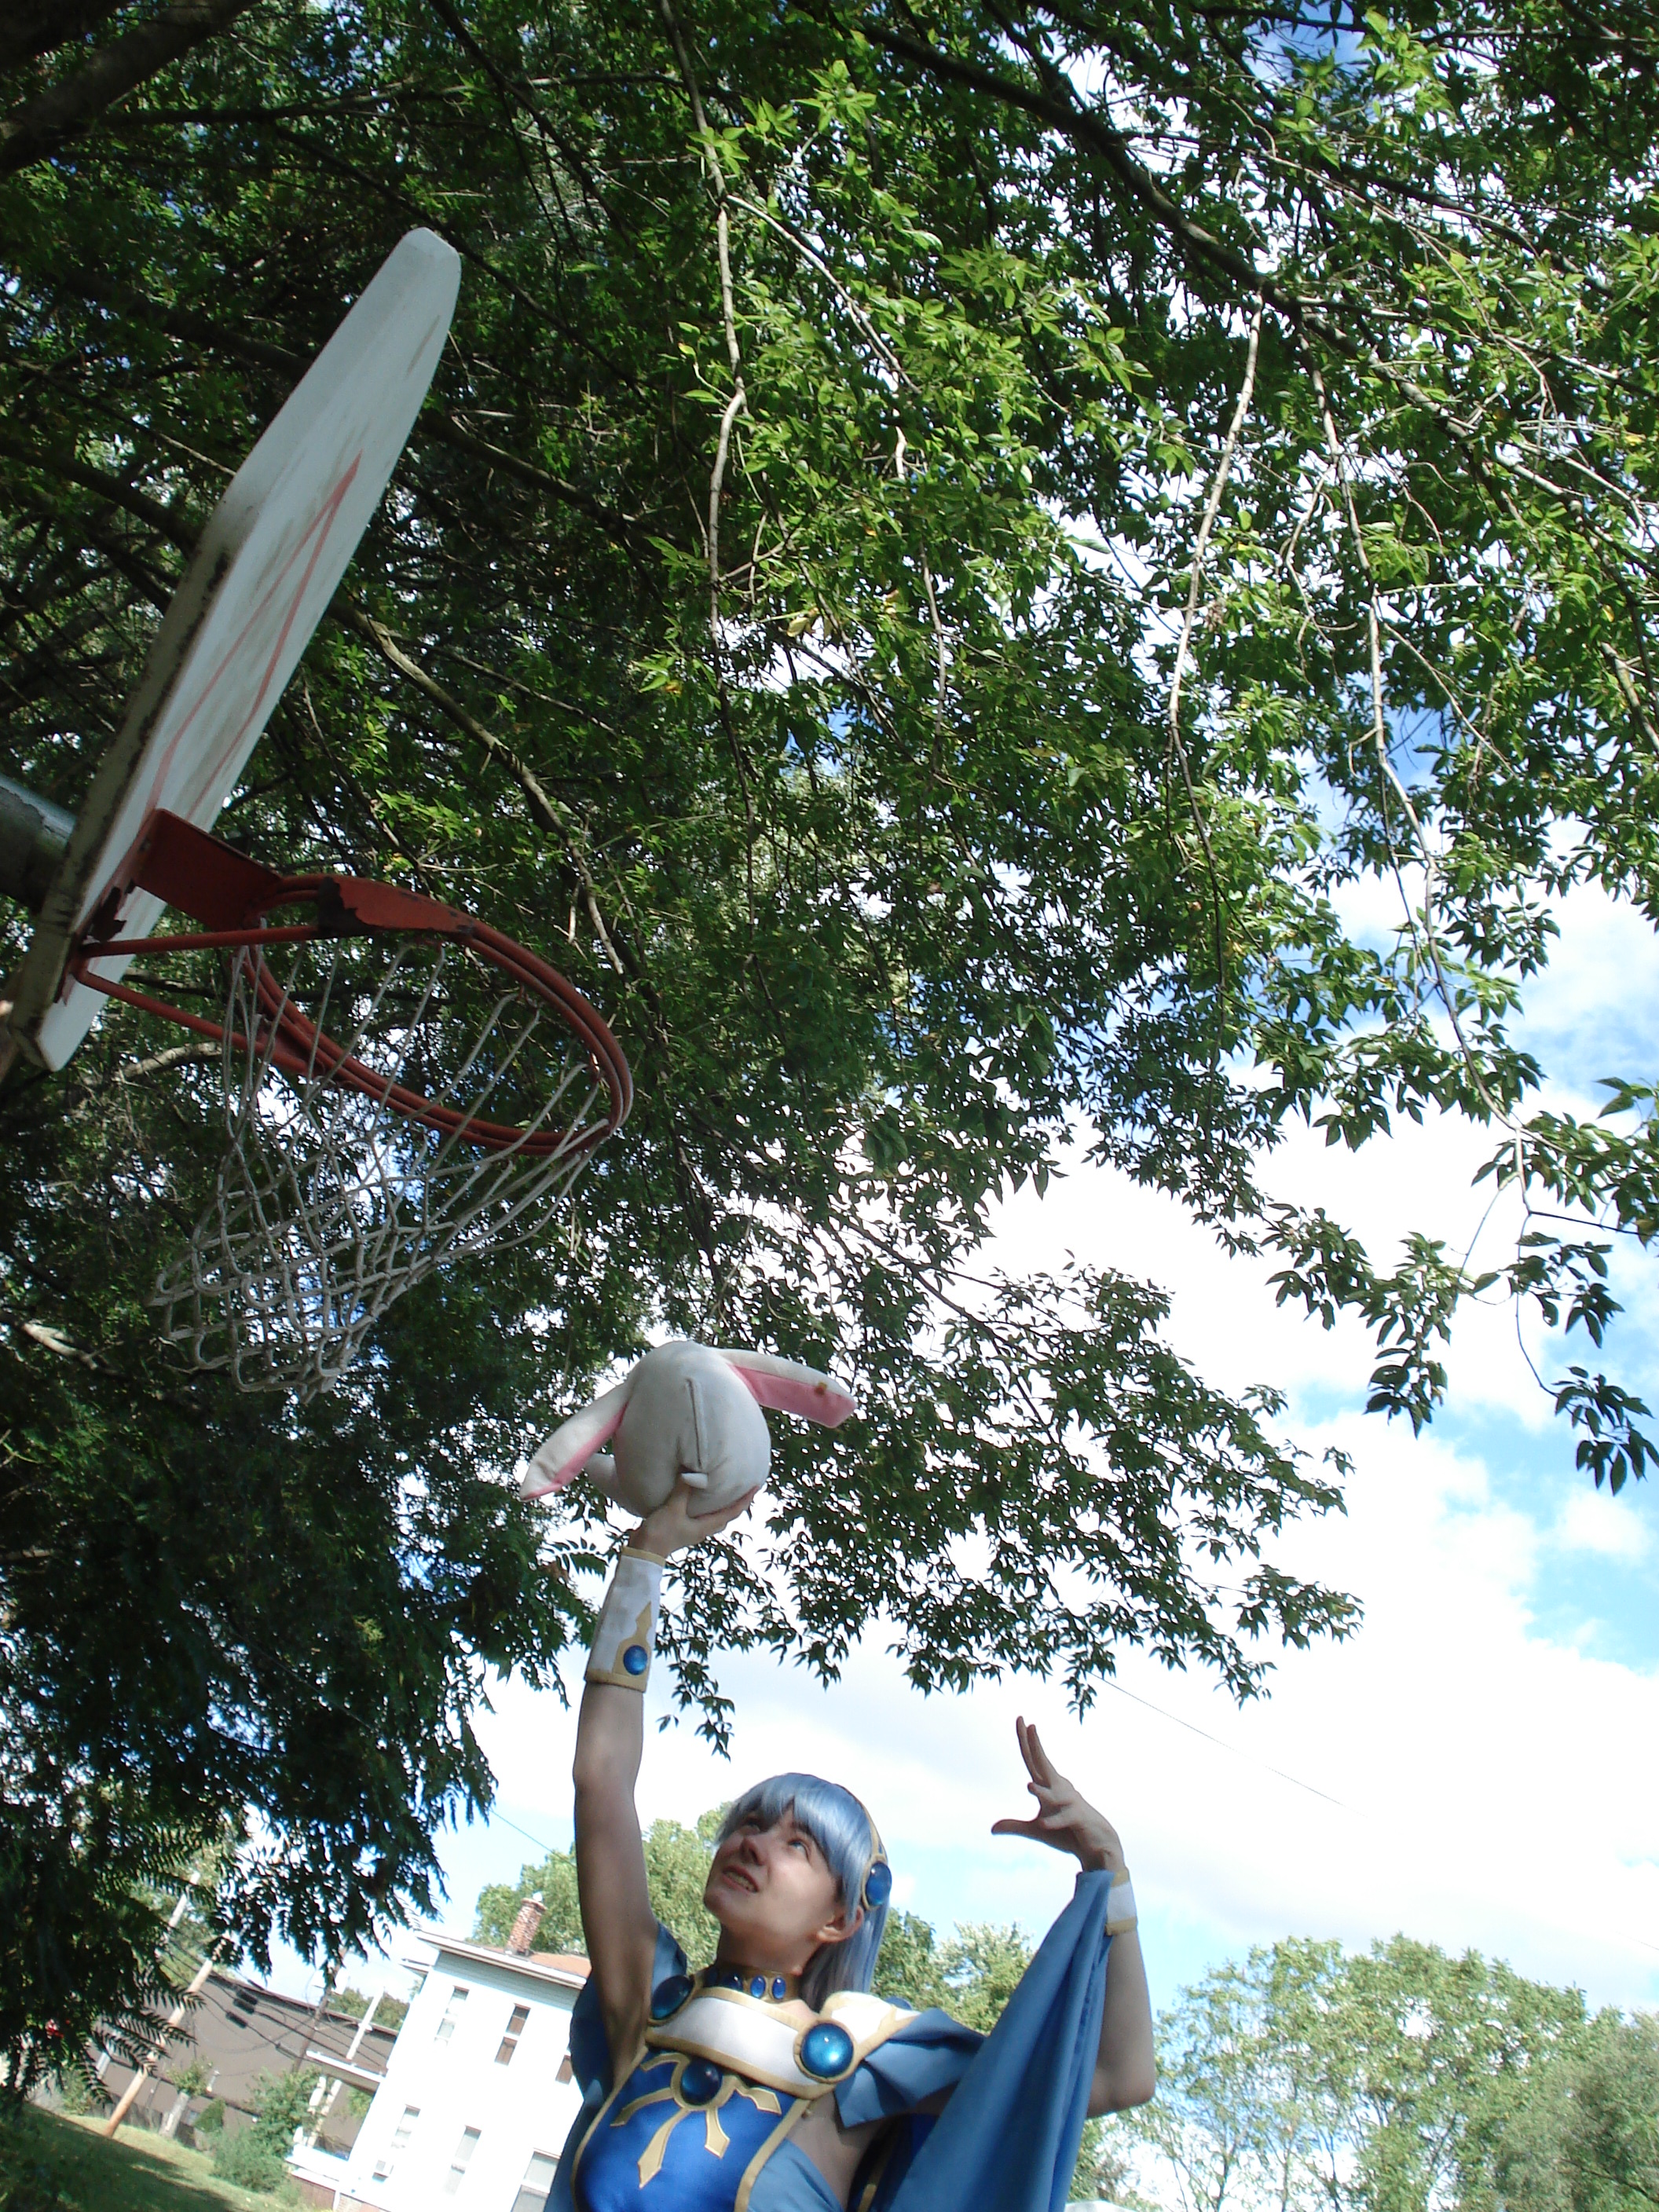
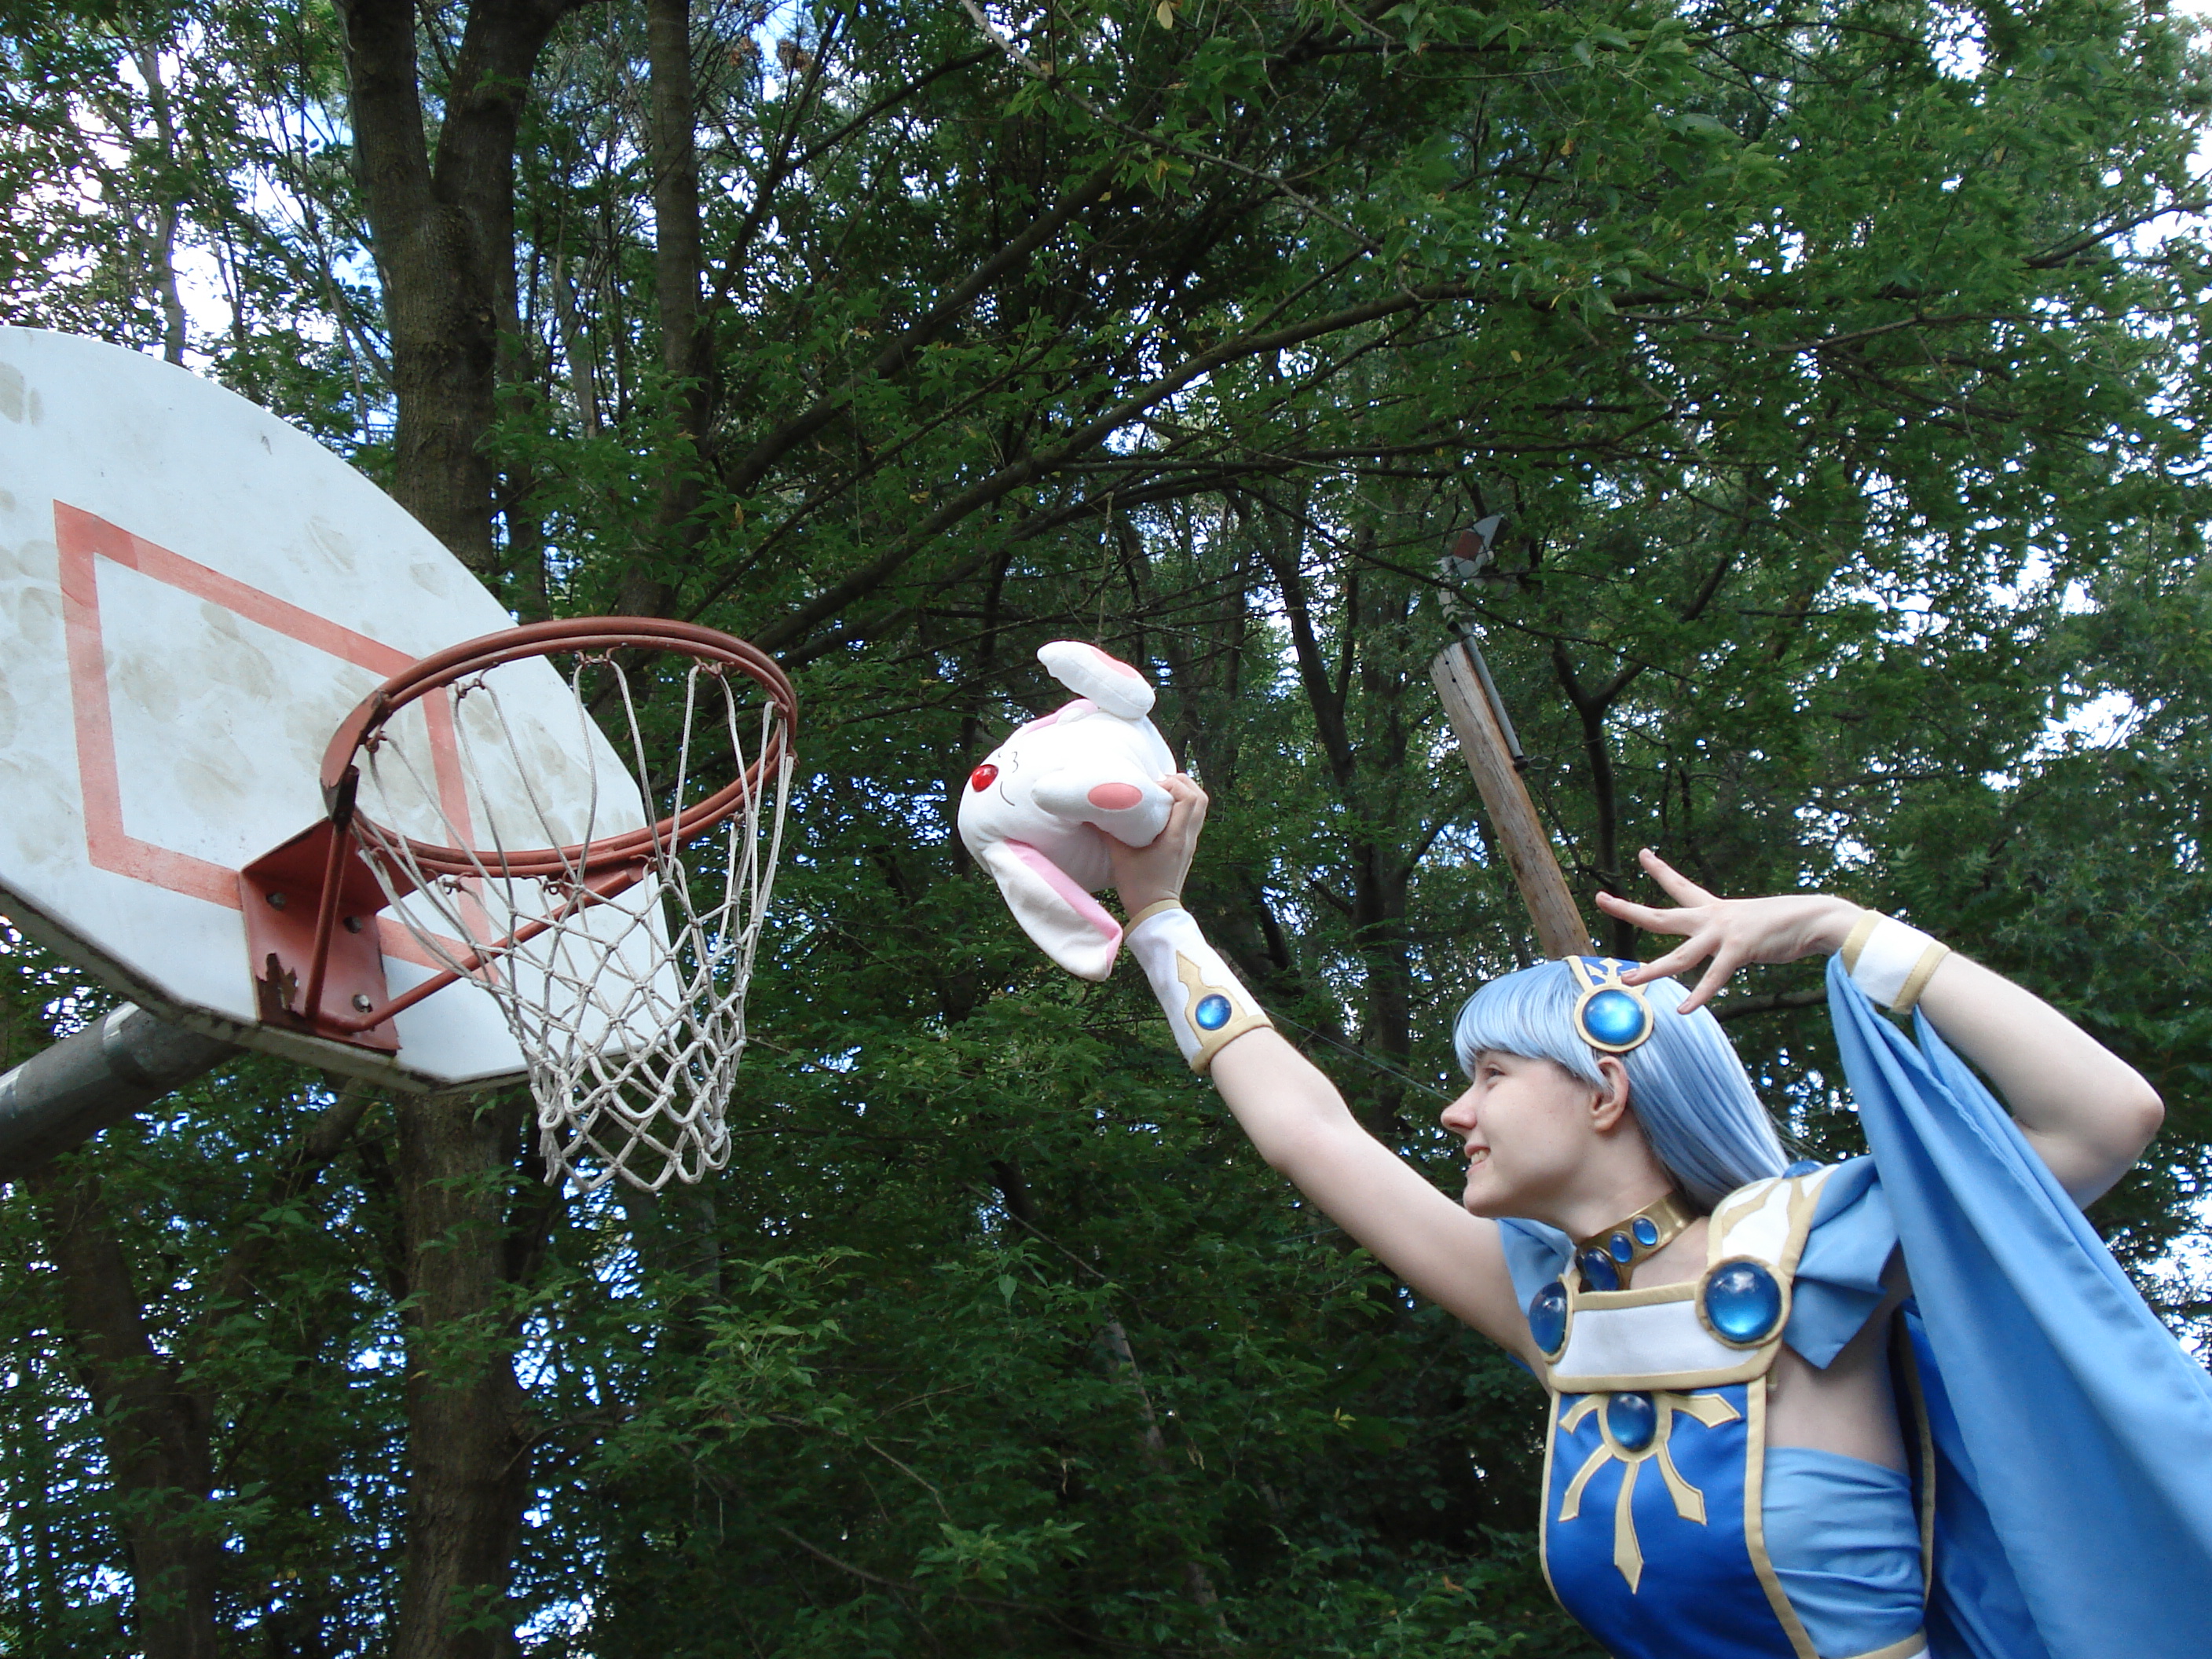
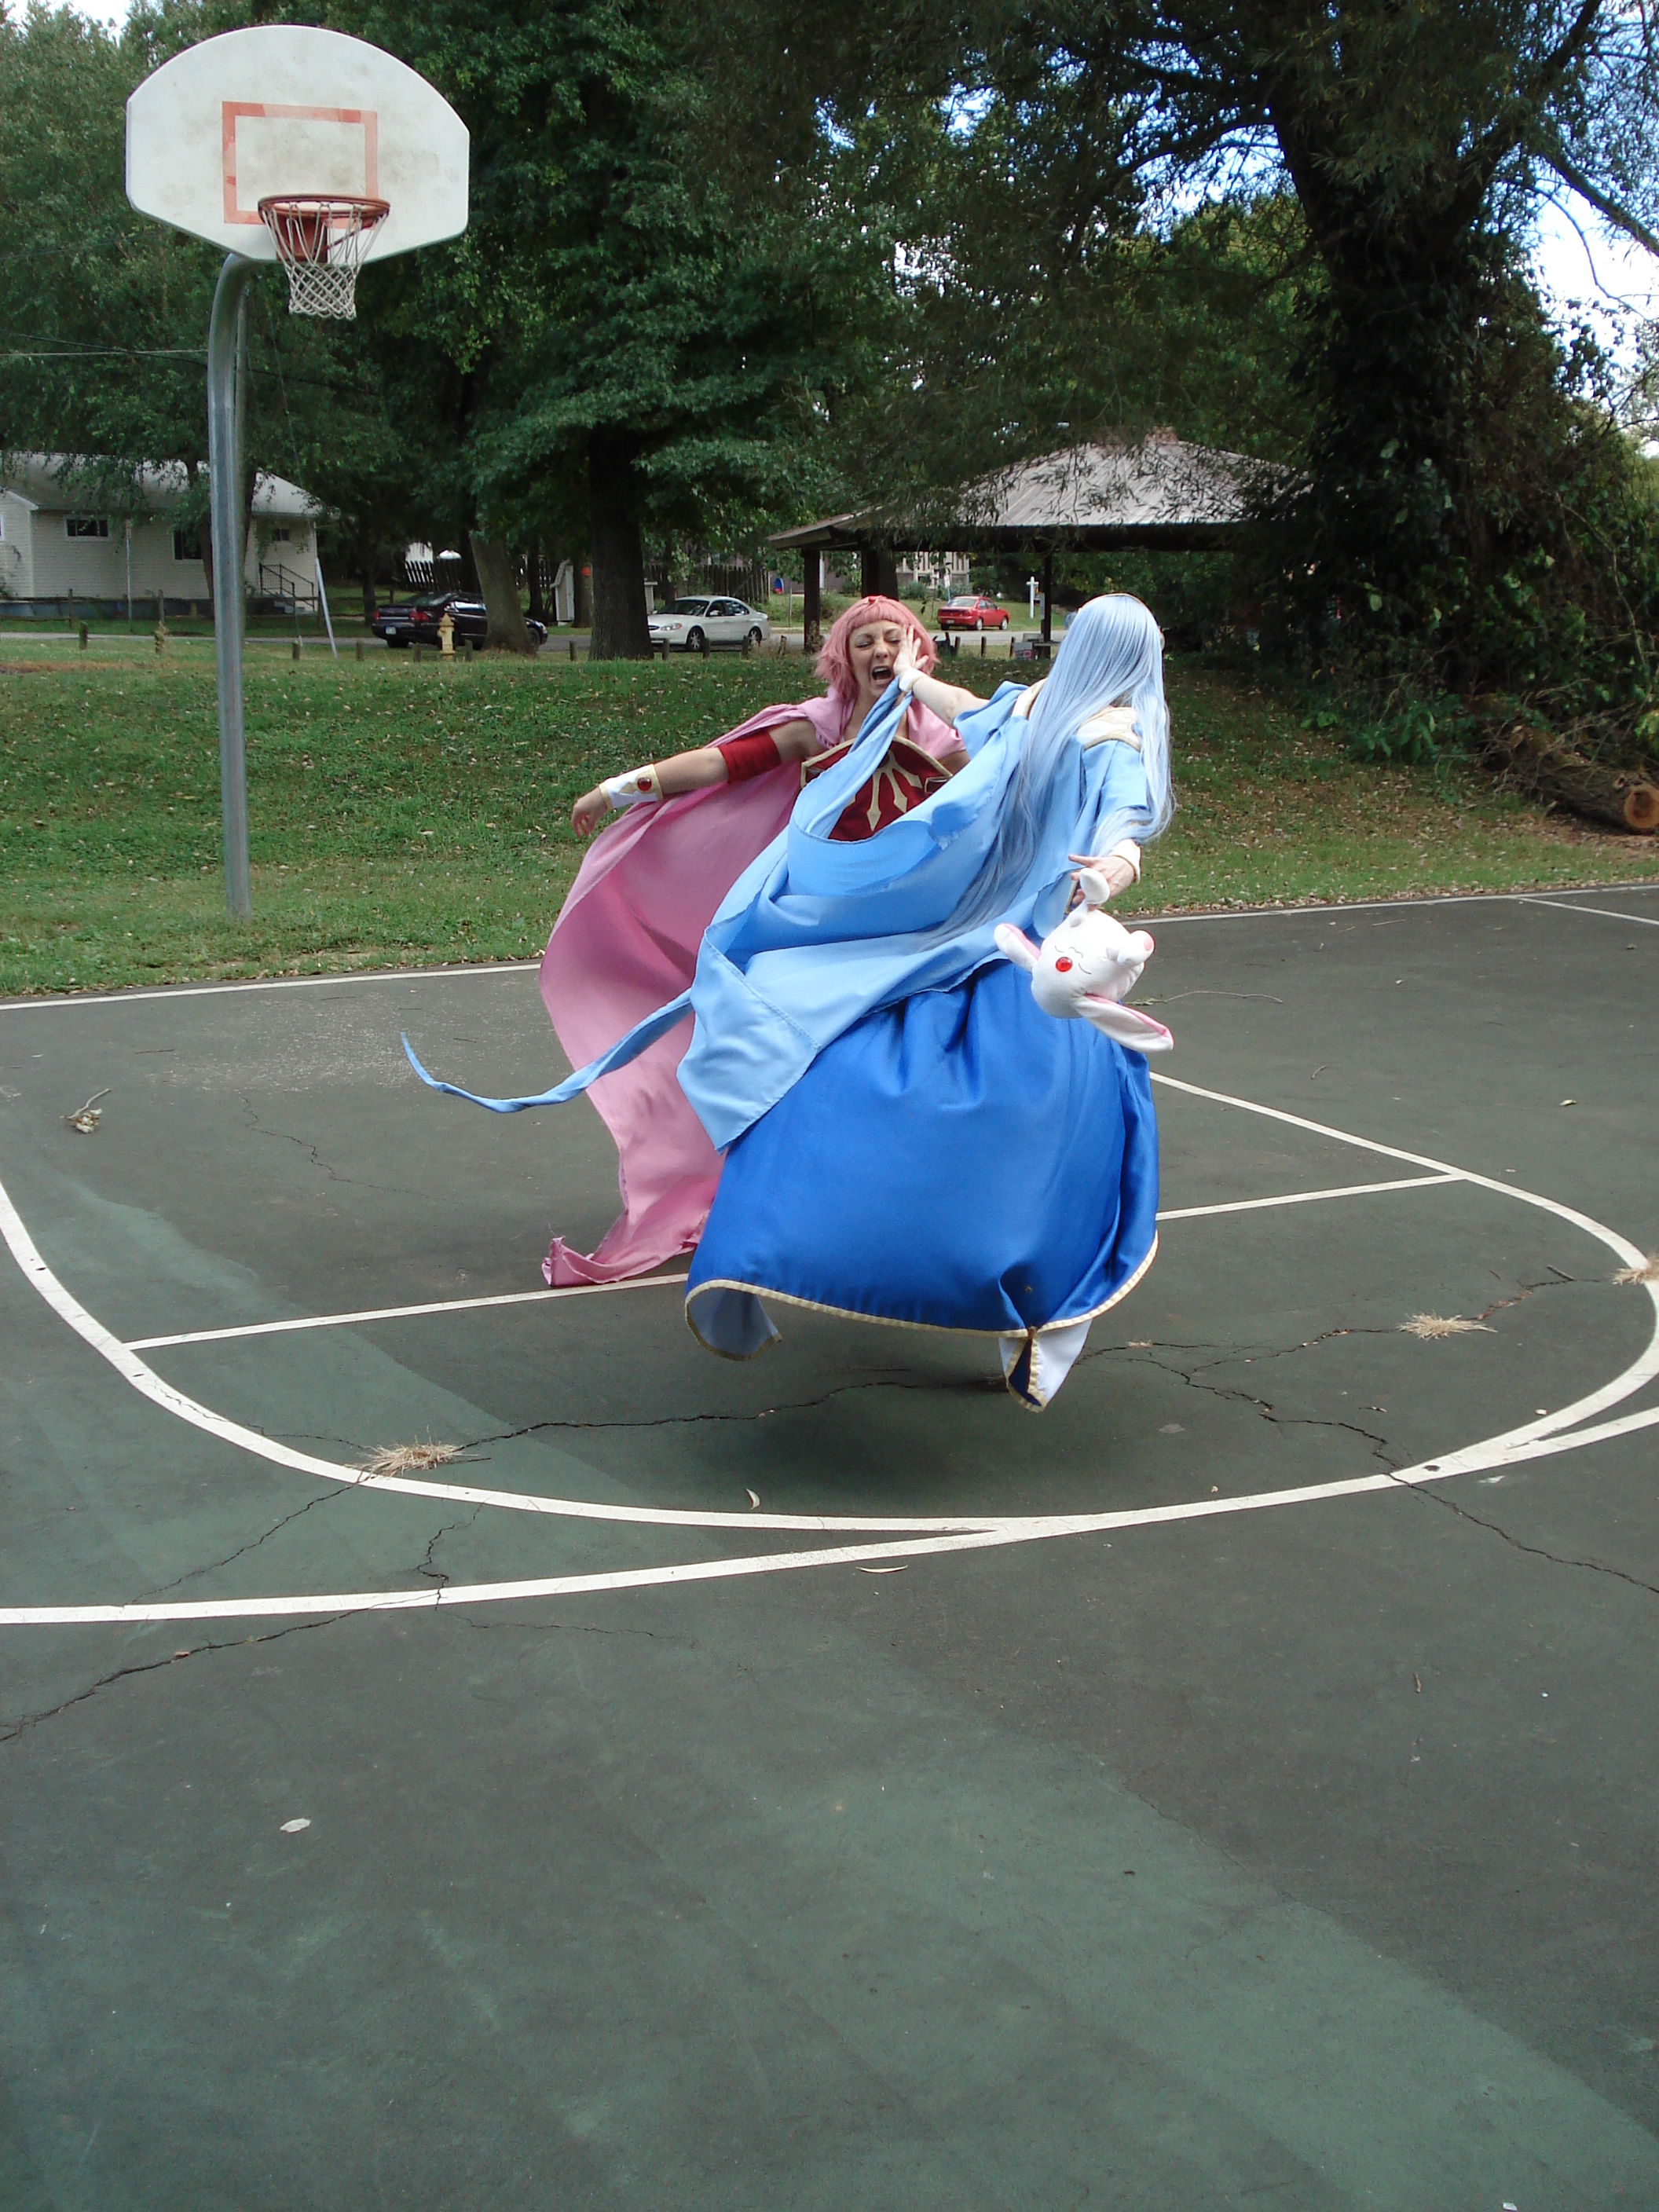
Photos


Progress
Reference