When I purchased my first serger, it arrived during the Great Midwestern Blizzard of 2010. I waded through knee-deep snow to retrieve the battered box from my apartment’s rental office, defrosted myself, unpacked it, and plugged everything in. Unfortunately, the postal system appeared to have treated its numerous HANDLE WITH CAREs as merely decorative suggestions. Expectantly, I stepped on the pedal, and…
…WRRRRRRRRRRRRRRRRRRRR!
The machine’s motor growled, but nothing moved. I carefully checked the manual to make sure I hadn’t missed a hidden activation switch of some kind, but it didn’t look like I’d missed a setup step. Perhaps it had been damaged in transit? If so, the fact that the motor seemed to be working seemed promising. So, I decided to use this as an excuse to take it apart see if I could fix it.
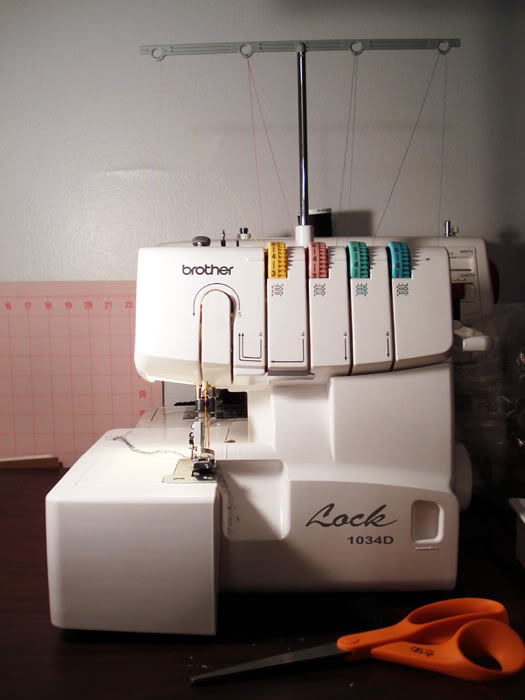
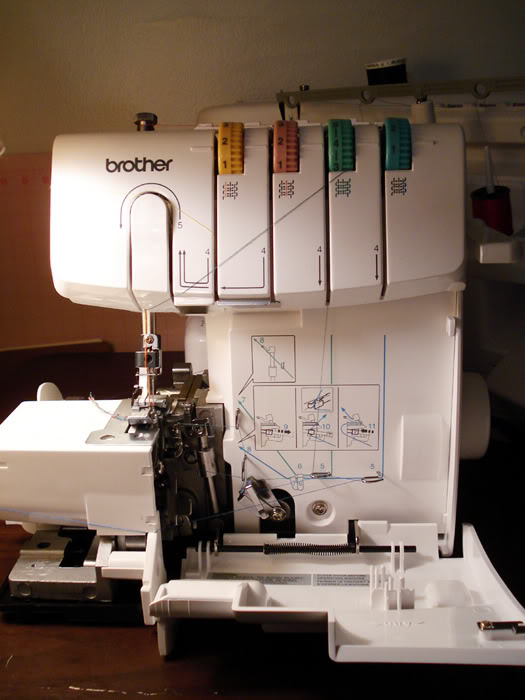
The sadly nonfunctional serger.
I unscrewed the back cover and side panel to see if I could peer in and figure out what was wrong.
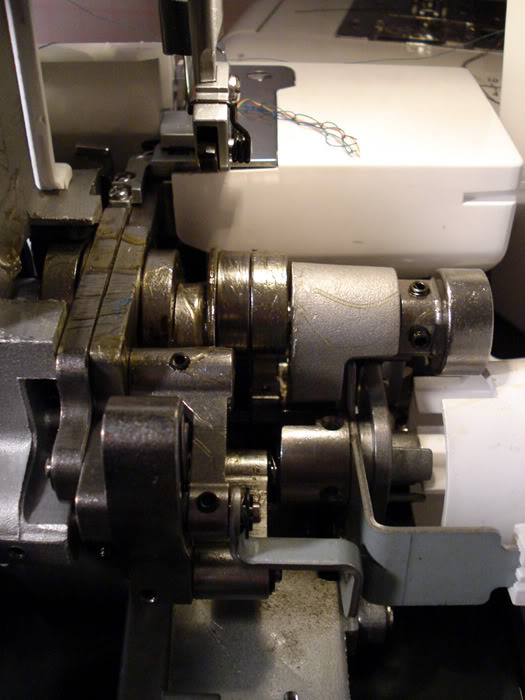
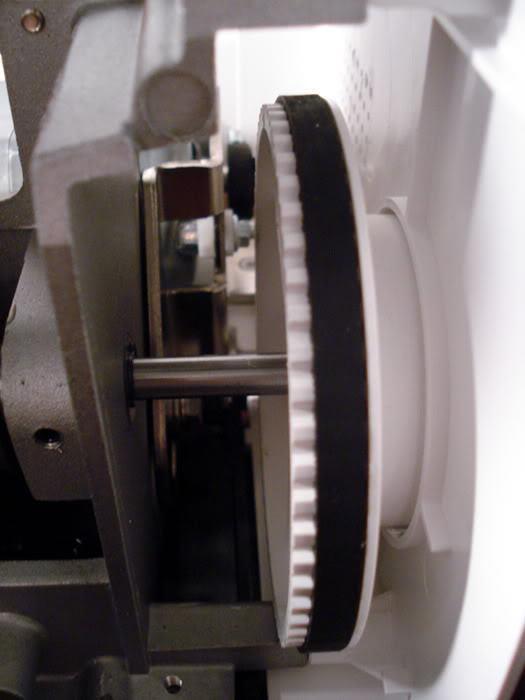
I hadn’t realized there was a giant chunk of machinery behind the presser foot. Pretty interesting.

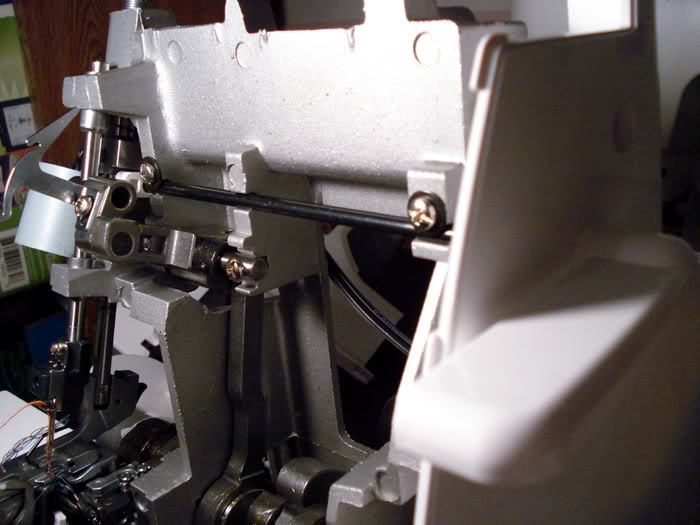
Ohhhh, this could be causing my problem! It was tough to get at the back half of the loop, though, so I decided to take the rest of the cover off.
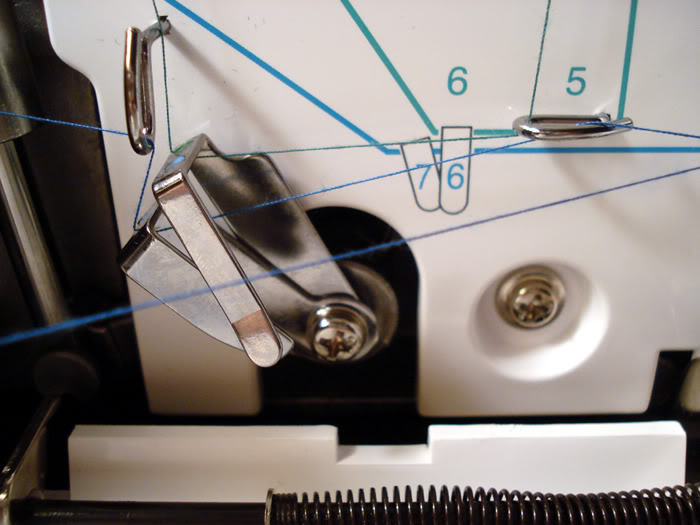
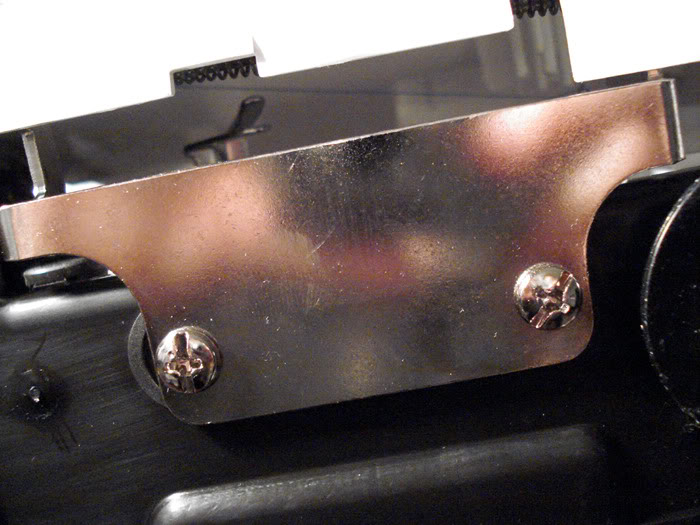
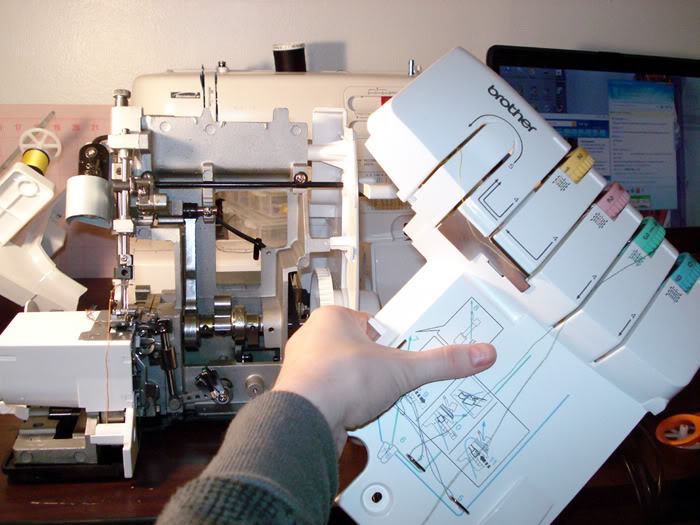
The screw on the right in the first image held the front plastic plate to the machine. However, the flip down plate was blocking my path.
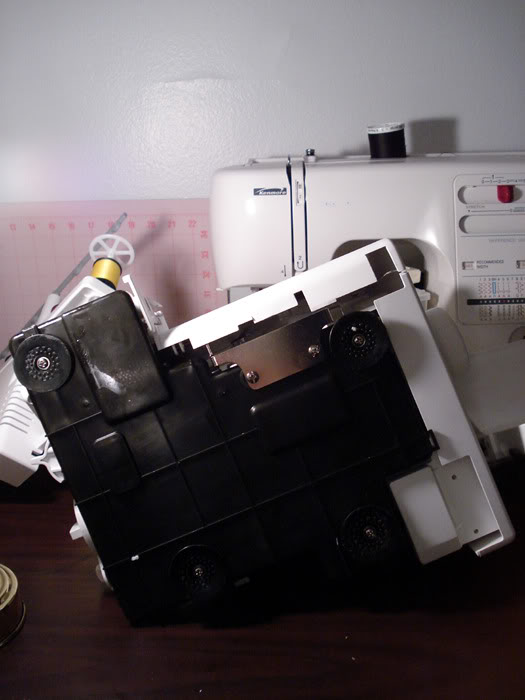
So, I flipped the serger over and removed these two screws.
BAMMO! Path unblocked.

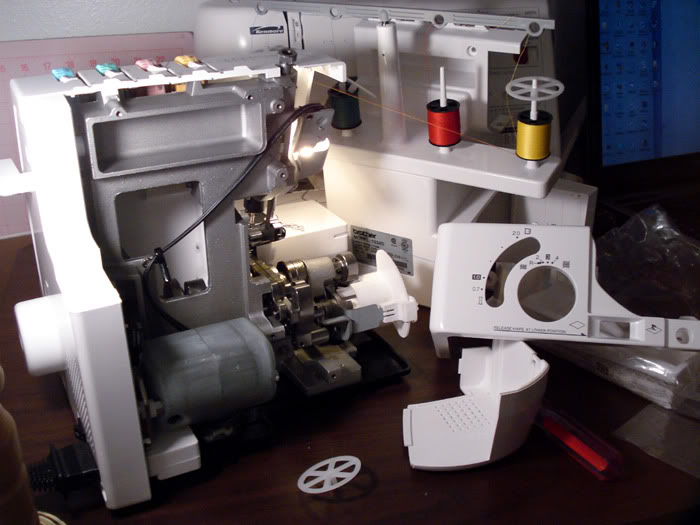
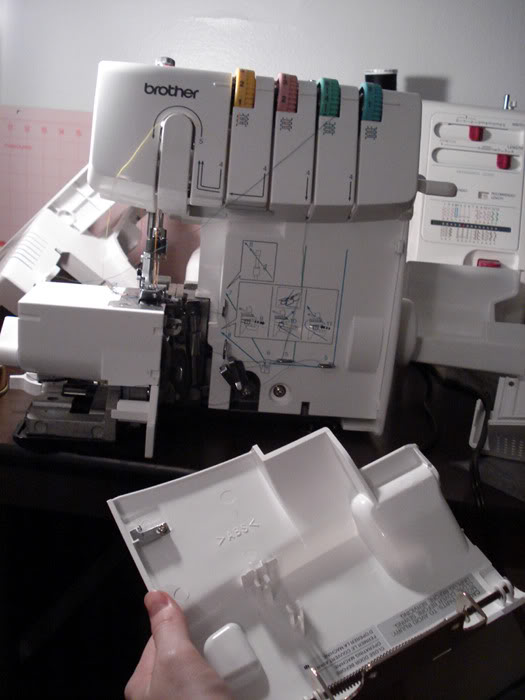
An action shot!…a blurry one, because back in 2010, I didn’t have a smartphone. Then I was able to carefully wriggle the front plate free.
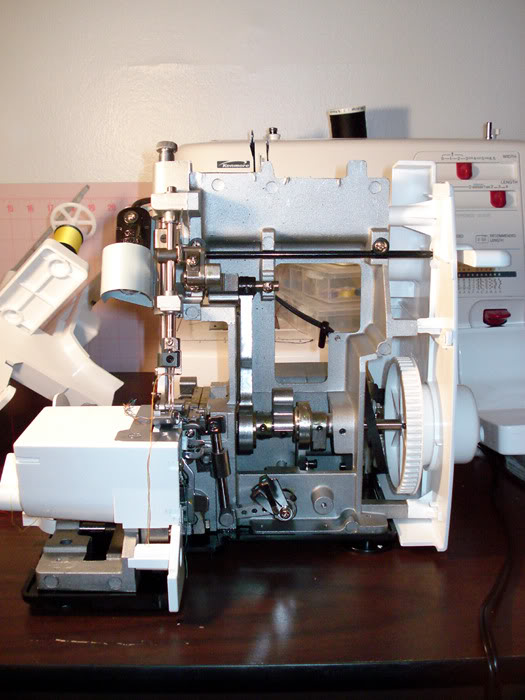
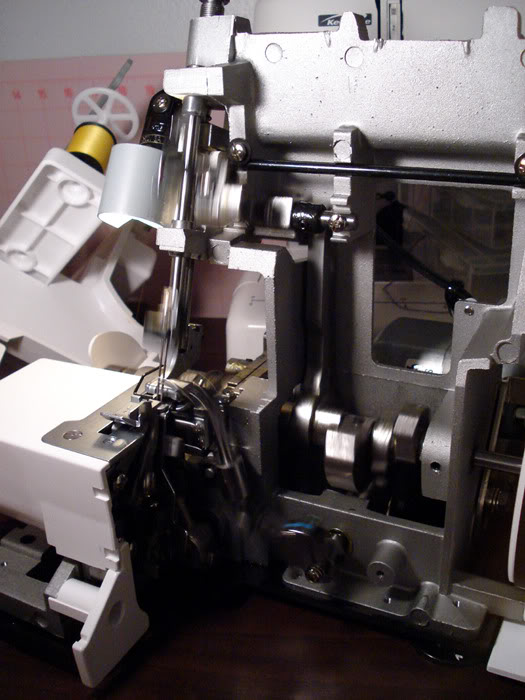
Here are the cute intestines of my serger! Note the flailing belt on the right. I could also see the little mechanism that directs the lifting/lowering of the presser foot.
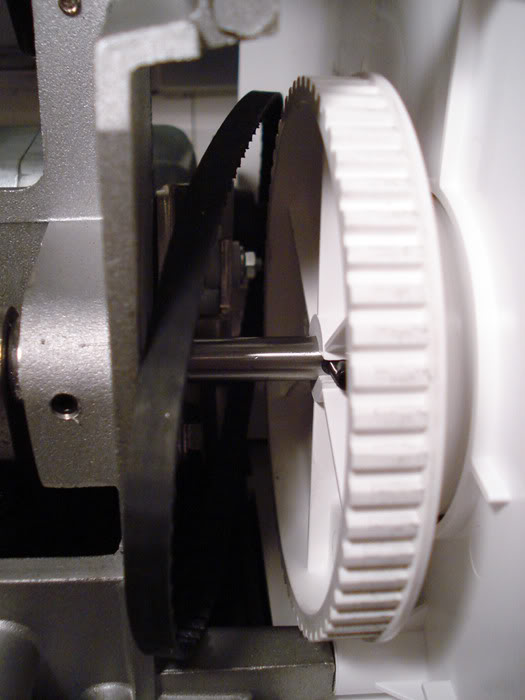
When I was done ogling the mechanical engineering, I pulled the belt forward and popped it on. Then, it was time for the moment of truth: pressing the foot pedal.
Vroom! :D
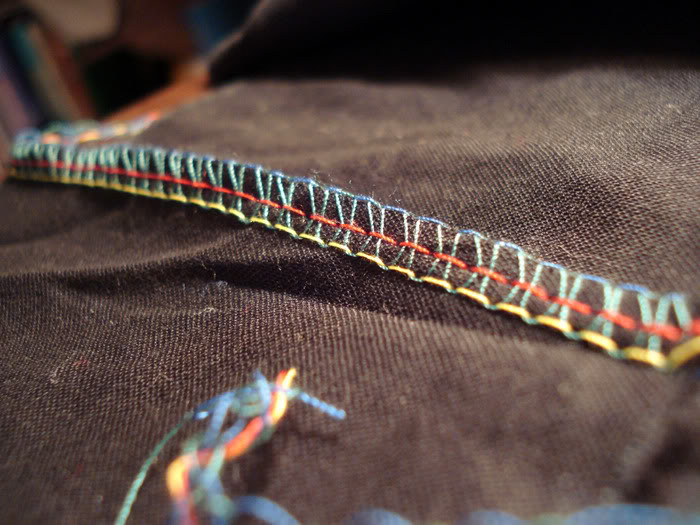
Rainbow-colored test stitching. :)
Then I put it all back together again. Not a hard “repair,” and saved me the hassle of driving the paraplegic machine back out to the post office.
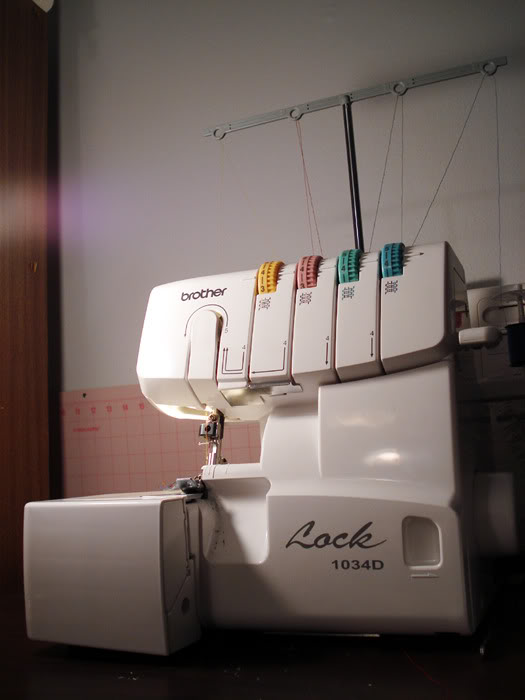
Closing Thoughts on the Brother 1034D
When I first became able to afford a serger, my options were limited to the absolute bottom of the market. This restricted an ocean of potential choices down to a tiny handful; out of these, reviews indicated that the Brother 1034D was by far the best choice. This was surprising to me, since at the time I was somewhat skeptical of low-end Brother sewing machines.
Sergers have a well-justified reputation for being difficult to use. Many people struggle to troubleshoot tension issues on a normal sewing machine, and that takes only two thread inputs, compared to a serger’s four or more. The inherent complexity of spamming 4+ threads at precisely timed intervals can of course only be exacerbated by known troublemakers with questionable engineering.
It is extremely common to find sergers with very poor online reviews. The challenging part is determining whether the deficiency lies with the user or with the machine, and this is most difficult at the lowest end of the market, where inexperienced users and questionable machines have the most overlap. When I originally researched sergers on Amazon, the Brother 1034D had atypically good reviews (4.6/5.0 across 2,000+ reviews, in a time before review-gaming had really gotten underway), and many of those were written by people new to using any sort of serger at all.
Despite my initial trouble with the belt, the serger has served me faithfully now for many years. It’s a great machine and I still highly recommend it. I bought it in 2010 for $200, although as of 2024 it now goes for ~$280. For basic serging needs I think you’d still be hard-pressed to find better. It might lack a lot of the bells and whistles found in the $1,000+ category, but with most sergers in the $200ish price range you’d be better off just lighting your money aflame.