Most of the time, all you need to do is make a good long length of bias tape and apply it from start to finish in one straight shot until it runs off the edge. However, sometimes you need to end your tape in the middle of a run, for example if you have a garment seam that you want to align a trim seam with, or if you’re encasing a potholder in a 360 degree bias tape circle.
Here’s what the “fold-it-and-hope method” method tends to looks like. It’s chunky on the front, and really quite a mess on the back.
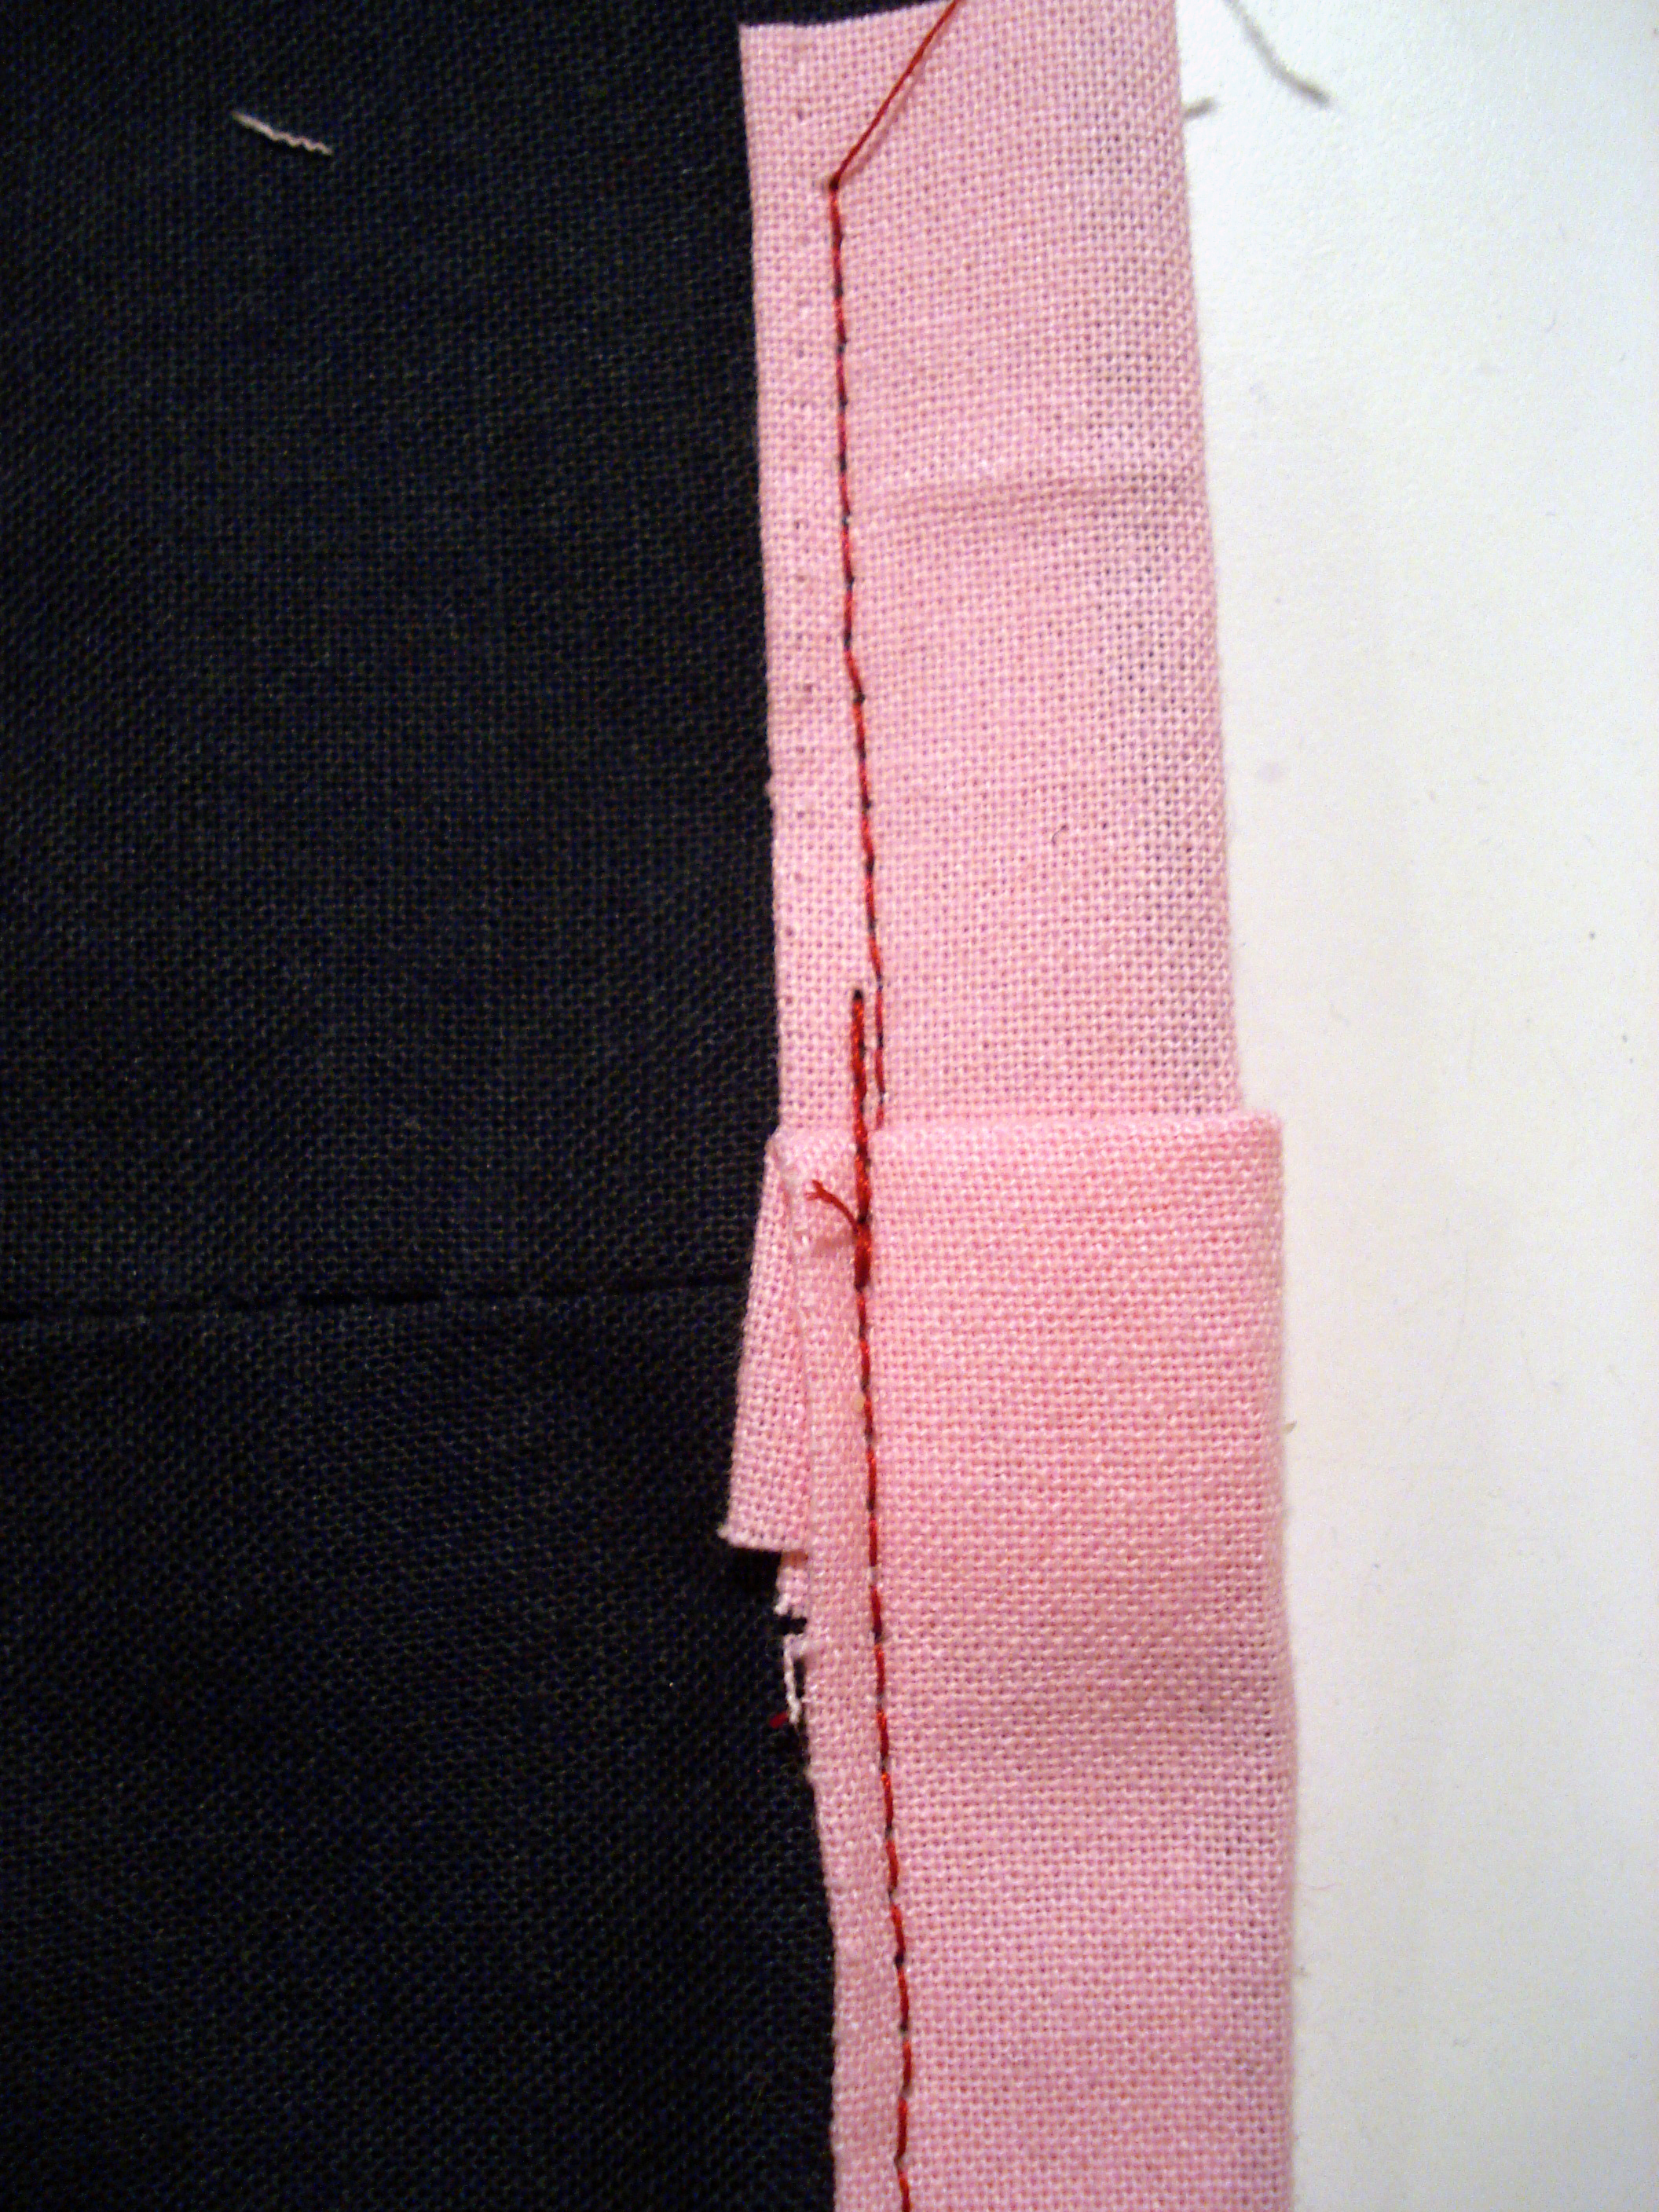
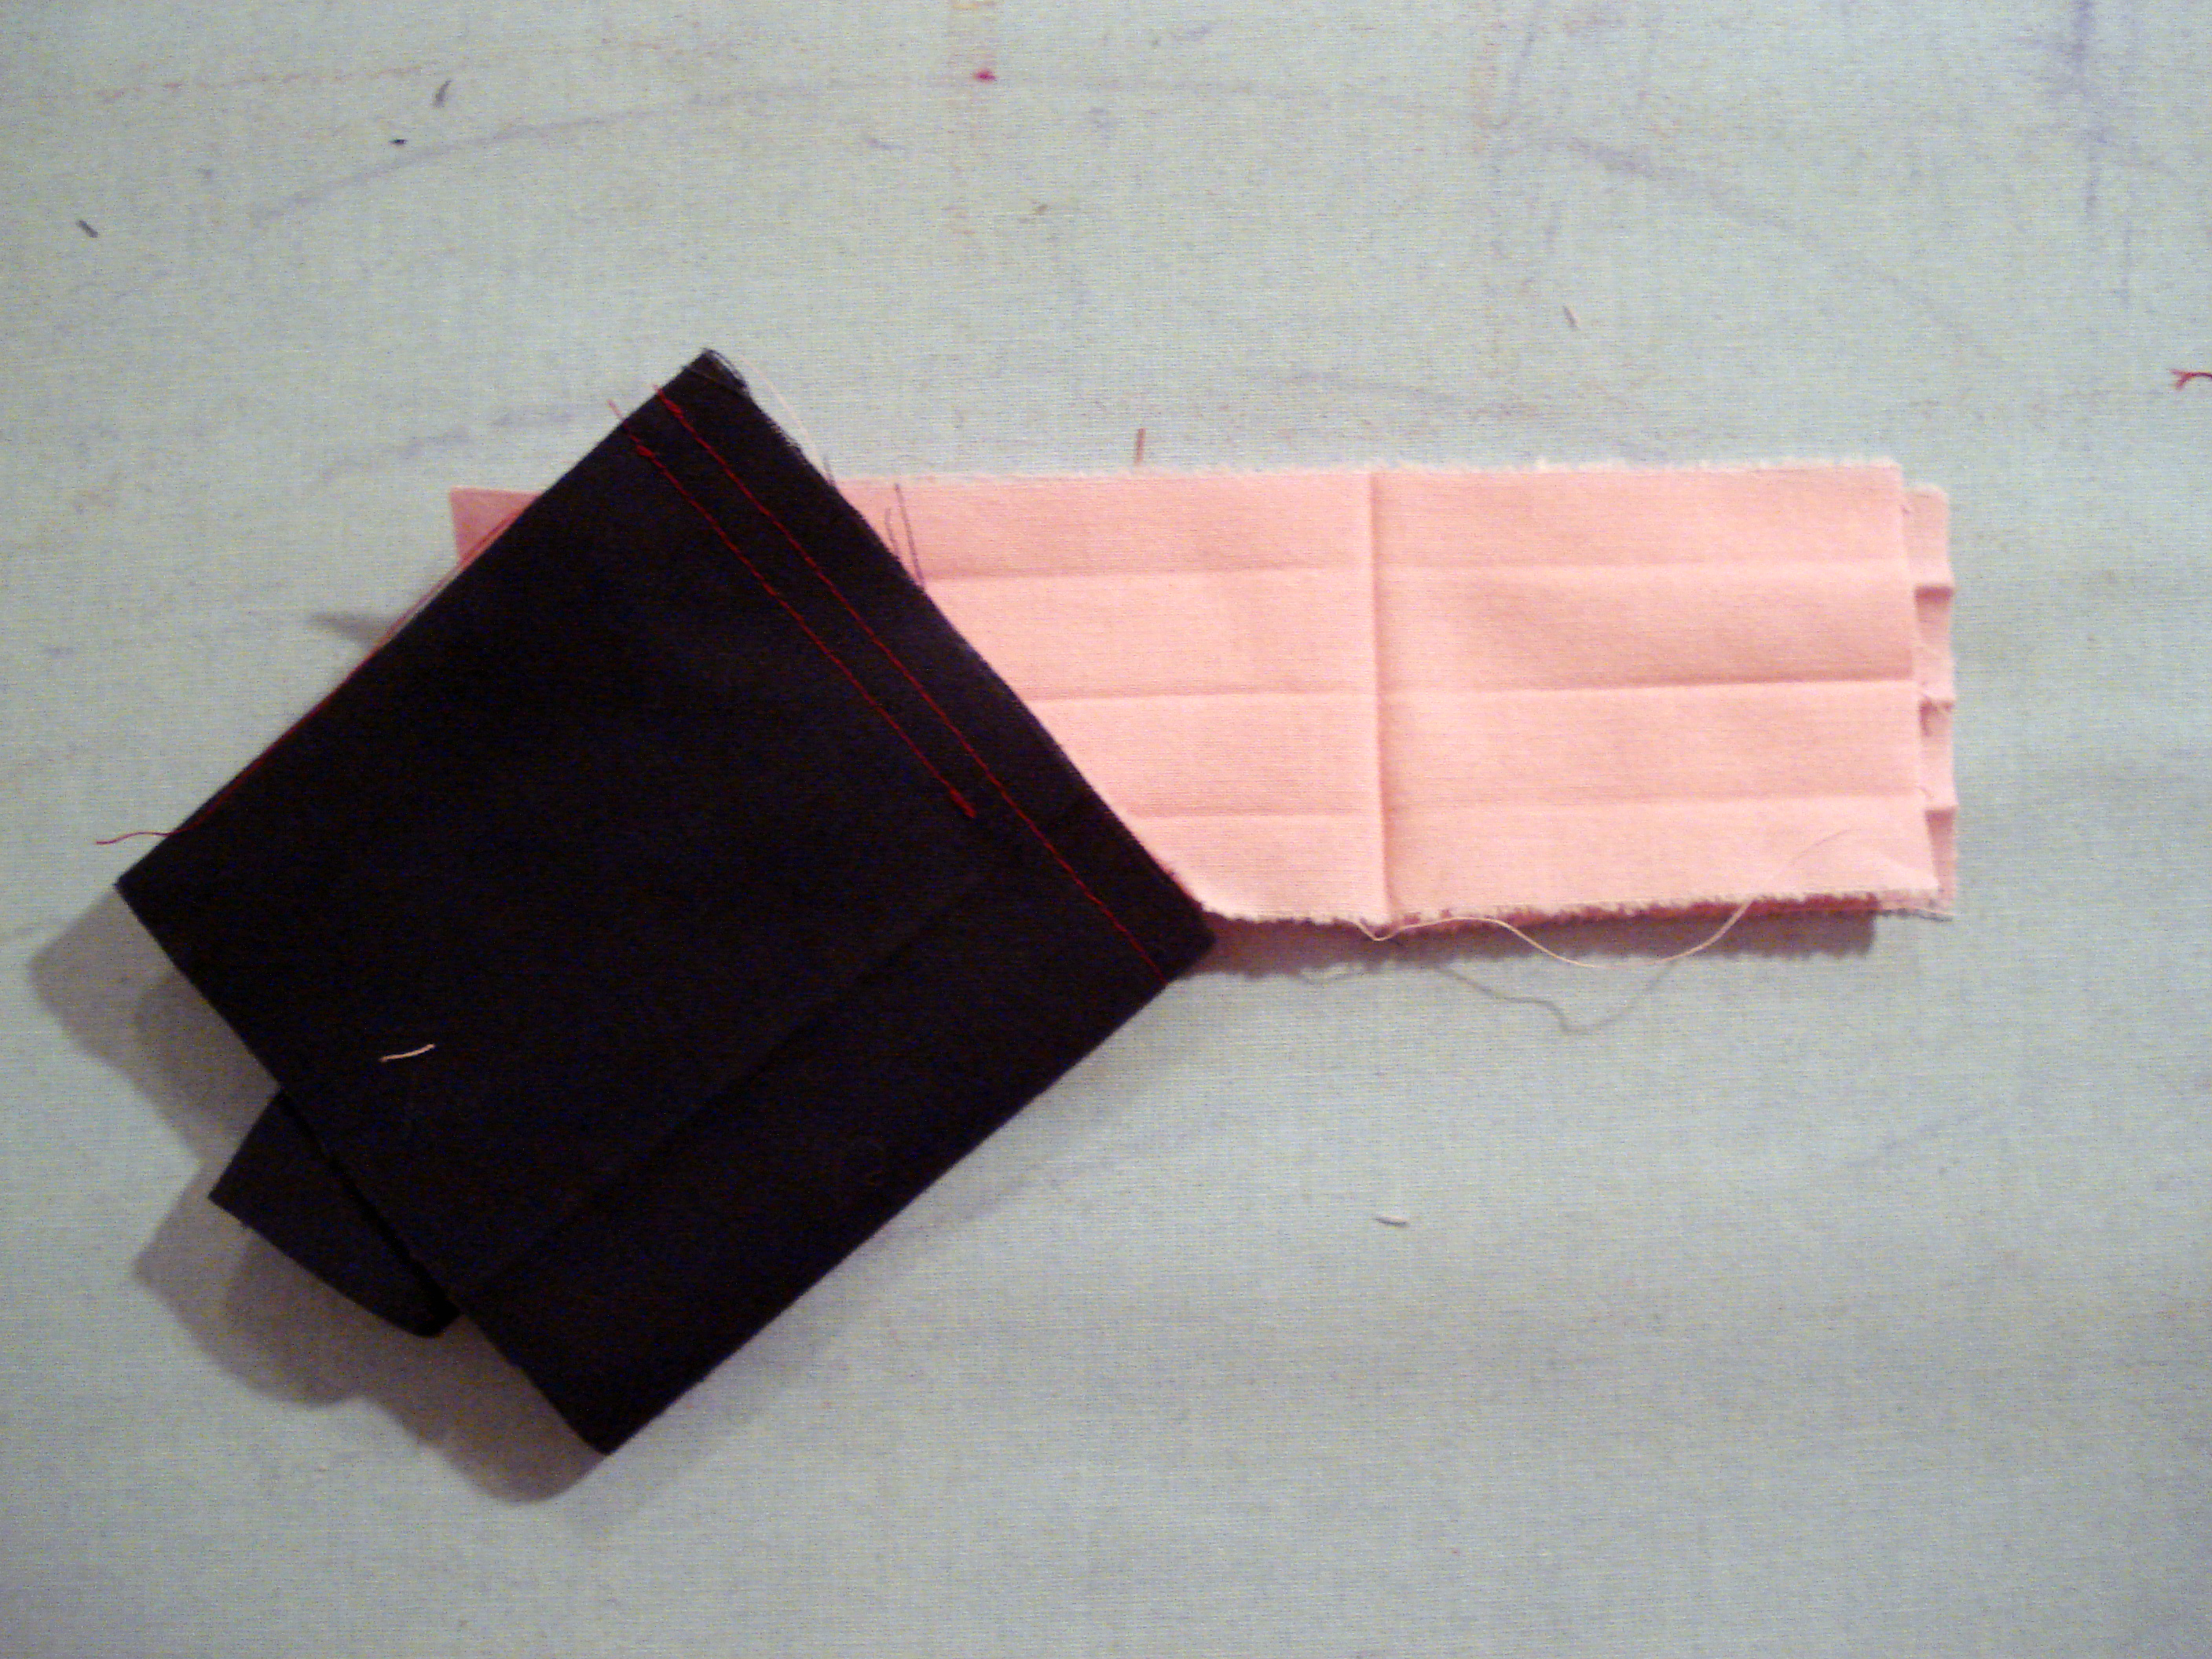
Sew the bias tape to the fabric, but stop a few inches before the join point on both sides. We want to make the two lengths of tape meet precisely in the middle to finish them off.
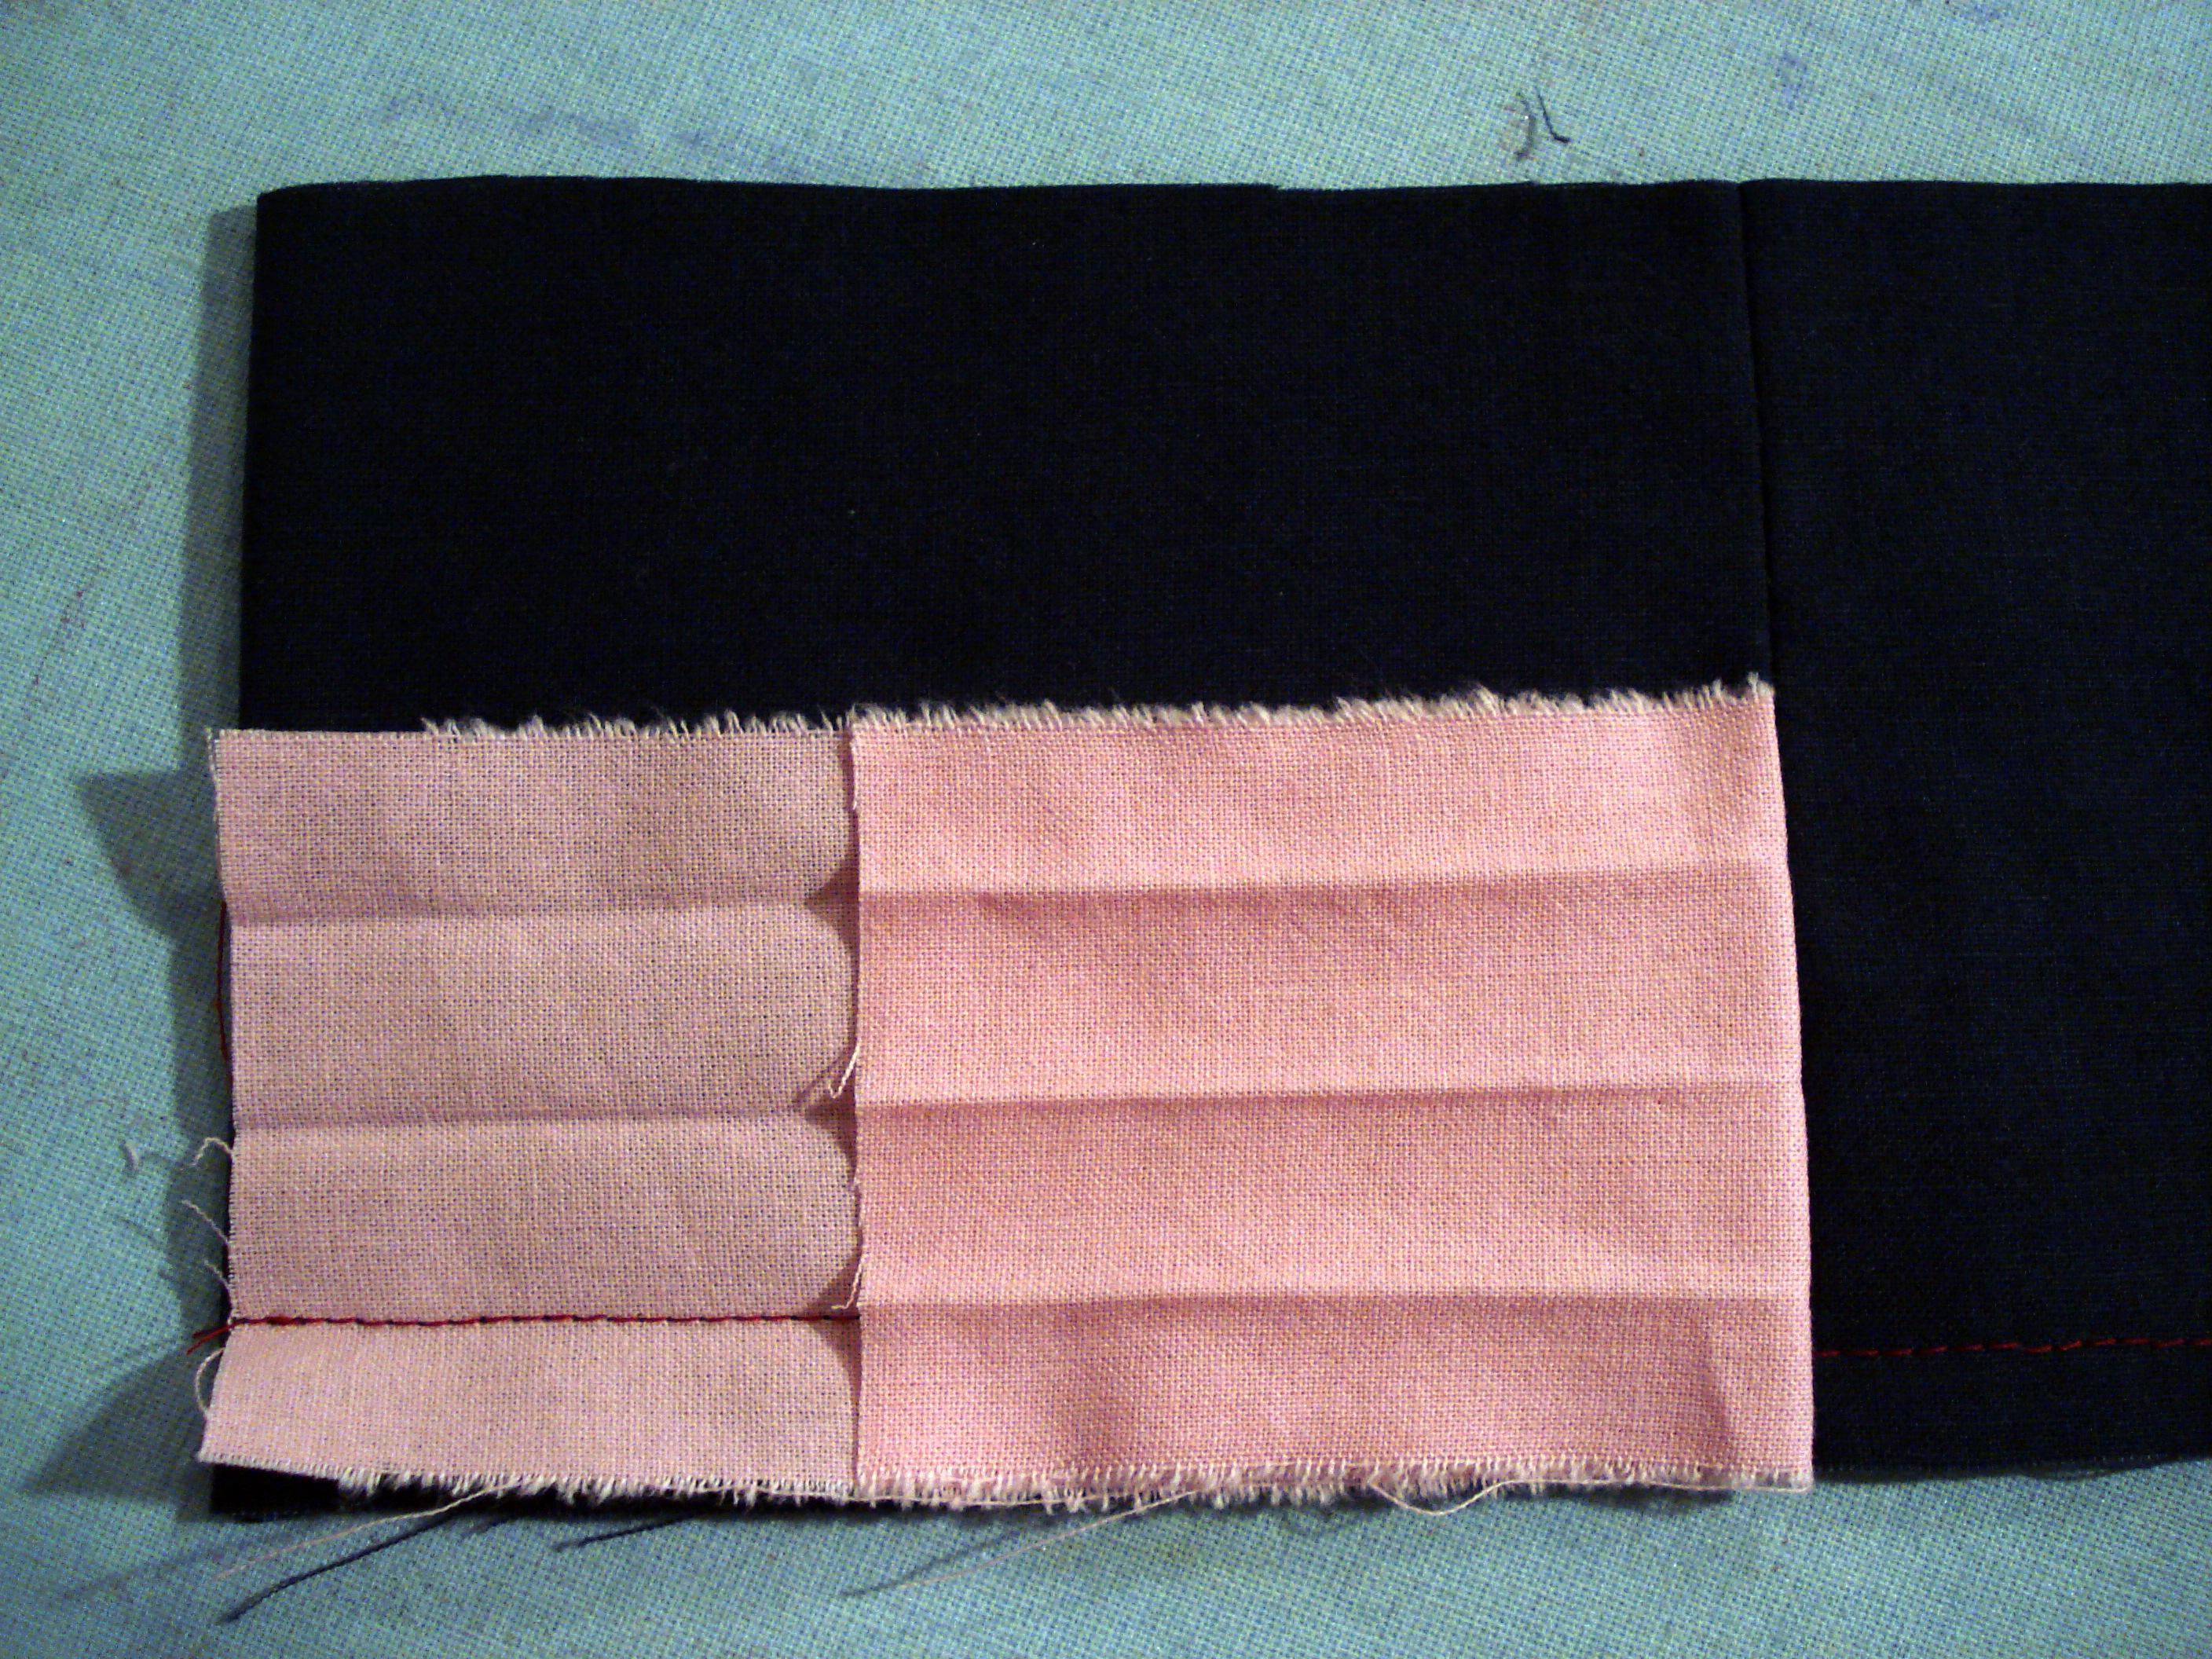

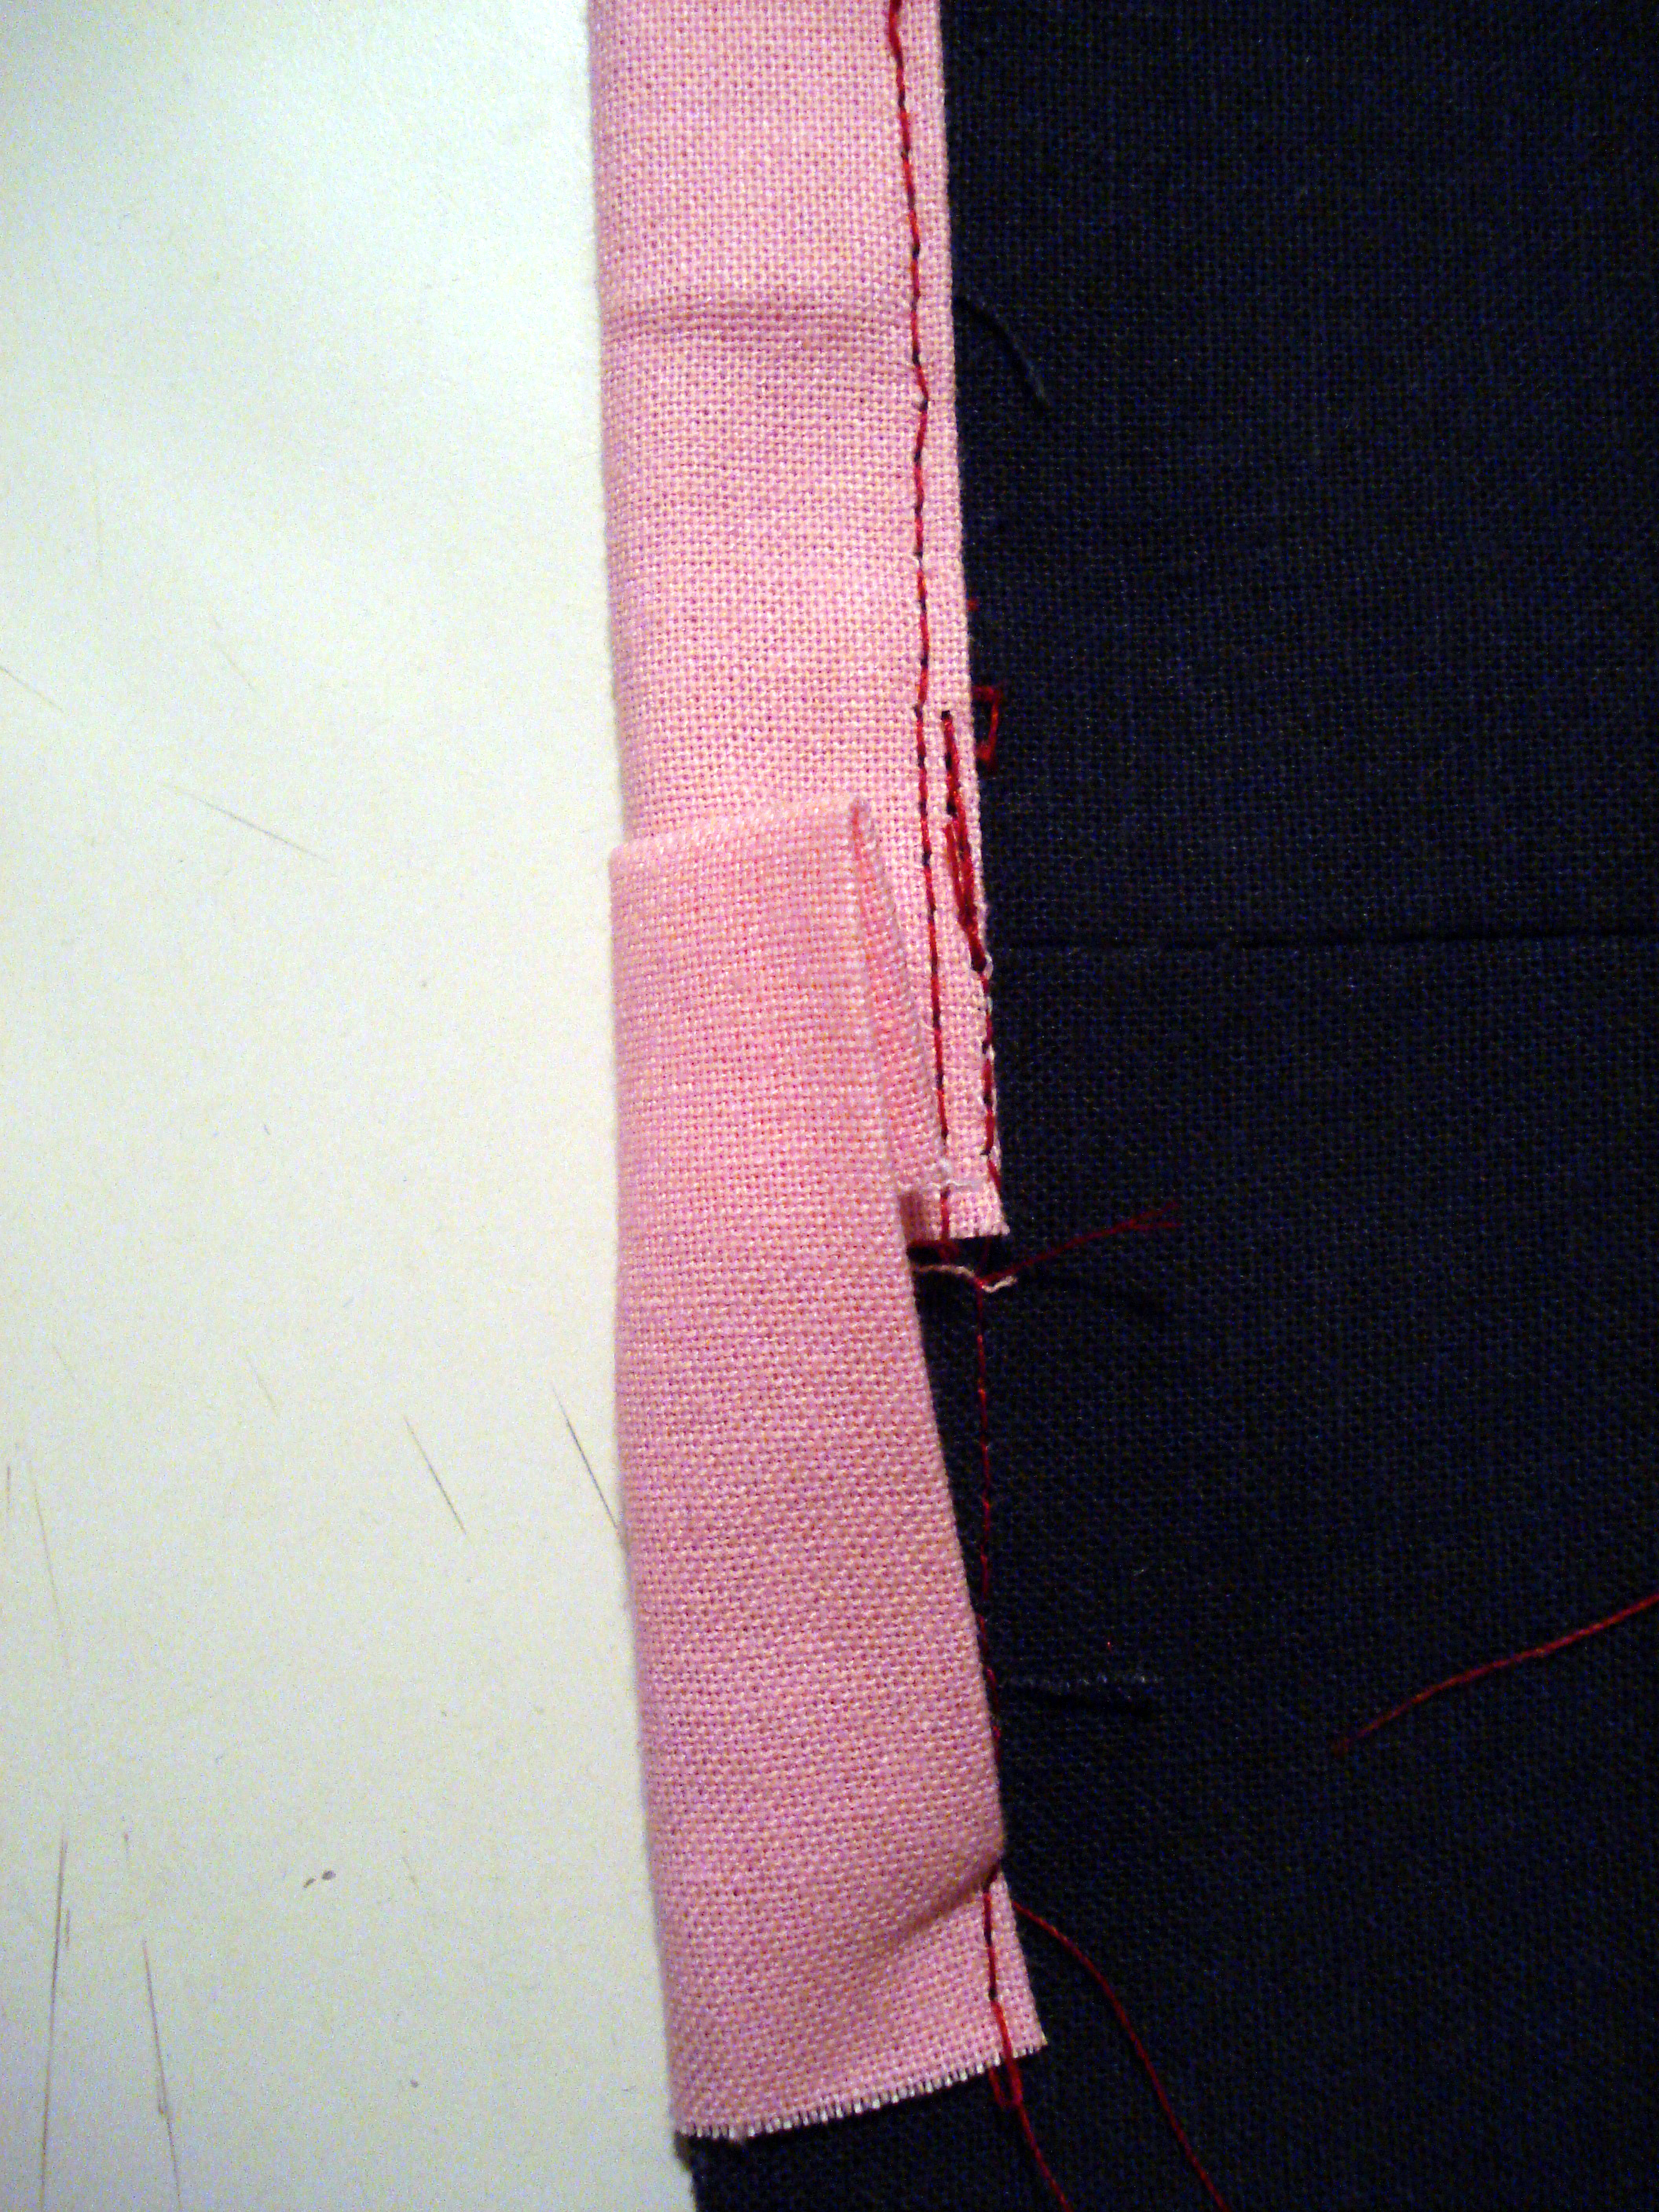
Fold back the ends and press.
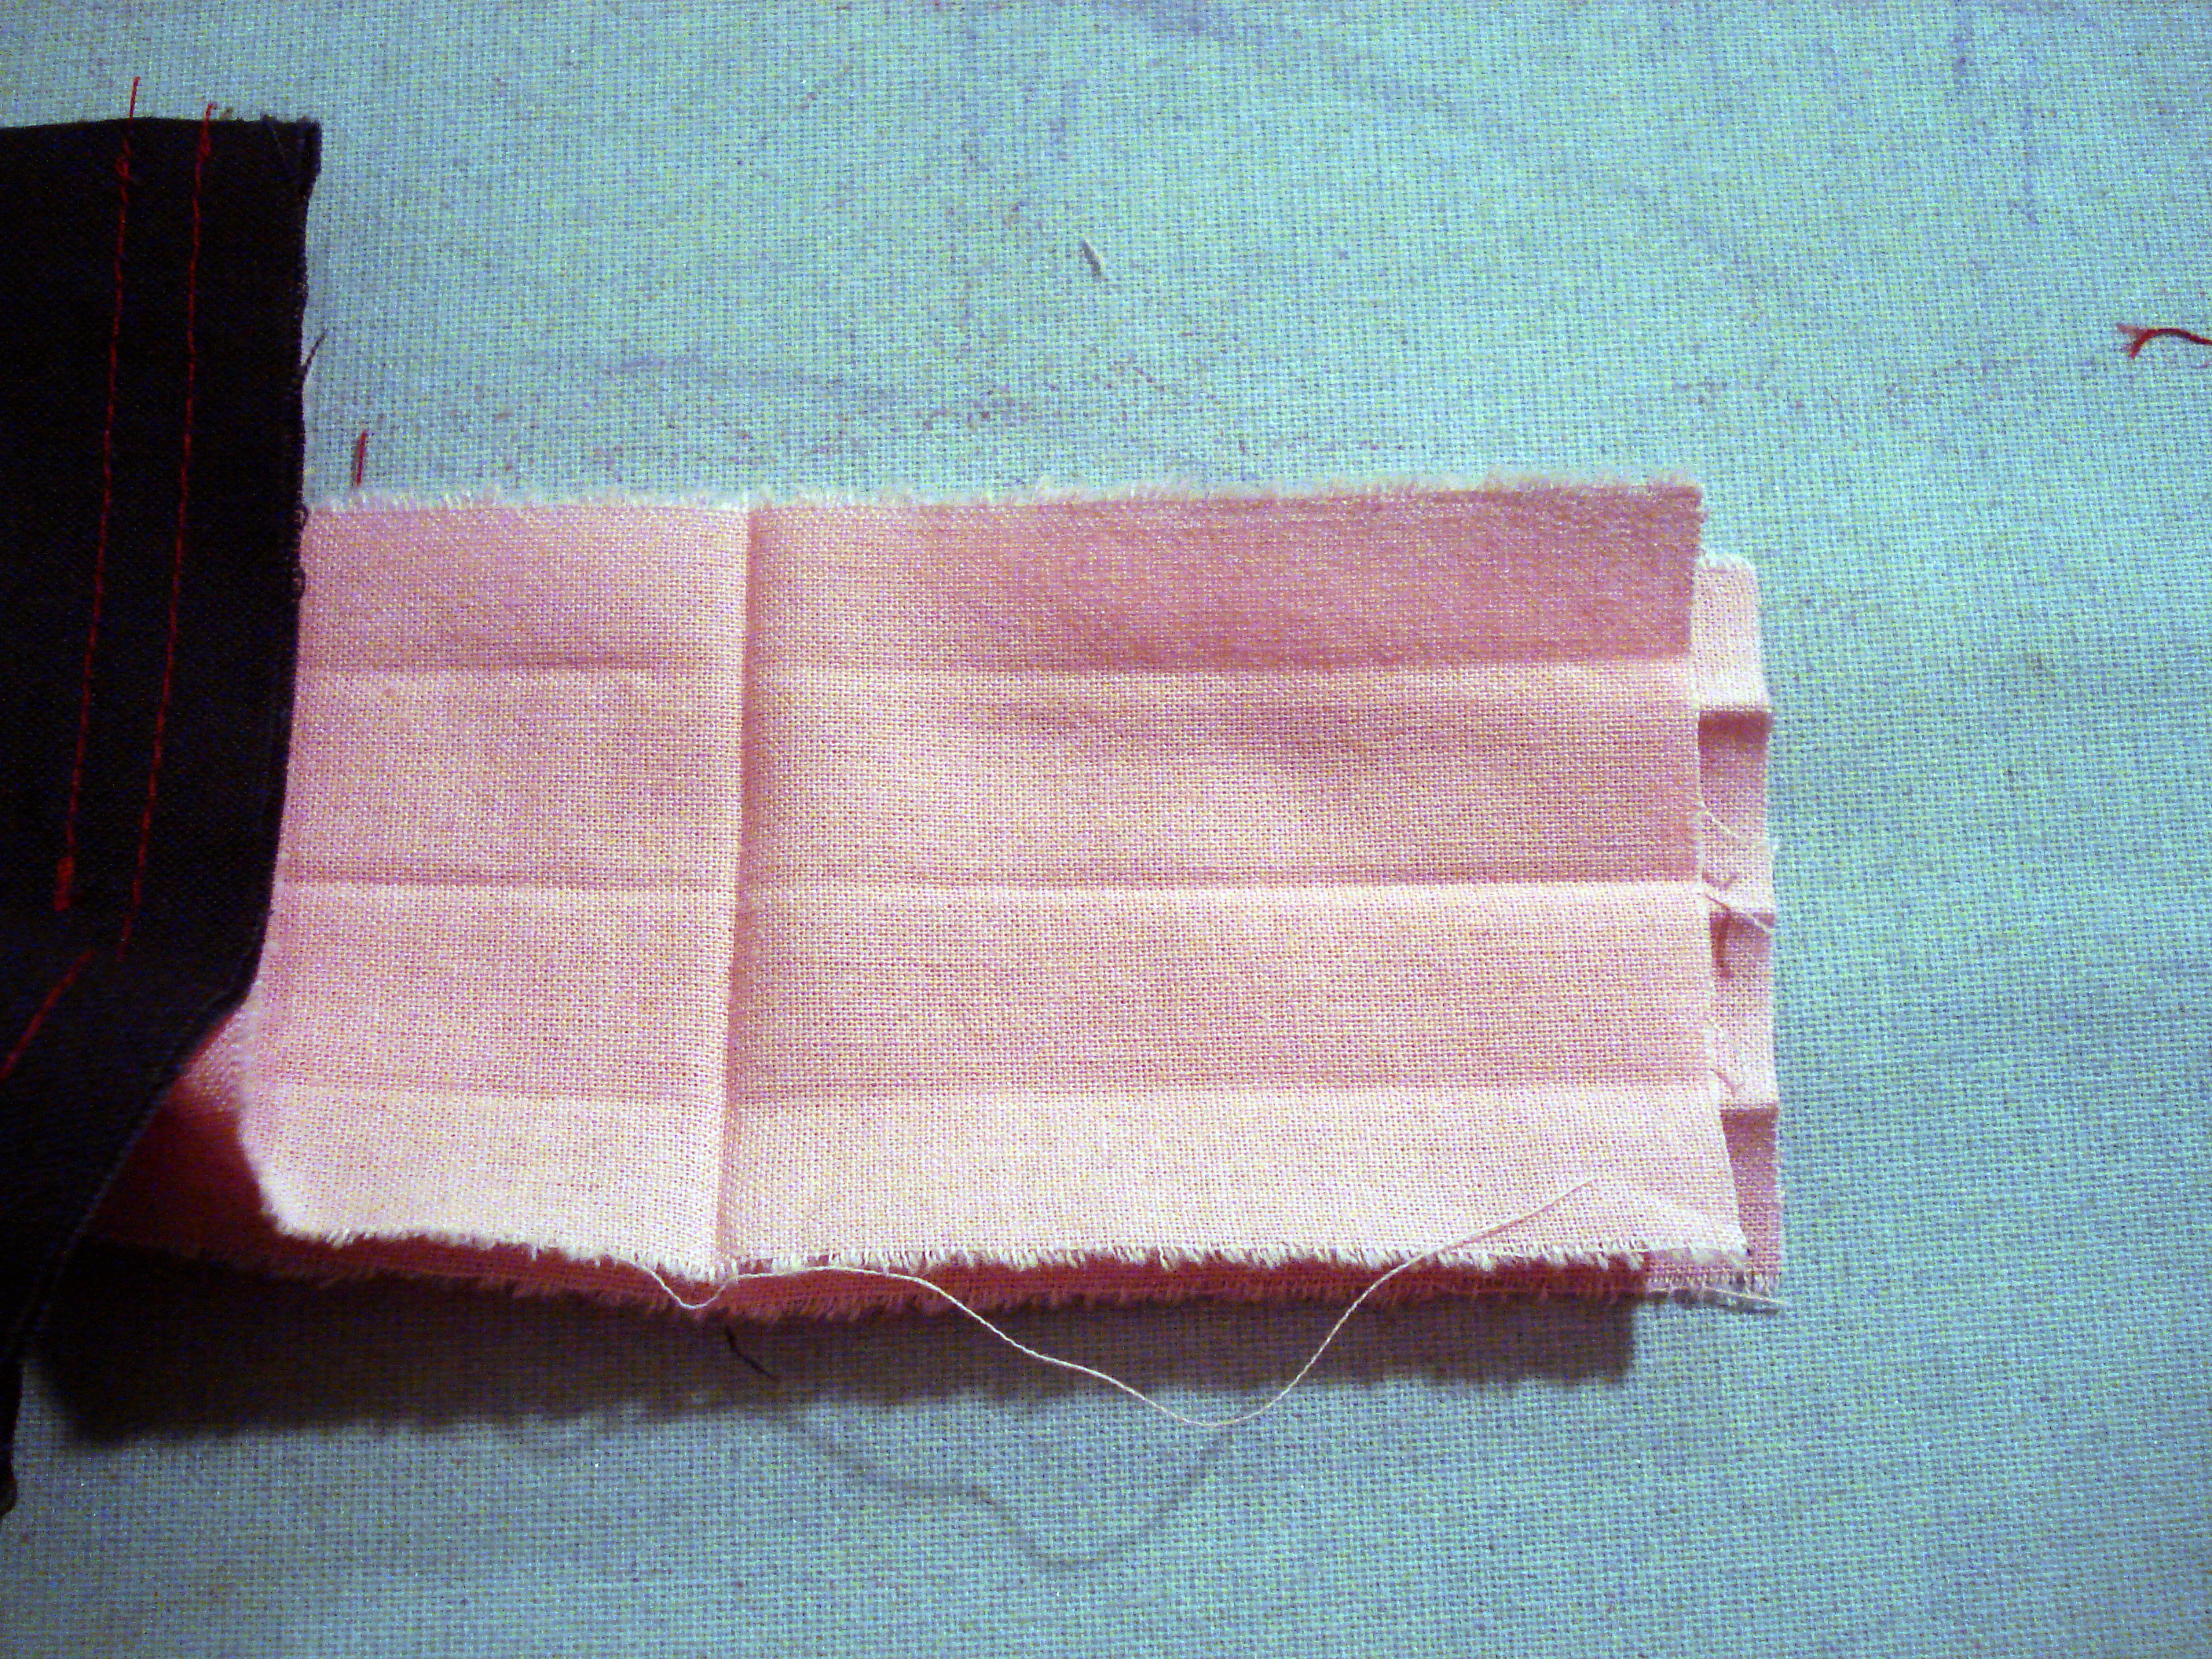
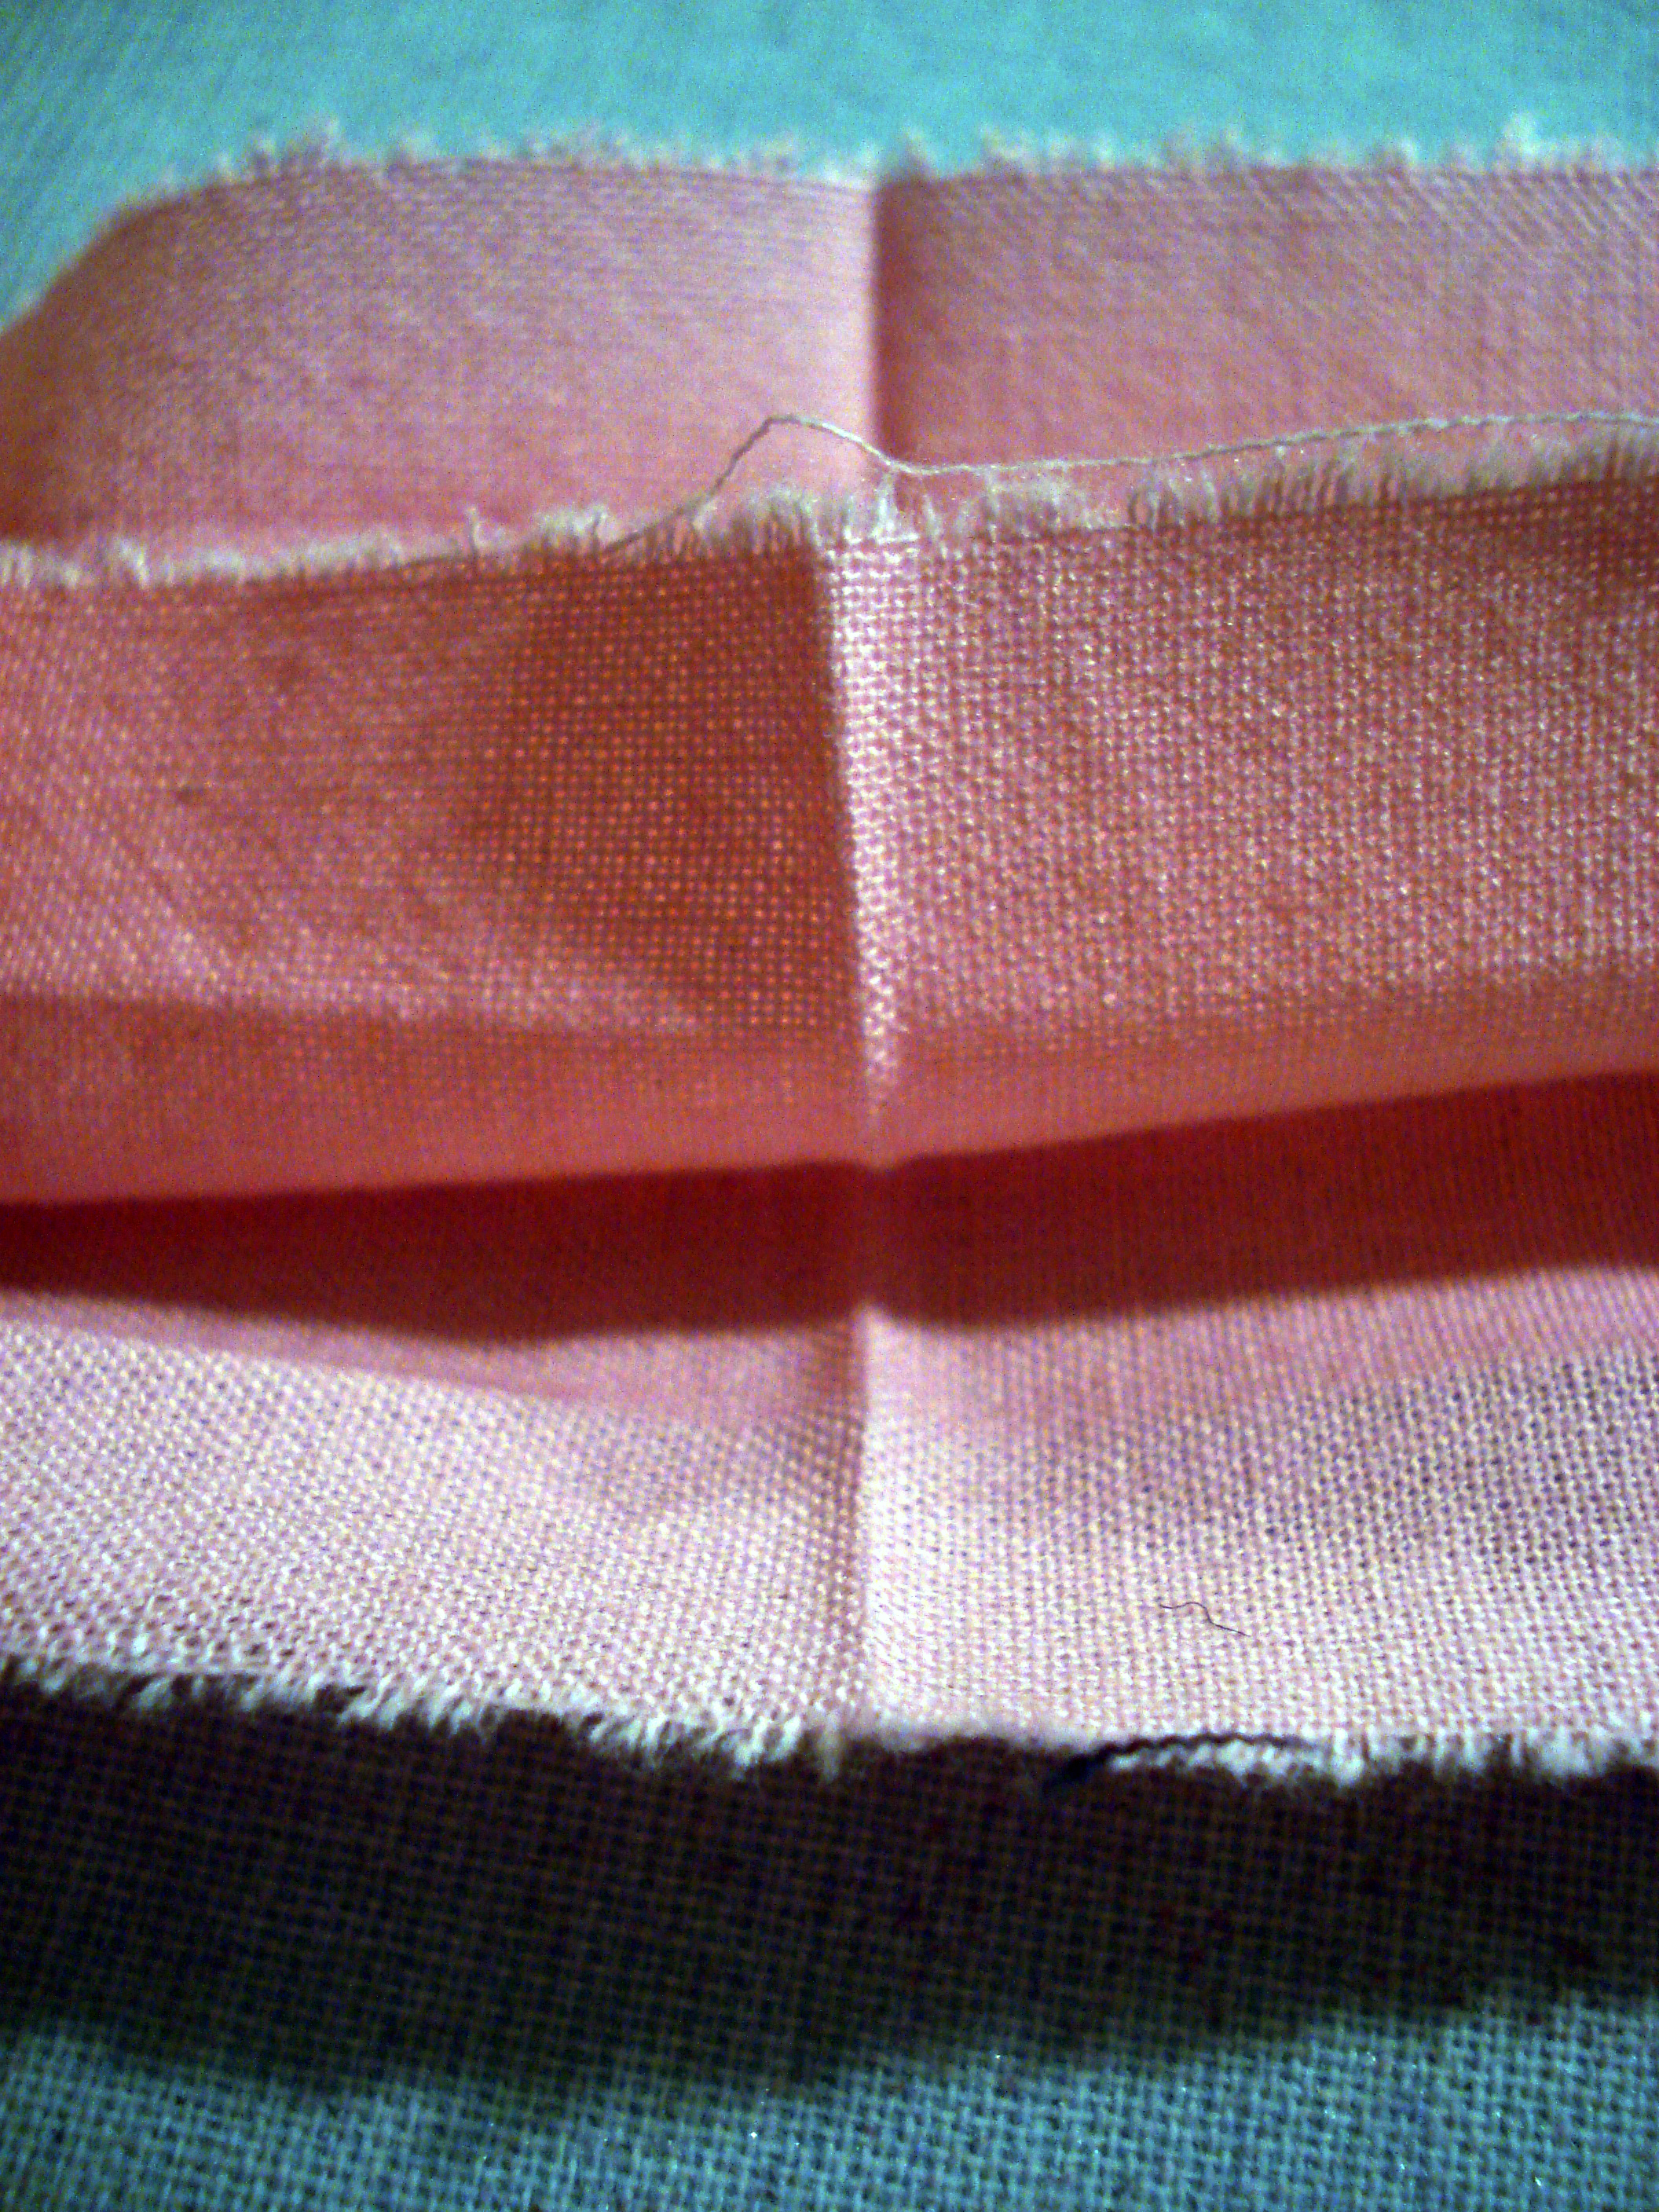
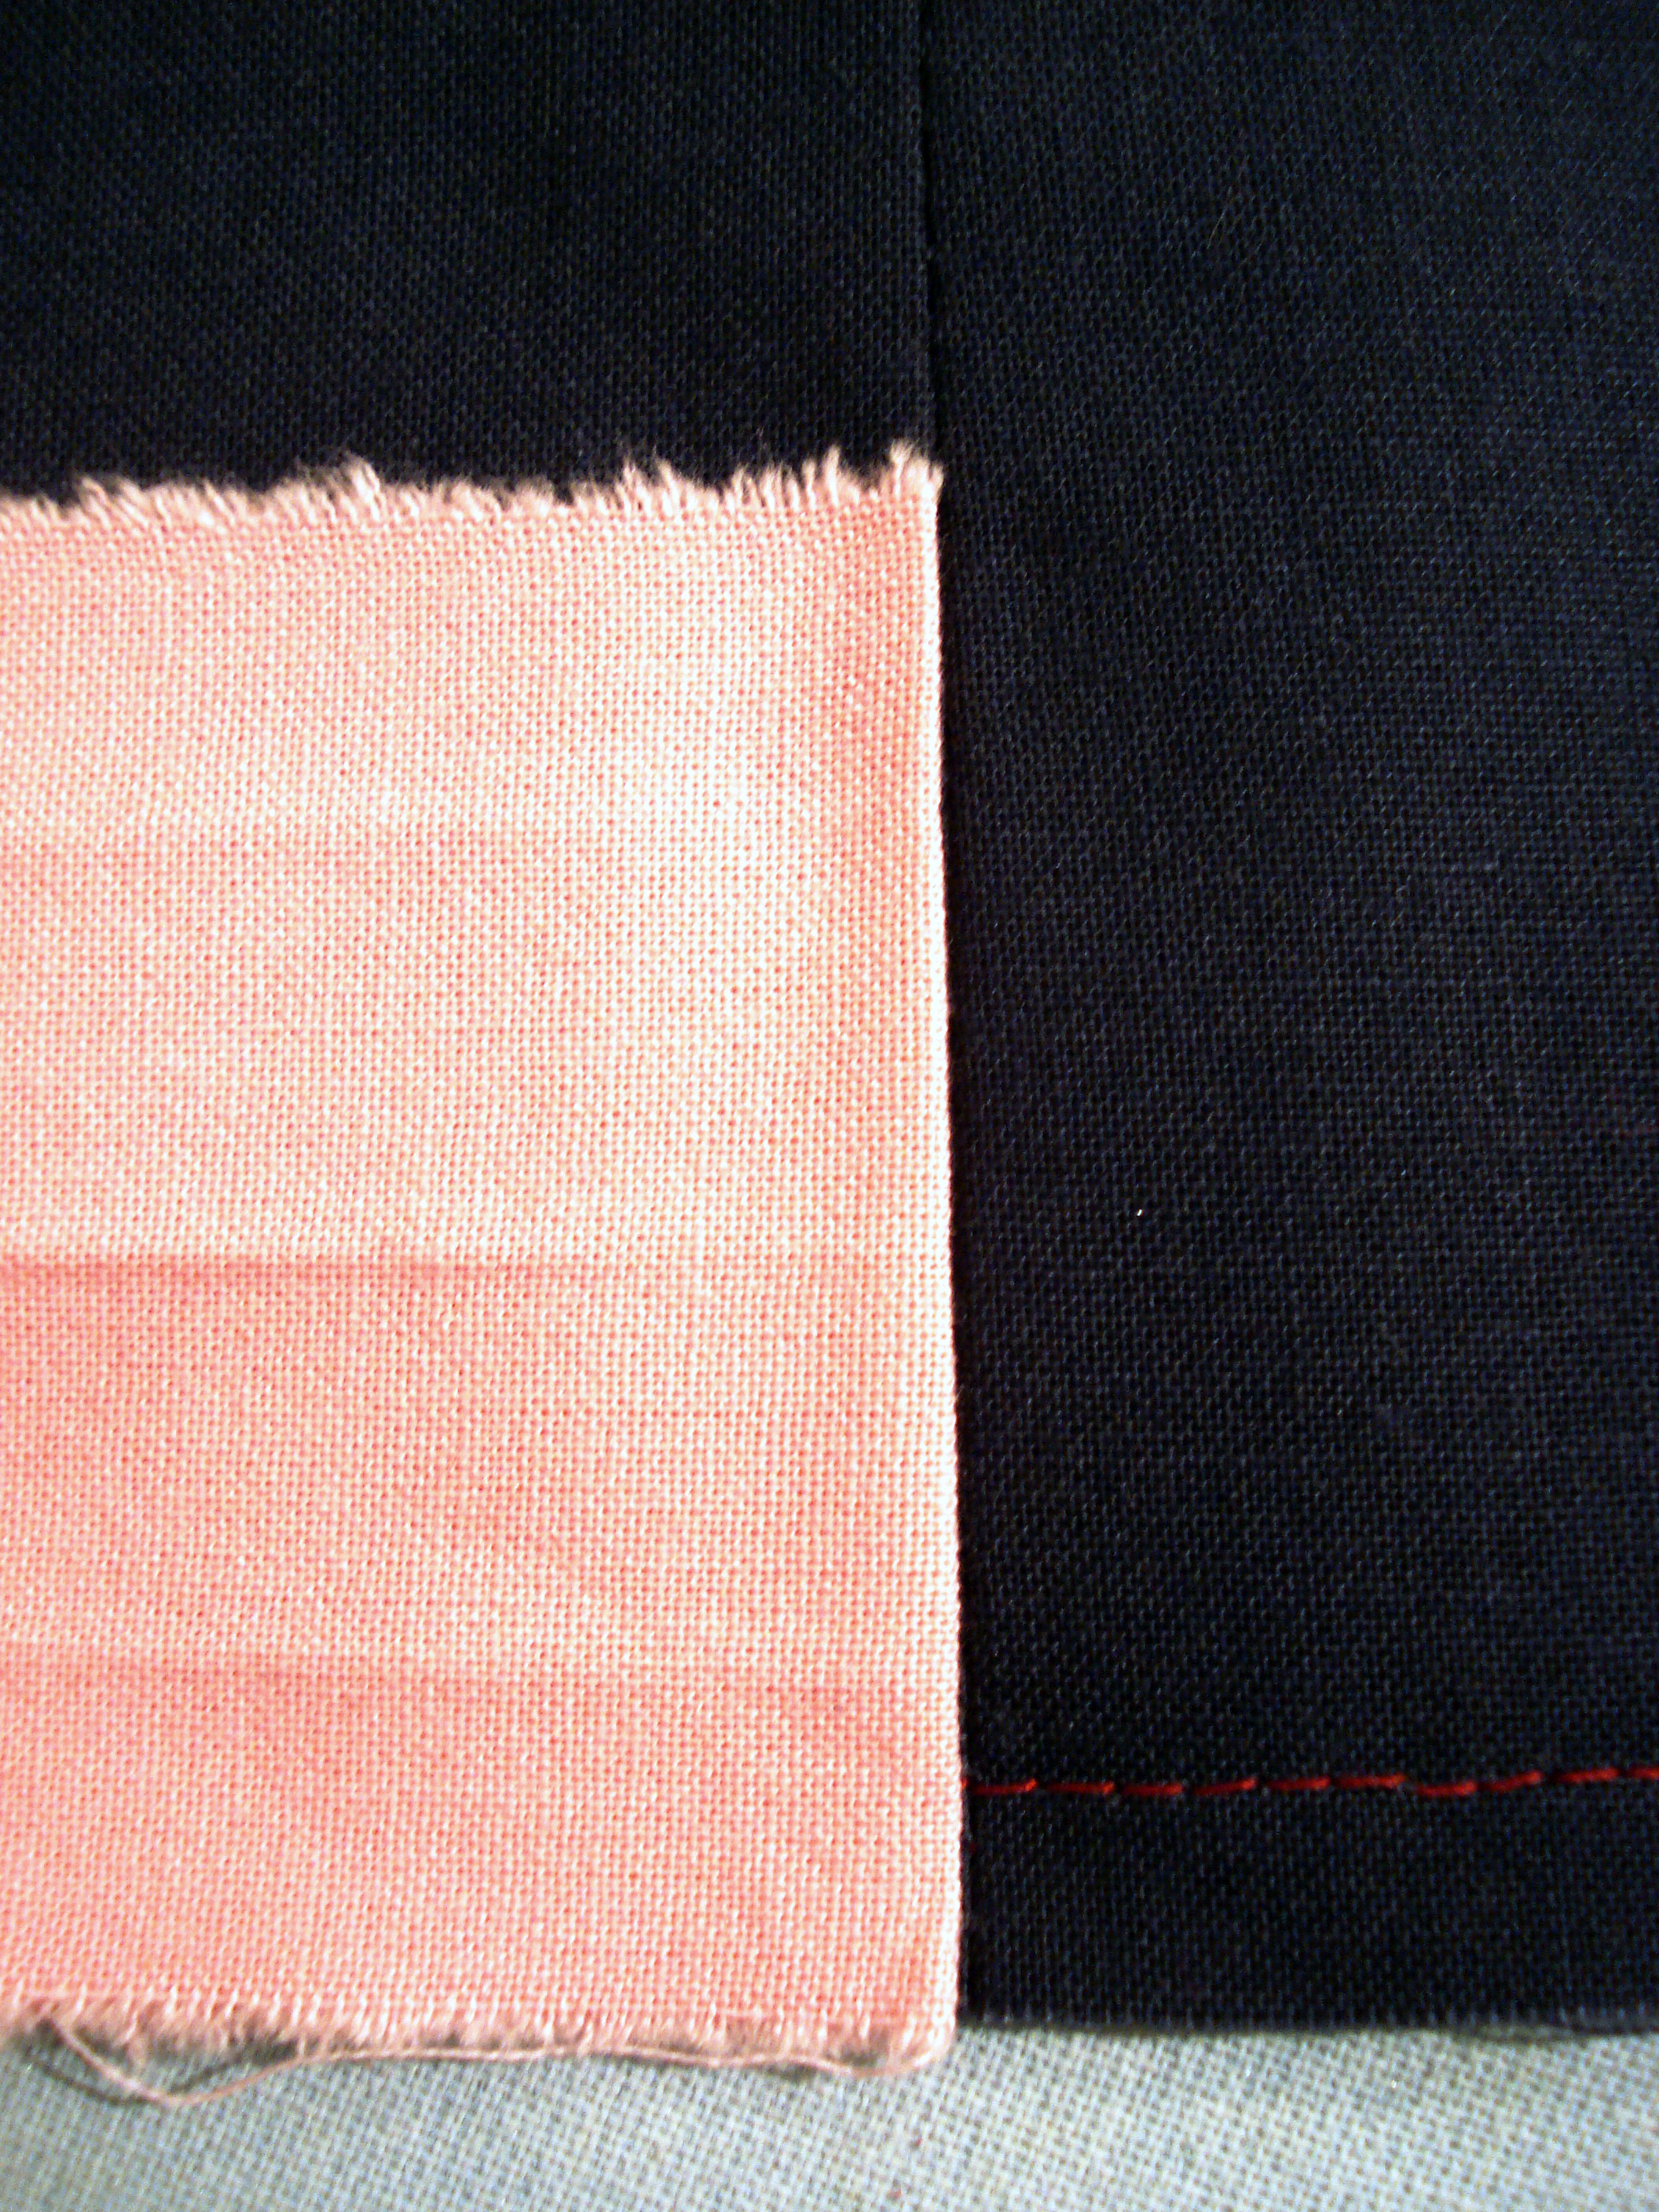
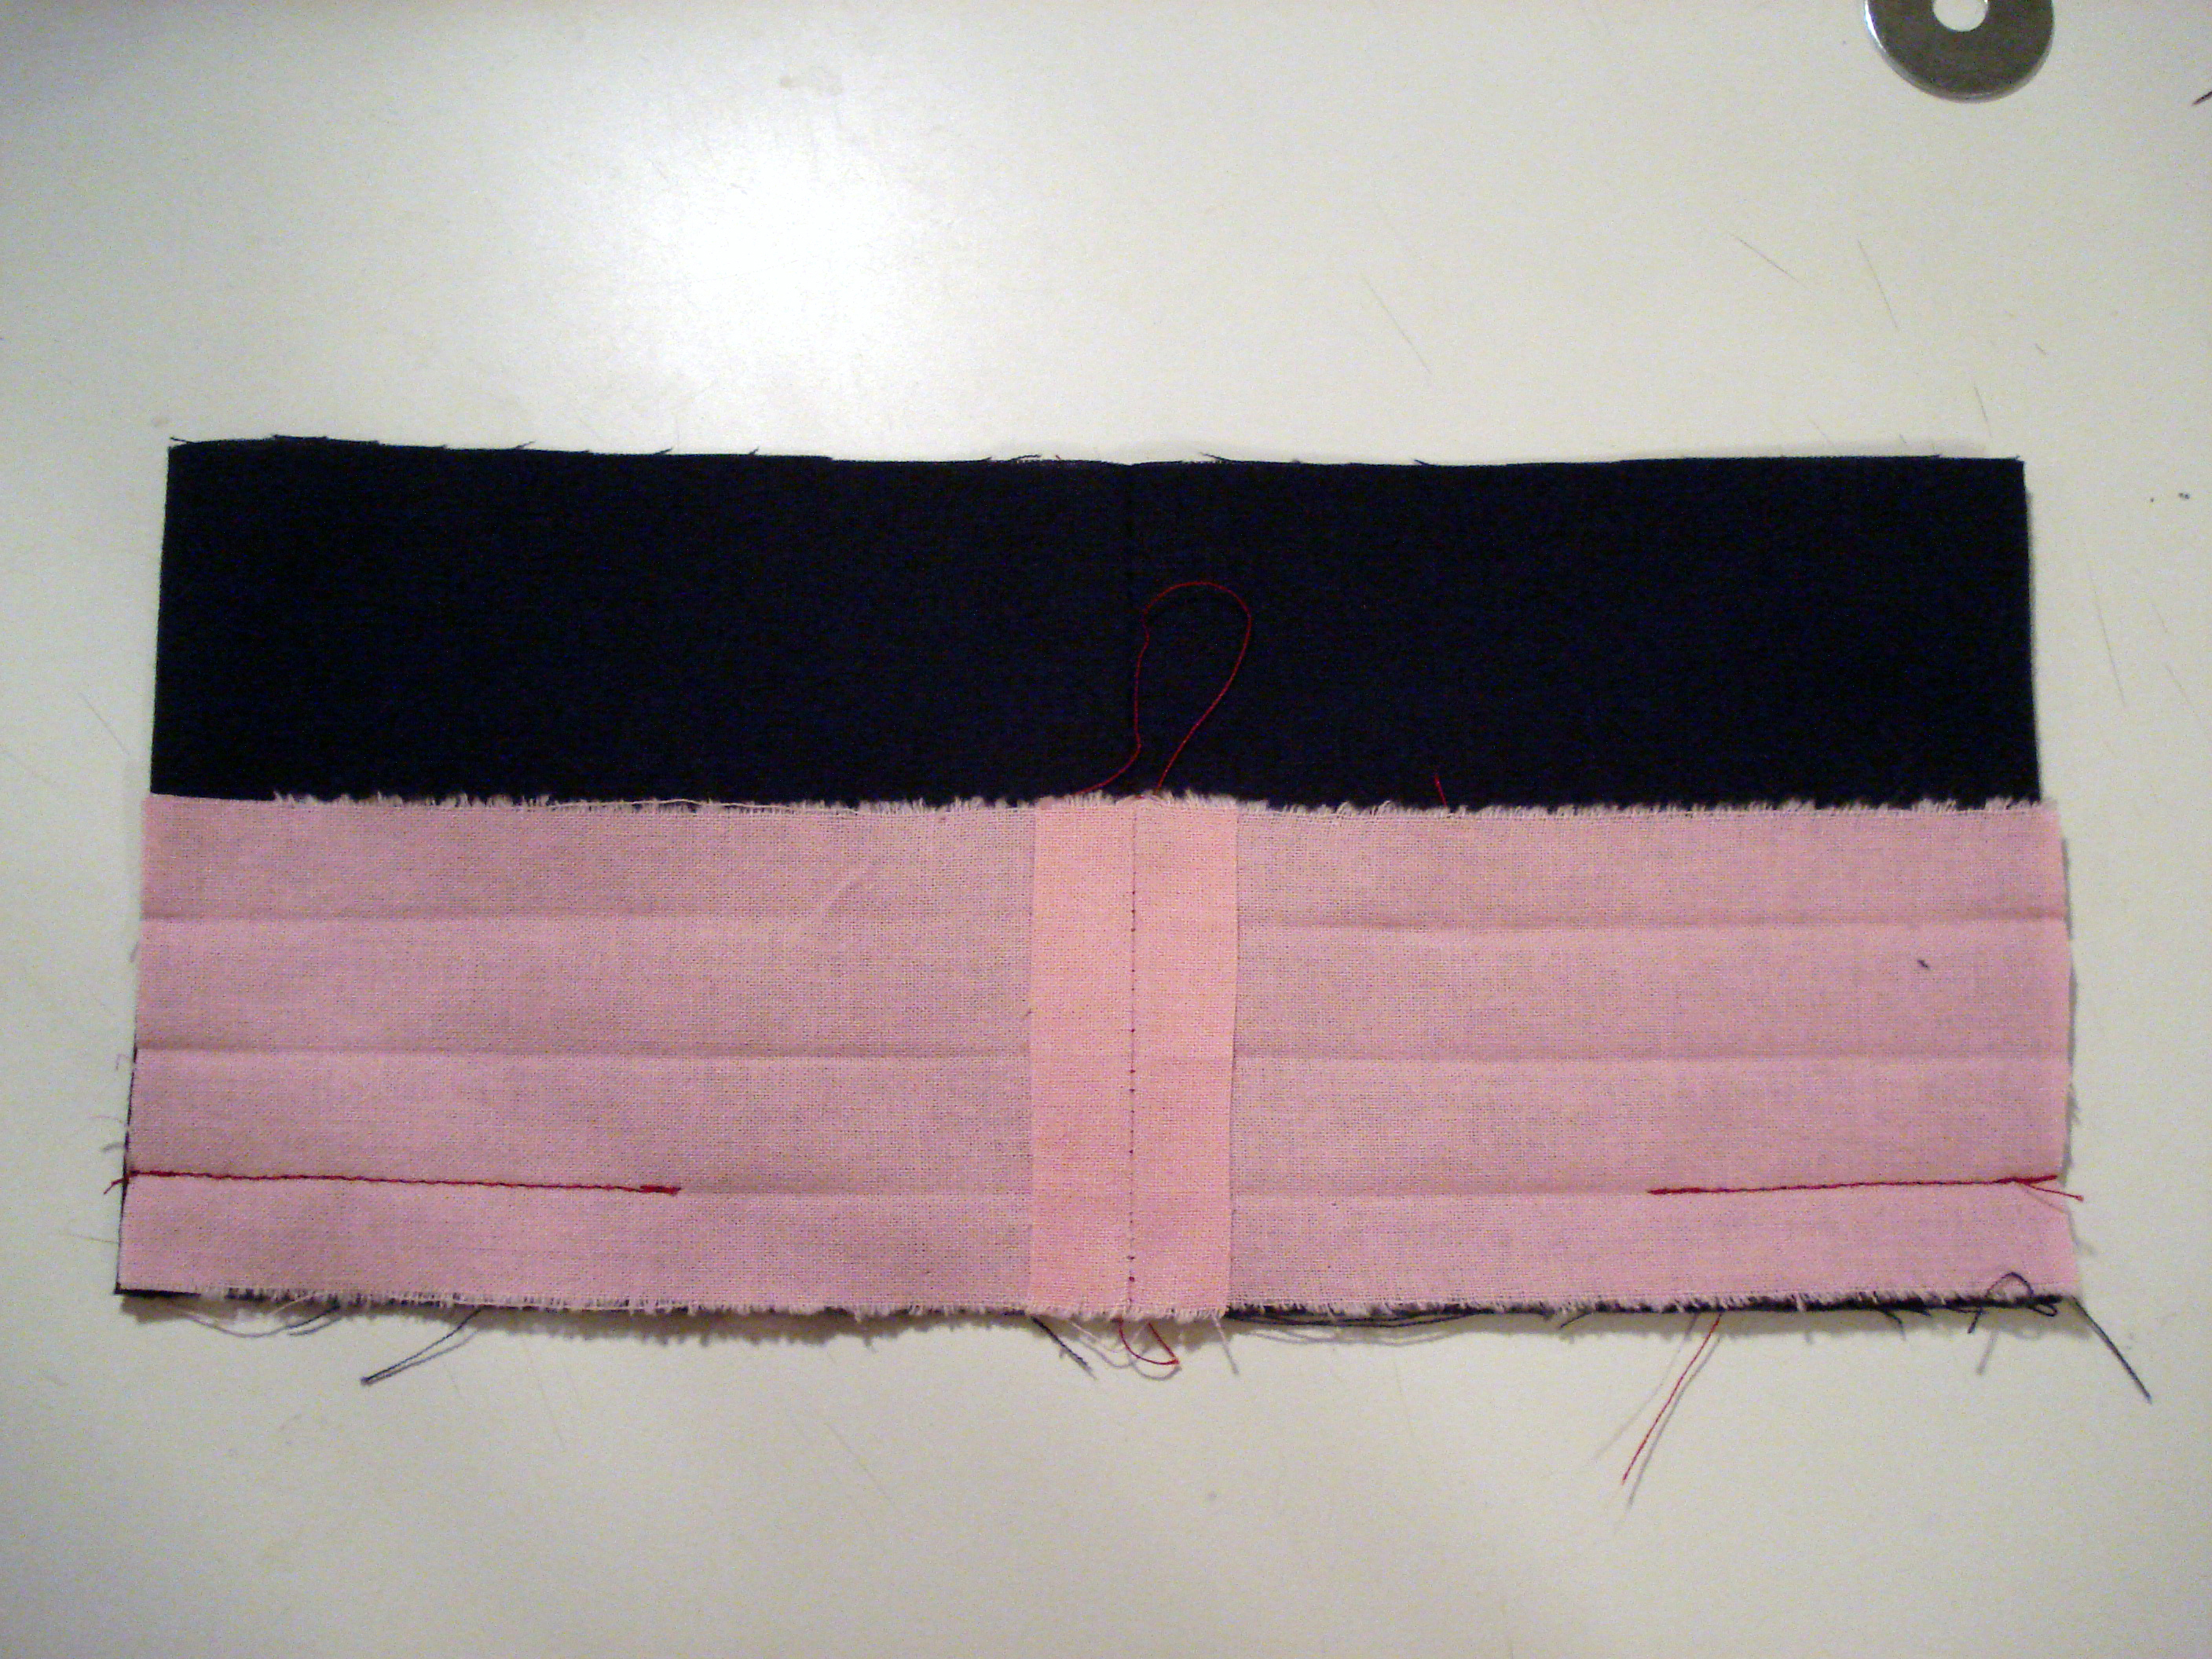
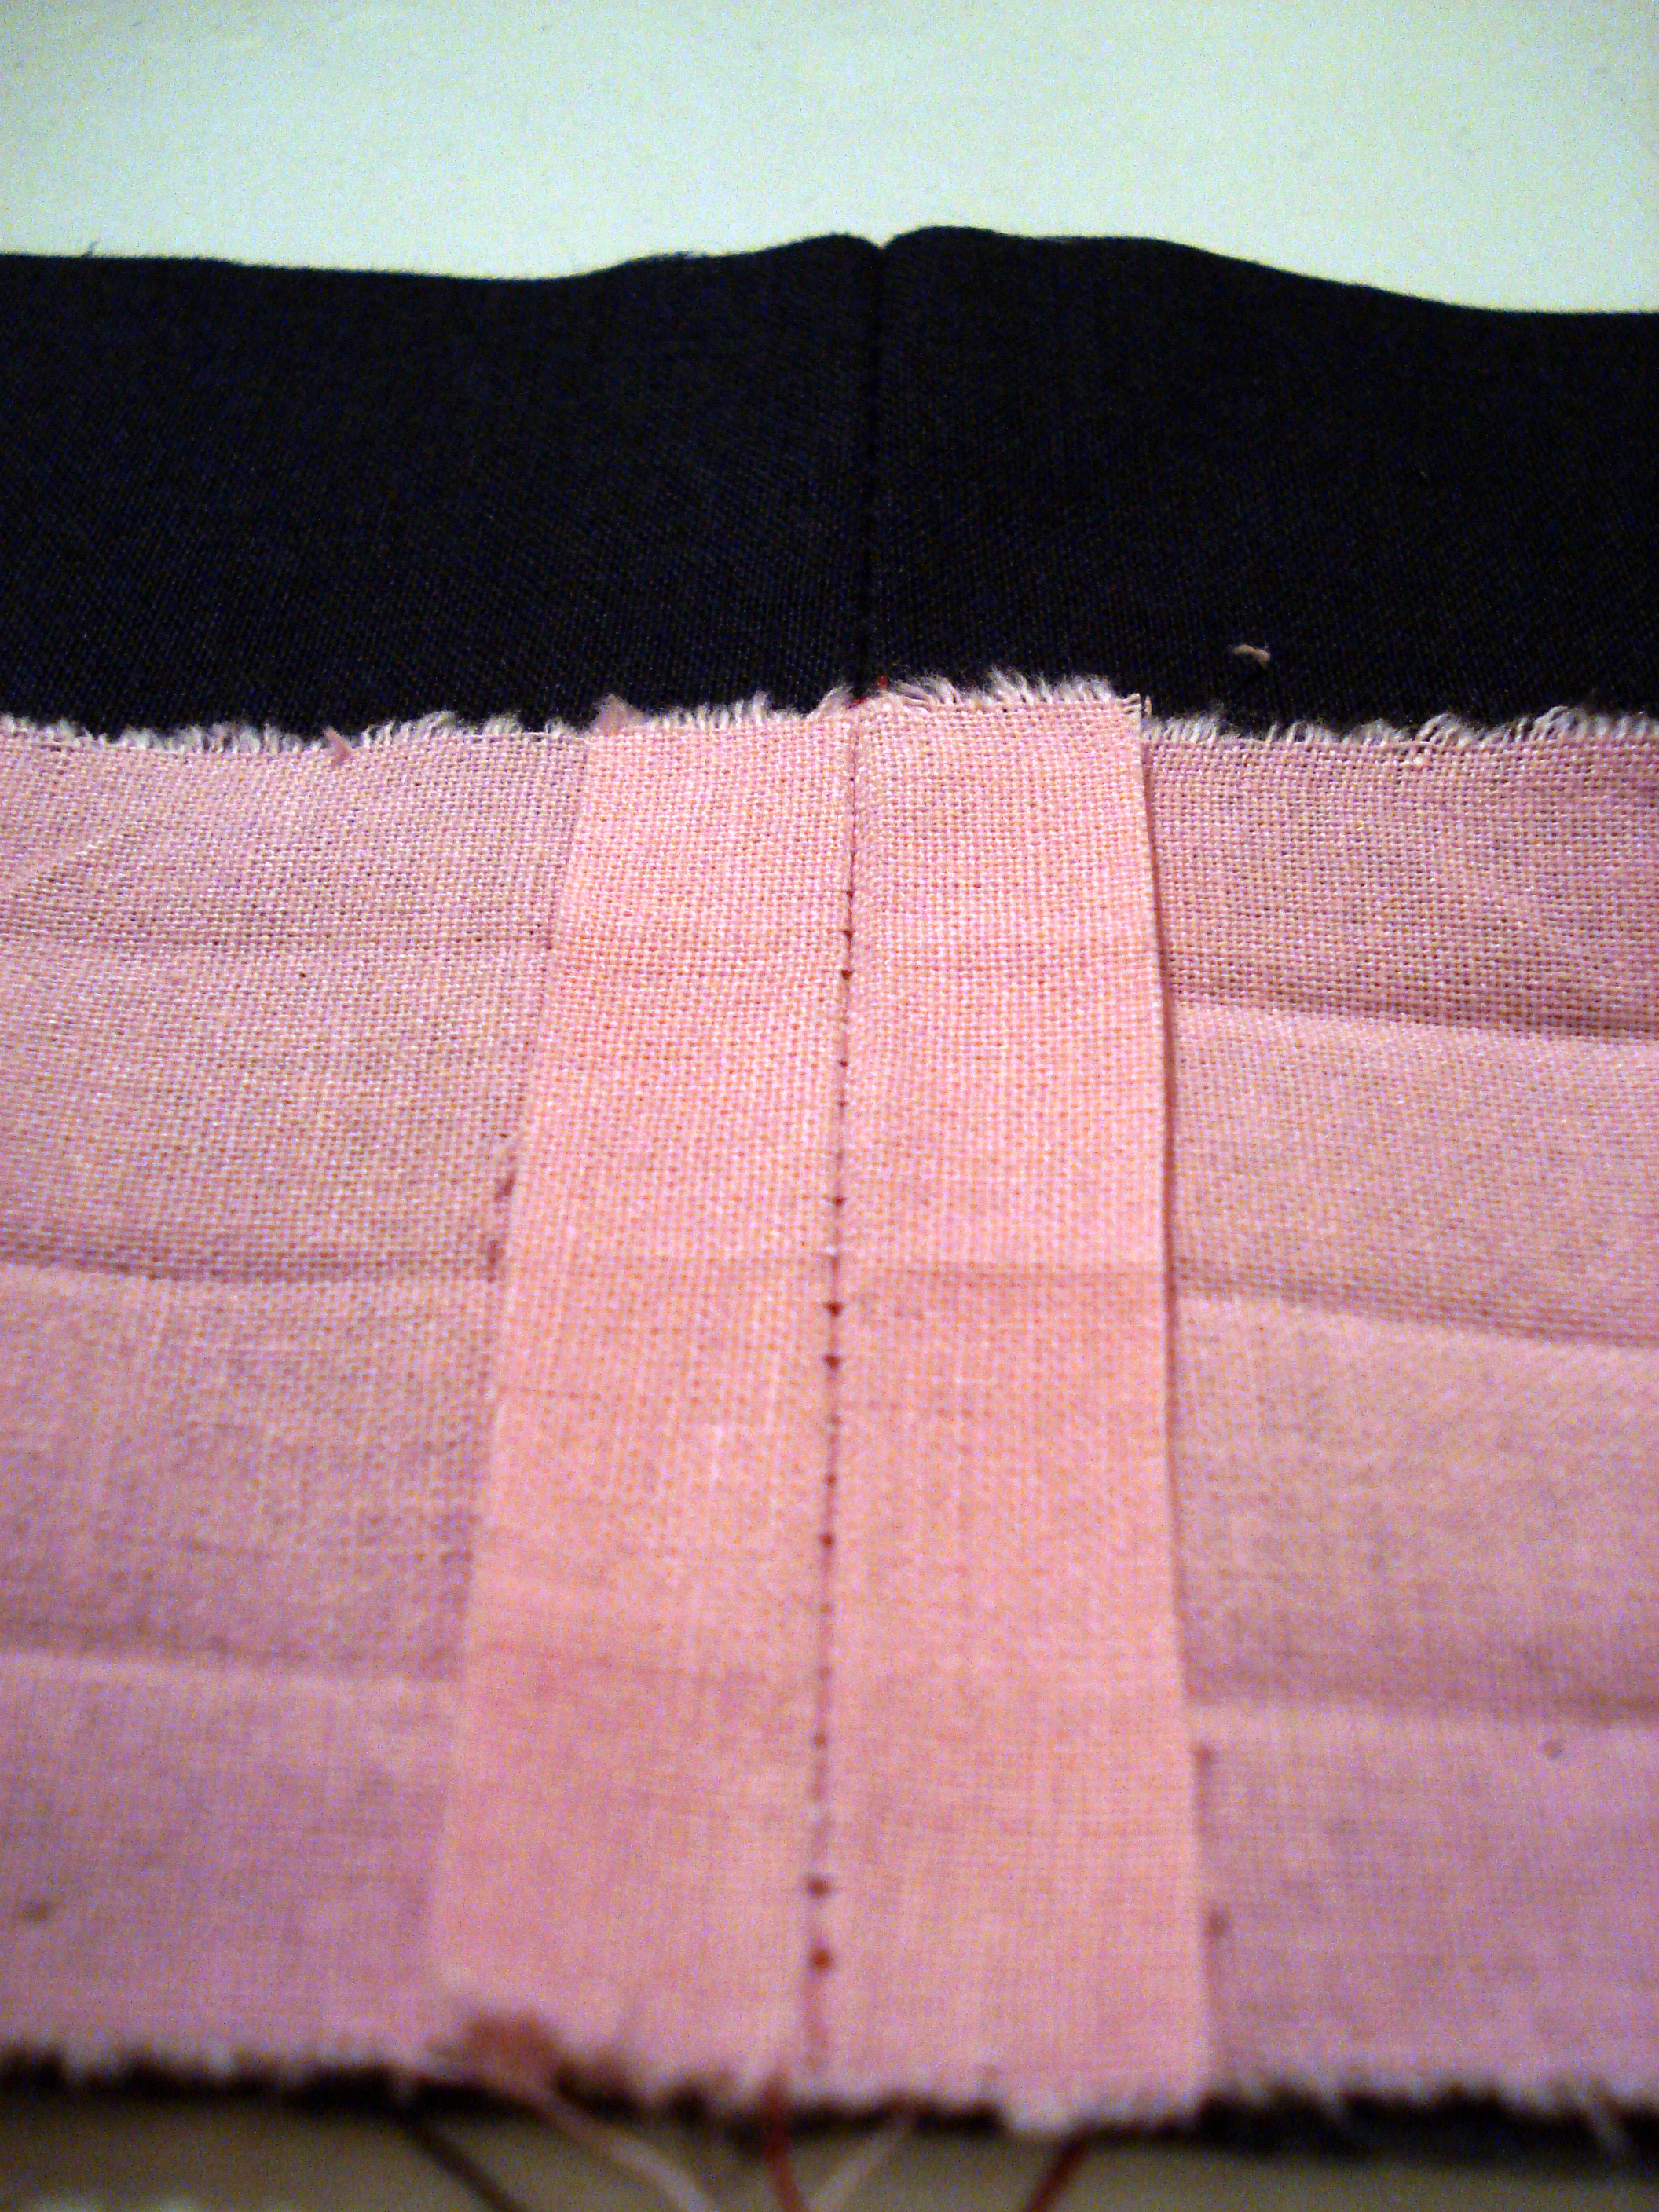
Grab the two loose ends and hold them right sides together, aligned as shown. I’ve left the folds visible here so the orientation is easier to see, but on a real project, mark the fold line with pencil or clip tiny notches into the seam allowance before pressing it flat.
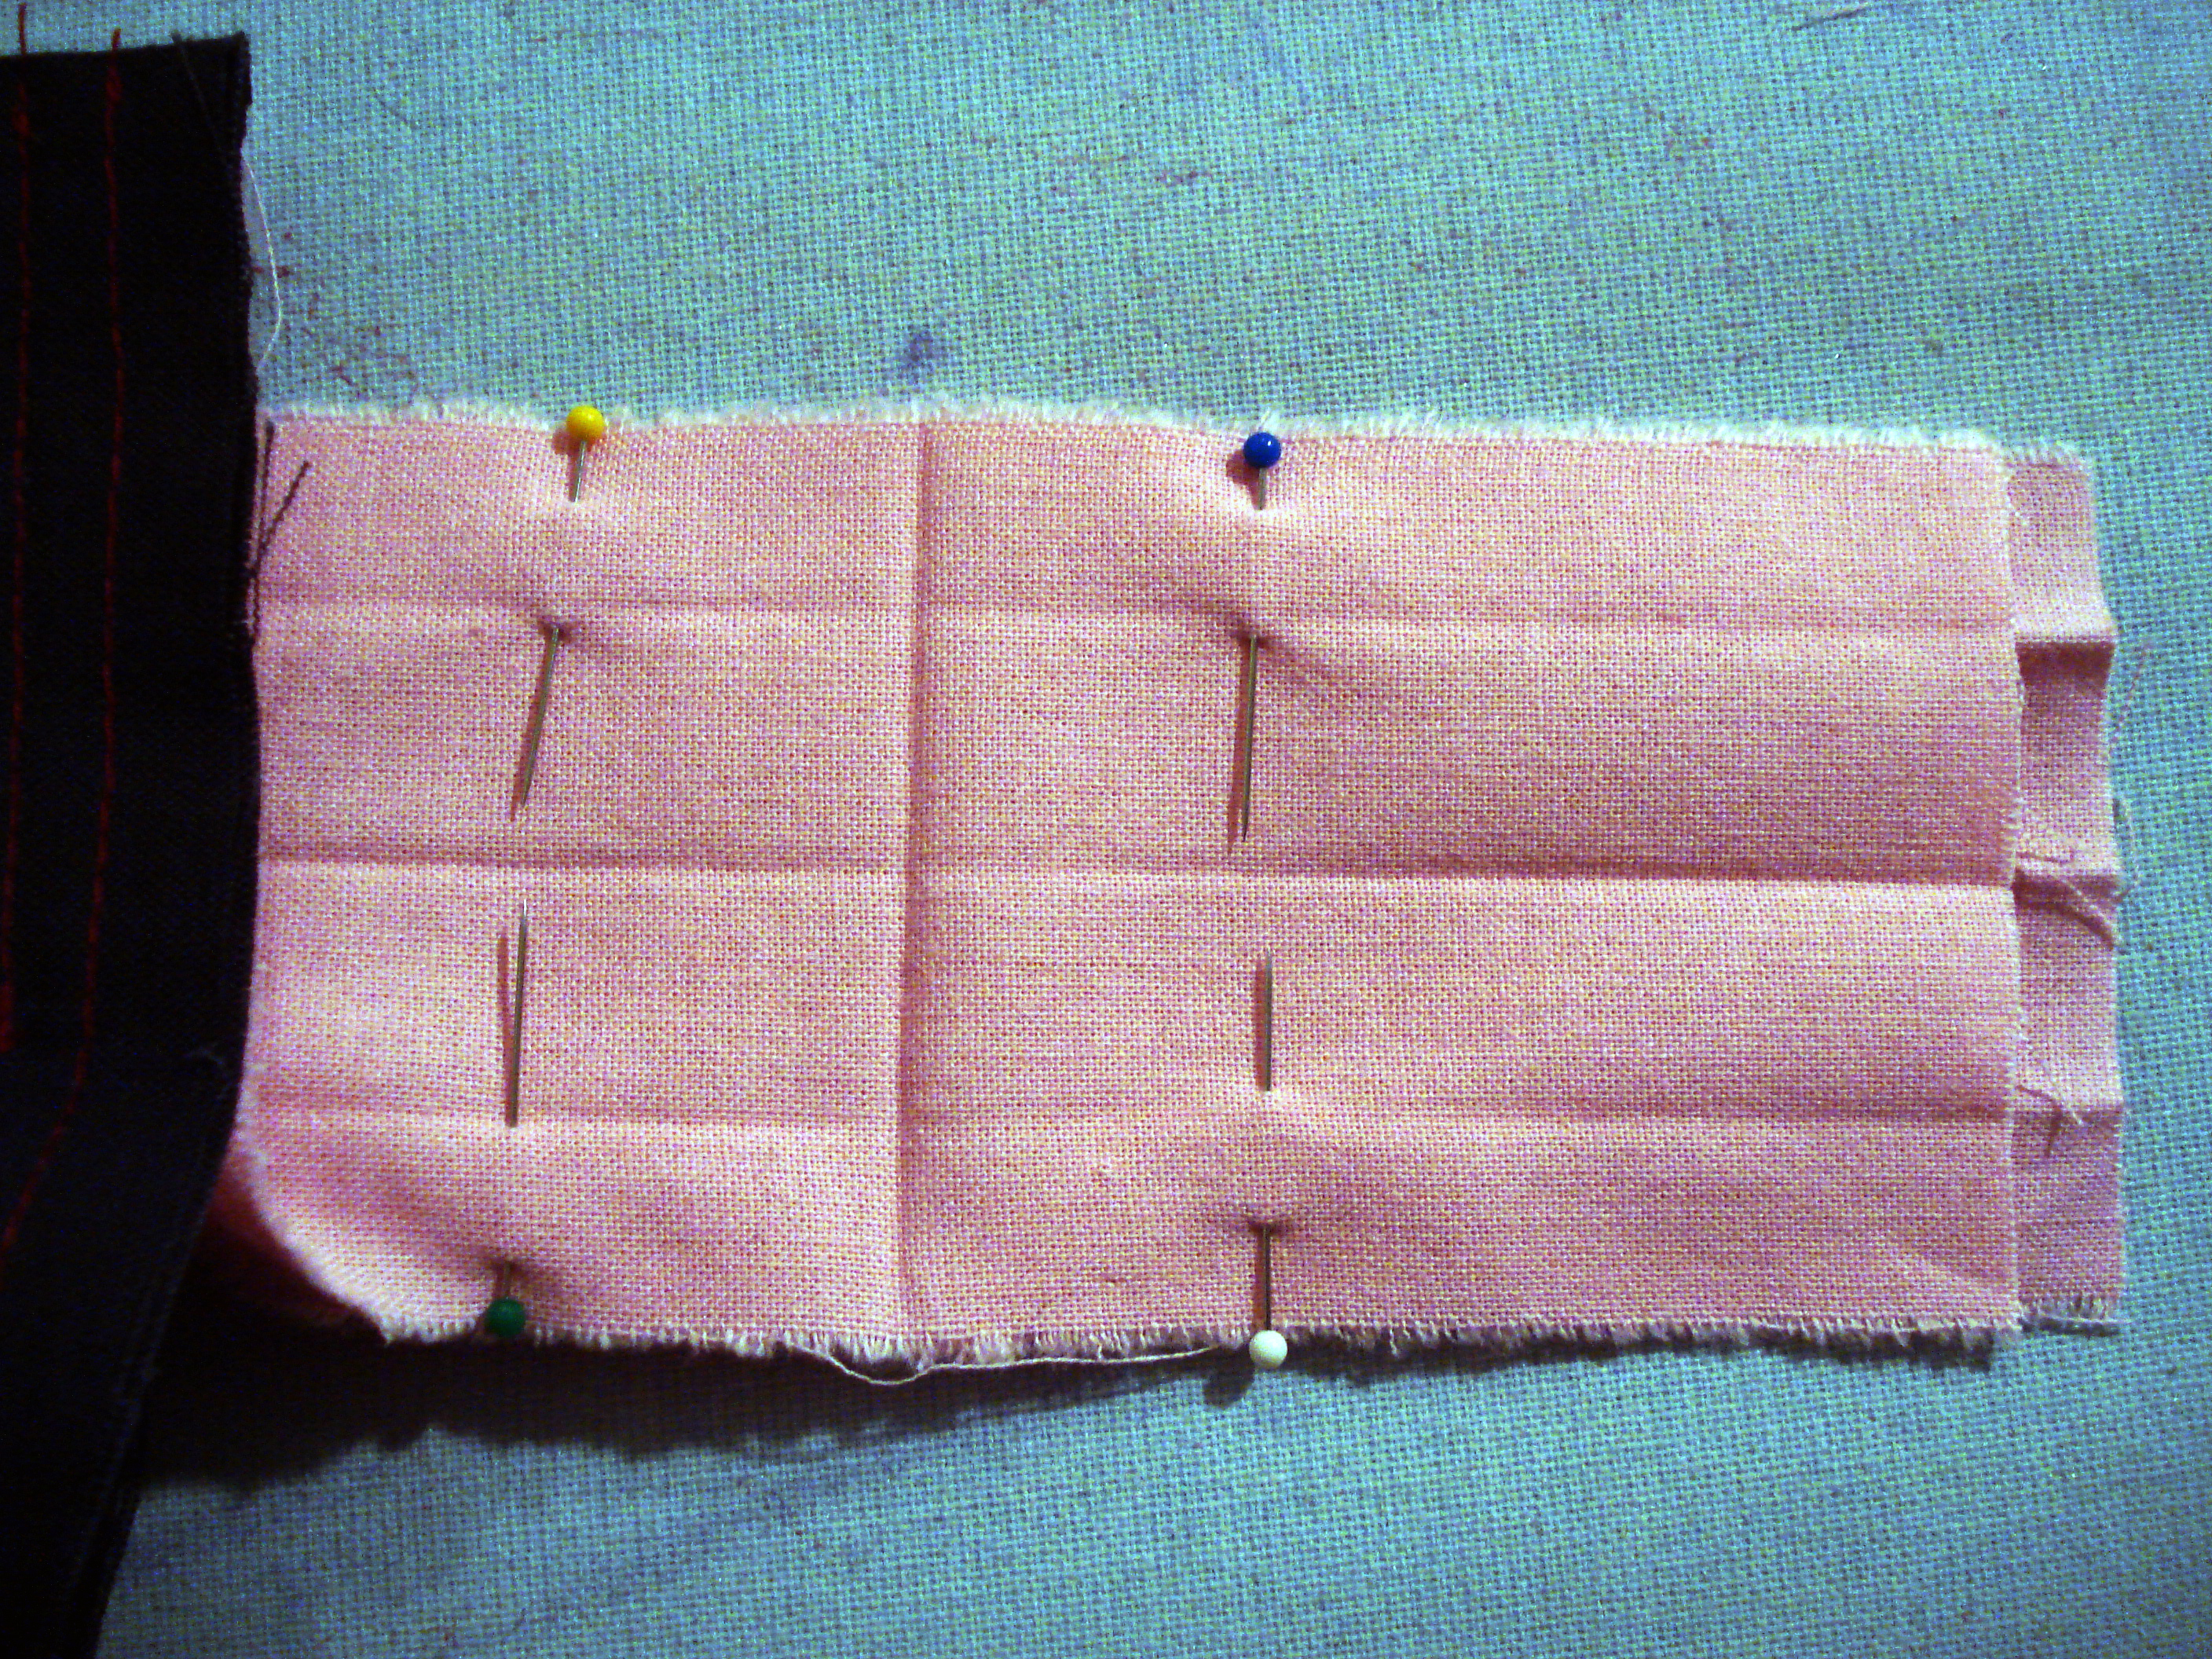
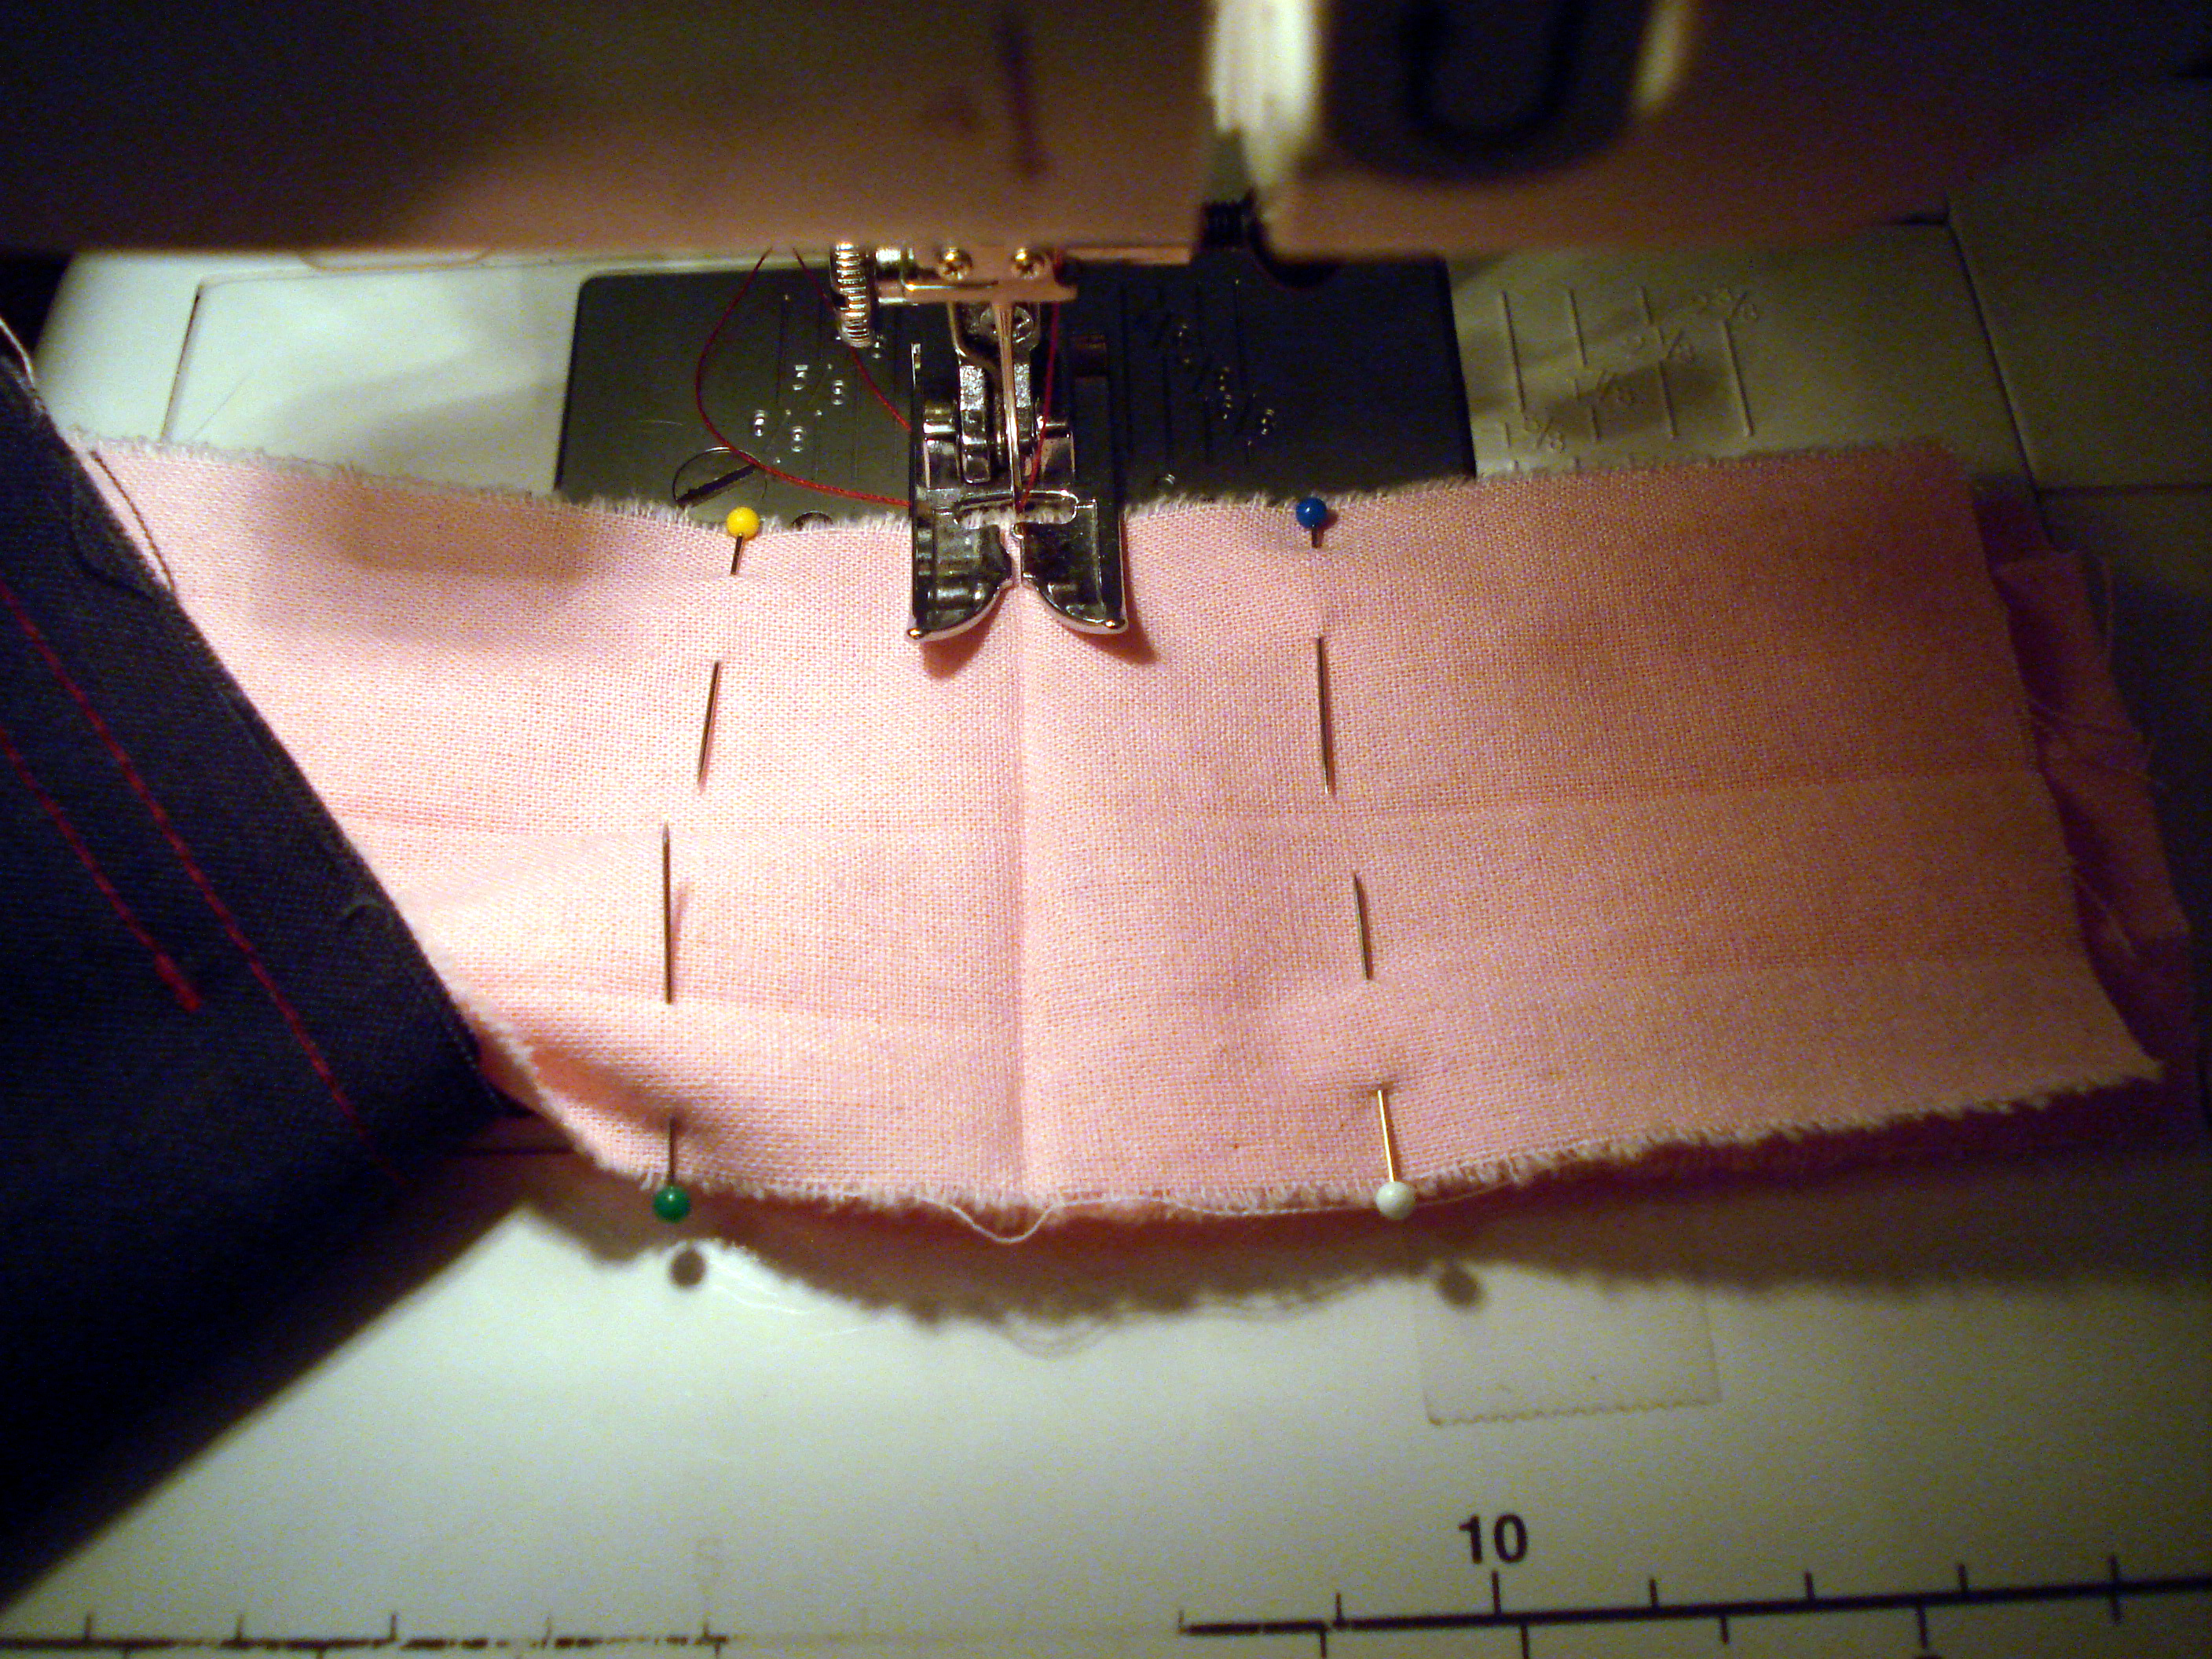
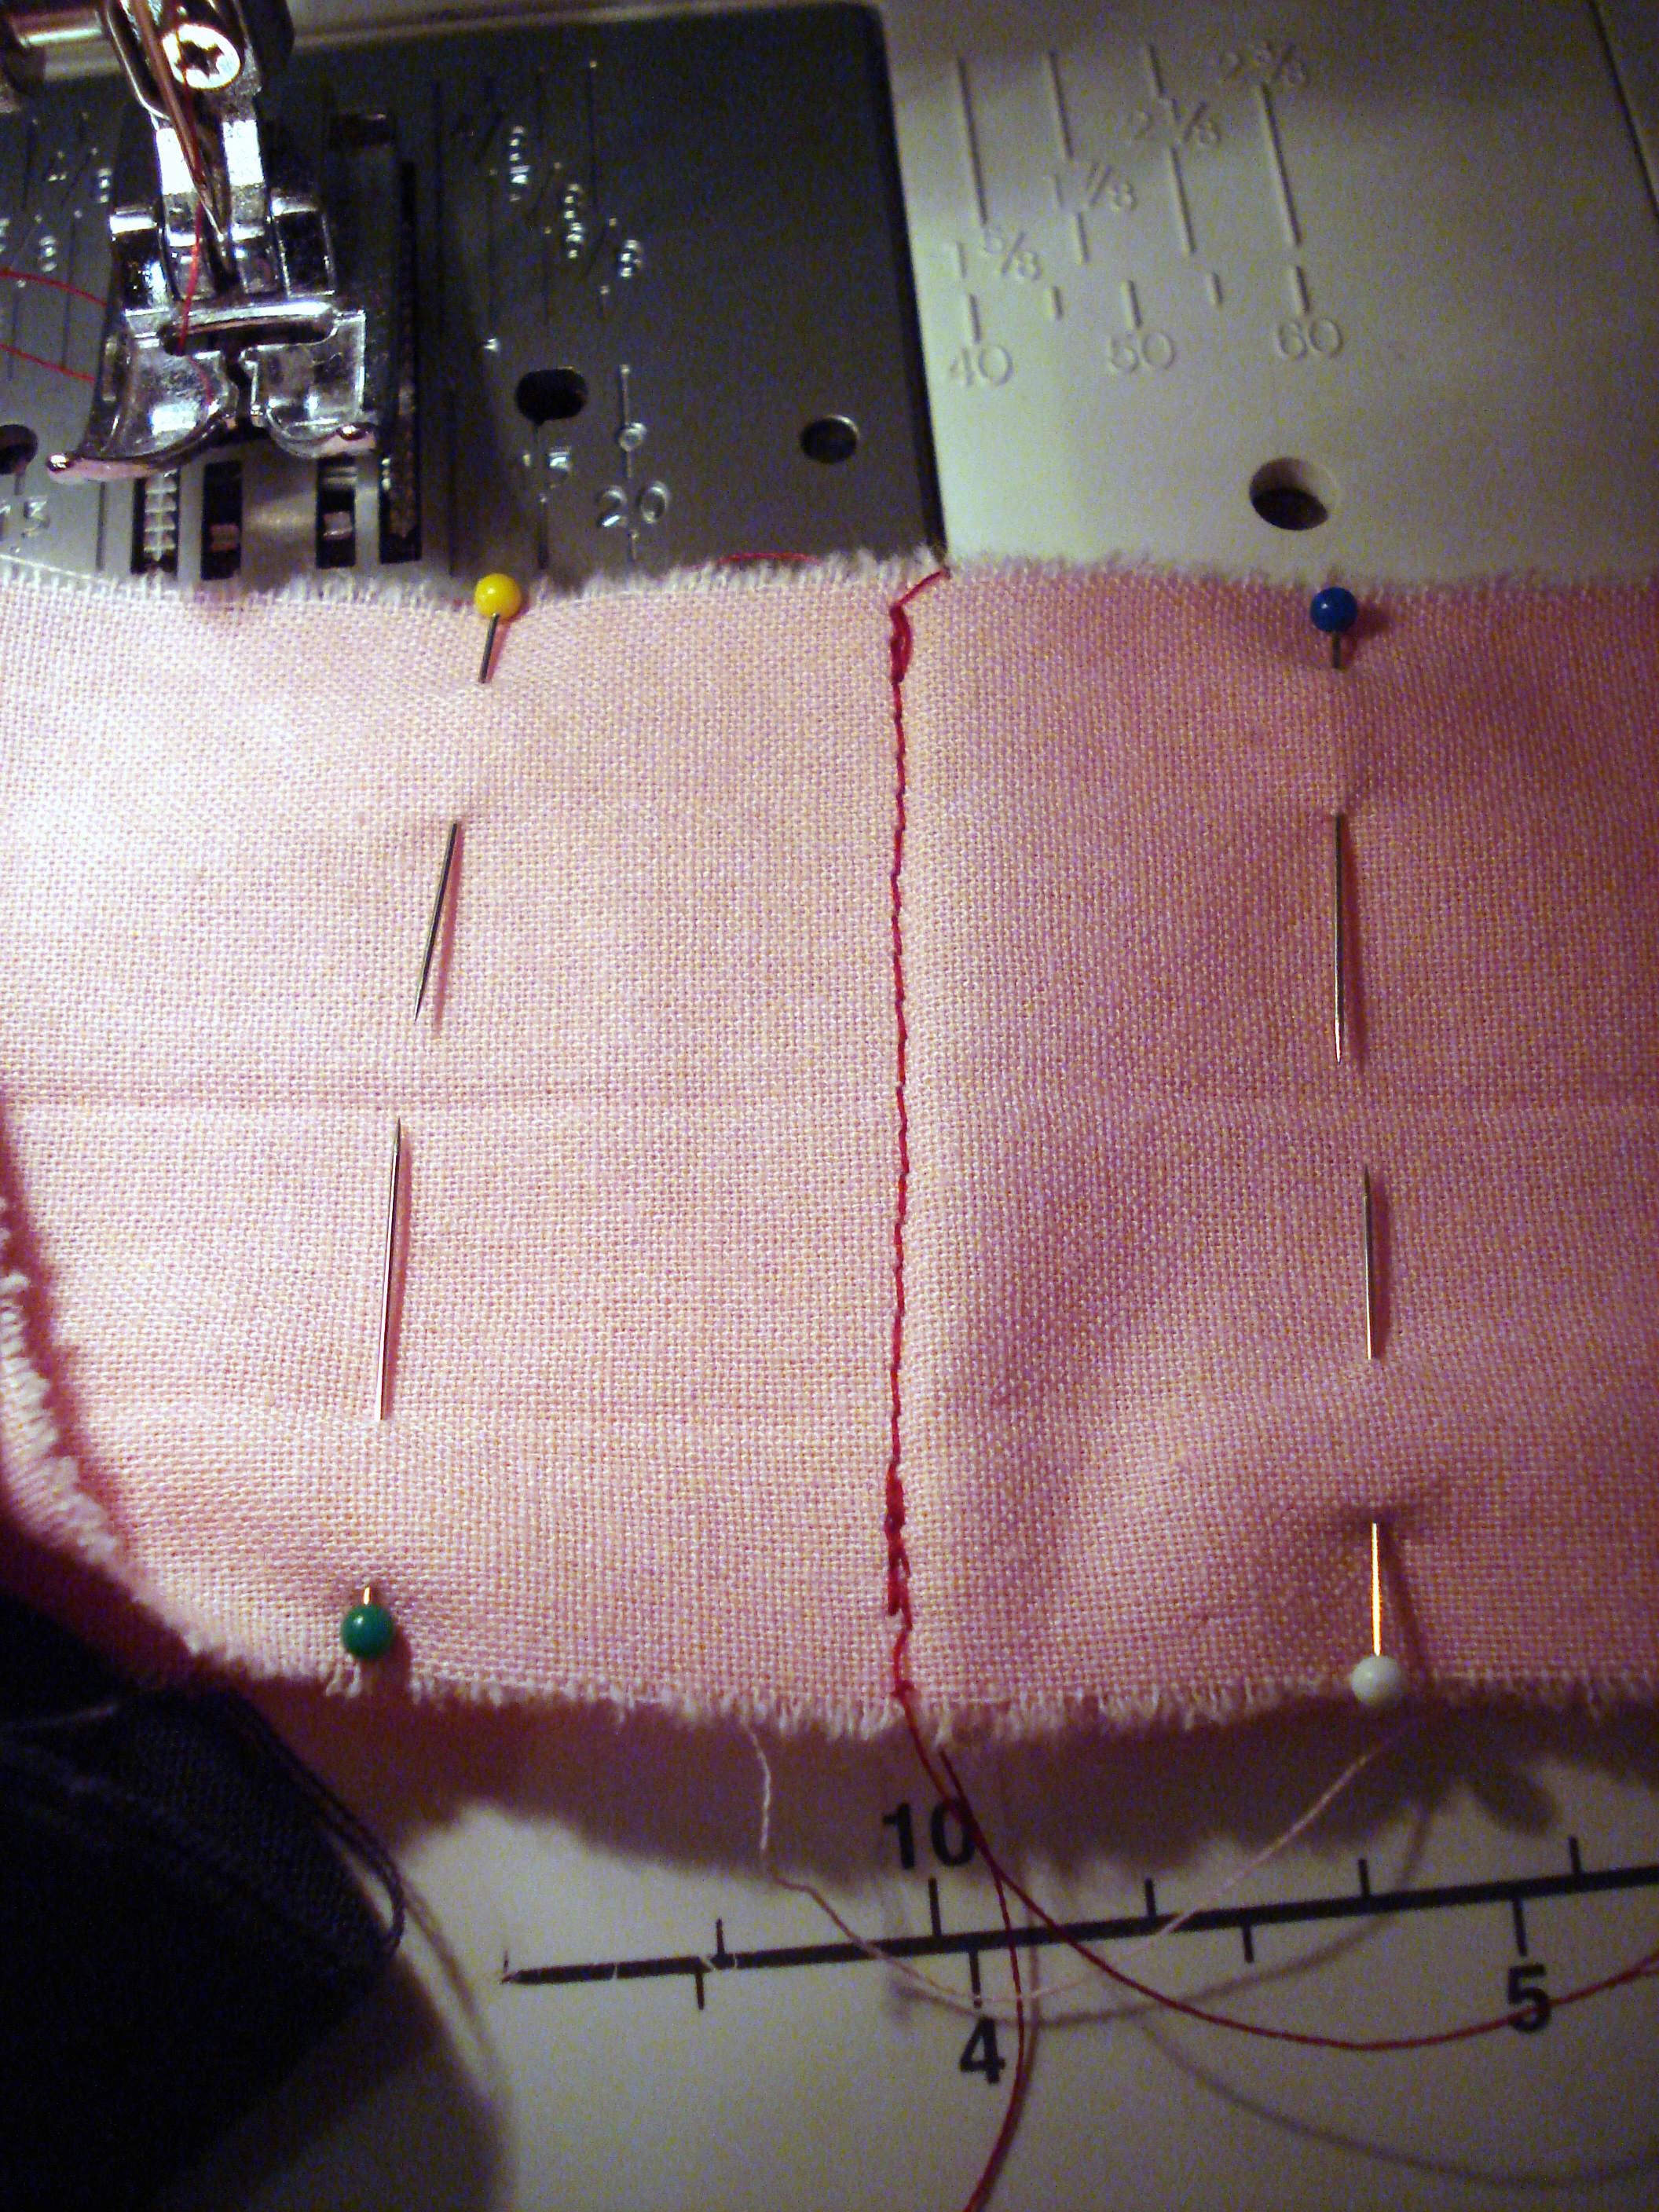
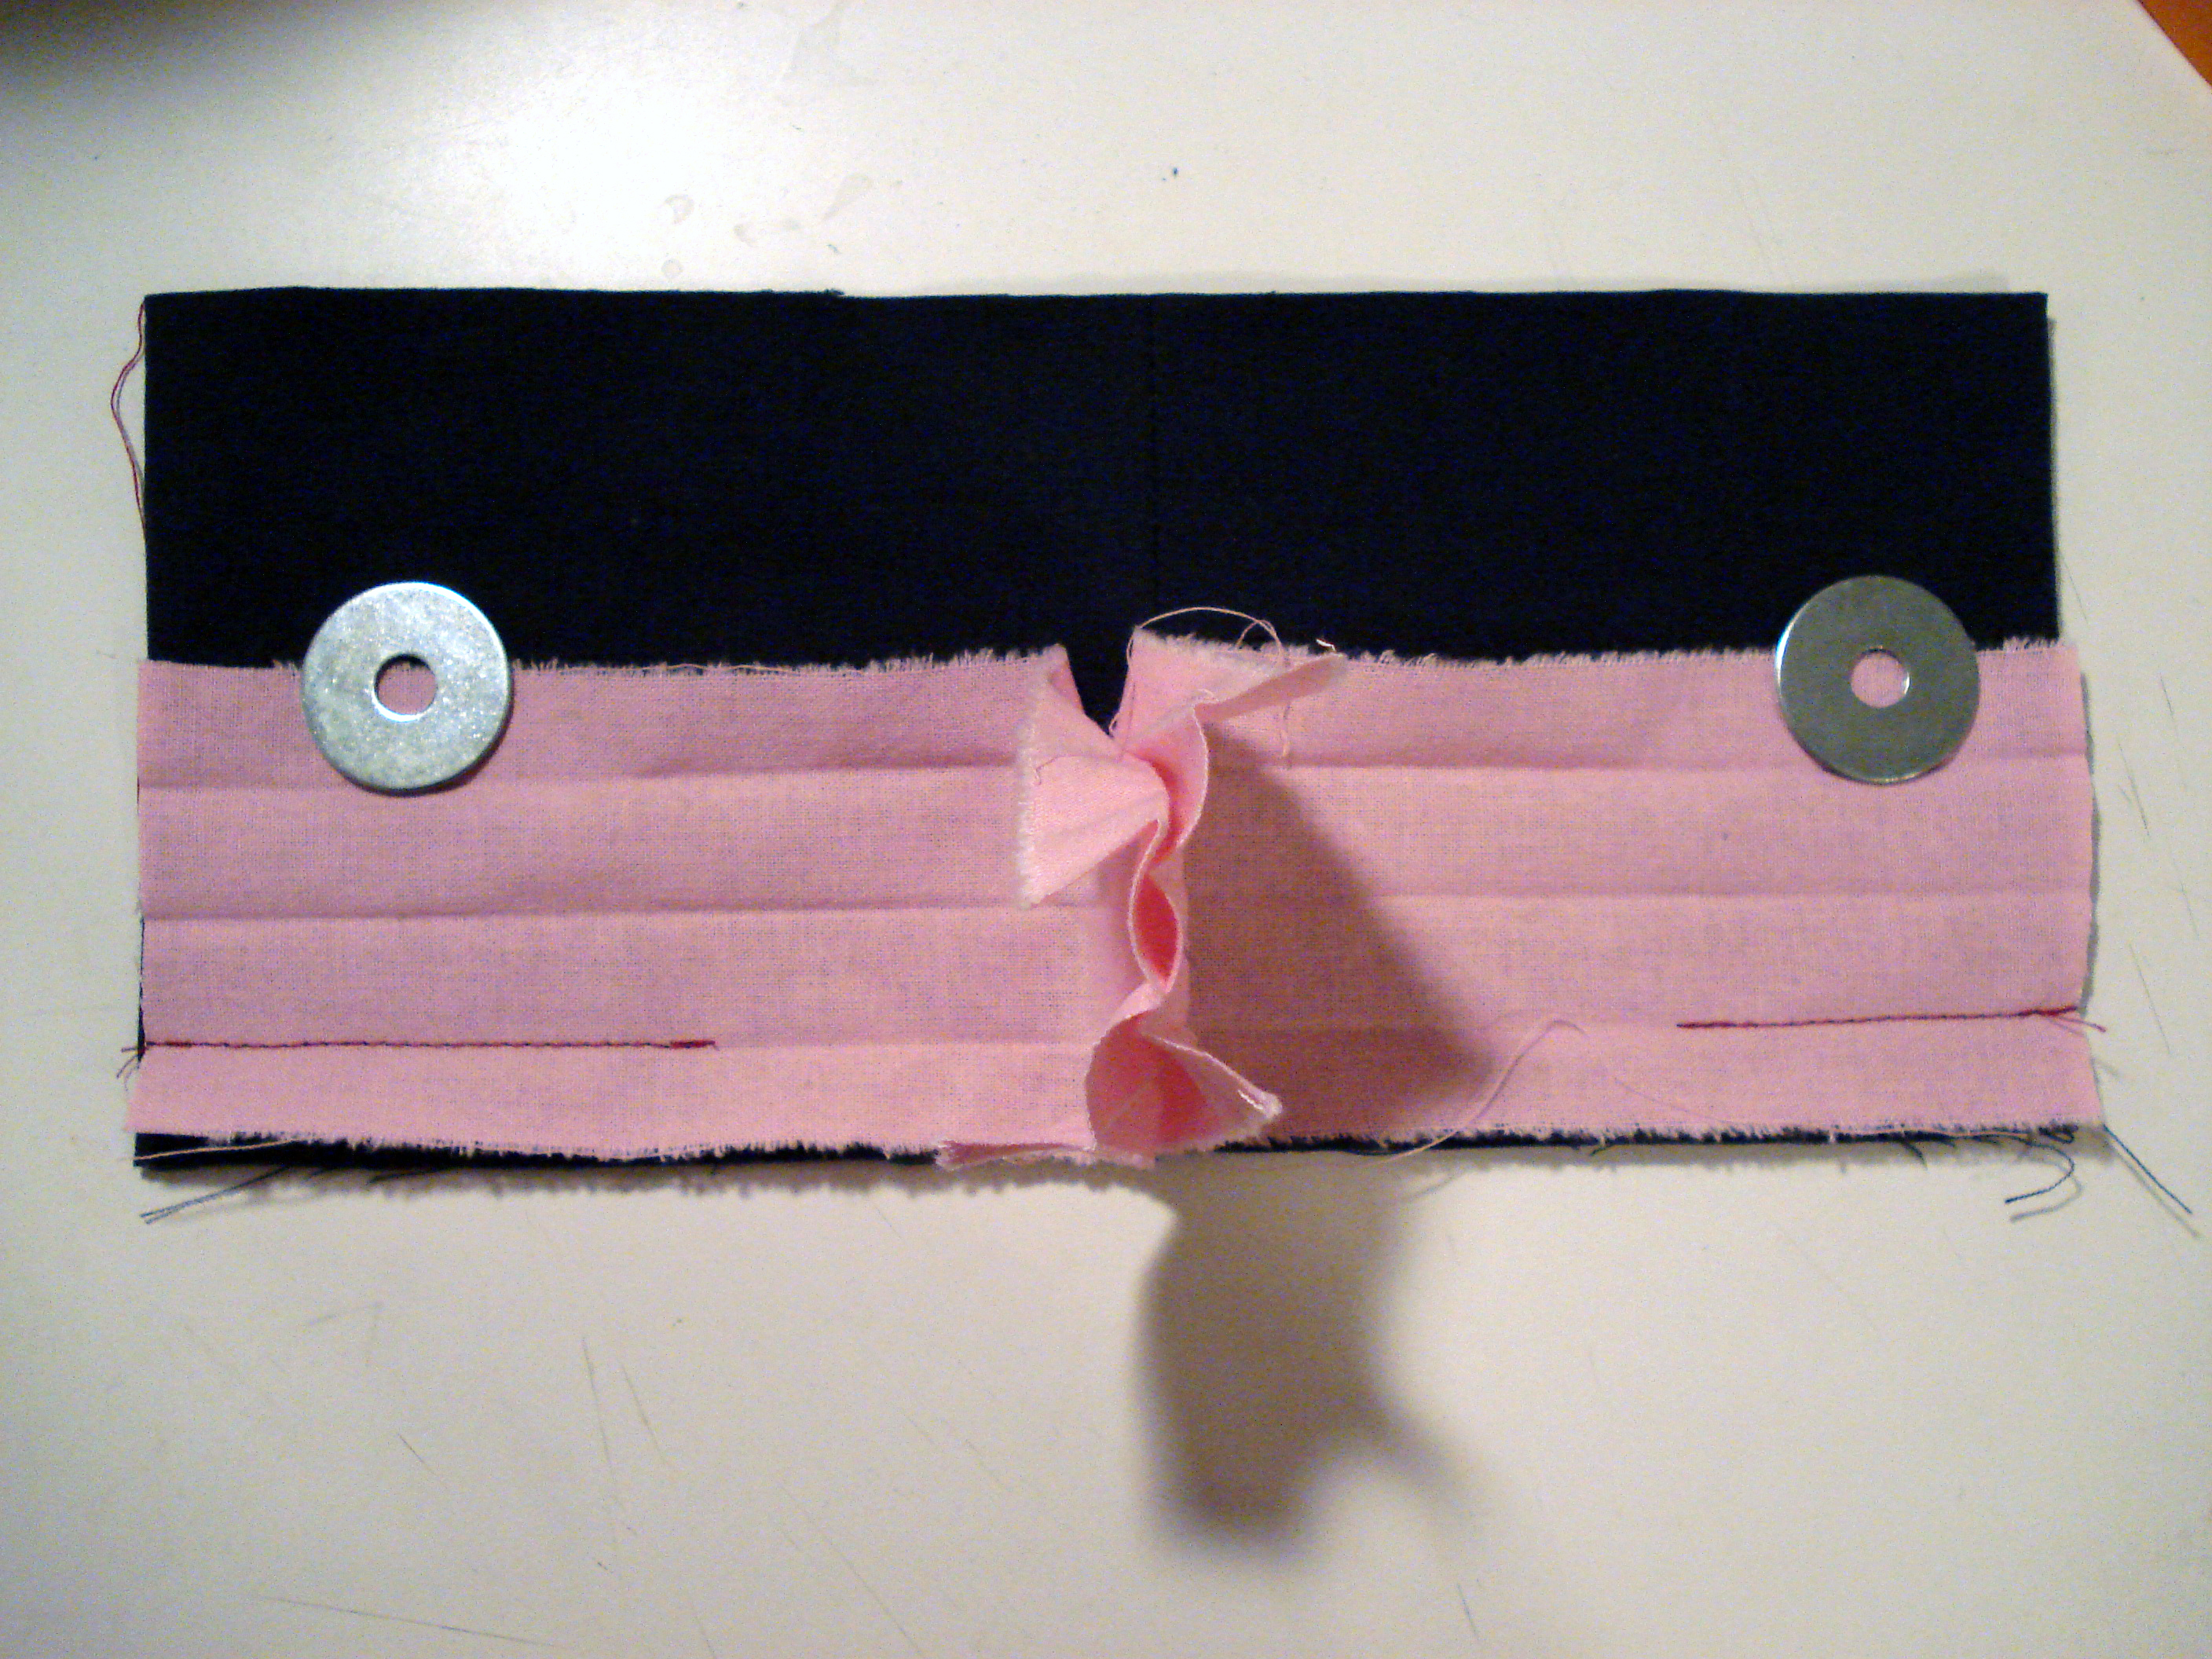
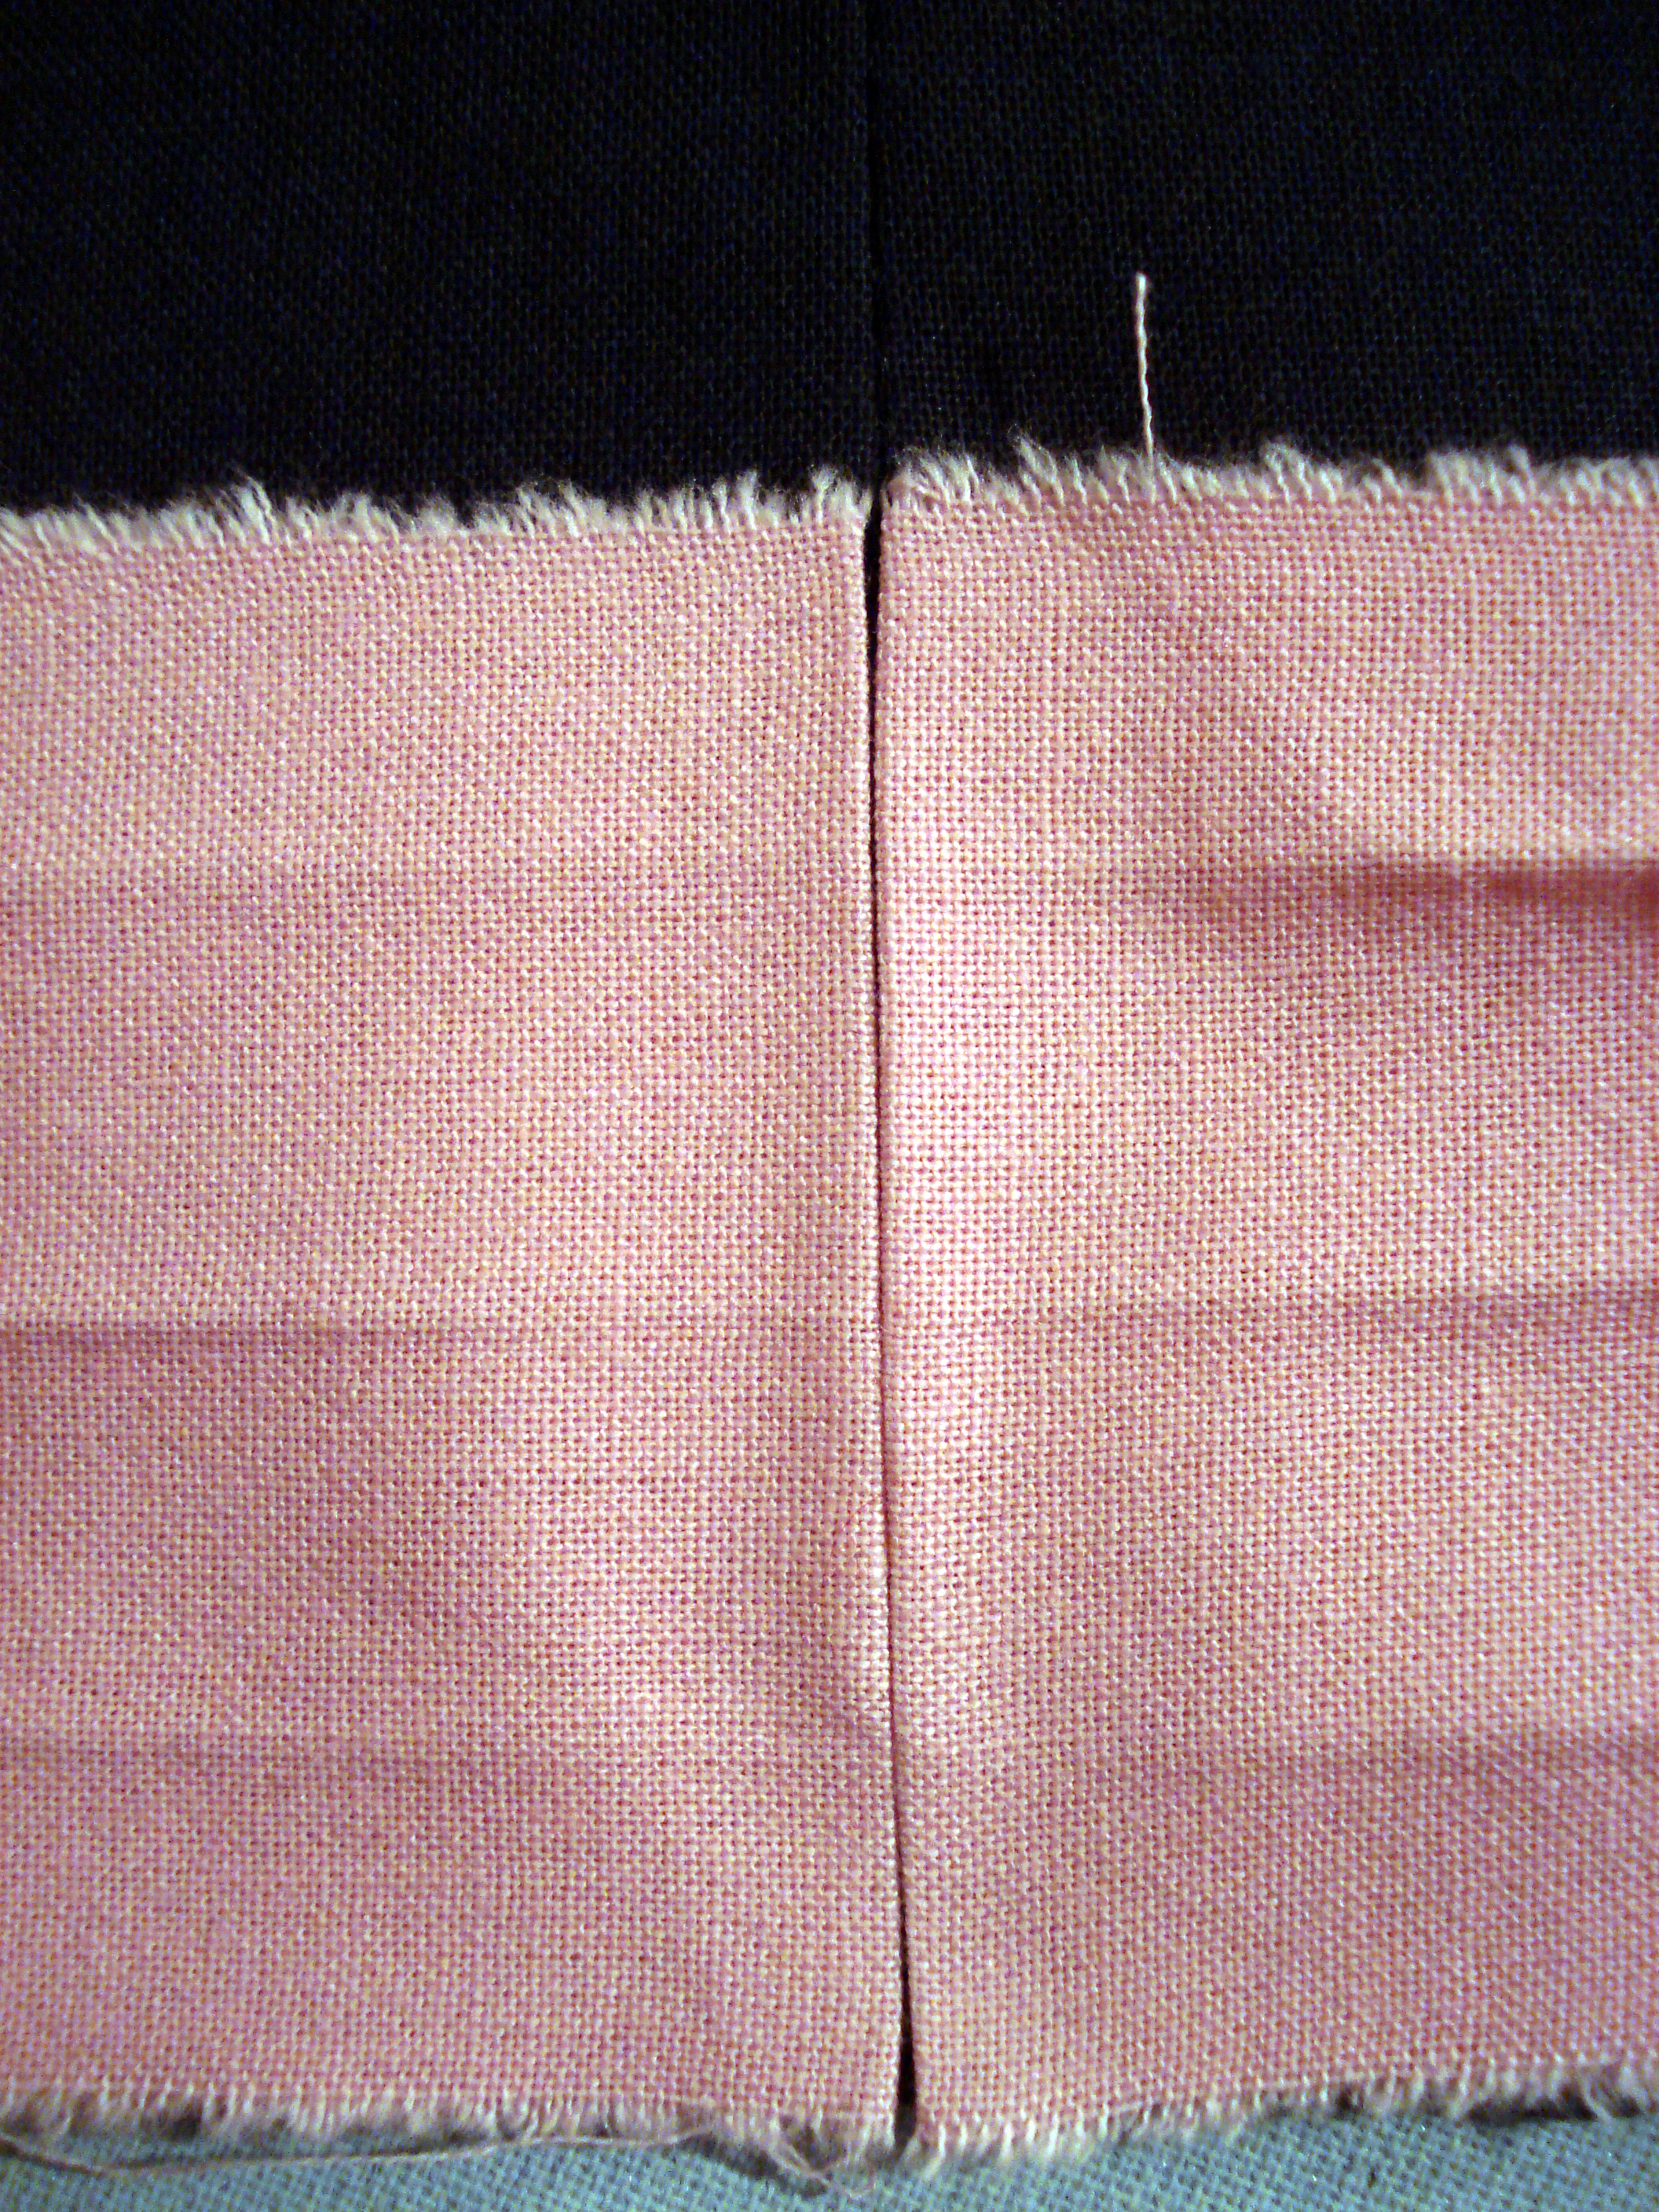
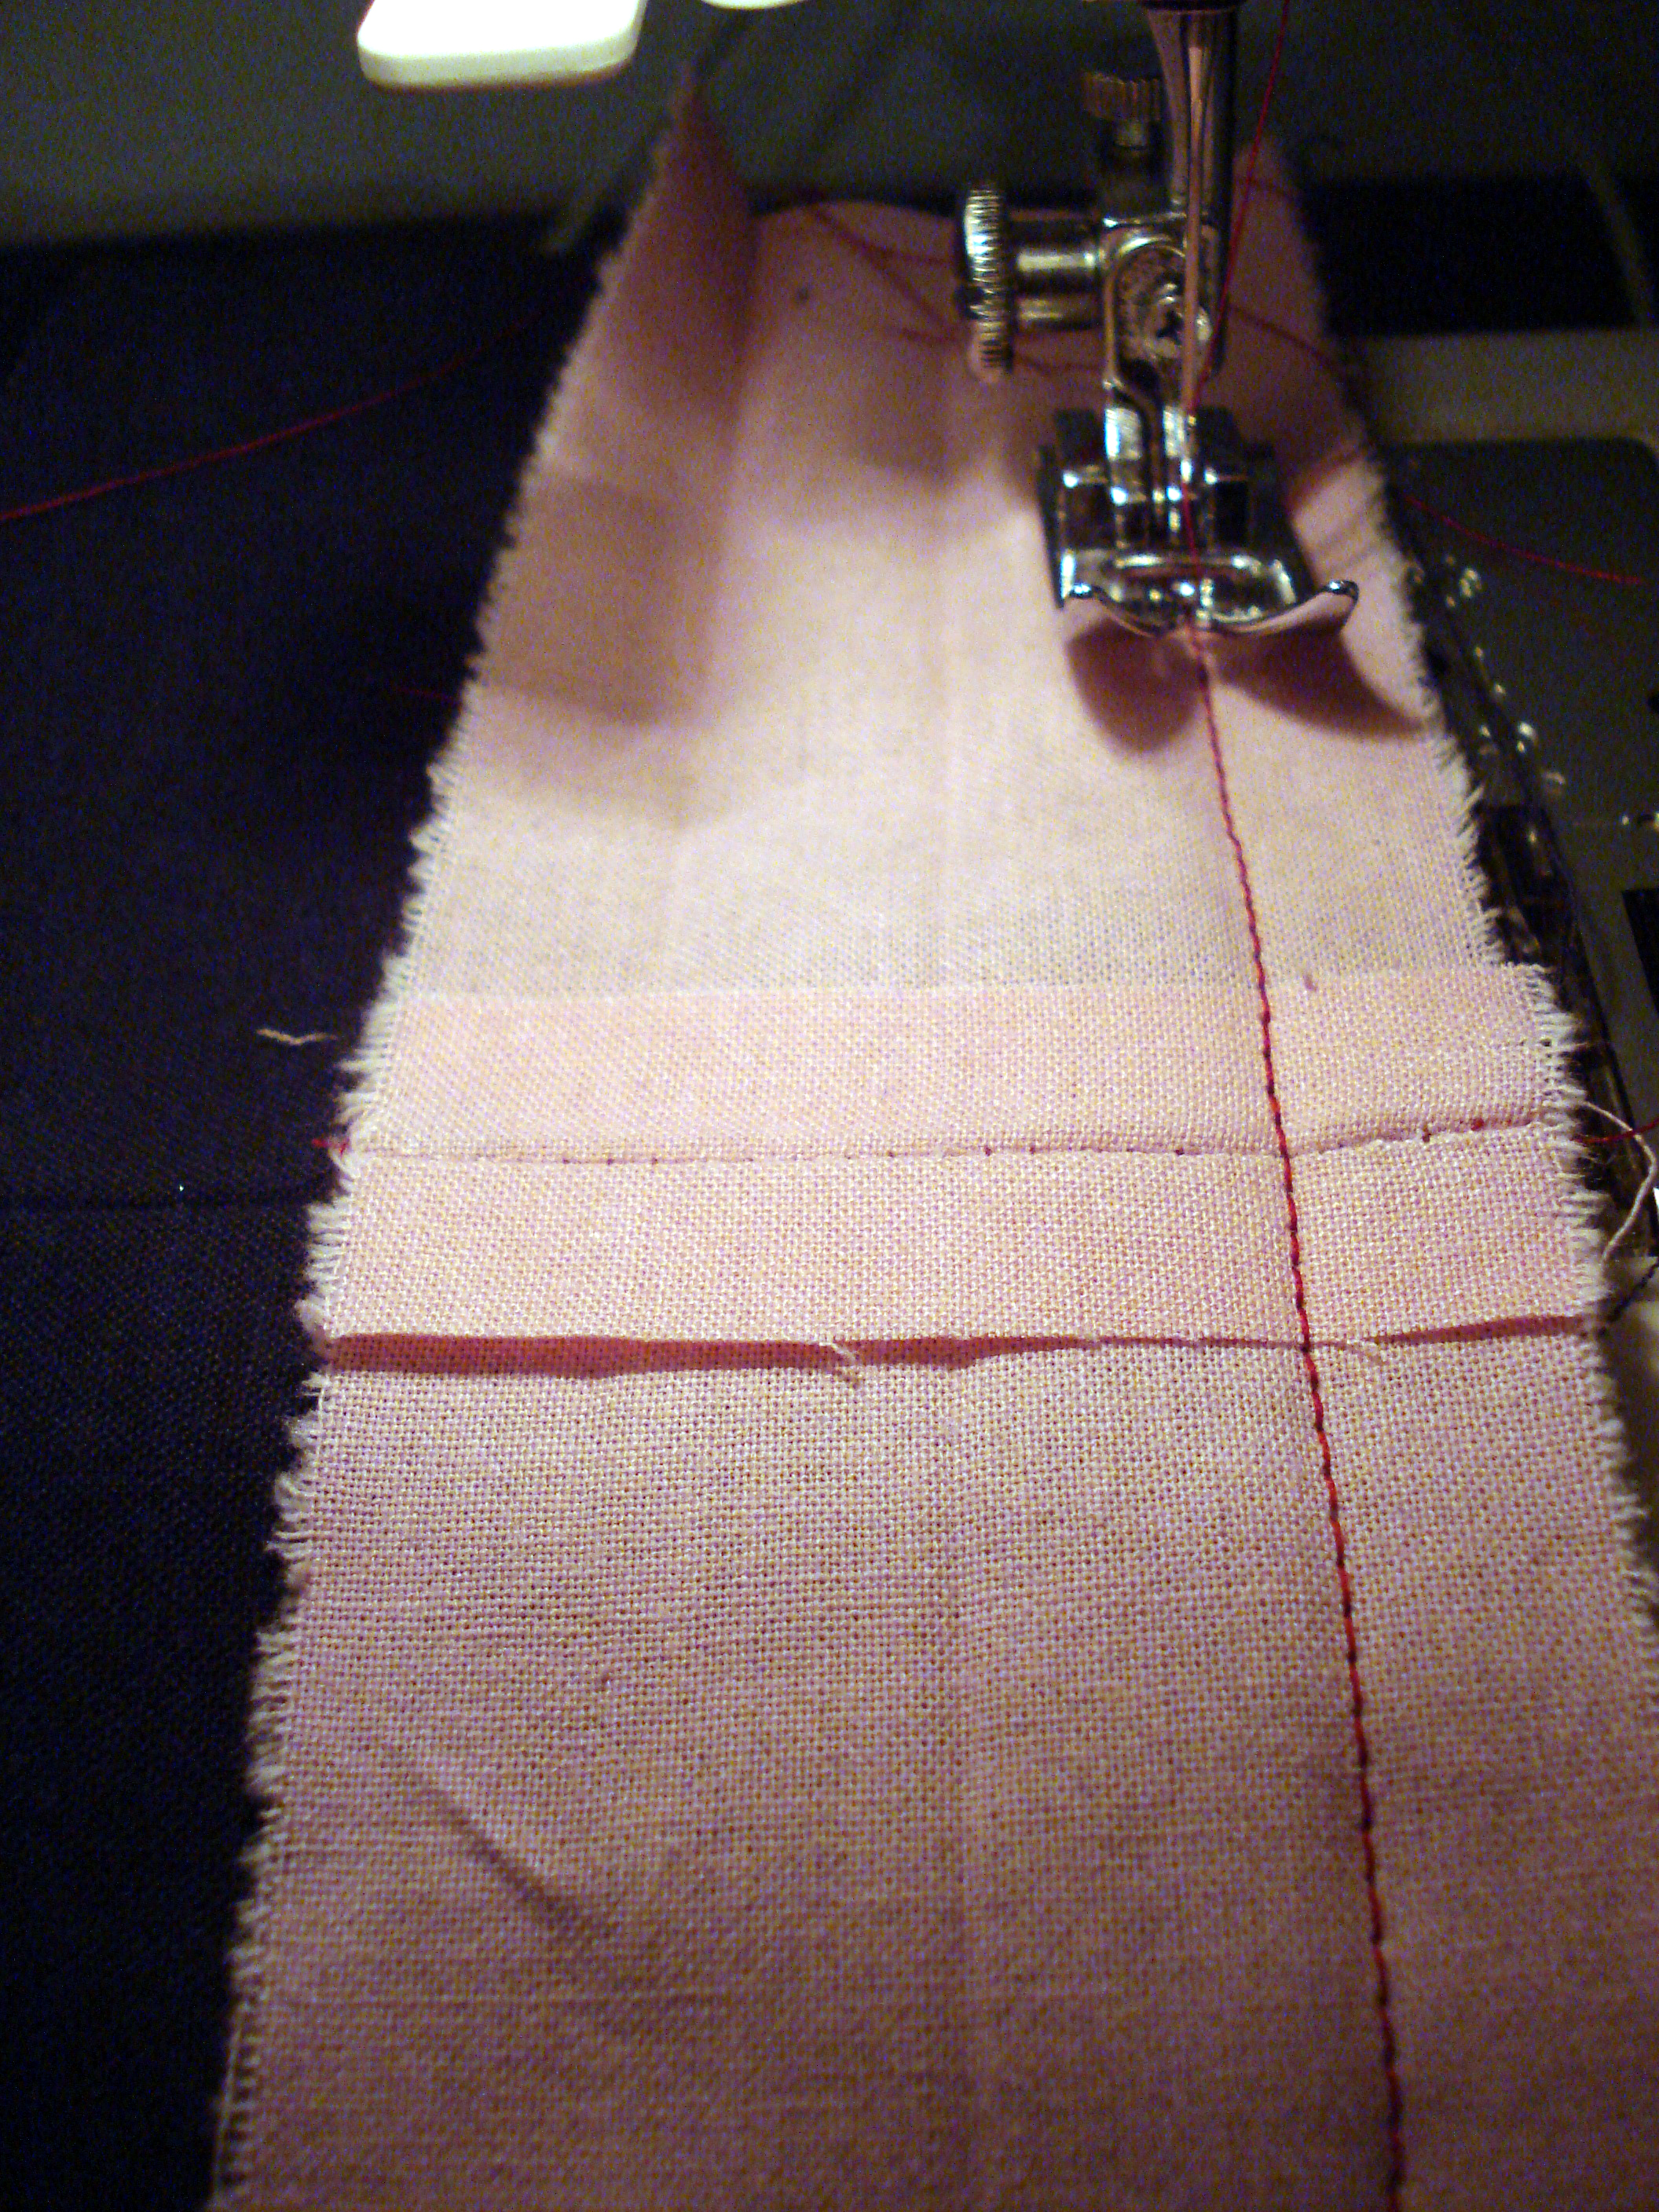
Pin, then sew across the marked line.
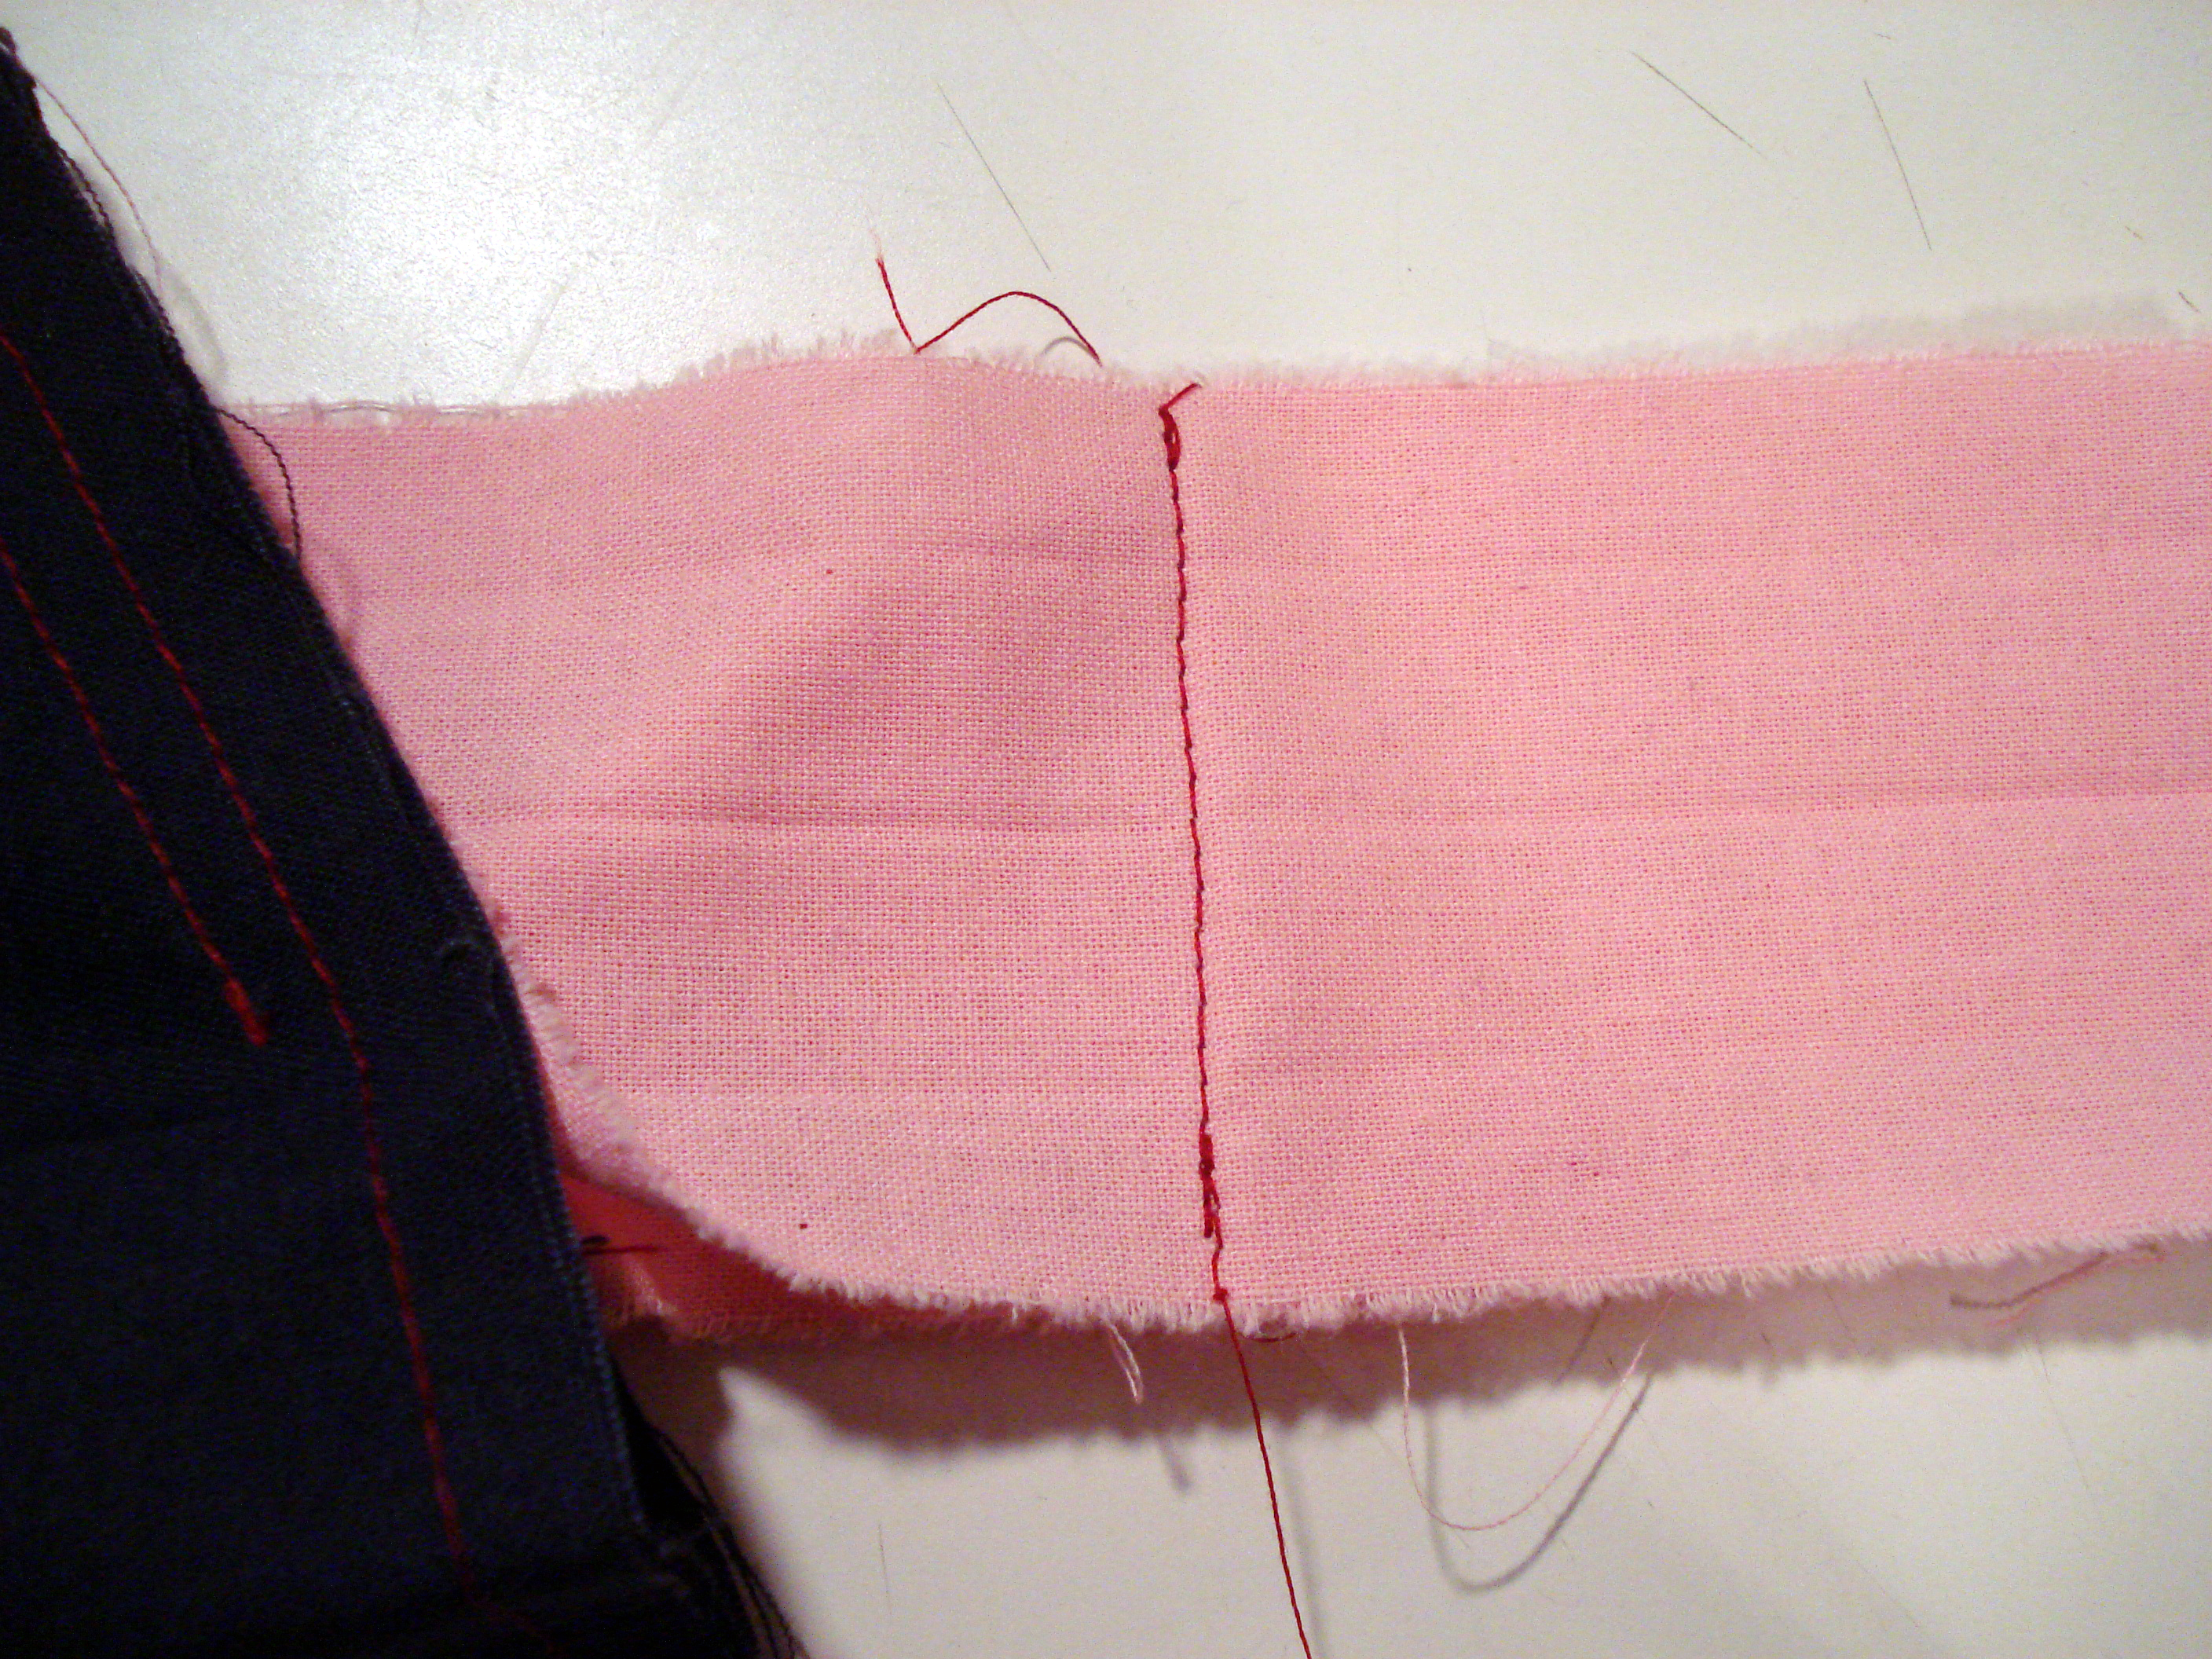
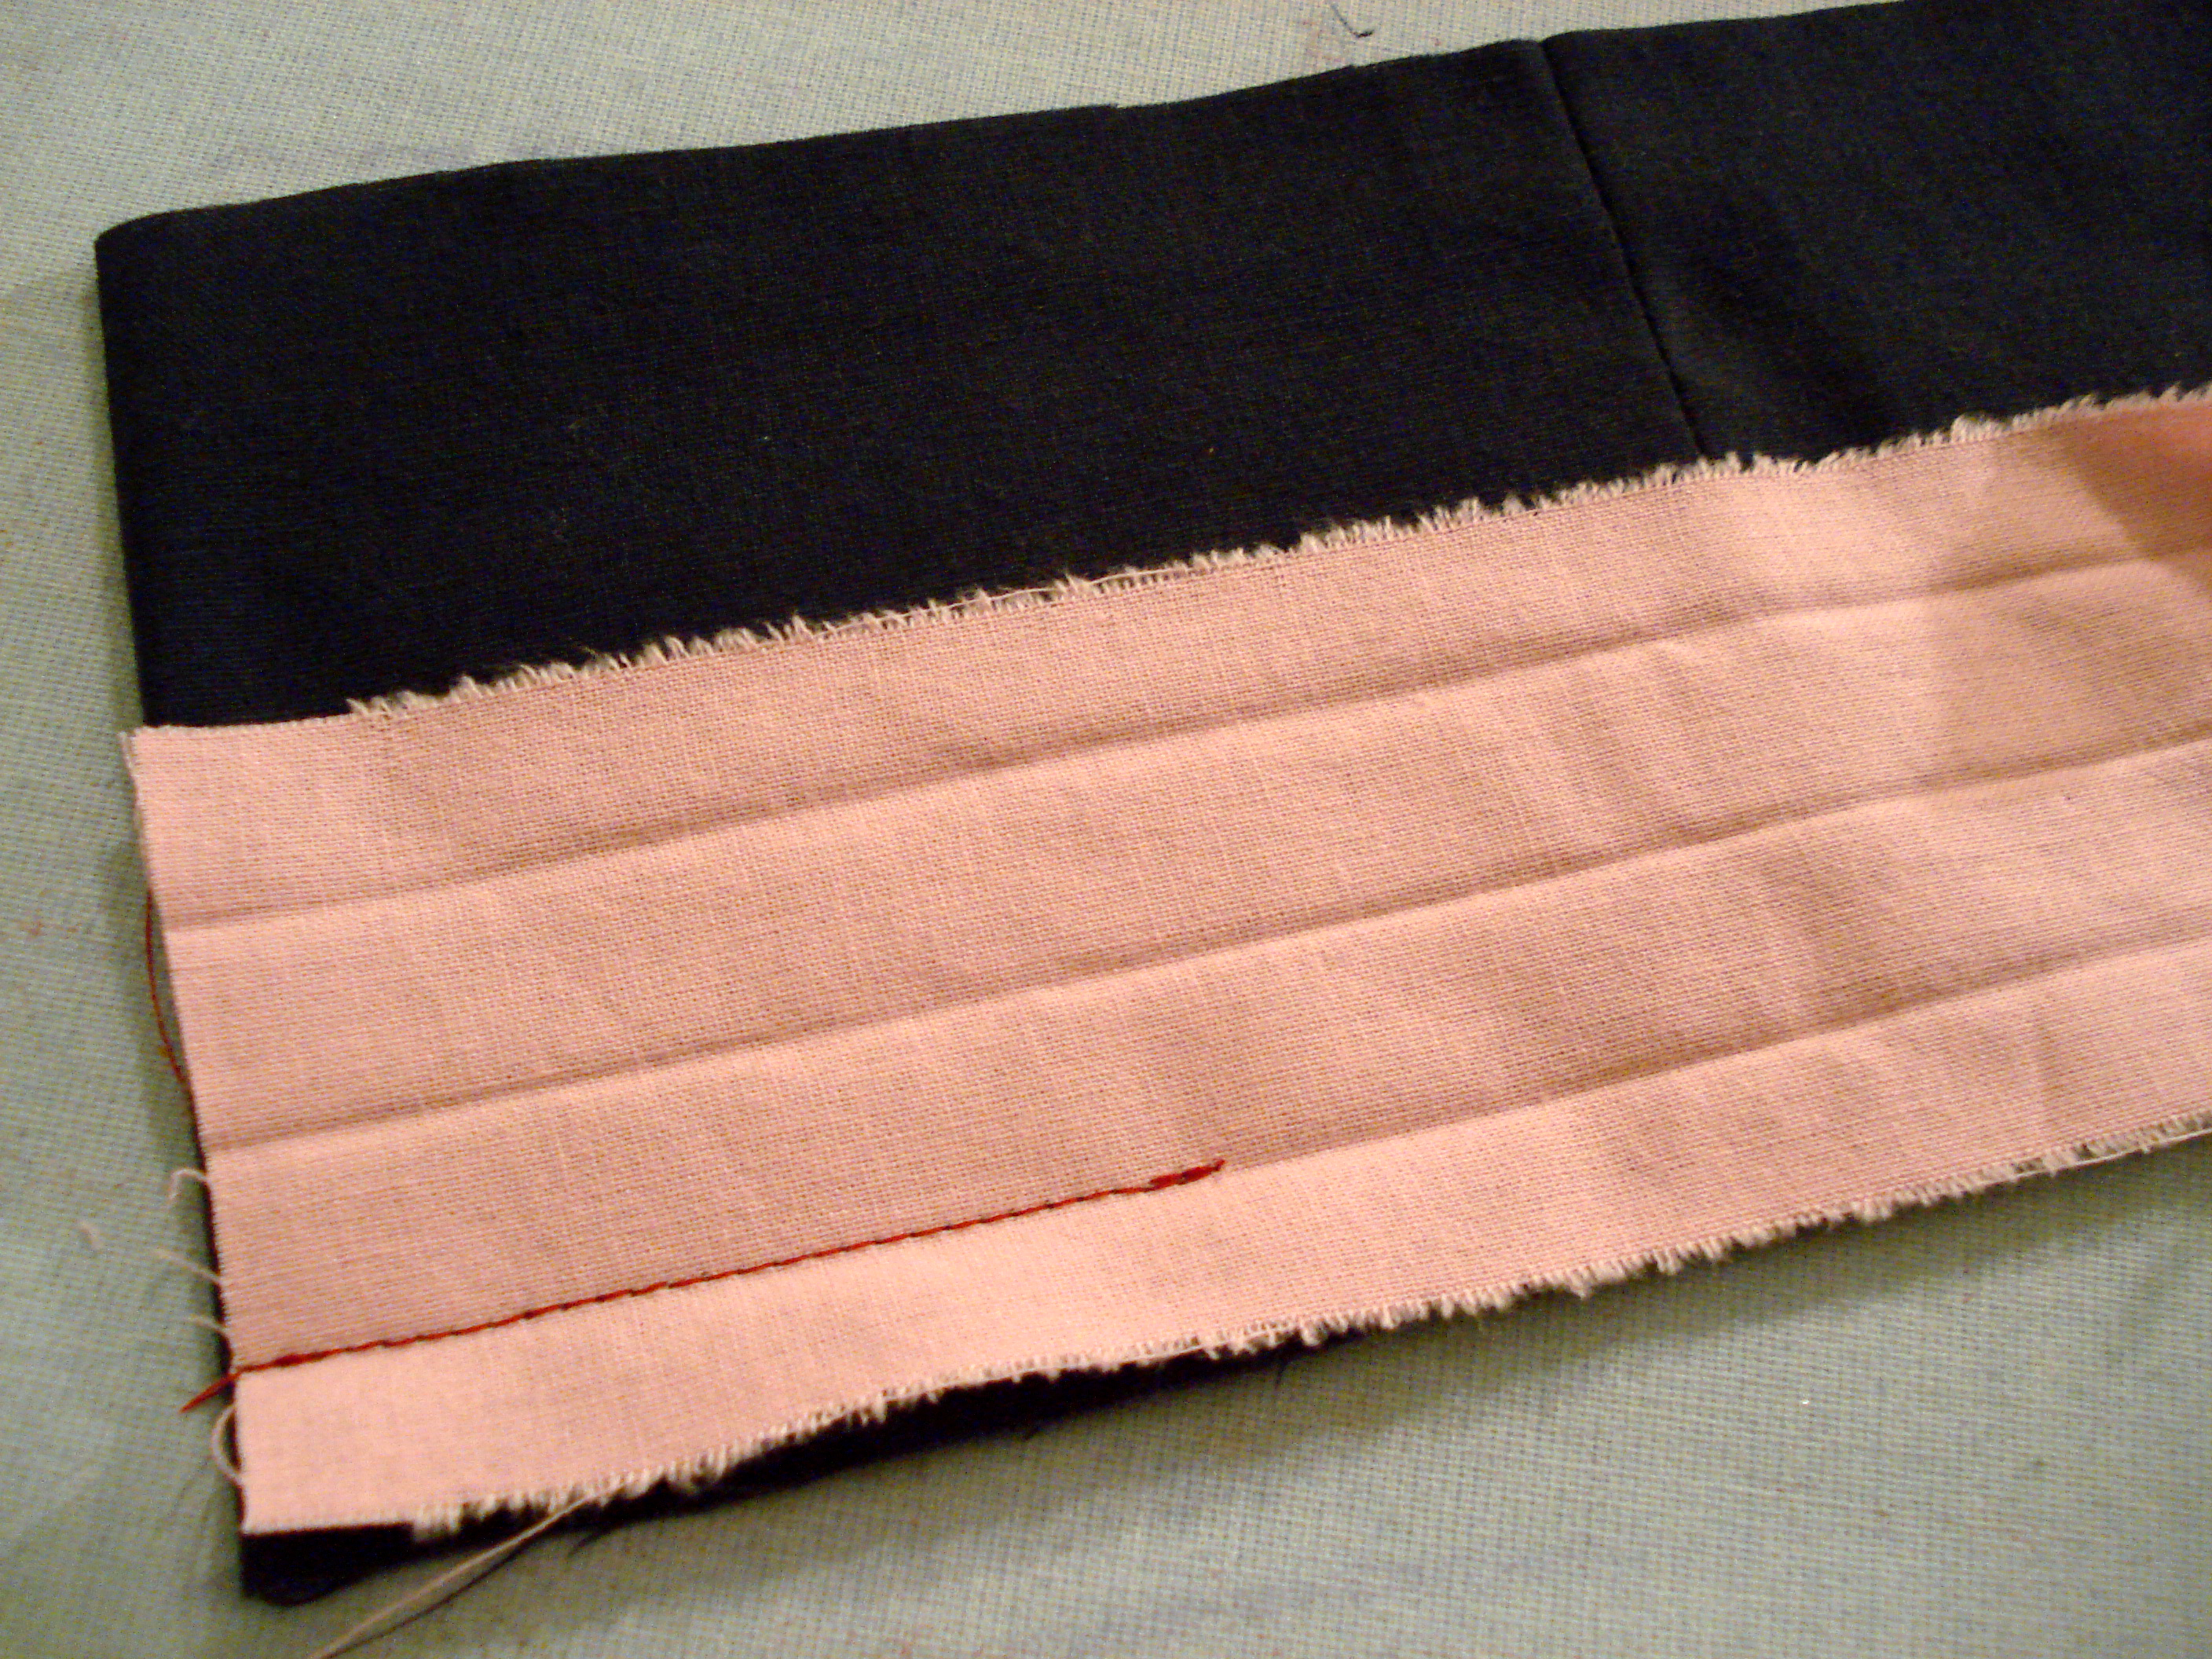
Press the seam flat, then clip the excess until only the seam allowance remains.
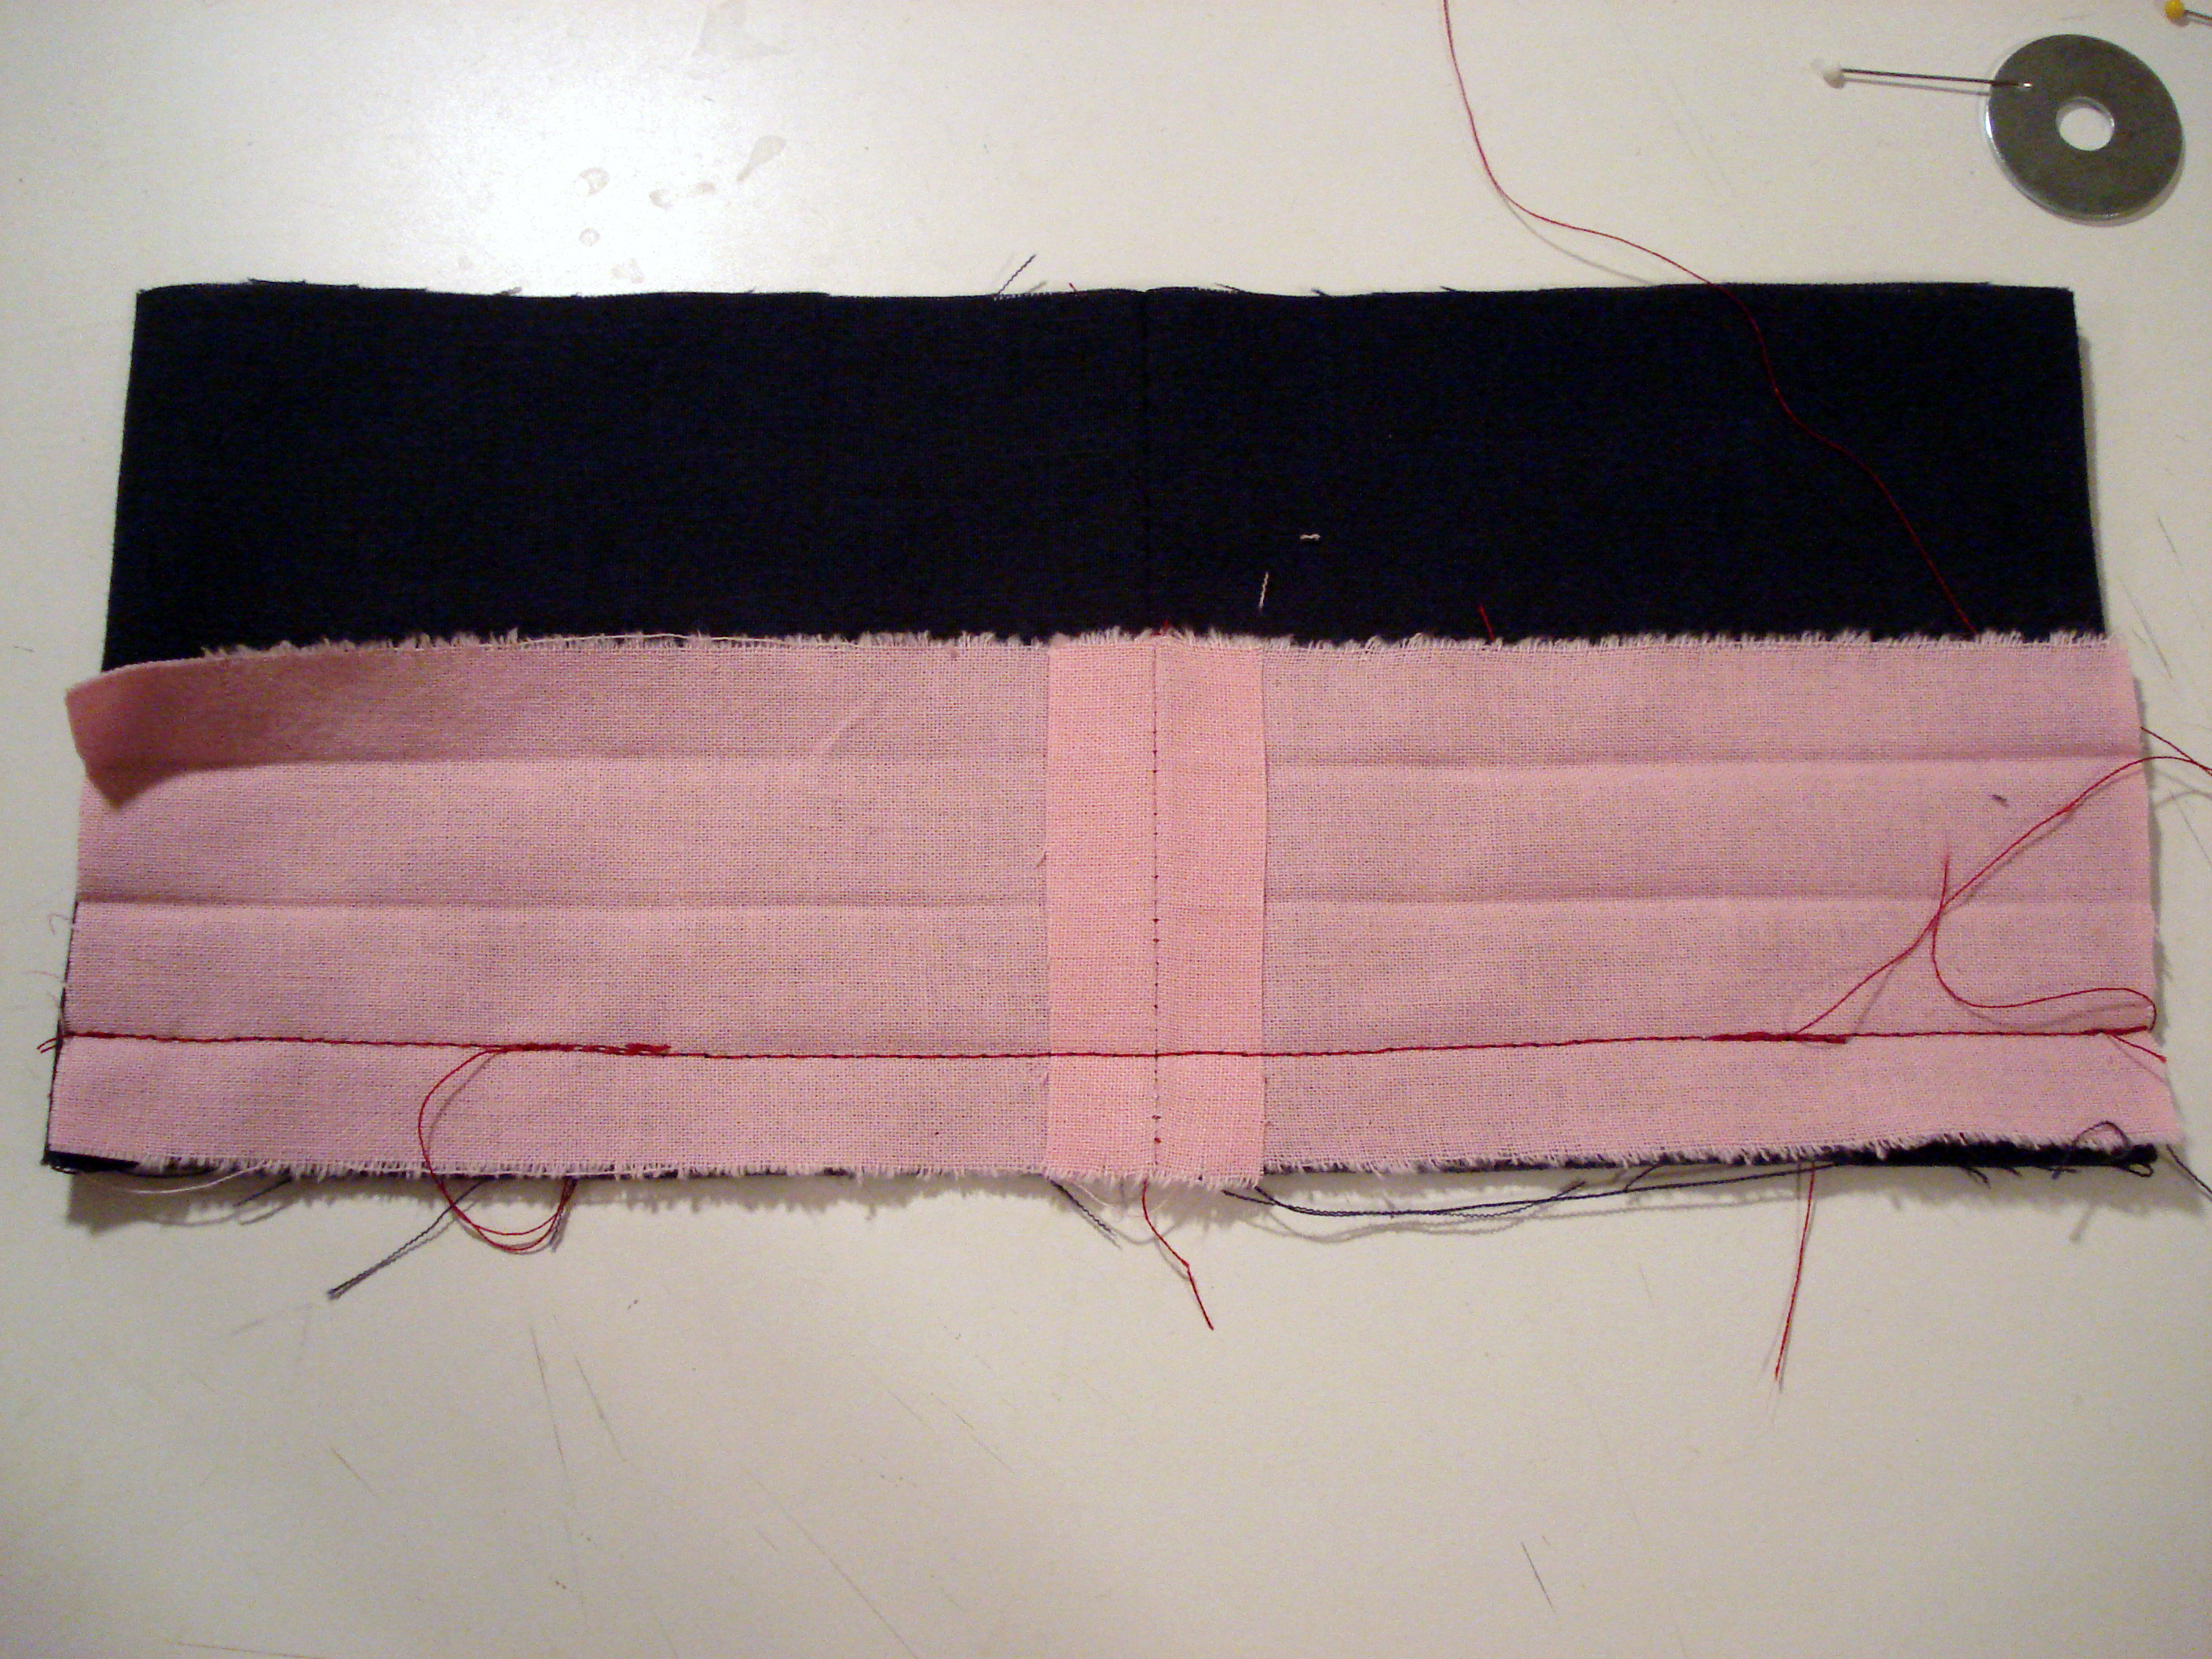
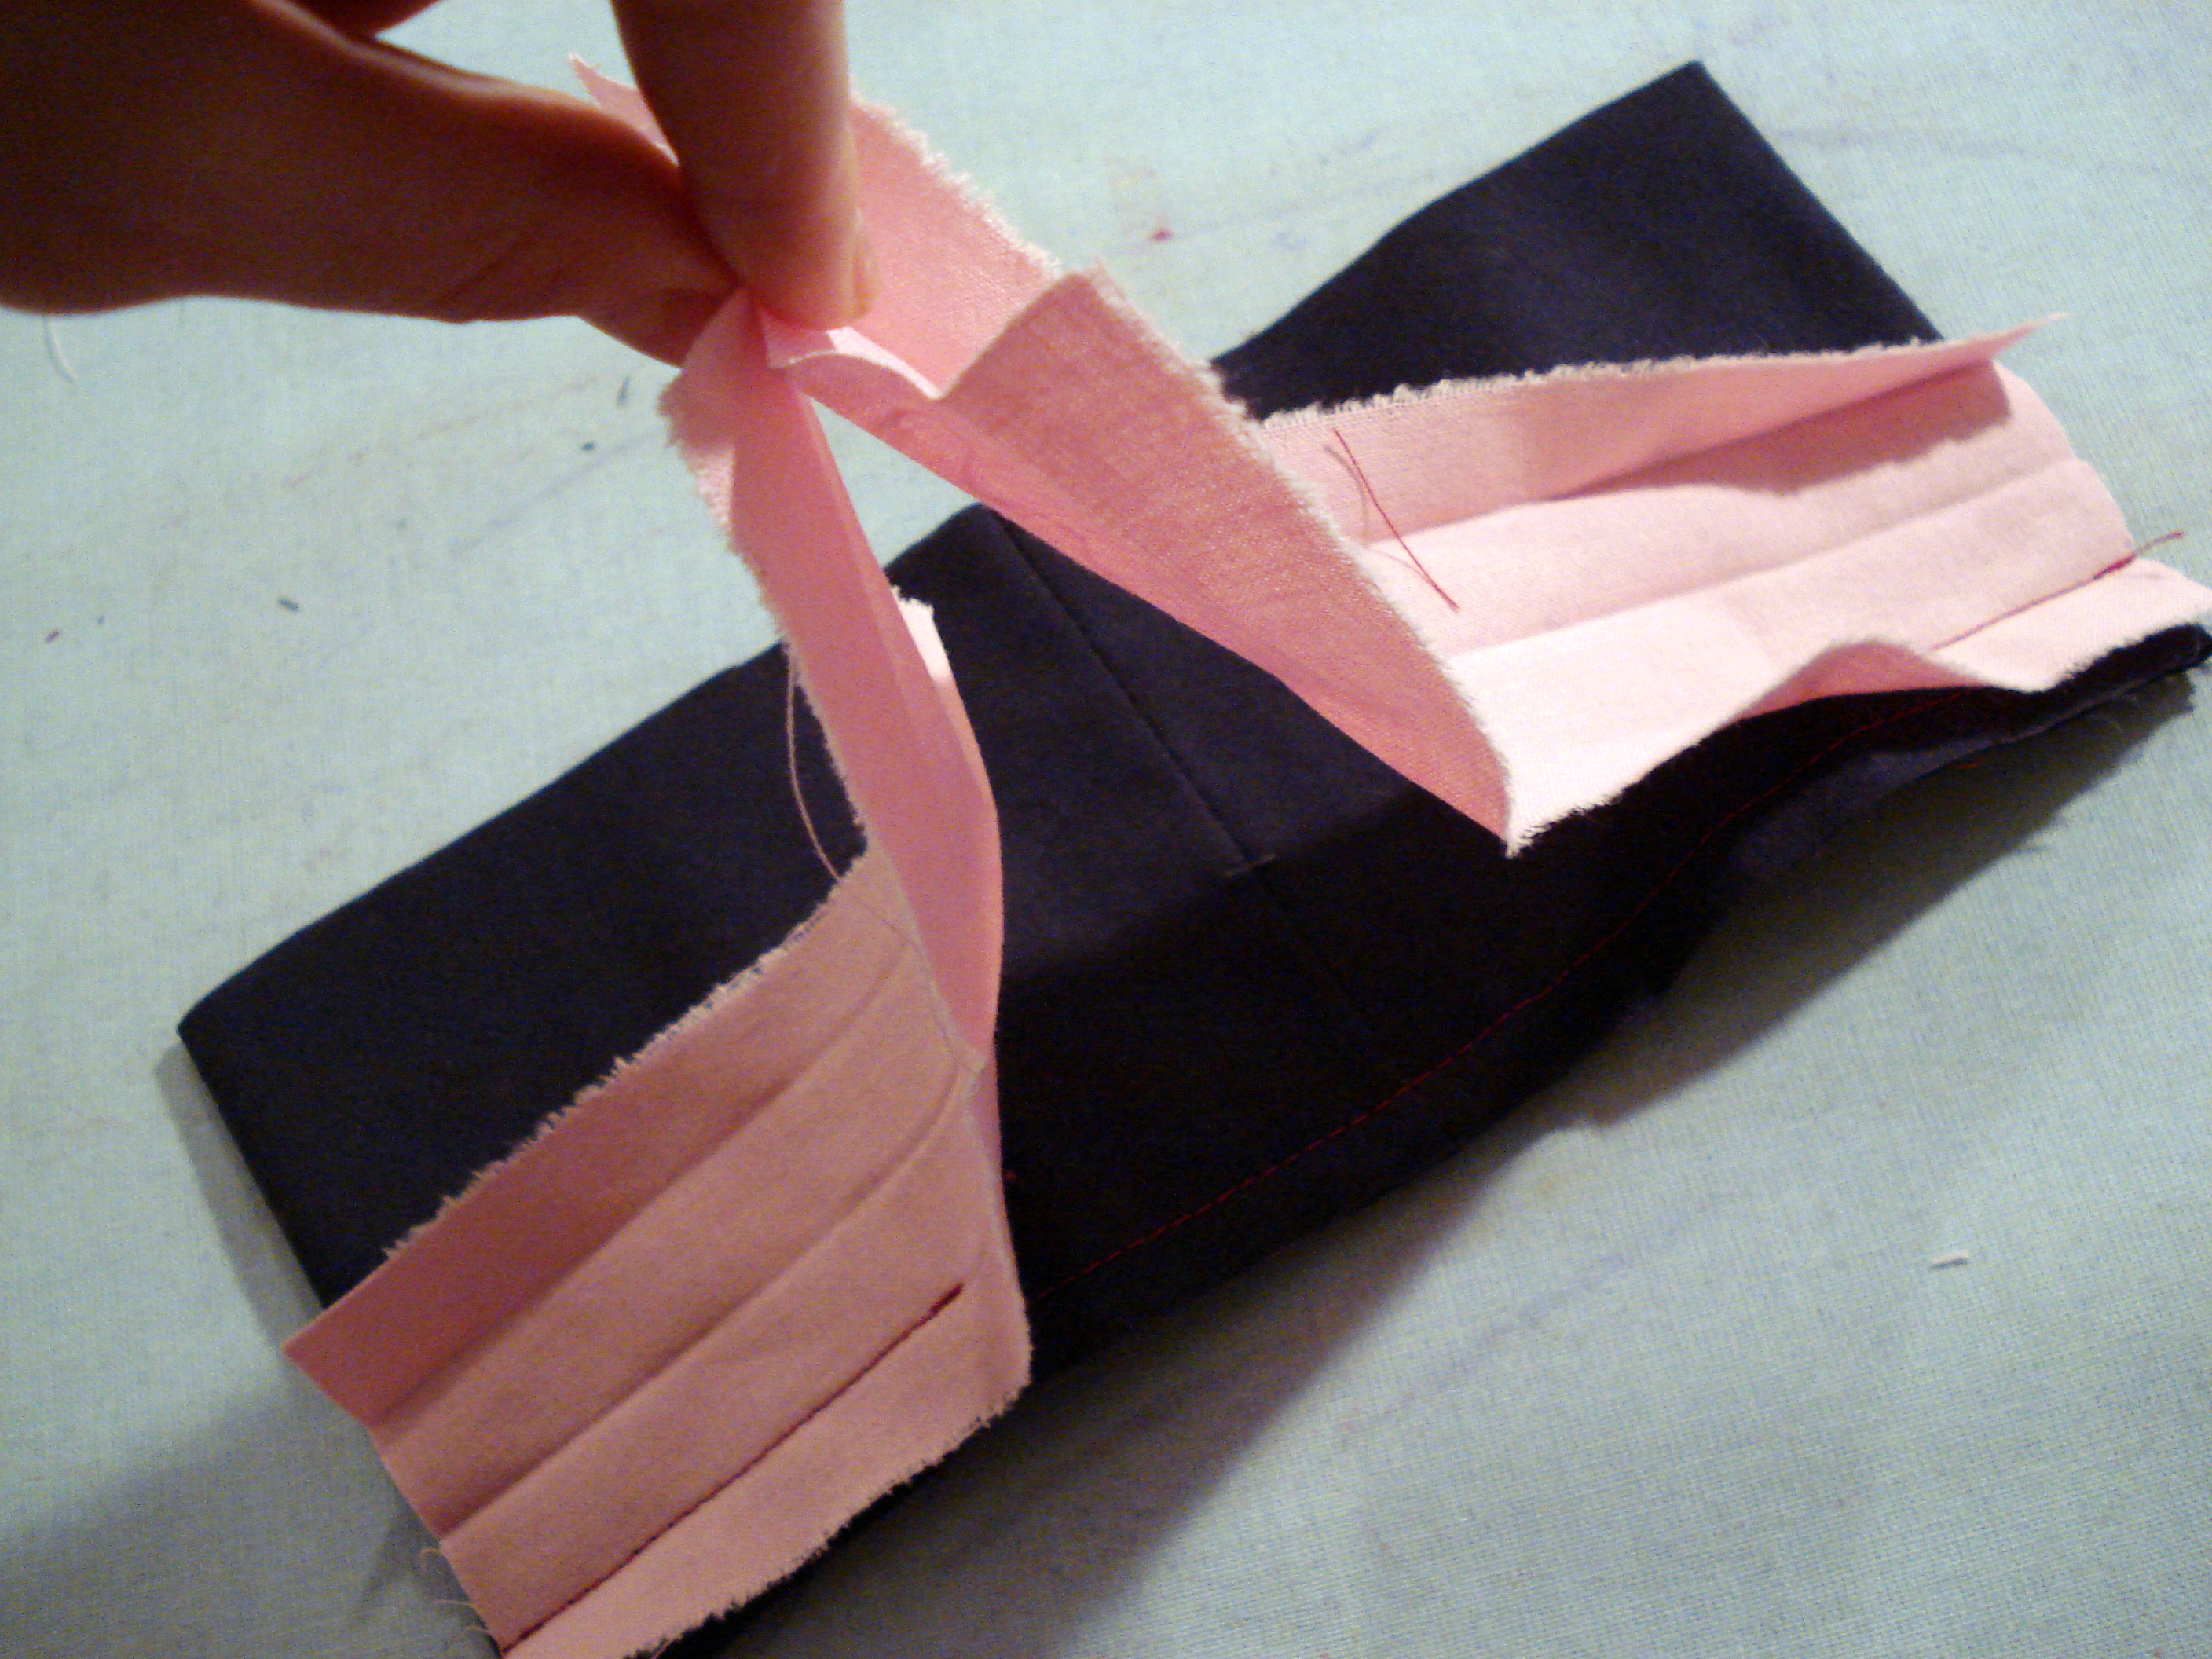
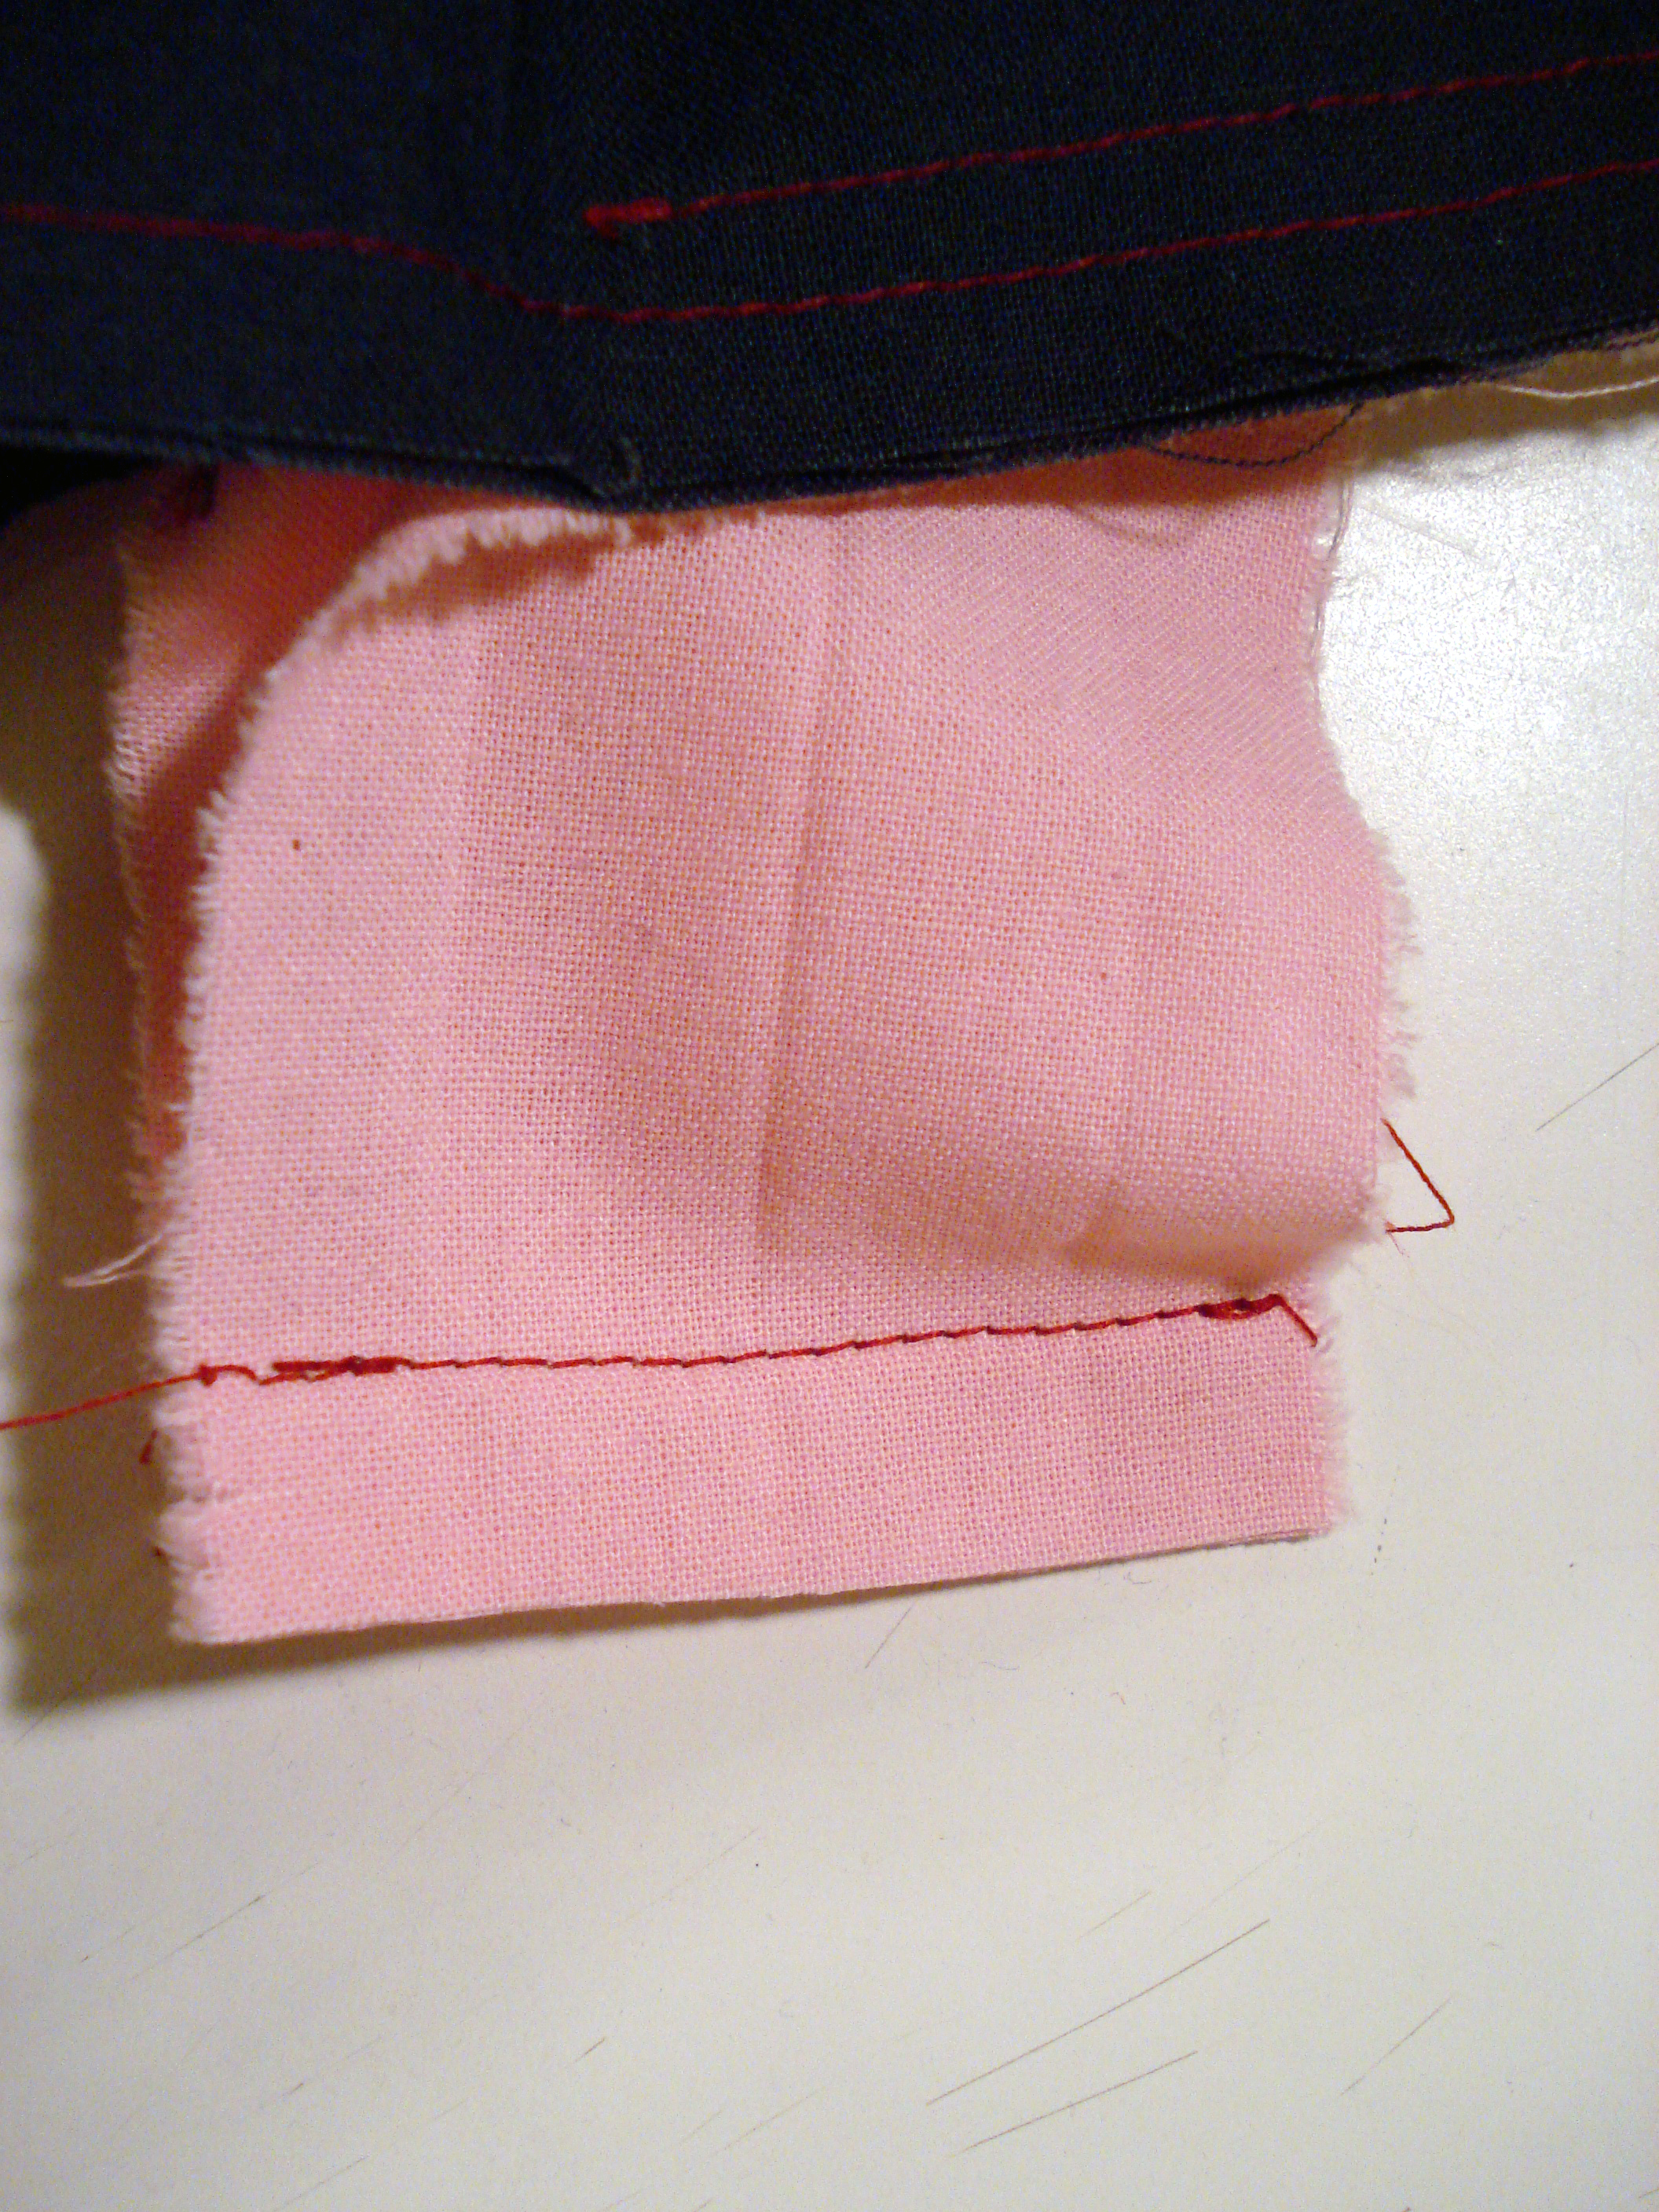
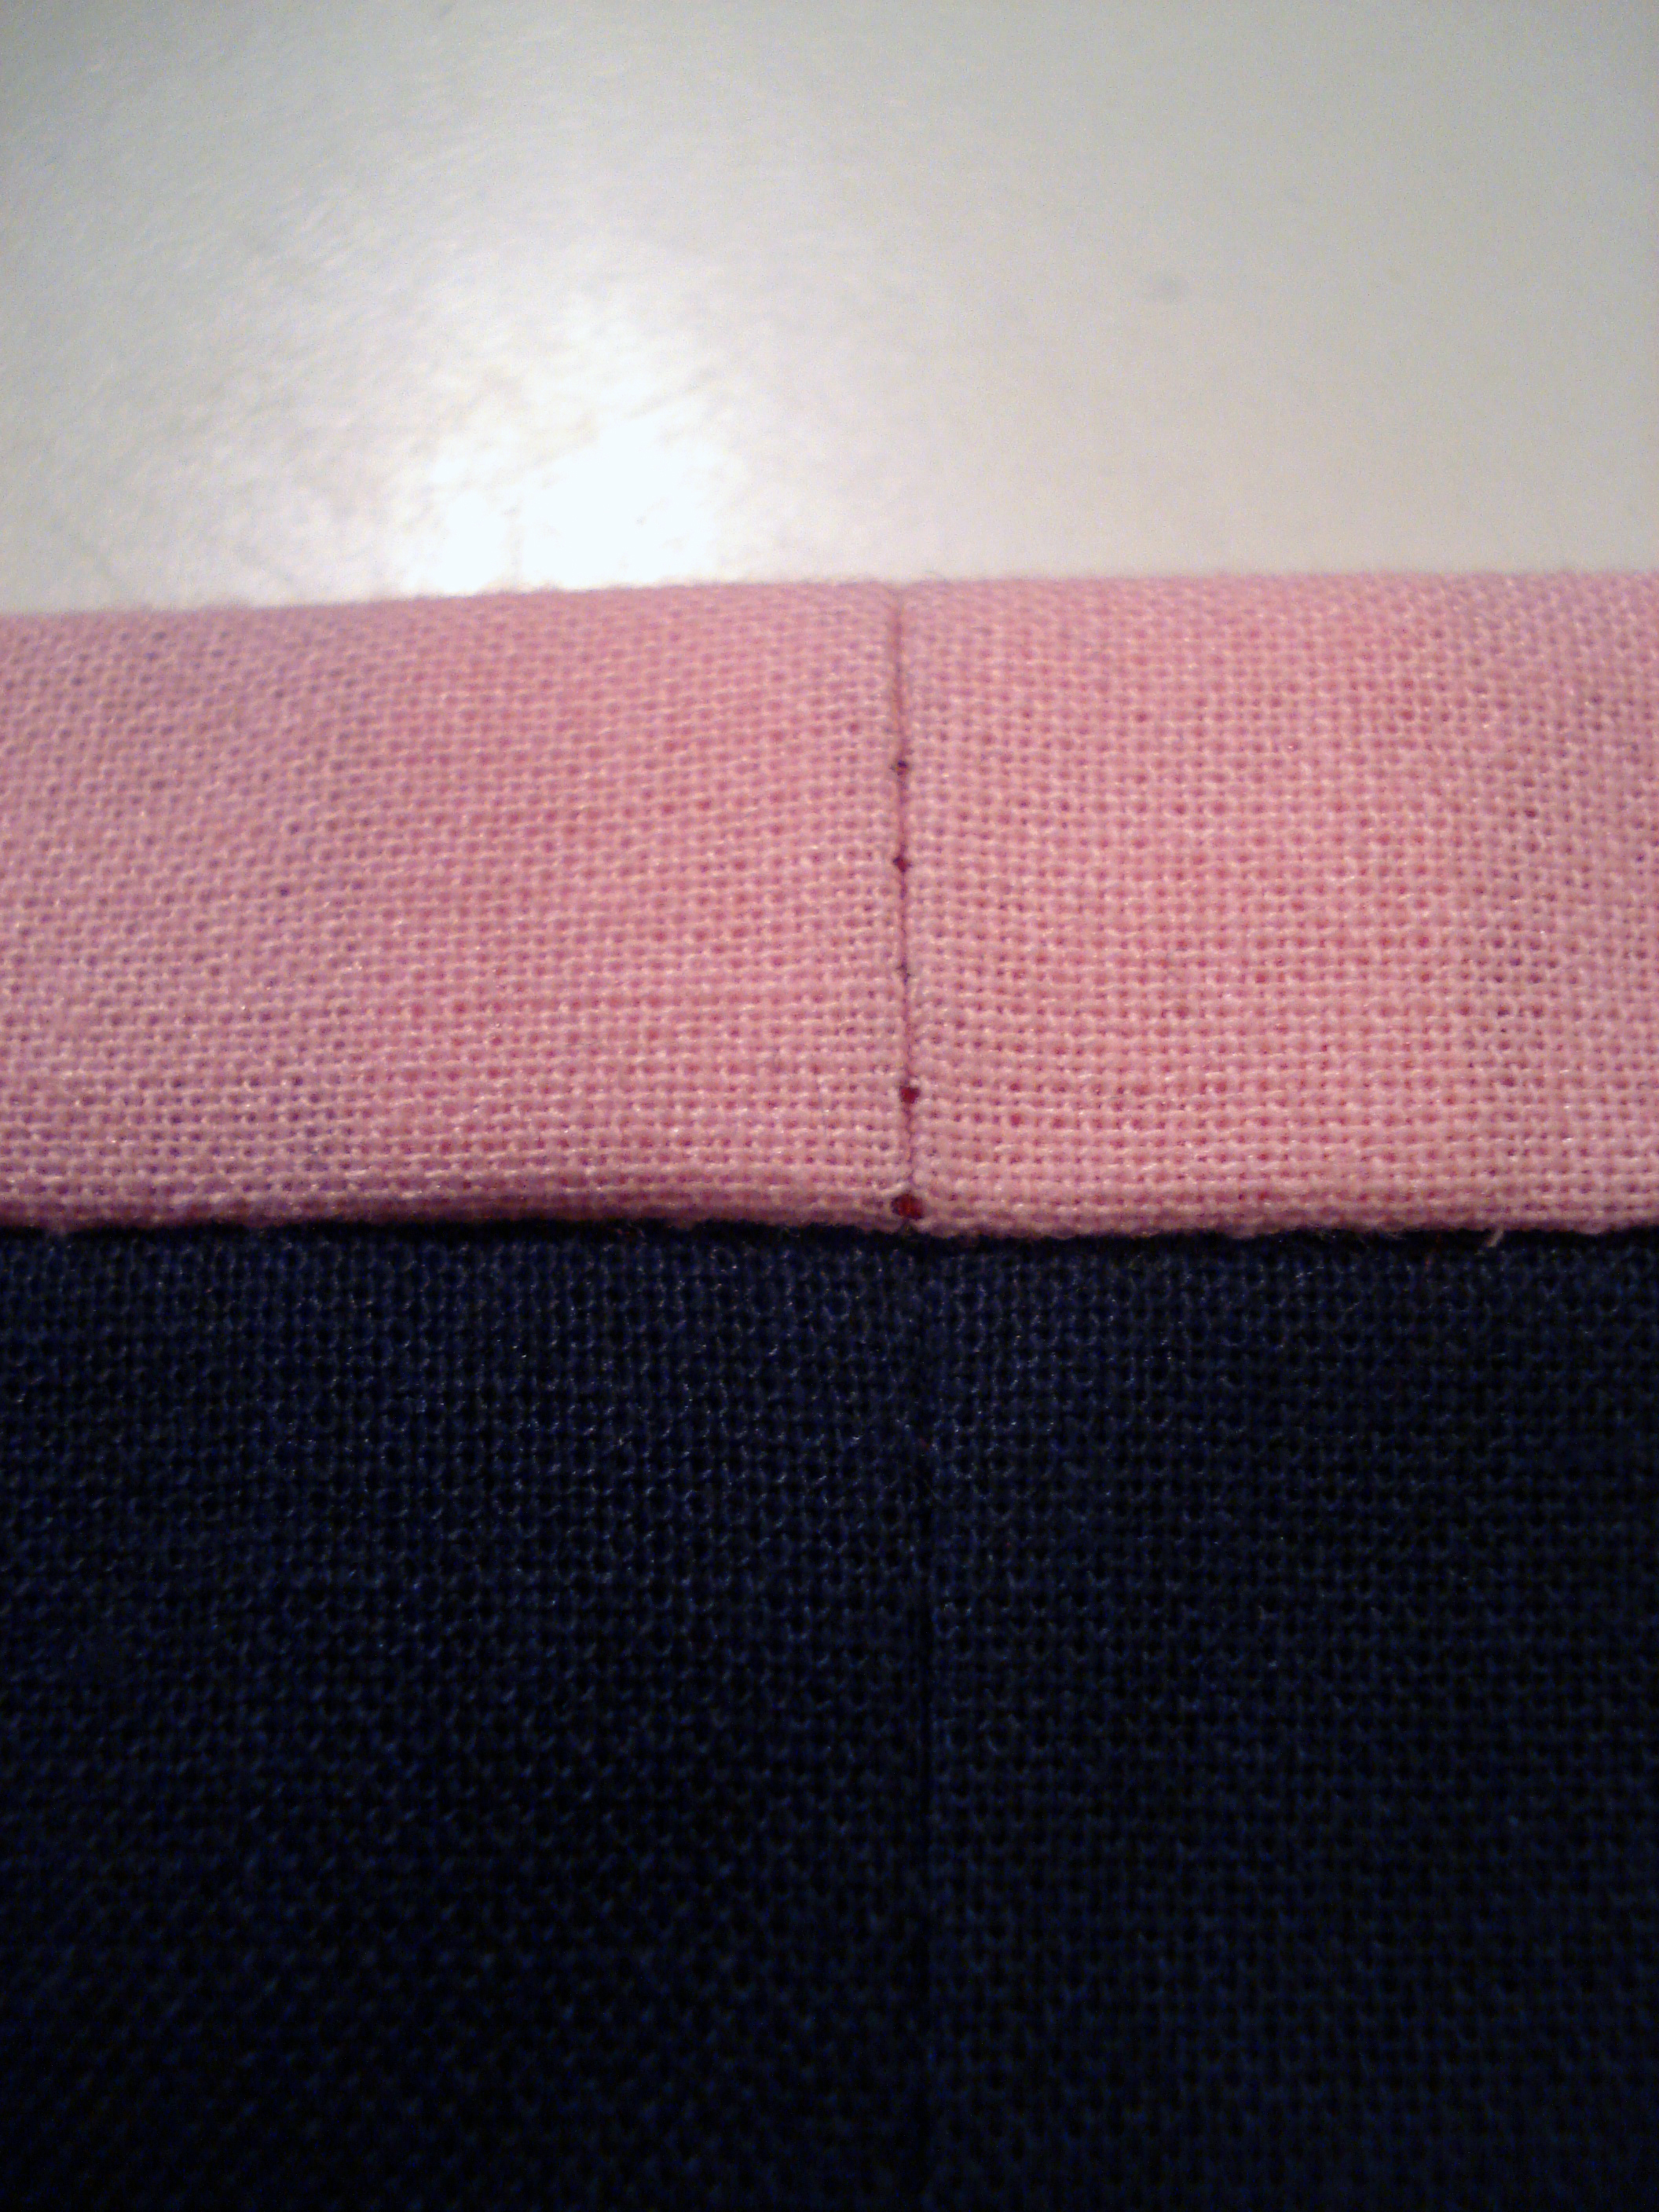
The tape should now lie neatly and flat against the fabric. Stitch across the last stretch.

Fold the tape around the edge and finish it using your preferred method of bias tape finishing.