Somewhere To Rest My Head
The most basic purpose of the van was to have somewhere relatively comfortable to sleep, but finding a suitable cot or bedframe proved difficult. I really wanted to have a twin-sized mattress. However, camping cots generally only came in sizes smaller than a twin, and twin-size bedframes meant for indoor use generally weren’t constructed in a way that would allow them to fit over my rear wheel well. The tolerances for this were fairly tight in the other direction as well; I needed something that would only just barely clear the wheel well for there to be sufficient clearance between my head and the roof while sitting on the bed. In the end, I decided to make my own bedframe. I looked up a few DIY builds to get a general idea of how to do the layout, double-checked my mattress dimensions, and then set out for Home Depot.
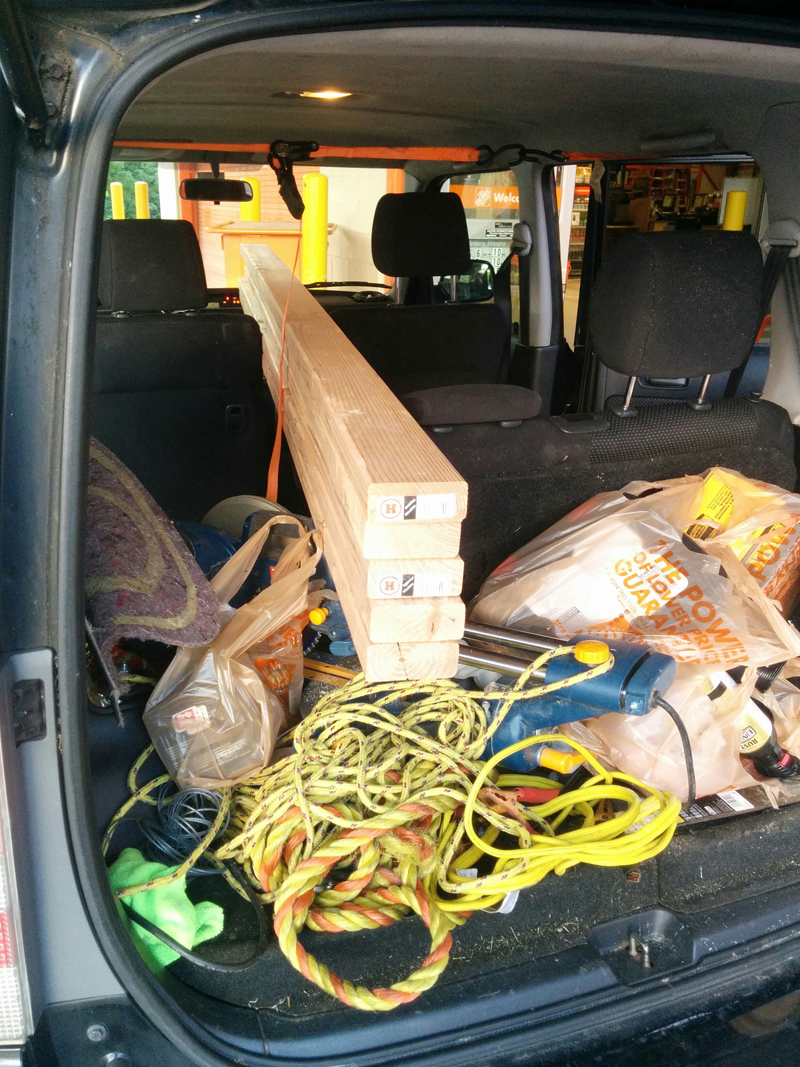
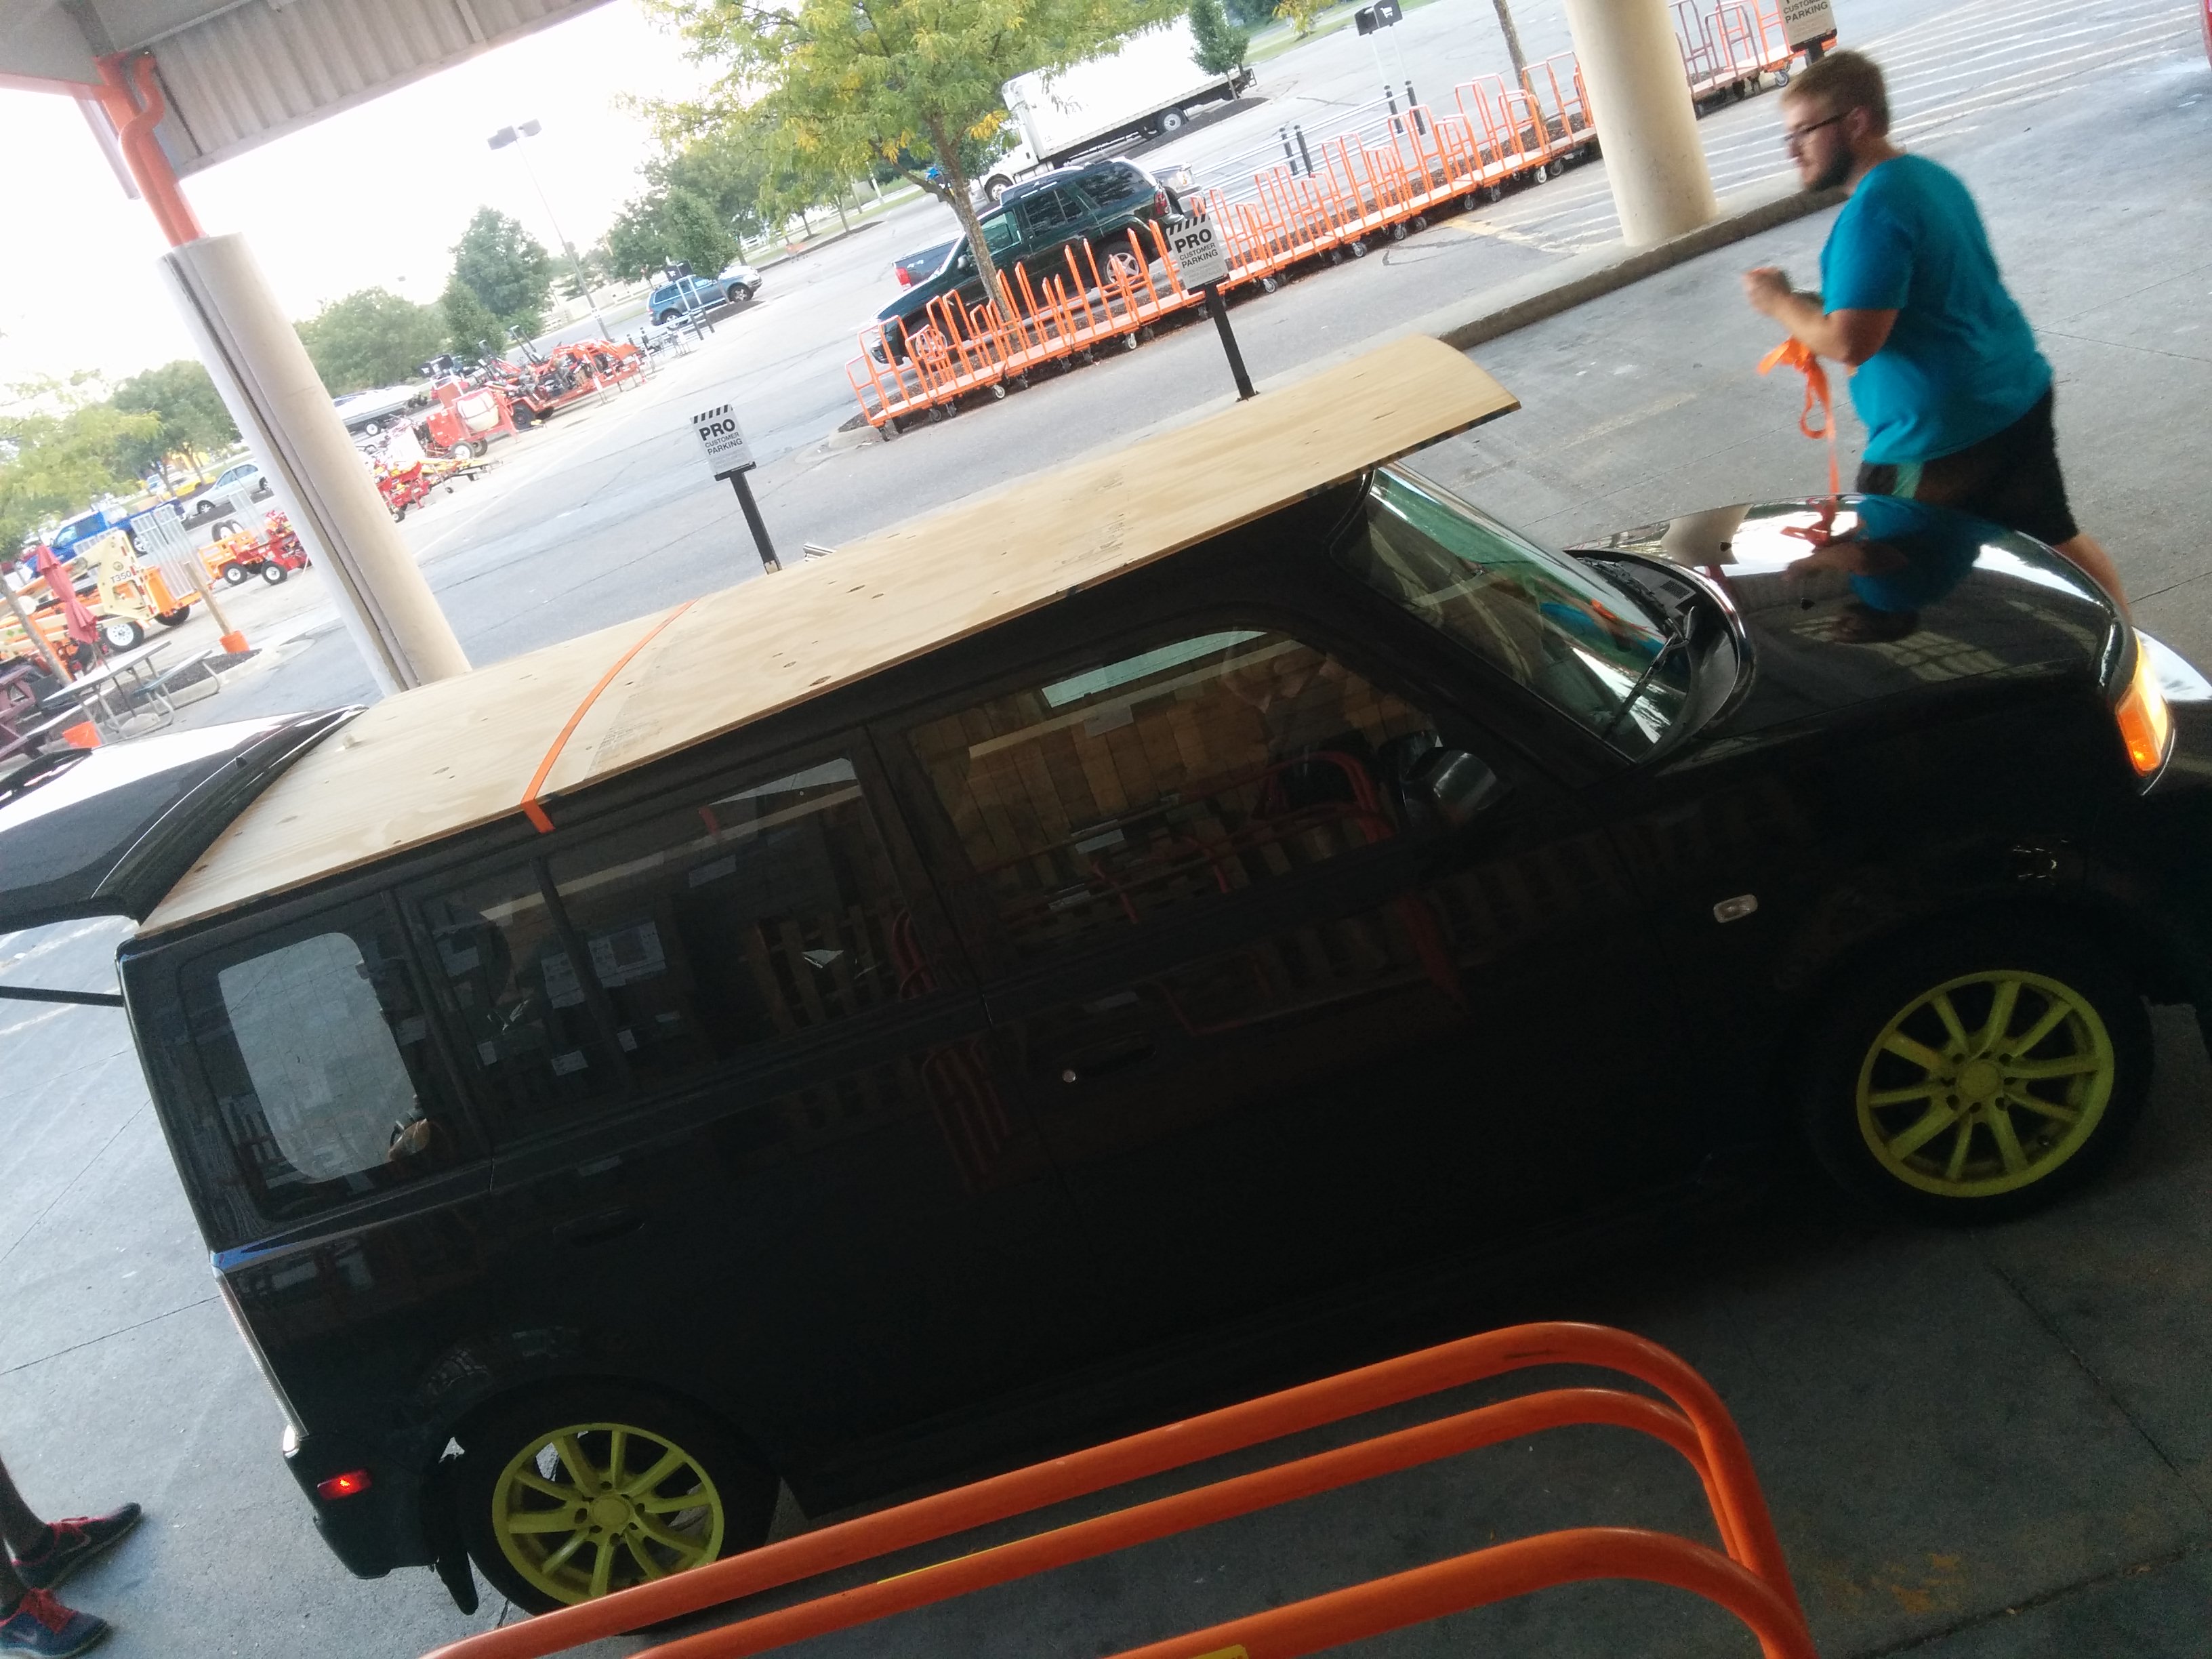
Everything loaded into Garrett’s trusty xB.
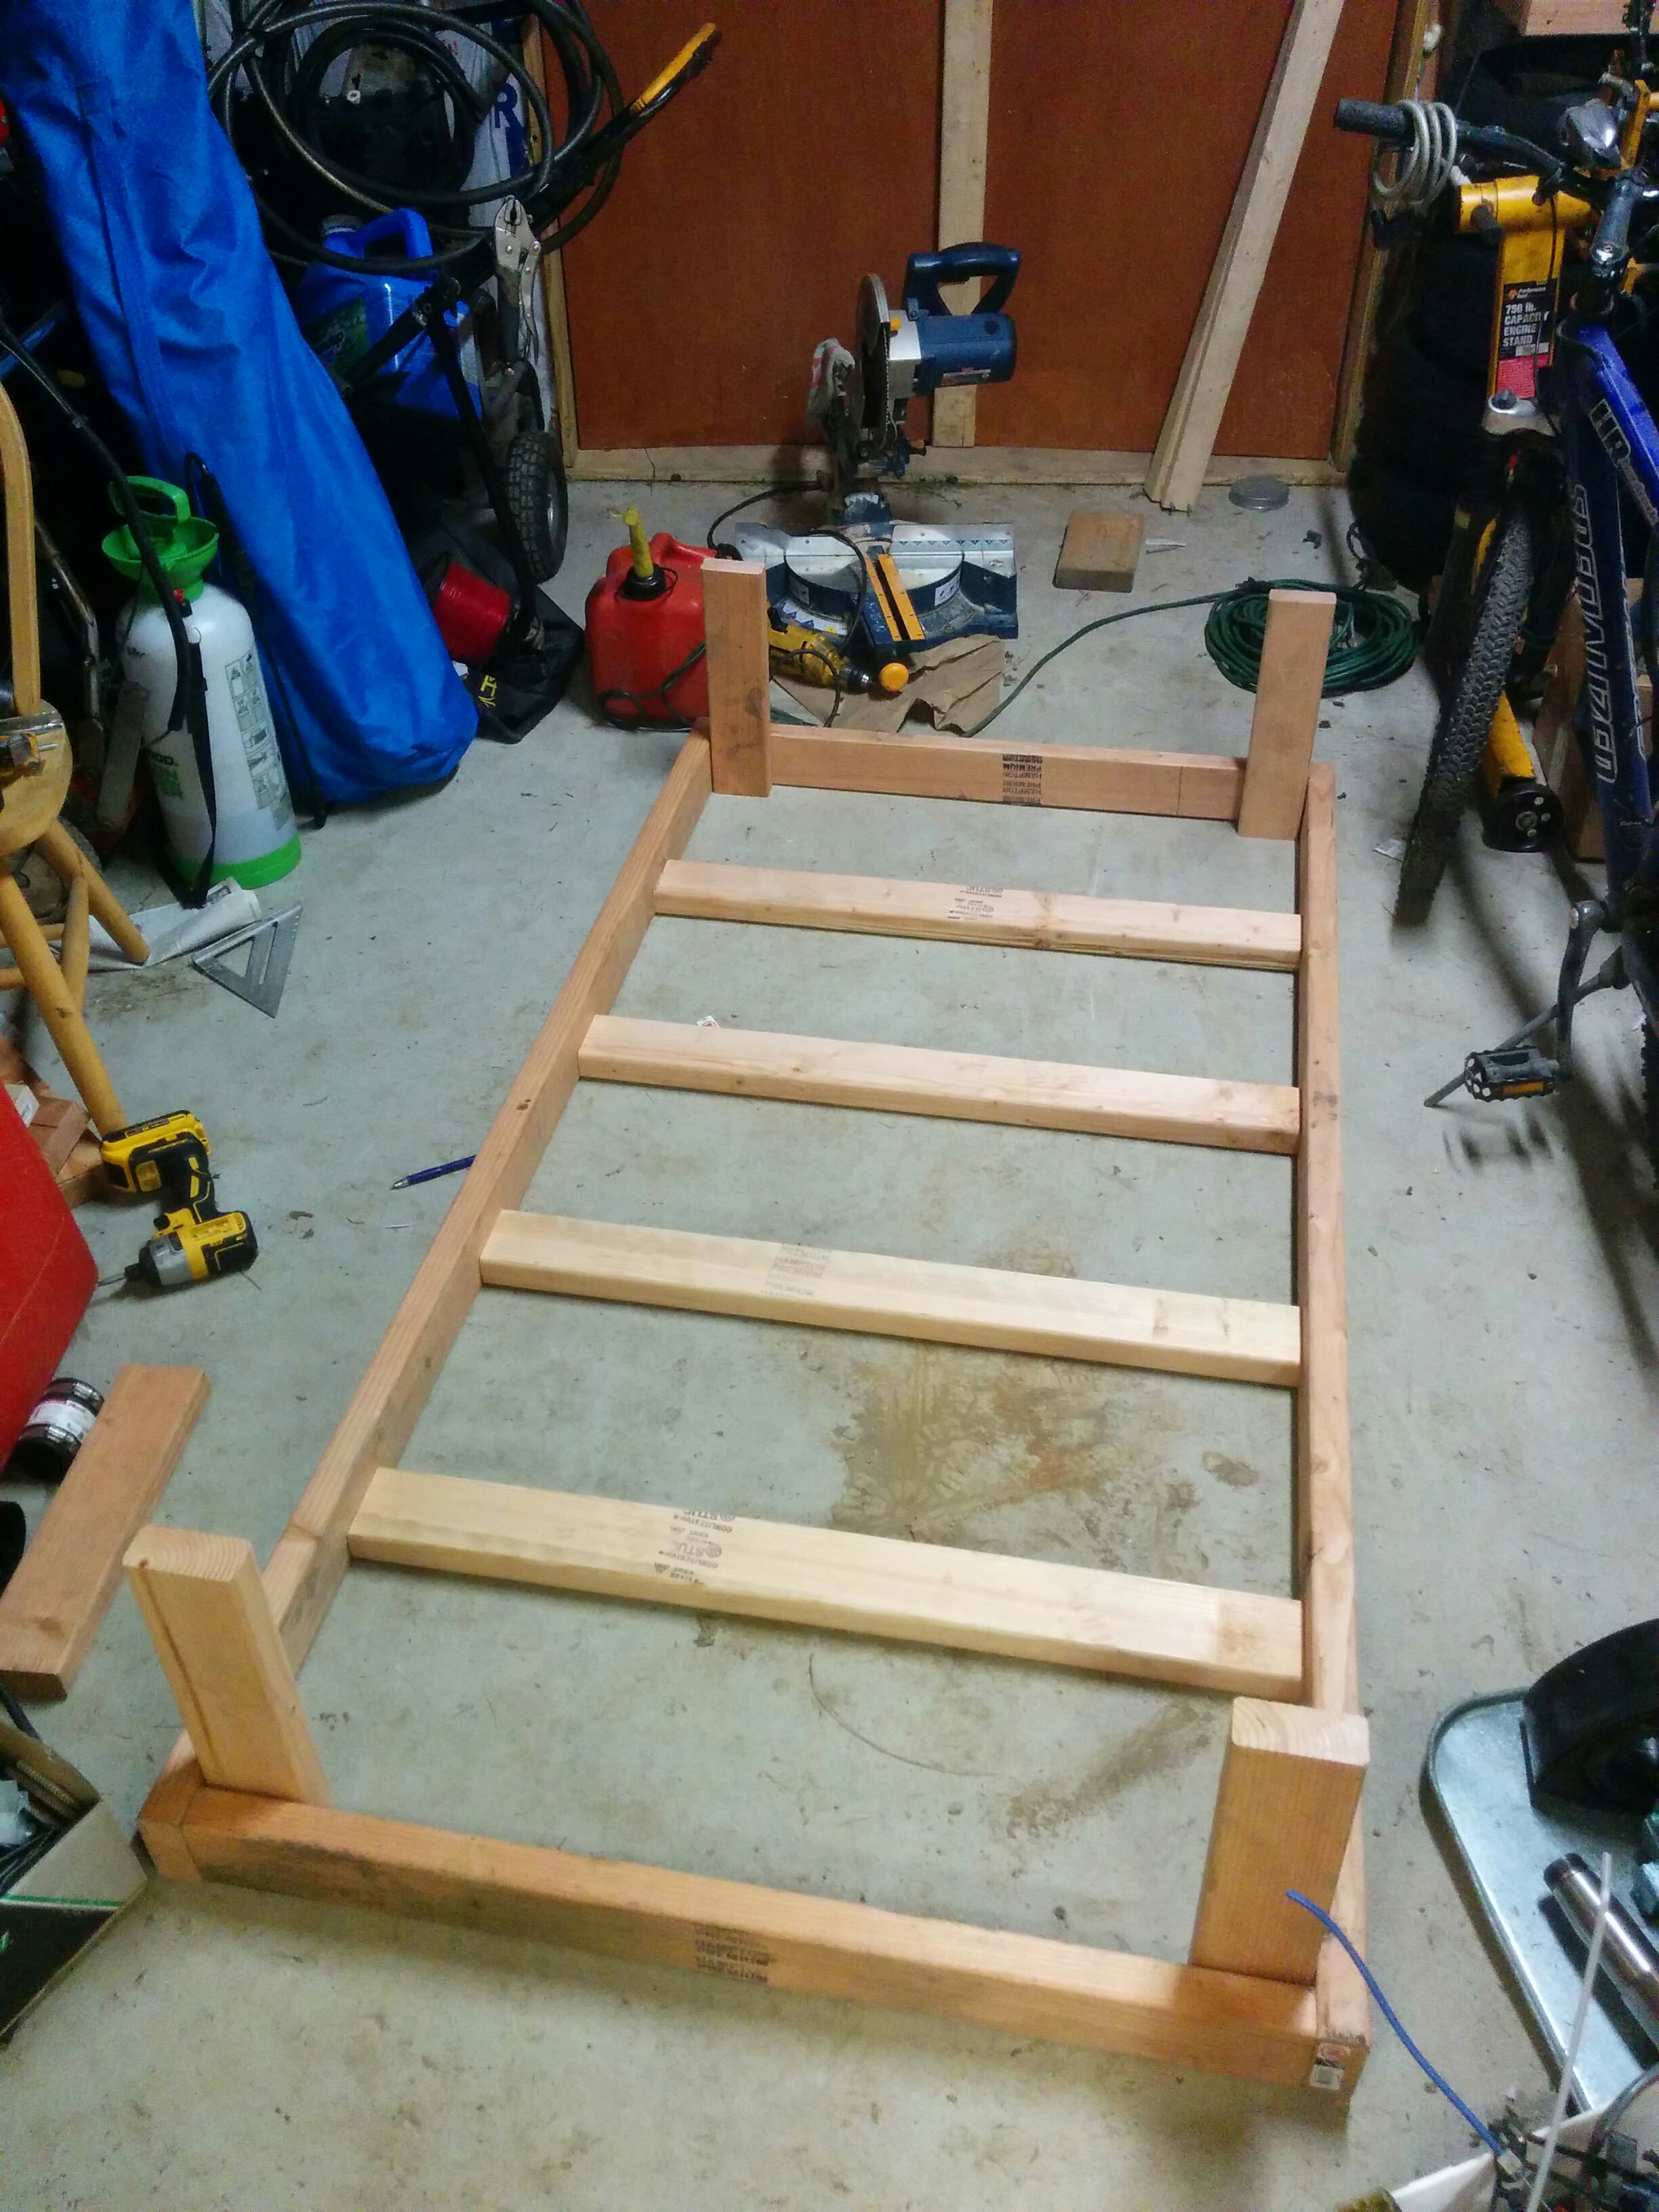
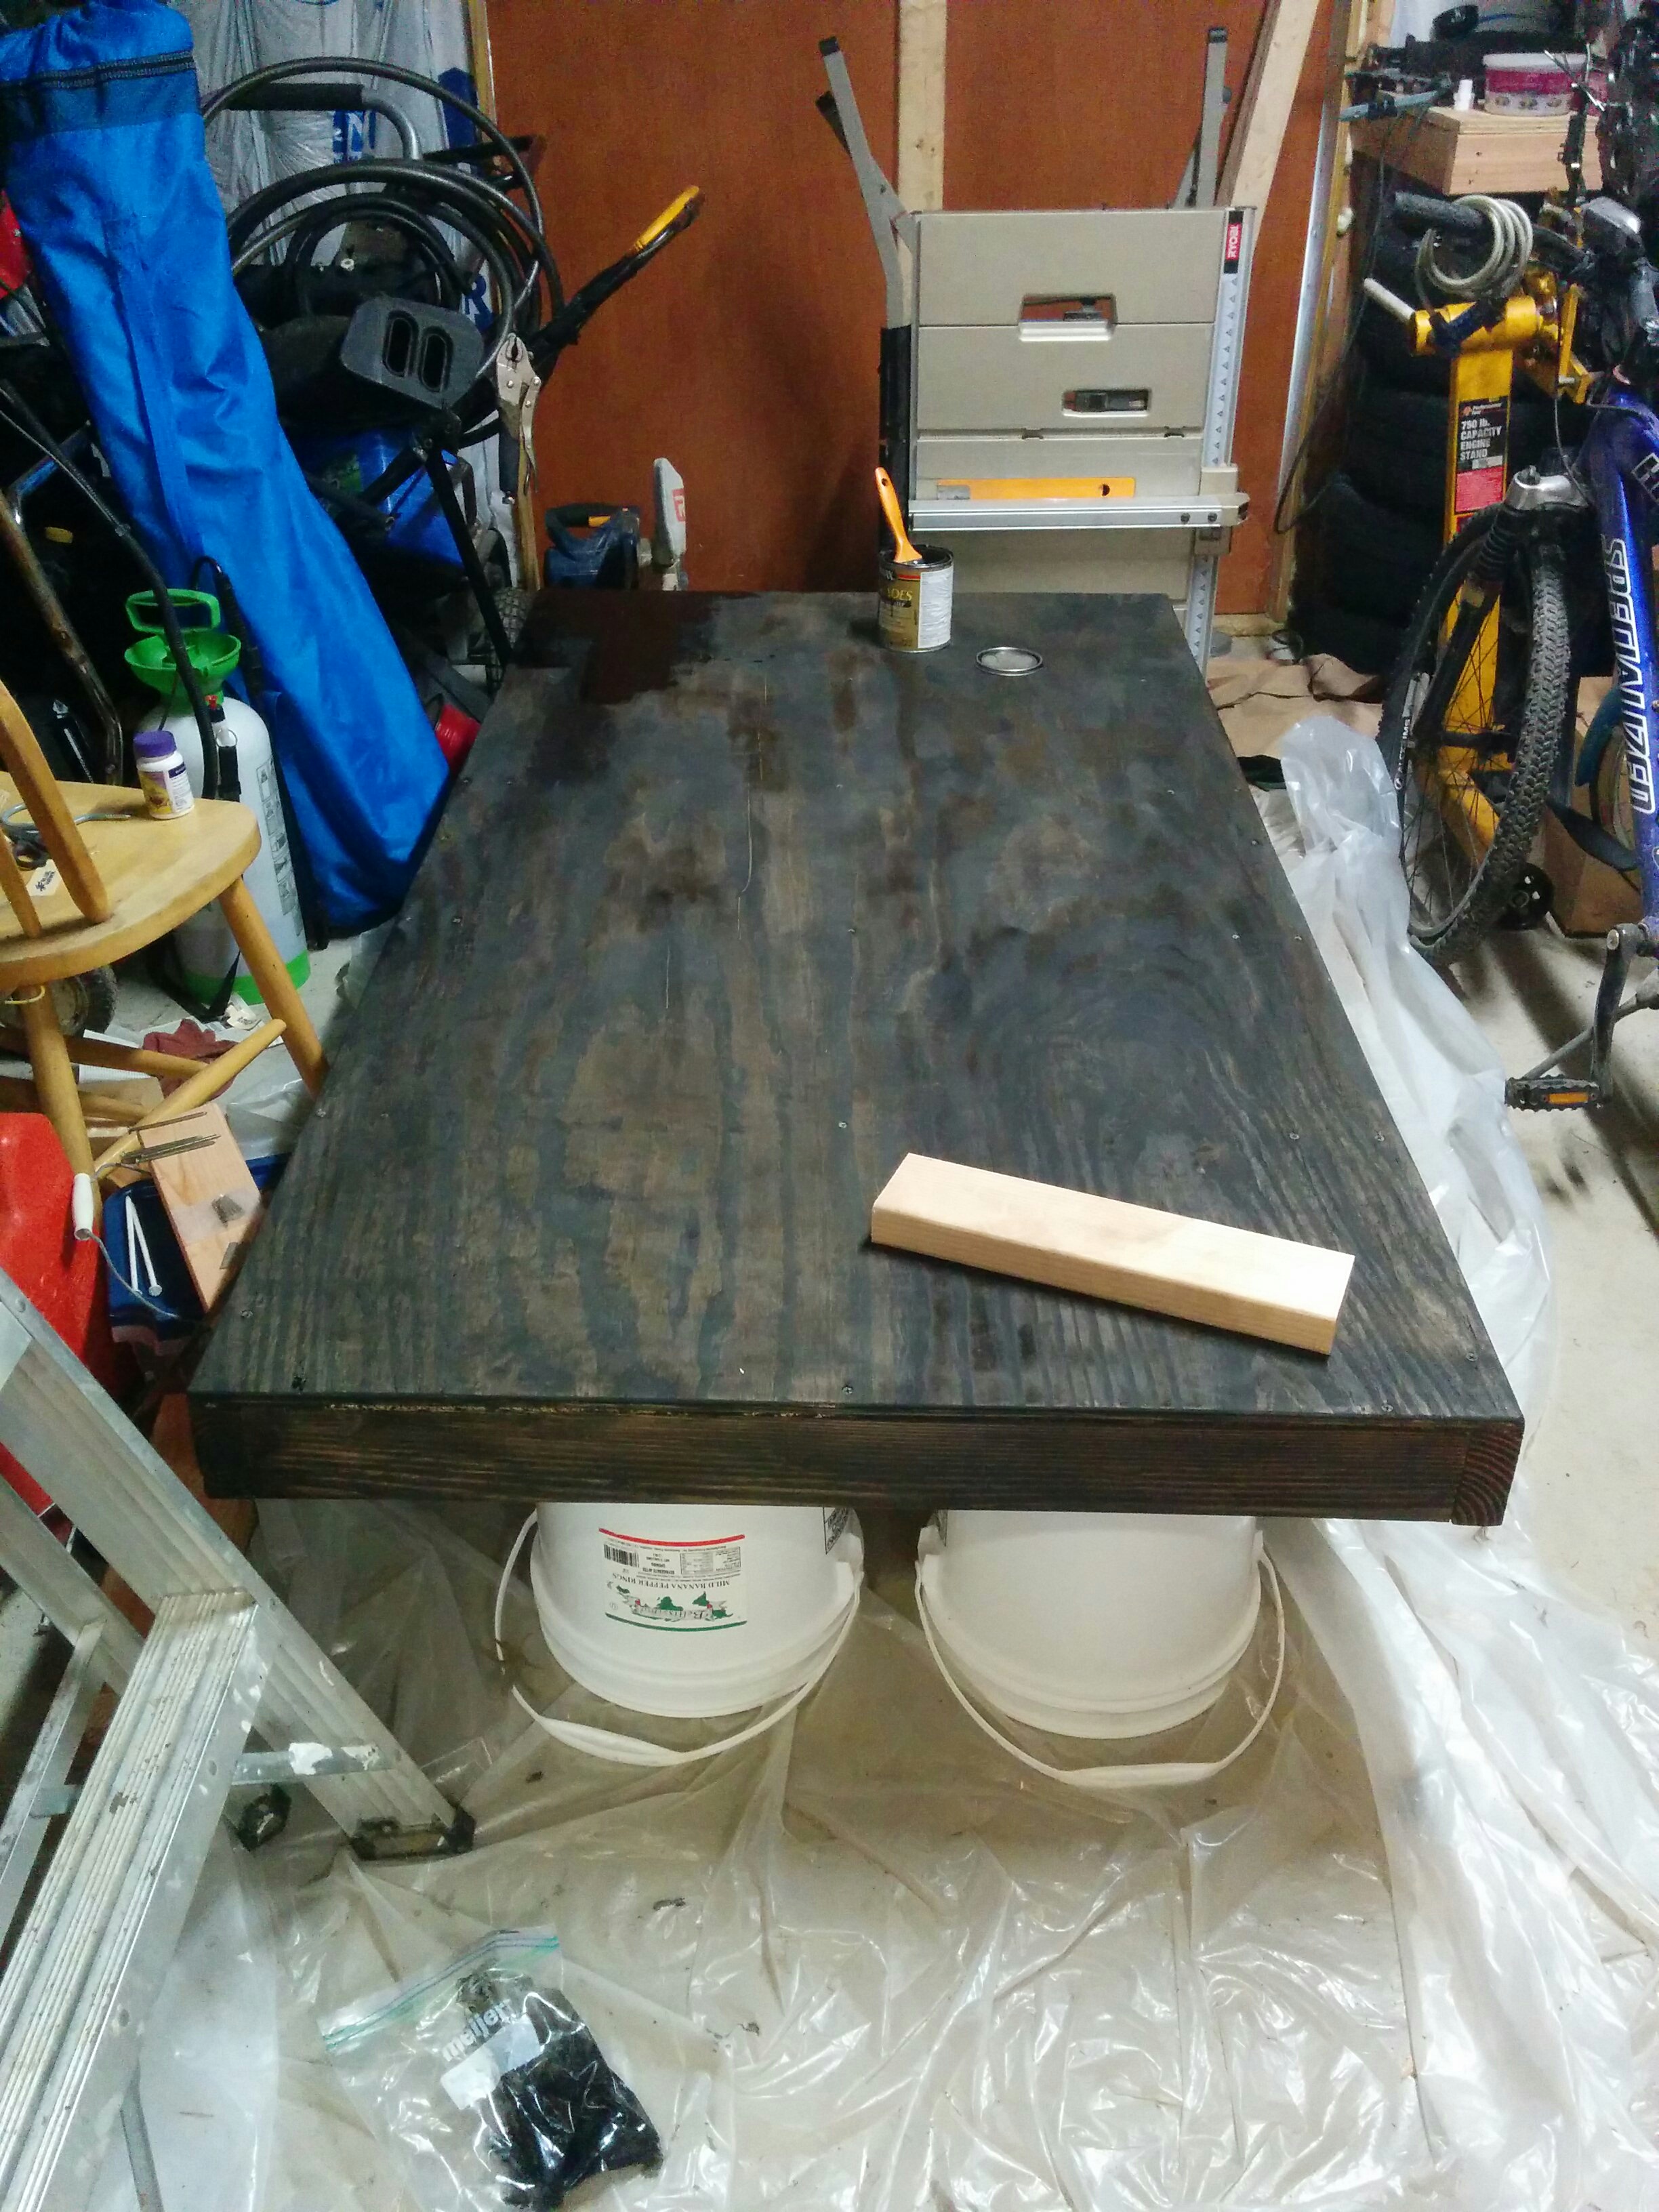
This was my first time encountering a belt sander (used to smooth the top of the plywood), a circular saw (to chop the plywood sheet down to size), and a compound miter saw (to slice up the 2x4s). The belt sander was very heavy, and the circular saw was both heavy and scary. The 2x4s and the miter saw were far more manageable and actually rather fun. However, my pieces kept coming out as very slight rhombuses…after some debugging, I realized that the fence I was bracing the piece against while cutting was crooked. After I stopped trusting the fence it was smooth sailing. But not before it had left me short of finishing by one 2x4…😔
(Btw, did you know 2x4s are not 2” x 4”? 🤯🤯🤯)
I stained everything black with wood stain and, after screwing the sheet of plywood to the frame, pinged Garrett for some help attaching the legs. The screws were something like 3” long and (I had been warned) ought to be installed at an angle rather than 90 degrees to keep the wood from exploding. The final bedframe was sufficiently heavy that I never had issues with it sliding around in-van.
Walling Off My Base
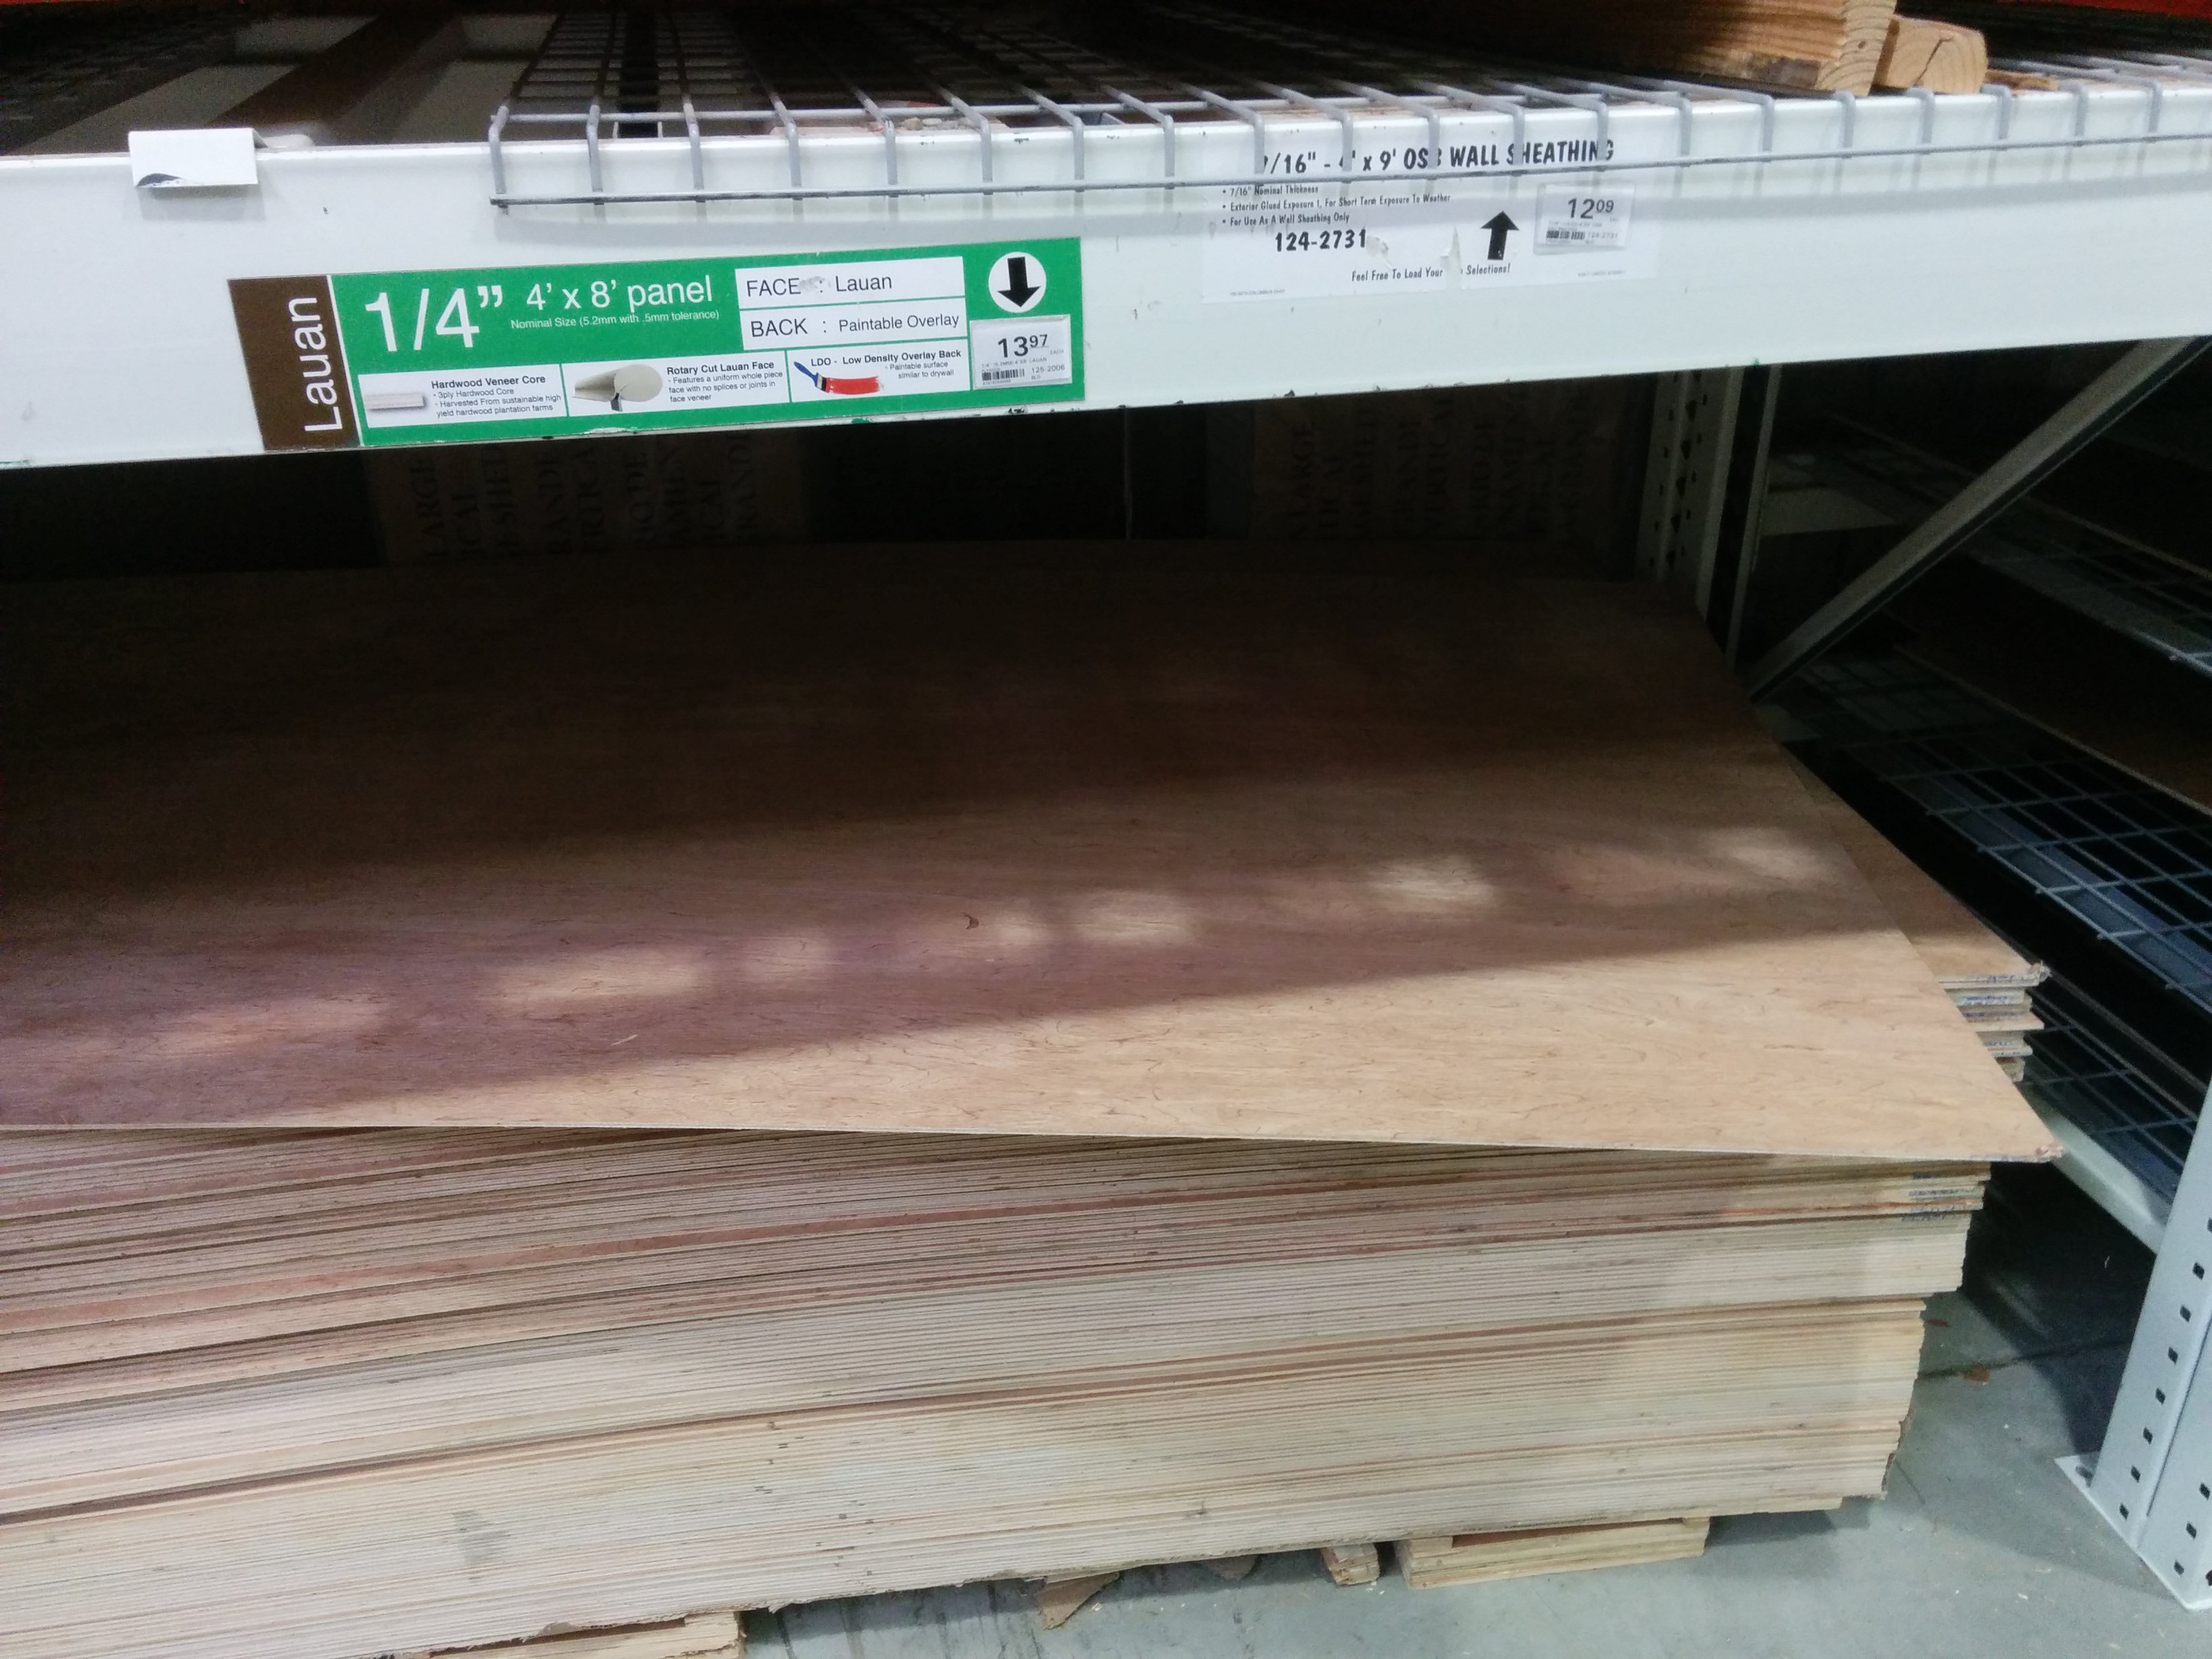
One of the more challenging tasks was rebuilding the walls. Nothing in the van was really quite straight, so I was looking for something thin enough to flex a bit around curves and ideally not too heavy. The original interior panels of the van had been sort of luan-like material wrapped in fabric and foam. It was very thin and somewhat fragile. Since I was planning on painting my panels rather than wrapping them, I upsized to a 1/4” thick luan to compensate for the lack of reinforcement so I could lean against the walls in bed without worrying about damaging them. I used brown paper to make templates for my future luan panels, traced them onto my panels with a sharpie, and cut them out with a jigsaw. The curved edges kept splintering so I had to look online for potential fixes (masking tape along the edge worked ok enough).
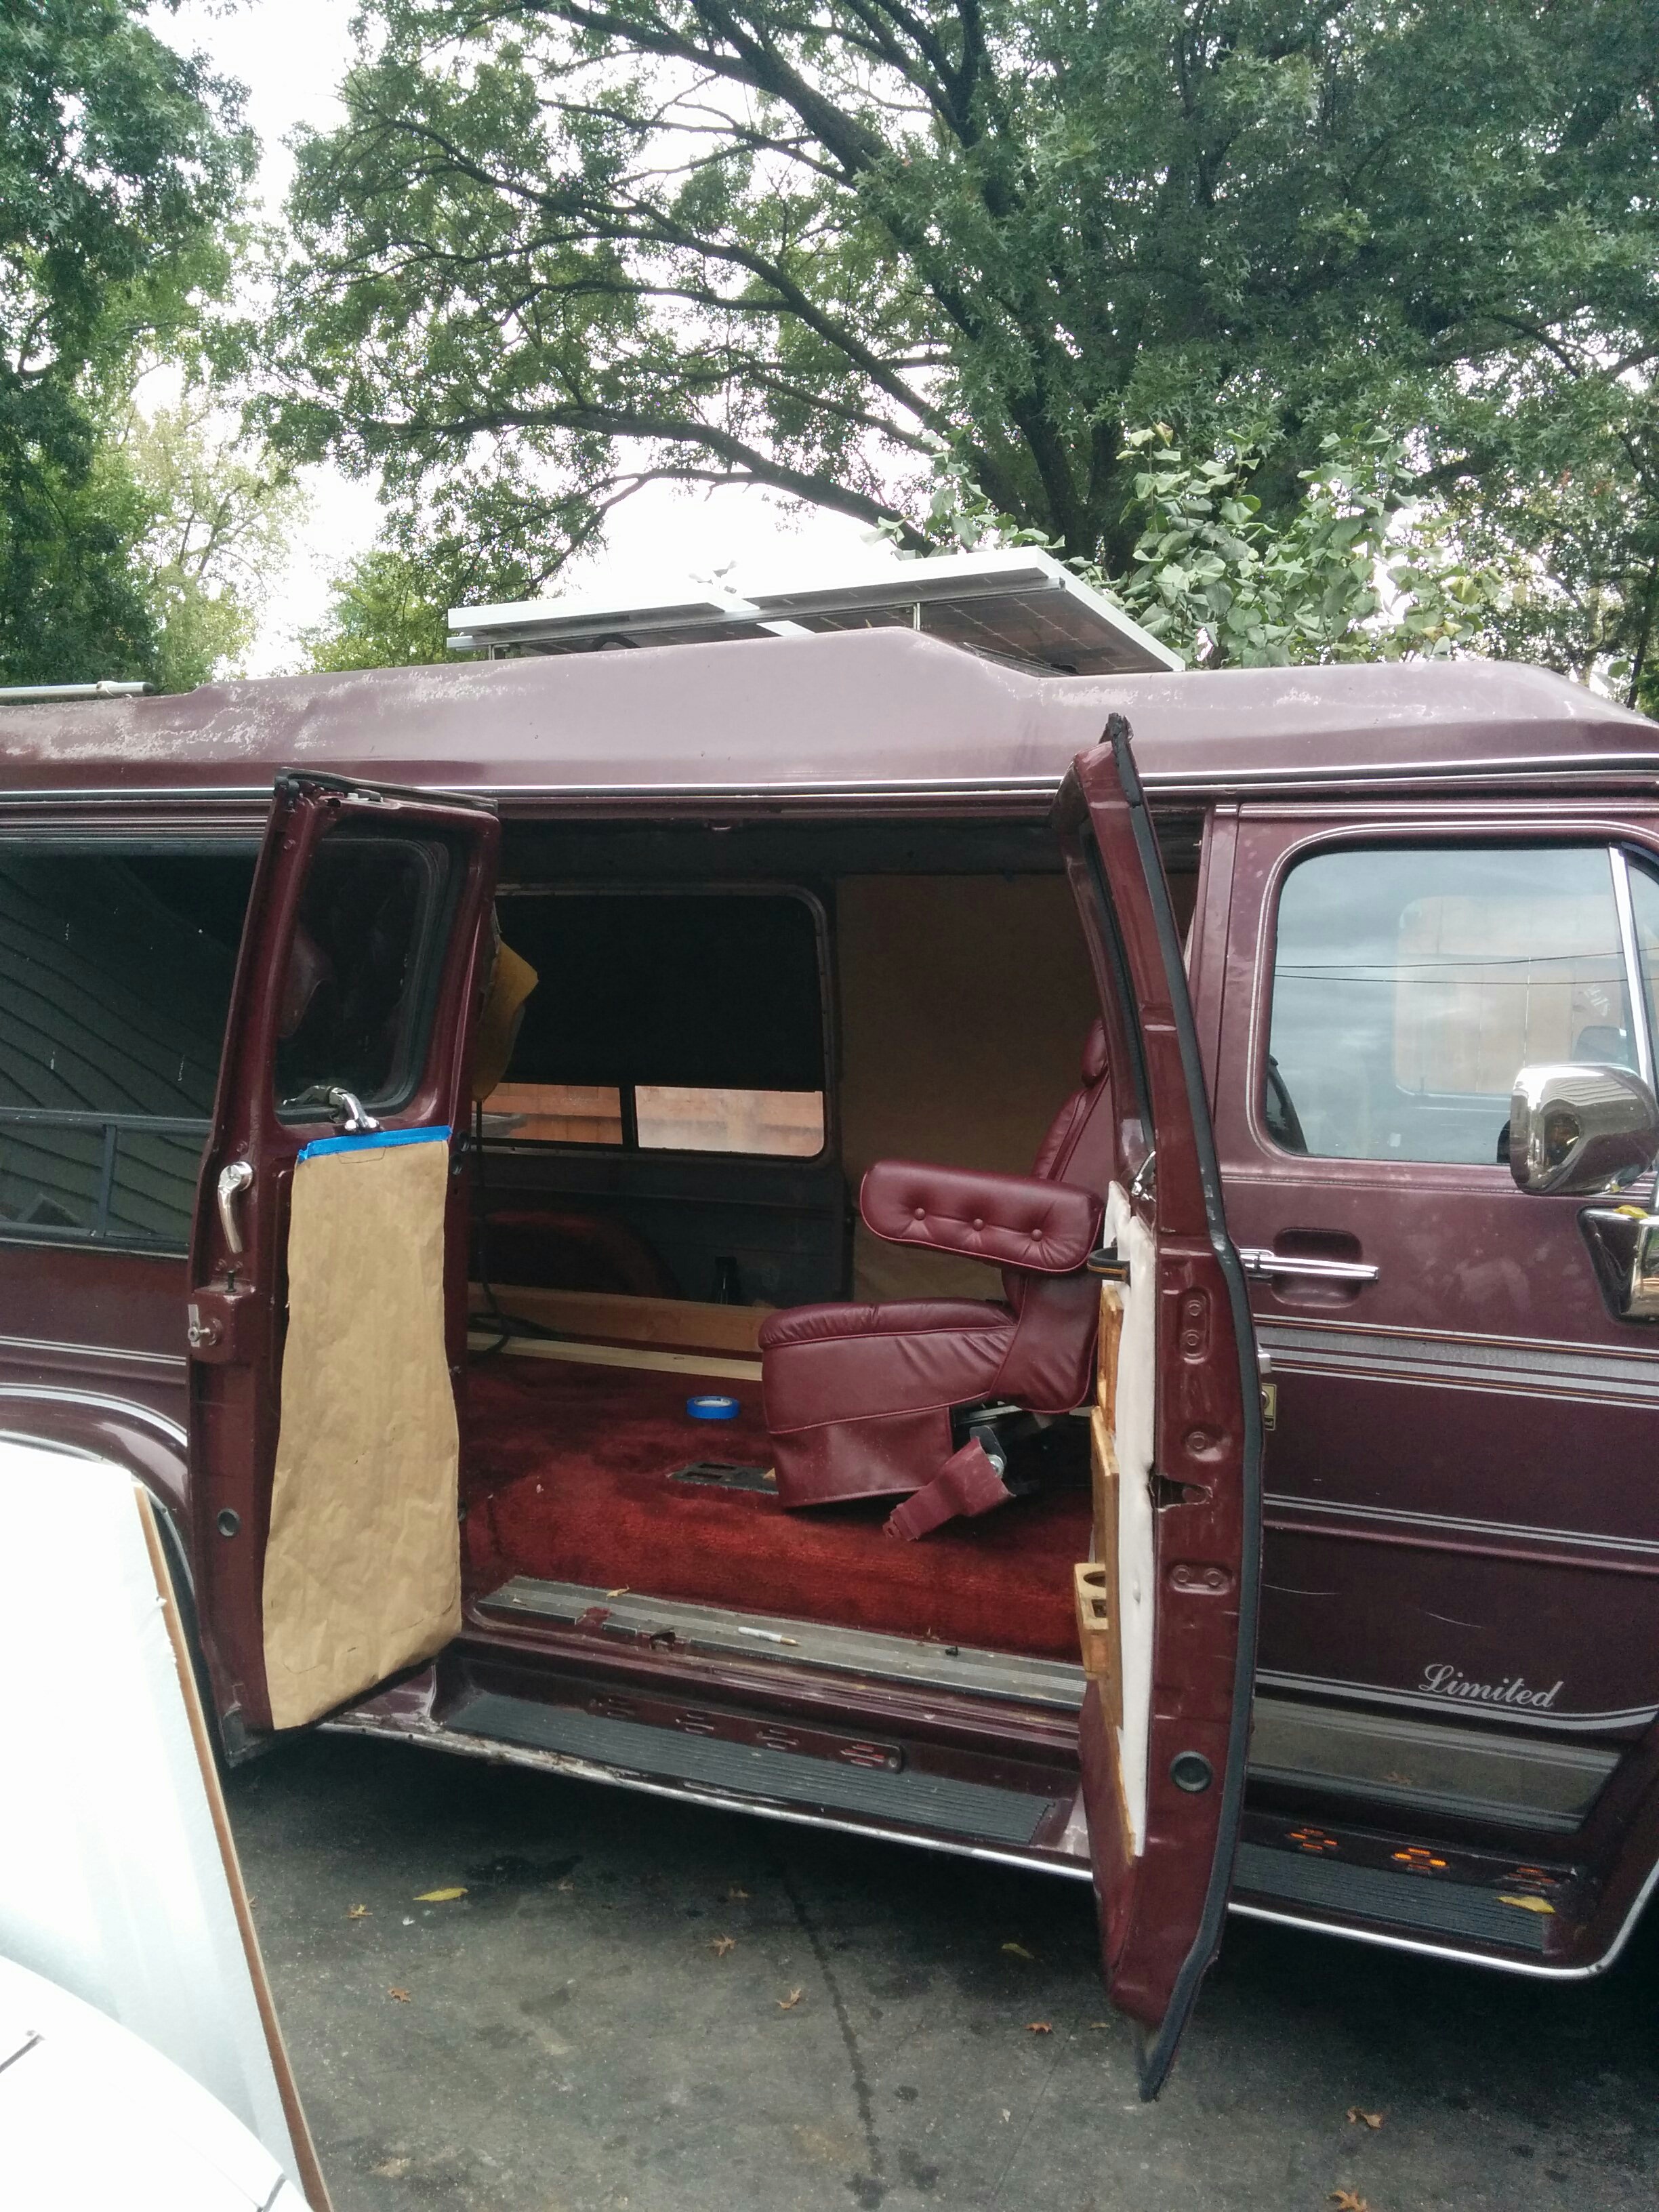
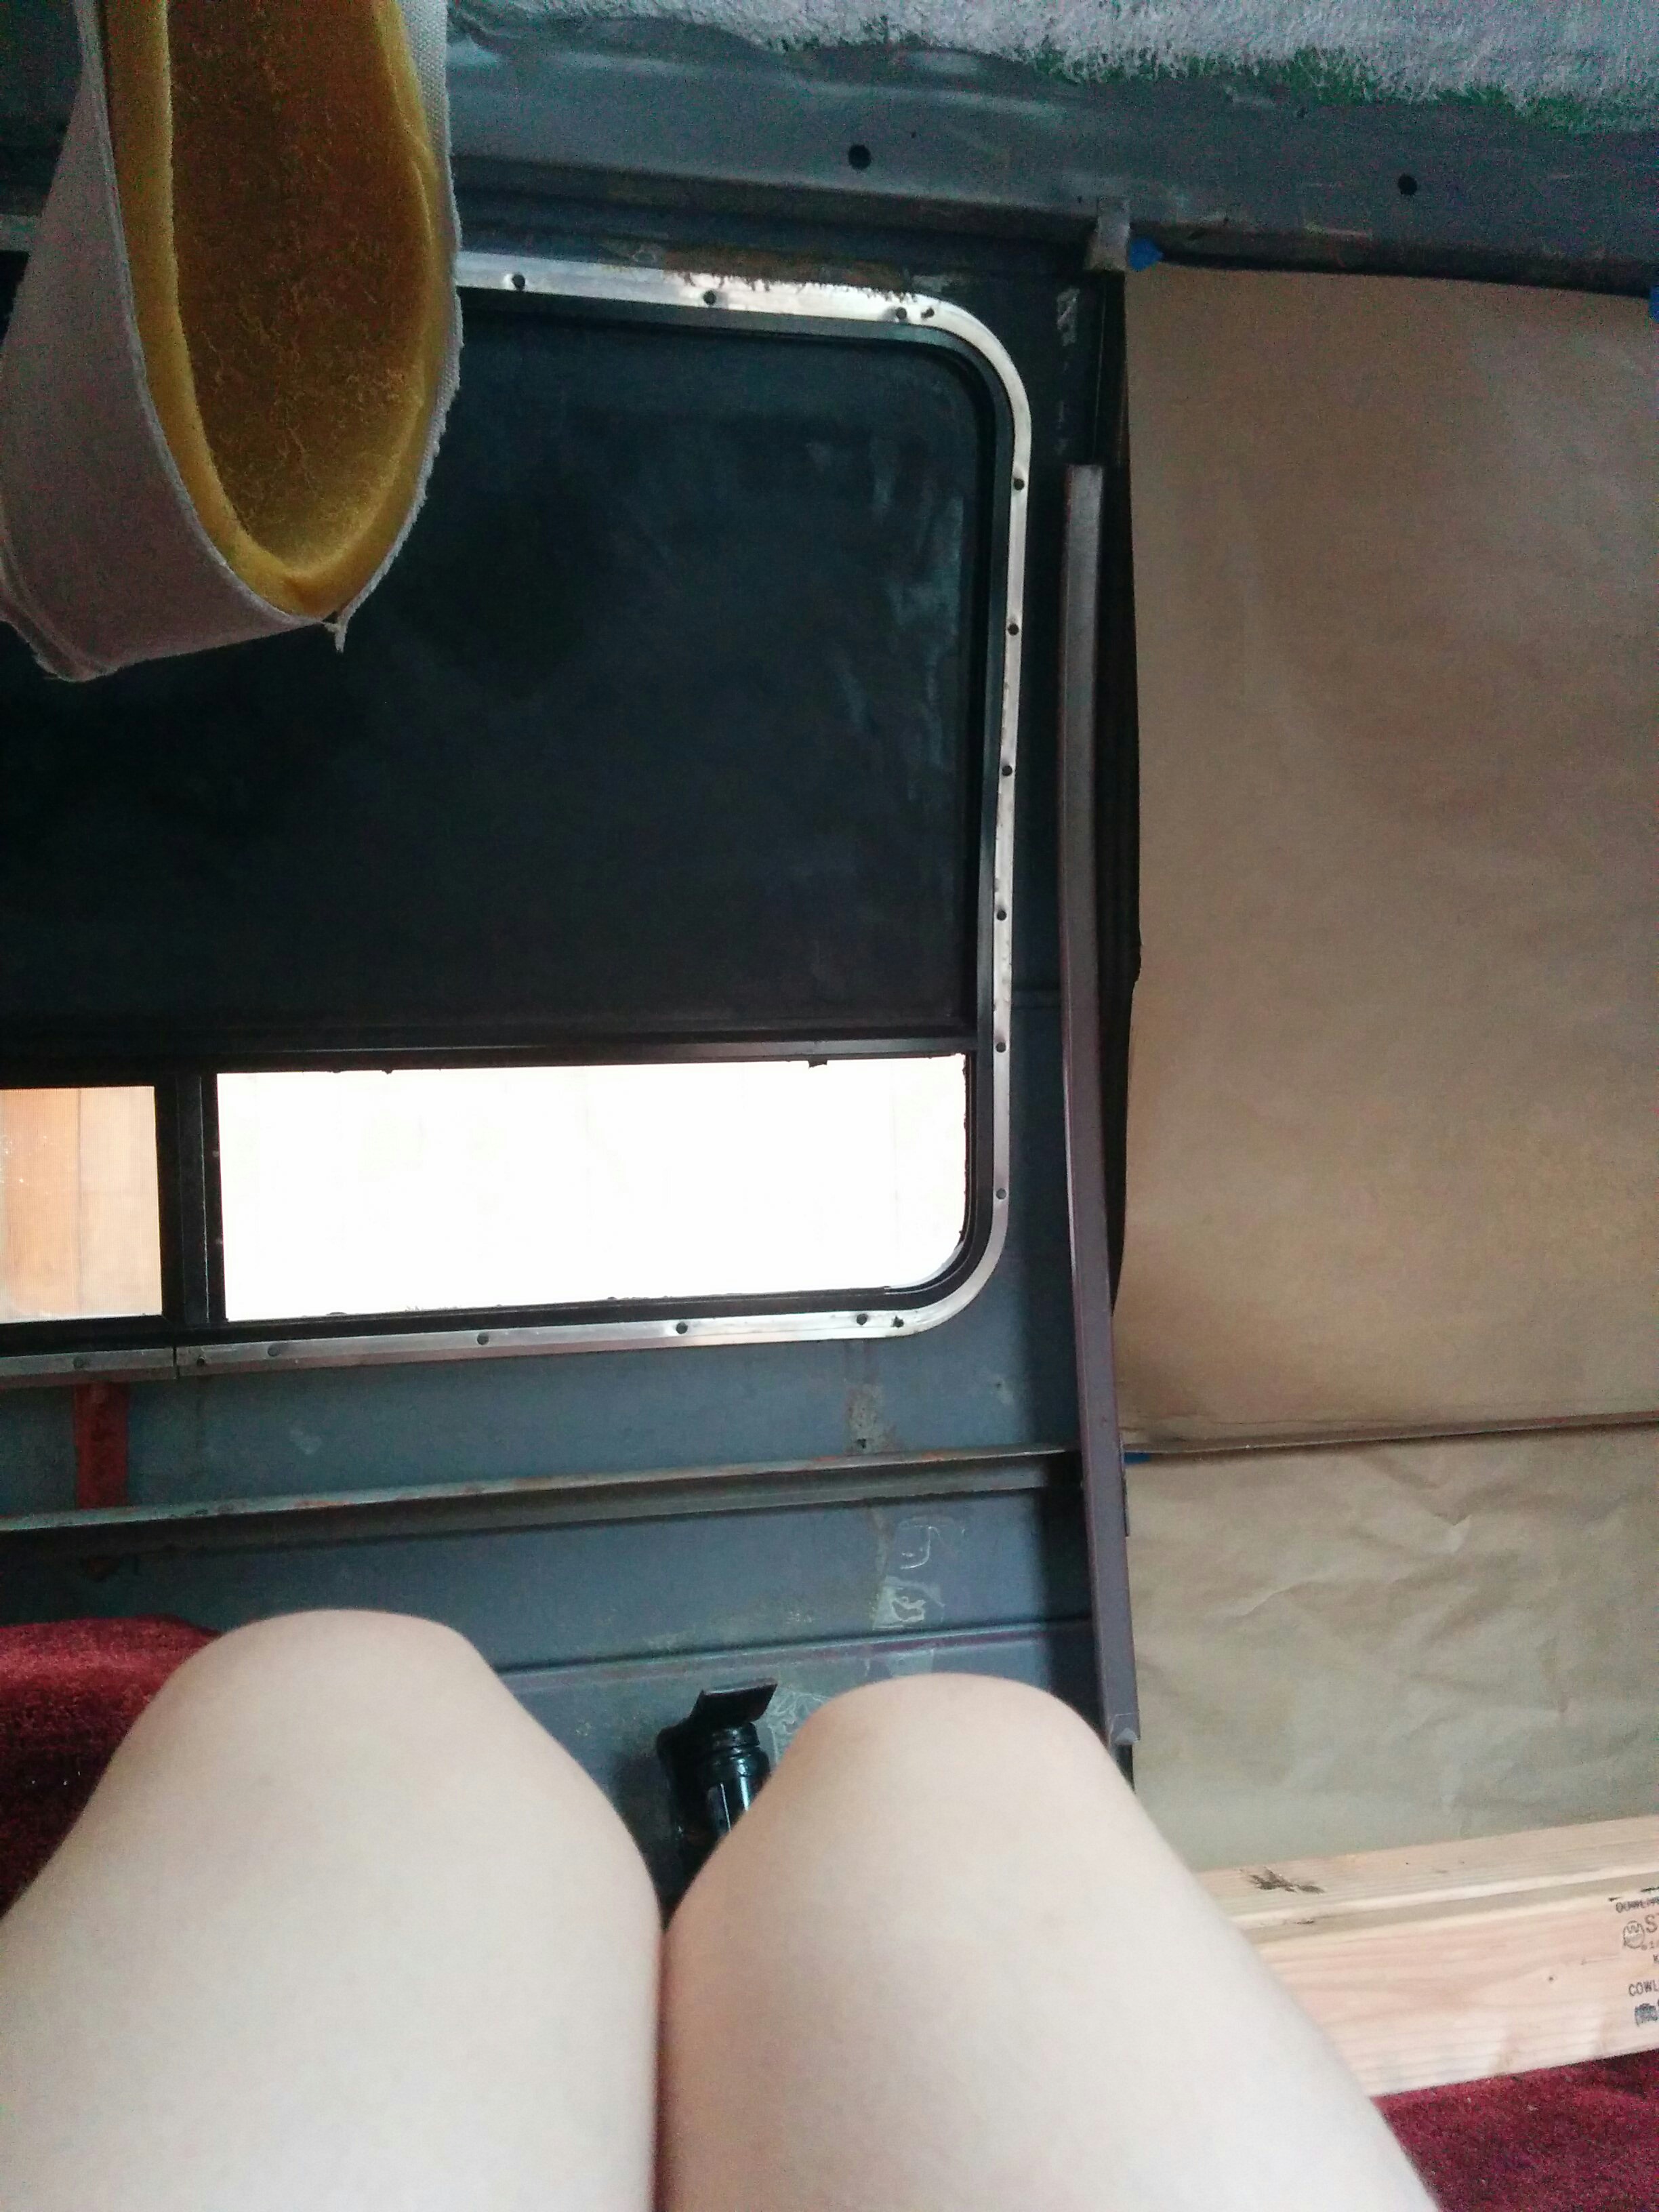
I was planning to enclose most of the side windows behind a set of internal walls for extra security and privacy. Since part of this plot involved inserting pink insulation foam between the fabricated wall and the windows, I first sprayed the inside facing glass with multiple coats of plastidip (this being at least theoretically more easily reversible than spray paint). This transformed the outside view of the windows from “brazenly hot pink” to “probably just really tinted or something” unless you looked closely.
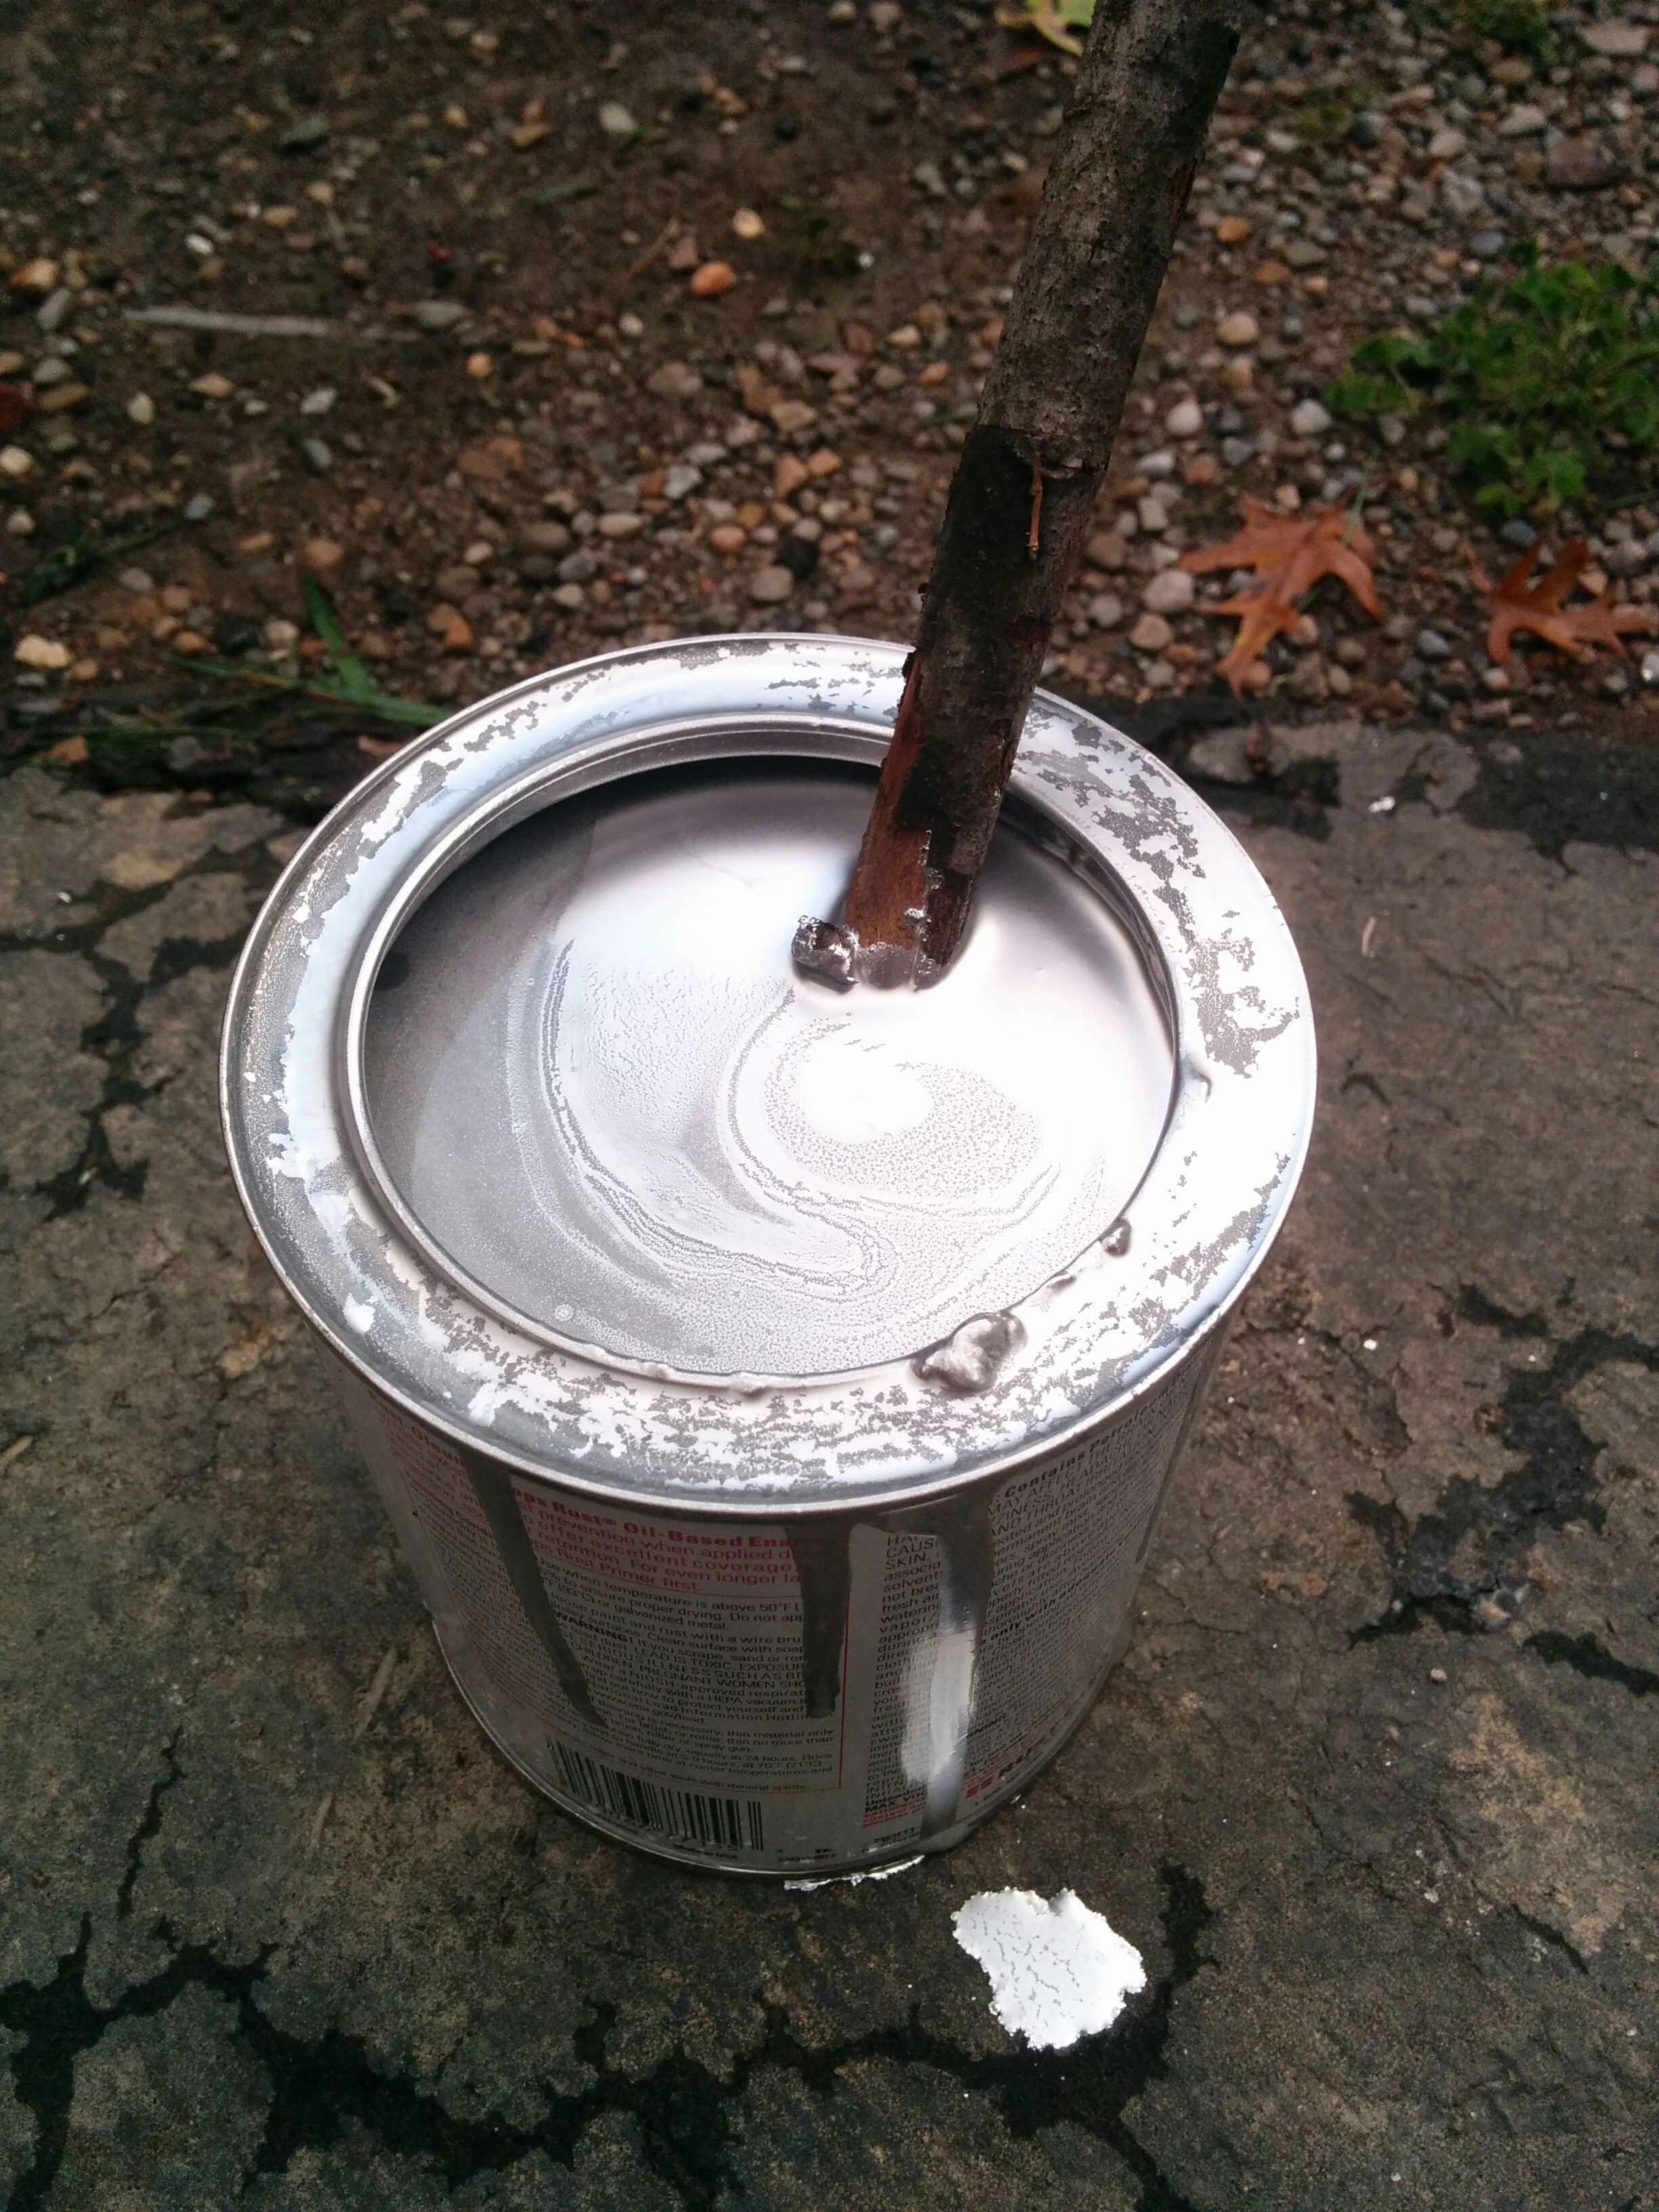
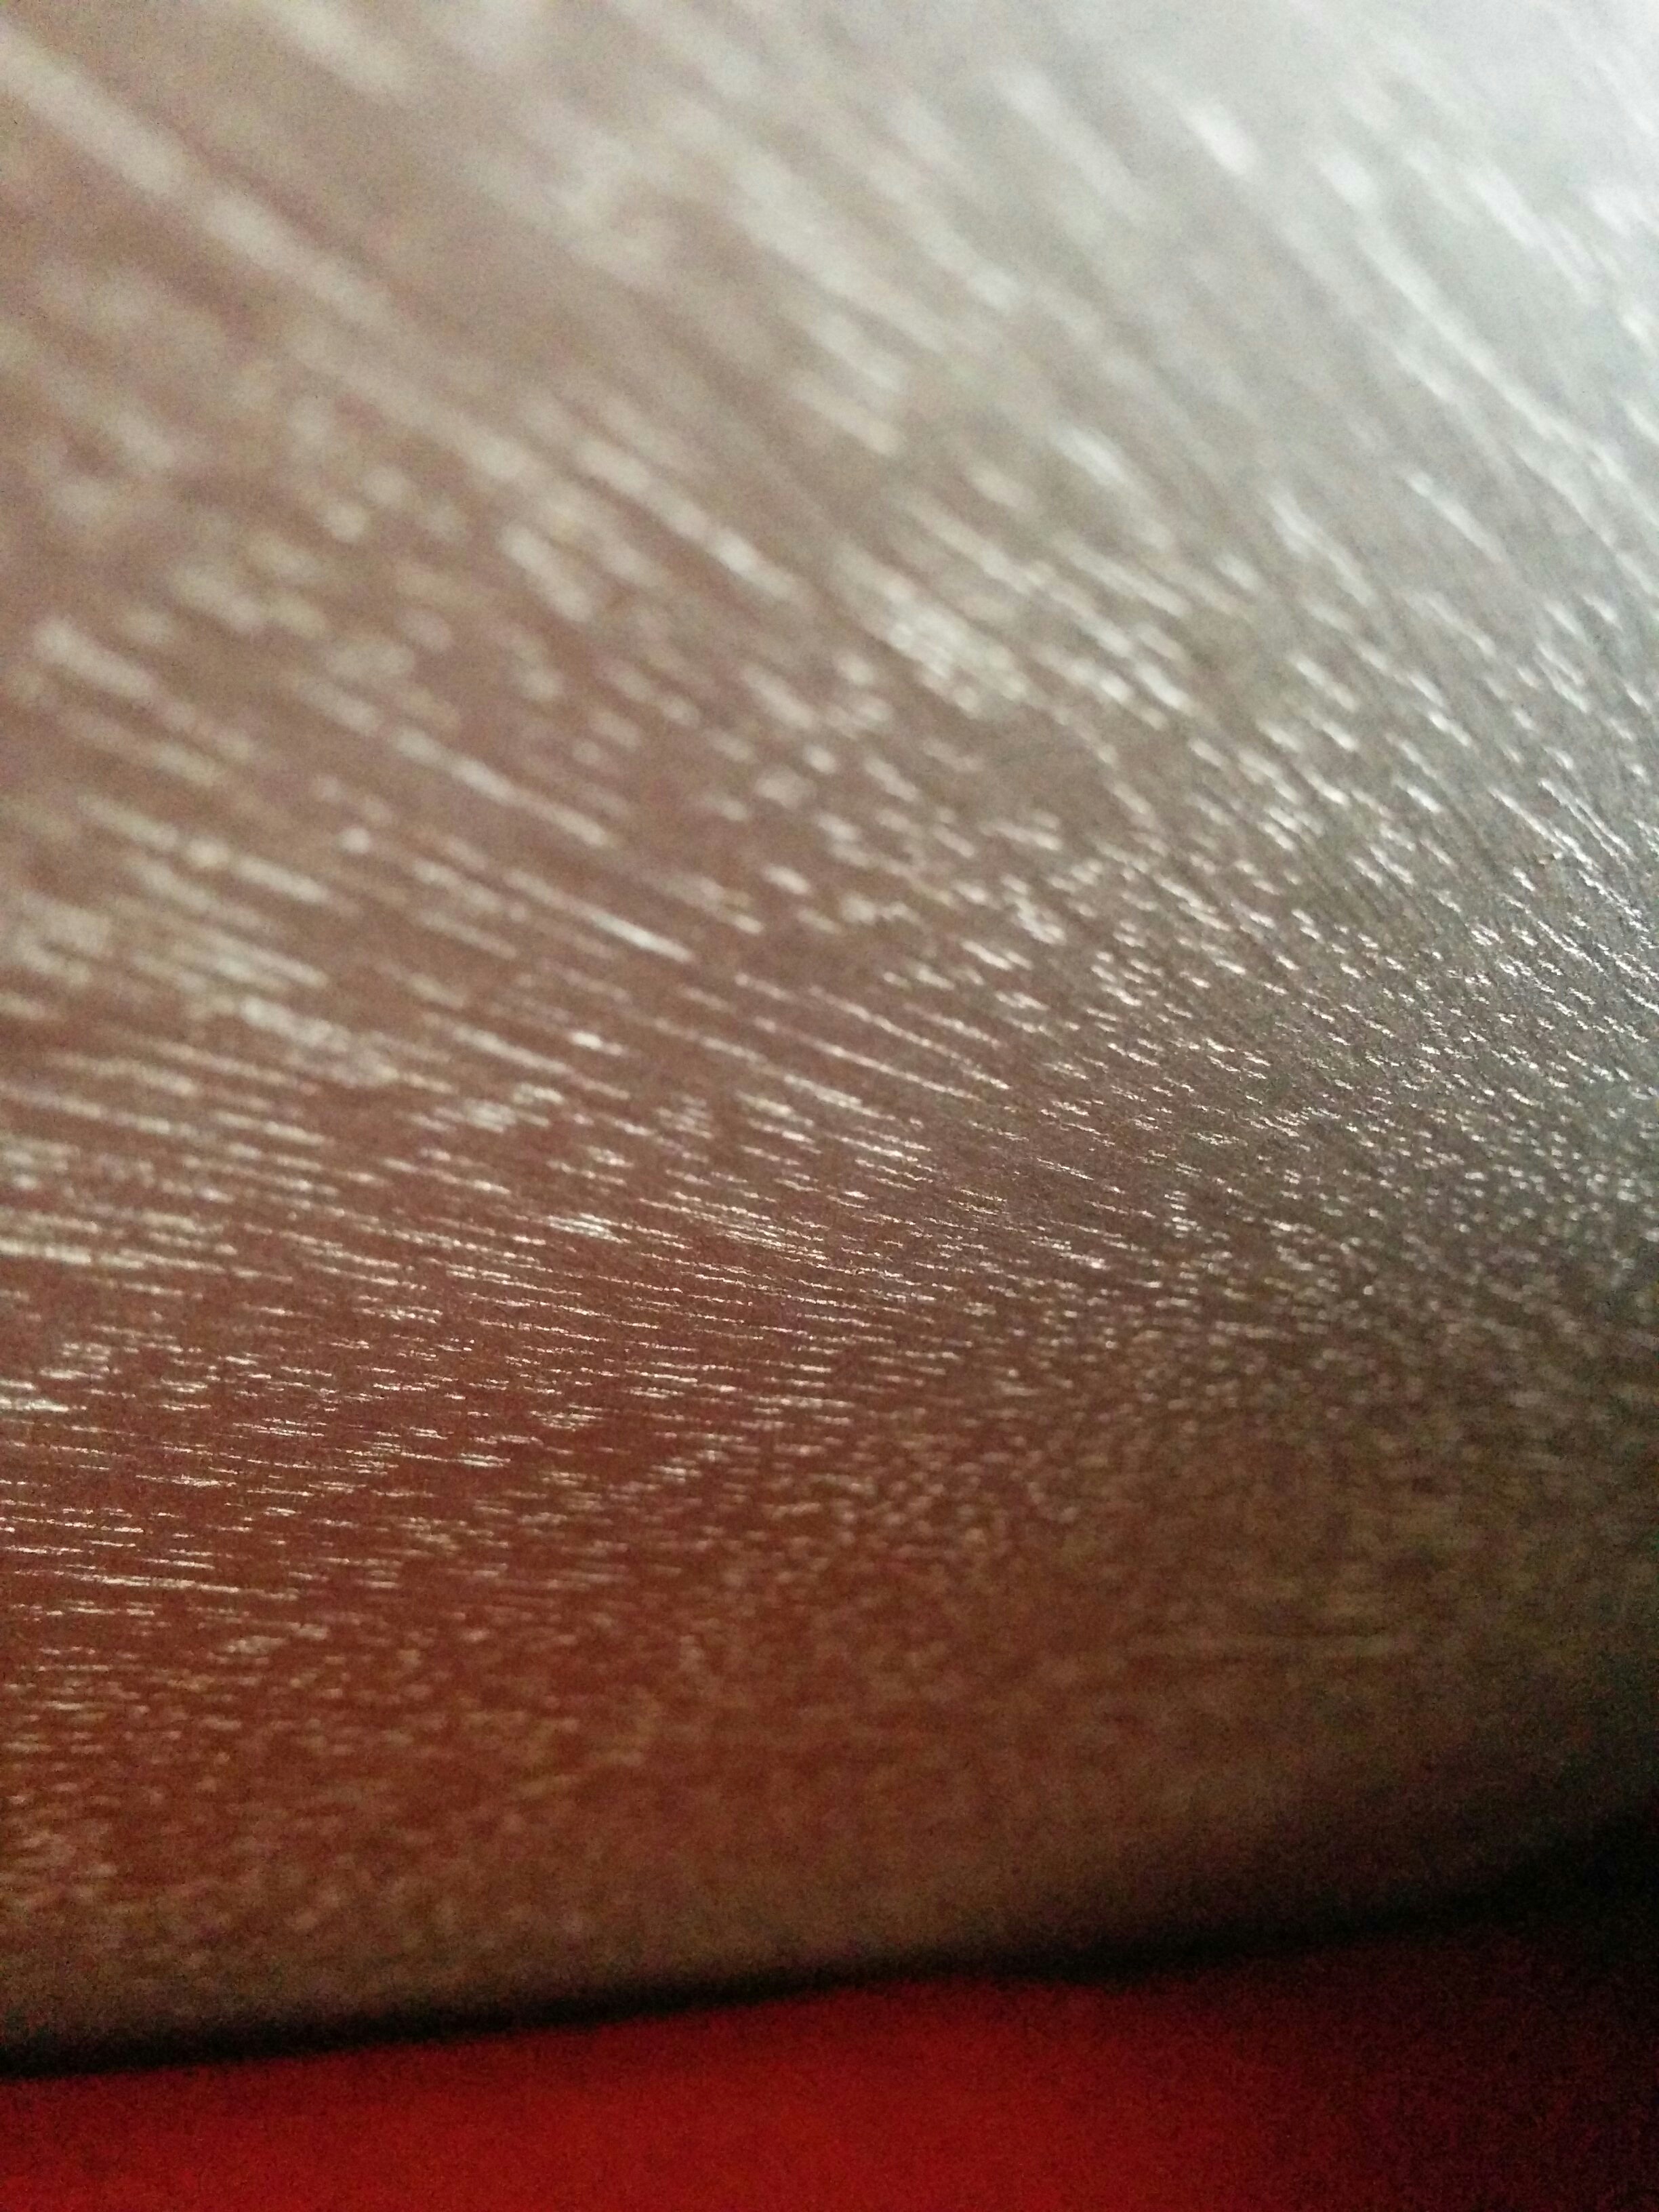
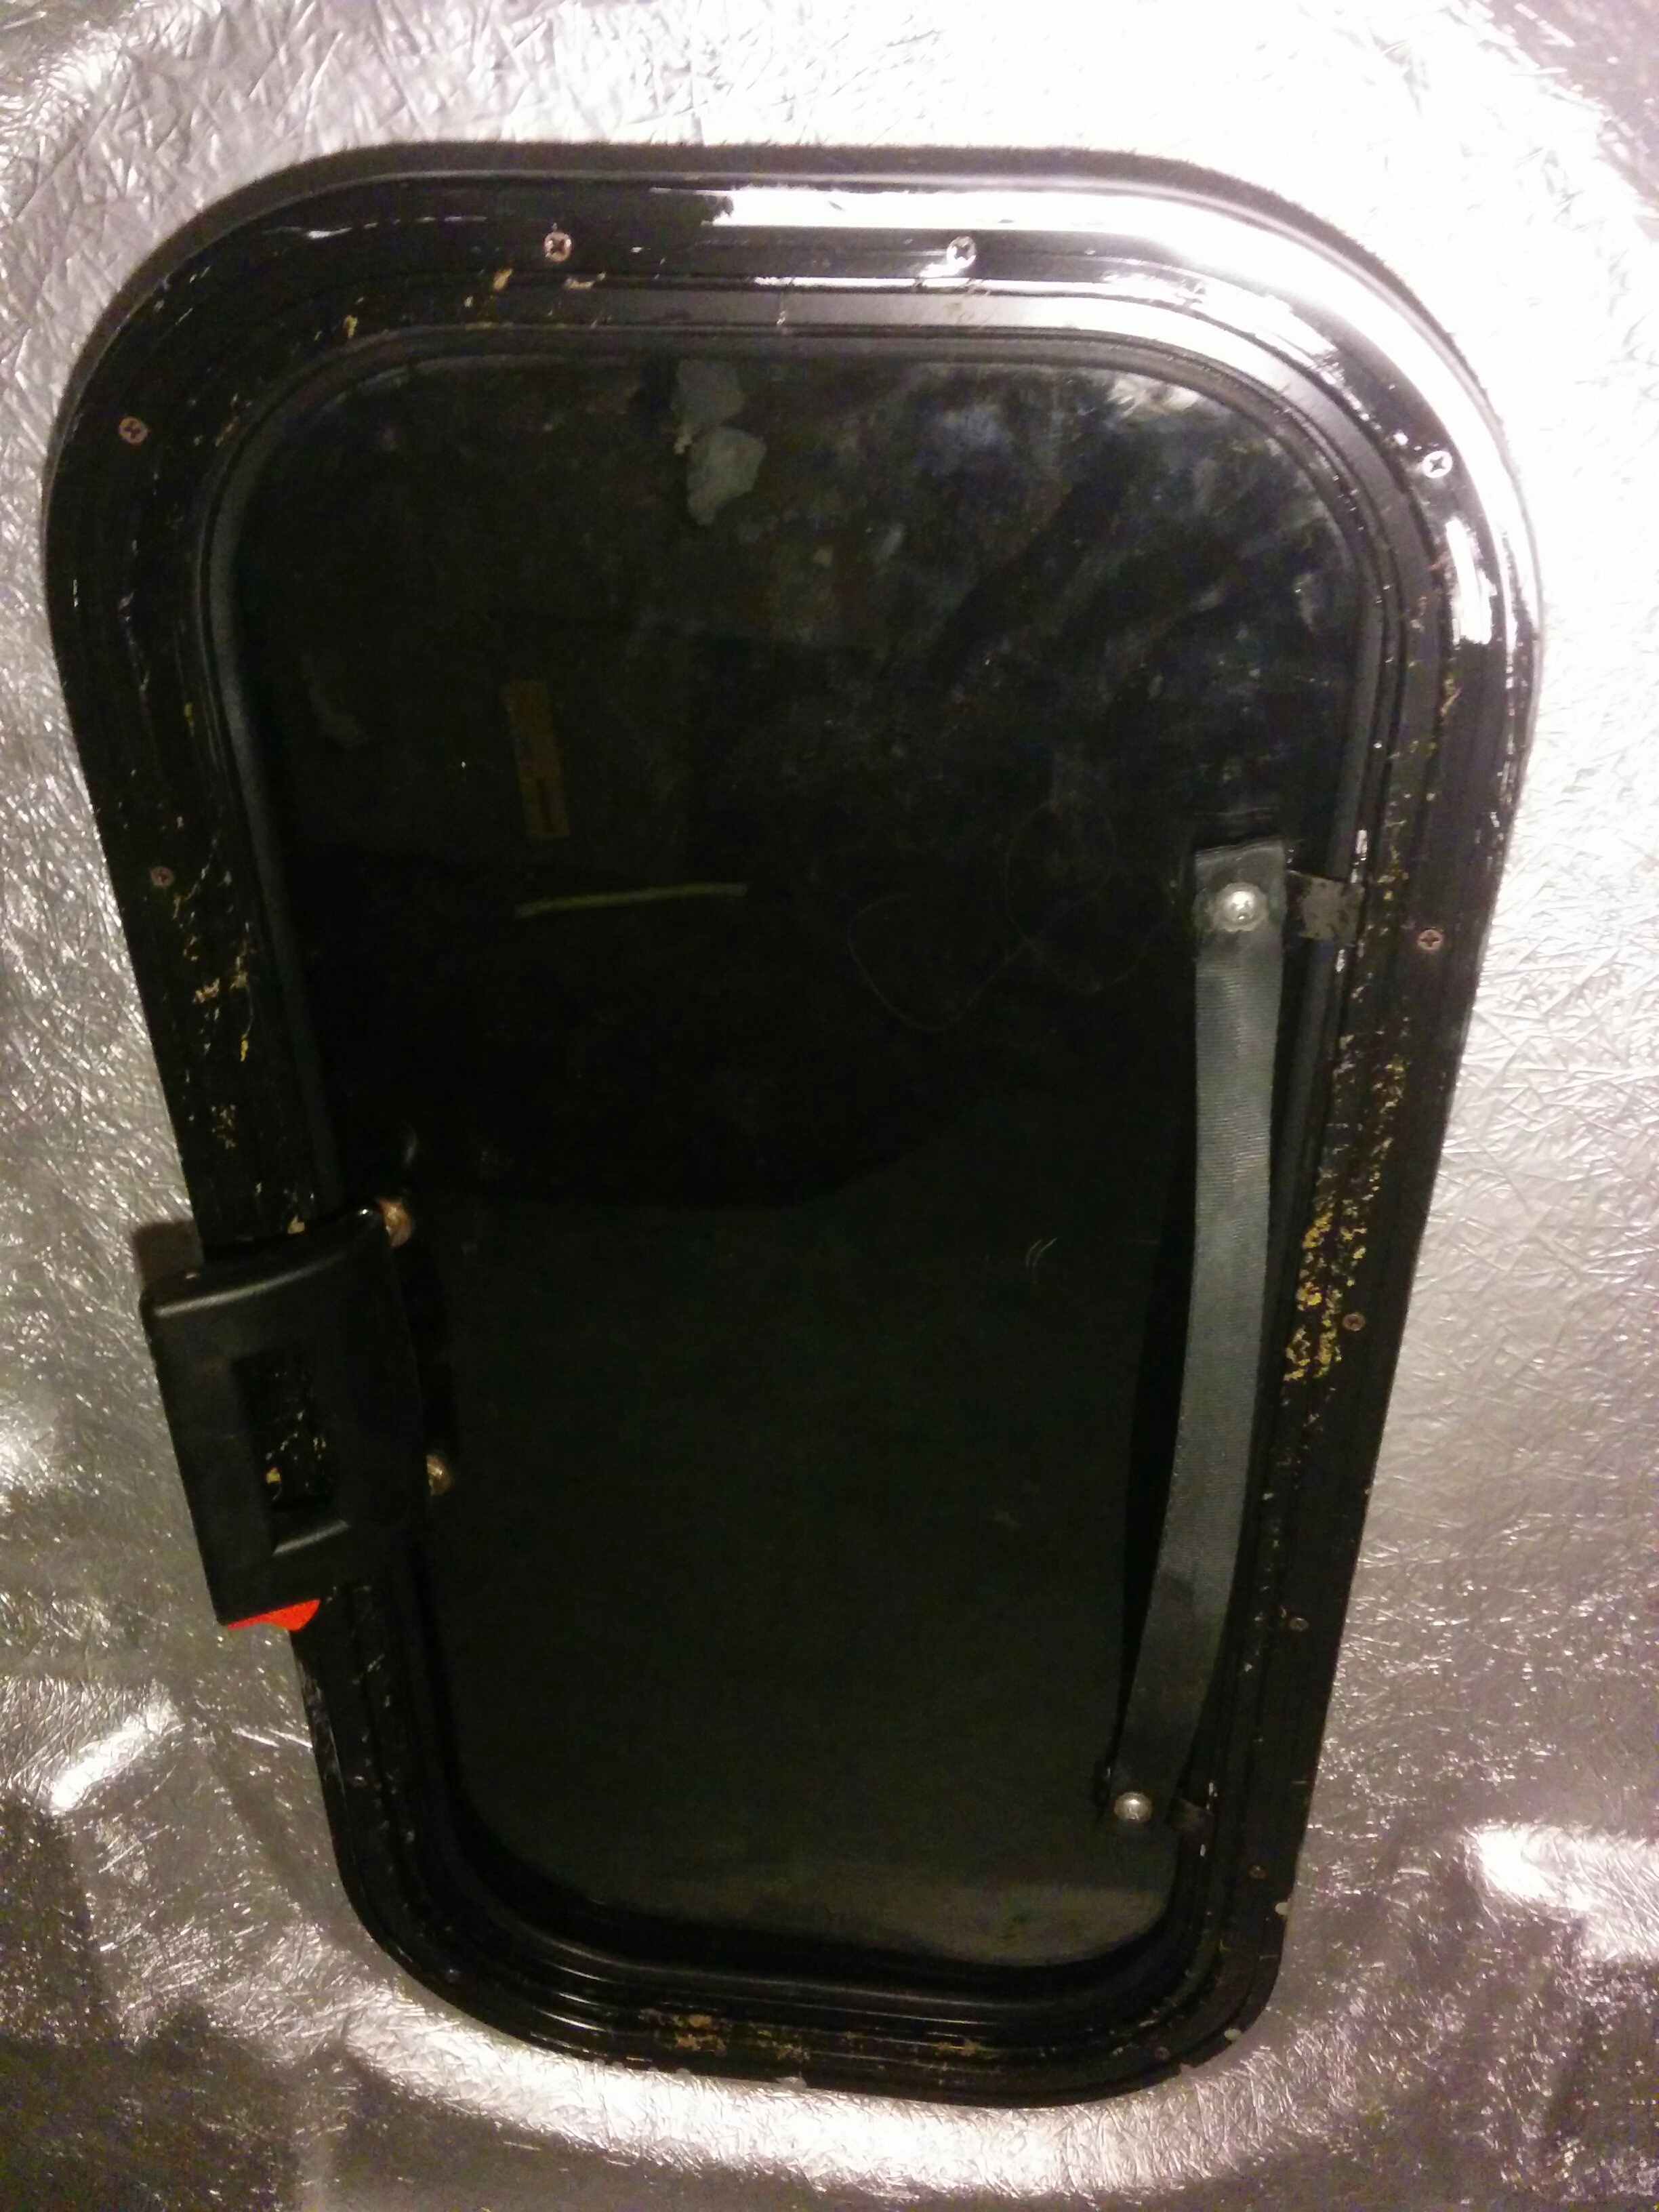
I painted both the luan and various other elements of the interior (most critically: the hideous green fiberglass ceiling) with metallic silver oil paint. For this I used “Rust-Oleum Stops Rust Enamel Oil Paint” in “Metallic Aluminum.” I was overall quite pleased with how it ended up performing over the years; having the interior done up in silver on all sides but the floor really maximized the visibility provided by my interior lighting.
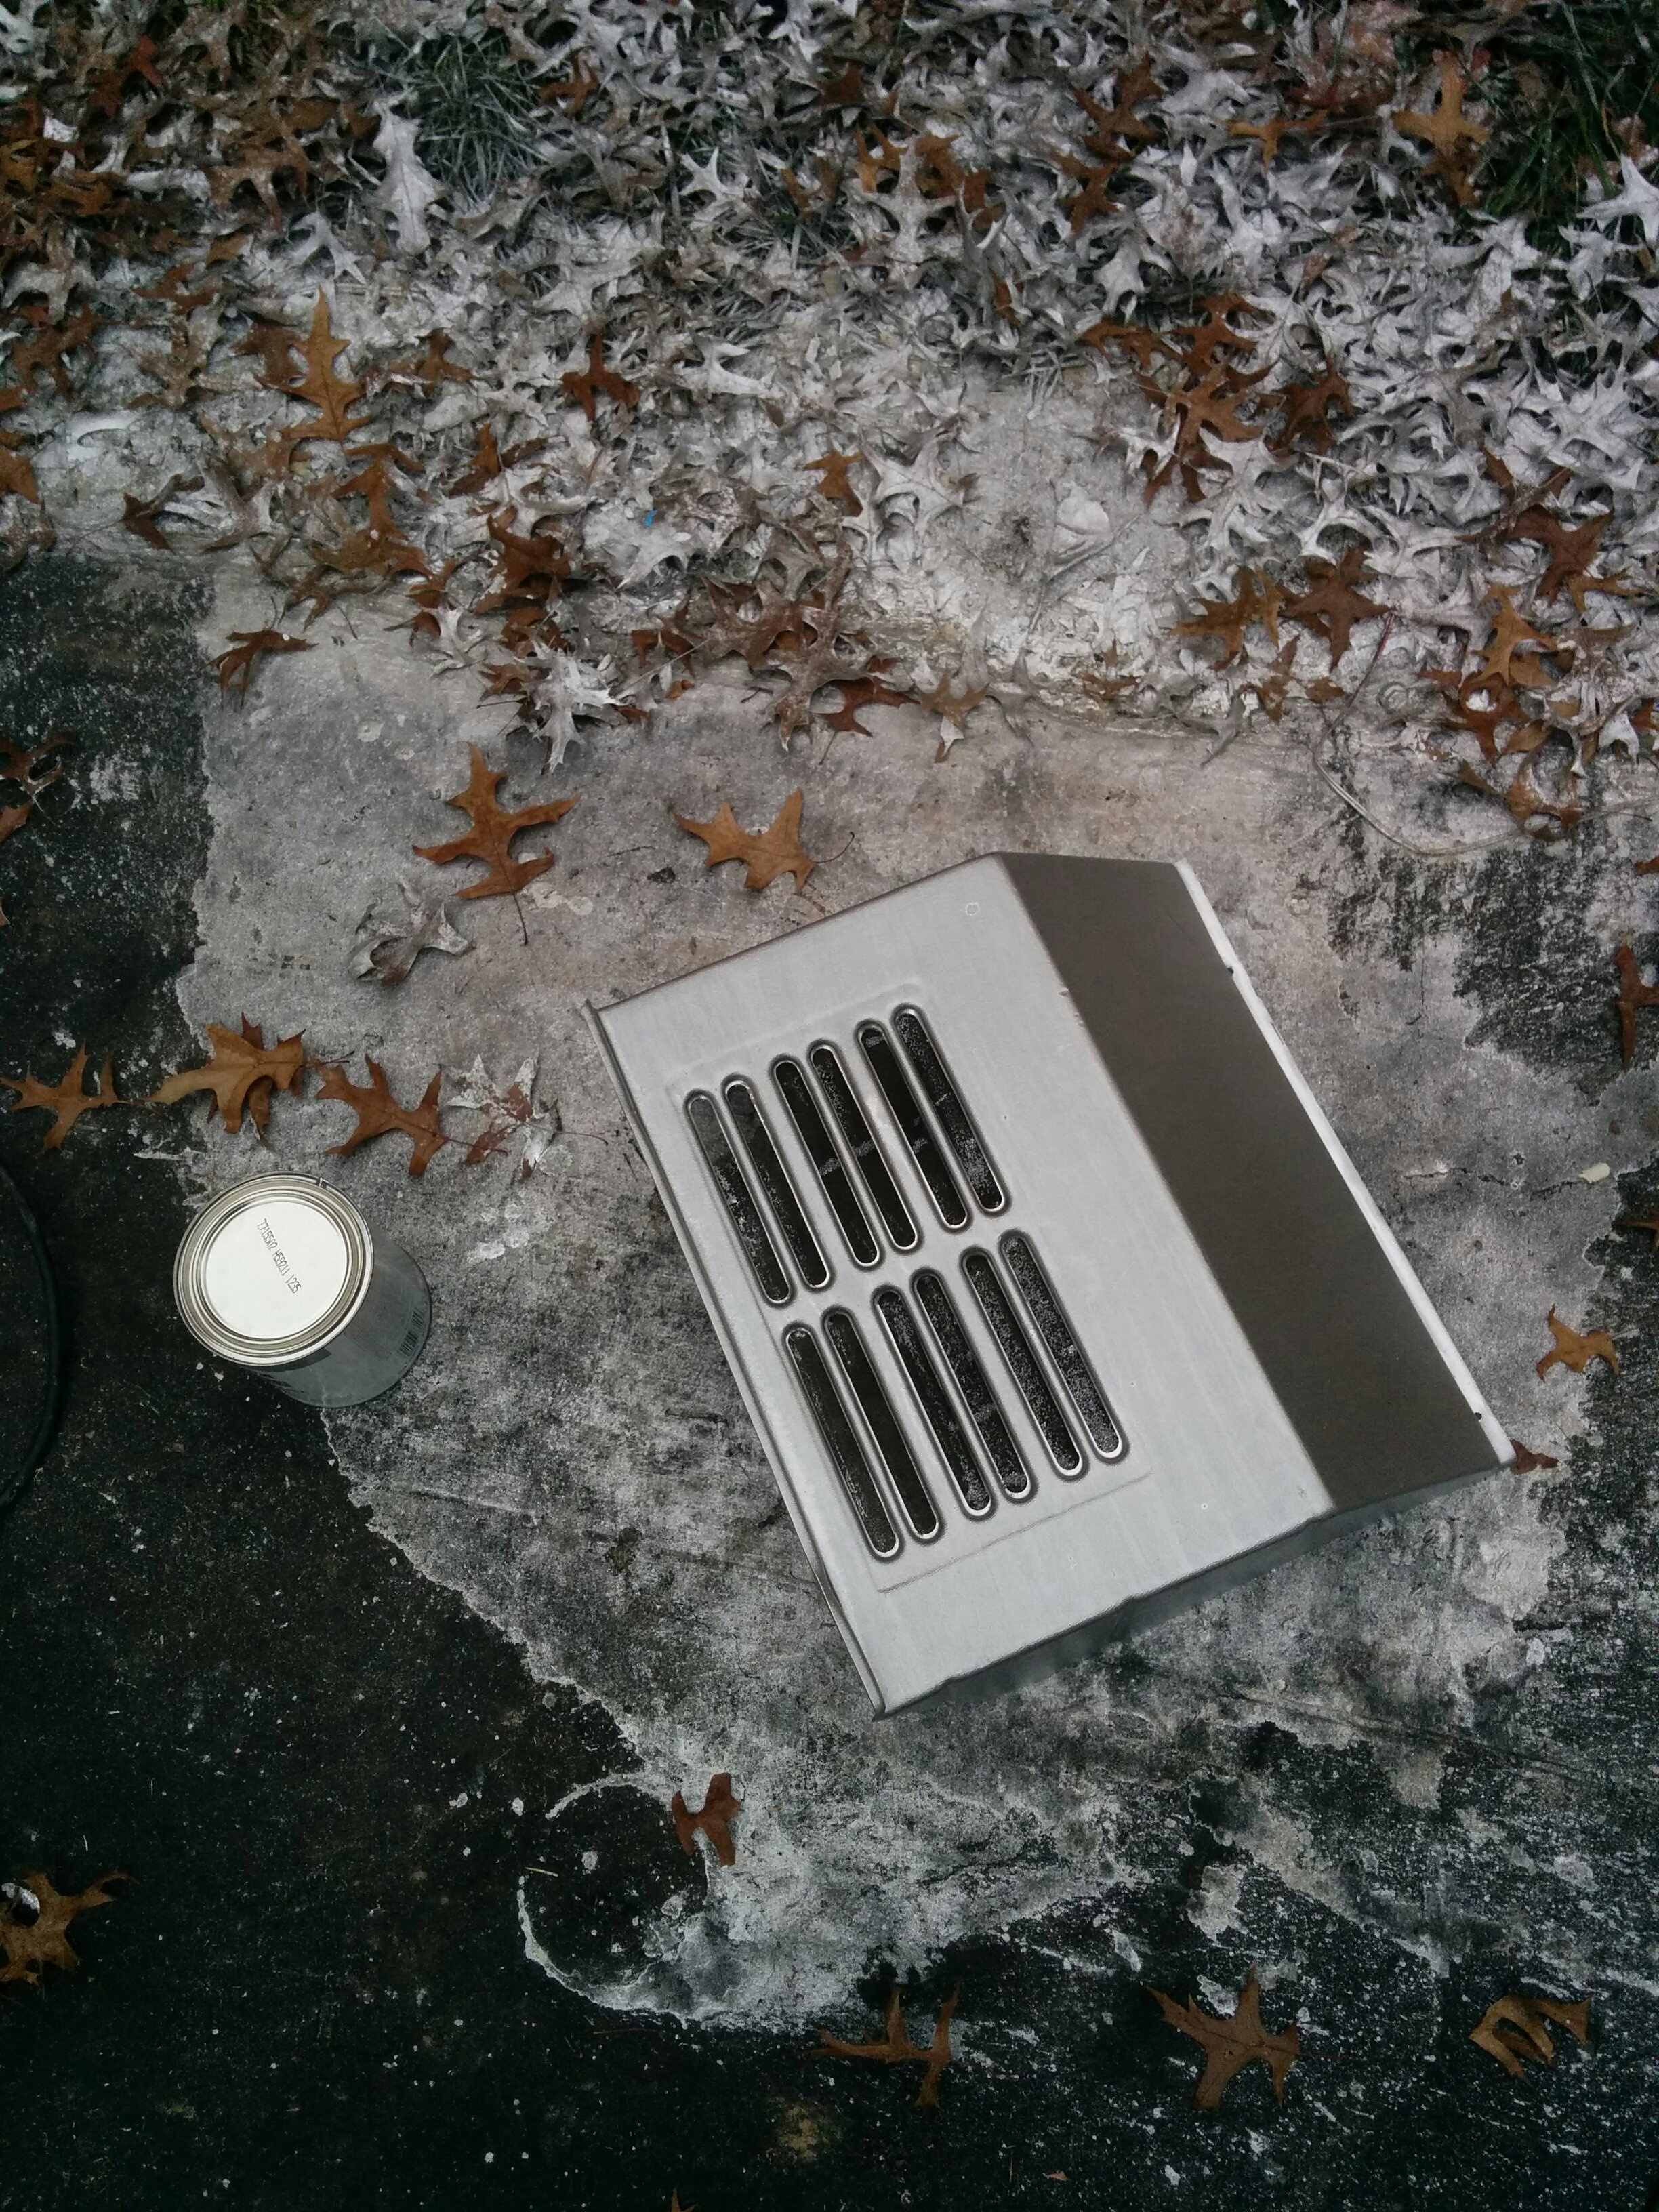
The rear AC didn’t work, but would have been too much of a hassle to remove, so I simply took the cover off, painted it to match the rest of the interior, and put it back on. Despite placing the paint can completely out of the way of foot traffic, An Accident occurred with a certain roommate, which is why the poor driveway is unnecessarily covered in paint. (At that point I thought to myself I might as well just let the cover dry on the pavement instead of off in the grass…)
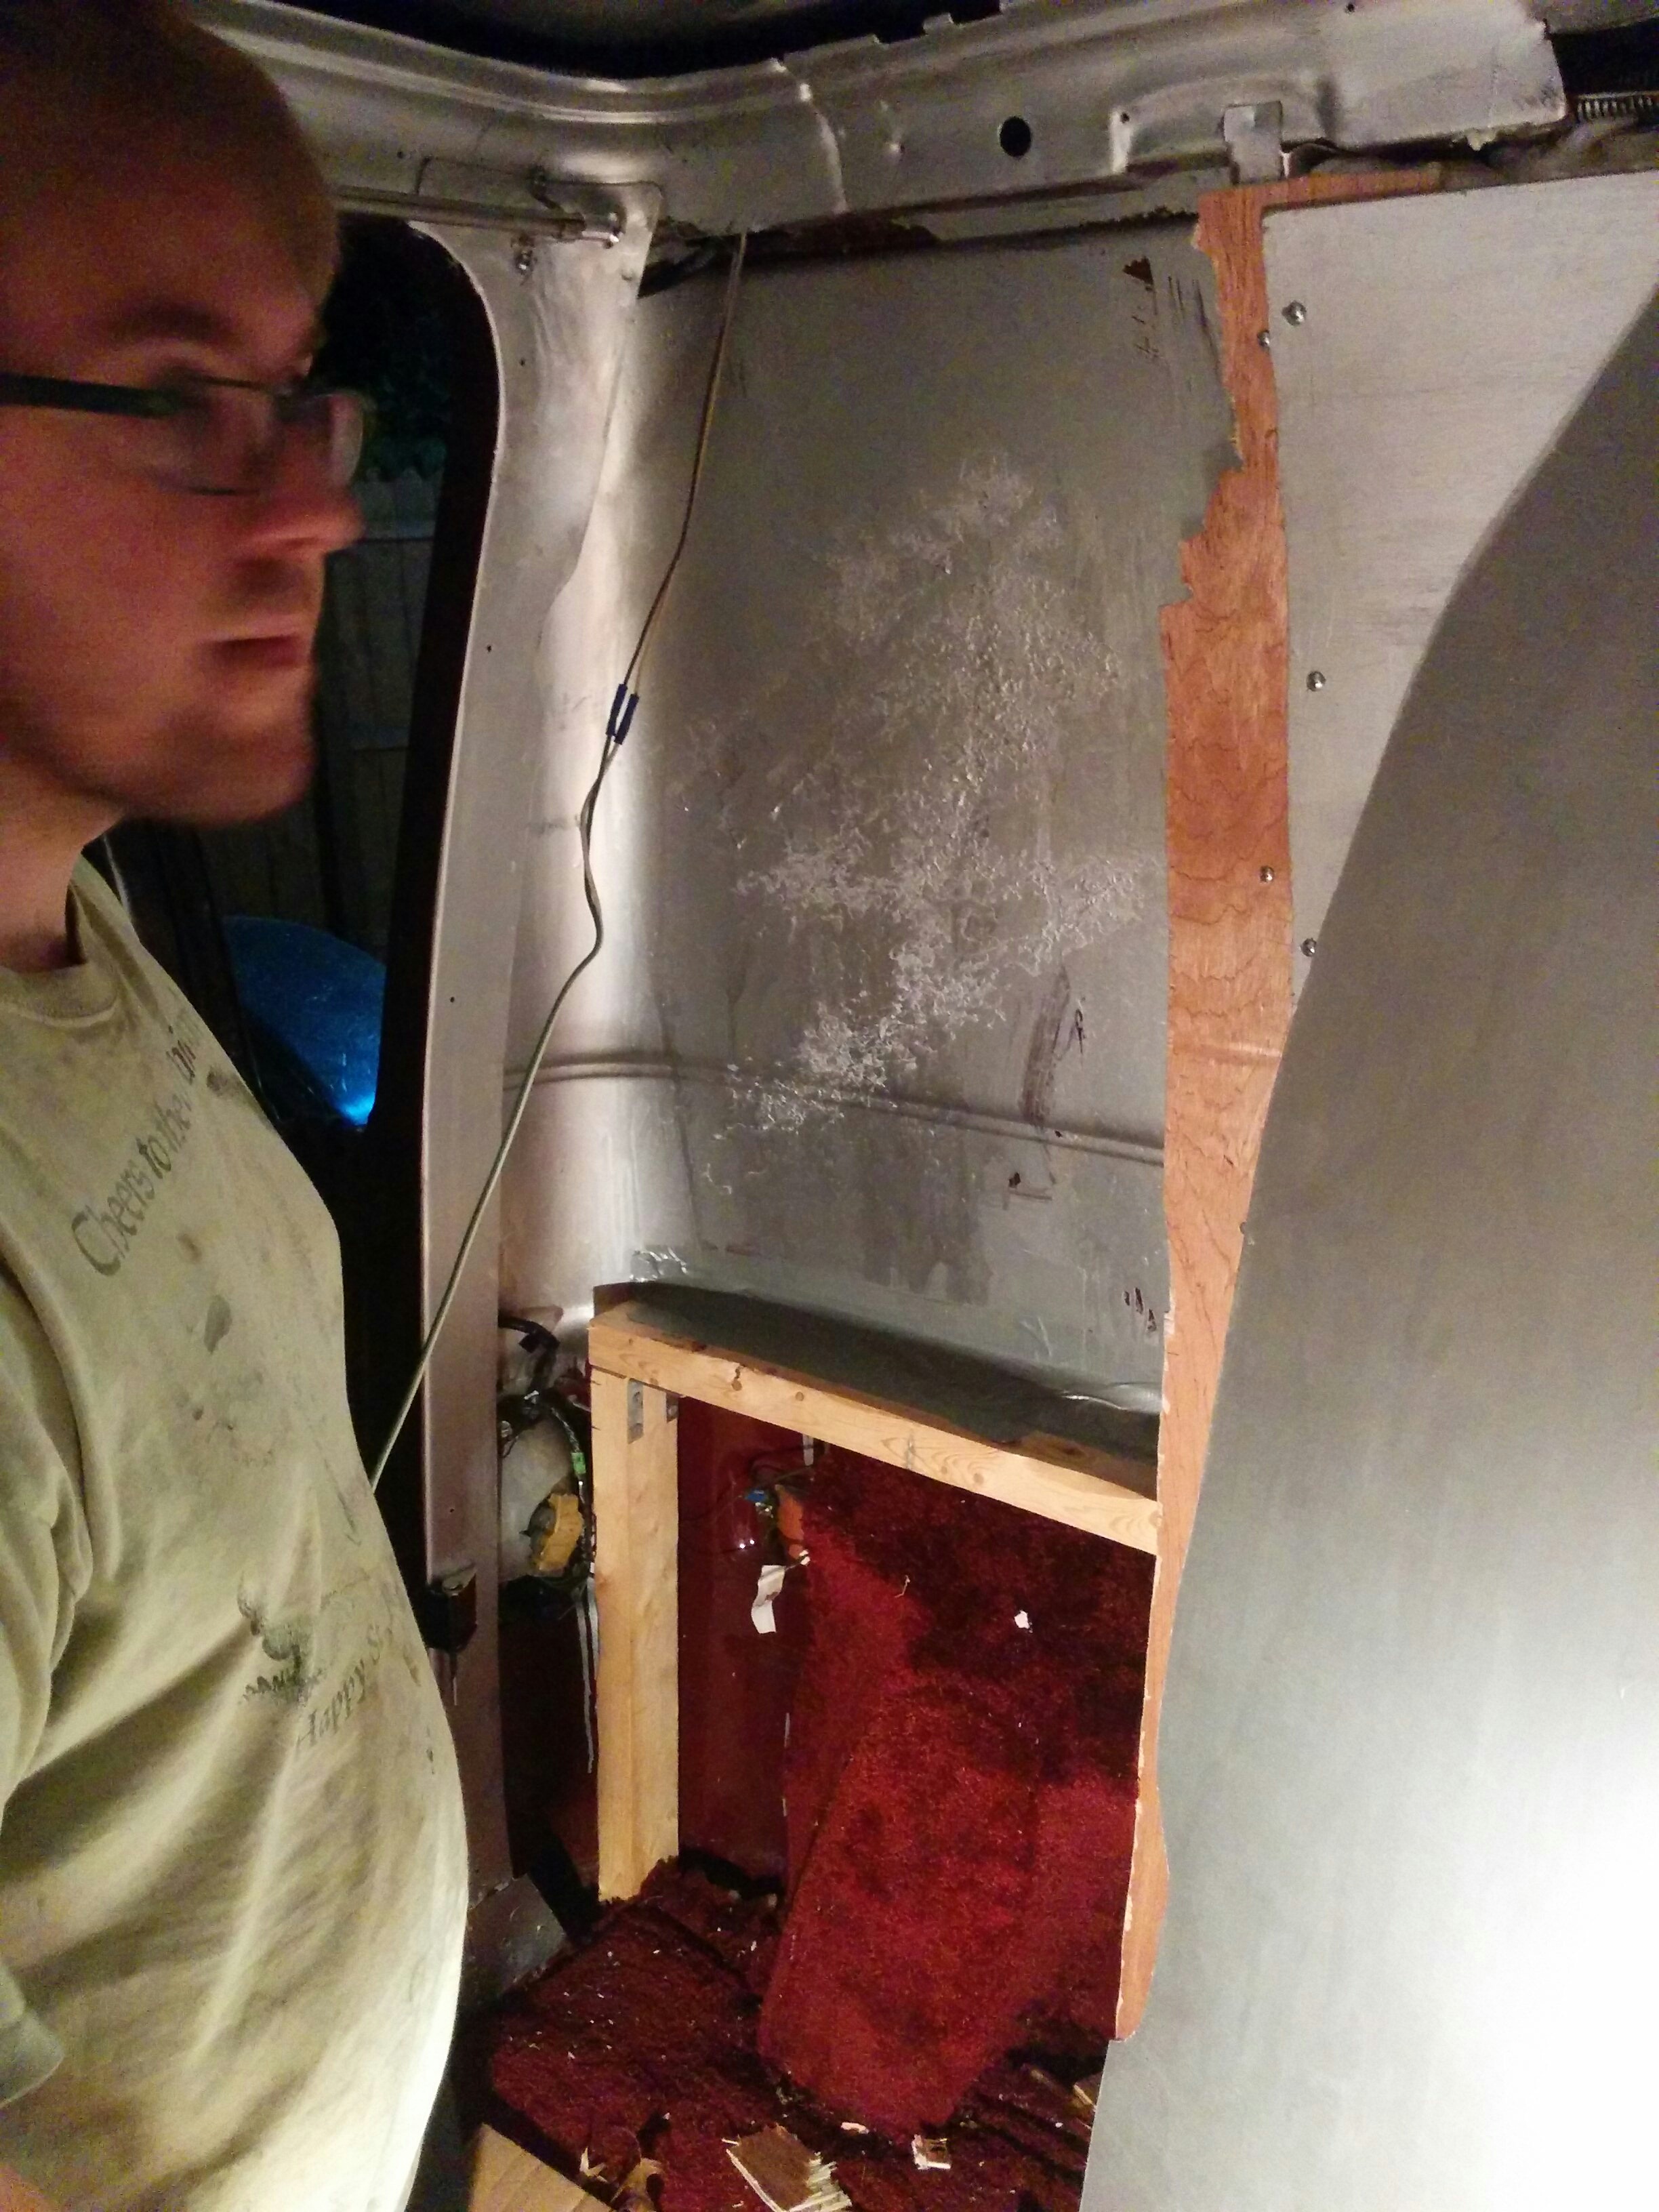
First, I needed to figure out something to screw the luan to. I wish I had taken more pictures of this, but basically I drilled small pilot holes in the support ribs of the van shell, to which I then attached 1”x3” furring strips with self-tapping metal screws. Then I used L brackets, more wood strips, and wood screws to build up a support structure underneath. (Basically the same thing you see with studs and drywall.) Before attaching the luan panels to my wood studs, I screwed long scraps of ~10” luan paneling to them to help distribute the load over a wider area and prevent the panel from kinking from the strain. The gap between the side ribs and the outer shell was just the right size for me to slide a sheet of insulation foam into, which I then stabilized in place by adding a small amount of expanding foam. In case of any small water leaks over the years, I hoped that the sheet of insulation foam would help deflect the water away from the luan, which would not do well if it got wet. The painted luan sheets were finally screwed in place in an overlapping fashion.
No Peeping!
Another challenge was finding curtain rods that would be robust enough for van life. As it turns out, curtain rods are repulsively expensive. The robust looking ones were insanely priced and even the flimsiest ones cost more than I liked. I needed one for the back, one for the side door, and one to span the front seat area. The last one was especially hard to find.
When I mentioned my curtain conundrum, Garrett had a great suggestion: “Why not use conduit?” Well, I’d never heard of it. But EMT conduit was indeed at Menard’s in the electrical section for $2-4 a piece.
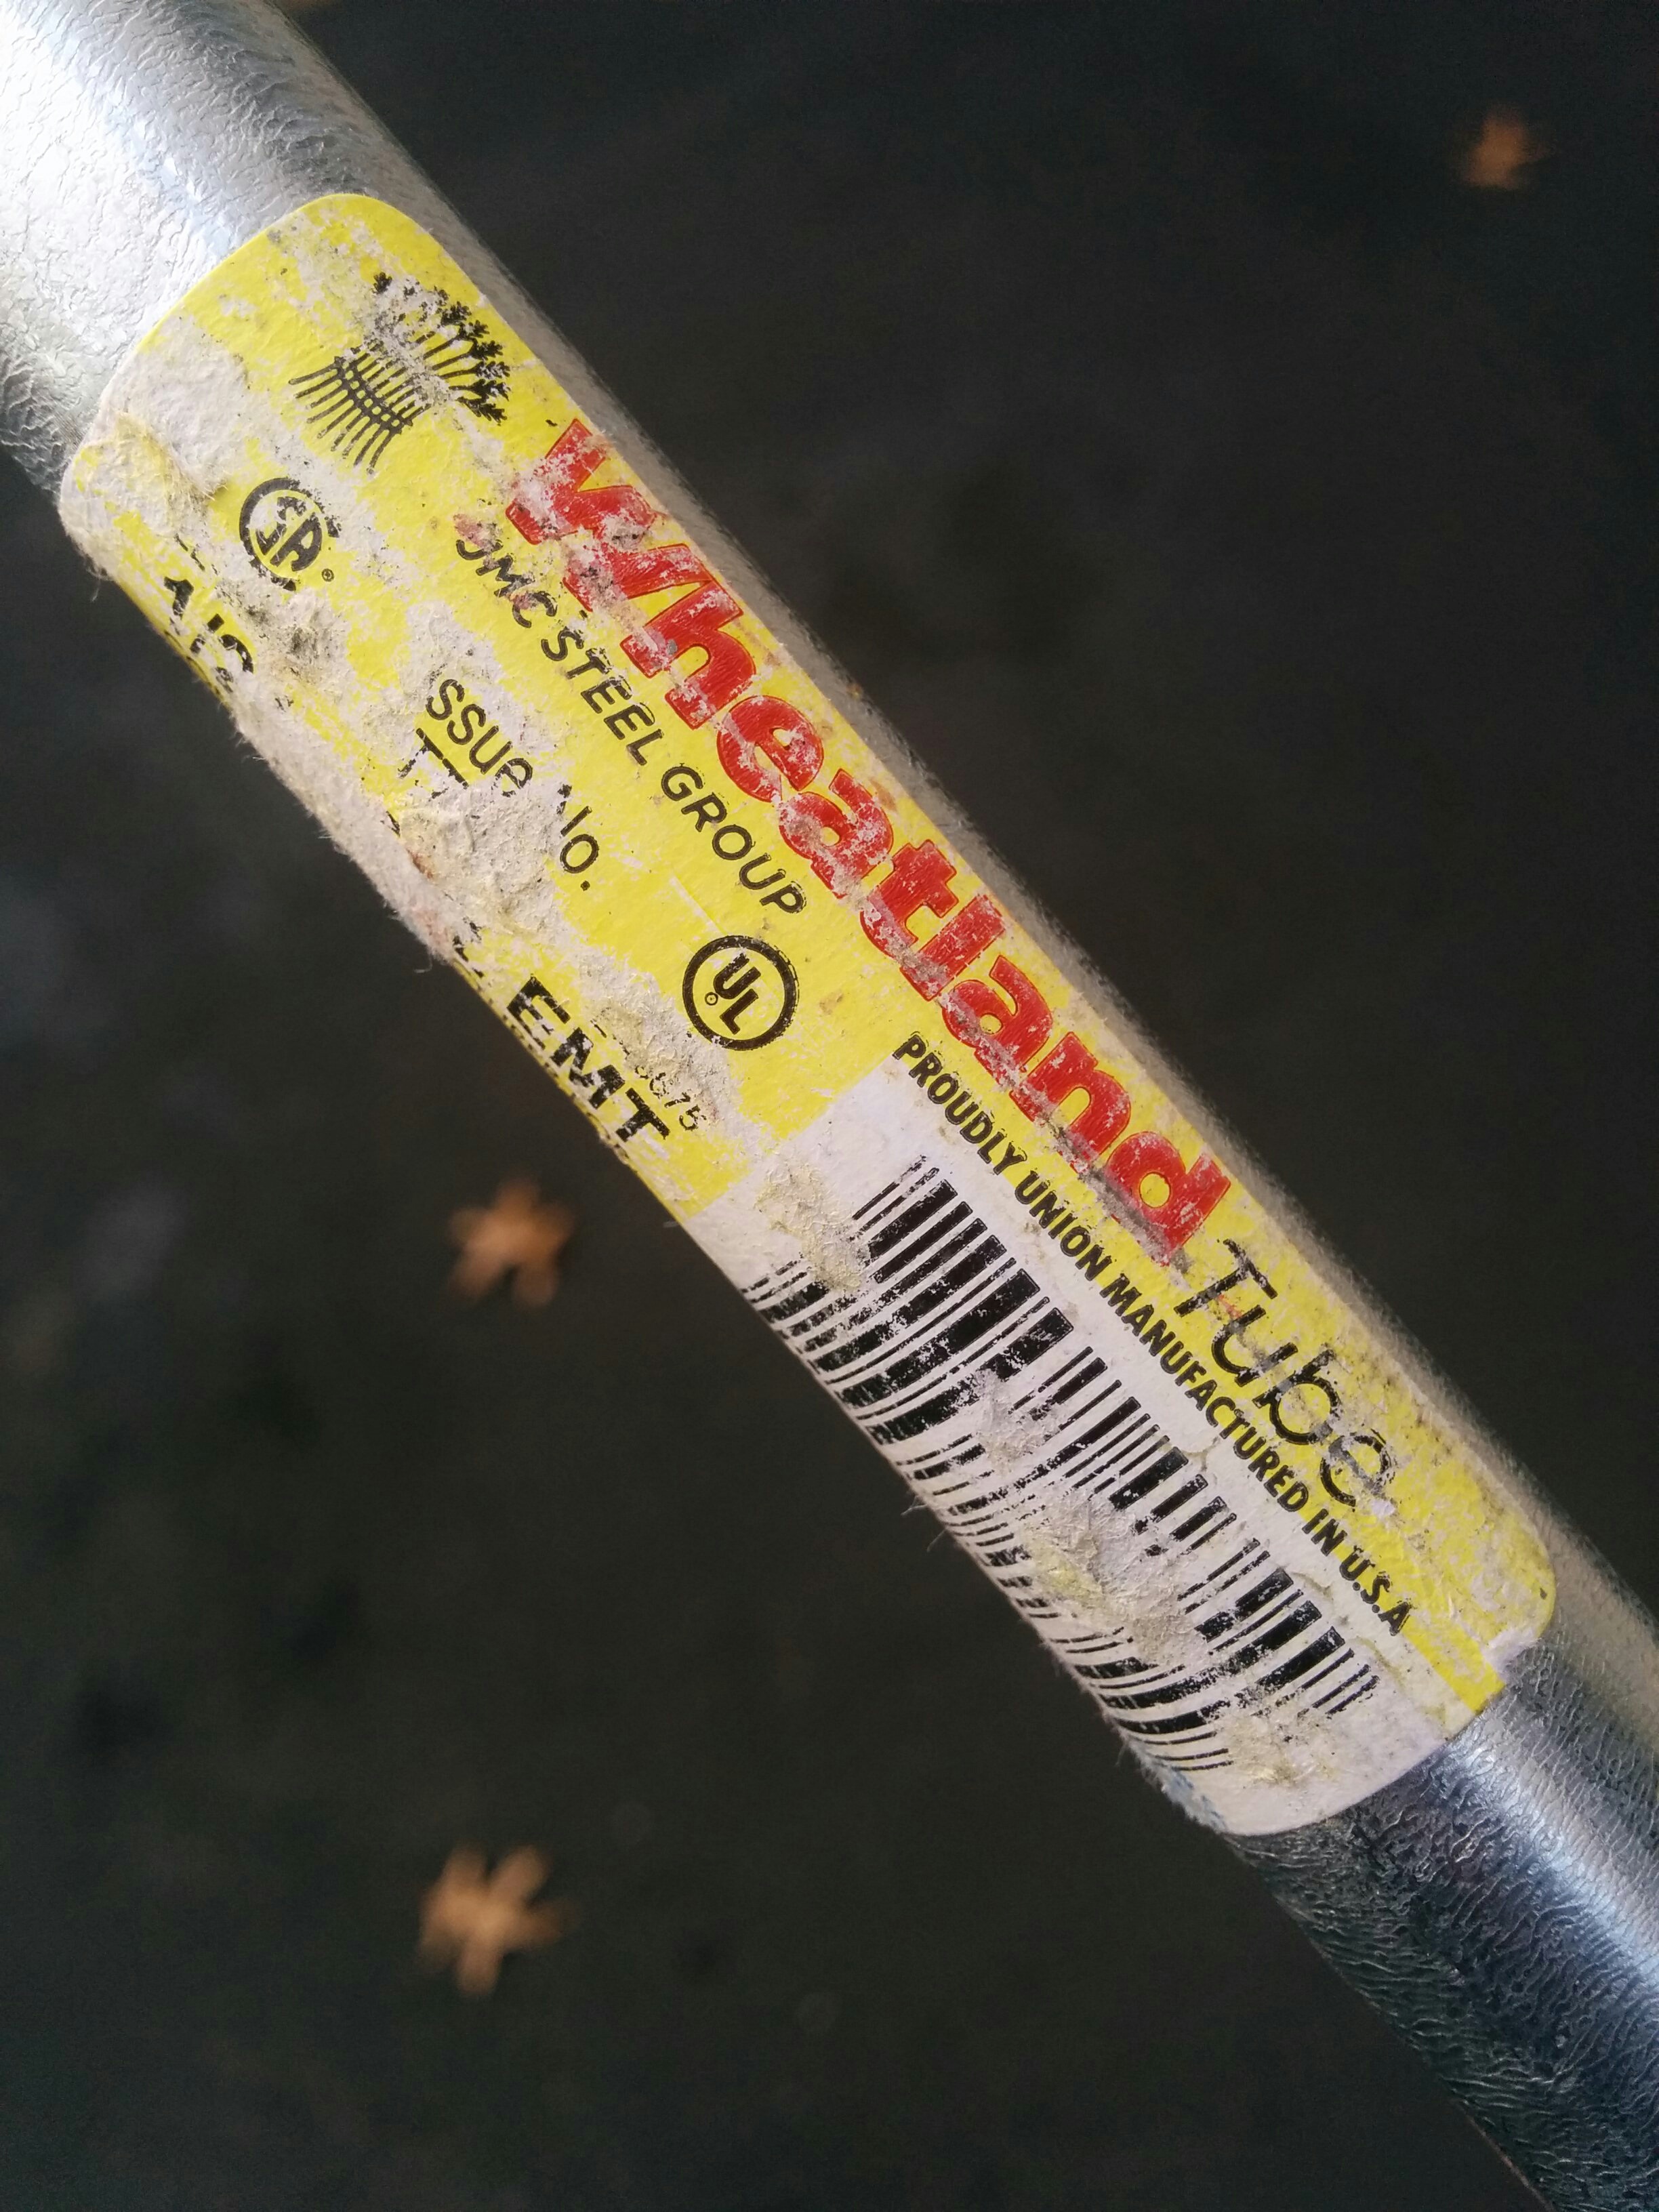
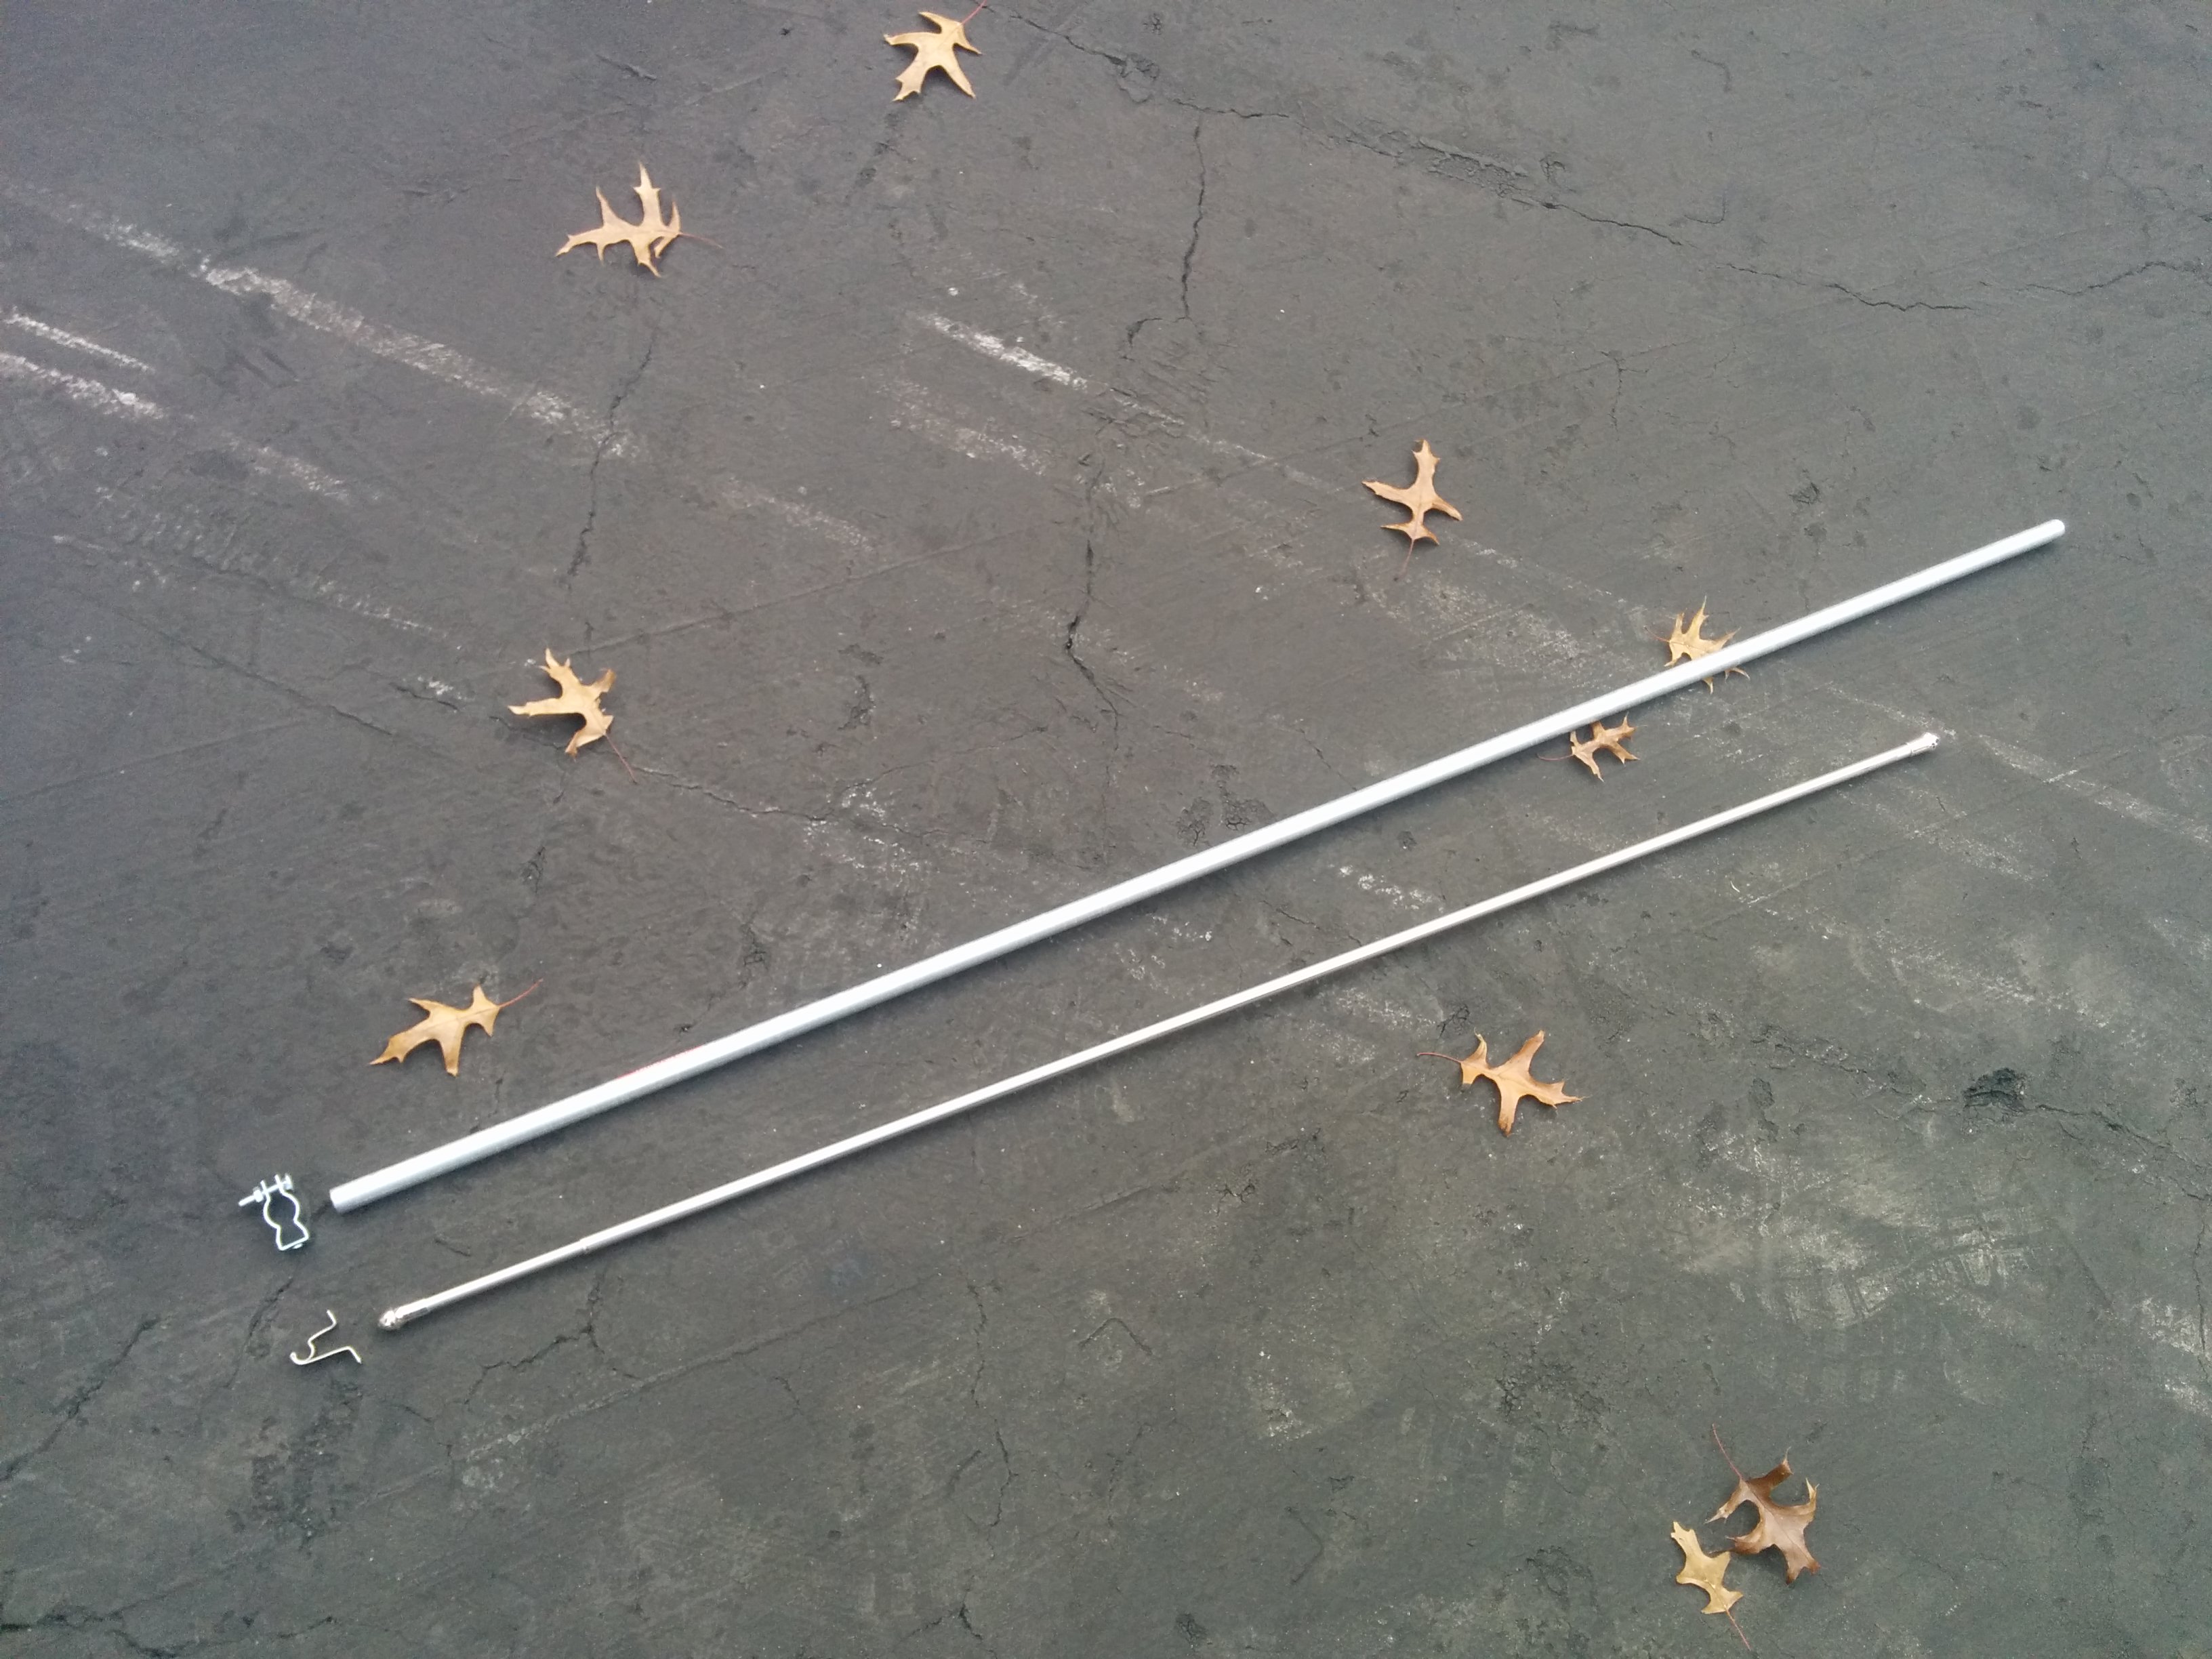
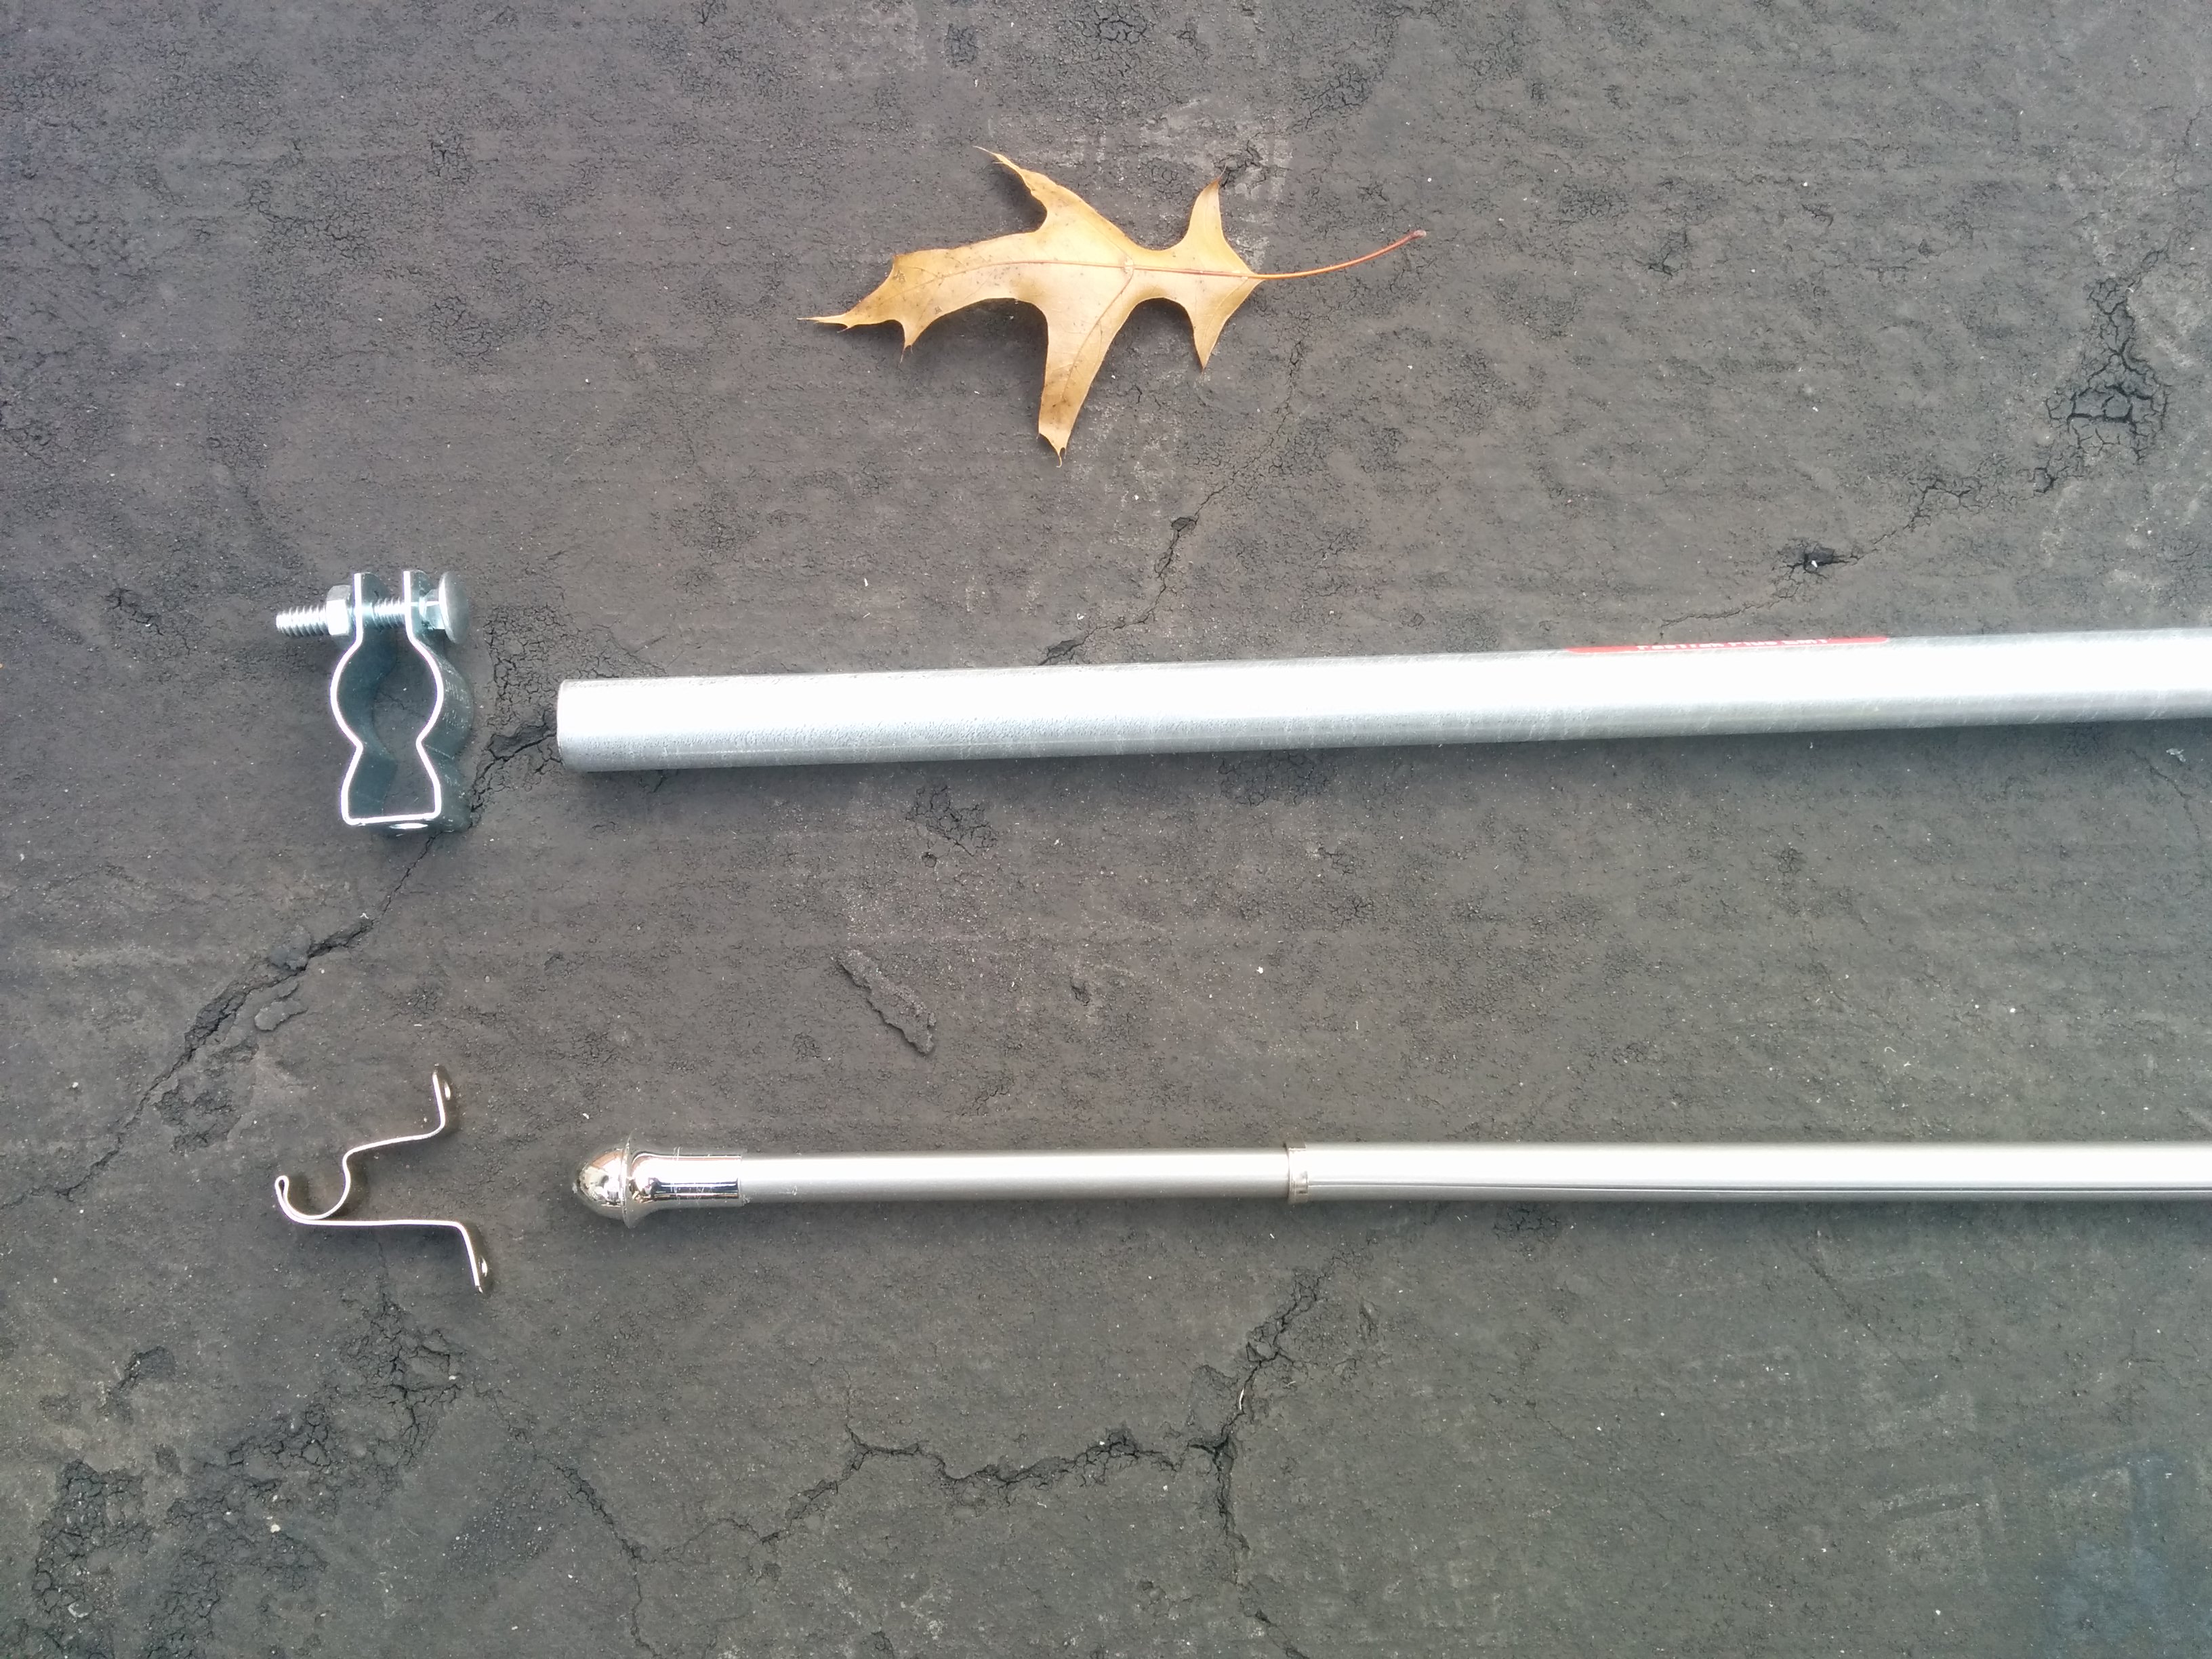
I got two pieces of 1/2” conduit for the side door and the back doors and a piece of extra chonky 3/4” conduit for the front.
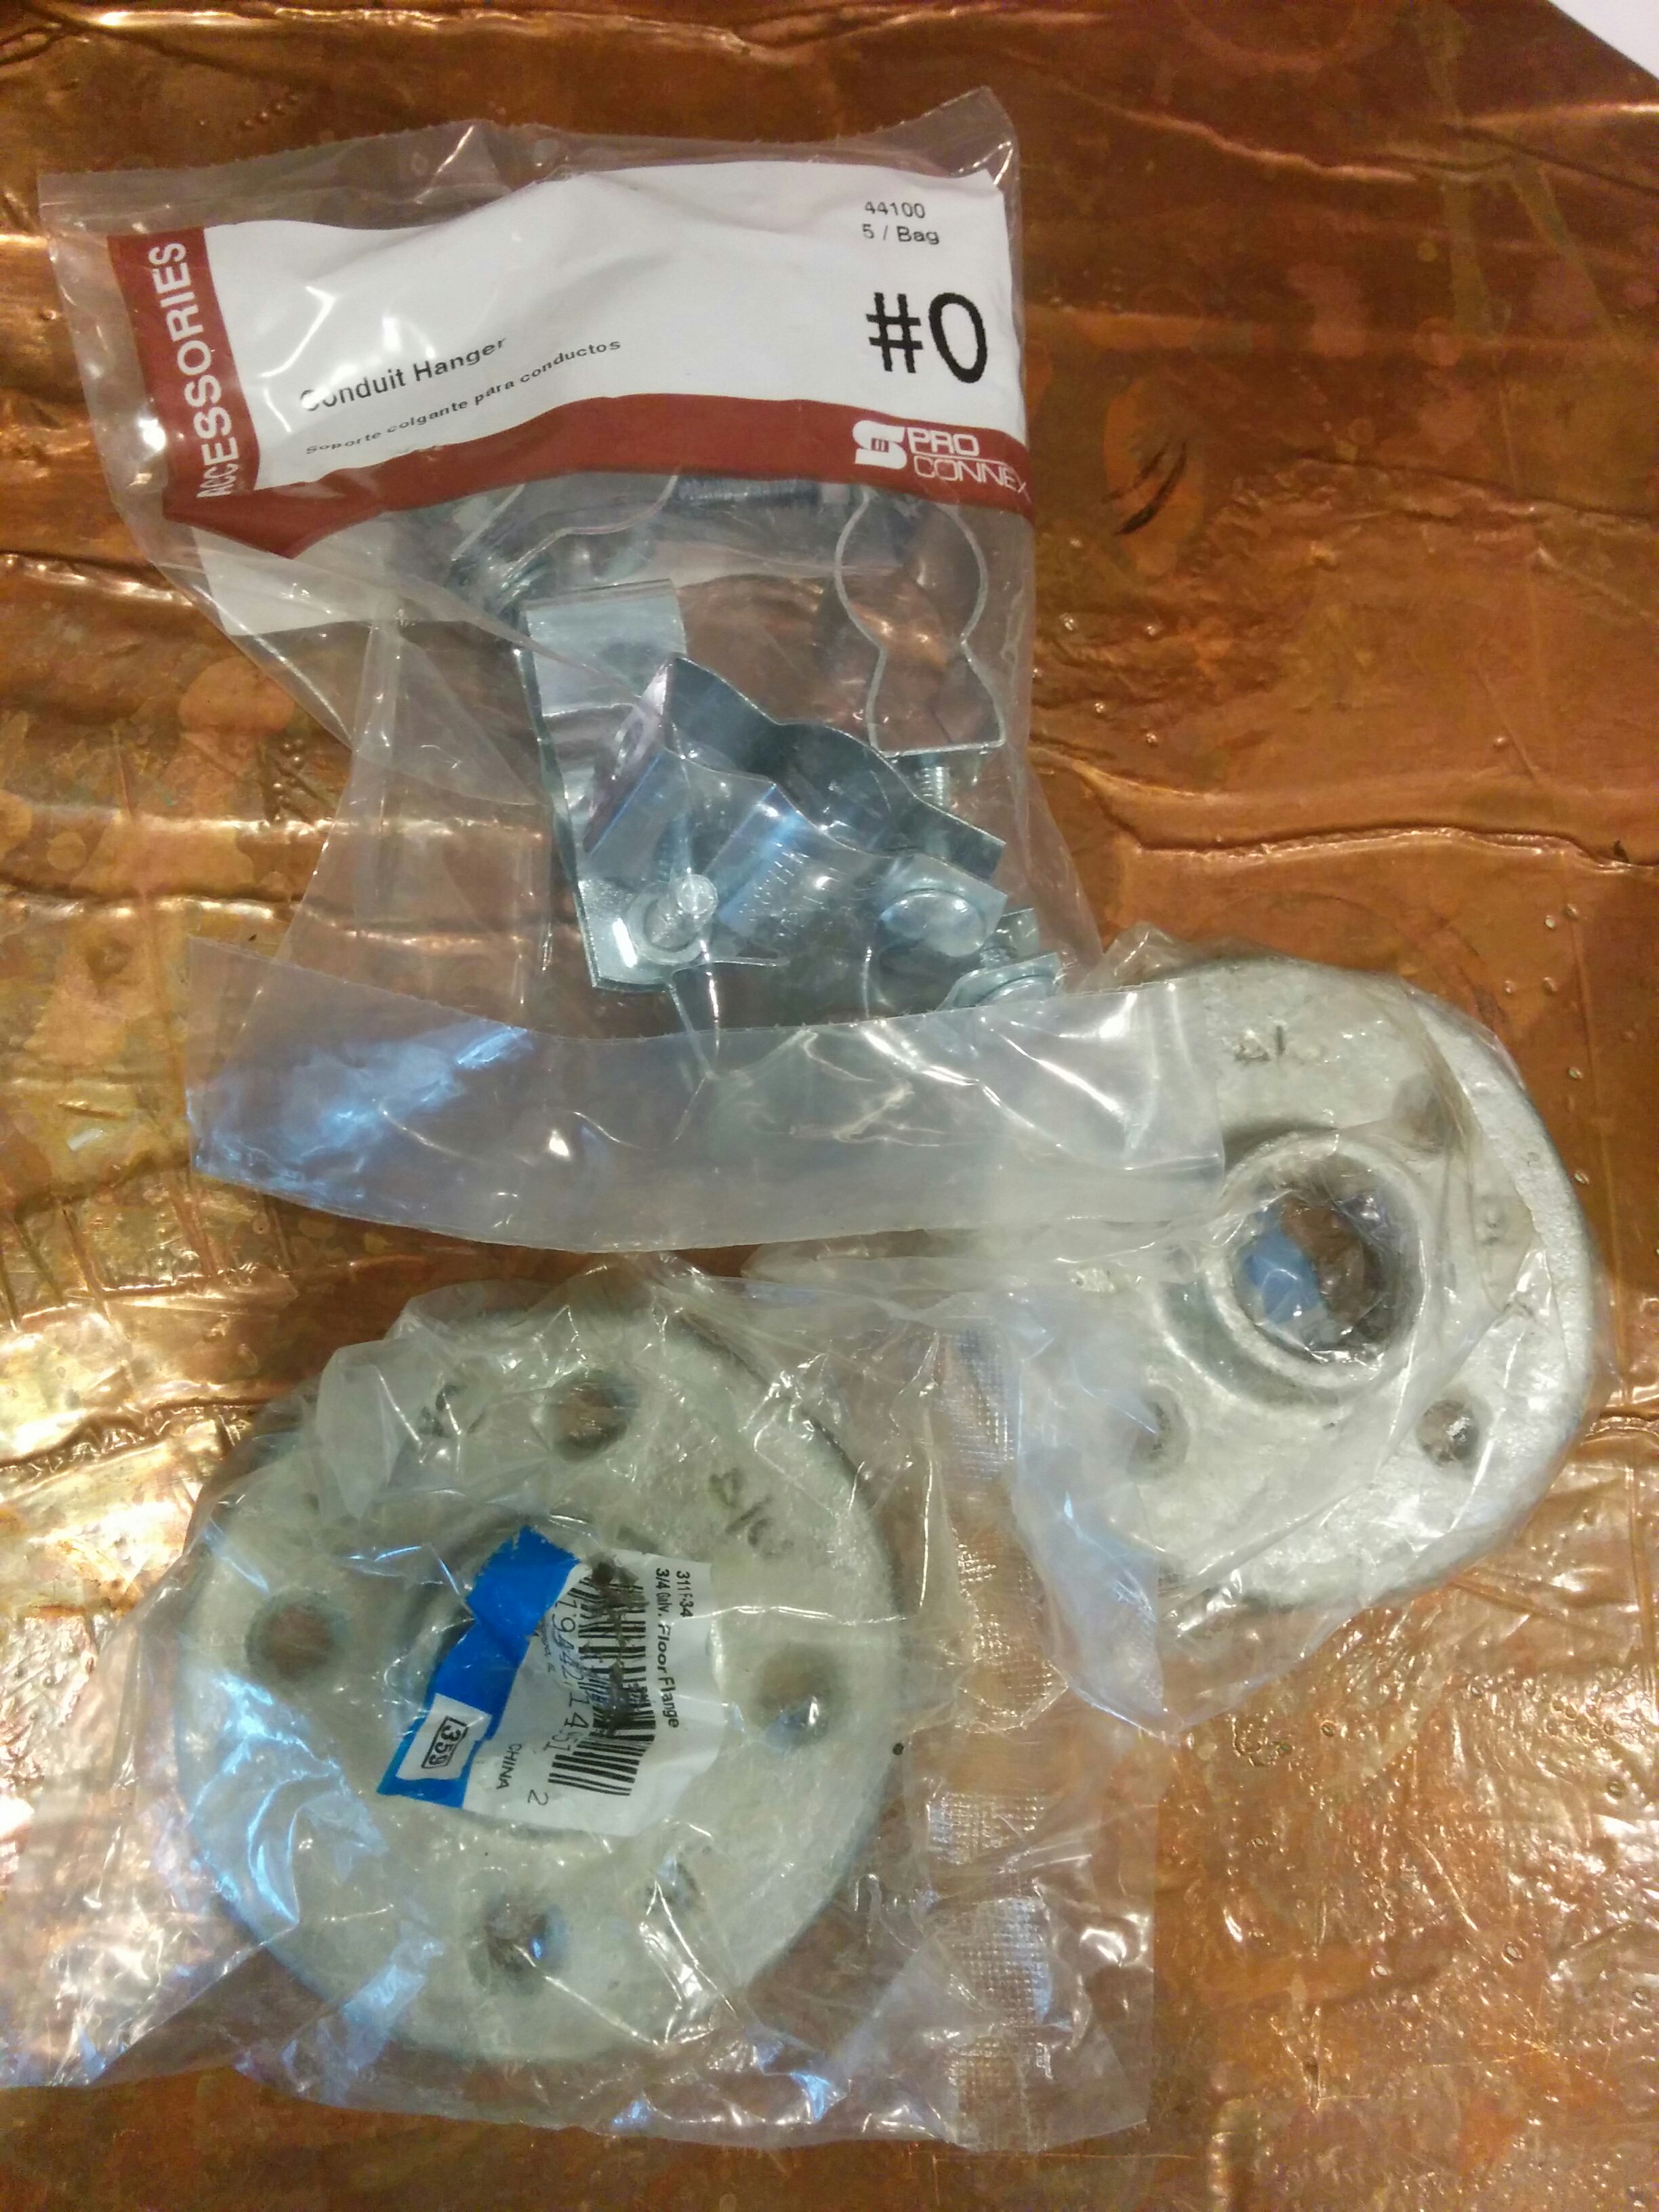
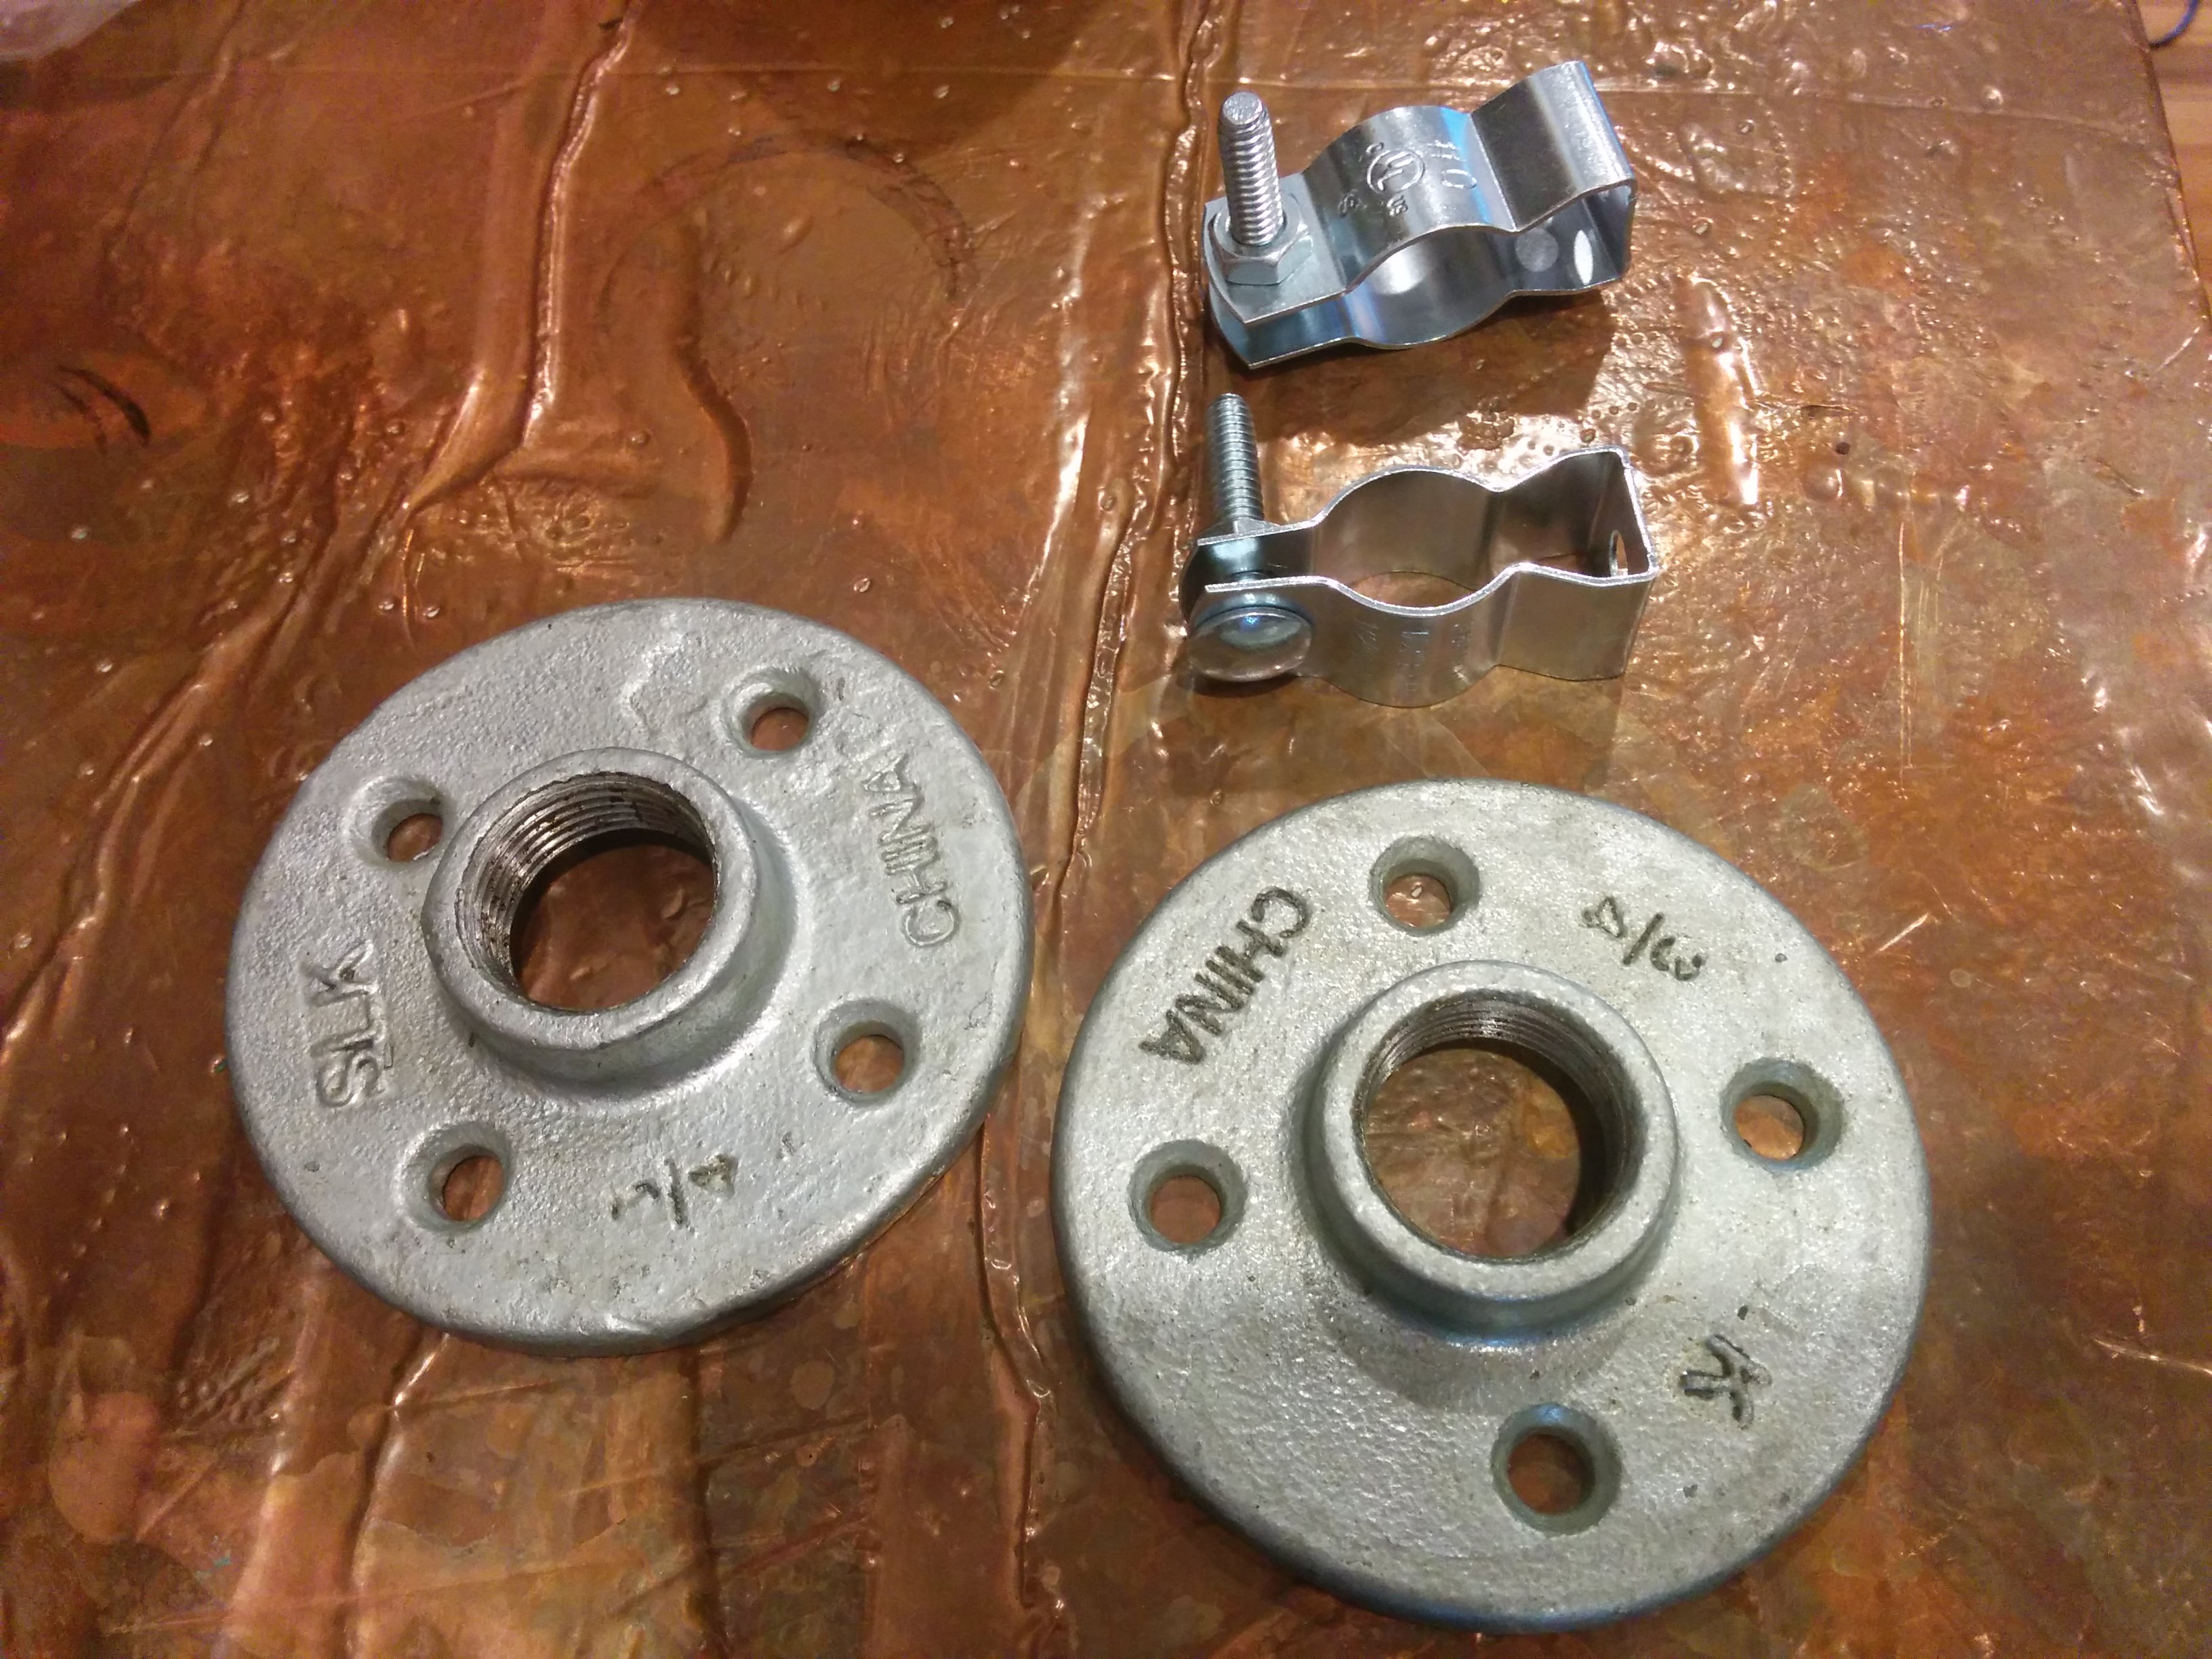
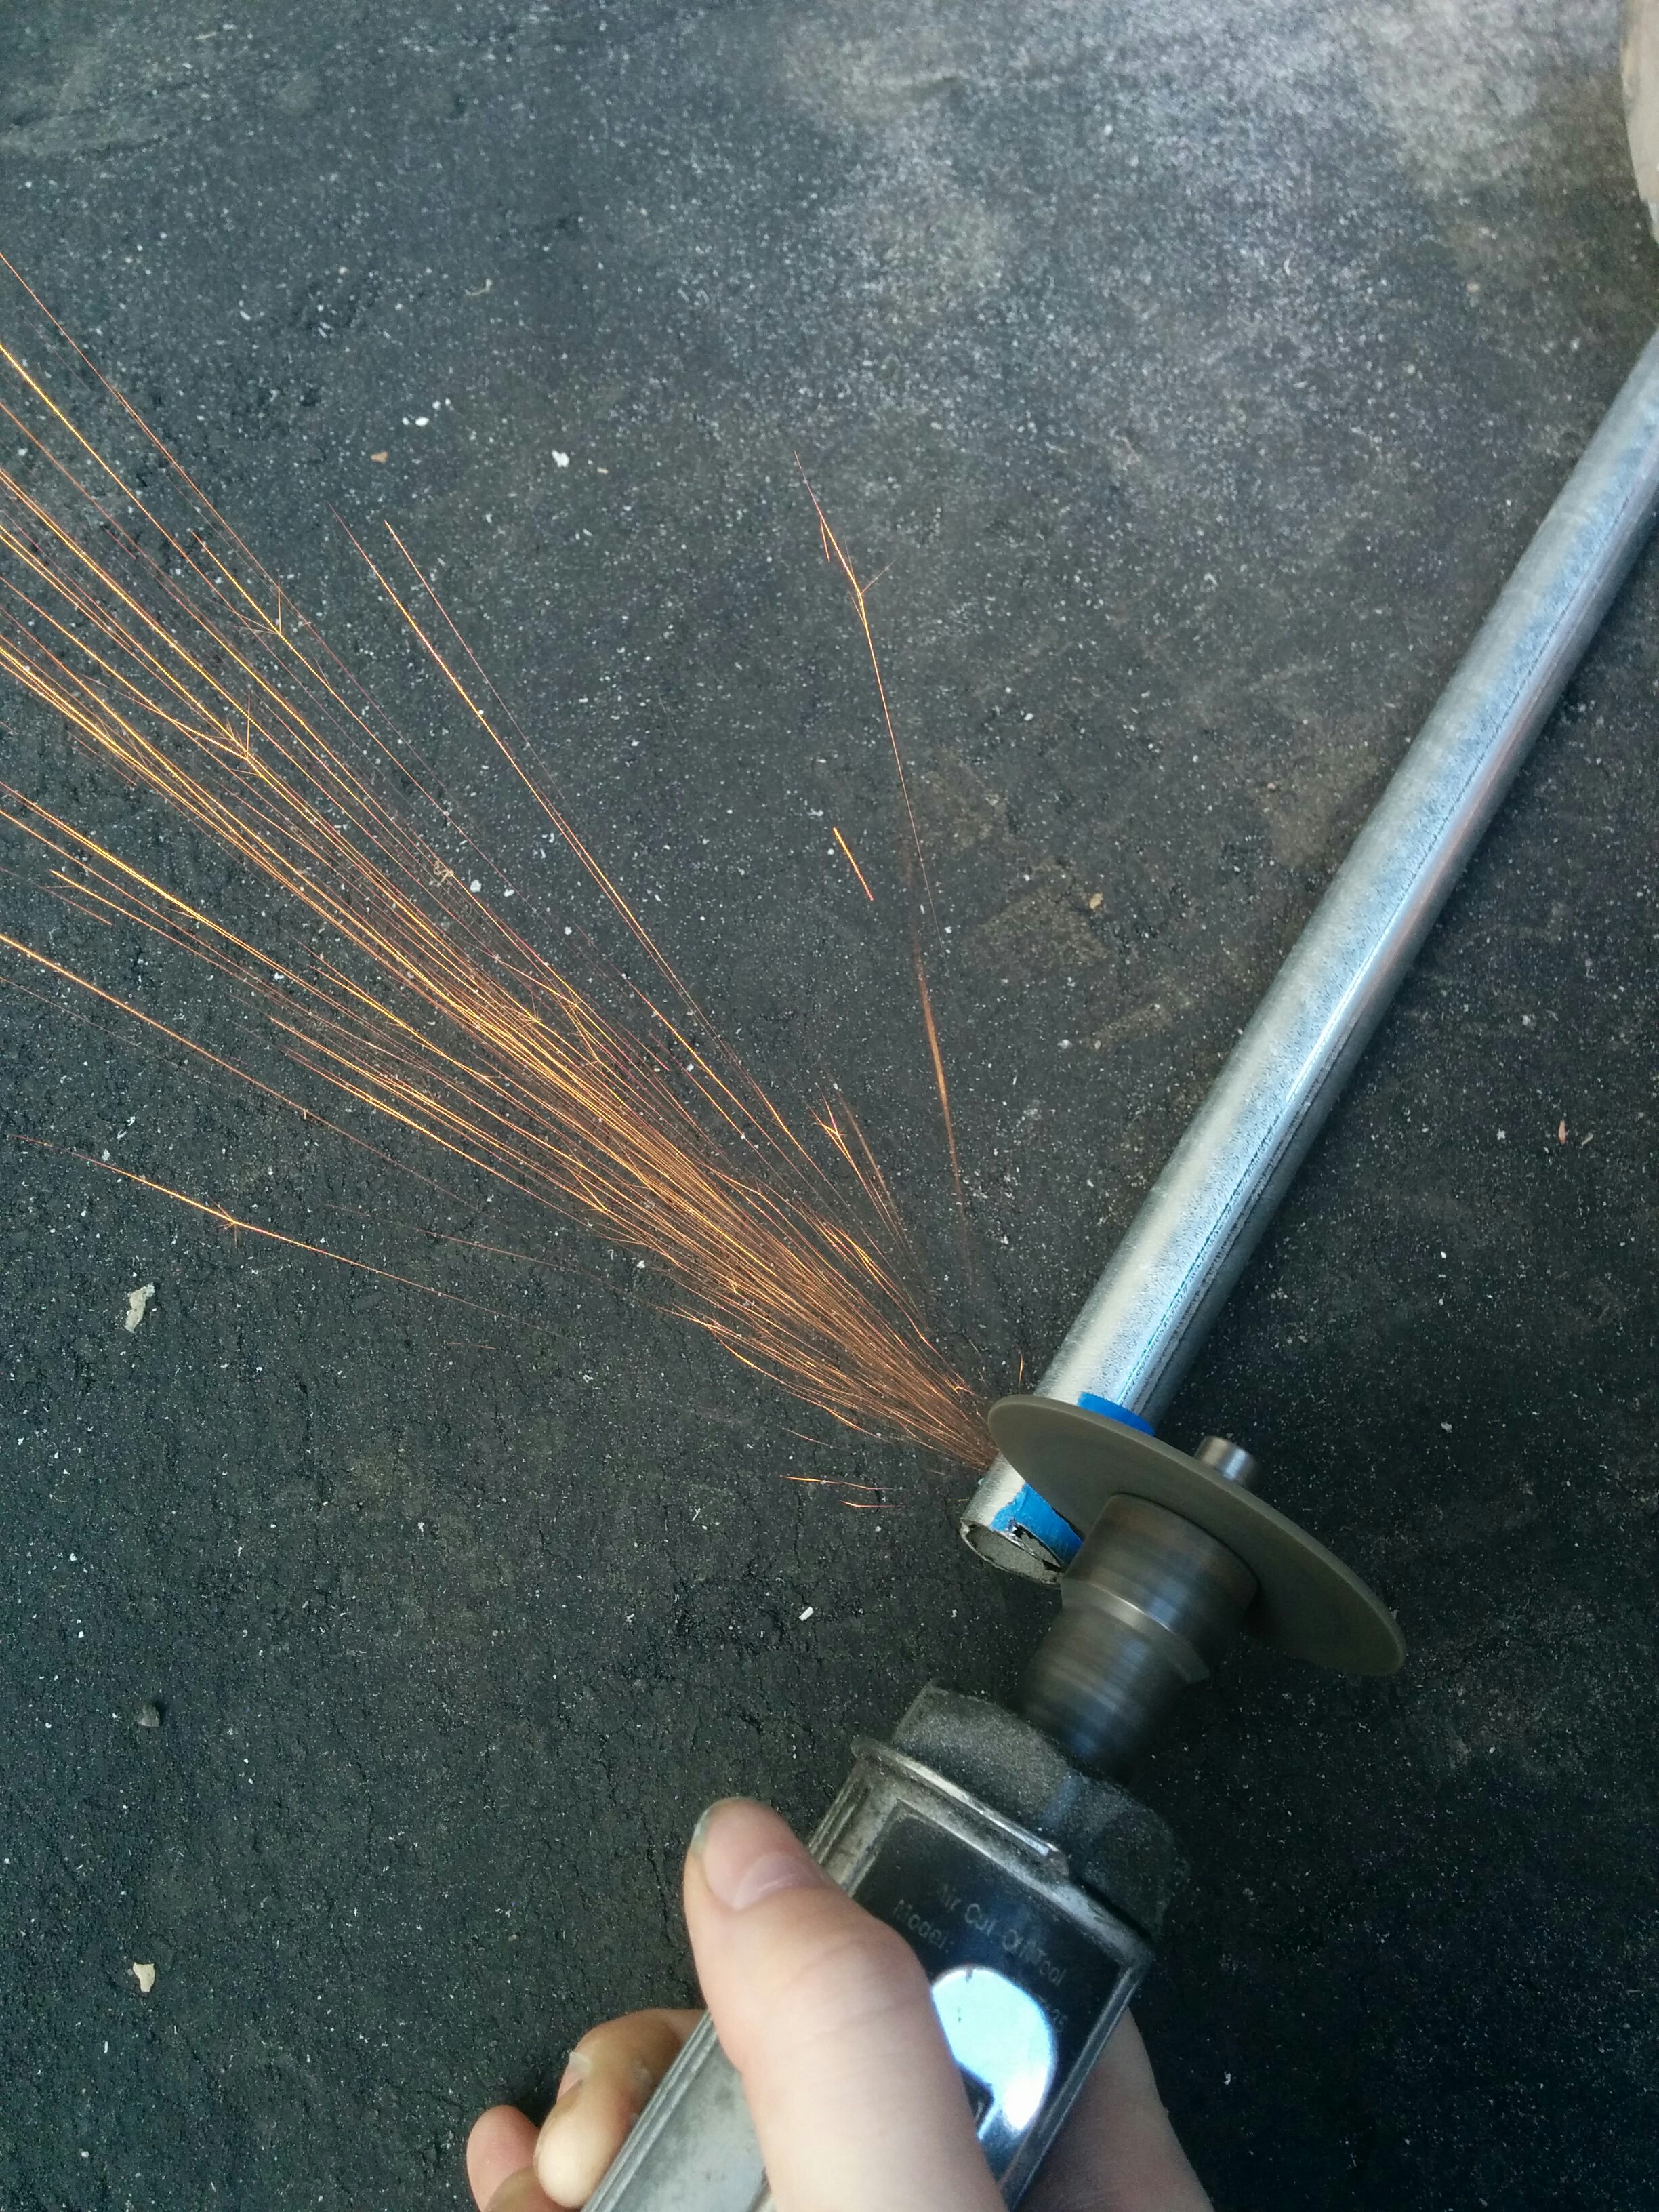
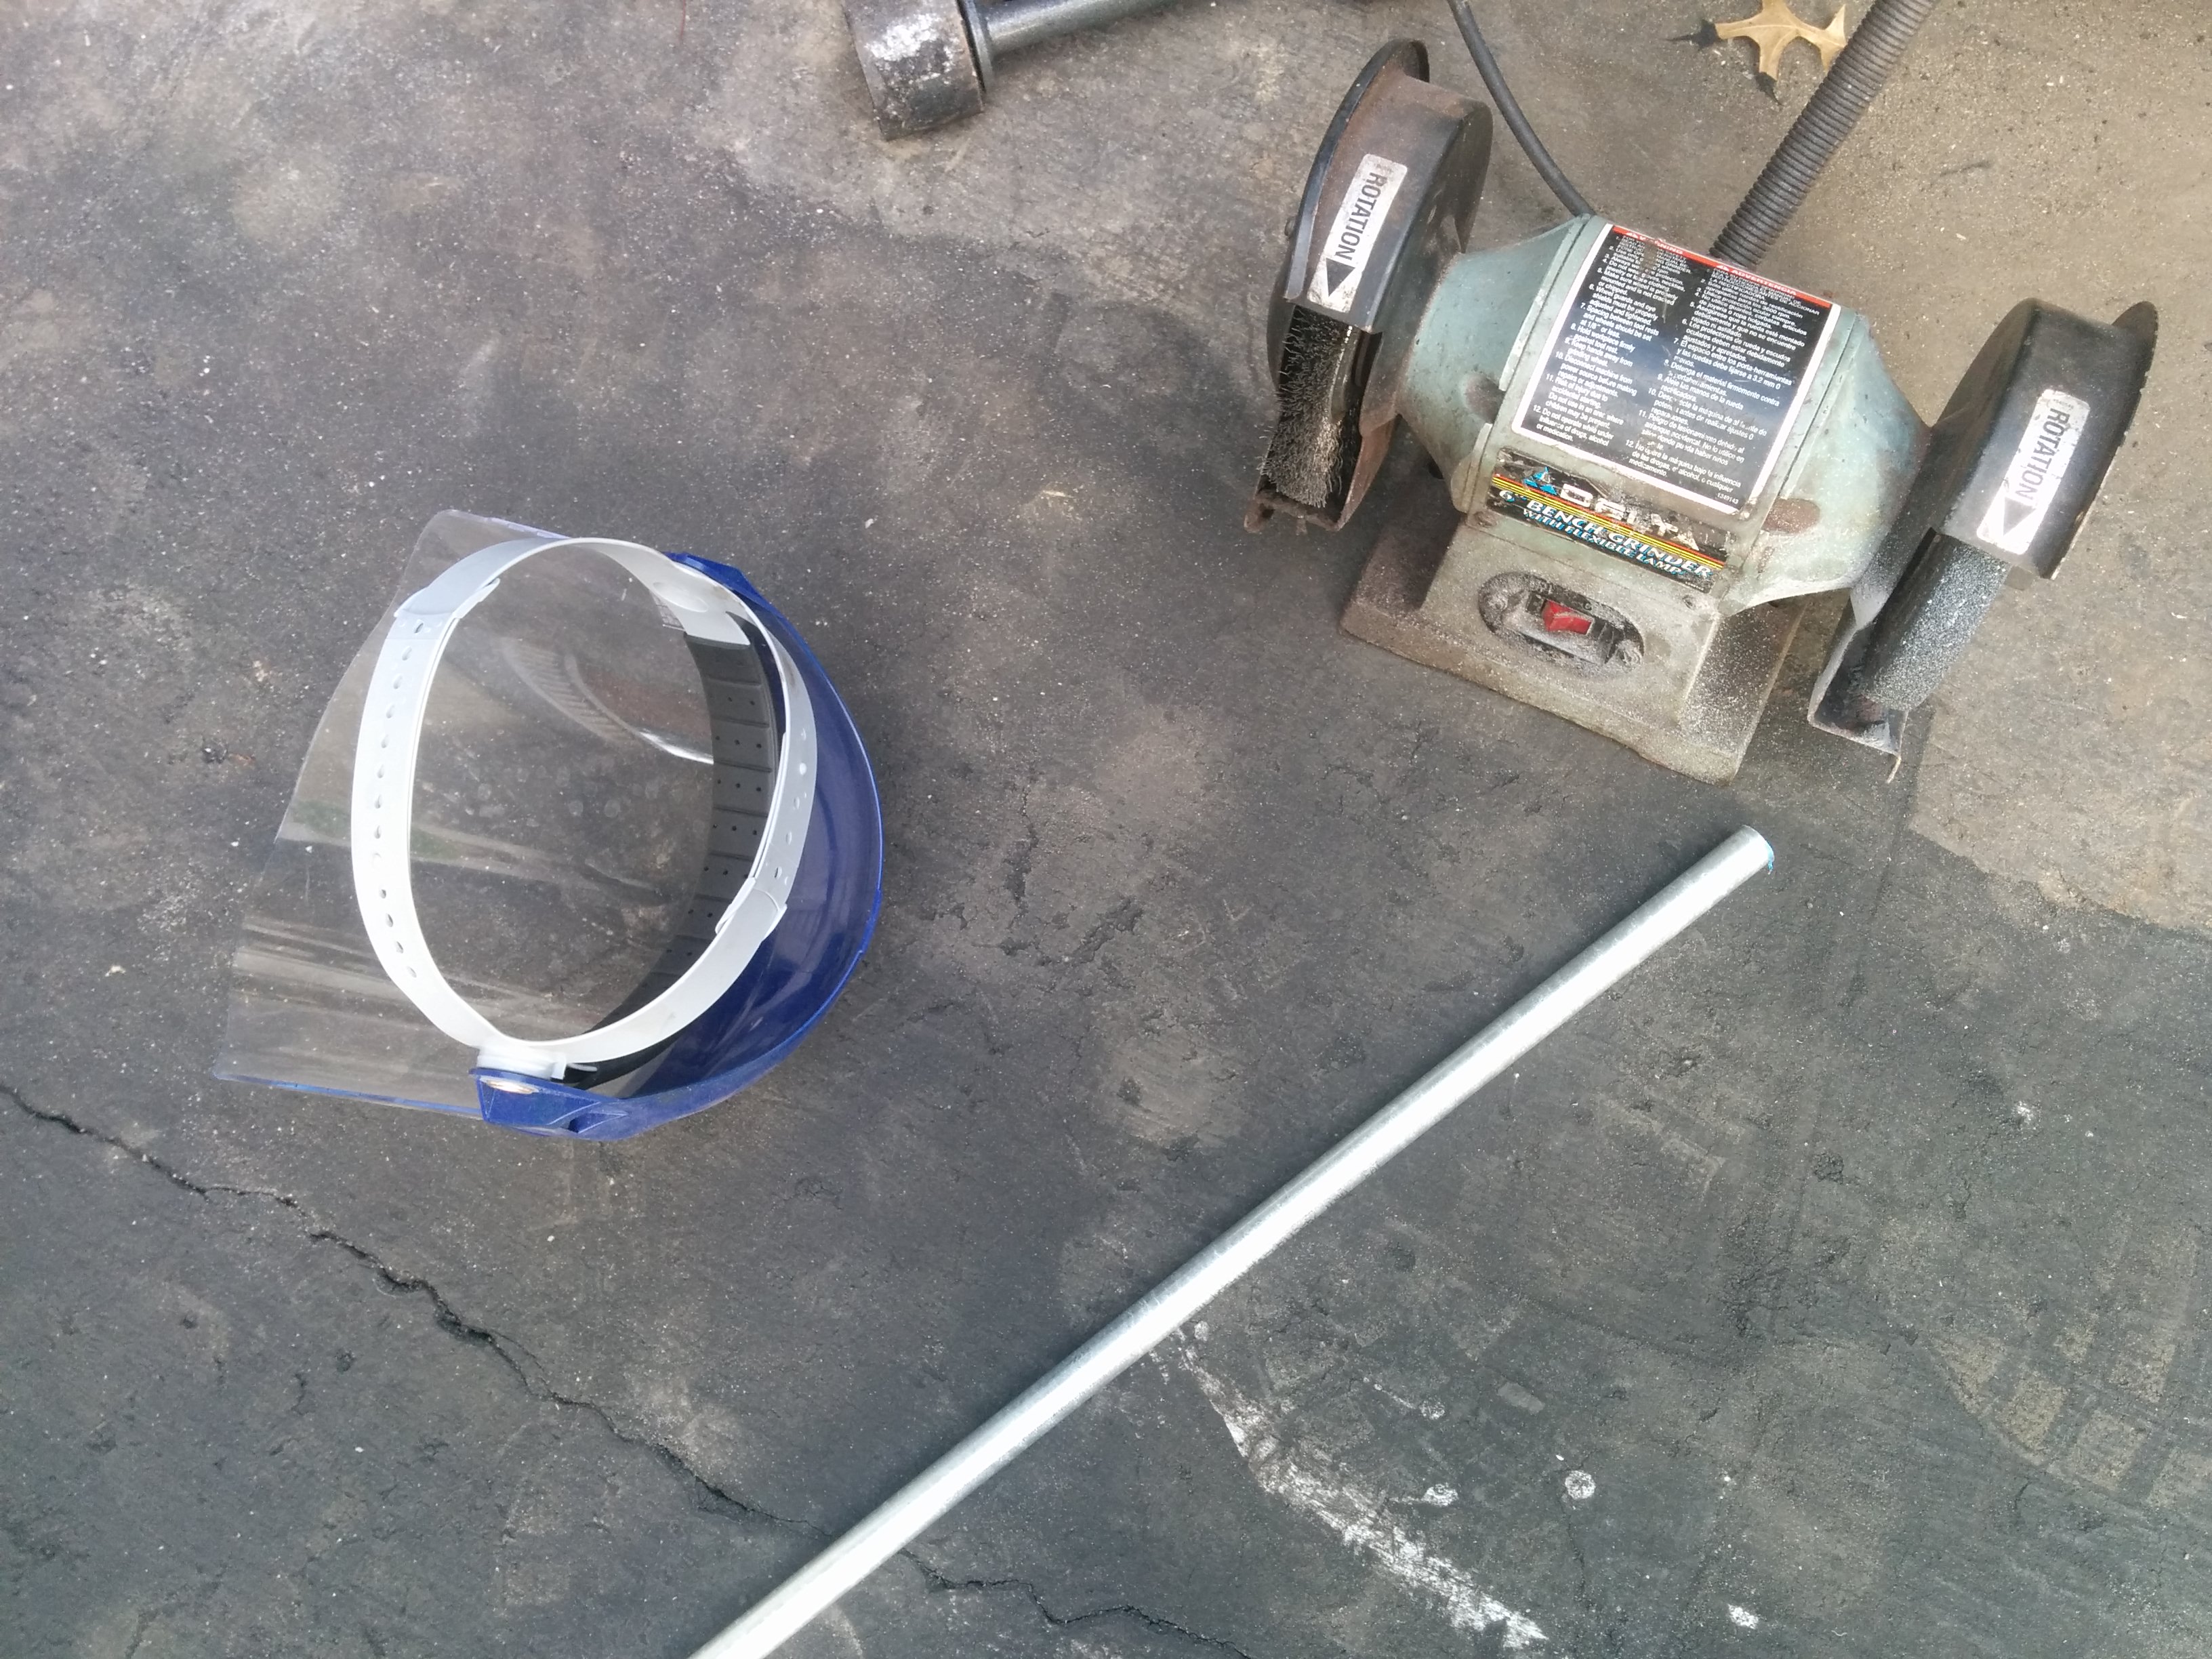
Now I would need something to cut it with. I was gifted a “pneumatic cut off wheel” to use for this task. I didn’t want to cut it too short, so I cut conservatively, and then nudged it into spec with the afore-met “bench grinder.”
In the meanwhile, I sourced some blackout curtains on Amazon for the front and back curtain rods and quickly sewed up a custom curtain for the side door using some black fabric from my stash.
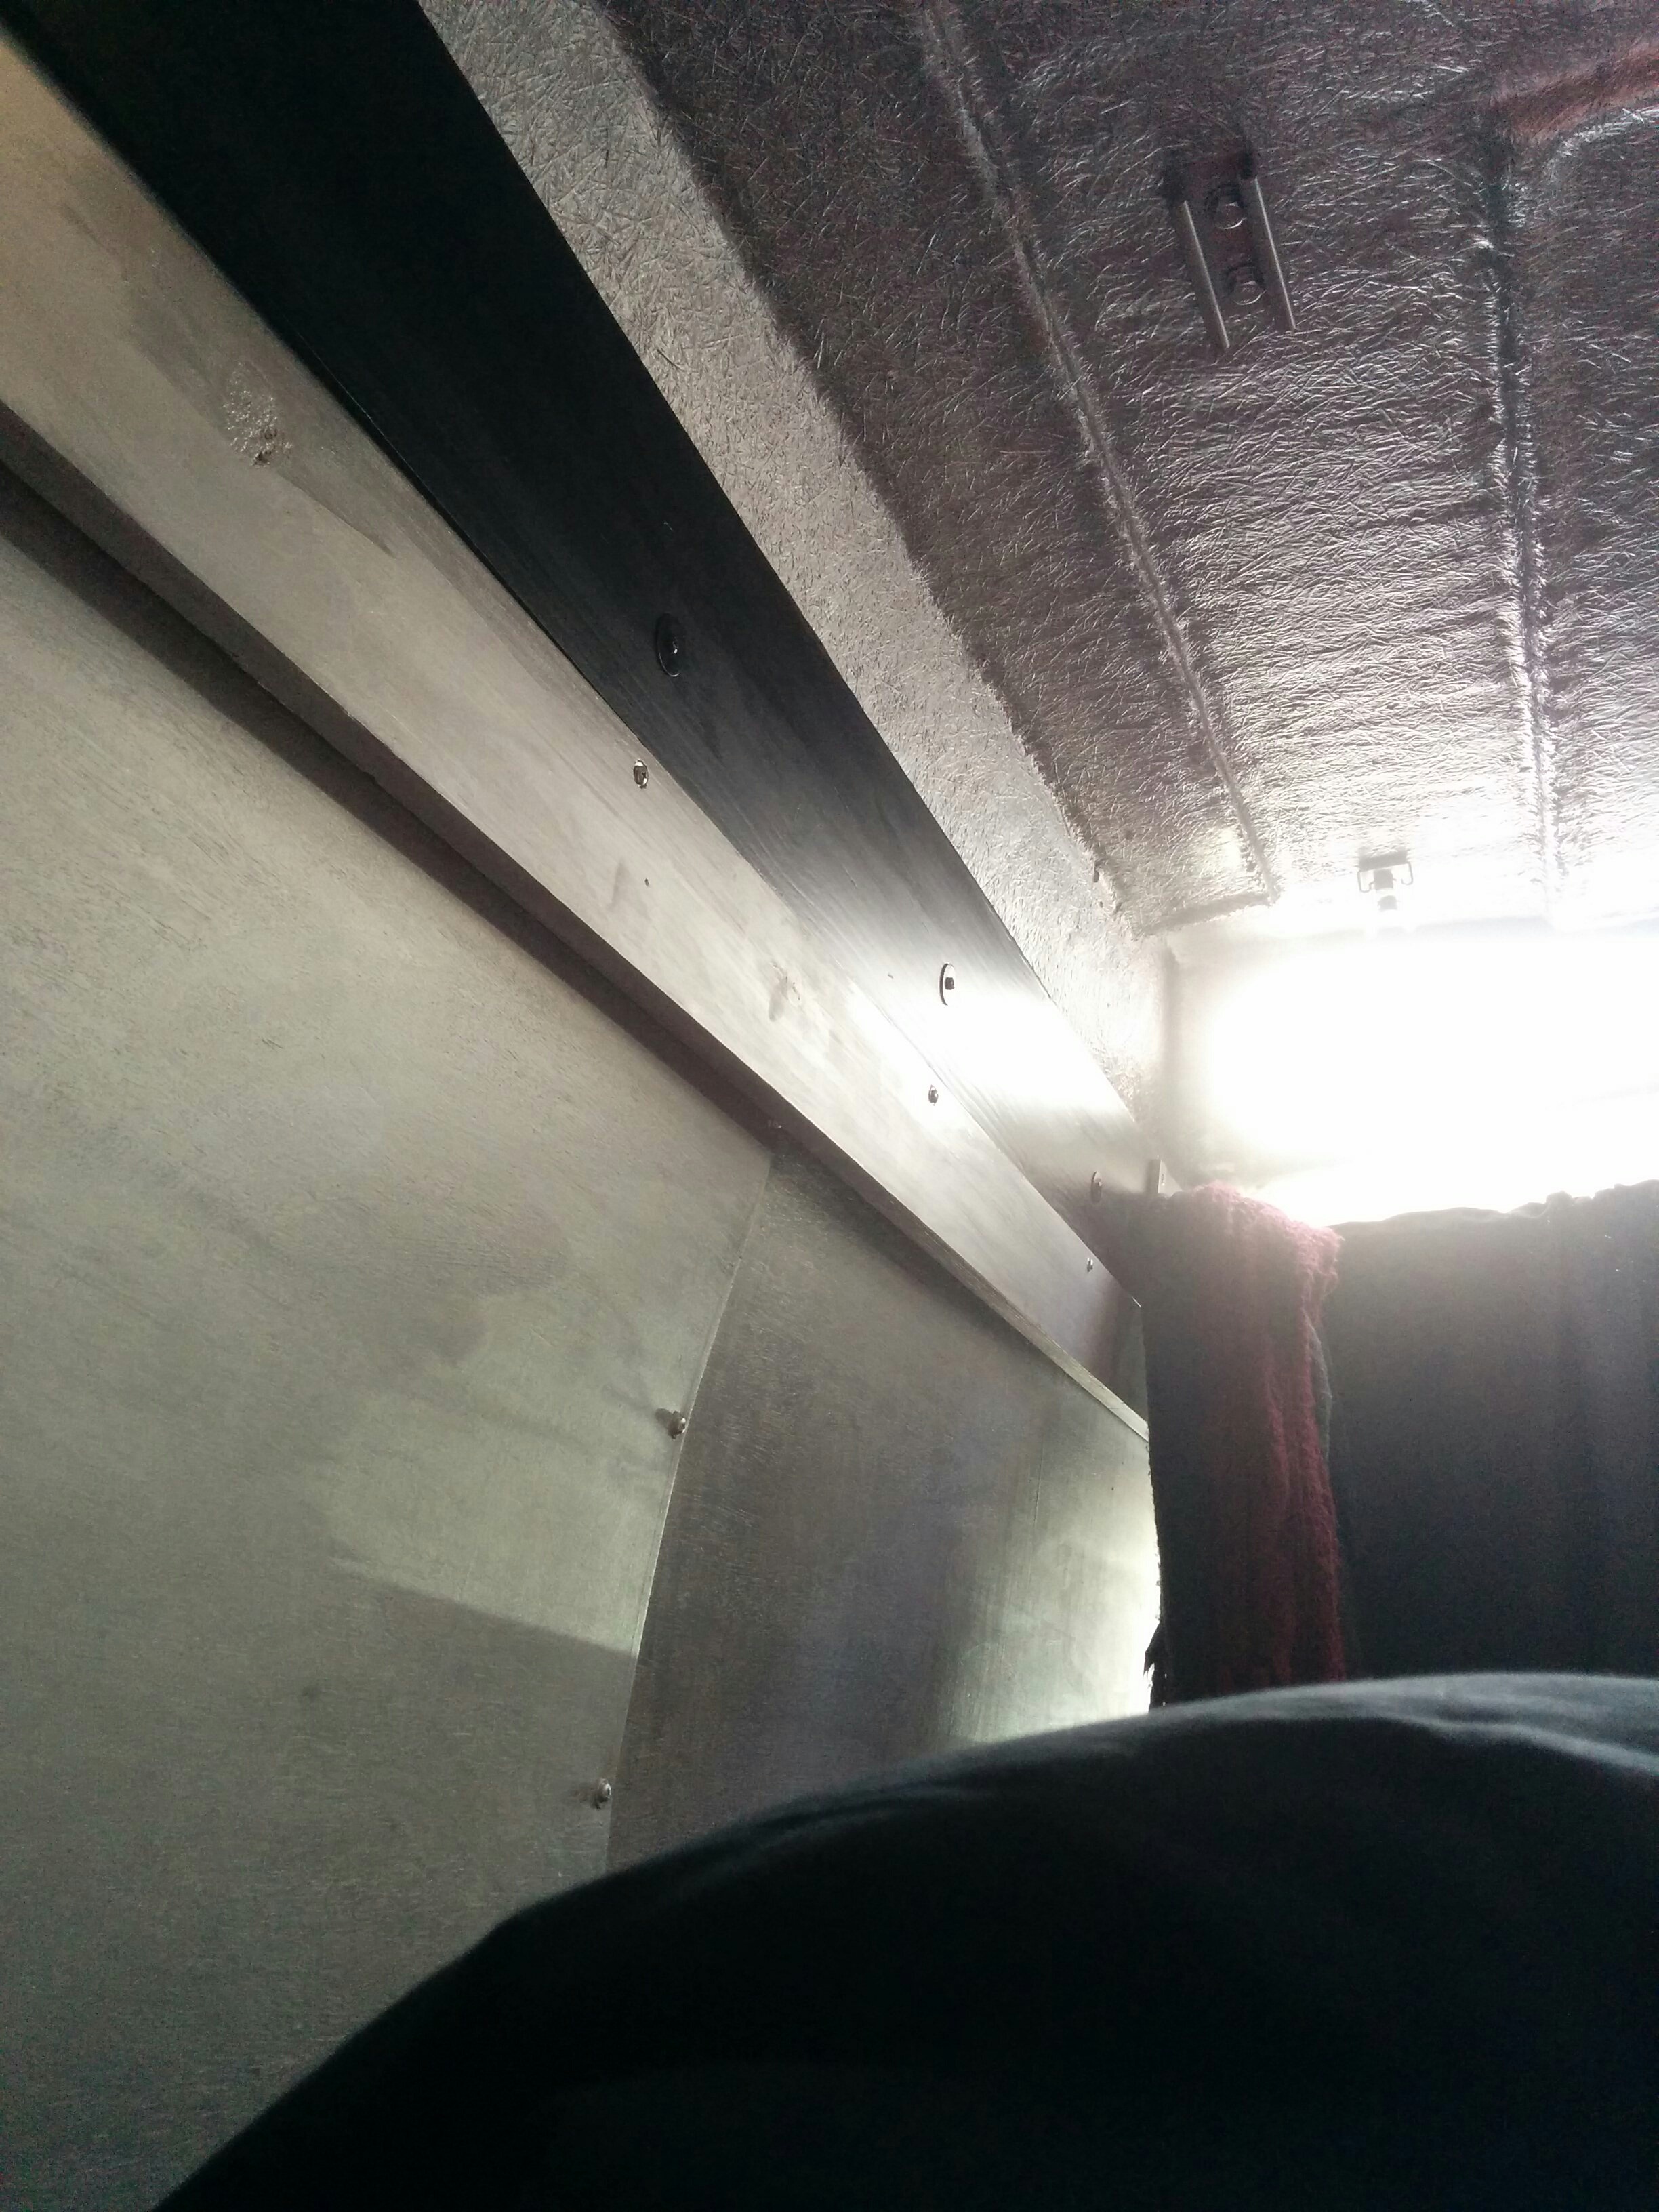
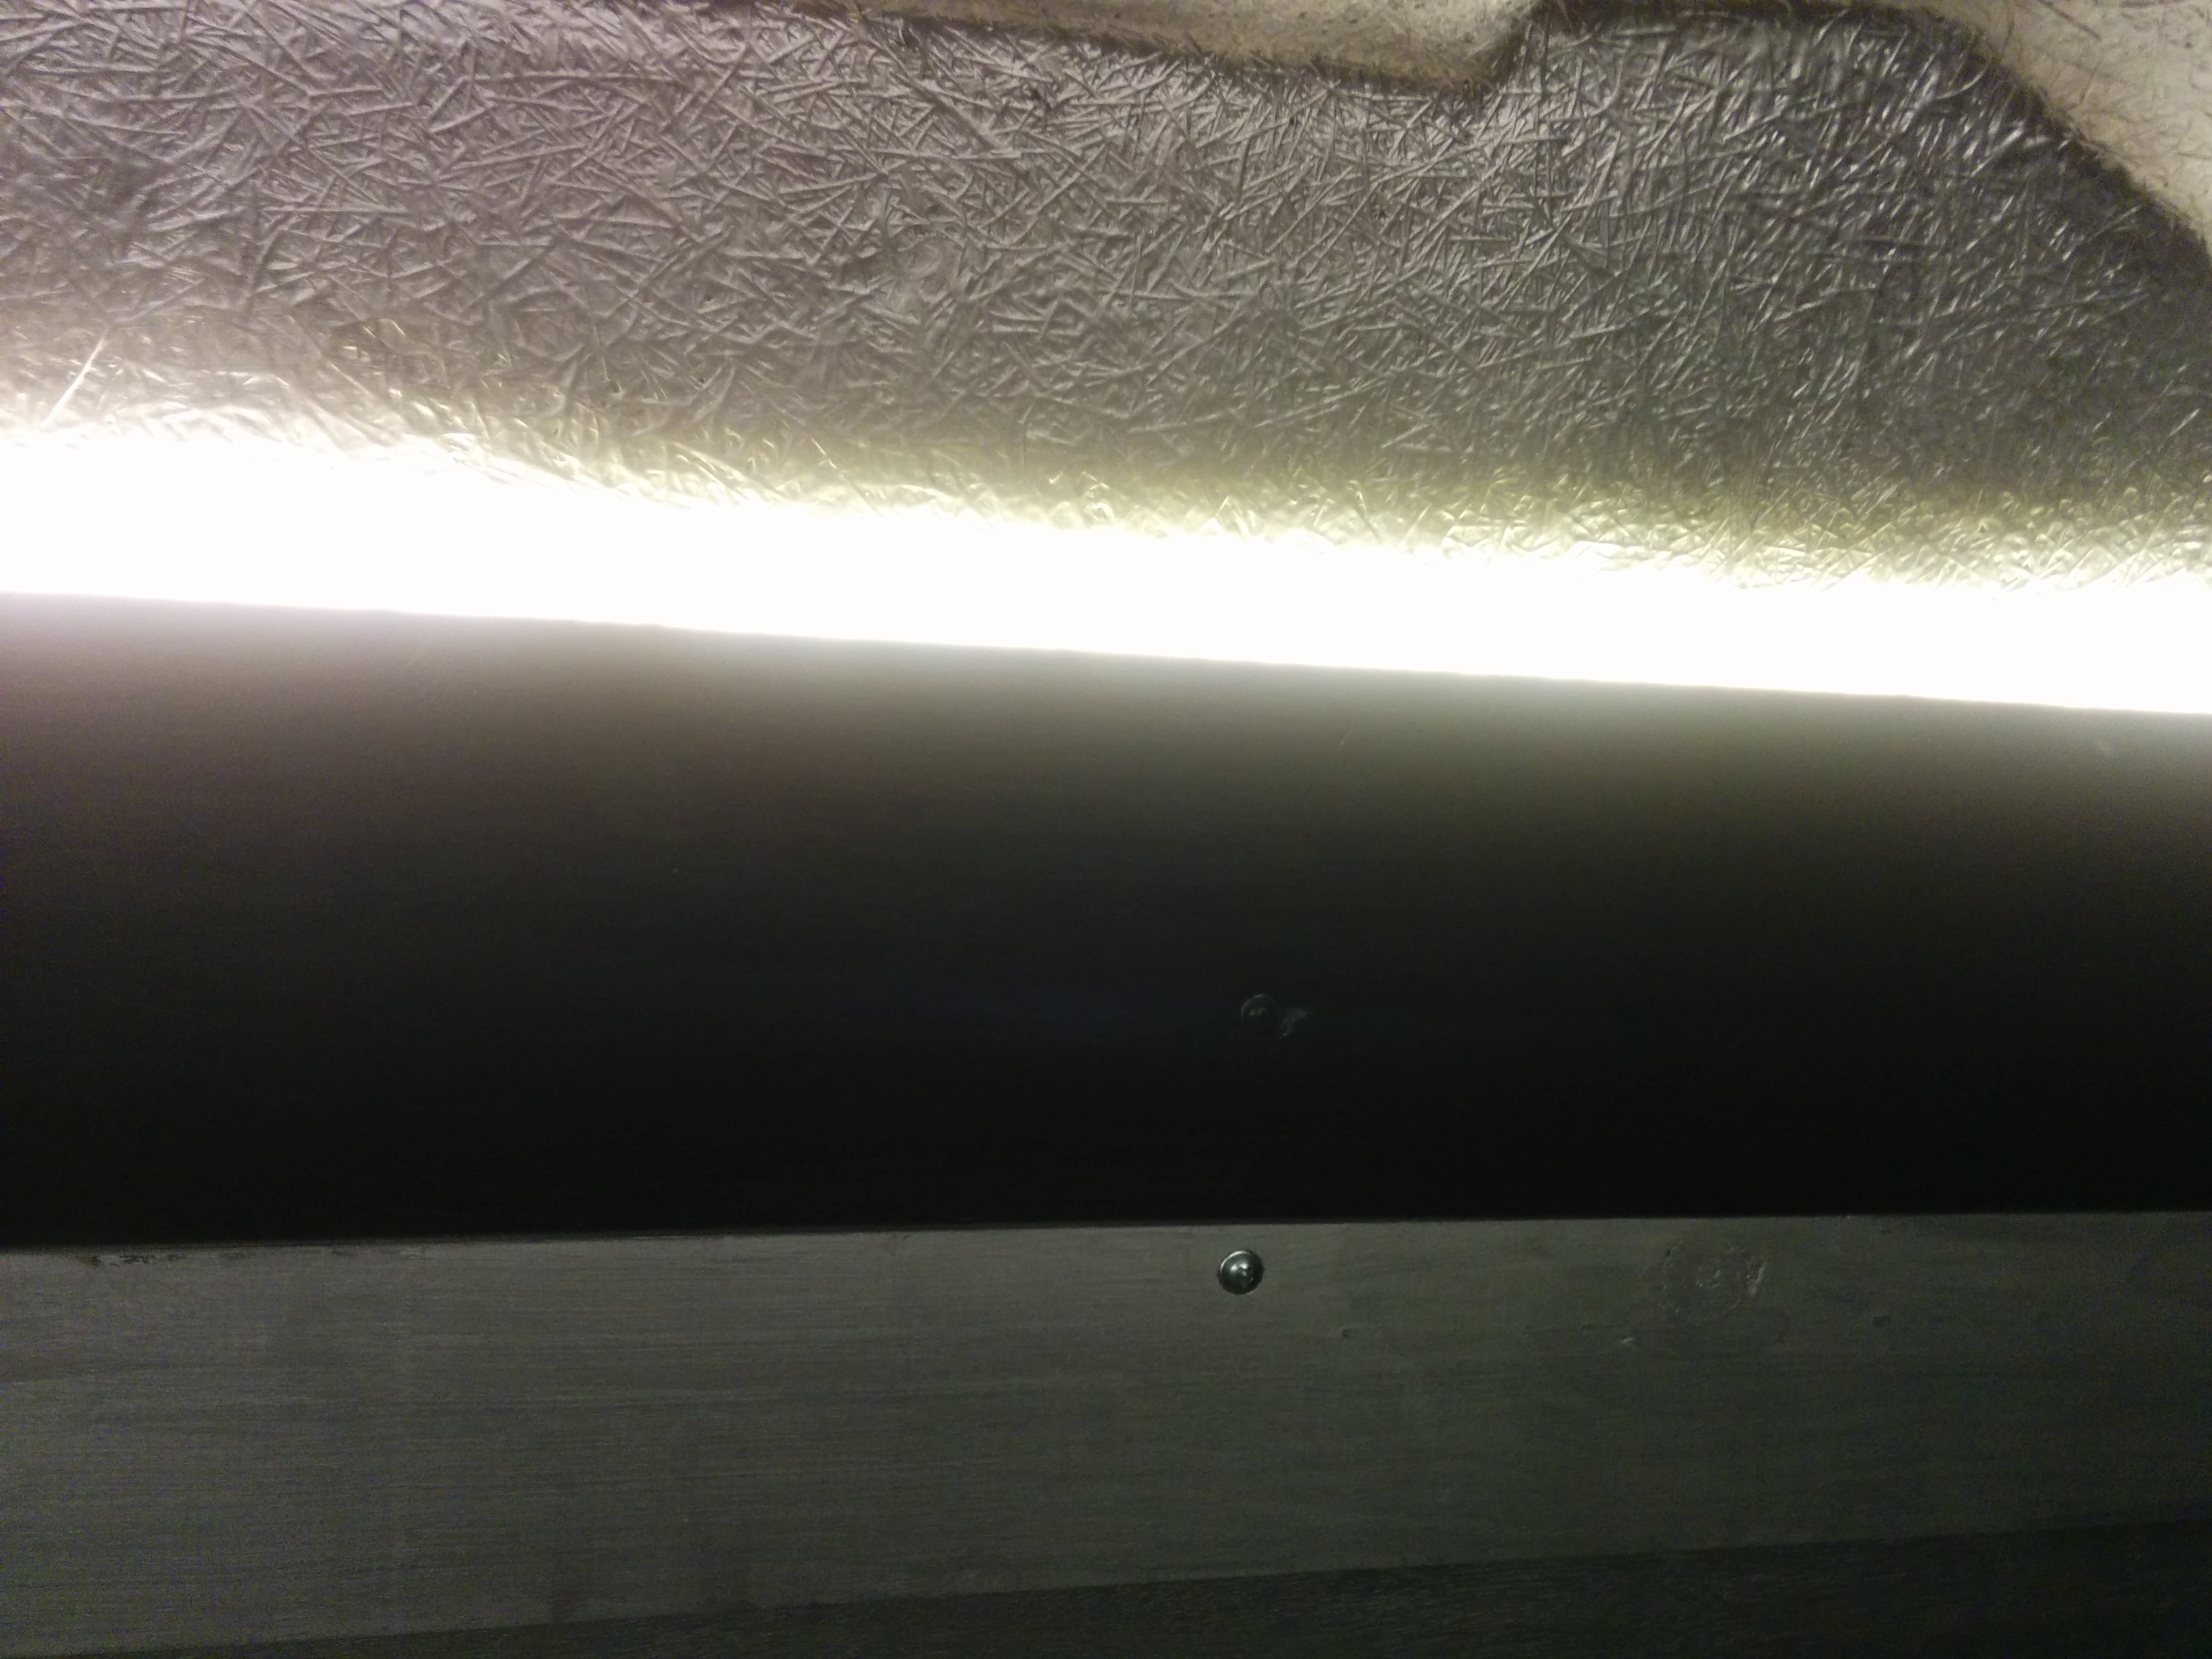
I also bought 1”x4” and 1”x8” runner boards that I painted silver and black respectively. These would be attached to the highly unaesthetic remnants of the original metal van roof running up and down the sides, concealing both their raw edges and the tops of the fabricated luan panels. I would screw these boards into the sheet metal, and then I could install things like coat hooks and such directly to the intermediary wood. This would also give me somewhere to mount braces for the front curtains. This worked well, although I had to add some vertical height extension chunks near the front of the van to get the curtain rod mounted sufficiently high enough. (This had to be mounted close to the ceiling to prevent light spillage into the cockpit area.)
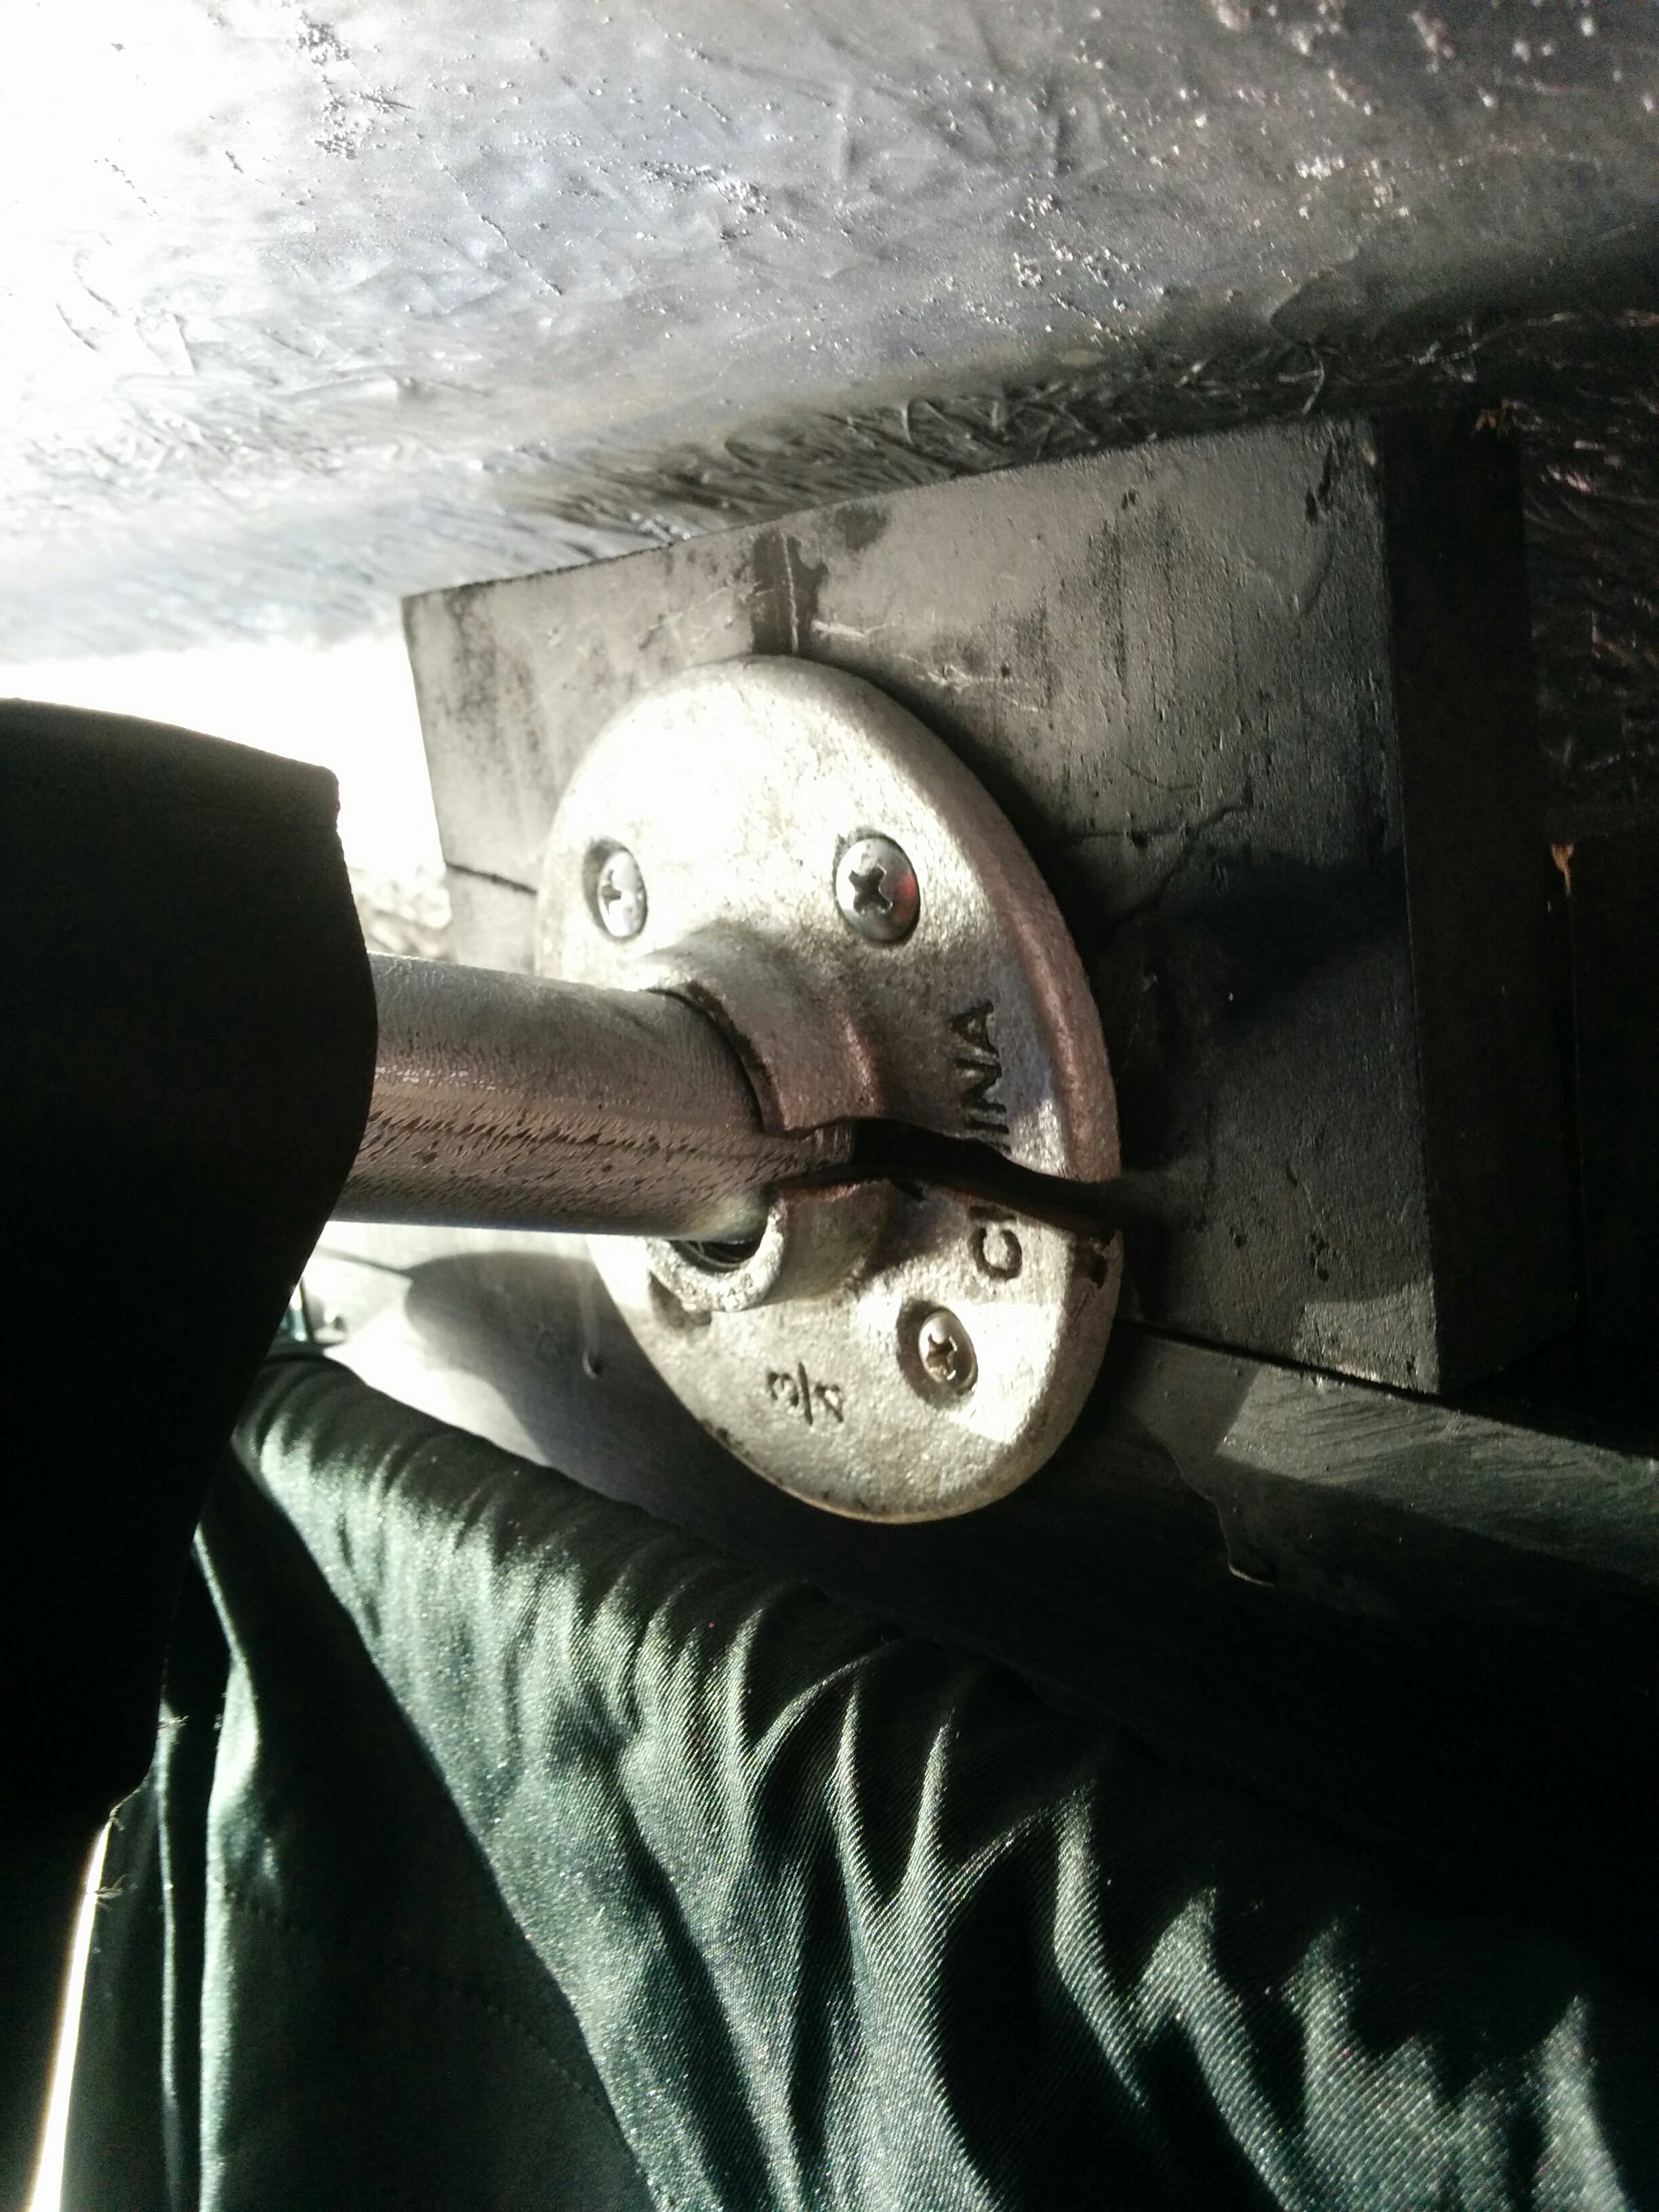
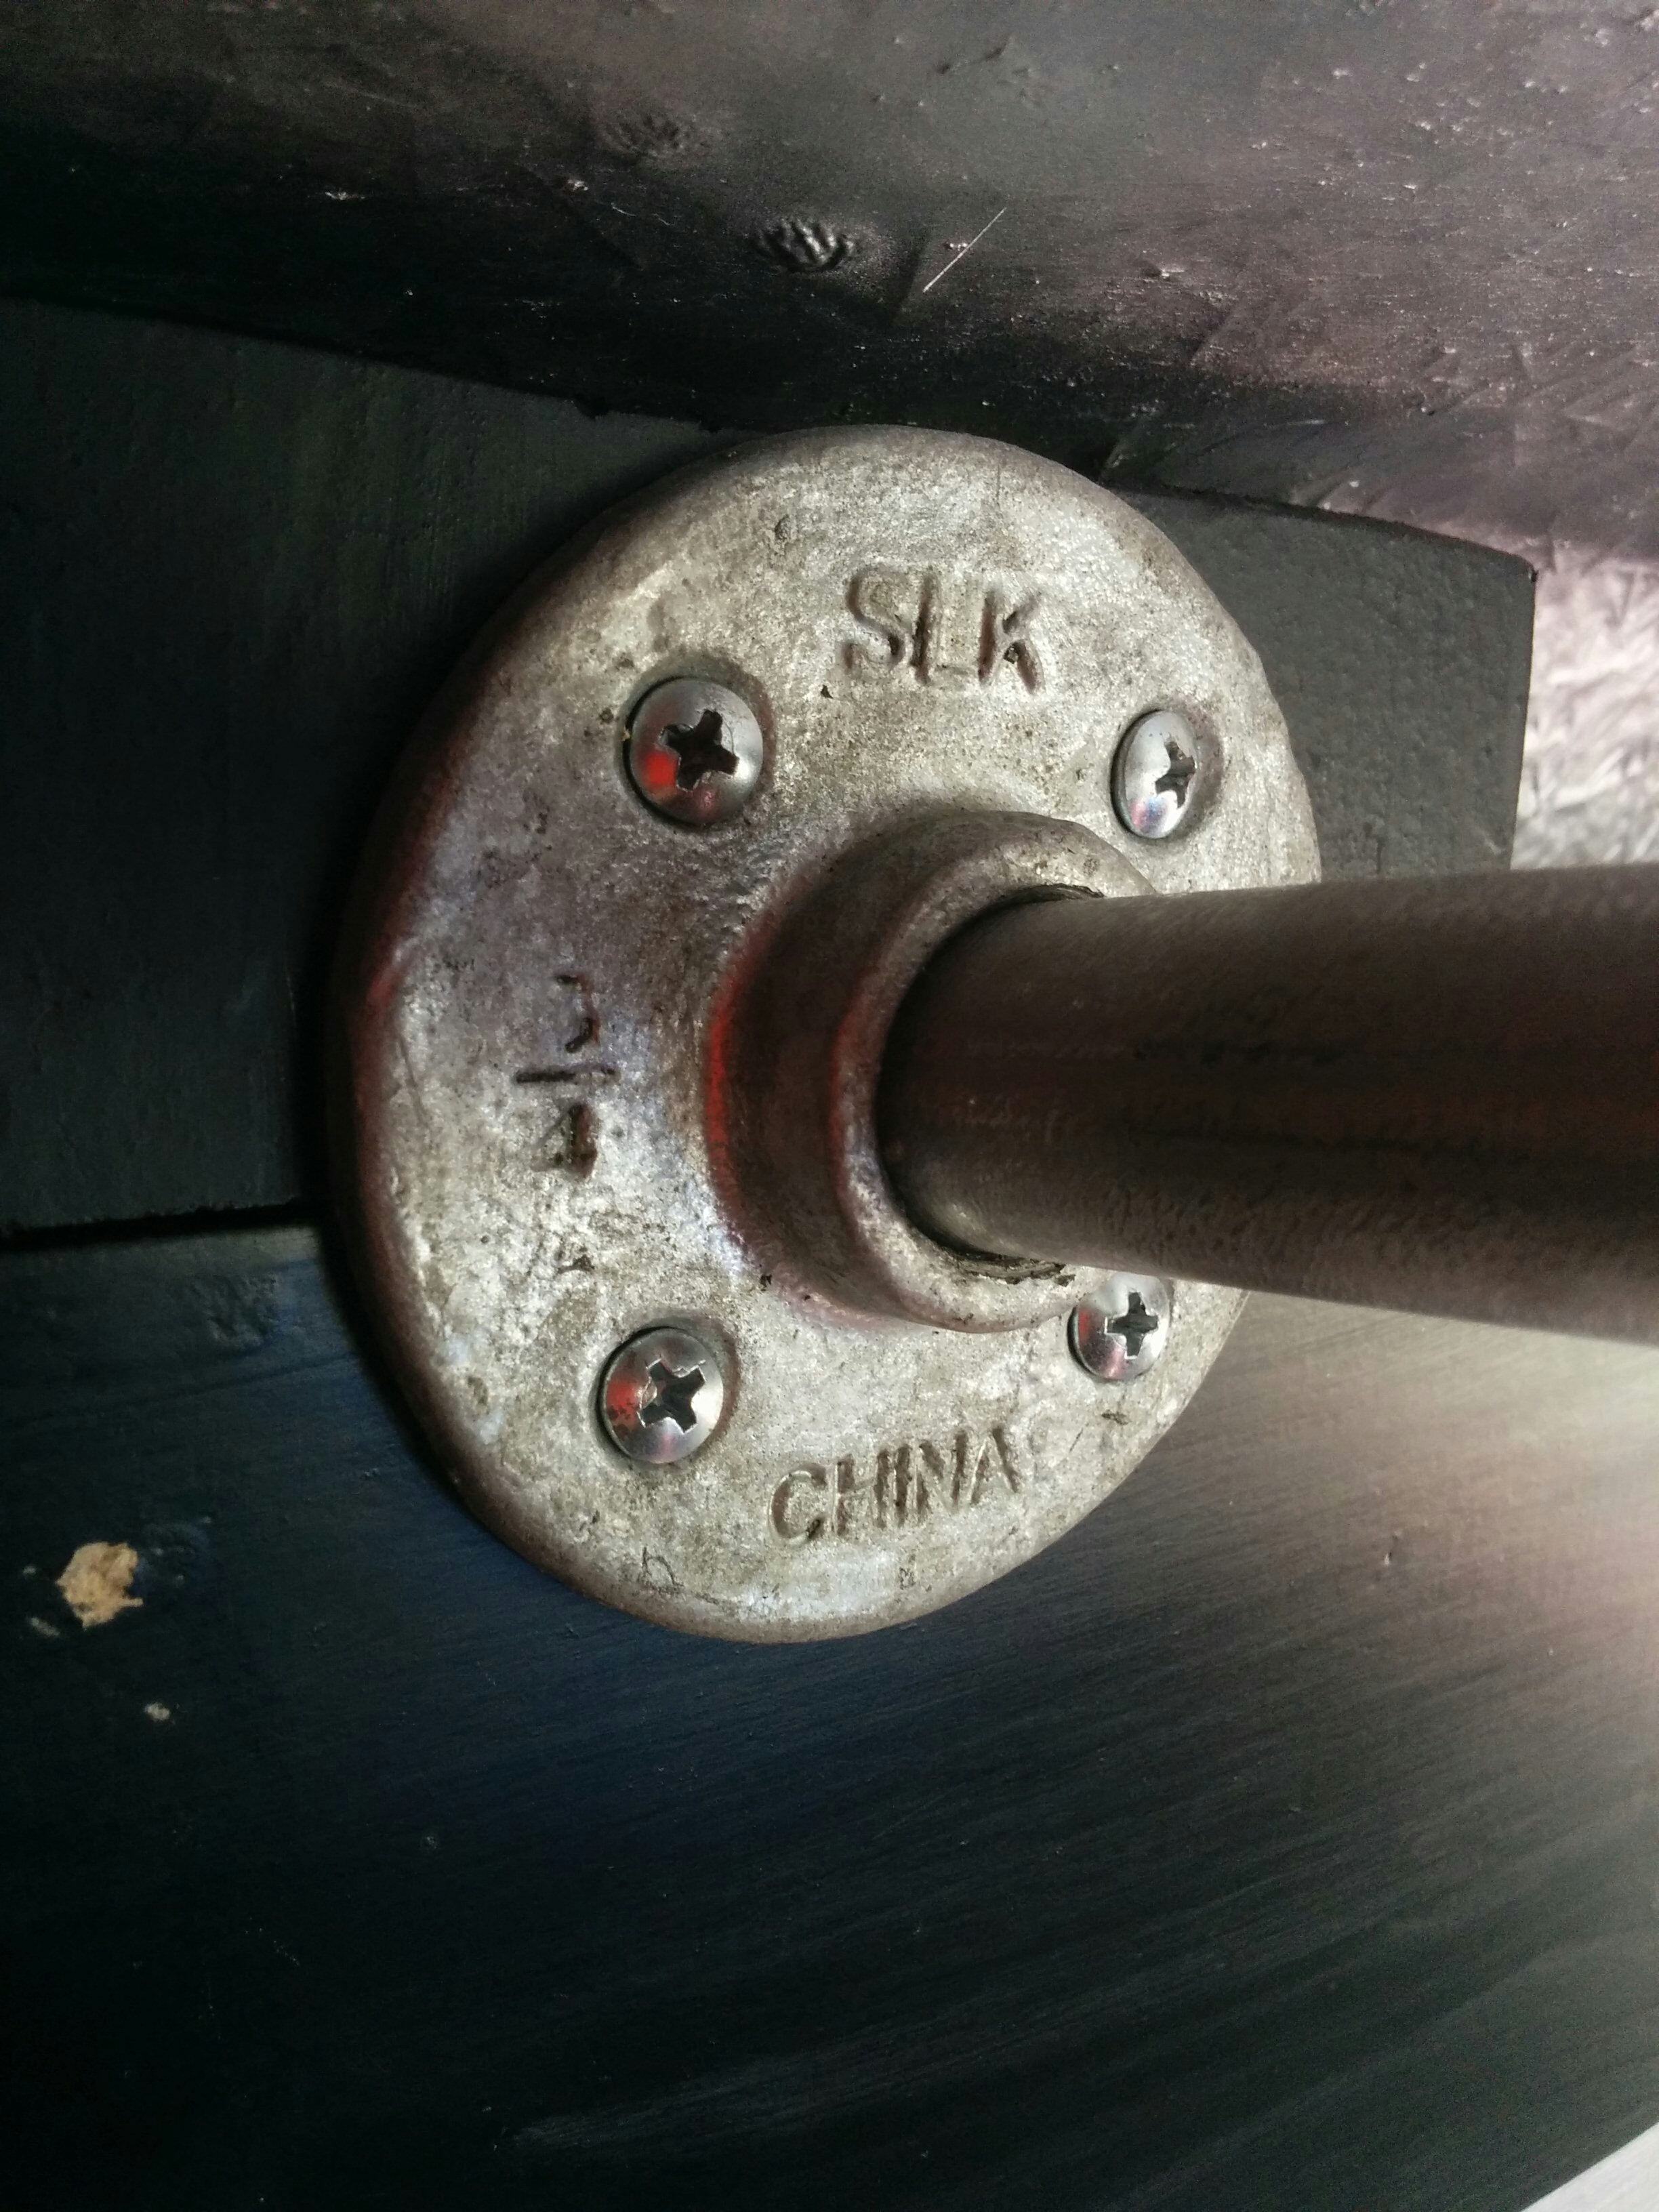
Underneath the mighty curtain rod, you can see how I placed the side door’s curtain rod so that this curtain could extend into the front seat area ever so slightly. The overlap would help with light-proofing.
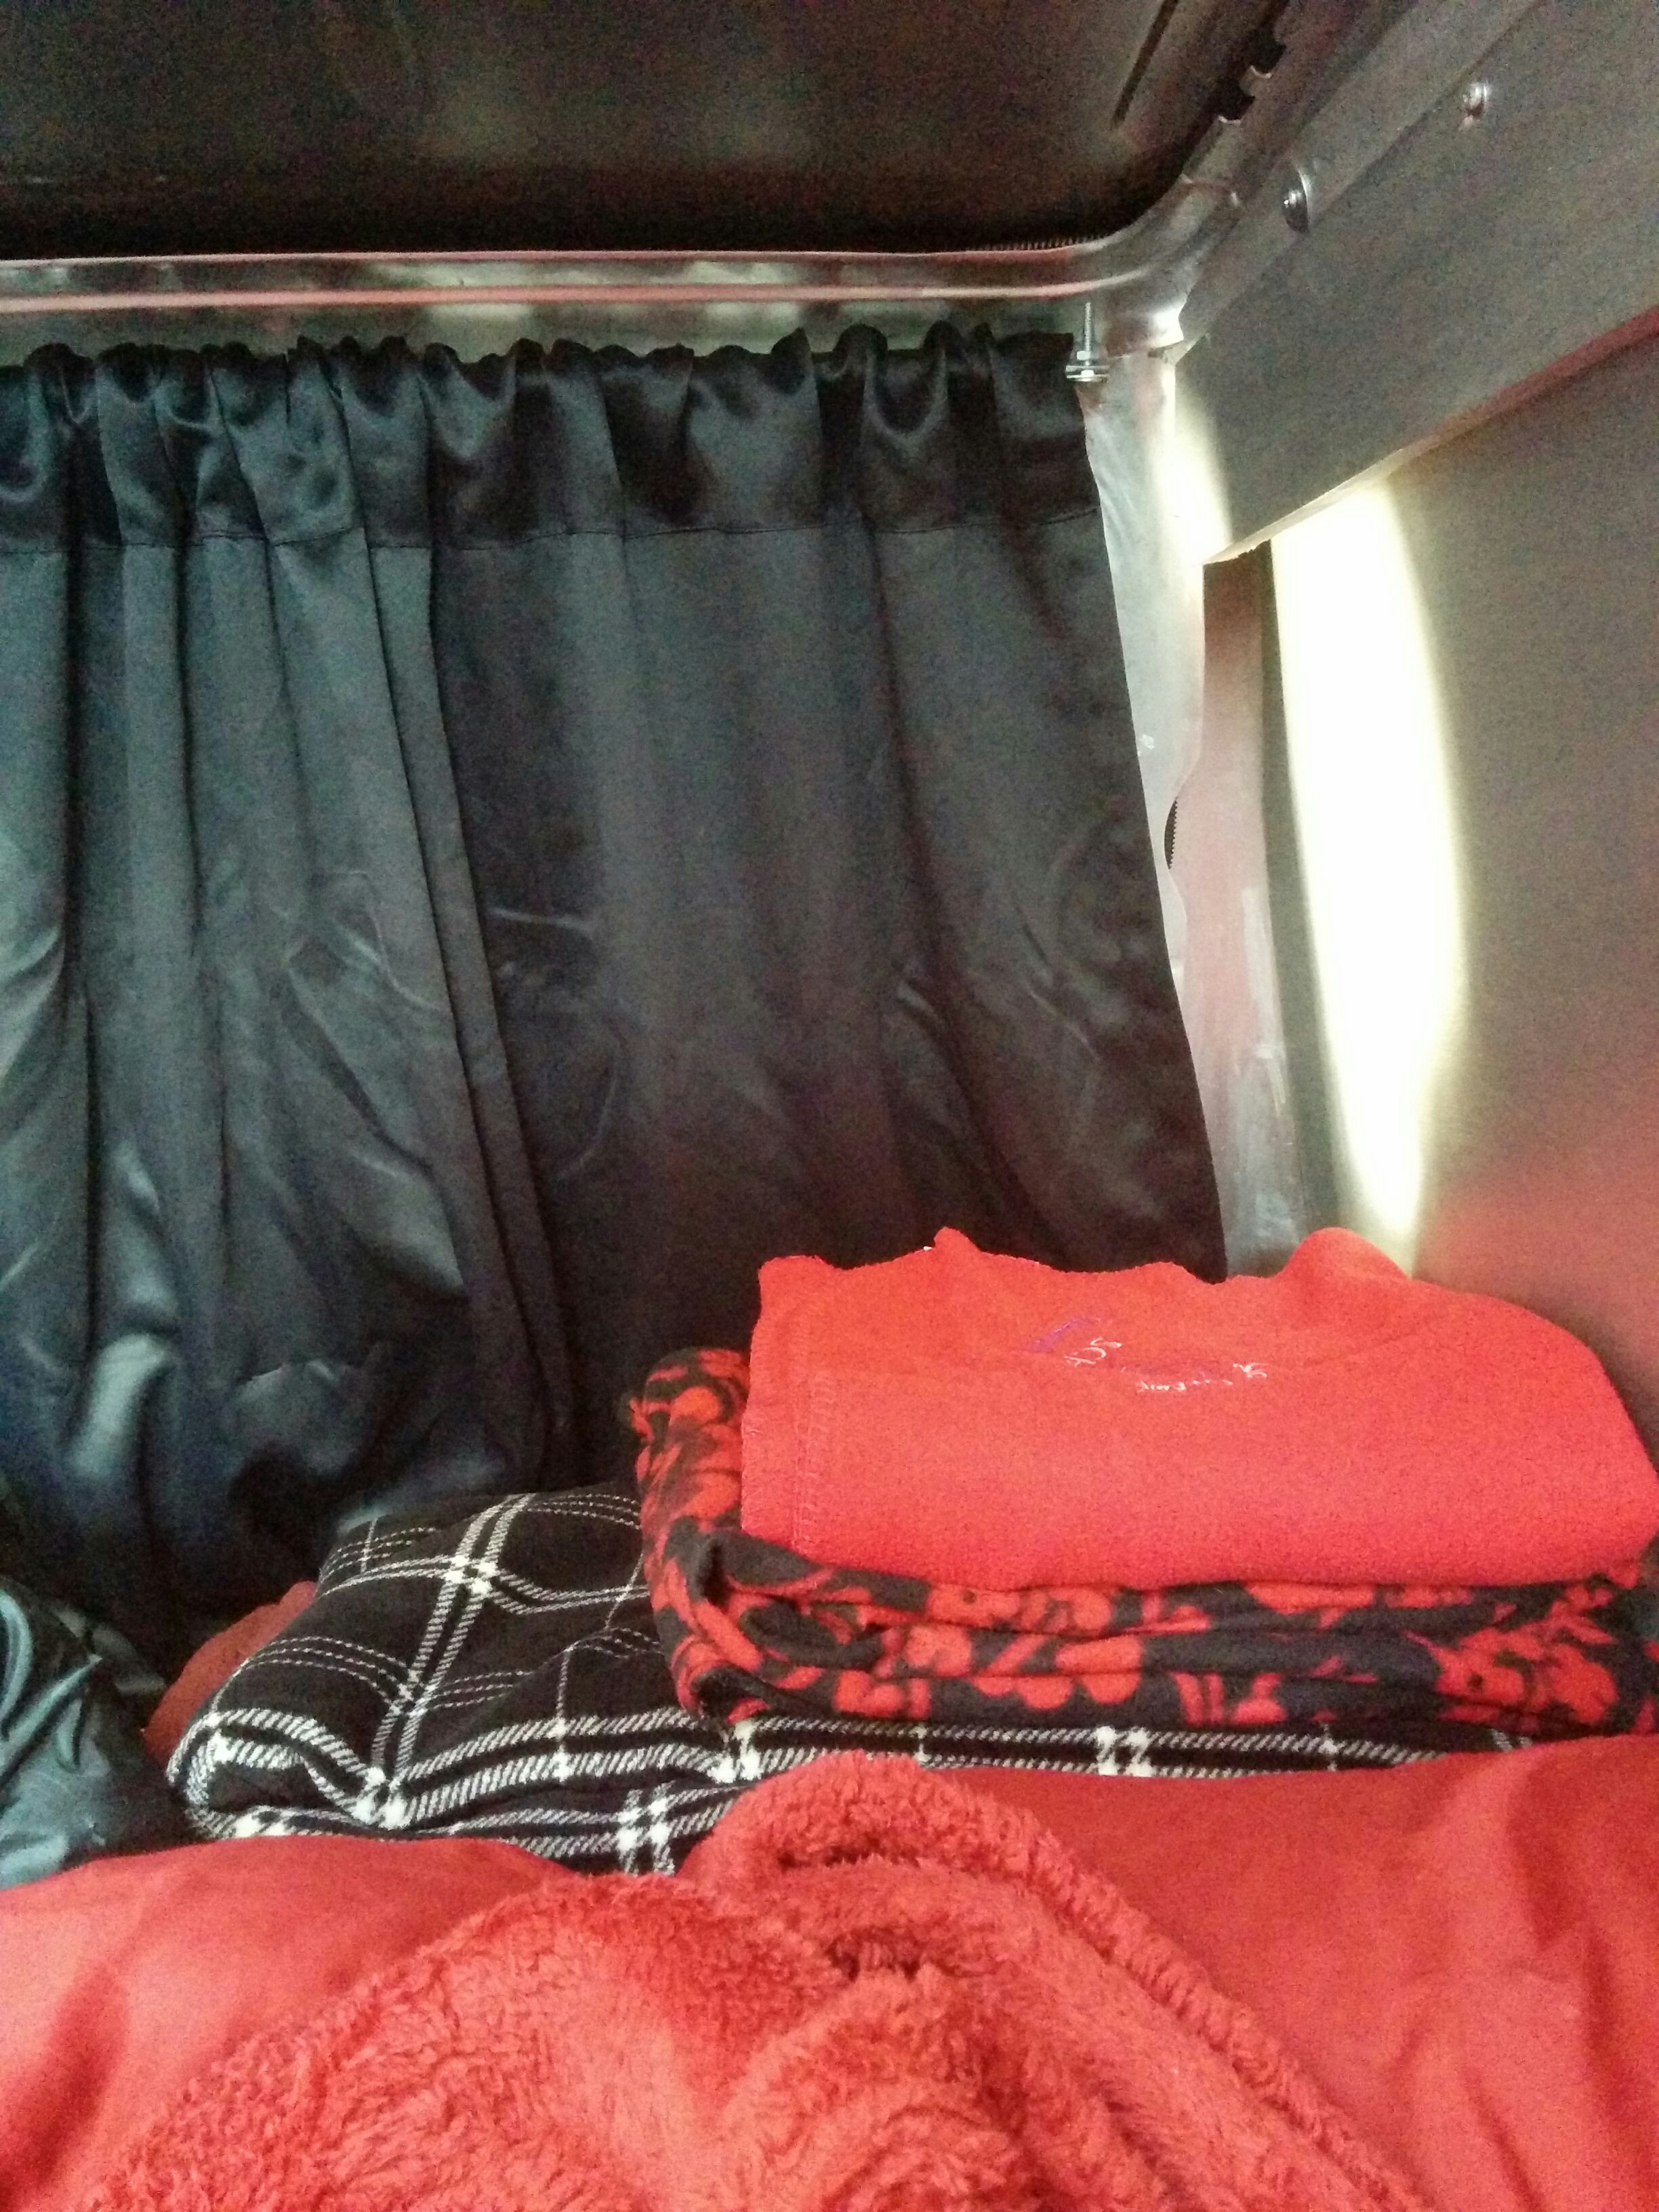
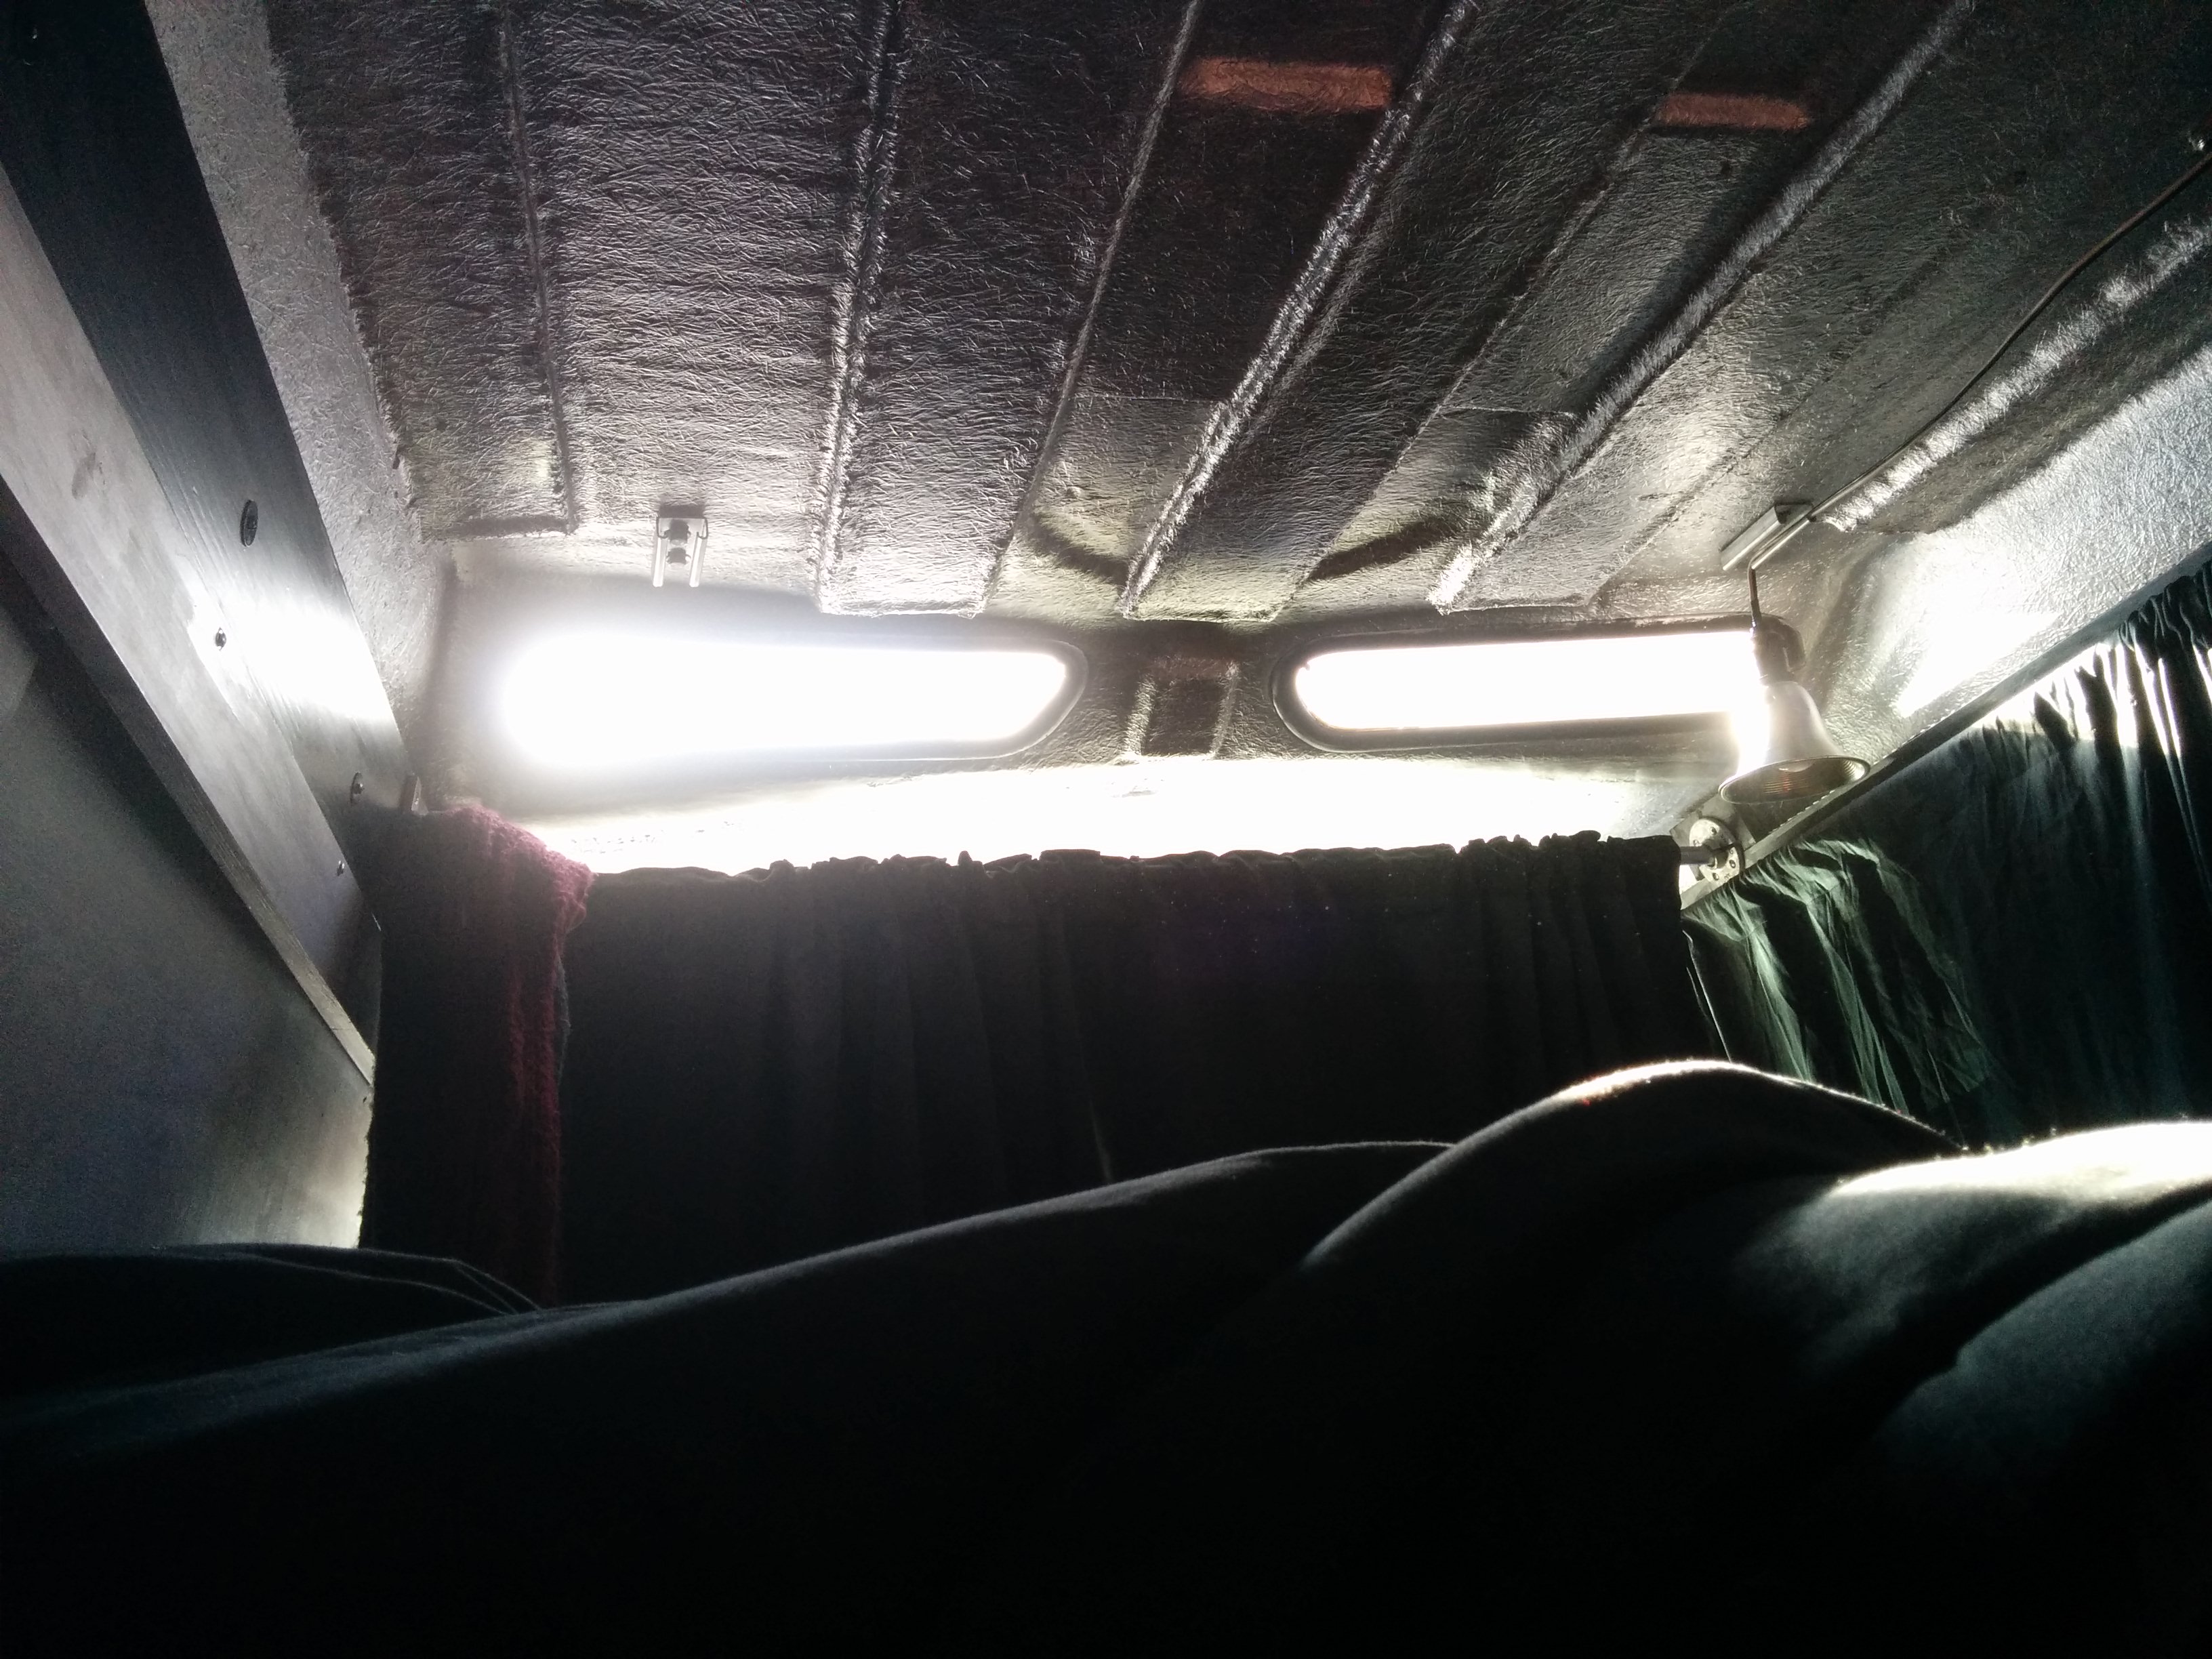
To make the curtains more light tight, I would later use magnets to secure things to exposed metal. It was surprisingly difficult to see any light bleed when I had my comfy bed light on (for better and for worse - I have some stories…). The rods were sturdy enough to be somewhat load-bearing, so later I got some s-hooks from which I could hang various lightweight items and maximize my vertical space.
Moving In
At this point, I could finally put the bedframe and storage bins in as I finished up the last of the wiring.
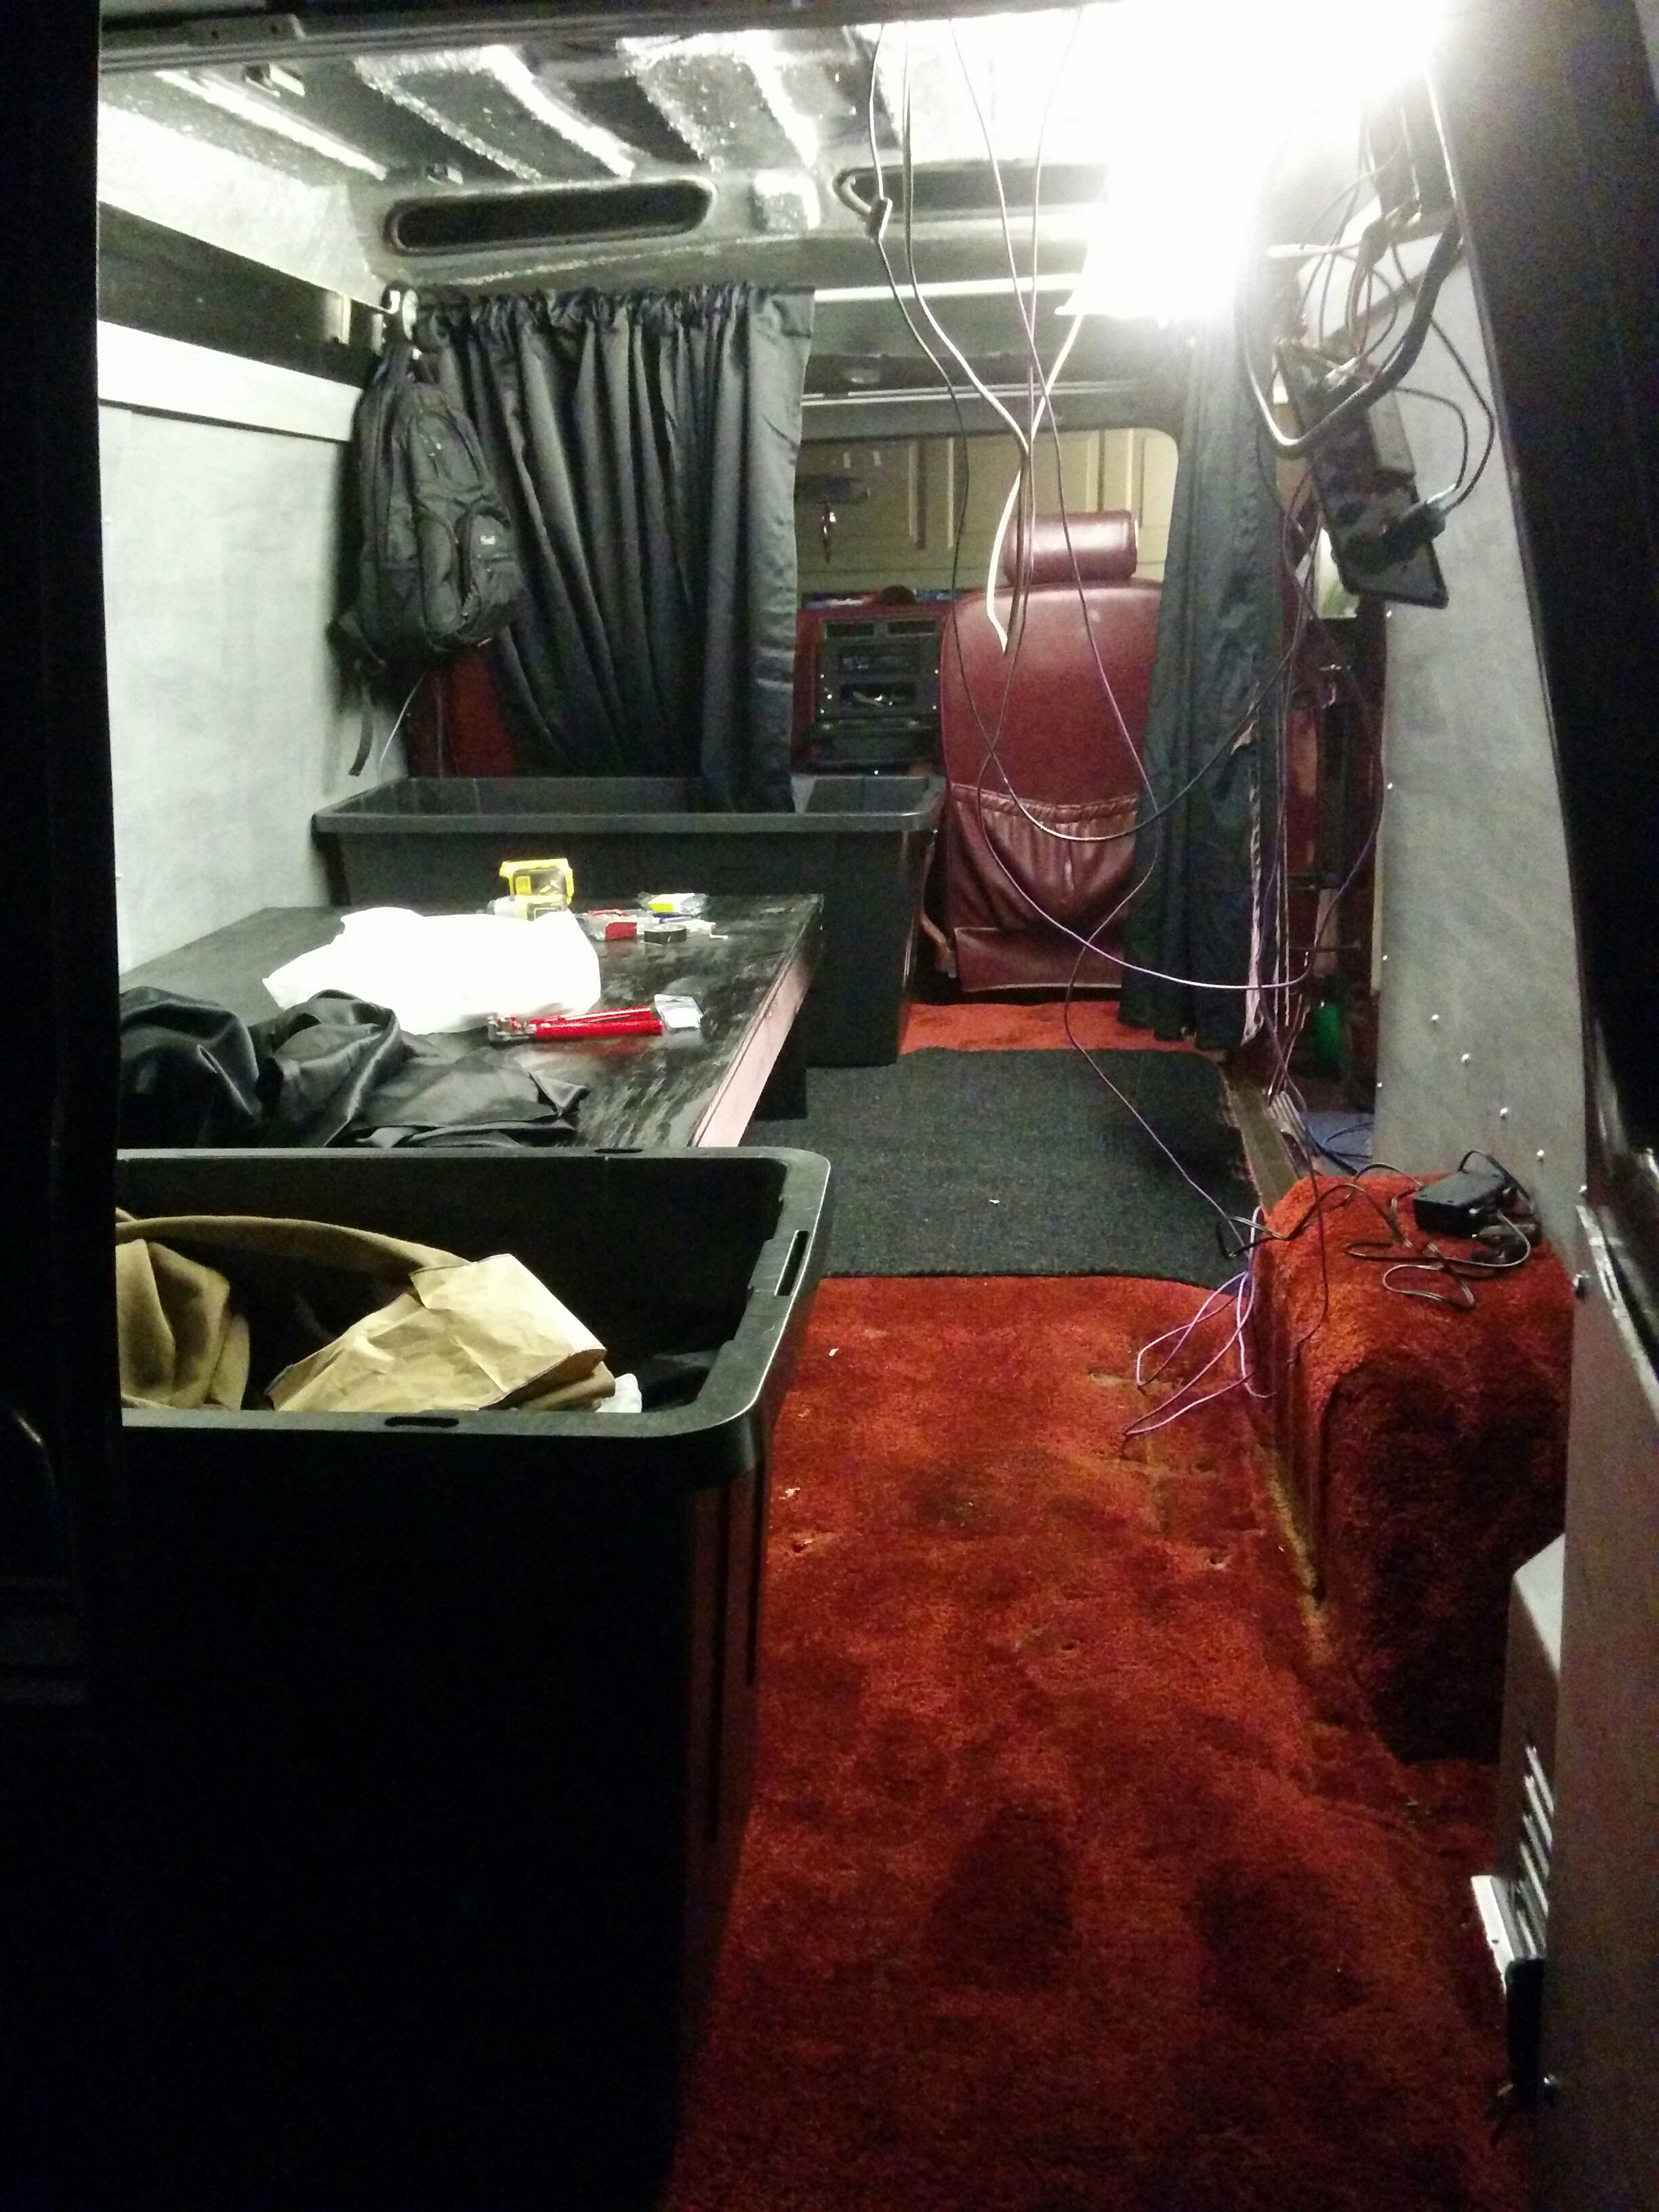
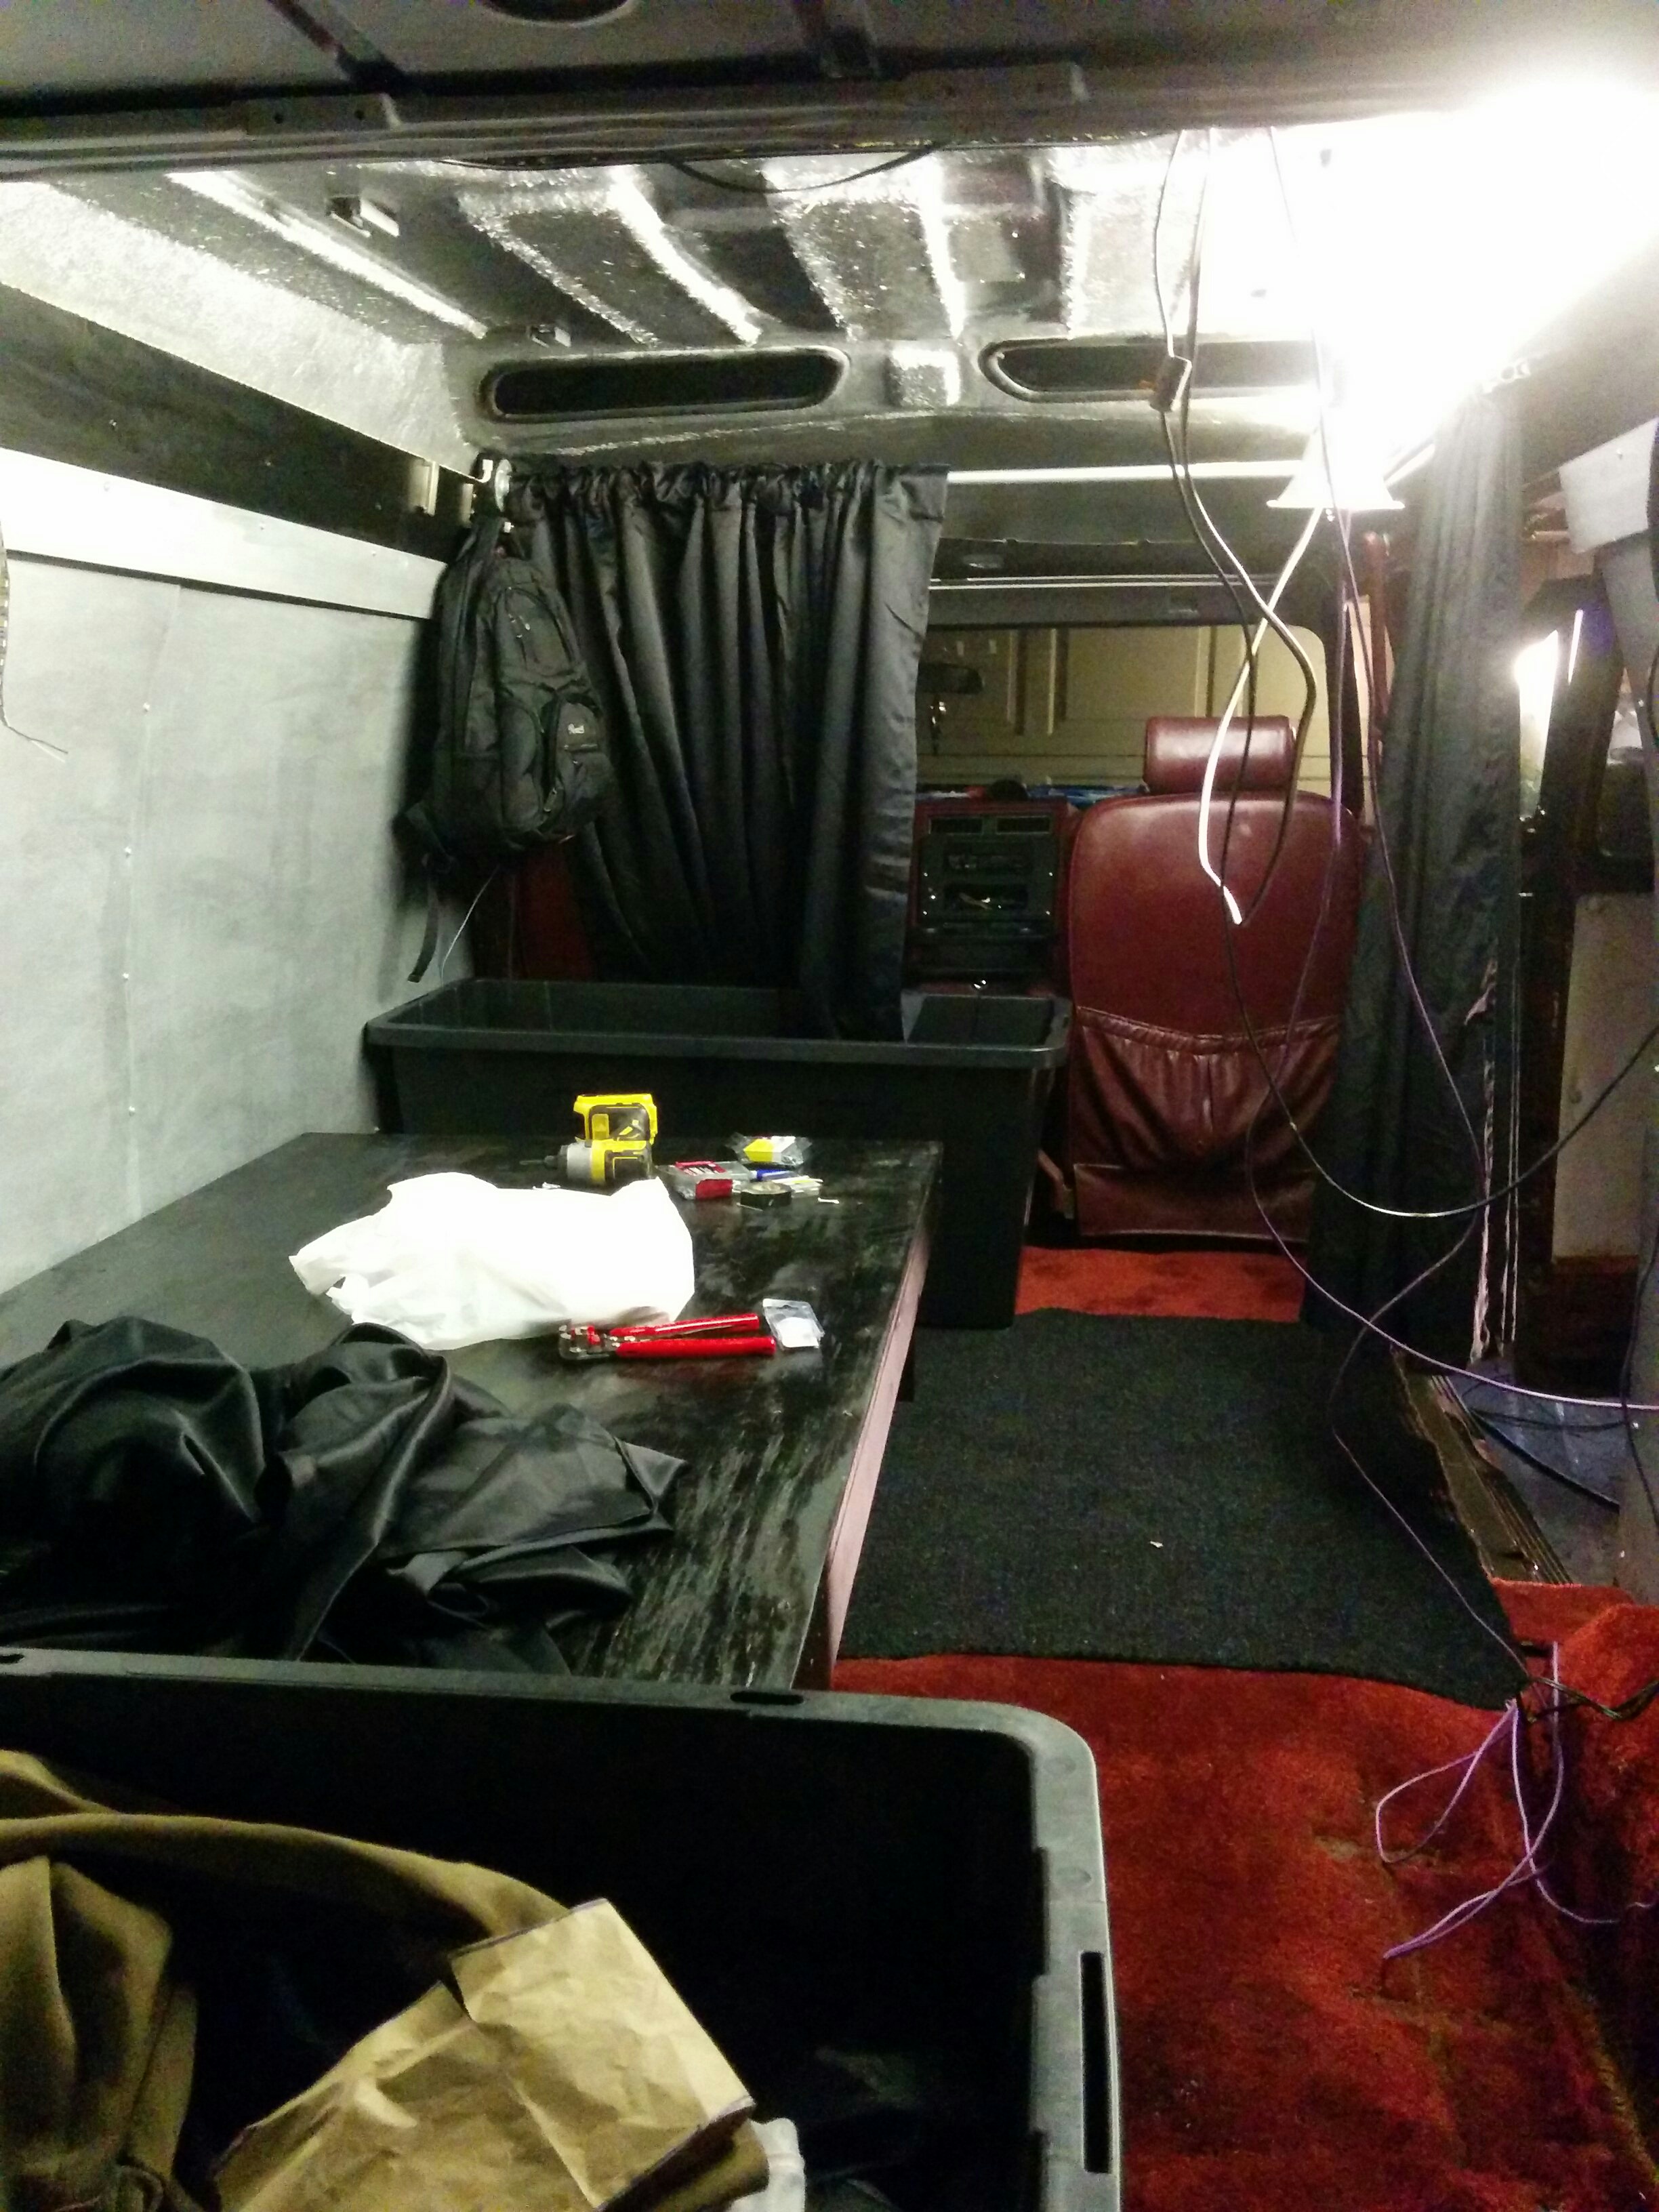
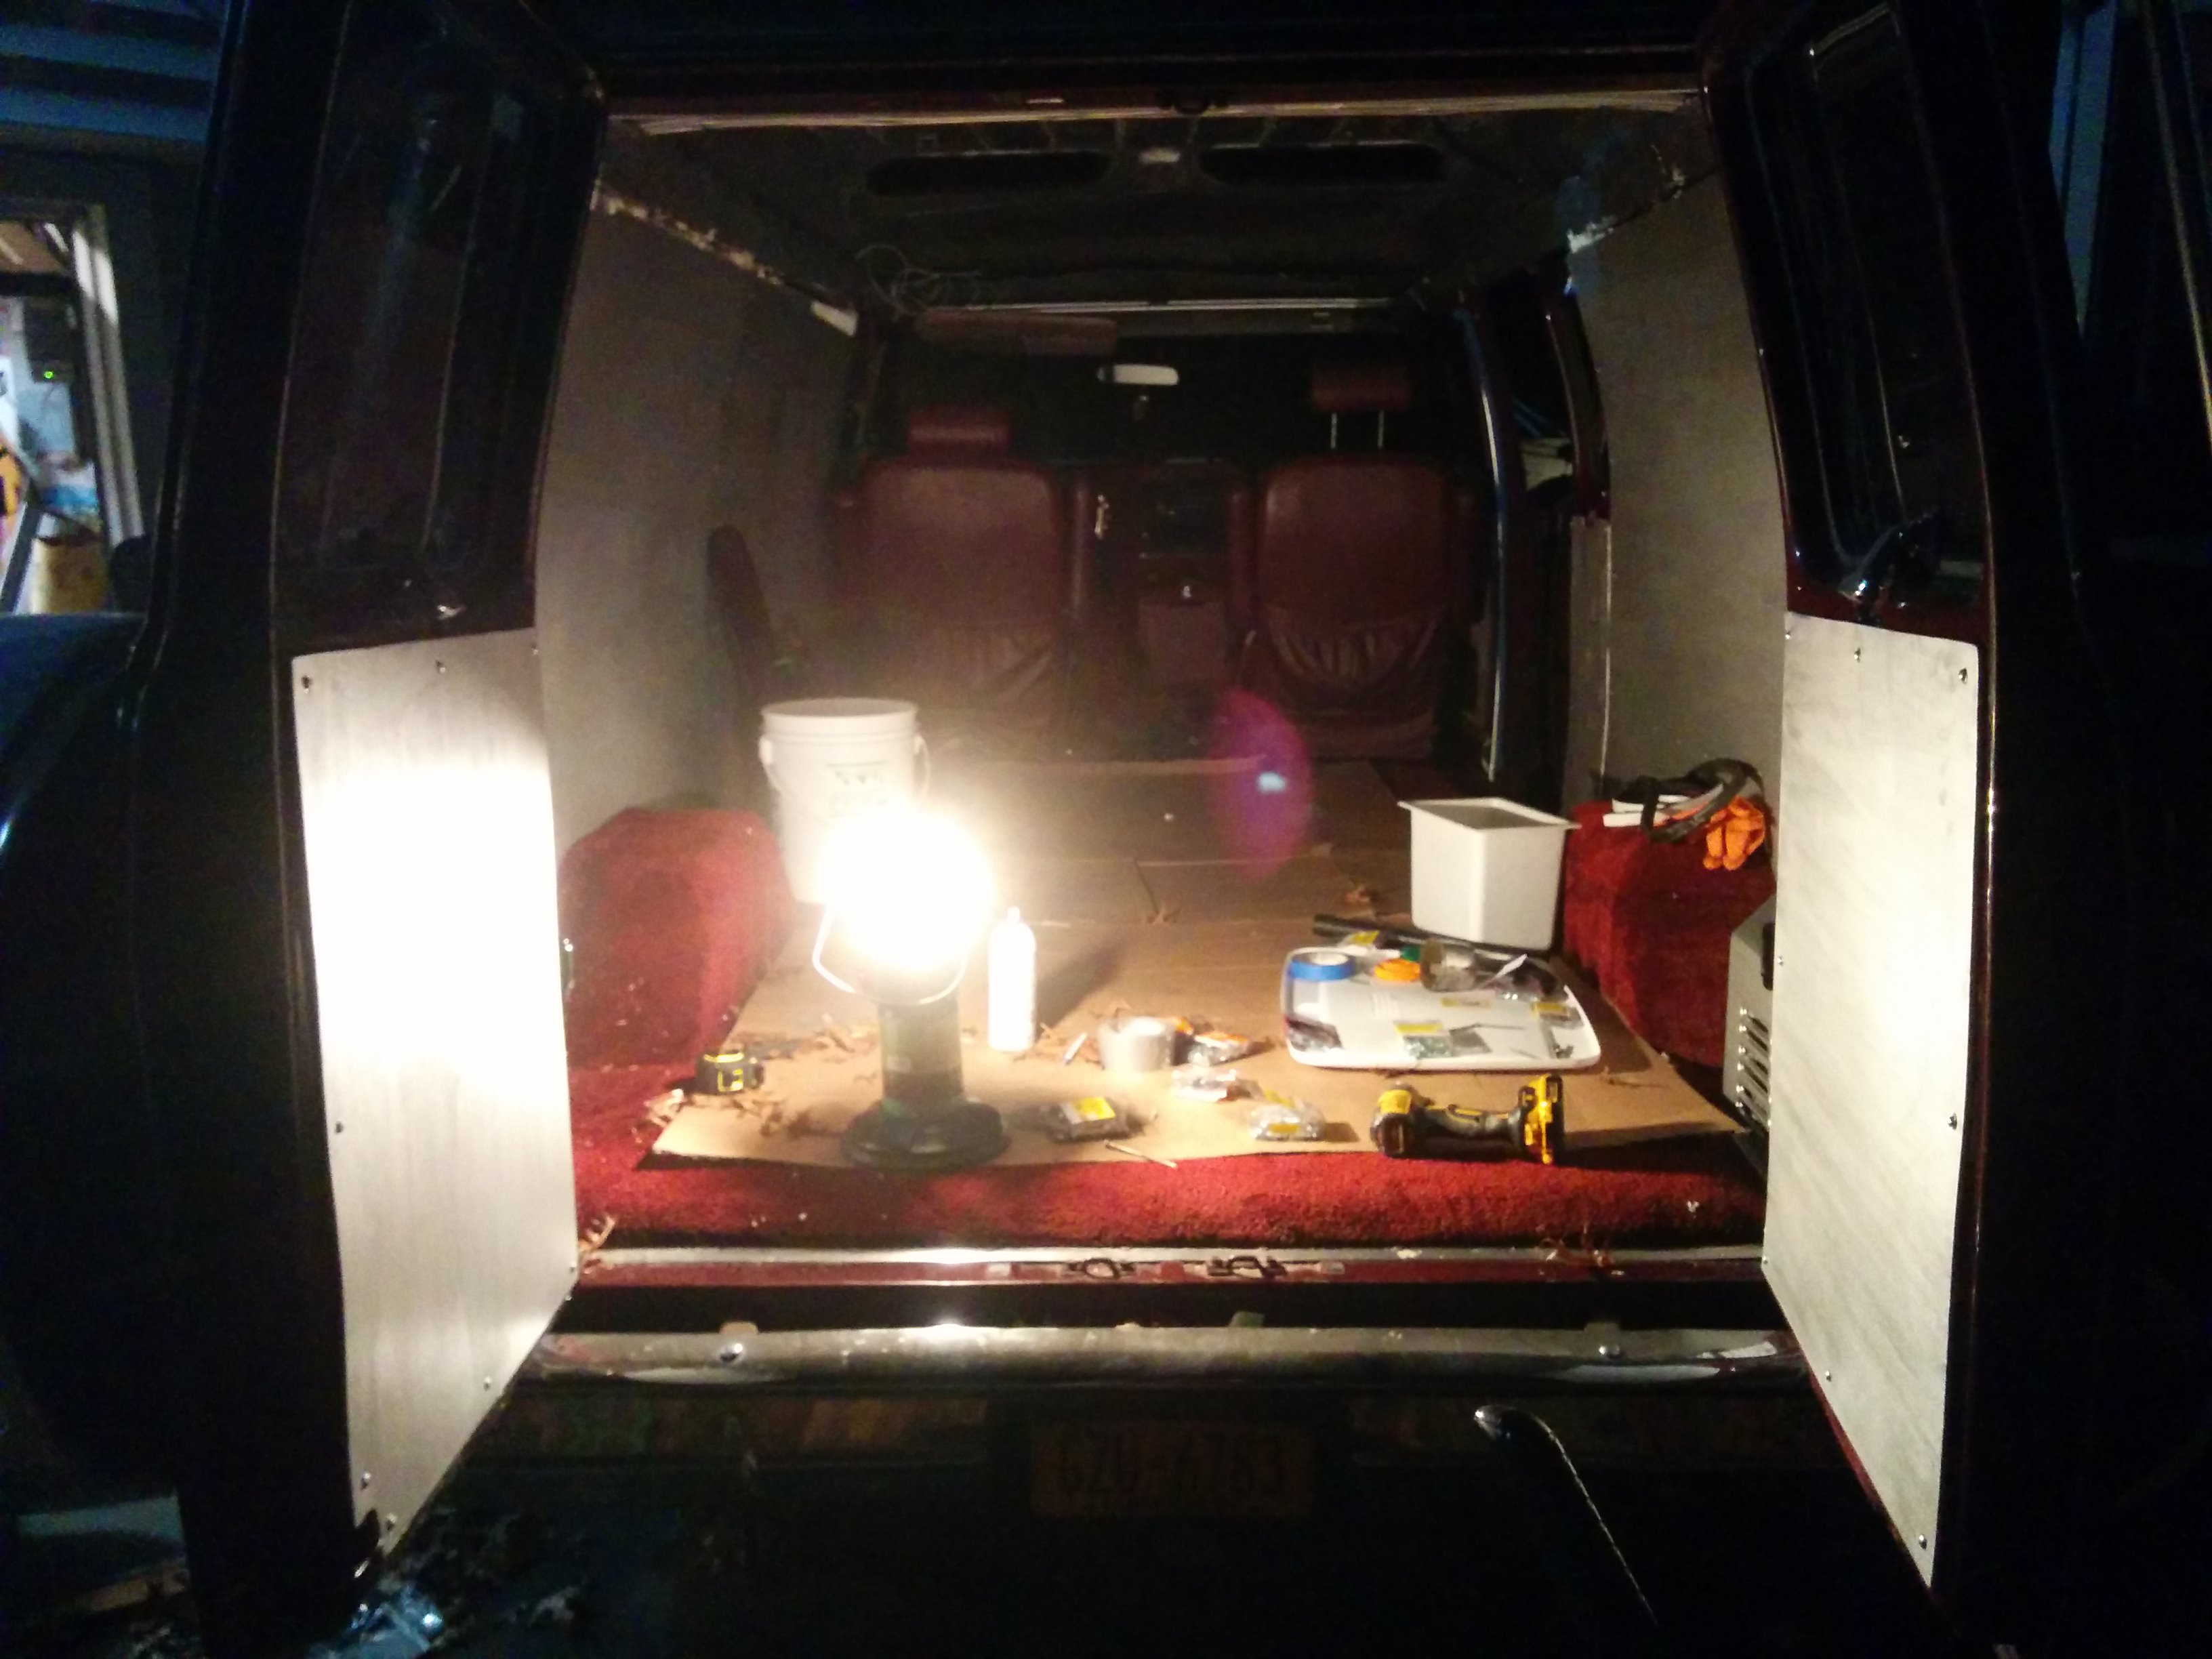
What it looked like from the back. I used two large 55 gal HDX bins (pictured here without their lids) at the head and foot of the bed to store things I didn’t need on a day to day basis. They were tall enough that they made great tables/nightstands. The only downside was that the slots in the top of the lid were prone to accumulating lint and dirt but adding shelf liner insets fixed that problem rather easily. Building the custom bedframe had left me with an enormous amount of storage space under the bed as well. I was later able to find plastic bins that double stacked perfectly between the ribs, which securely held them in place while driving while also permitting easy access from the side. This was where I tended to store semi-frequently used items.
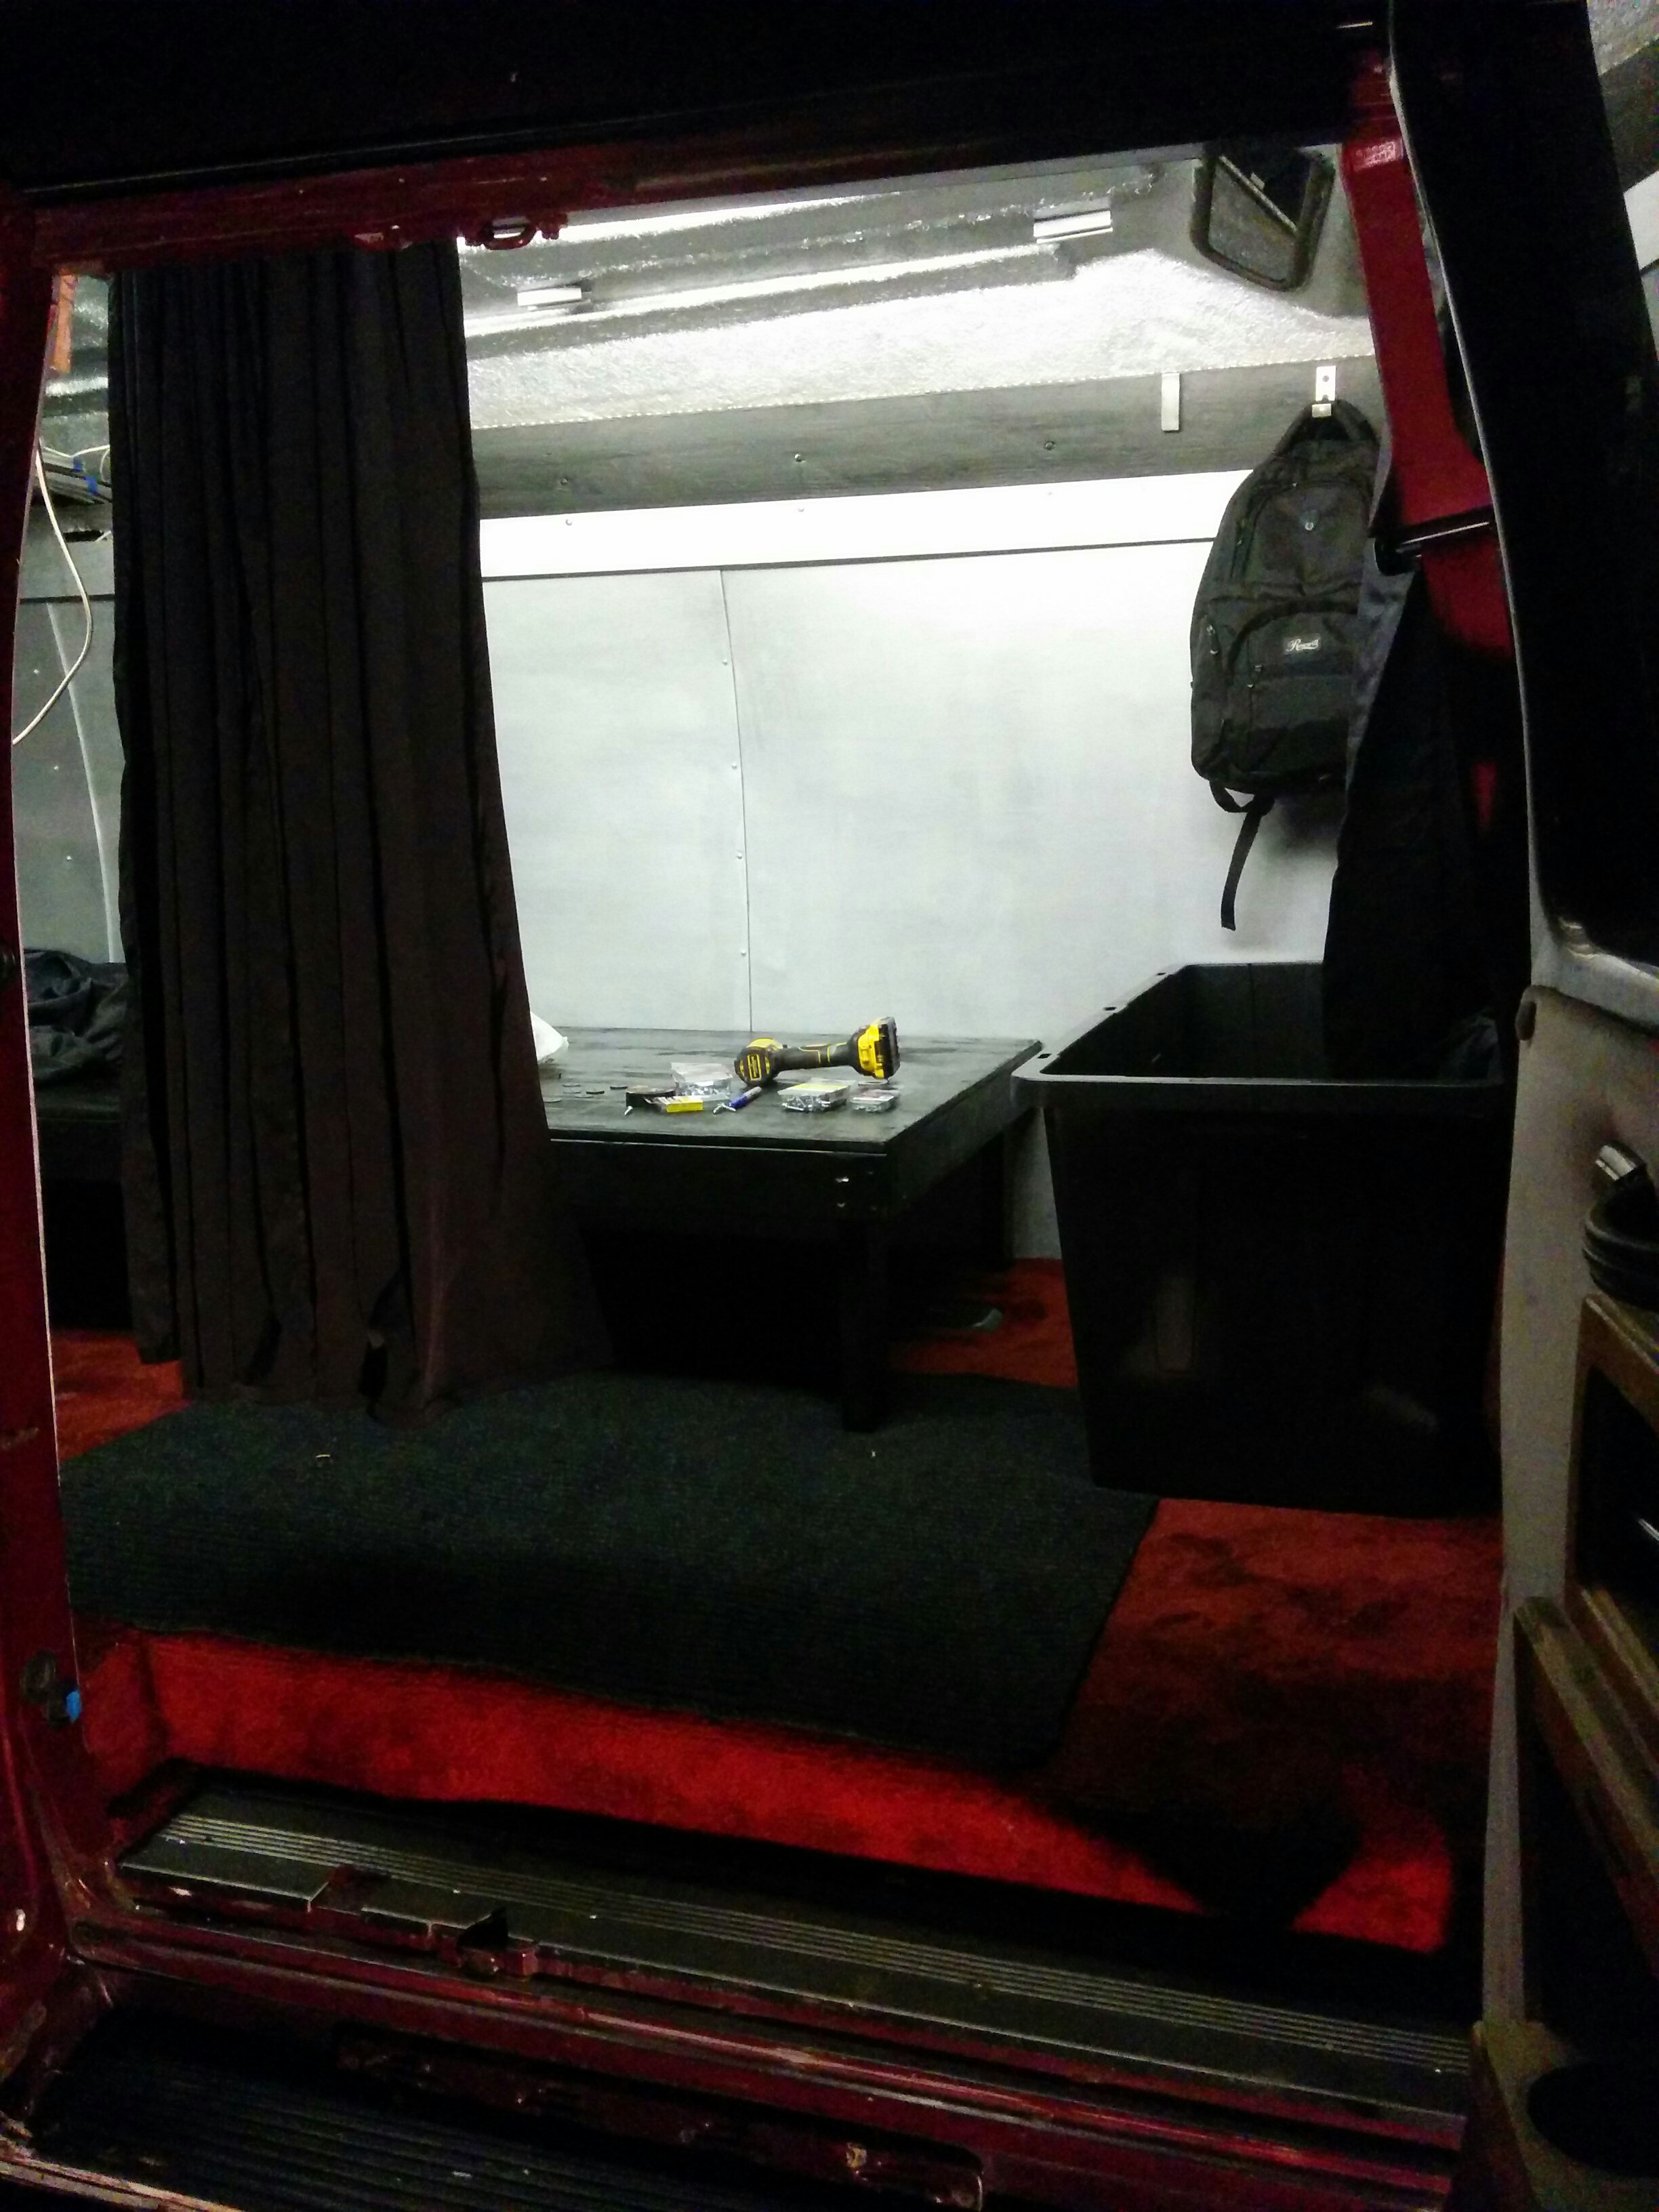
Already feeling pretty cozy. All the silver and exposed screws make it feel like a Boeing airliner. Not that Iron Van ever crashed into anything.
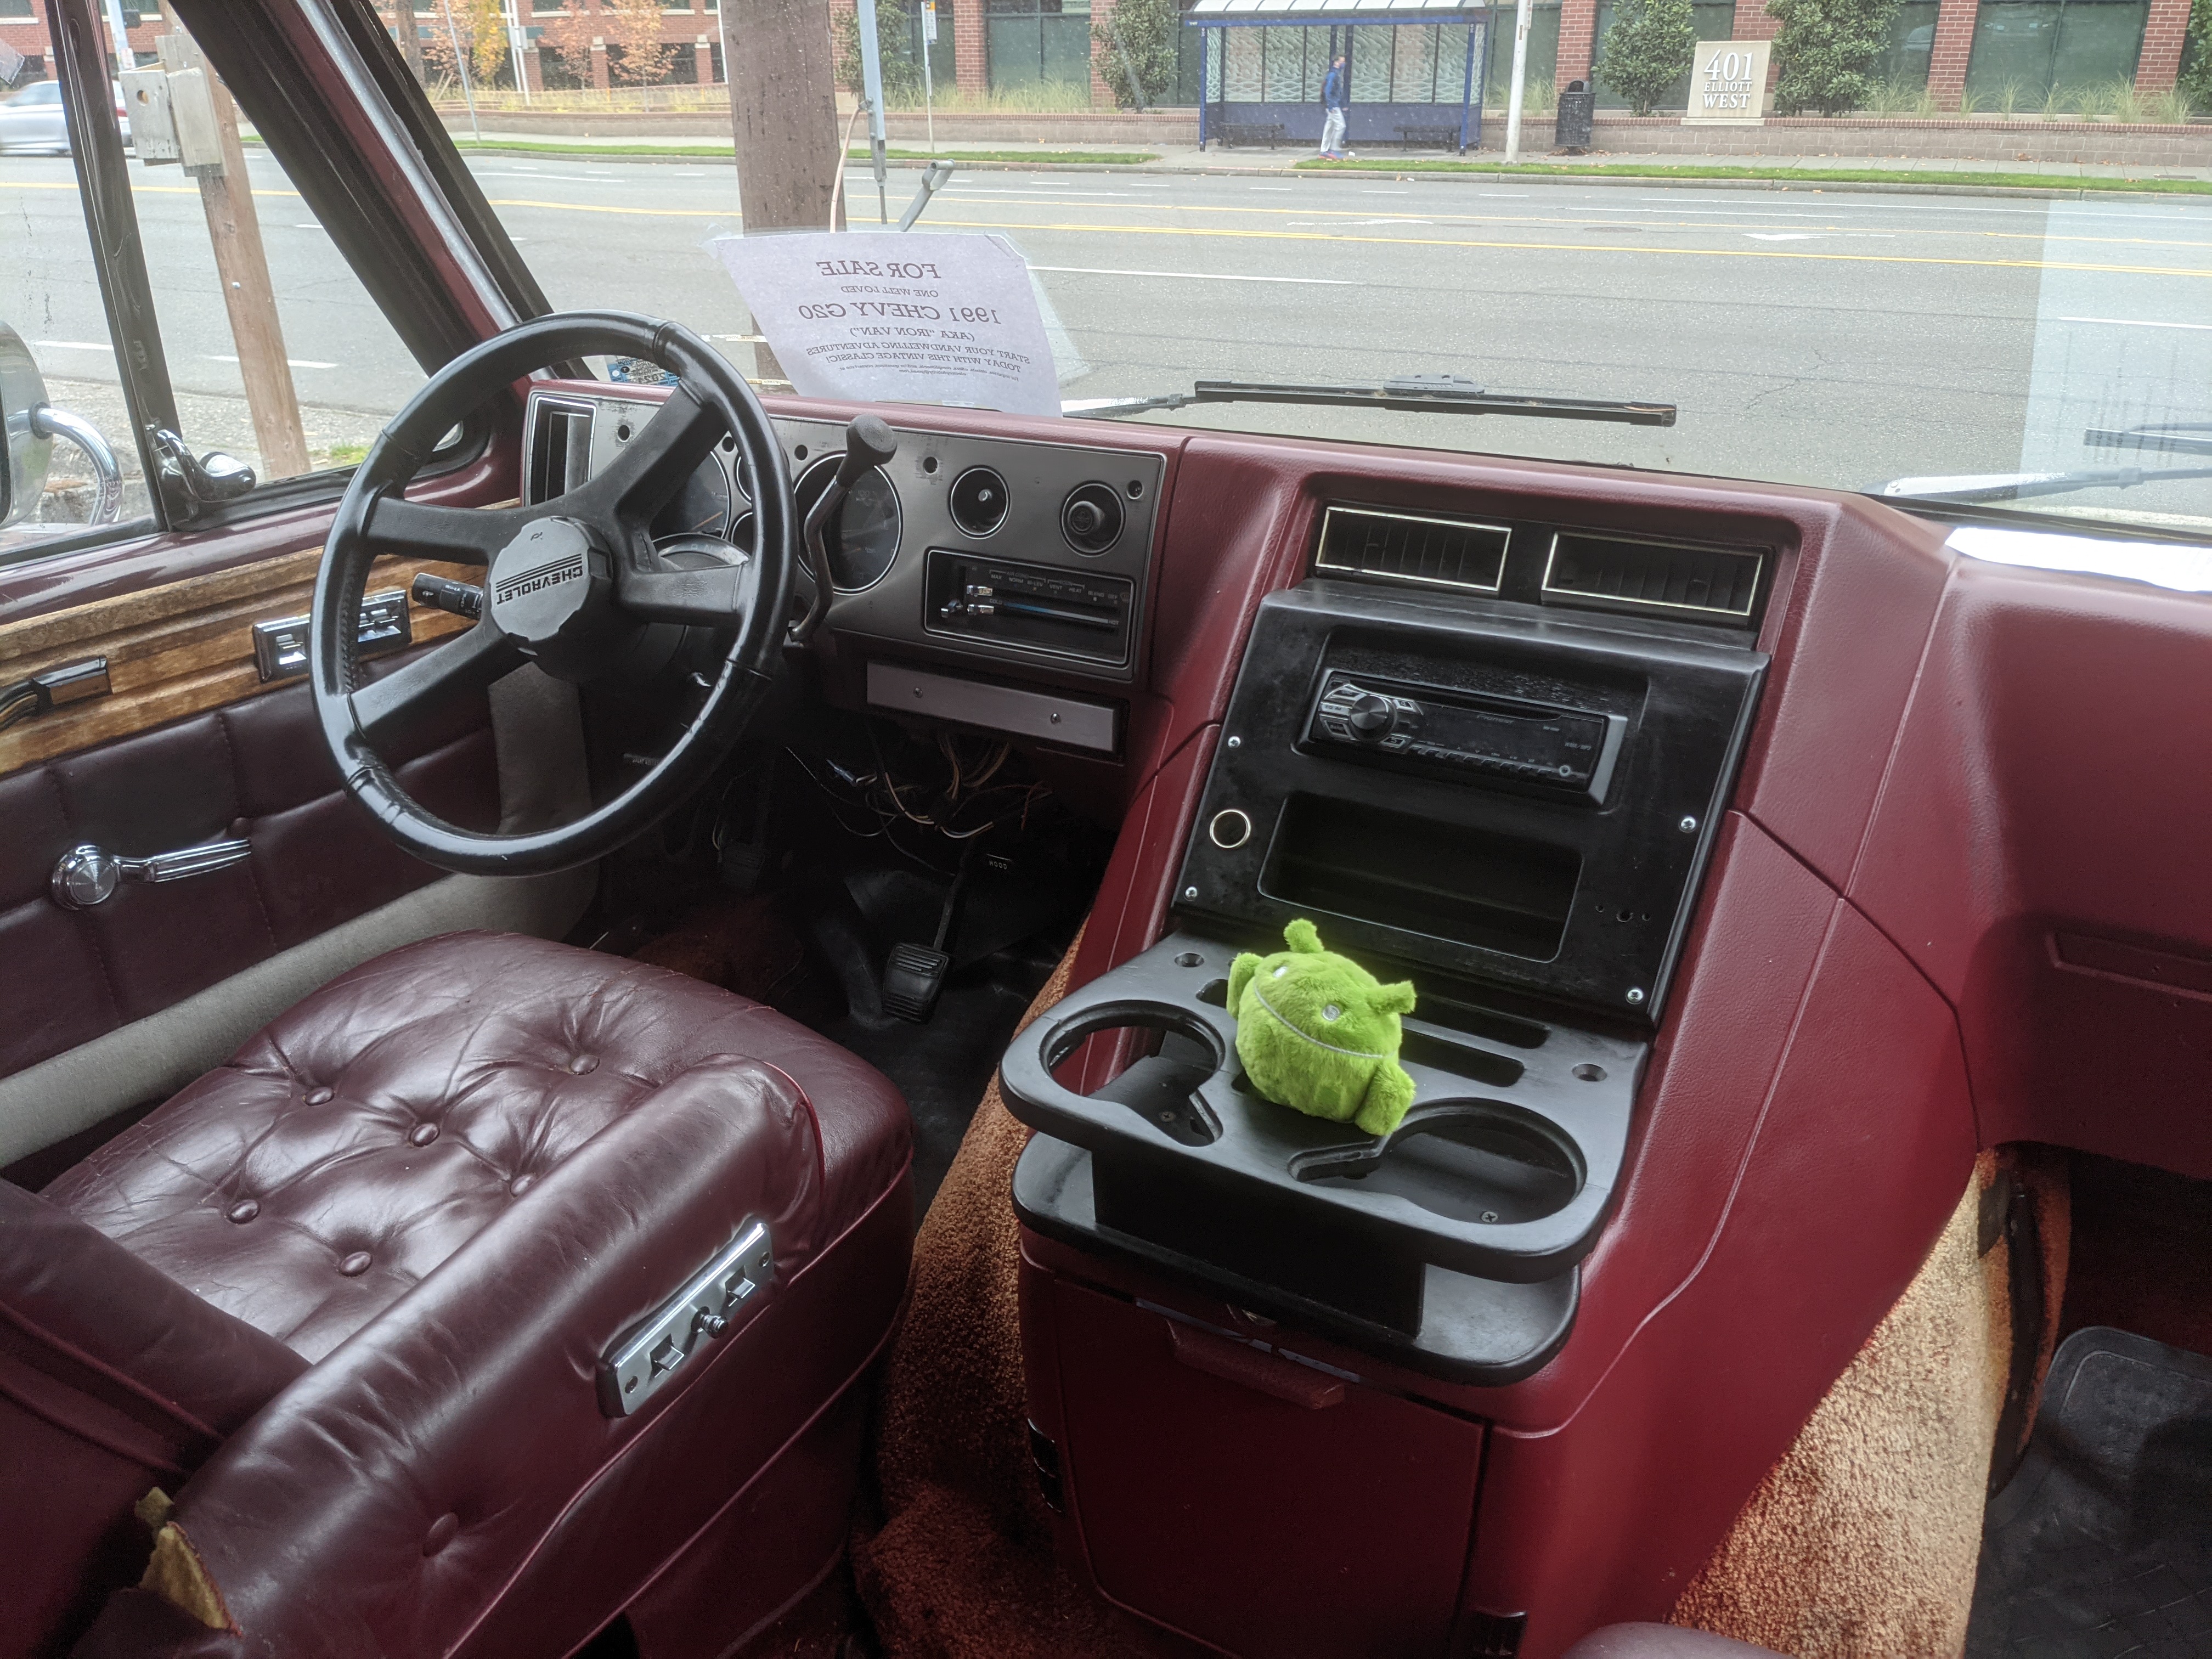
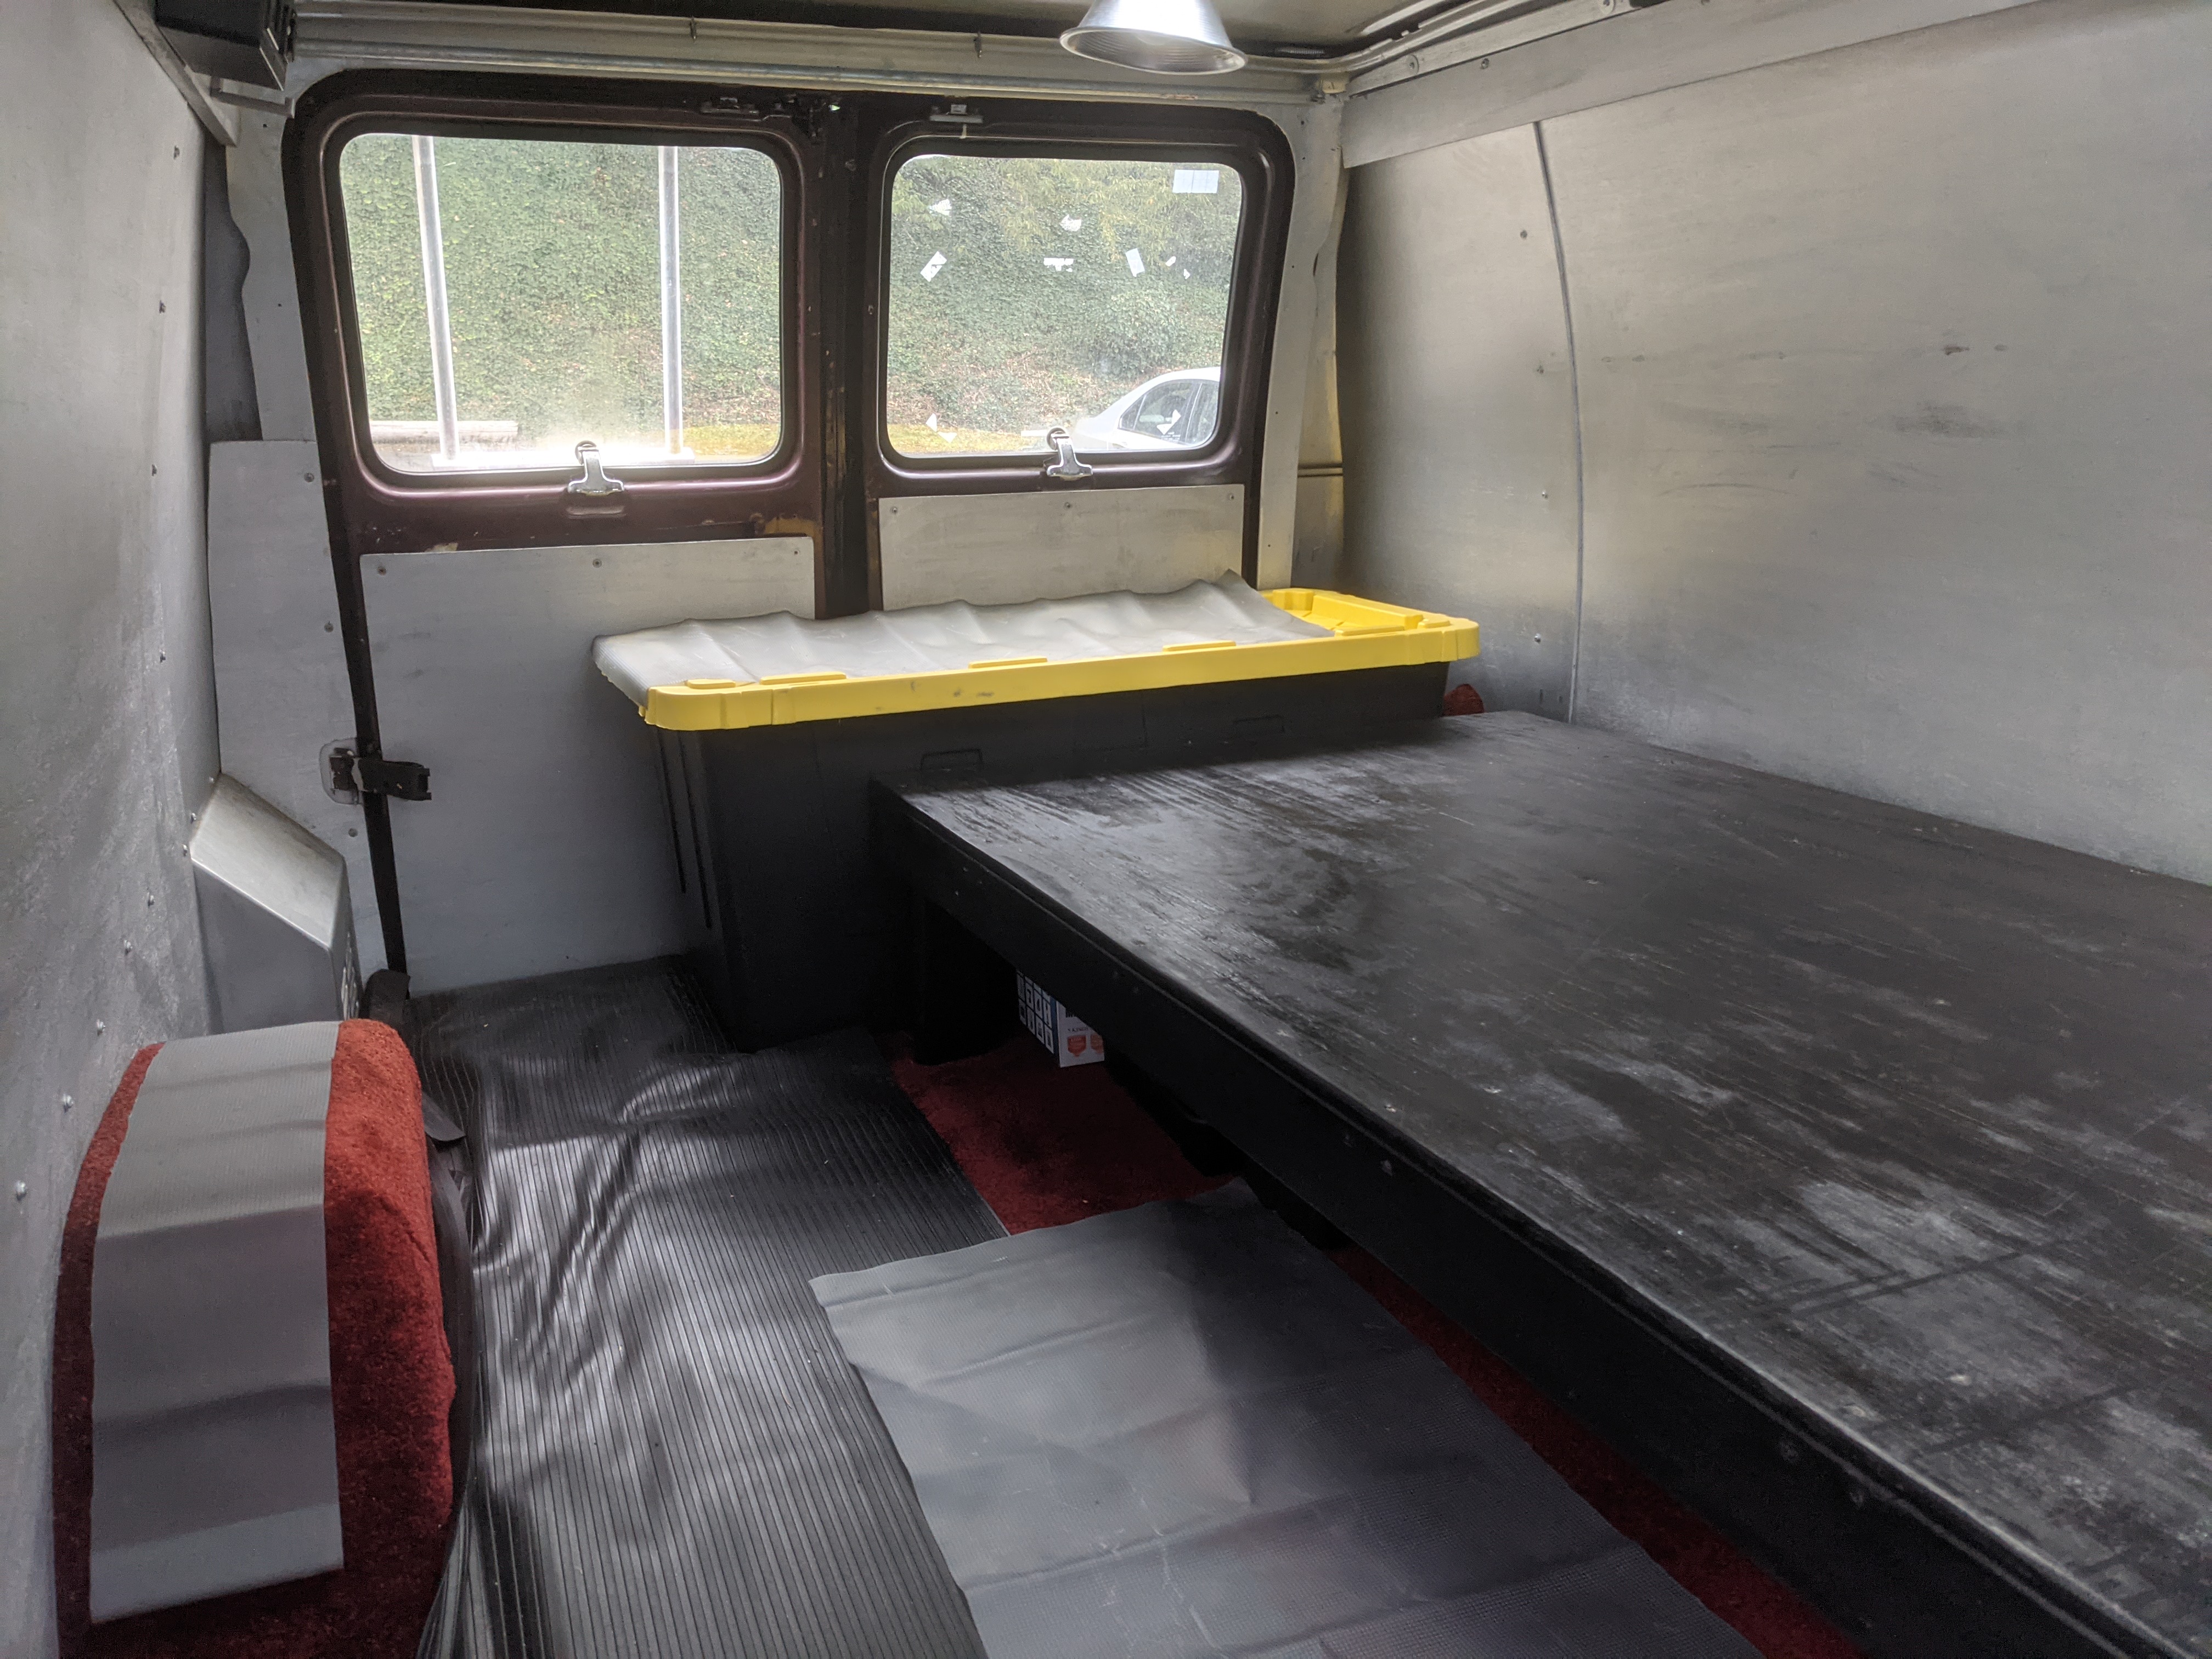
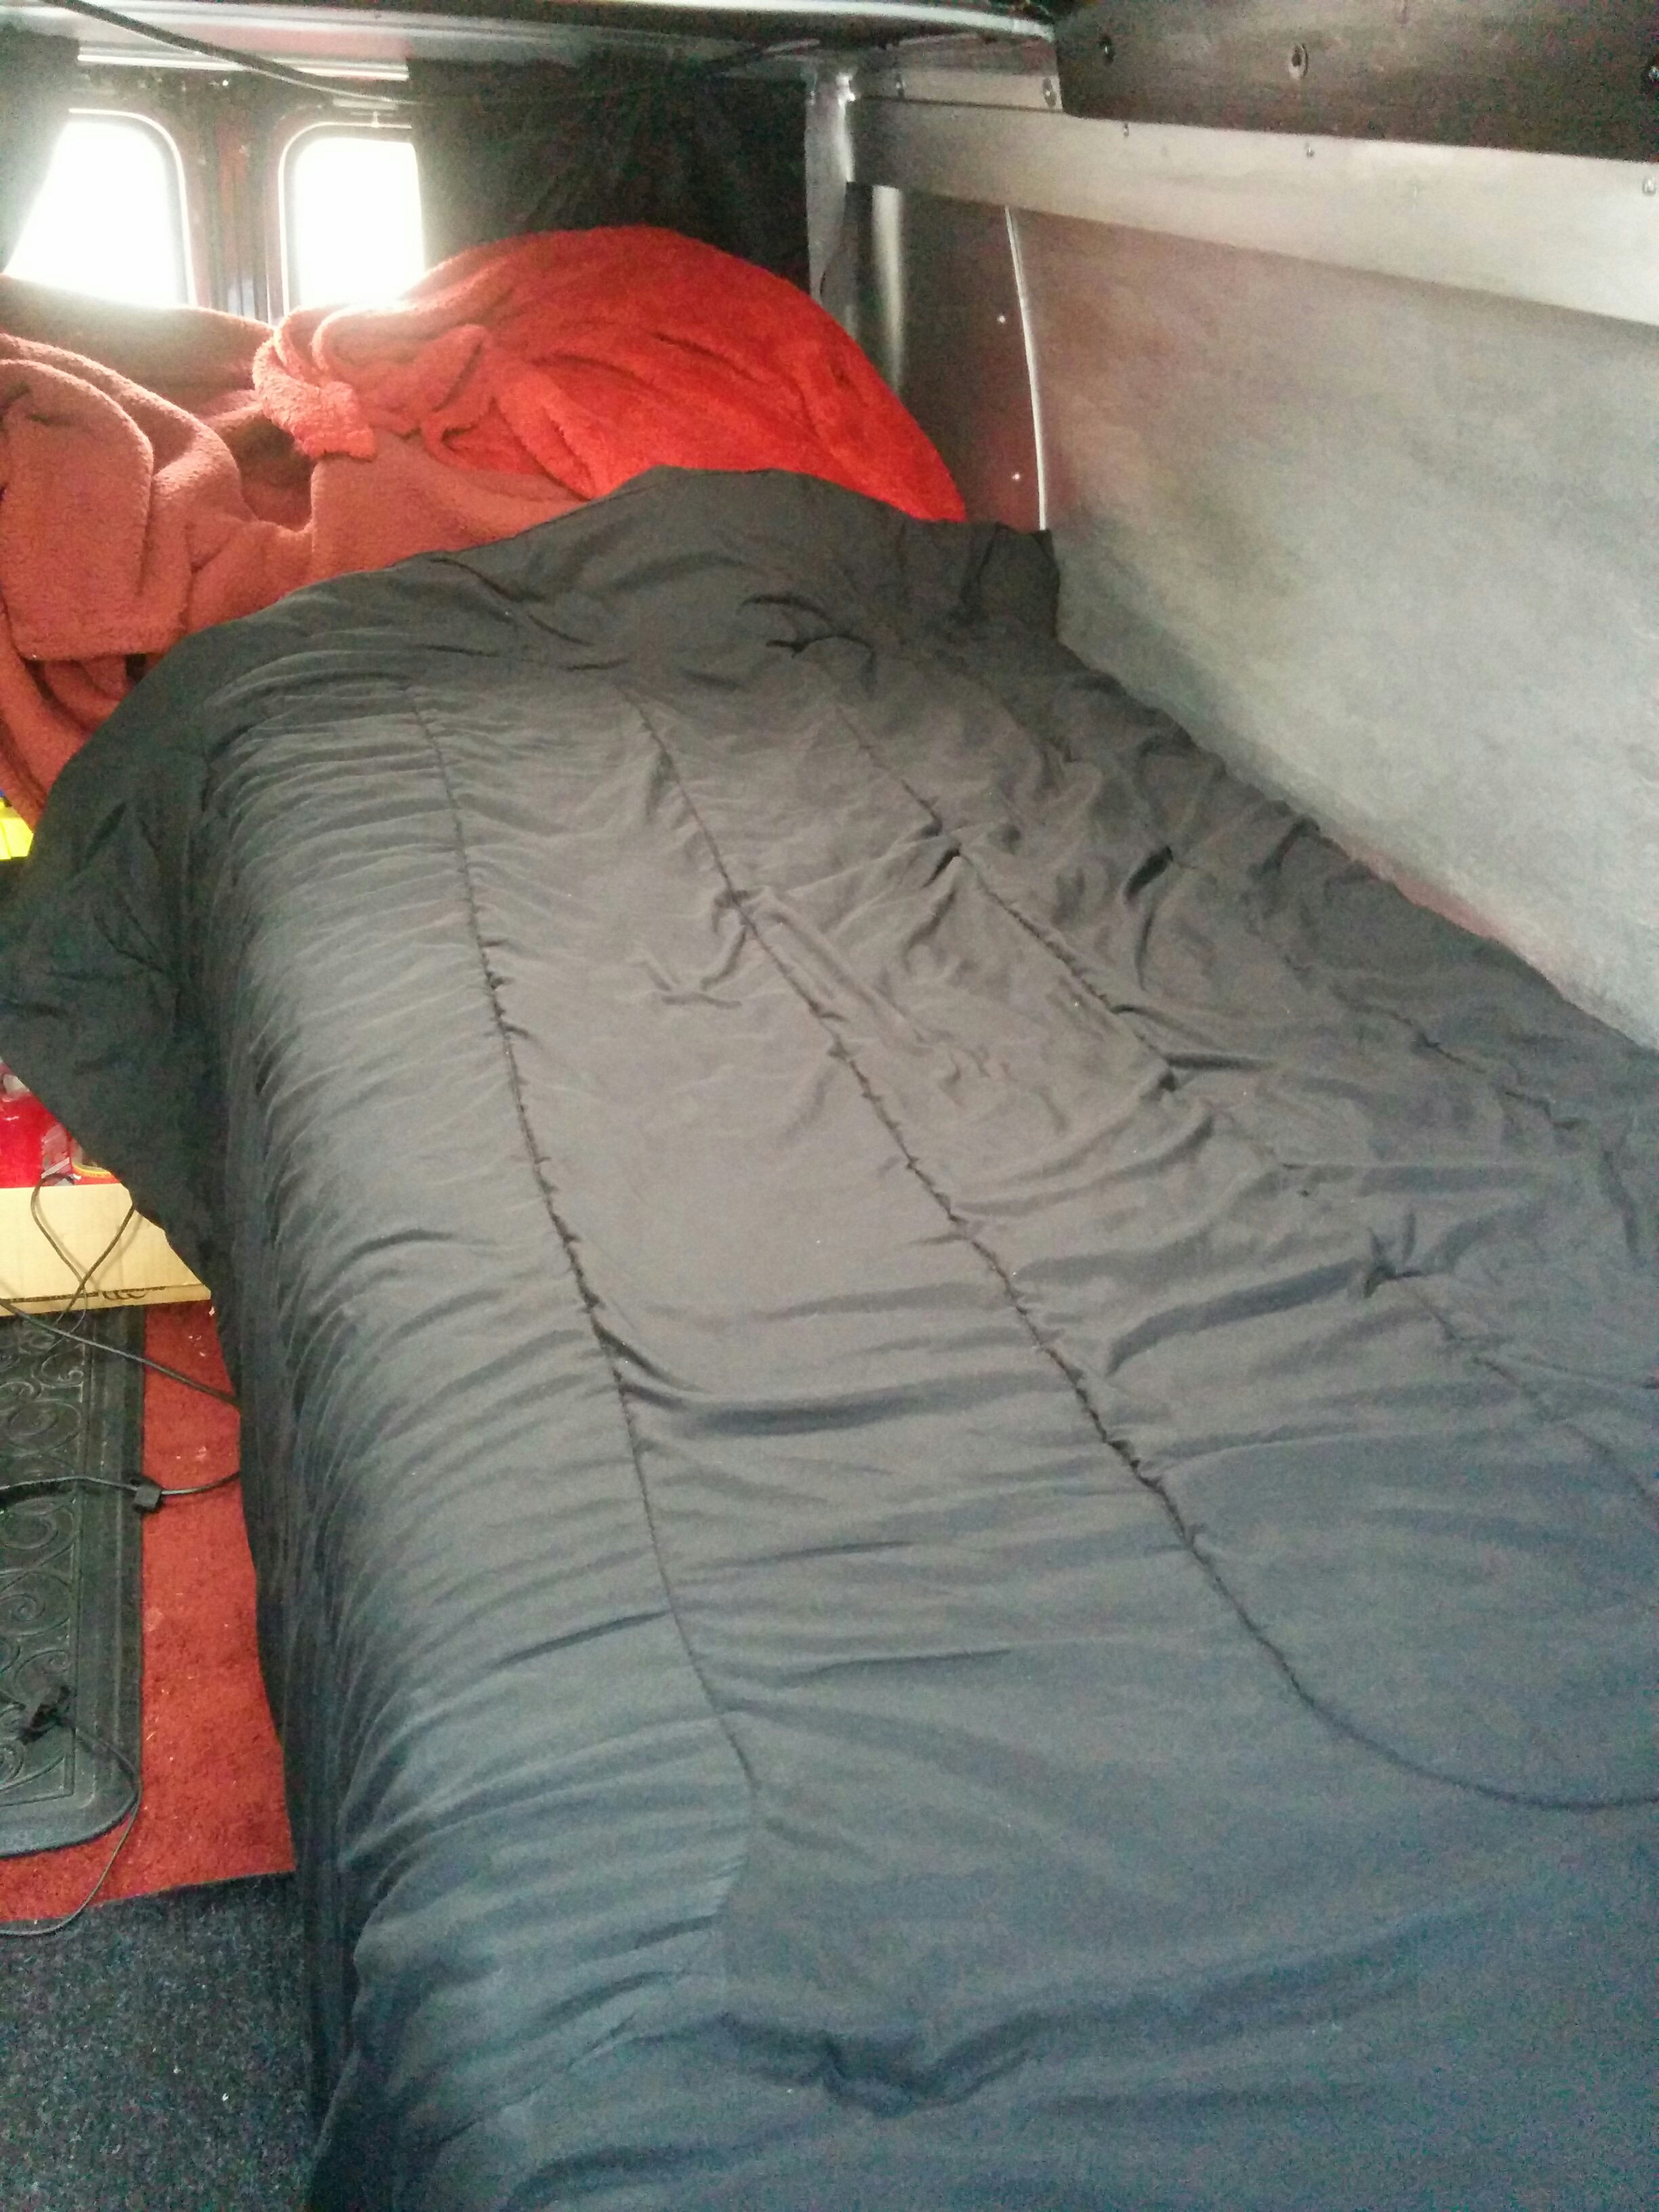
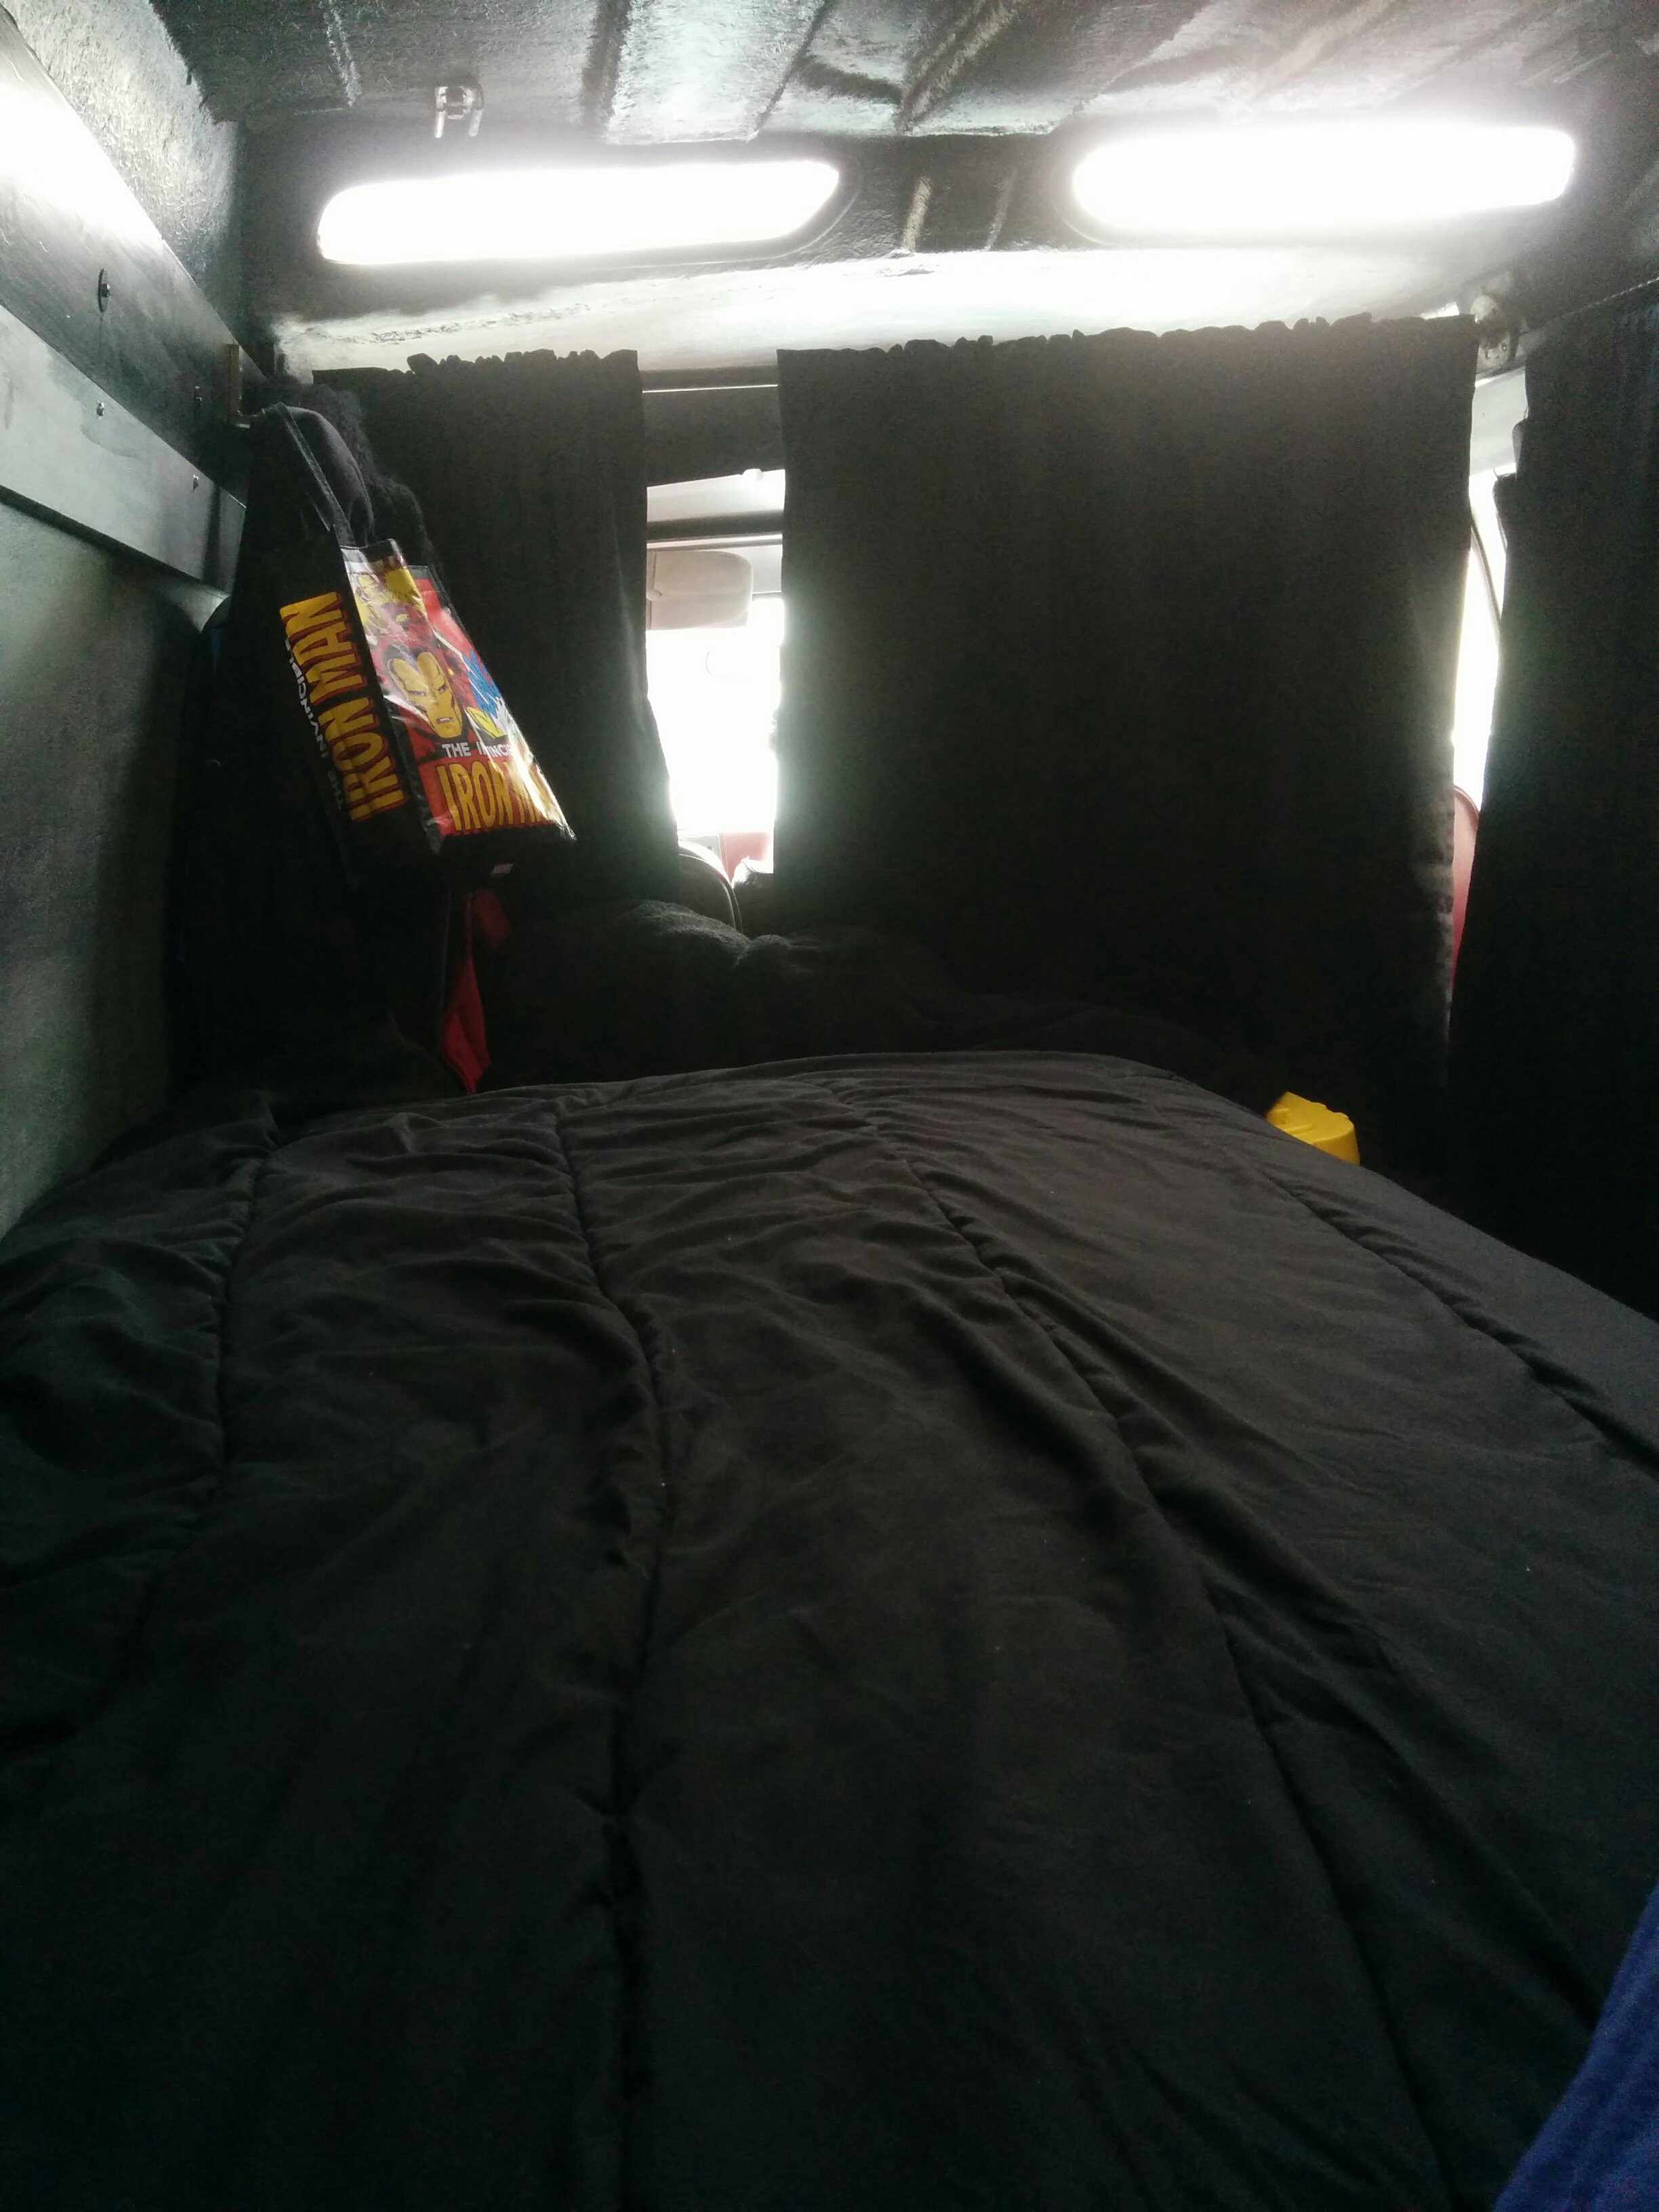
With my build complete, it was time to make the journey back to NYC. The irony did not escape me that building an entire off-grid solar installation from scratch was easier than securing the minimum funding required — even as student loans — to even theoretically complete an electrical engineering degree while remaining housed.
The stability provided by my new “housing” gave me the time and space I needed to complete the first iteration of this website. At the time, I intended to use it as leverage to secure paid internships, which I could then use to bridge the gap between financial aid and tuition. However, in the process of building the site, I ended up being exposed to programming…which turned out to be a surprisingly good fit for me. Given the nearly impossible logistical constraints I faced for EE, this in turn spurred a deep dive into whether or not a Computer Science degree might be any more accessible. (Spoiler: it was.)
tl;dr is that when I resumed classes, it was as a Computer Science major. The minimum viable requirements for it were just a computer and a source of electricity…such as the one I had just built. Having an affordable, guaranteed roof over my head granted me a baseline level of normalcy and stability, and for the first time, I was able to focus on career progression and networking instead of having most of my attention focused on raw survival. Within a matter of months, this would begin to yield compounding returns.
From this point forward, after I restarted classes, I never had to miss a semester of school again; I would complete my degree in one straight continuous string of semesters. Switching to computer science was the breakthrough that allowed me to escape financial precarity and finally gain access to conventional housing and necessary medical care that had previously been out of reach. But without the van to use as a home base, I would never have been able to make it work.